How to Create Perfect Pencil Teacher Tabs for Back-to-School Gifts
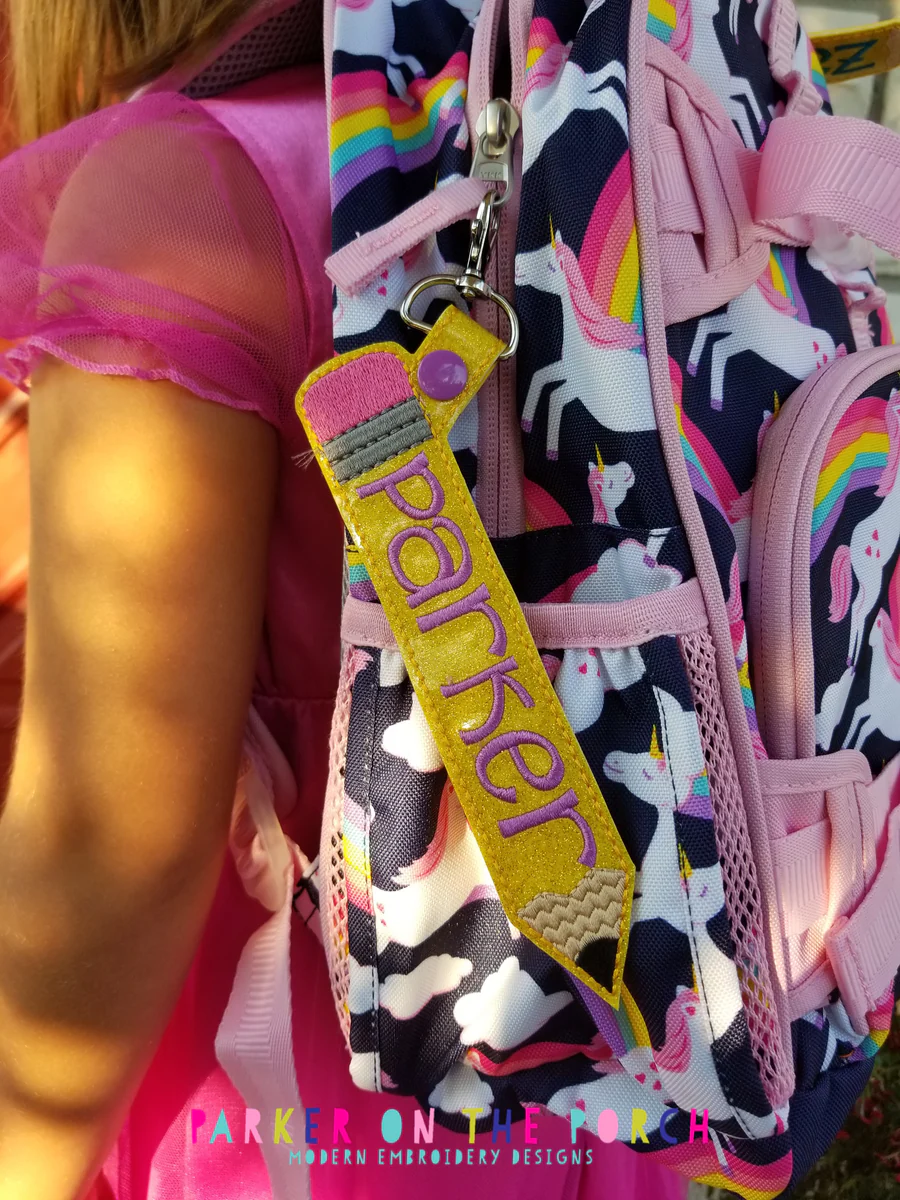
Featuring the Parker on the Porch Pencil Snaptab Design

Looking for a quick, fun, and functional back-to-school project? Teacher Tabs, a.k.a Pencil Snaptabs, from Parker on the Porch make the perfect handmade gifts for teachers, and with a few clever tricks using Sulky products, you can create them with ease and precision.
Here’s how to get pro results for the teacher tabs using Sulky Felty, Sulky Tear-Easy Stabilizer and Sulky Rayon Thread, plus expert tips to save time and maximize your hoop space.
Teacher Tab Supplies
-
Sulky Felty (for the top and bottom layers)
-
Sulky Tear-Easy Stabilizer (for easy, clean removal)
-
Sulky Rayon Thread (for a gorgeous, professional finish)
-
Sulky KK 2000™ Temporary Spray Adhesive
-
Sulky Clear Embroidery Tape
-
KAM snaps + KAM snap setter
- D-Ring Swivel Clip
-
Pencil Snaptab digital file by Parker on the Porch
- Optional: Font of choice for personalization (no taller than 3/4″, depending on teacher tab design size)
Top Tips for Teacher Tab Success
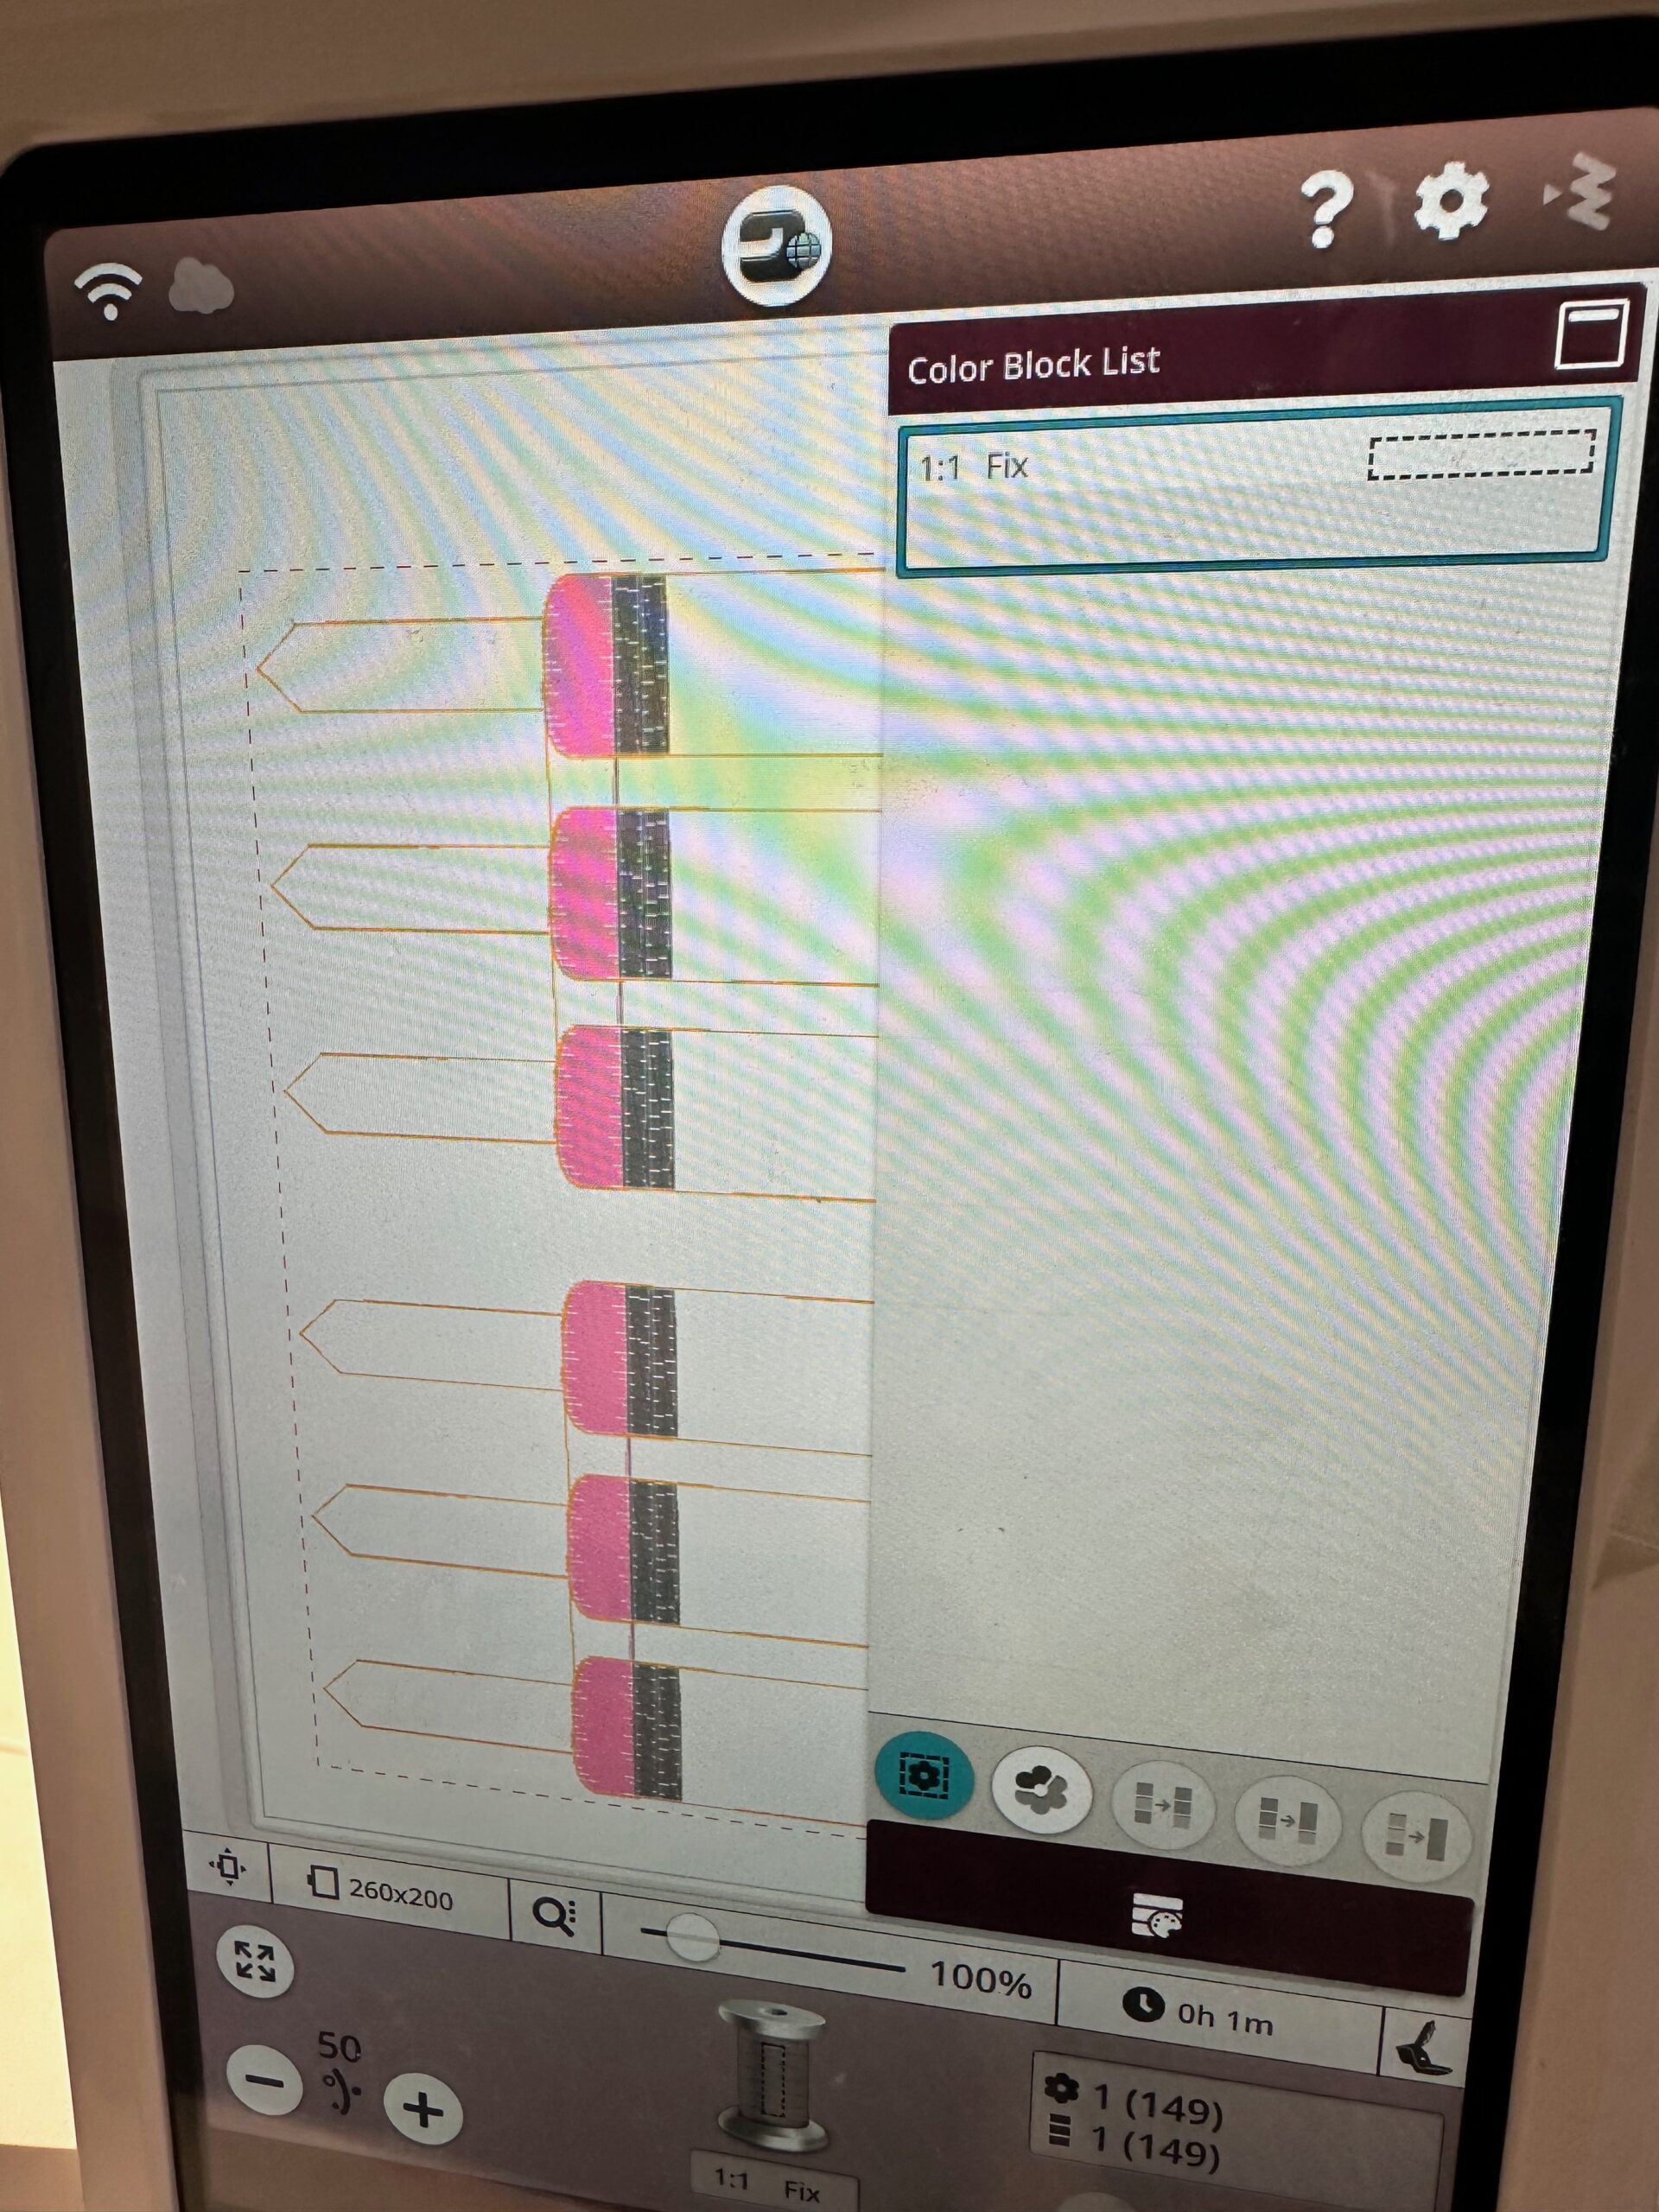
1. Use the Baste-Around-Design Function Before Stitching
This simple step is a total game-changer when batch-stitching snaptabs. Select the baste-around-design function on your embroidery machine before stitching the actual design—no need to even thread the needle for this step! The perforations left behind on the Sulky Tear-Easy stabilizer show you exactly how large to cut your Sulky Felty top and bottom layers.

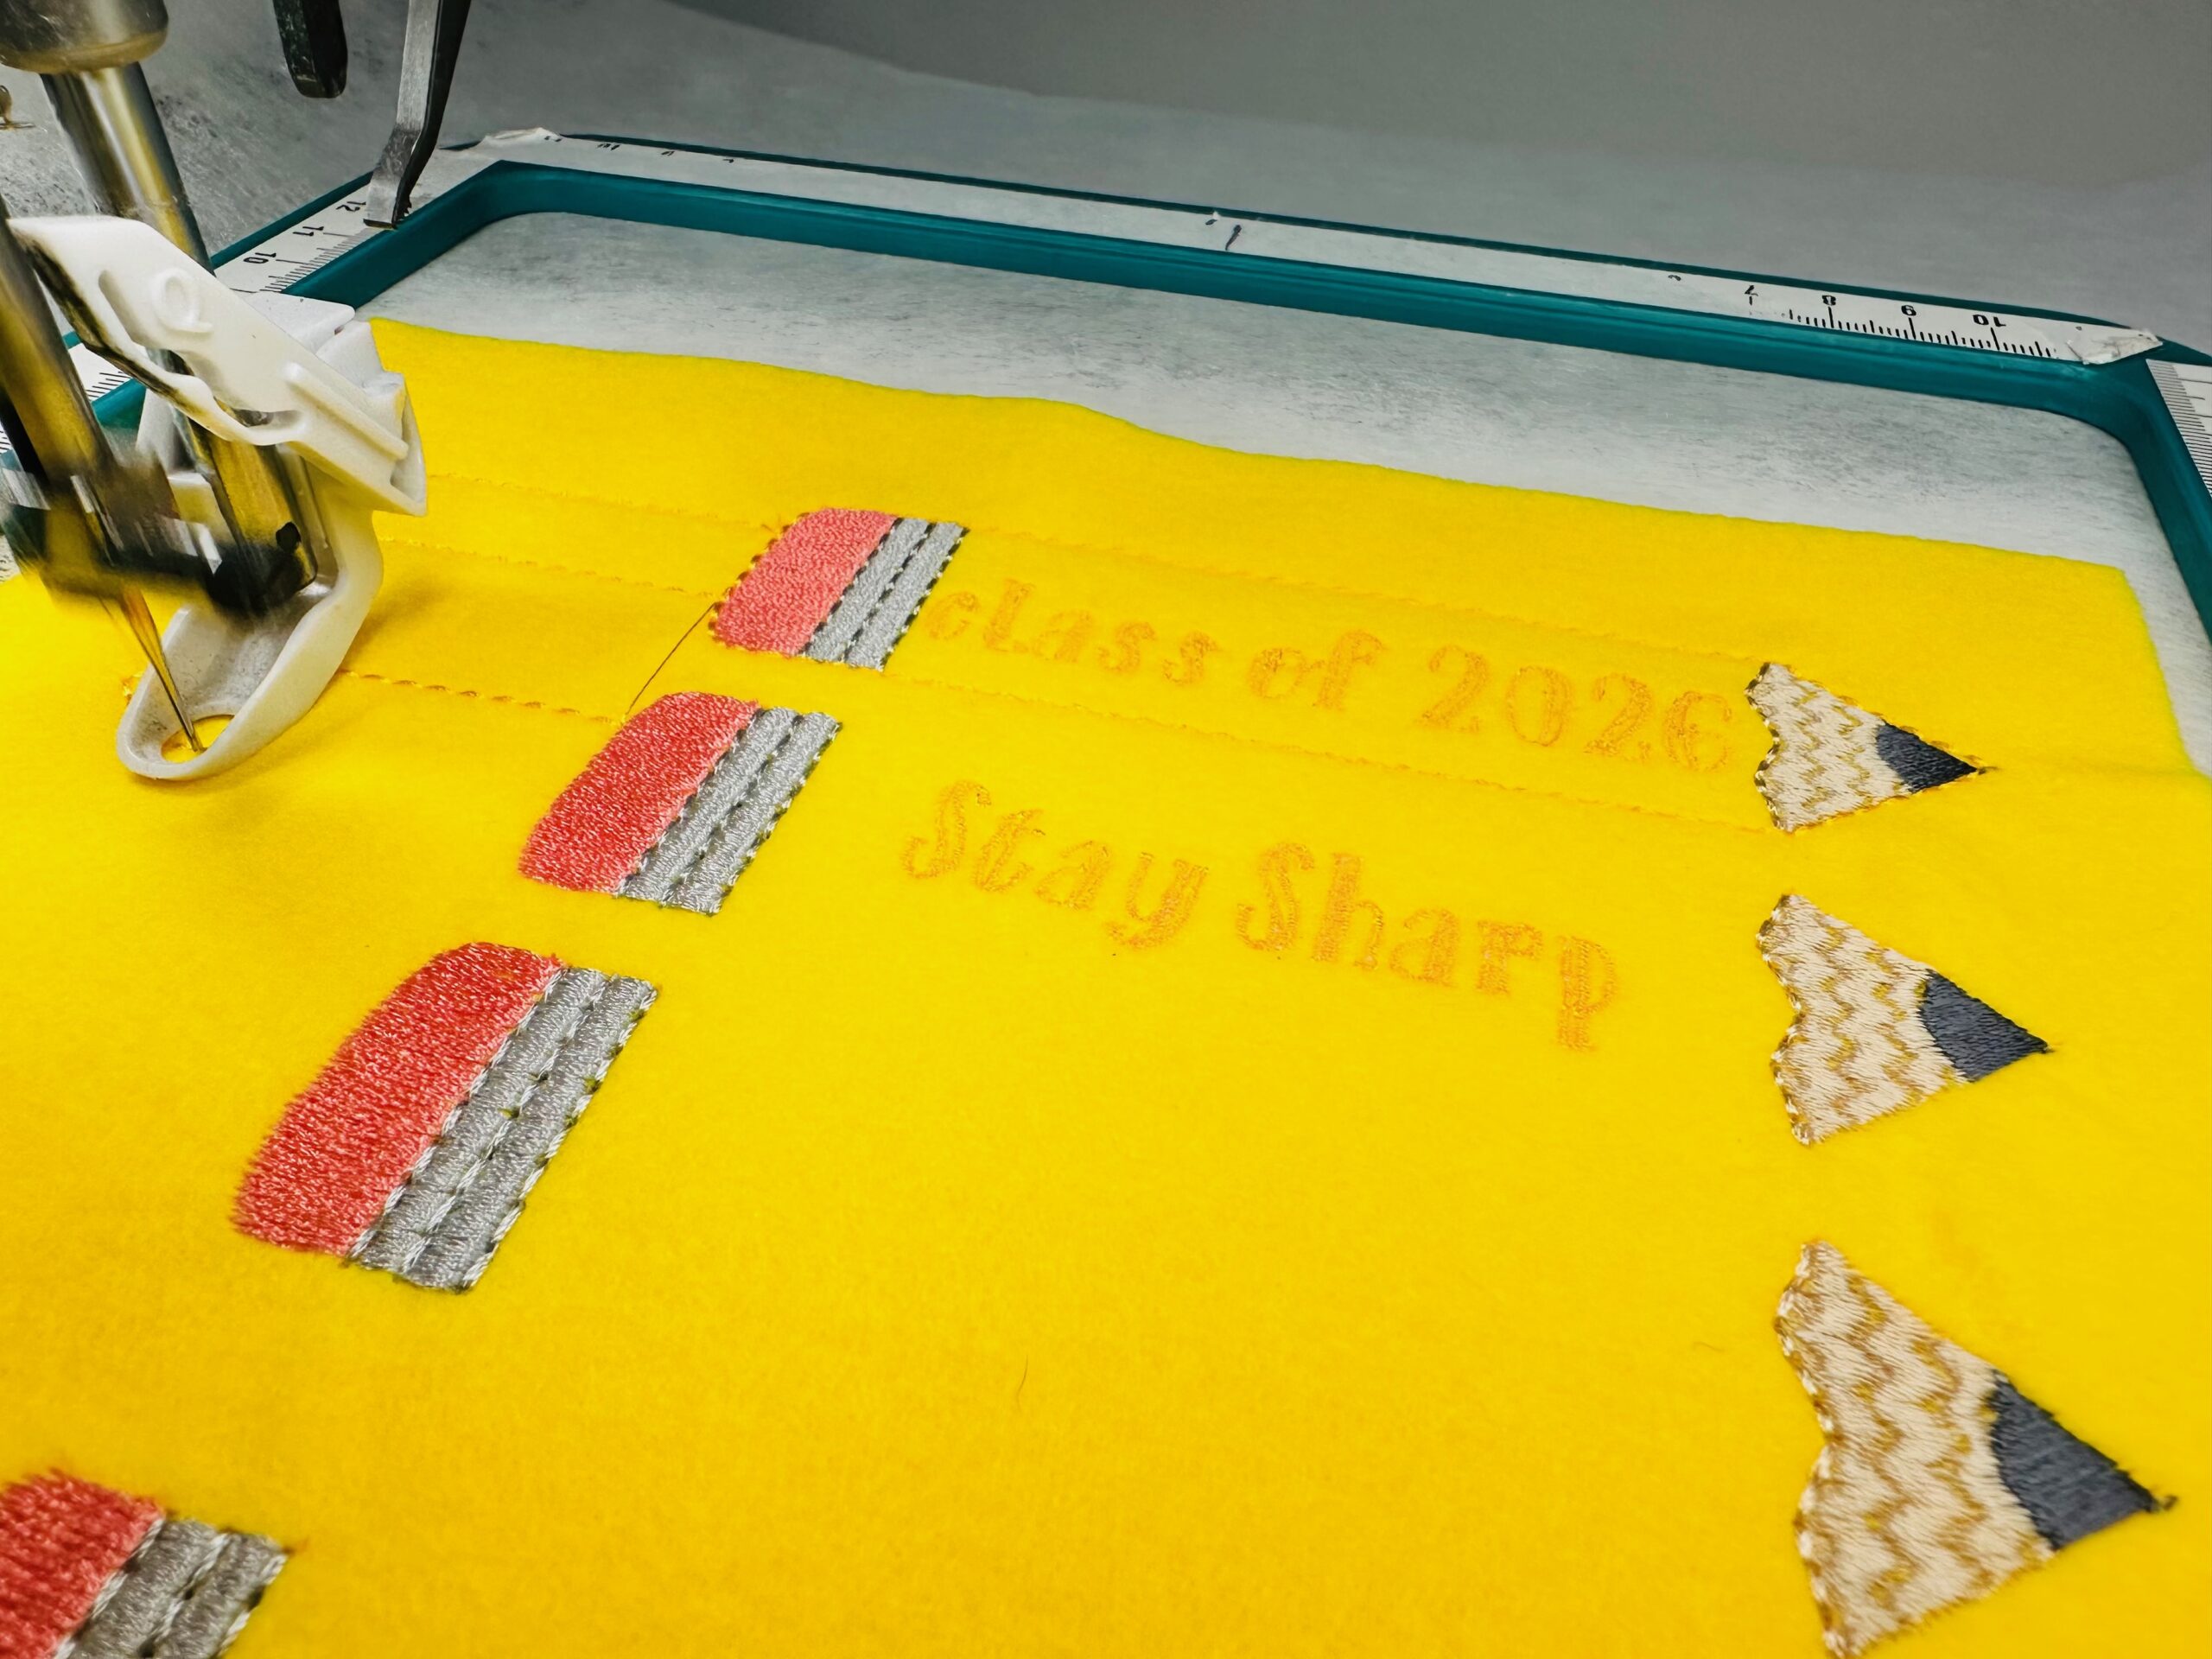
📏 Tip: In a 260x200mm hoop, you can fit up to 6 large teacher tabs, a.k.a. pencil snaptabs—perfect for making one for each of your kids’ teachers!
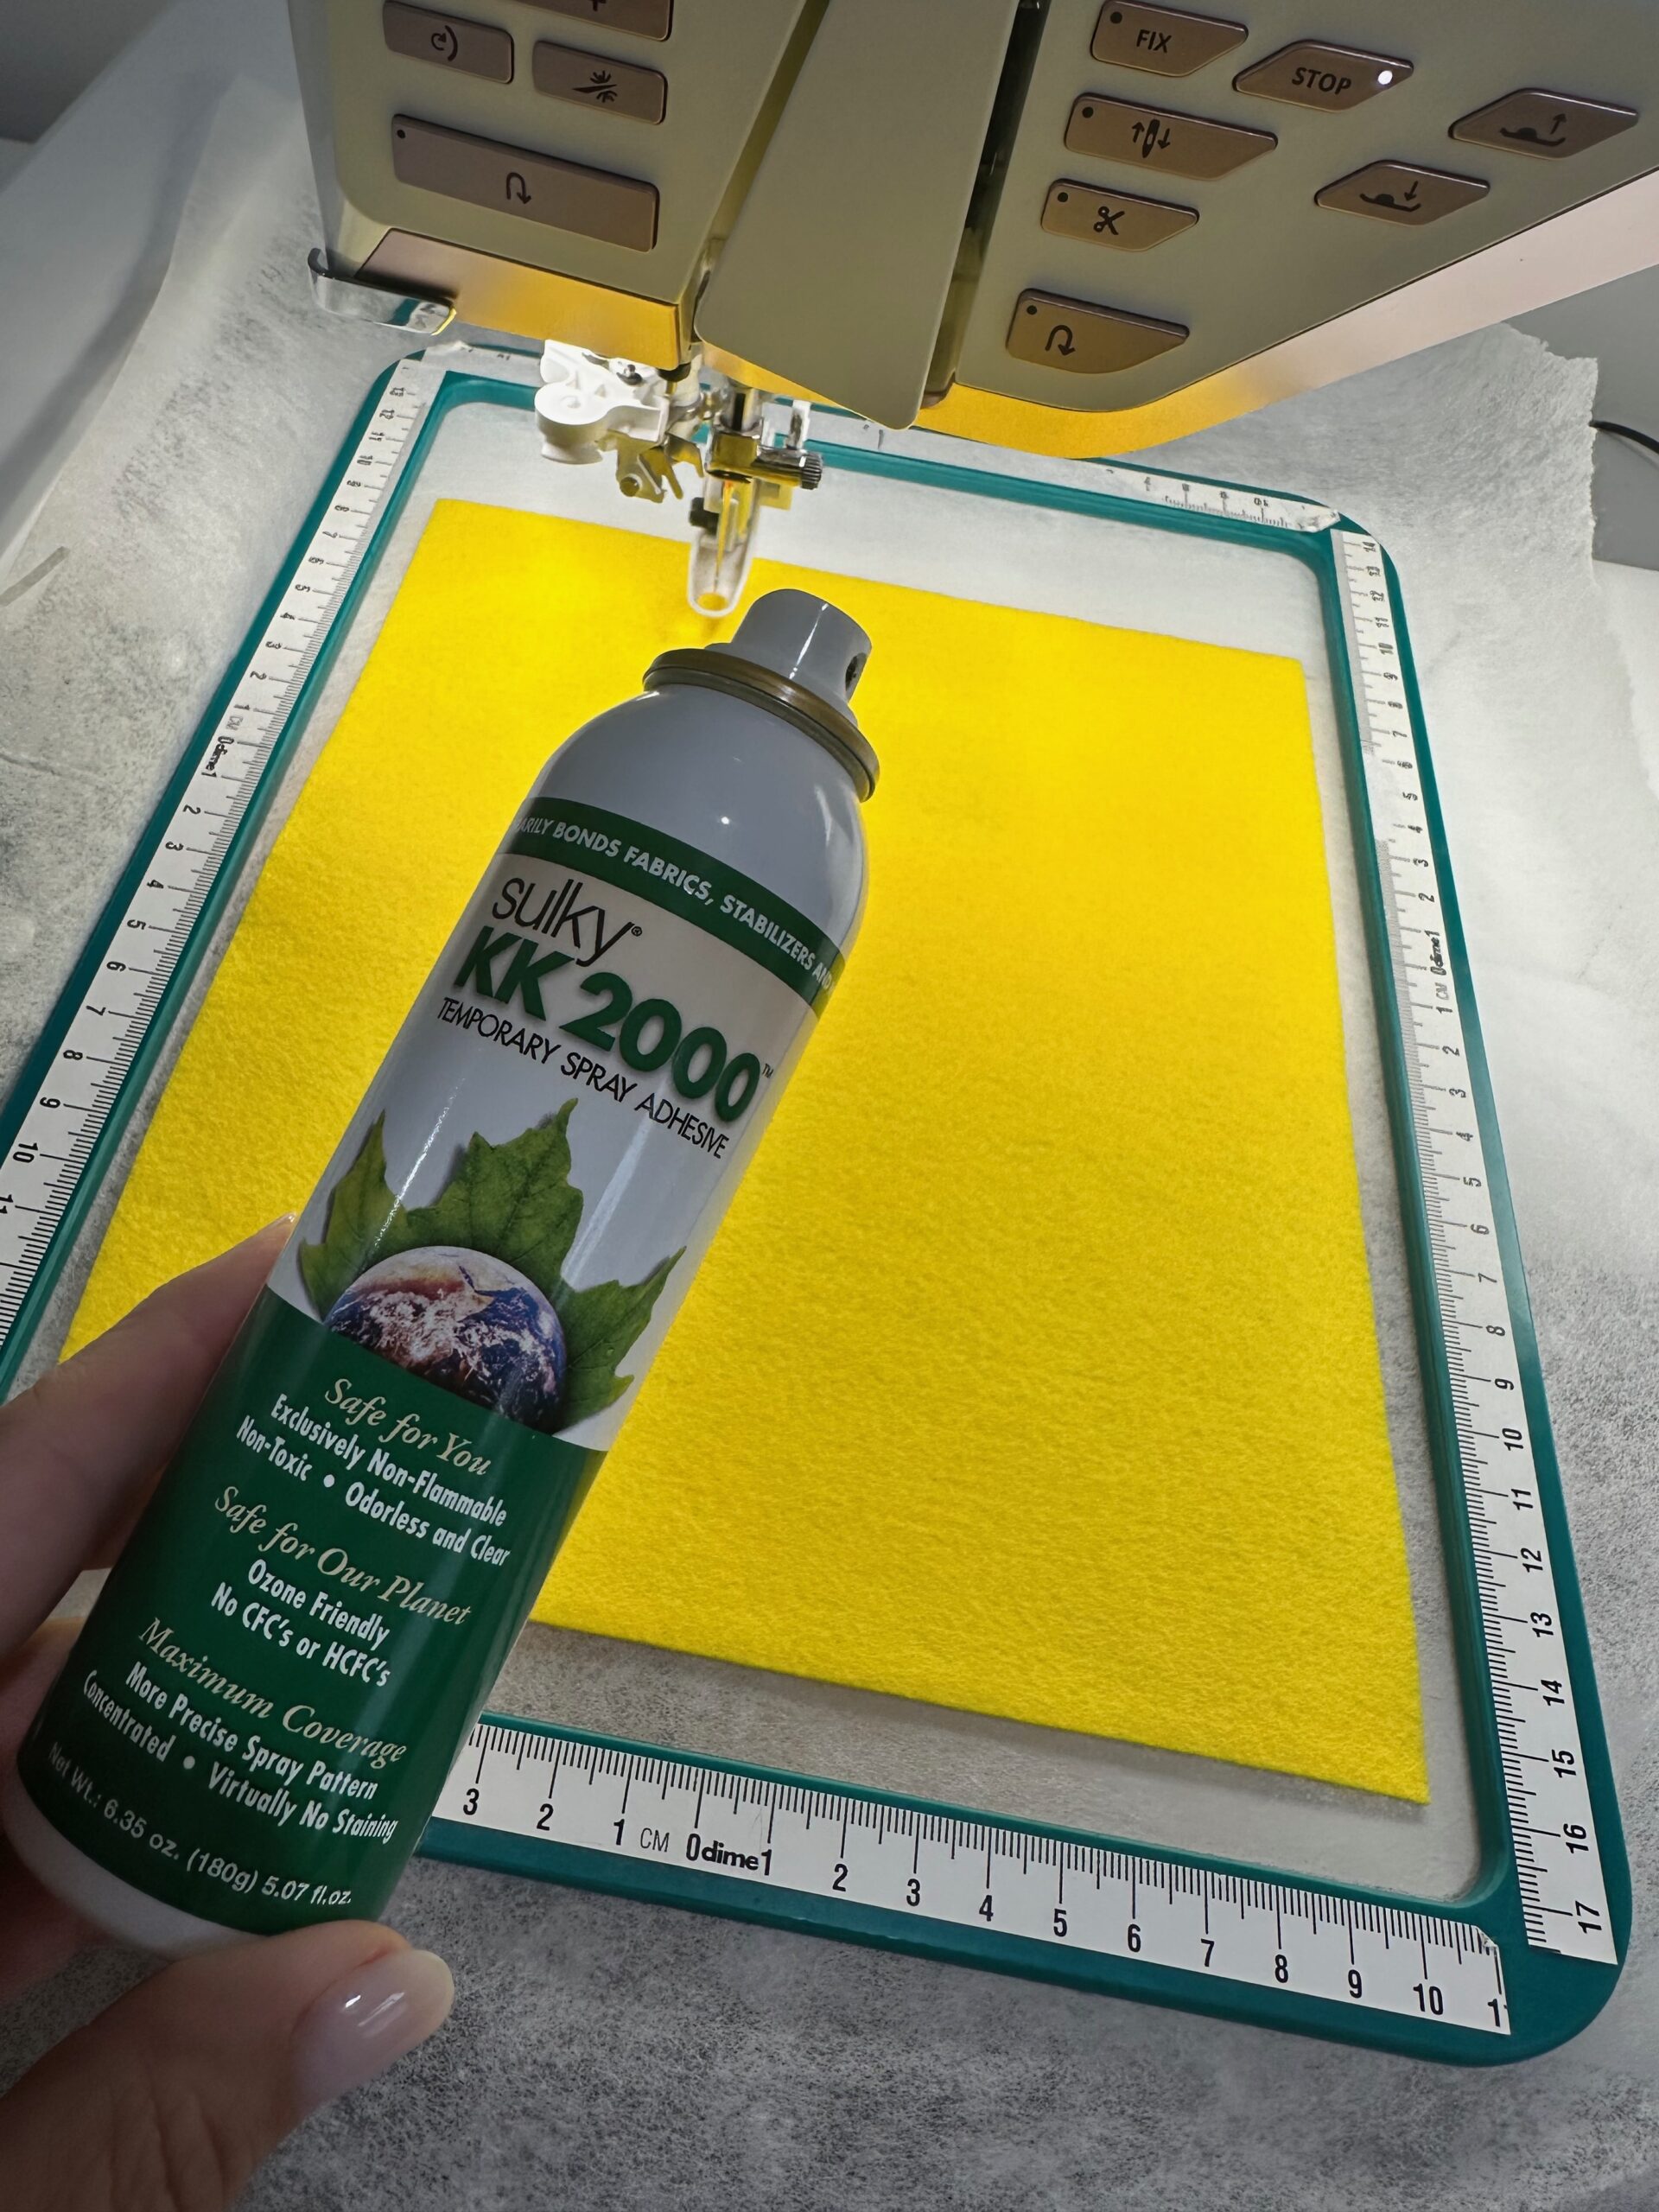
2. Use Sulky KK 2000 to Secure the Felty to the Stabilizer
Once you’ve created your baste outlines, lightly spray the stabilizer with Sulky KK 2000 Temporary Spray Adhesive and place your precut top-layer Felty pieces within the outlines. This ensures everything stays perfectly in place during stitching.
3. Secure the Back Felty Layer with Tape + Spray
After the front stitching is complete and it’s time to secure the back layer, spray the back side of the hoop with KK 2000 and place your matching Felty pieces underneath. Then, add Sulky Clear Embroidery Tape to prevent any shifting during the final stitching steps.
4. Adjust Snap Size for Thicker Materials
If you’re using thicker materials instead of Felty, keep in mind that standard KAM snap posts might be too short. Opt for the longer post version to ensure your snaptabs close securely.
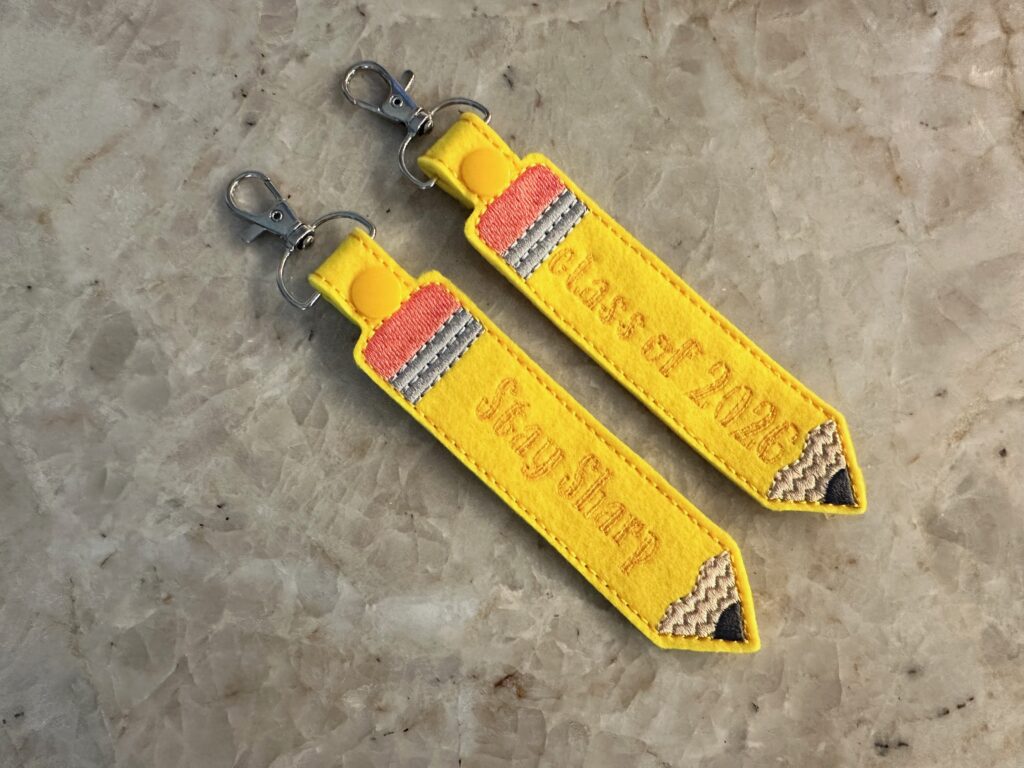
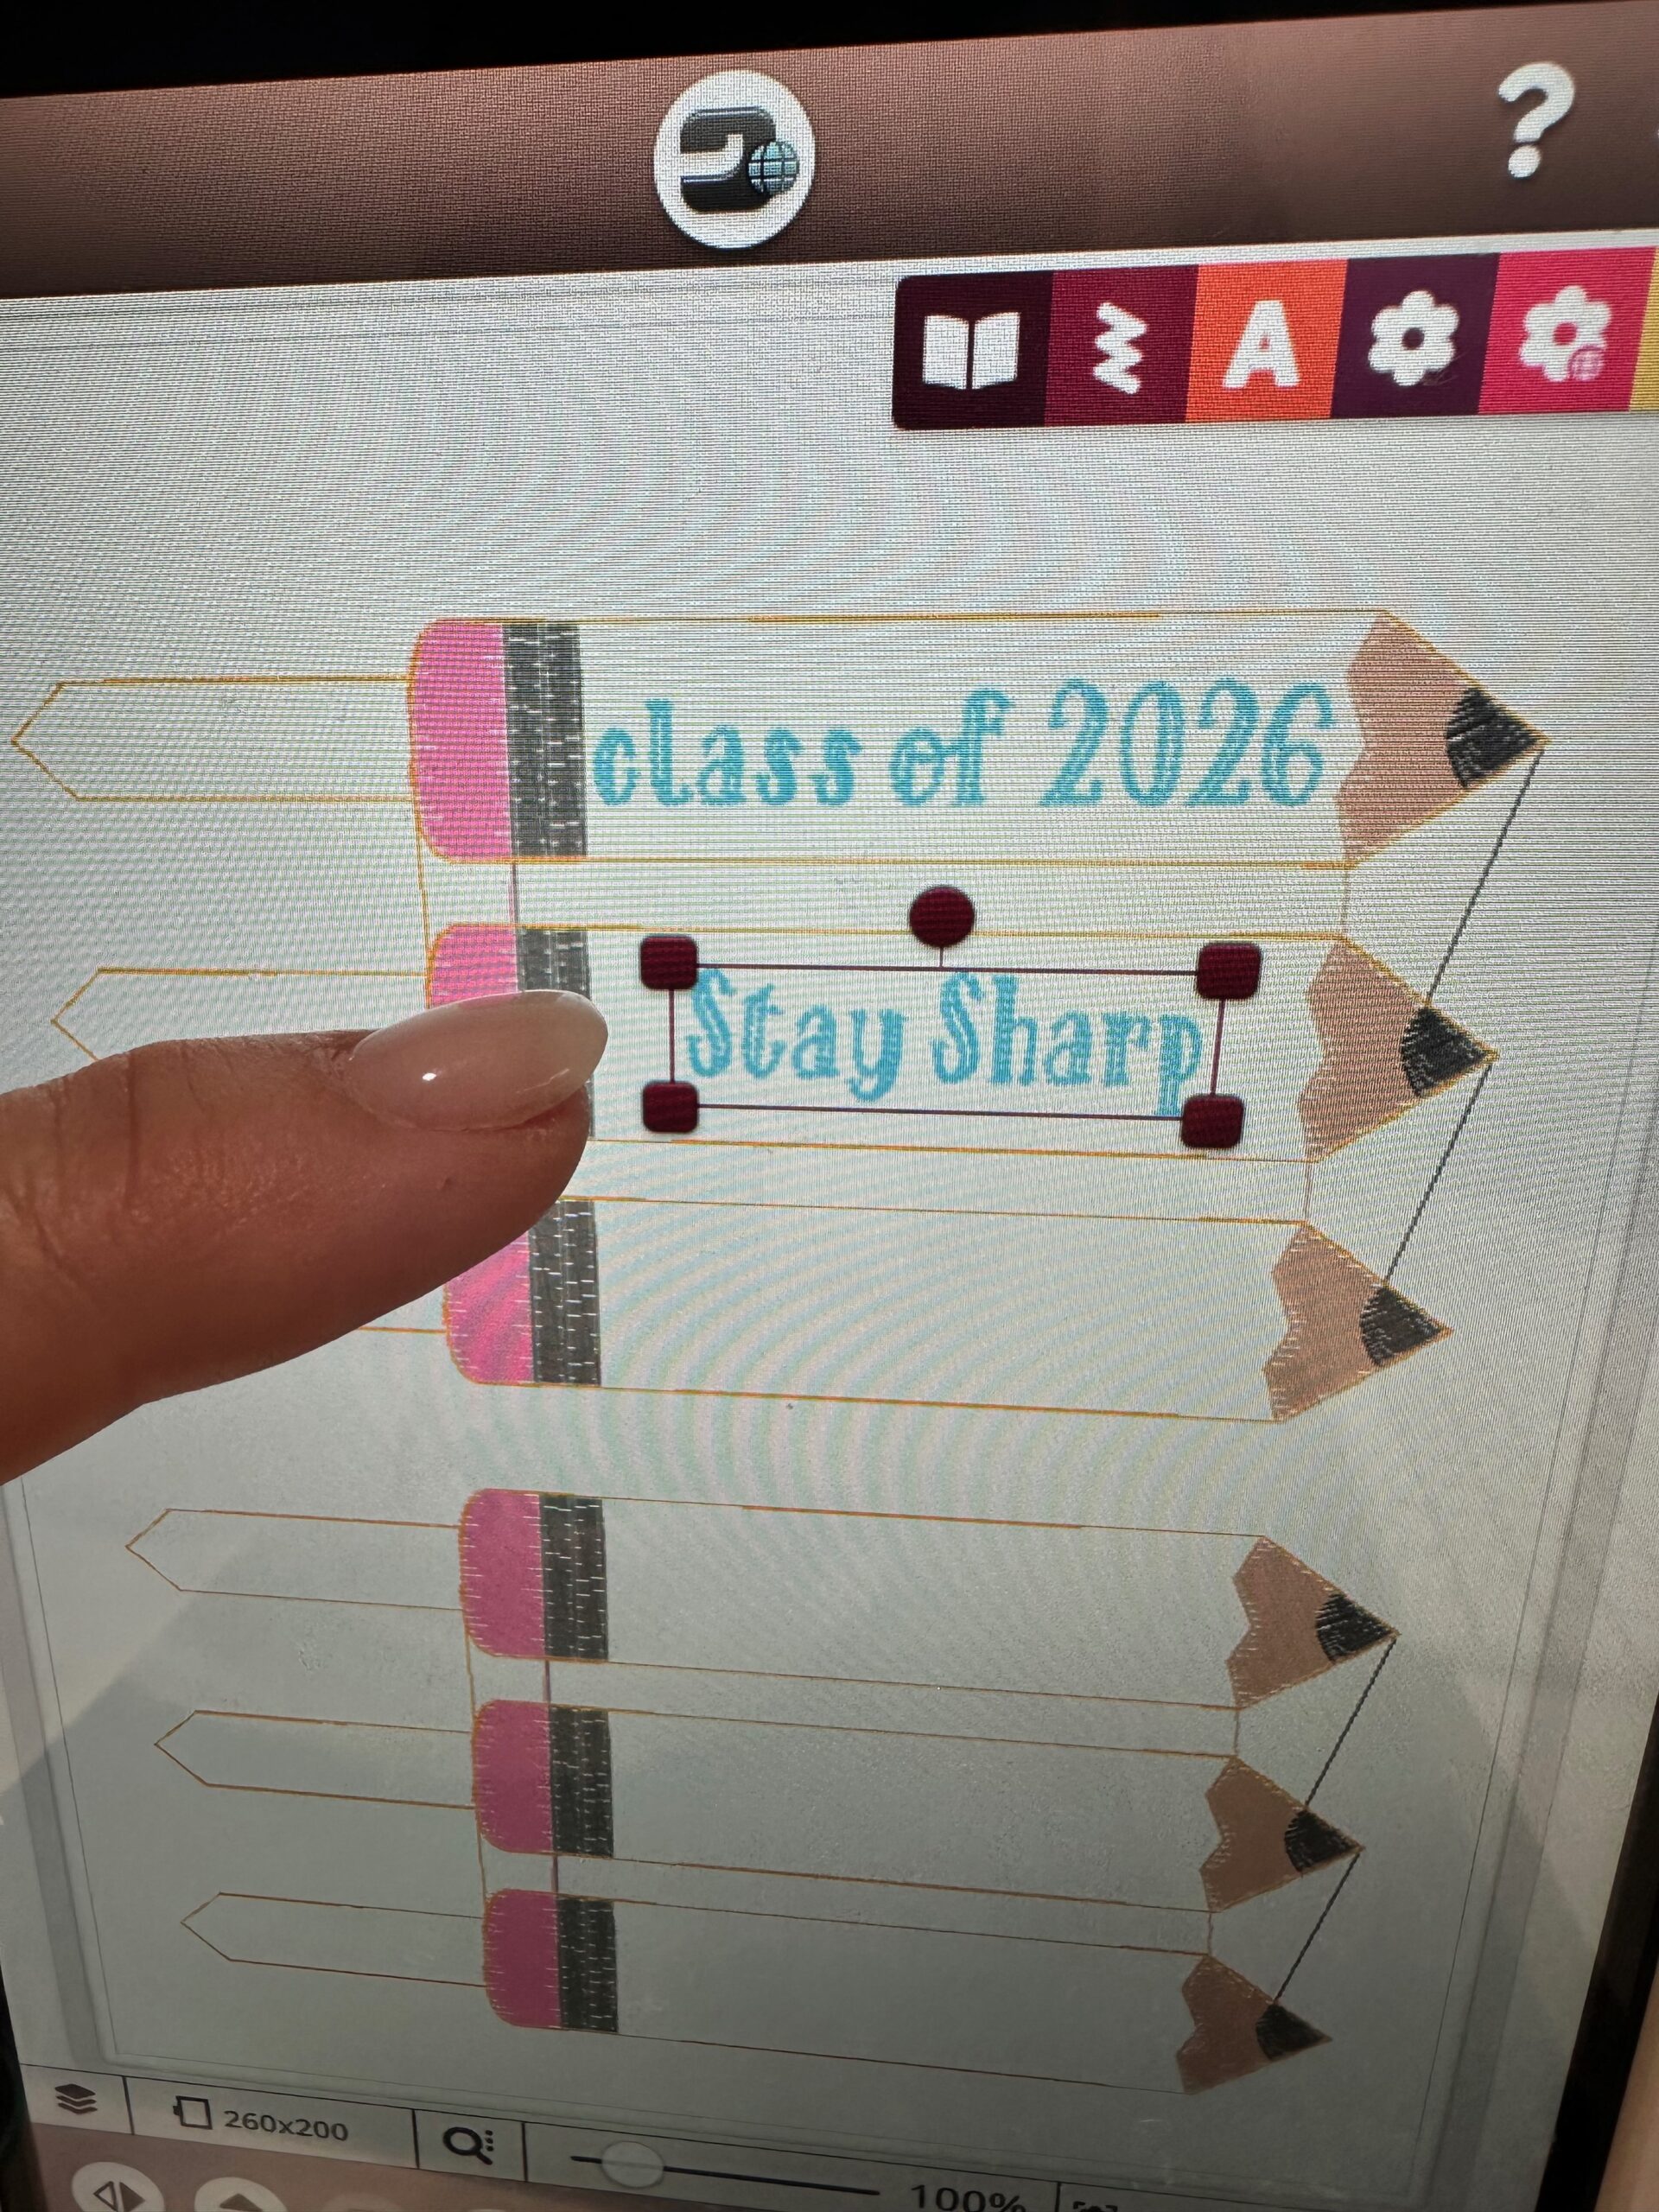
5. Personalize the Pencils—or Keep Them Classic
Customize each snaptab with a teacher’s name, the school name or a simple “Thanks!” using a font no larger than ¾” tall to fit within the design. Or skip the personalization and let the fun pencil design speak for itself!
Shop Sulky for All Your Snaptab Essentials
Head to sulky.com to stock up on Felty, Tear-Easy, Rayon Thread, KK 2000, and Clear Embroidery Tape—all the essentials for making these adorable snaptabs a back-to-school hit!
Bonus Idea: Bundle a pencil snaptab with a gift card or attach it to a tote for an extra thoughtful teacher gift.
Happy stitching, and may your first-day gifts be the envy of every parent in the pickup line! ✏️💛