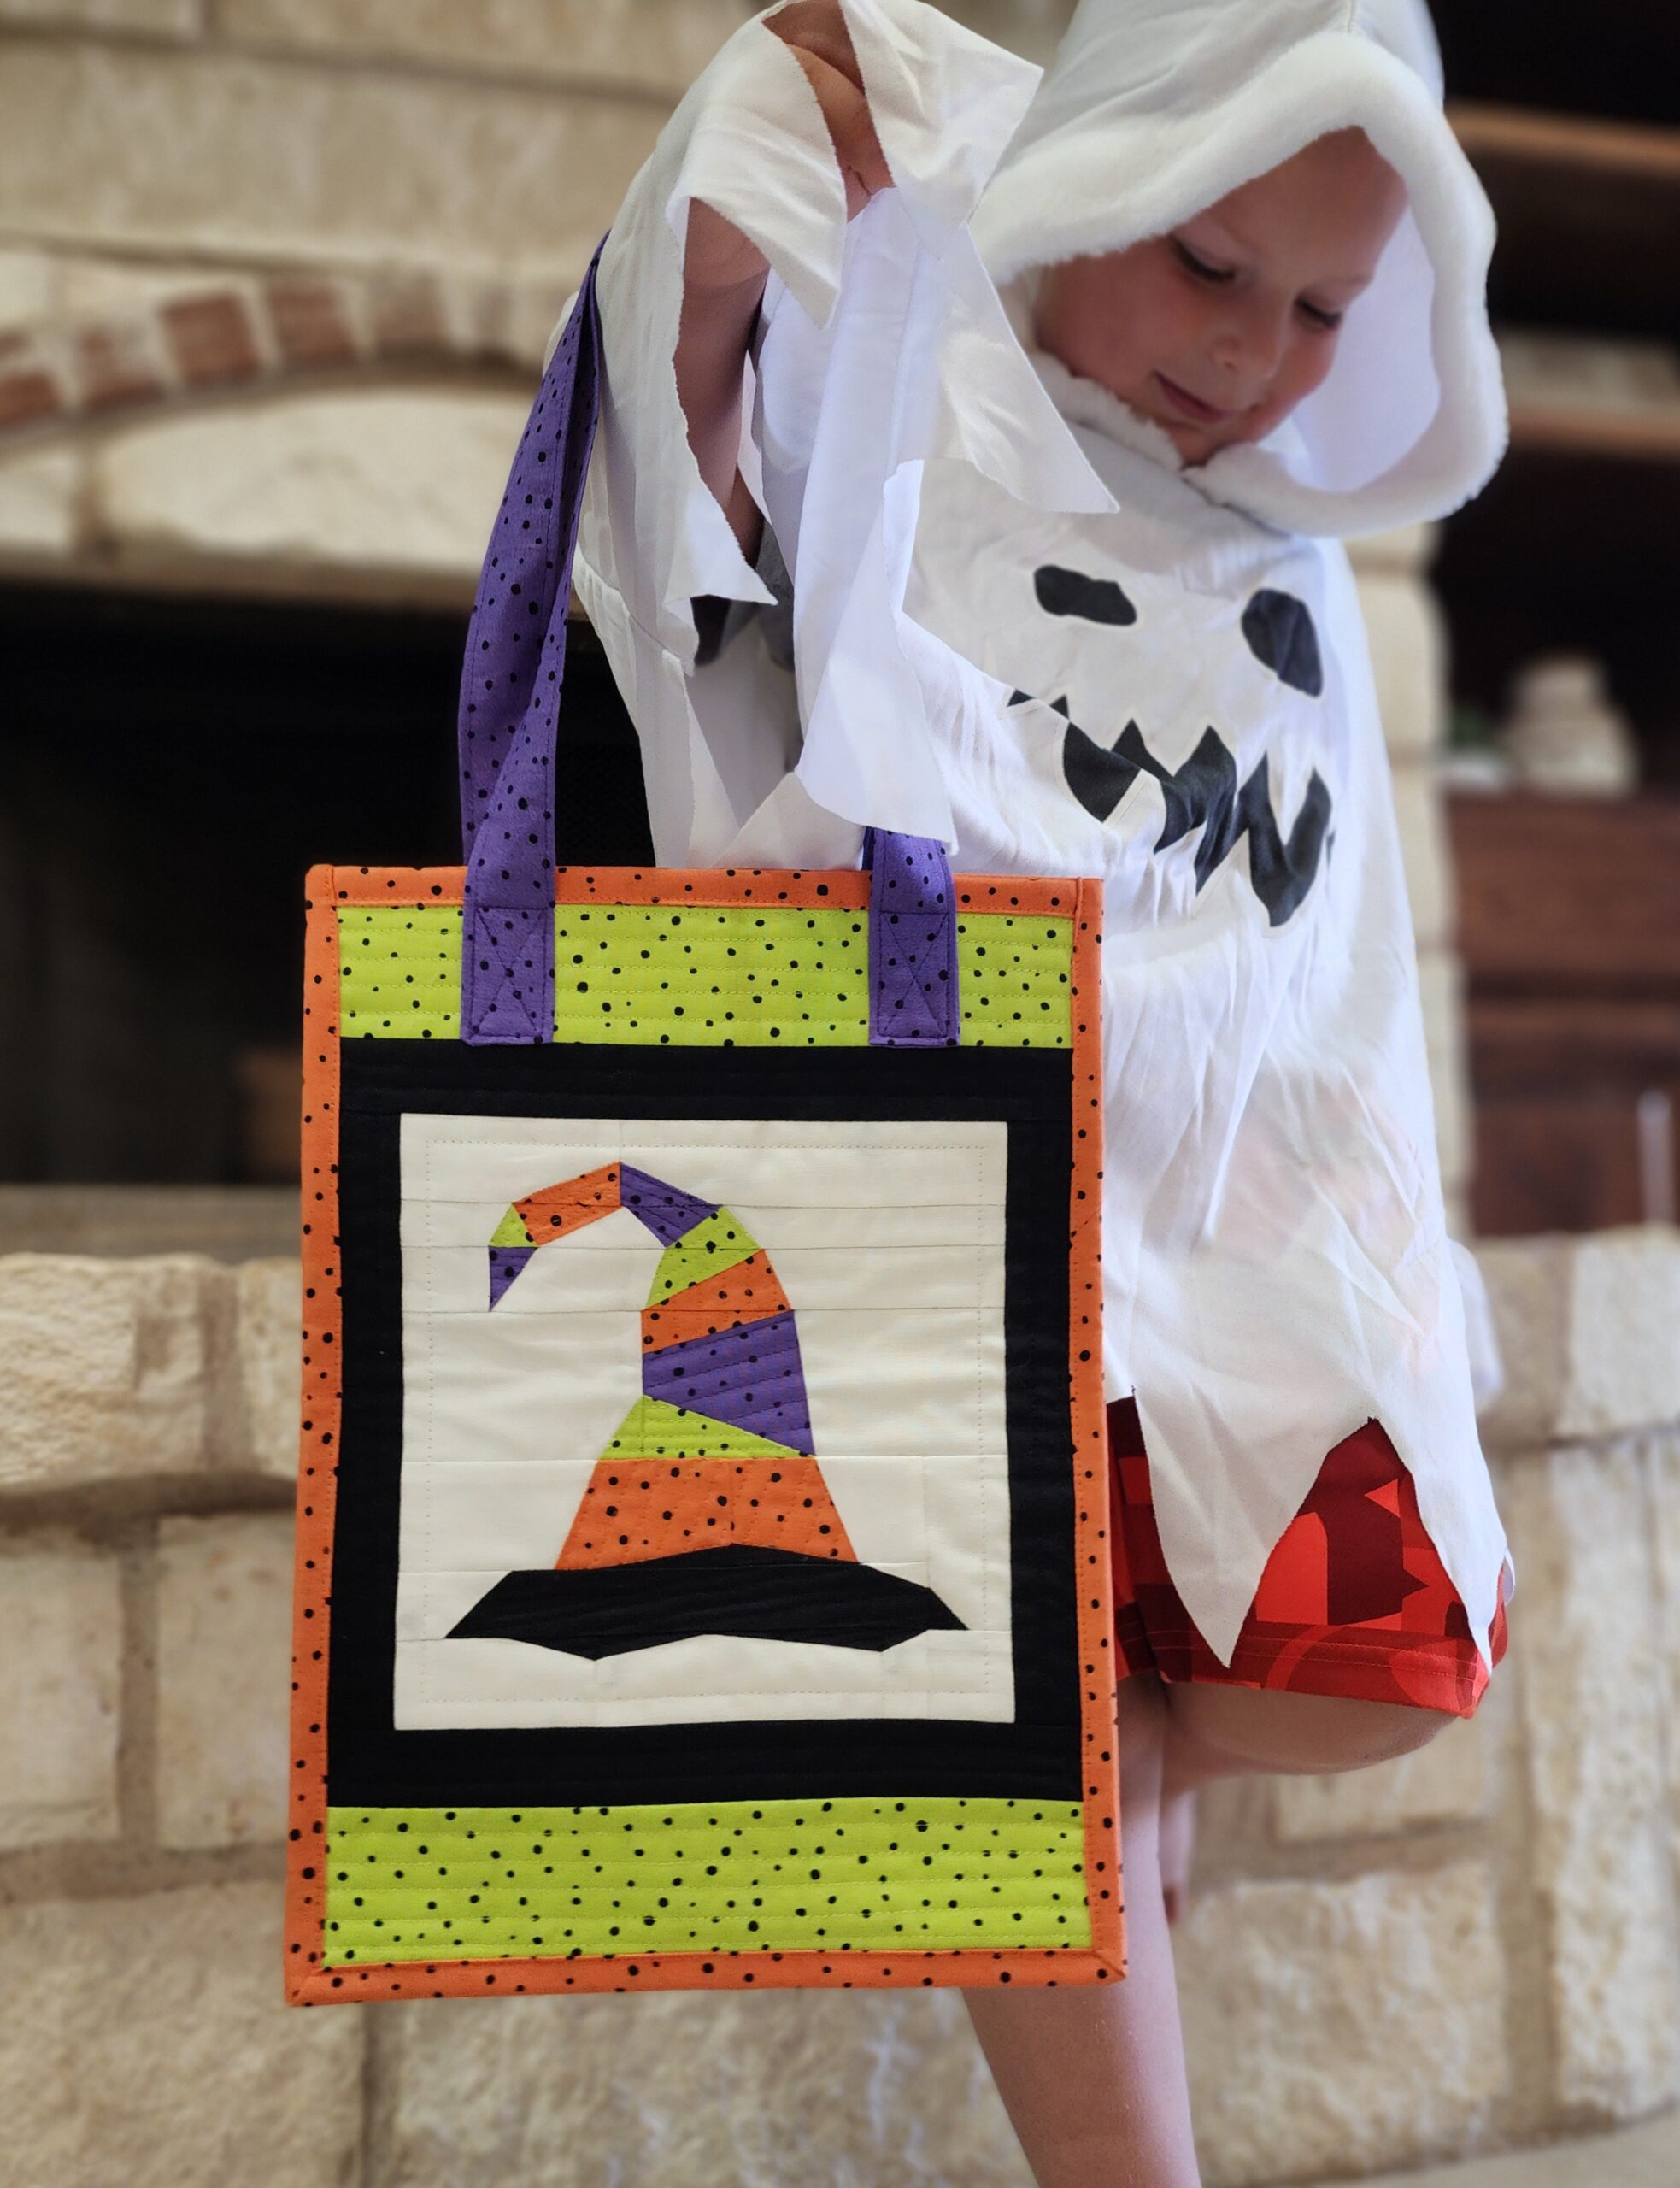
Witch Tote + Treat Bag
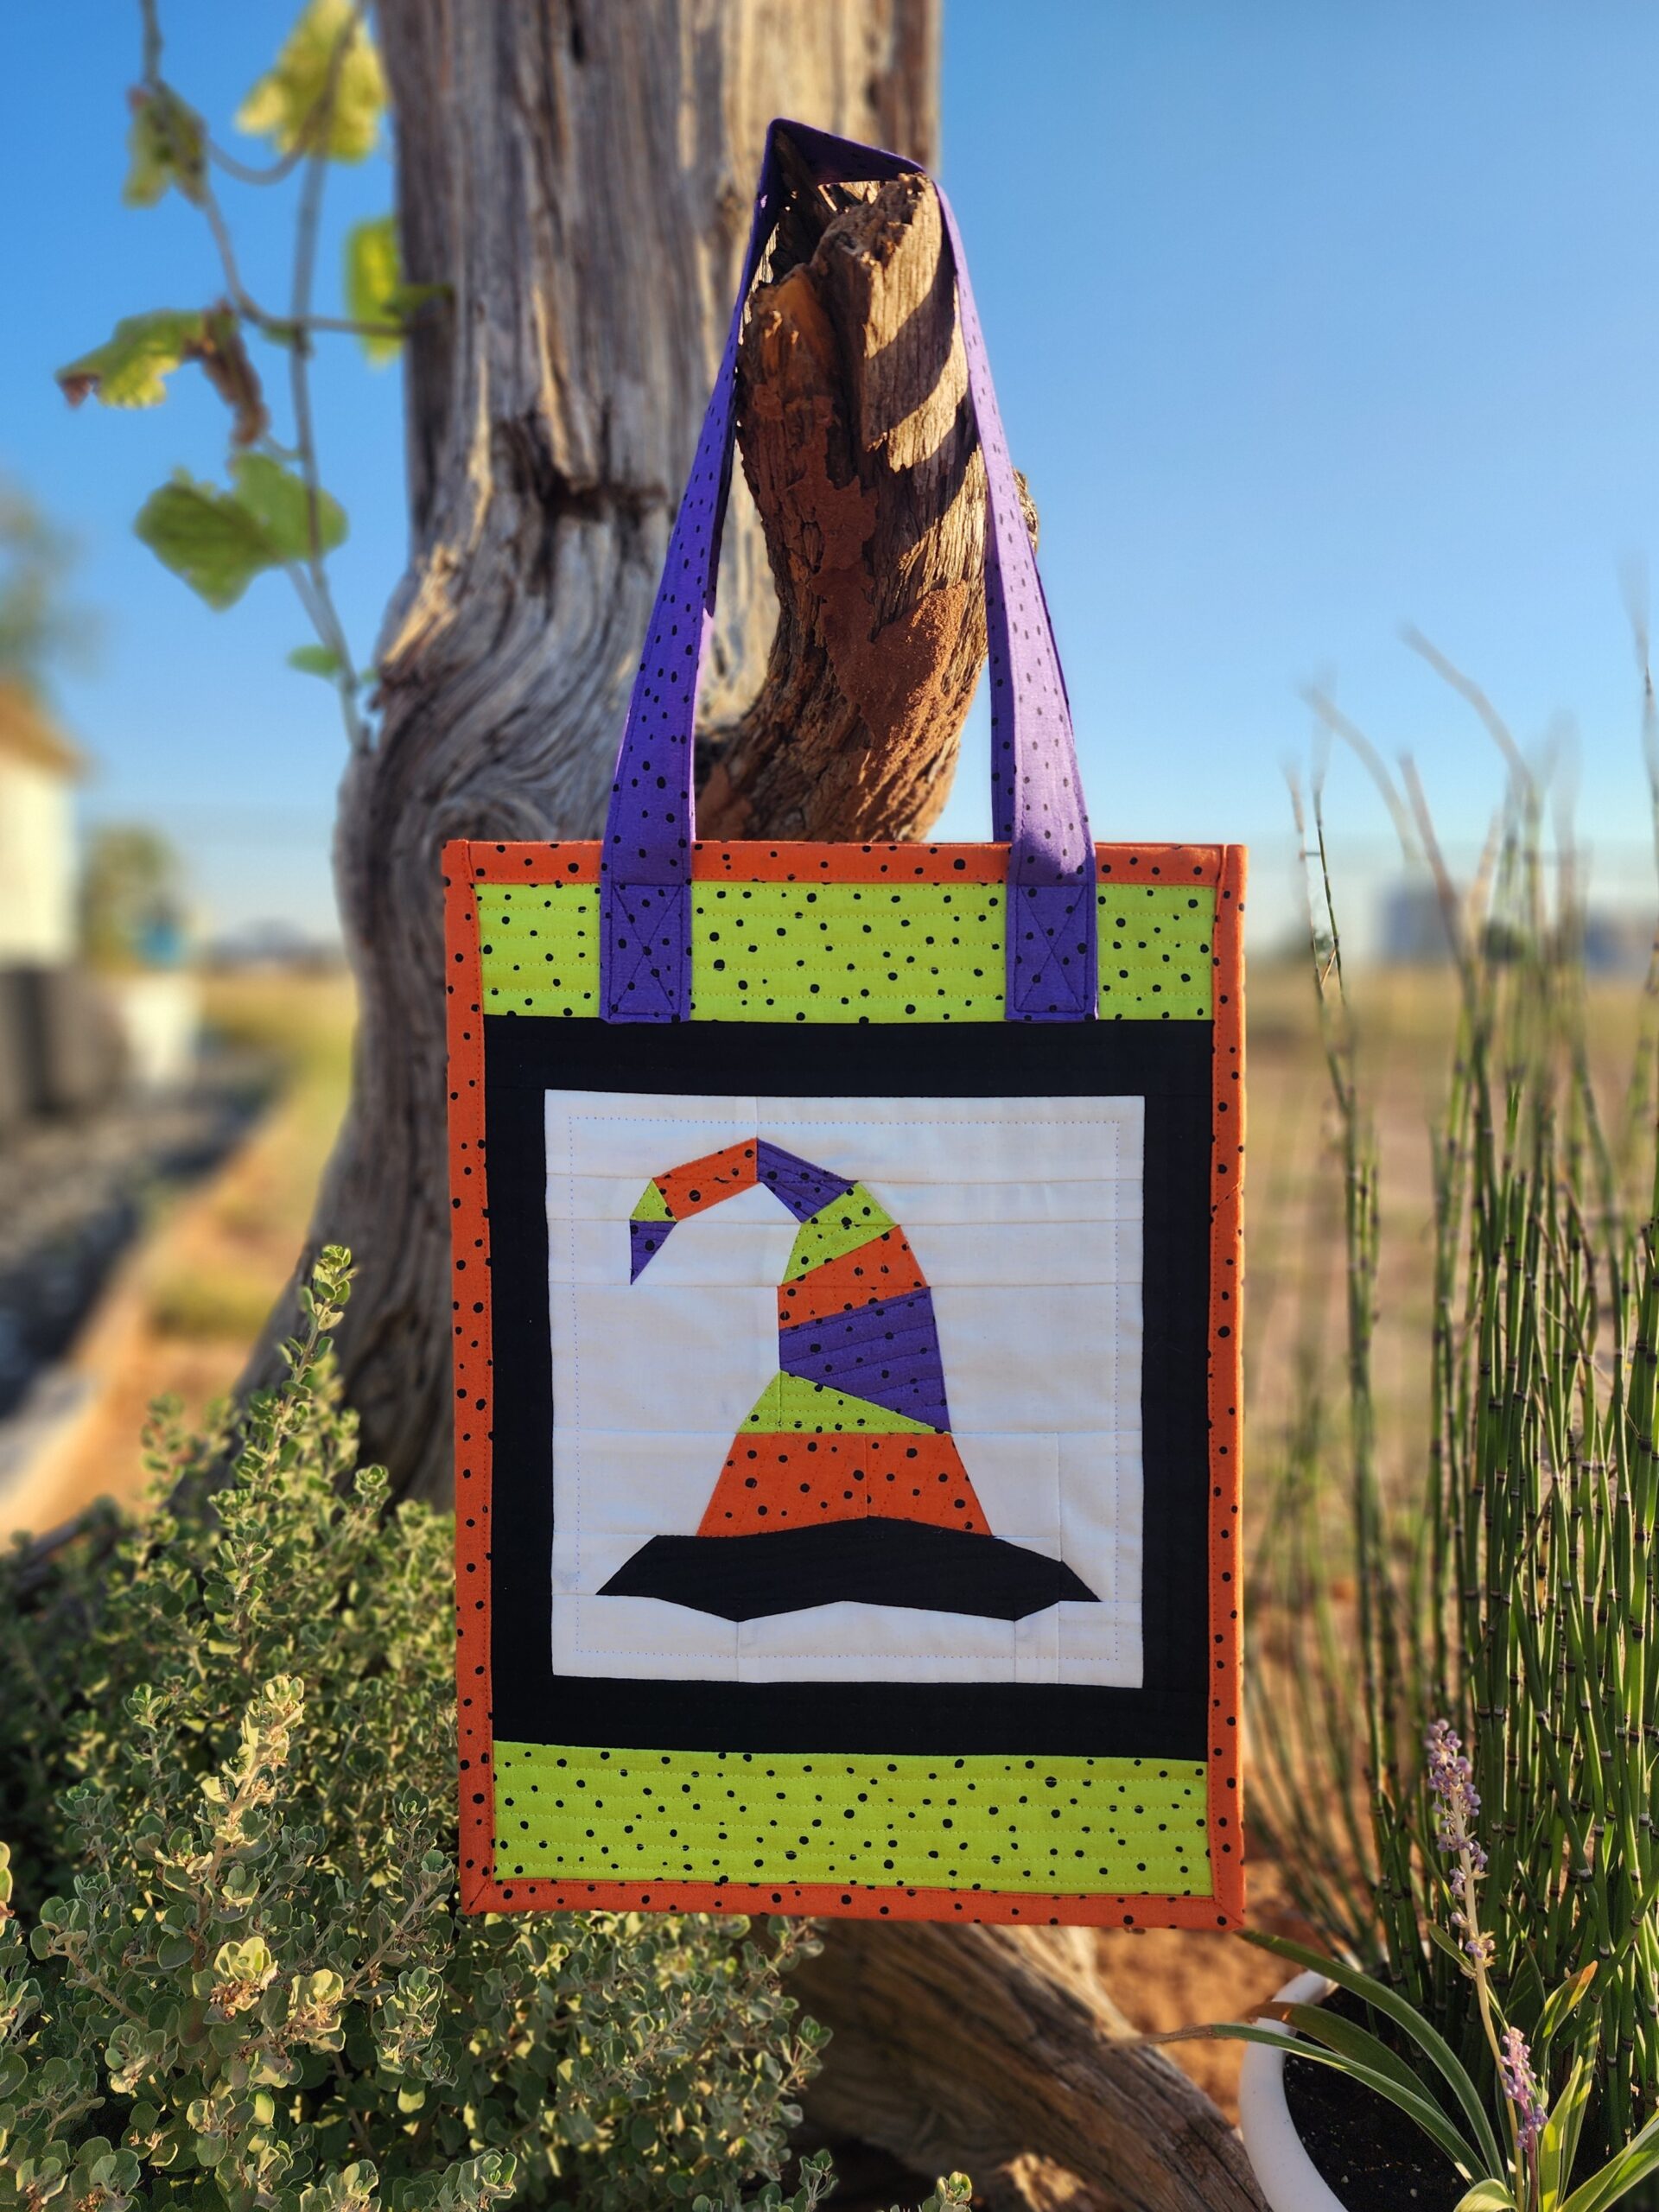
Halloween Witch Tote – From Mug Rug to Spooky Carryall
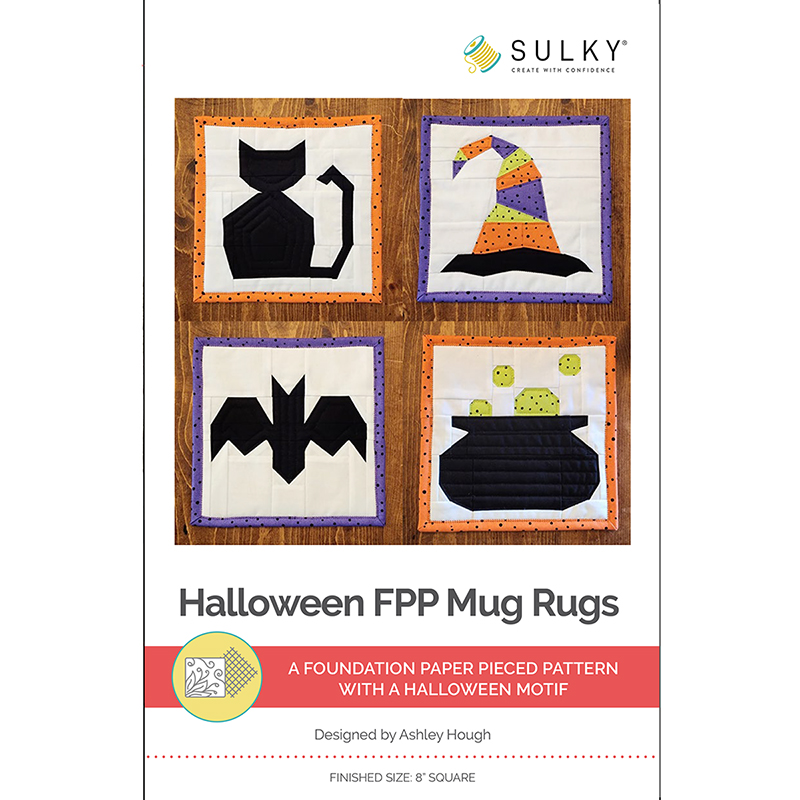
The Sulky Halloween FPP Mug Rugs Digital Pattern Collection is perfect for creating festive coasters — but why stop there? With a few extra steps and some added fabric, you can transform one of these adorable pieced blocks into a fully functional Halloween Witch Tote or Trick-or-Treat Bag! This quick project is great for showcasing your foundation paper piecing skills while creating something useful for candy gathering or fall festivities.
WITCH HAT TOTE SUPPLIES
-
(1) pieced 8 ½” FPP Halloween Mug Rug block (from this pattern collection)
- Sulky Paper Solvy™ Printable FPP Sheets
-
(1) 12” x 16” rectangle of low-loft batting
-
(1) 13” x 17” rectangle of cotton fabric for quilting the bag front backing
-
(1) 10 ½” x 14 ½” rectangle of canvas fabric for the bag back
-
(2) 3” x 24” strips of purple fabric (handles)
-
(2) 2 ½” x 10 ½” strips of green fabric (outer borders)
-
(2) 1 ½” x 8 ½” strips of black fabric (inner side borders)
-
(2) 1 ½” x 10 ½” strips of black fabric (inner top & bottom borders)
-
(1) 60” strip of 2 ¼” French fold binding
-
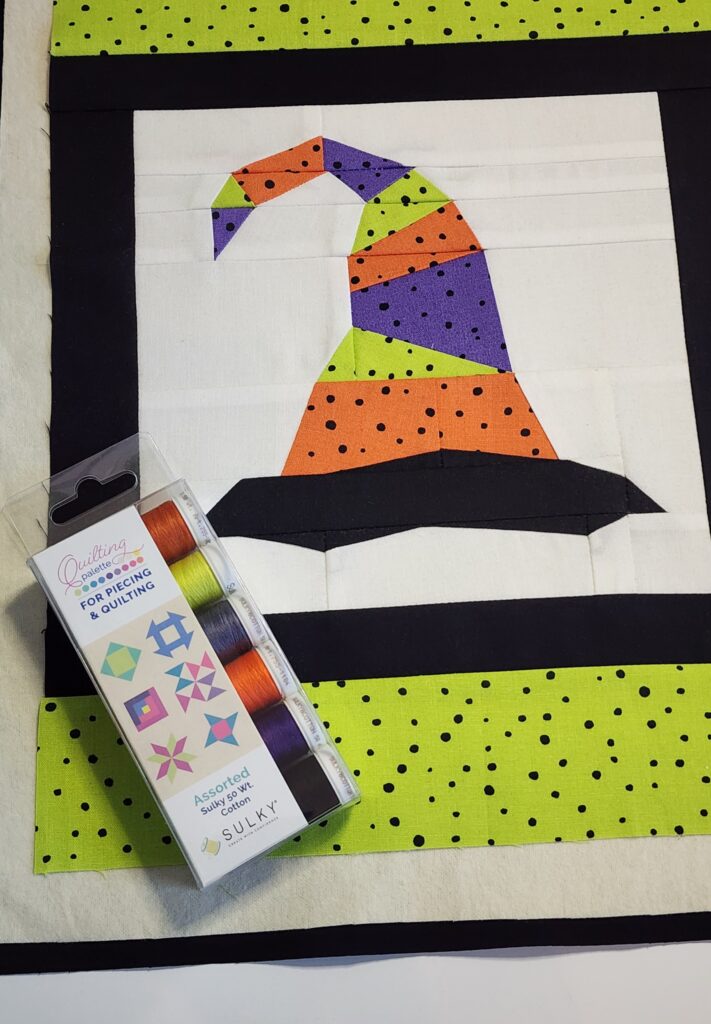
Sulky 50 wt. Cotton Thread for piecing & quilting (choose the Halloween Haunt Thread Assortment to have six Halloween-themed colors to choose from)
-
Optional: Sulky KK 2000™ Temporary Spray Adhesive
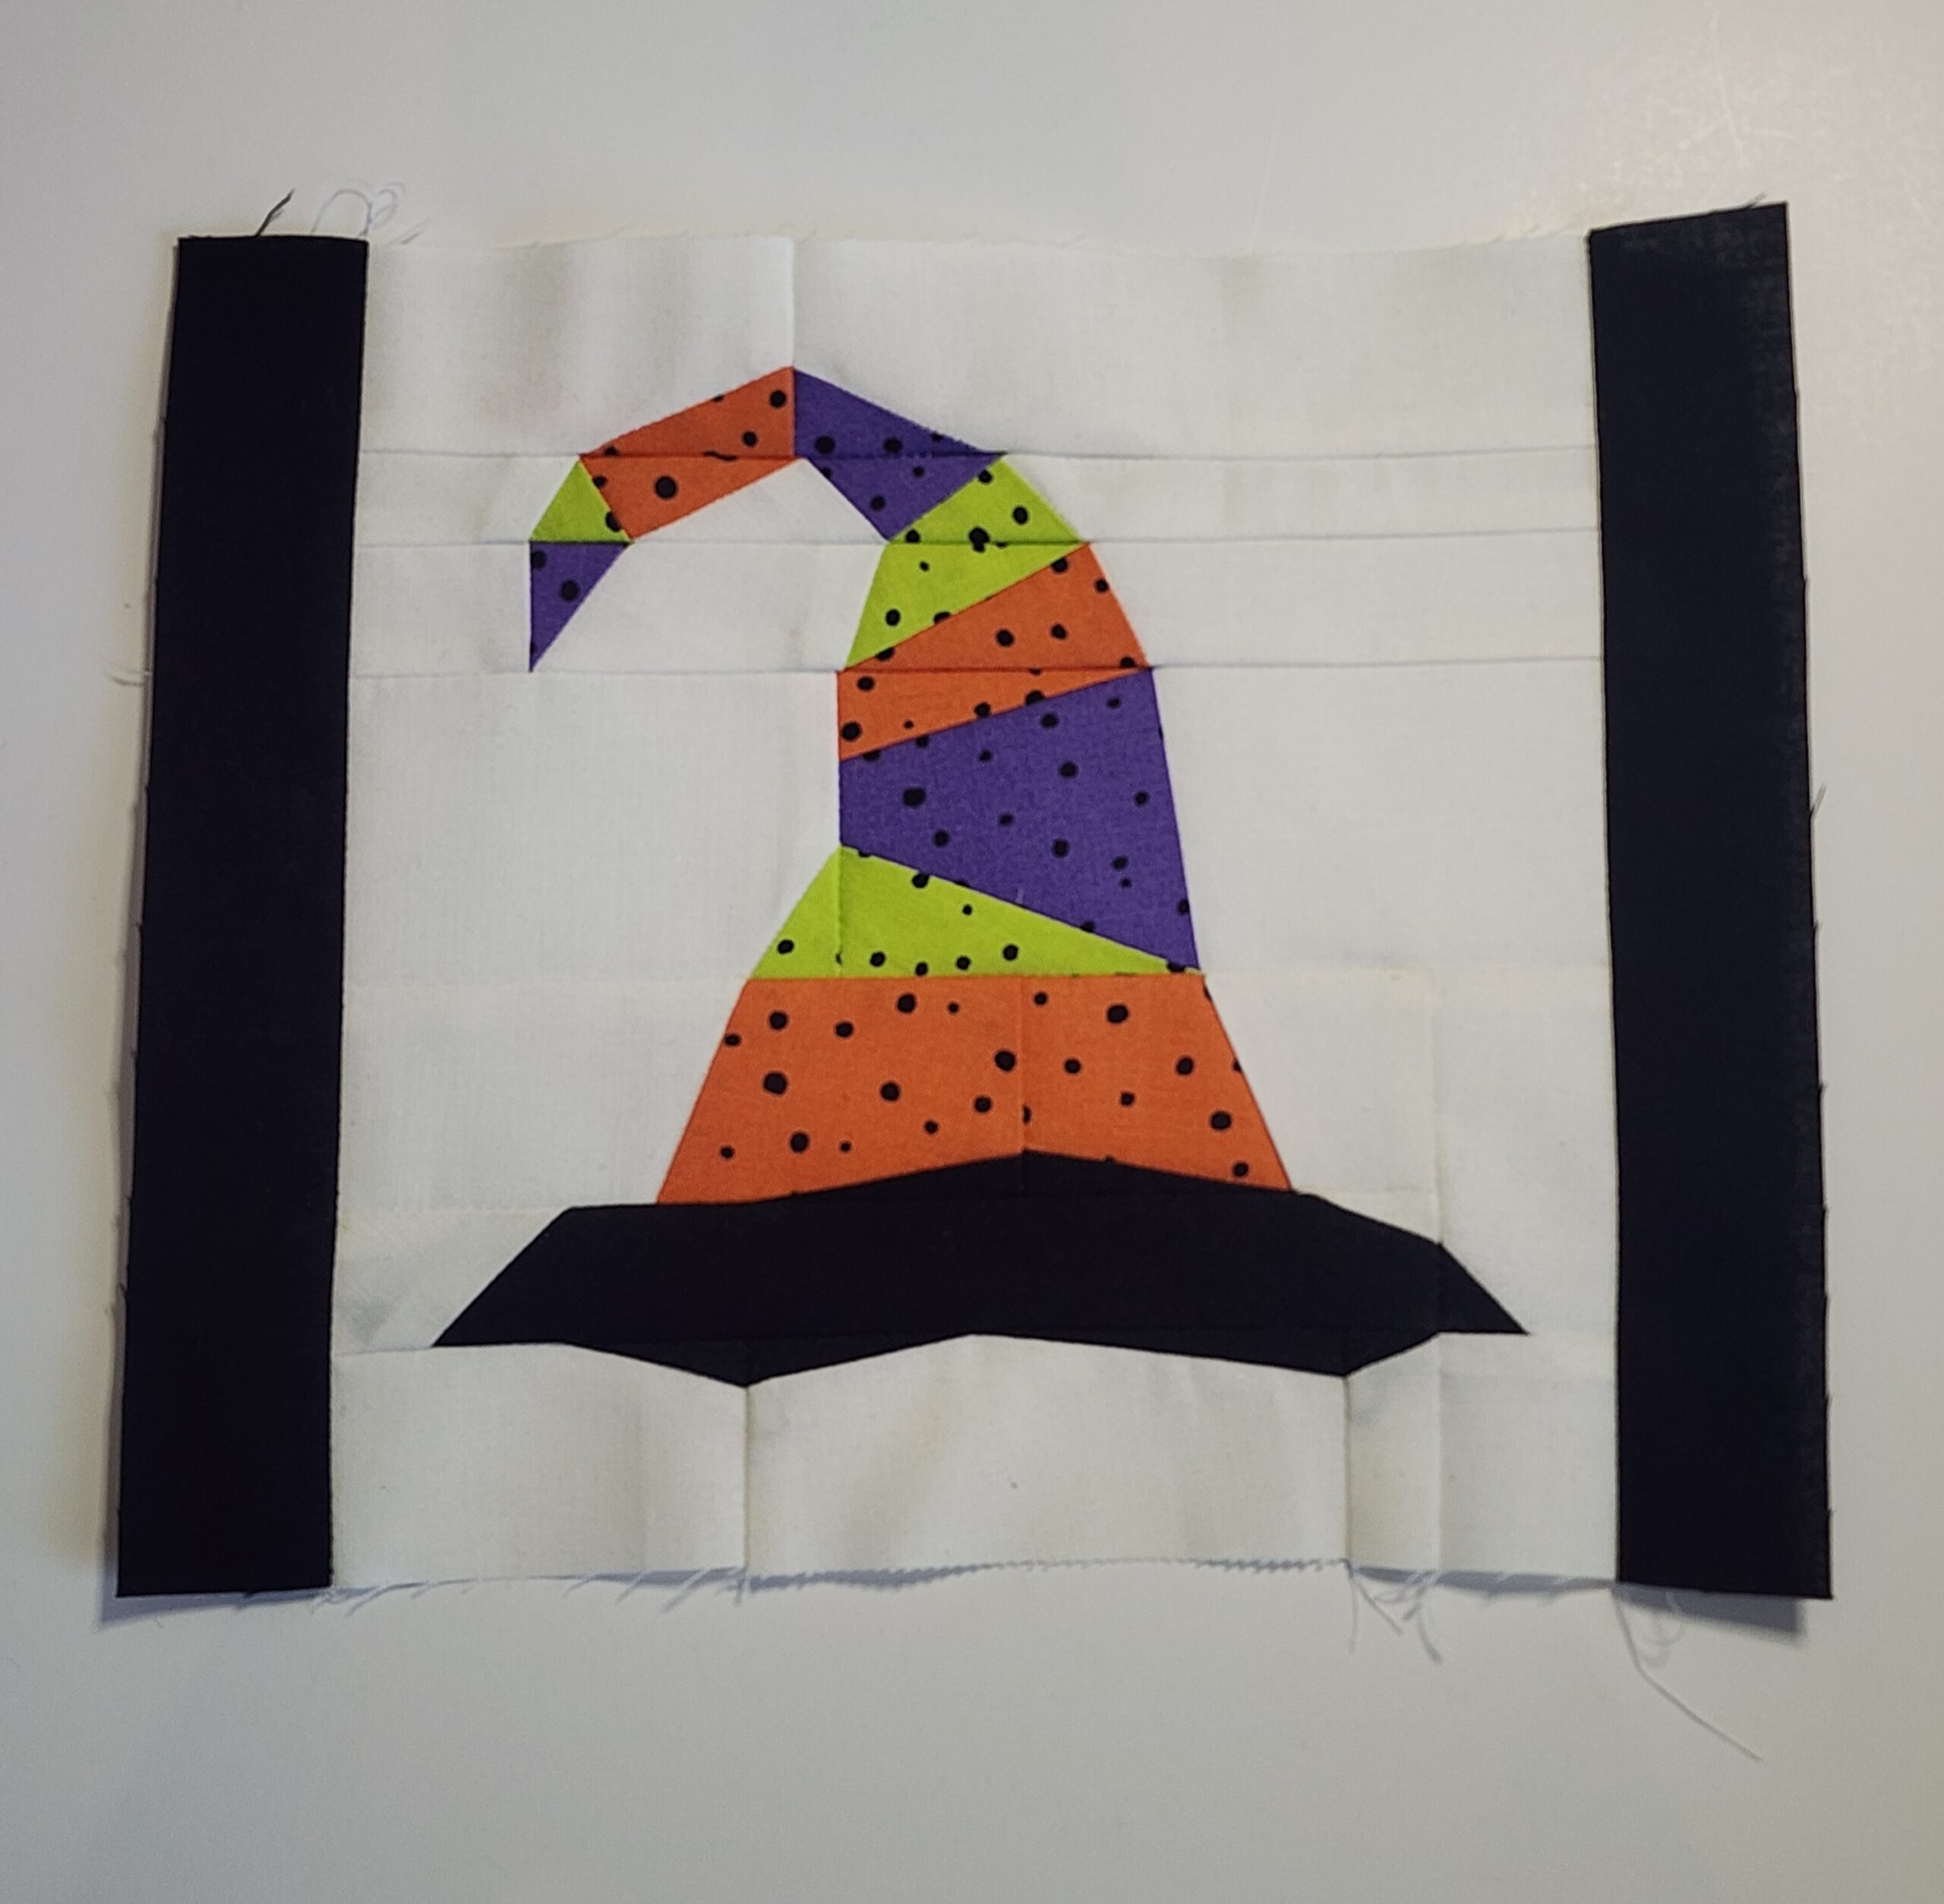
CUTTING & PIECING WITCH TOTE FRONT
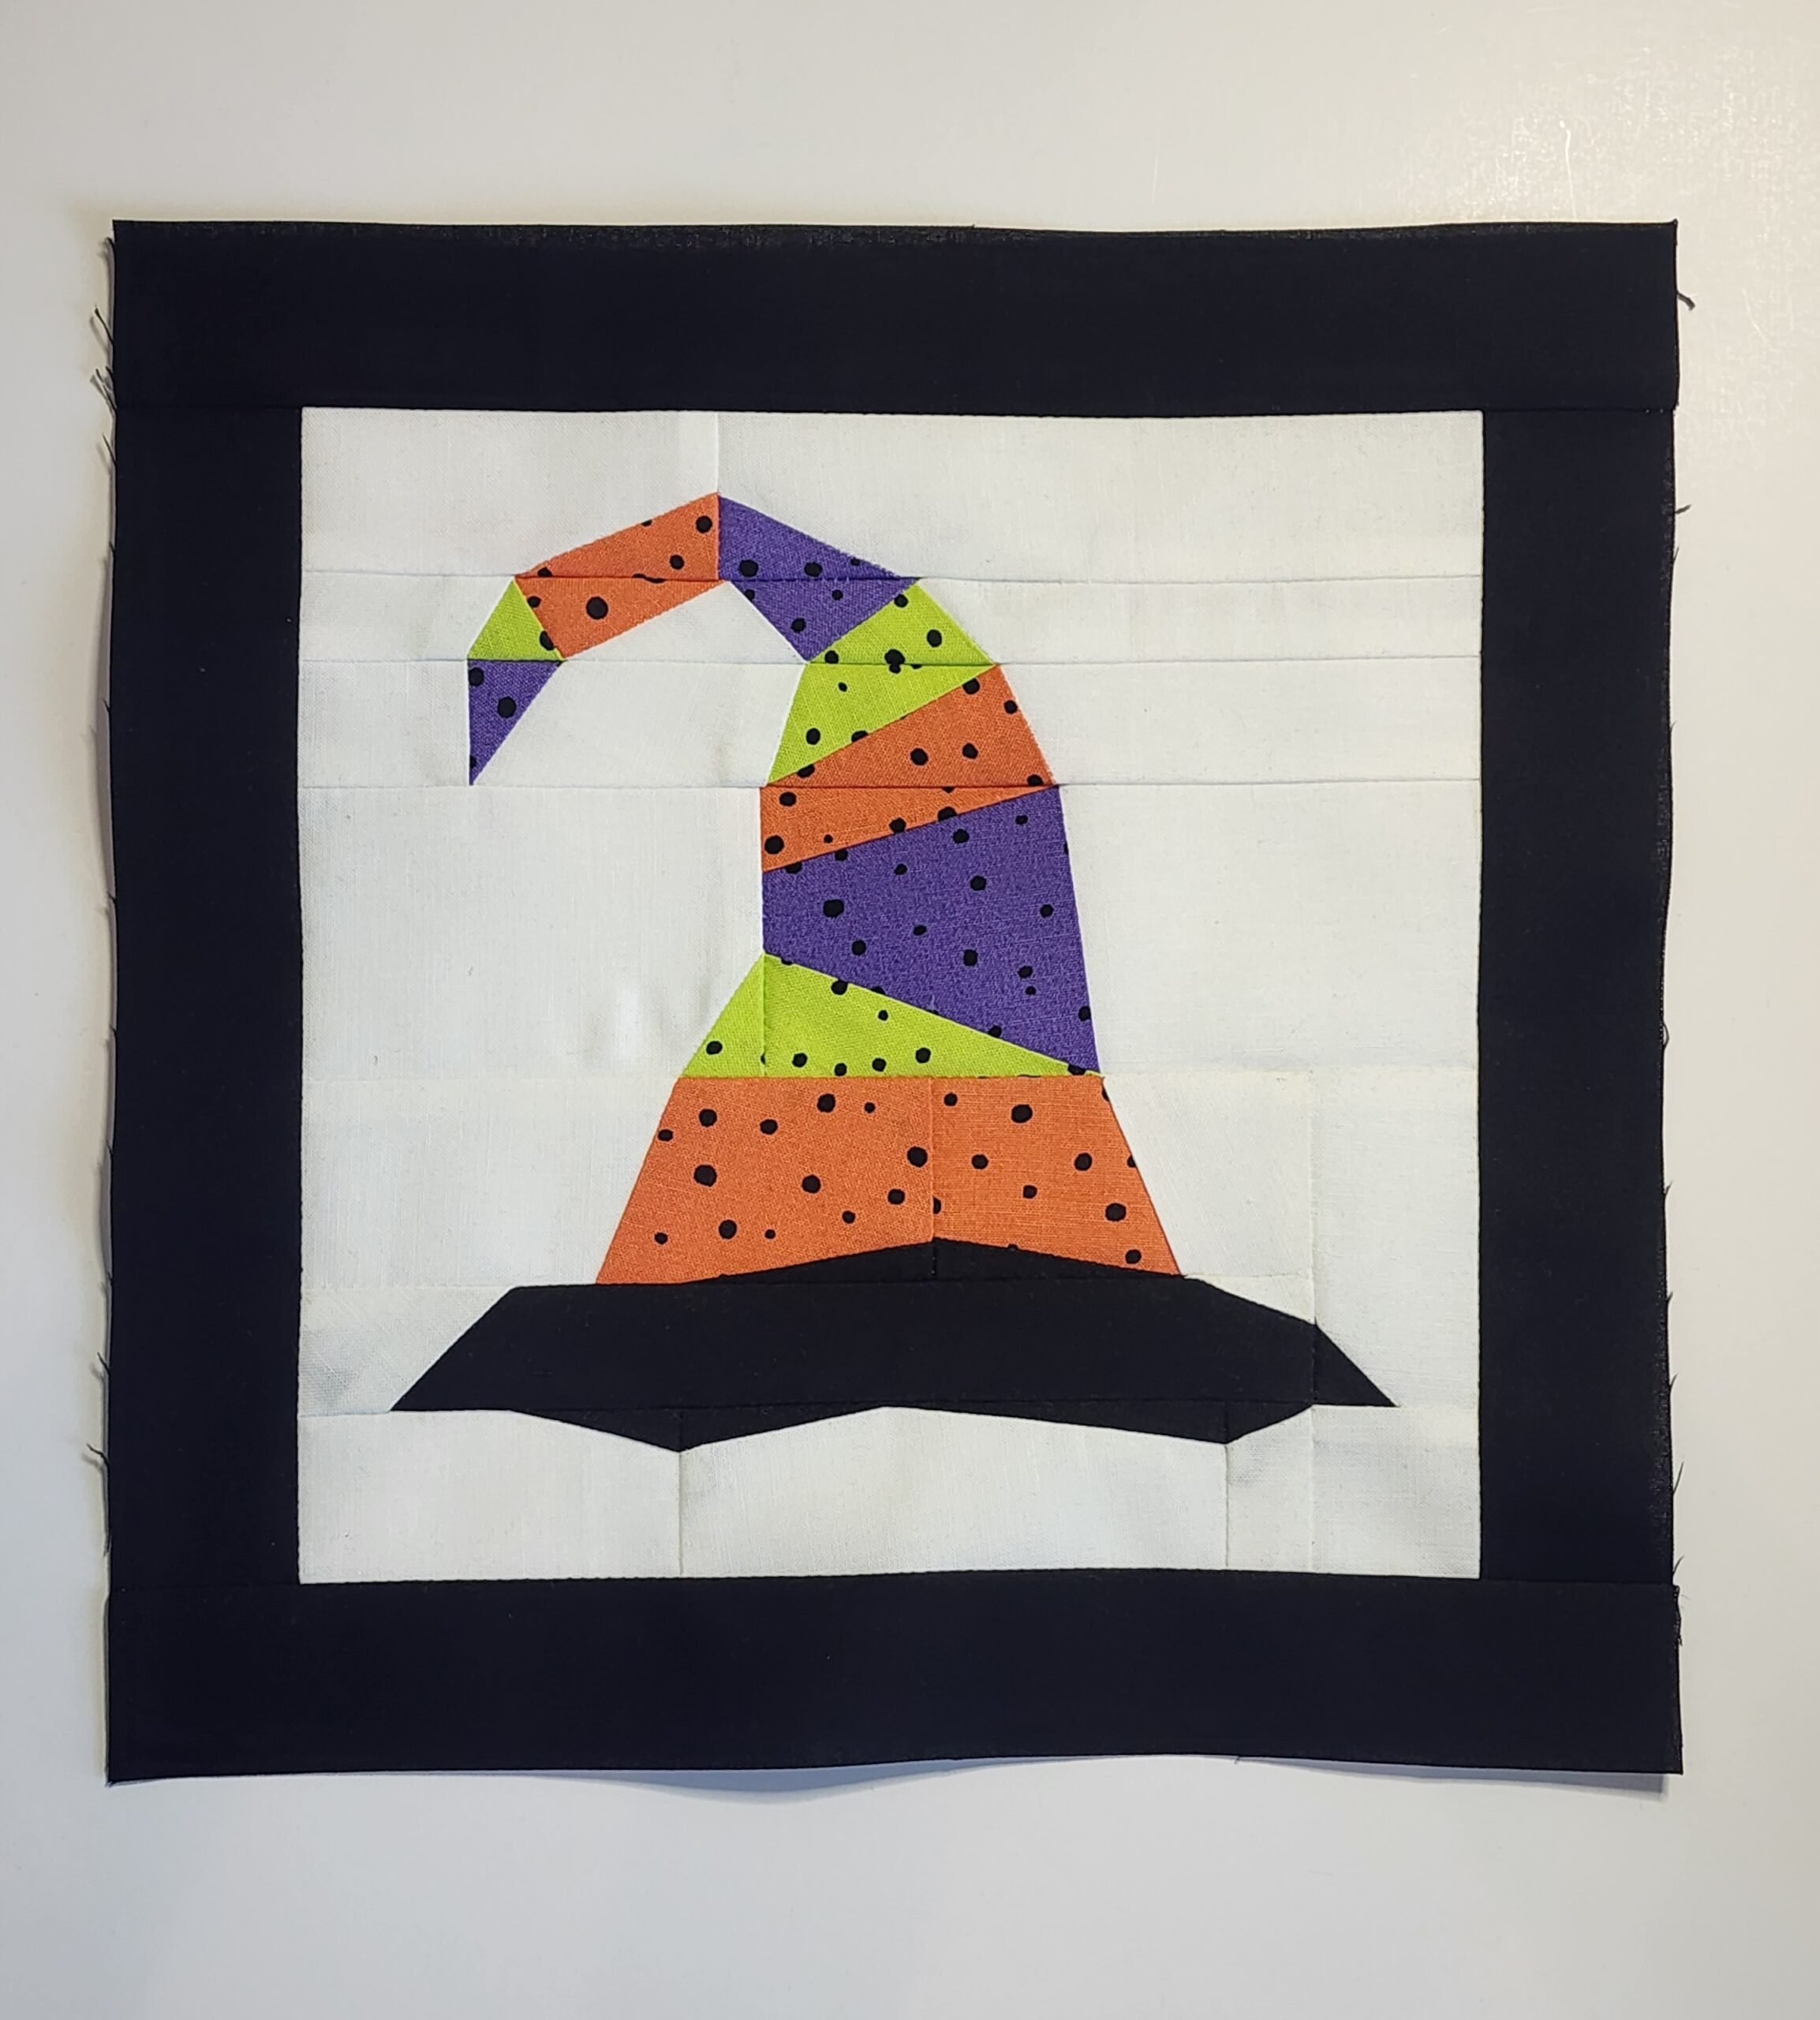
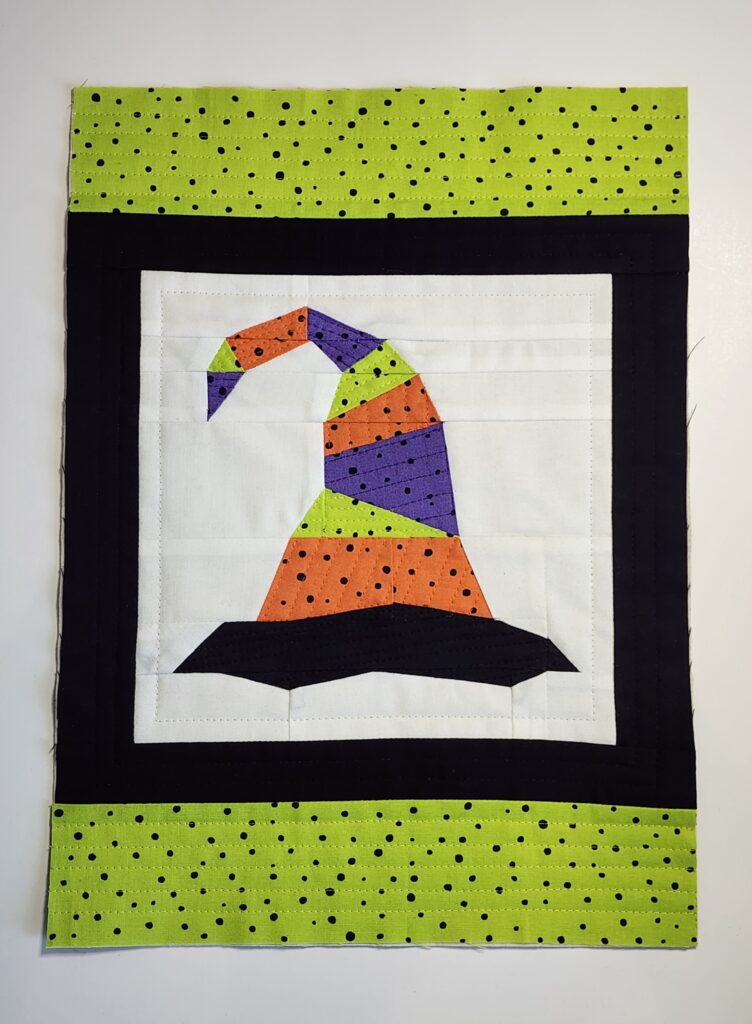
- Create FPP Witch Hat Block
- Follow the pattern to create the Witch Hat block, printing the templates onto Sulky Paper Solvy. It dissolves cleanly in water after piecing, so there’s no need to pick out paper from seams or corners!
-
Add Inner Borders
-
Sew the 1 ½” x 8 ½” black strips to the left and right sides of the Witch Hat Mug Rug block. Press seams away from center.
-
-
-
Sew the 1 ½” x 10 ½” black strips to the top and bottom. Press seams away from center.
-
-
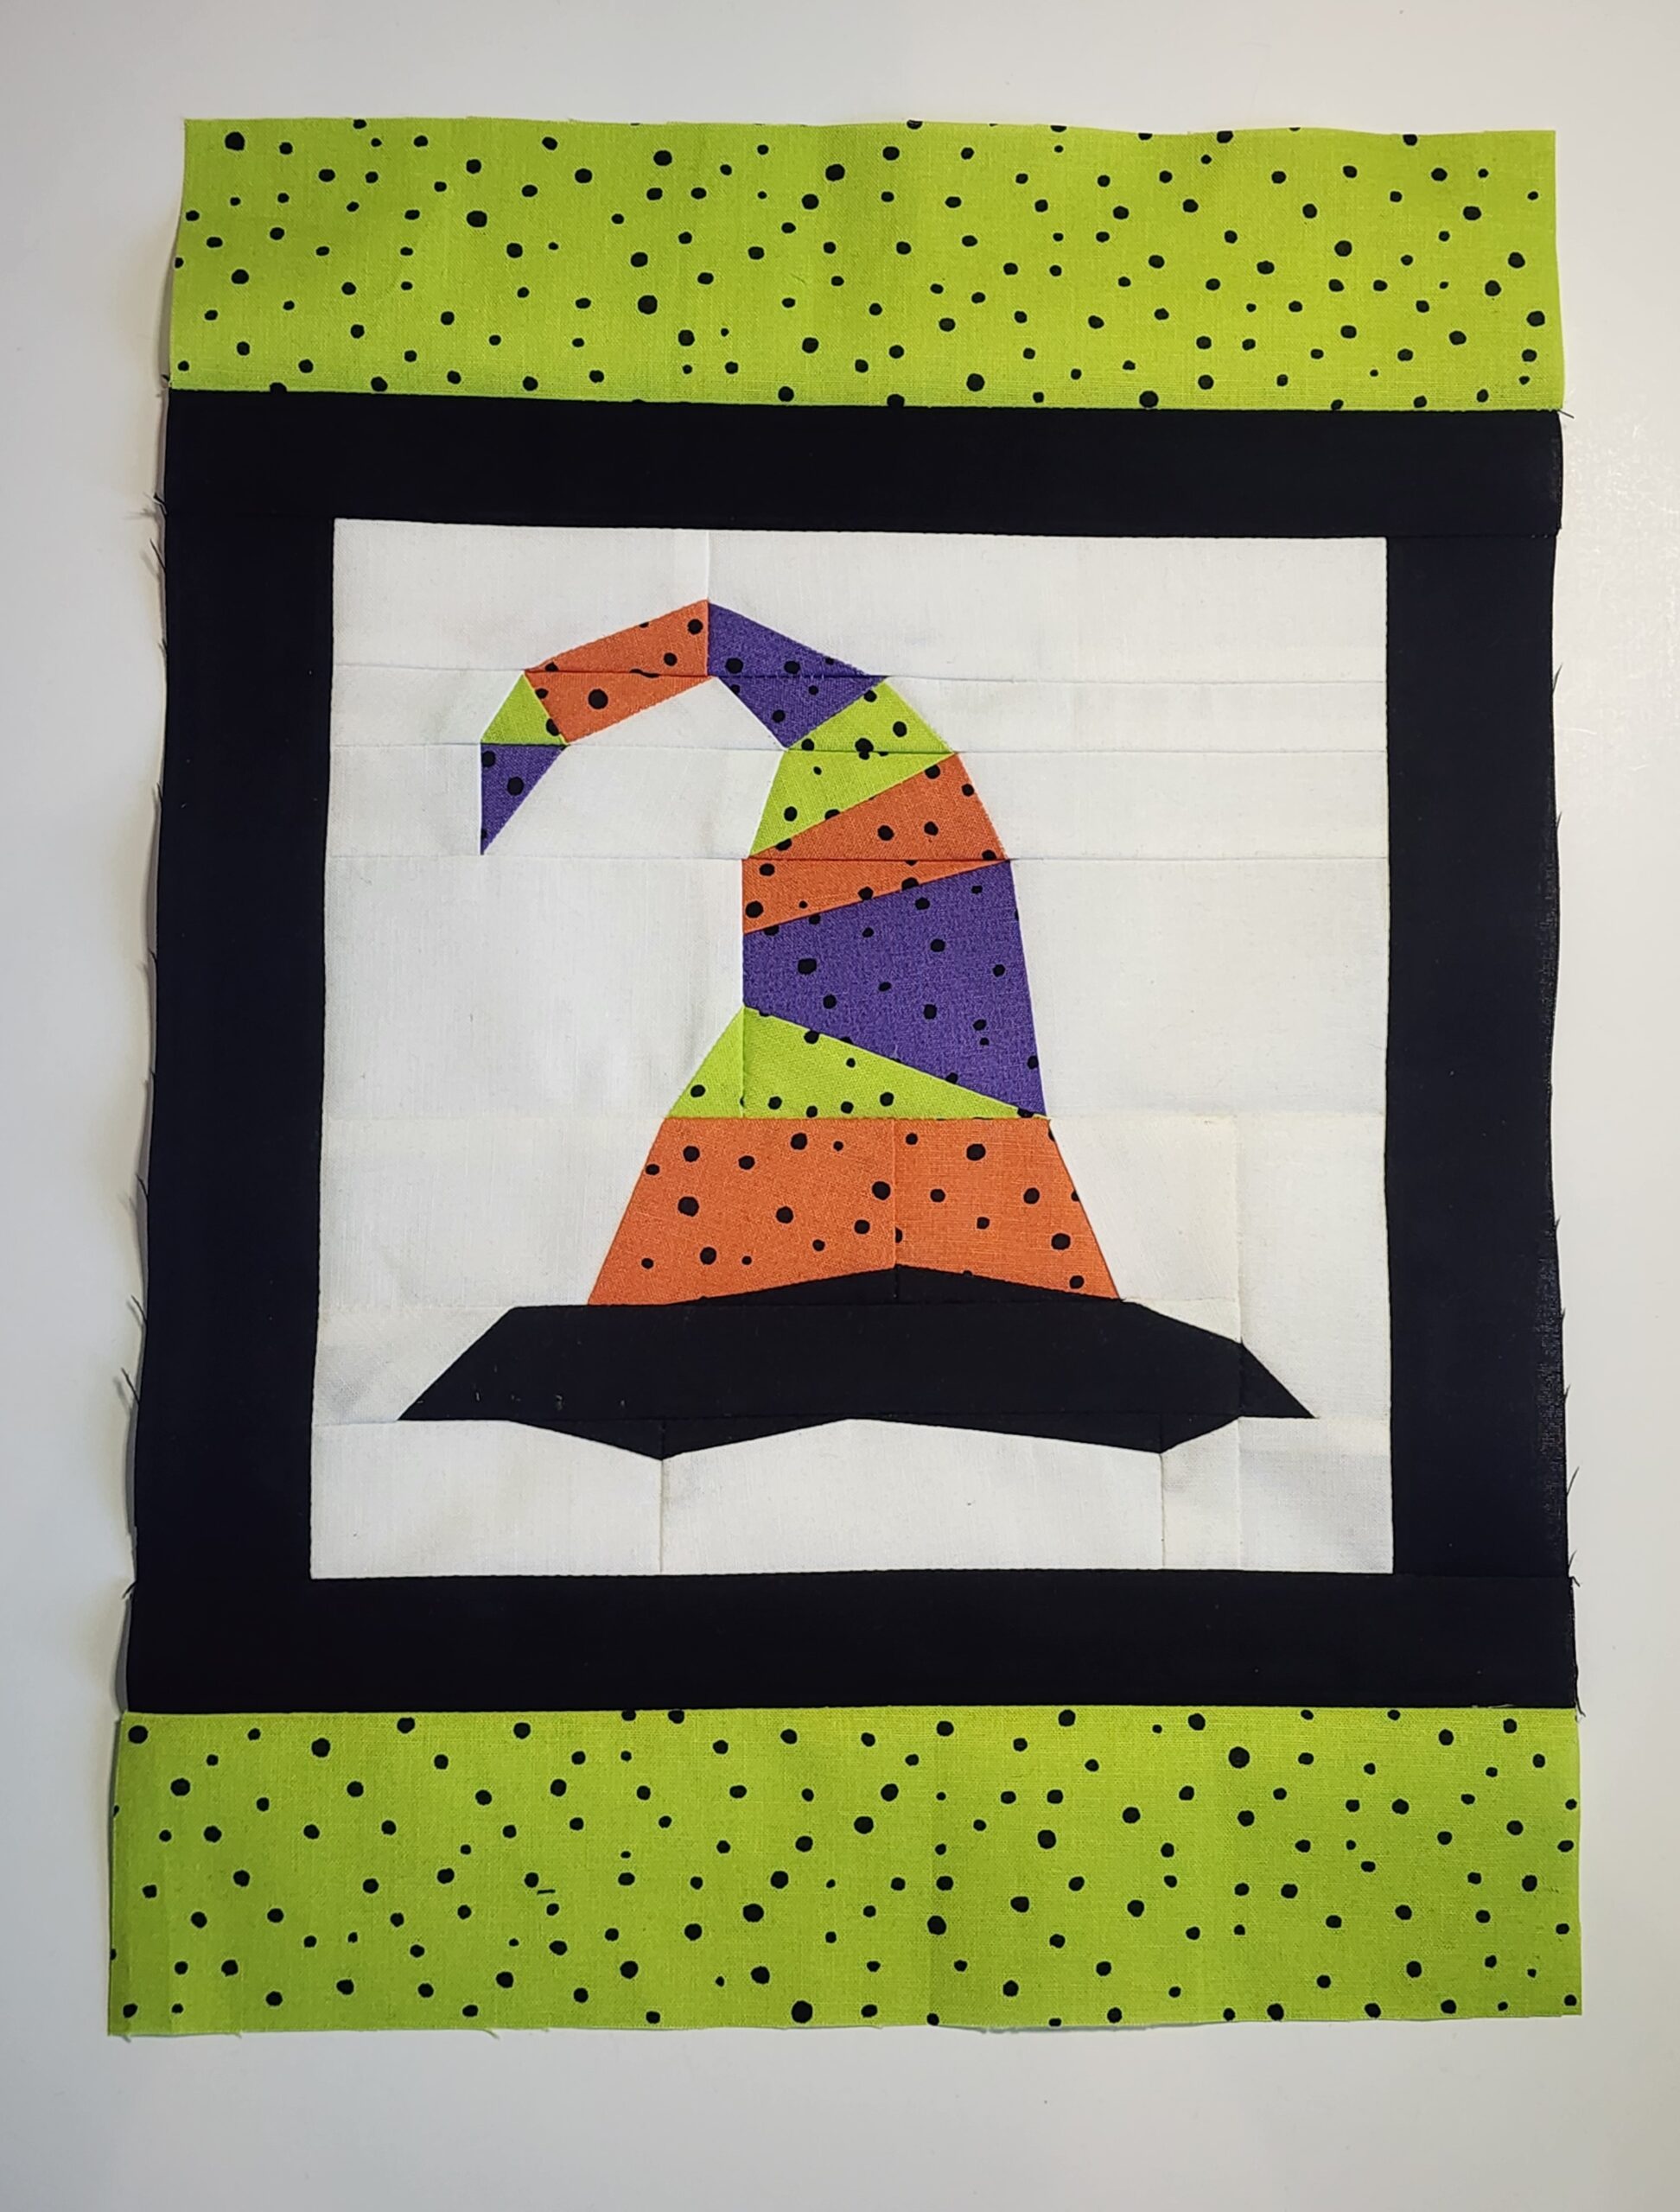
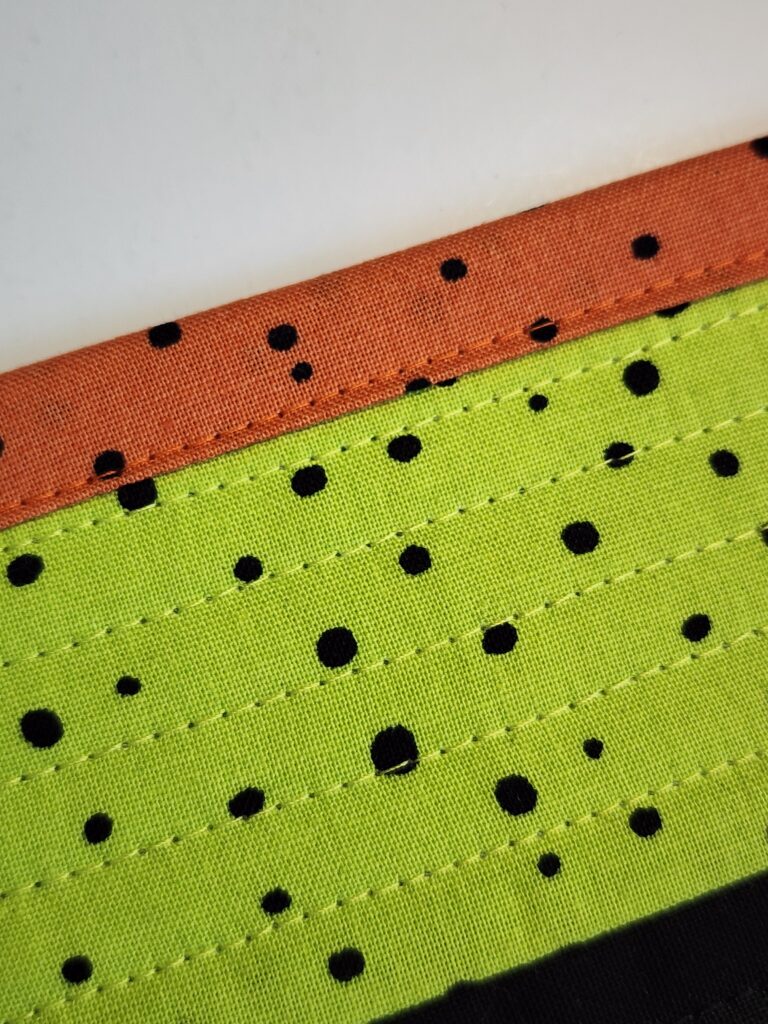
Add Outer Borders
-
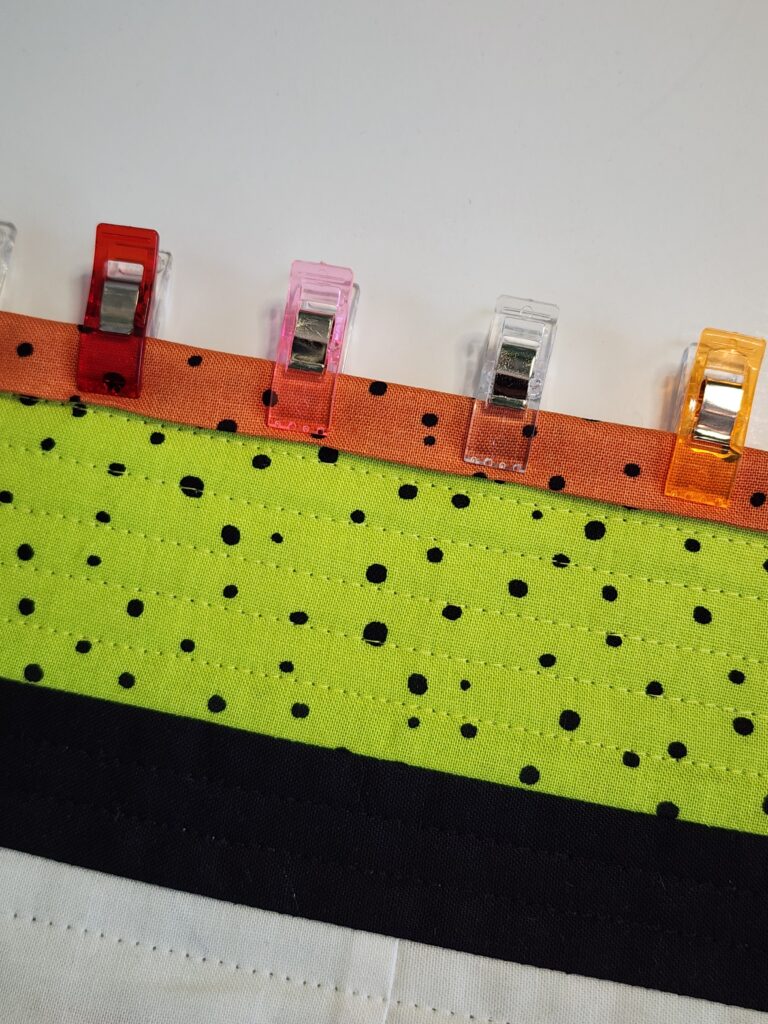
Sew the 2 ½” x 10 ½” green strips to the top and bottom. Press seams away from center.
-
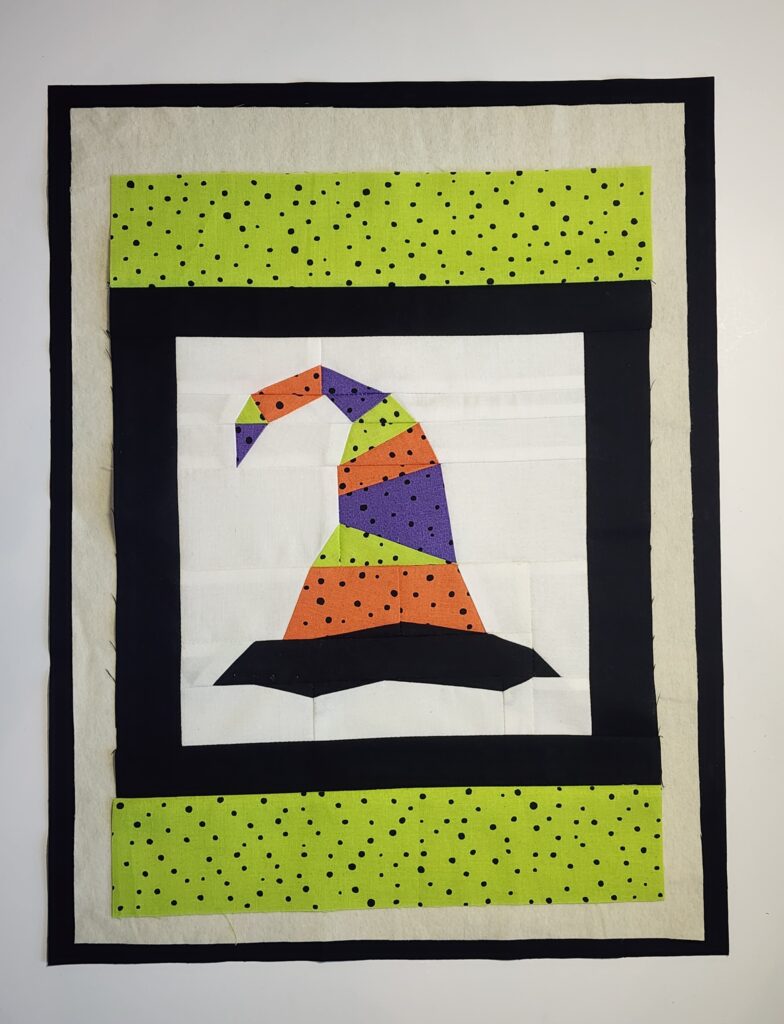
WITCH BLOCK QUILTING
-
Place the 13” x 17” cotton backing wrong side up. Center the 12” x 16” batting on top.

-
Center the pieced bag front on the batting. Baste with KK 2000 or pin.

-
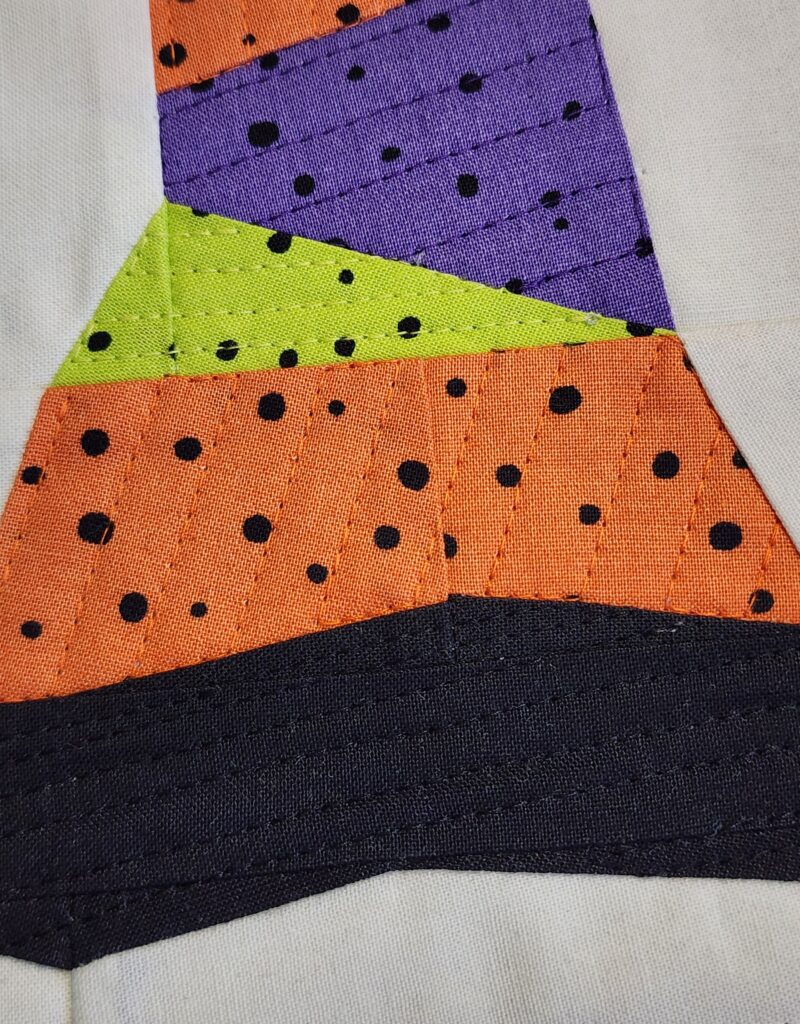
Quilt as desired with Sulky 50 wt. Cotton Thread, switching thread colors for each part of the FPP block.
-
Trim batting & backing to match the bag front edges.
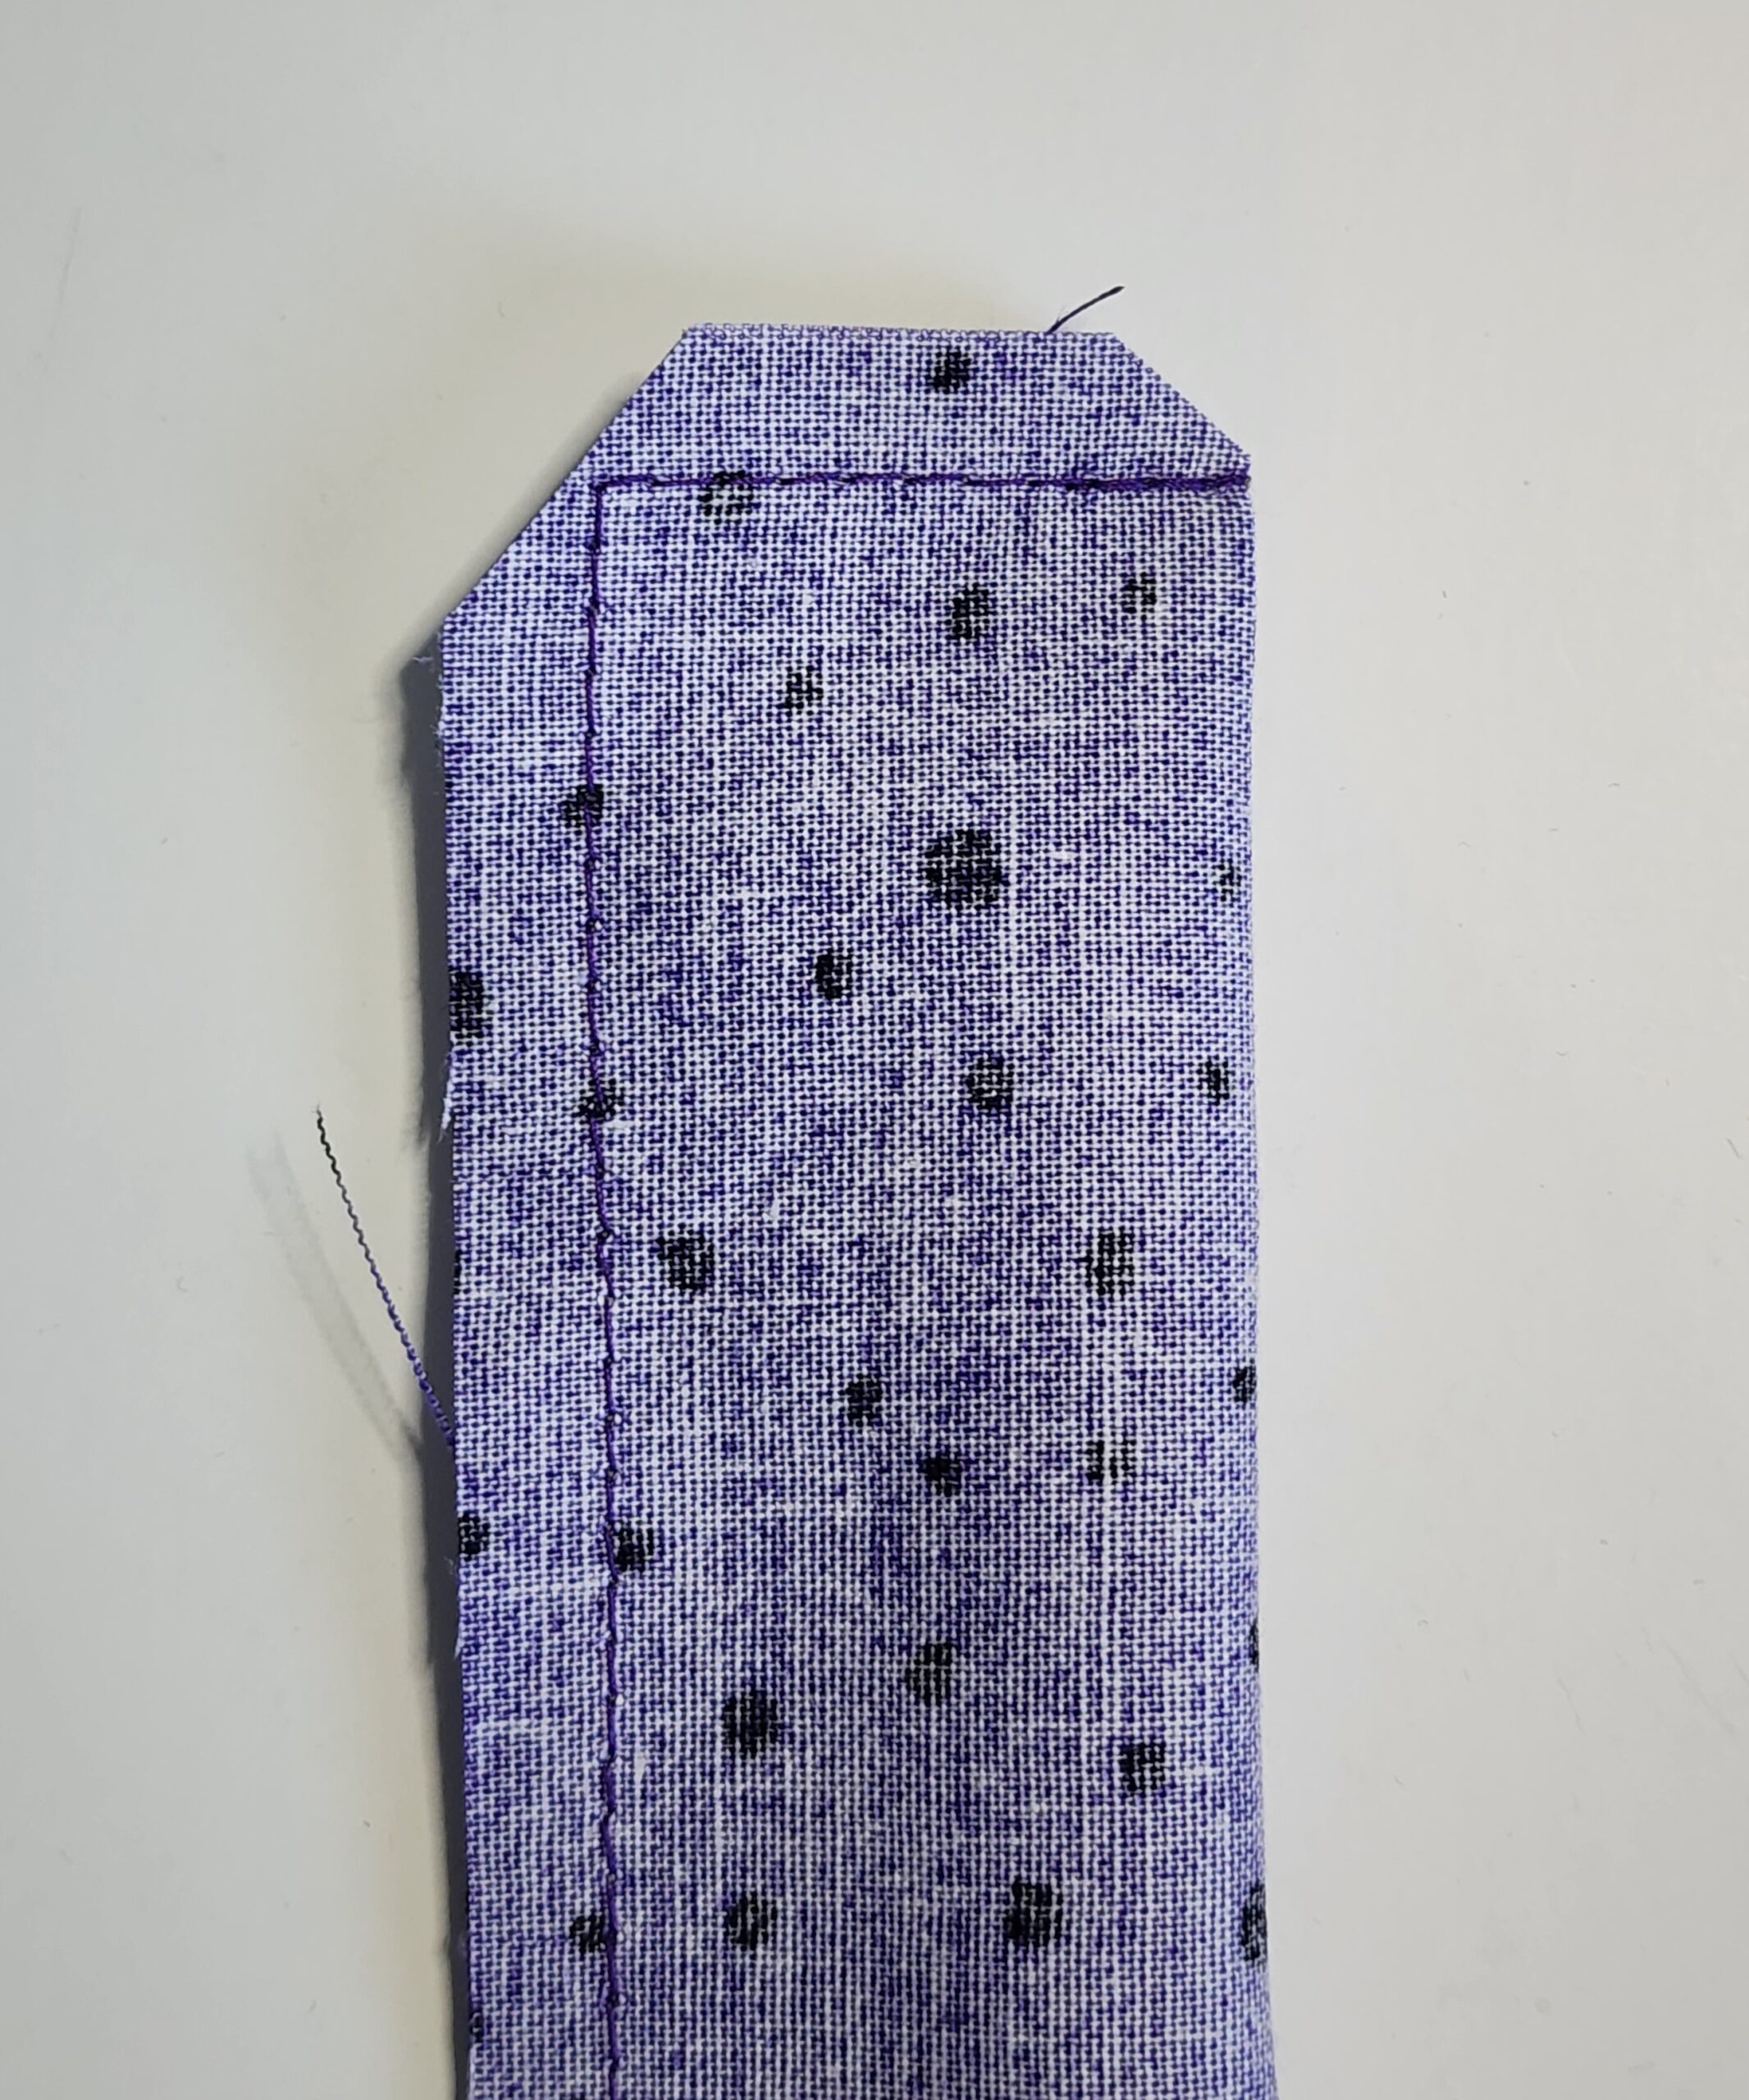
UPPER EDGE TOTE BINDING
-
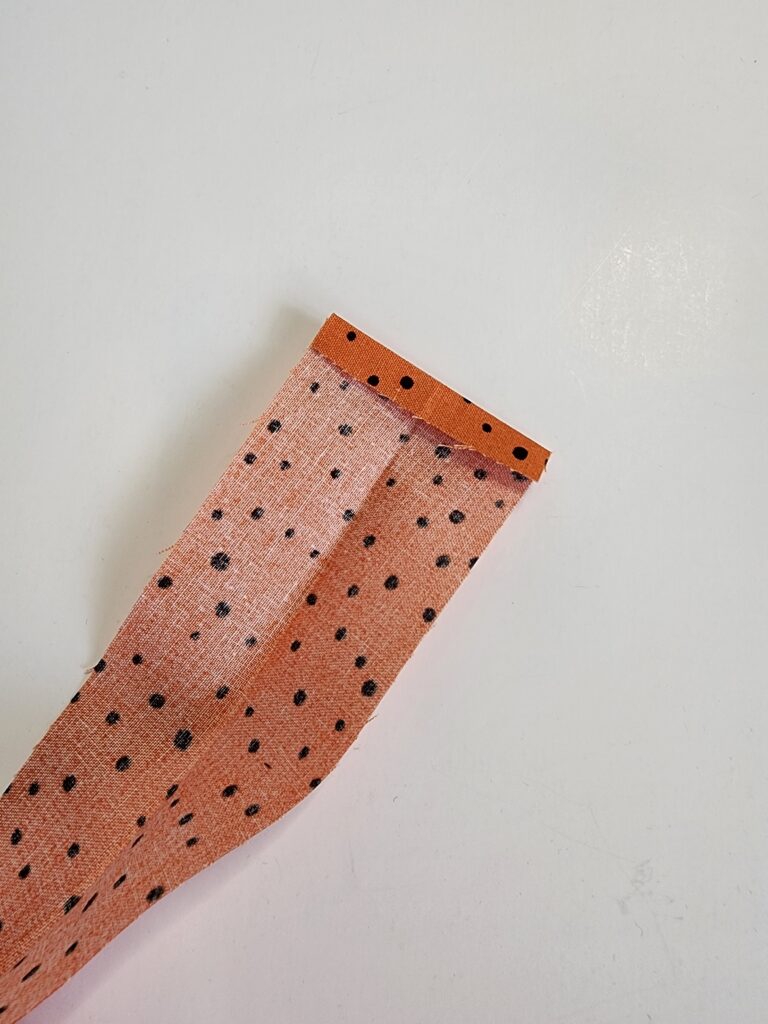
From the binding, cut two 10 ½” sections.
-
Bind the top edge of the quilted bag front, folding to the front and stitching down.
-
Repeat for the top edge of the canvas bag back.
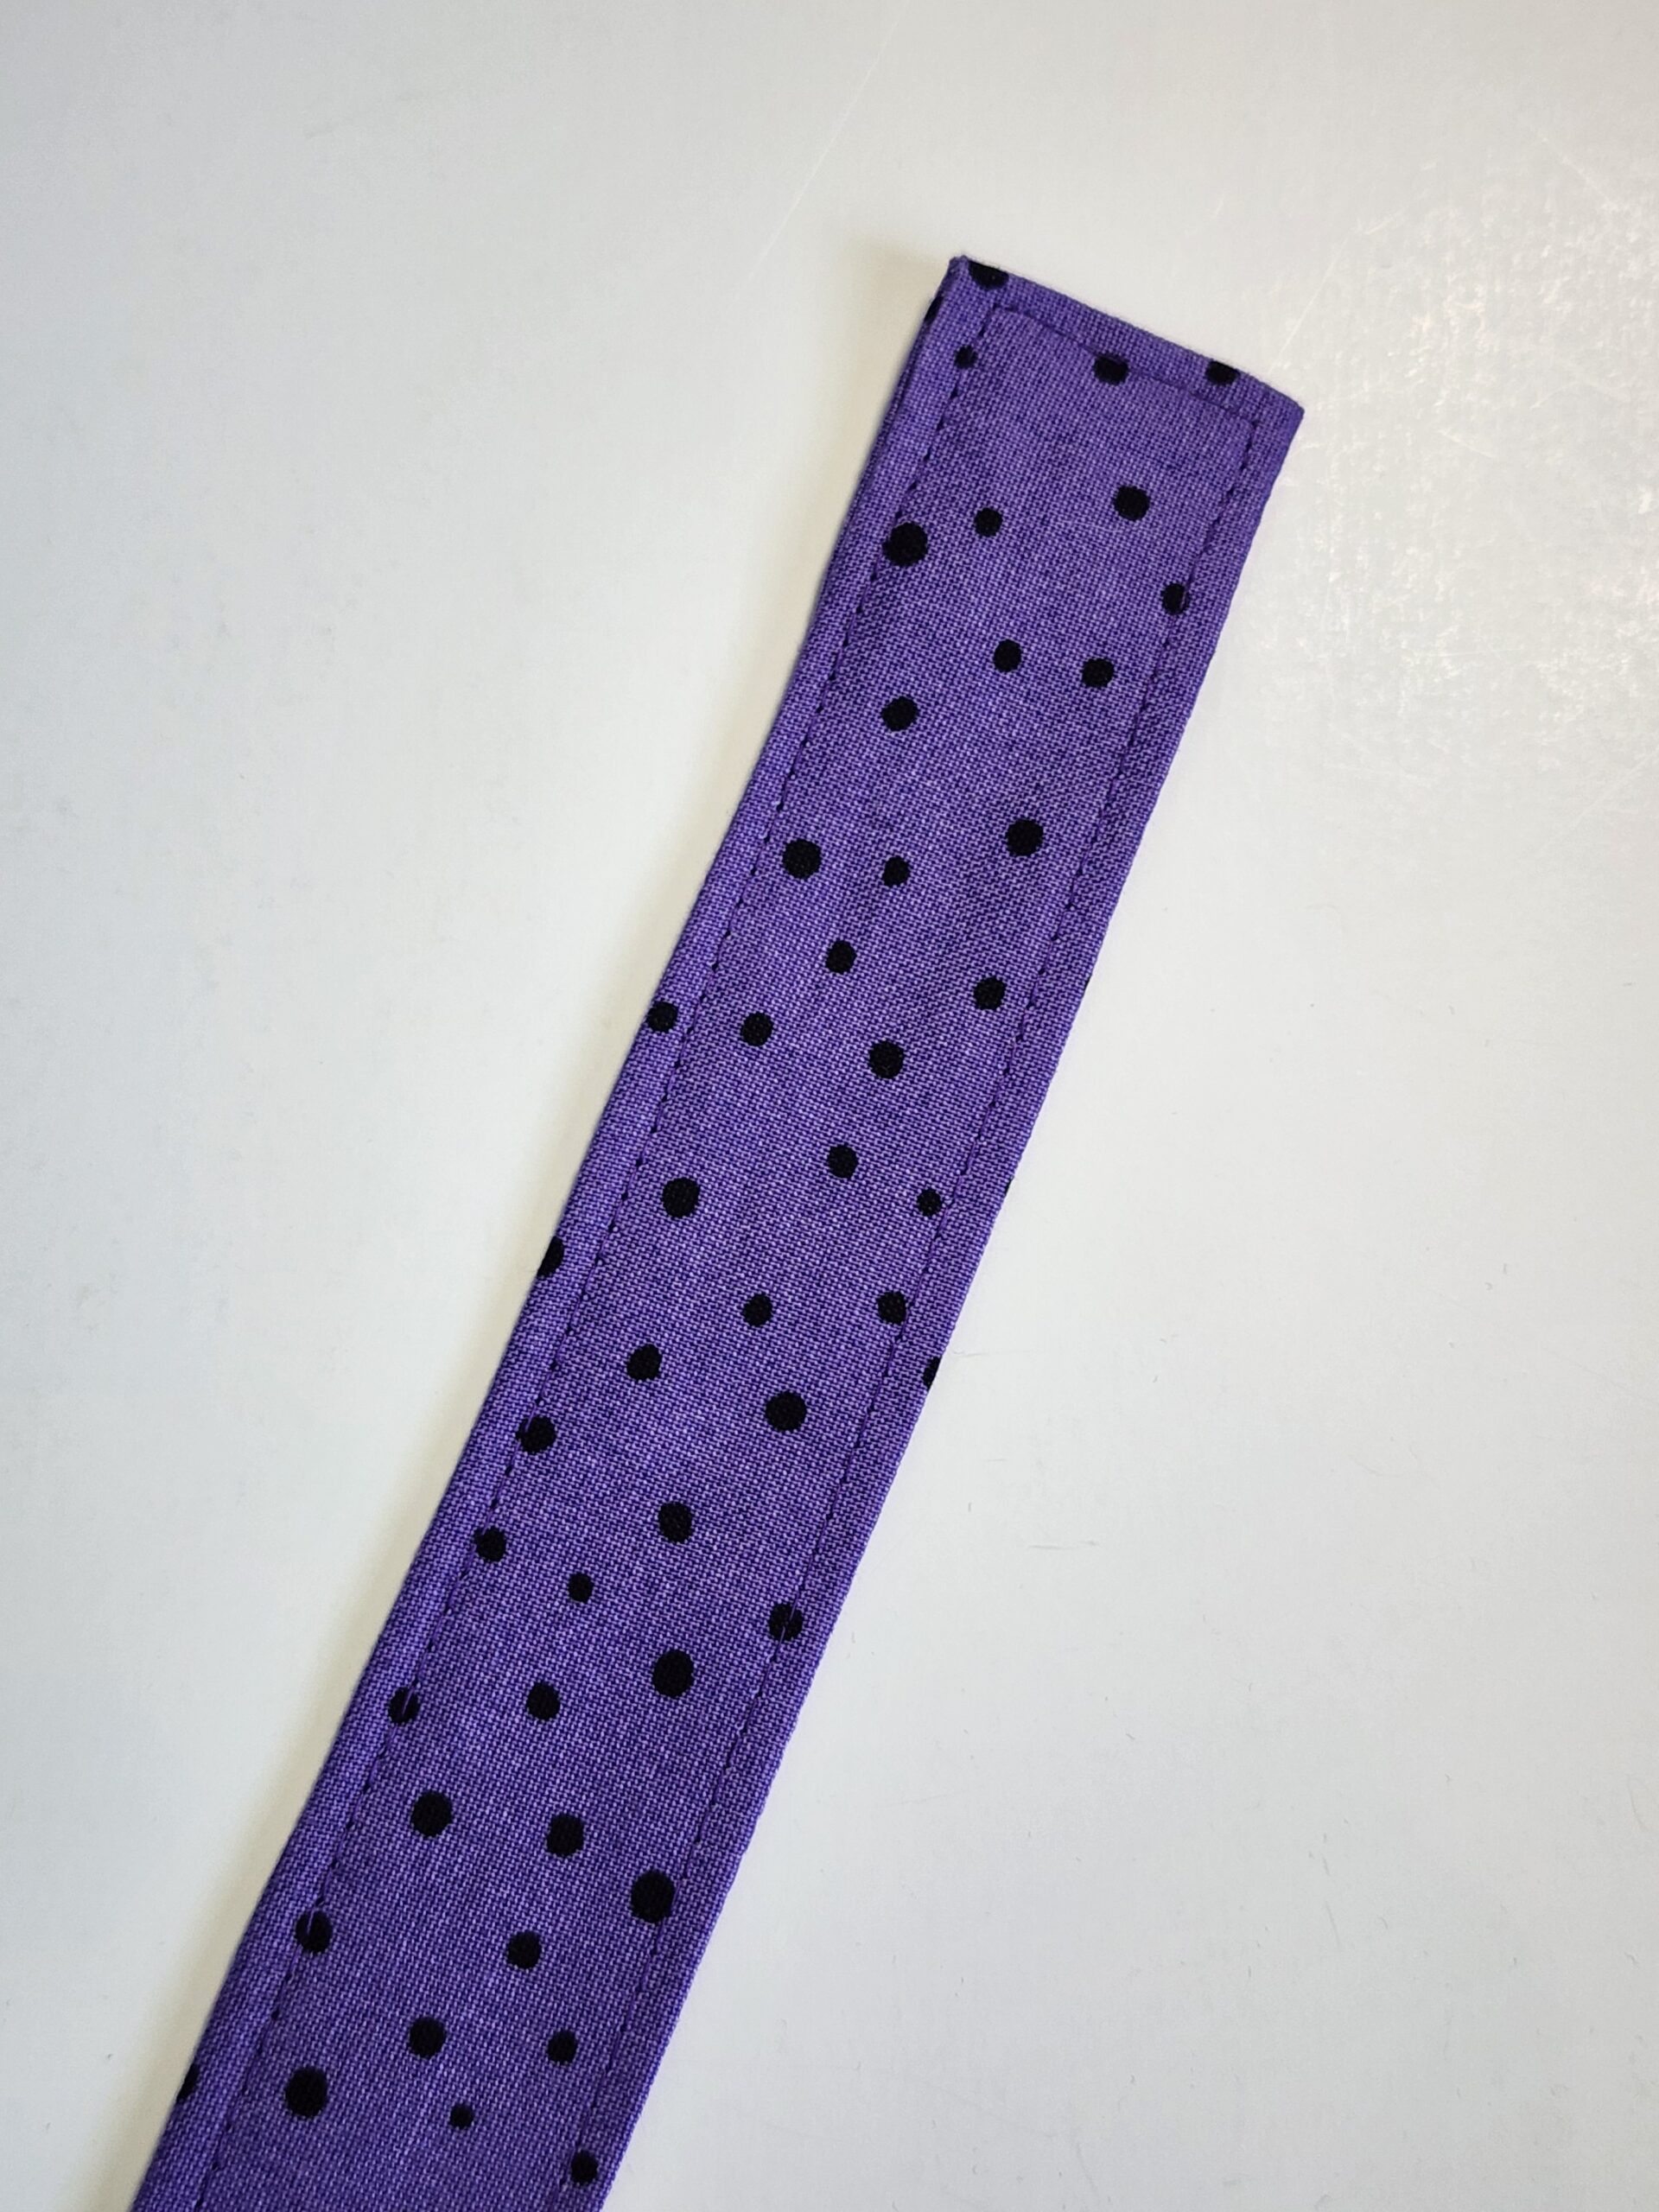
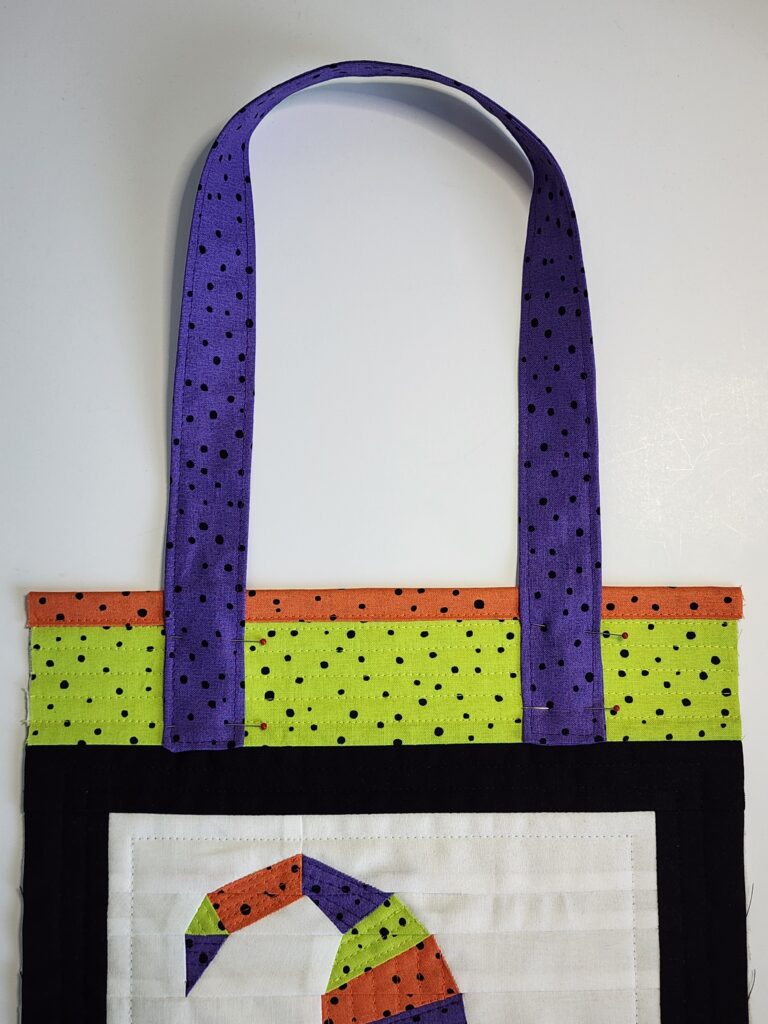
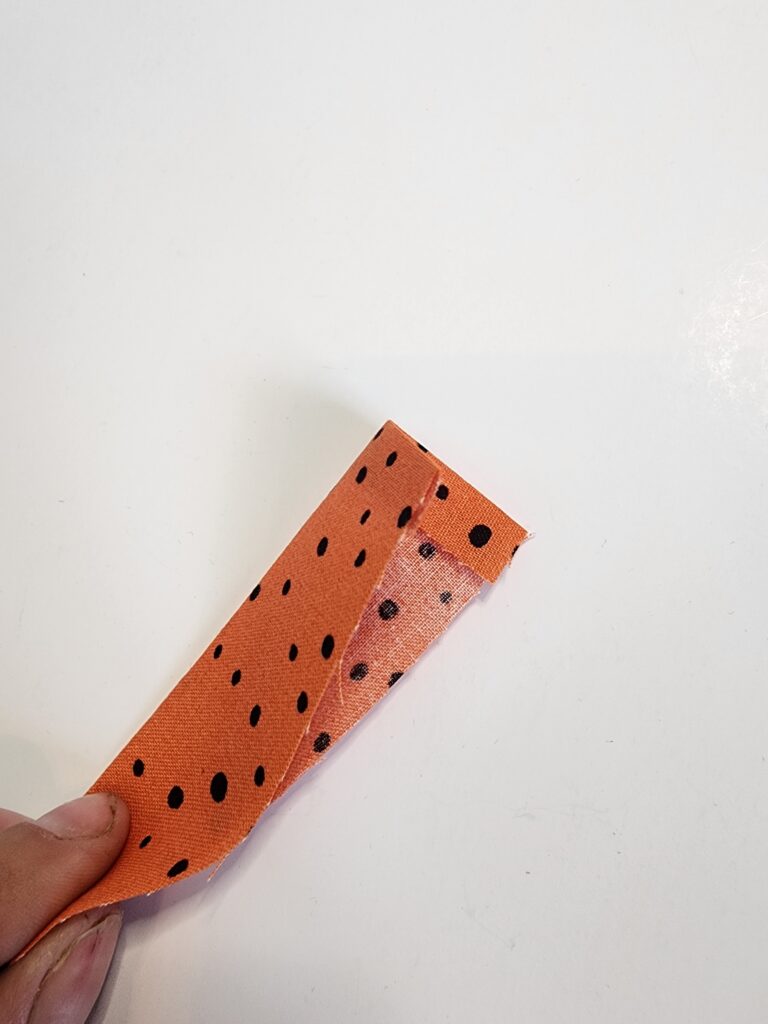
WITCH TOTE HANDLES
-
Fold one 3” x 24” purple strip in half lengthwise, right sides together. Stitch the long edge & one short edge.
-
Clip corners, turn right side out, press.
-
Fold the open edge ¼” to the inside, press, and topstitch all around ⅛” from edge.
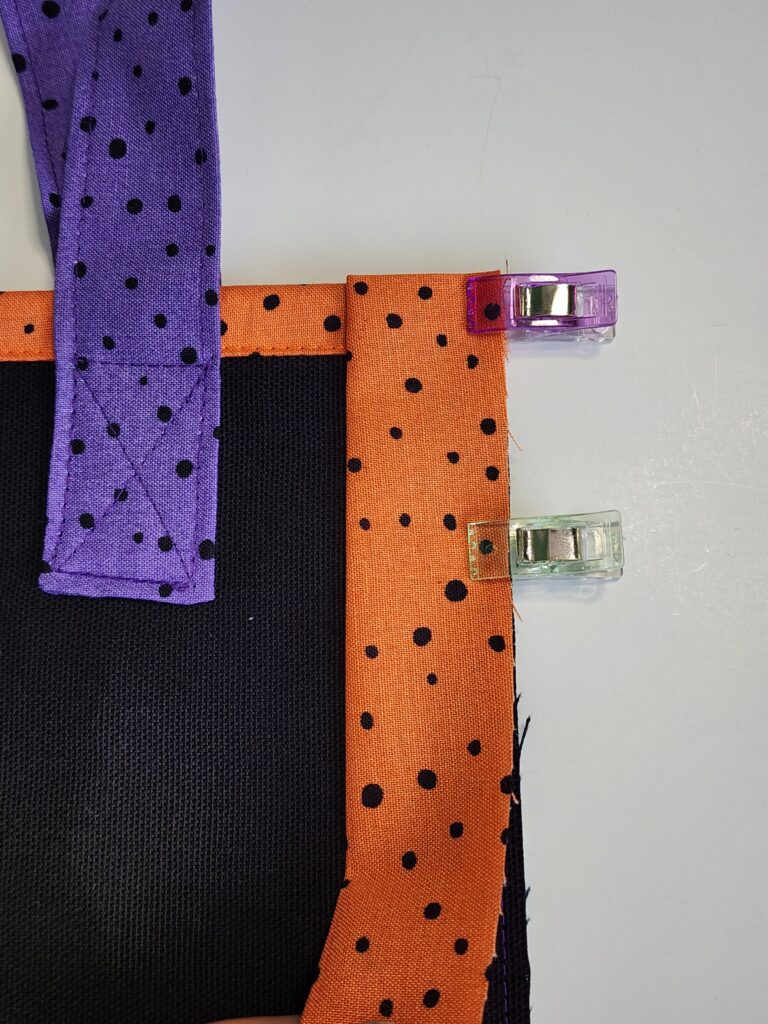
-
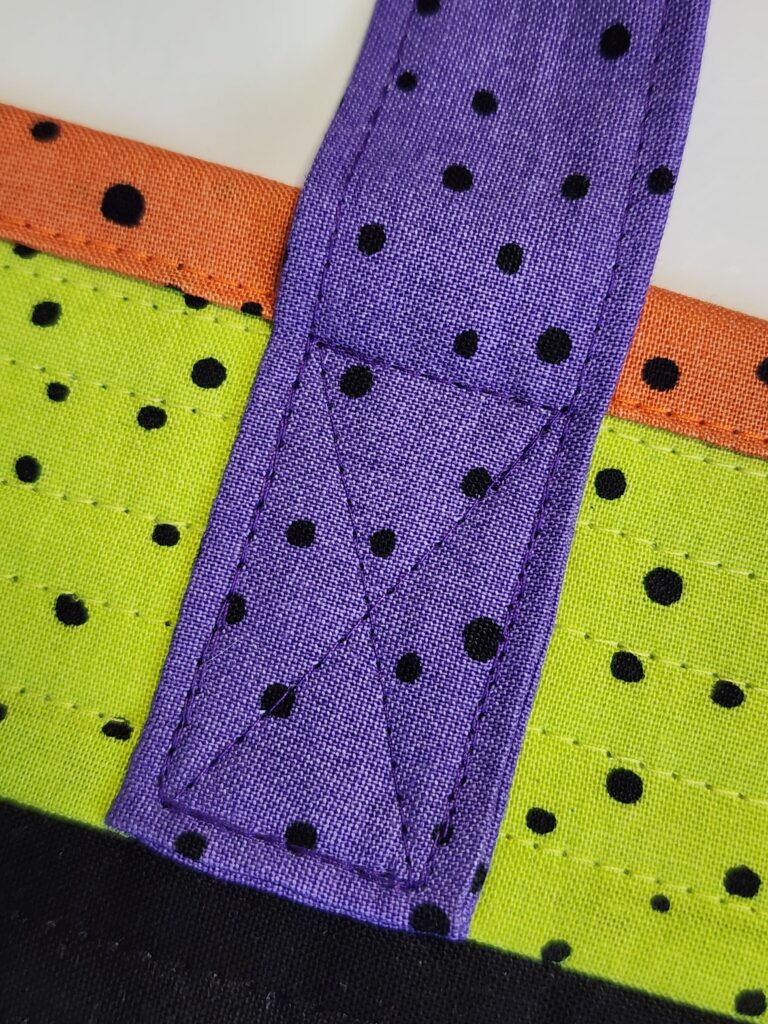
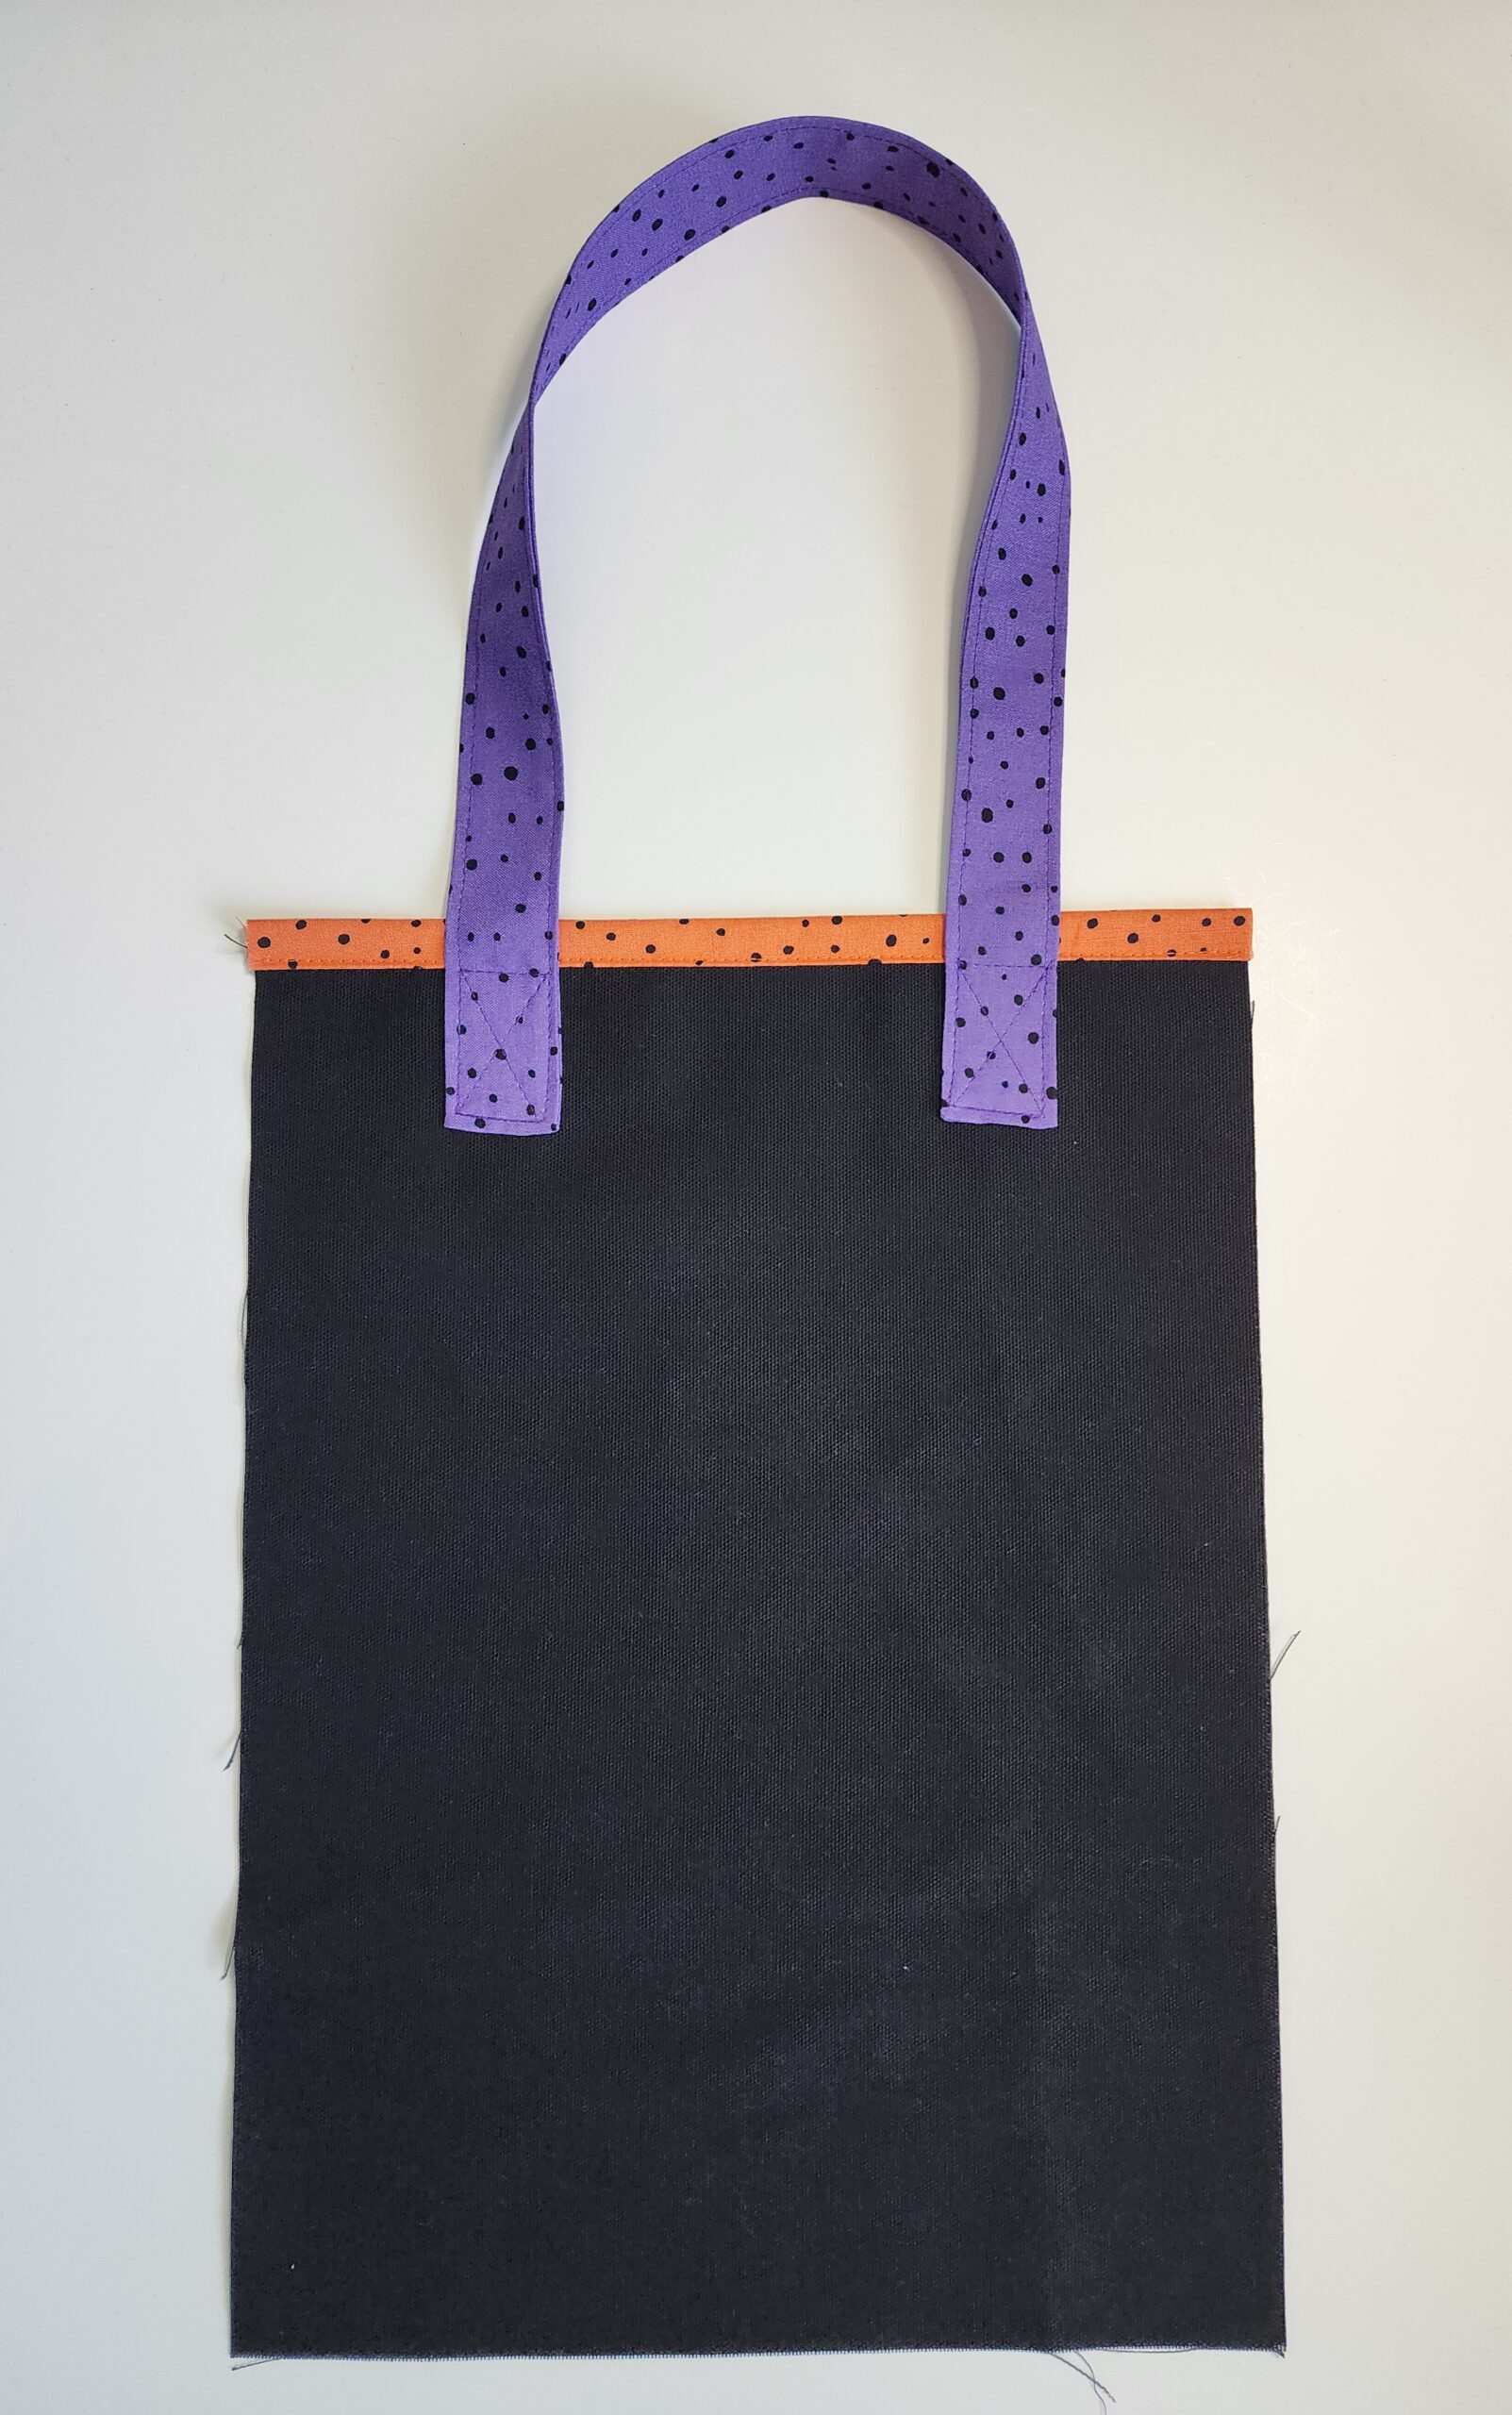
Position each handle end 2” in from the sides and 2 ¼” down from the upper edge. Stitch in place with a rectangle & X for reinforcement.
-
Repeat to stitch the second handle on bag back.
WITCH TOTE ASSEMBLY
-
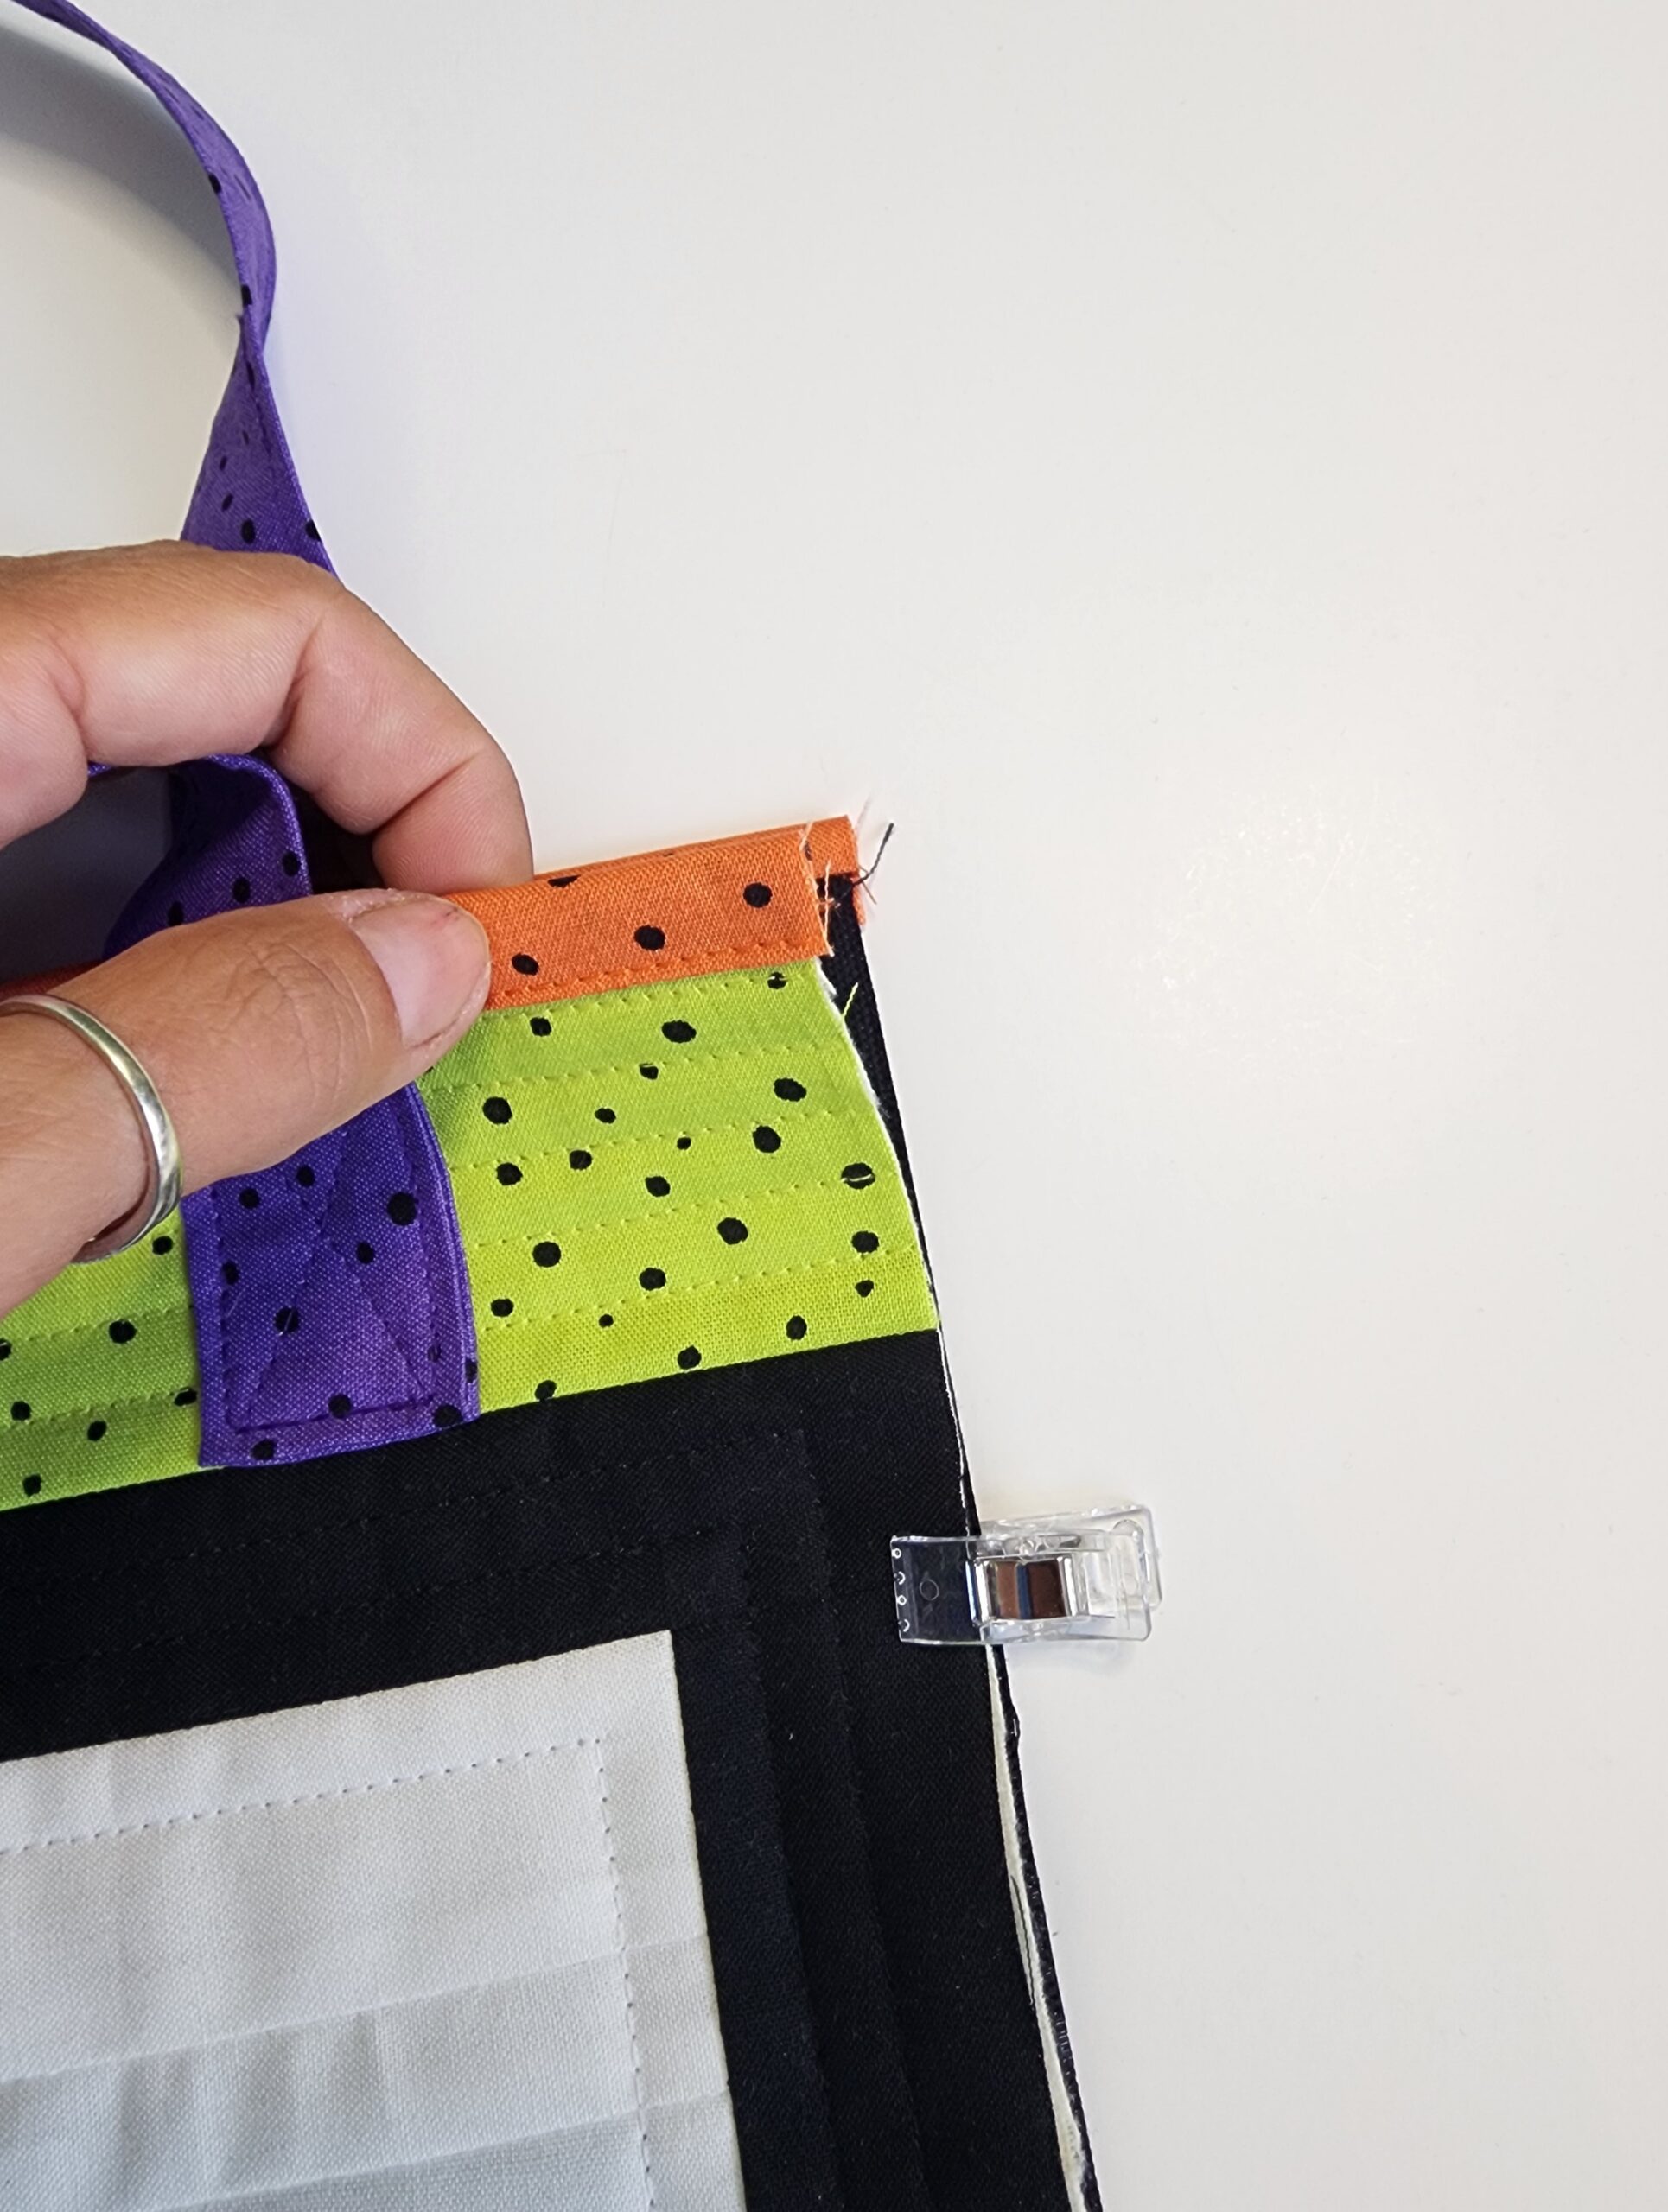
With wrong sides together, align bag front & back. Clip or pin. Stitch around sides & bottom with a ⅛” seam allowance.
-
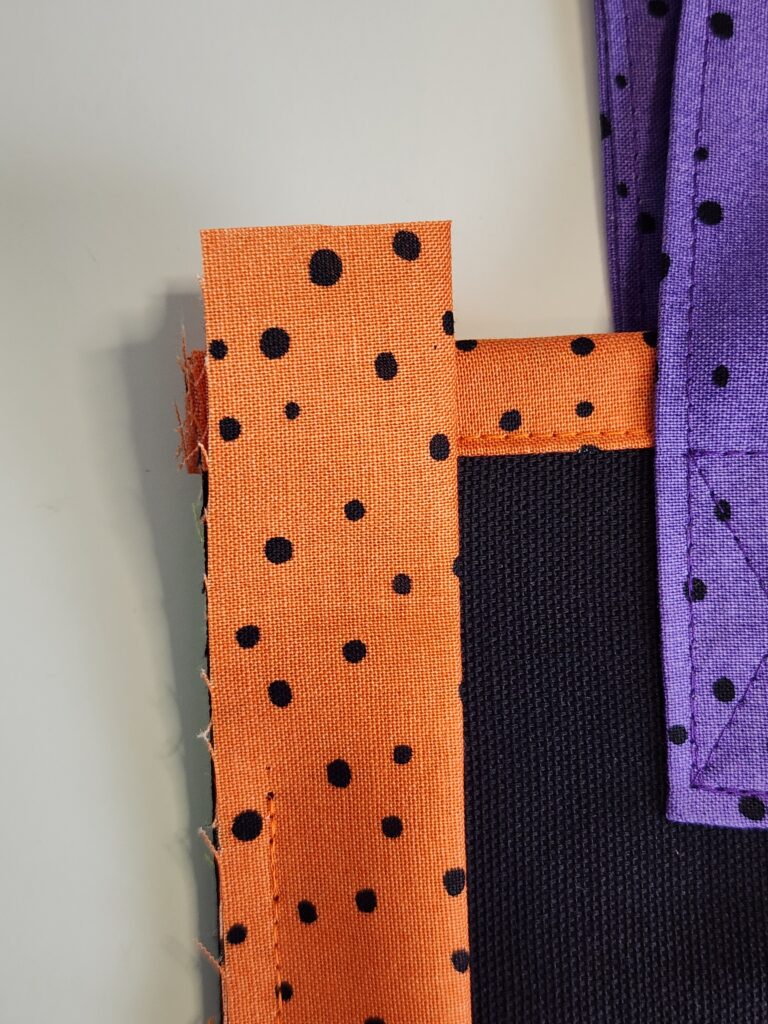
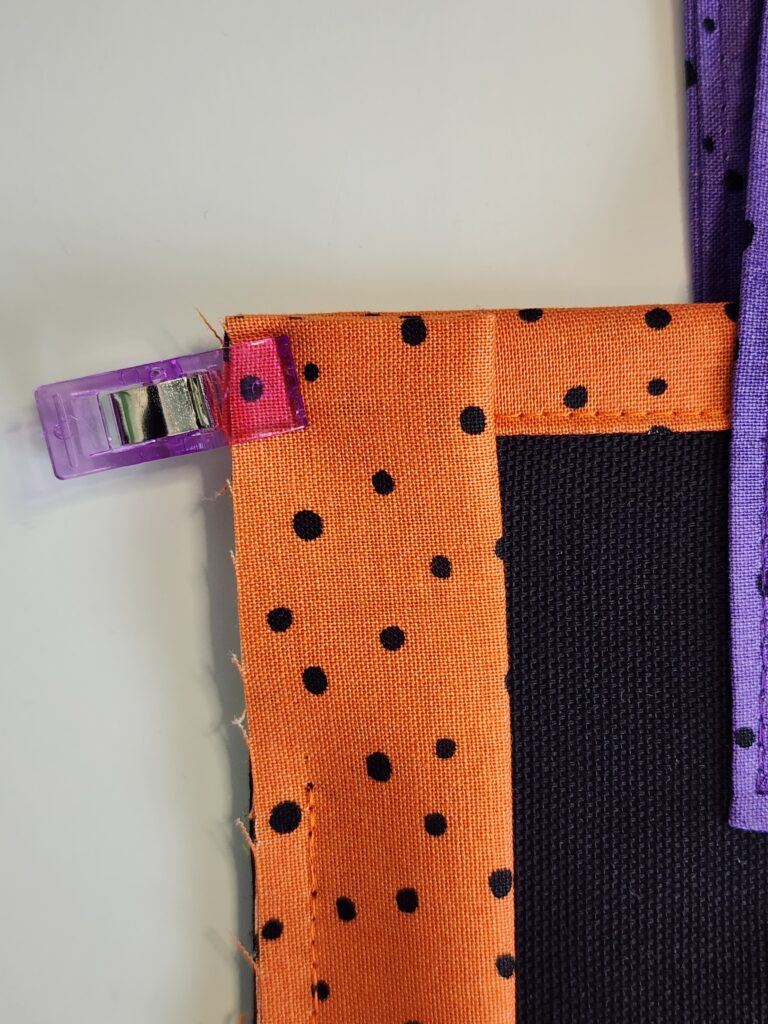
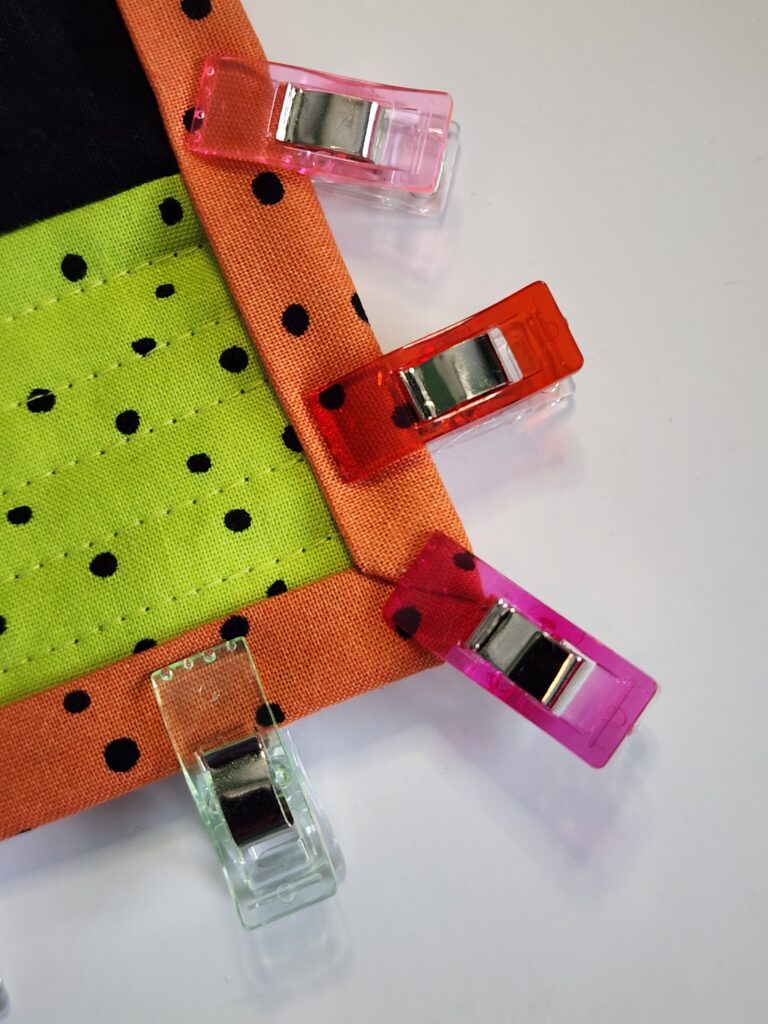
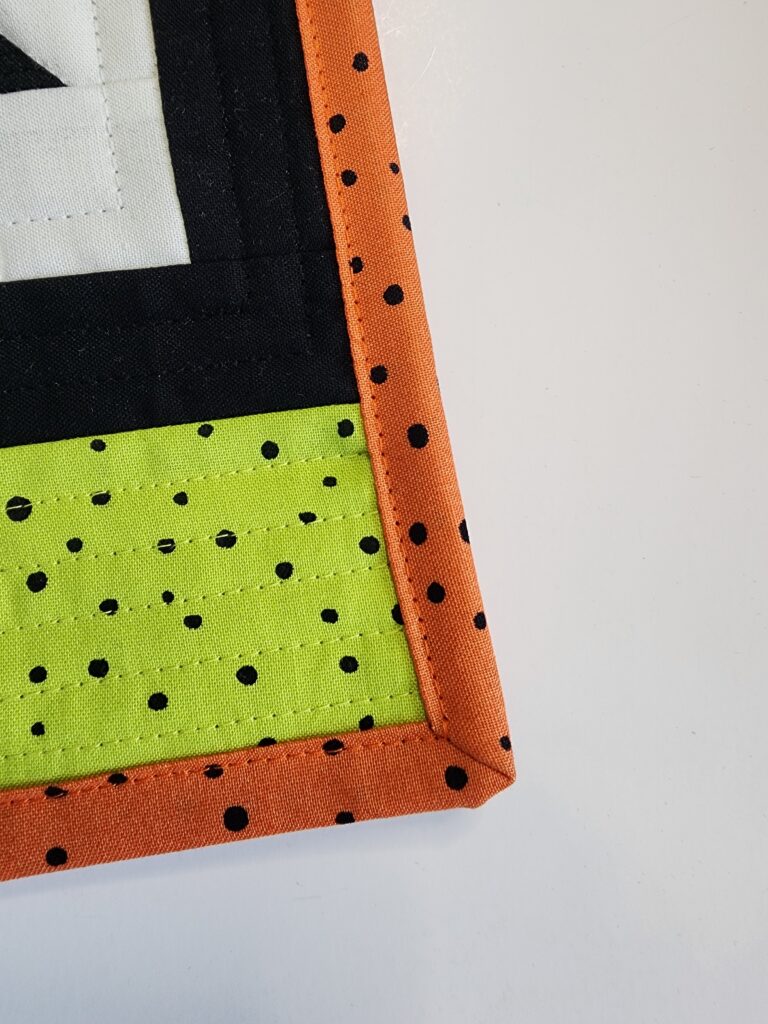
Bind the sides & bottom using the remaining binding, mitering corners as you go.
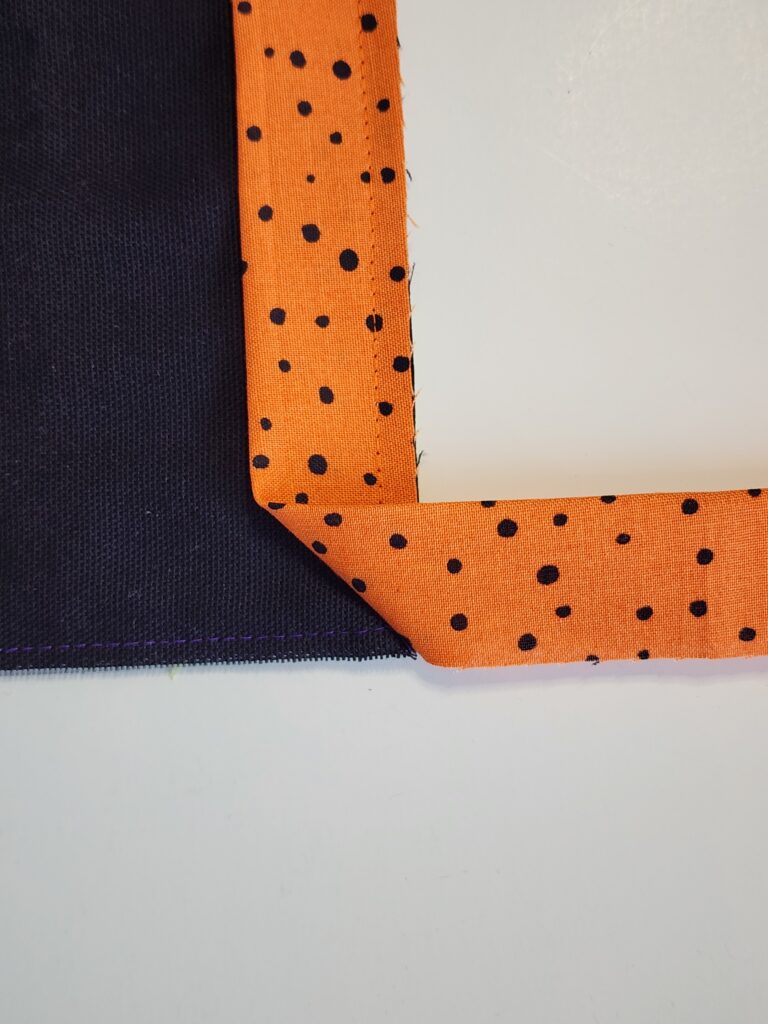
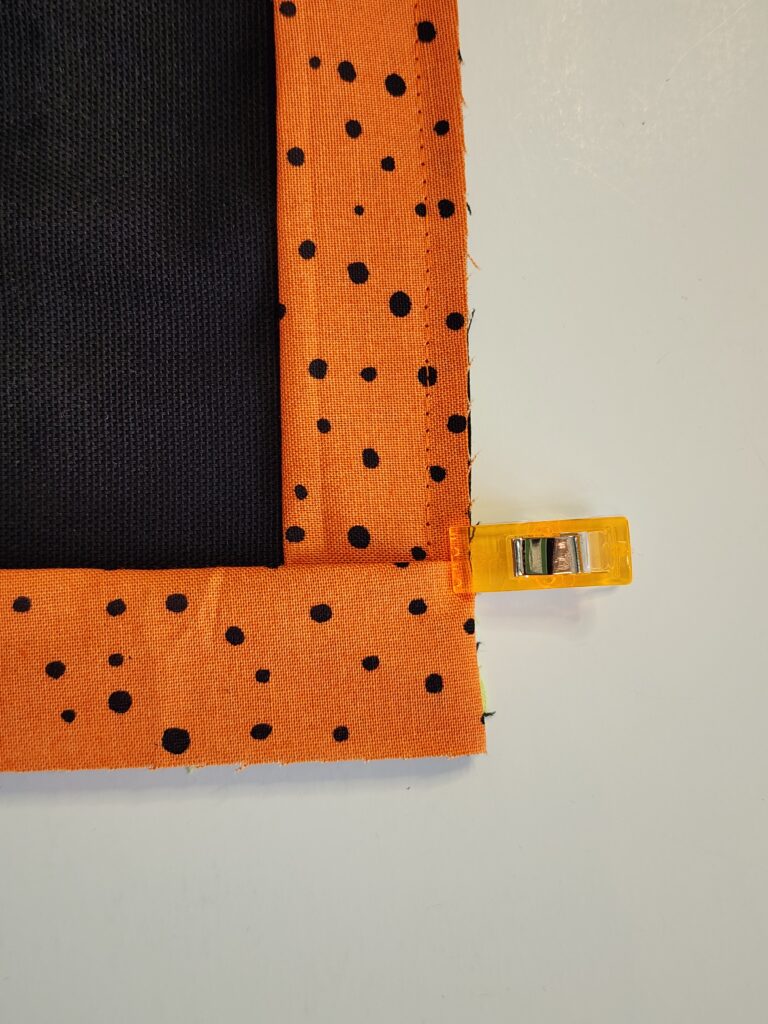
-
Fold binding to the front, clip, and topstitch ⅛” from the fold.
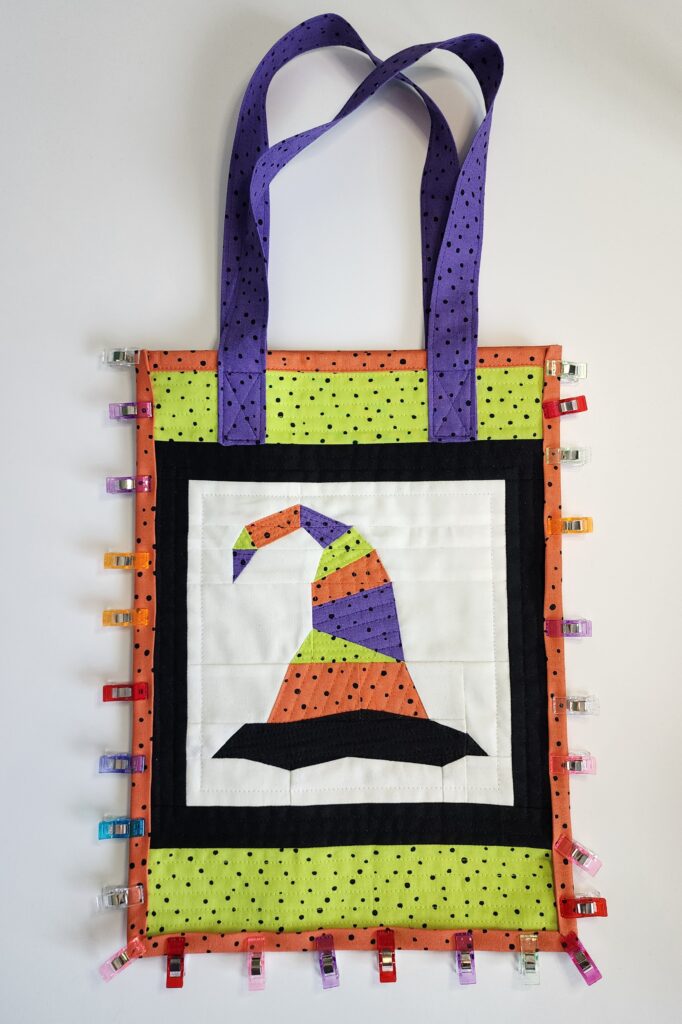
WITCH TOTE COMPLETE!
In just a short time, your single pieced block from the Halloween FPP Mug Rug Collection has transformed into a quilted, candy-ready tote! Whether you fill it with treats, use it as a spooky market bag or gift it to a little ghoul, it’s a festive way to show off your Halloween stitching skills.