Gelatin Printing on Cut-Away Plus

This blog post is written by guest blogger Katrina Wright.
Katrina is an amazing fiber artist and a member of Sulky’s Designer Endorsement Program. See more of her work on her website KWFiberart.com
Have you ever wanted to dabble with designing your own fabric?
Sulky Cut-Away Plus™ makes a great foundation, or substrate, for surface design techniques that are normally reserved for 100% cotton PFD (Prepared for Dye) fabrics. It retains colors well and maintains a soft hand so the possibilities are almost limitless!
Today, I’m going to show you how to monoprint on Cut-Away Plus with acrylic craft paints. I warn you…if you try this yourself, proceed with caution….this can be ADDICTIVE!!!!
First, let’s go over some terminology. Monoprinting, as the name implies, makes one unique print, compared to other forms of printing which allow for multiples of the same image. Any smooth surface, such as glass or acrylic can be used for the printing plate. For this technique, the plate is made out of gelatin.
You can purchase gelatin plates, ready to use, or make your own, which is what I prefer to do. There are all sorts of recipes available on the web, but I use one that includes glycerin so it doesn’t require refrigeration (here’s the link to the one I use). I bought my glycerin and gelatin on Amazon to cut the price down. If you want to try this technique, I encourage you to research the options and pick what works for you.
Here’s what I used:
Sulky Cut-Away Plus
Home-made gelatin plate
Foam brushes
Hard rubber brayer (not absolutely necessary, but definitely helpful)
Acrylic craft paints
Foam texture sheets, sponges
Wooden stamps
Baby wipes
Paper plates for paint
A piece of parchment paper to protect my work surface
Water for thinning paint and cleanup
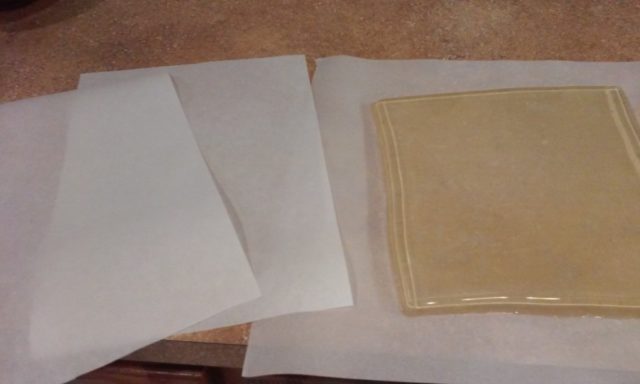
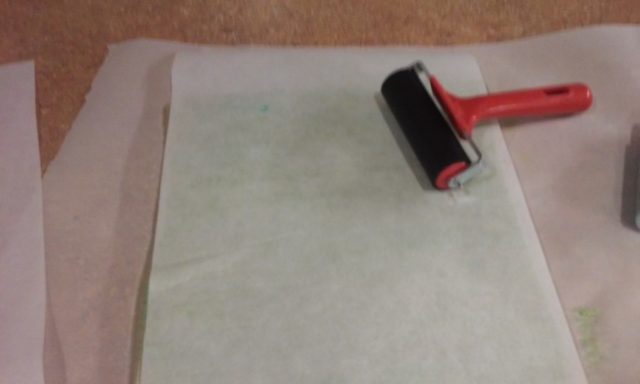
In the picture below, you can see that I have my gelatin plate on the parchment paper on my counter. Sheets of Cut-Away Plus are cut and ready to print while my paints and foam brushes are nearby.
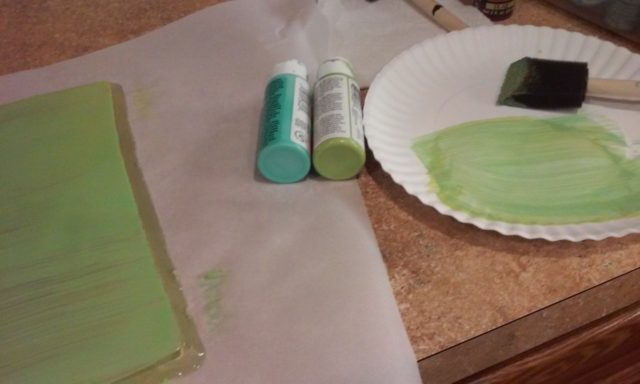
I wet a foam brush so that it had enough water to drip a few drops on a paper plate. Next, I squirted some paint on the plate and blended it with the brush.

Then I started brushing the paint on the gelatin plate. When you try this, don’t be afraid to mix some colors together. Have fun! Thinner coats of paint will dry more quickly and your brush strokes will be more visible.
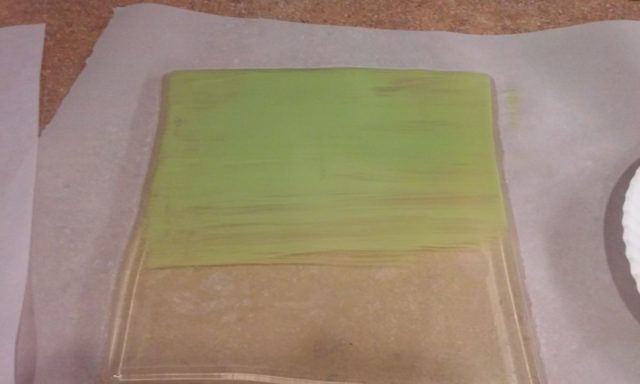
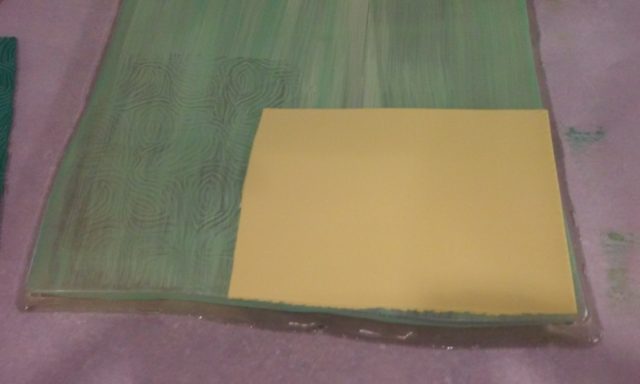
I continued brushing on the paint until the top of the gelatin plate was completely covered. In the picture below, you can see that I chose lime green and turquoise paints to blend together across the plate.
Now, it’s time for the first layer of printing! I gently placed one Cut-Away Plus sheet on top of the painted gelatin plate. I used a rubber brayer and rolled it gently across the surface to ensure a good print. You can also use a rolling pin or just pat the Cut-Away Plus evenly with your hands.
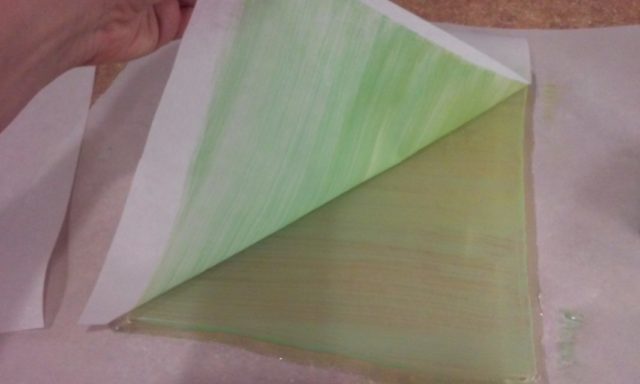
Now for the surprise! Starting at one corner, I gently lifted the sheet from the plate. You can see that some areas of the plate had more paint than others. Don’t worry! The randomness adds depth and texture to the print.
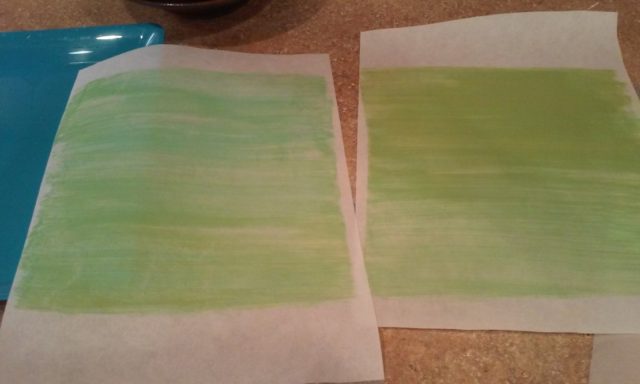
At this point, I could have cleaned off the plate with a baby wipe and started from scratch to make another print, but I didn’t. Instead, I decided that I wanted a “sister” print and repeated the process with the left over paint I had on the paper plate. Even though, I used the same colors and process, the results are different. That’s the beauty of monoprinting!
Now, I had a decision to make. How many layers did I want the print to have? That answer may vary from project to project. The more colors and textures you add, the more depth your print will have. I decided to keep layering on the same sheets of Cut-Away Plus and rather than cleaning the gelatin plate off, I brushed on some white paint.
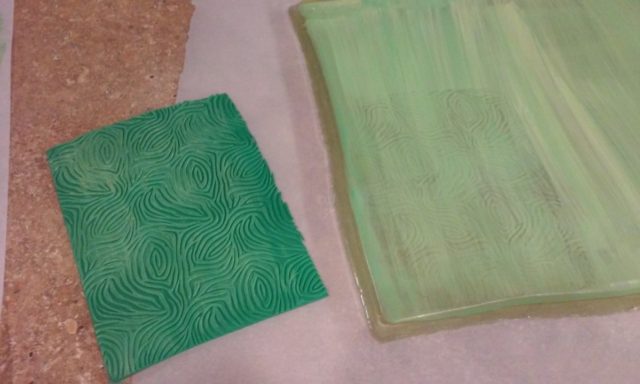
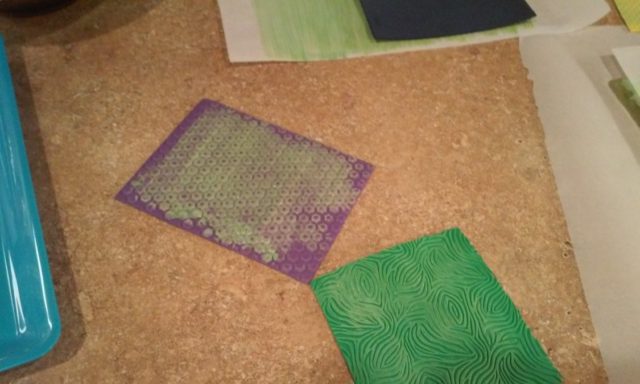
Next, I used some embossed foam sheets I have and gently pressed them on the top of the gelatin plate.
I repeated this process around the entire gelatin plate with different patterns. The foam sheets pulled some of the paint off of the gelatin plate (which is what they are supposed to do) so I used those as stamps on one of my Cut-Away Plus prints.
Next, I gently placed the other Cut-Away Plus print face down on the gelatin plate. This sounds tricky, but it isn’t hard to line it up on the previous print because you can see through the Cut-Away Plus. I rolled the brayer across and here’s what I found when I lifted the print:
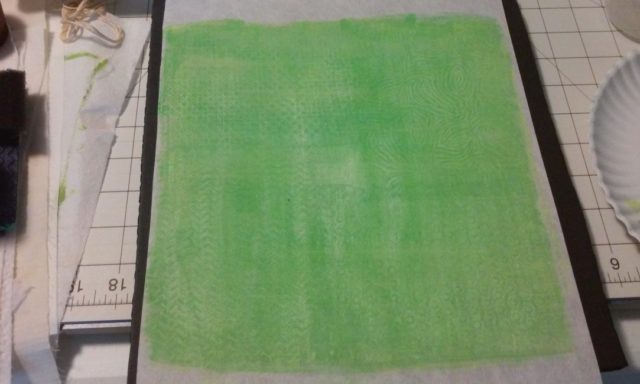
And here is the other one:
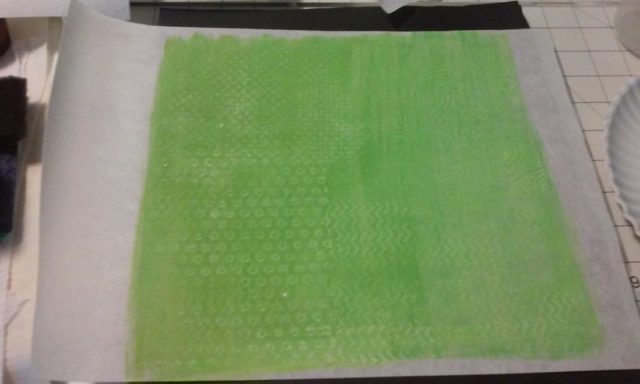
The prints do look very similar, as they should, but they are not identical. One has more bright green that is visible, while the other is more pastel. The patterns are also in different places and have different saturation levels.
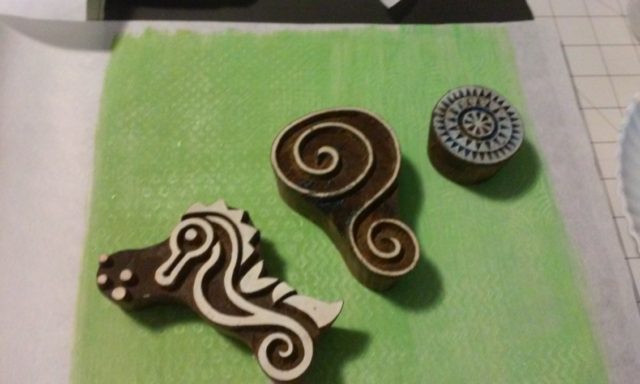
Even though I could have continued printing with the gelatin plate, I decided that I wanted to use some stamps to add some final depth to my prints. I pulled out some of my hand-carved wooden stamps and “interviewed” them for scale. I chose the circle stamp, so that it wouldn’t overwhelm my prints.
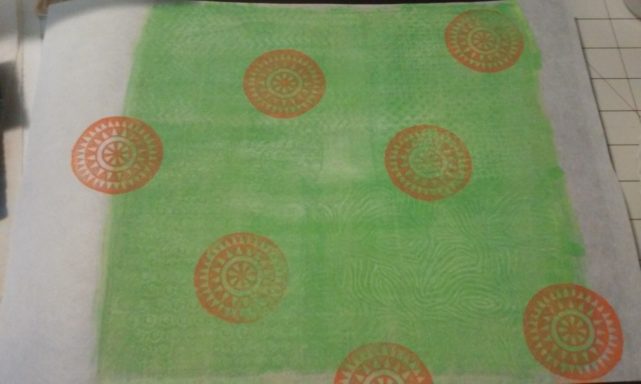
I applied some orange acrylic paint with a sponge and stamped randomly across both prints. You will notice that I stamped off the edges of my print and that was on purpose. I like random patterns to really look random. When I cut these prints down, the orange circles will not be “fenced in” by the green square. Instead they will float off the page.
Here’s the first one:
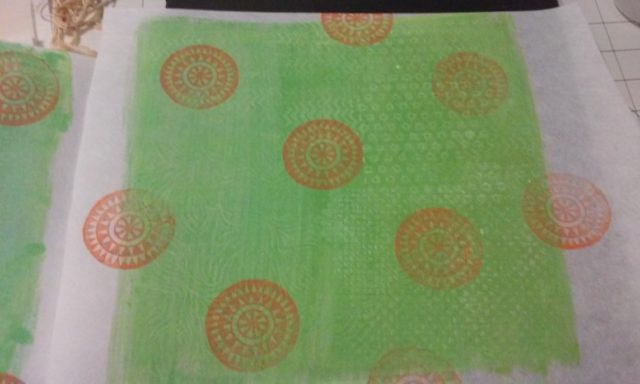
And the sister:
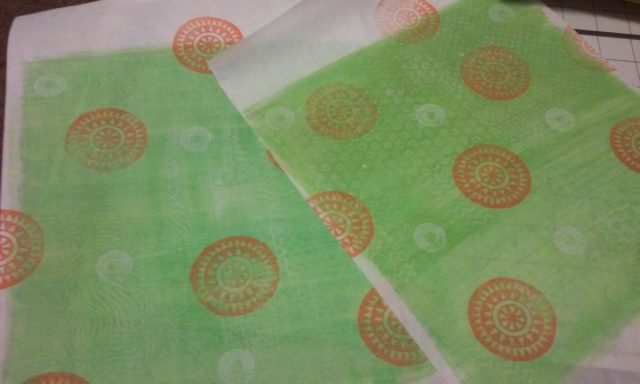
I decided that they needed something else, so I used an empty spool as a stamp and some white paint for the final element. The physical texture of the paint on the Cut-Away Plus is amazing…almost like velvet! Here are the finished prints:
Now what? What will I do with them?
Make a quilt? Probably not. Instead, I have thought about turning them into journal or needle book covers. I might even cut them up into squares and sew them back together for some added interest and use them as a background for a modern wall hanging. Oh, wait! I could use some Sulky 12 Wt. Cotton Petites and do some of my favorite hand embroidery stitches on them too! That decision will have to wait, because for now, I’m just enjoying the process. And if you’ll excuse me, I’m off to make some more prints! 🙂

Related
You May Also Like
Embroidered Napkins for National Hamburger Day
May 28, 2022
Backpack Charms for Back to School Gifts
July 22, 2021
One Comment
Kim H
Wow! I love this blog!!! Thank you for the info, as I am into developing my surface design techniques. Off to find the recipe for the gelatin!