Cork Fabric Envelope Tutorial
the perfect Valentine’s Day gift for anyone on your list!
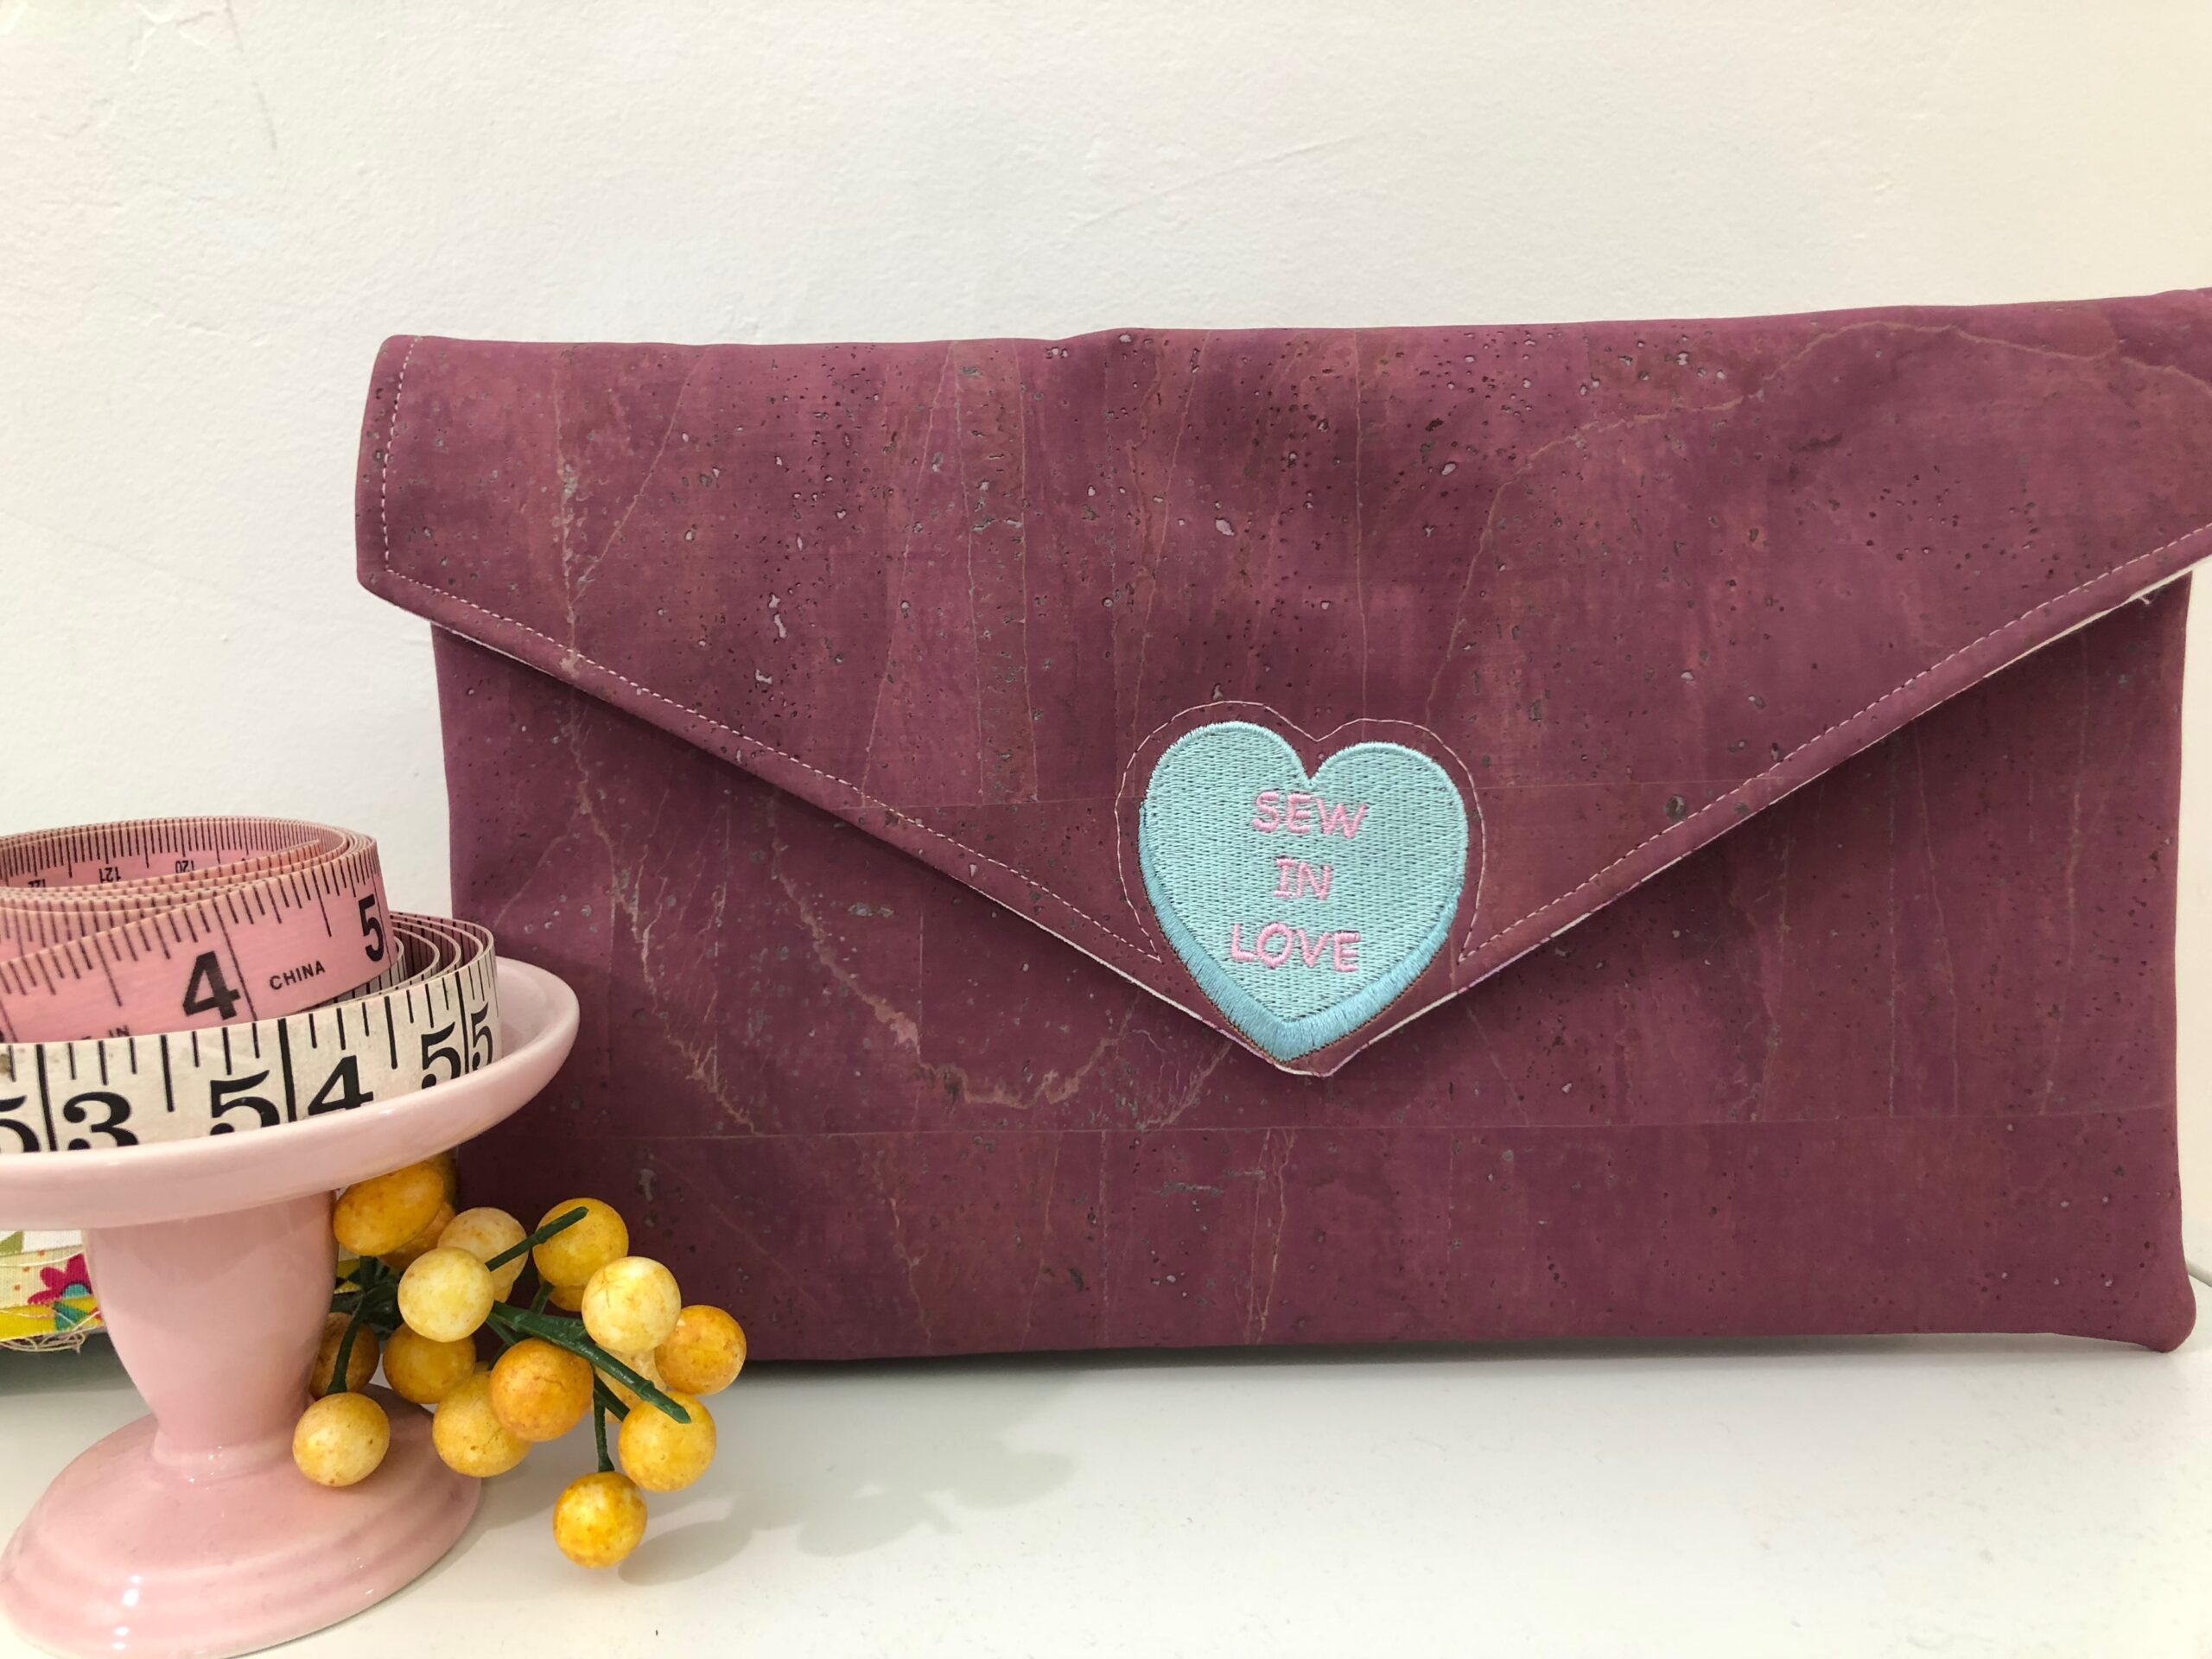
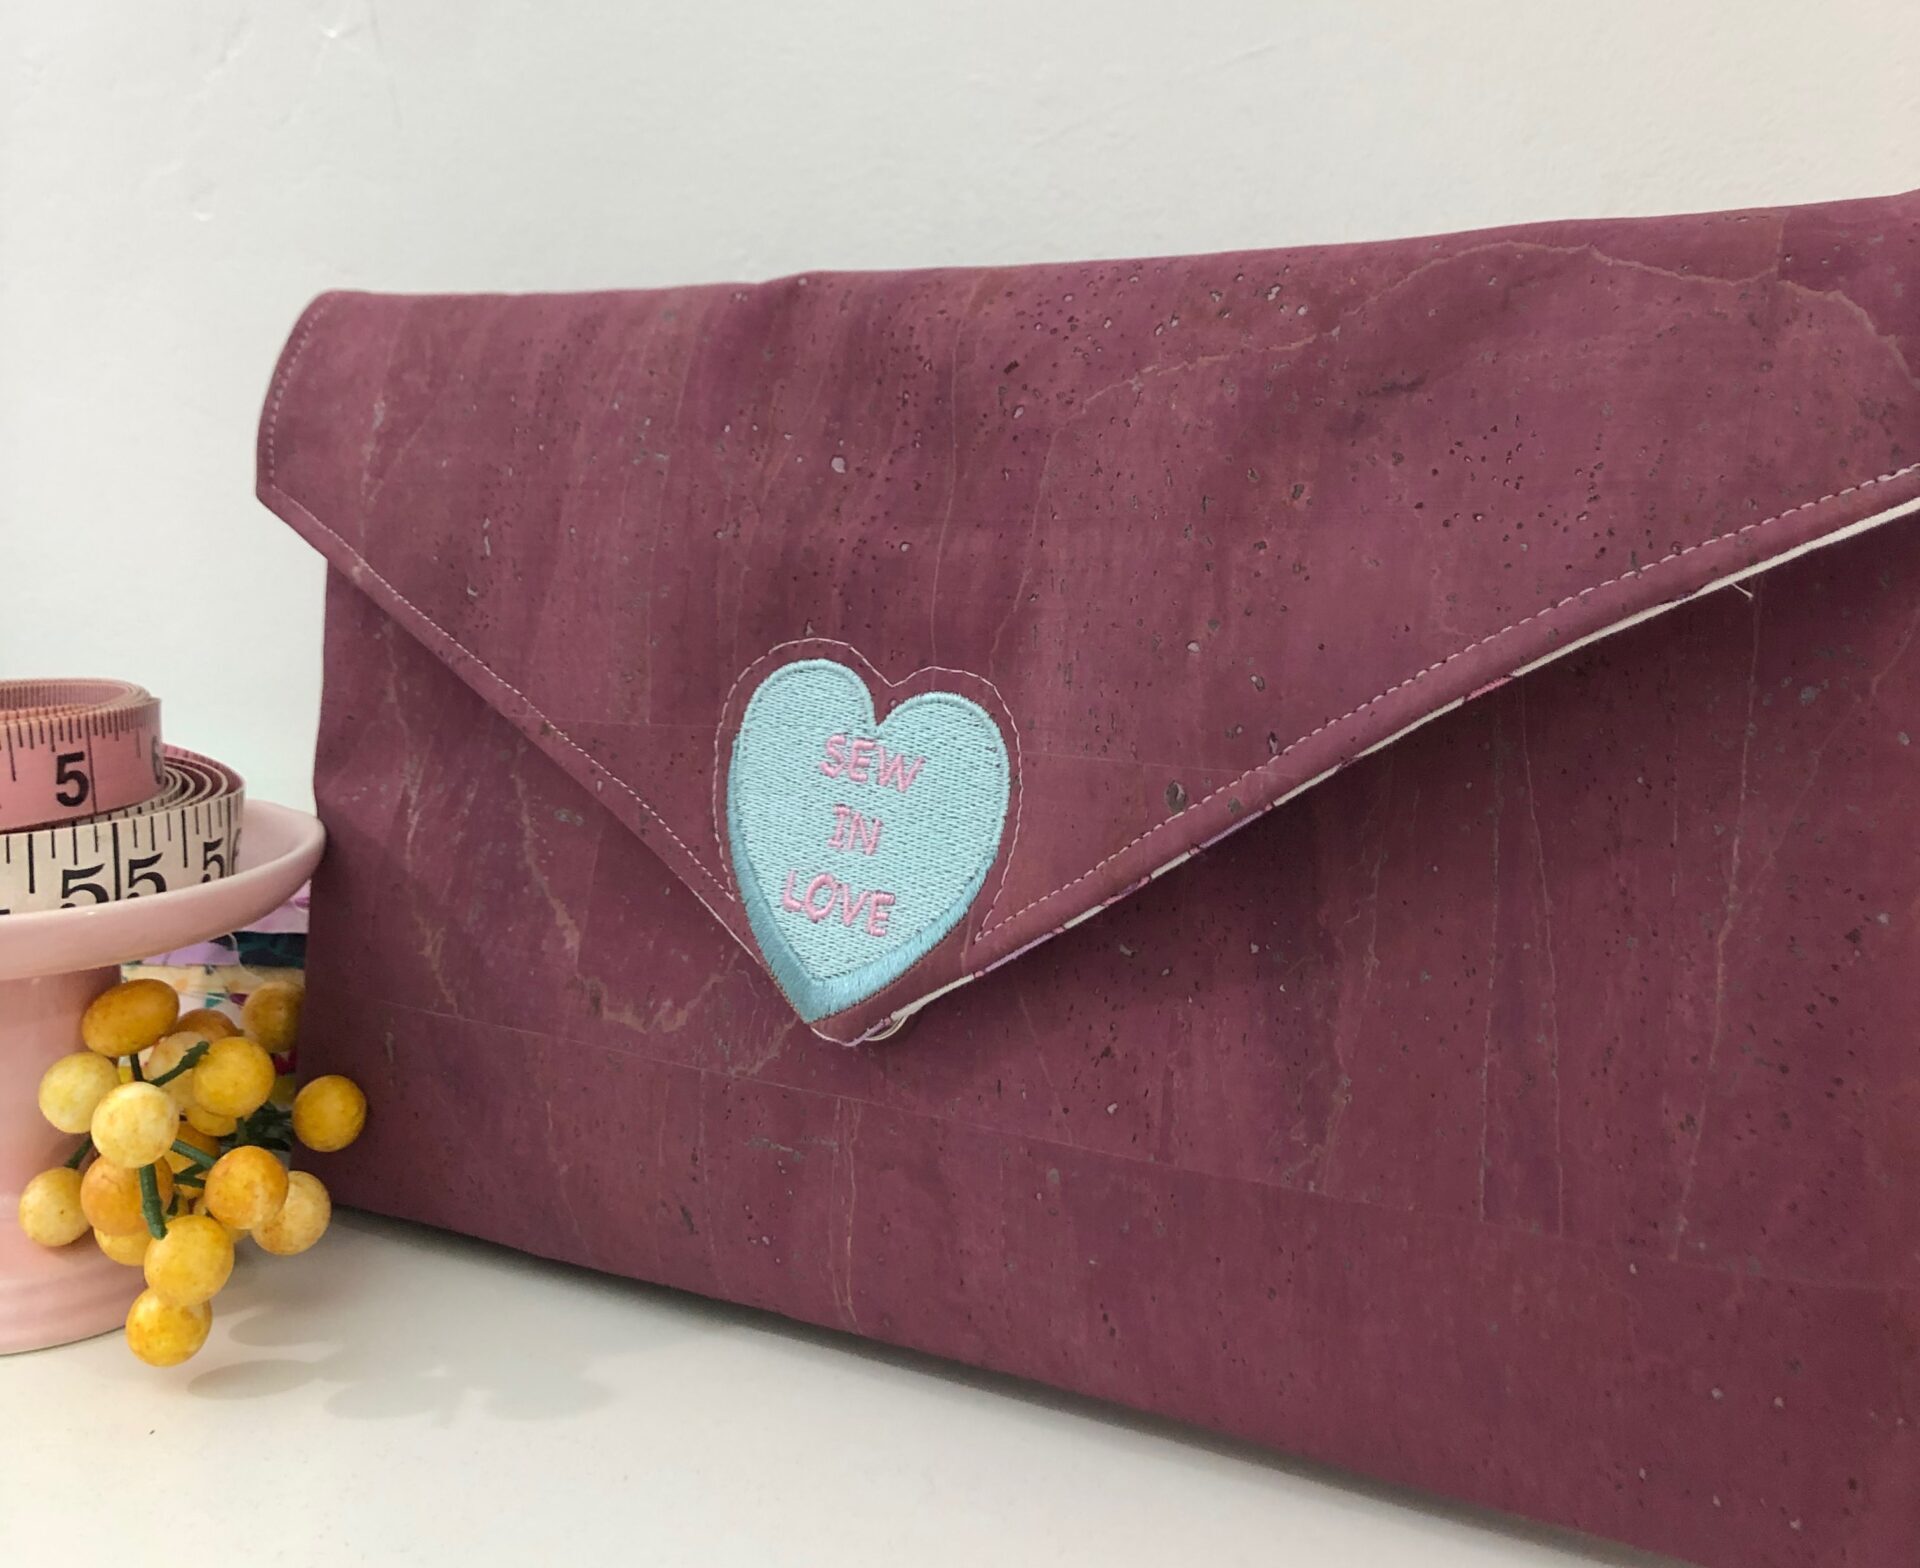
Create a cork fabric envelope with magnetic closure to keep your Valentine cards and candy organized. This project also makes a great simple clutch to use after the holiday ends. Choose a fun heart-themed print for the interior lining or go with another motif that suits the recipient’s interests. Add our Conver”sew”tion Hearts embroidery designs to the exterior for a cheeky, fun nod to the chalky candies everyone loves this time of year.
approximate size: 7″ x 11 1/2″ (folded)
FABRIC ENVELOPE SUPPLIES
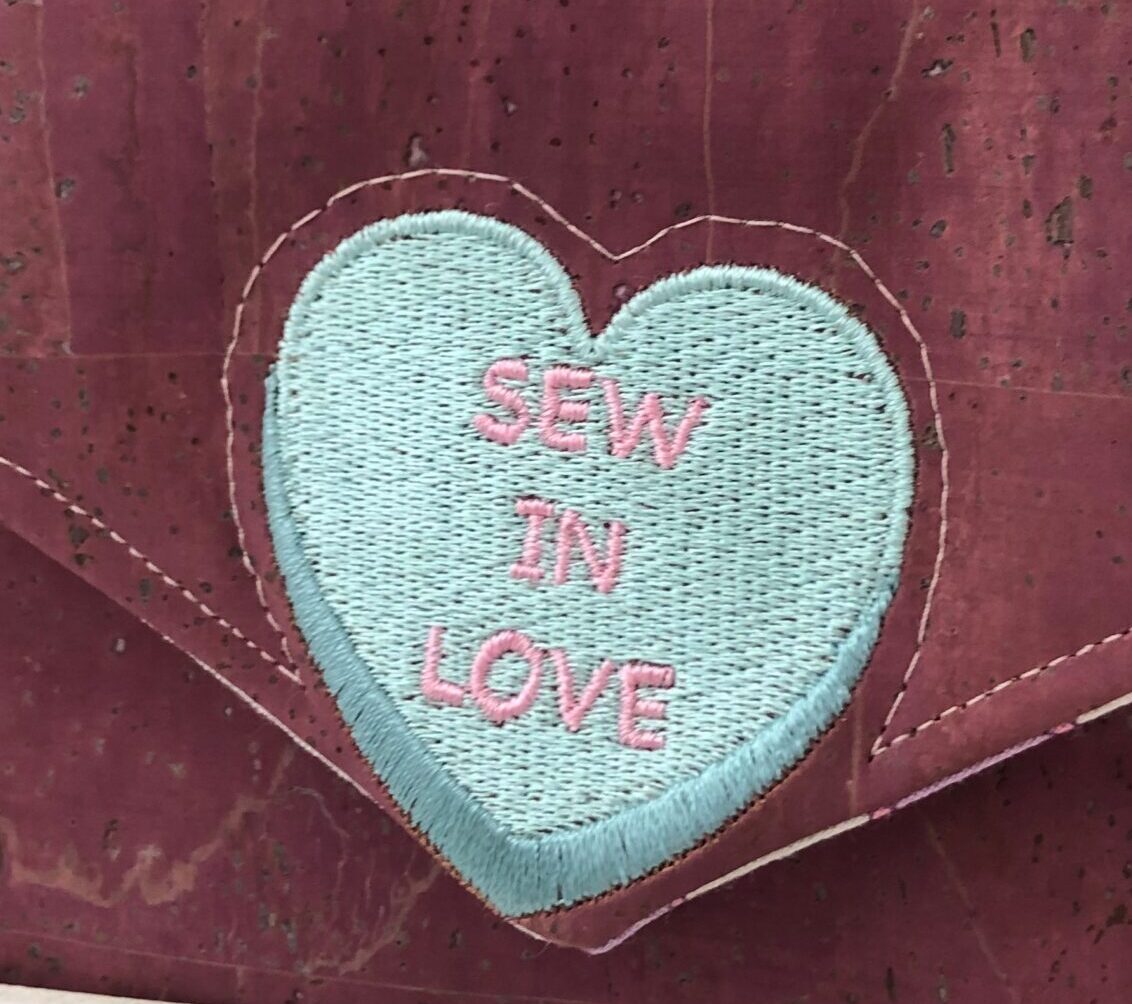
- Sulky Conver”sew”tion Hearts Machine Embroidery Palette (includes 20 designs and 10 Sulky Rayon Threads; featured design is “Sew in Love” in the traditional style)
- 13″ x 22″ rectangle each of cork fabric & fleece interlining or low-loft batting
- 1/4 yard of cotton lining fabric
- Sulky Poly Deco Thread (construction)
- Sulky Bobbin Thread (embroidery)
- Size 80/12 Organ® Microtex Needles
- Sulky Stiffy Stabilizer
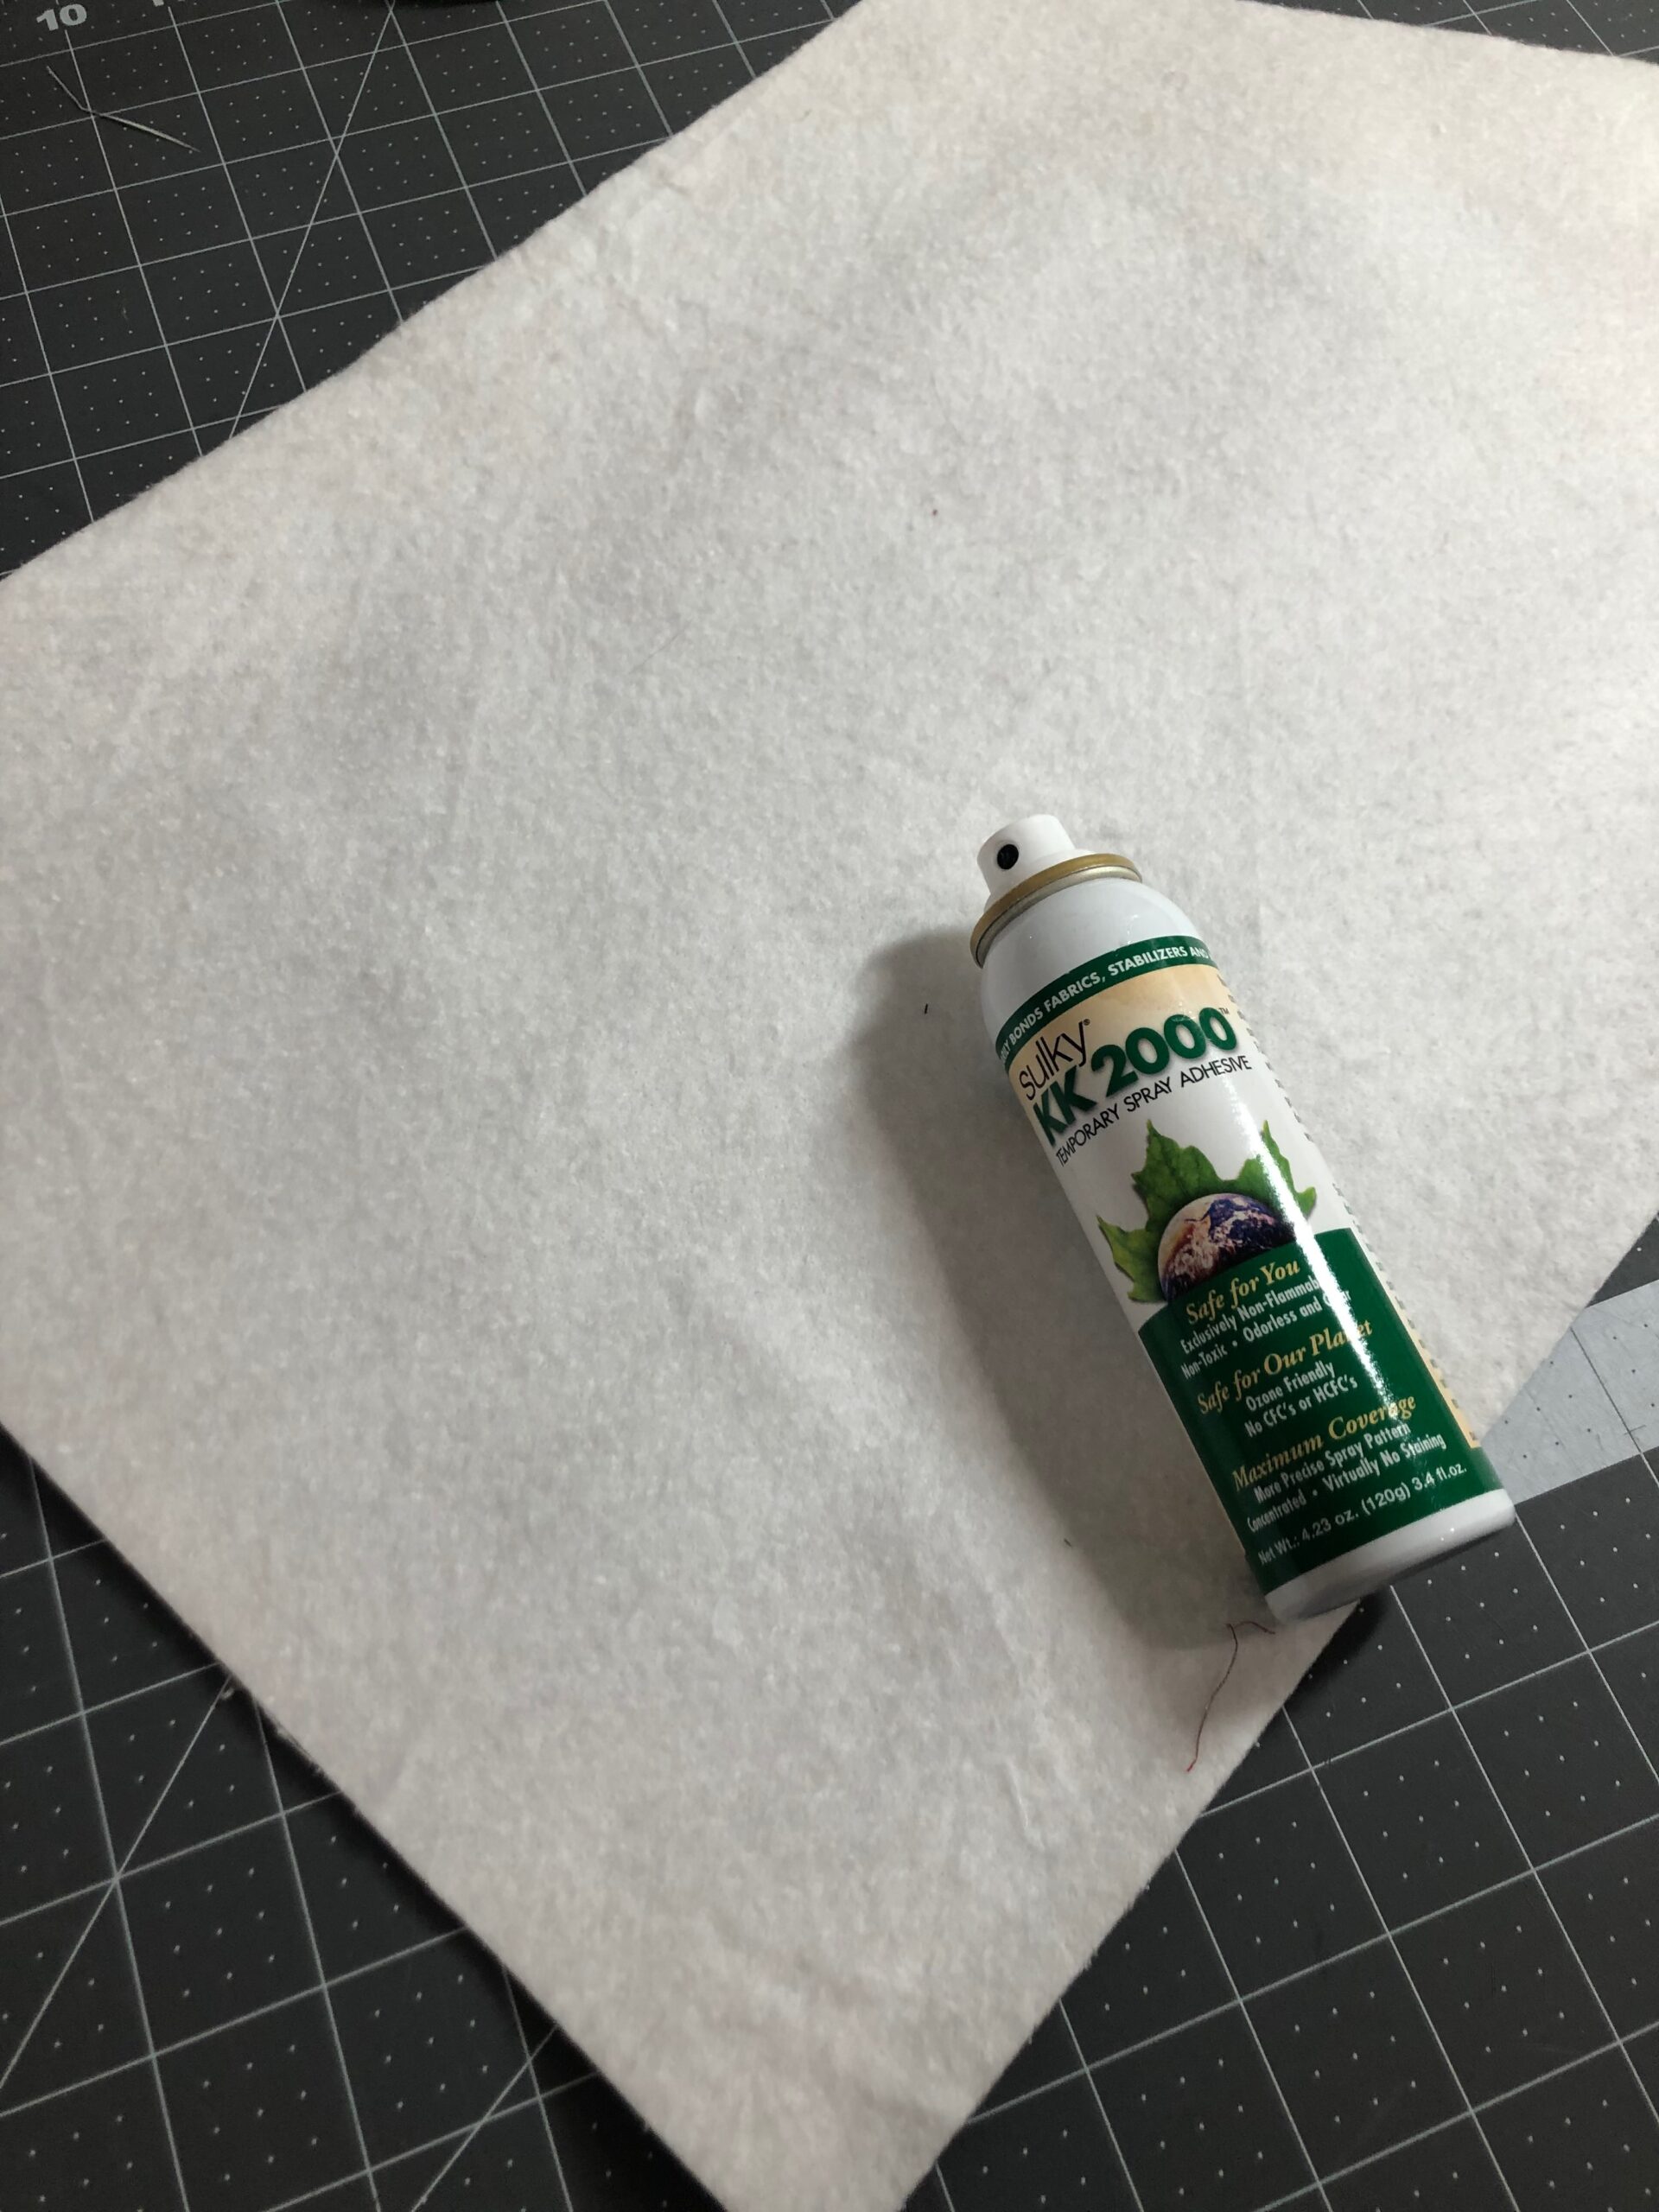
- KK 2000 Temporary Spray Adhesive
- Magnetic snap
- Olfa® Touch Knife
- Curved Tip Squeezers
- Patternmaking supplies (paper, clear tape, clear ruler & pencil)
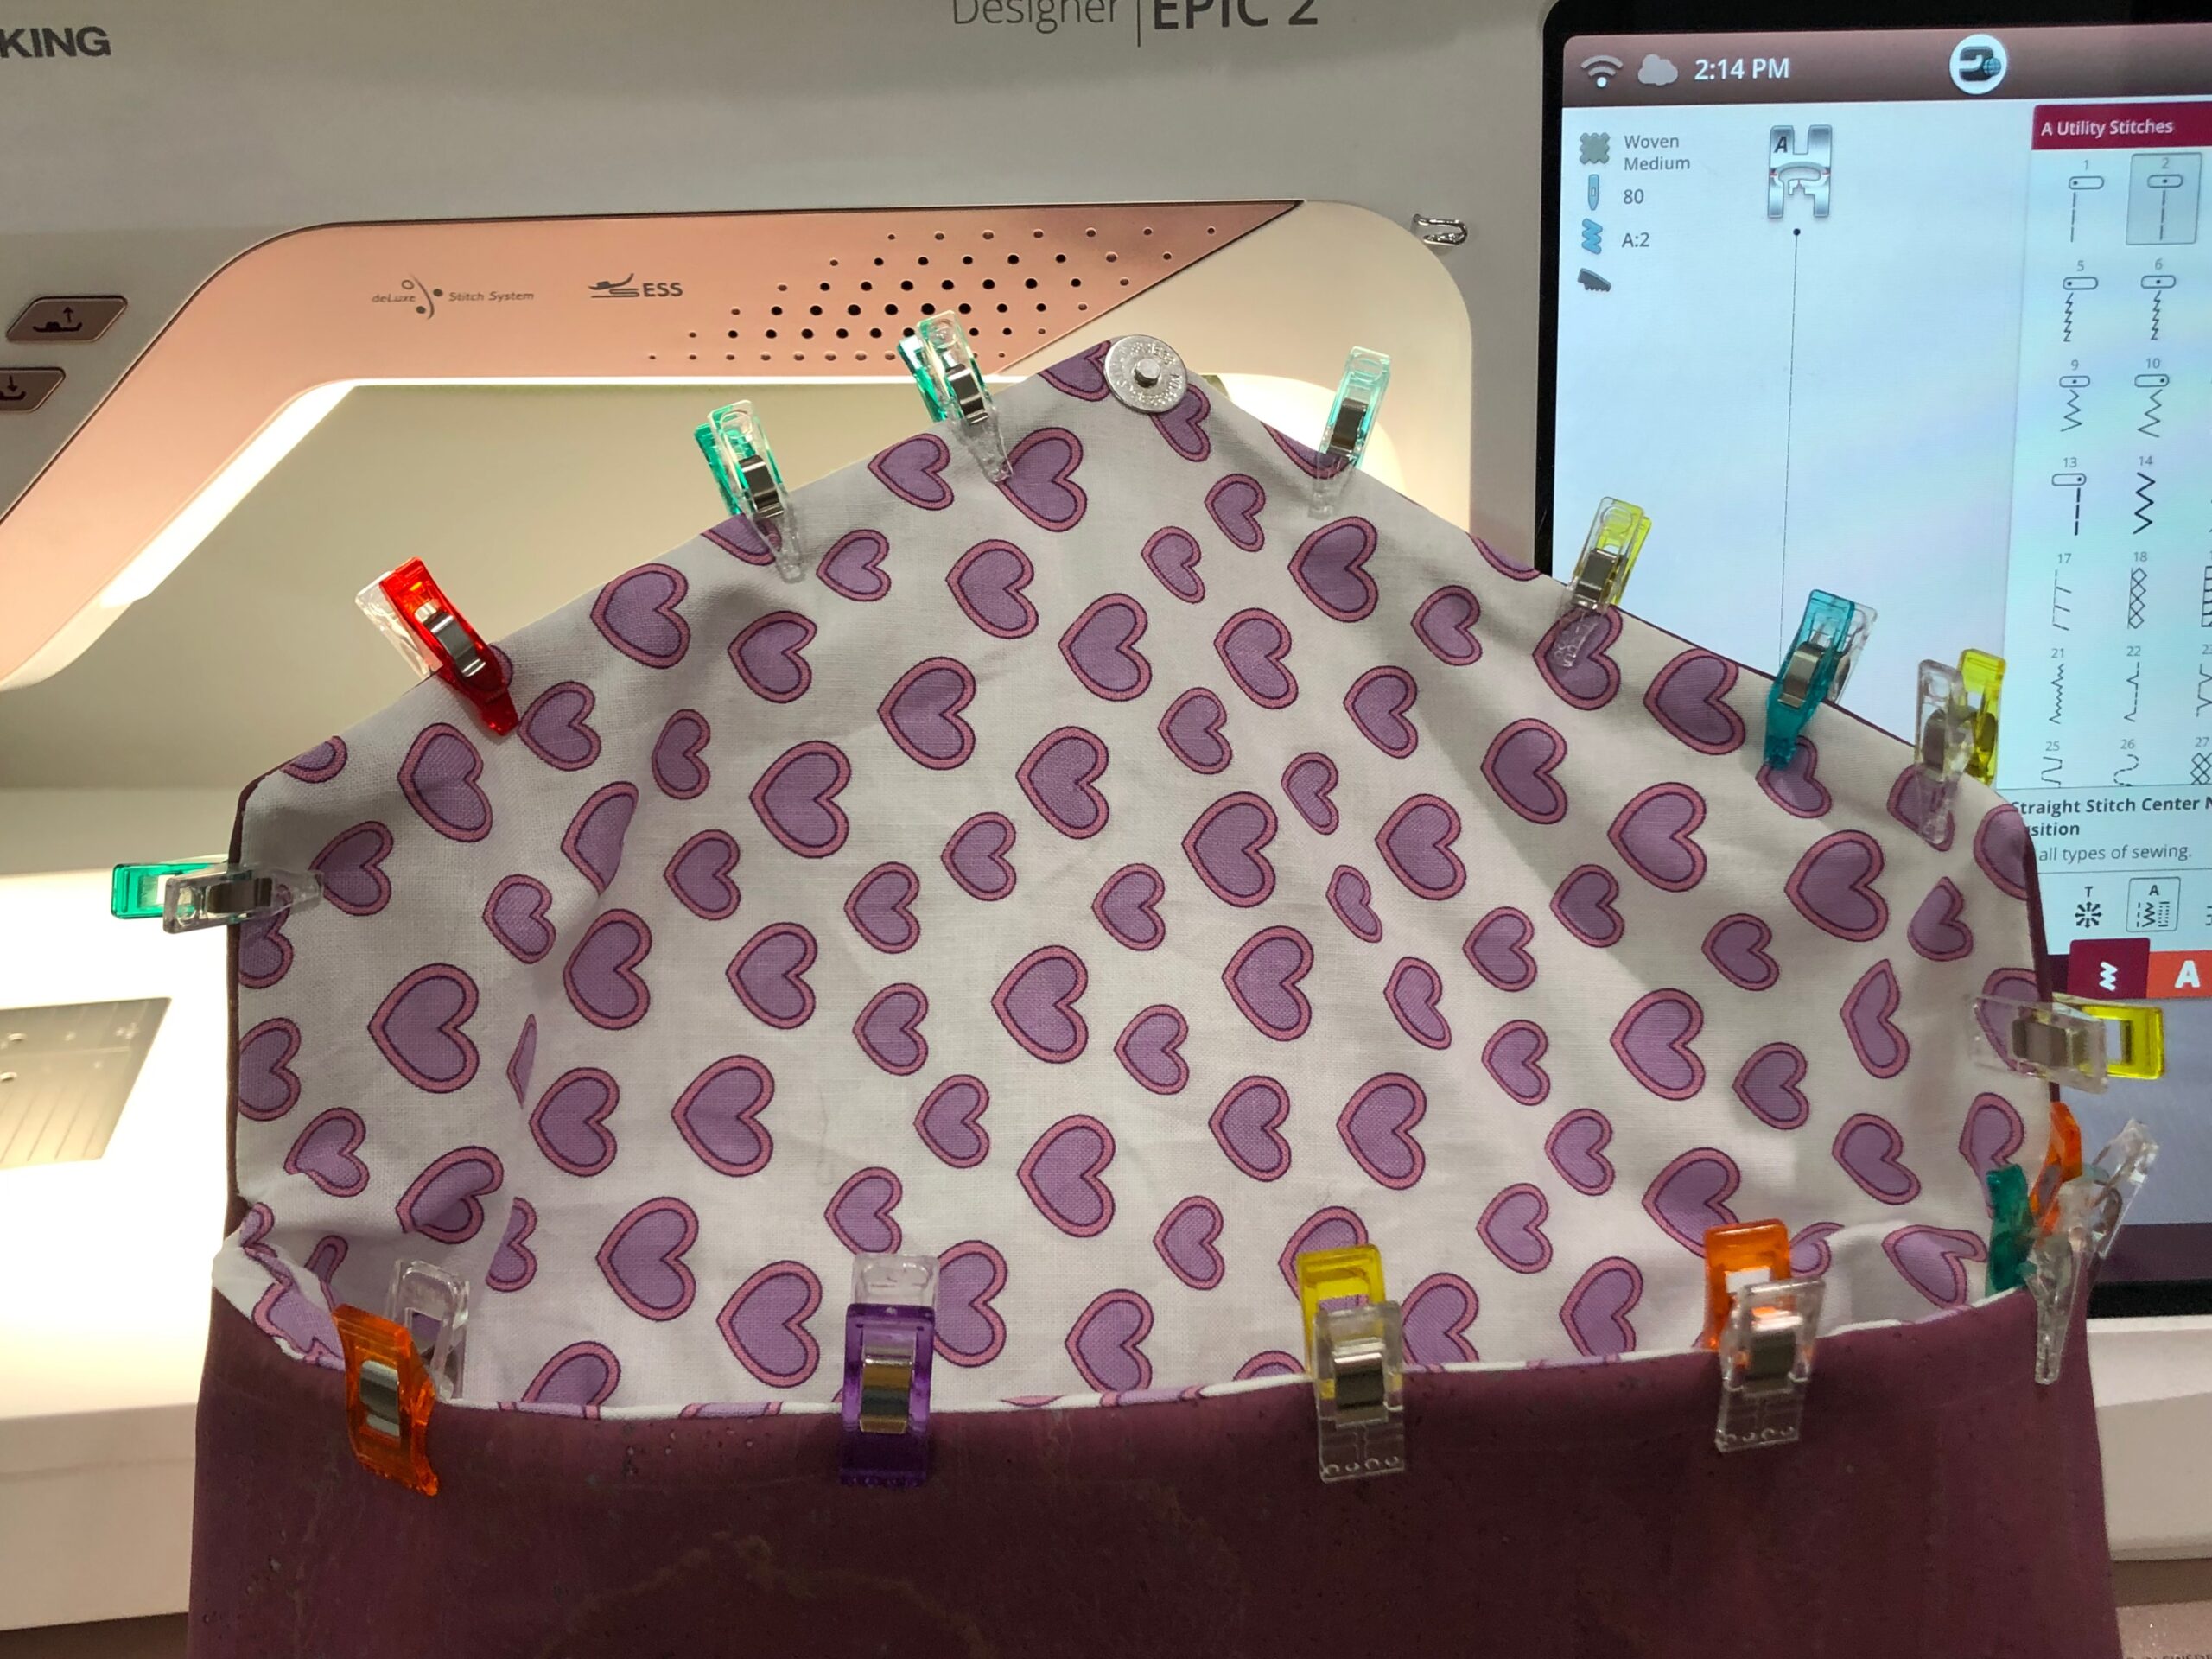
- Clover® Wonder Clips
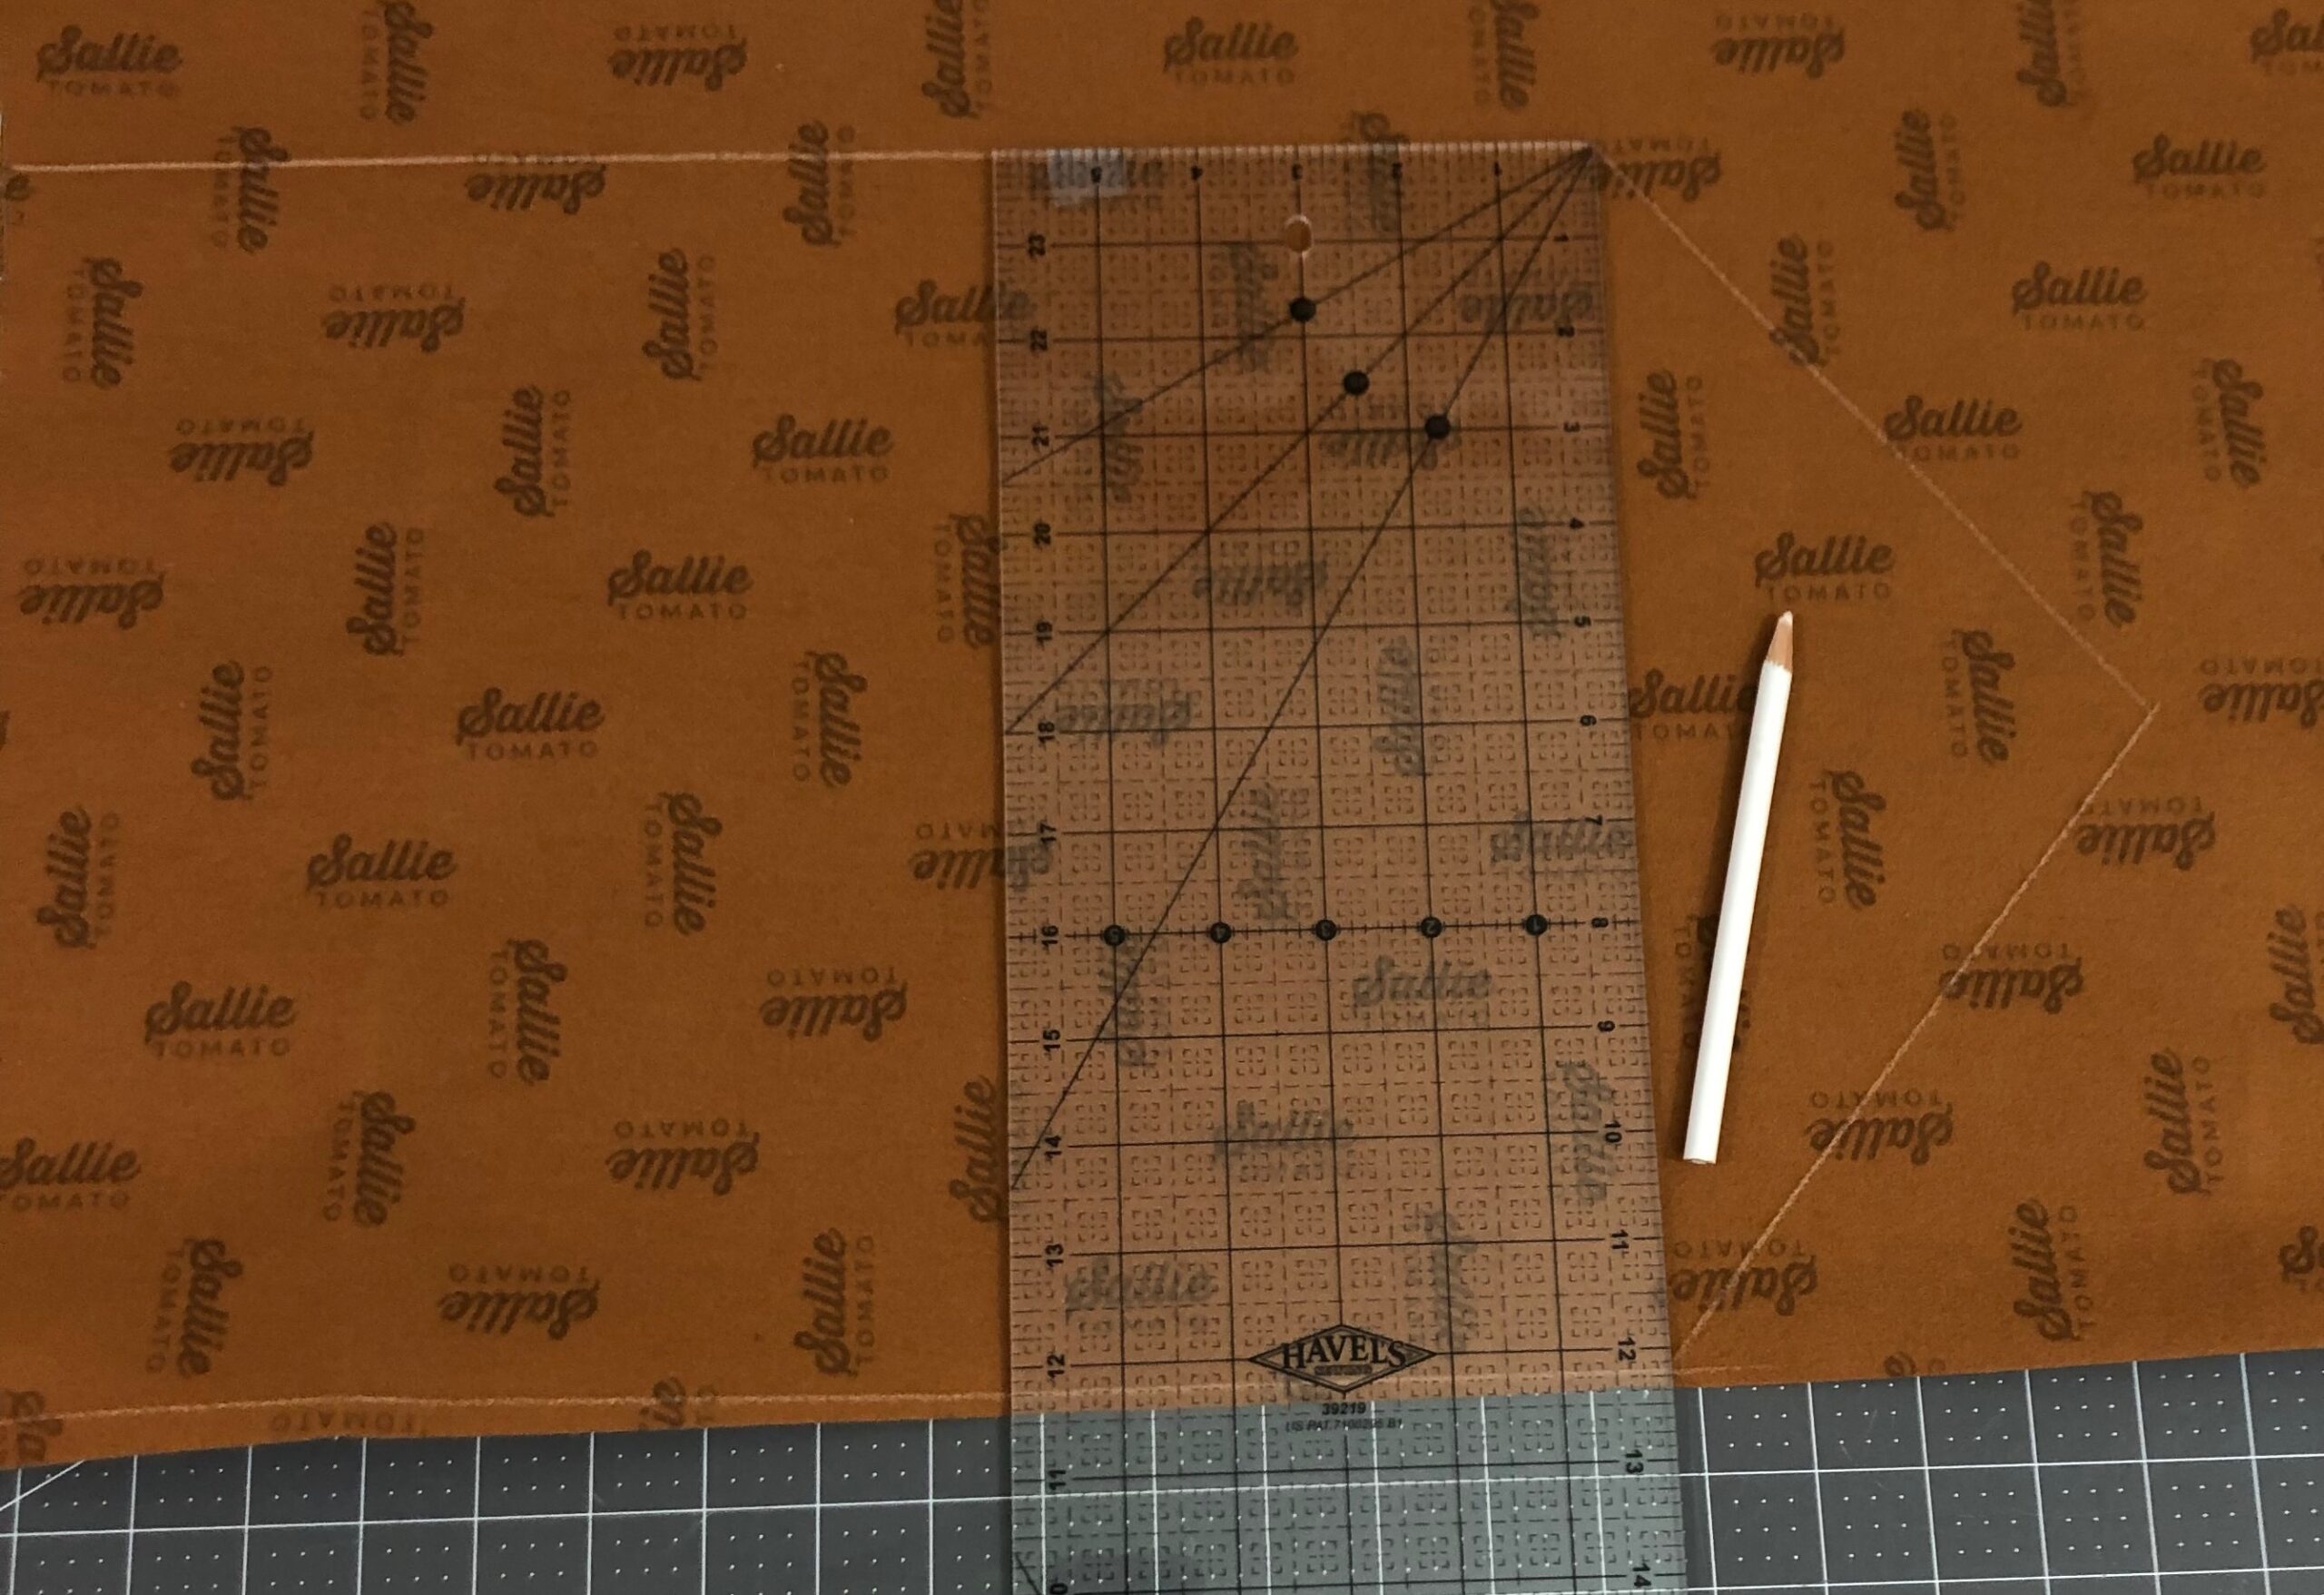
ENVELOPE PATTERNING
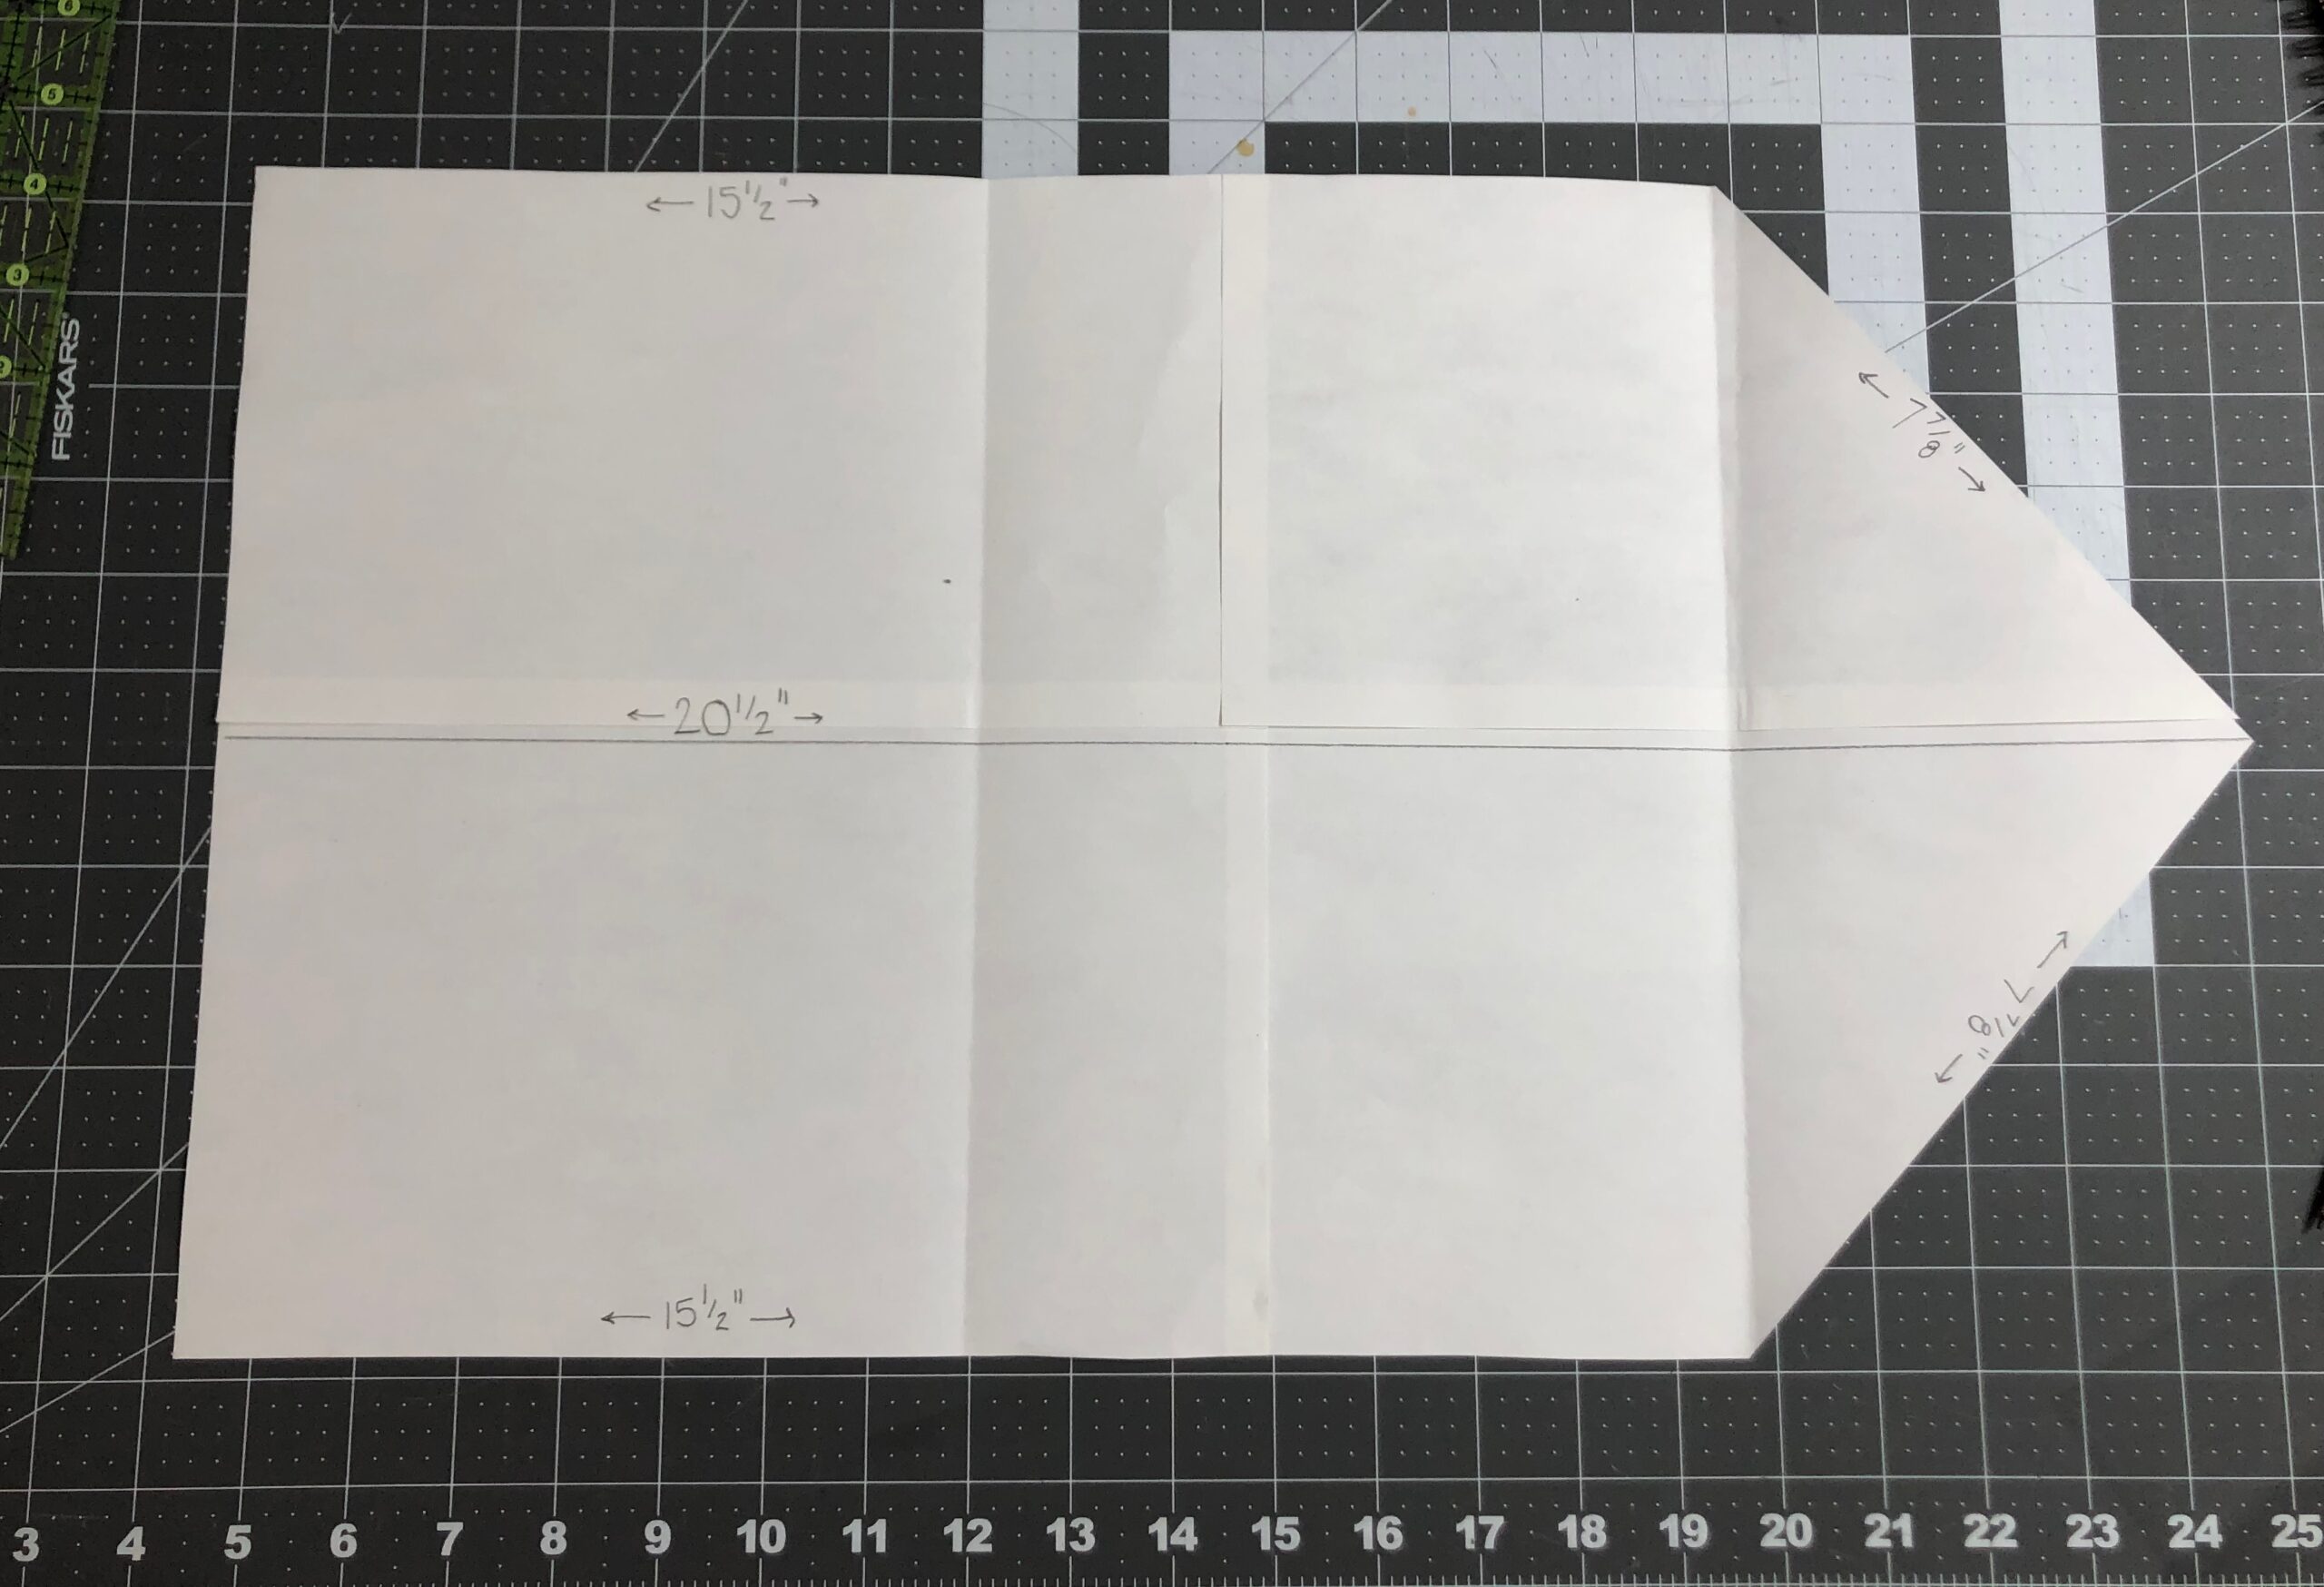
Tape together four sheets of paper, overlapping each sheet slightly and orienting them horizontally.
Draw a centered 12 1/4″-long vertical line along the left edge. Mark a dot at the center of the line.
From the dot, draw a 20 1/2″-long horizontal line.
At each vertical line end, draw a 15 1/2″-long horizontal line.
Connect the ends of the horizontal lines to create a triangle. This is the envelope flap. (The diagonal lines of the triangle measure approximately 7 7/8″.)
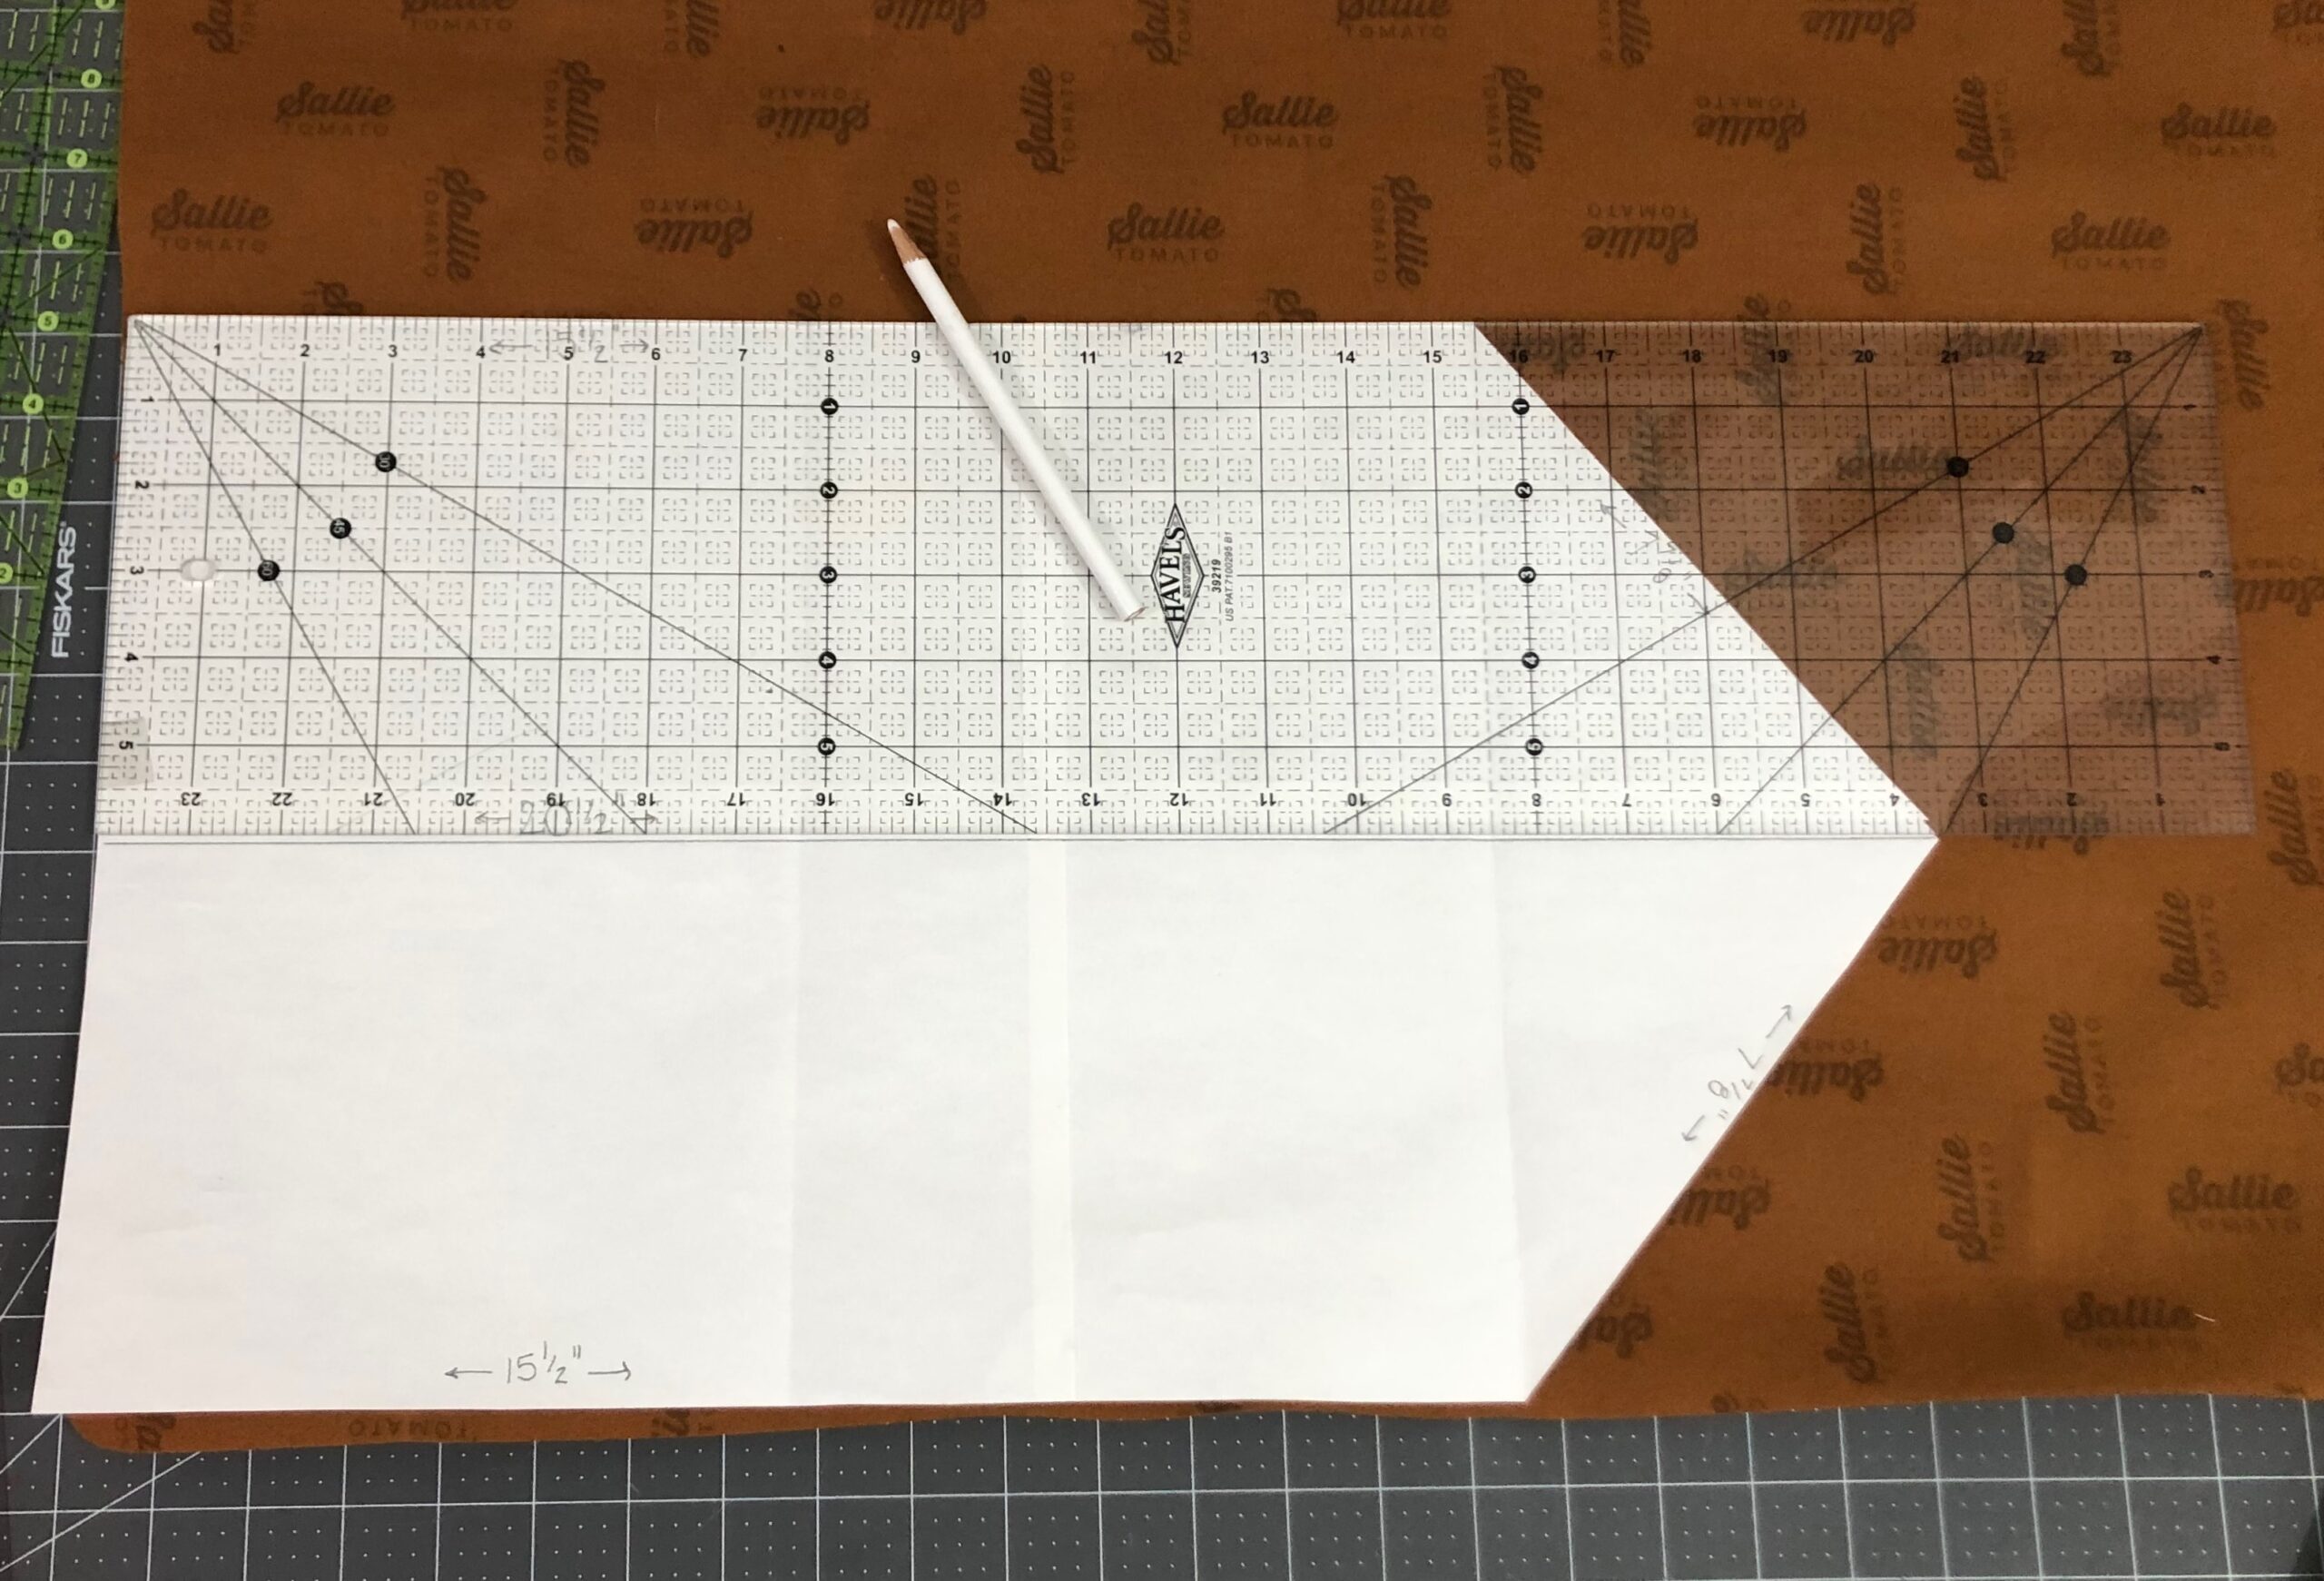
Cut out the pattern along the outer edges.
From the cork fabric, cut out one pattern.
EMBROIDERY & SNAP PLACEMENT
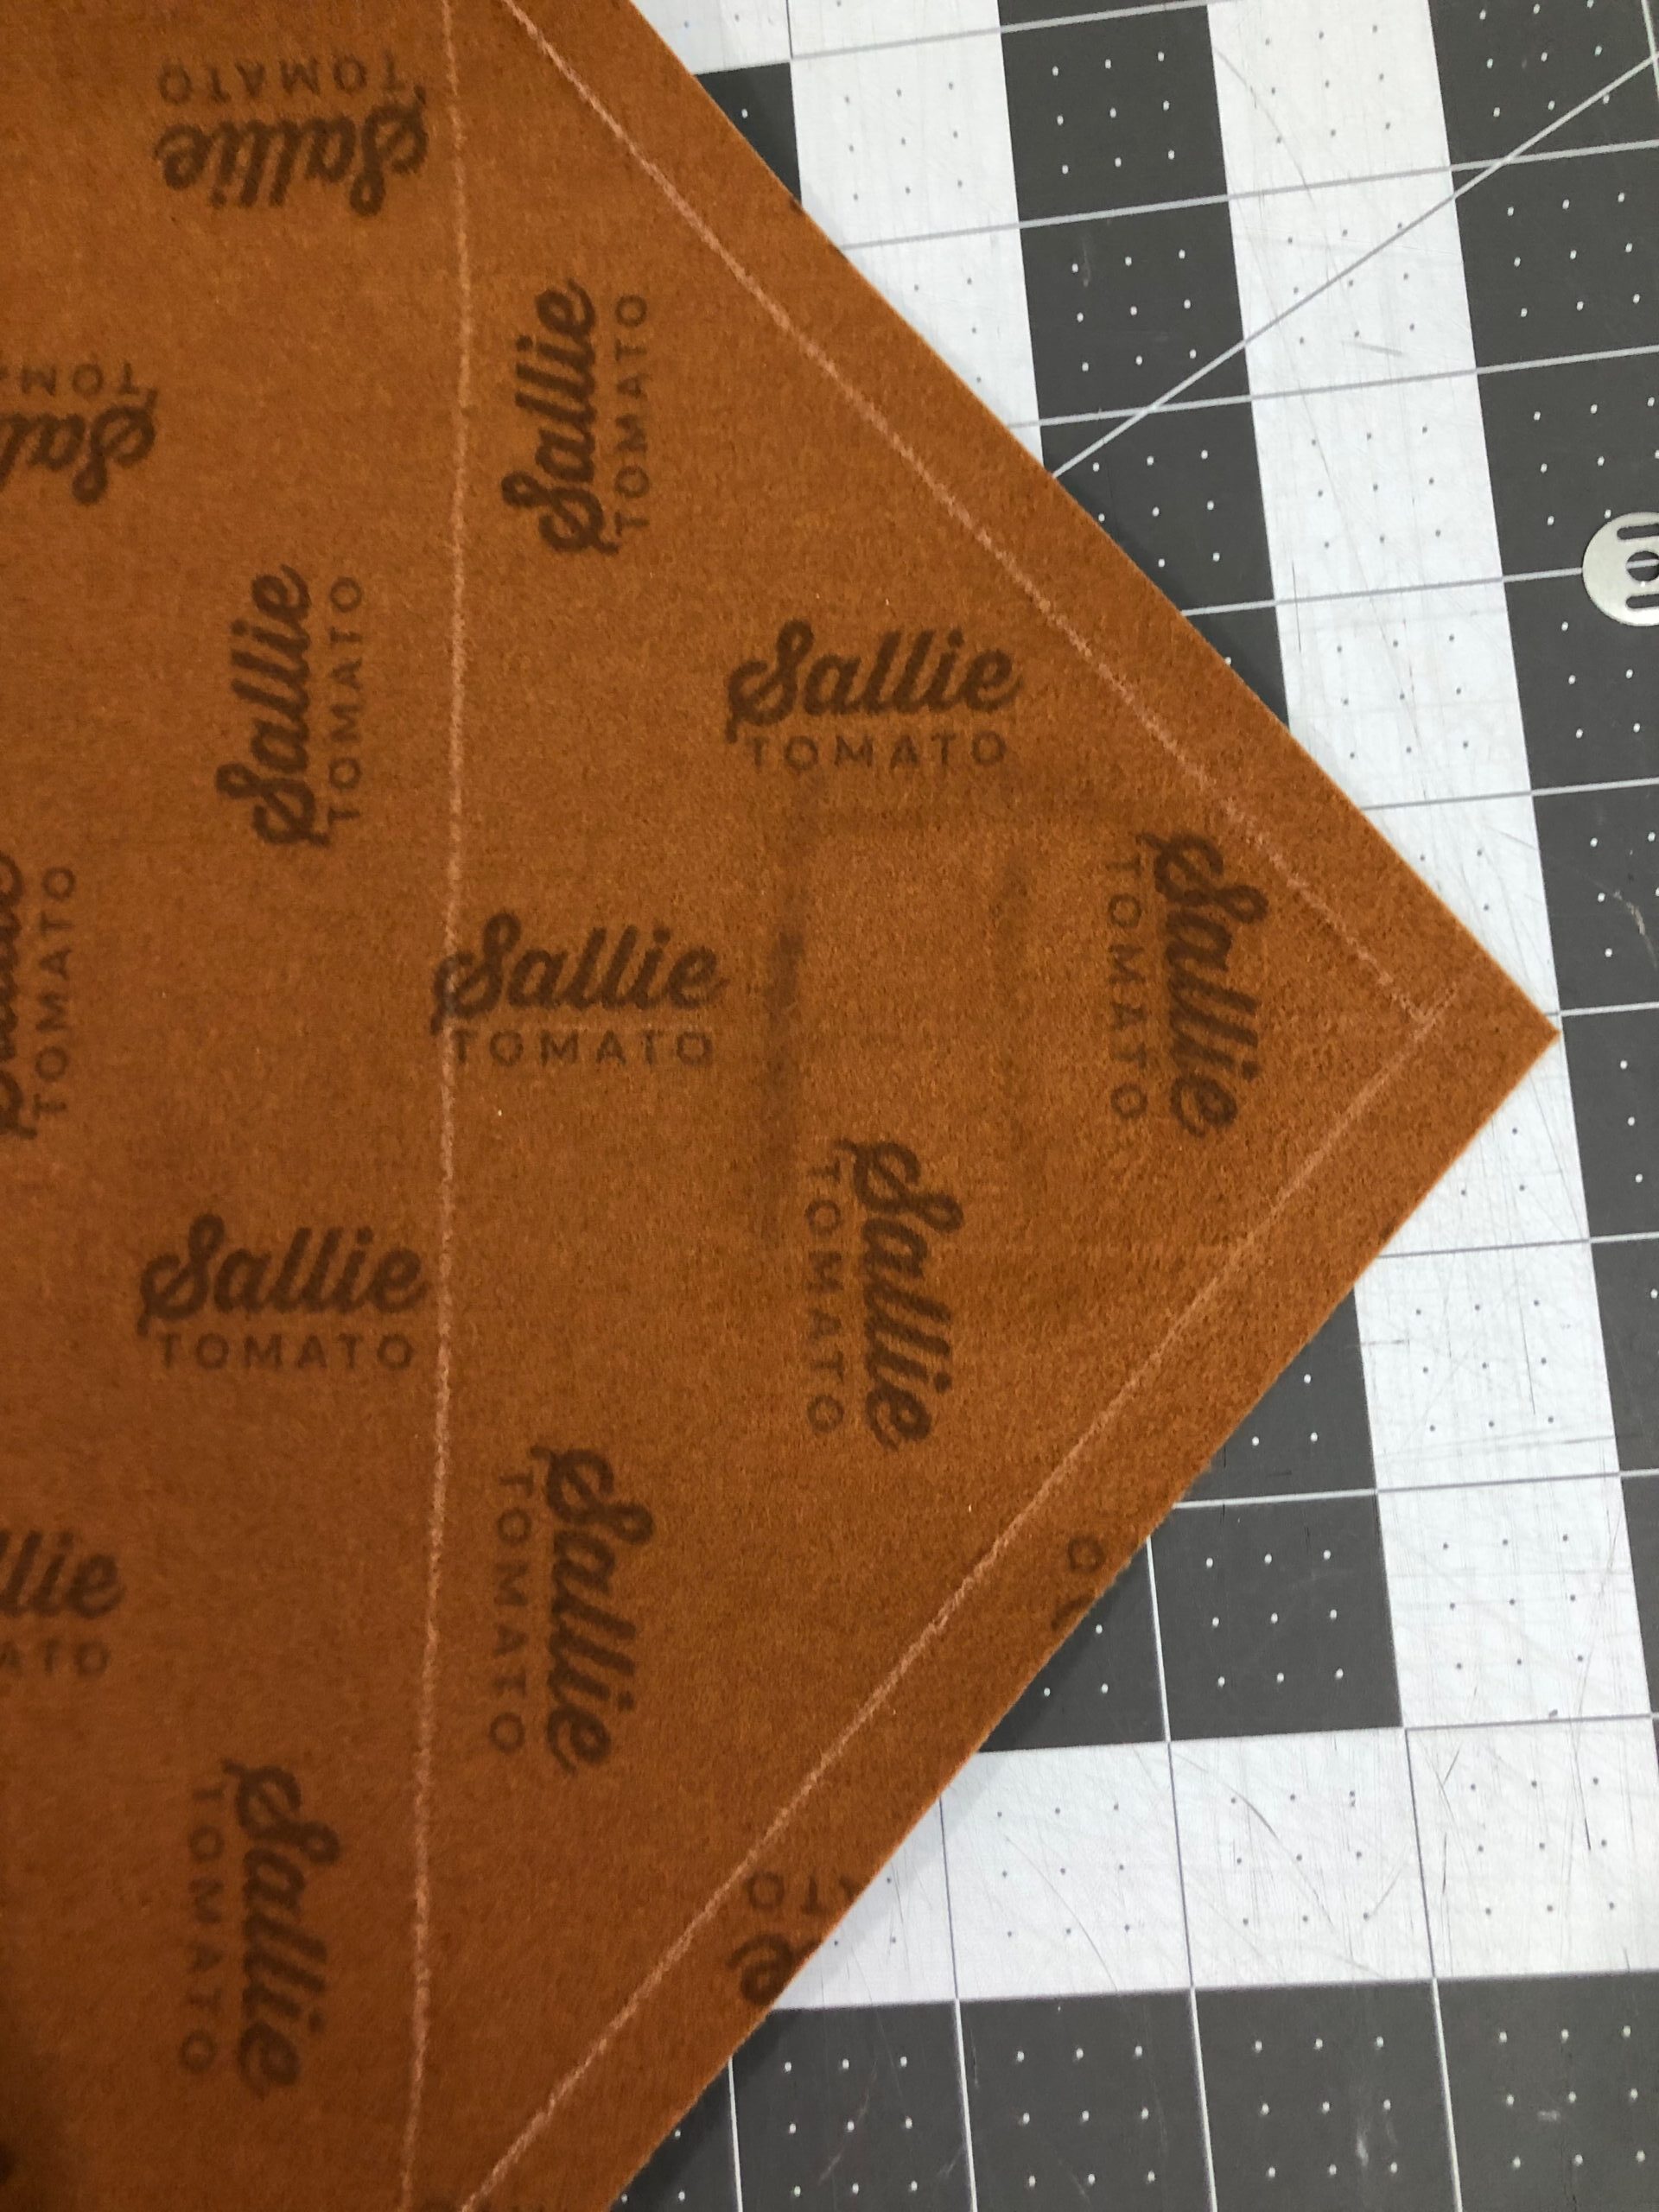
Use a removable fabric chalk pencil to mark on the cork envelope wrong side and lining envelope right side, denoting the embroidery and snap placements.
First, mark the flap foldline from the upper straight-edge corner to the lower straight-edge corner.
Then, mark the seam allowances on flap diagonal edges, 3/8″ from the edges.
Measure 1 3/4″ from the marked seam allowance corner and draw a centered 2″-long vertical line at the mark. Now, draw a 2″ square, using the previous mark as the square right edge. Draw two centerlines inside the square to denote the vertical and horizontal center point. This is the embroidery placement box.
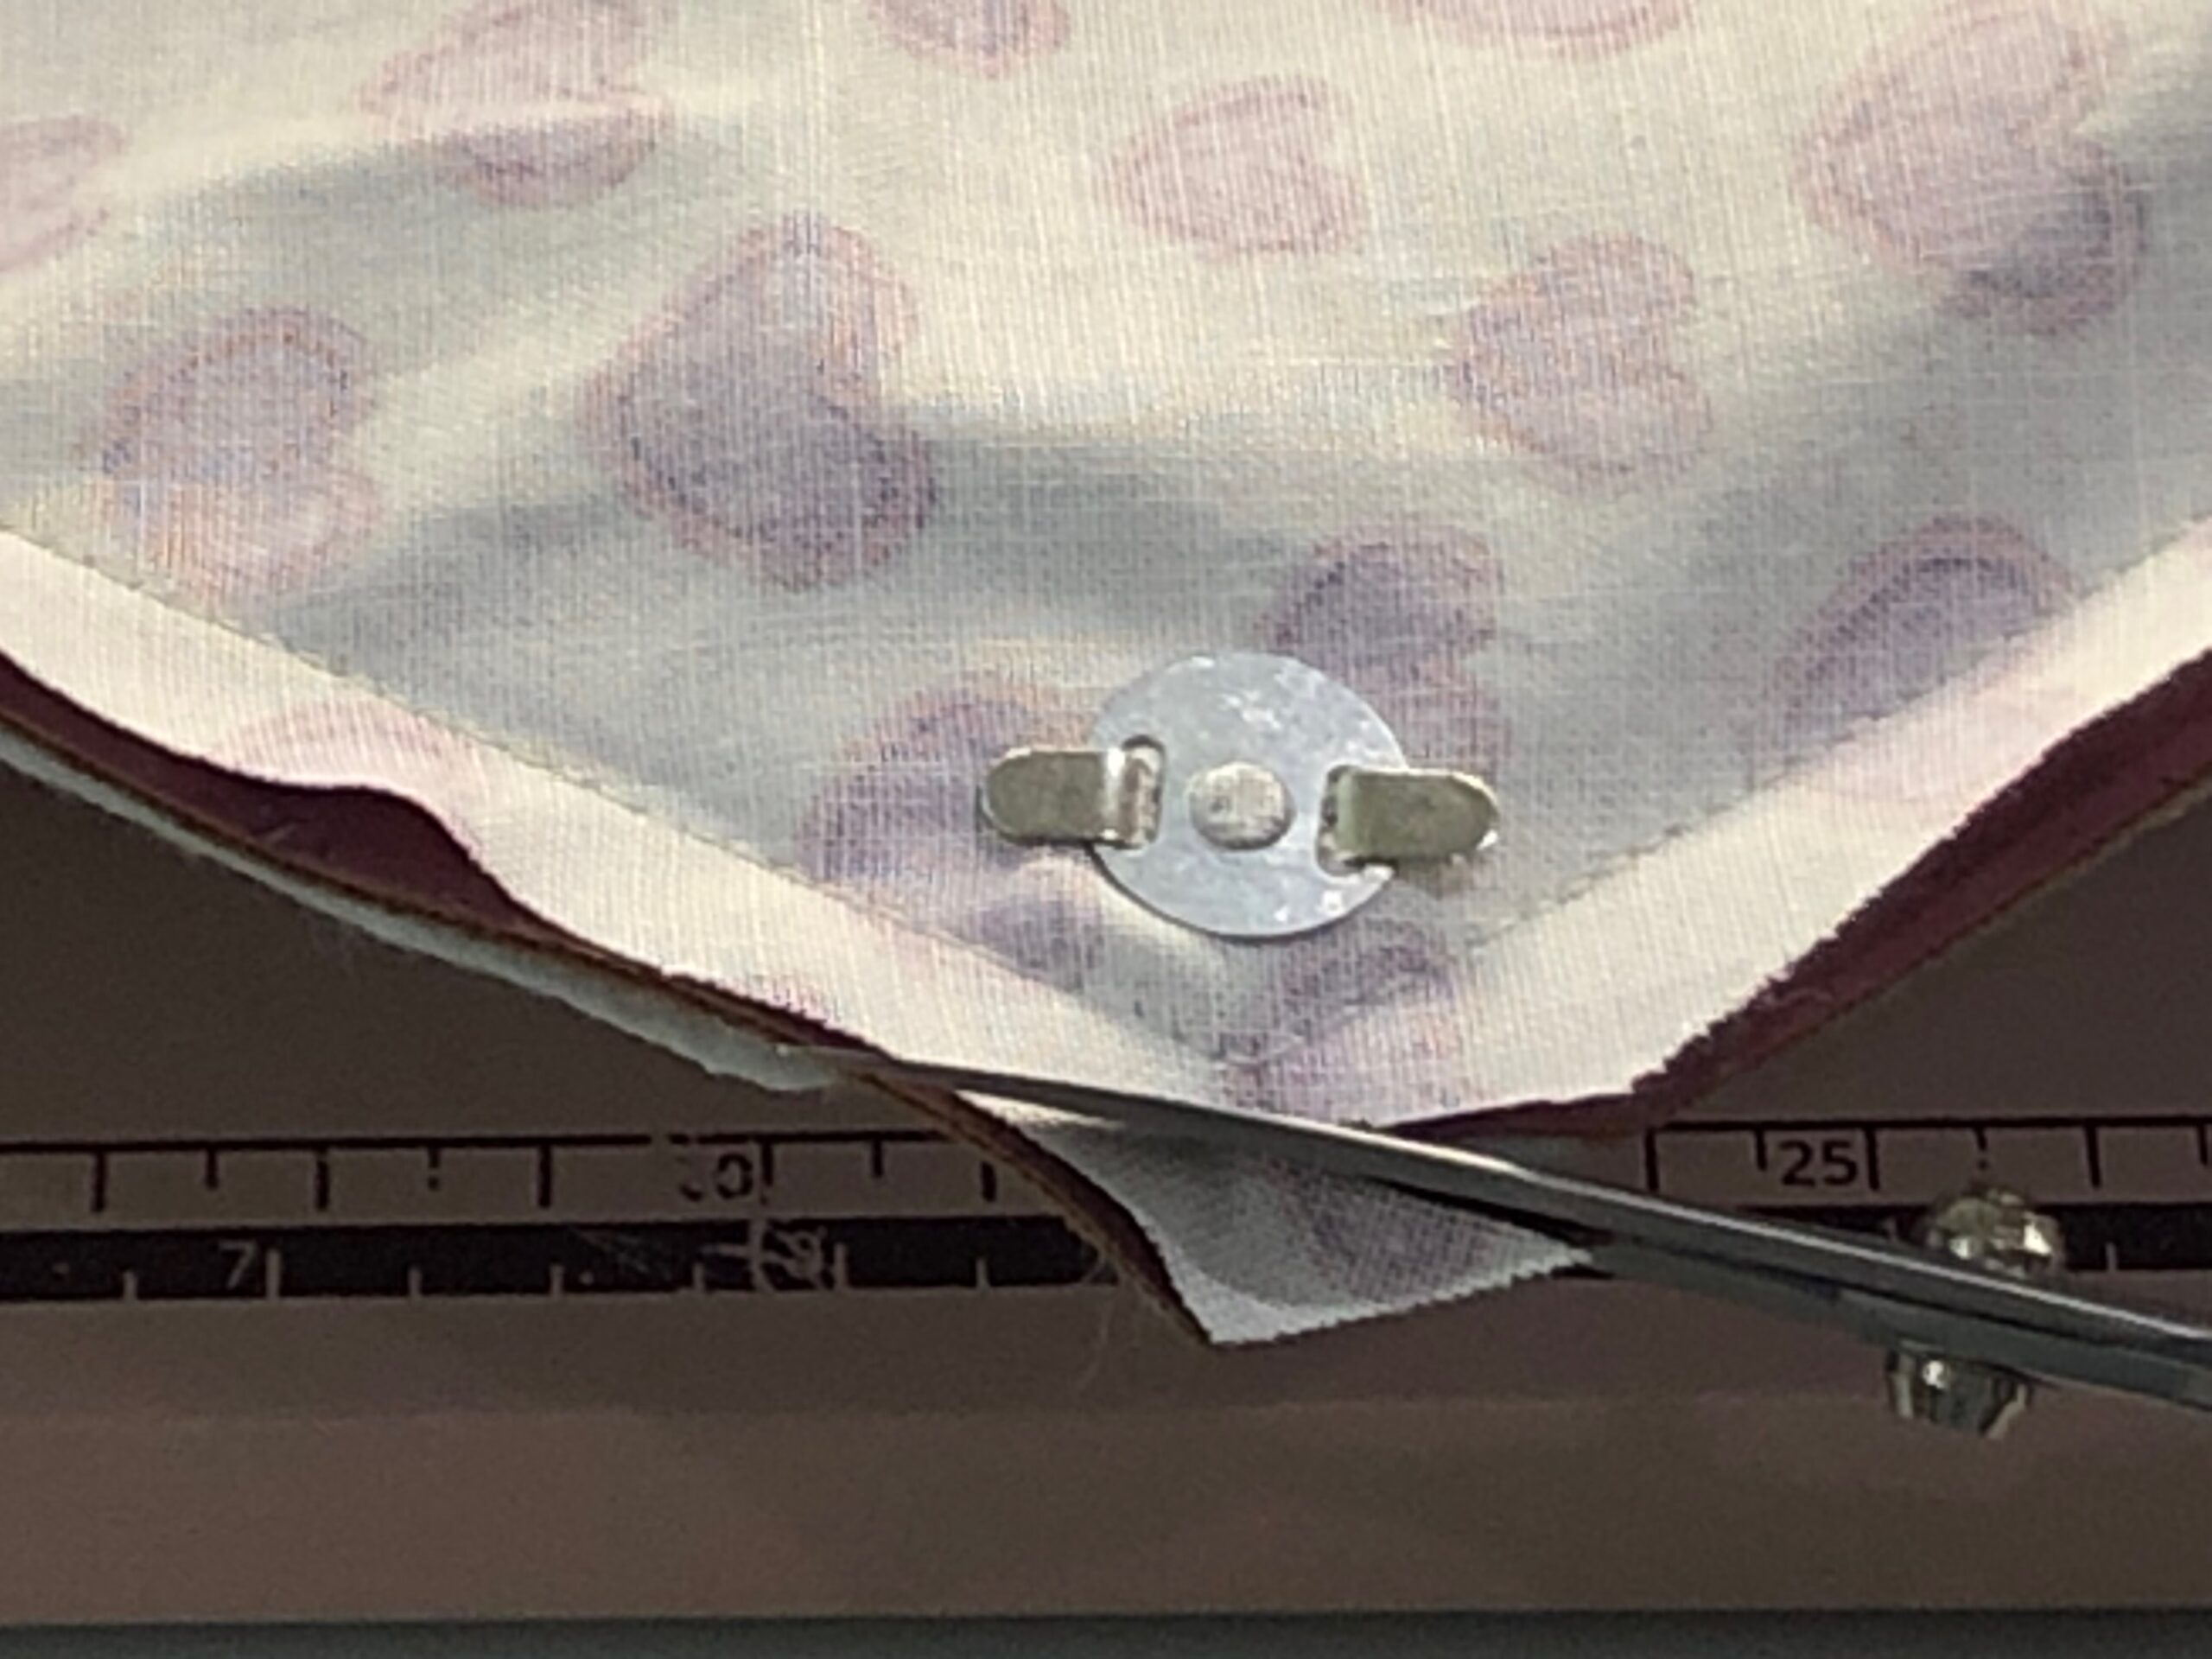
Measure 4″ up from the short straight edge center (opposite the flap corner); mark. Place the remaining washer center at the mark. Mark through the washer slits. Use an Olfa Touch Knife or seam ripper to slice through the cork fabric at the slit marks. Be careful to not slice beyond the marks.
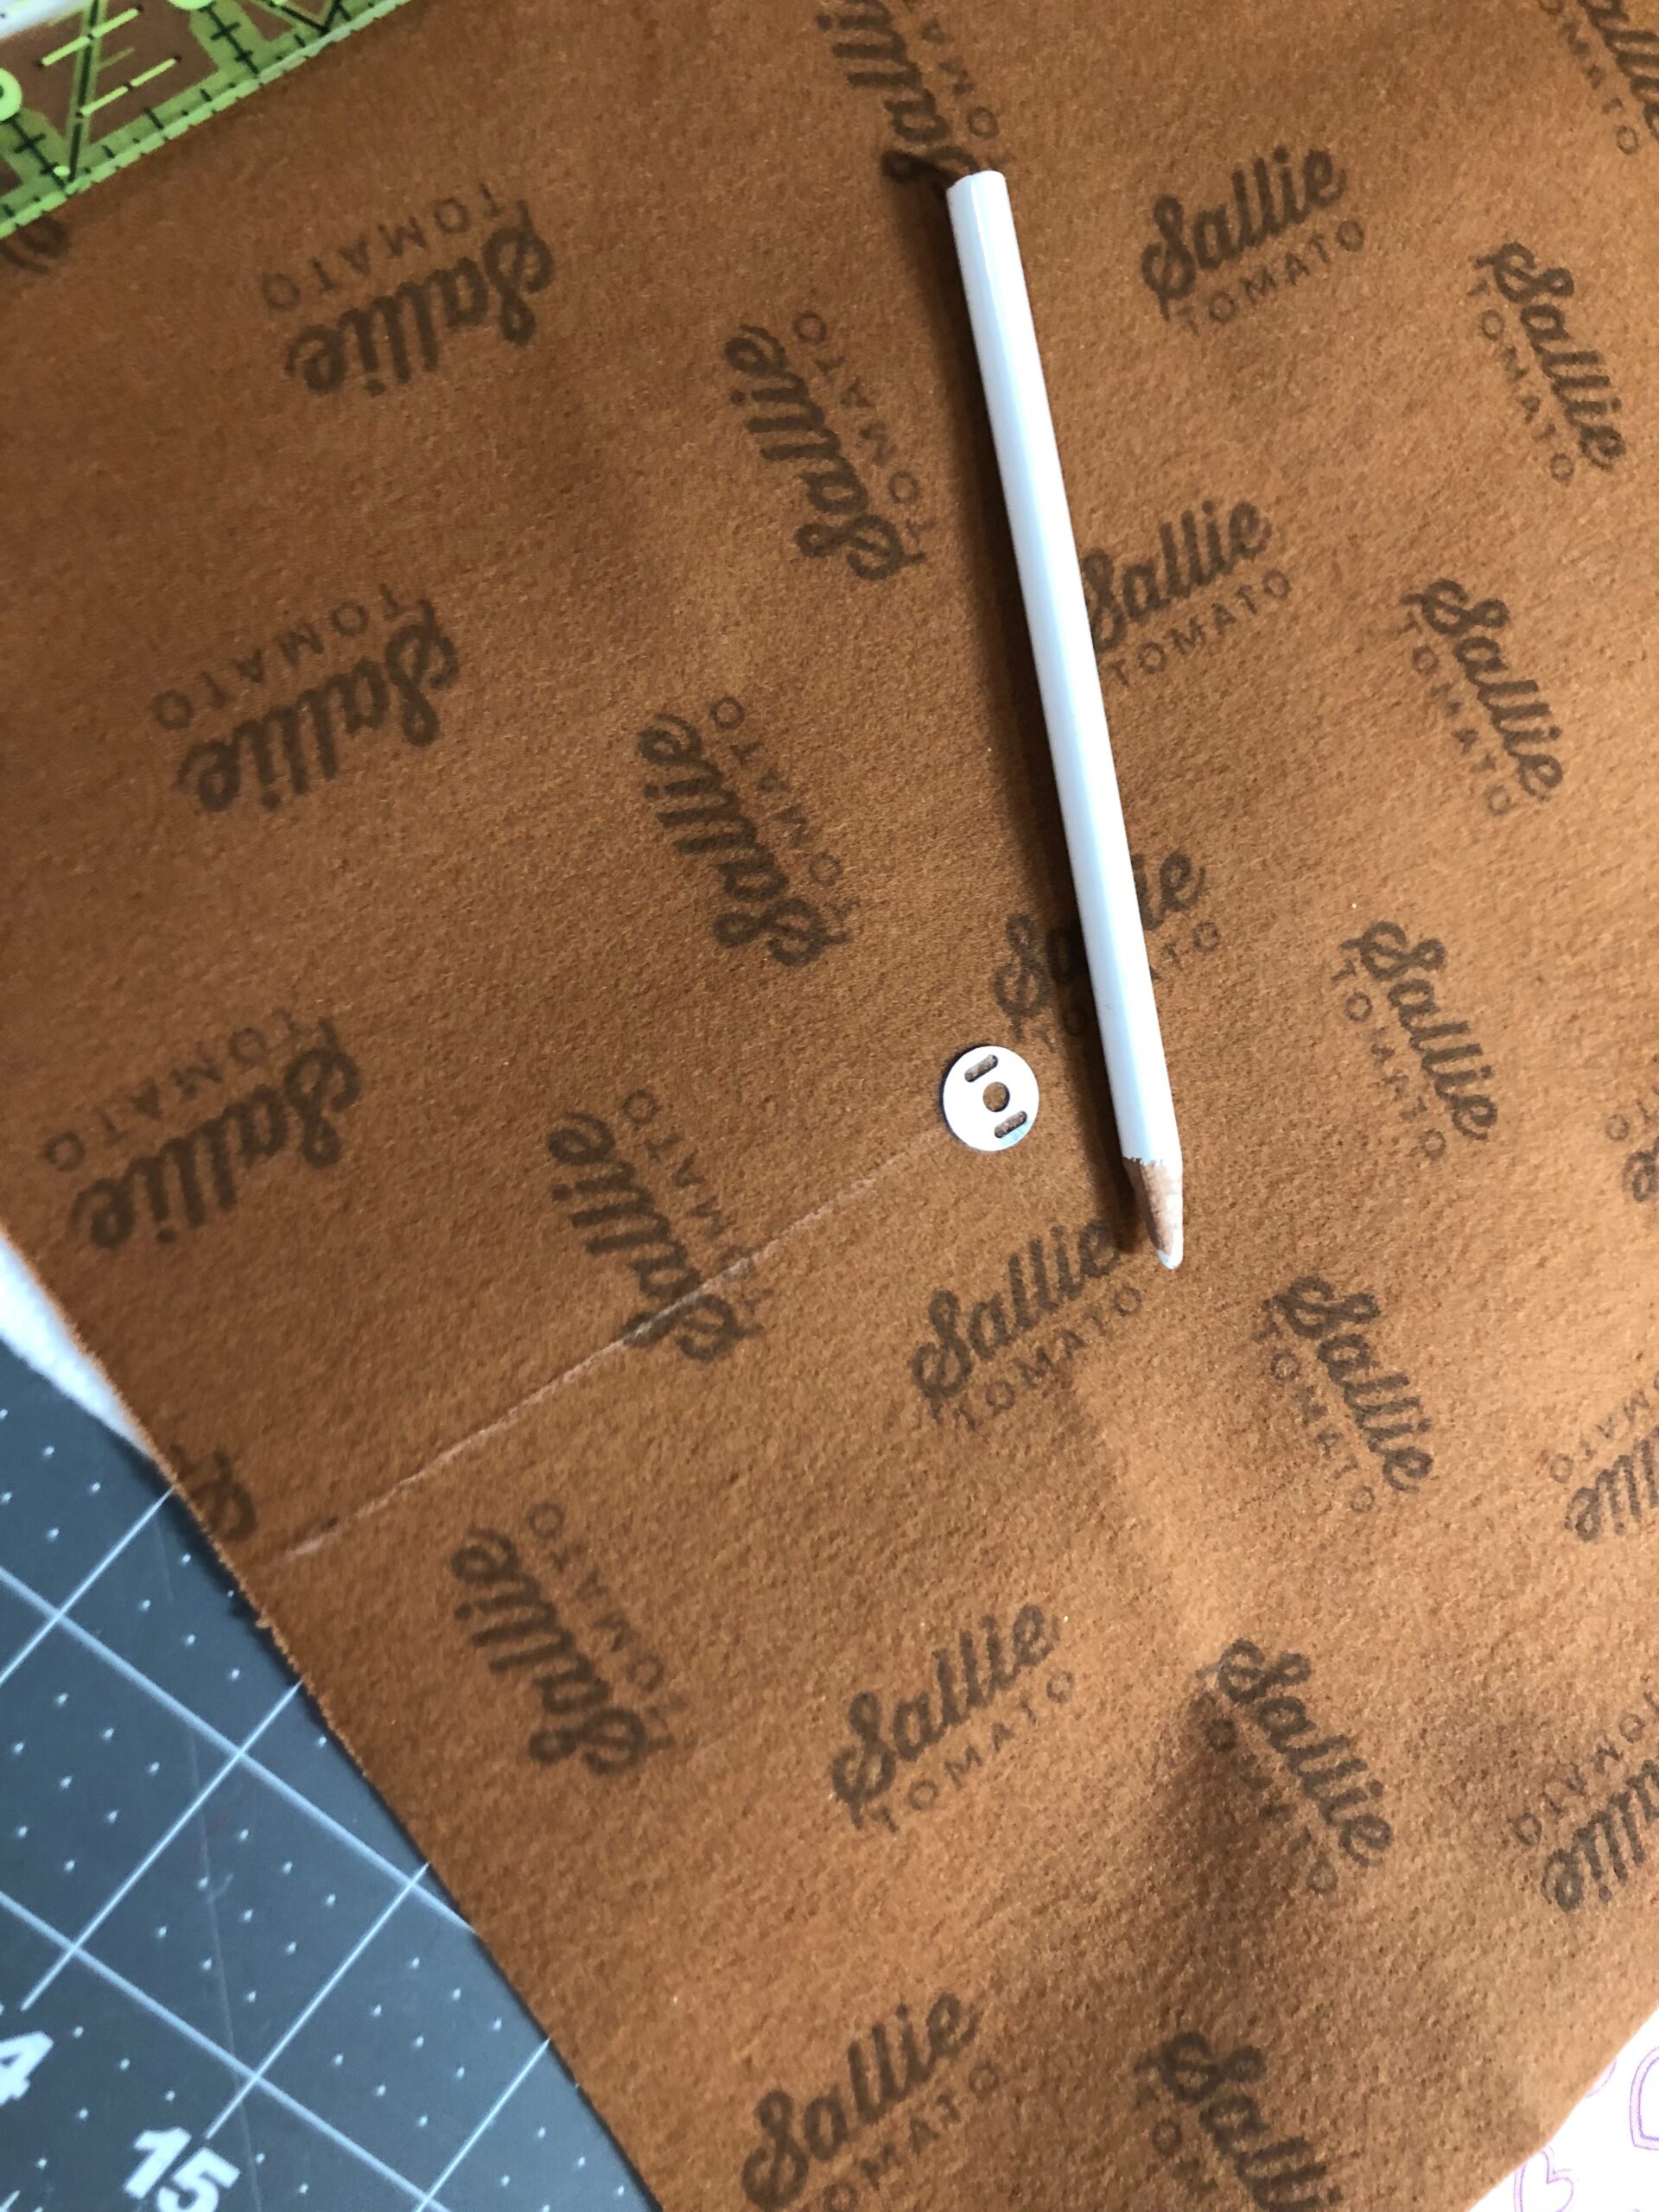
On the lining envelope right side, measure 3/4″ from the corner point along the flap. Position the snap washer center at the mark. Then, mark the slits through the washer, and then set aside the washer. Use an Olfa Touch Knife or seam ripper to slice through the fabric at the slit marks. Be careful to not slice beyond the marks.

Note: If using a different design that isn’t approximately 2″ square, measure and mark the embroidery placement box where desired on the flap, making sure to account for the 3/8″ seam allowance.
SNAP INSTALLATION
Install the snap female piece on the cork fabric envelope, placing the flanges through the slits from the right side. Then, bend the flanges outward after passing them through the washer on the cork fabric wrong side.

Install the male snap piece on the lining fabric envelope, placing the flanges through the slits from the right side. Then, bend the flanges outward after passing them through the washer on the fabric wrong side.
CORK FABRIC ENVELOPE EMBROIDERY
Install a size 80/12 Microtex Needle. Thread the needle with the first thread in the design. Wind a bobbin with Sulky 60 wt. Bobbin Thread.
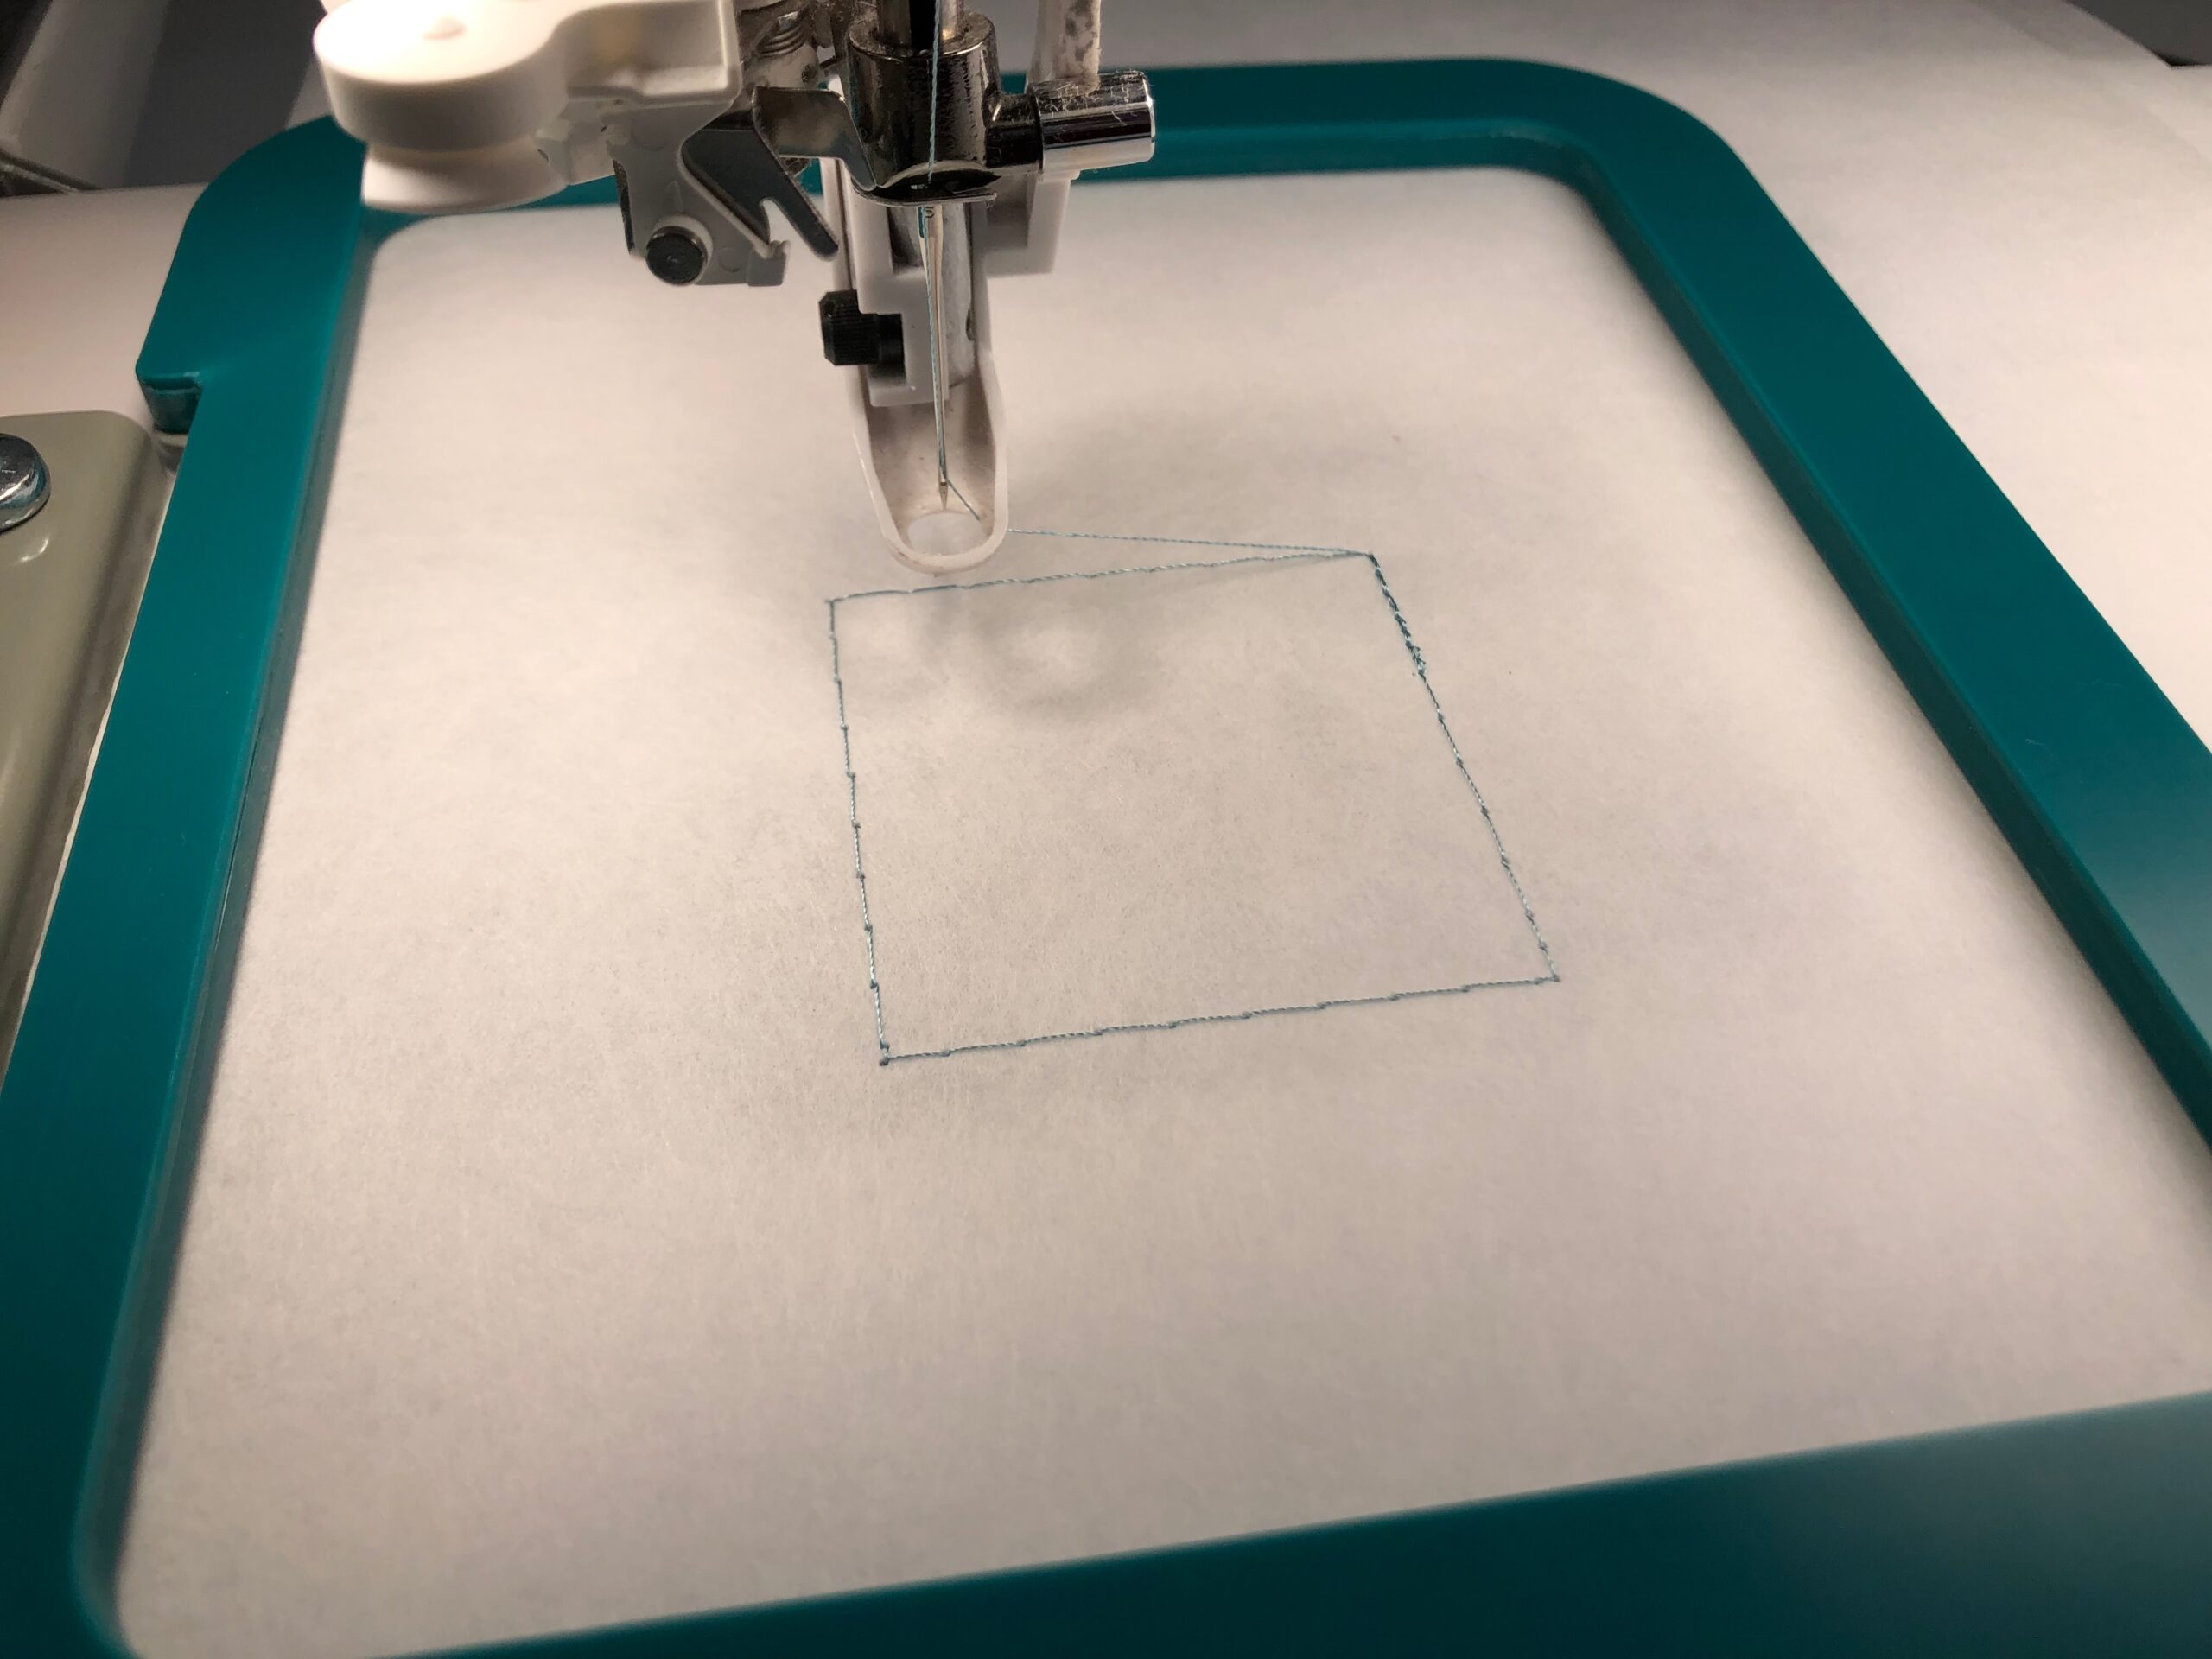
Import the chosen Conver”sew” tion Heart machine embroidery design into the machine. Set the machine to “baste around the design,” if possible.
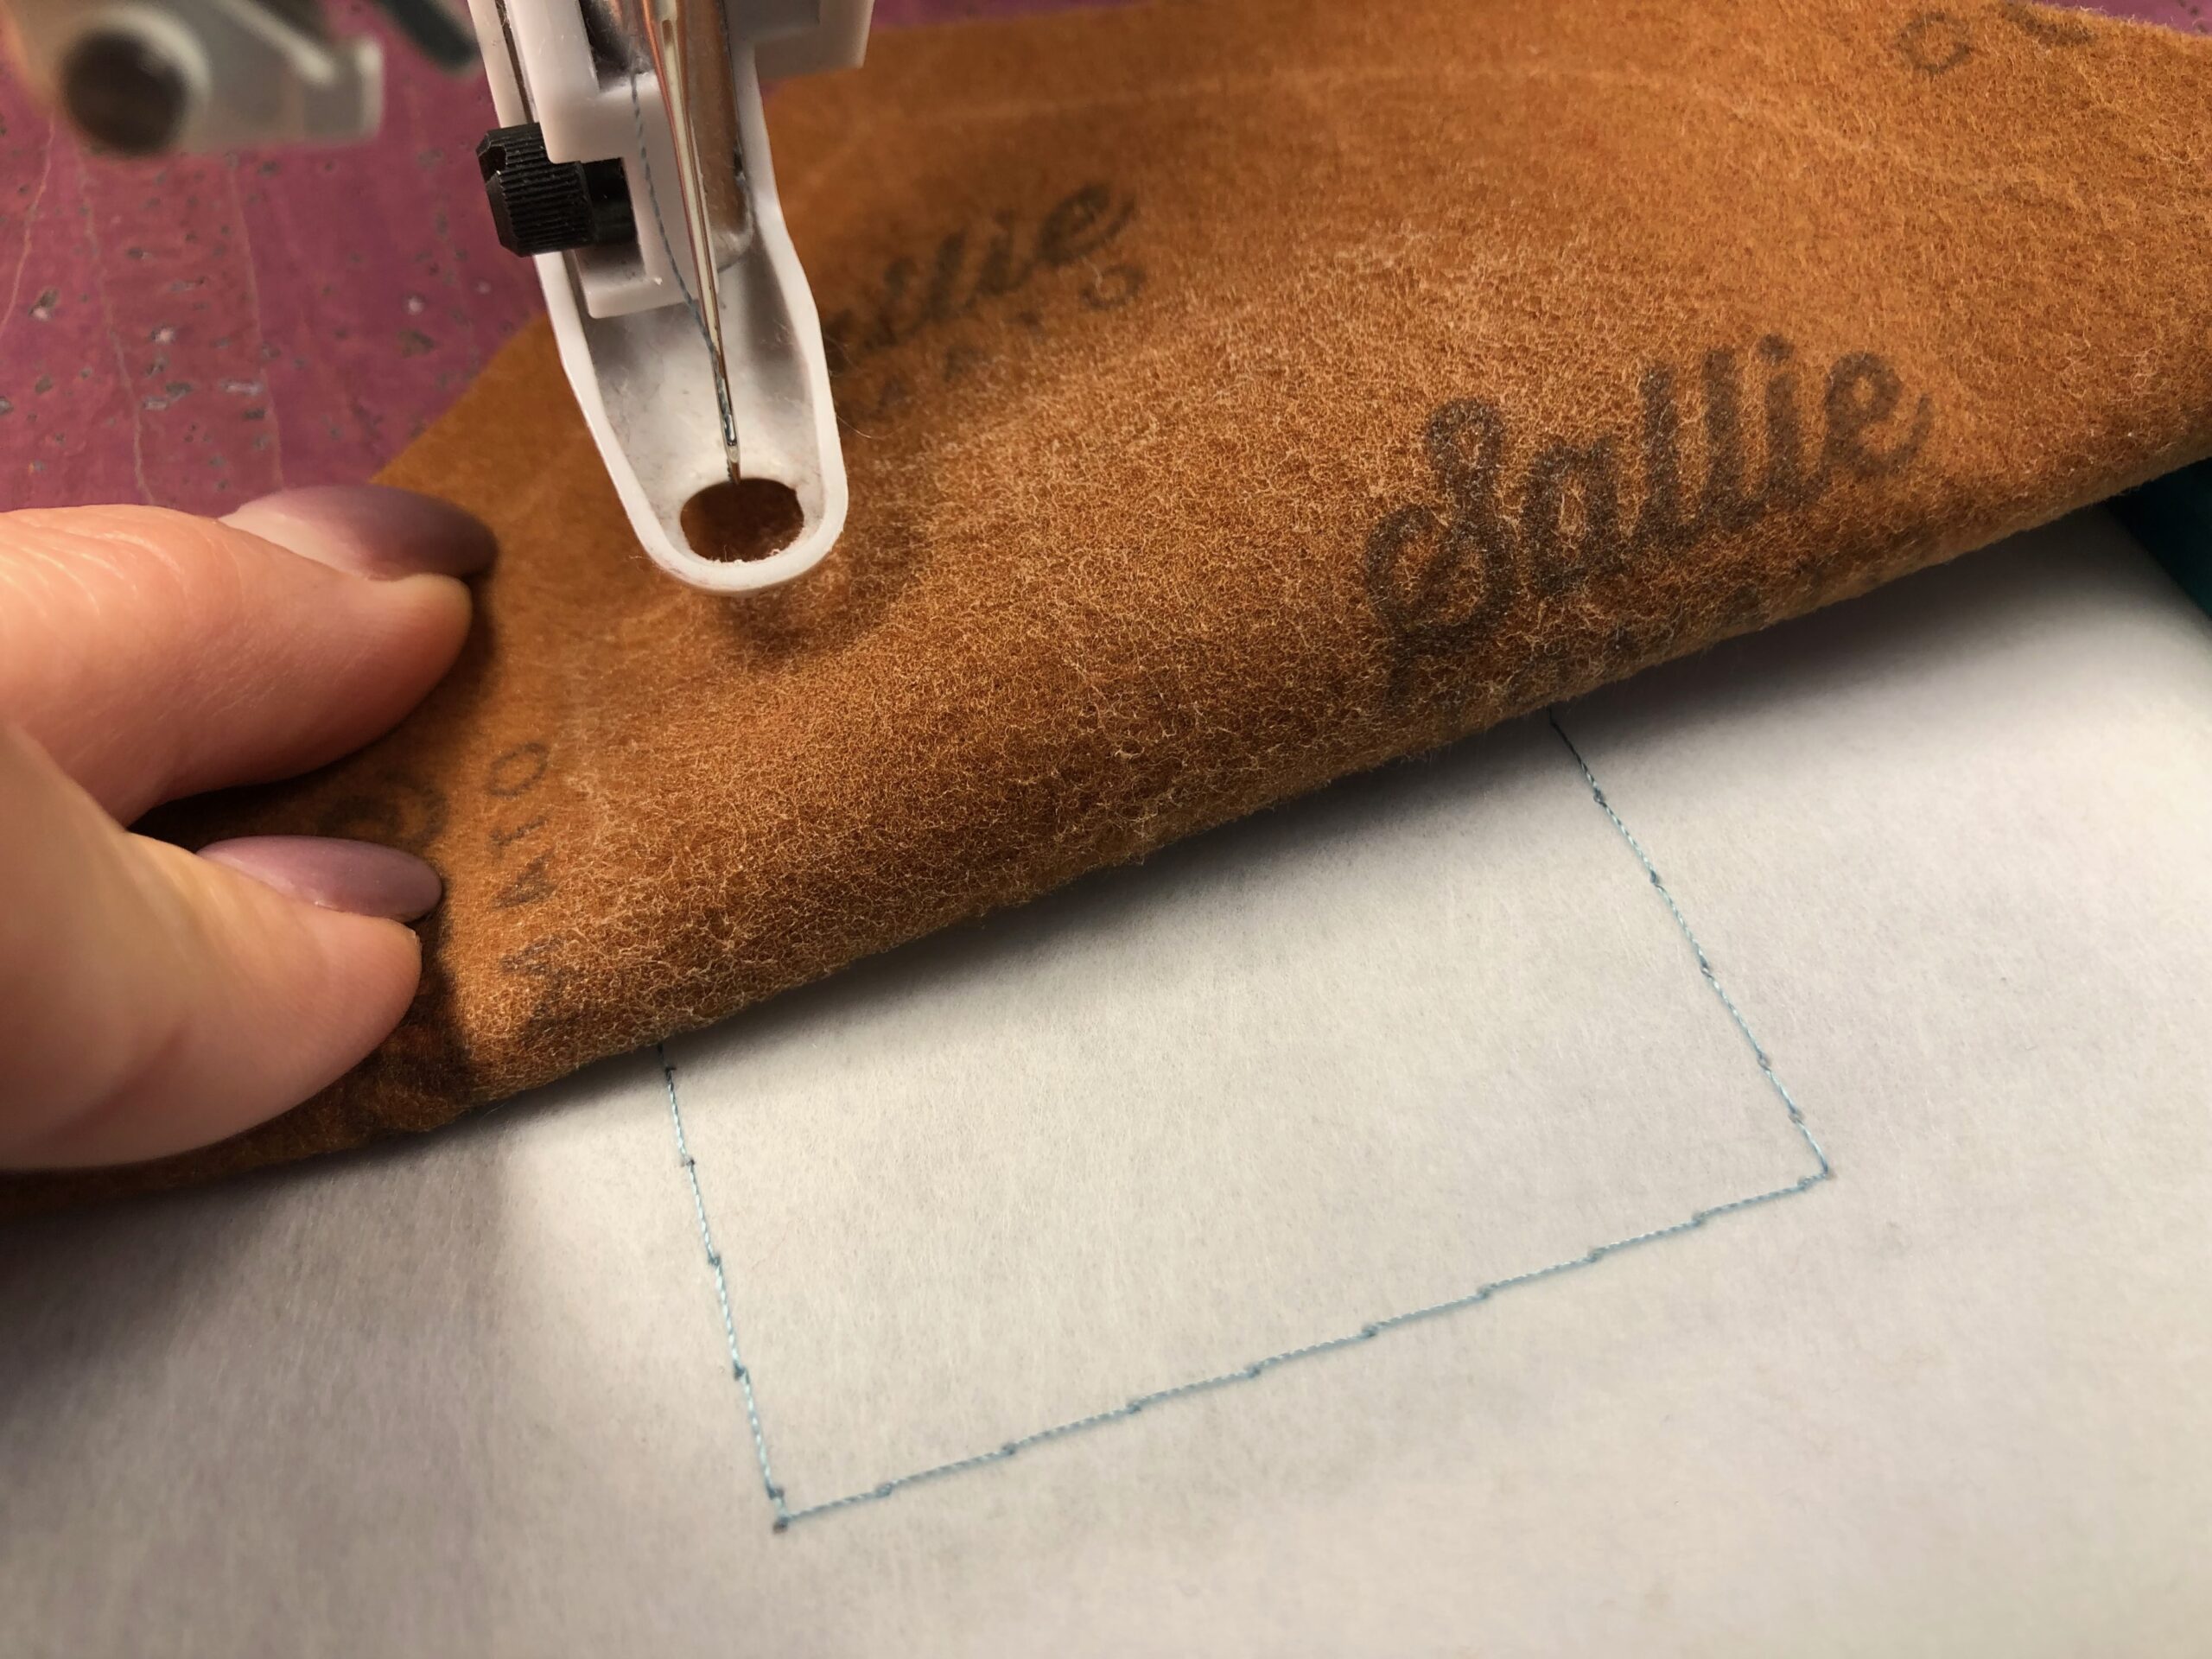
Hoop two layers of Sulky Stiffy Stabilizer. Embroider the basting stitches right on the stabilizer to aid in cork fabric placement.
Spray the cork flap wrong side with Sulky KK 2000 Temporary Spray Adhesive.

Position the flap on the stabilizer, matching the marked embroidery square on the cork wrong side with the basting stitches.
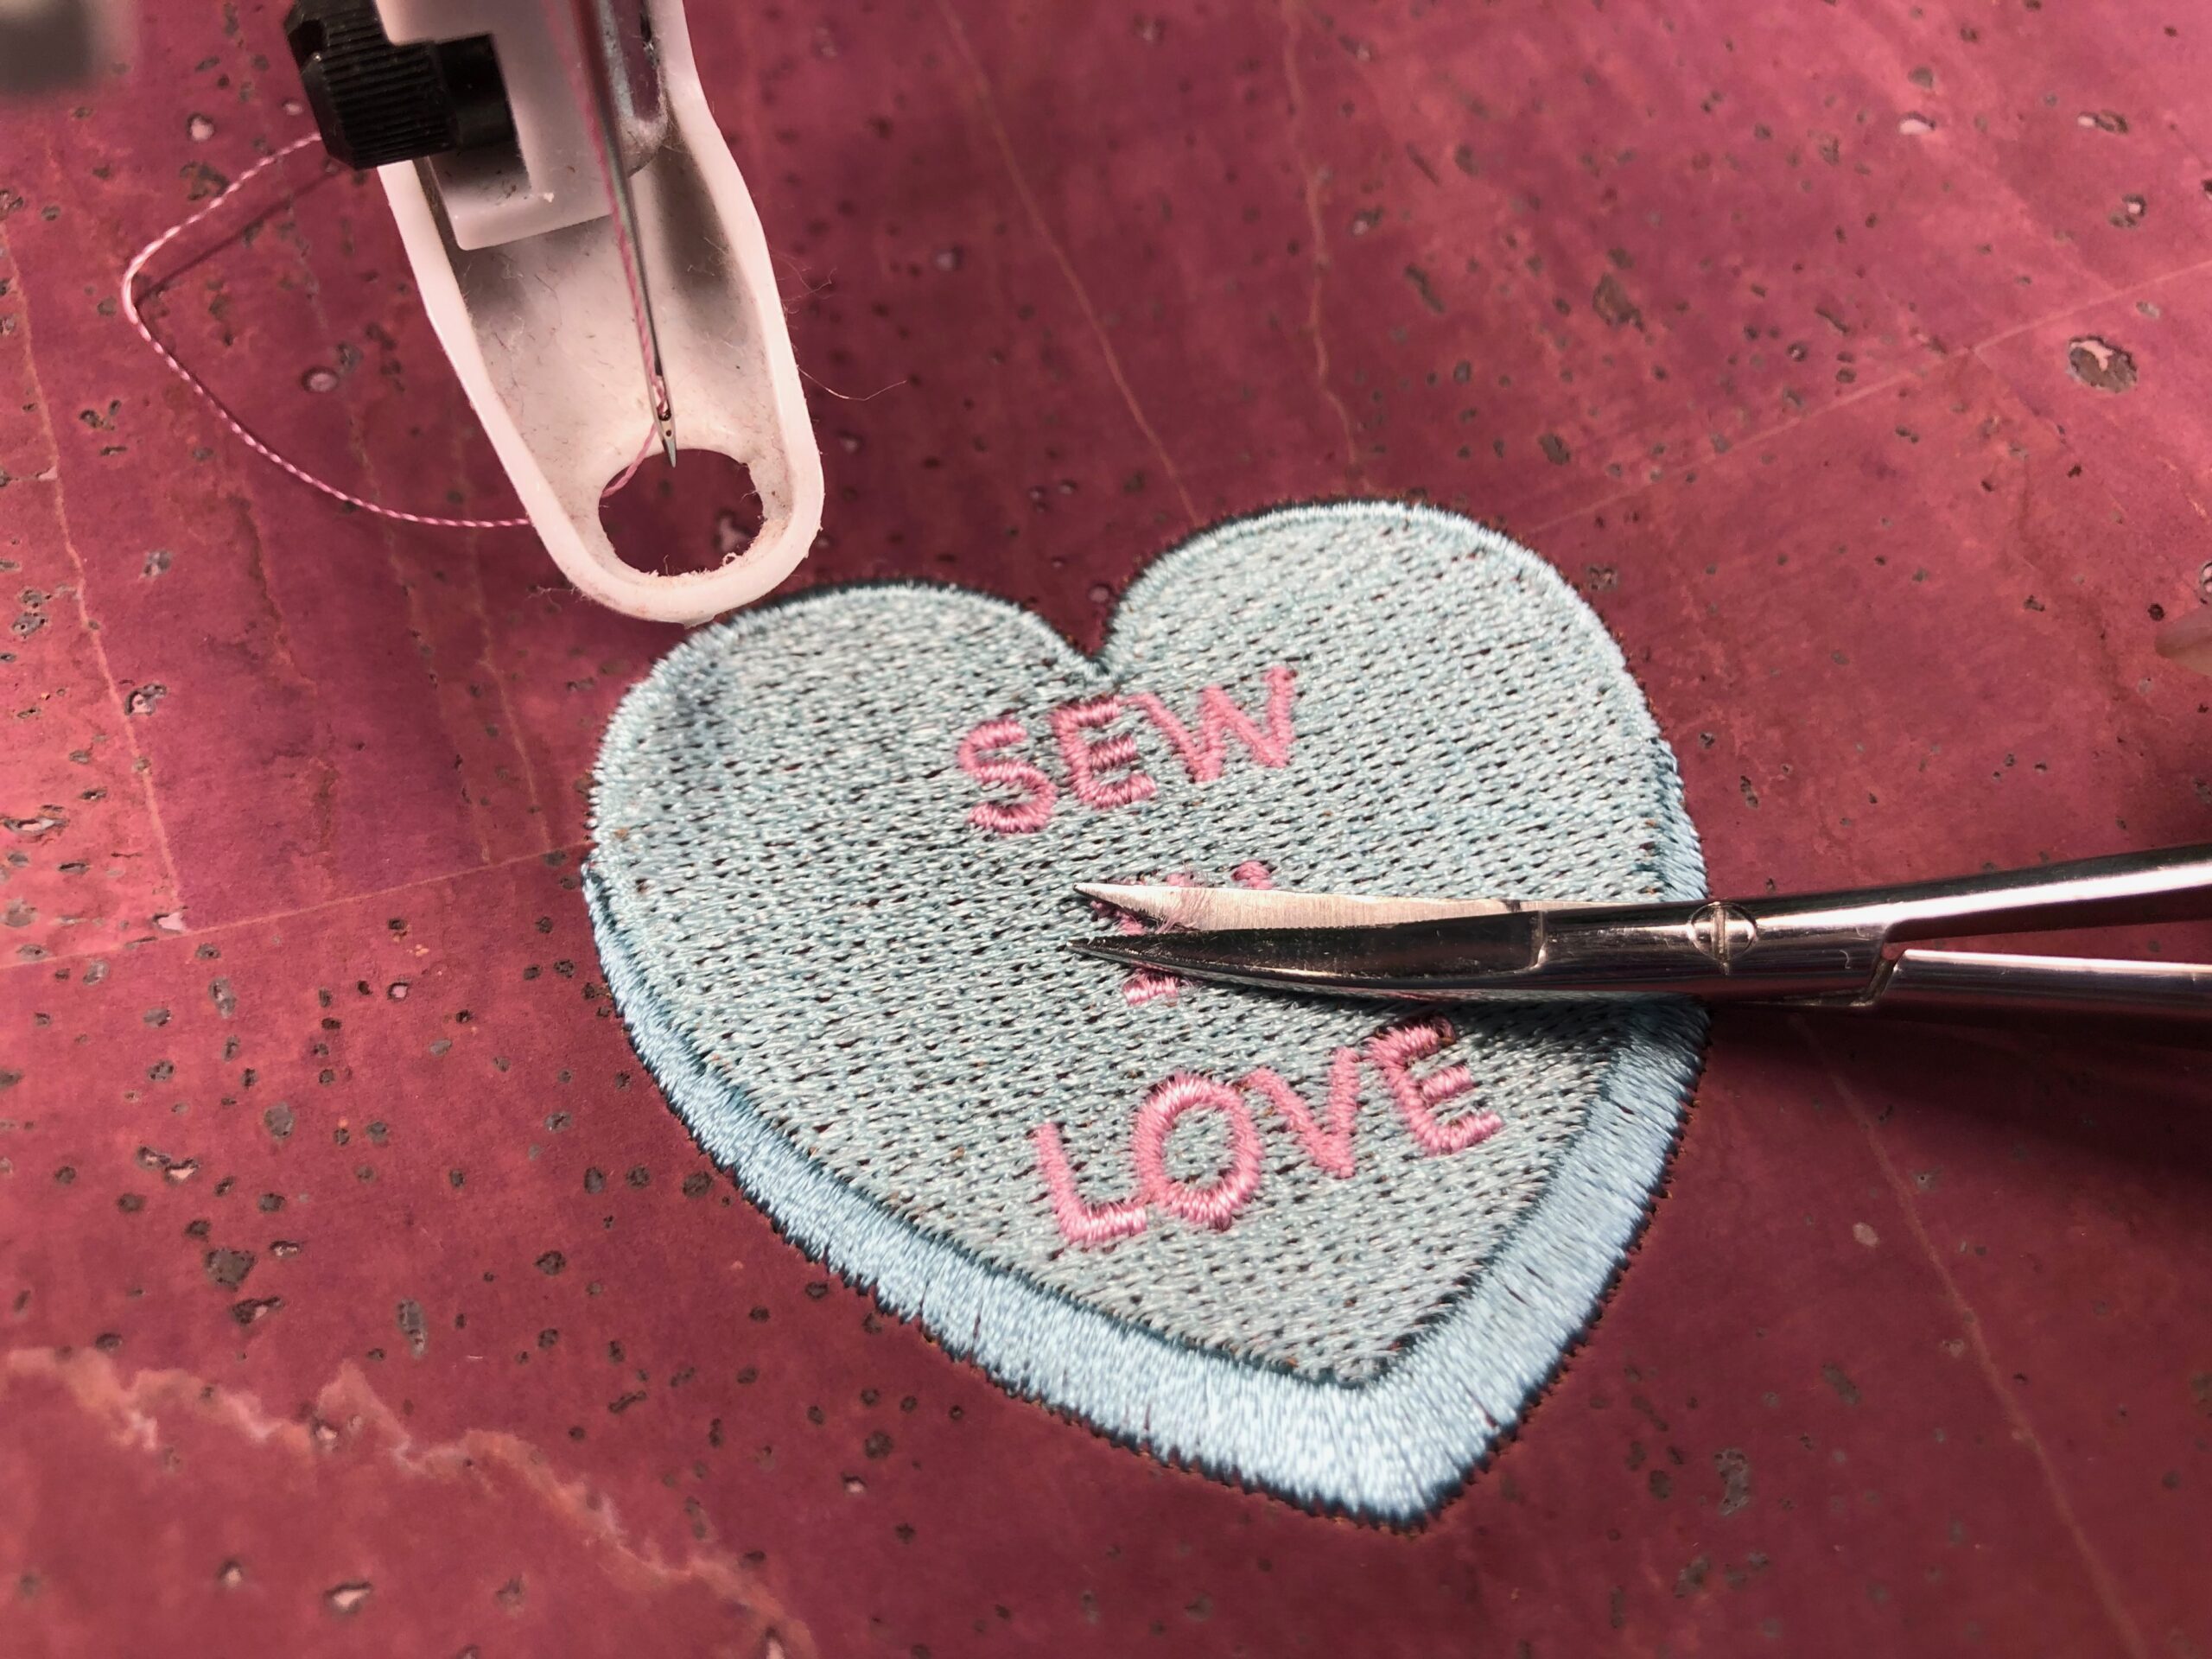
Embroider the design, clipping jump threads with each thread change using Curved Tip Squeezers.
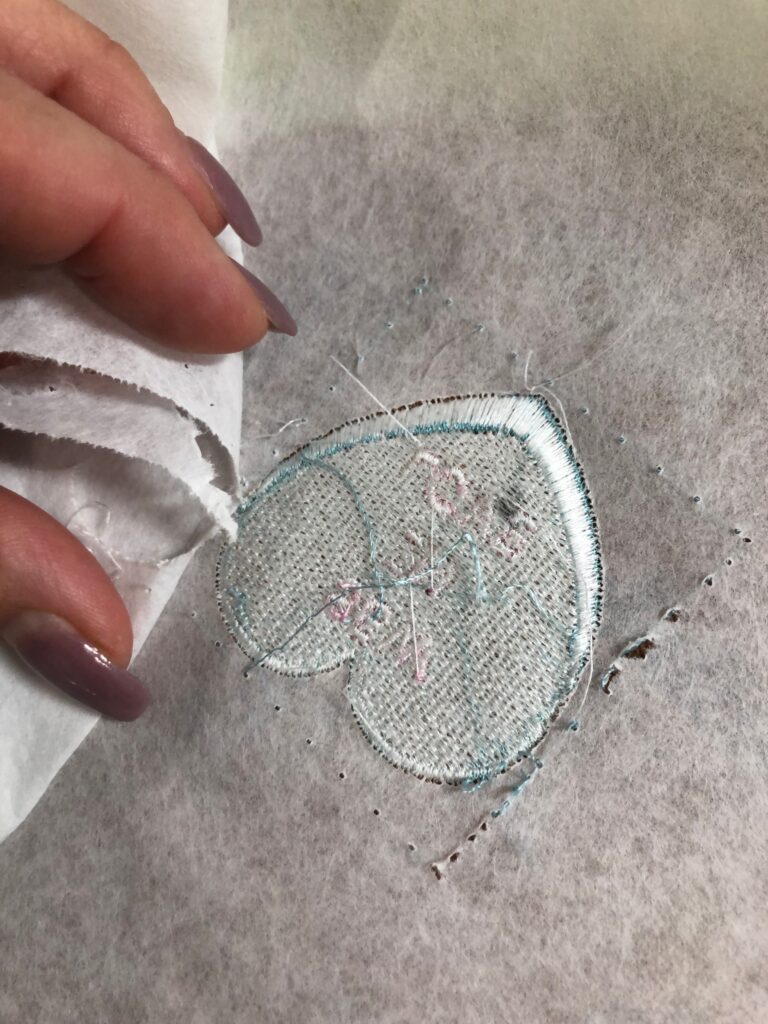
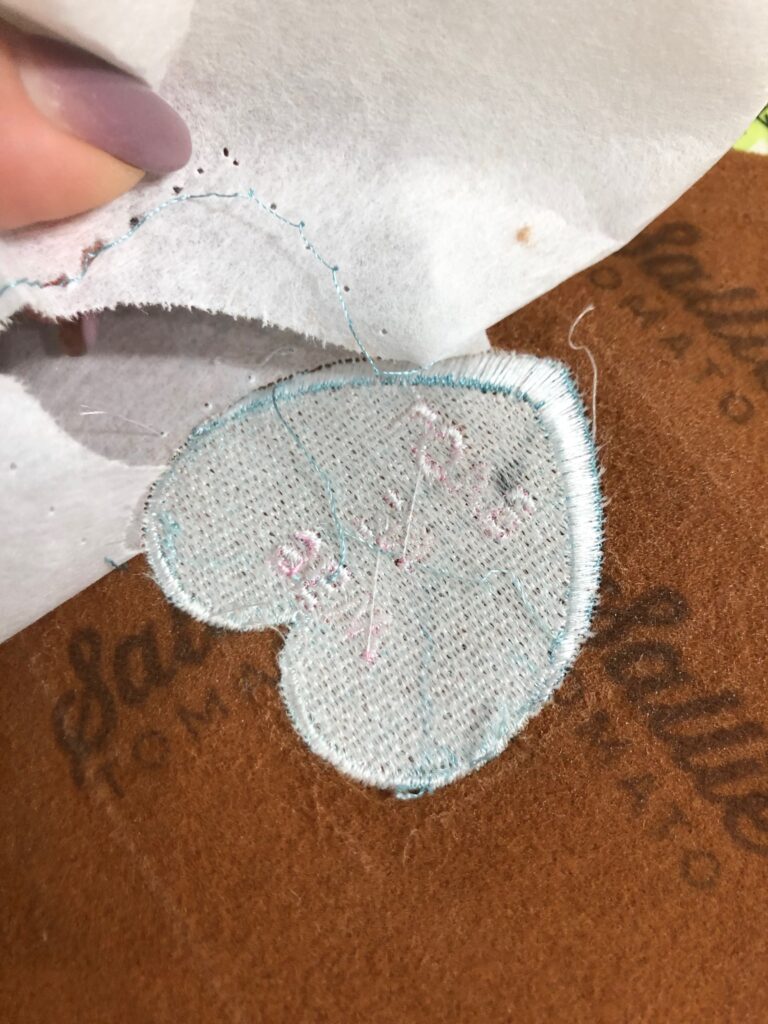
When the embroidery is complete, remove the hoop from the machine and the stabilizer from the hoop. Carefully tear away the stabilizer, one layer at a time.
FABRIC ENVELOPE CONSTRUCTION
Using KK 2000 Temporary Spray Adhesive, stick the batting envelope to the cork envelope wrong side.
Stitch the cork and lining envelopes along the perimeter using a 3/8″ seam allowance. Leave the straight short edge open for turning.
Clip all the corners and trim the seam allowances to 1/4″. (Your snap will have more room beyond the seam allowance than the one pictured below!)
Turn the envelope right side out through the opening. Finger-press or use a turning tool to push out the corners and smooth the seams.
Fold the opening seam allowances 1/4″ toward the wrong side; clip to secure.
Clip along the seams to flatten them for topstitching.
Topstitch the envelope perimeter, closing the opening with the stitches. At the flap corner, topstitch around the embroidery upper edge, avoiding the snap on the lining. (Your flap will have more room below the design than the one shown!) If the machine struggles to topstitch the cork fabric, install a Teflon® foot, non-stick foot or walking foot. Increase the stitch length to 3.0mm or 3.5mm.
With the lining side facing out, fold the envelope straight edge 6 1/2″ up toward the flap; clip the side seams. Stitch along the side seams following the previous topstitching, creating the envelope pouch.
To close the cork fabric envelope, fold the flap over the pocket upper edge and align the snaps.
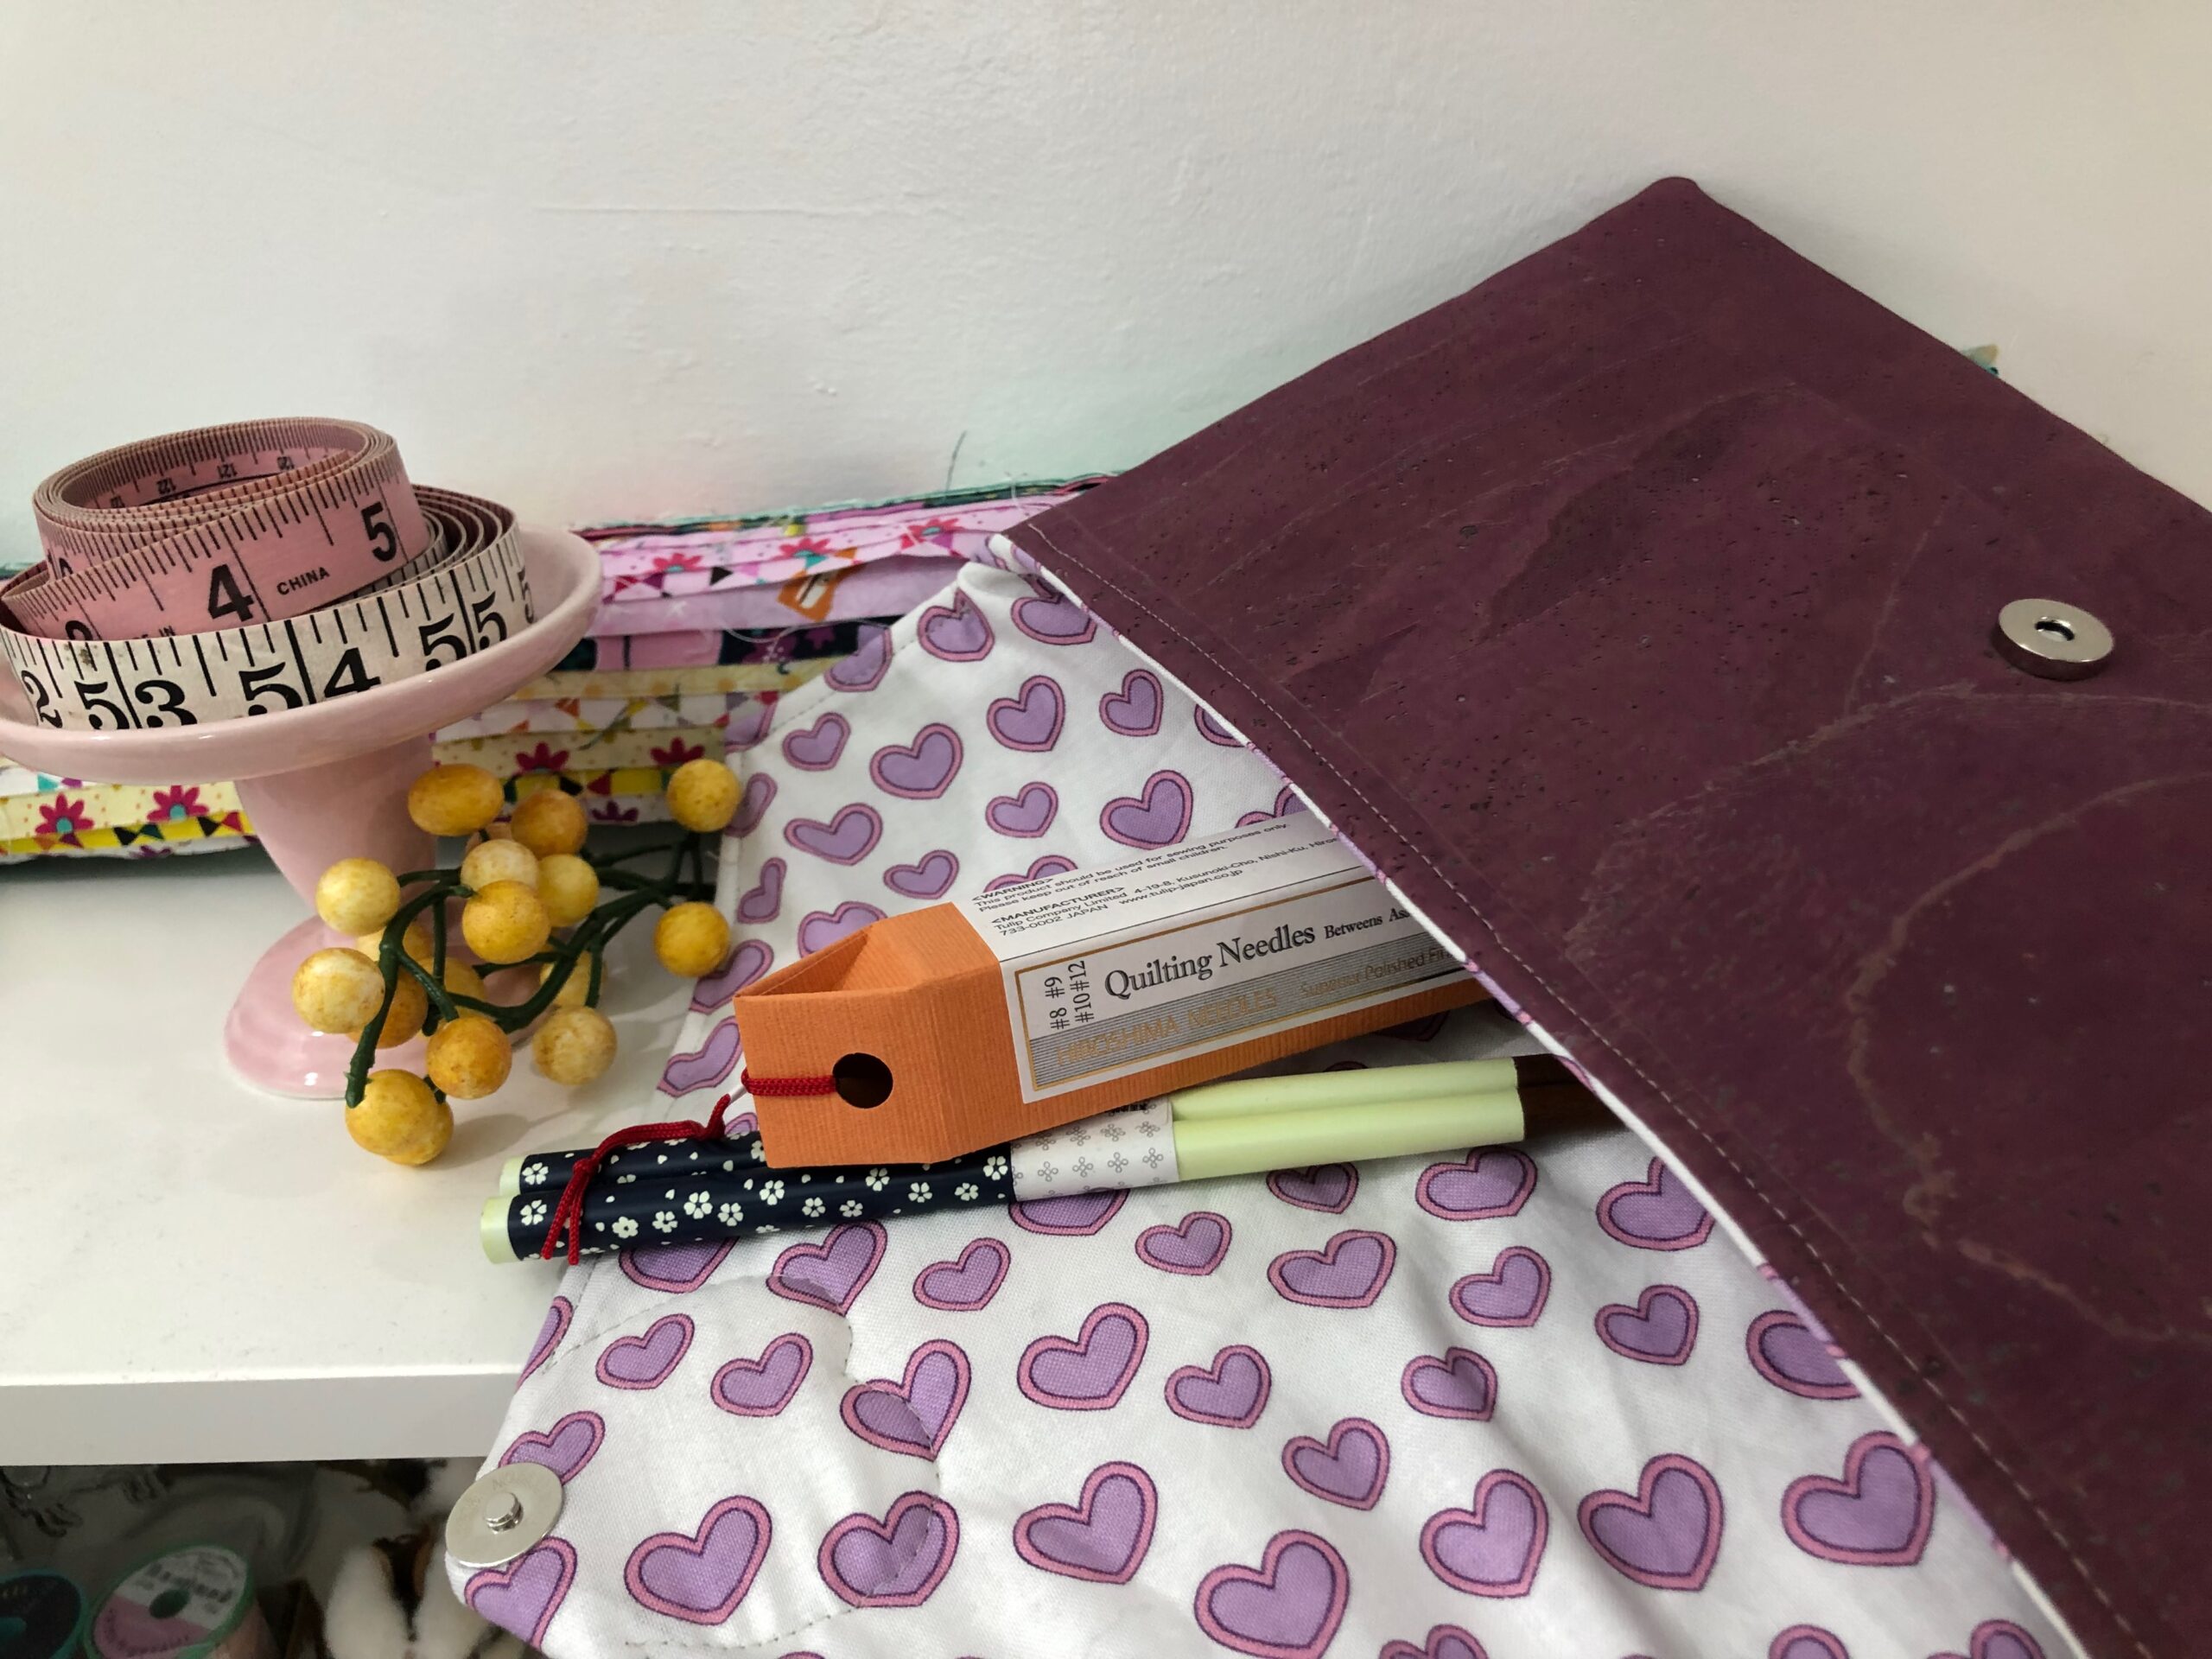
Fill the cork fabric envelope with fun goodies!