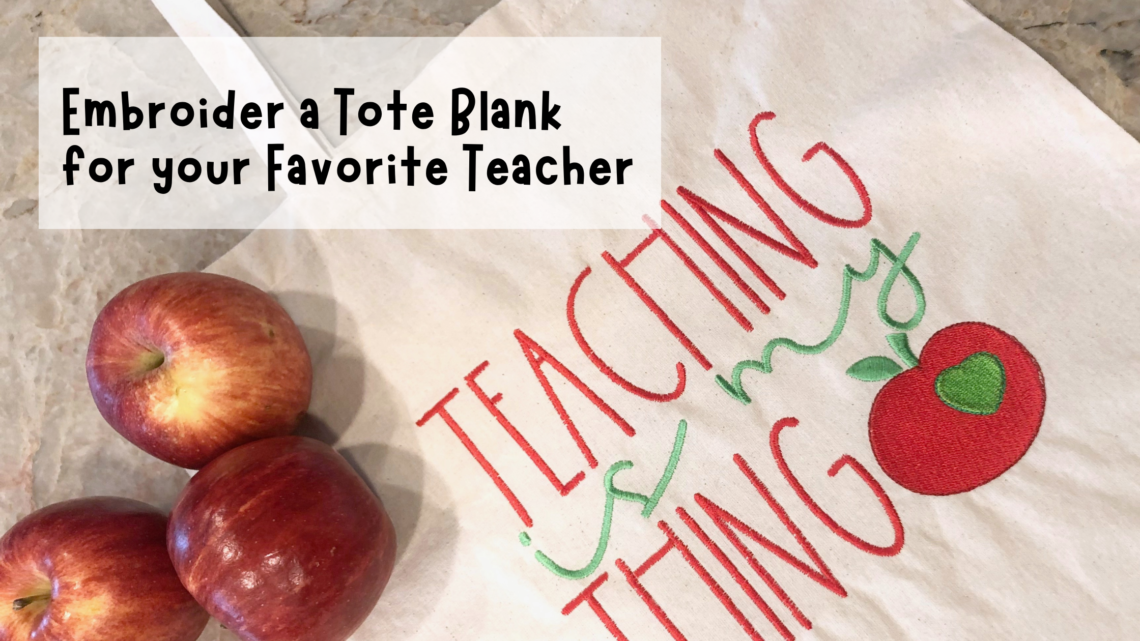
Teacher Tote – a Great Back-to-School Gift
Teacher Tote
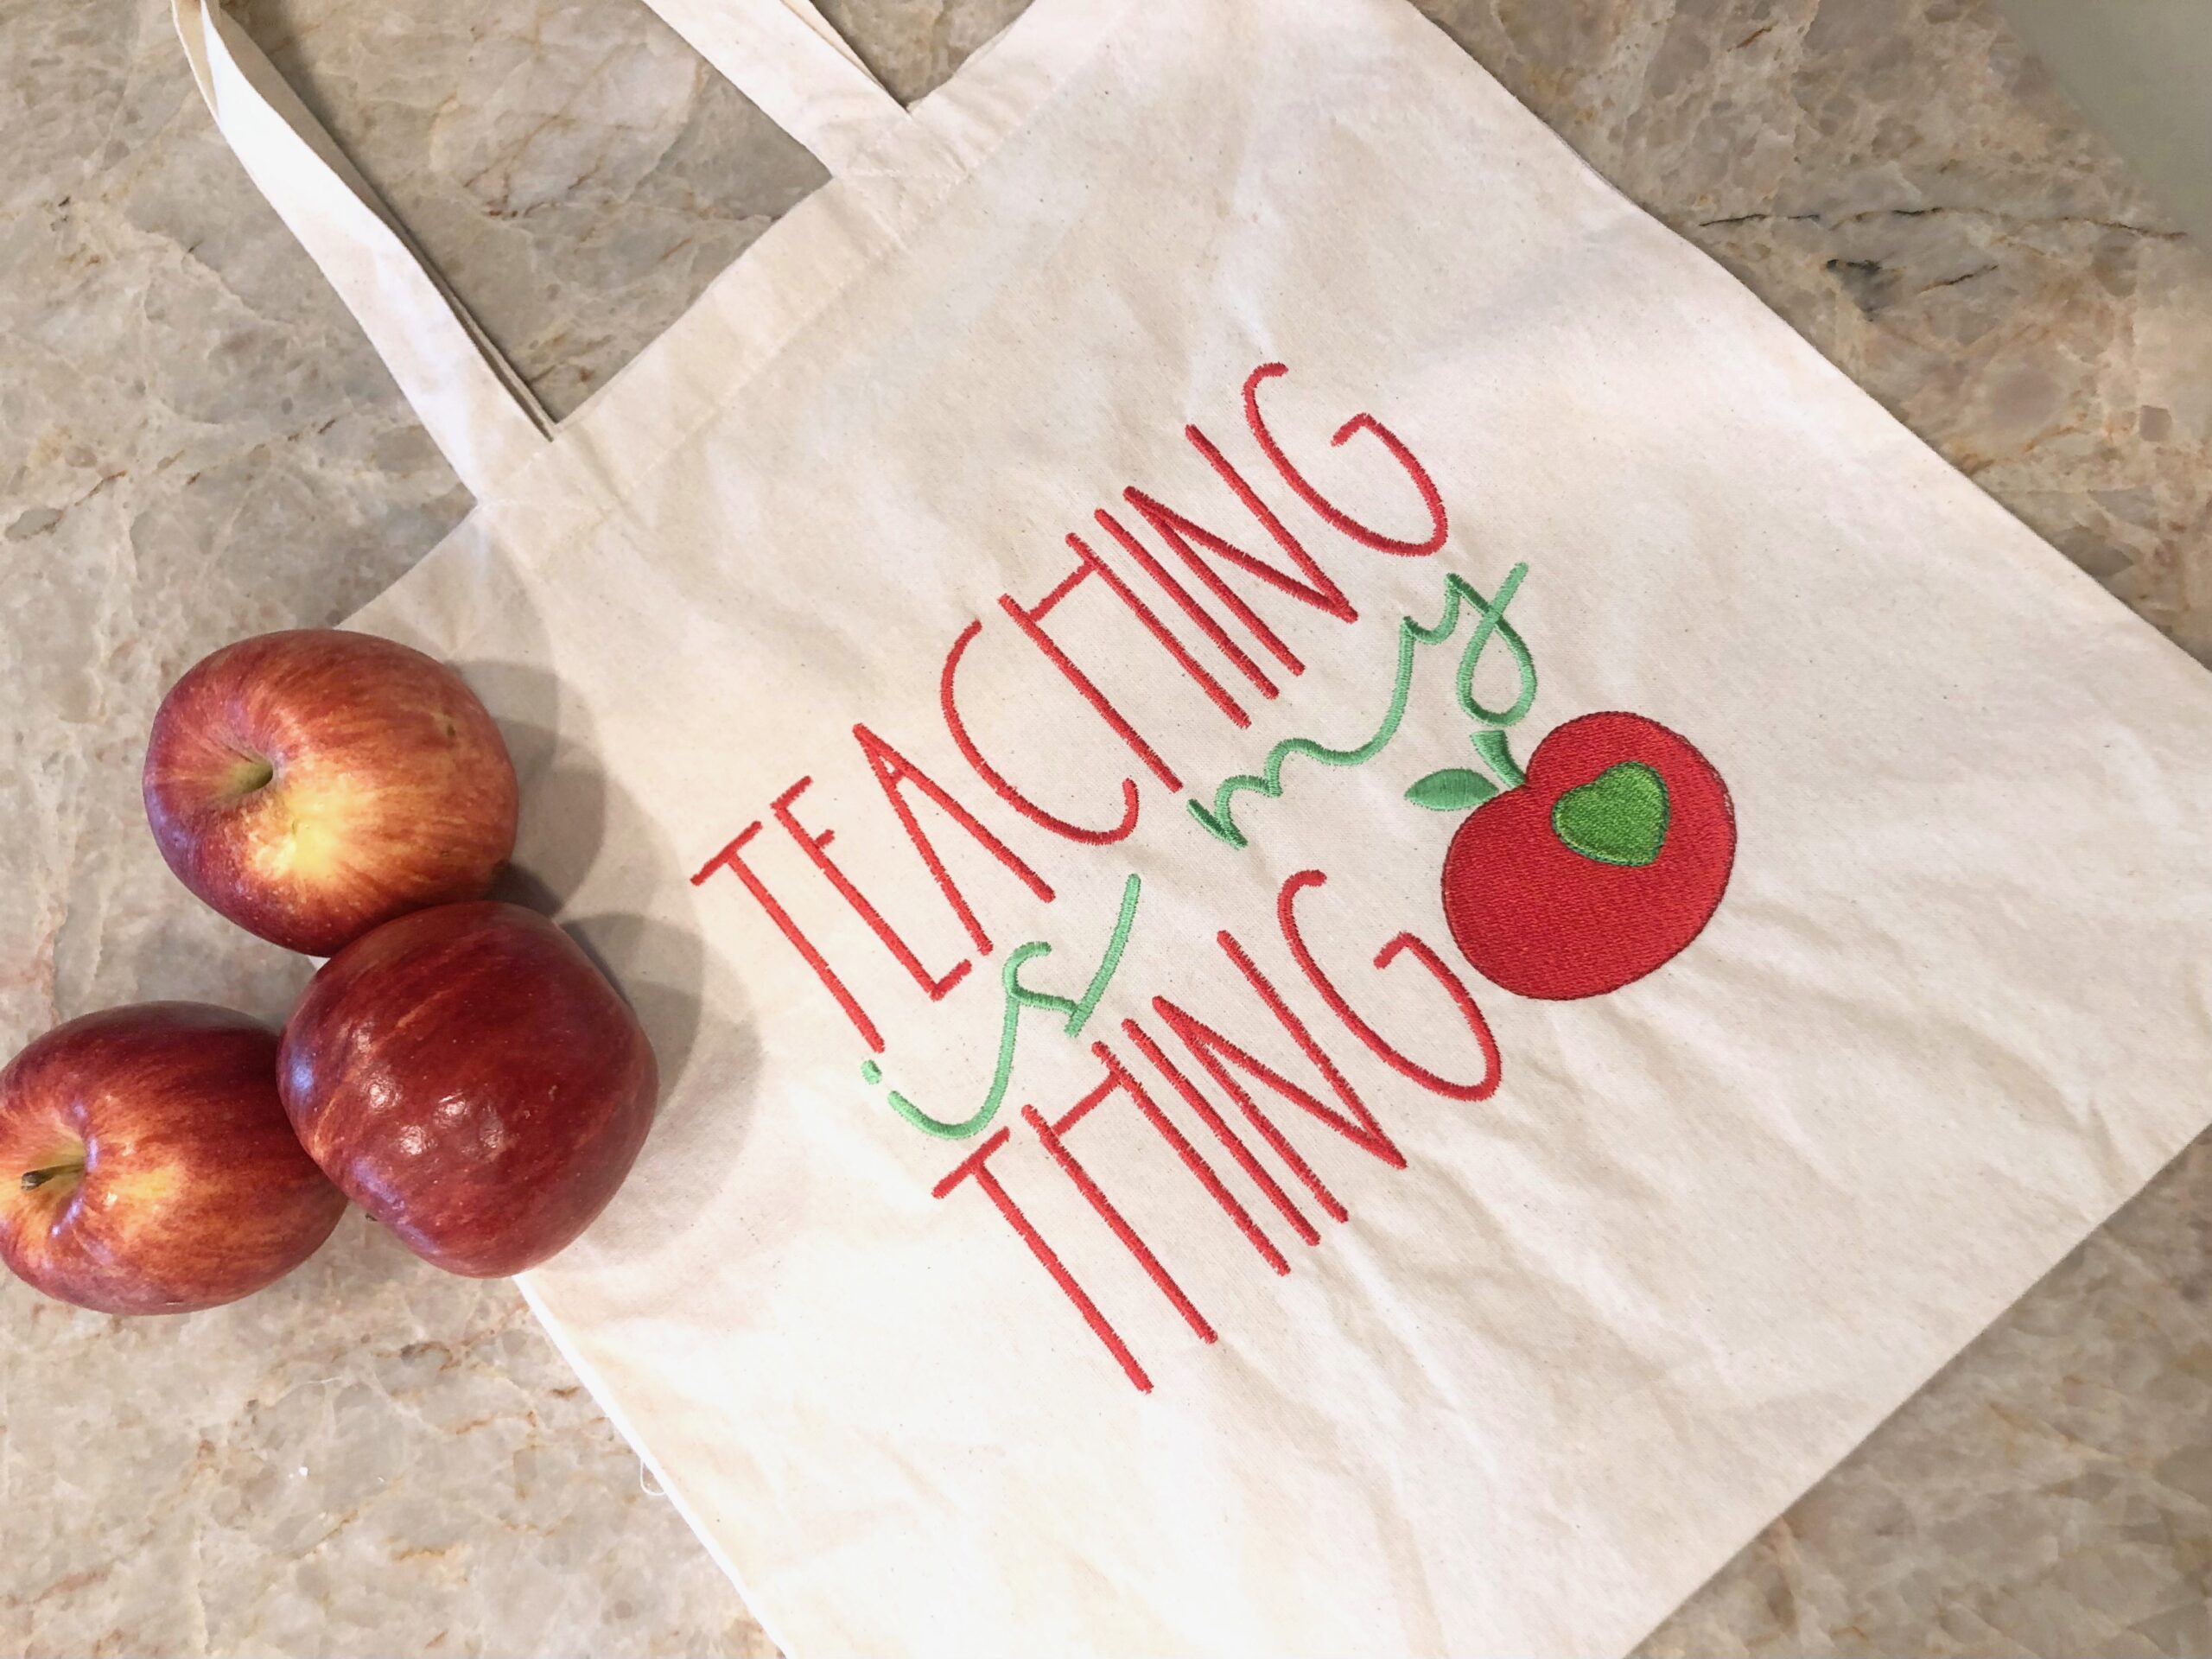
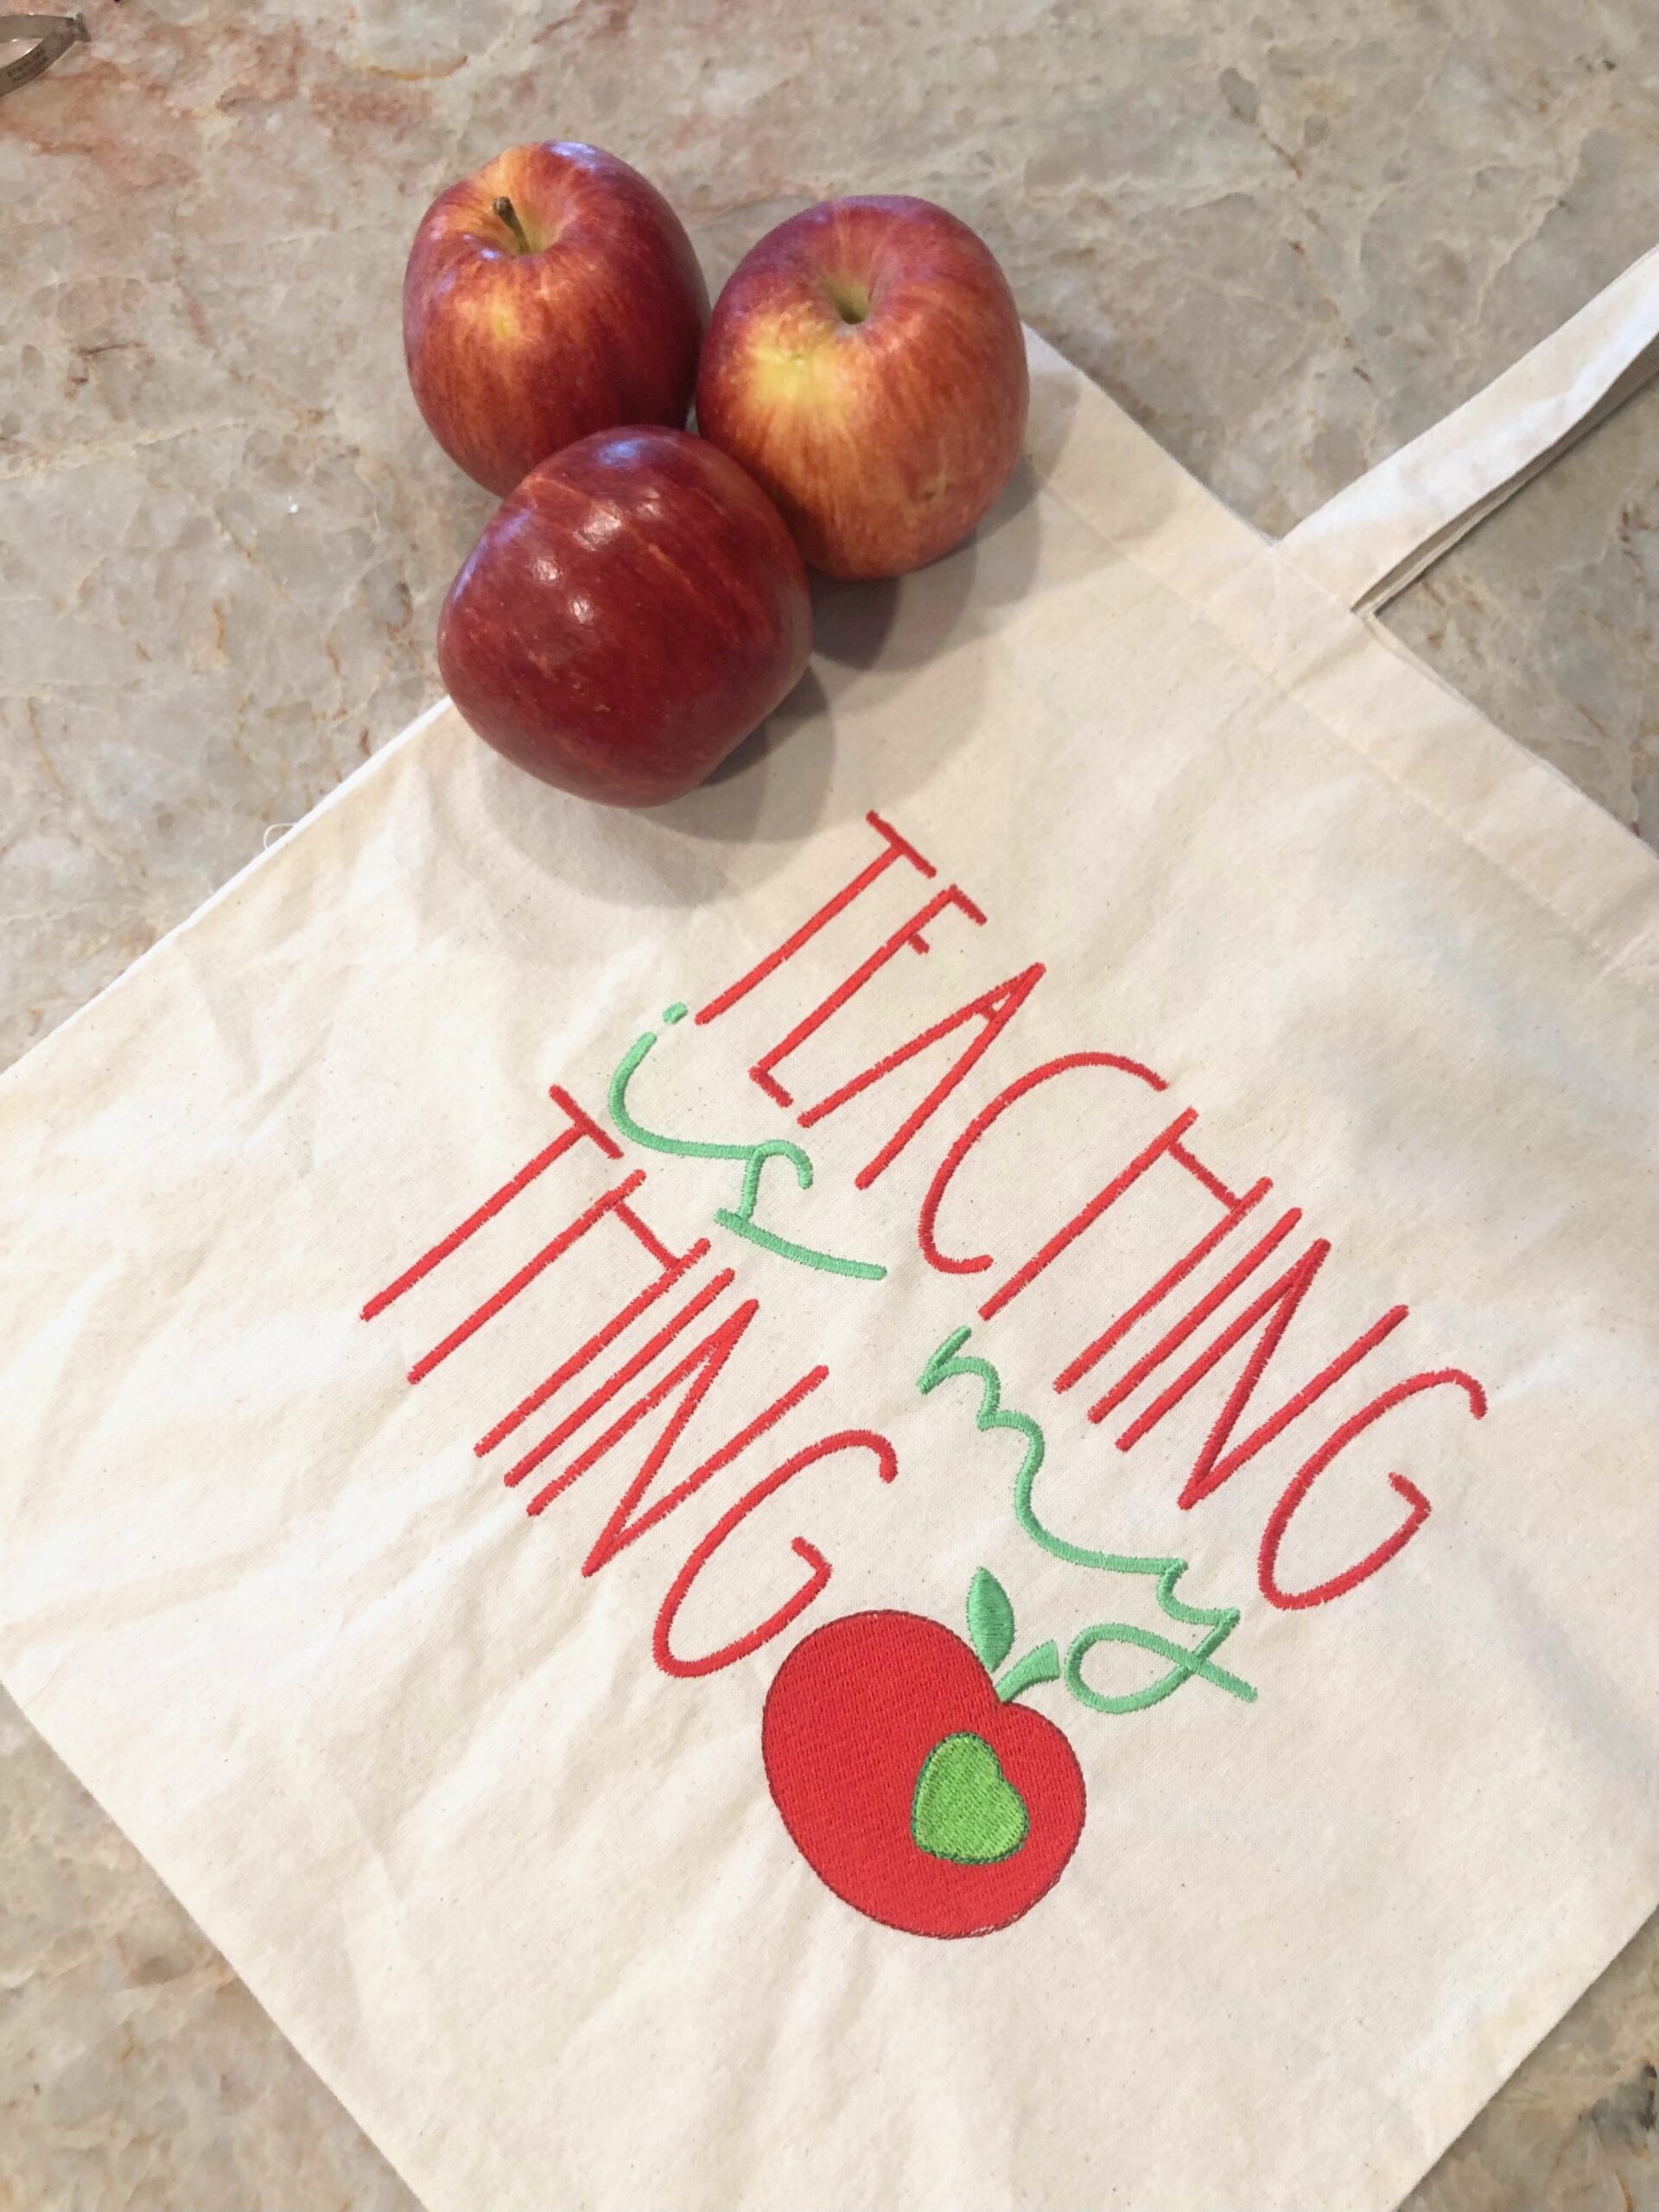
Create a Teacher Tote for a back-to-school gift, using a tote bag blank. Or create a quick tote bag using two fabric squares and self-made handles. This tote isn’t lined, so it couldn’t be easier to embroider and construct! Alternatively, create this “Teacher” Tote for a student and replace the embroidery design with one of your choosing that’s more appropriate for the recipient.
TEACHER TOTE SUPPLIES
- Tote Blank (or create your own tote!)
- Sulky Sticky+™ Stabilizer
- Sticky+ Slitting Pen
- Sulky Thread: Poly Deco™ (colors according to chosen embroidery design) & 60 wt. Bobbin
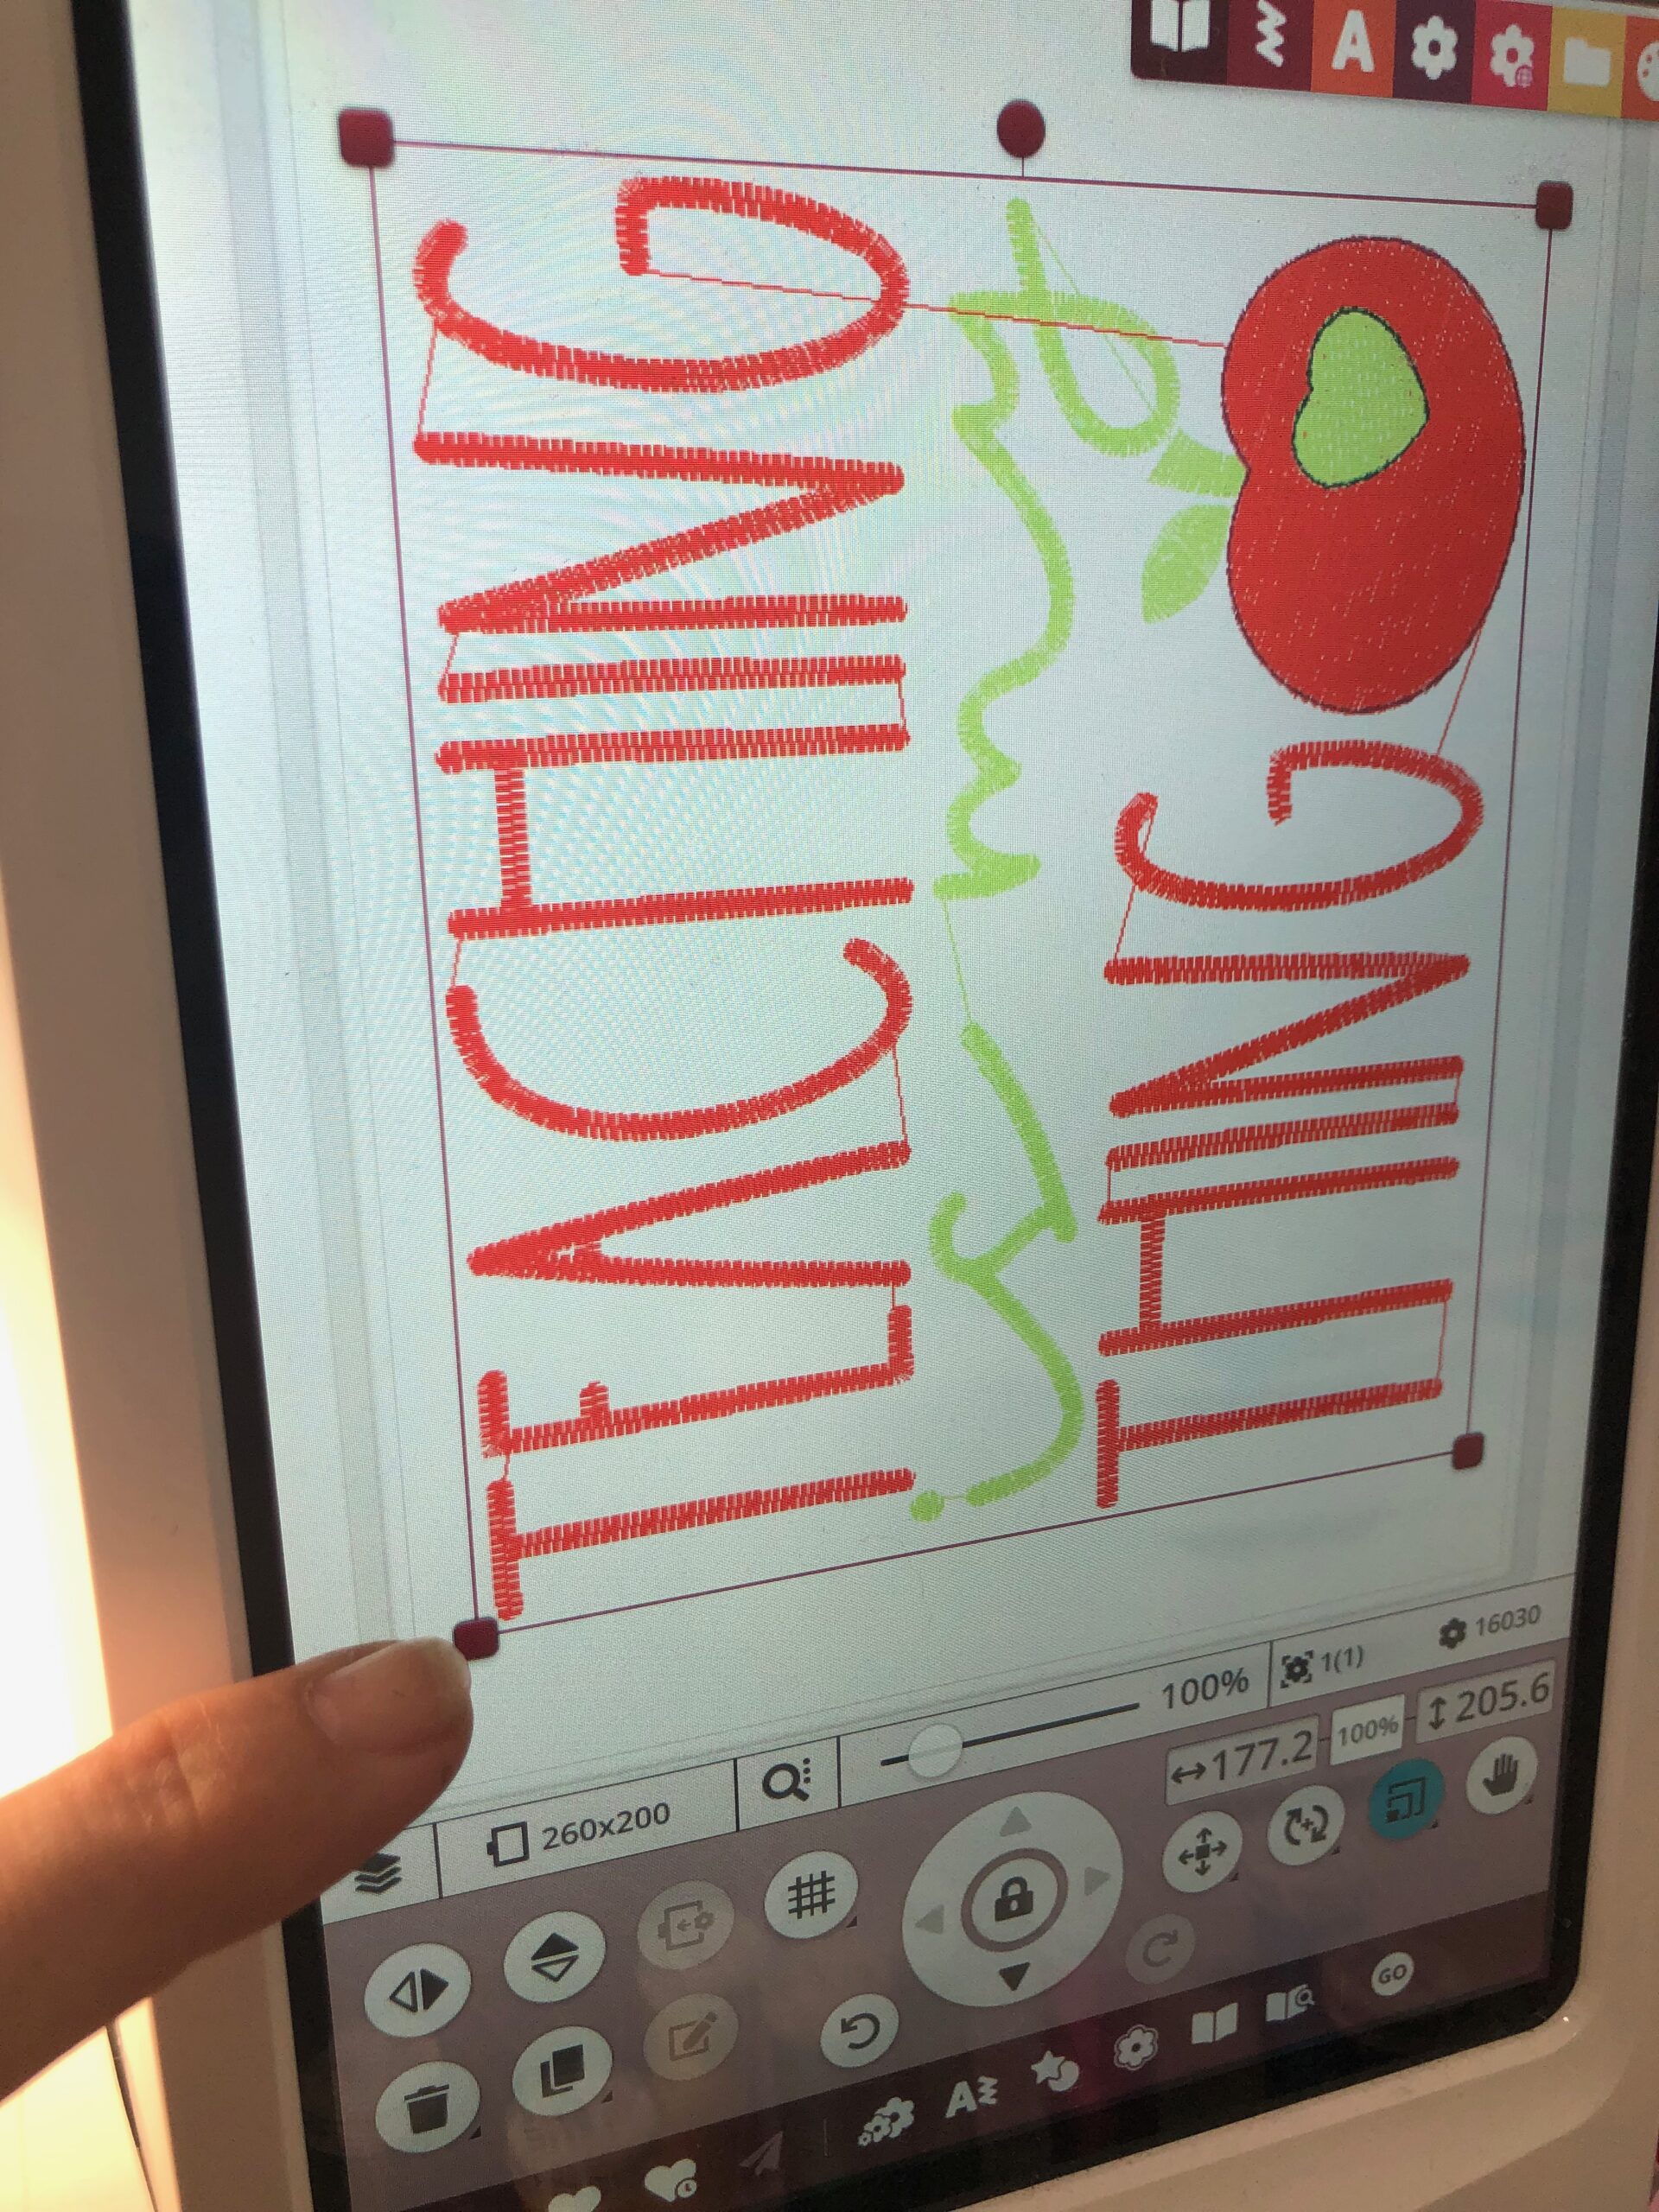
- Large-scale embroidery design (Featured design is Teaching is my Thing in the 6×10 hoop size from Bunnycup Embroidery)
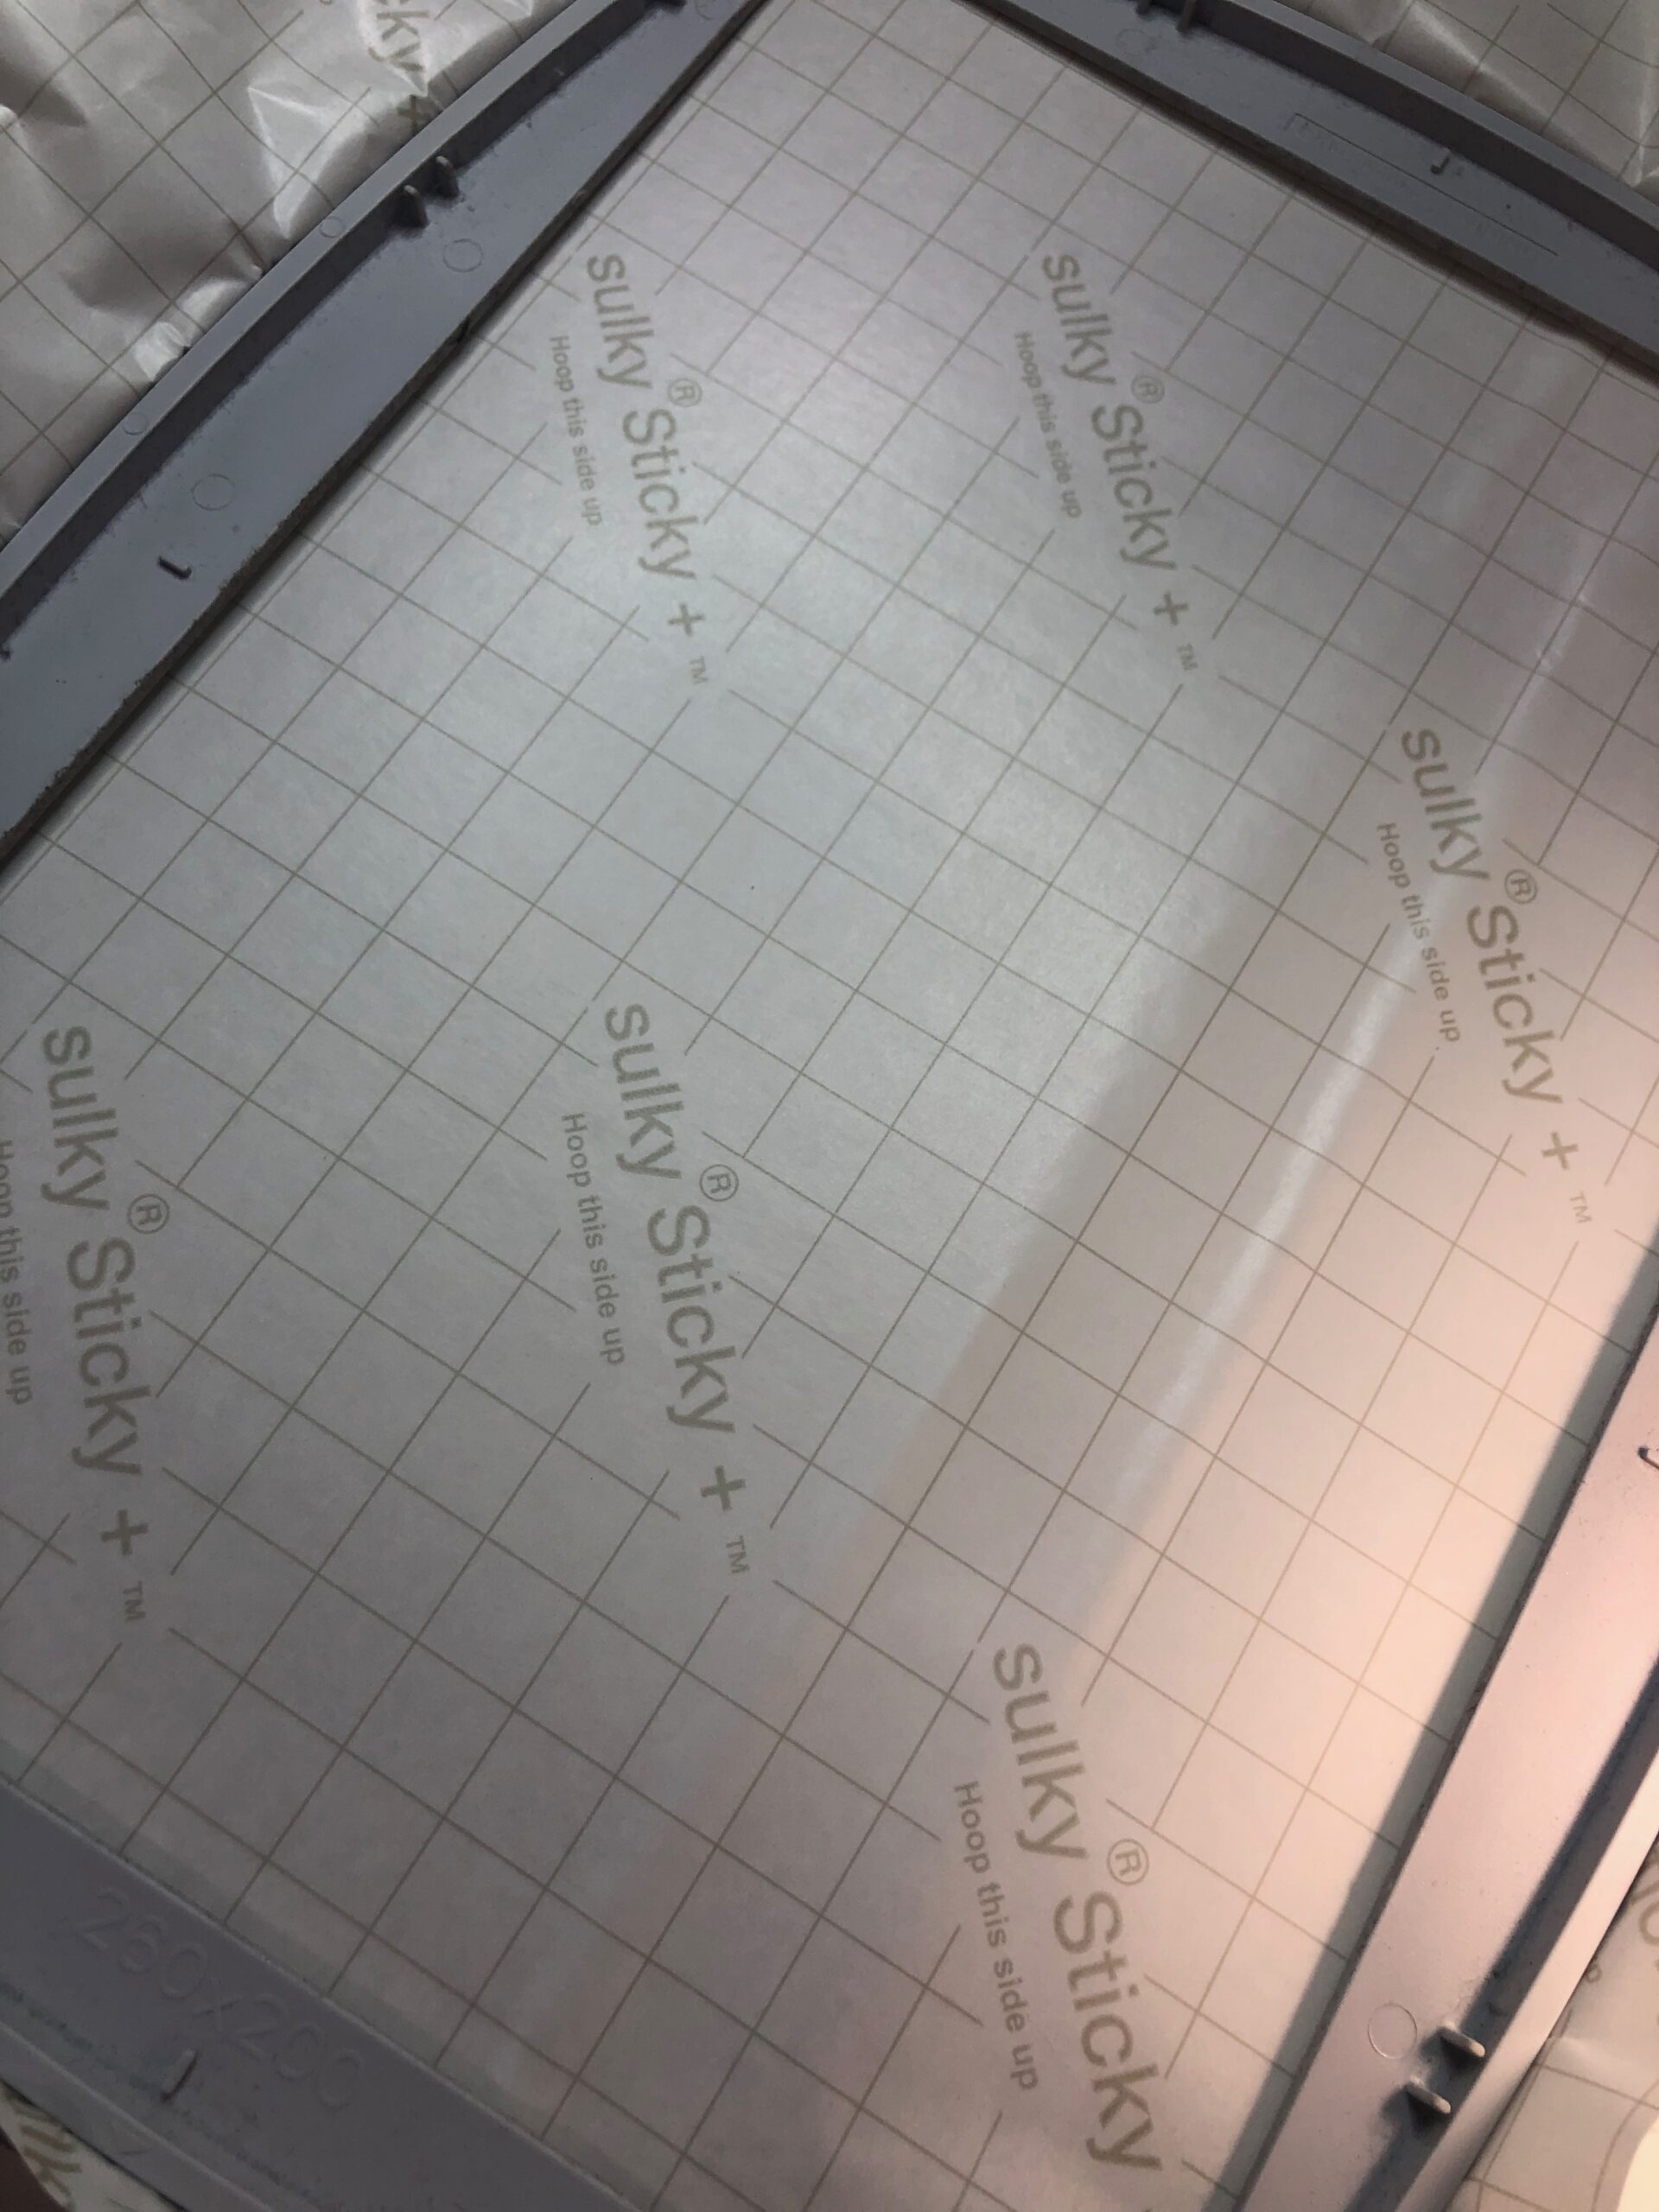
HOOPING THE TOTE
Hoop a piece of Sticky+ Stabilizer with the paper facing up.
Use the Sticky+ Slitting Pen to score the paper without slicing through the stabilizer underneath.
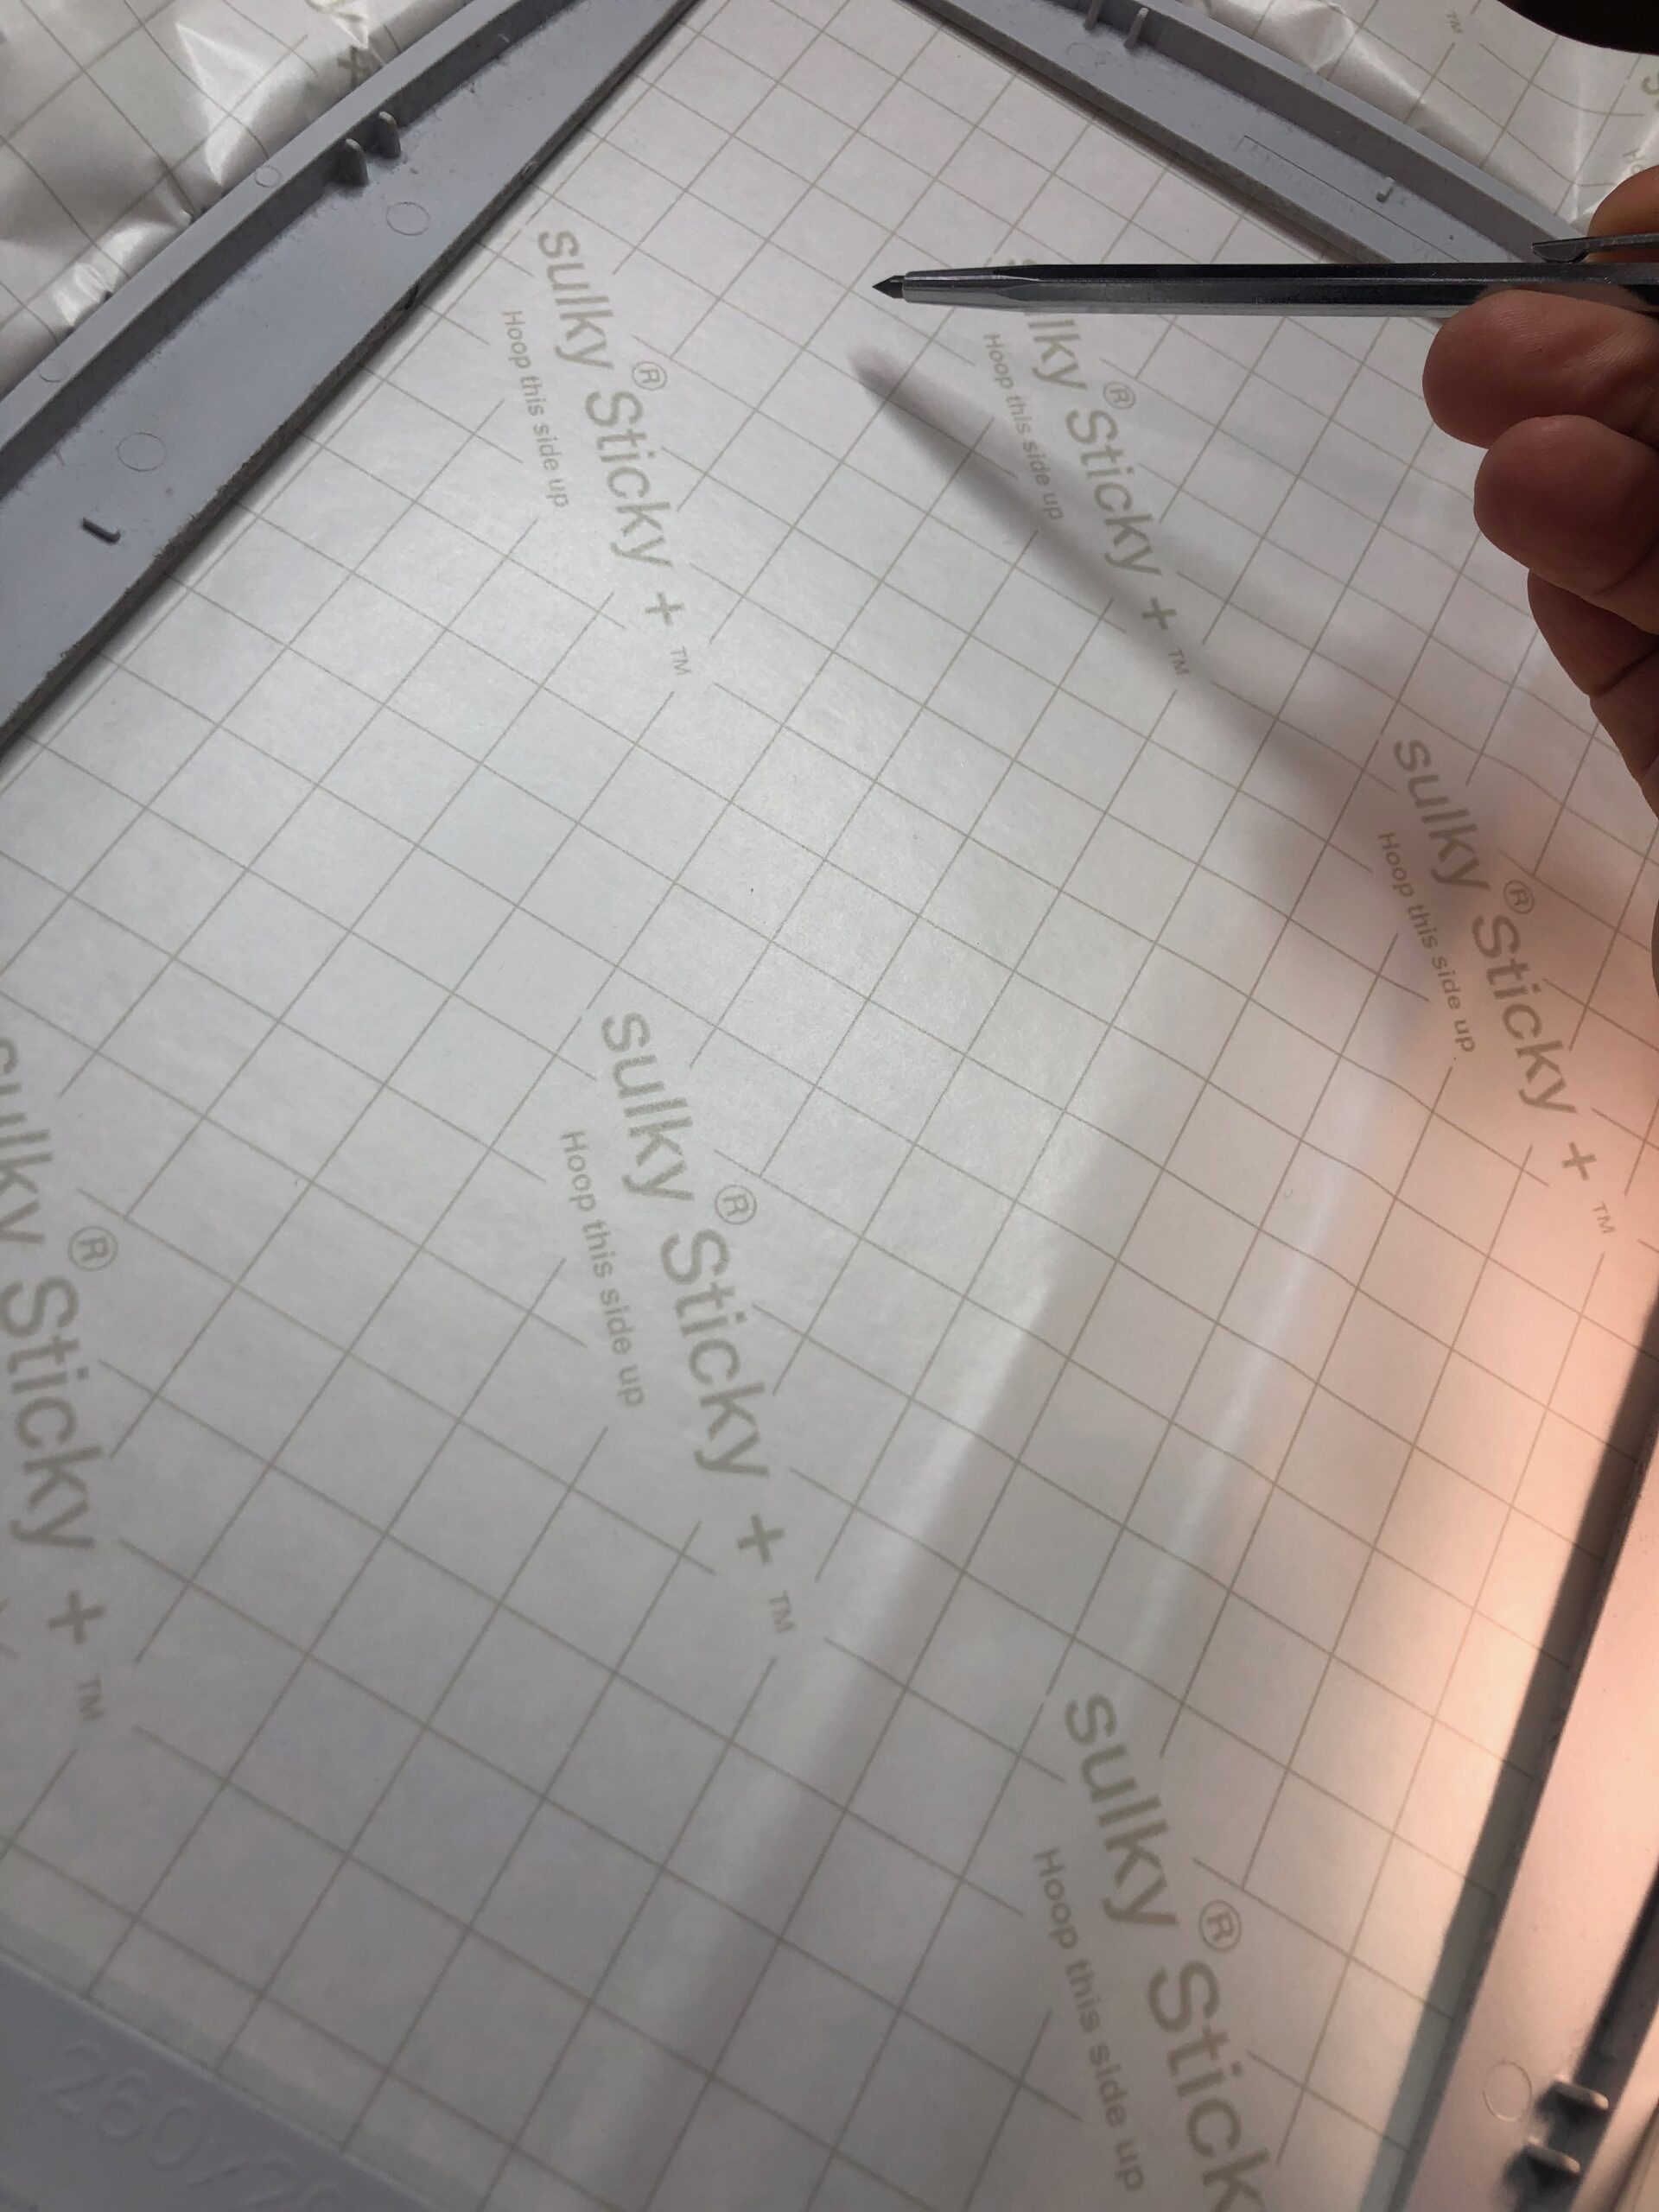
Tear away the paper to reveal the adhesive.
TEACHER TOTE STITCHOUT
Load the chosen design into the machine. If needed, resize the design on screen to make it even larger to fit the entire tote front, if possible.
After loading the chosen design, tell the machine to perform a “baste-in-the-hoop” function to baste the design perimeter.
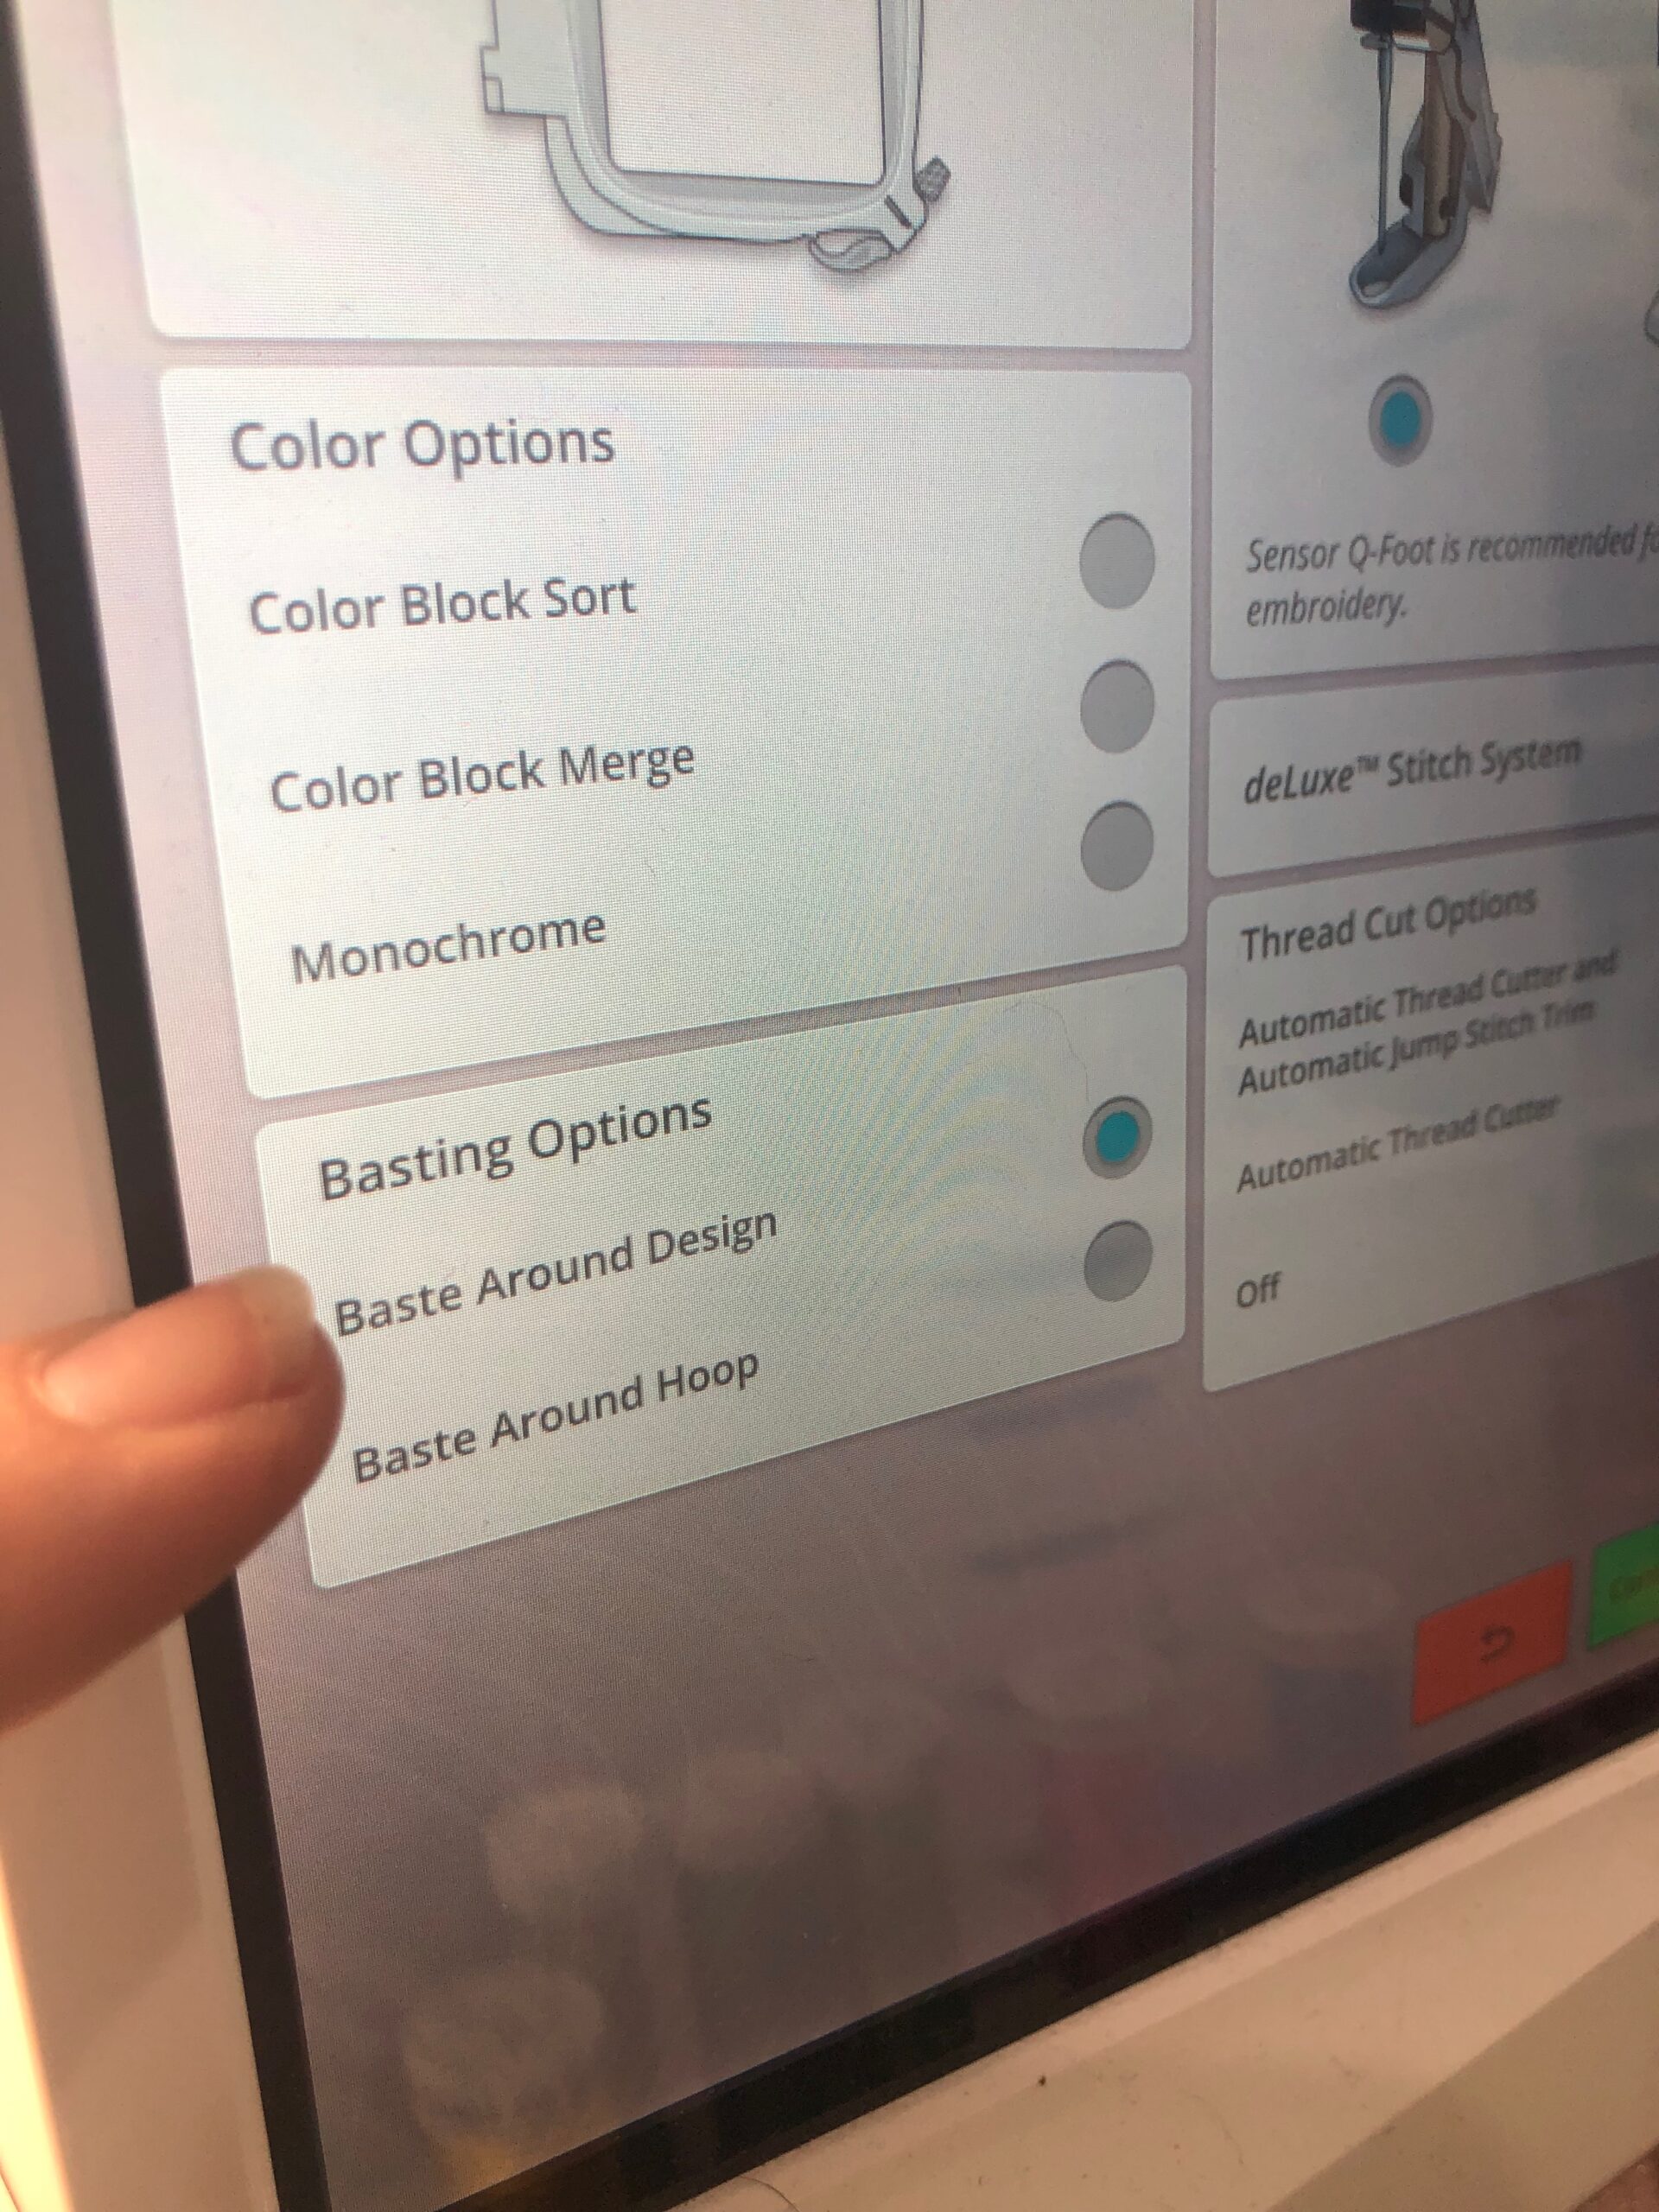
If you don’t have this function it’s ok! Use the placement technique you prefer.
Place the hoop onto the machine and stitch the basting stitches right onto the stabilizer (yes it is a bit sticky!).

Now, turn the tote bag blank wrong side out. Fold it in half lengthwise and position half of the front on the sticky stabilizer with the wrong sides still facing out. Line up the fold with the upper and lower hoop markings.

Then, line up the tote side to side with the hoop side markings in the same manner. Place the hoop onto the machine.
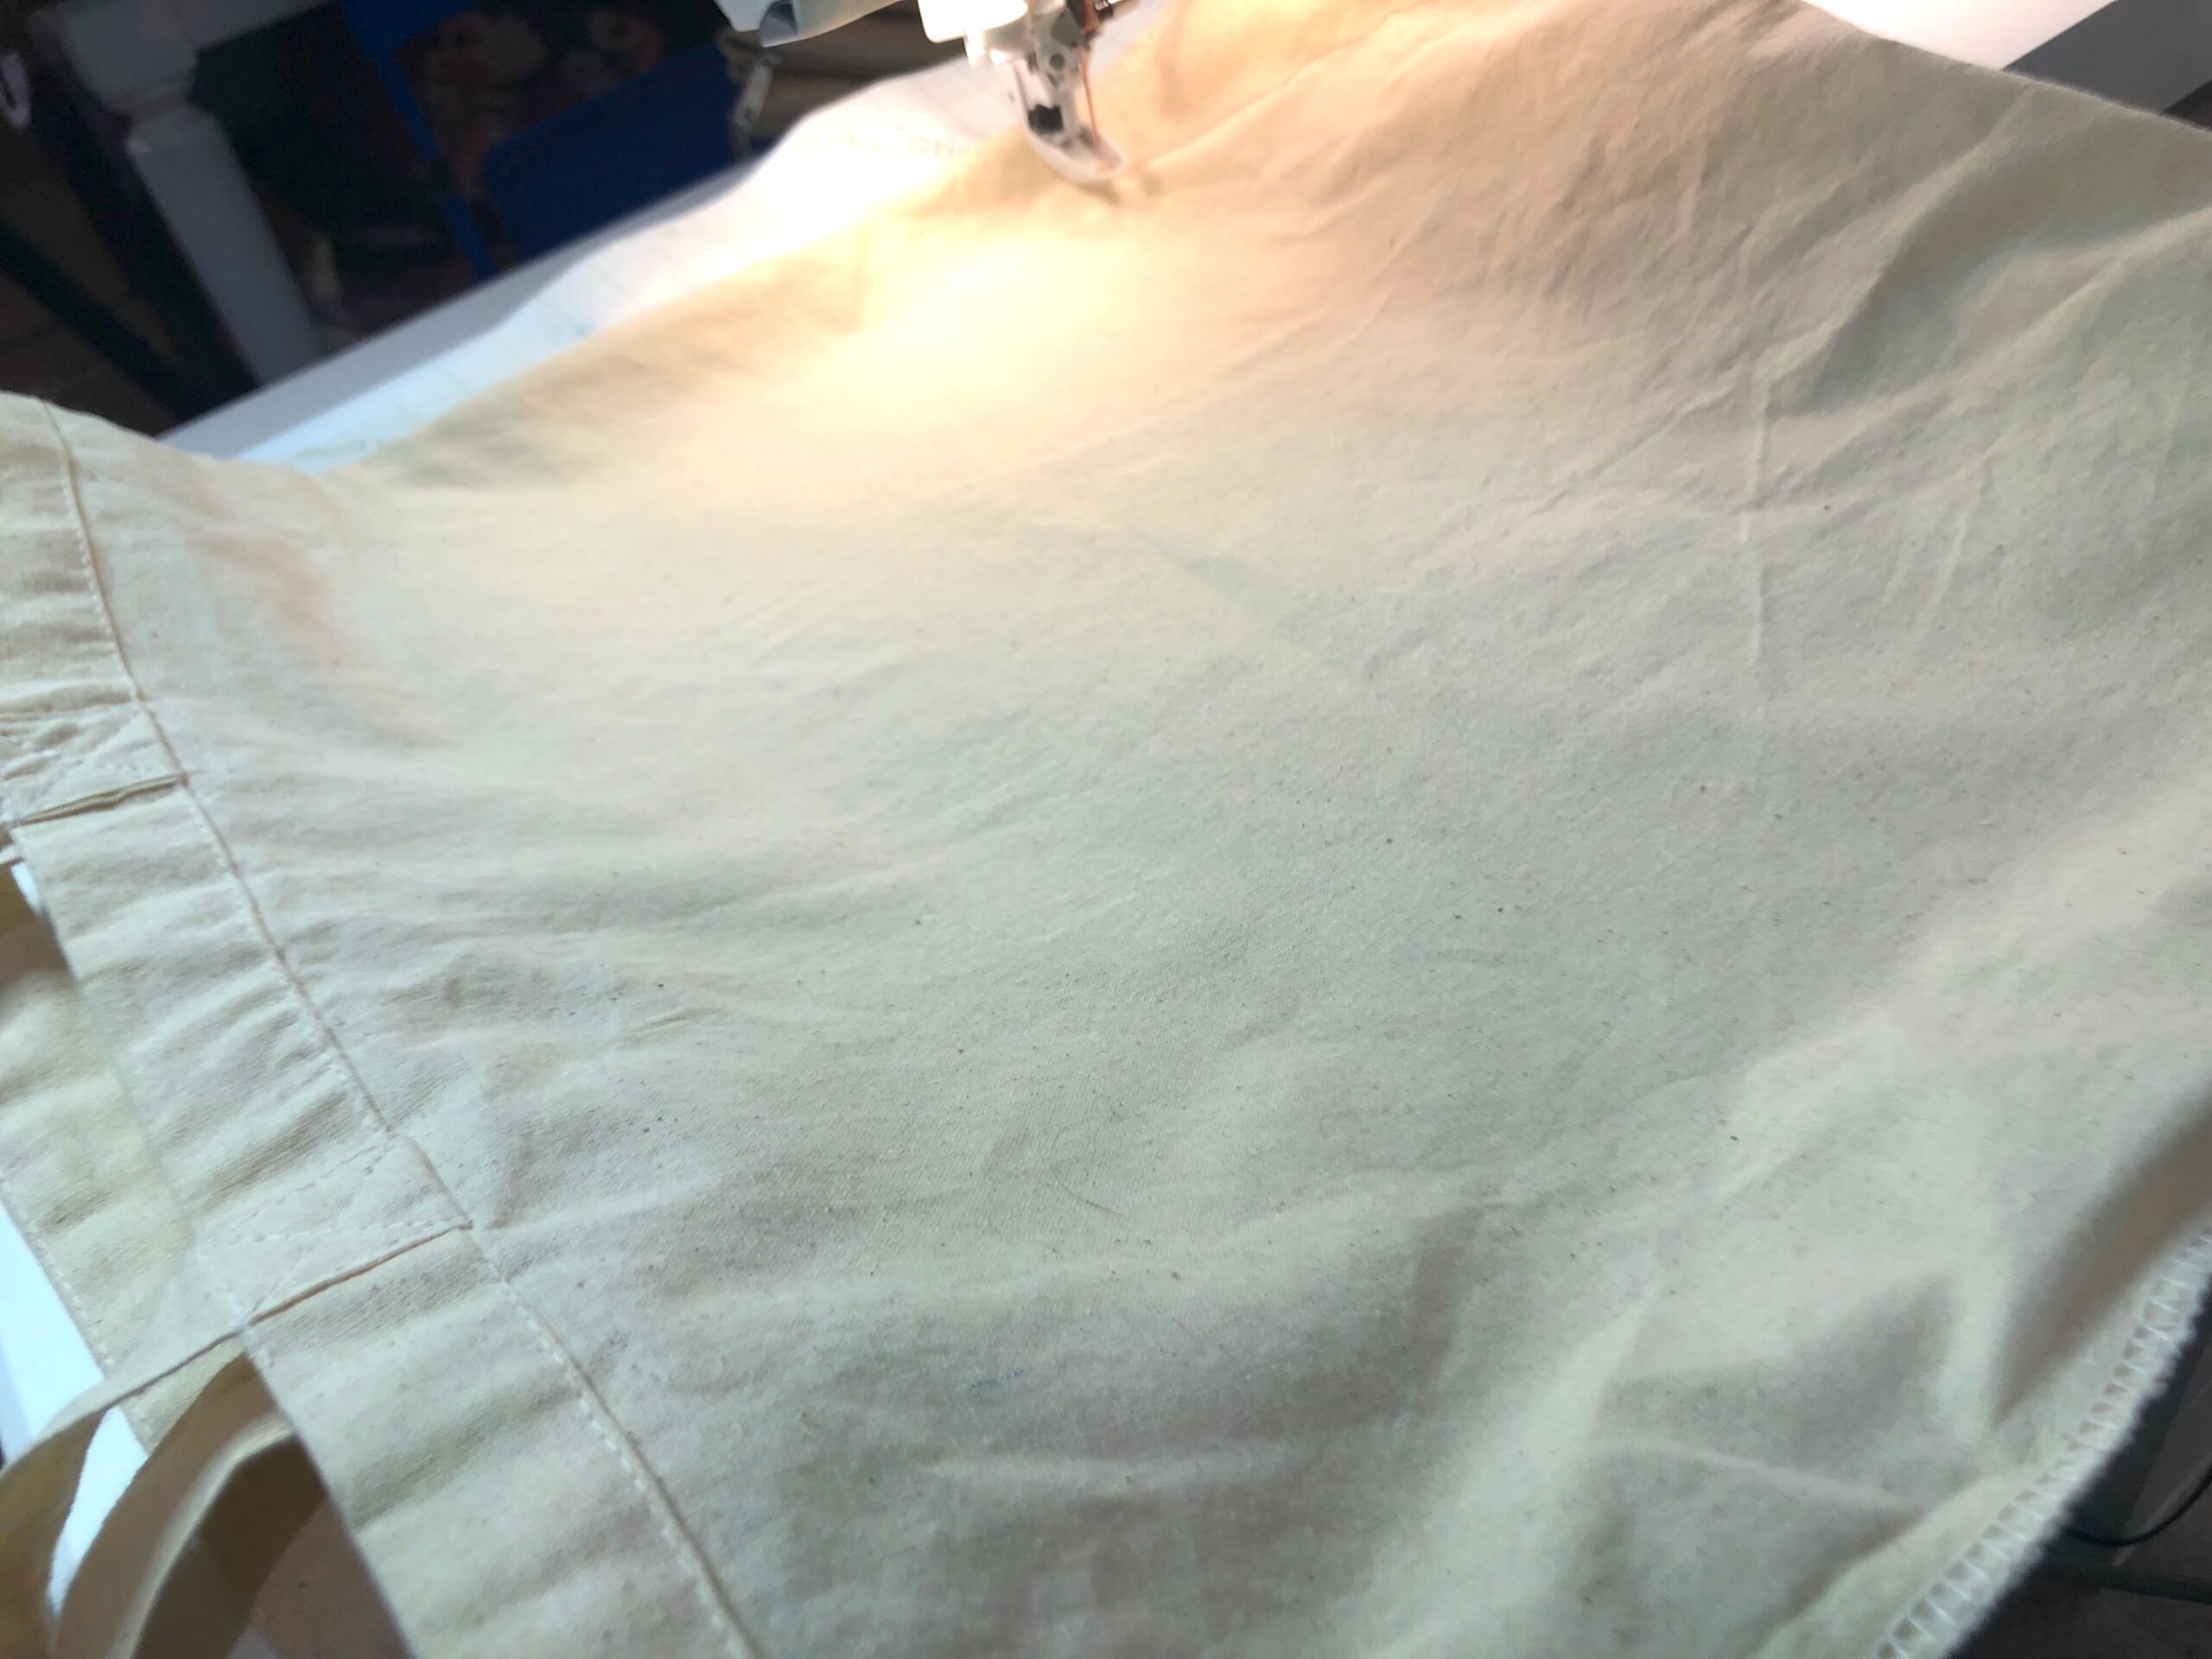
Carefully maneuver the tote back fabric away from the machine arm and needle. Basically, you’ll embroider in a “tunnel.”
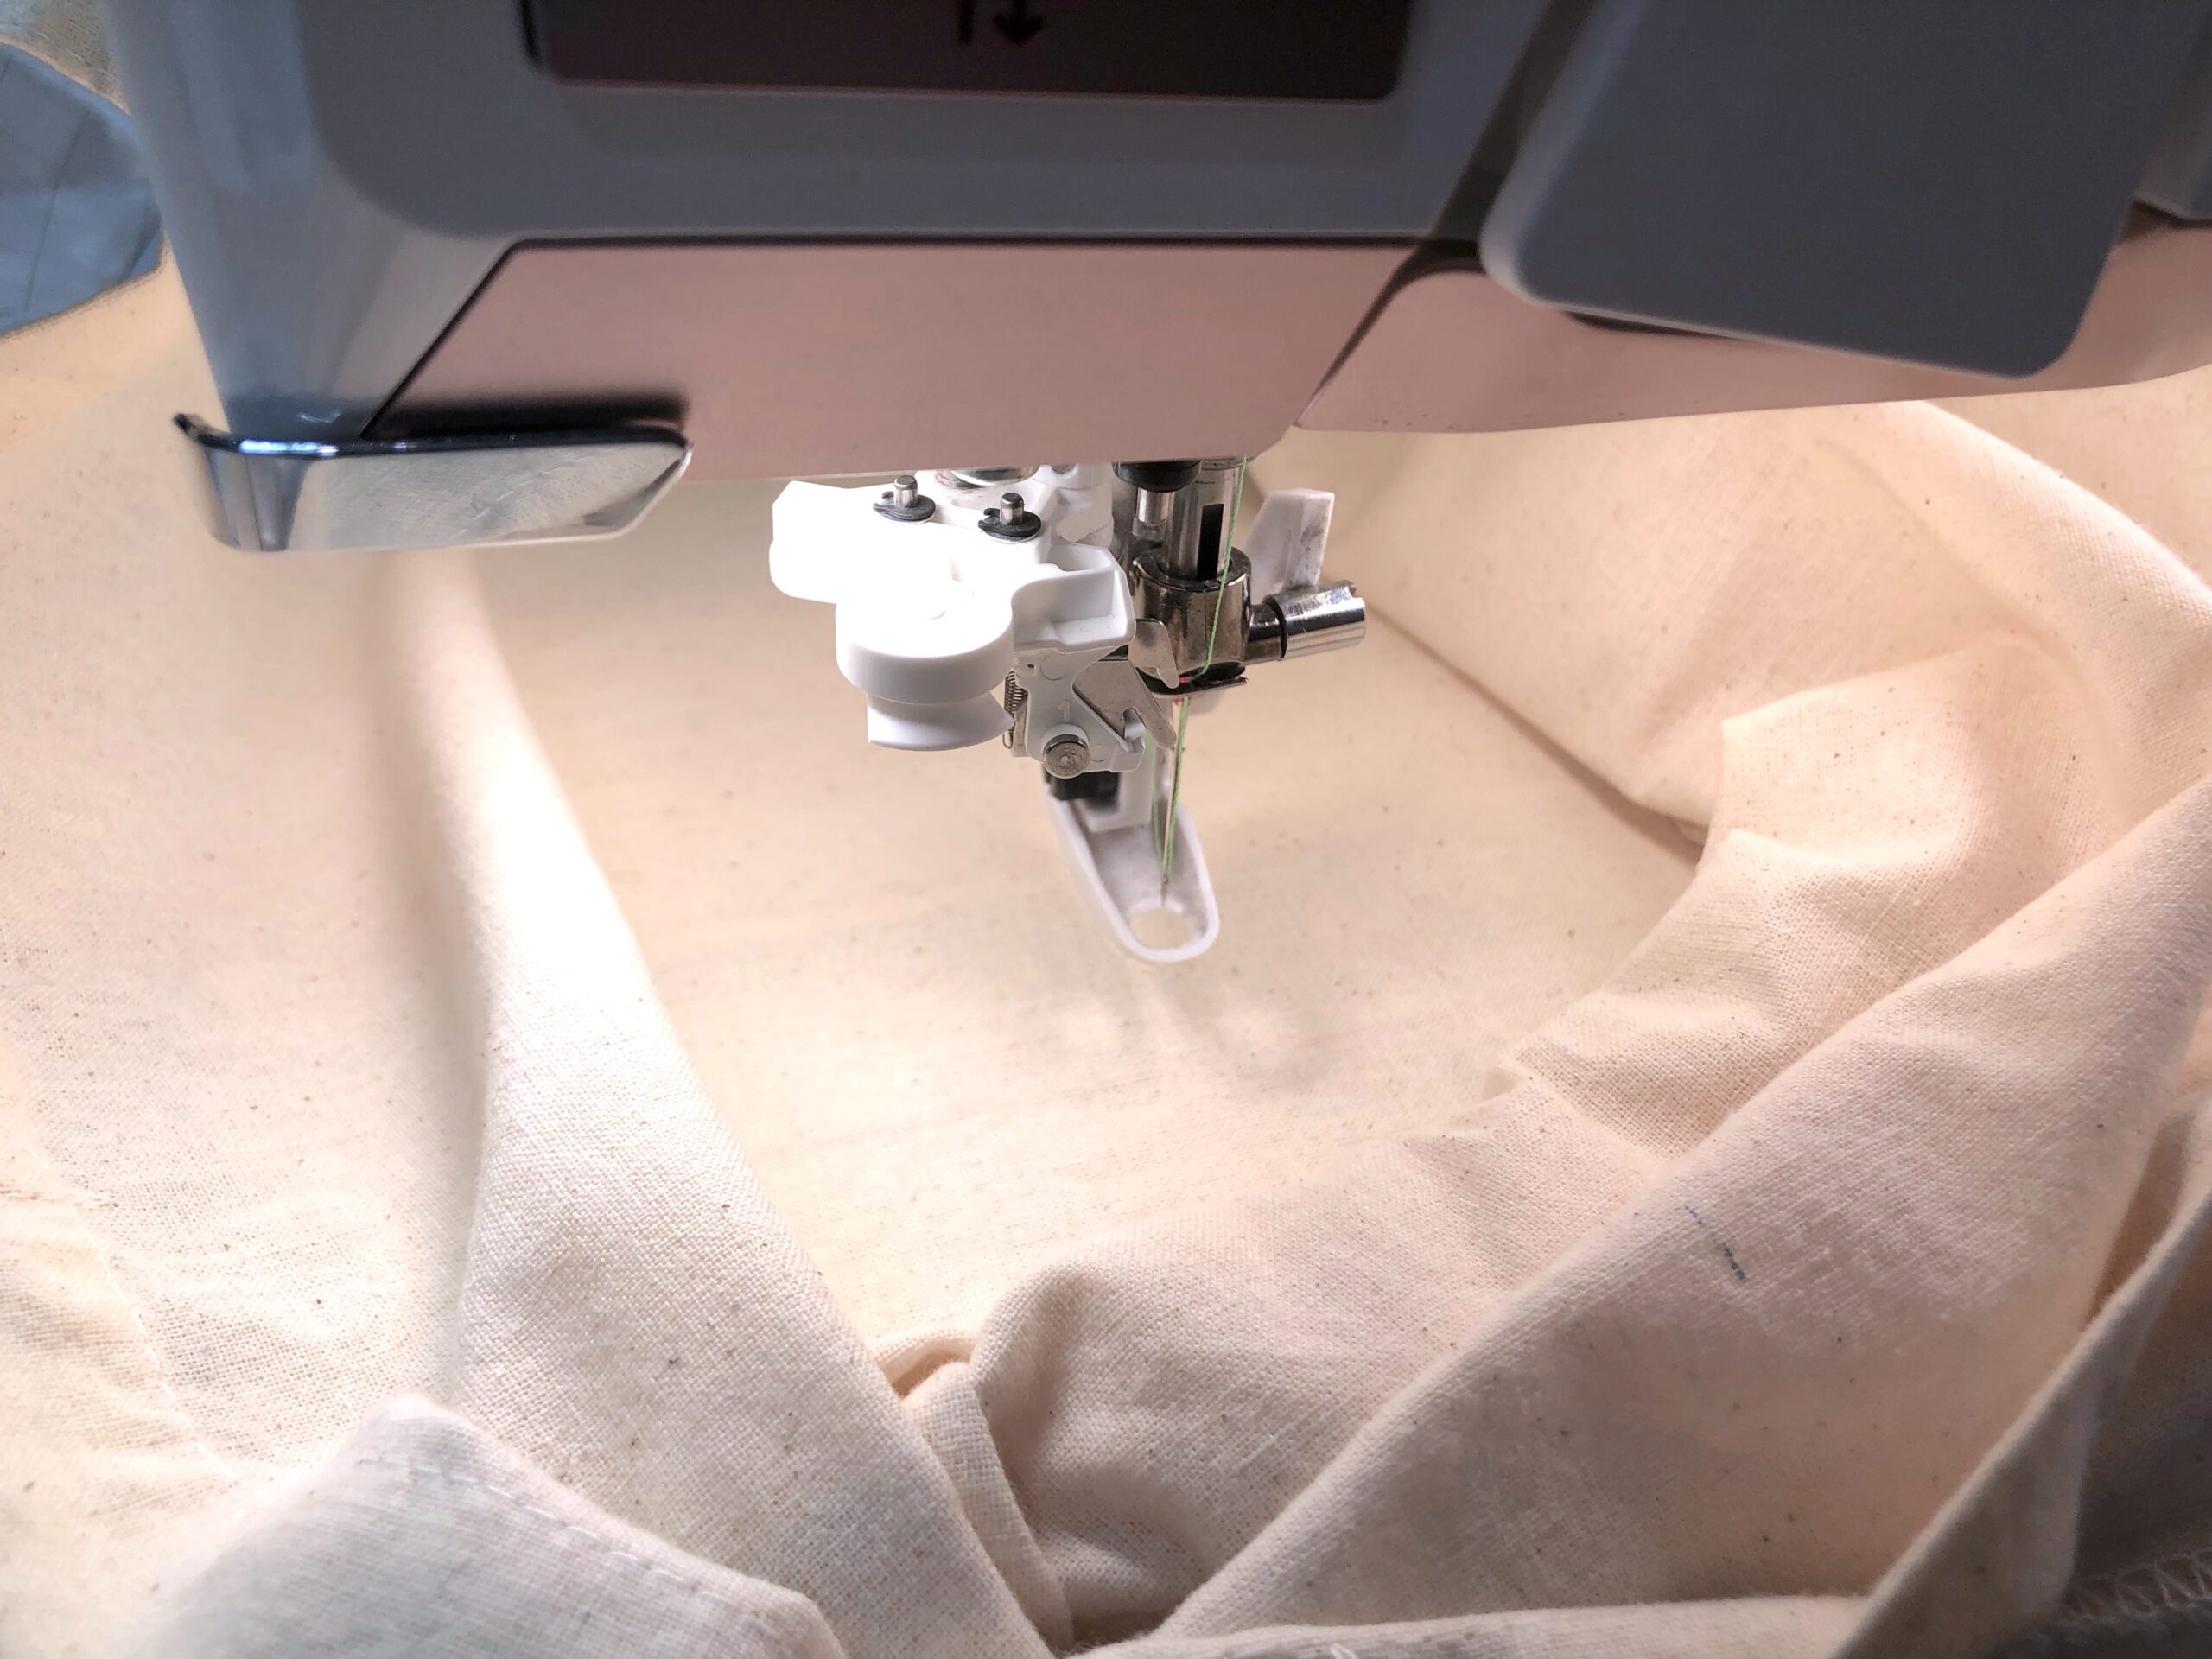
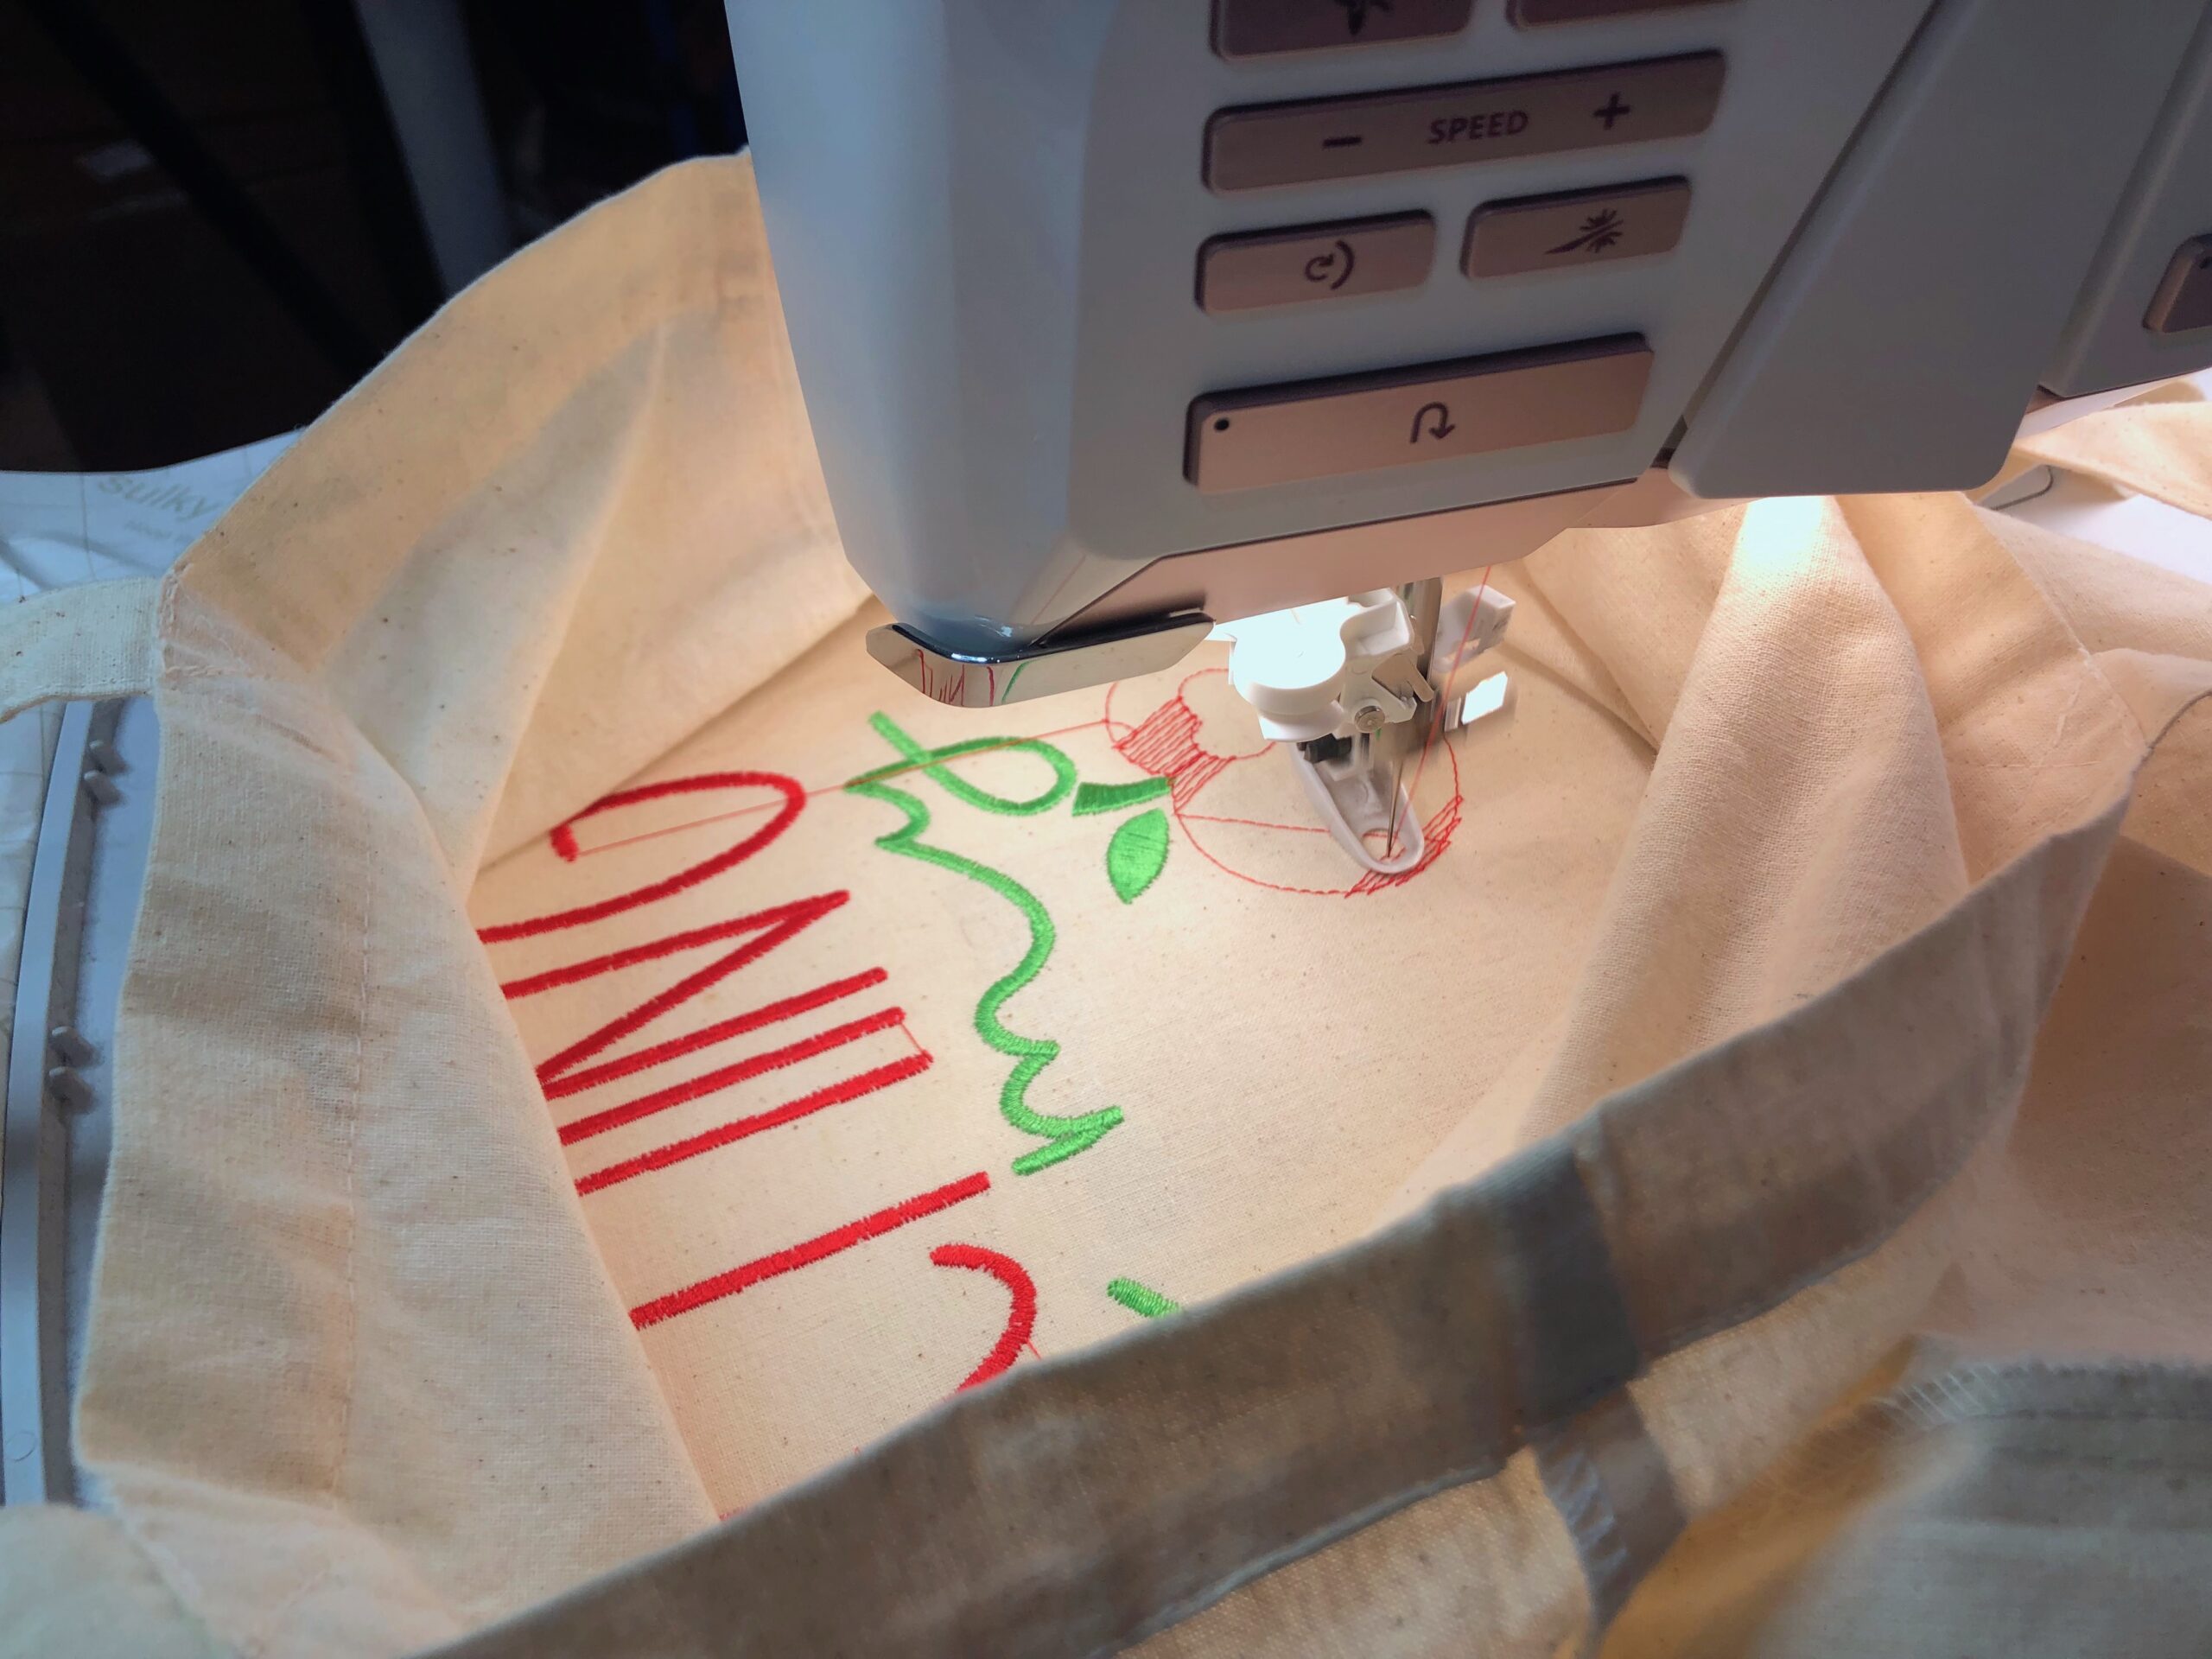
Begin the design, stopping the machine when/if needed to reposition the tote fabric out of the way of the stitching path.
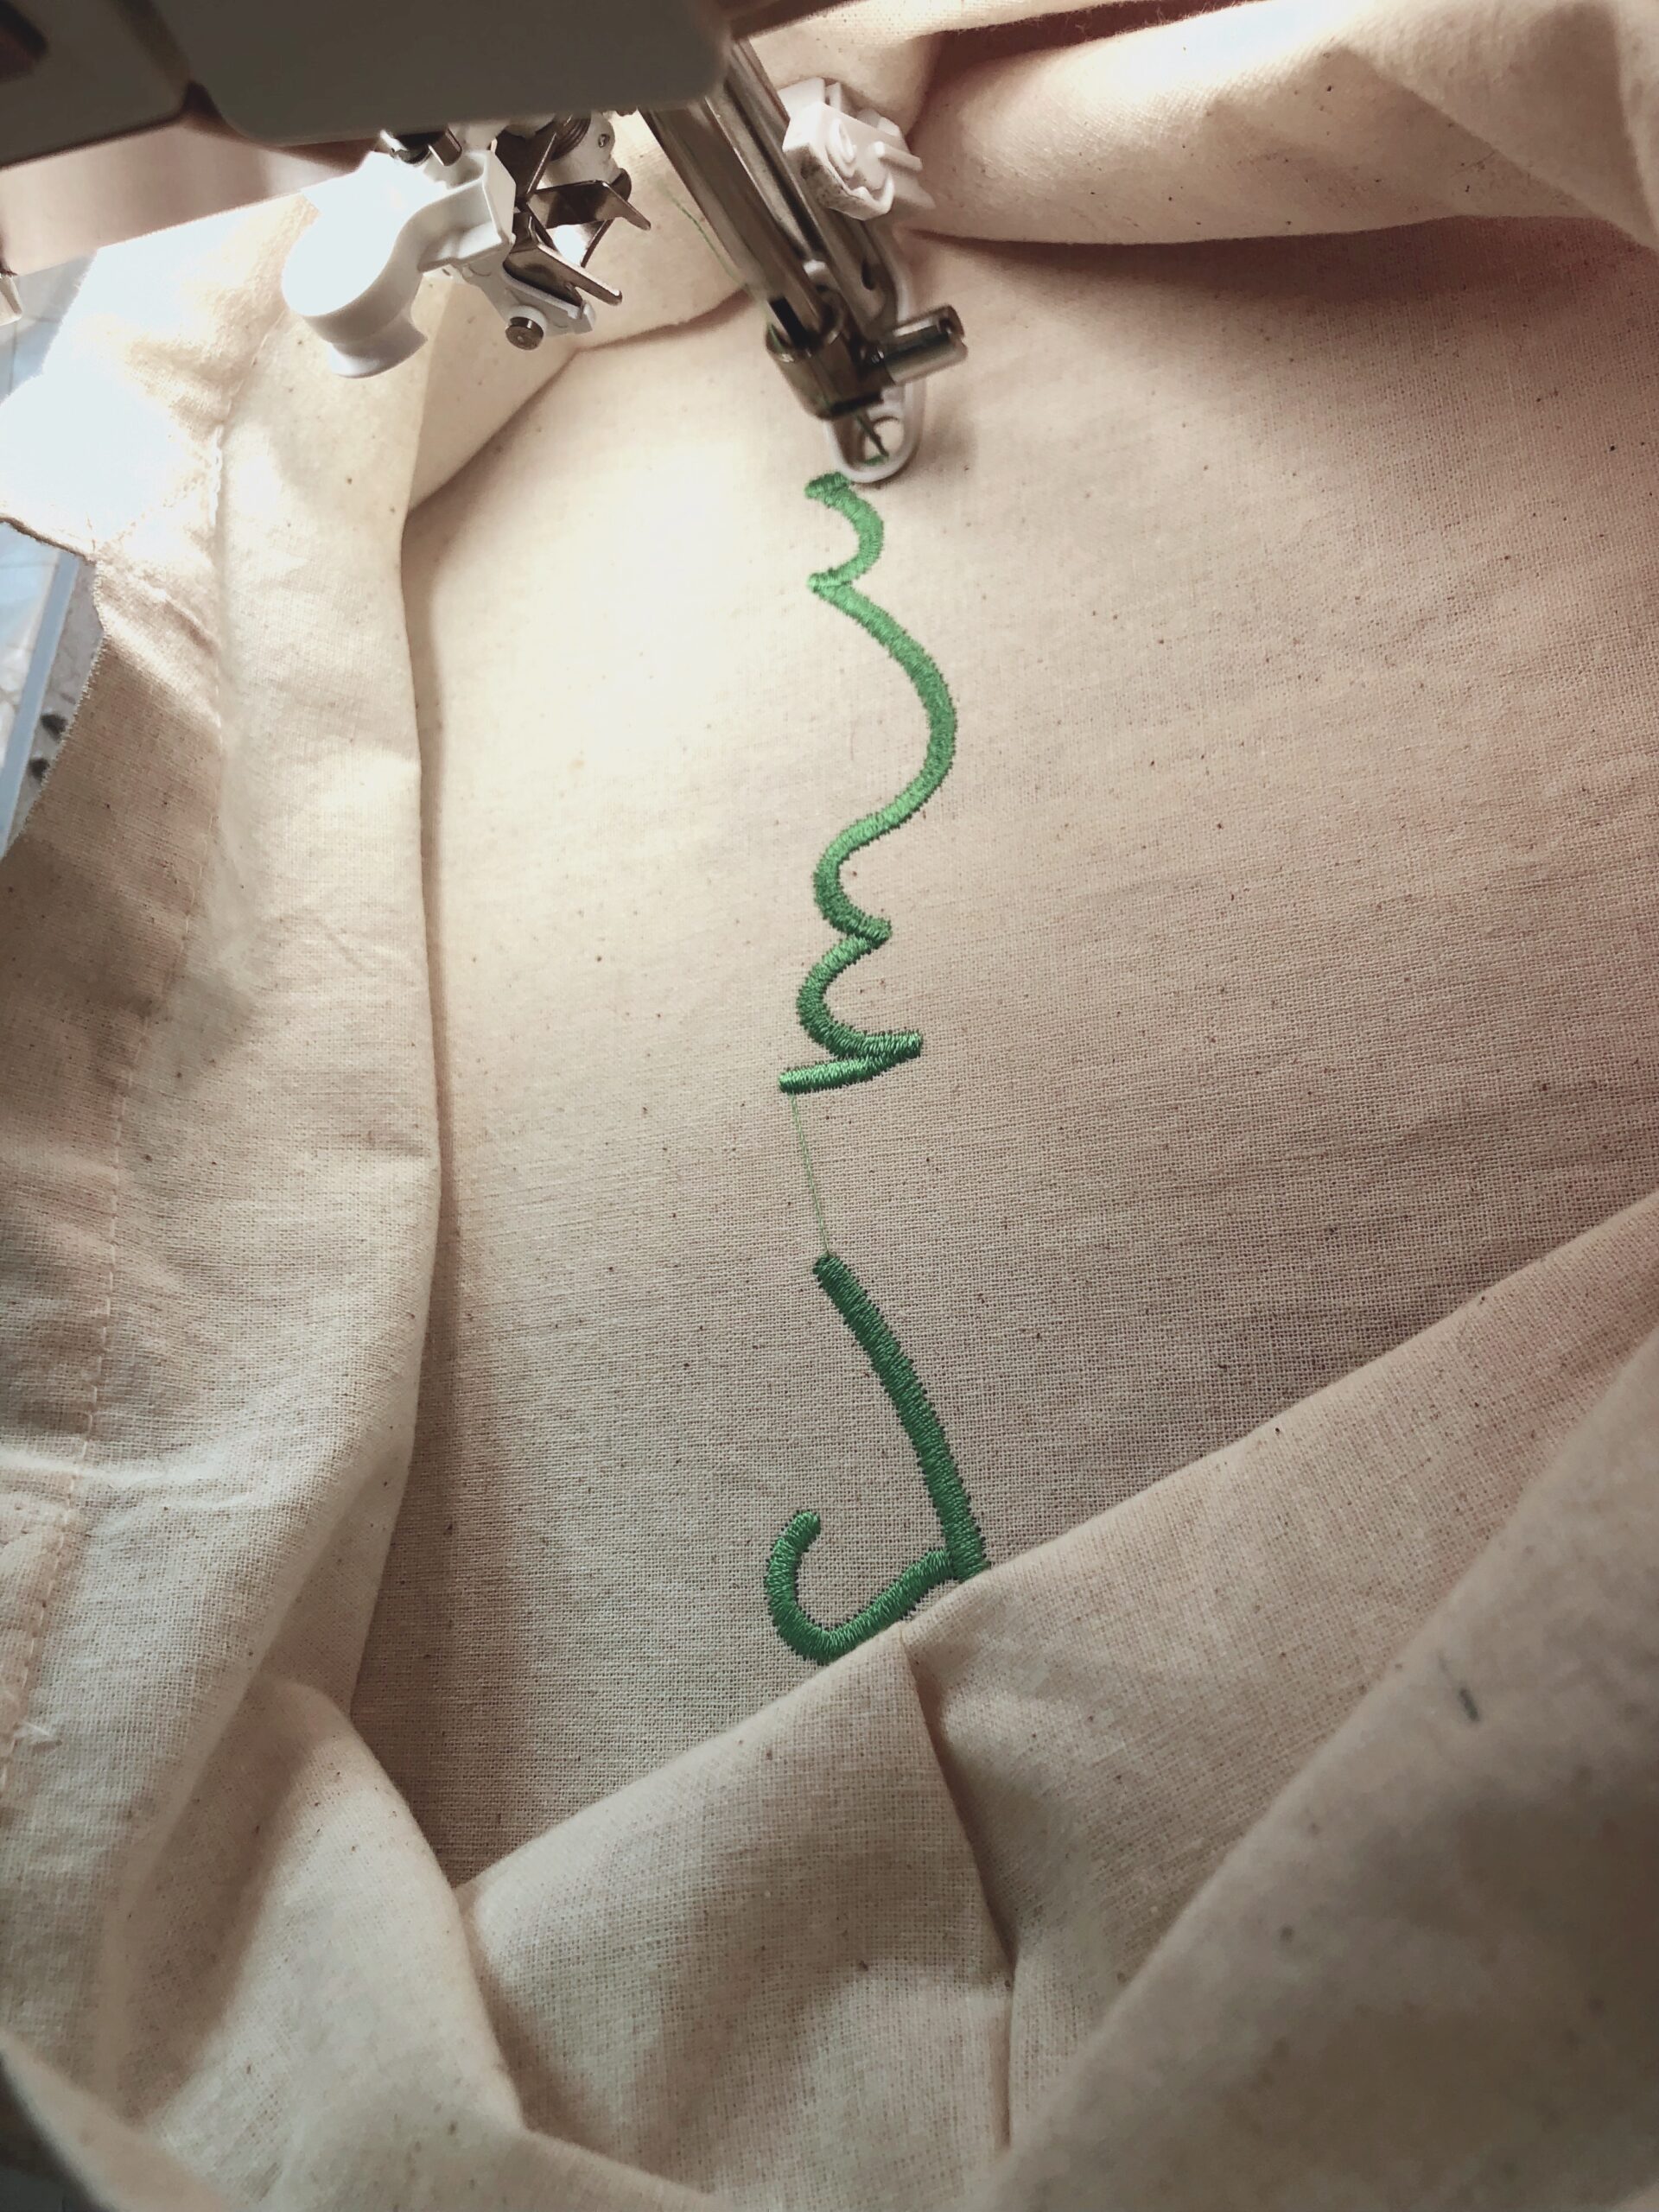
For a design as large as this, you may have to start/stop multiple times. Make sure to clip jump threads with each thread change.
TOTE FINISHING
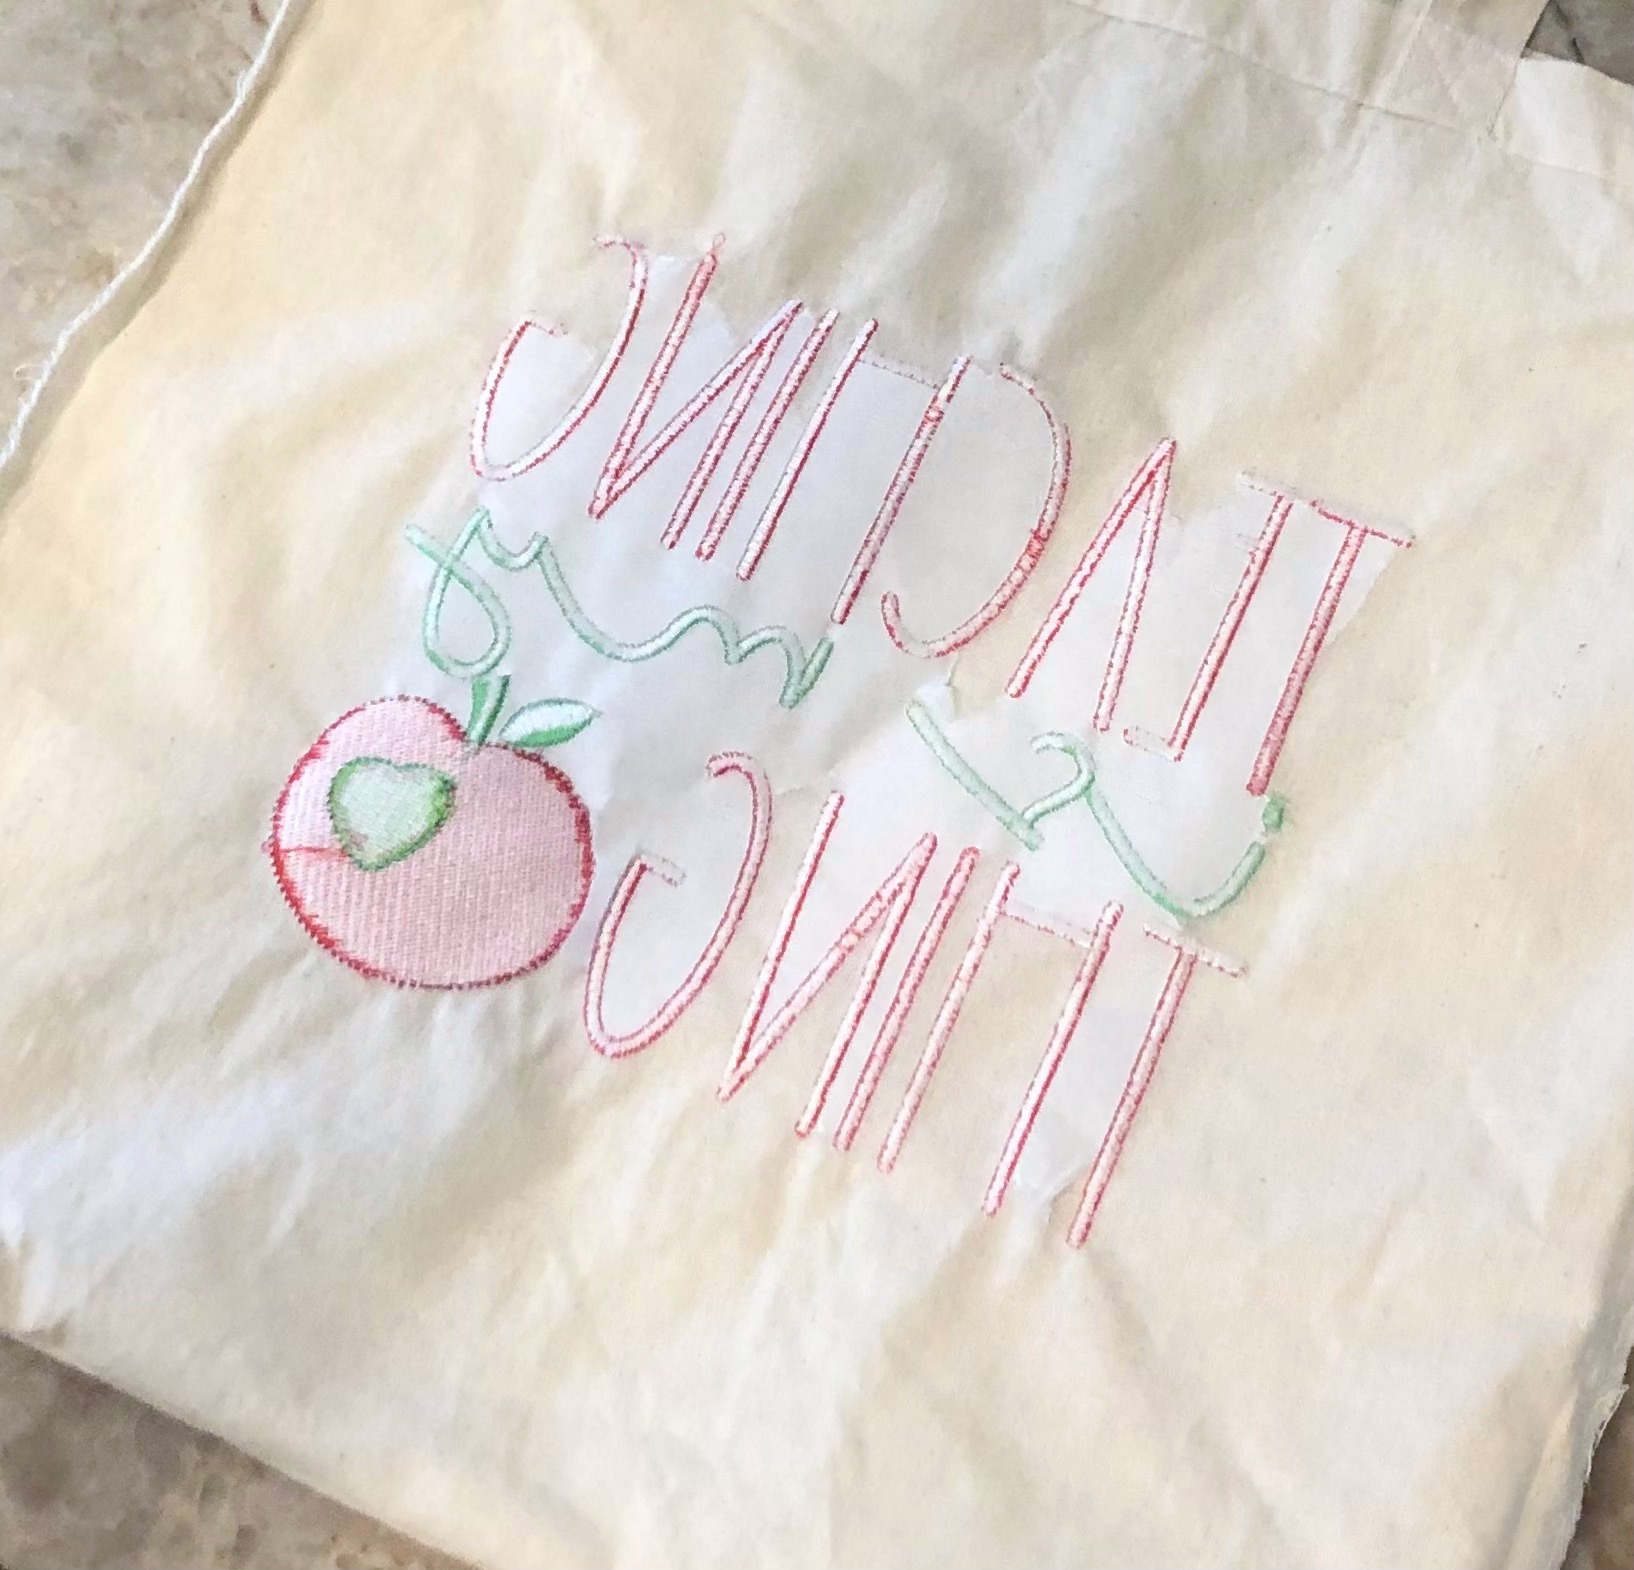
When the embroidery is complete, remove the hoop from the machine. Clip the jump threads on the wrong side before removing the project fro the hoop.
Then, remove the stabilizer by gently tearing it away beyond the stitching. Long tweezers are a nice tool to have for this job!
Press the tote from the wrong side, keeping the heat of the iron away from the thread if possible.
Turn the tote right side out and fill it with fun goodies for the first day of school!

Ellen March
I am the Director of Content for Sulky of America. The former Editor in Chief of Sew News and Creative Machine Embroidery magazines, I hosted Sew it All TV on PBS for nine seasons. I've appeared on It's Sew Easy on PBS, DIY Network's Uncommon Threads, Hallmark's Marie Osmond Show, MacPhee Workshop and more! Come sew with me!


One Comment
Suellen
Love the idea of the teacher mug rug.i think I can use in different ways. I am going to have fun with it.