American Flag Placemat
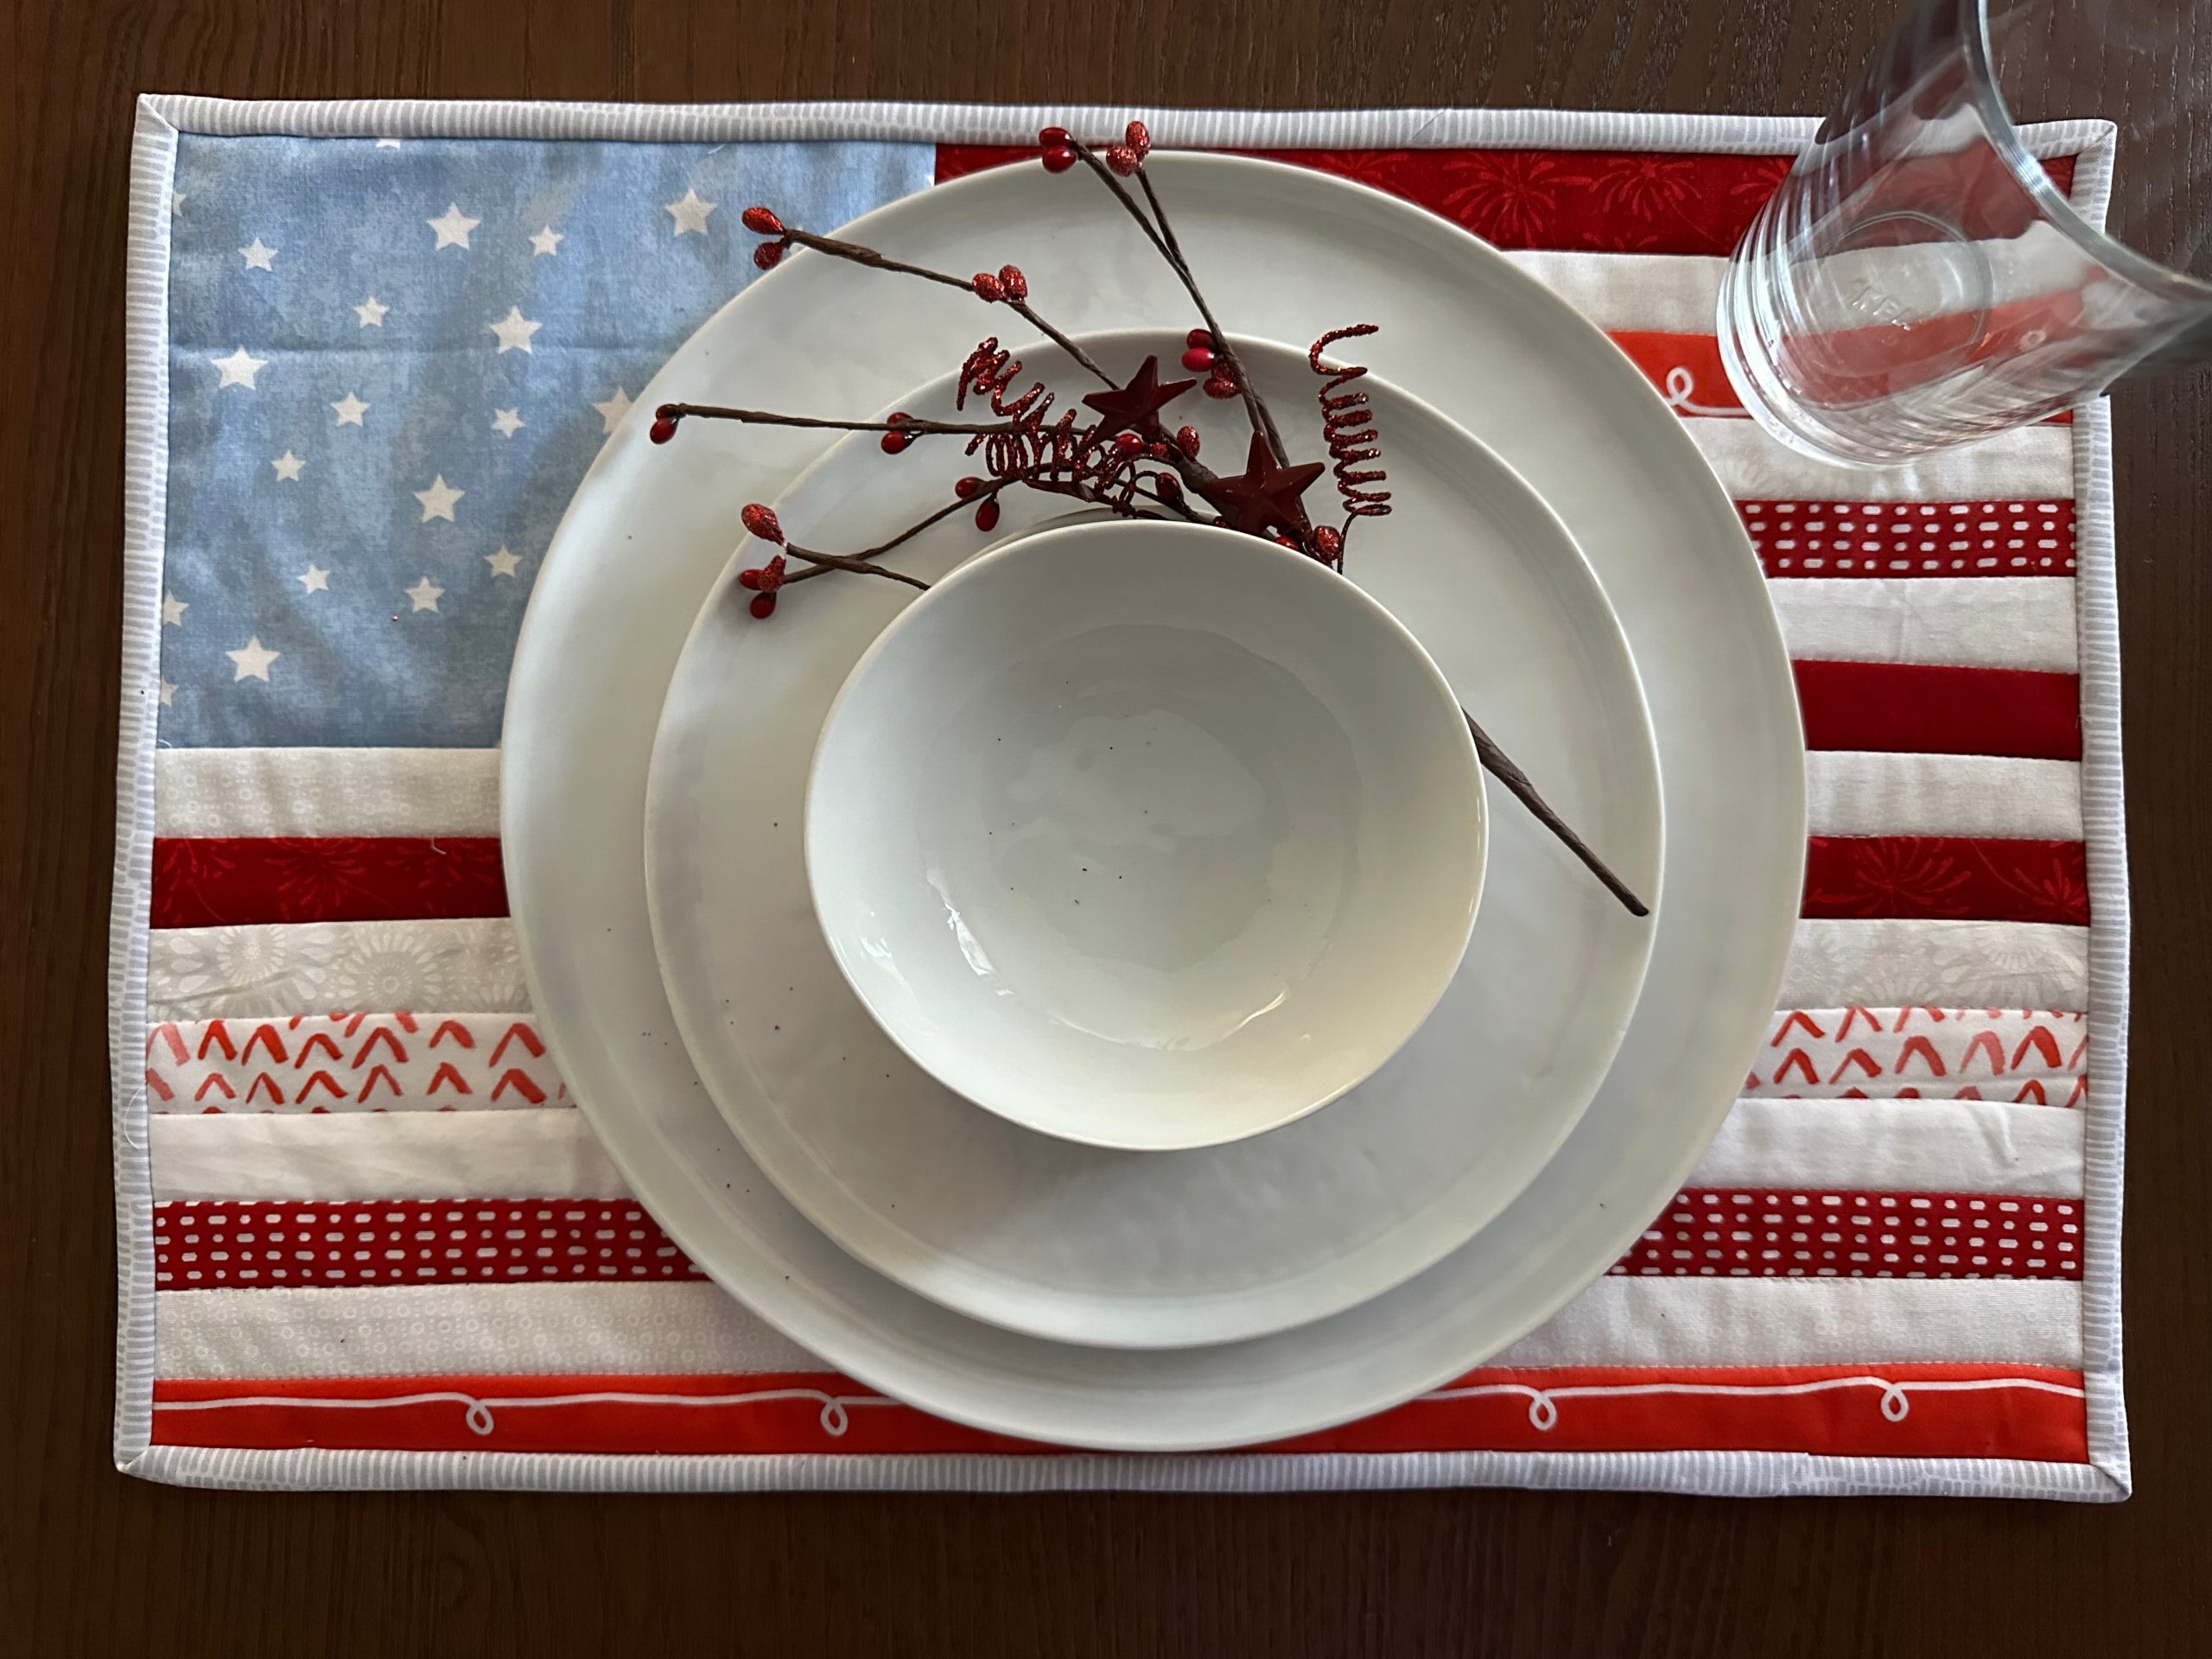
Create this American Flag Placemat to celebrate Memorial Day, Independence Day and more! Create as many as needed to add to your patriotic décor. This foundation piecing technique makes easy work of narrow strip piecing so you can create multiple placemats for a pretty red, white and blue tablescape.
FLAG PLACEMAT SUPPLIES
- Various red, white & blue print fabrics (piecing & binding)
- Patriotic-themed backing fabric (14” x 20”)
- Low-loft batting (12” x 18”)
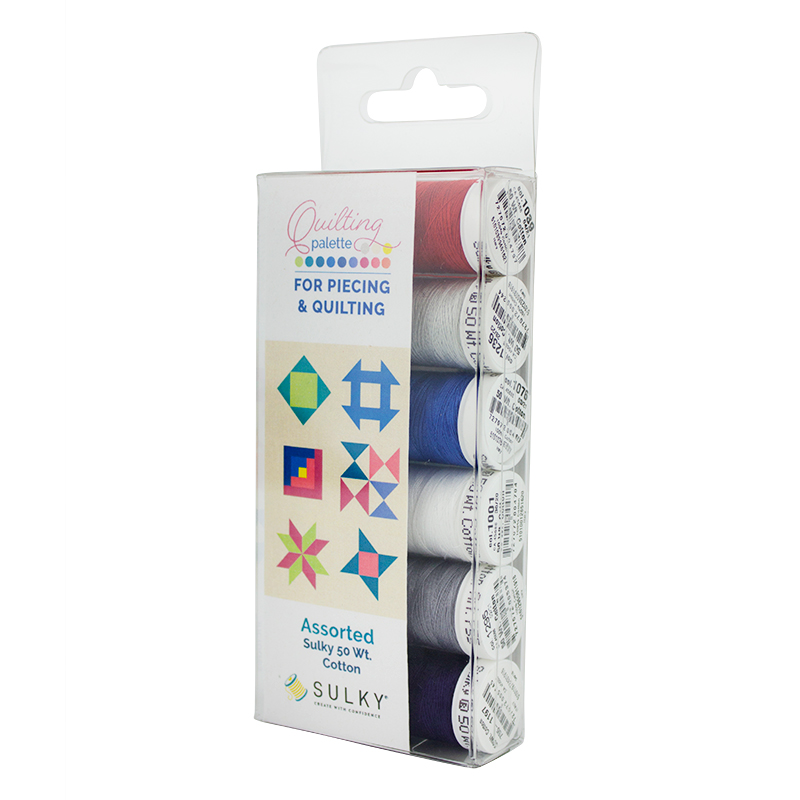
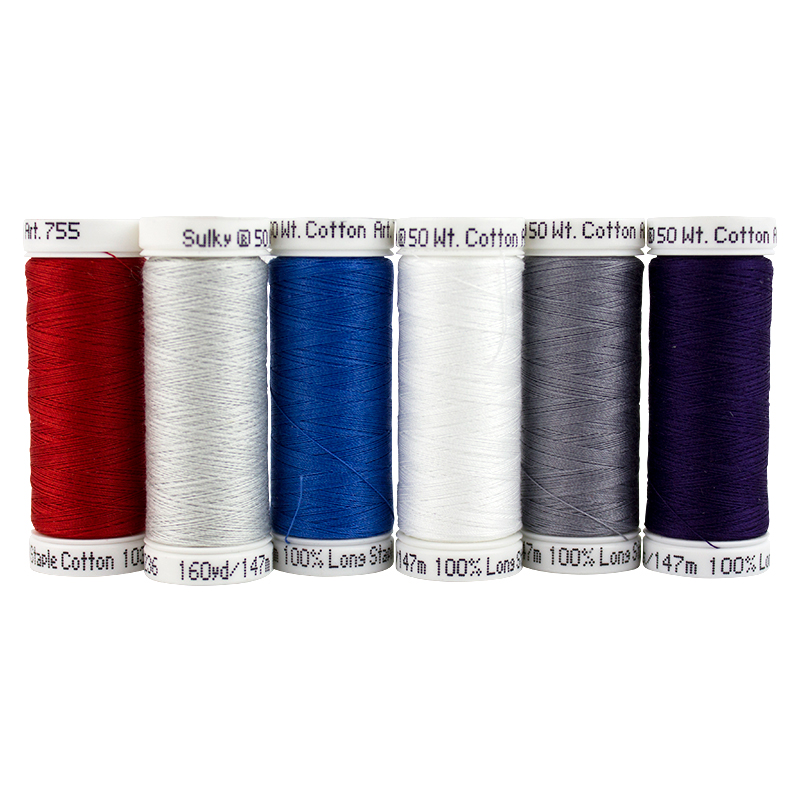
- Sulky 50 wt. Cotton Thread
- Organ® size 70/10 Universal Needles
- Sulky KK 2000™ Temporary Spray Adhesive
Grab the Sulky 50 wt. Cotton Thread Patriotic Sampler, which has six spools of reds, whites and blues, perfect for this placemat project!
PLACEMAT CUTTING
From the blue/star fabric, cut one rectangle measuring 6” H x 7 ½” W.
For the upper right stripe unit cut the following fabric strips:
- Top red strip: 1 ½” x 11” (1)
- White: 1 ¼” x 11 (3)
- Red 1 ¼” x 11” (3)
For the lower stripe unit cut the following fabric strips:
- White: 1 ¼” x 18” (4)
- Red 1 ¼” x 18” (4)
PLACEMAT PIECING
Install a size 70/10 Universal Needle. Thread the needle and wind a bobbin with Sulky 50 wt. Cotton Thread.
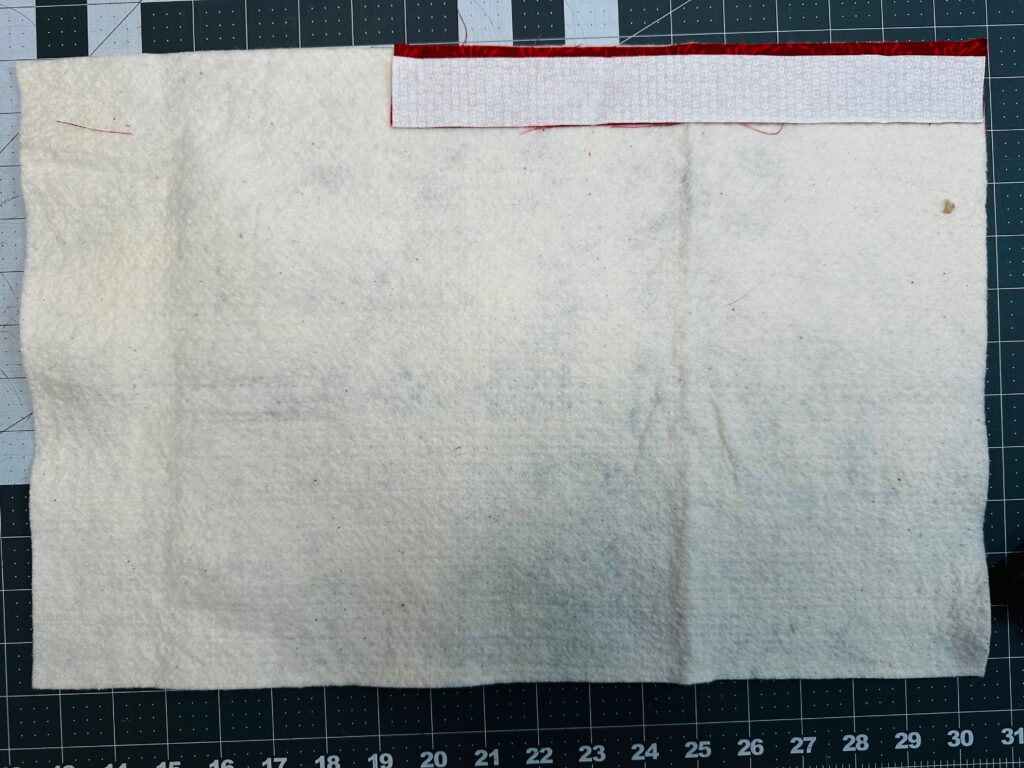
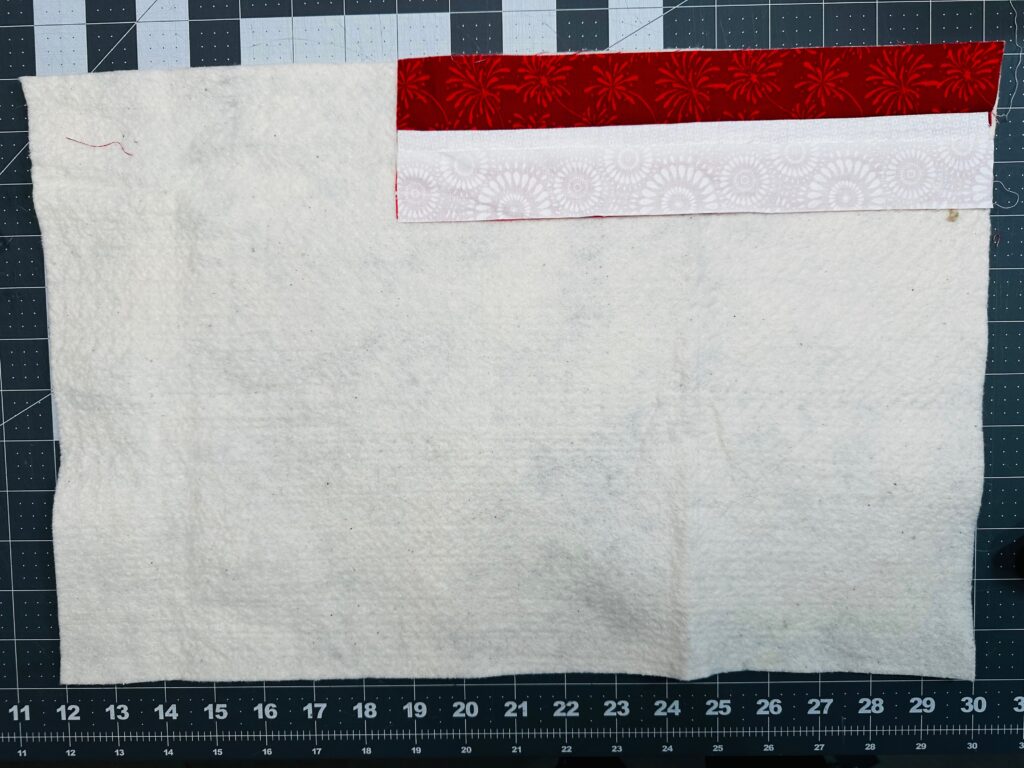
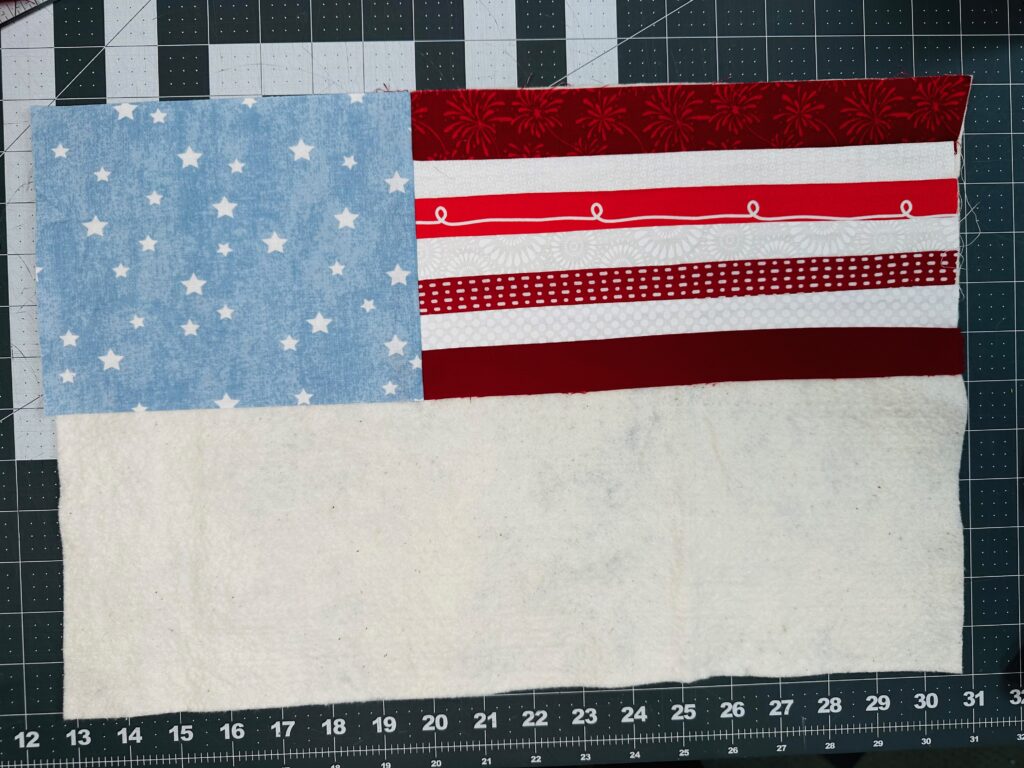
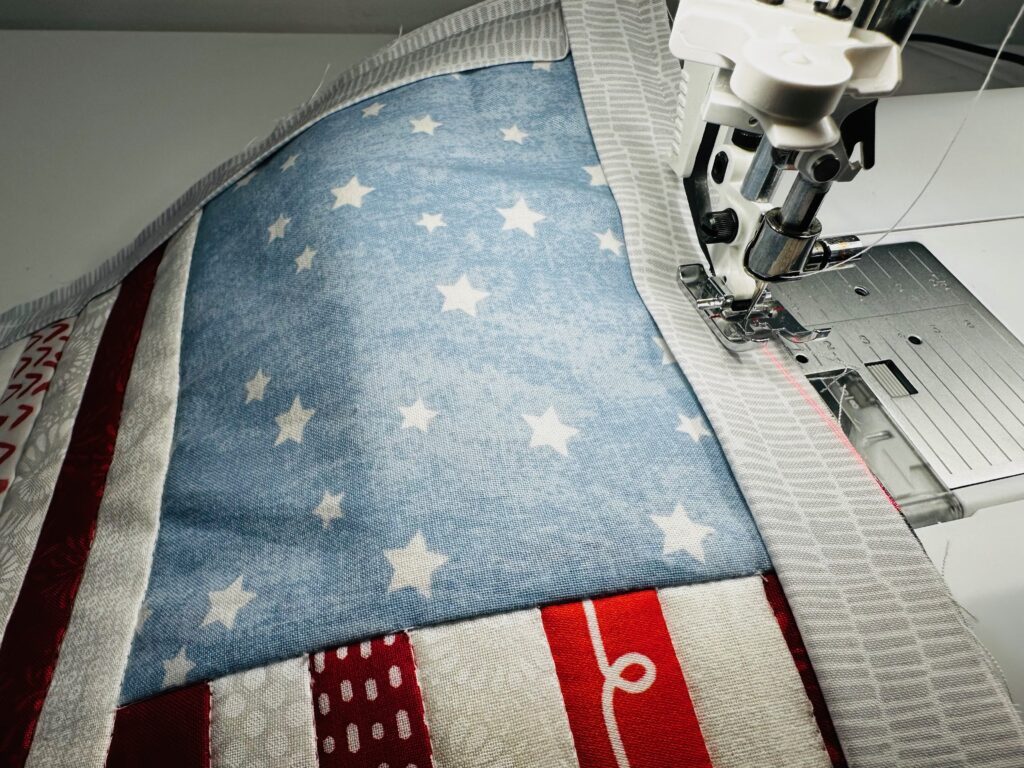
Begin creating the American Flag Placemat by piecing the upper right stripe unit. First, place the top red strip right side up on the batting, aligning the upper and left edges. Use Sulky KK 2000 Temporary Spray Adhesive to secure.

Then, place one short white strip over the red strip, aligning the lower long edge. Stitch through all layers, and then press the white fabric to the right side.
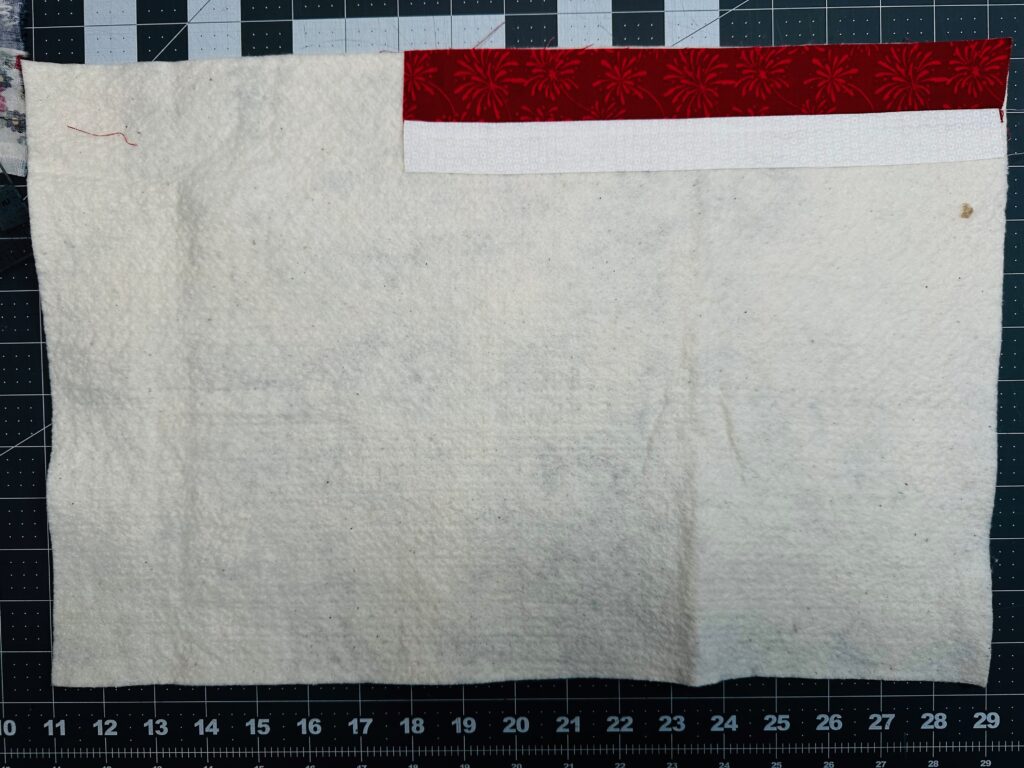
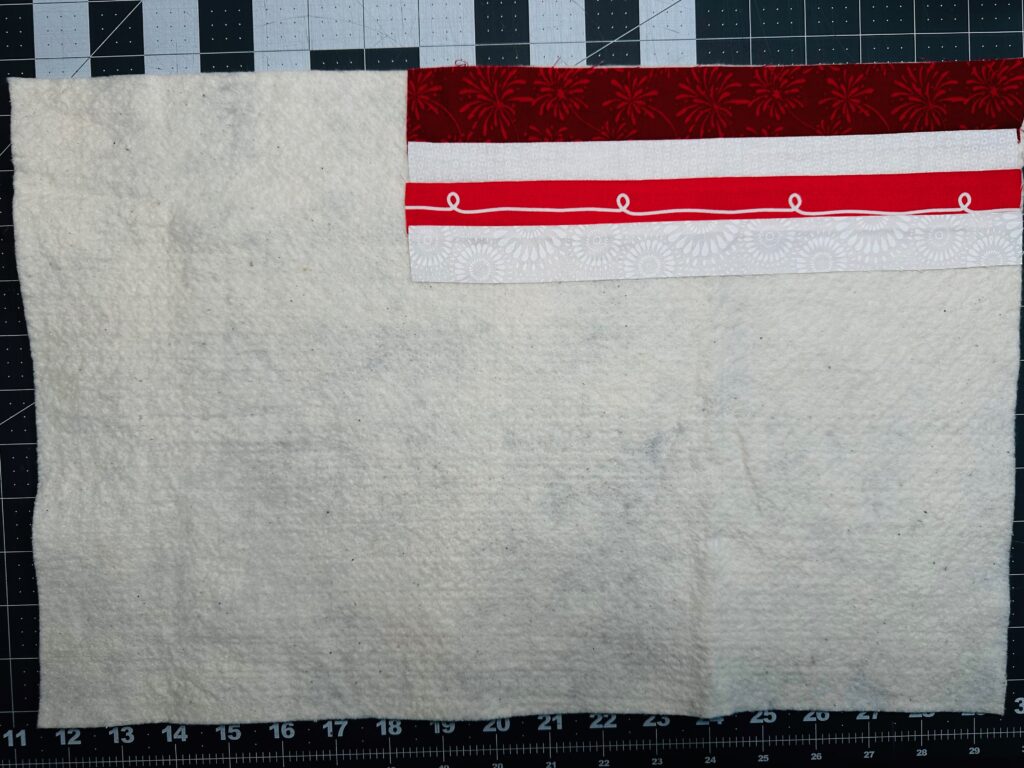
Next, place a short red strip over the white strip, aligning the lower long edge. Stitch through all layers, and then press the red fabric to the right side.
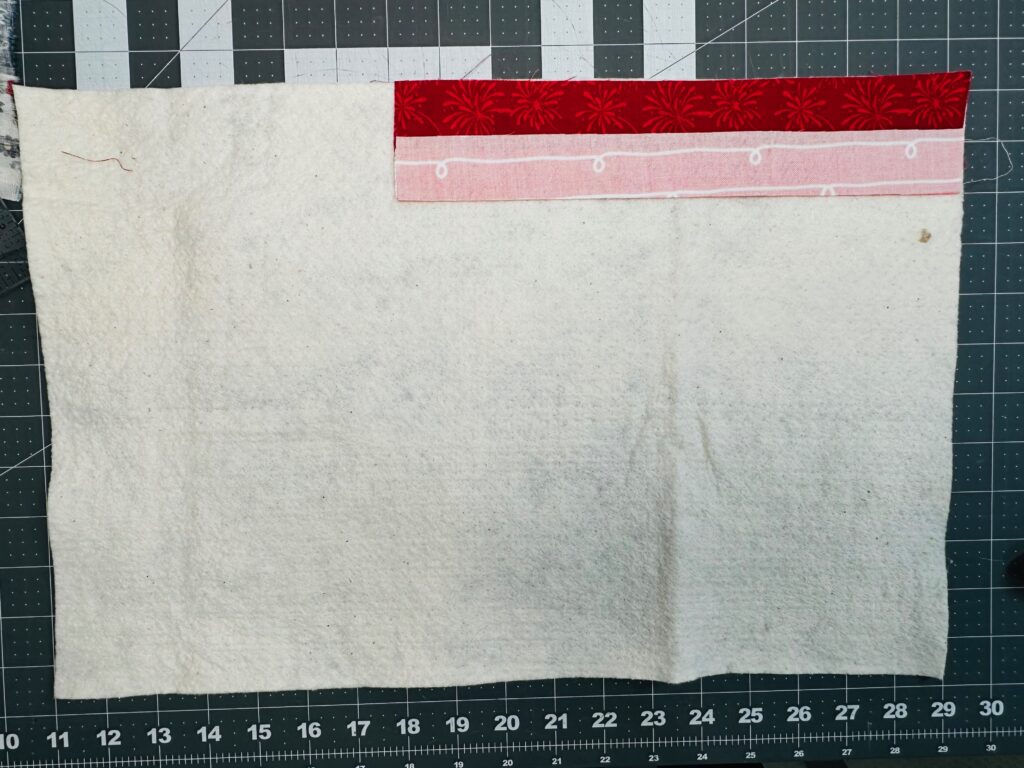
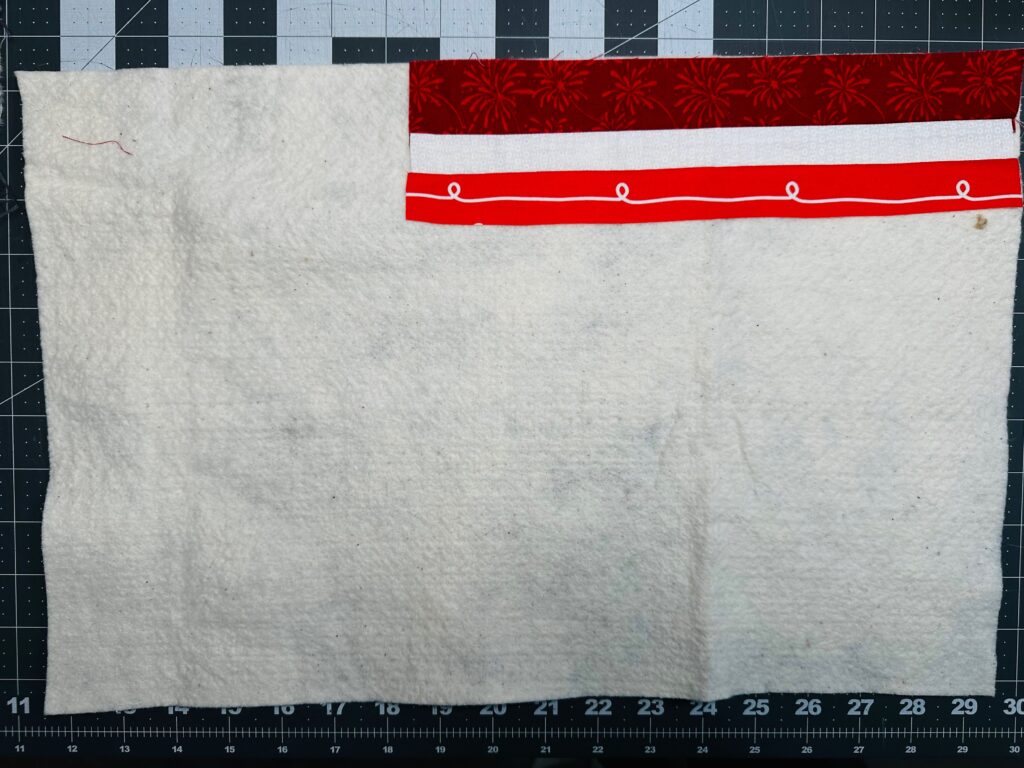
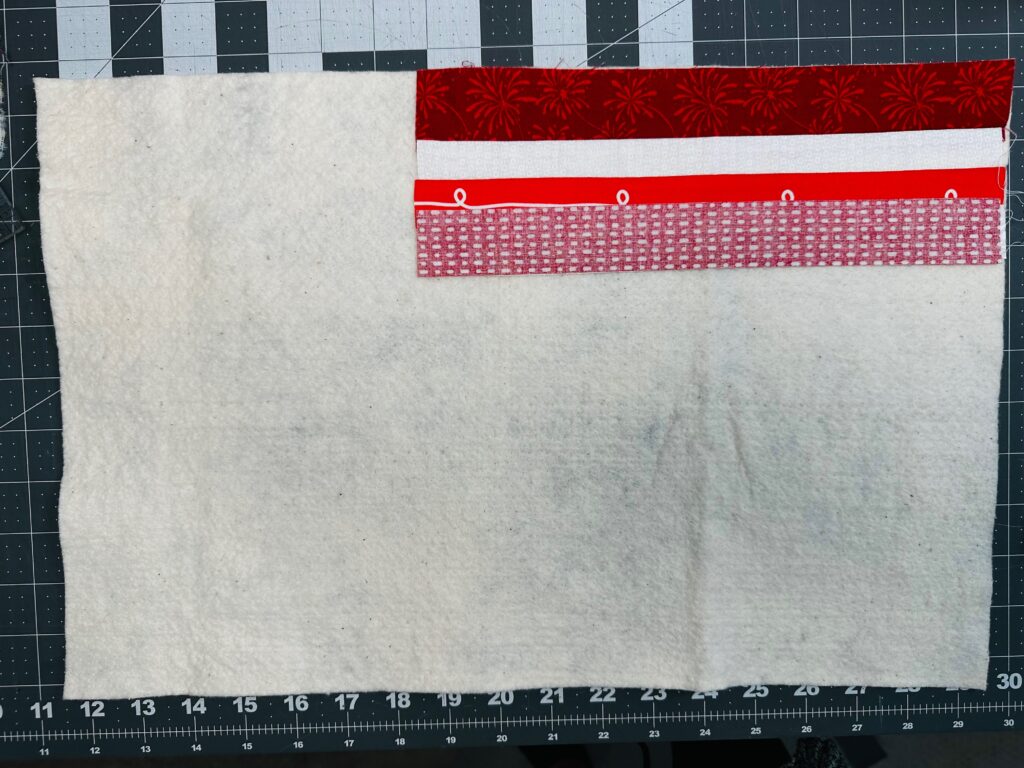
Repeat to sew the remaining short white and red strips to create the upper right-stripe unit.
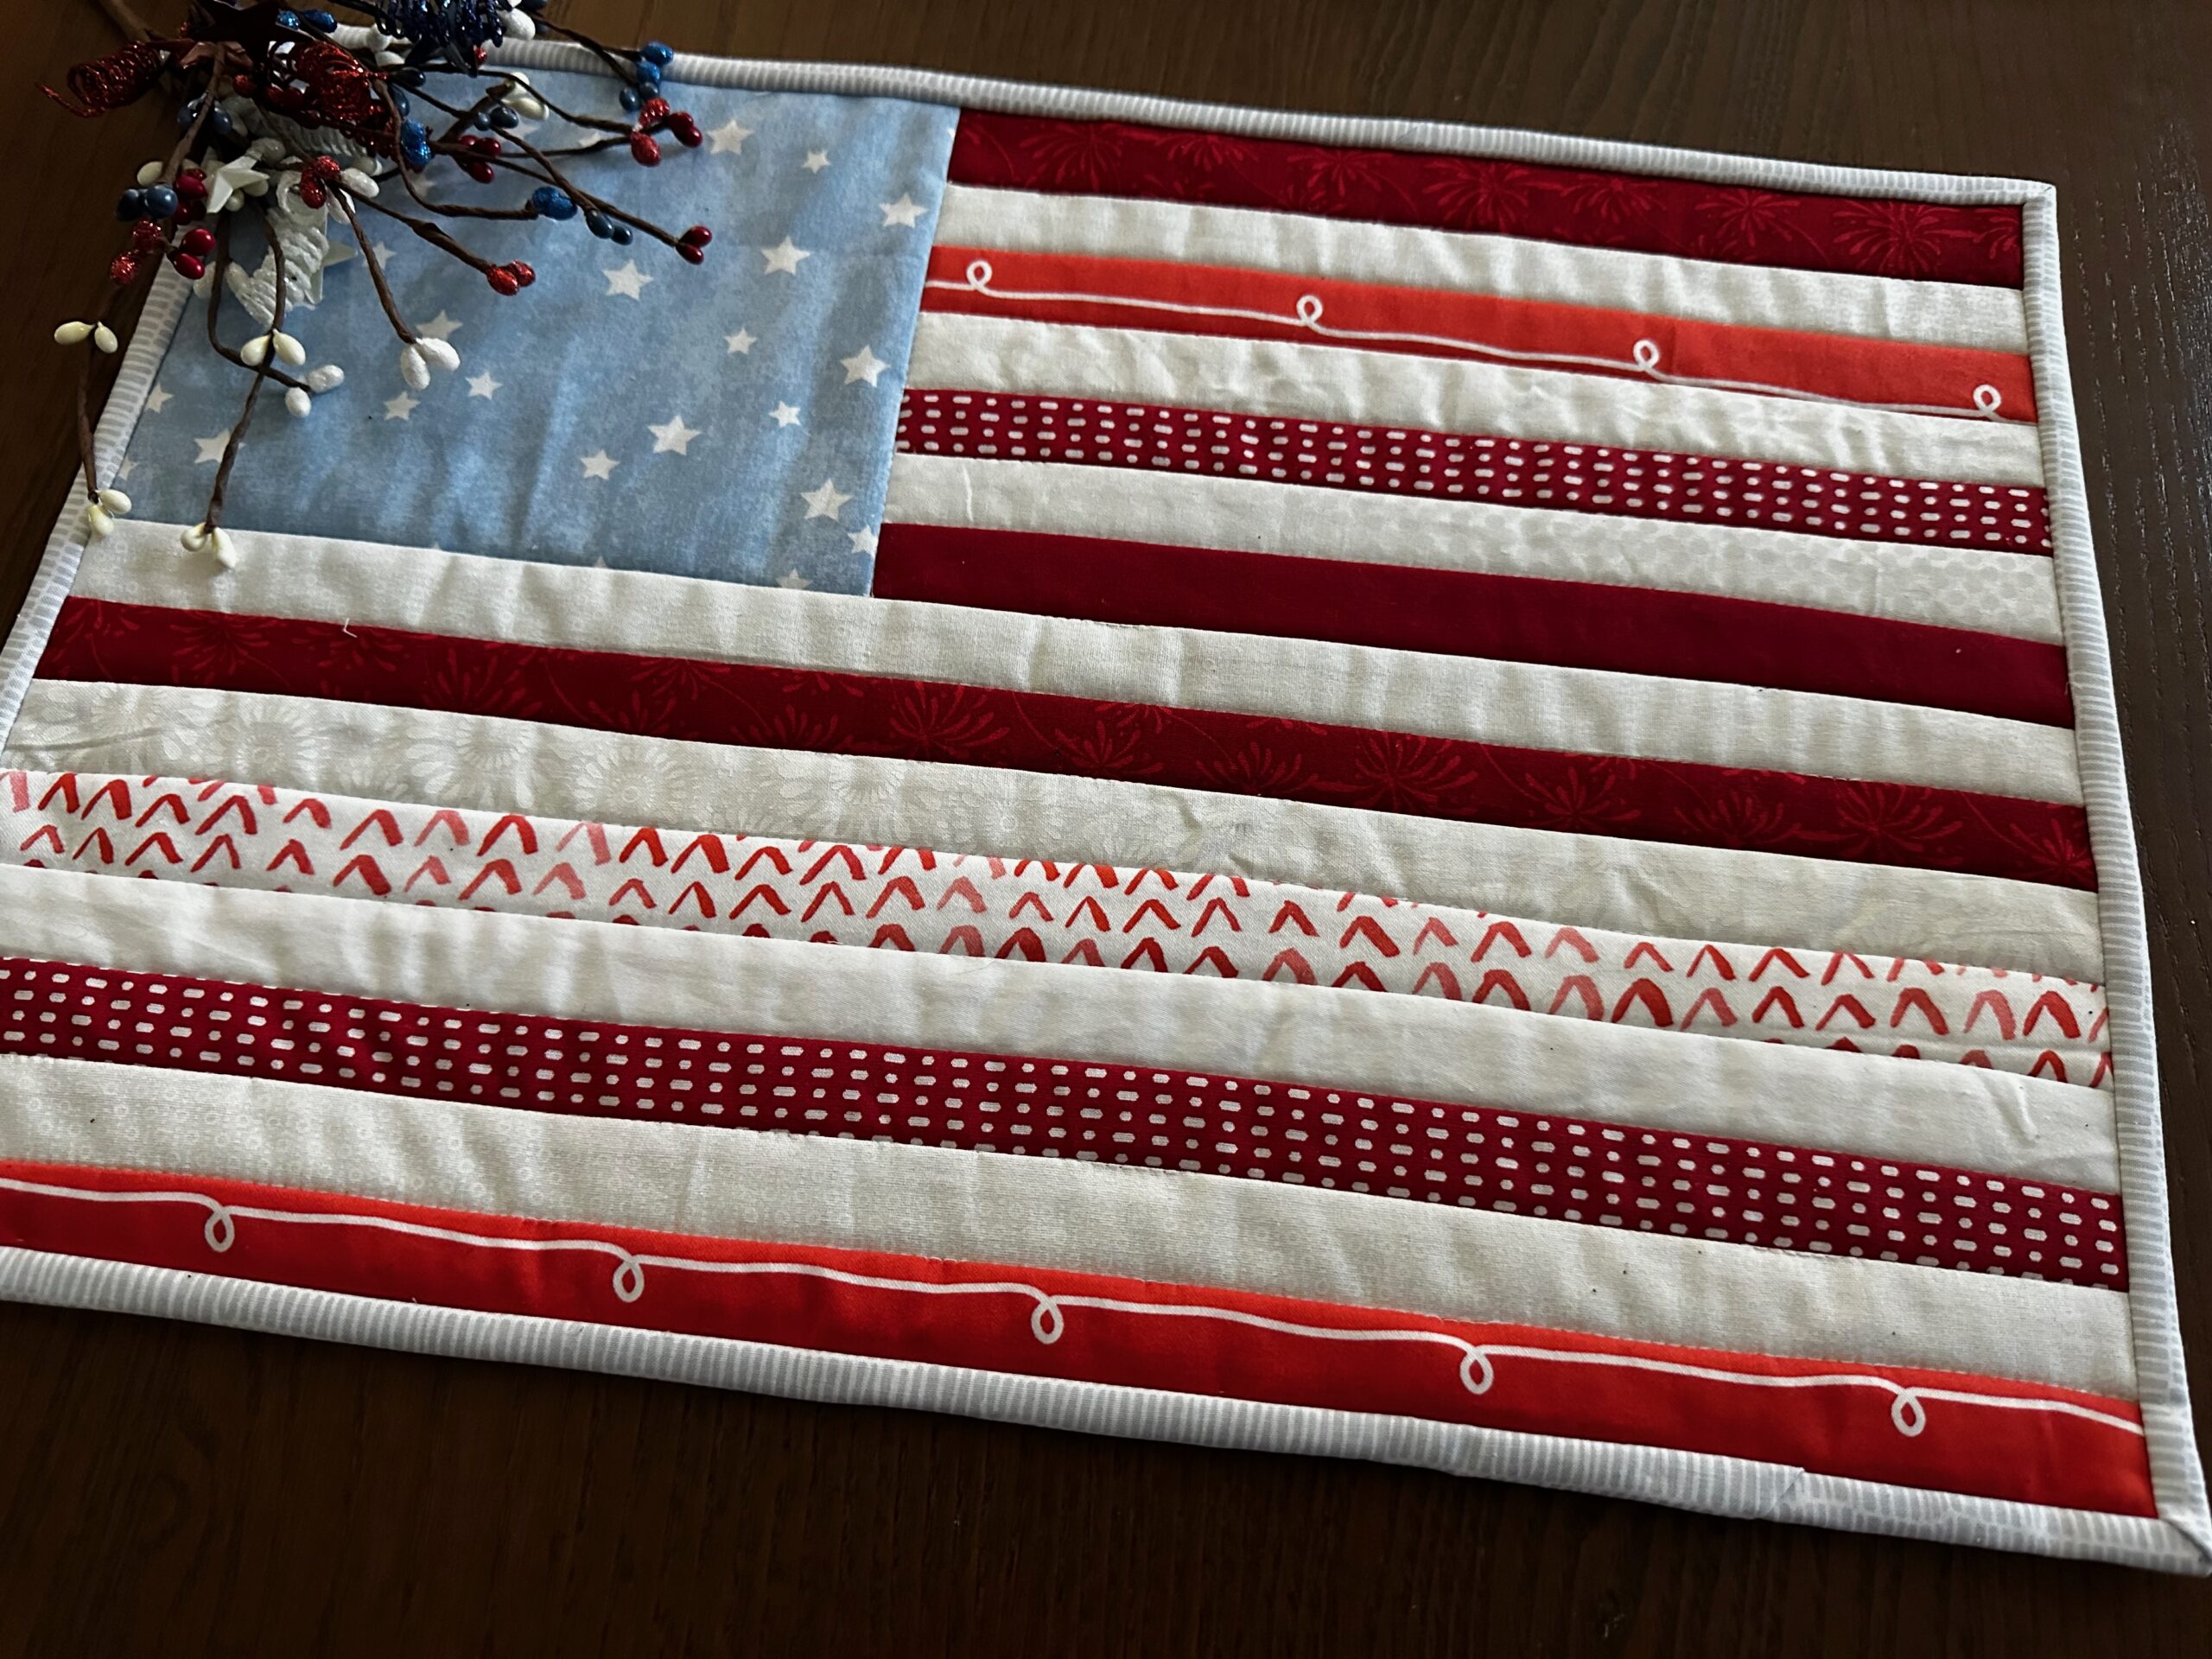
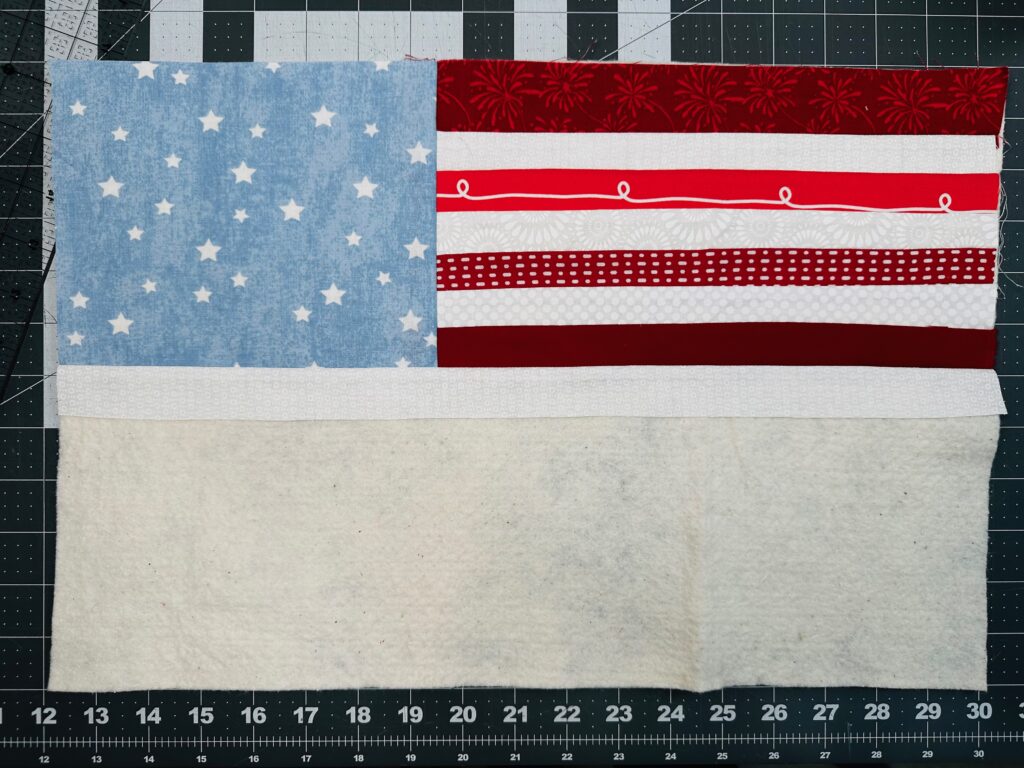
Now, place the blue/star fabric rectangle right side down over the right-stripe unit, aligning the left-side edge. Then, stitch along the left edge, and then press the blue/star fabric to the right side.
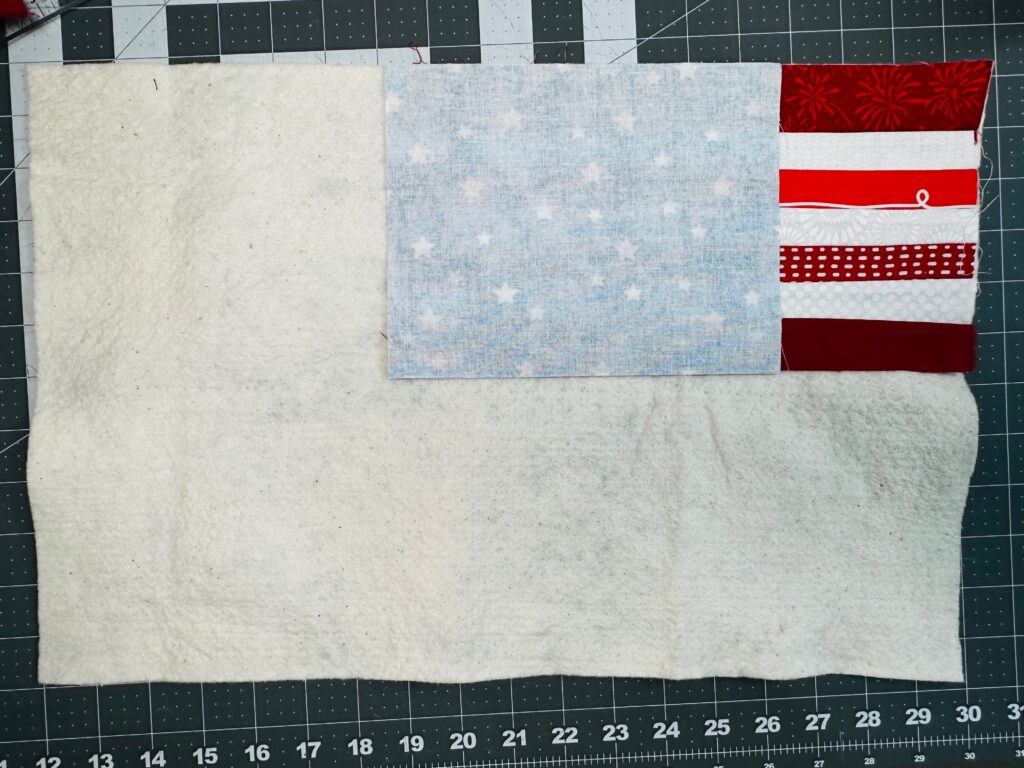
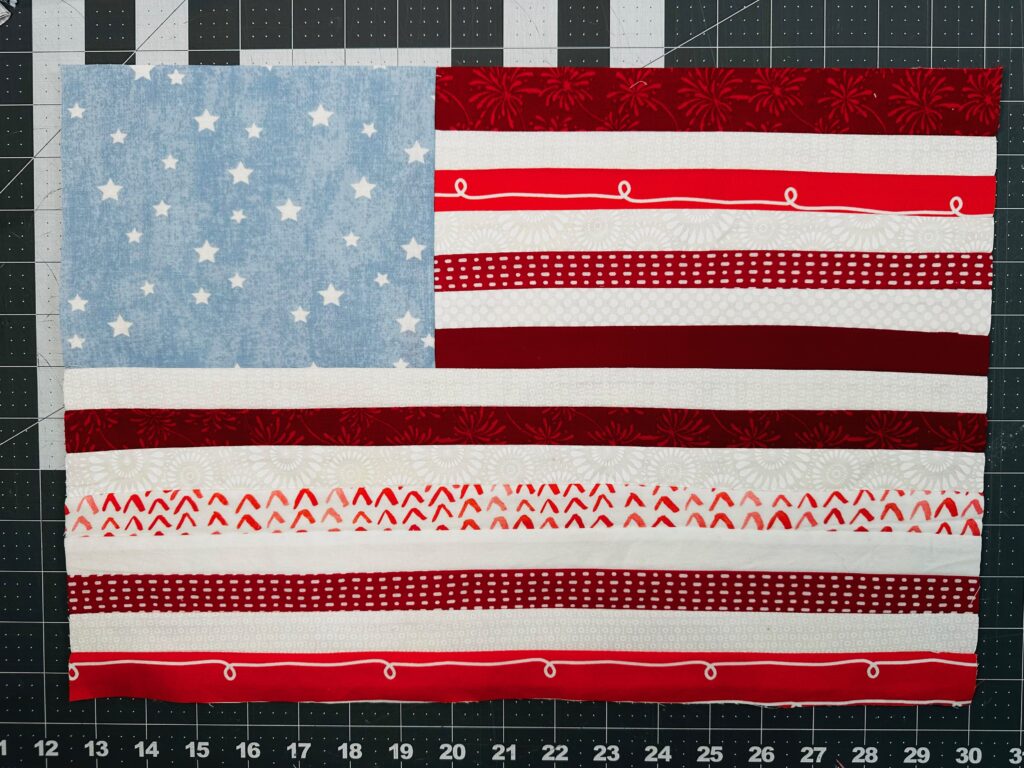
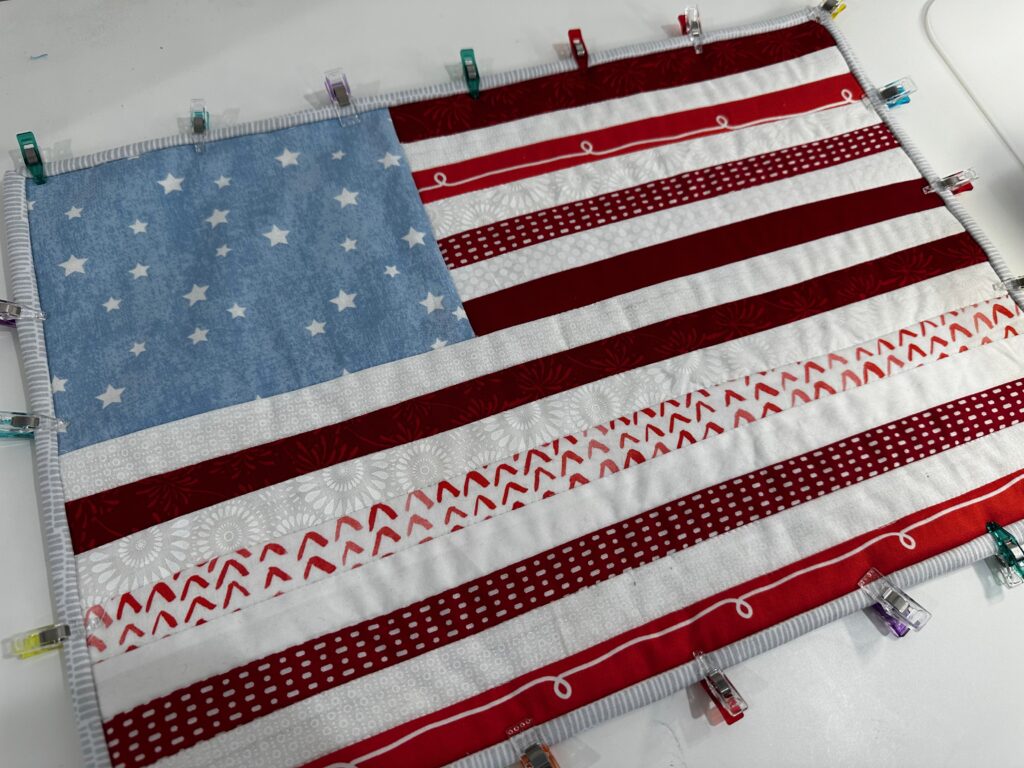
Next, stitch a long white strip to the lower edge of the blue/star fabric and right-stripe unit lower edge. Then, press the white fabric to the right side. Continue adding red and white strips in the same manner to fill the batting rectangle.
AMERICAN FLAG PLACEMAT QUILTING
To prepare the American Flag Placemat for quilting, place the backing rectangle wrong side up on a flat work surface. Spray the fabric wrong side with KK 2000. Then, place the batting over the backing fabric and smooth to adhere.

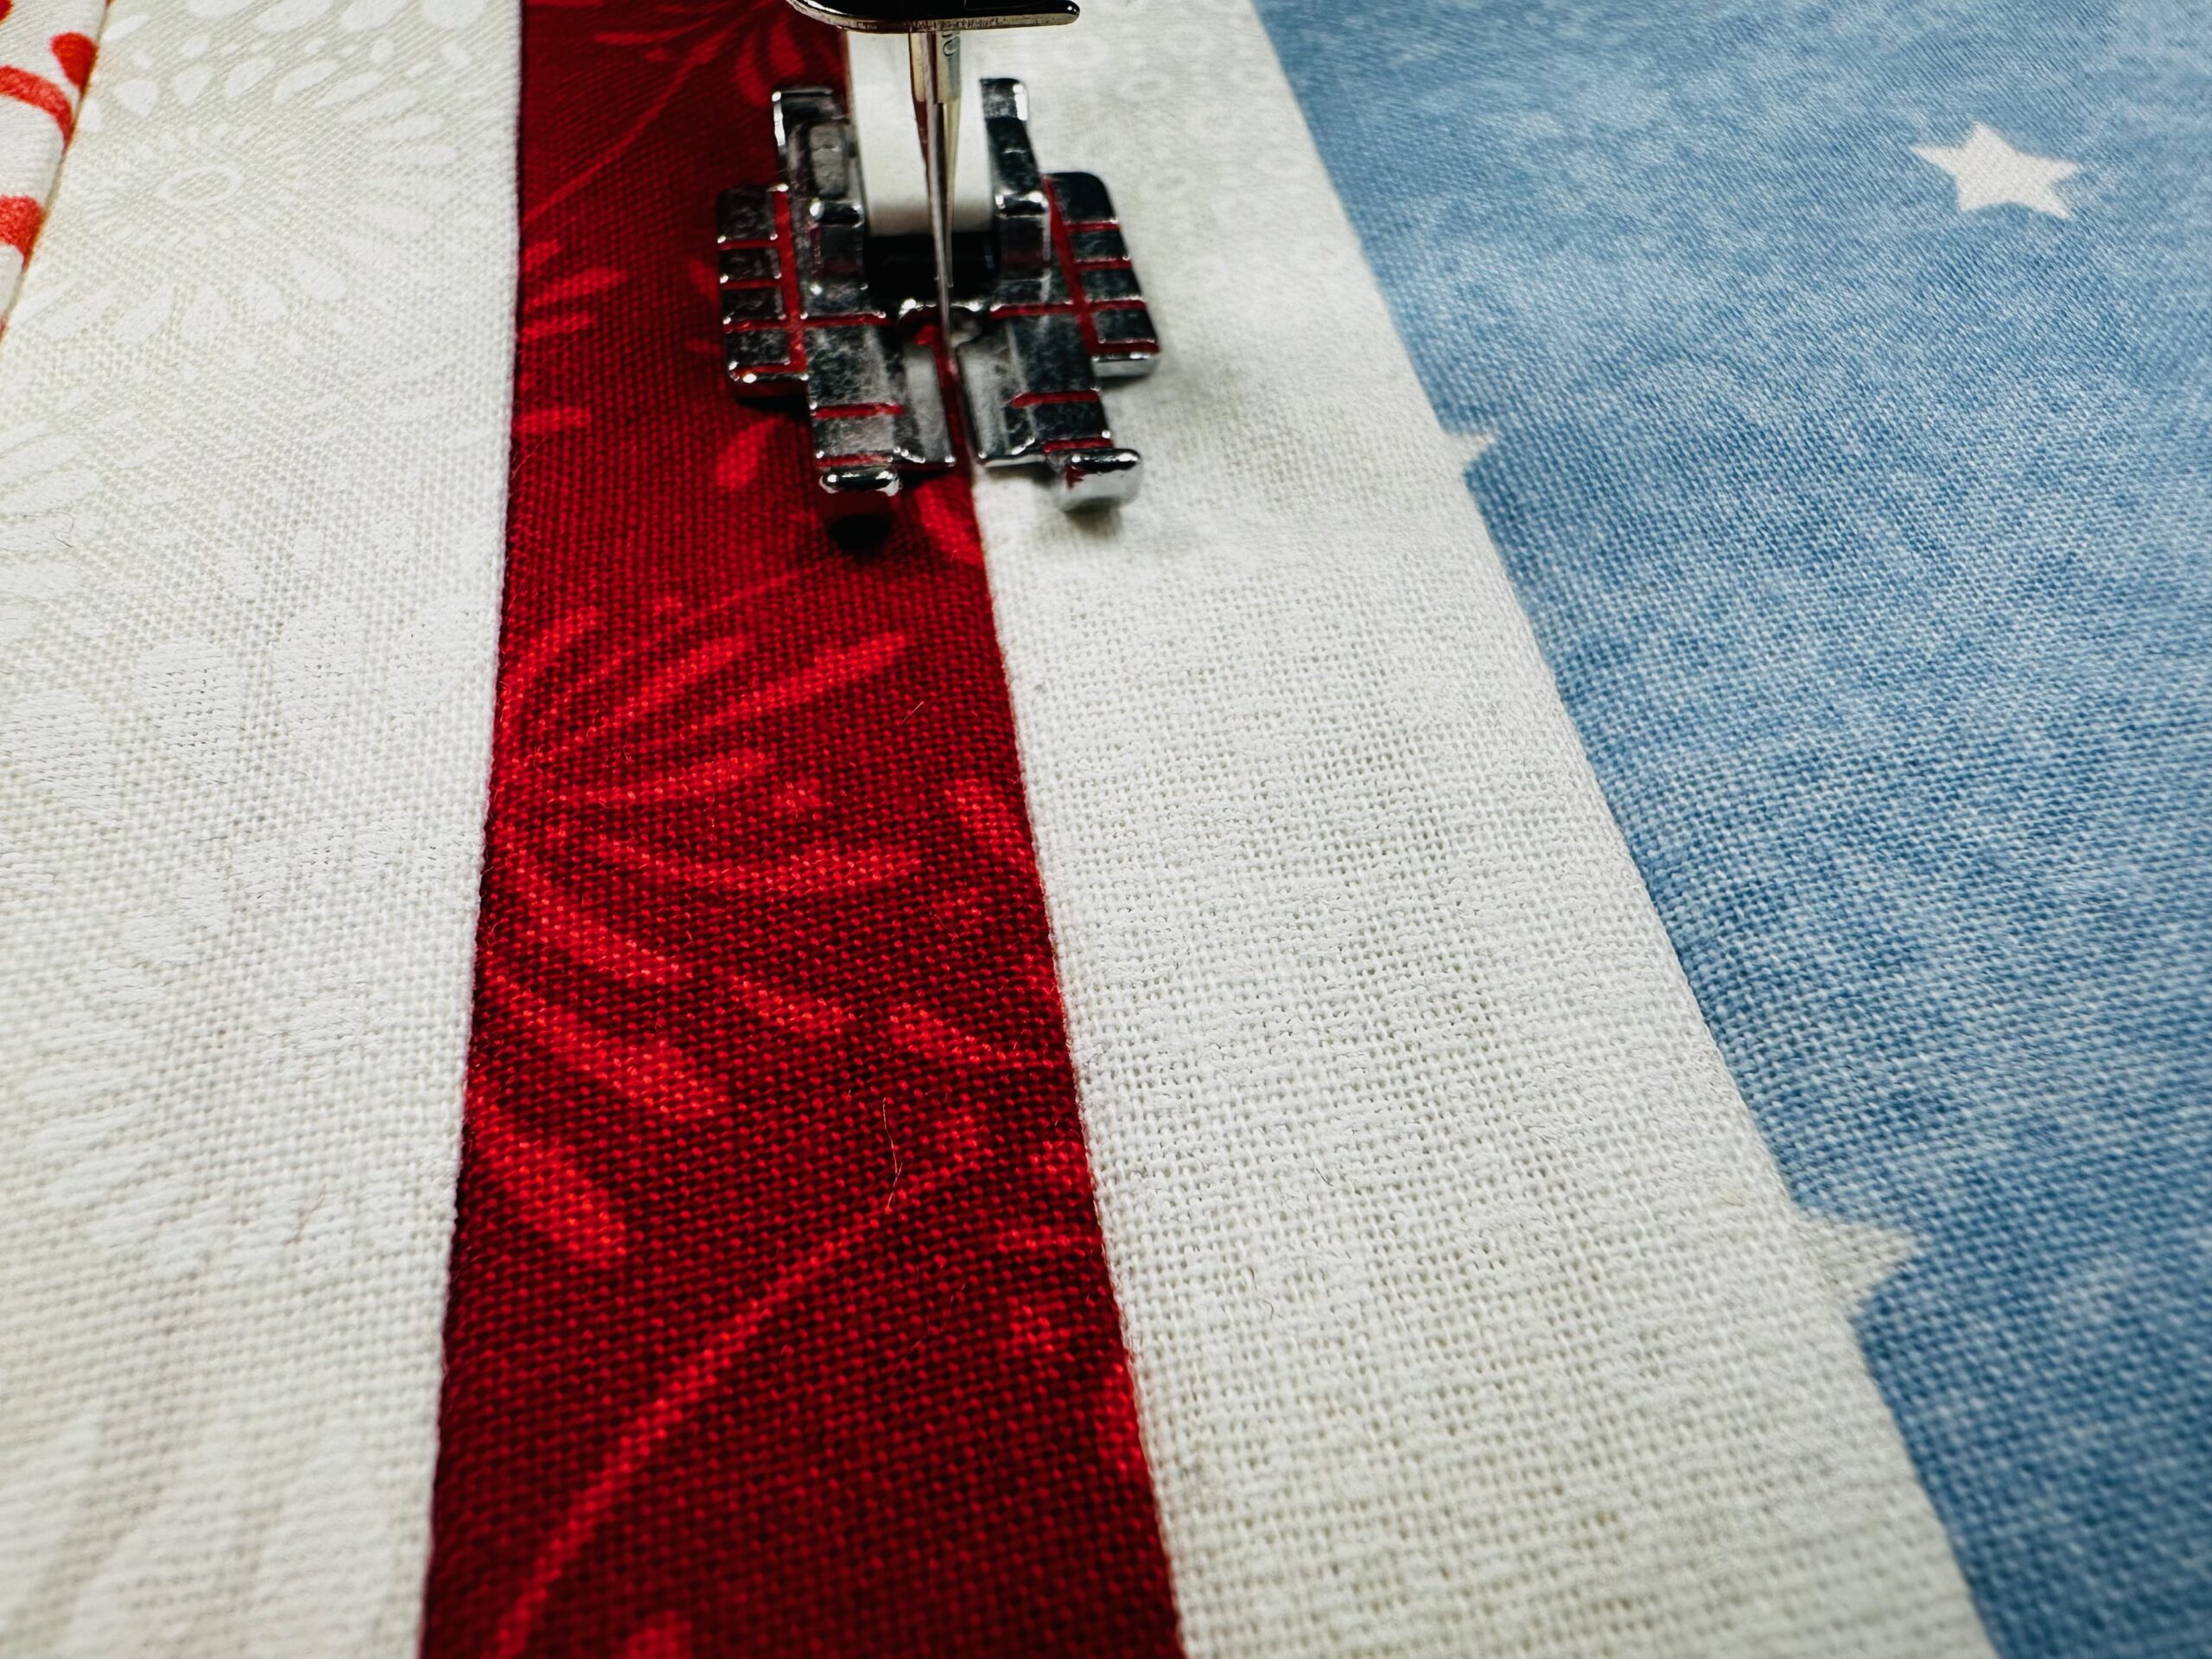
Quilt the placemat as desired. The featured placemat was quilted in the ditch with Sulky 50 wt. Cotton Thread in the needle and bobbin.
PLACEMAT FINISHING
When quilting is complete, trim the placemat so all edges are even. If desired, serge- or zigzag-finish the placemat edges to flatten them and have them act as one when binding.

Use premade or self-made binding to bind the placemat in the manner of your choice.
Repeat to create as many American Flag Placemats as desired to set your patriotic-themed table.
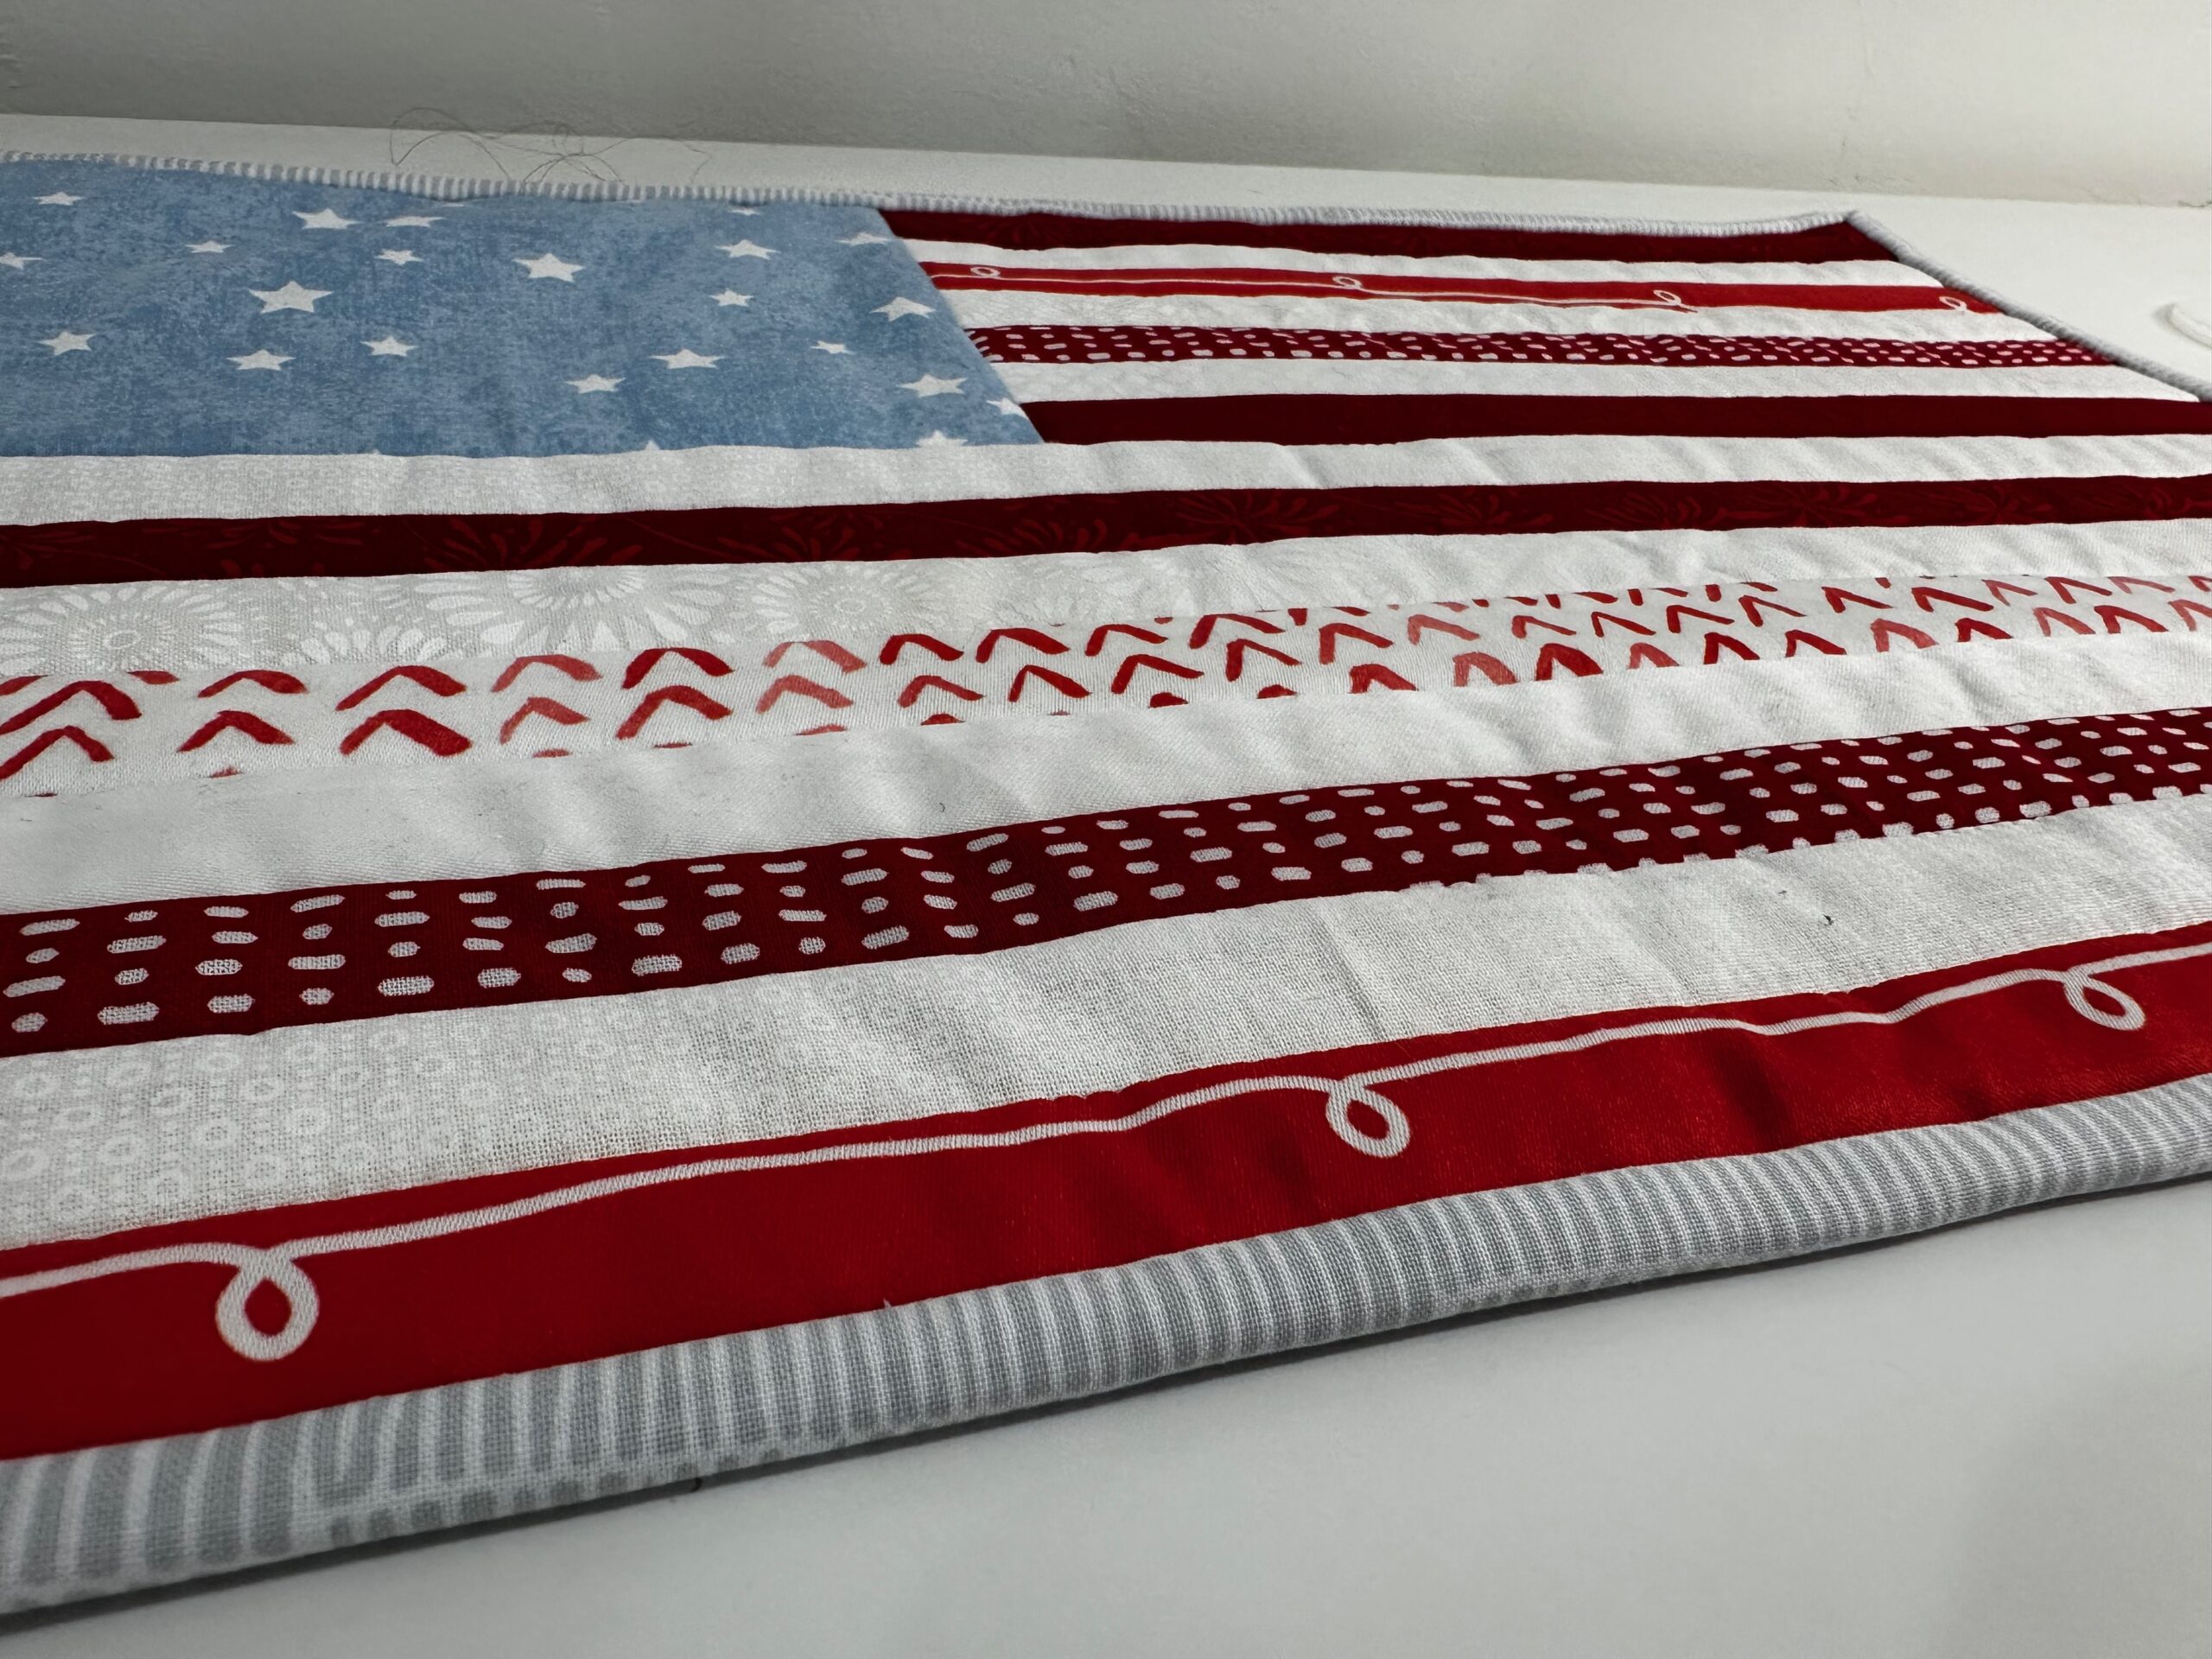

The American flag has 13stripes, not 15
Yes, thank you for your comment! There should be 7 red and 6 white, as well. You can cut the strips a bit wider or trim the batting a bit smaller to represent the flag best.