Back to School Tees for Tots
Back to School Tees
for Tots, Teachers & More!
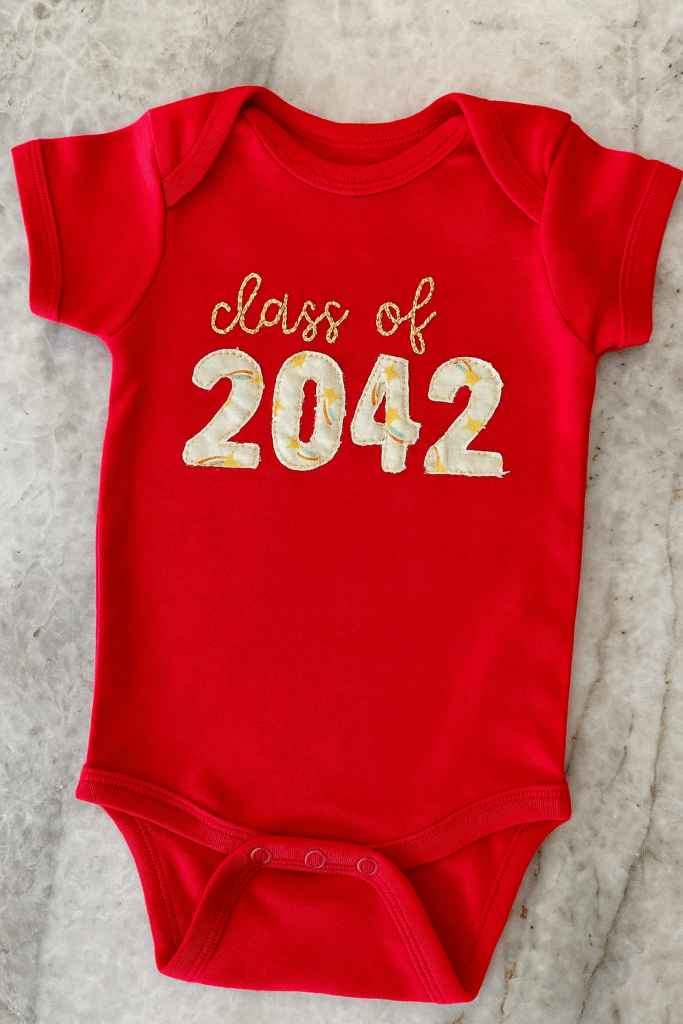
Whether you’re celebrating a little one’s future graduation year, making a sweet gift for a teacher, or creating a meaningful shirt for a graduate, this appliquéd and hand-embroidered t-shirt project is a fun way to personalize apparel. Using Sulky Perfect Appliqué Fusible Web and Sulky Stick ‘n Stitch Printable Transfer Sheets, you can easily combine crisp appliqué with beautiful hand embroidery.
Supplies You’ll Need
-
A blank T-shirt (or onesie)
-
Fabric scraps for appliqué
-
Sulky Cotton Petites Thread (hand embroidery)
-
Sulky 50 wt. Cotton Thread (appliqué)
- Hand embroidery needle
Plan the Back to School Design
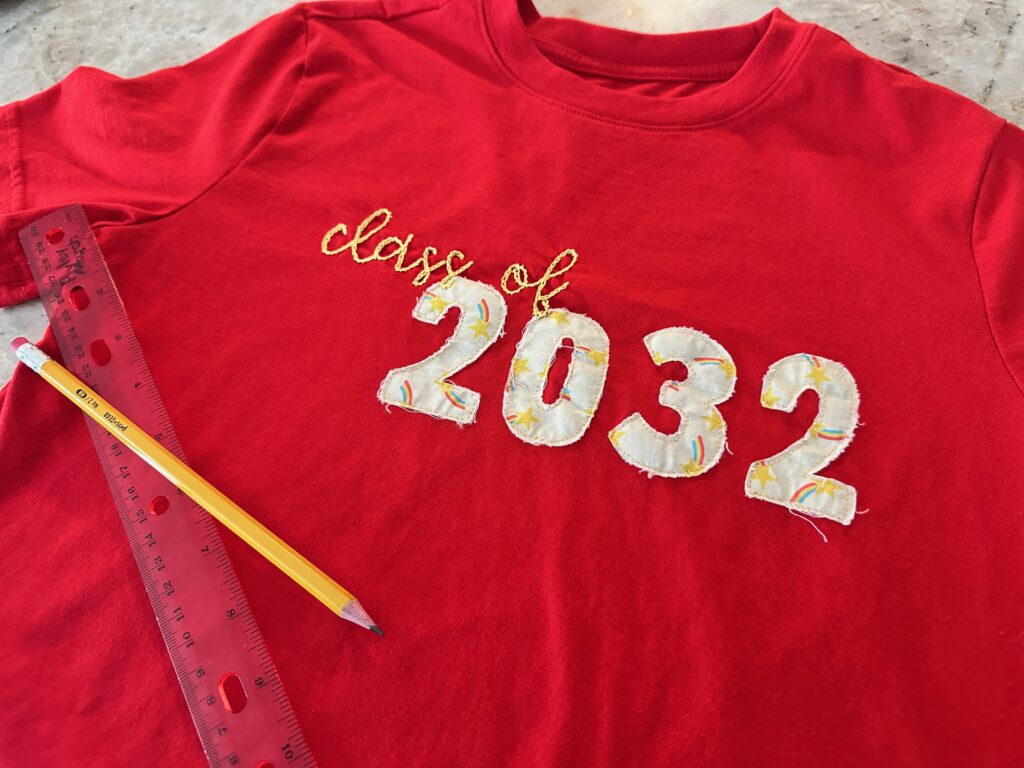
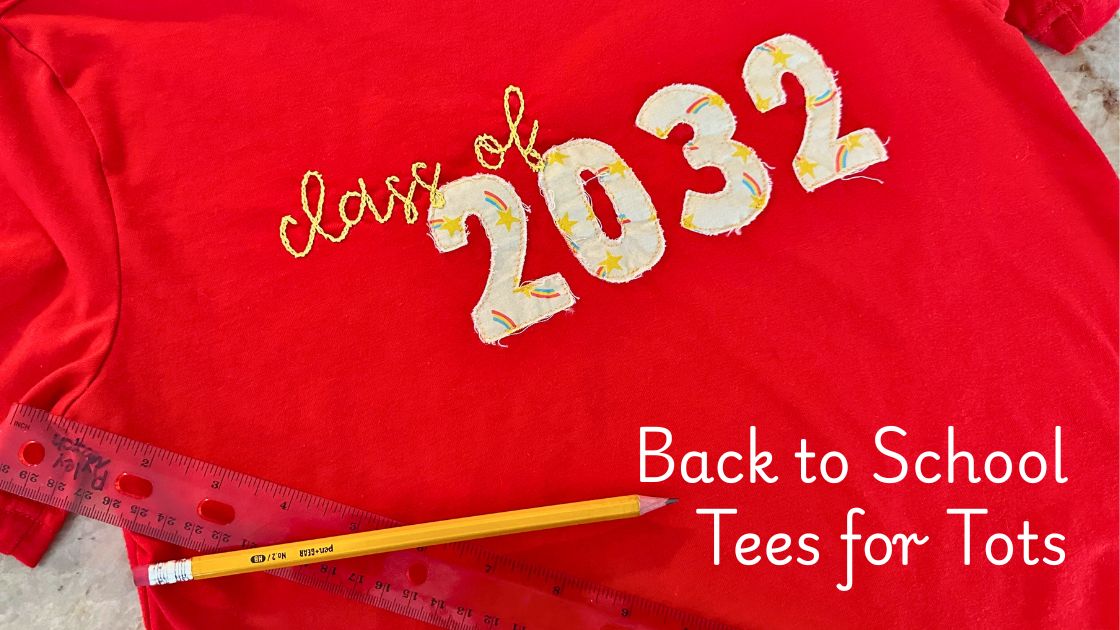
Decide on the phrase and graduation year (or other message). For this tutorial, we’re using “class of” in script font and the year in large block numbers.
Choose a script font for the phrase and blocky, bold numbers for the year.
Size your designs to fit the front of the t-shirt.
Prepare the Appliqué Numbers
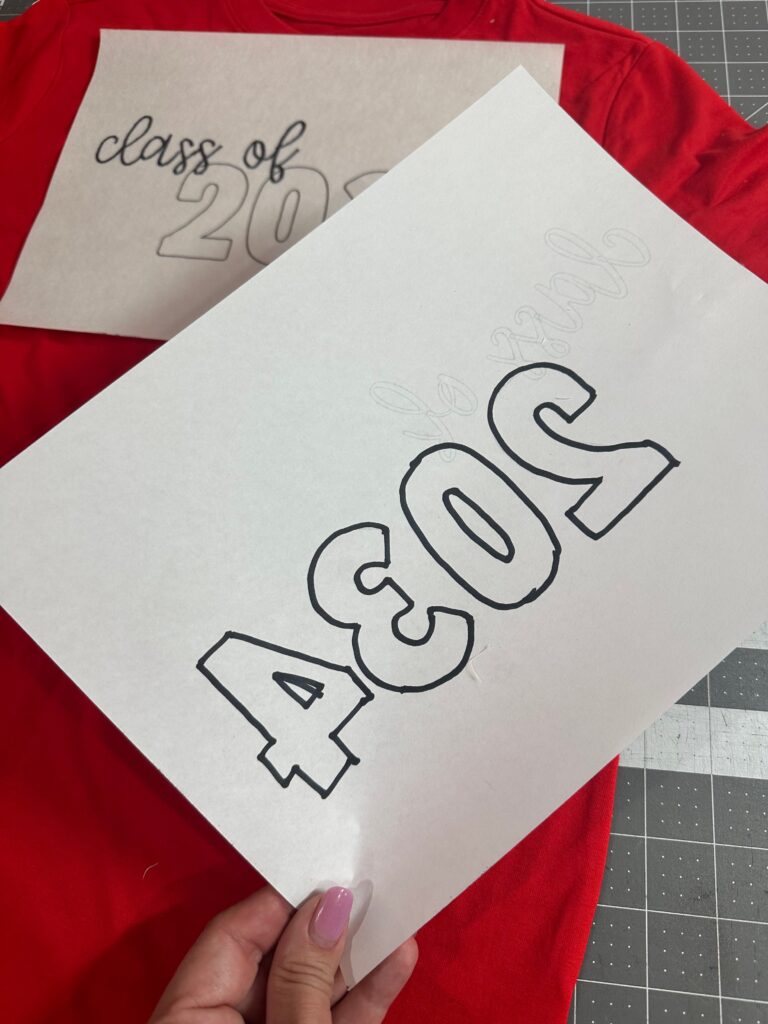
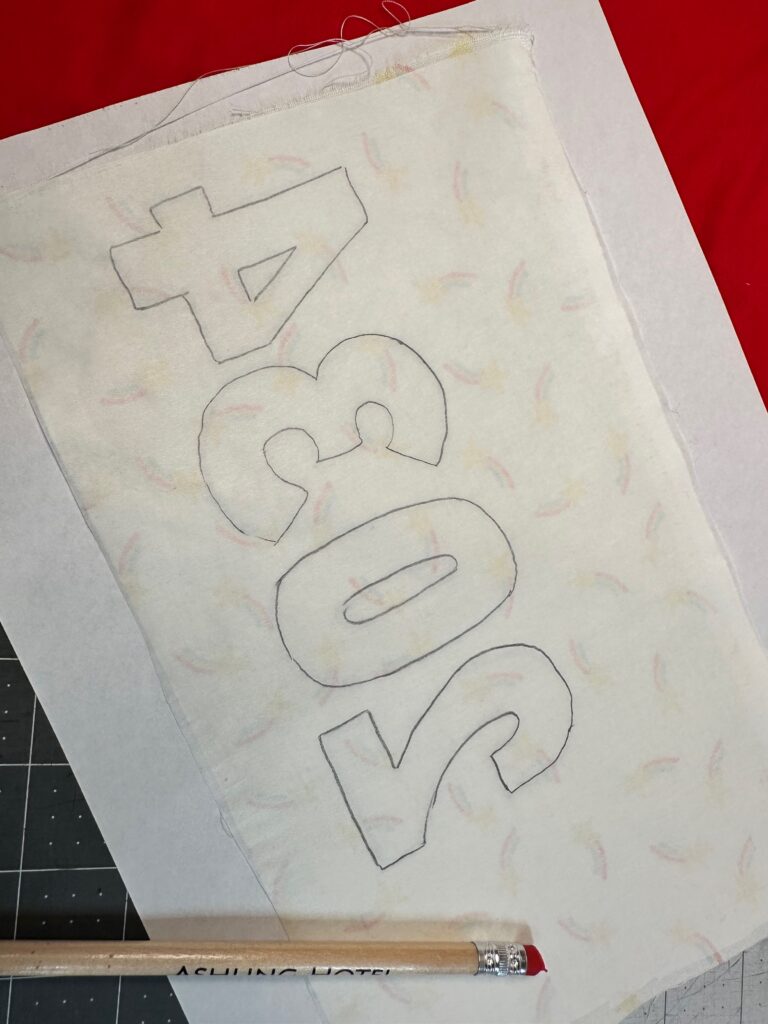
Trace or print the block numbers in reverse onto the Sulky Perfect Appliqué Fusible Web paper side.
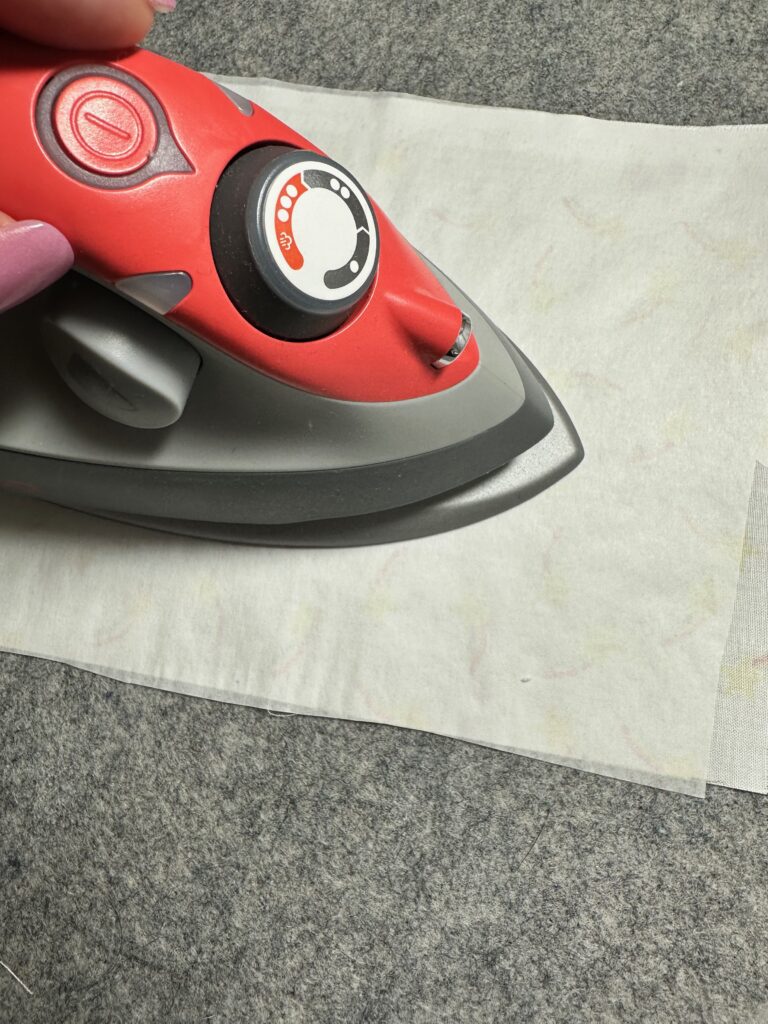
Fuse the web to the wrong side of your appliqué fabric scraps using a warm iron.
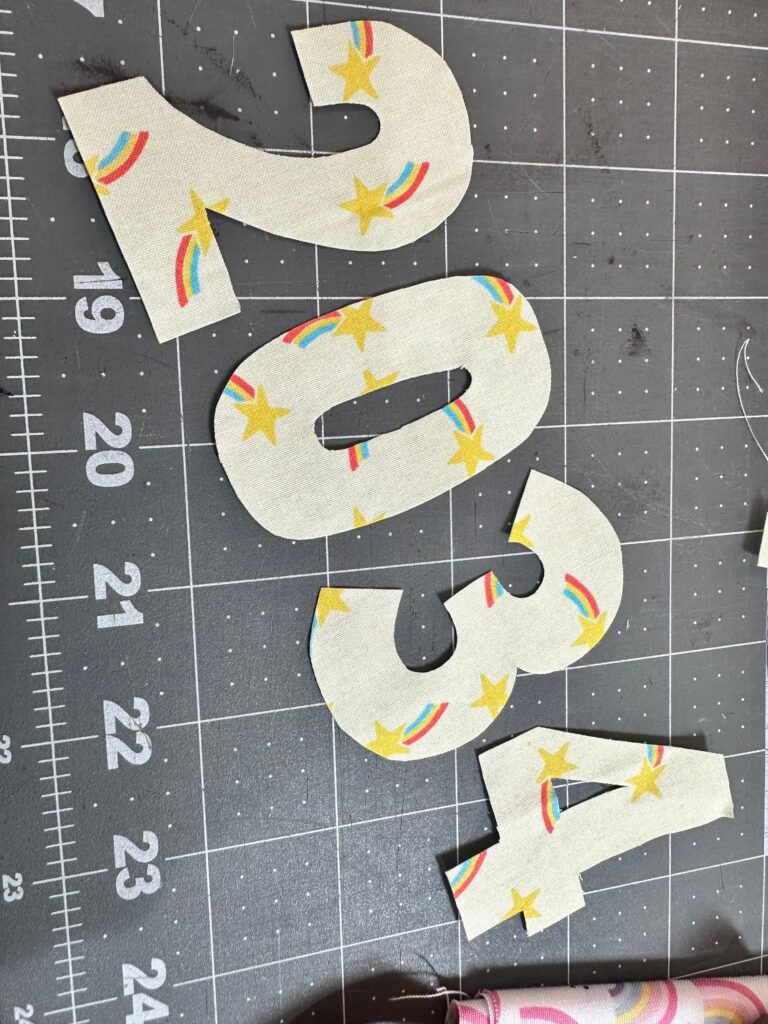
Cut out the numbers along the traced lines.
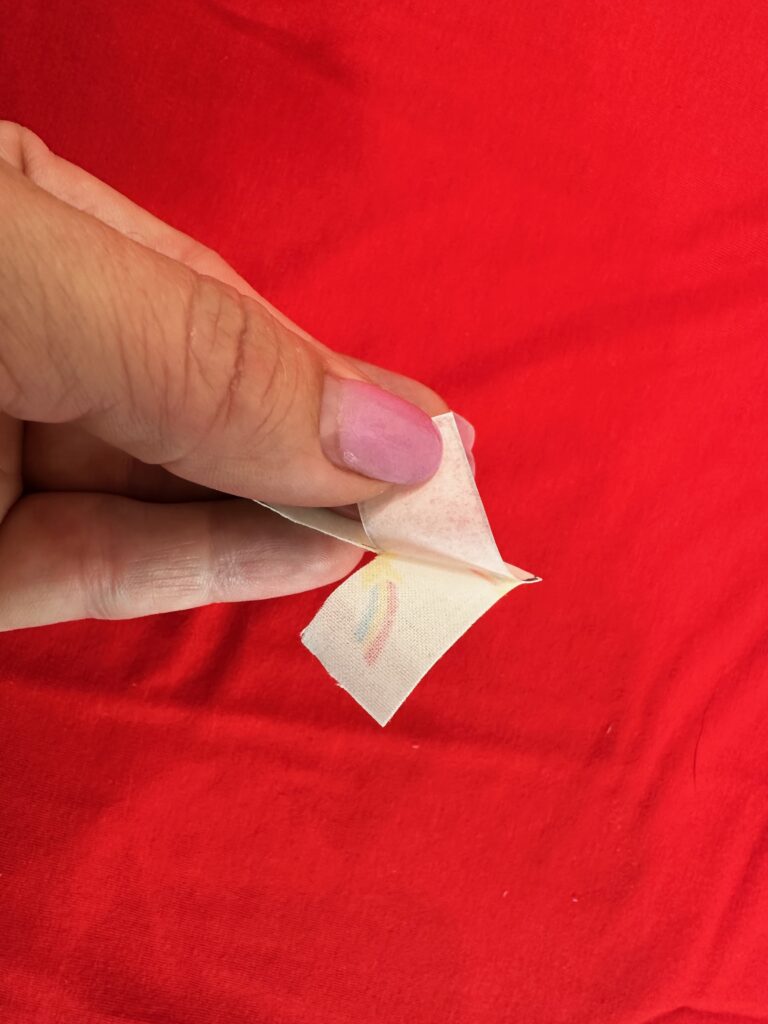
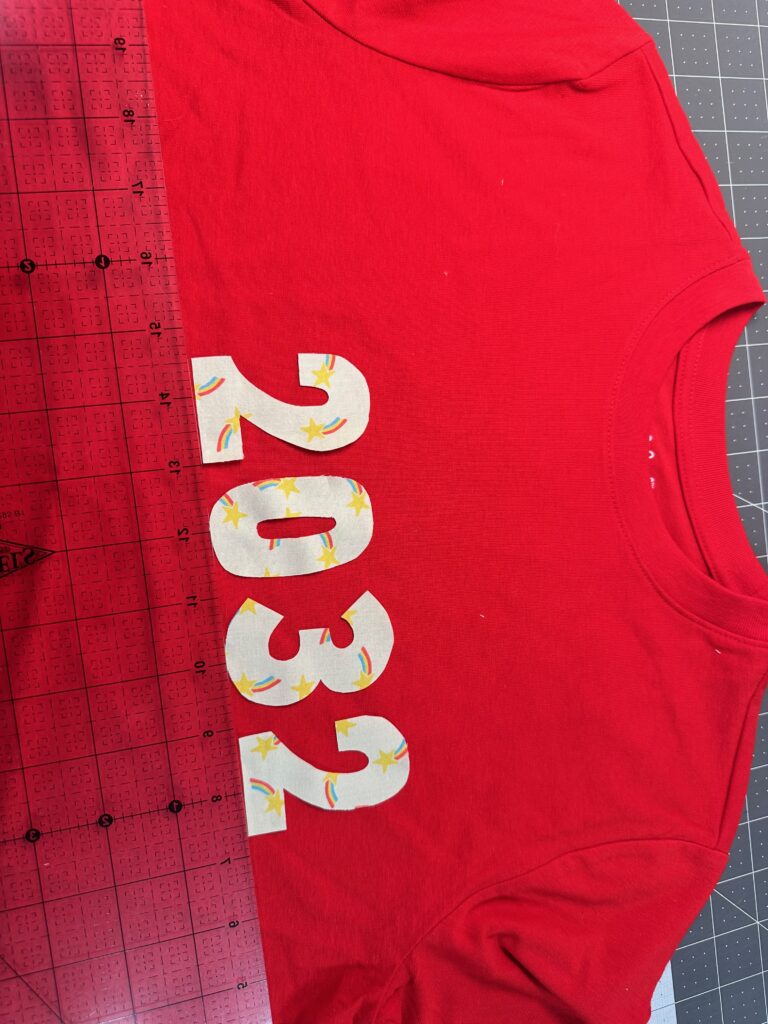
Remove the paper backing and position the numbers on the t-shirt.
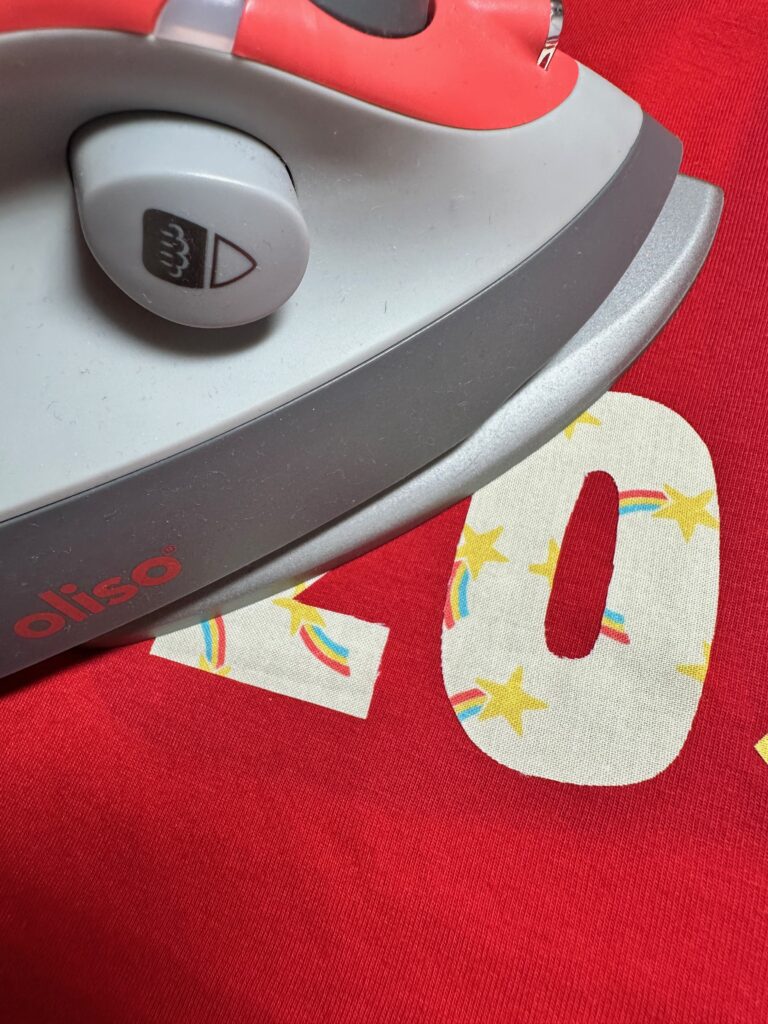
Fuse in place with the iron, using a pressing cloth.
Stitch the Appliqué
Install a size 70/10 Universal Needle and thread it with Sulky 50 wt. Cotton Thread.
Then, secure the numbers using either a straight, satin or blanket stitch.
Add the Hand-Embroidered Phrase
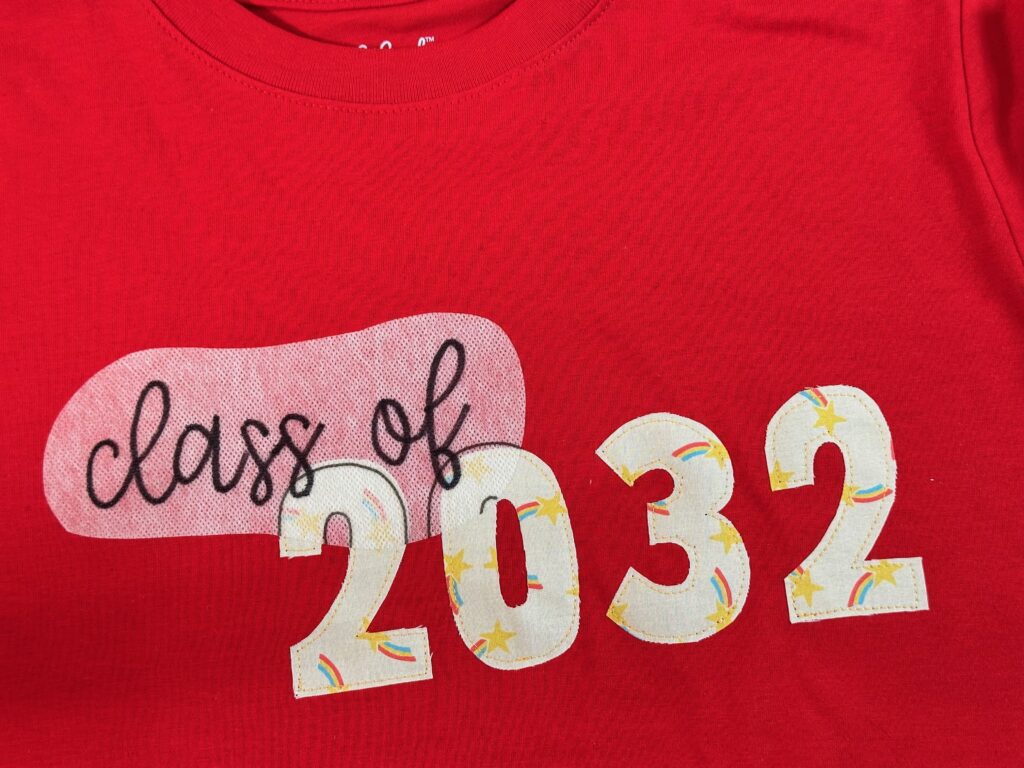
Print your script phrase (e.g., “class of”) onto a Sulky Stick ‘n Stitch Printable Transfer Stabilizer Sheet.
Peel away the backing and stick it directly to the t-shirt, centered above the numbers.
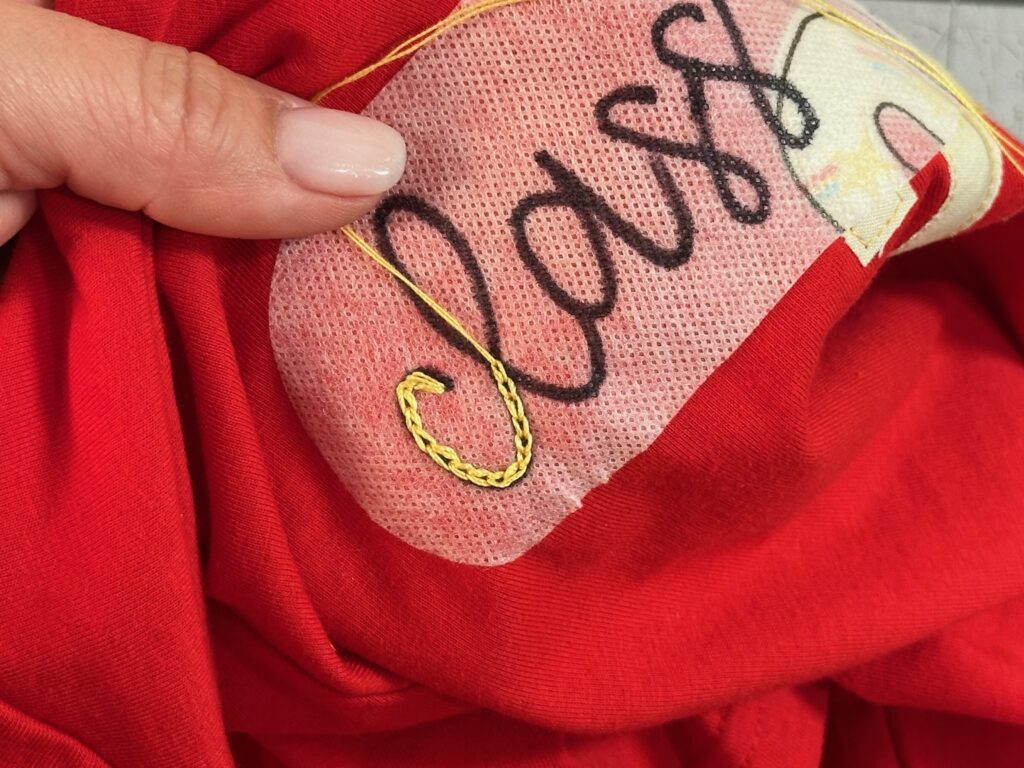
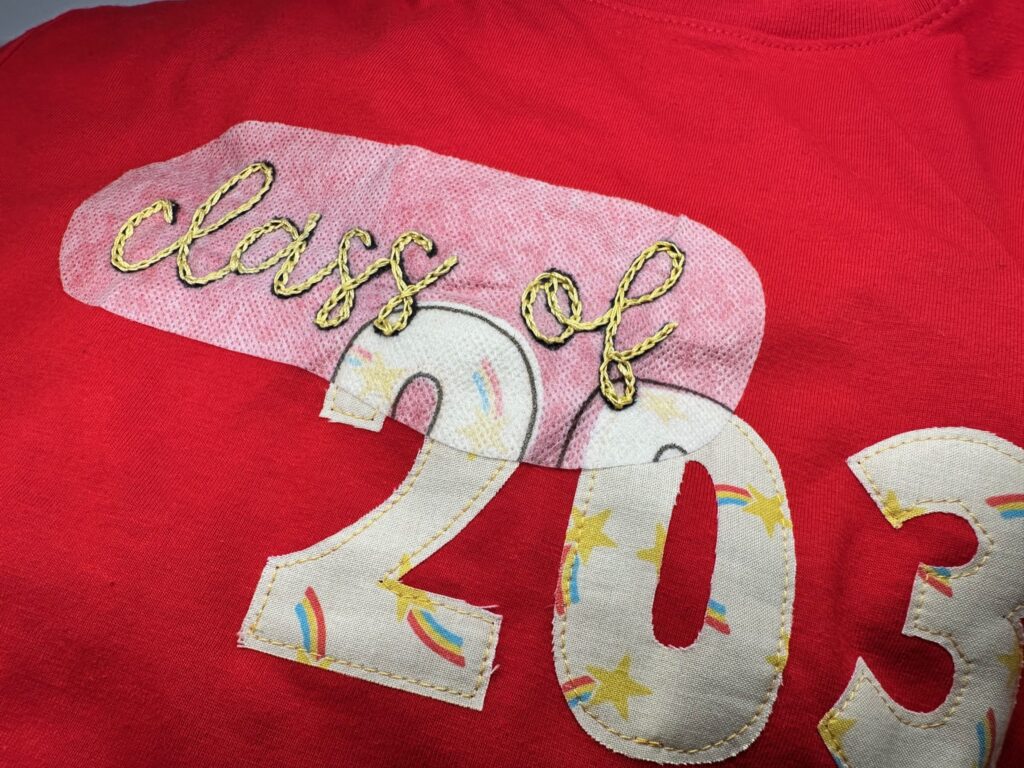
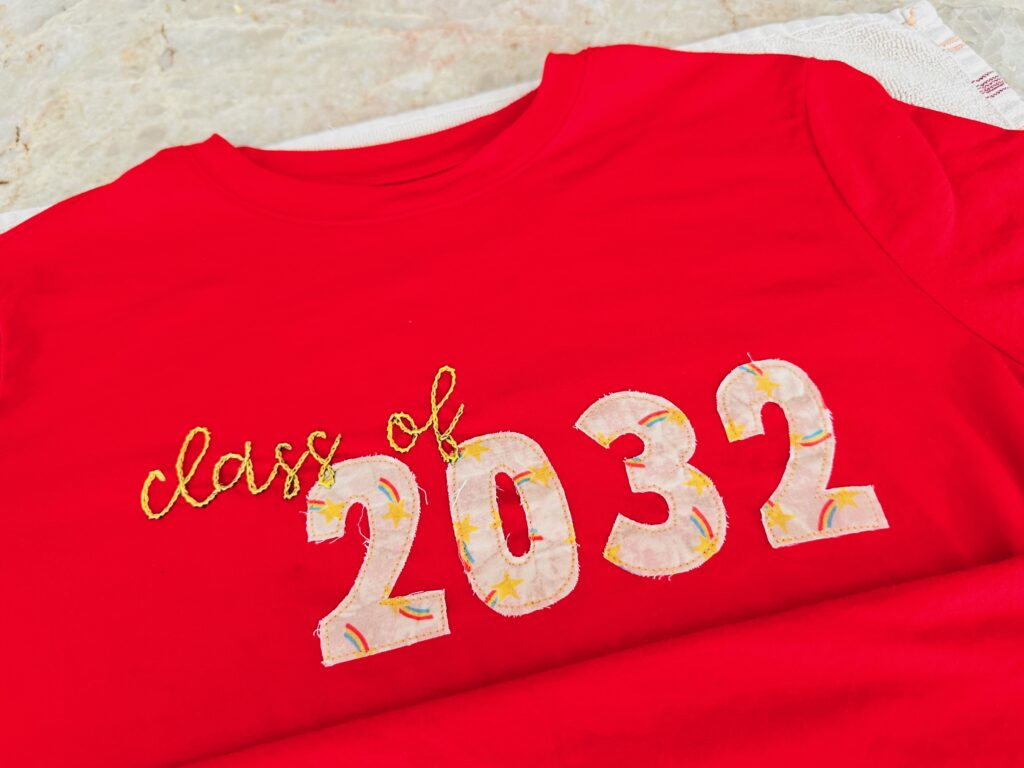
Using Sulky Cotton Petites Thread, embroider directly through the transfer sheet with your favorite stitches (a simple backstitch or chain stitch works beautifully).
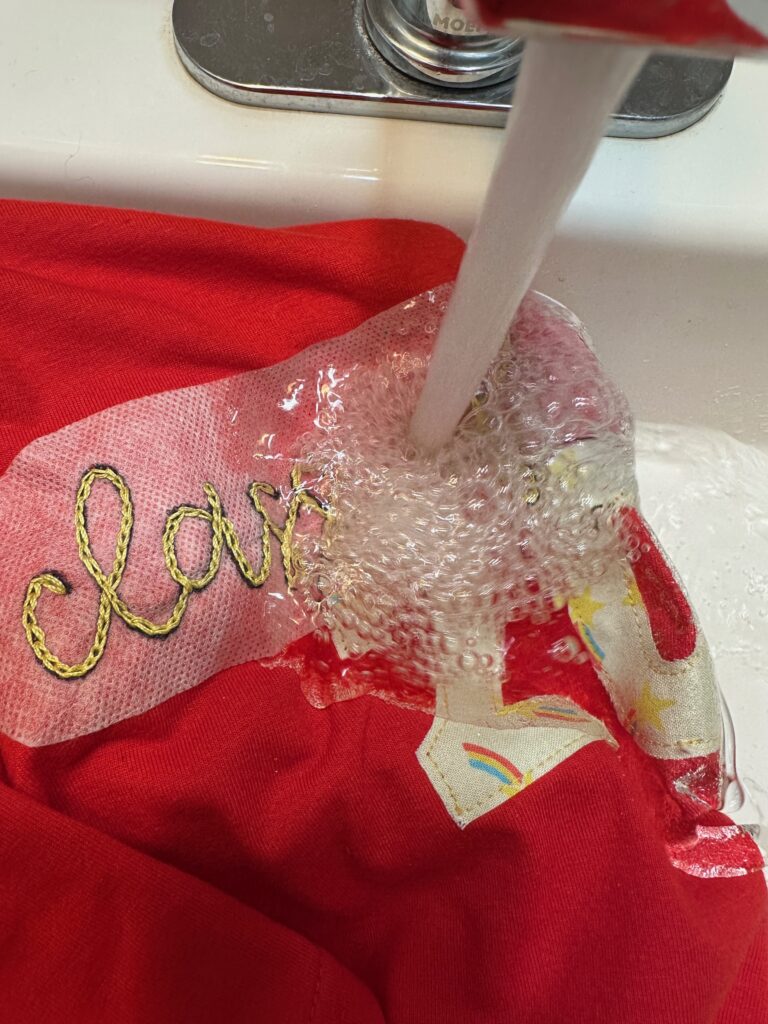
Once complete, rinse away the Stick ‘n Stitch with warm water, revealing your embroidered design.
Final Tee Touches
Let the tee dry flat on a towel.
Last, press the finished t-shirt with a pressing cloth to smooth any wrinkles. If desired, add extra embroidered details like stars, hearts, or school mascots.
Tips & Ideas
-
For little ones, consider making a series of shirts with their future graduation year to wear each year as they grow.
-
Teachers love these as thoughtful gifts—substitute the graduation year for a favorite phrase or school name.
-
Try different fabric patterns for each number to create a playful look.
This project is a great way to commemorate milestones and create personalized gifts. Using Sulky Perfect Appliqué Fusible Web makes crisp, easy appliqué shapes, while Sulky Stick ‘n Stitch lets you transfer embroidery designs with ease.
Ready to start? Gather your supplies, pick a shirt, and stitch up a keepsake they’ll treasure for years!

