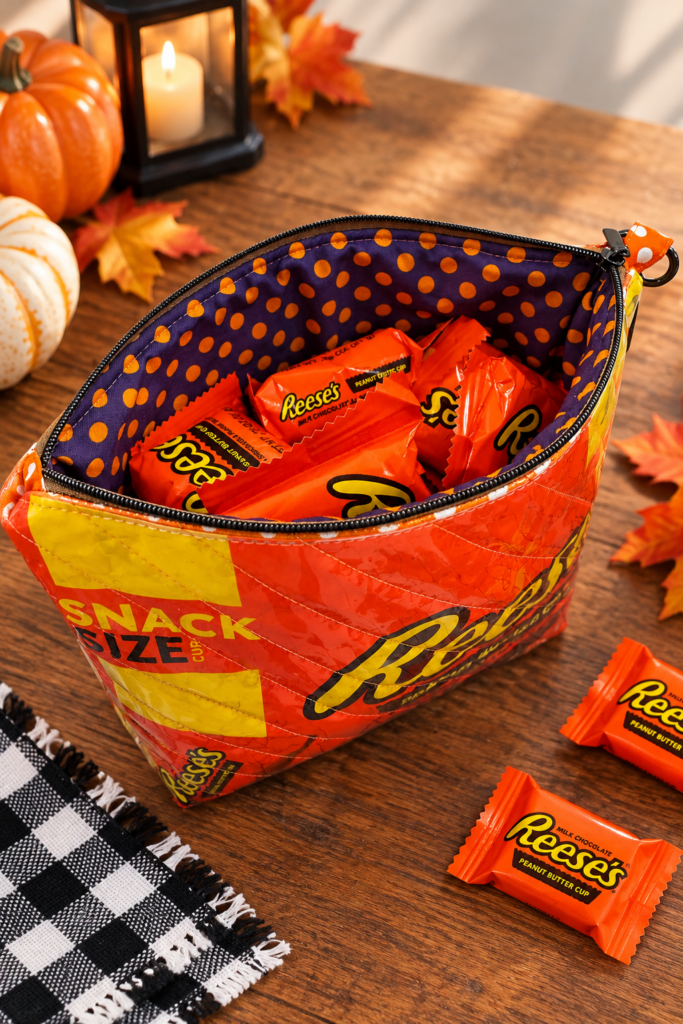
Candy Bag Zip Pouch
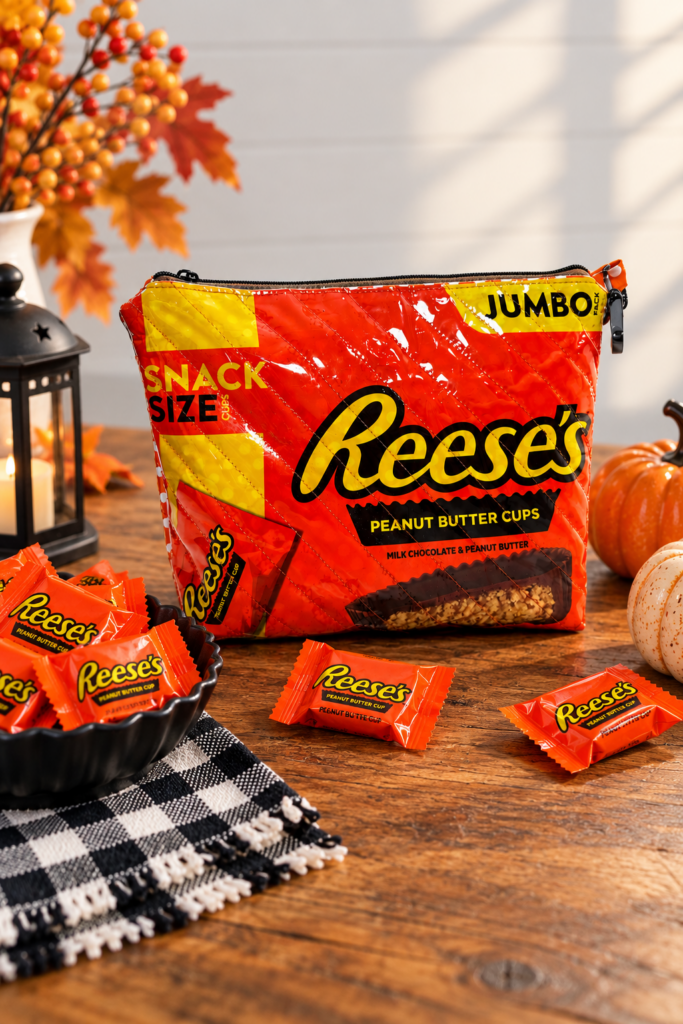
Turn your favorite candy bag into a fun and functional zippered pouch! Repurpose leftover Halloween candy packaging, or pick up a bag of holiday-themed chocolates or sweets. With a protective vinyl coating and fabric lining, you’ll transform the packaging into a durable, reusable pouch that’s perfect for storing candy, small treasures and other essentials for years to come!
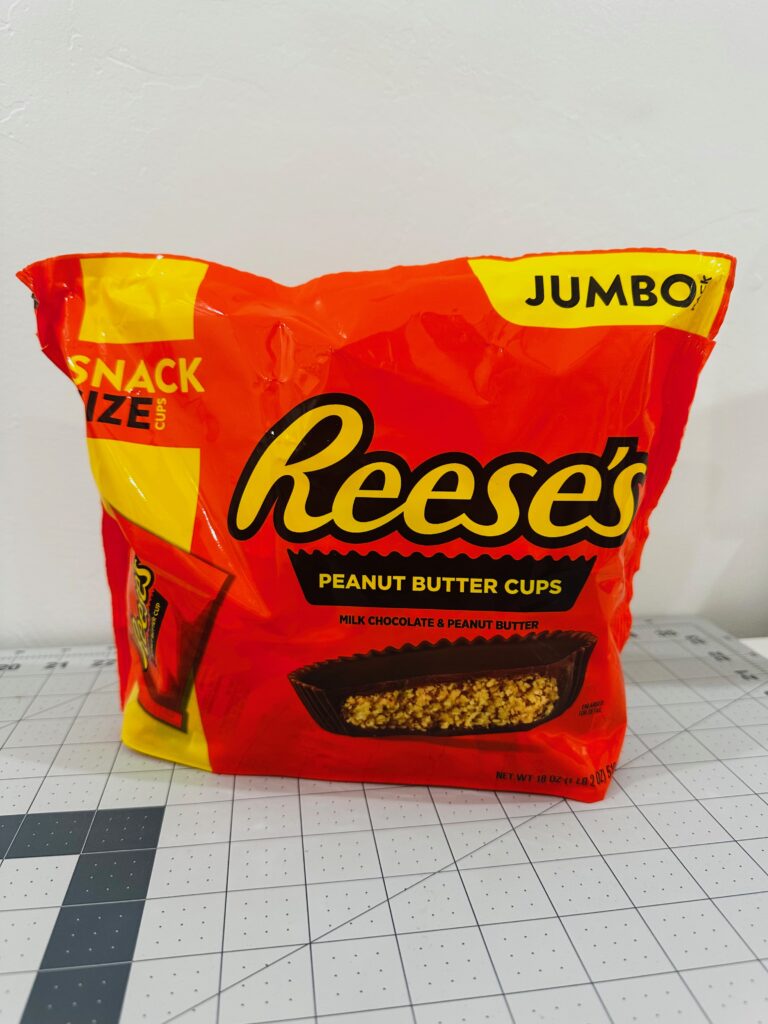
When choosing a candy bag for your zip pouch exterior, size matters. Look for a “jumbo” or “value” size to ensure you have plenty of material to work with. After all, you can always trim the bag down, but you can’t make it bigger! Also, pay attention to the thickness of the packaging. Some candy bags are thin and flimsy, while others are thicker and more substantial. The sturdier bags are generally easier to sew, but don’t rule out the thinner ones! The vinyl coating adds structure and durability, making even lightweight candy packaging suitable for this project.
CANDY BAG ZIP POUCH SUPPLIES
- Bag of candy (reserve candy for snacking)
- Sulky KK2000XT Temporary Spray Adhesive
- Triple Wide Wonder Clips
- Exterior & lining fabric (such as quilting cotton; amount depends on candy bag size)
- Sew-in foam interlining (batting works too, but results in a thinner, more pliable pouch)
- Sulky 50 wt. Cotton Thread
- Organ™ Needles
- size 80/12 Microtex
- size 80/12 Jeans or Top Stitch
- 14 or 16 gauge vinyl (enough for exterior)
- Zipper (length determined by candy bag size)
- D-Ring Swivel Clip
CANDY BAG PREP
First, carefully cut open the candy bag, leaving as much of the front exterior intact as possible. Depending on the type of candy inside the bag, you may need to wash and dry the interior before continuing.
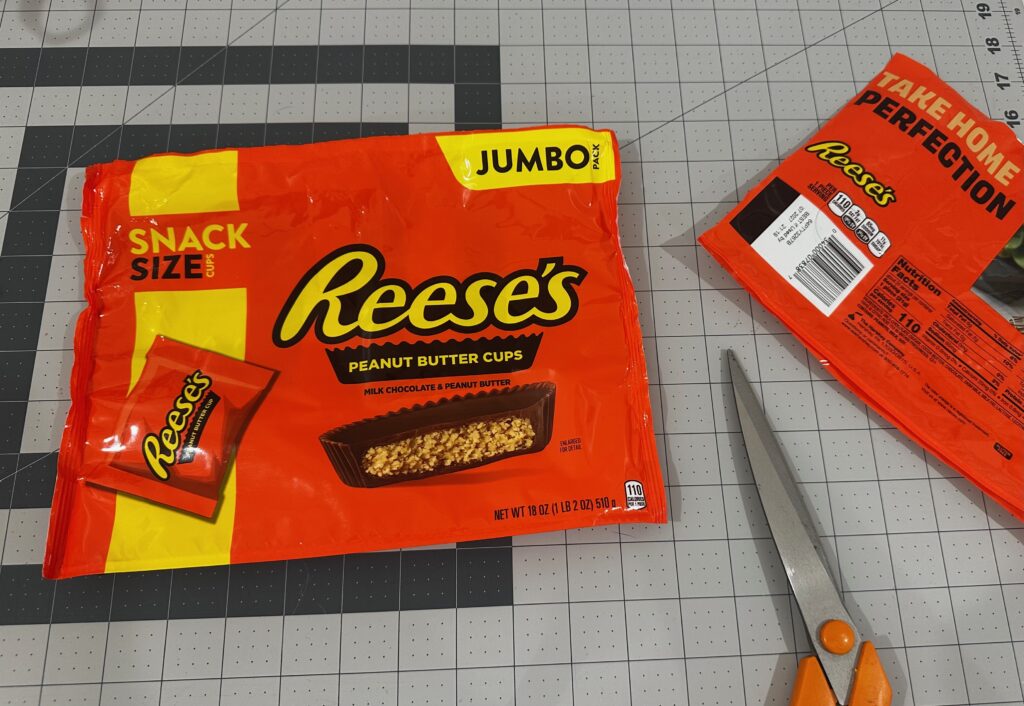
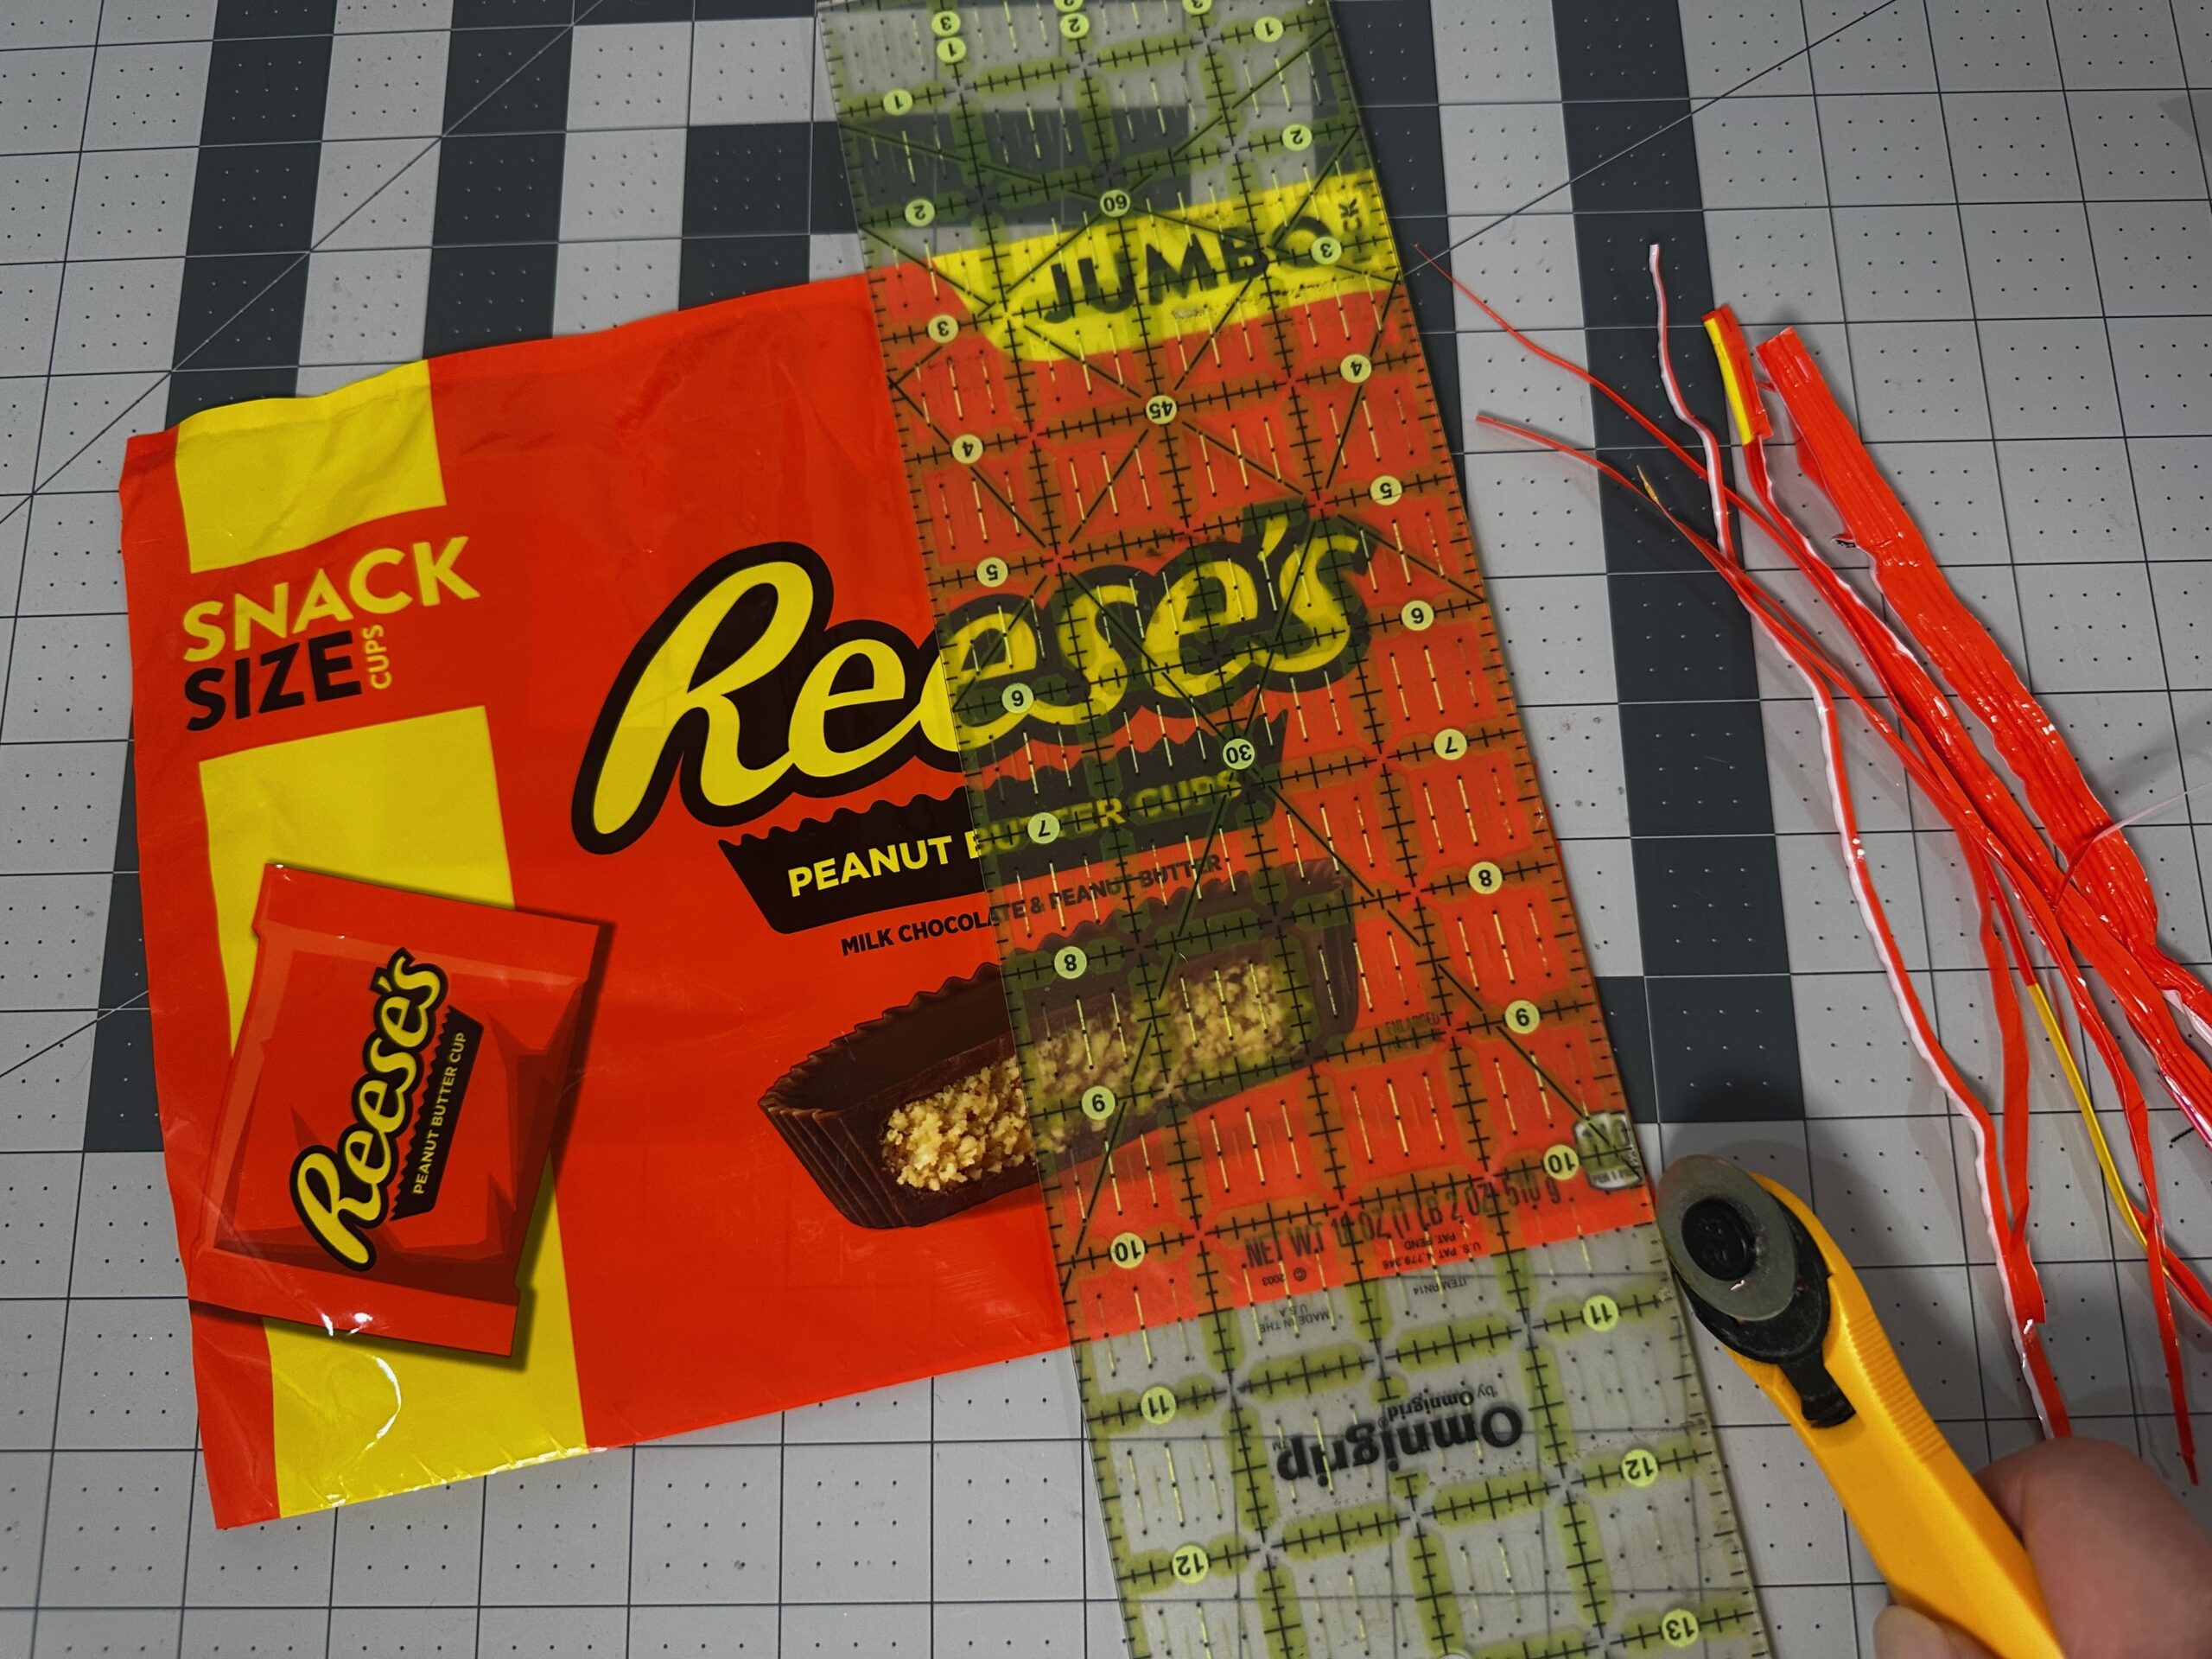
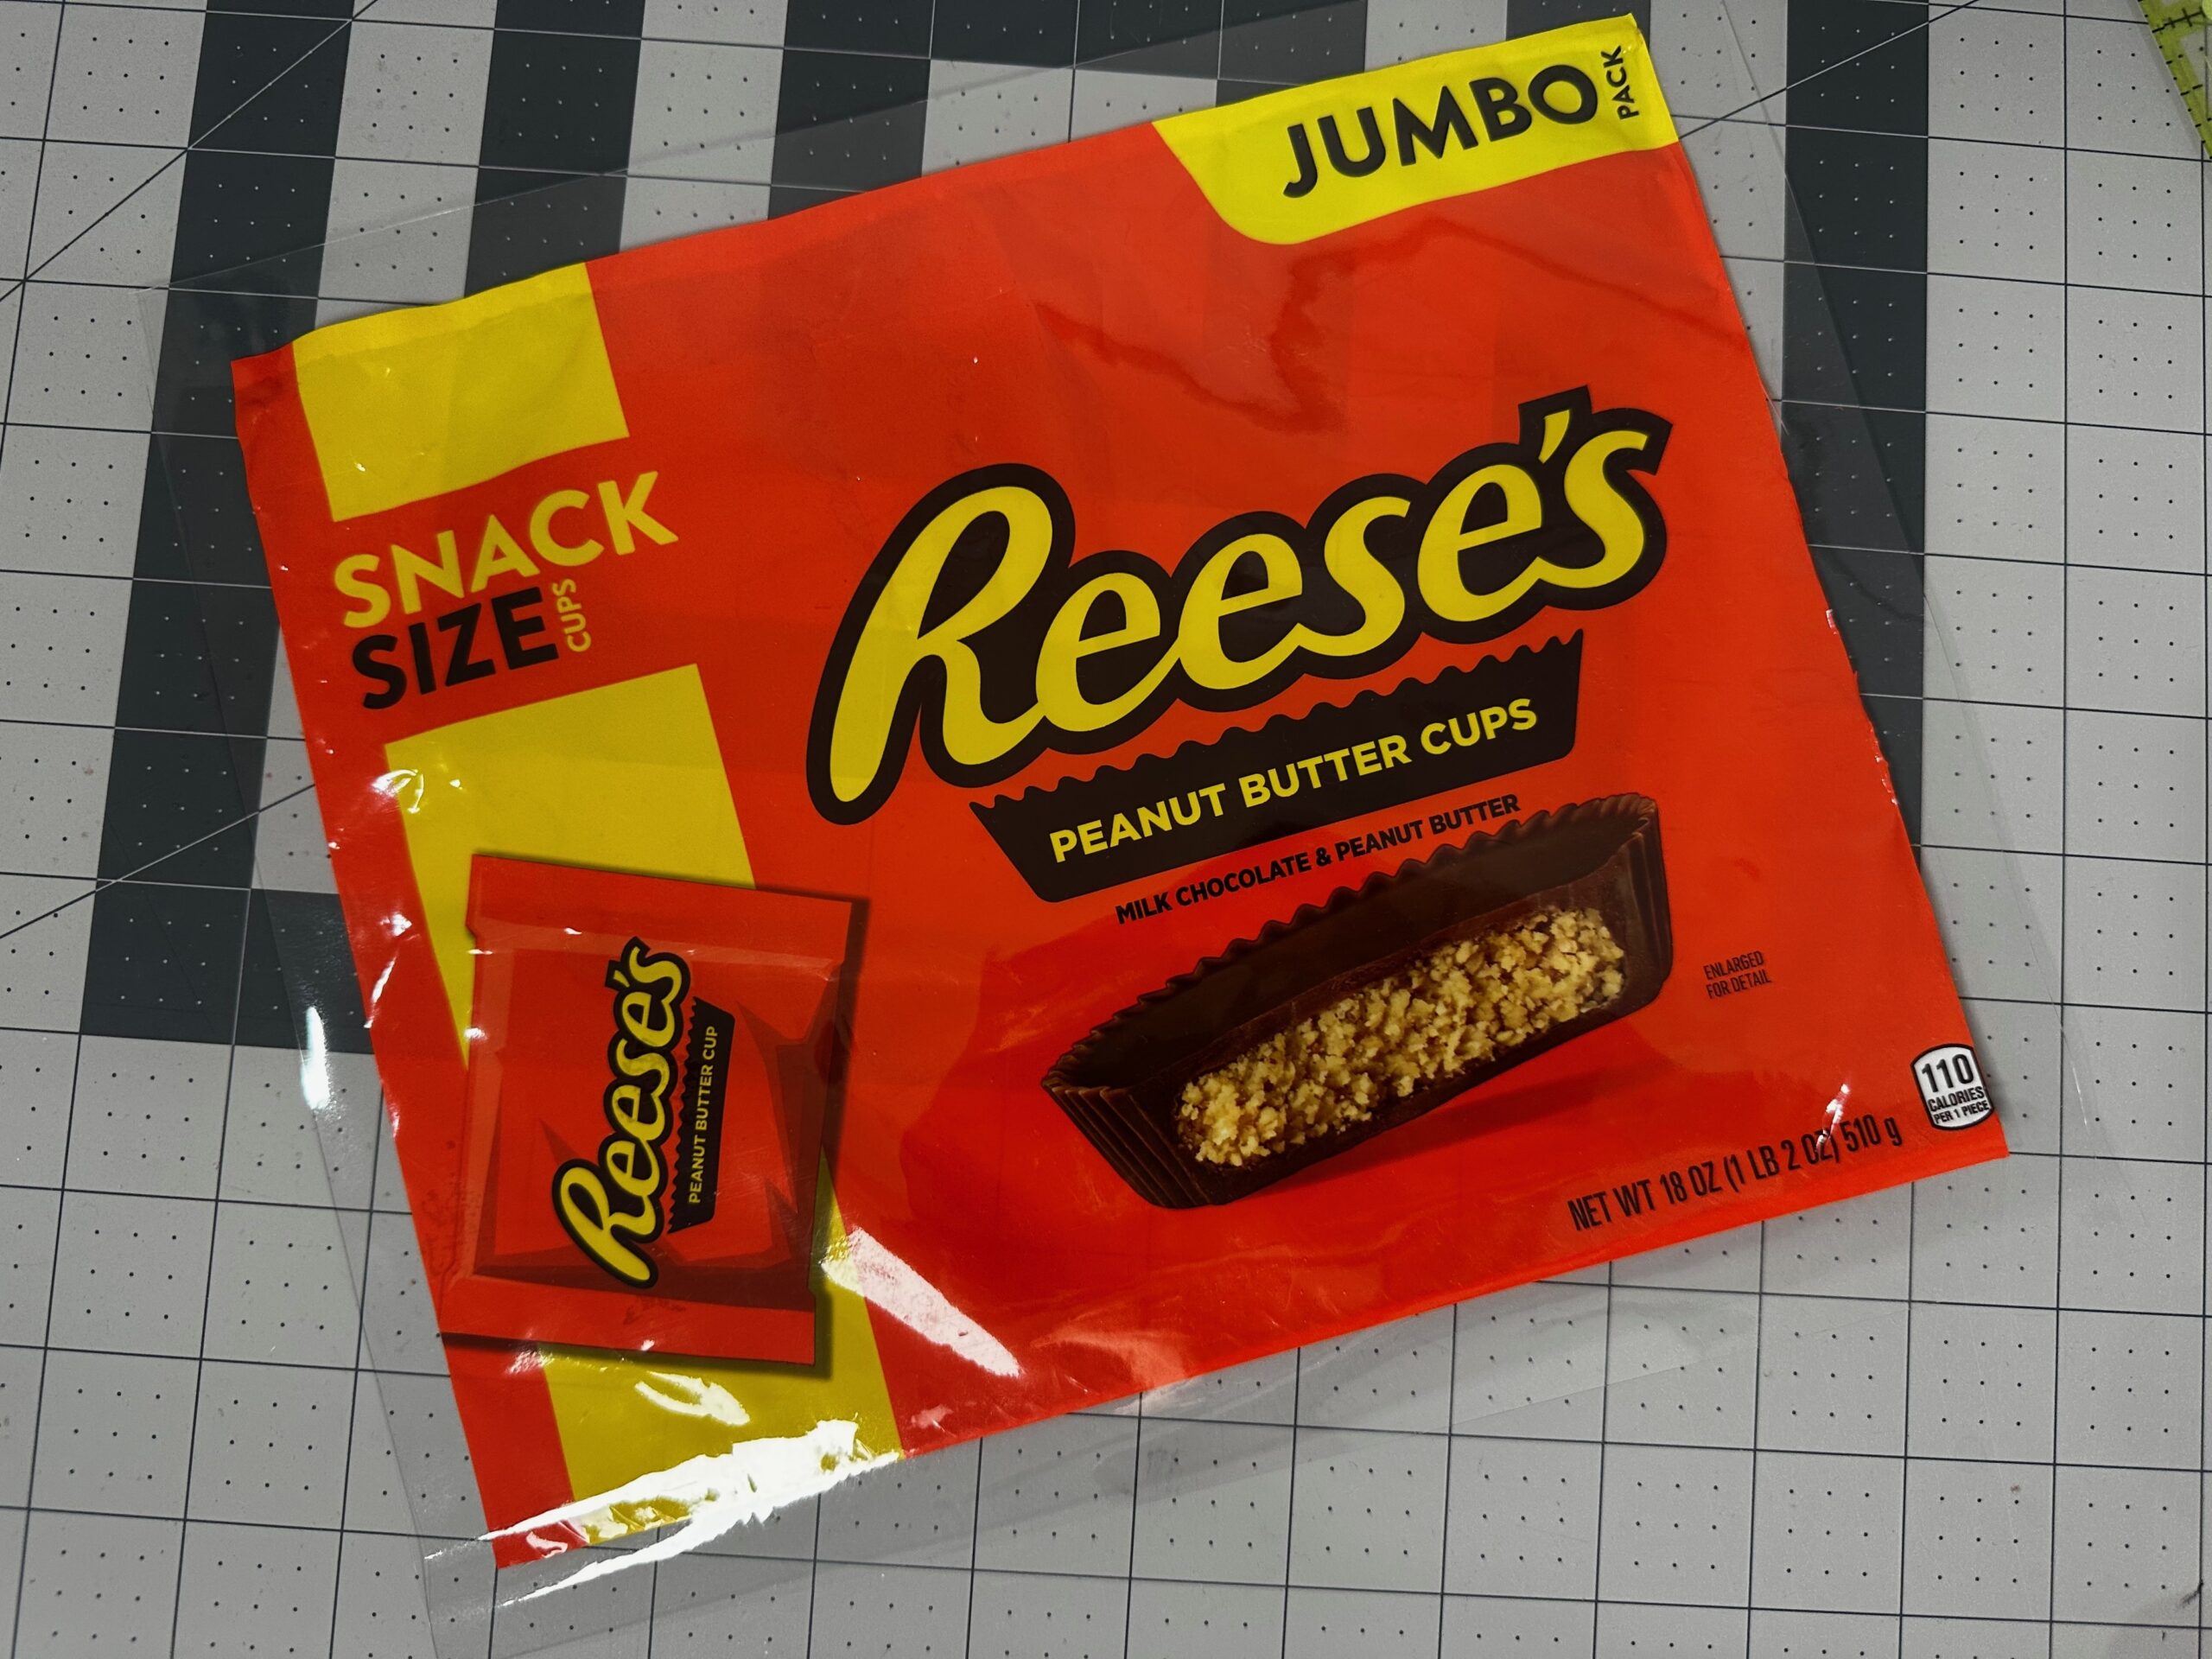
Trim off any seams along the candy-bag front edges. Using a clear ruler and rotary cutter, trim the candy bag front to the desired zip pouch size. For context, I started with an 18 oz candy bag and trimmed the front exterior to 10″ W x 8″ H.
From the lining fabric, cut two rectangles measuring ⅜” larger than the candy bag dimensions on all sides; set aside.
From the exterior fabric, cut two rectangles (front and back) approximately 1″ larger than the candy bag front on all sides. Note: Depending on the candy bag used, it may have open, clear areas that are meant to expose the candy inside the bag. Choose a fun print for the fabric exterior, which will then show inside those clear areas.
From the foam interlining, cut two rectangles to the exterior fabric dimensions.
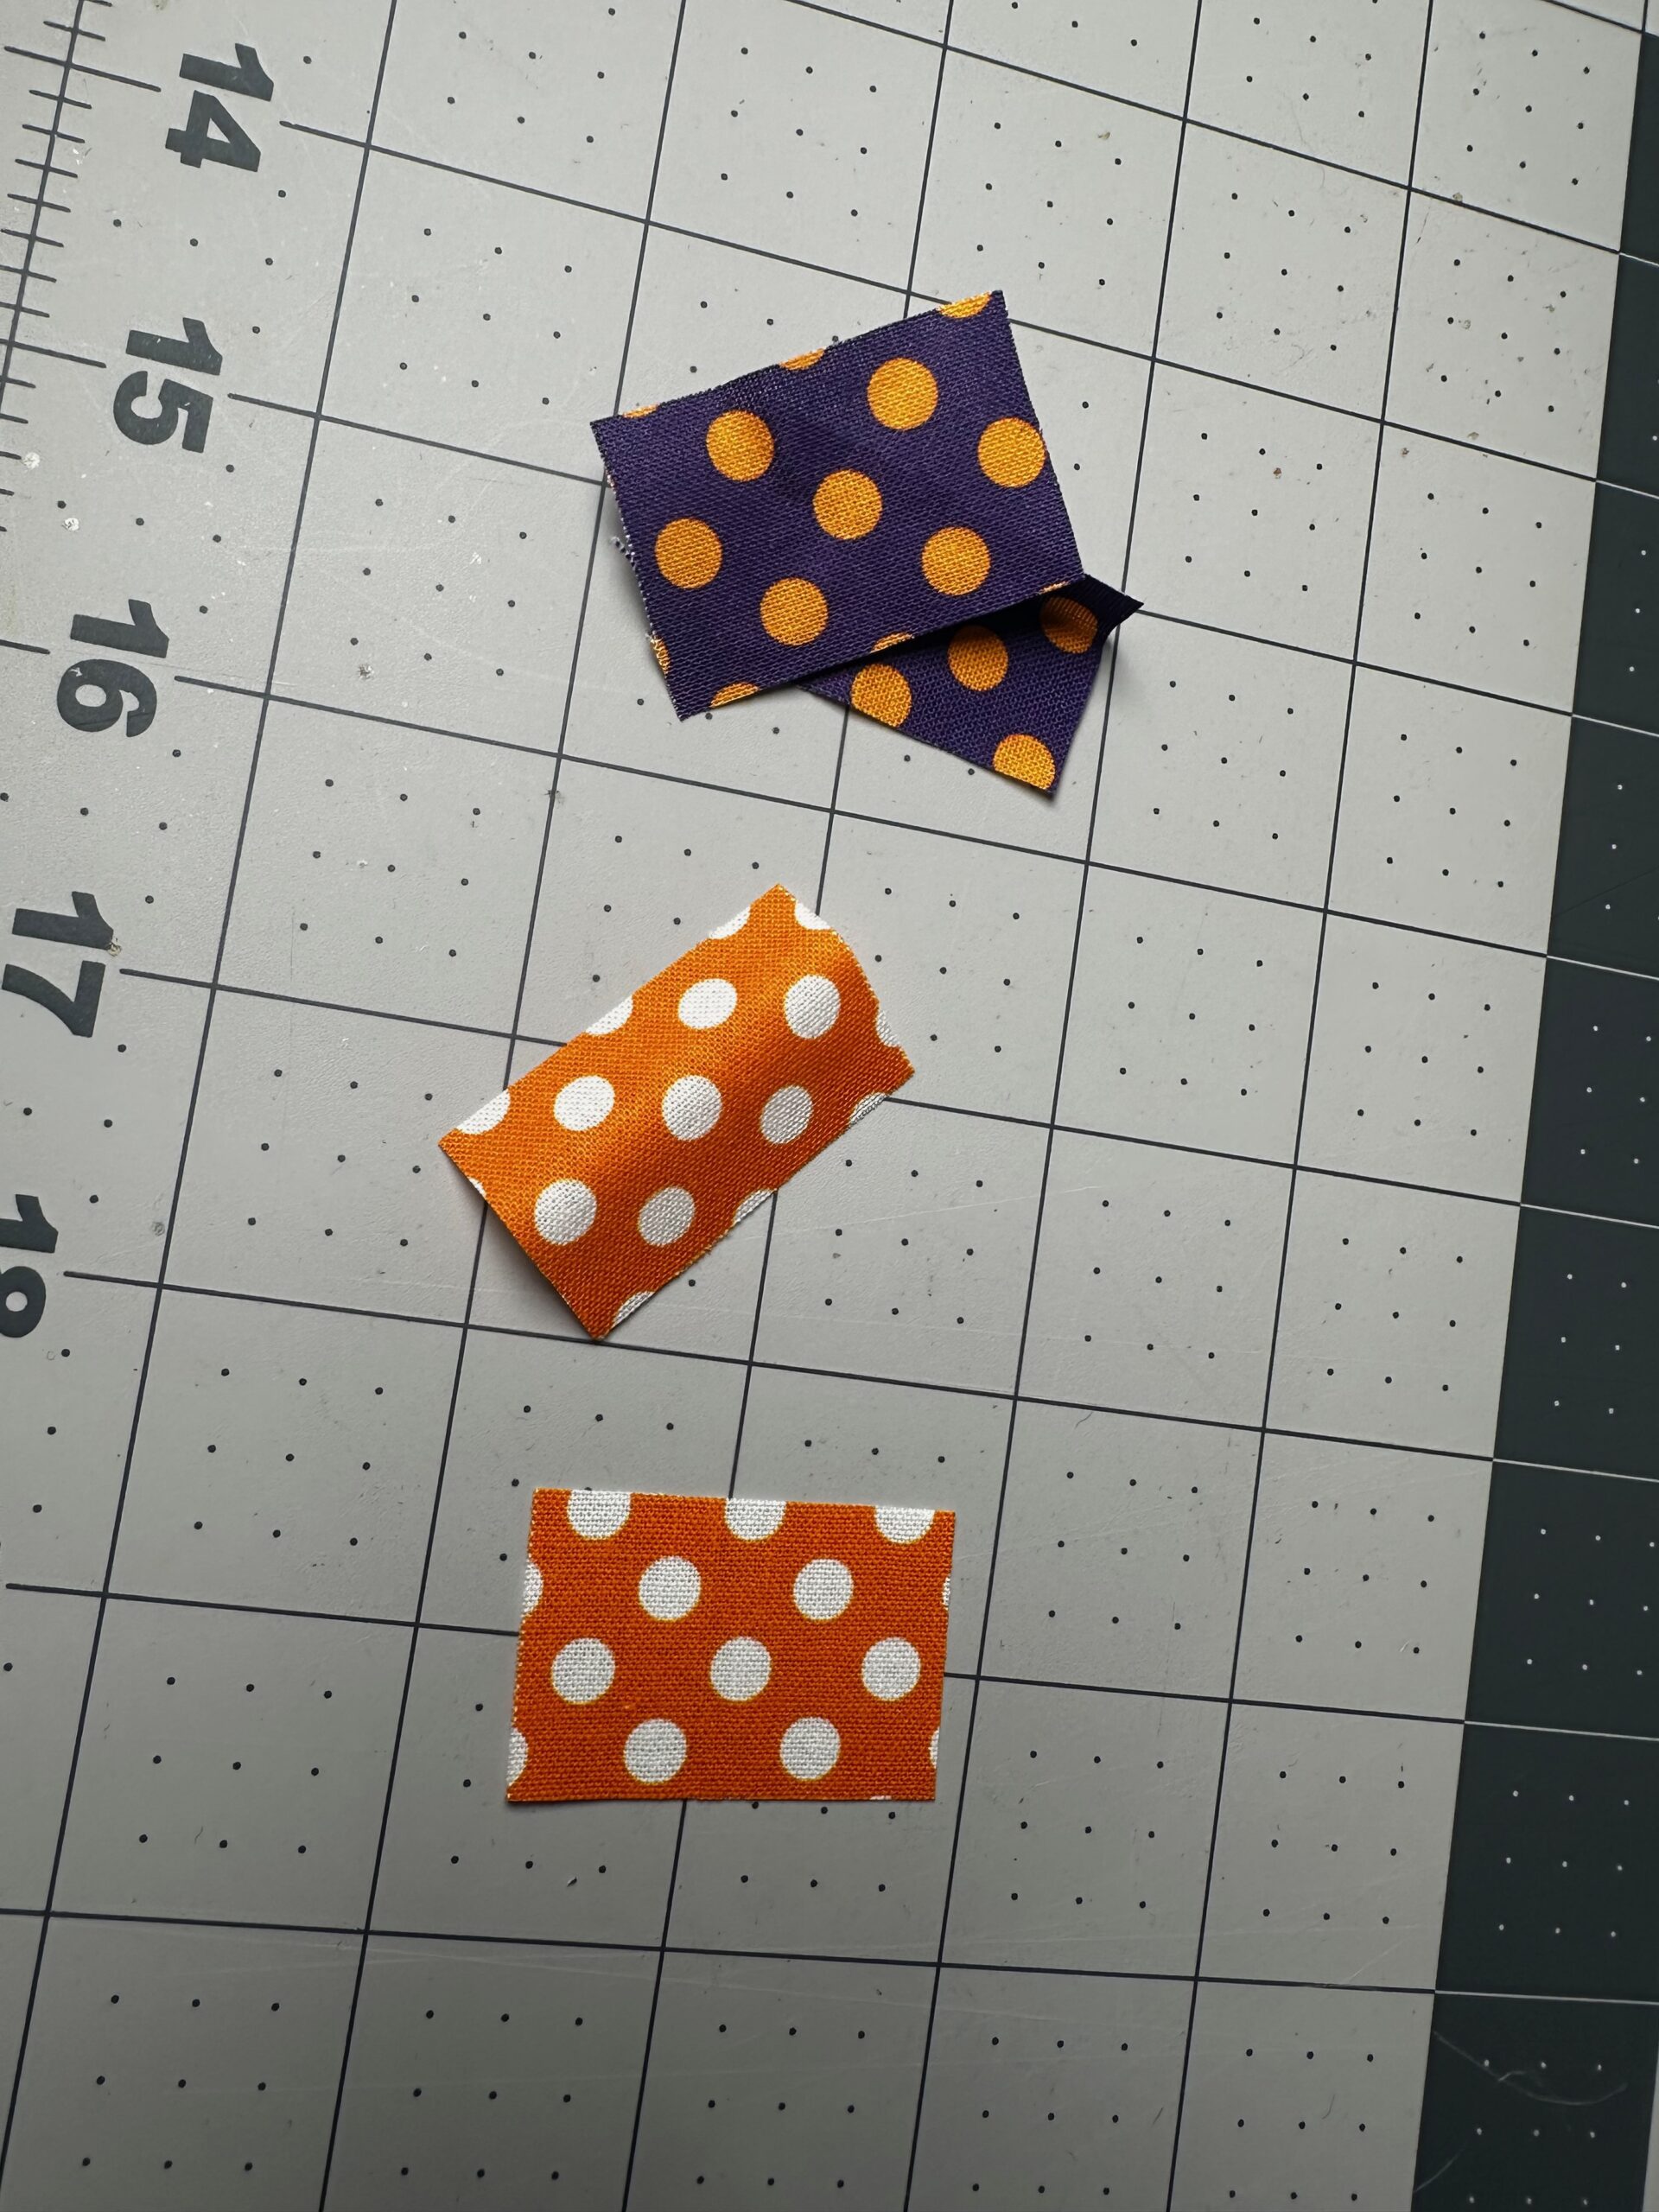
From either the exterior or lining fabric, cut four zipper tabs measuring 1½” W x 1″ H. Cut one D-ring tab measuring 2″ x 3″.
Trim the zipper so it’s 1″ shorter than the lining rectangle width. Remove both stops, if applicable, and stitch across the zipper teeth ends to ensure the pull doesn’t fall off.
CANDY BAG QUILTING
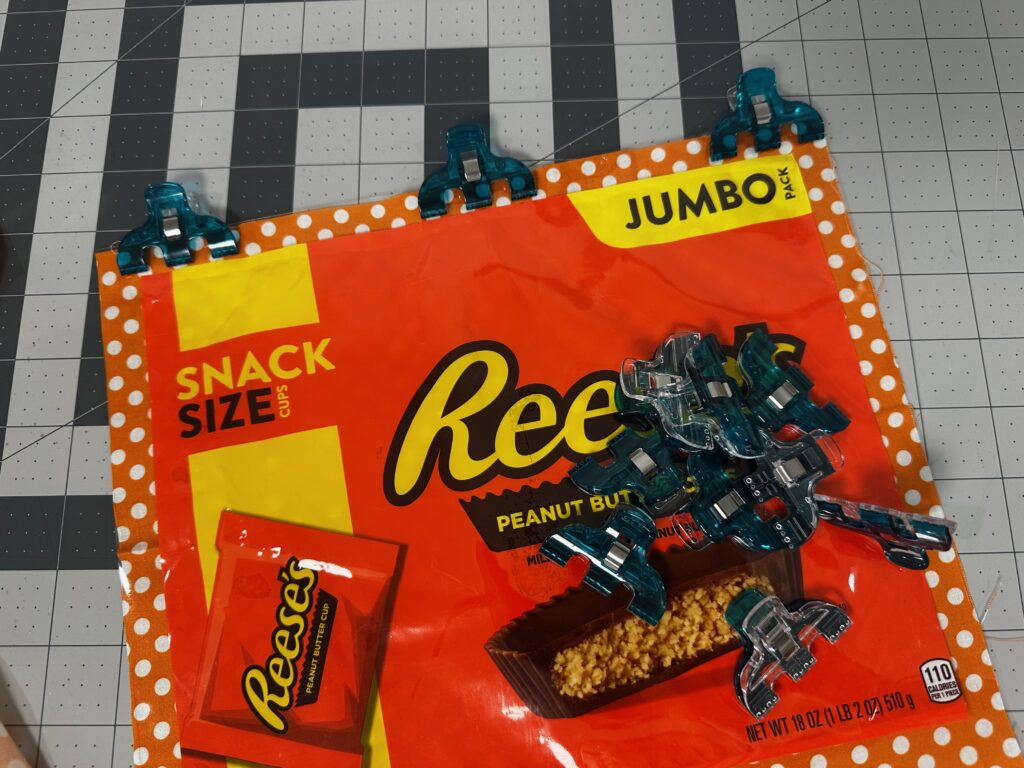
Place one foam rectangle on a flat work surface. Center one exterior fabric rectangle over the foam. Use Sulky KK2000XT Temporary Spray Adhesive to secure.
Center the candy-bag rectangle over the fabric.
Then, place one vinyl rectangle over the candy-bag rectangle. Make sure the candy bag doesn’t shift; it should stick to the vinyl by itself.
Use Triple Wide Wonder Clips to secure the “sandwich” edges.
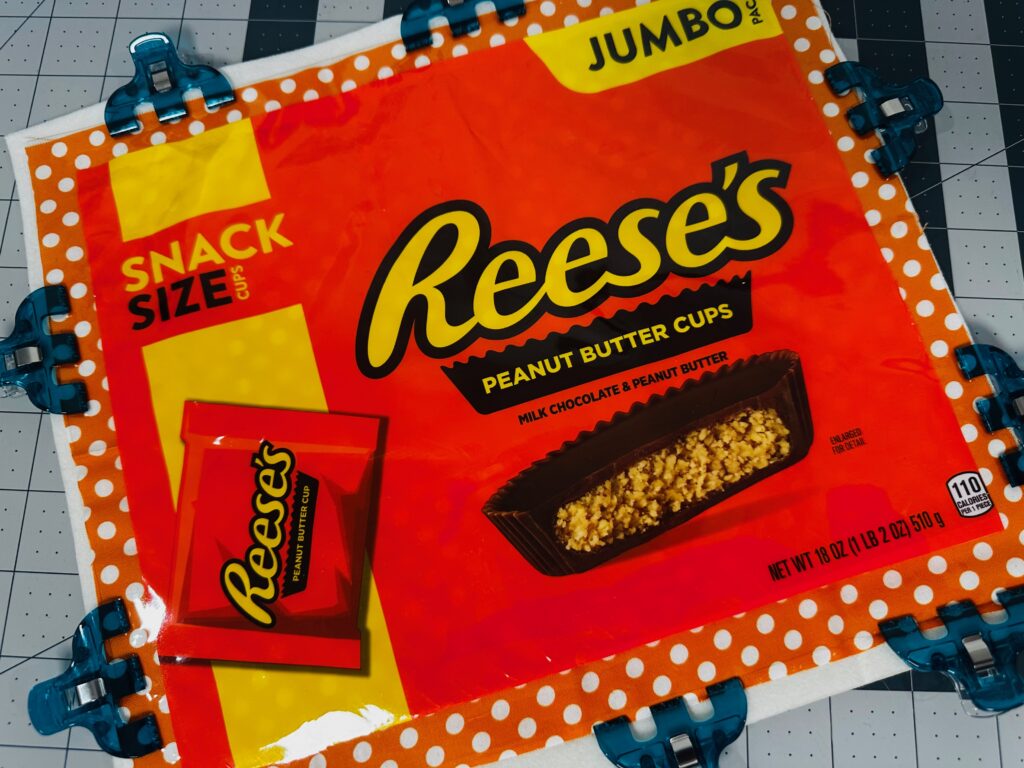
Install a size 80/12 Microtex Needle and thread the needle with Sulky 50 wt. Cotton Thread. Use the same thread in the bobbin. Set the machine for a 3.0mm to 3.5mm straight stitch.
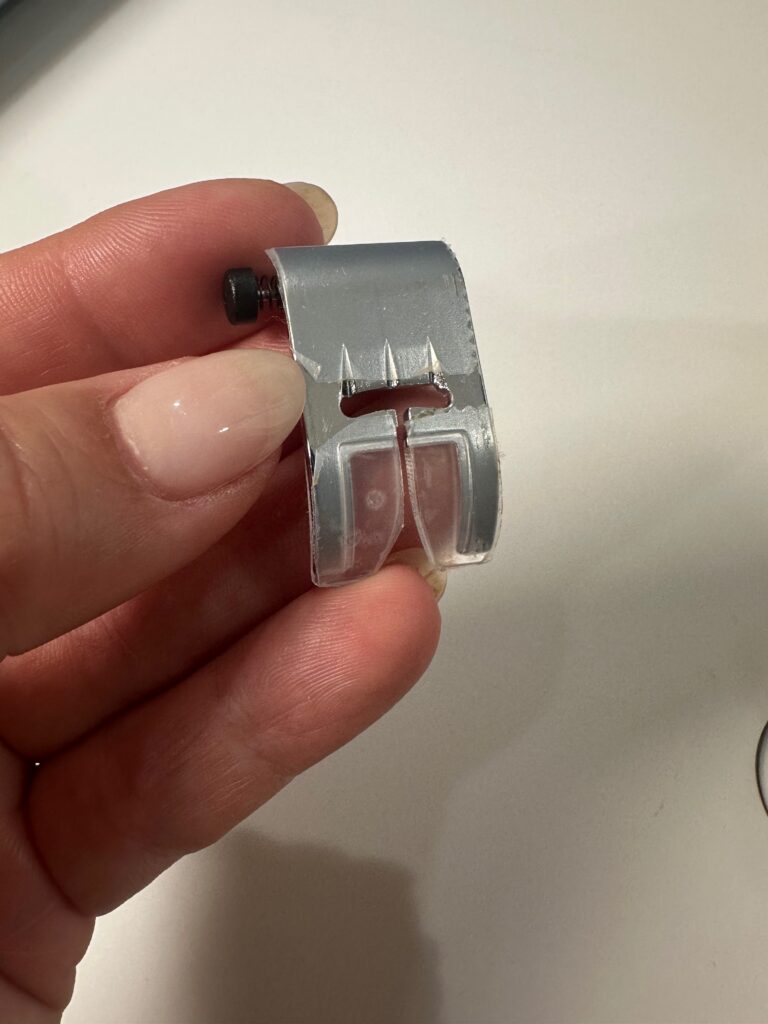
If you have a non-stick presser foot, install it. It’s not recommended to use a roller foot or walking foot, as the foot mechanism that helps move the fabric beneath the foot may damage the vinyl. Instead, in lieu of a non-stick foot, place clear tape on the underside of a standard presser foot so it glides across the vinyl without sticking.
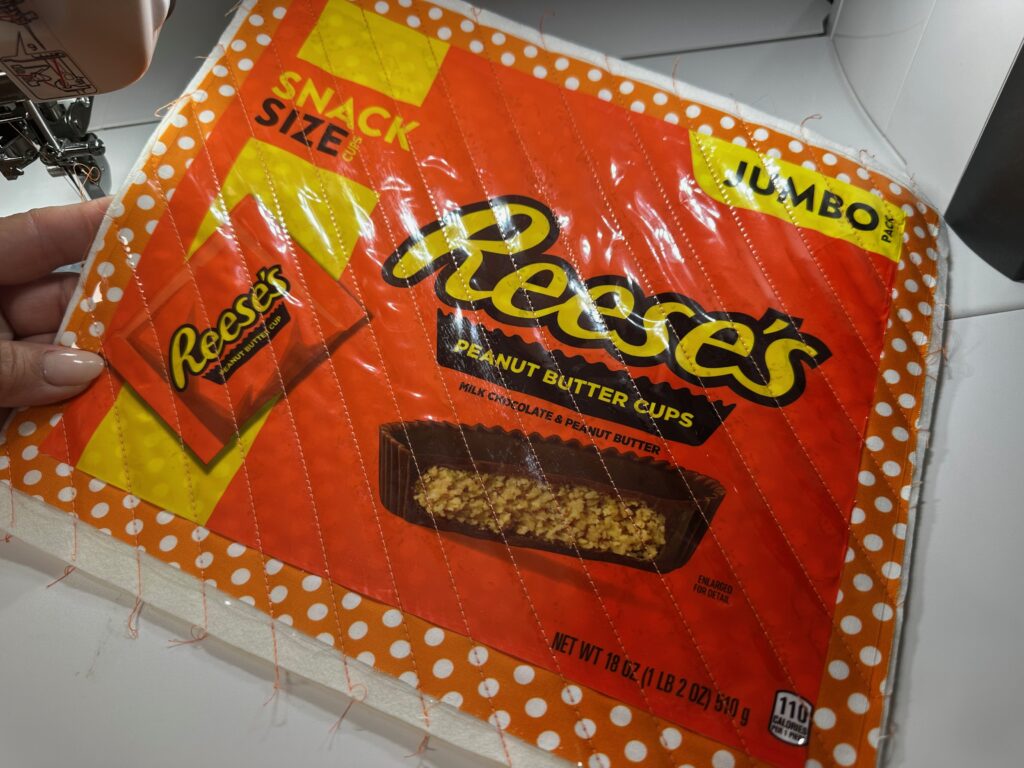
Quilt through the pouch front “sandwich” as desired. The featured Candy Bag Zip Pouch was quilted every ¾” across the exterior at a 45° angle.
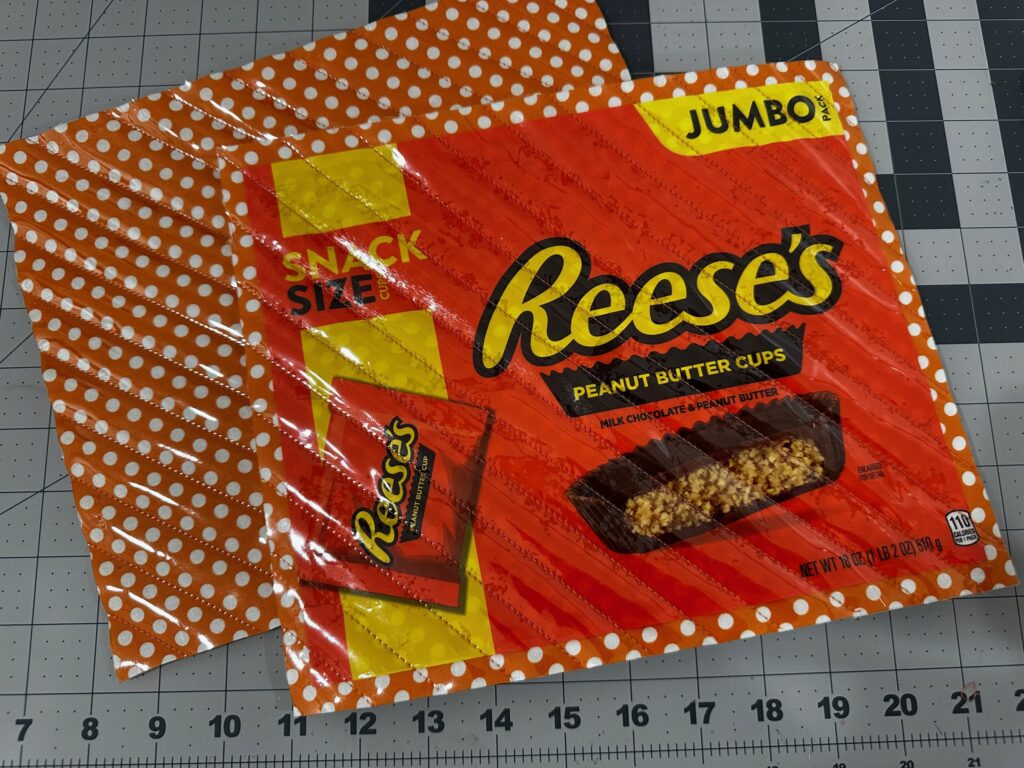
Repeat to quilt the remaining foam, exterior rectangle and vinyl rectangle to create the pouch back. There is no candy bag layer on the back; however, you can add one if desired. Note: With two layers of vinyl (one on the exterior front and one on the exterior back), the pouch becomes difficult to sew in the last step of the construction process. To avoid this, you may want to only include one layer of vinyl on the pouch front.
Trim the pouch front and back to the lining rectangle dimensions.
ZIPPER INSERTION
Sandwich one zipper end between two zipper tabs. Align the zipper tab short edges with the zipper tape edge and make sure the fabric right sides are facing. Stitch, using a ½” seam allowance.
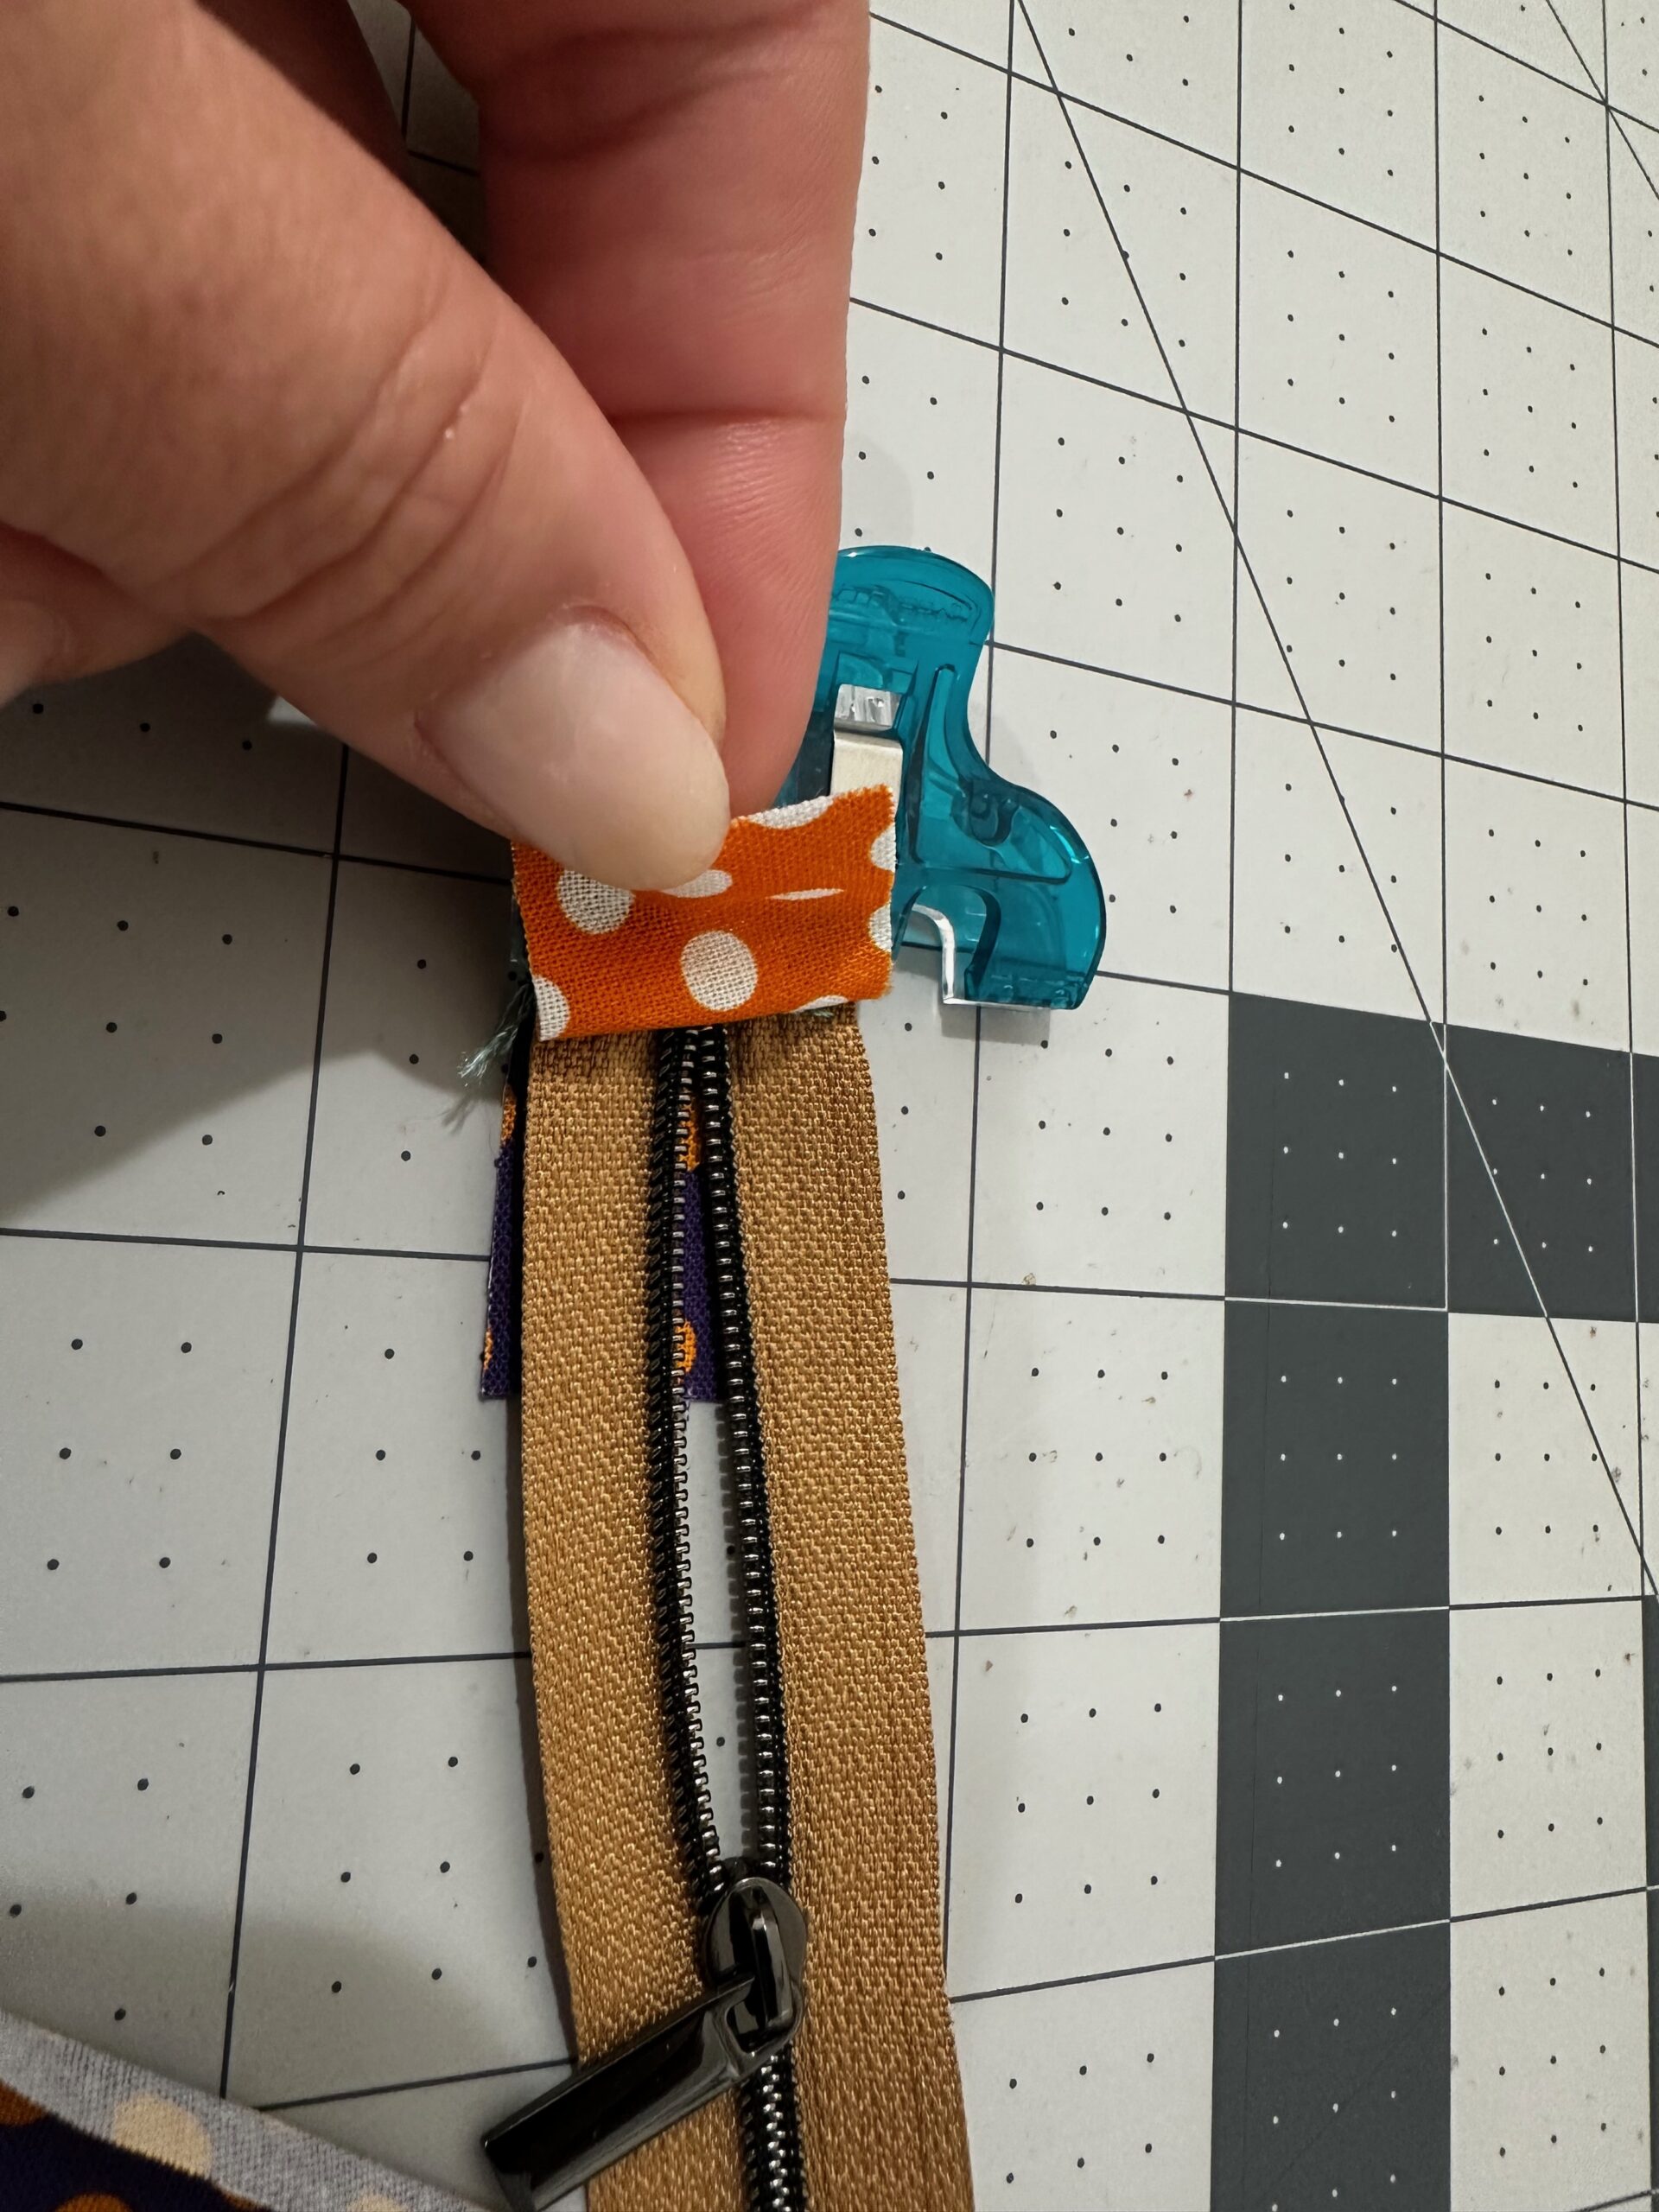
Fold the tabs so the right sides are facing out. Topstitch ⅛” from the seam along the fabric edges.
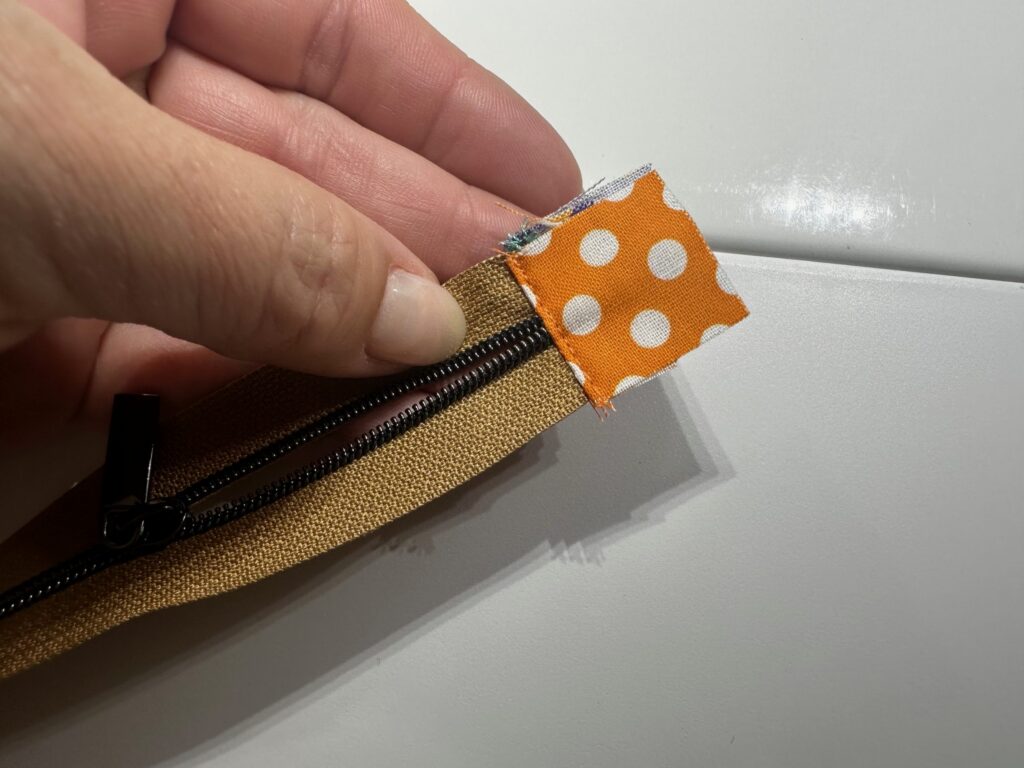
Repeat to stitch zipper tabs to the opposite zipper end.
With right sides together, place the zipper along the exterior pouch upper edge; clip to secure. Baste the zipper in place, ¼” from the long edge.
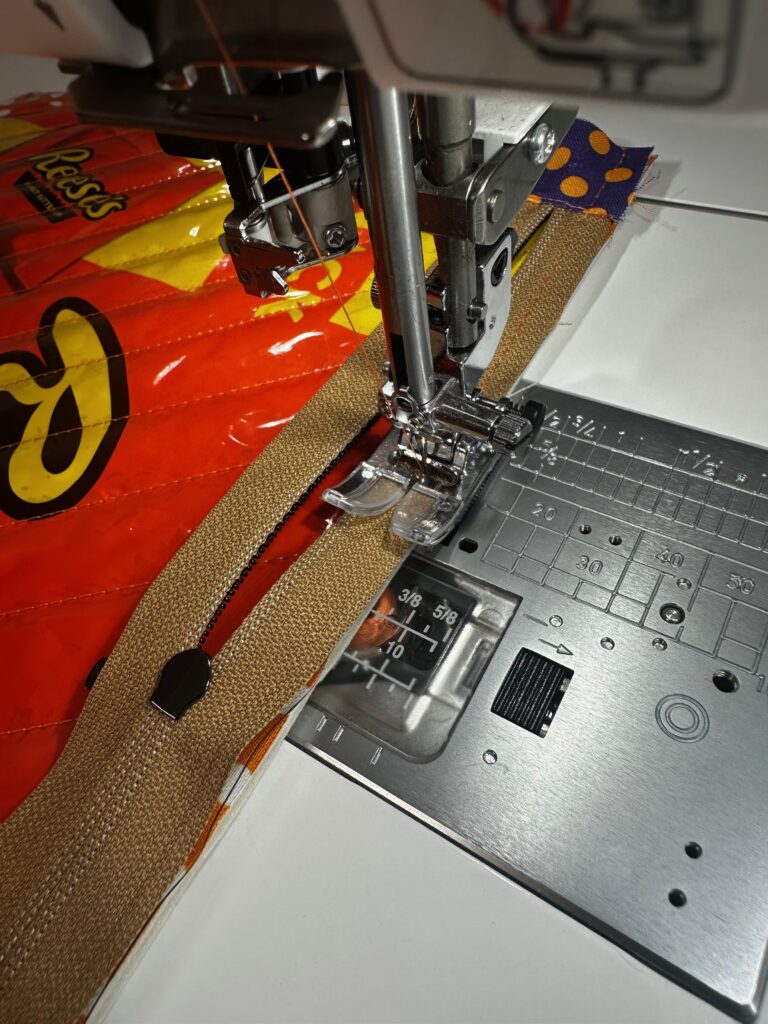
Then, place one lining rectangle right side facing the exterior. Stitch the upper (zipper) edge using a ⅜” seam allowance.
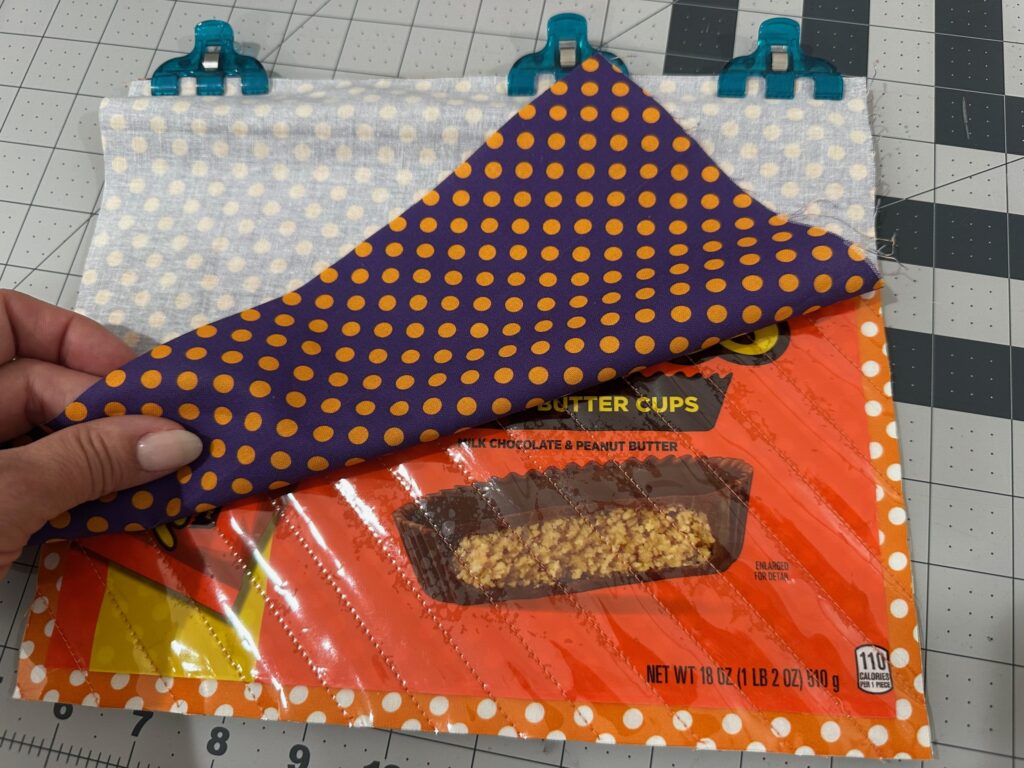
Flip the exterior and lining so right sides are facing out, and then topstitch ⅛” below the zipper seam.
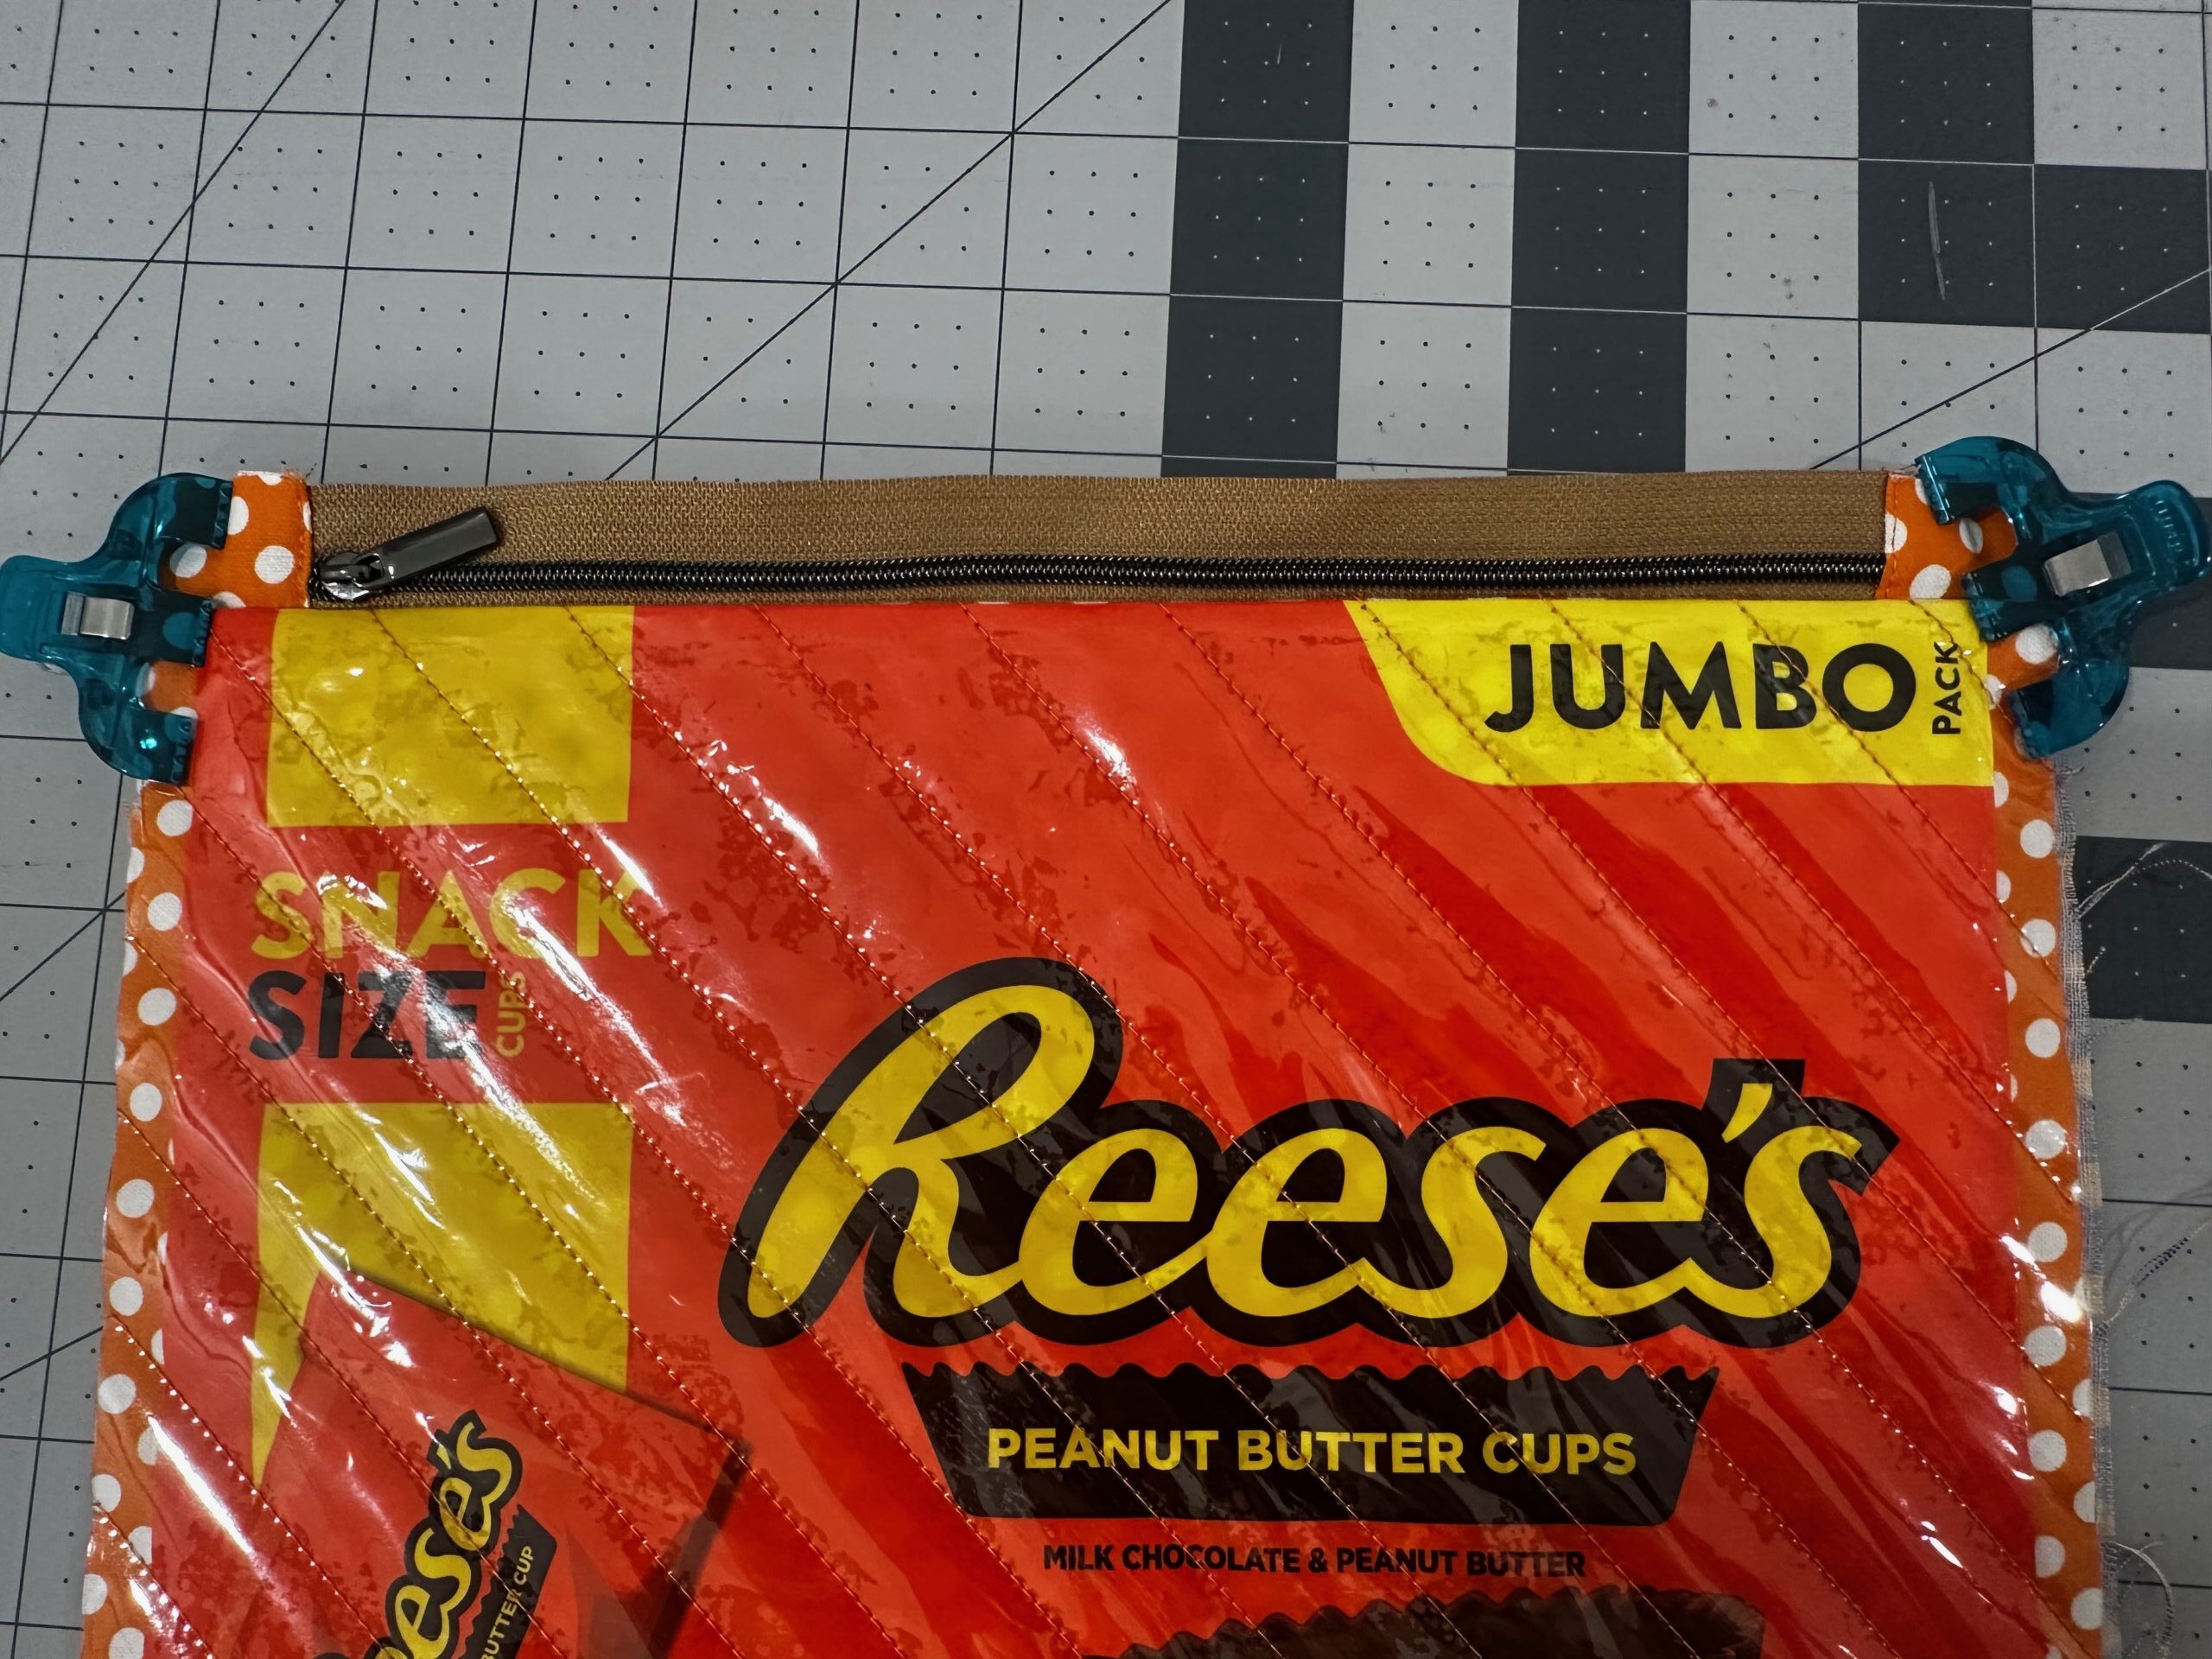
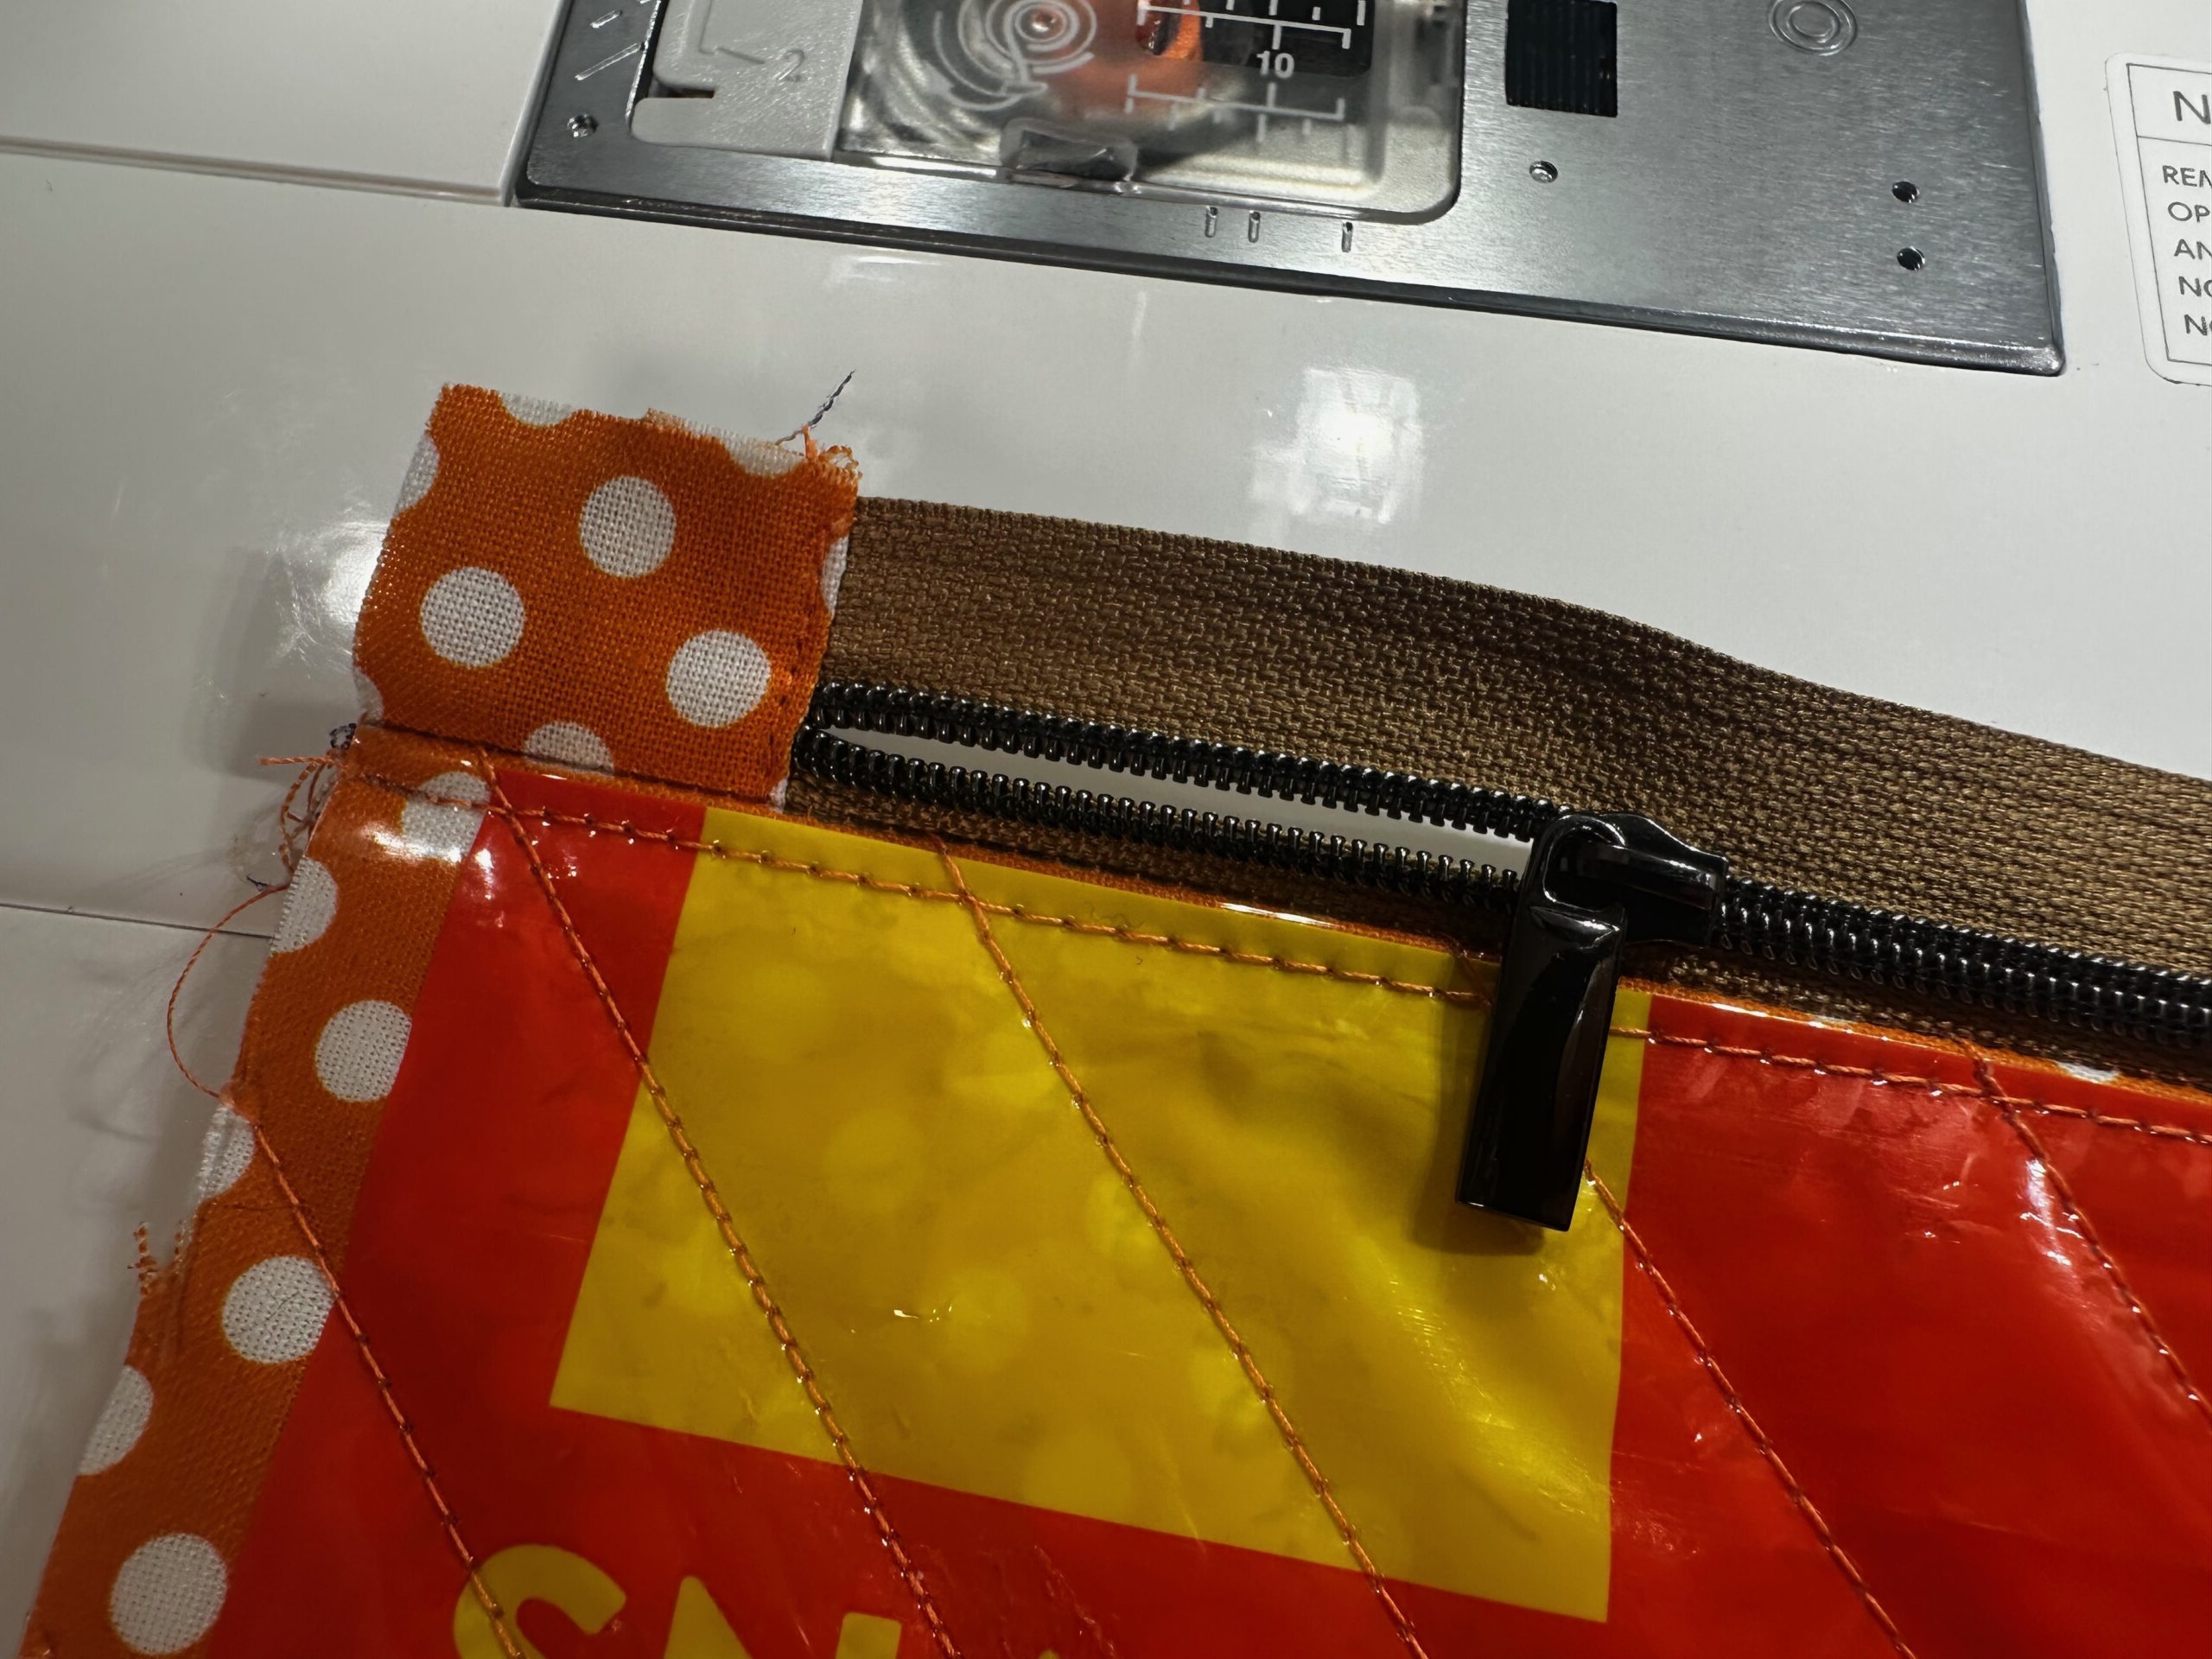
Repeat to insert the zipper between the exterior back and remaining lining rectangle.
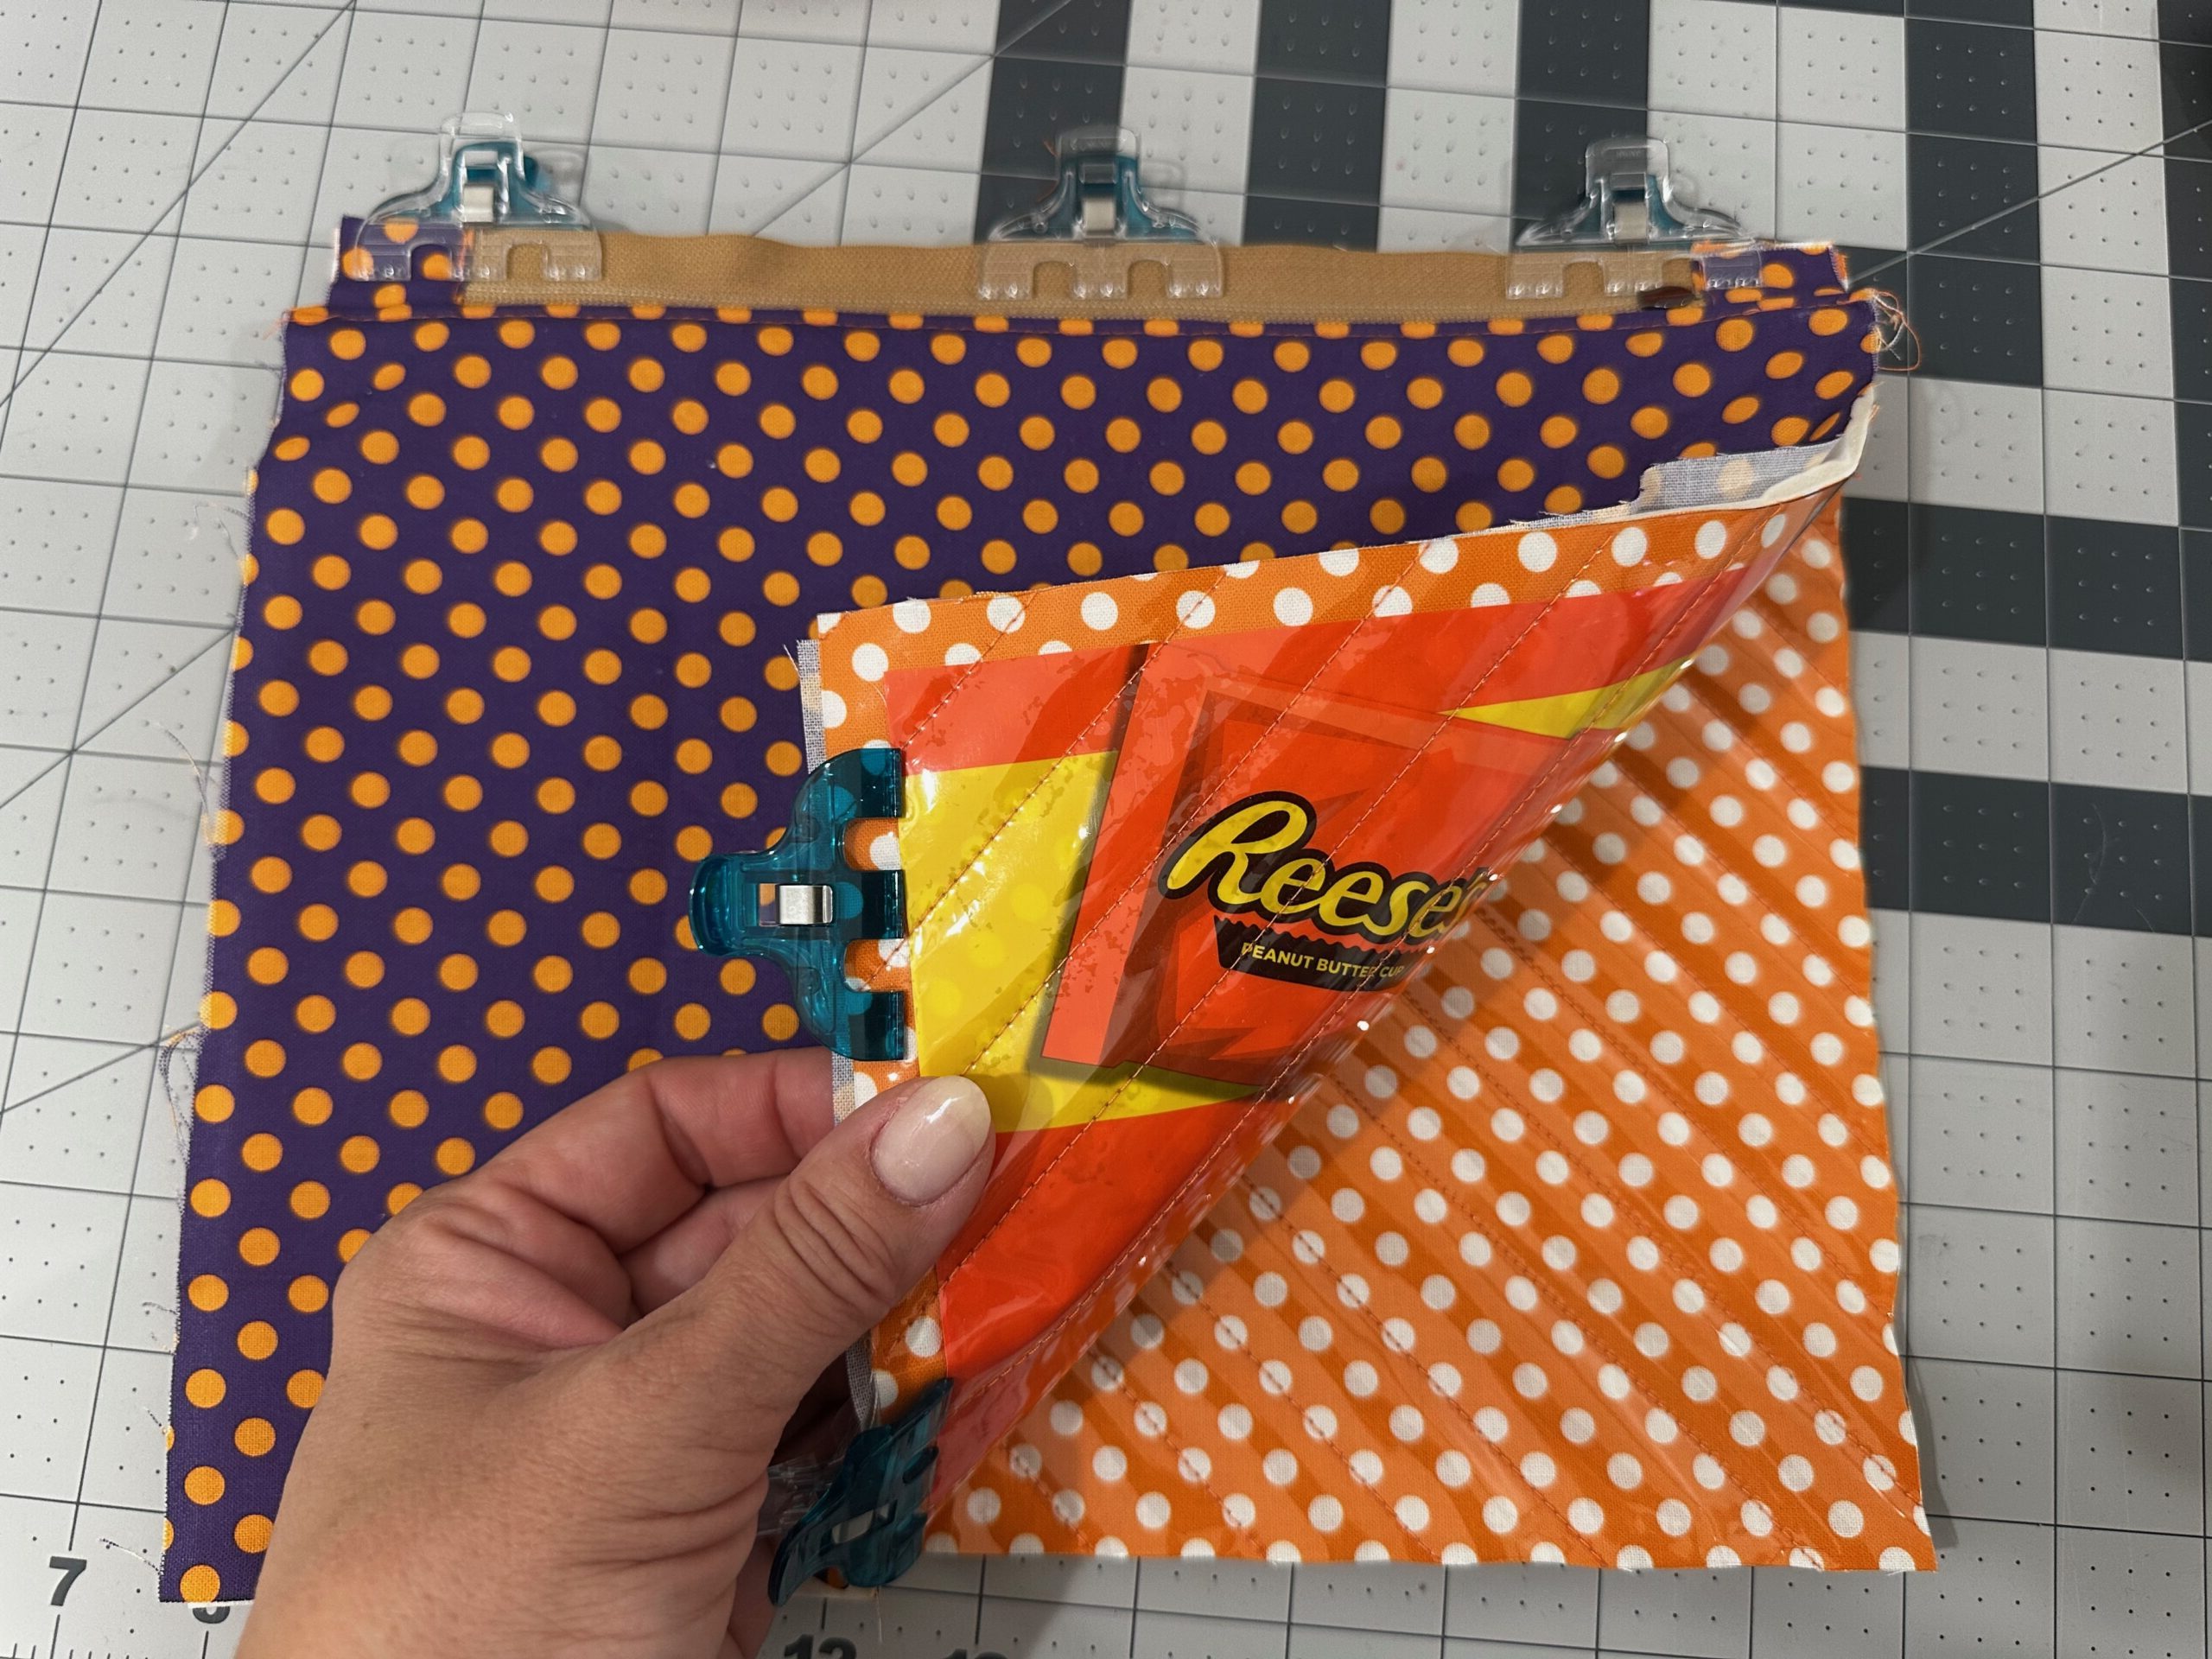
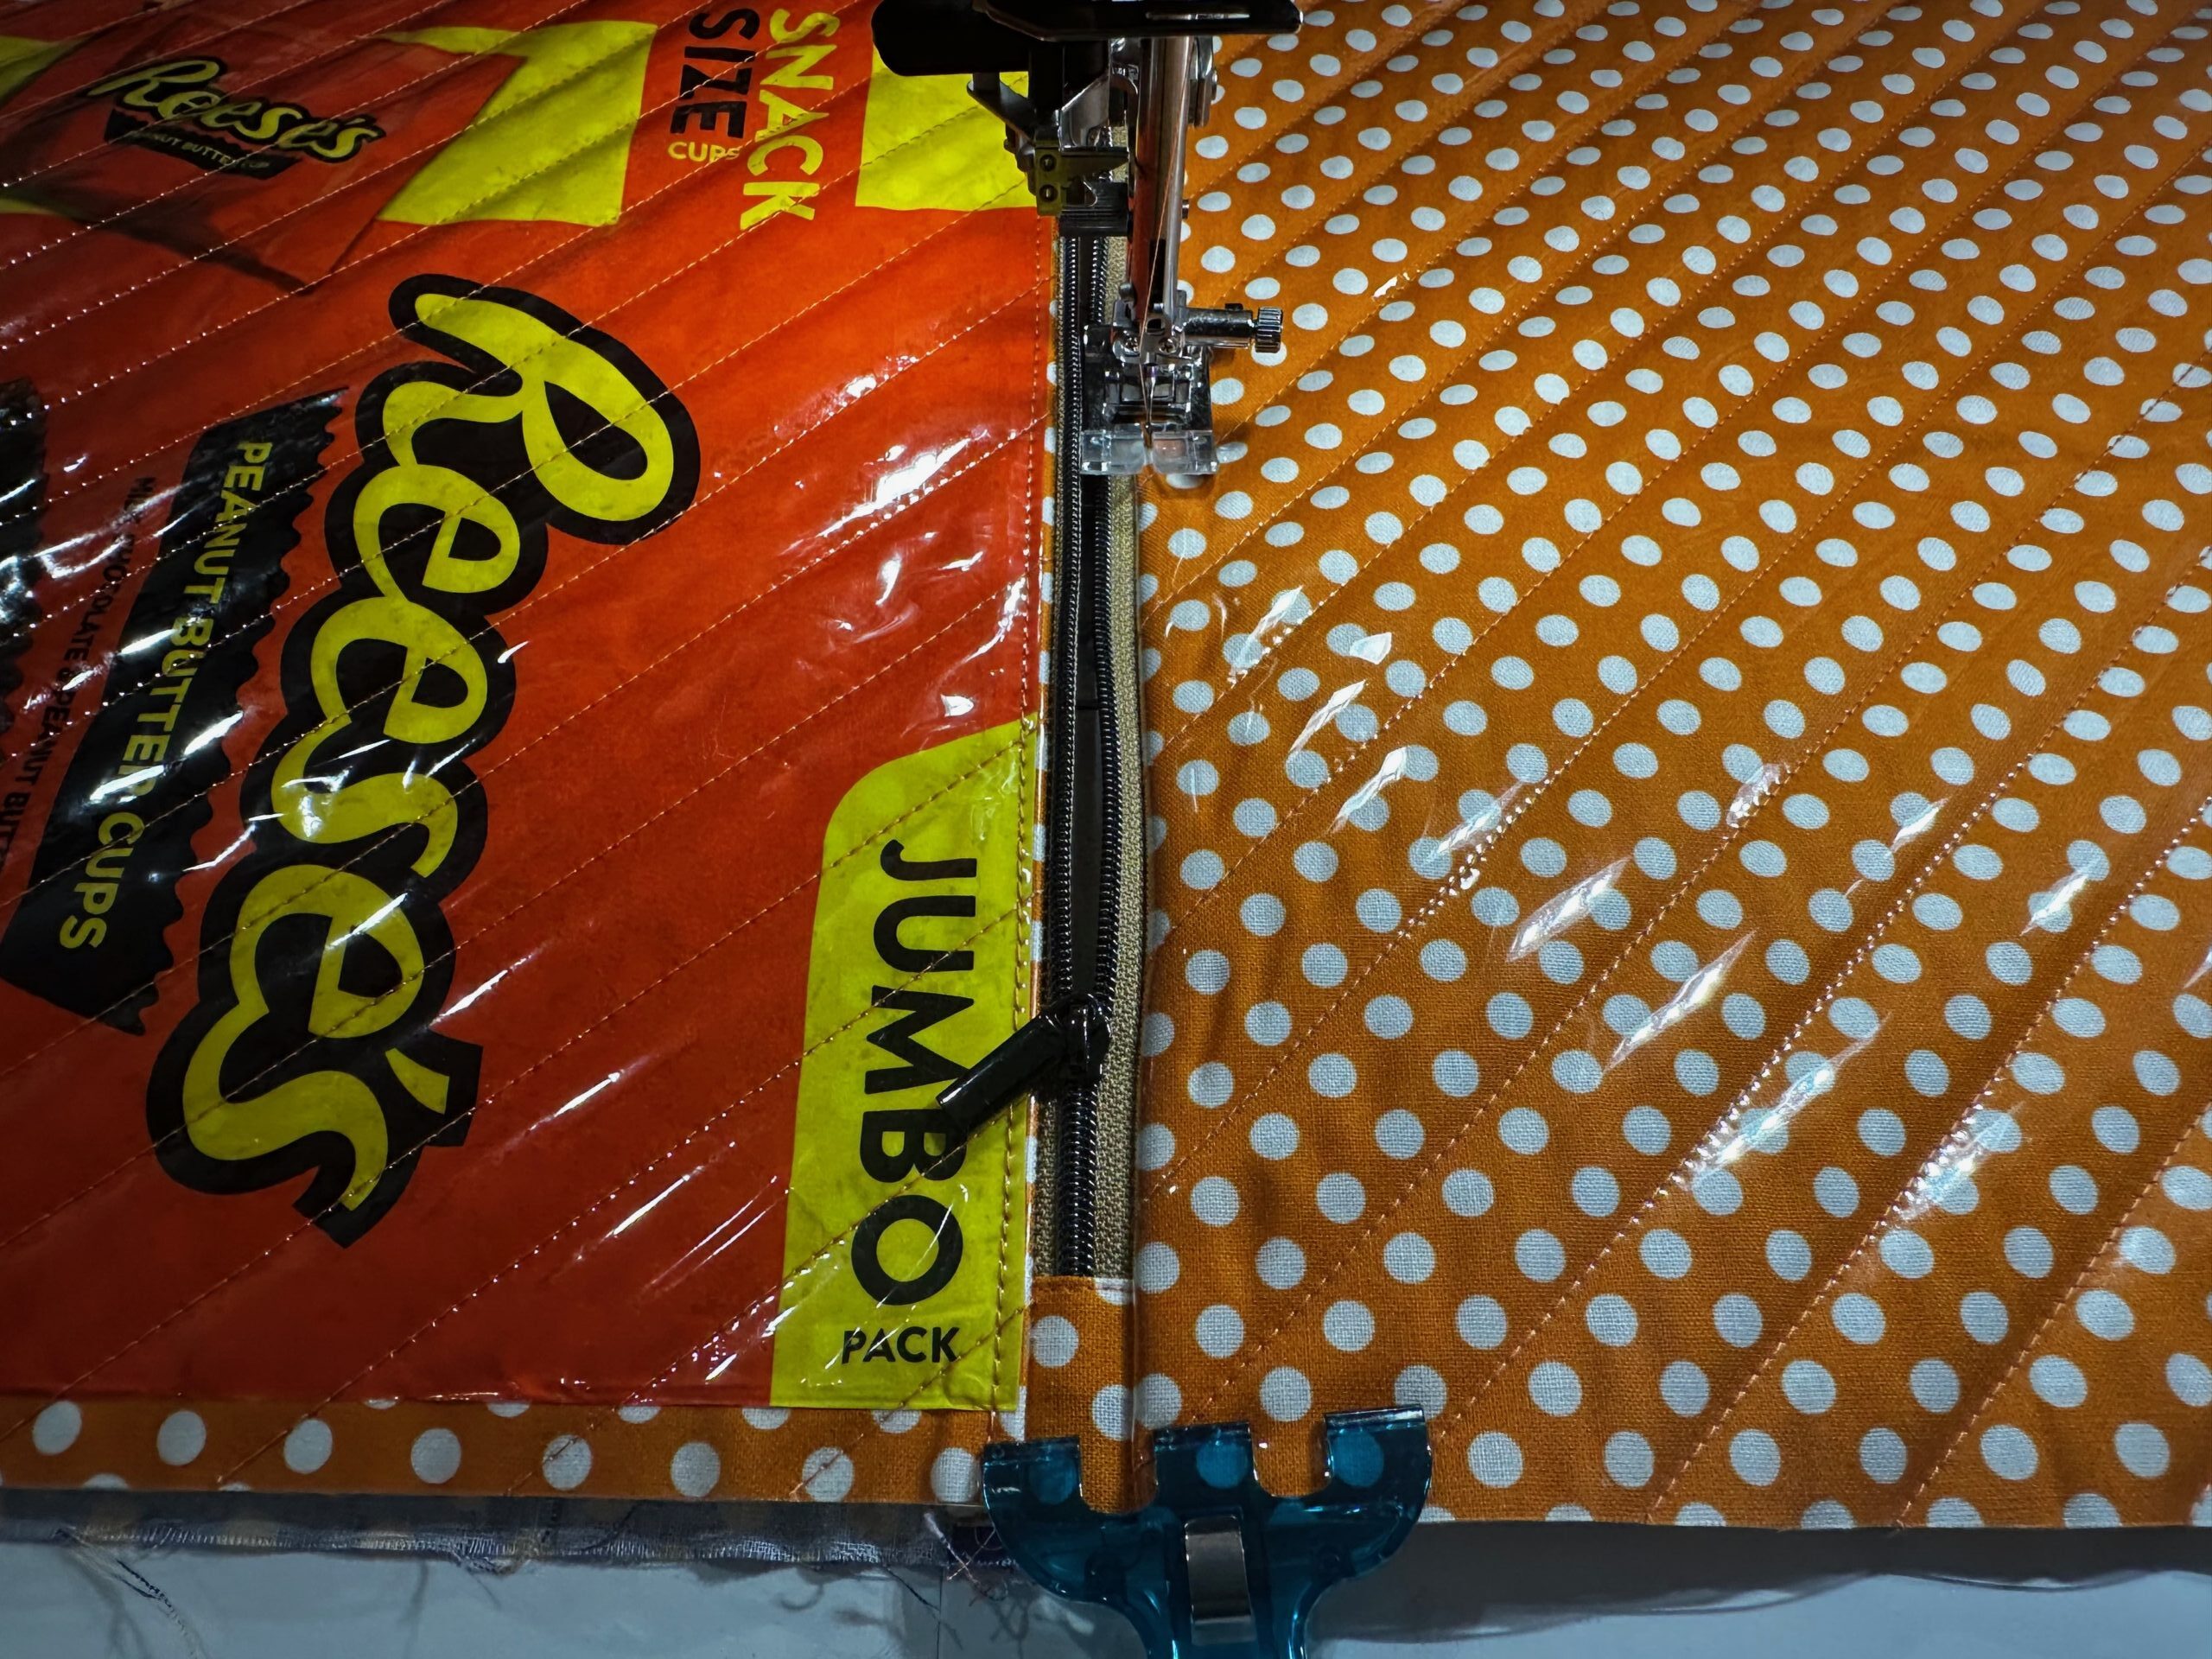
D-RING TAB
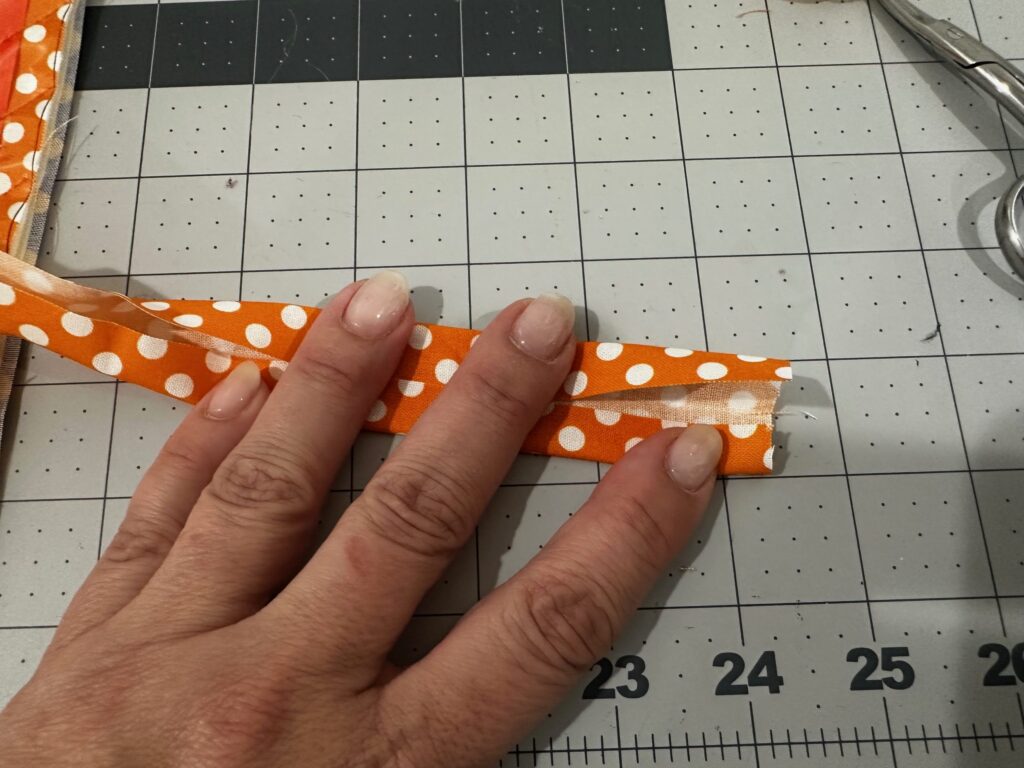
Fold the D-ring tab rectangle in half lengthwise with wrong sides together. Press, and then unfold. Fold each long edge toward the center foldline, with wrong sides together; press. Then fold the tab in half along the first foldline, enclosing the raw edges. Press.
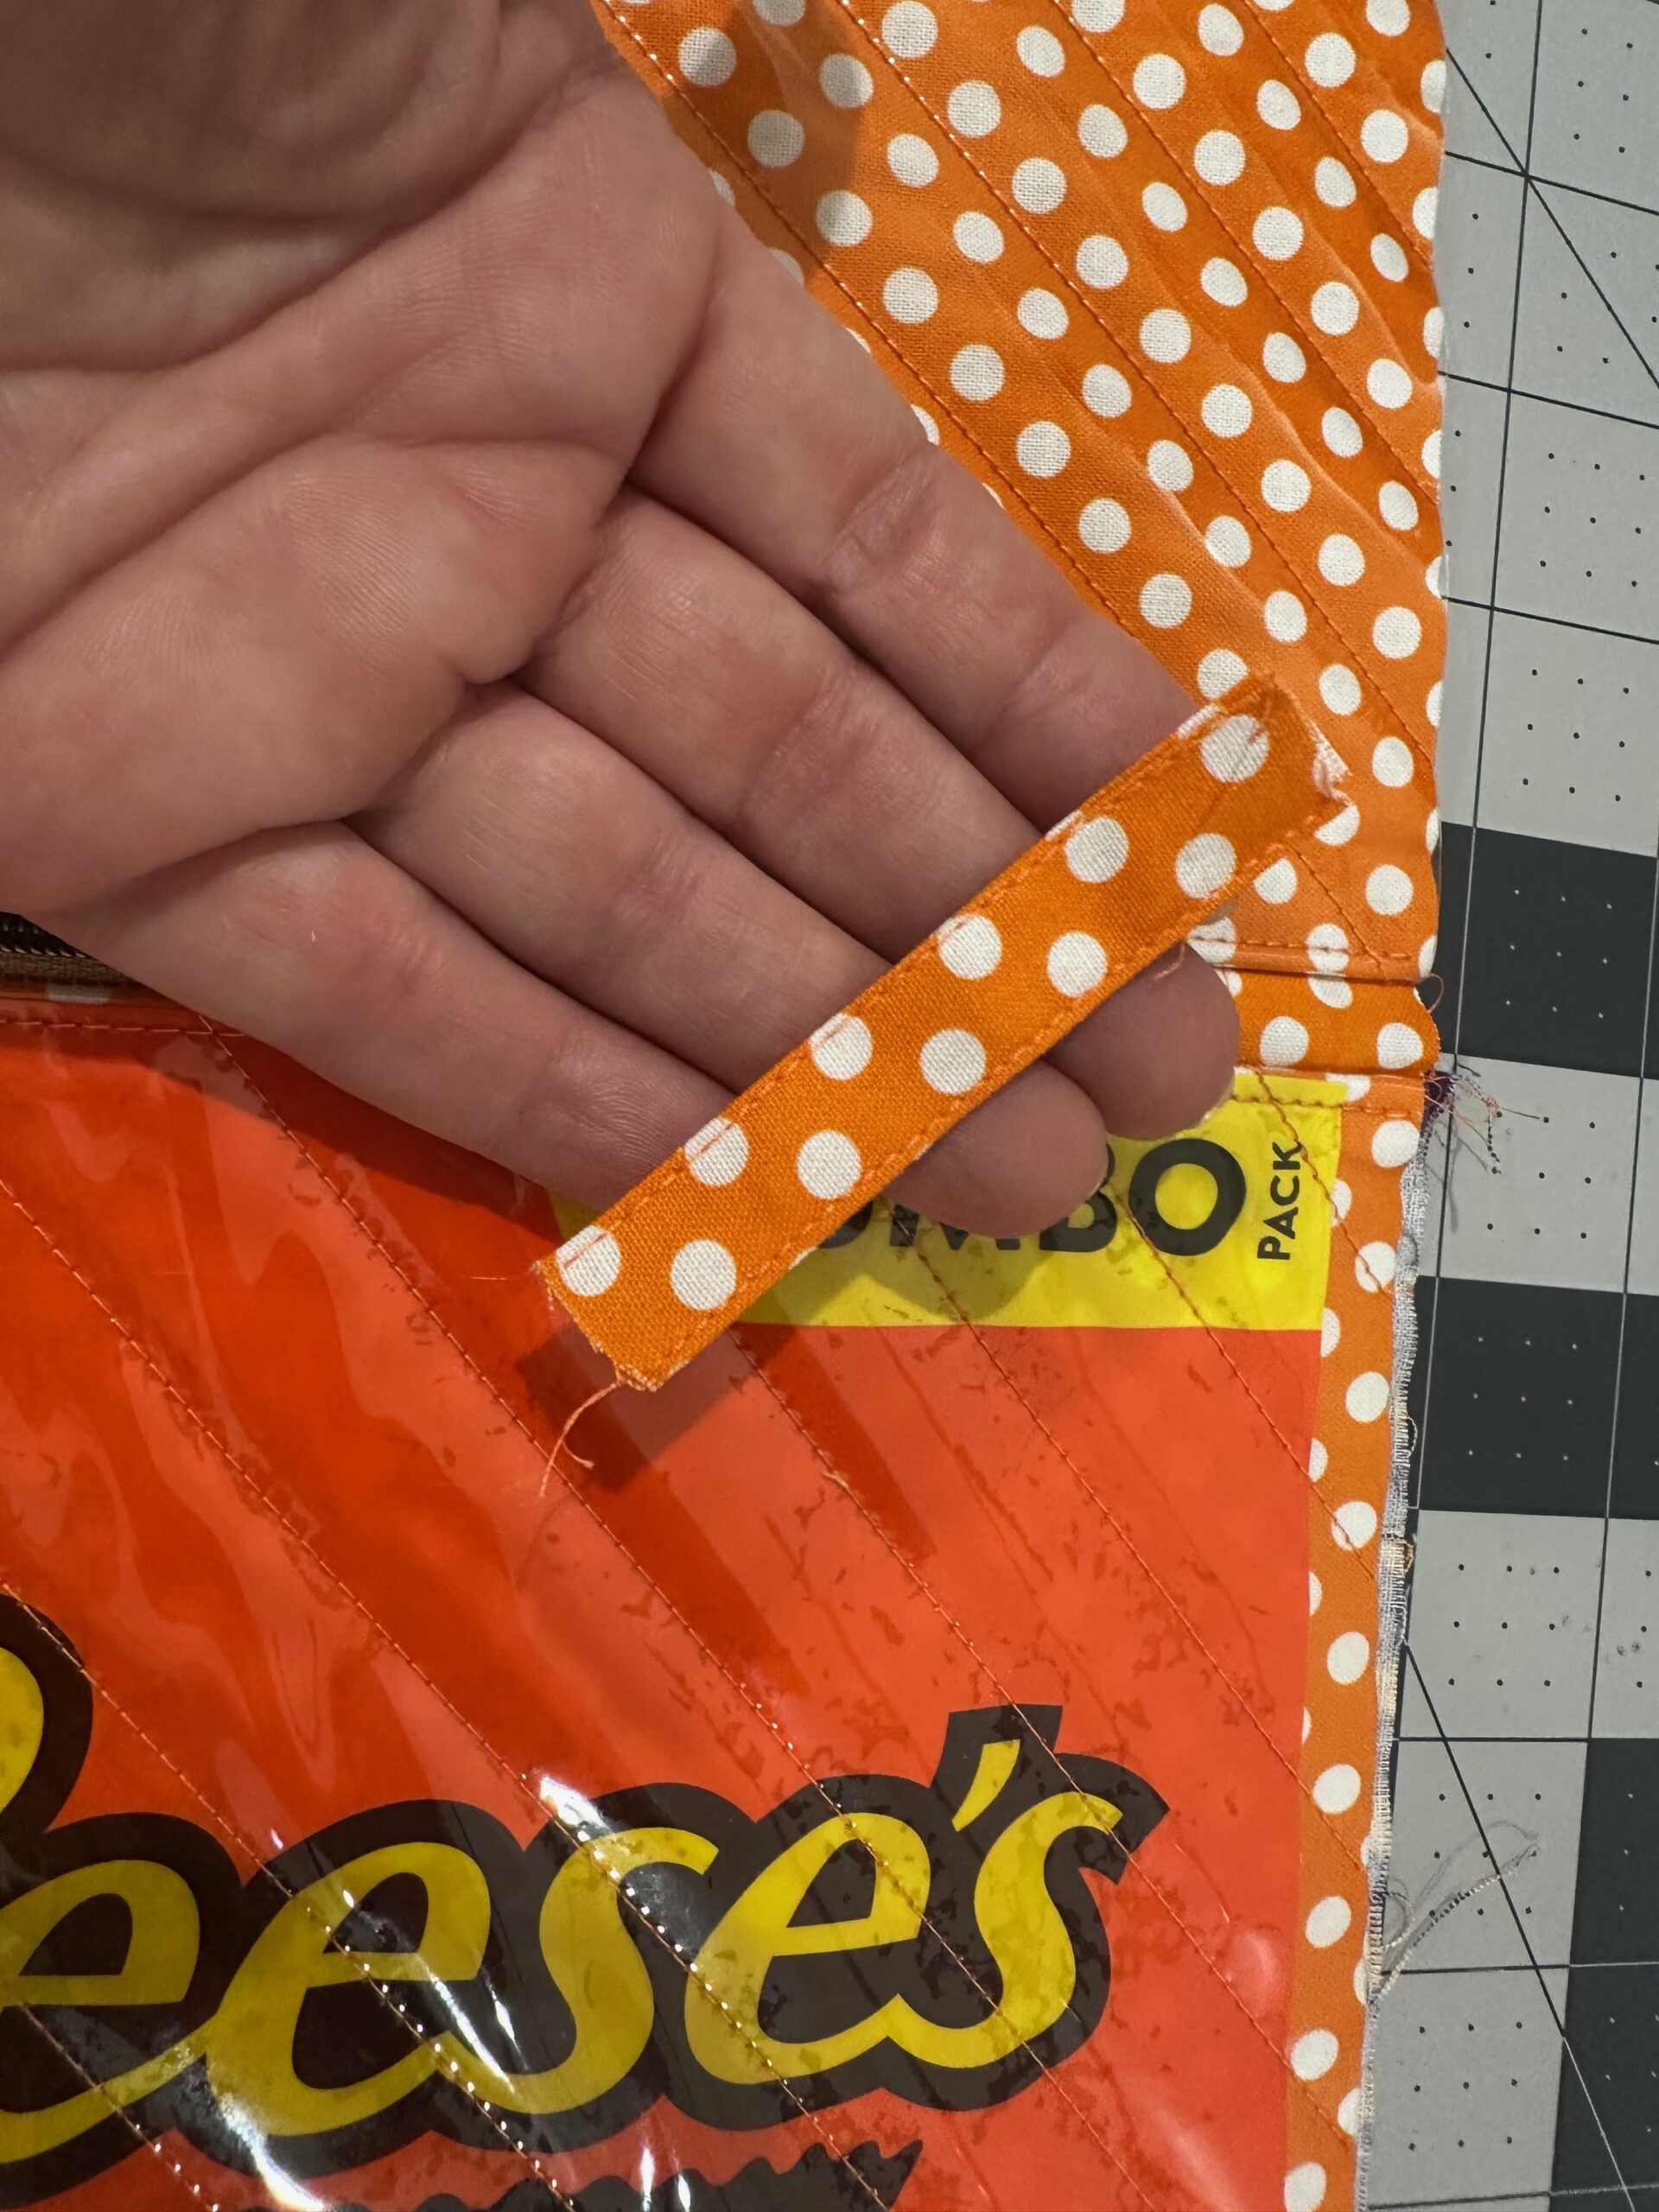
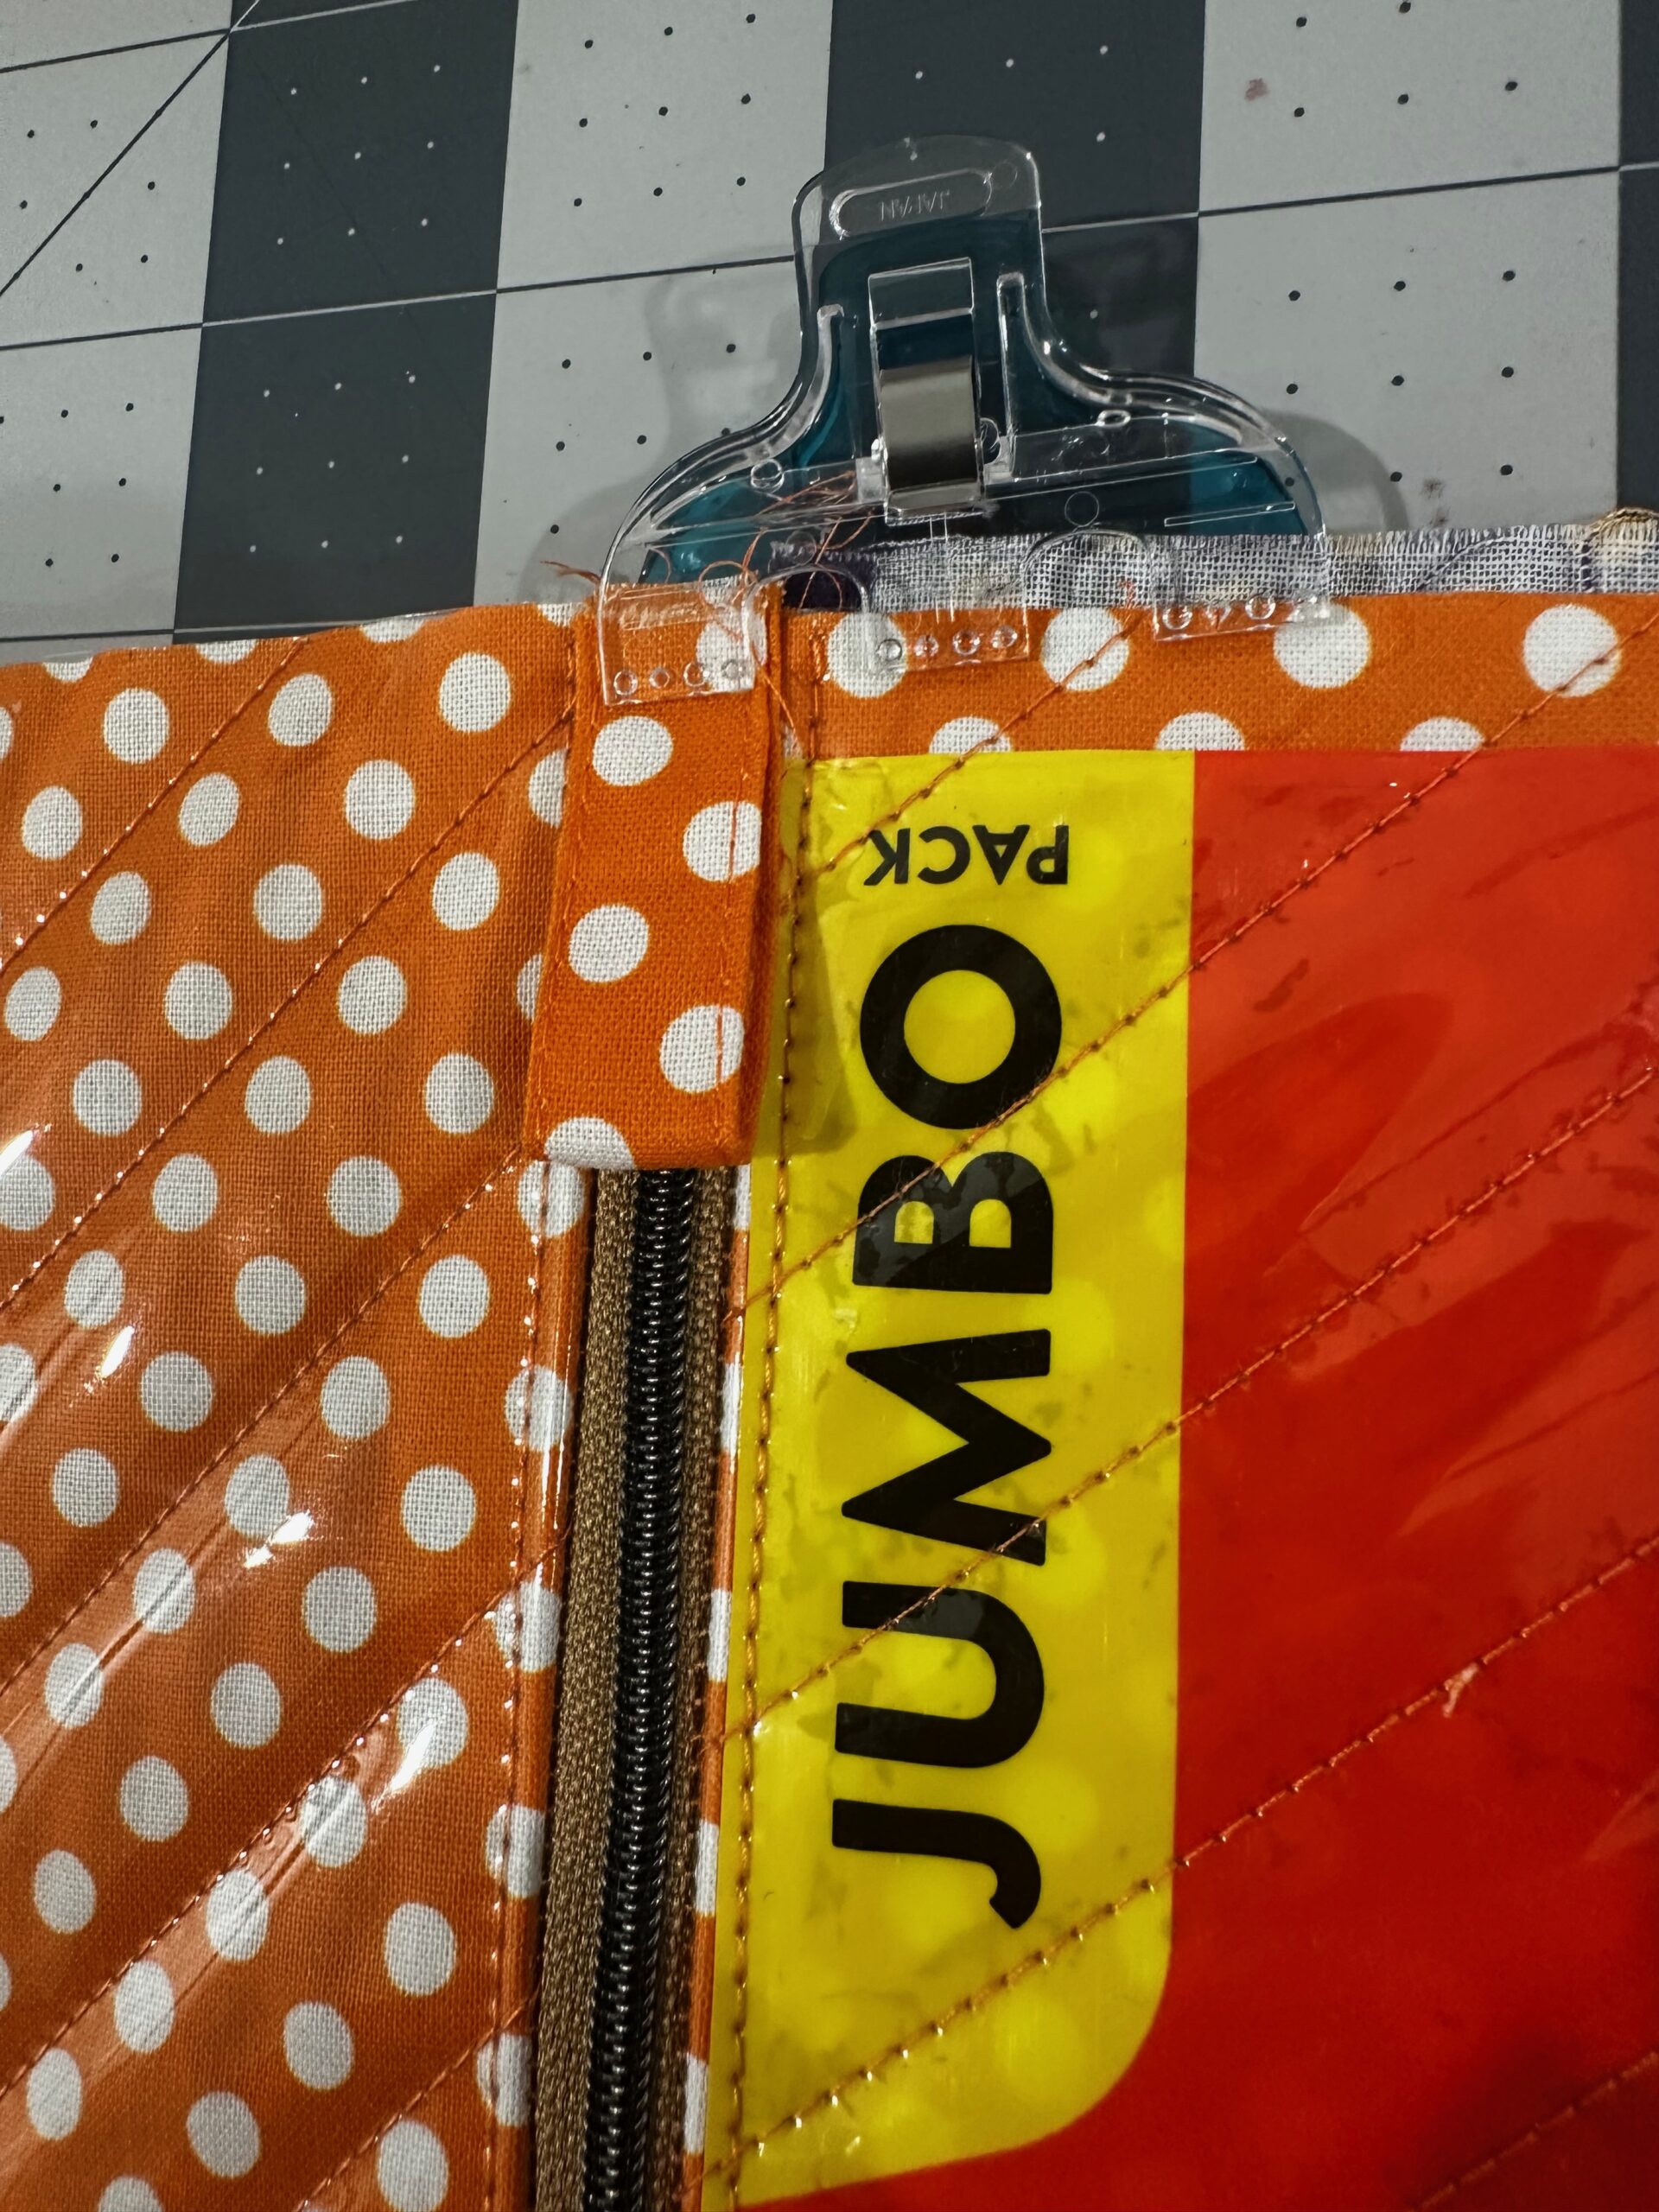
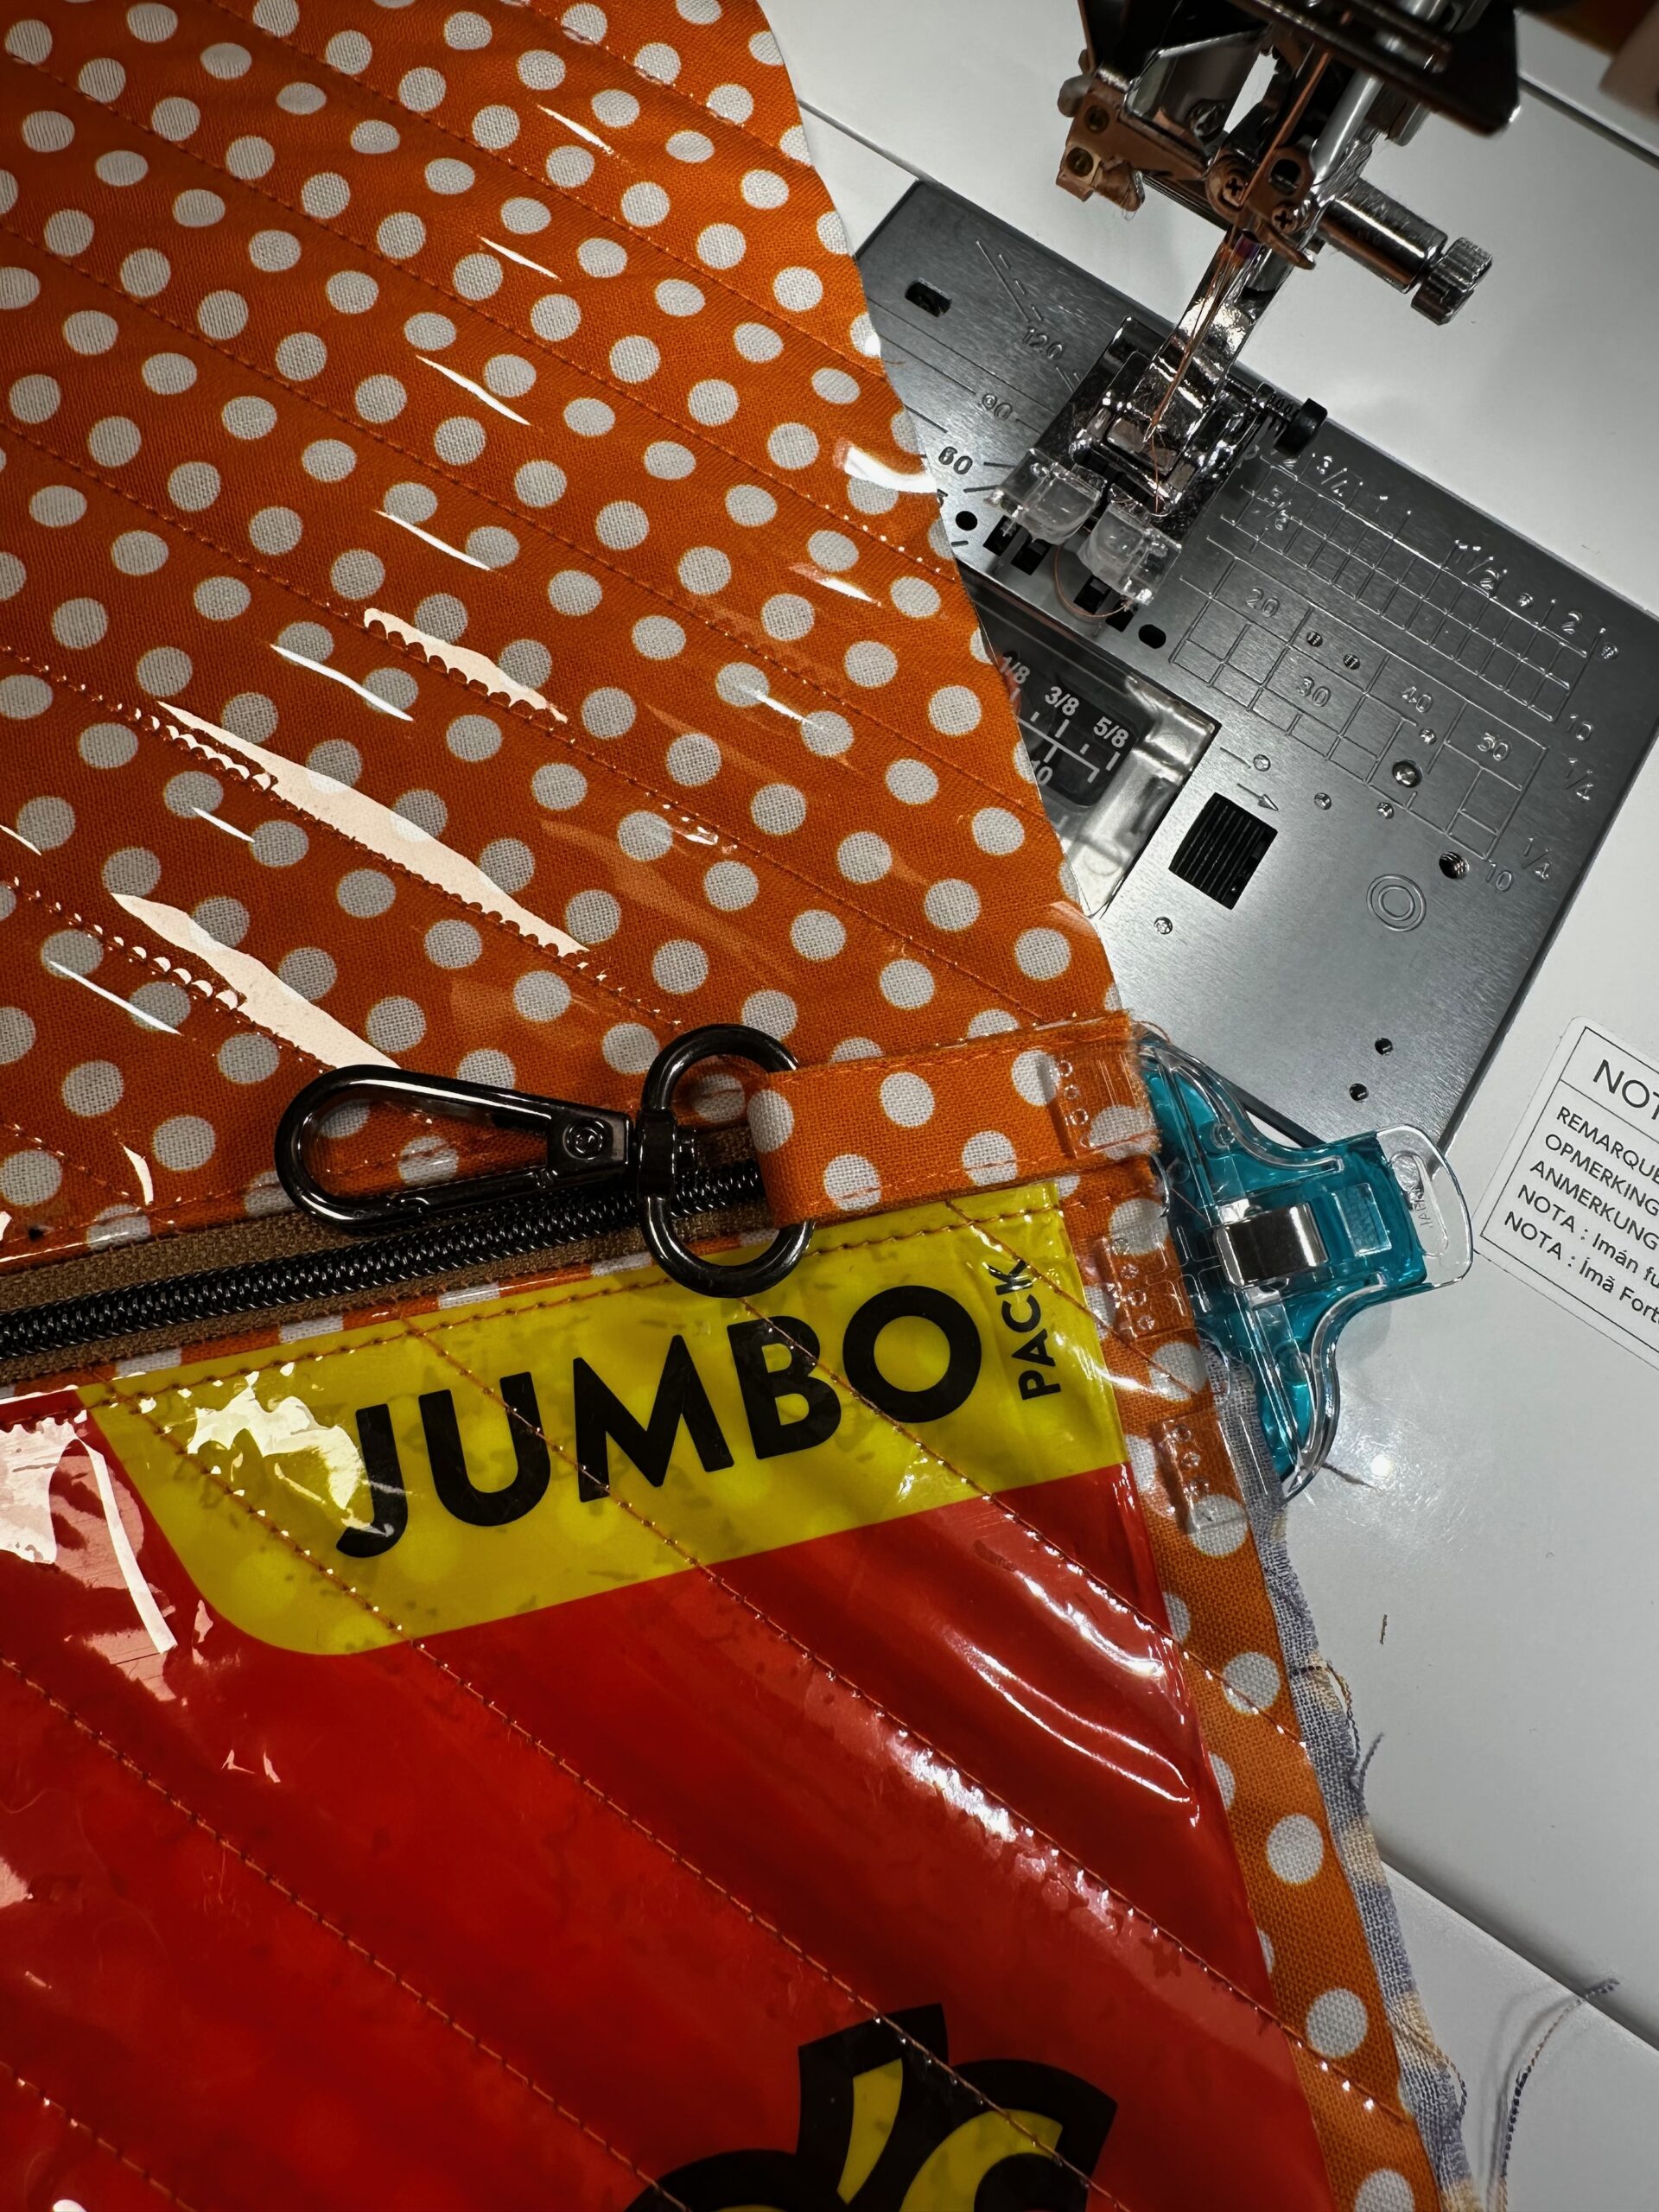
Fold the tab in half widthwise around the D-Ring Swivel Clip. Center the tab short ends along the zipper end; baste in place.
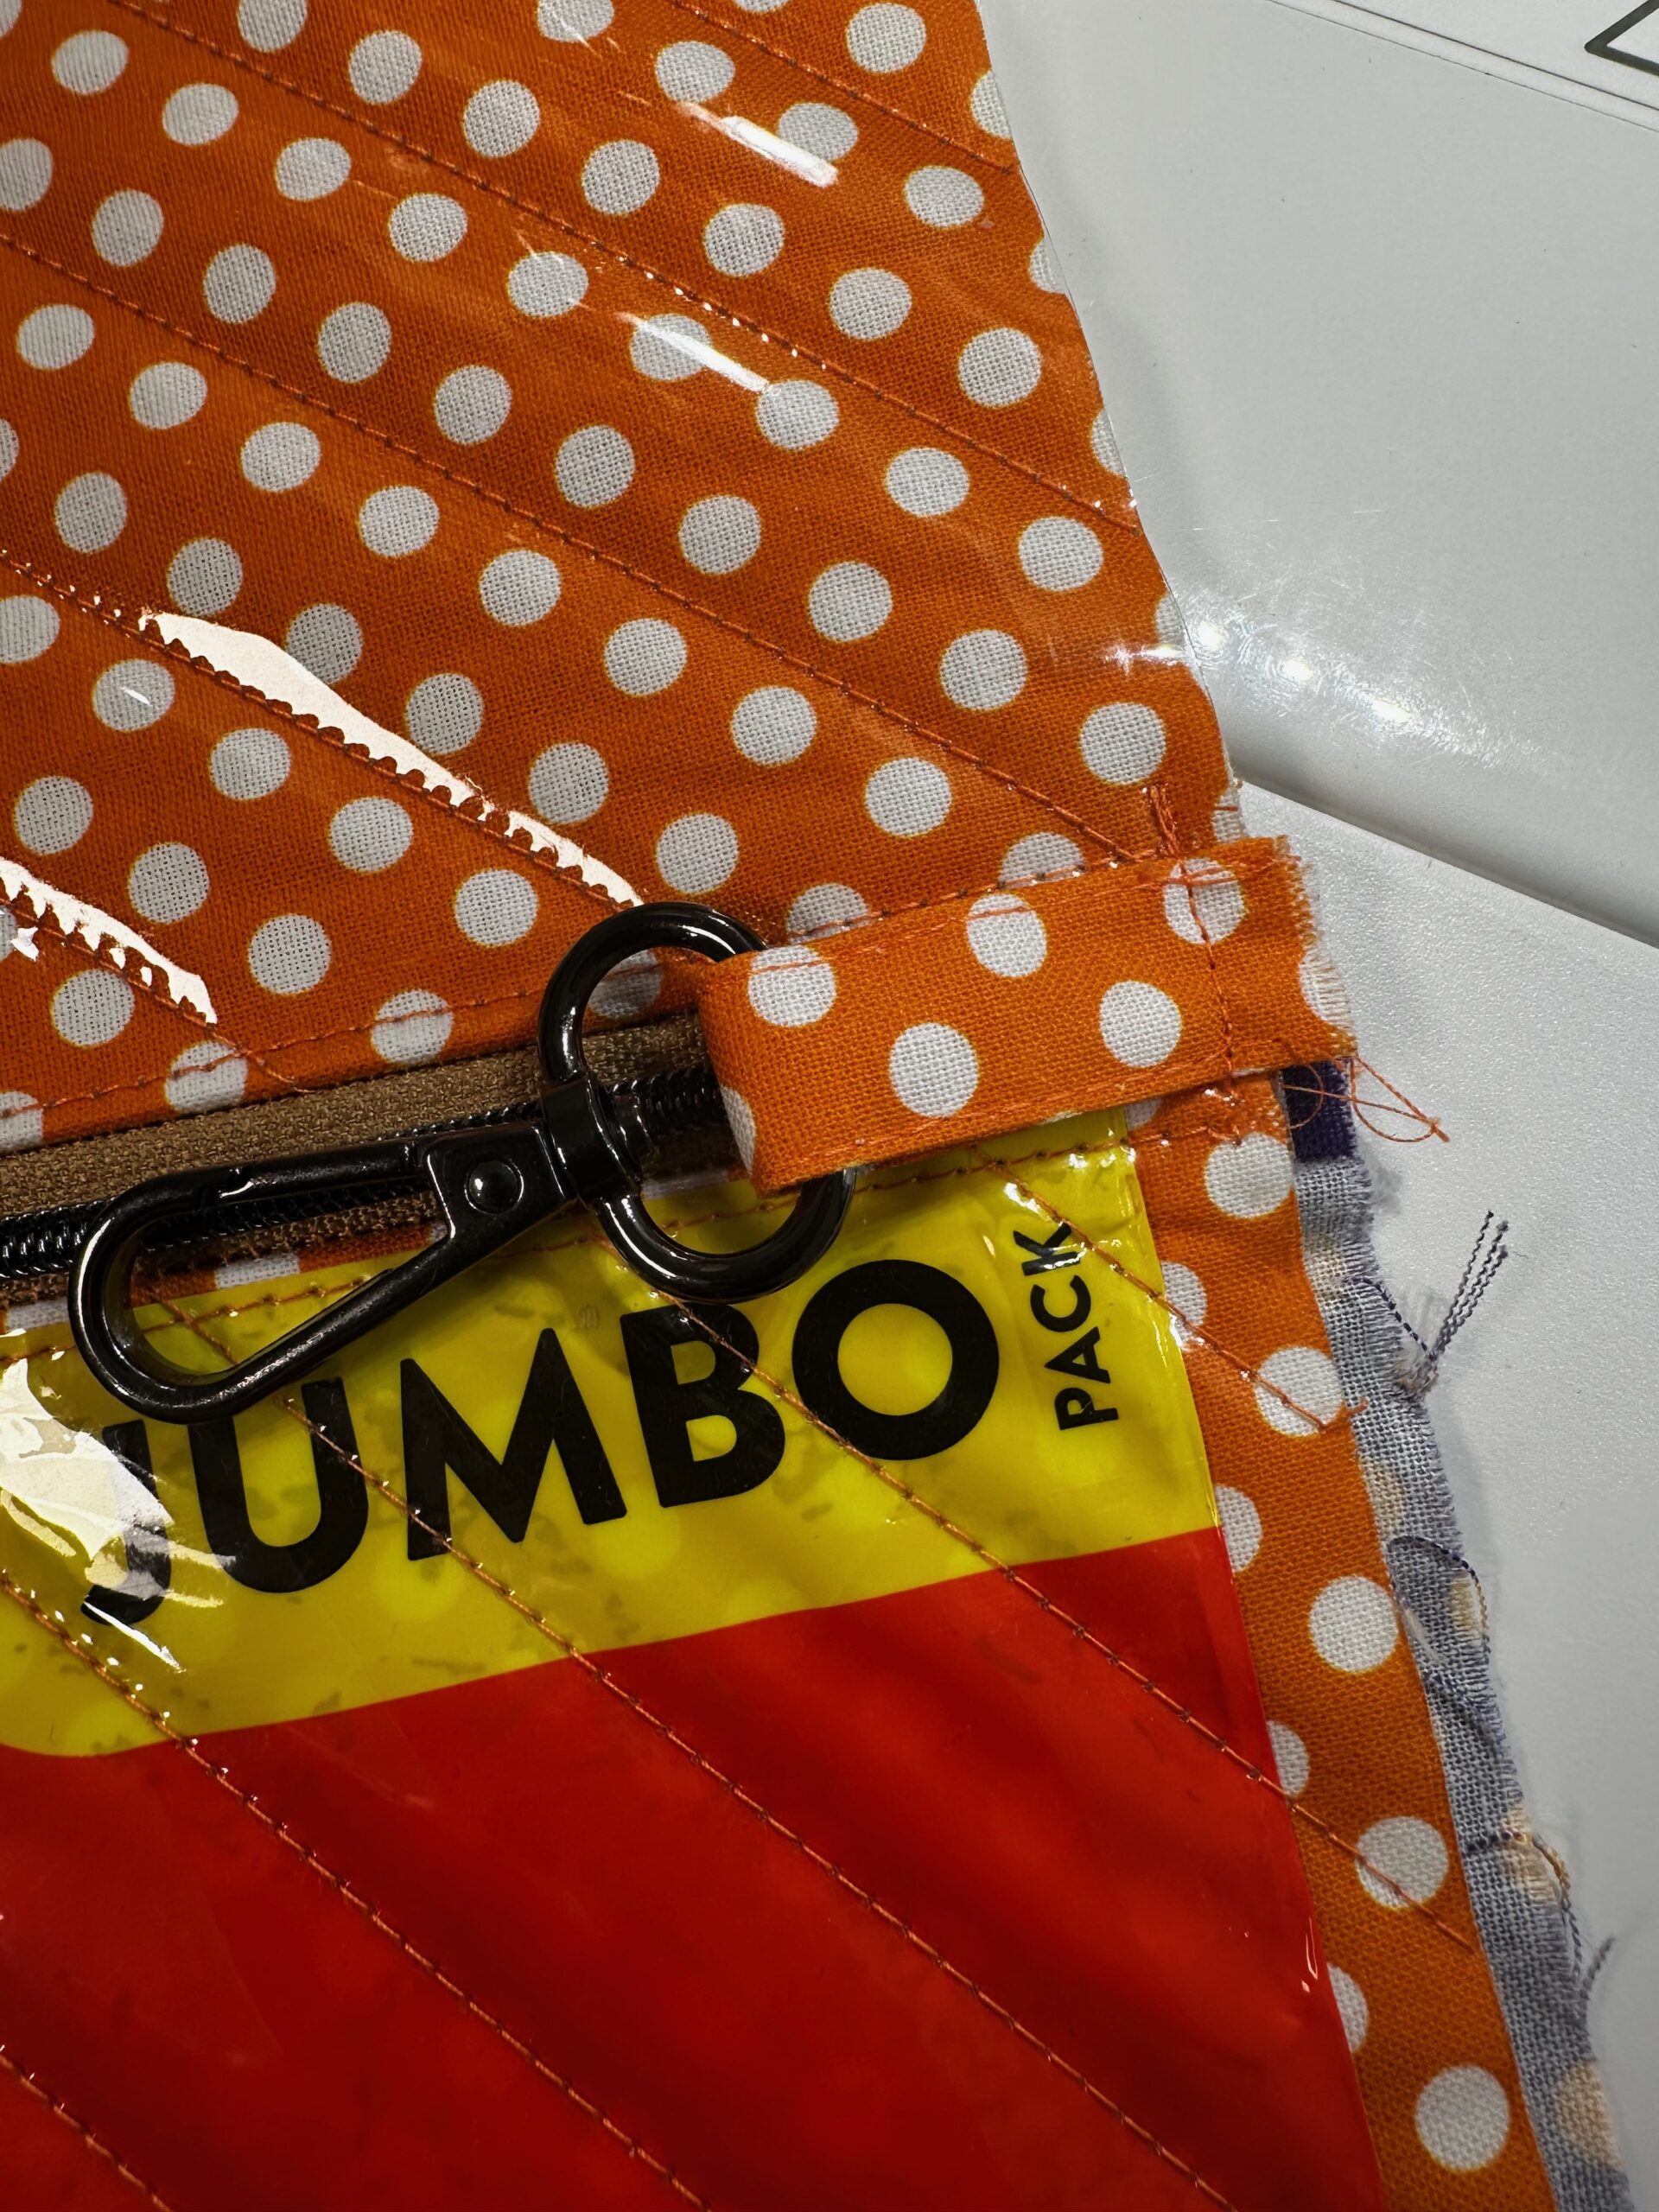
CANDY BAG ZIP POUCH CONSTRUCTION
Install a Jeans or Top Stitch Needle into the machine.
Open the zipper at least halfway.
Place the Candy Bag exteriors and linings right sides together. Clip the perimeter. Make sure the zipper tabs are folded toward the lining.
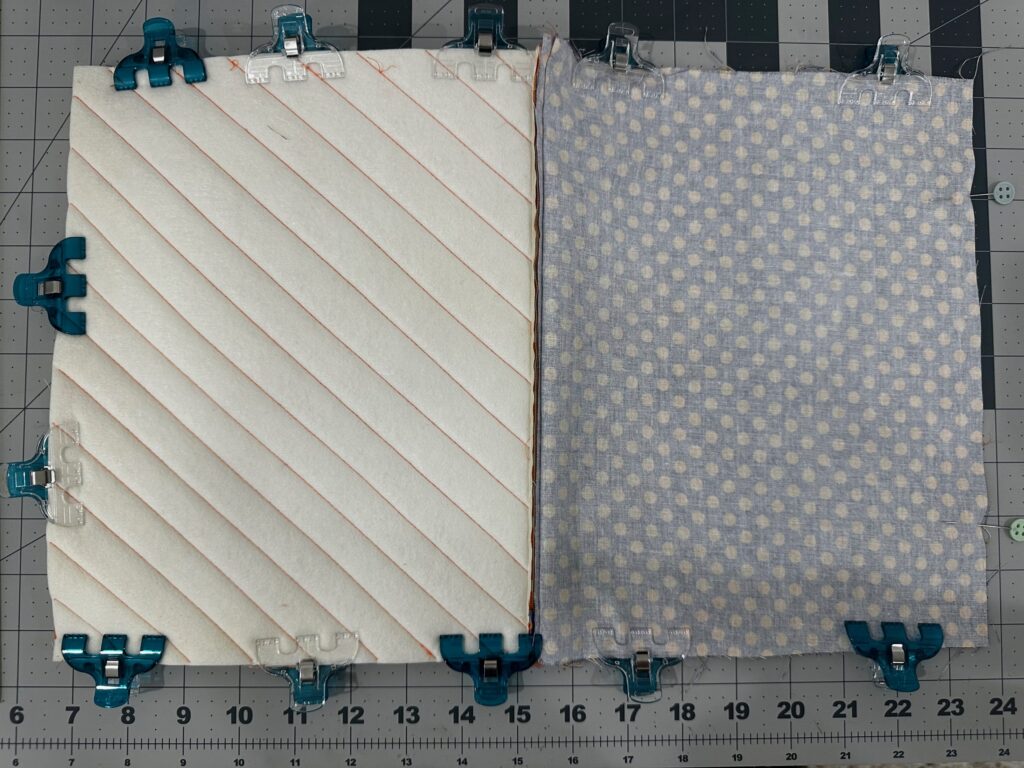
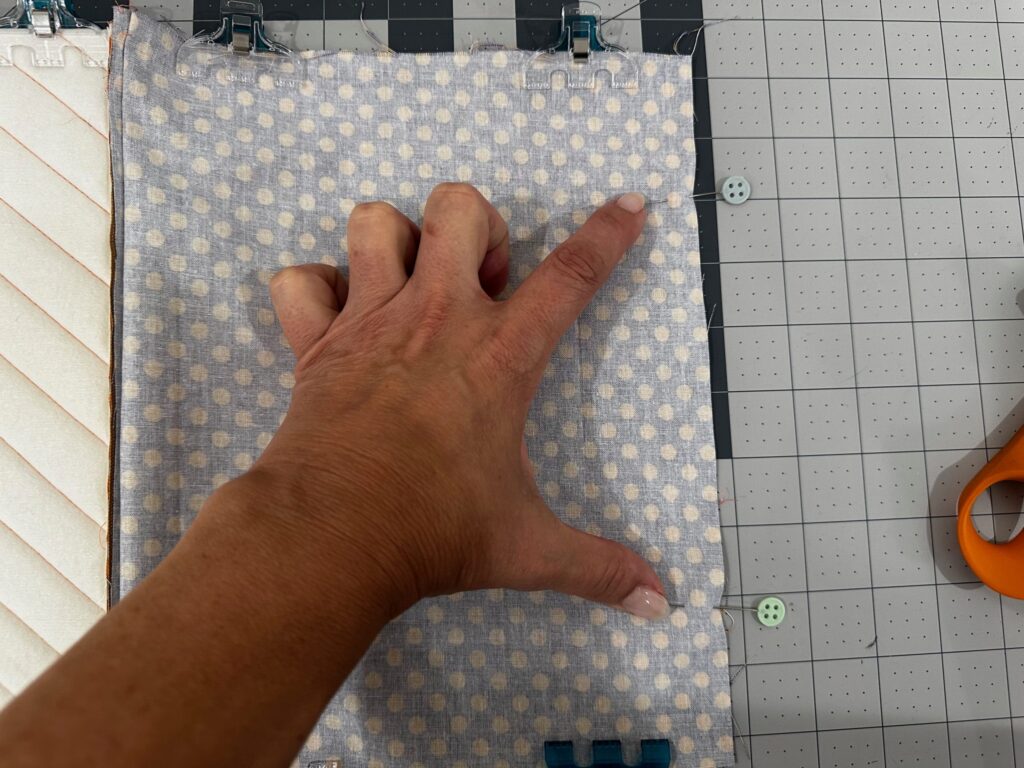
Place pins to denote an opening on the lower edge of the lining. The opening should be about 6″ wide.
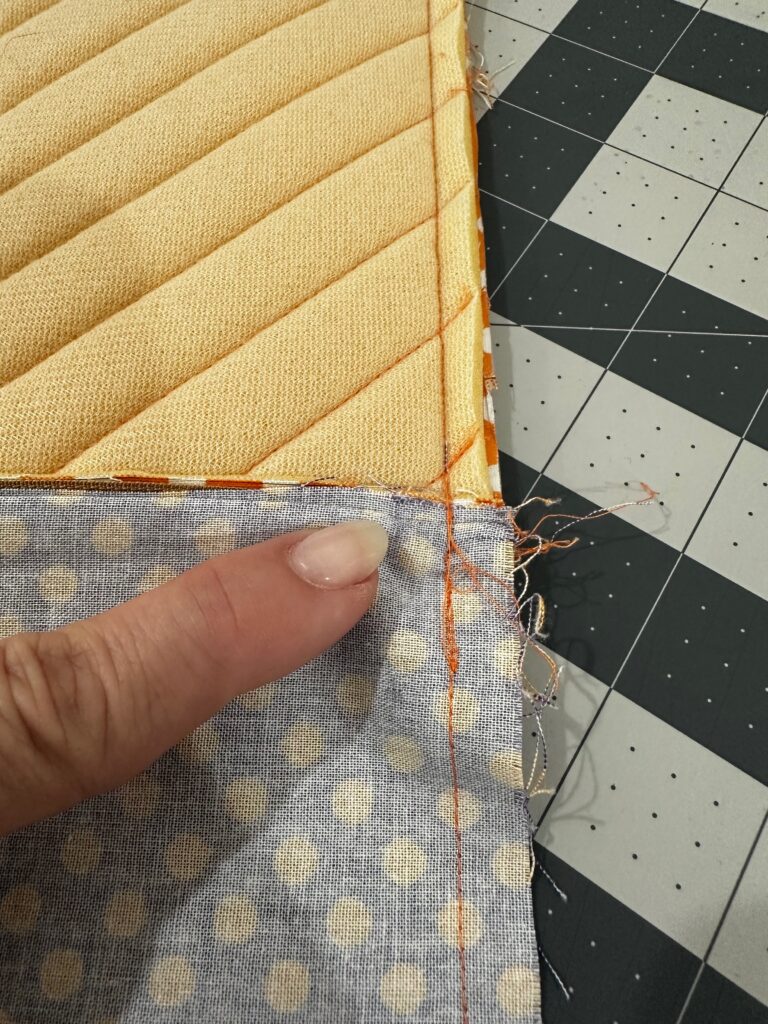
Stitch the perimeter, beginning and ending at the opening pin marks.
At the zipper ends the vinyl seams are very thick. You will need to turn the handwheel to stitch along both zipper-end areas. Do not force the machine to stitch through the thickness of the vinyl, foam and fabric. If it is too much of a struggle using the handwheel, sew these areas by hand (it is only about 4-6 stitches and you want them to be strong).
CREATING STRUCTURE
Box the corners by first marking a 1″ box inside the seam allowance at each lining and exterior corner. Trim away the corners.
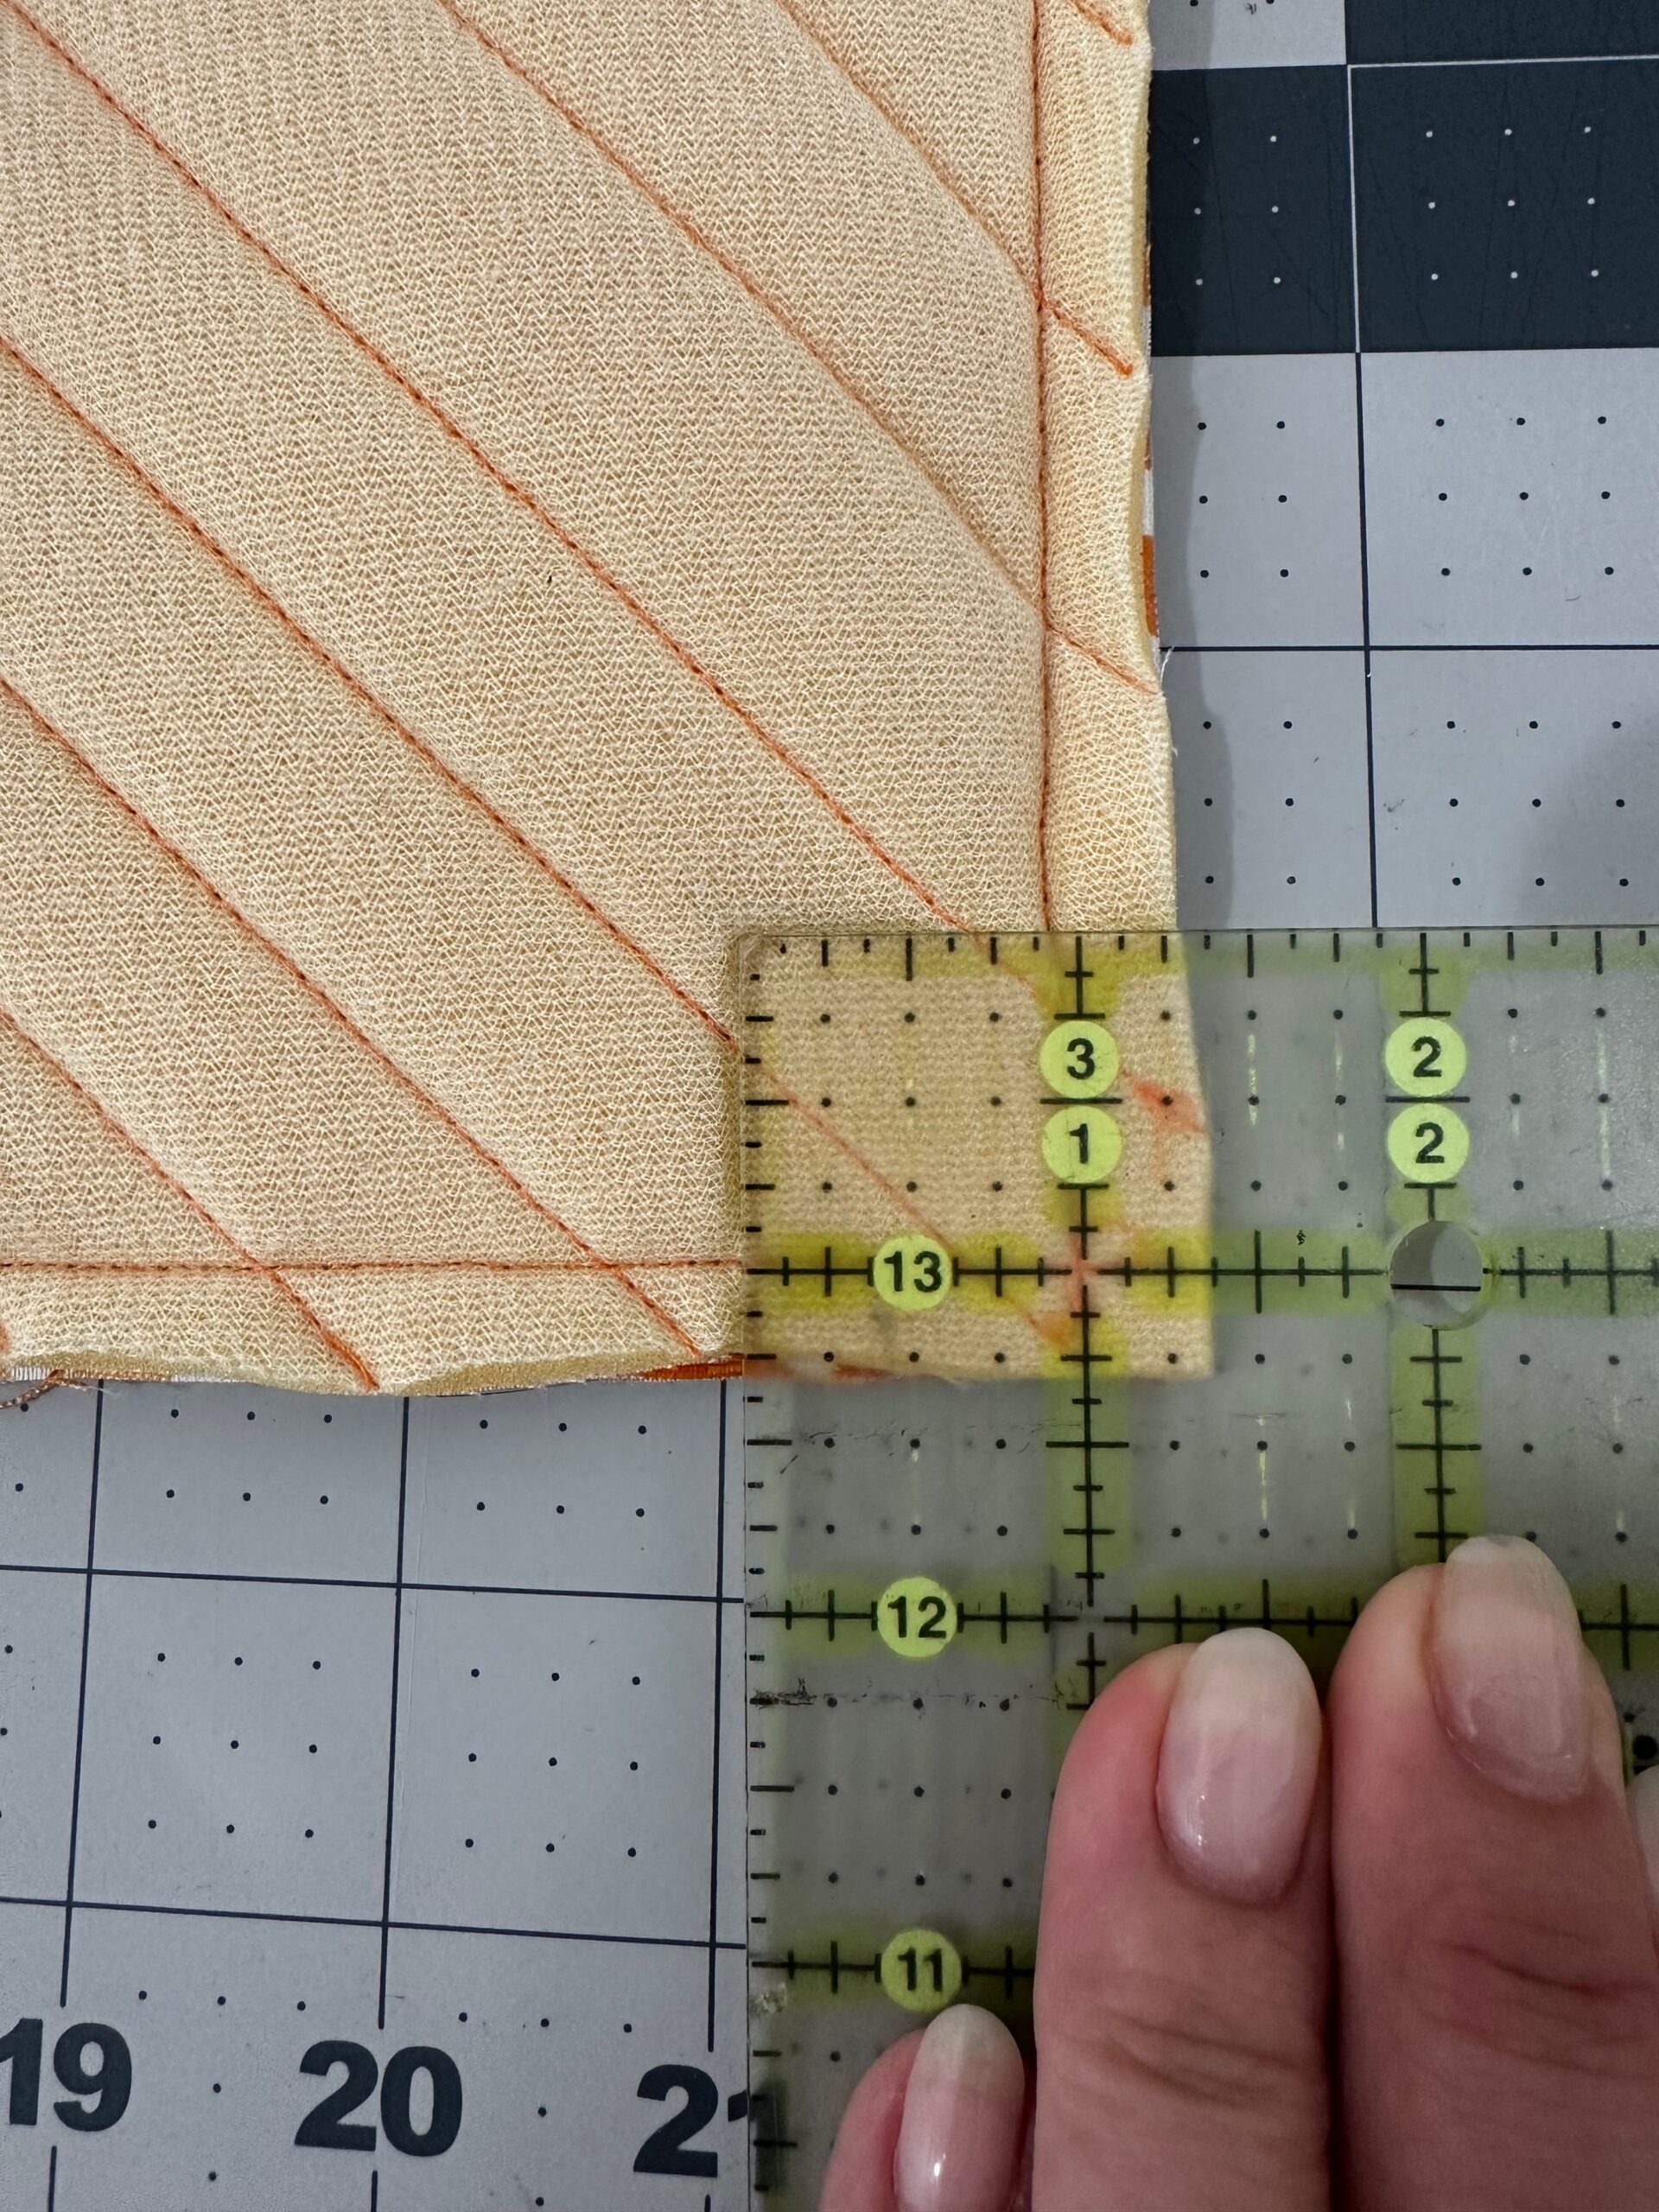
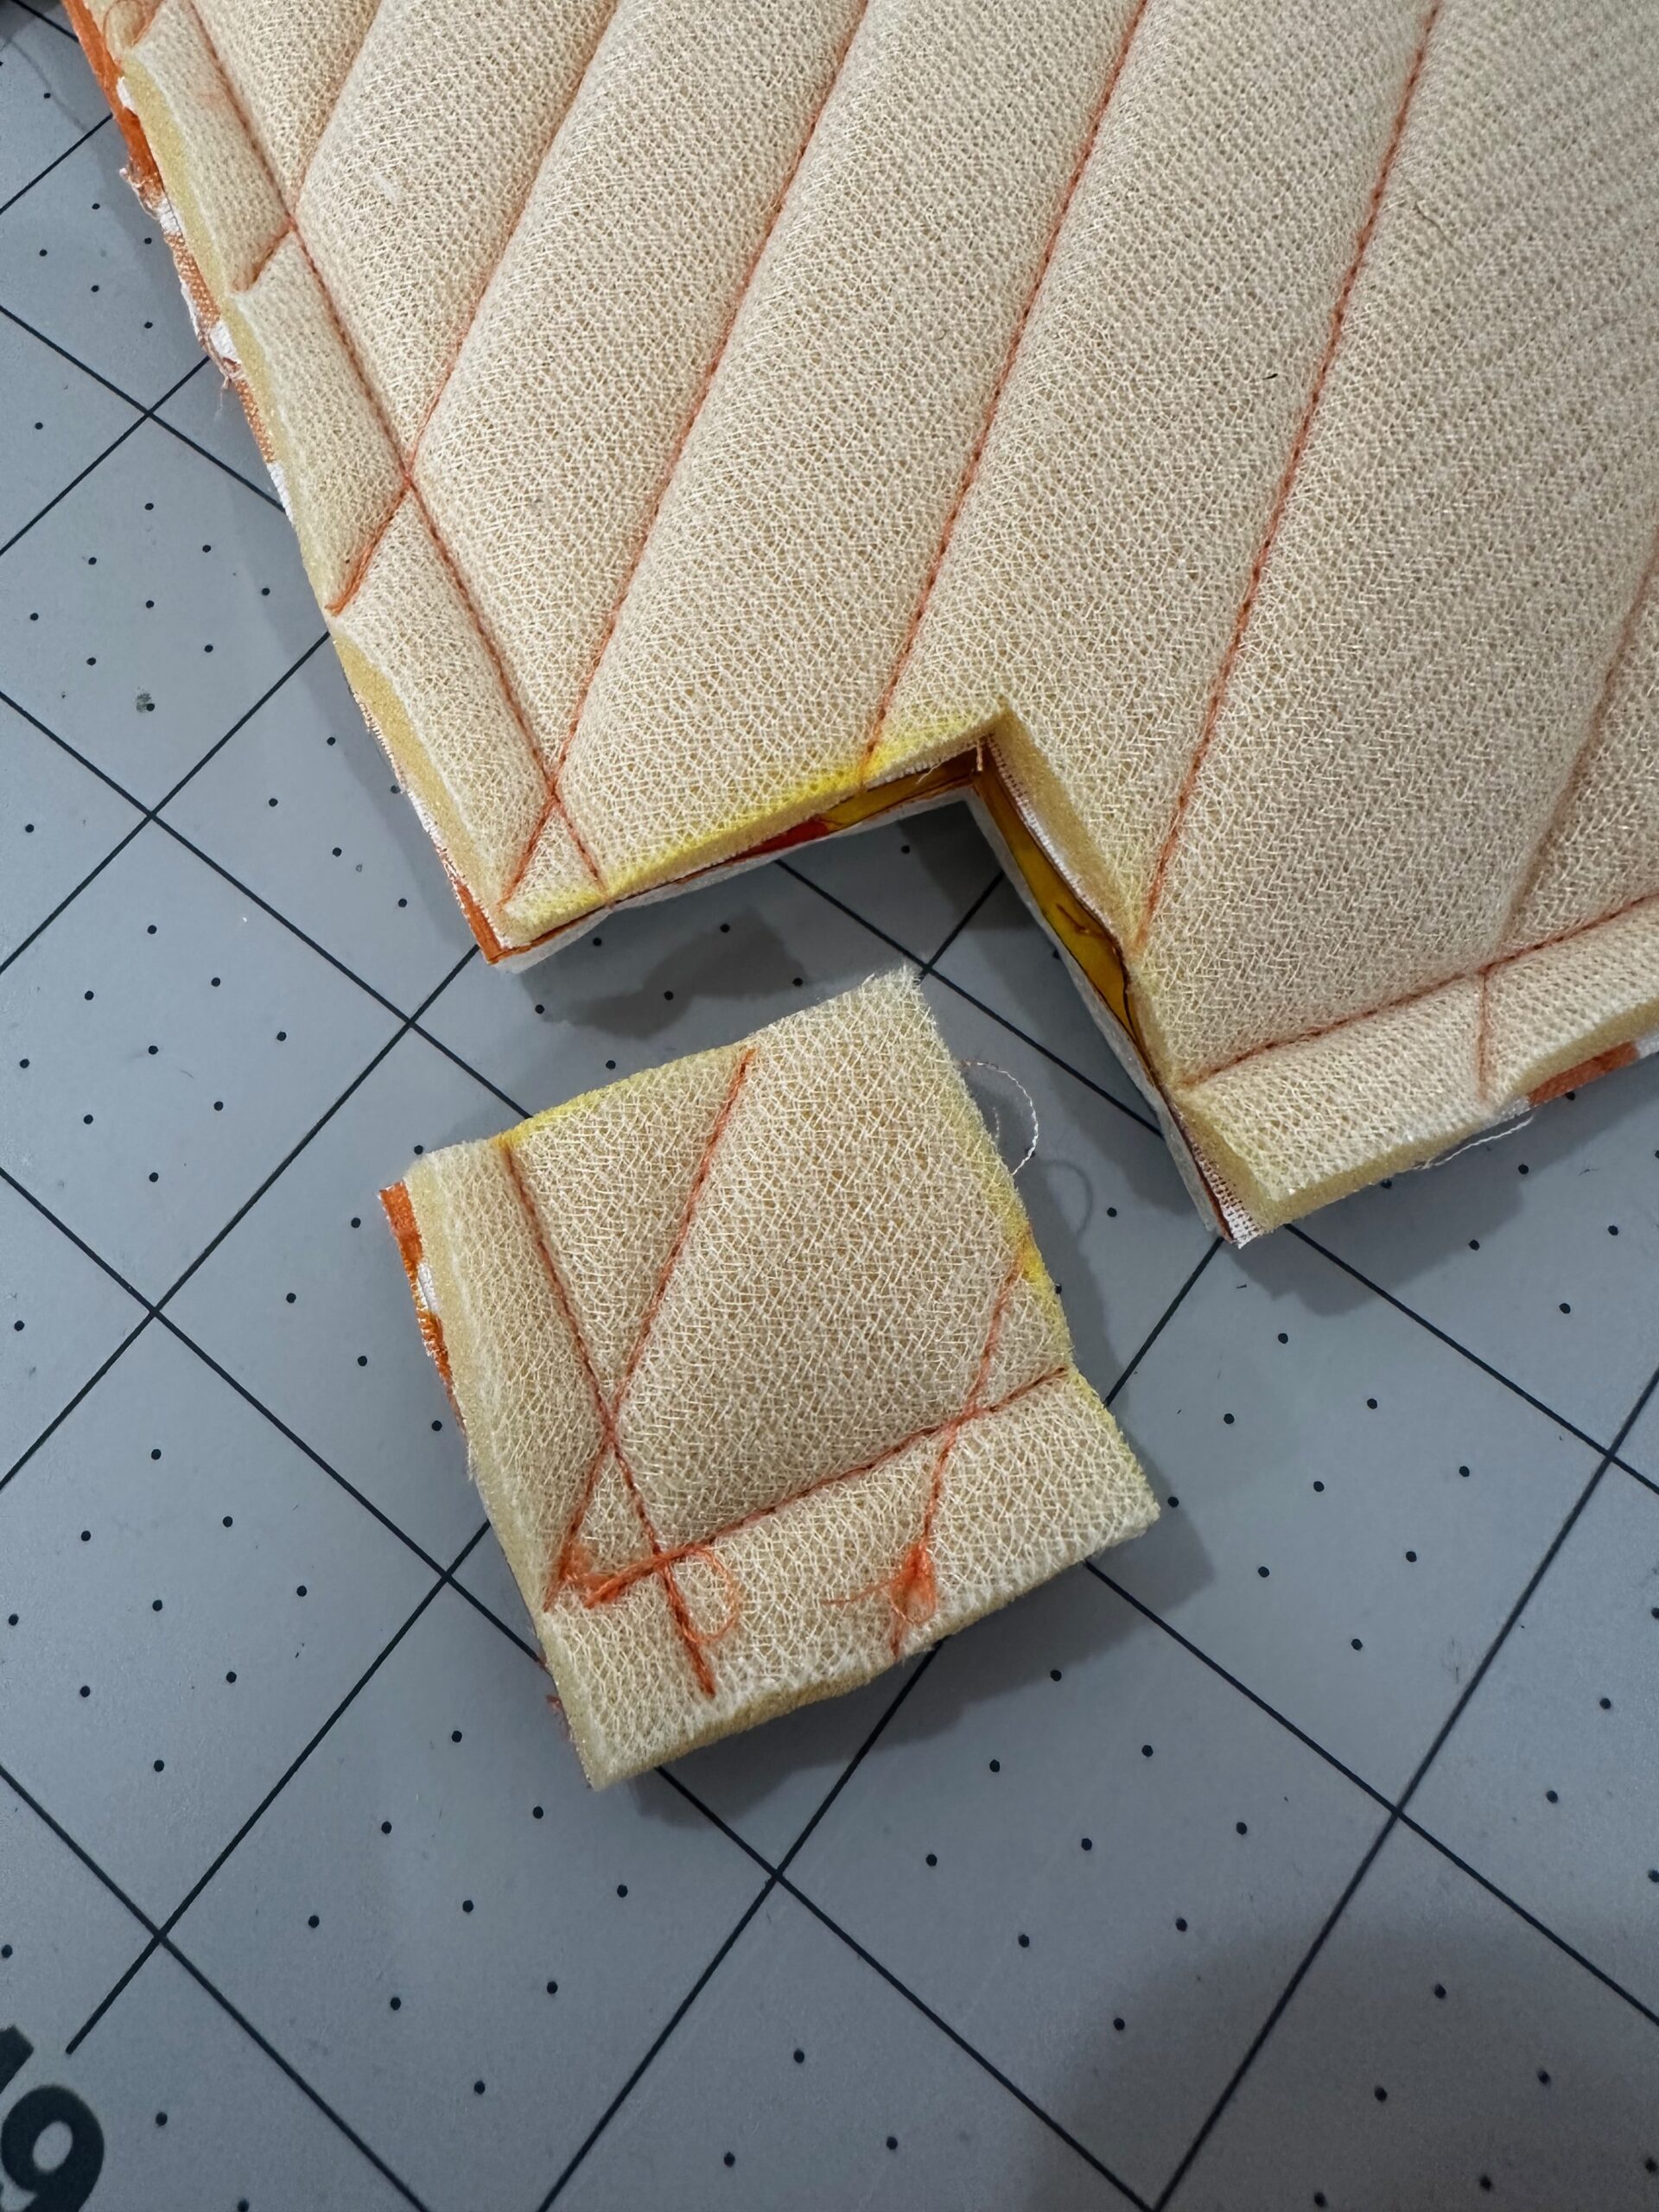
Next, align the side seam and lower-edge seam of one exterior corner; make sure the seam allowances are going in opposite directions to reduce bulk. Stitch along the straight edge using a ⅜” seam allowance. Repeat to box the second exterior corner.
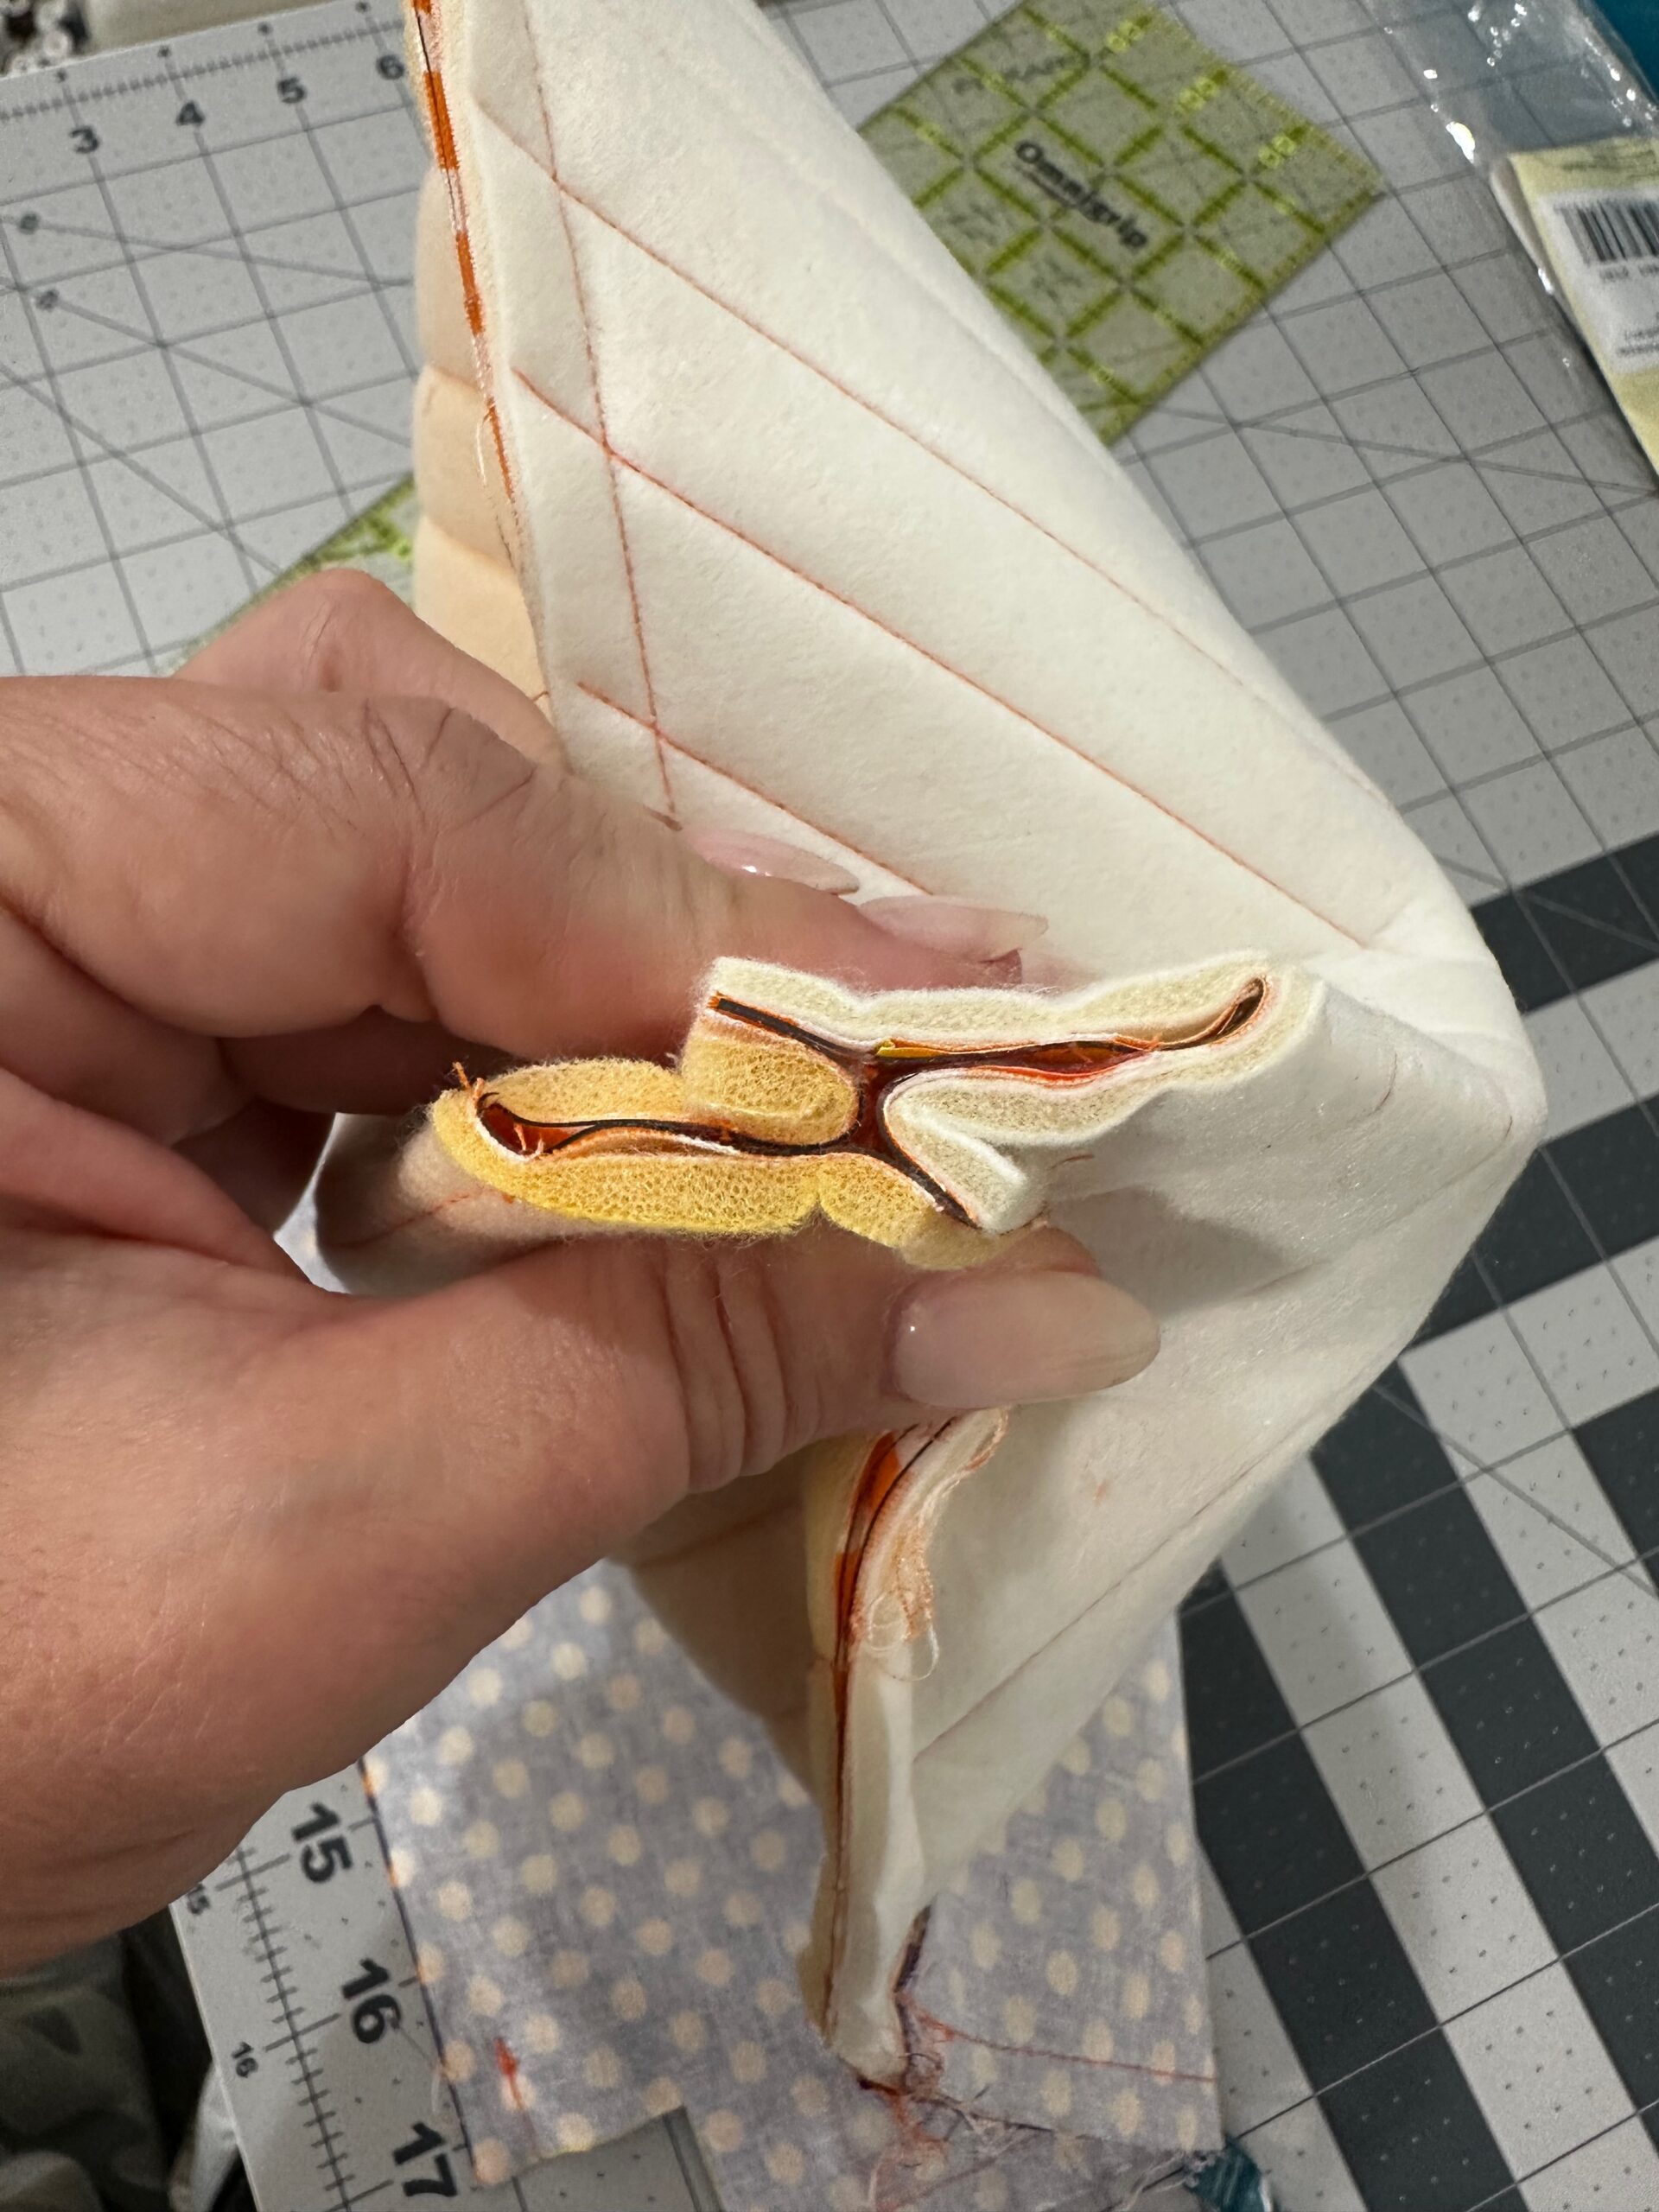
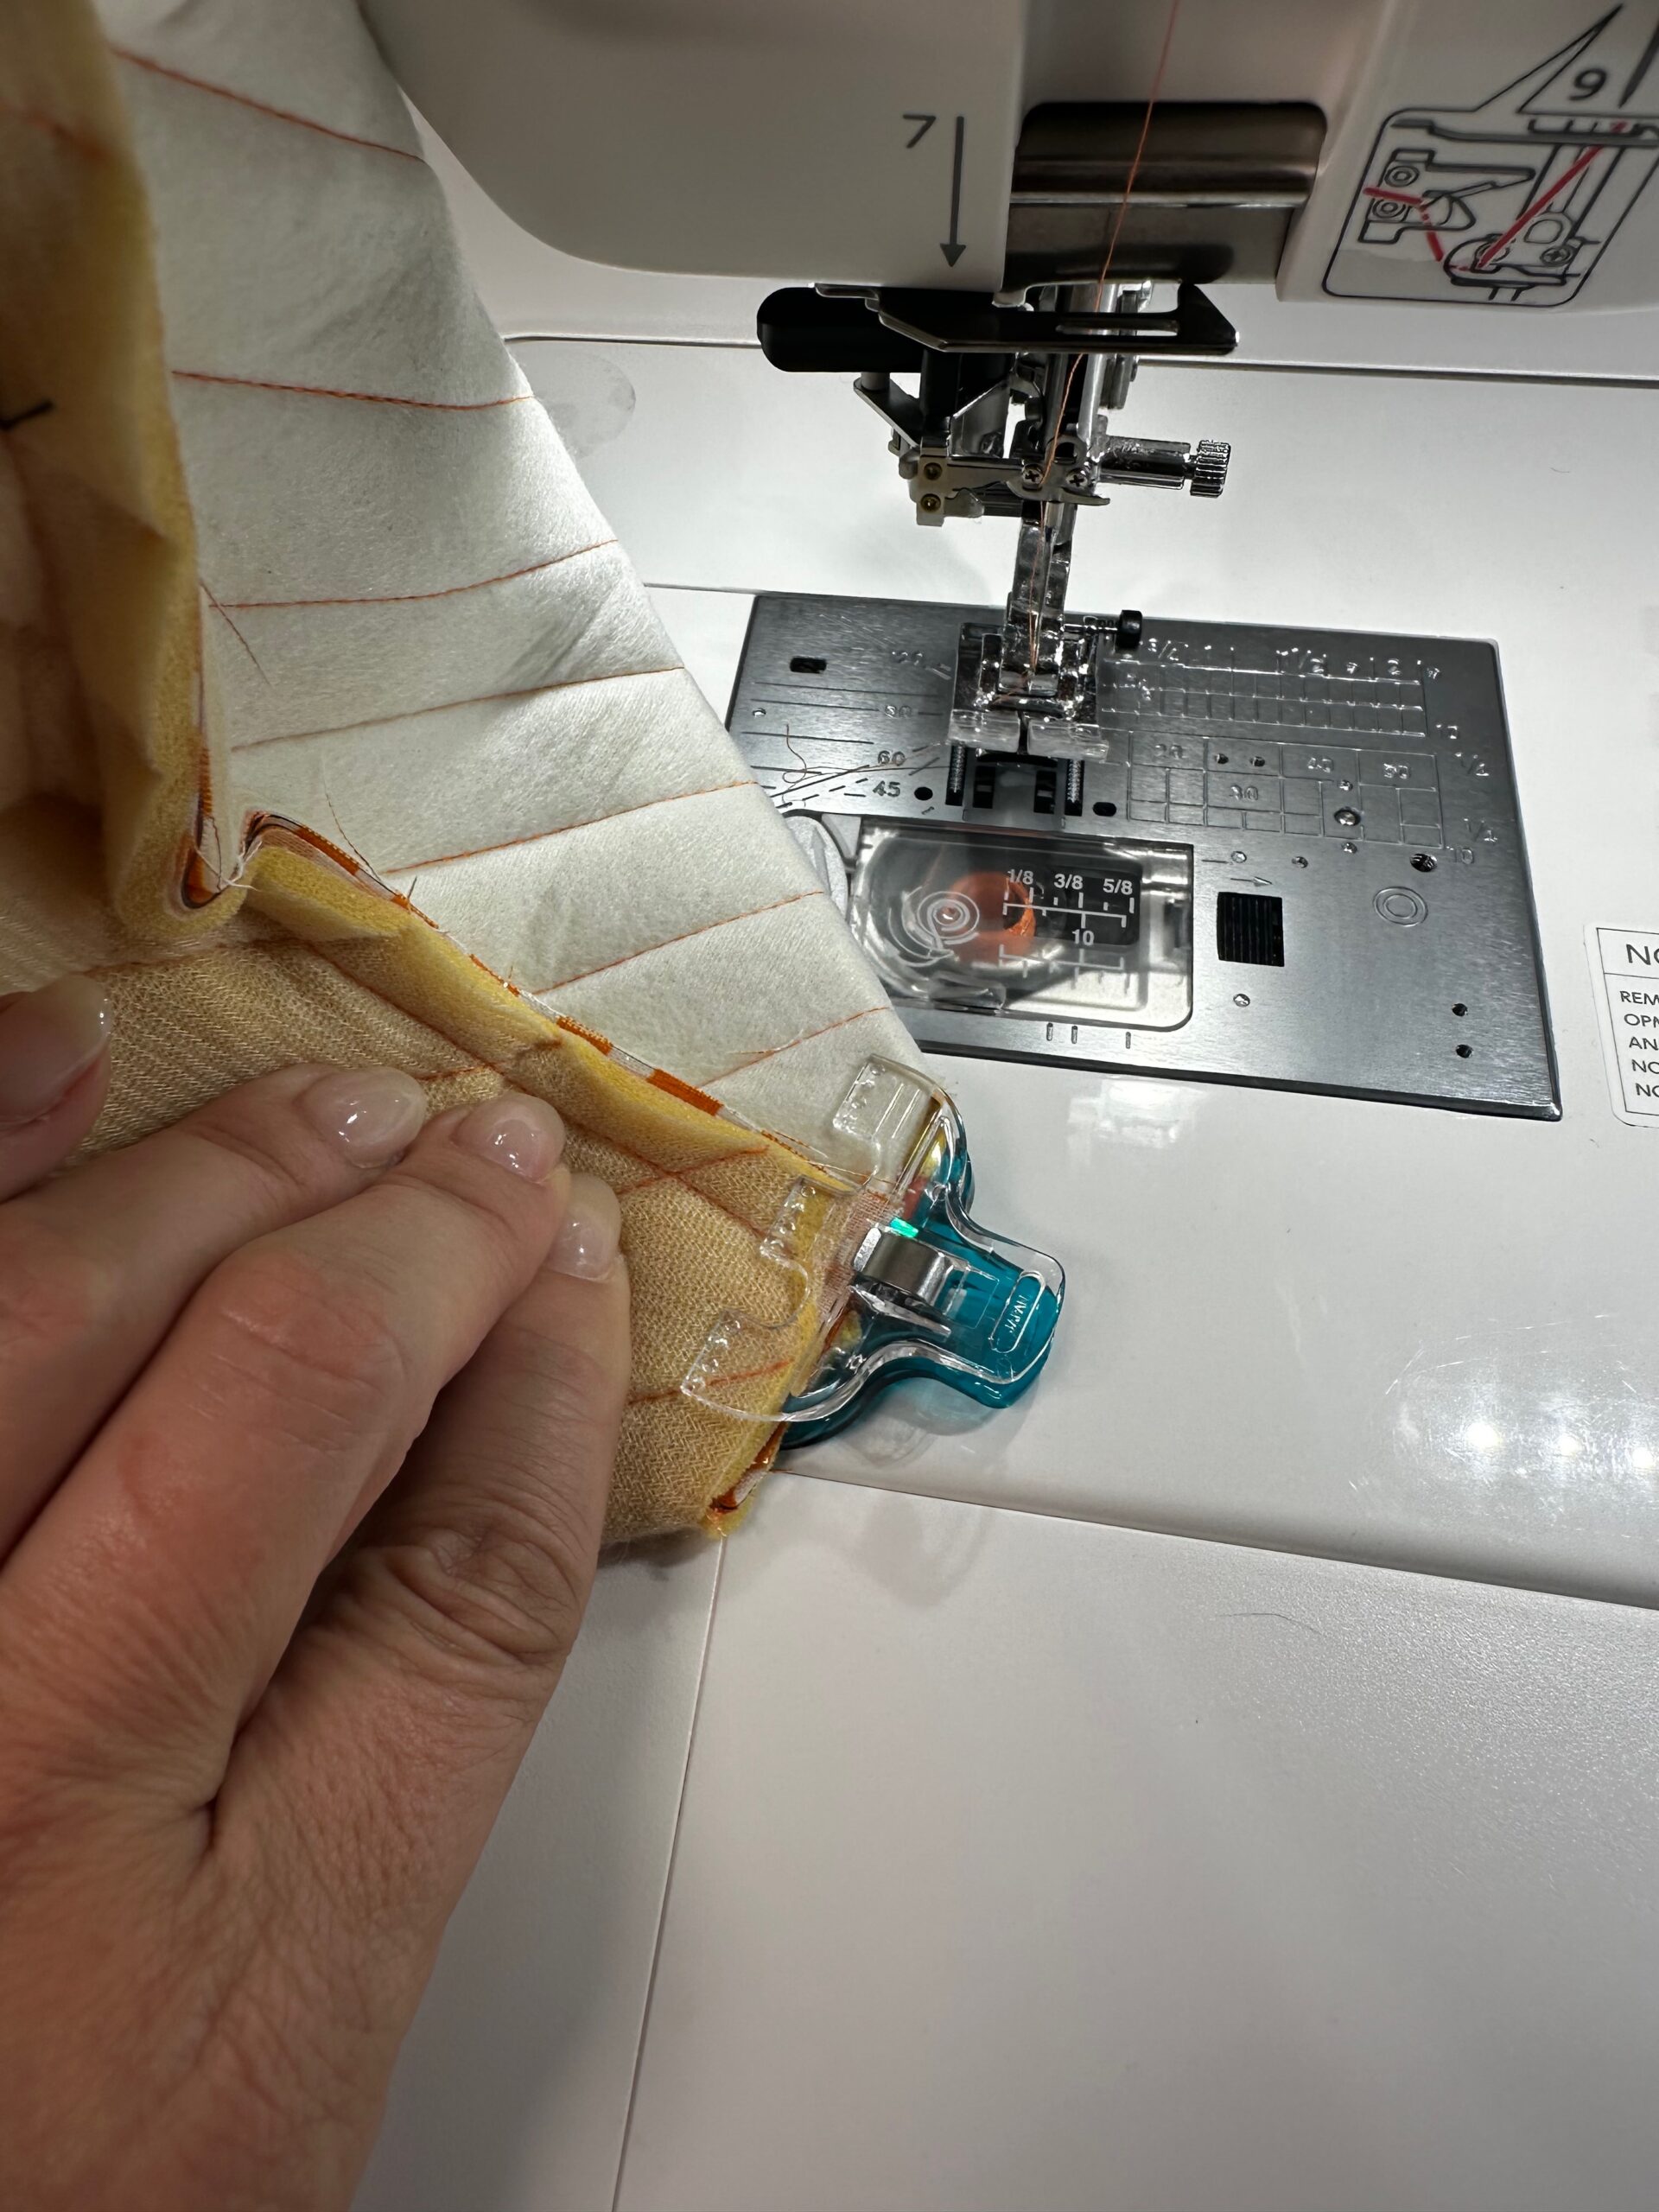
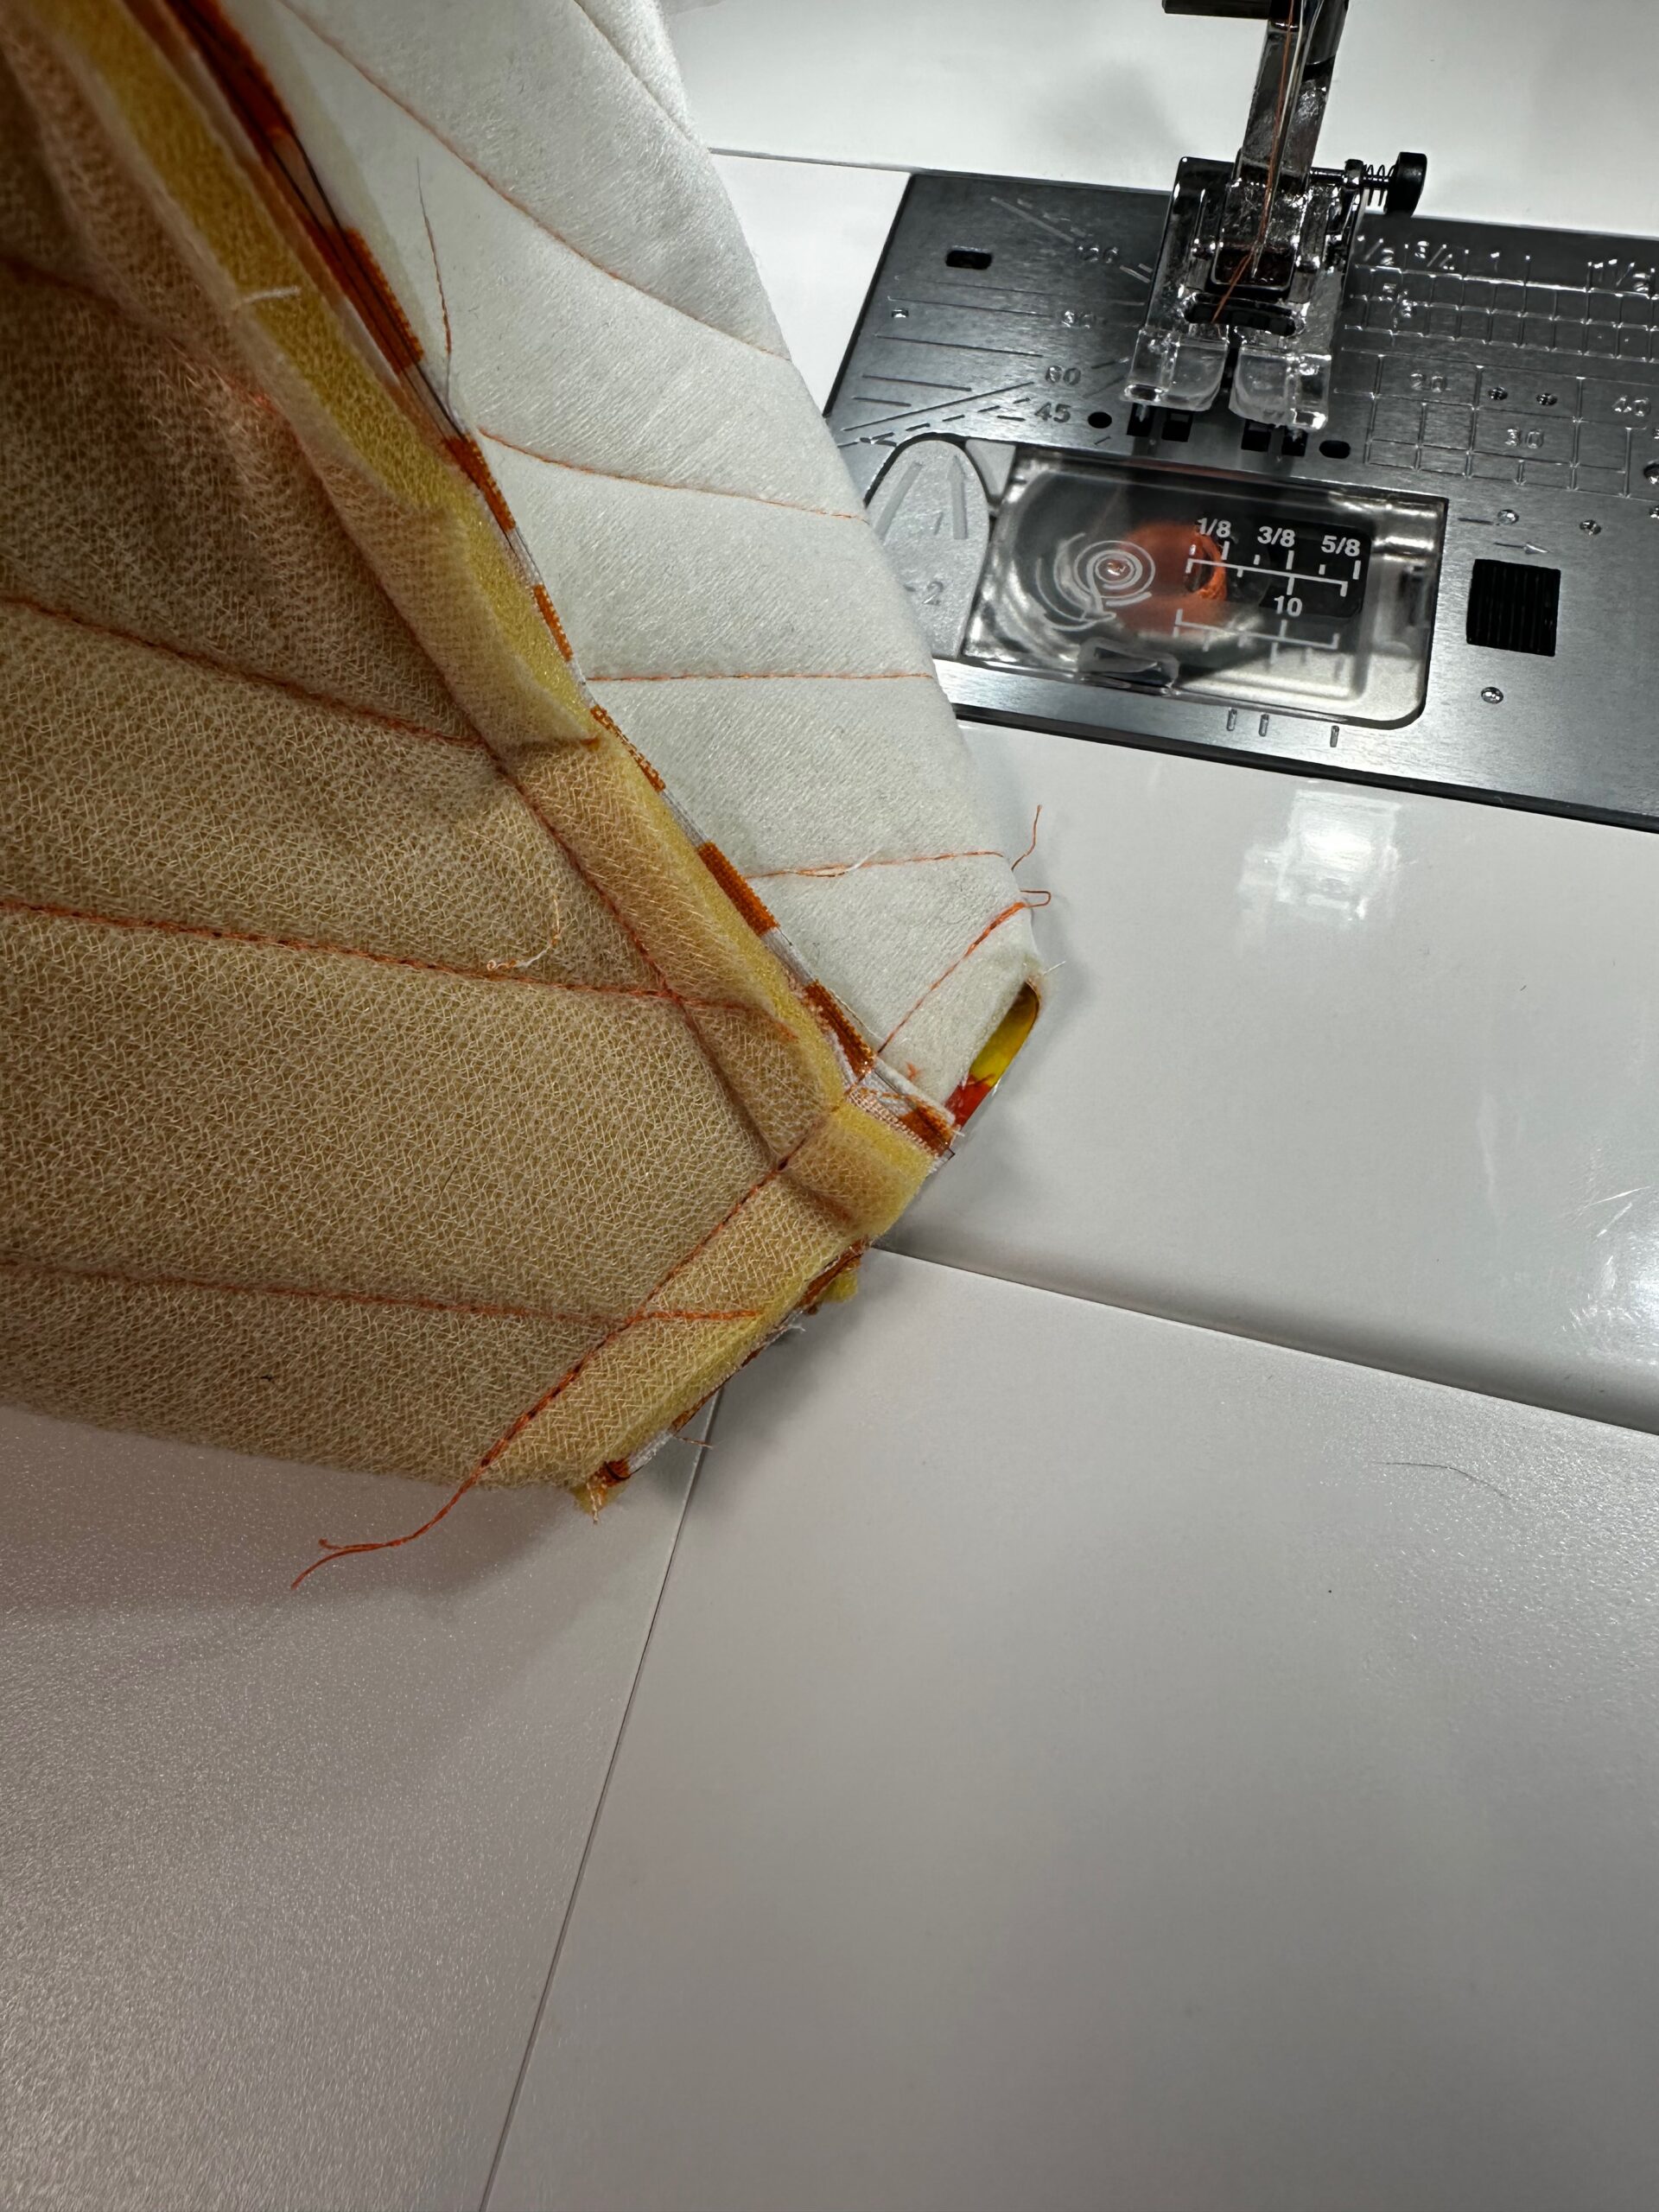
Repeat to box the lining corners, using a ½” seam allowance.
CANDY ZIP POUCH FINISHING
Turn the pouch right side out through the opening in the lining.
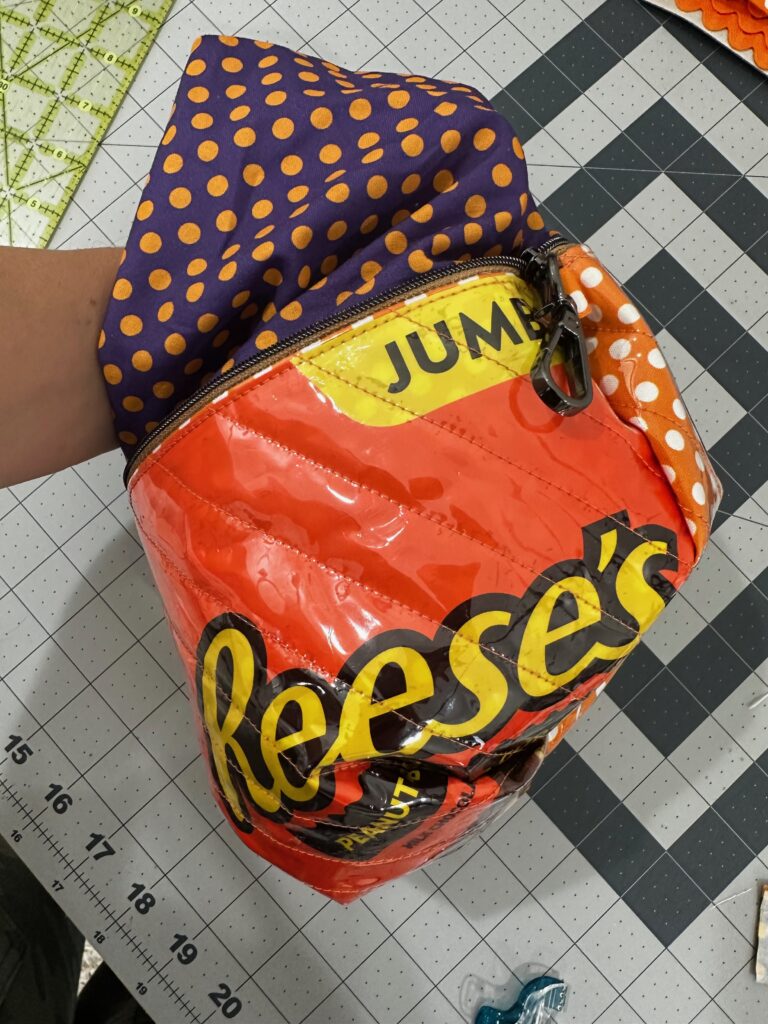
Hand sew the lining opening shut using a whipstitch, ladder stitch or slipstitch. Or topstitch the lining shut by machine.
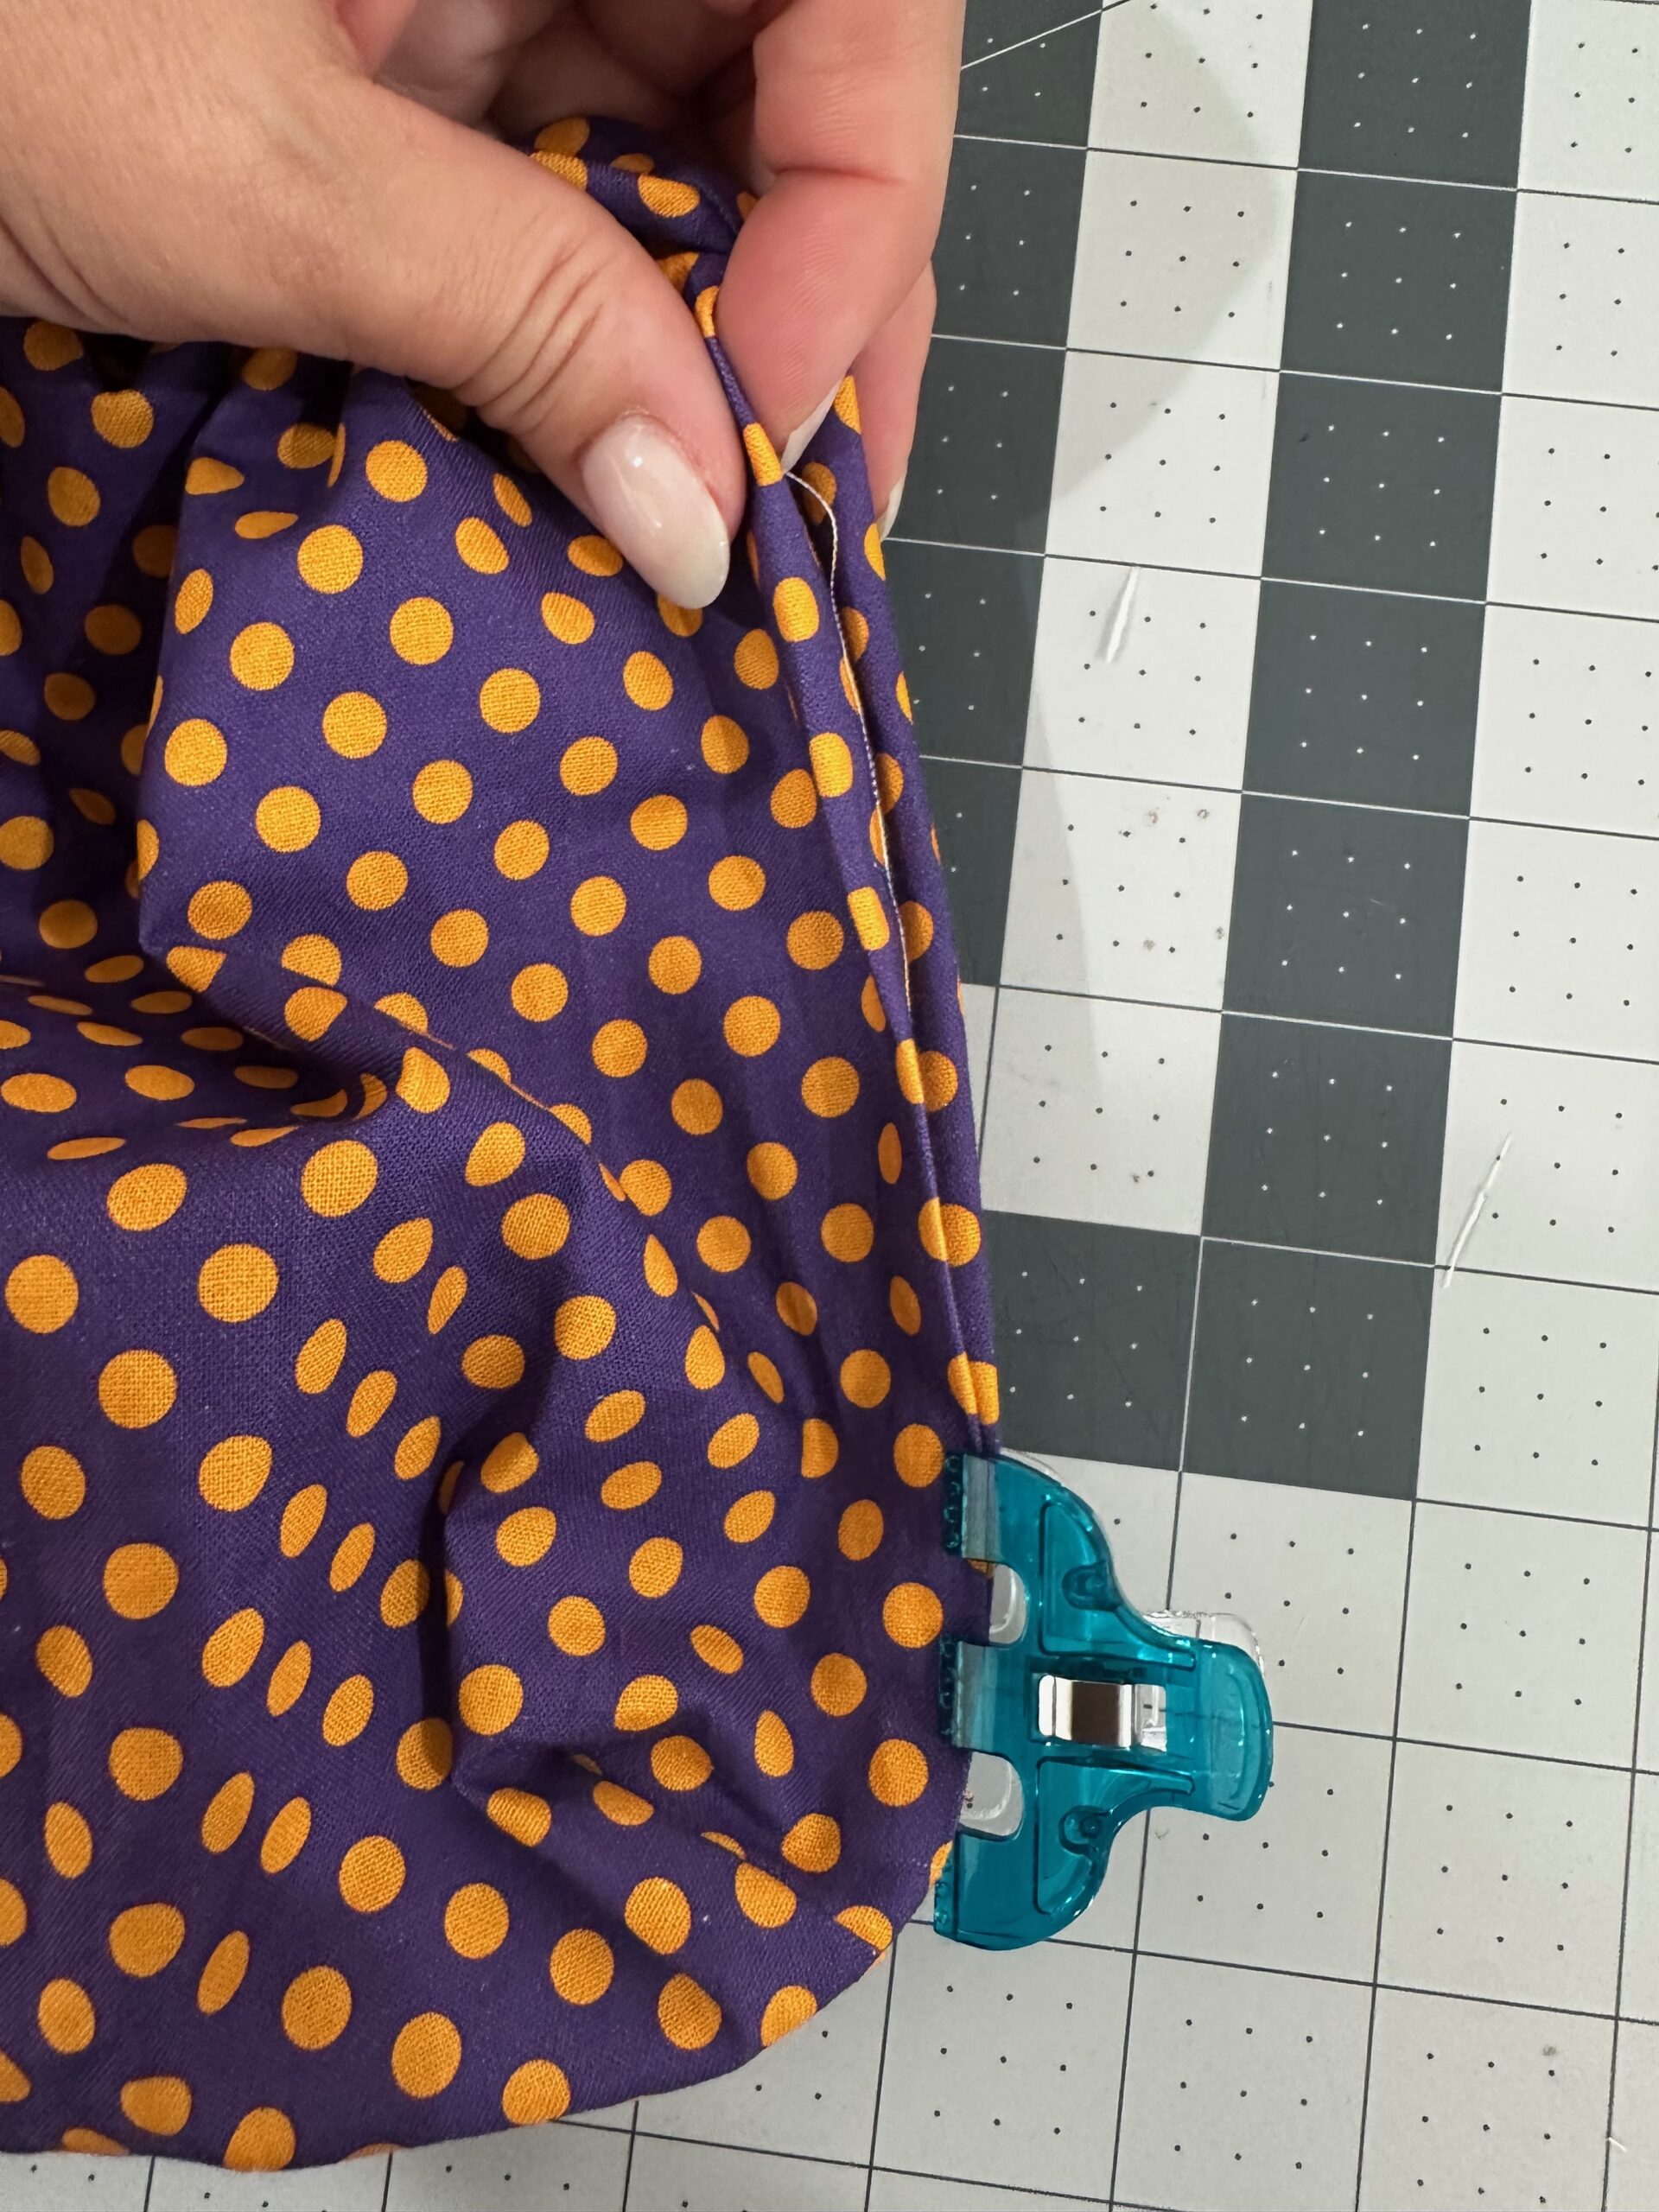
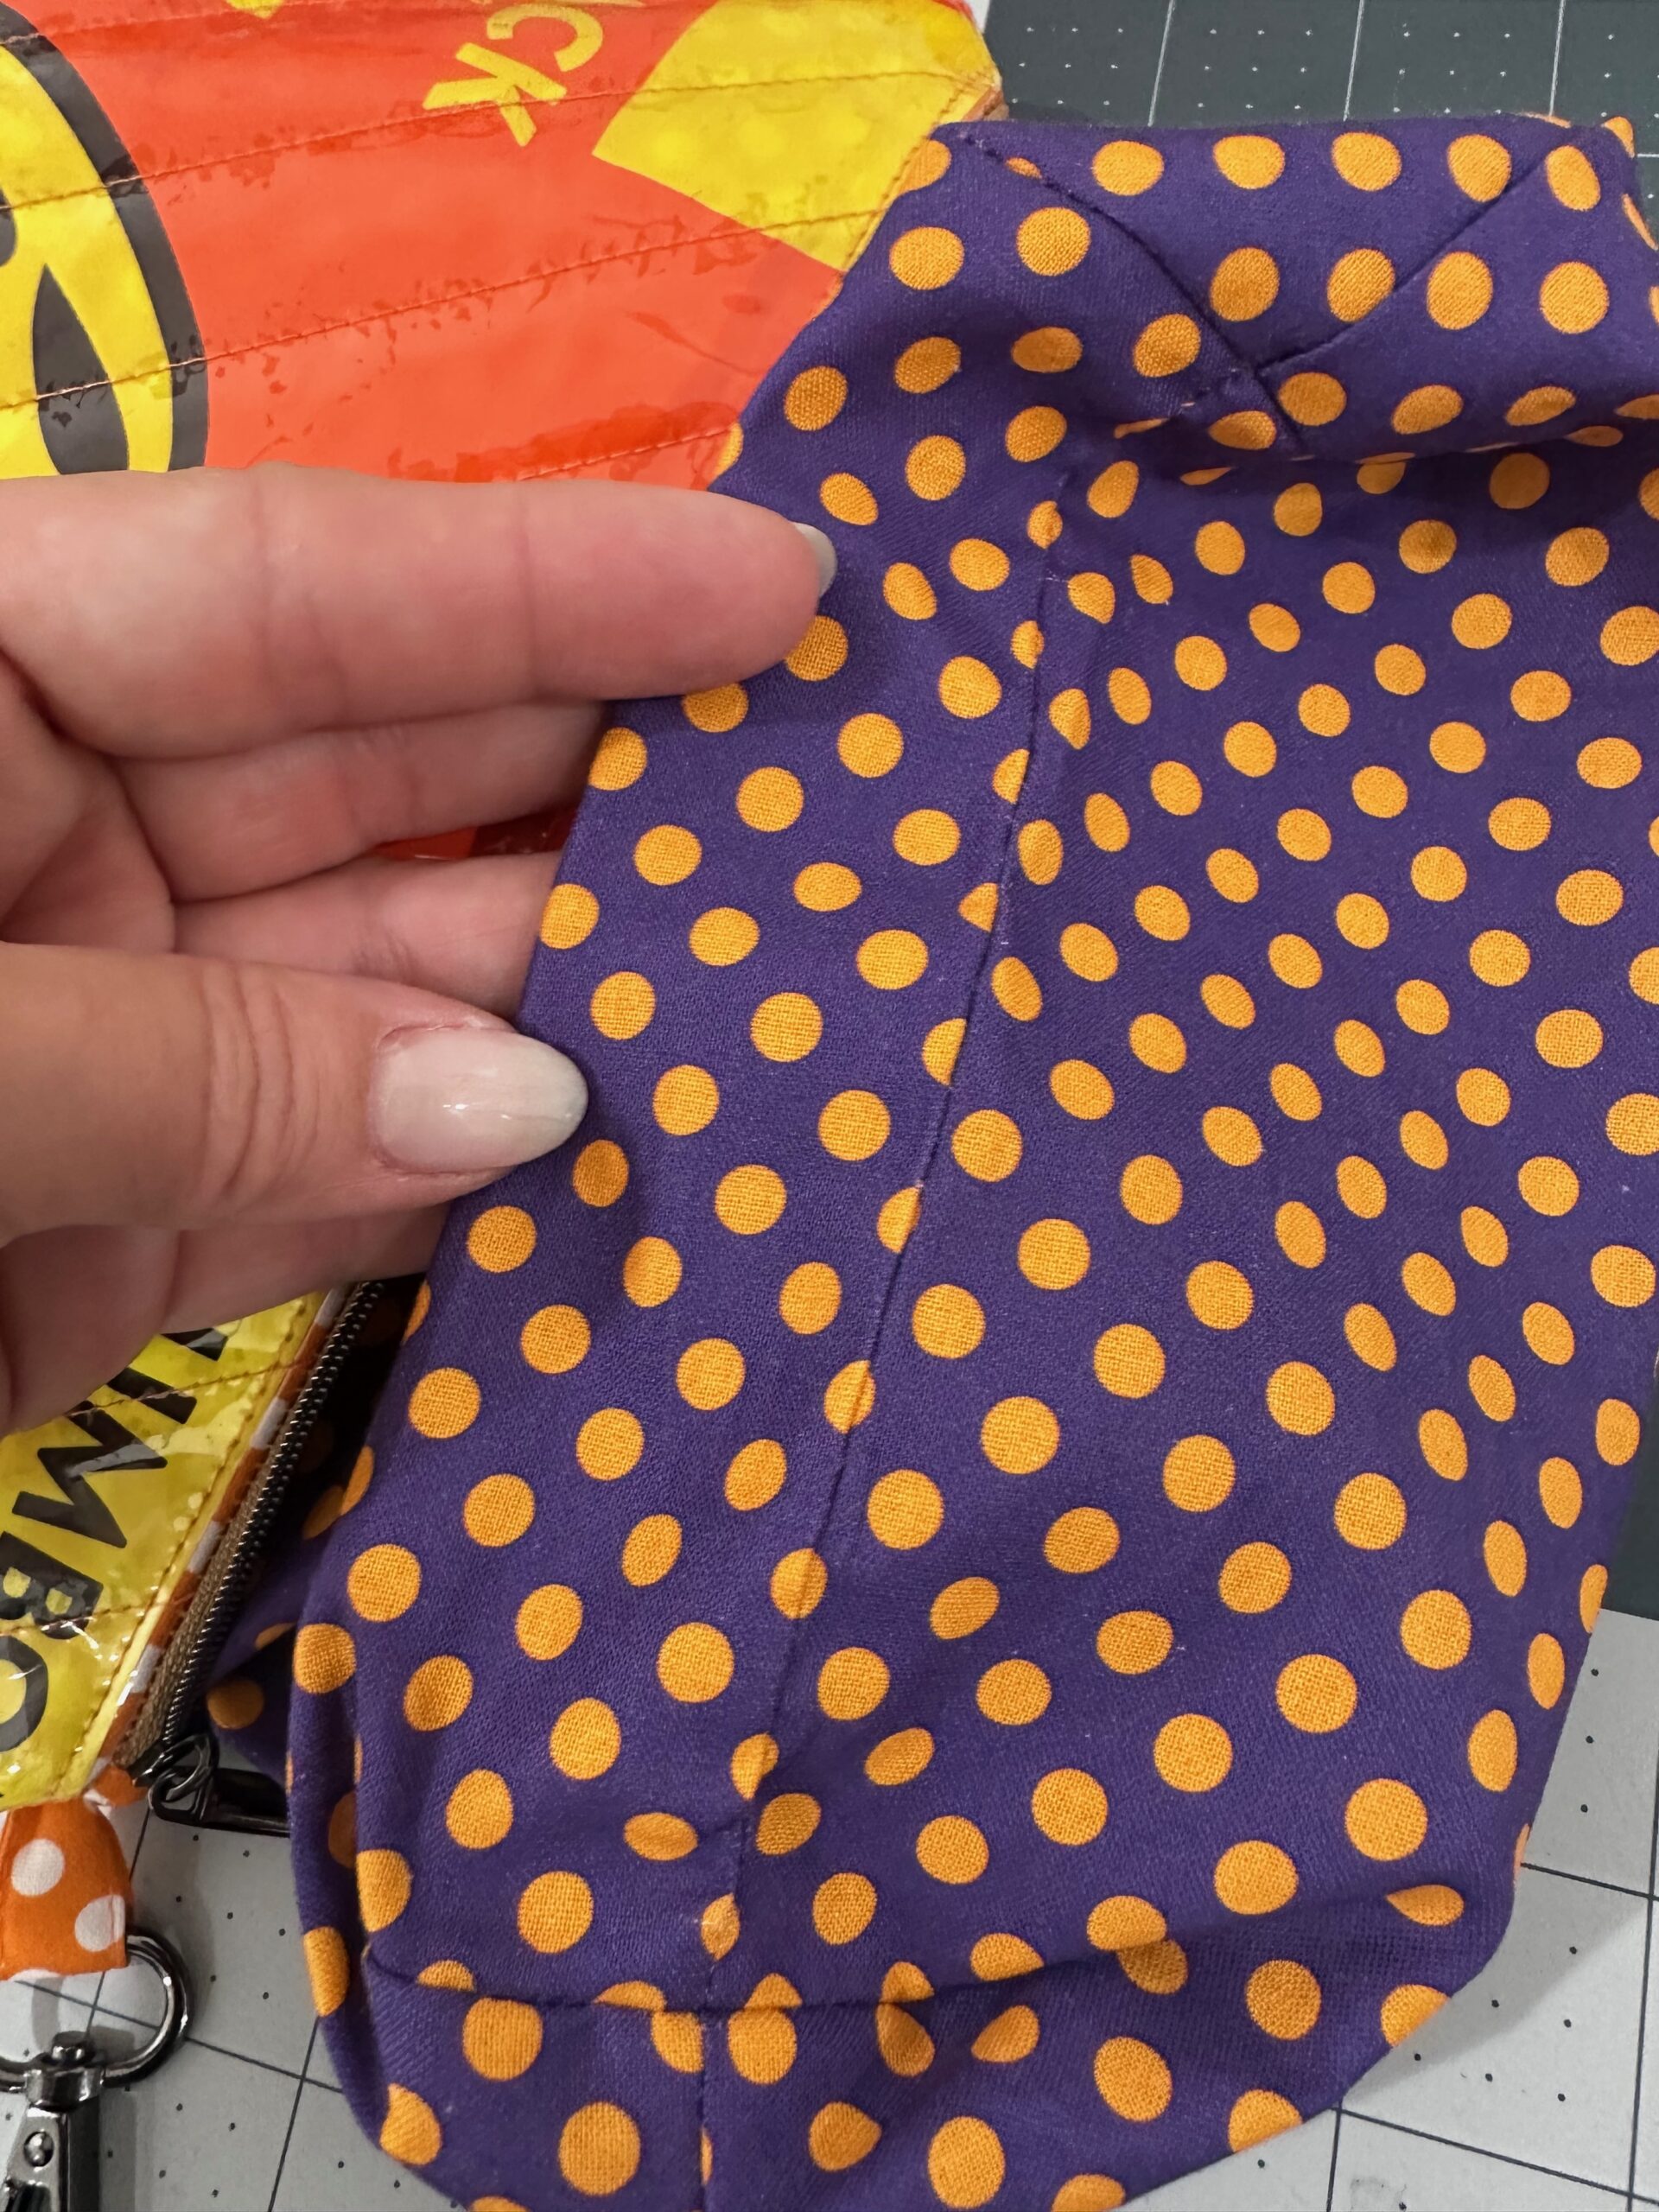
Push the lining into the exterior, matching the corners and side seams. Finger-press the opening along the zipper topstitching.
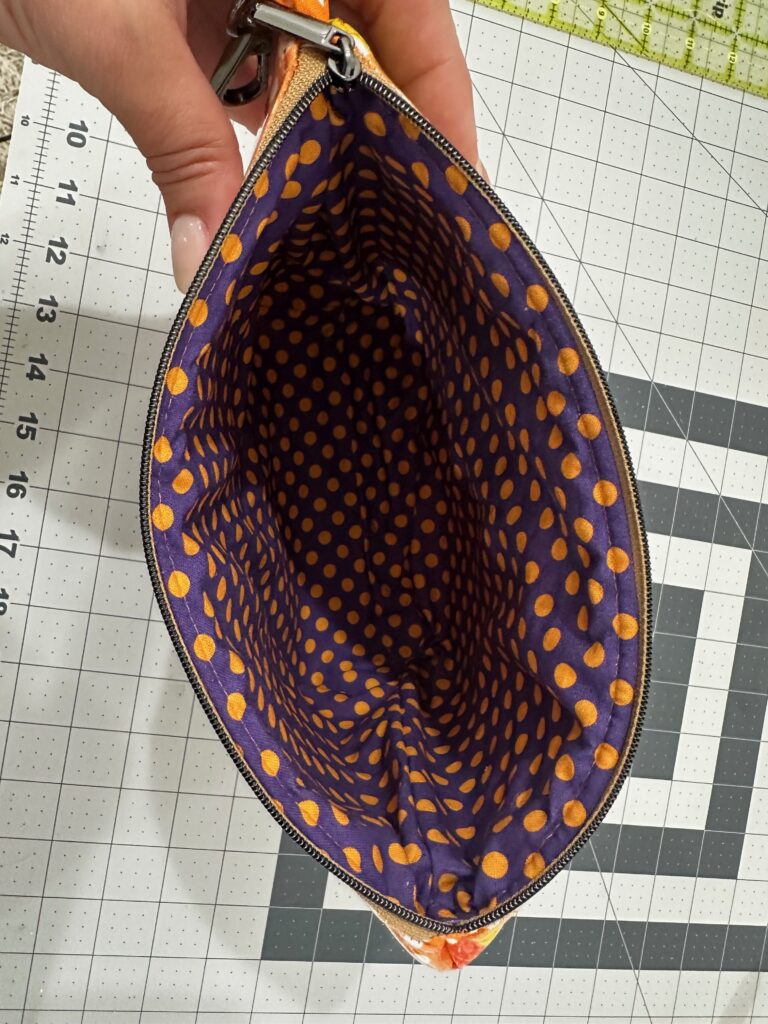
Fill the pouch with all sorts of things: beauty products, art or sewing supplies, and candy!