Designer Dupe: Create a Conversation Heart Embroidered Sweatshirt
by Judy Briley
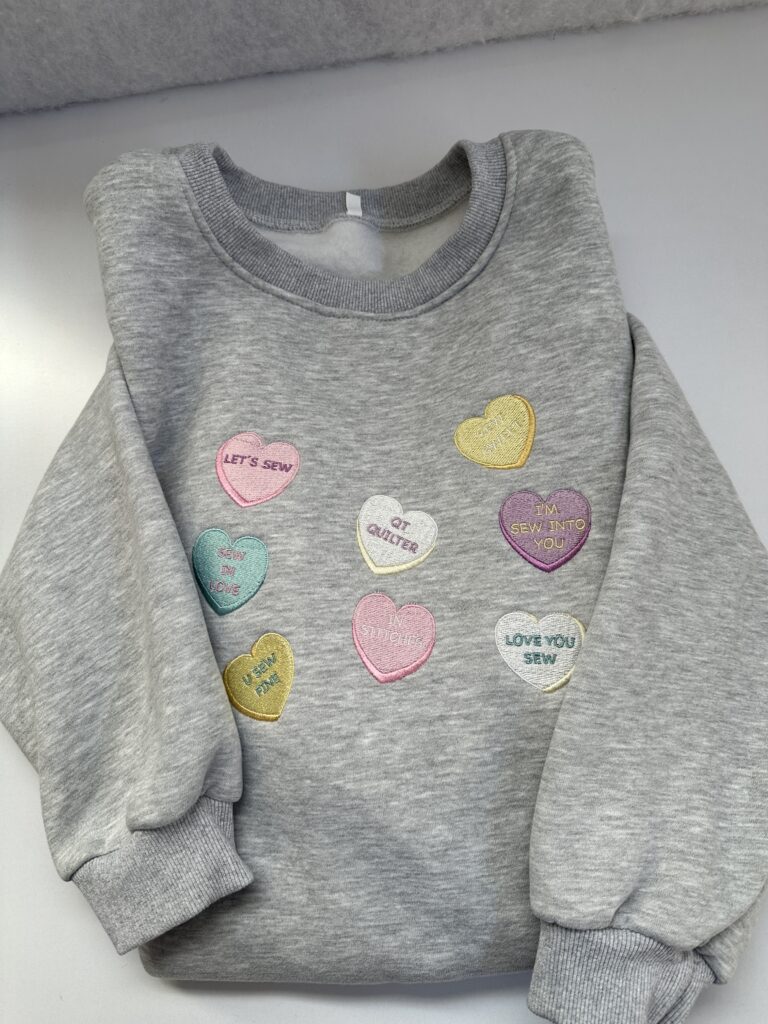
An embroidered sweatshirt with conversation hearts scattered across the front is the trend you need this winter. All major brands are including a similar style, but nothing compares to making it yourself. Plus, with the Sulky Conver-sew-tion Heart designs, your embroideries are complete with cute sewing phrases, such as “U Sew Fine,” and “Love You Sew,” which you can’t find in any store-bought garment!
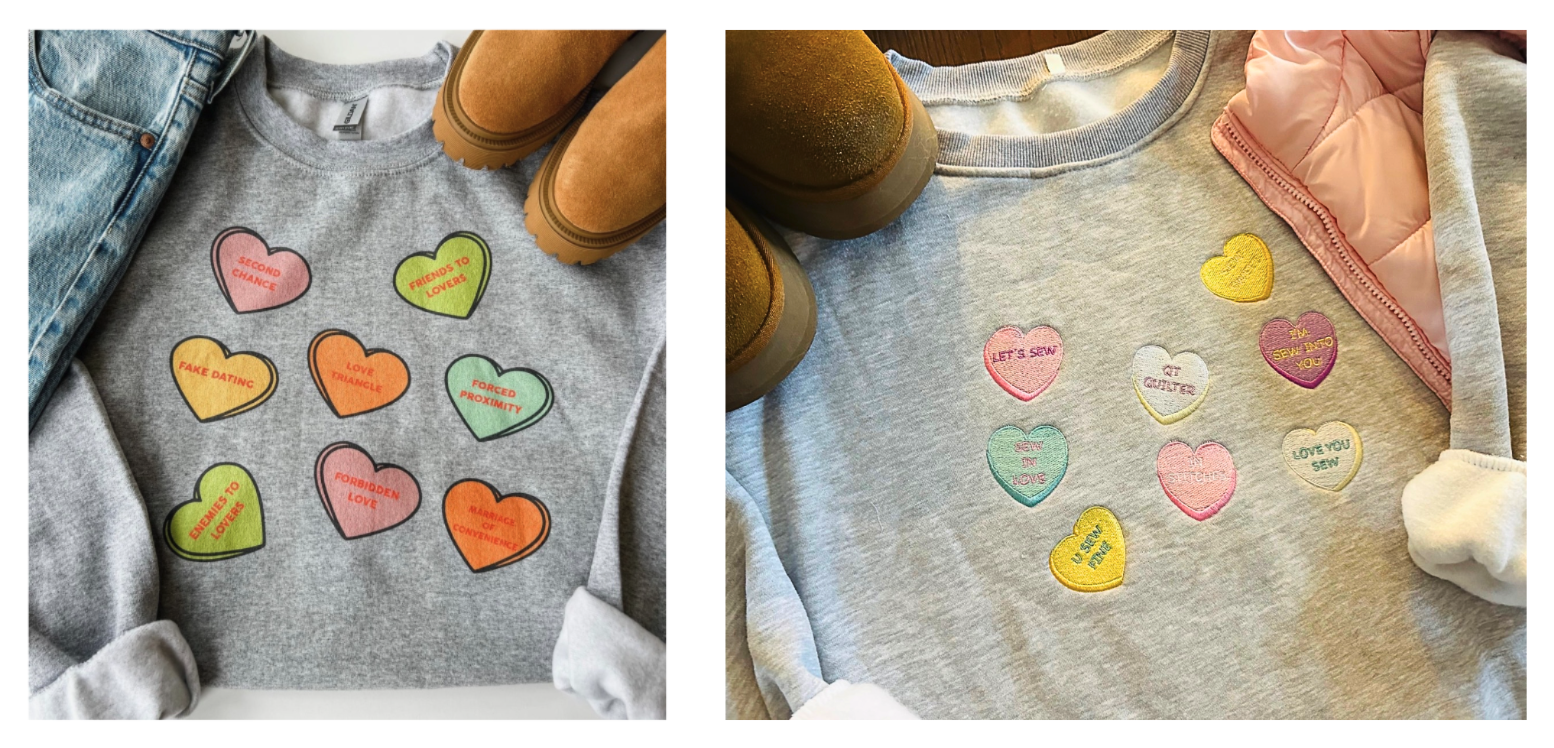
We took inspiration from the Conversation Heart Sweatshirt by Inkwell Threads, shown above (which retails for $52!), and transformed a basic sweatshirt into a designer original. This project also works great on a well-loved sweatshirt that might have a stain, rip or tear you can easily conceal with an embroidery design!
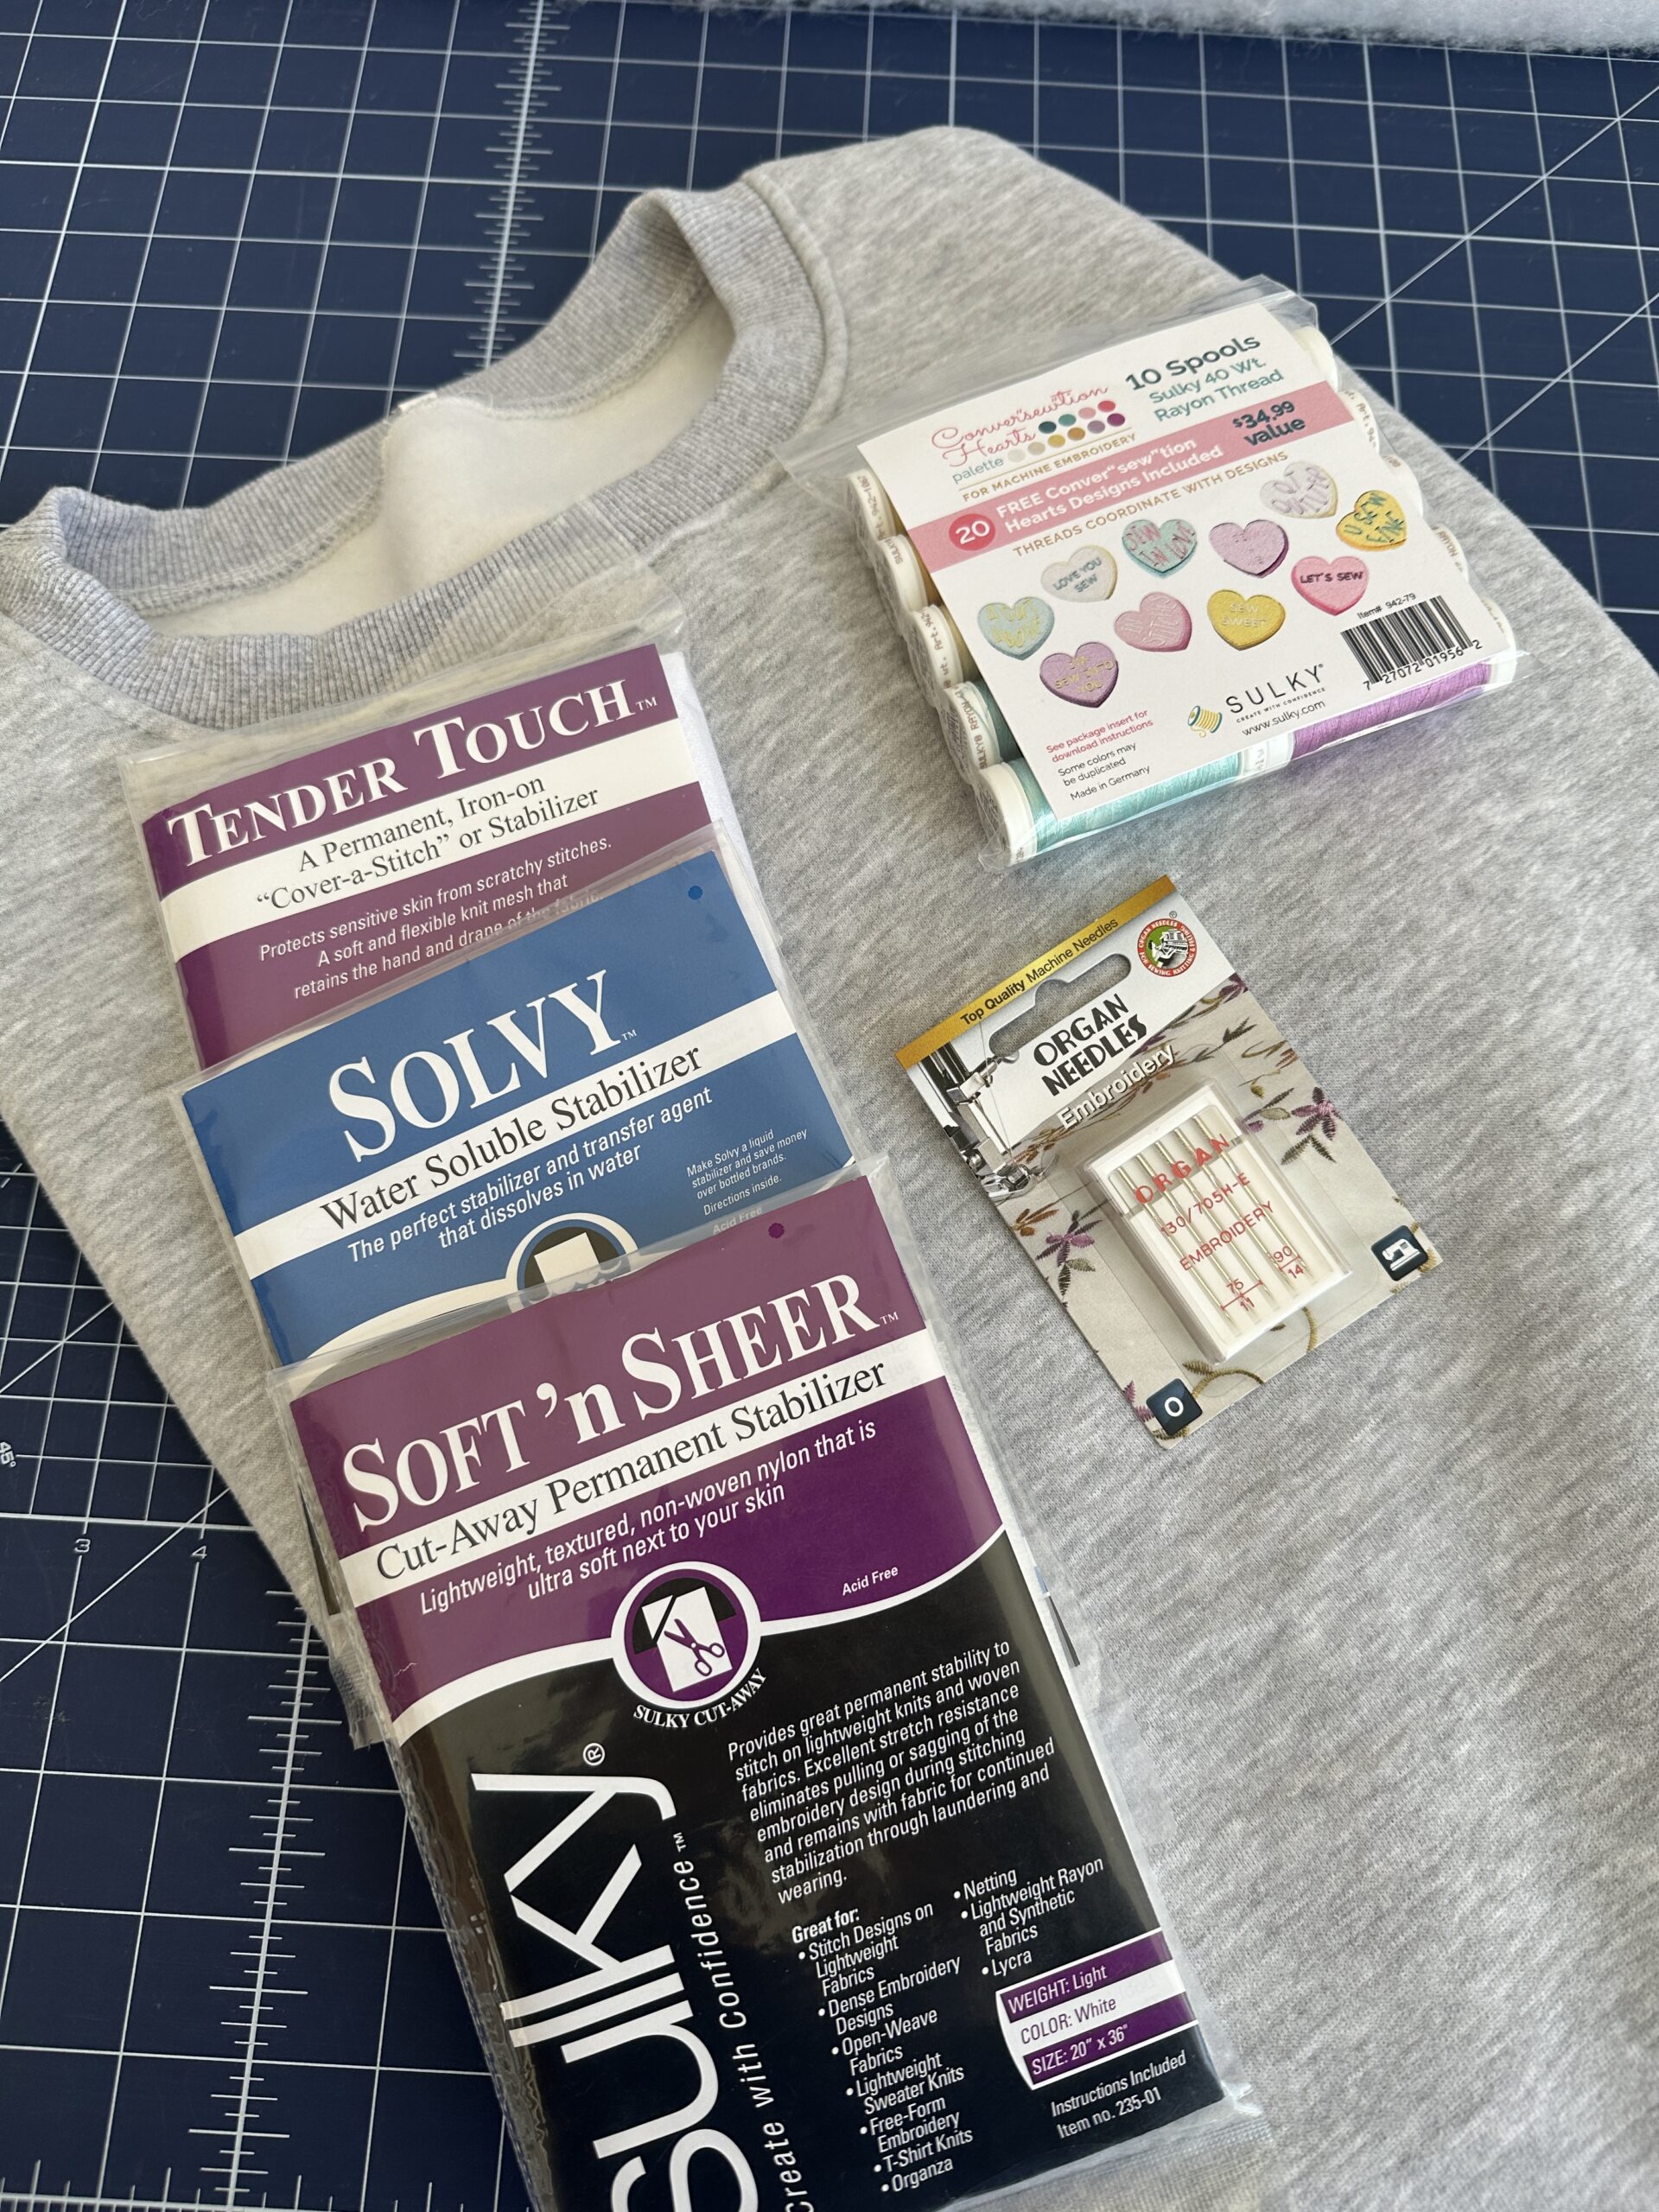
CONVERSATION HEART SWEATSHIRT SUPPLIES
- Sweatshirt of choice
- Sulky Conver-sew-tion Heart Machine Embroidery Palette (which comes with 10 spools of Sulky Rayon Thread and 20 Conver-sew-tion Heart designs)
- Sulky Bobbin Thread
- Stabilizers
- Organ® size 75/11 Embroidery Needles
- Sulky KK2000™ Temporary Spray Adhesive
CONVERSATION HEART DESIGN PLACEMENT
If you have embroidery software, import the designs you plan to use into the program. The featured sweatshirt showcases eight designs. Experiment with the design placements, making sure there’s enough border around each for a pleasing arrangement. When satisfied, save the design as a new design and import it to the machine.
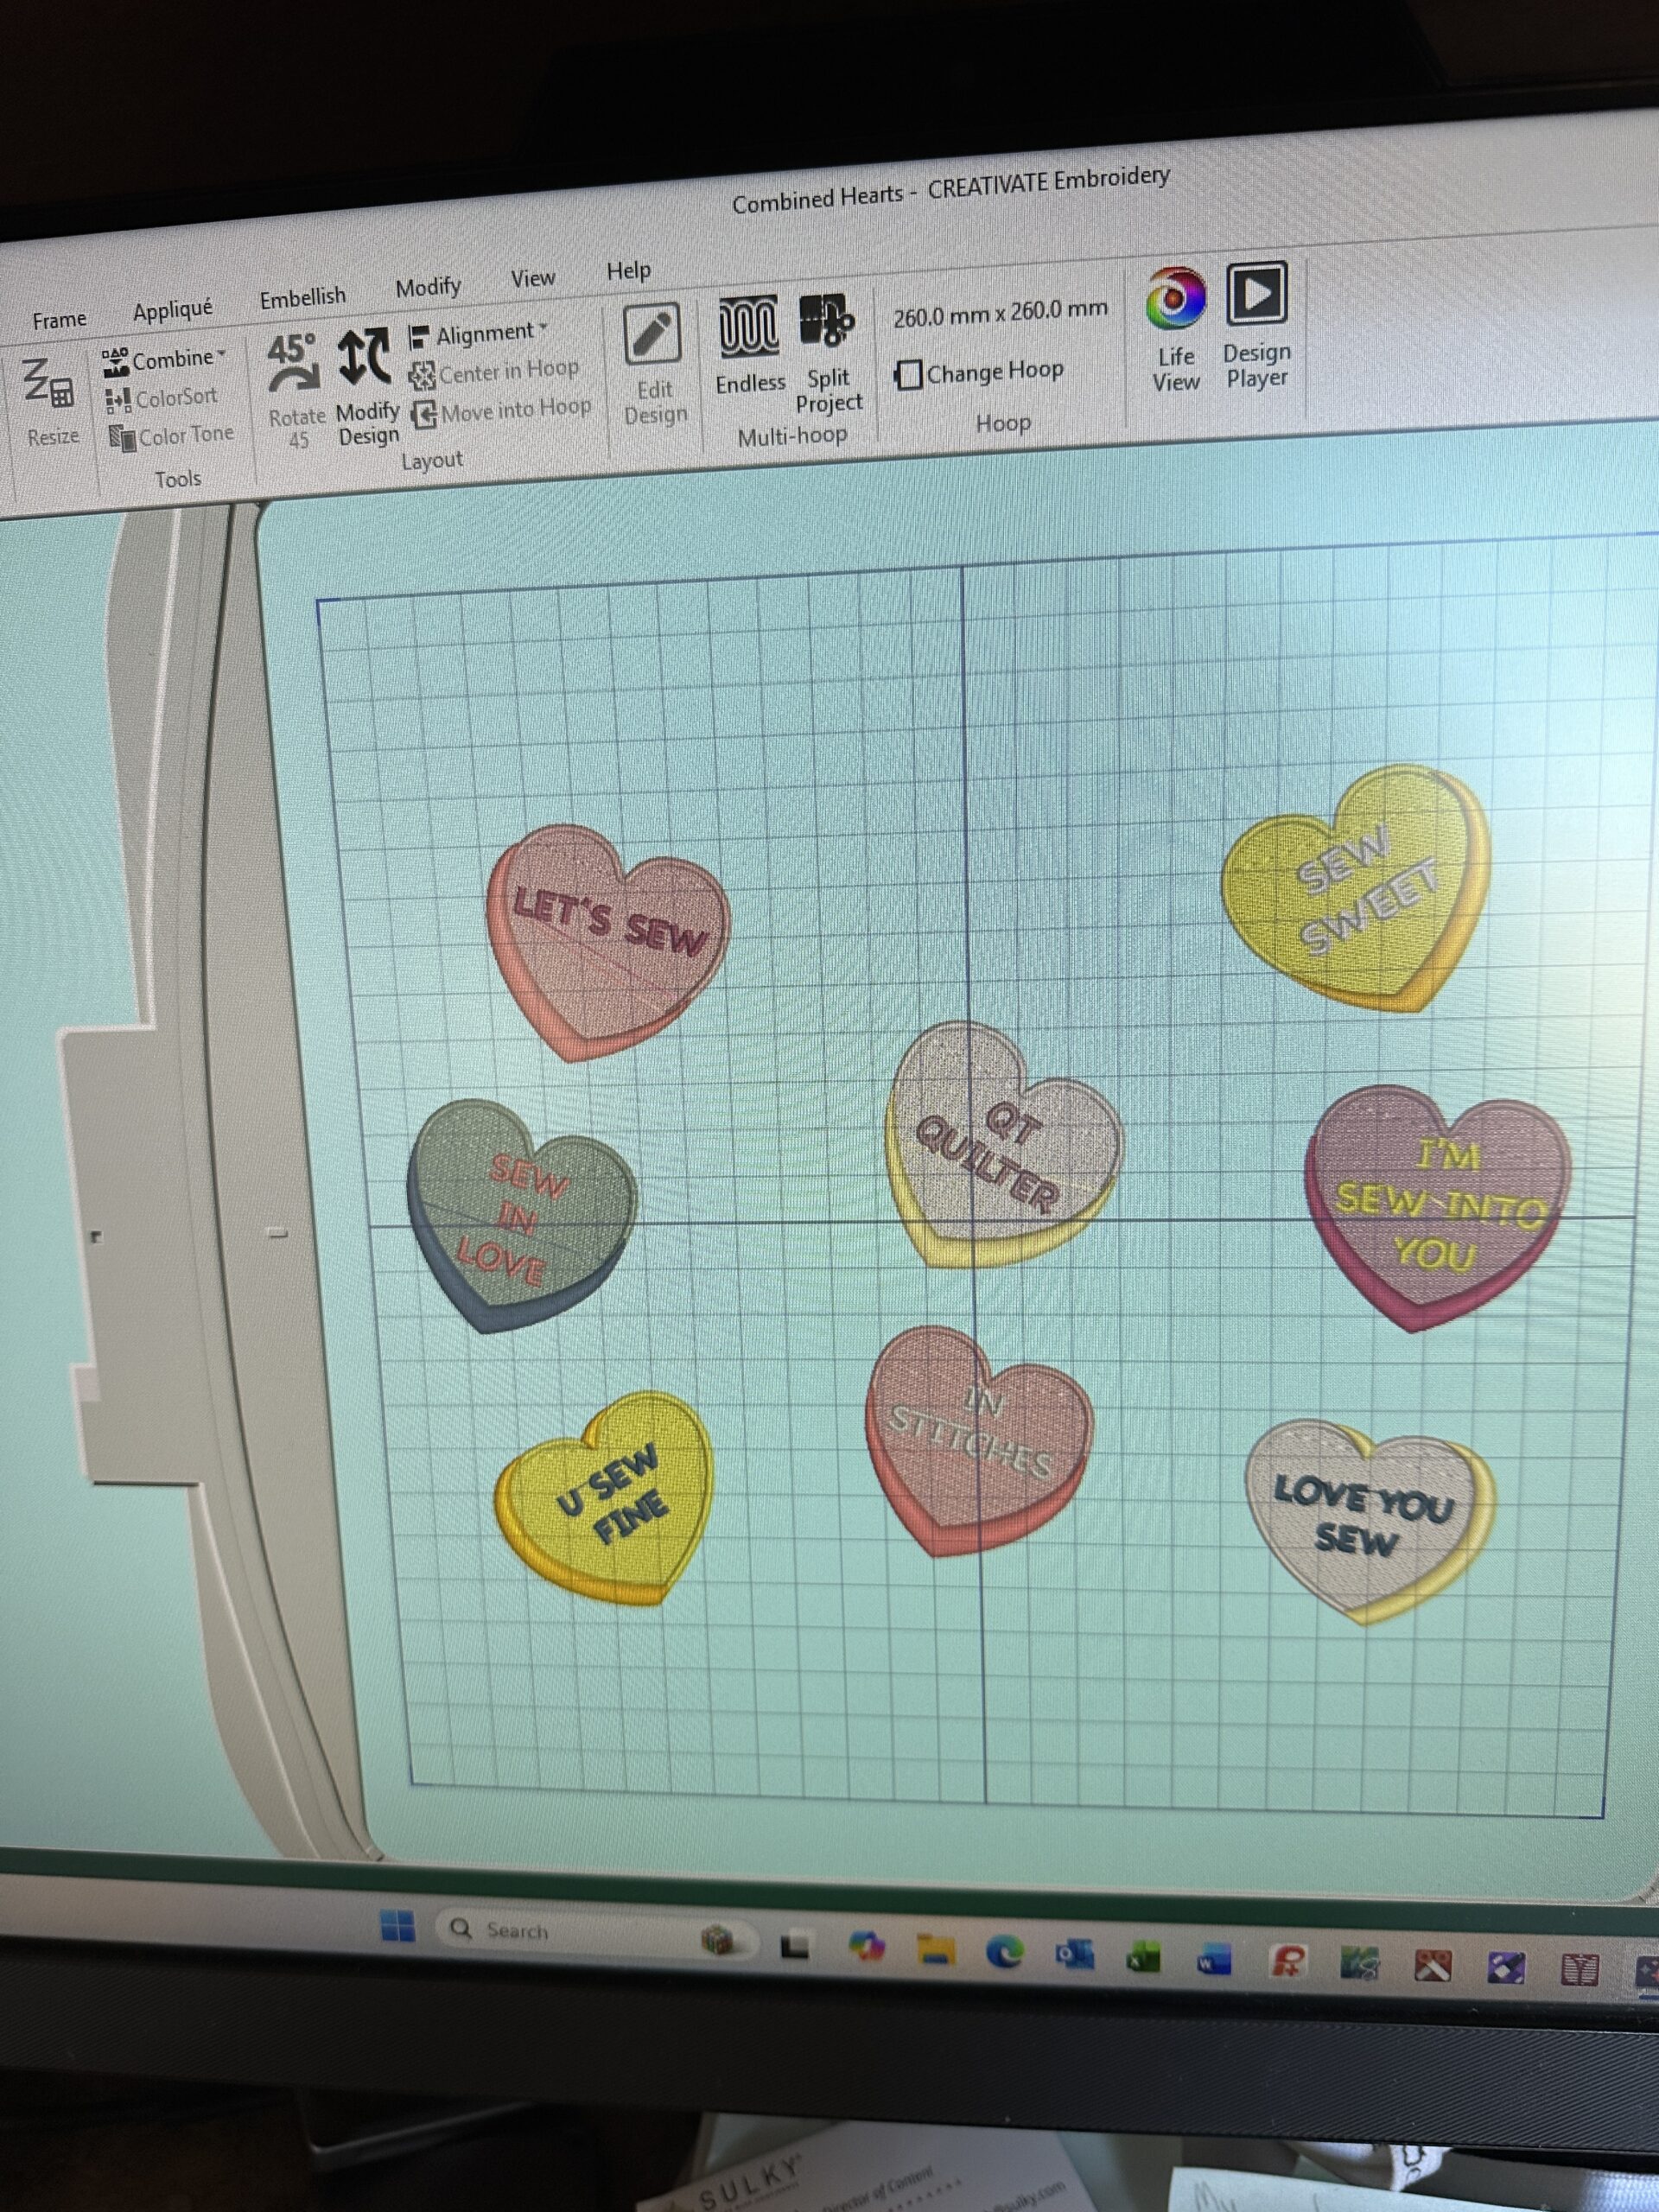
If you don’t have embroidery software, import each desired design into the machine and arrange them on screen. Again, make sure there is ample space between designs for a pleasing arrangement.
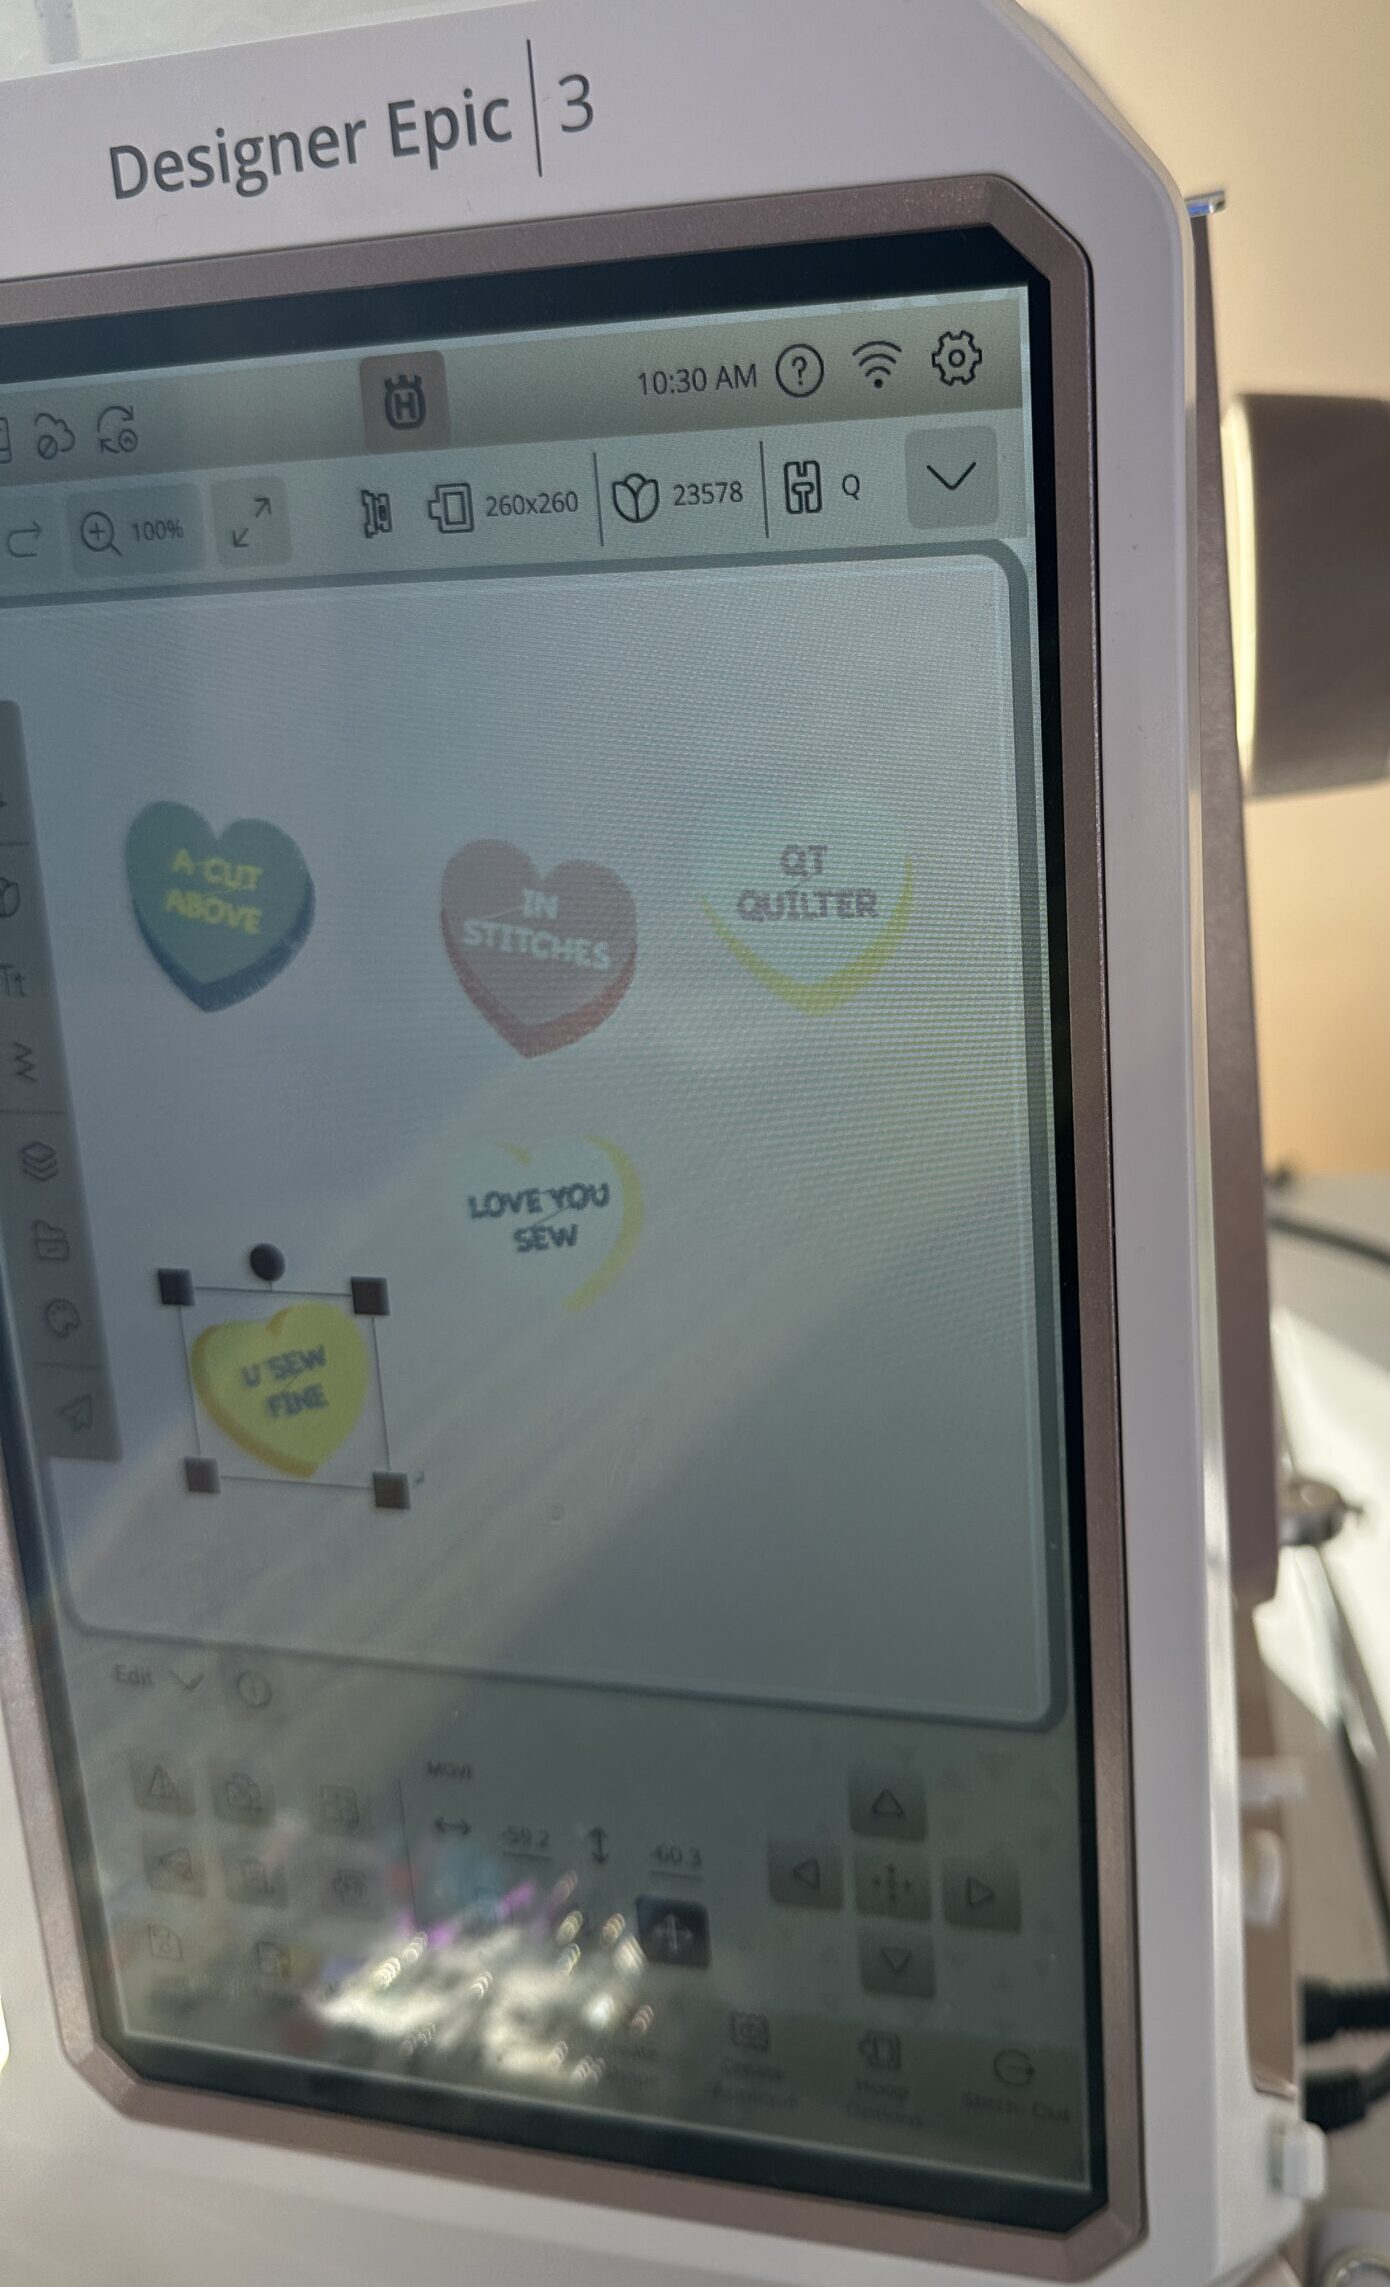
If possible, print a template of the design(s).
HOOPING
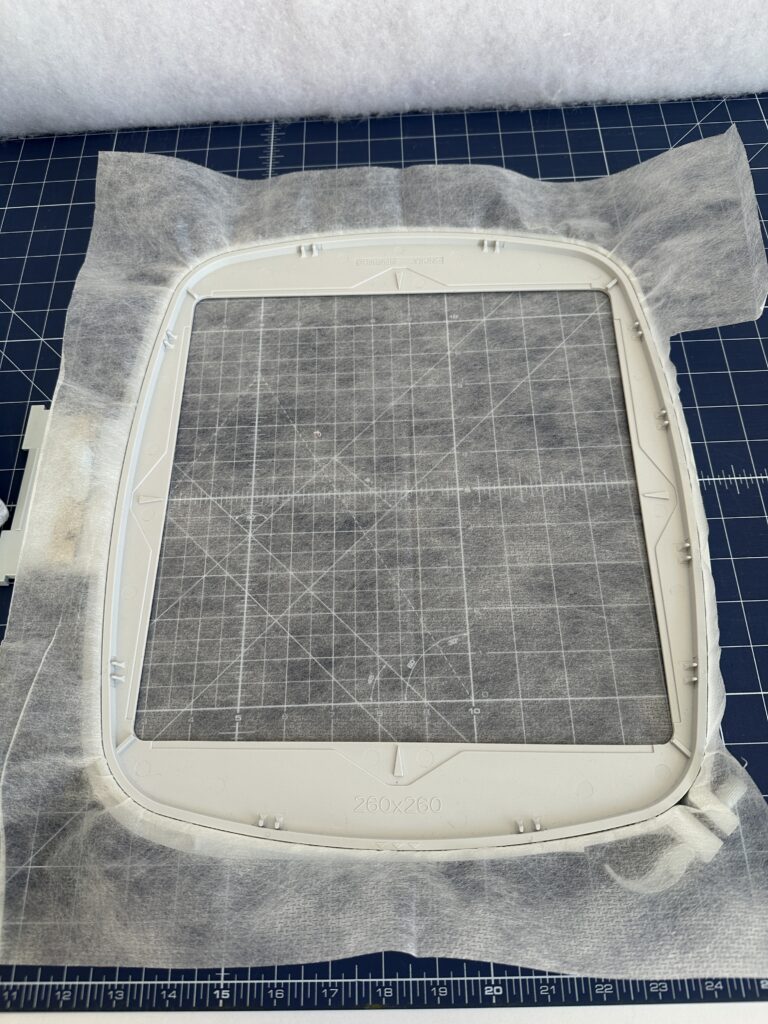
Hoop a piece of Sulky Soft ‘n Sheer Stabilizer.
If using a printed template, audition it on the sweatshirt right side until satisfied with the placement. Then, pin the template through the shirt front and try the sweatshirt on. Look at yourself in the mirror to make sure the designs are placed where you want them. This step is very important! Sometimes things look way different on a flat surface than they do on a bumpy body.
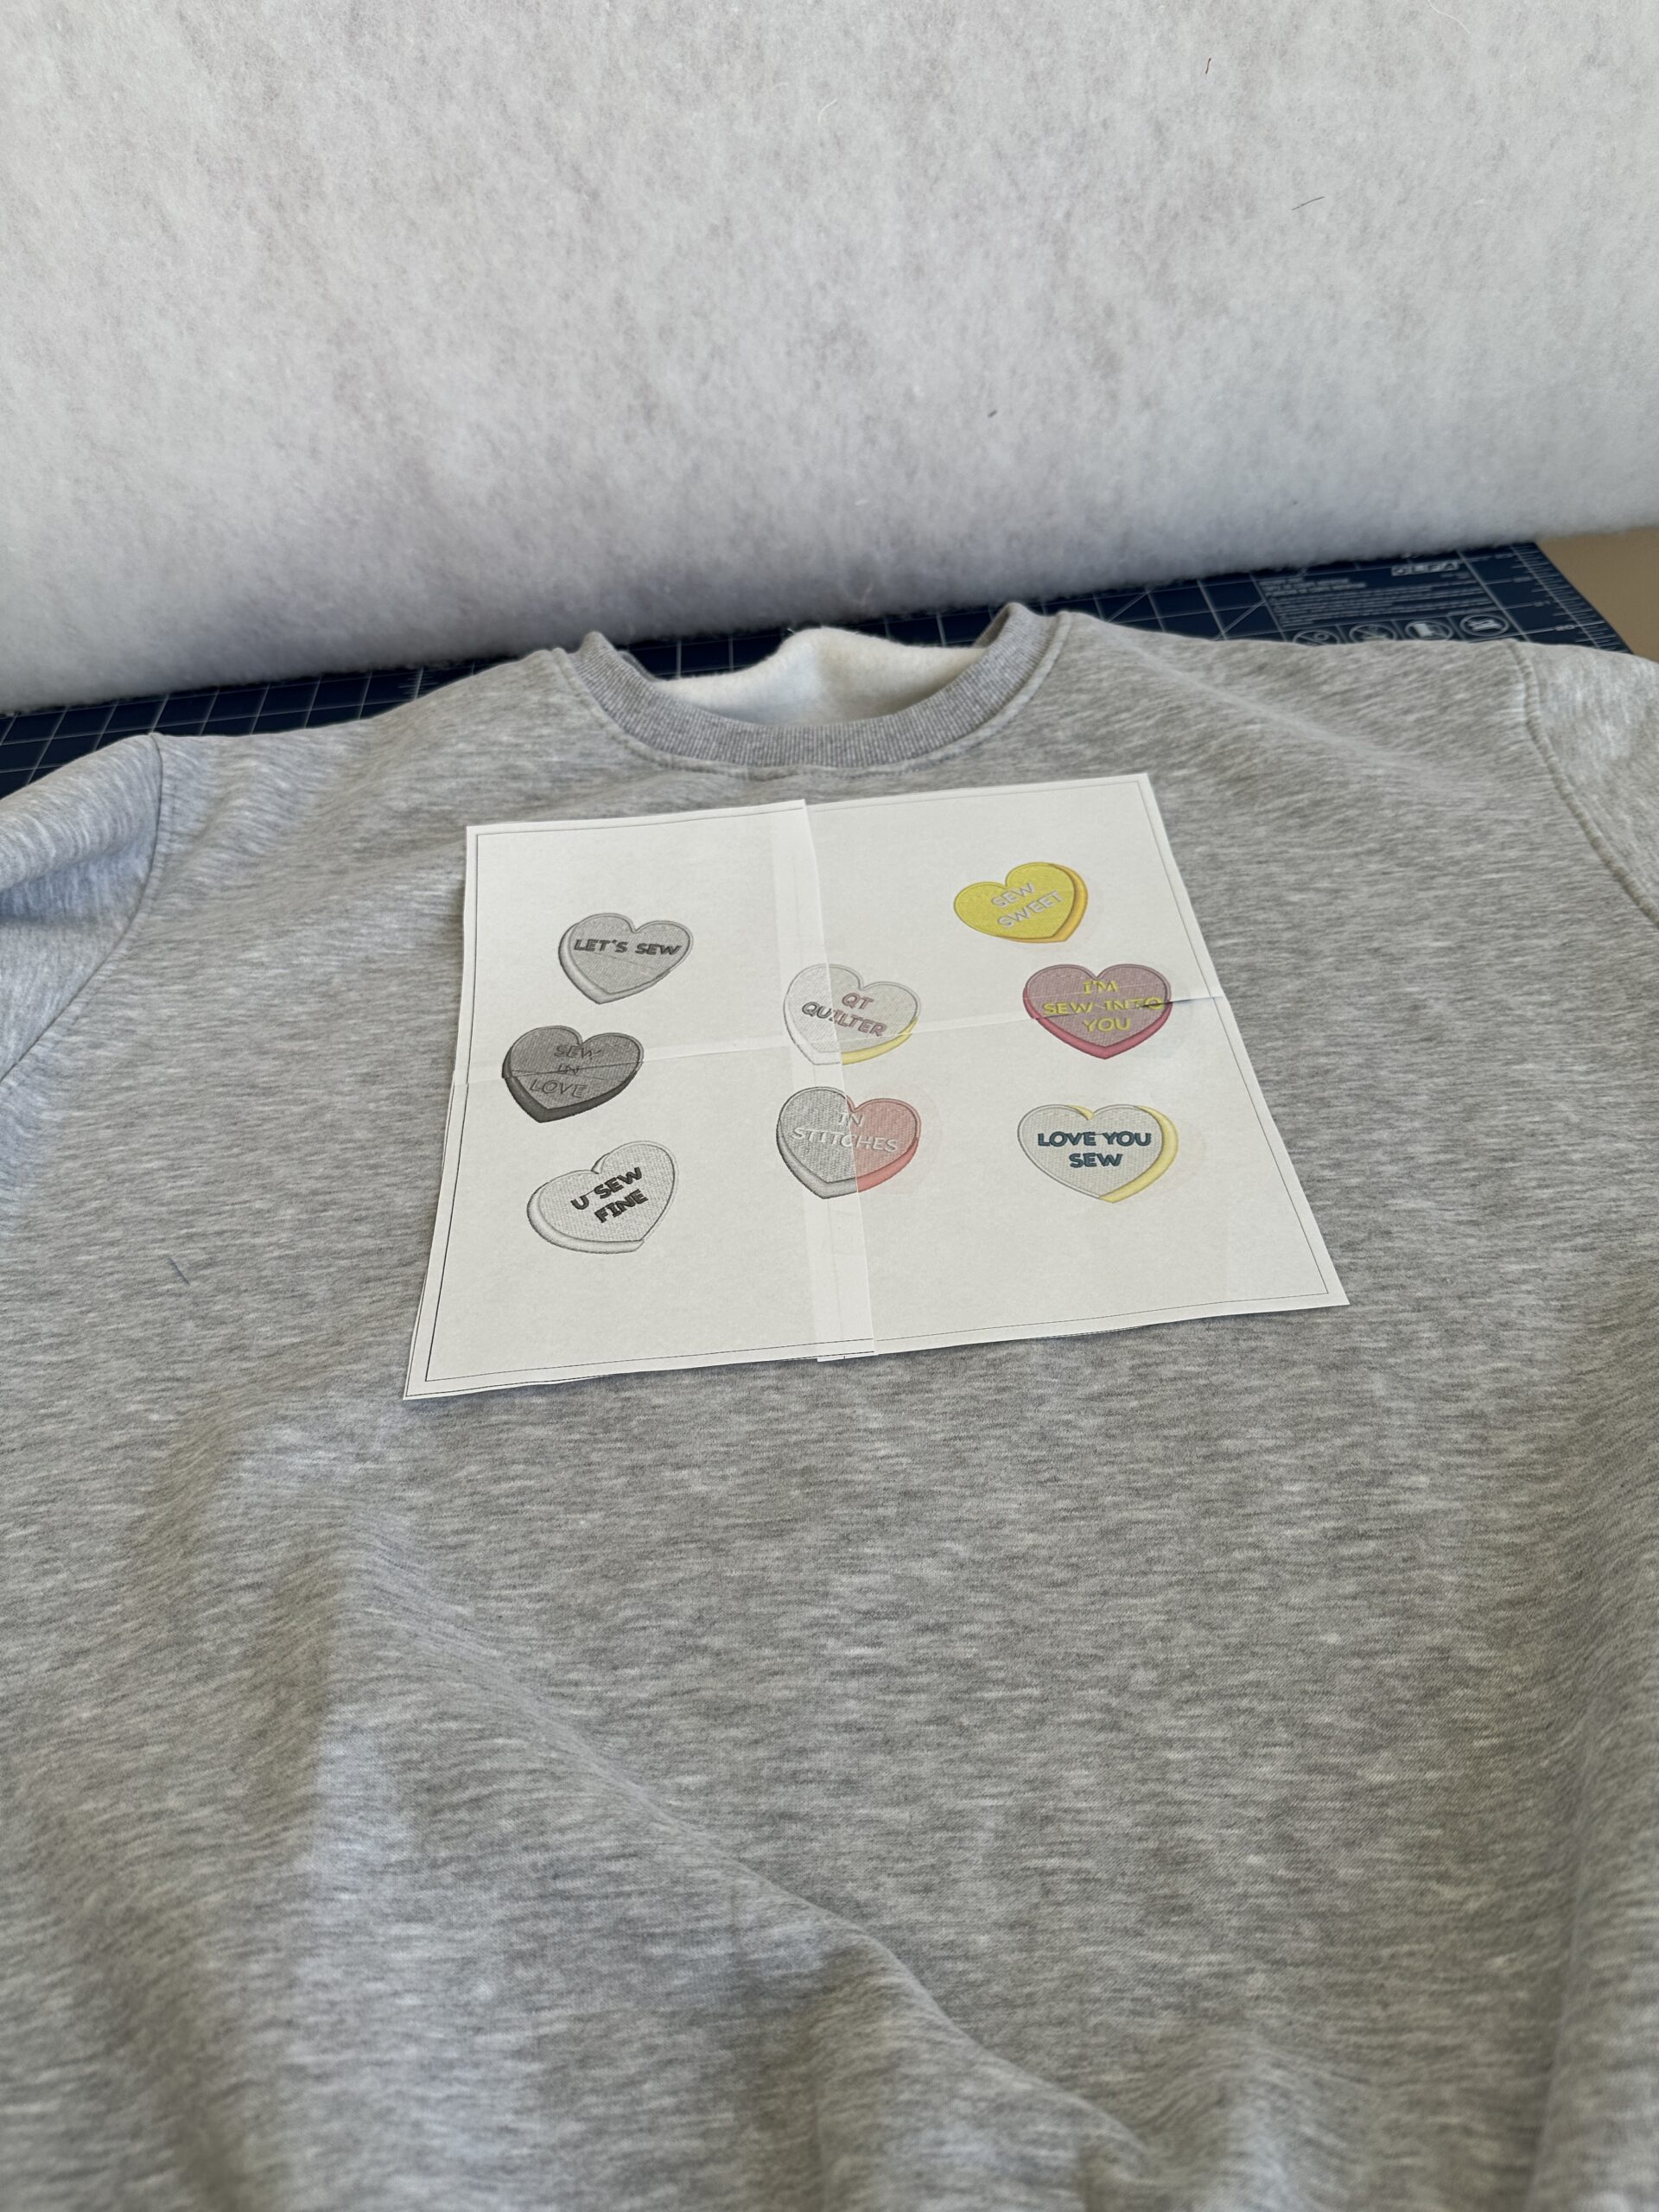
Once satisfied with the placement(s), mark the design(s) center cross marks onto the shirt, using chalk or a removable fabric marker.
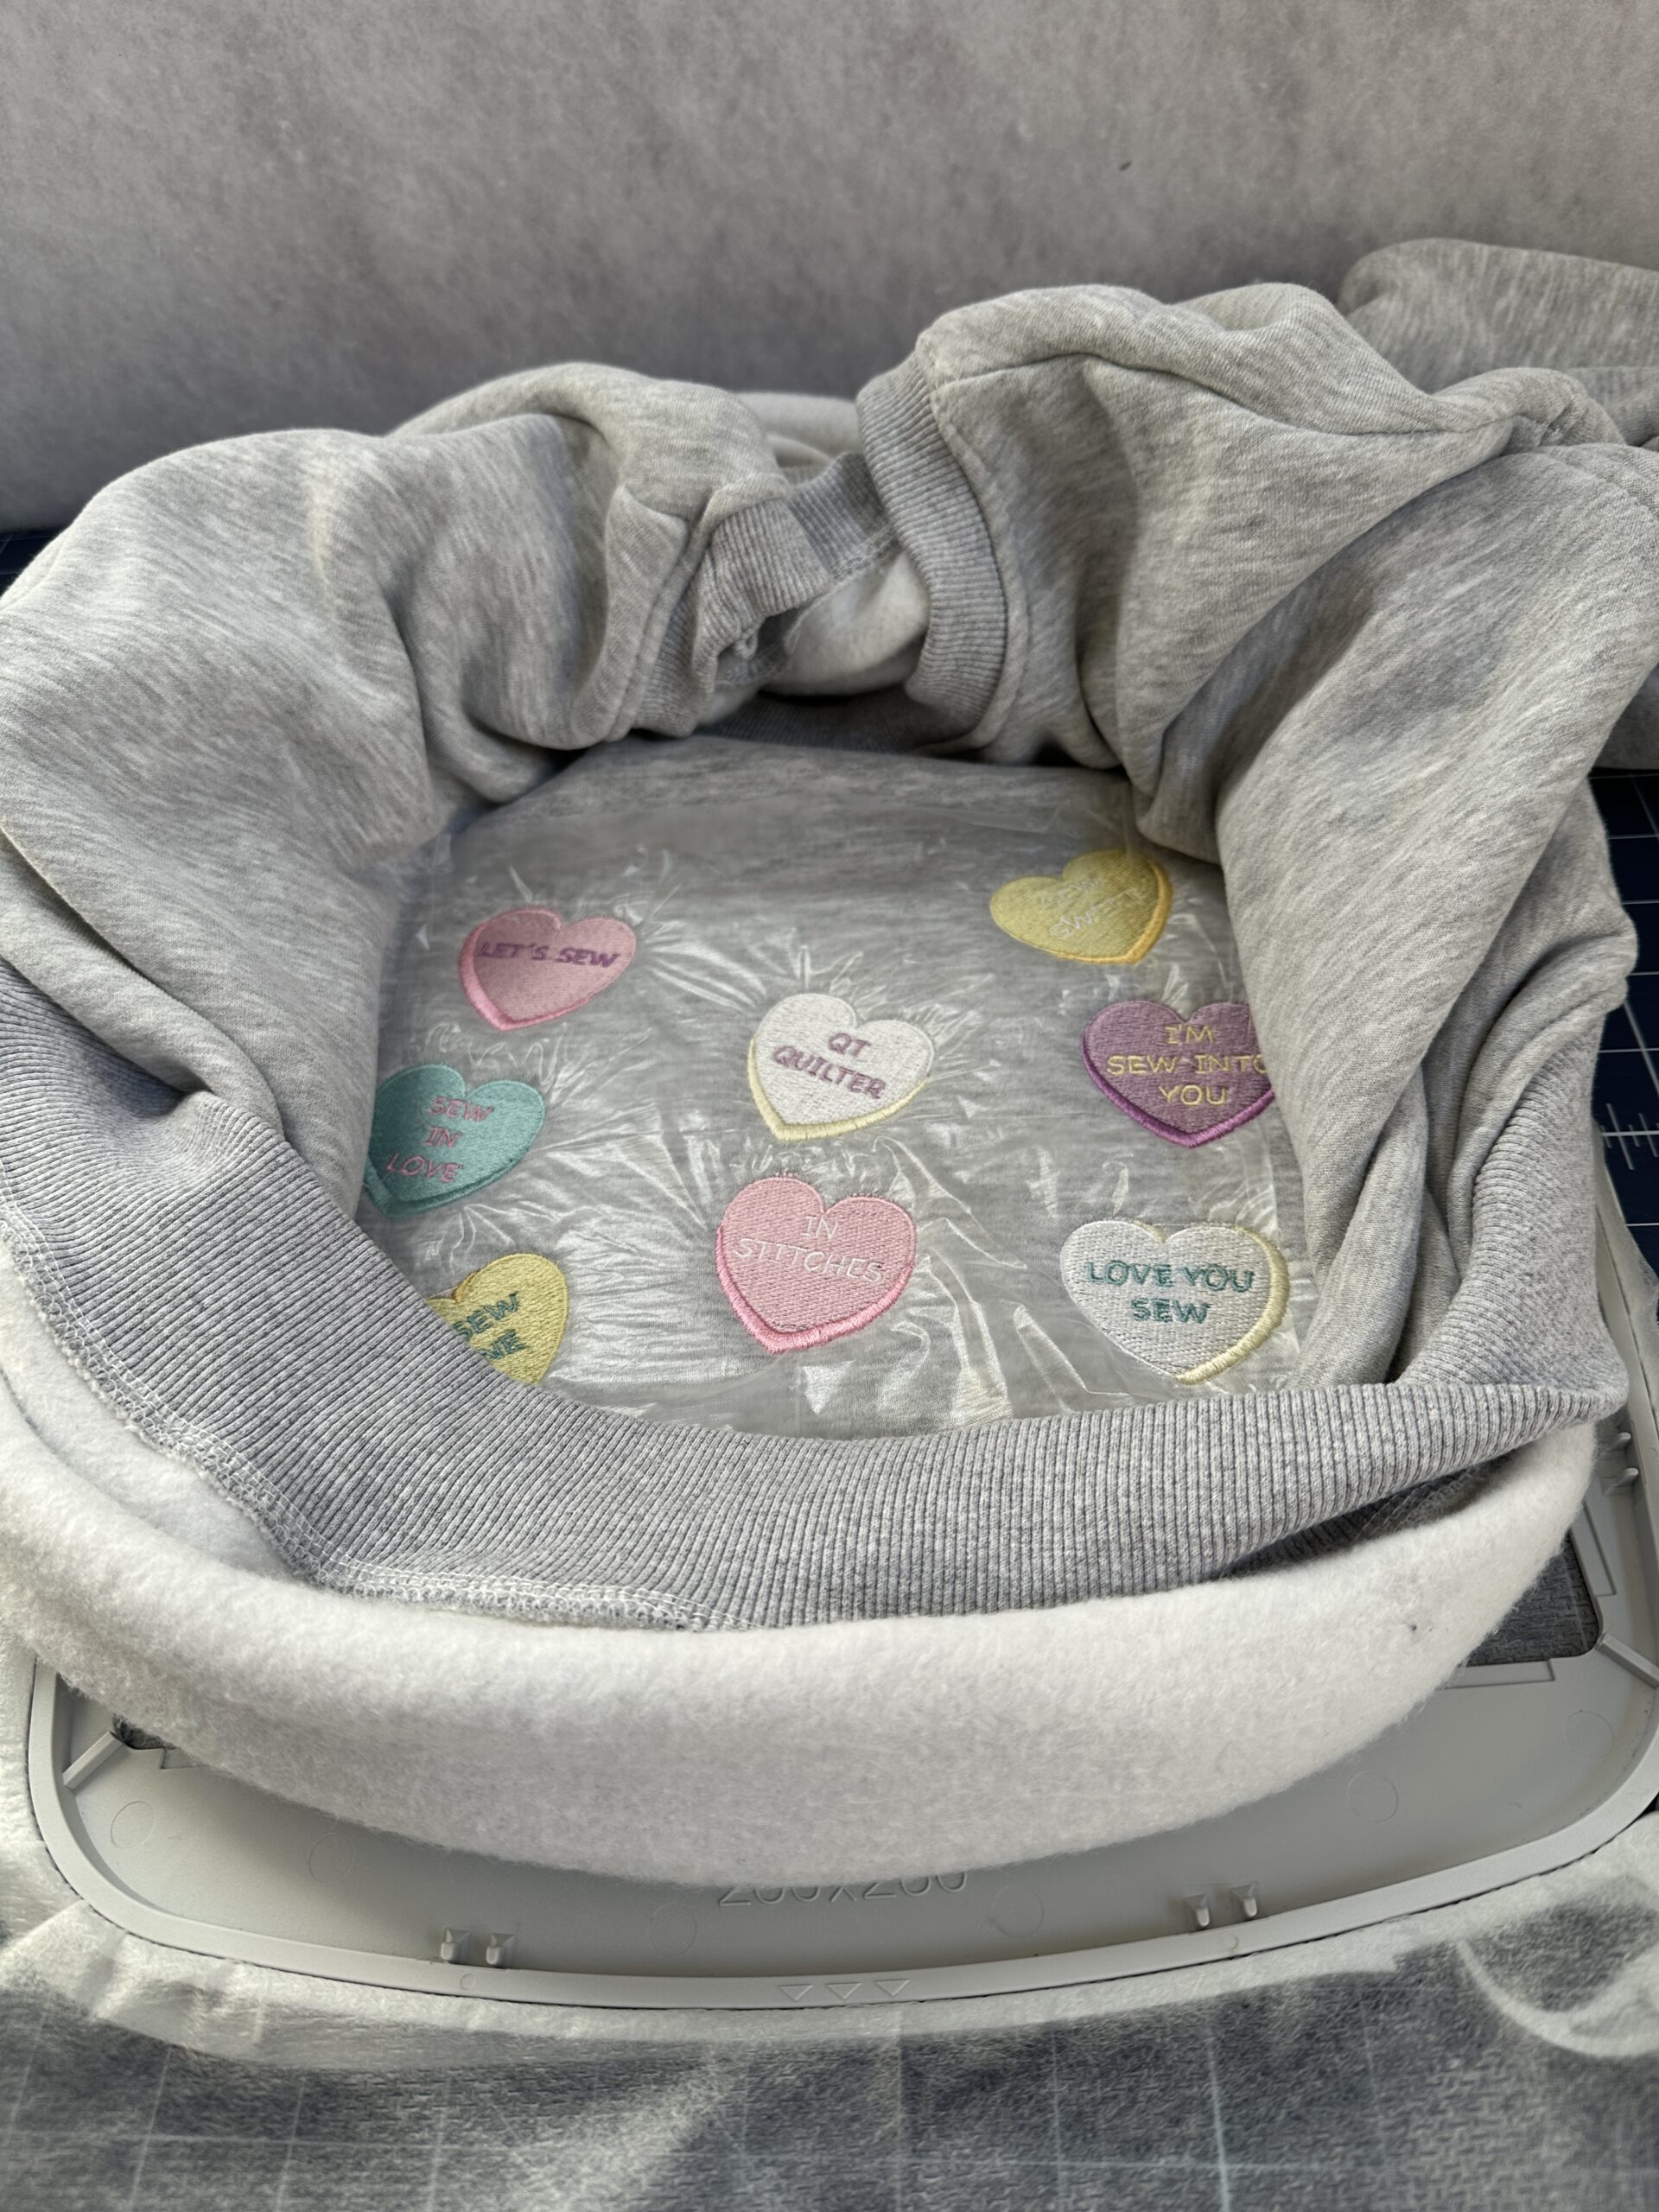
Next, separate the shirt front and back. Turn the sweatshirt partially inside out to access only the front of the sweatshirt. Then, float the sweatshirt front on the stabilizer and use Sulky KK2000™ Temporary Spray Adhesive to secure the layers.
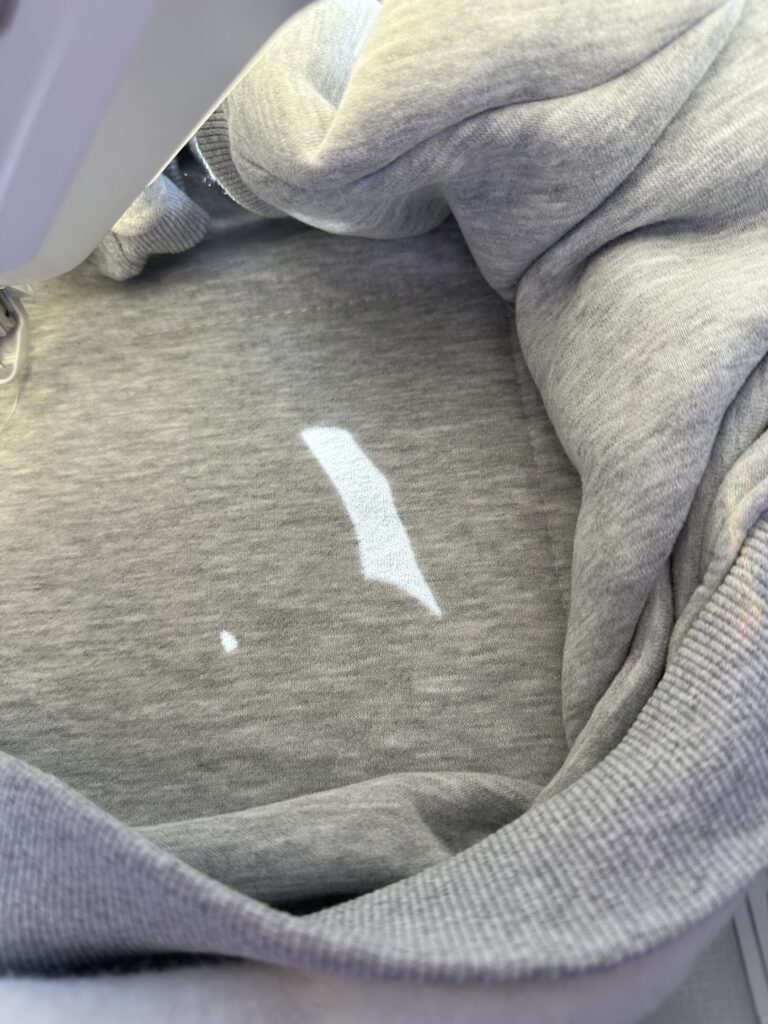
Then, place a piece of Sulky Solvy over the sweatshirt to prohibit the stitches from sinking into the fabric pile. Next, place the hoop onto the machine. If desired, for extra security, stitch a basting box around the design perimeter to secure all layers in the hoop.

CONVERSATION HEART EMBROIDERY
Embroider the design(s), clipping any jump threads with each thread change.
When the embroidery is complete, remove the hoop from the machine.
Then, remove the Soft ‘n Sheer from the hoop, releasing the sweatshirt.
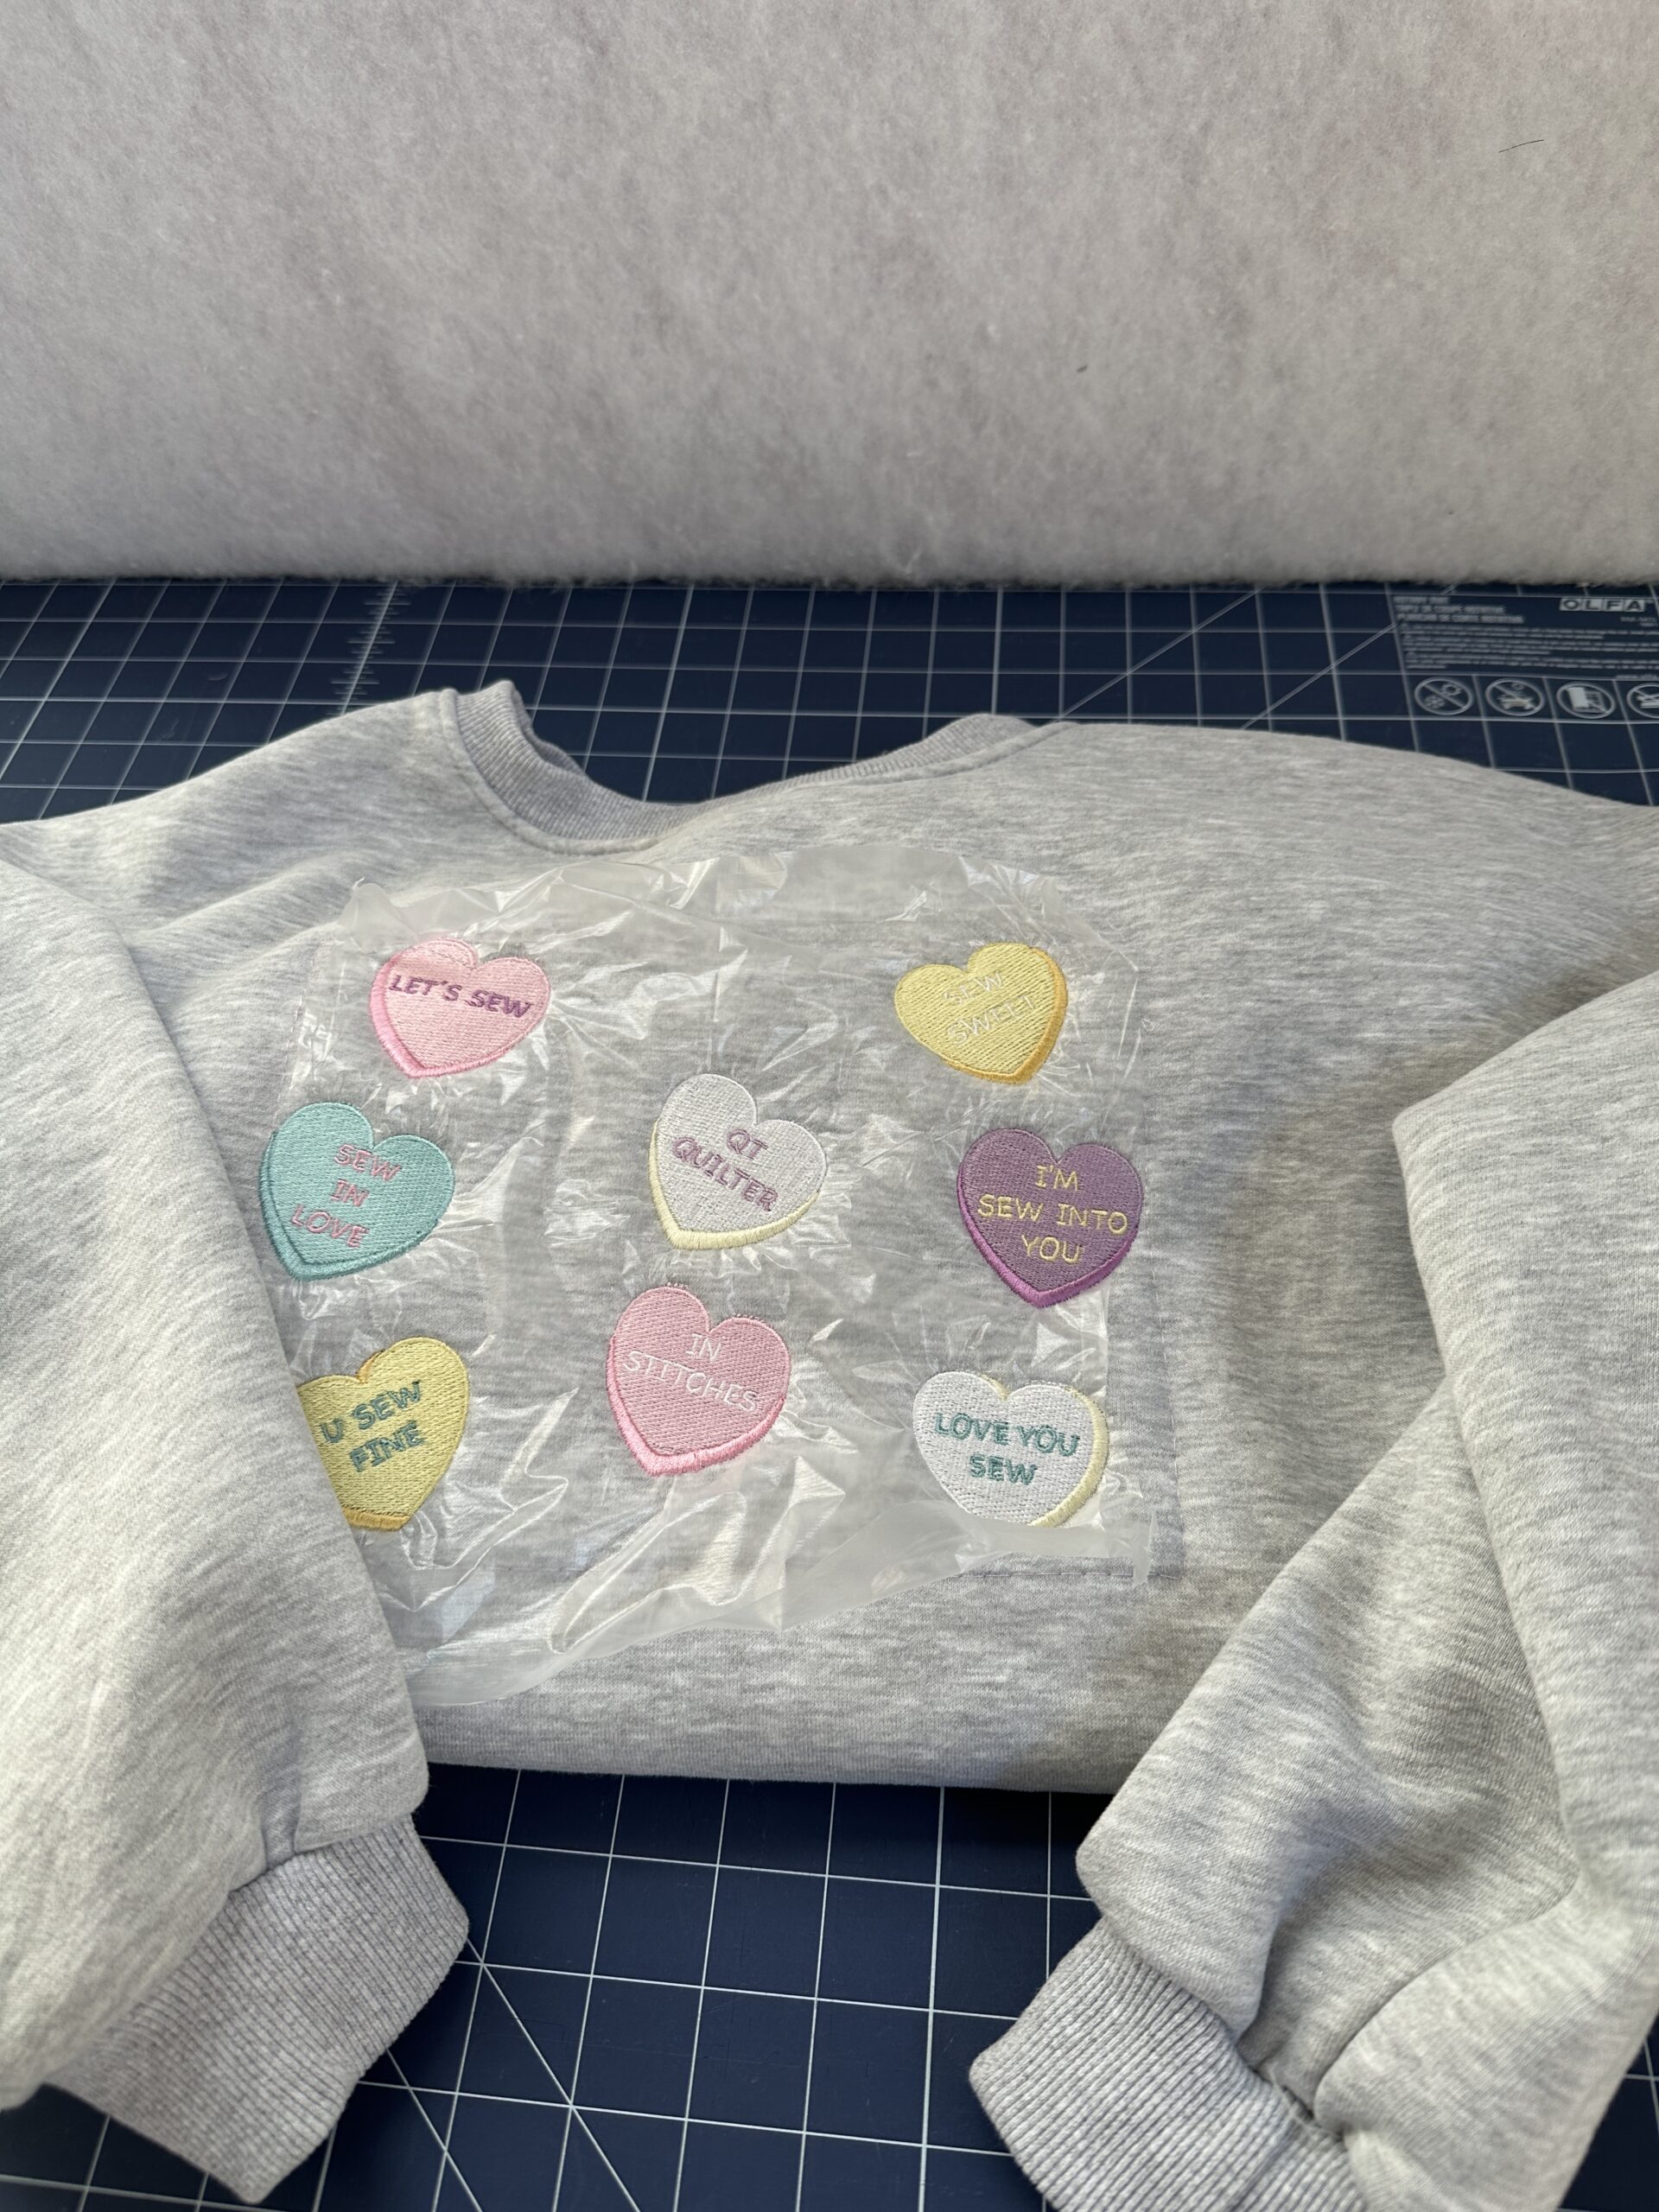
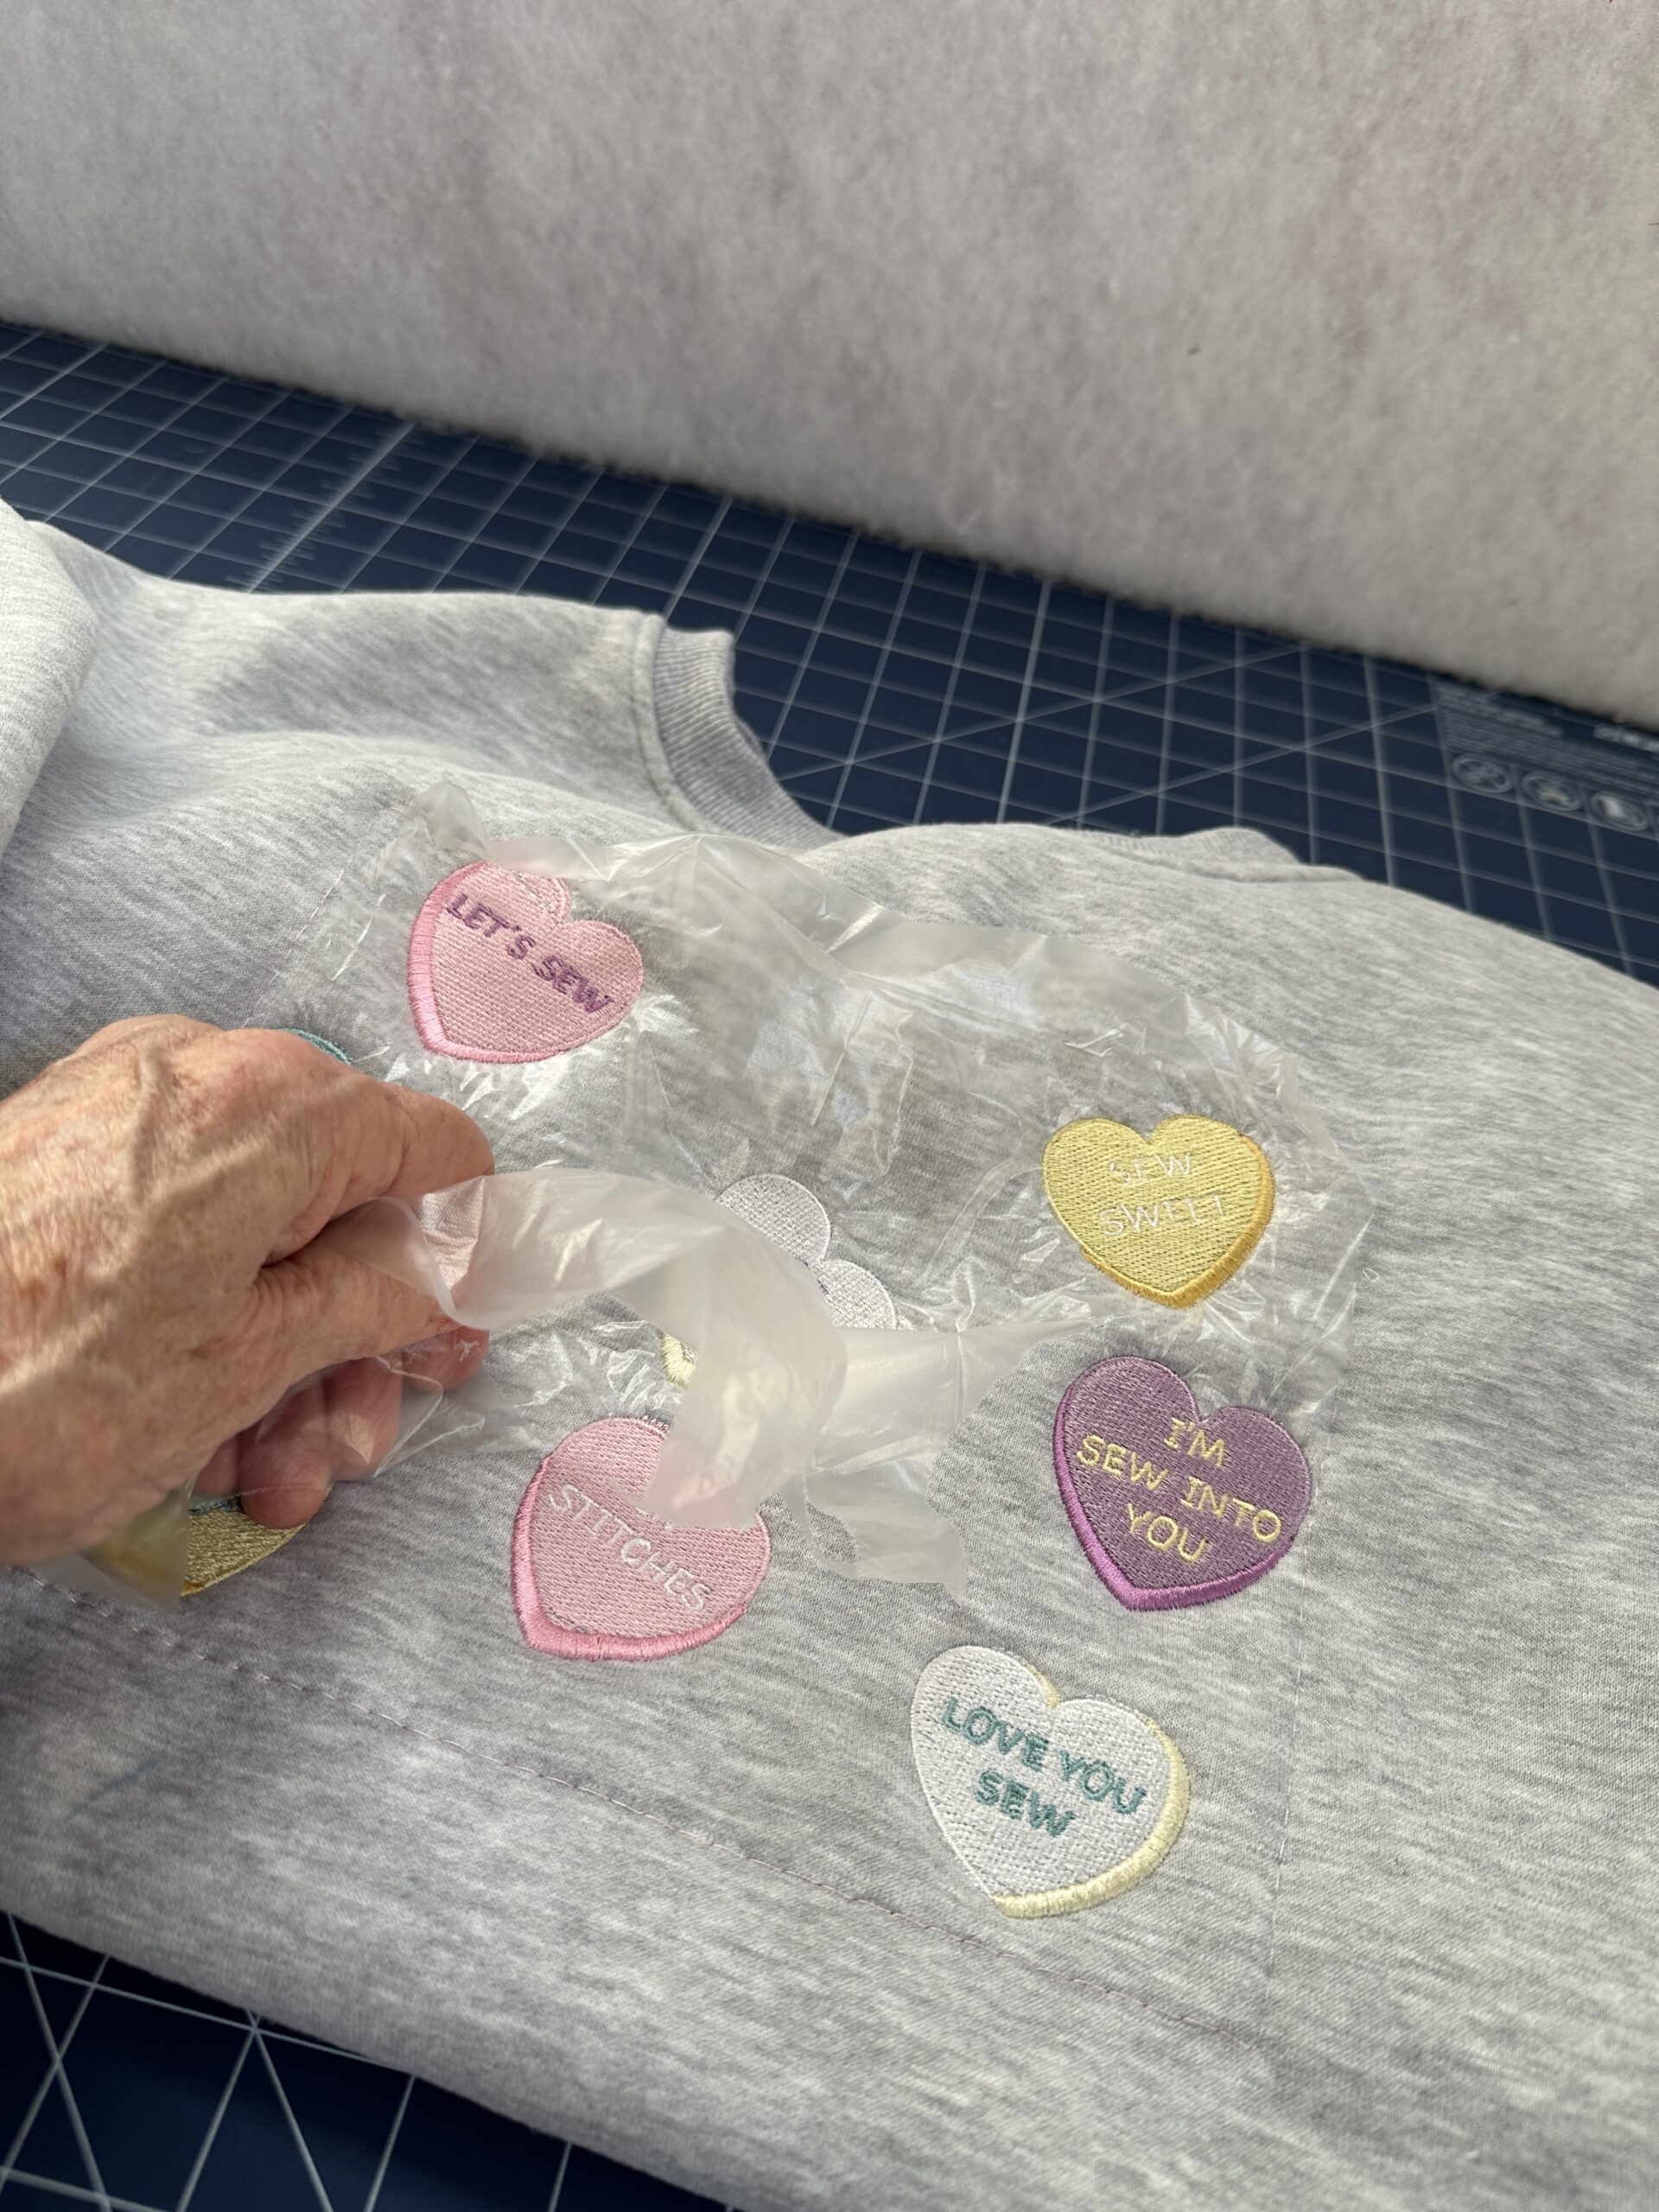
Carefully tear away as much Solvy from the sweatshirt right side as possible.
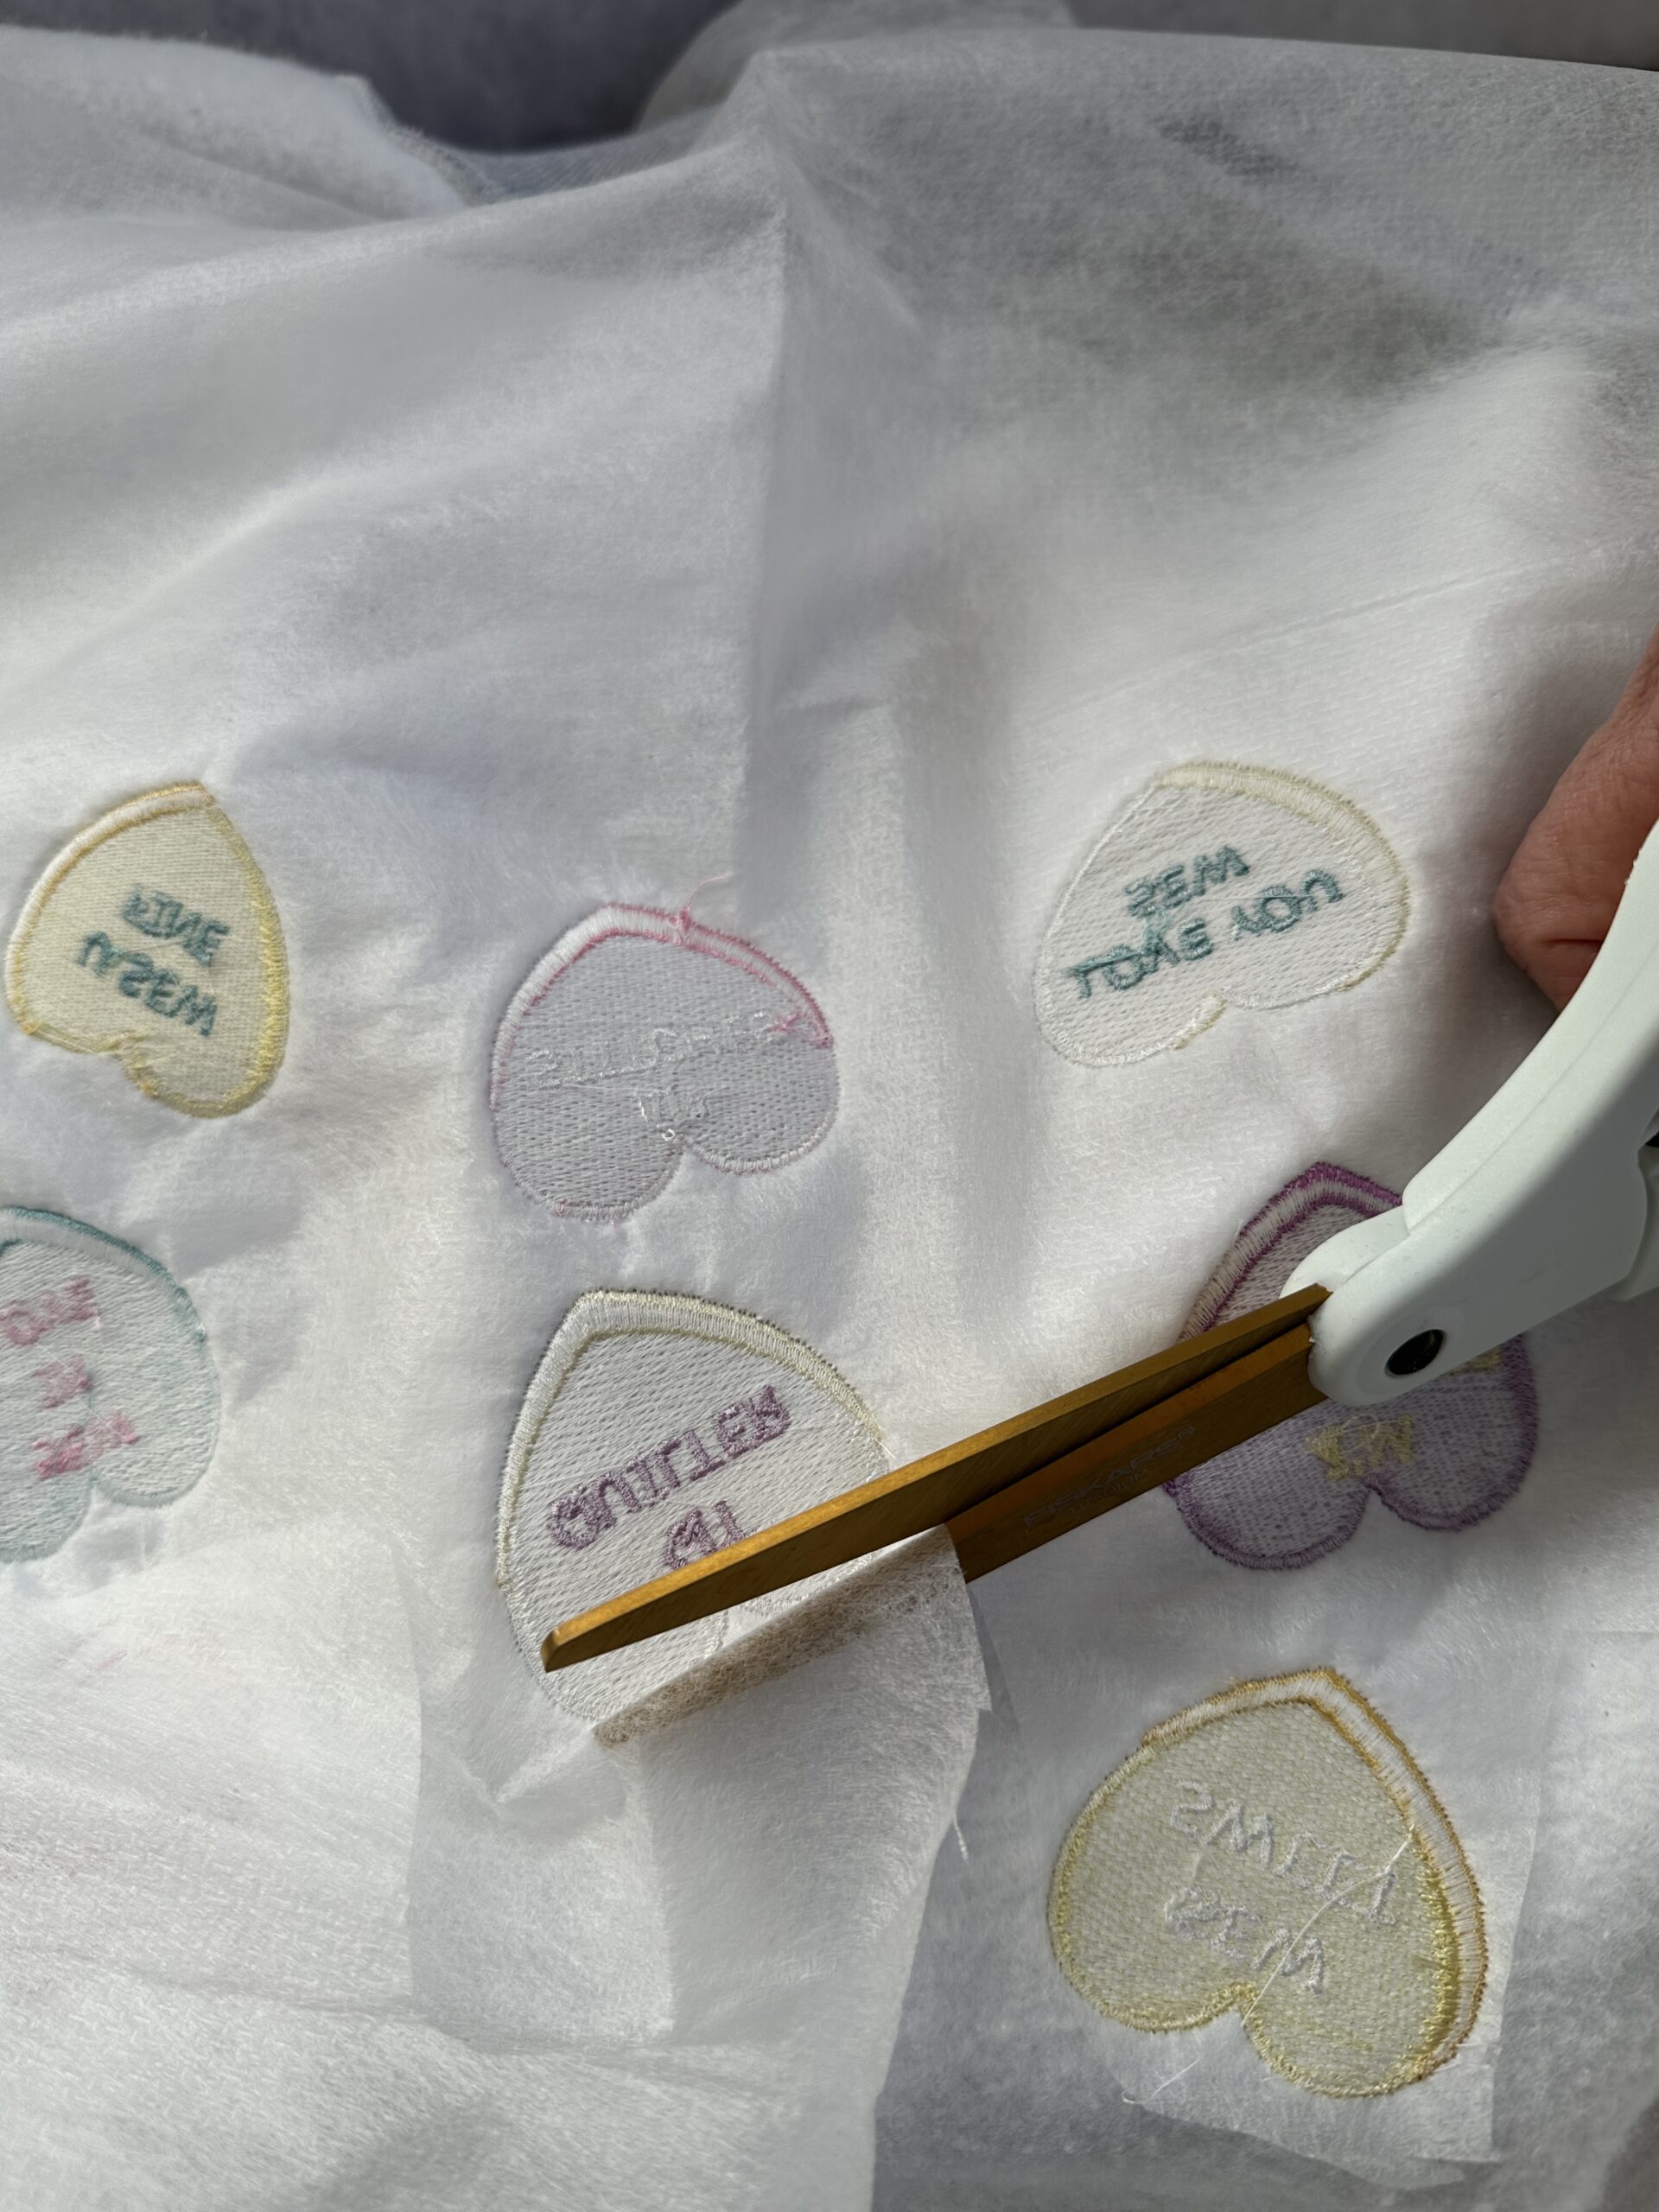
Then, trim away the excess Soft n Sheer Extra from the sweatshirt wrong side.
TO protect the wearer from the bobbin threads and to seal the stitching, apply Tender Touch to the sweatshirt wrong side, behind the embroidery.
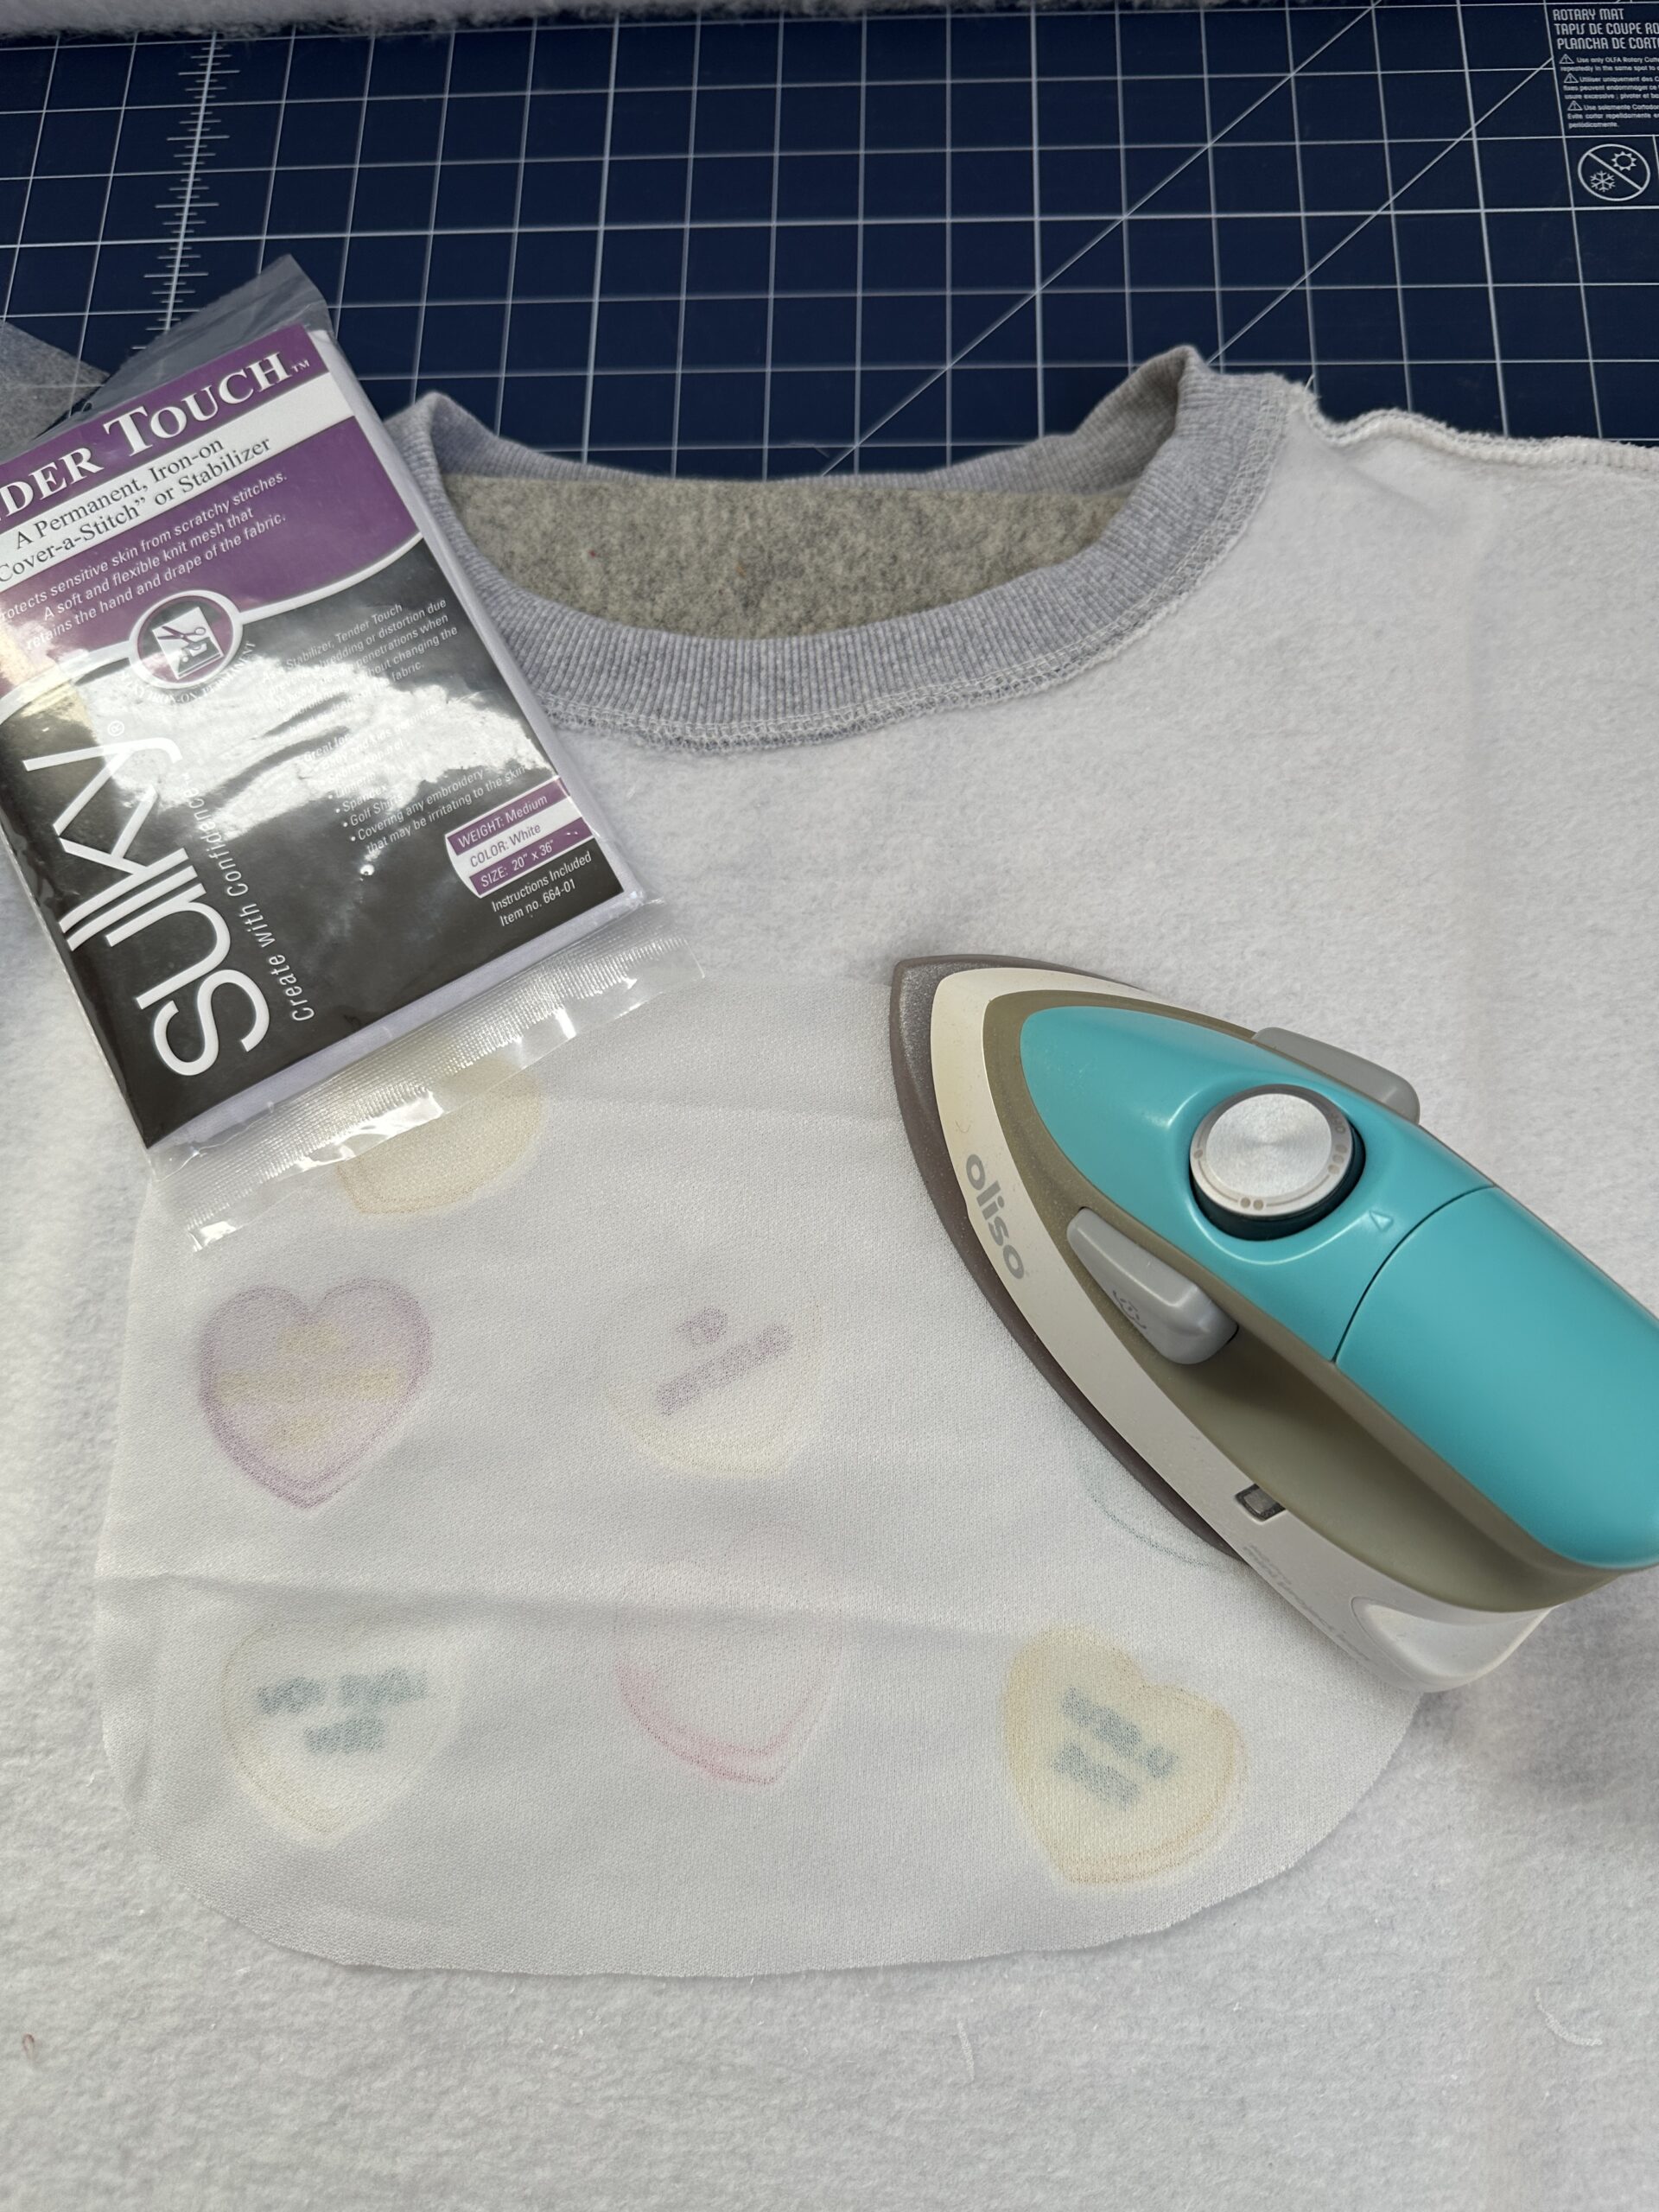
TIP: For a stronger bond, use Pinking Shears to cut the Tender Touch before fusing.
Turn the Conversation Heart Sweatshirt to the right side. Admire your creation and wear it with pride!