Cookie Cutter Felt Ornaments

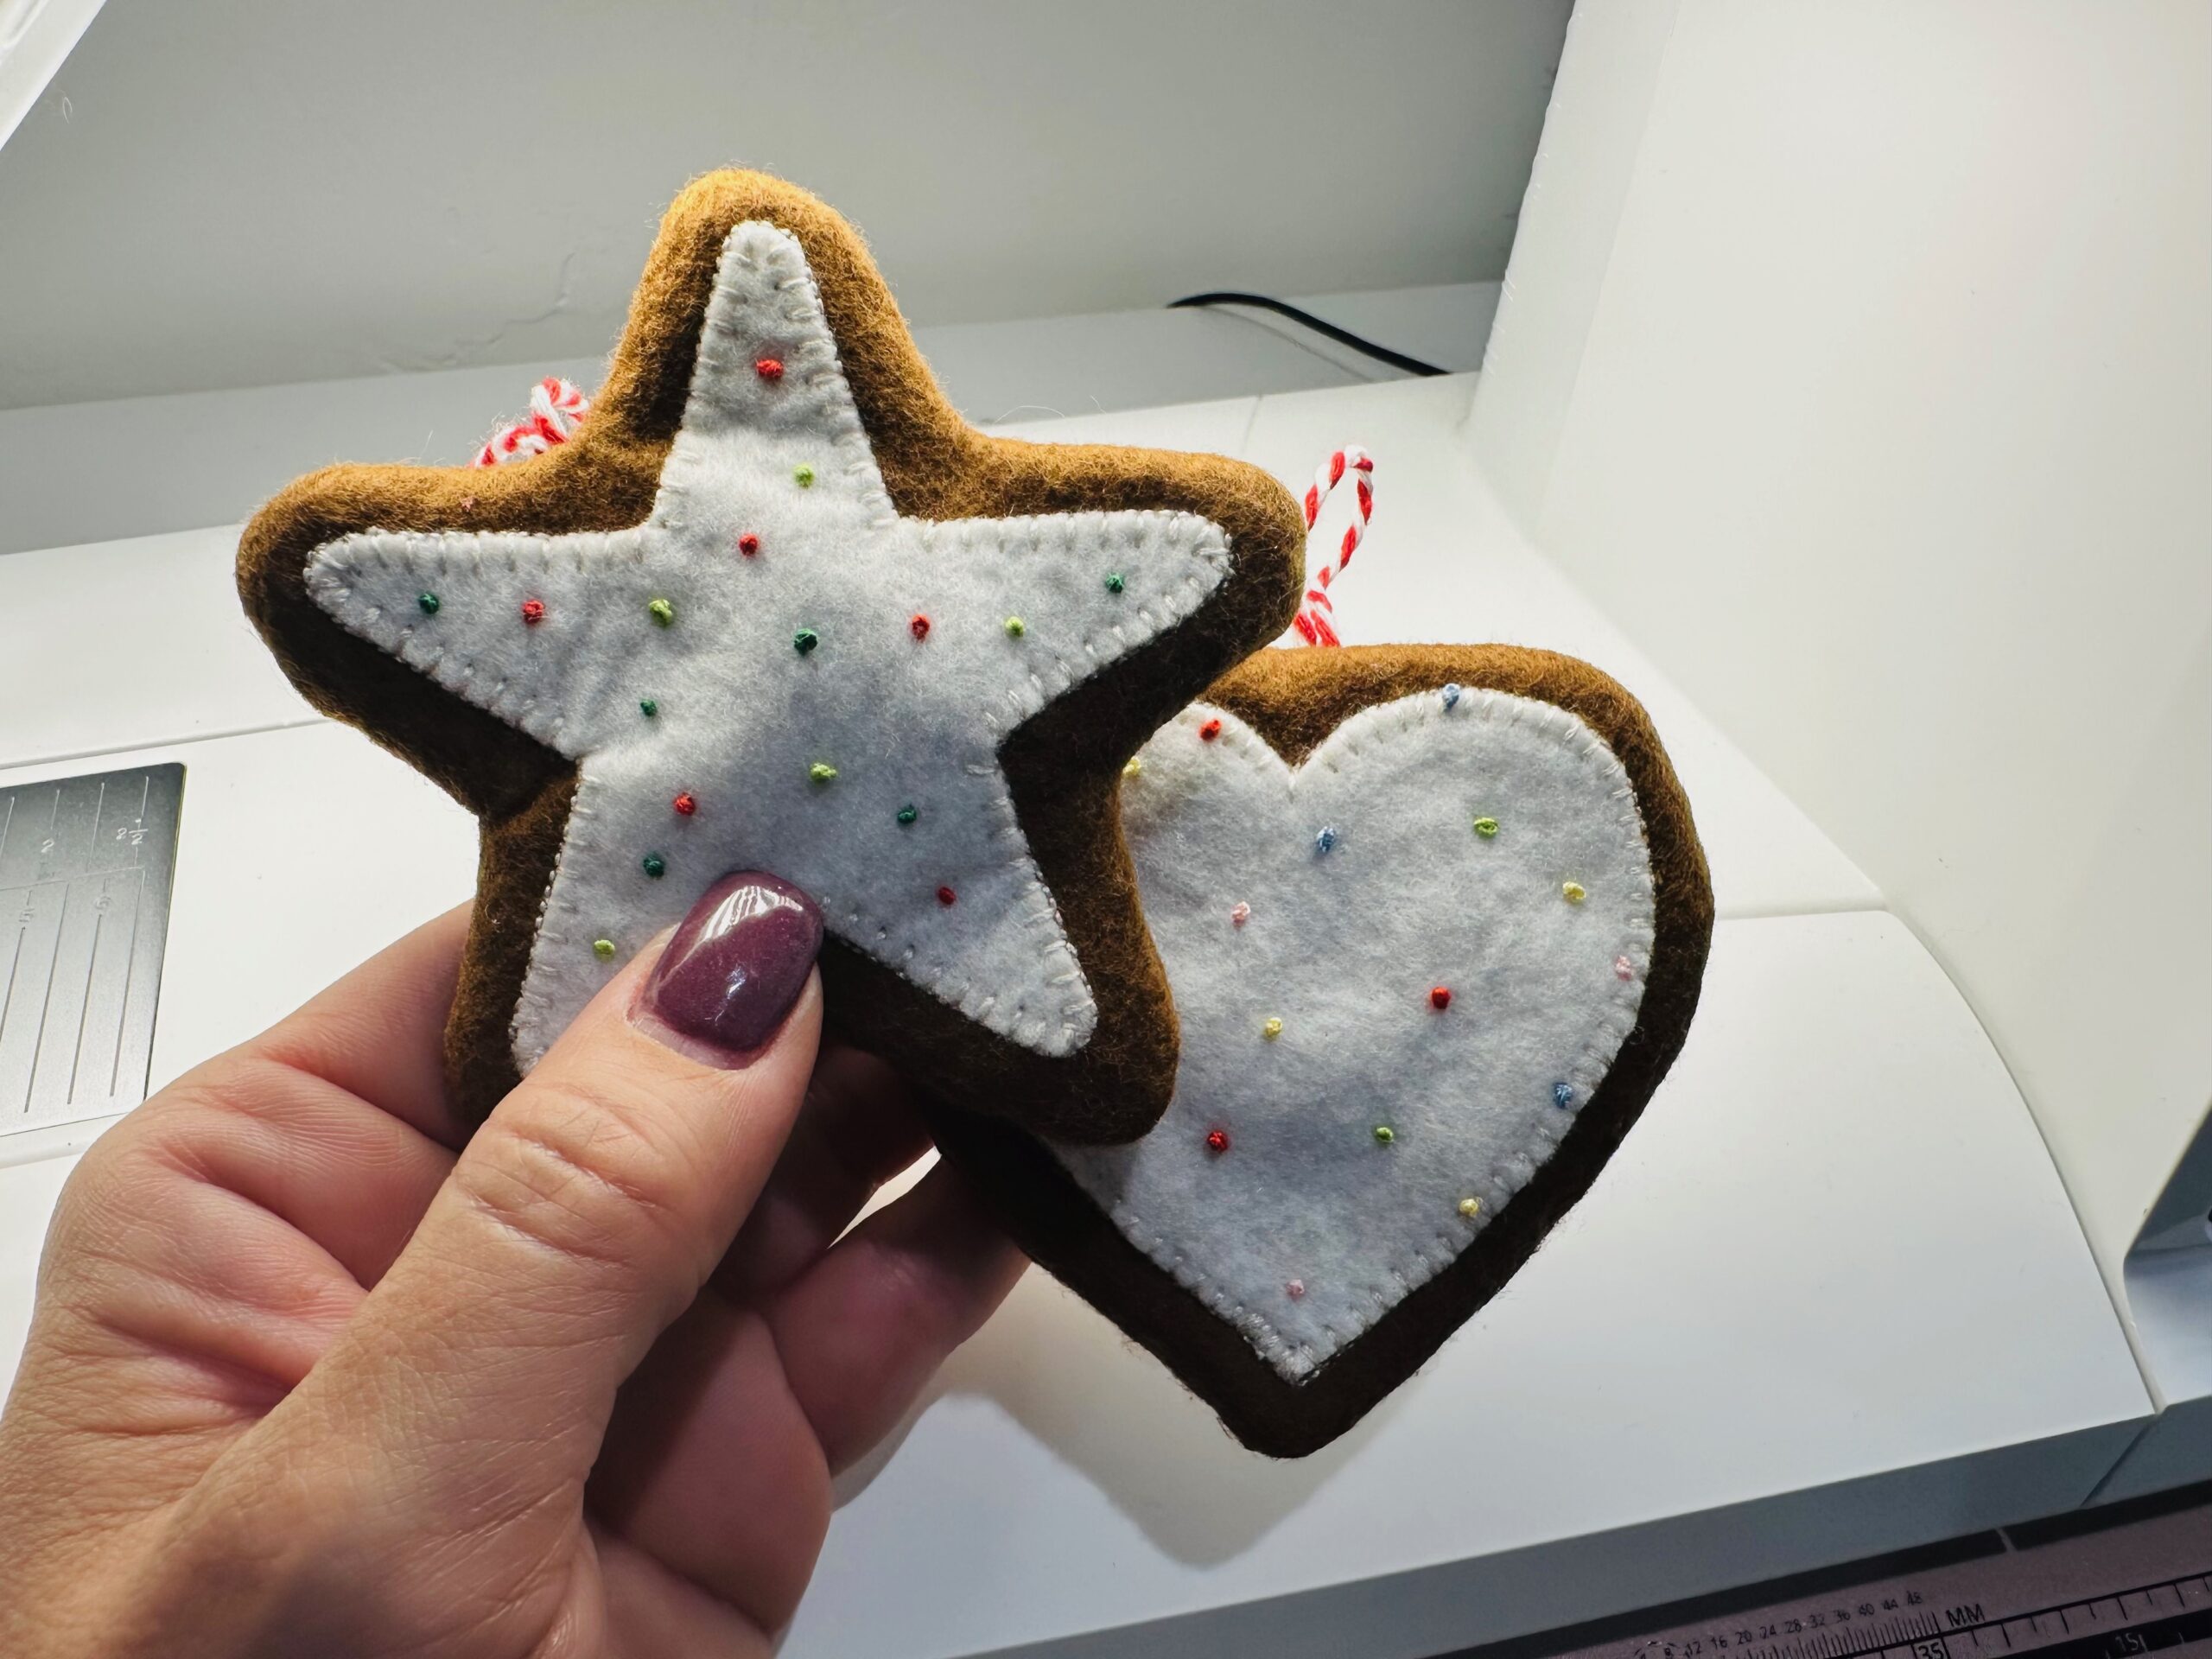
Stitch up handmade cookie cutter ornaments with no baking required! Use cookie cutters as appliqué templates to create the “frosting,” and hand embroider French knot “sprinkles” for a sweet addition to your Christmas tree or holiday bunting. Read on for the how-tos!
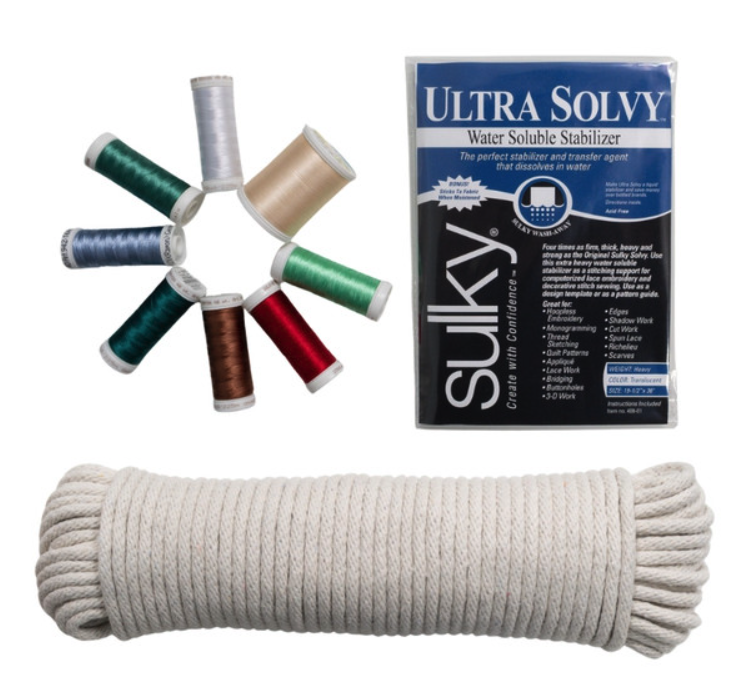
Note: Interested in the Holiday Rope Tray featured under the ornaments in the image above? Check out our limited edition Holiday Rope Tray Kit and make one for yourself using our Creative Rope Basket Tutorial!
COOKIE CUTTER ORNAMENT SUPPLIES
- Sulky Felty (White & Brown)
- Perfect Appliqué Fusible Web
- Organ size 100/16 Universal Needle
- Sulky 12 wt. Cotton Petites Thread (Soft White, Saddle Brown & various colors for sprinkles)
- Sulky 50 wt. Cotton Thread (bobbin)
- Clover Wonder Clips
- Medium-loft batting scraps
- Twine or braided thread for hanging loop
COOKIE CUTTER APPLIQUÉ
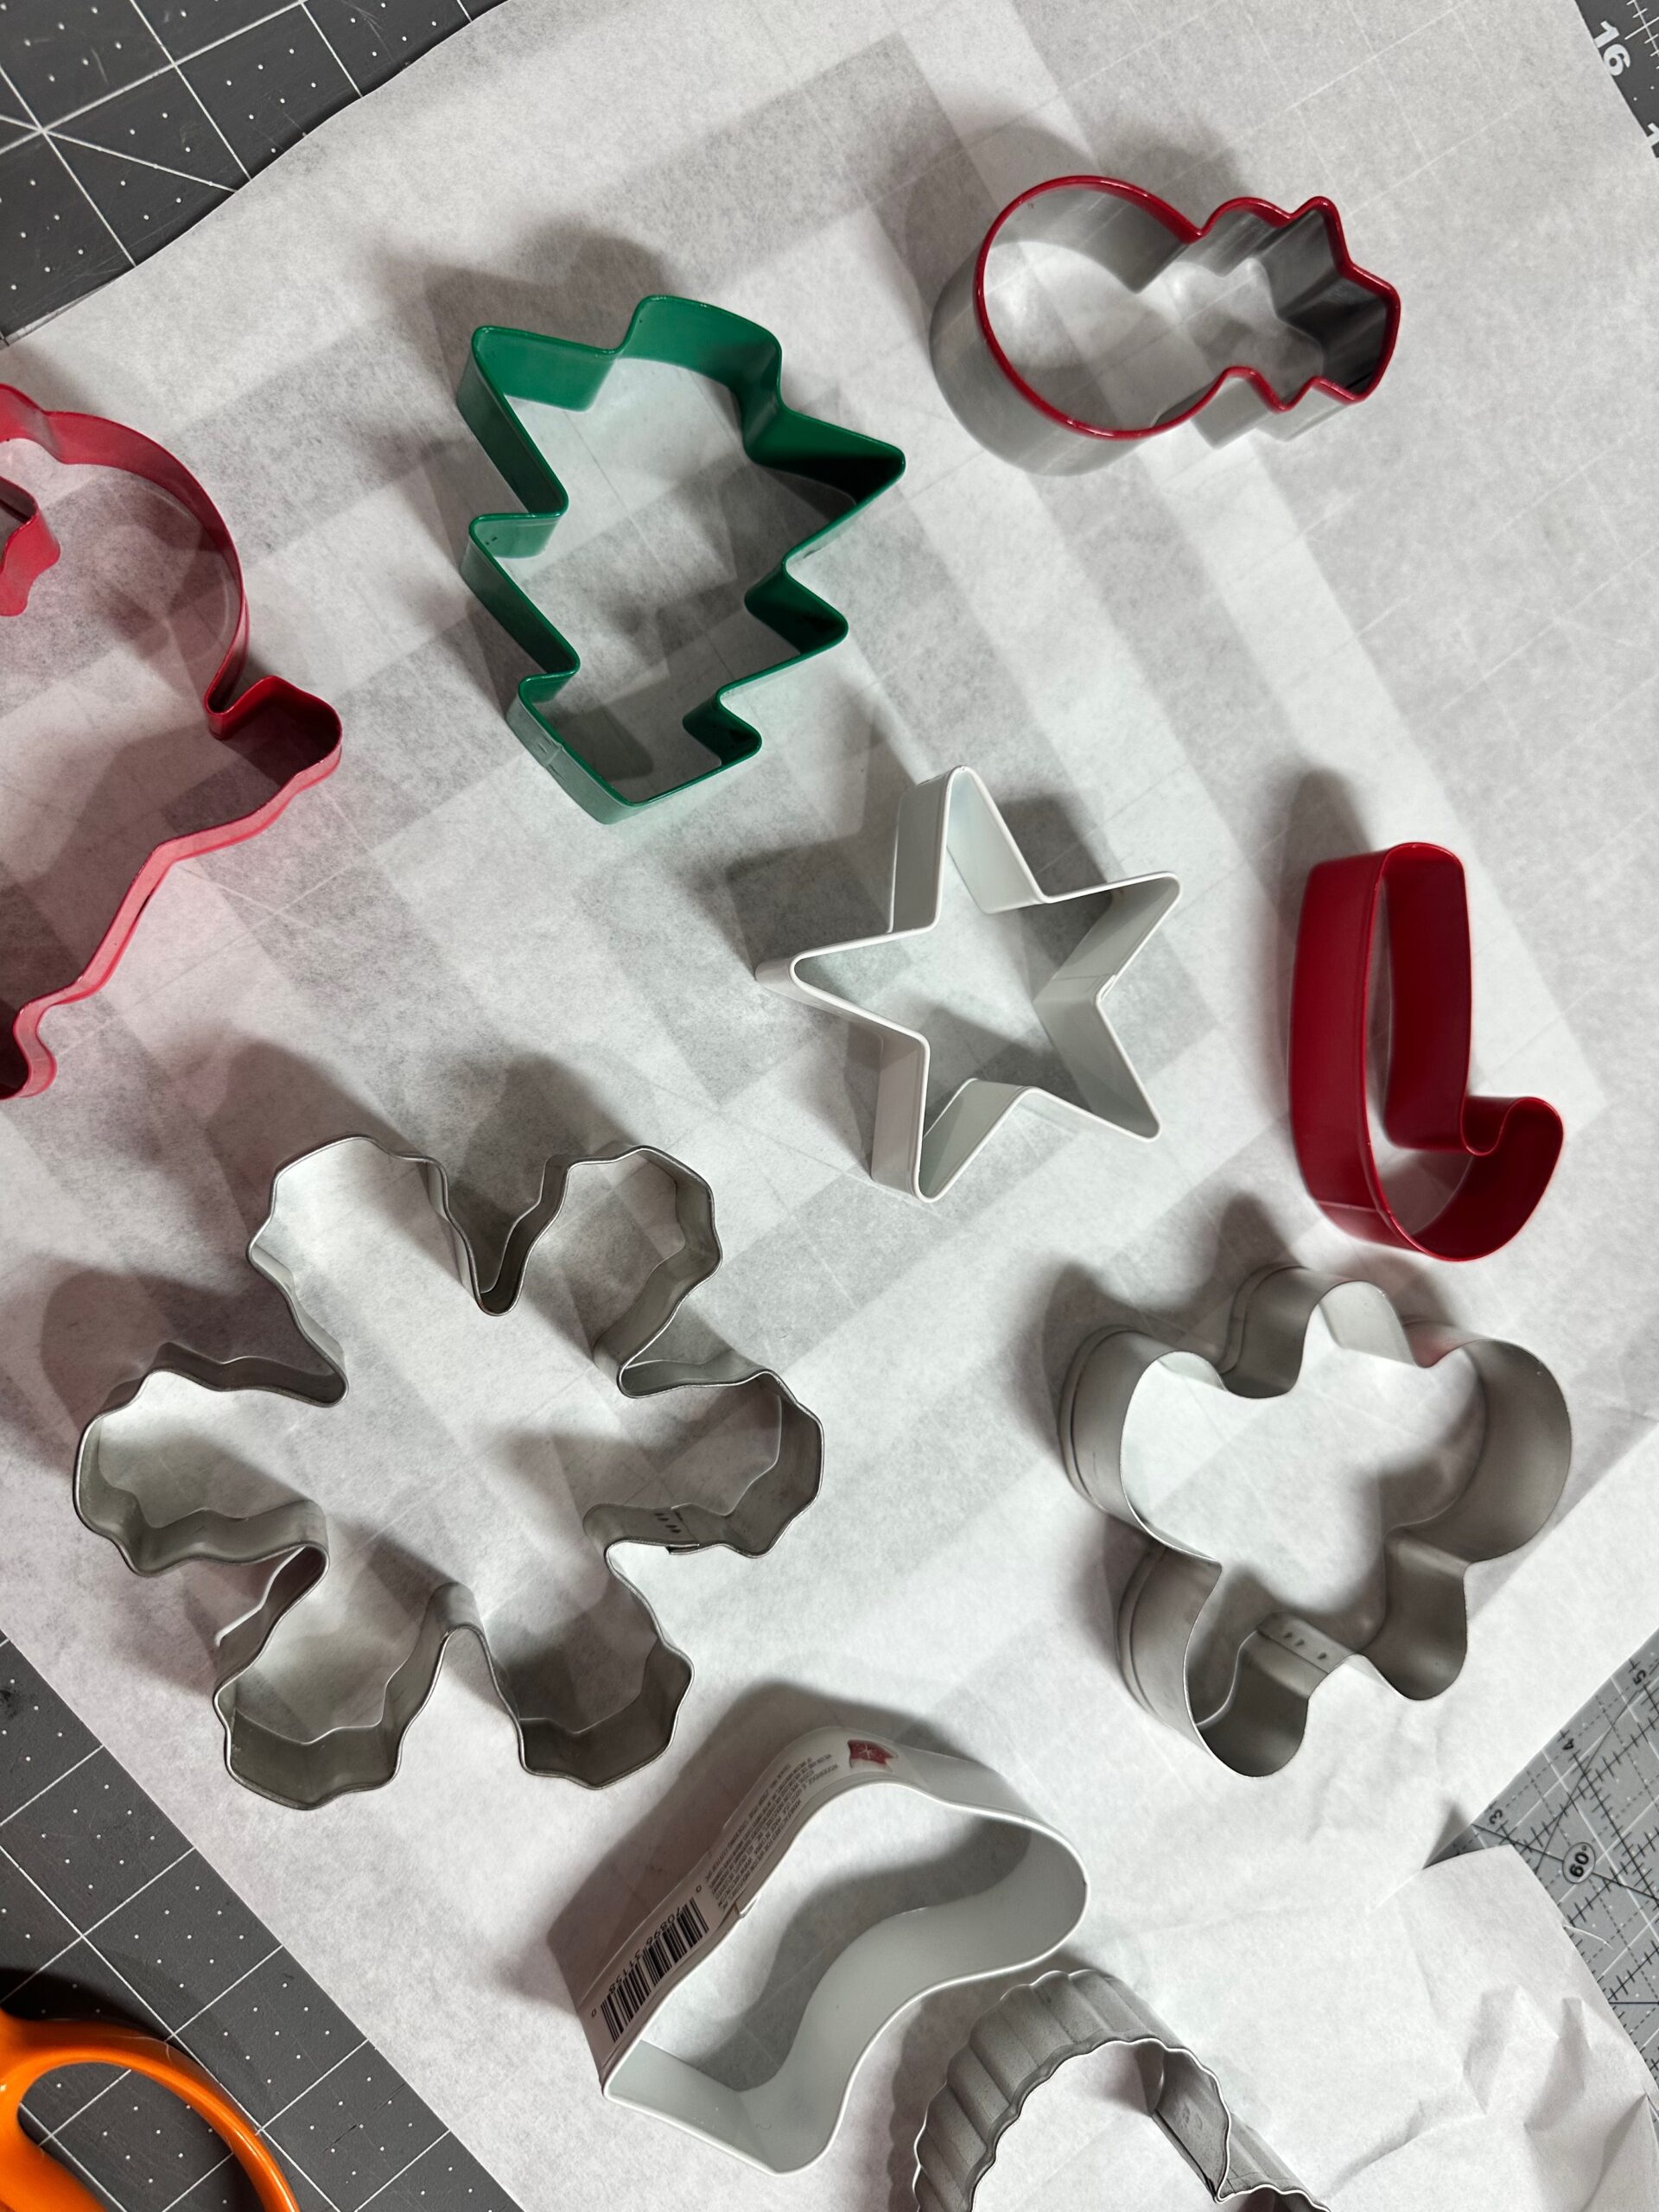
Gather the cookie cutters you love for this project. Larger cookie cutters without a lot of curves work best.
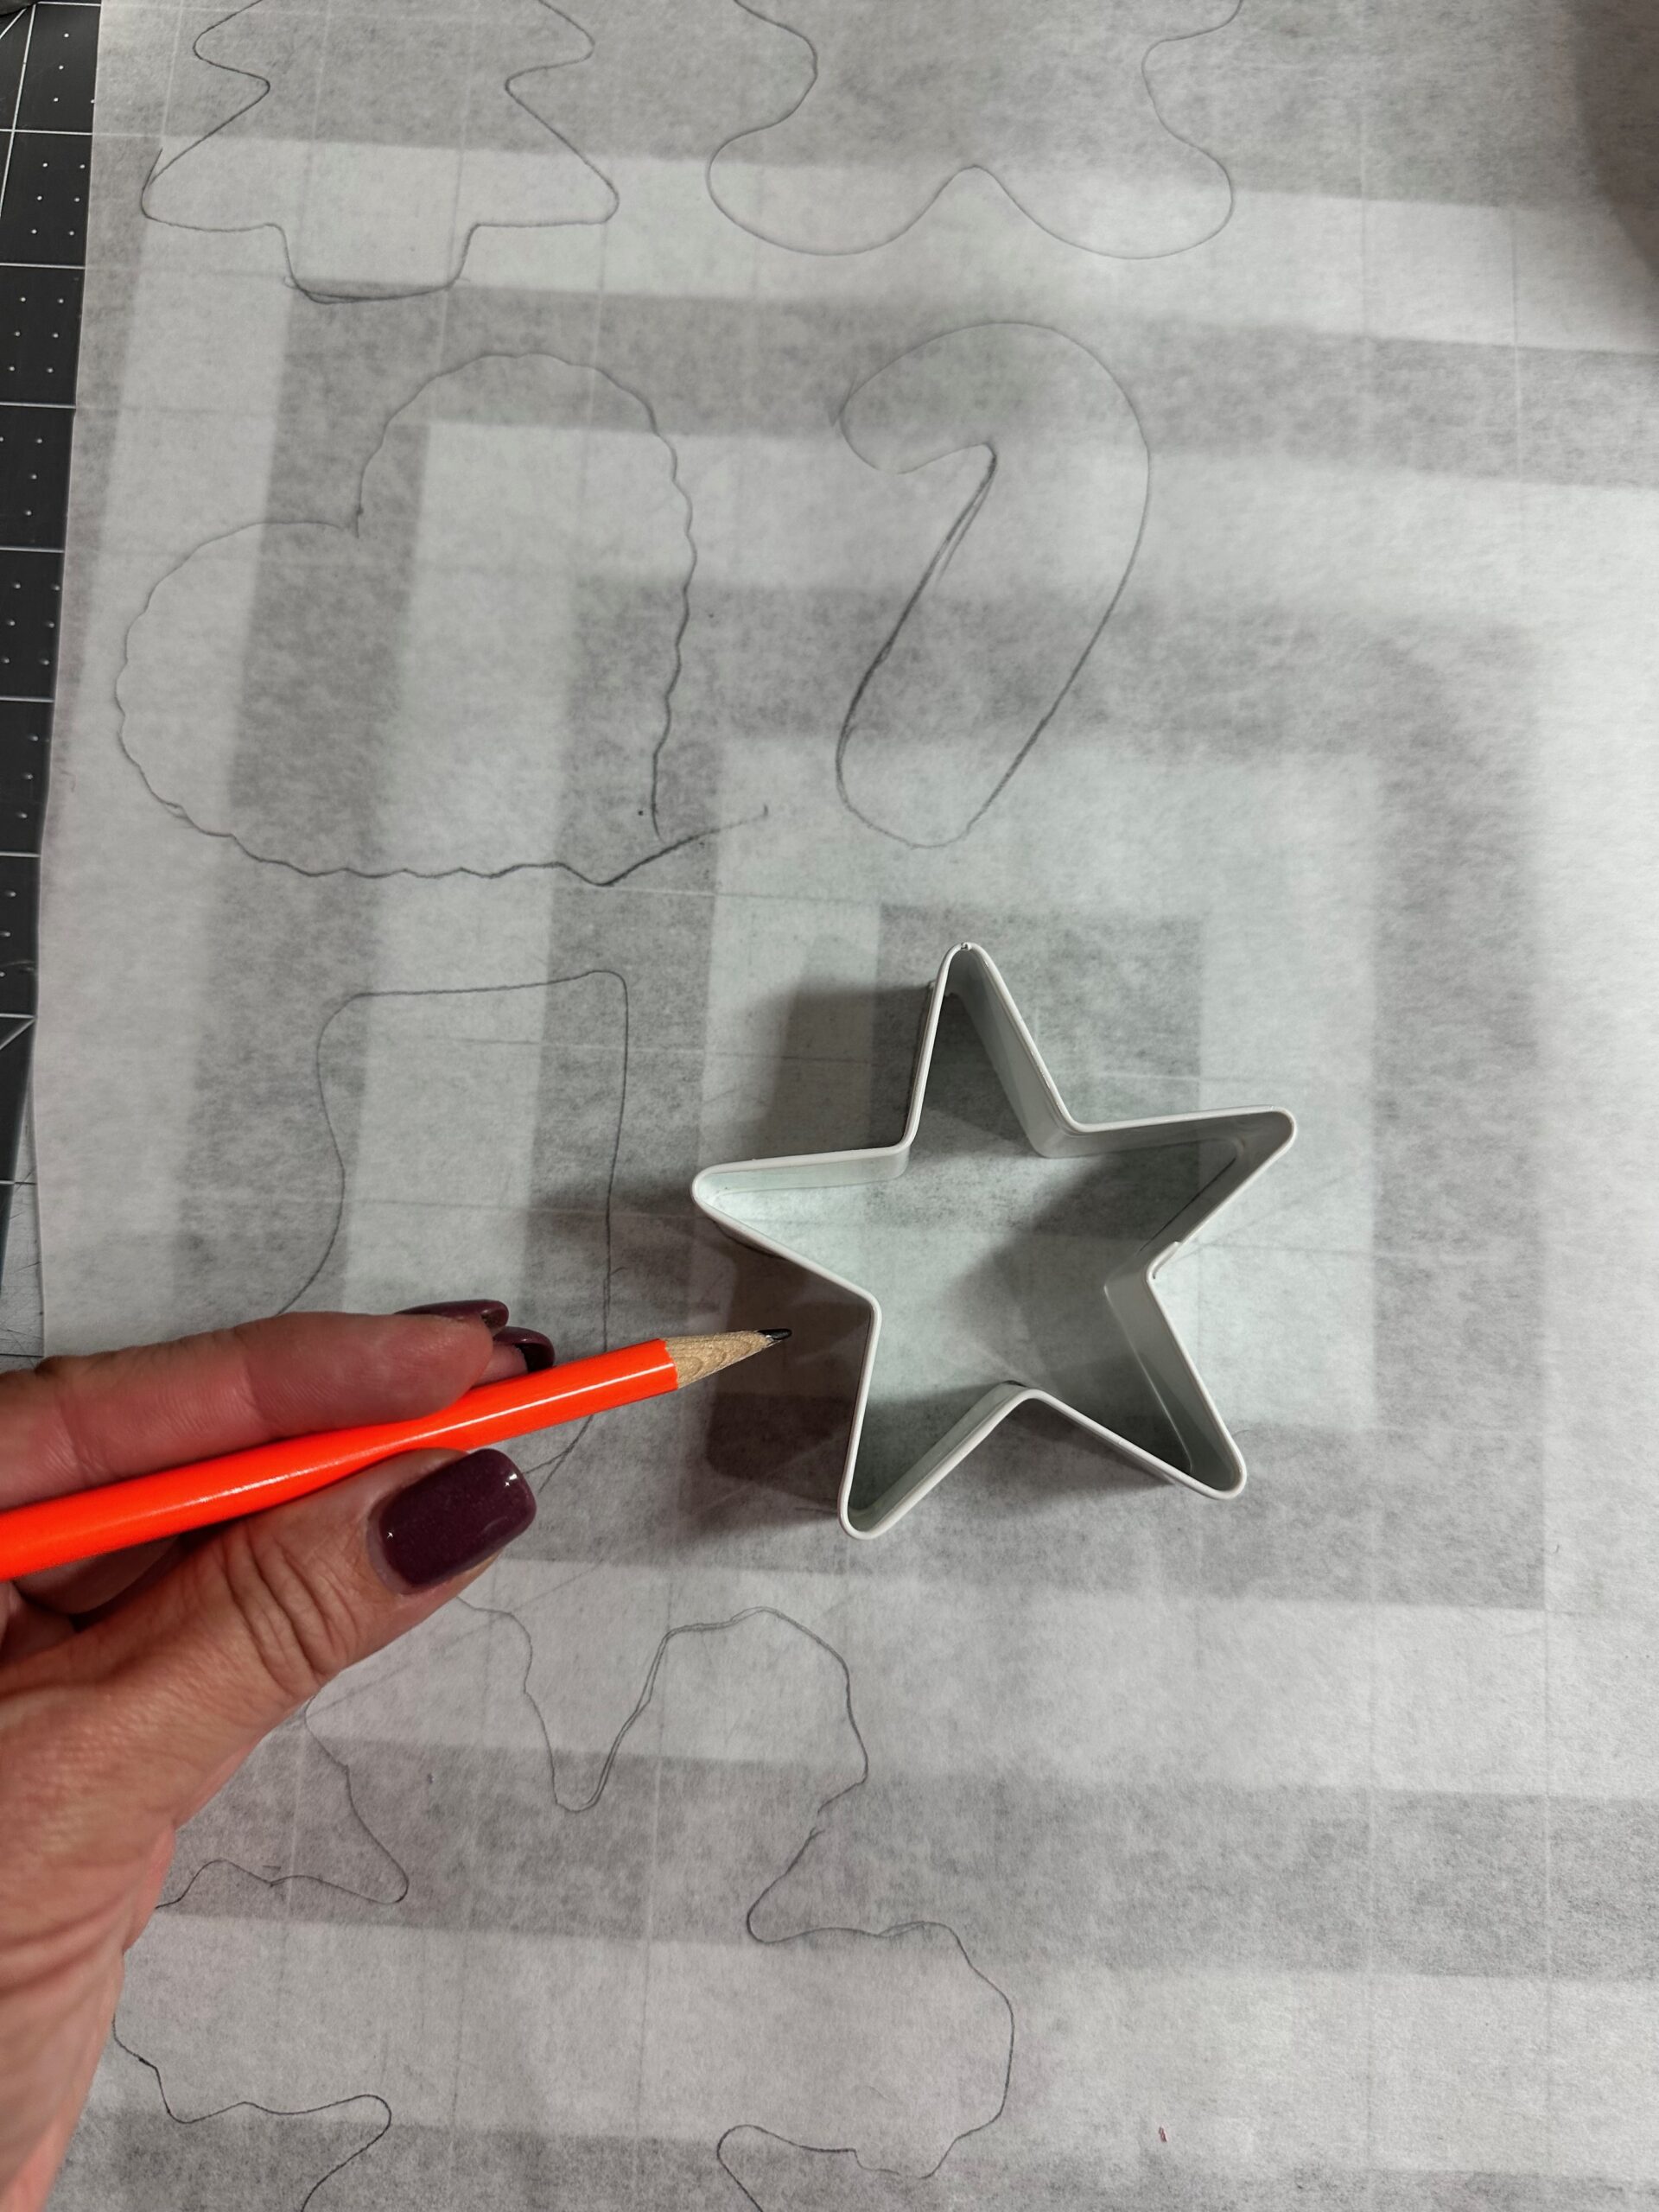
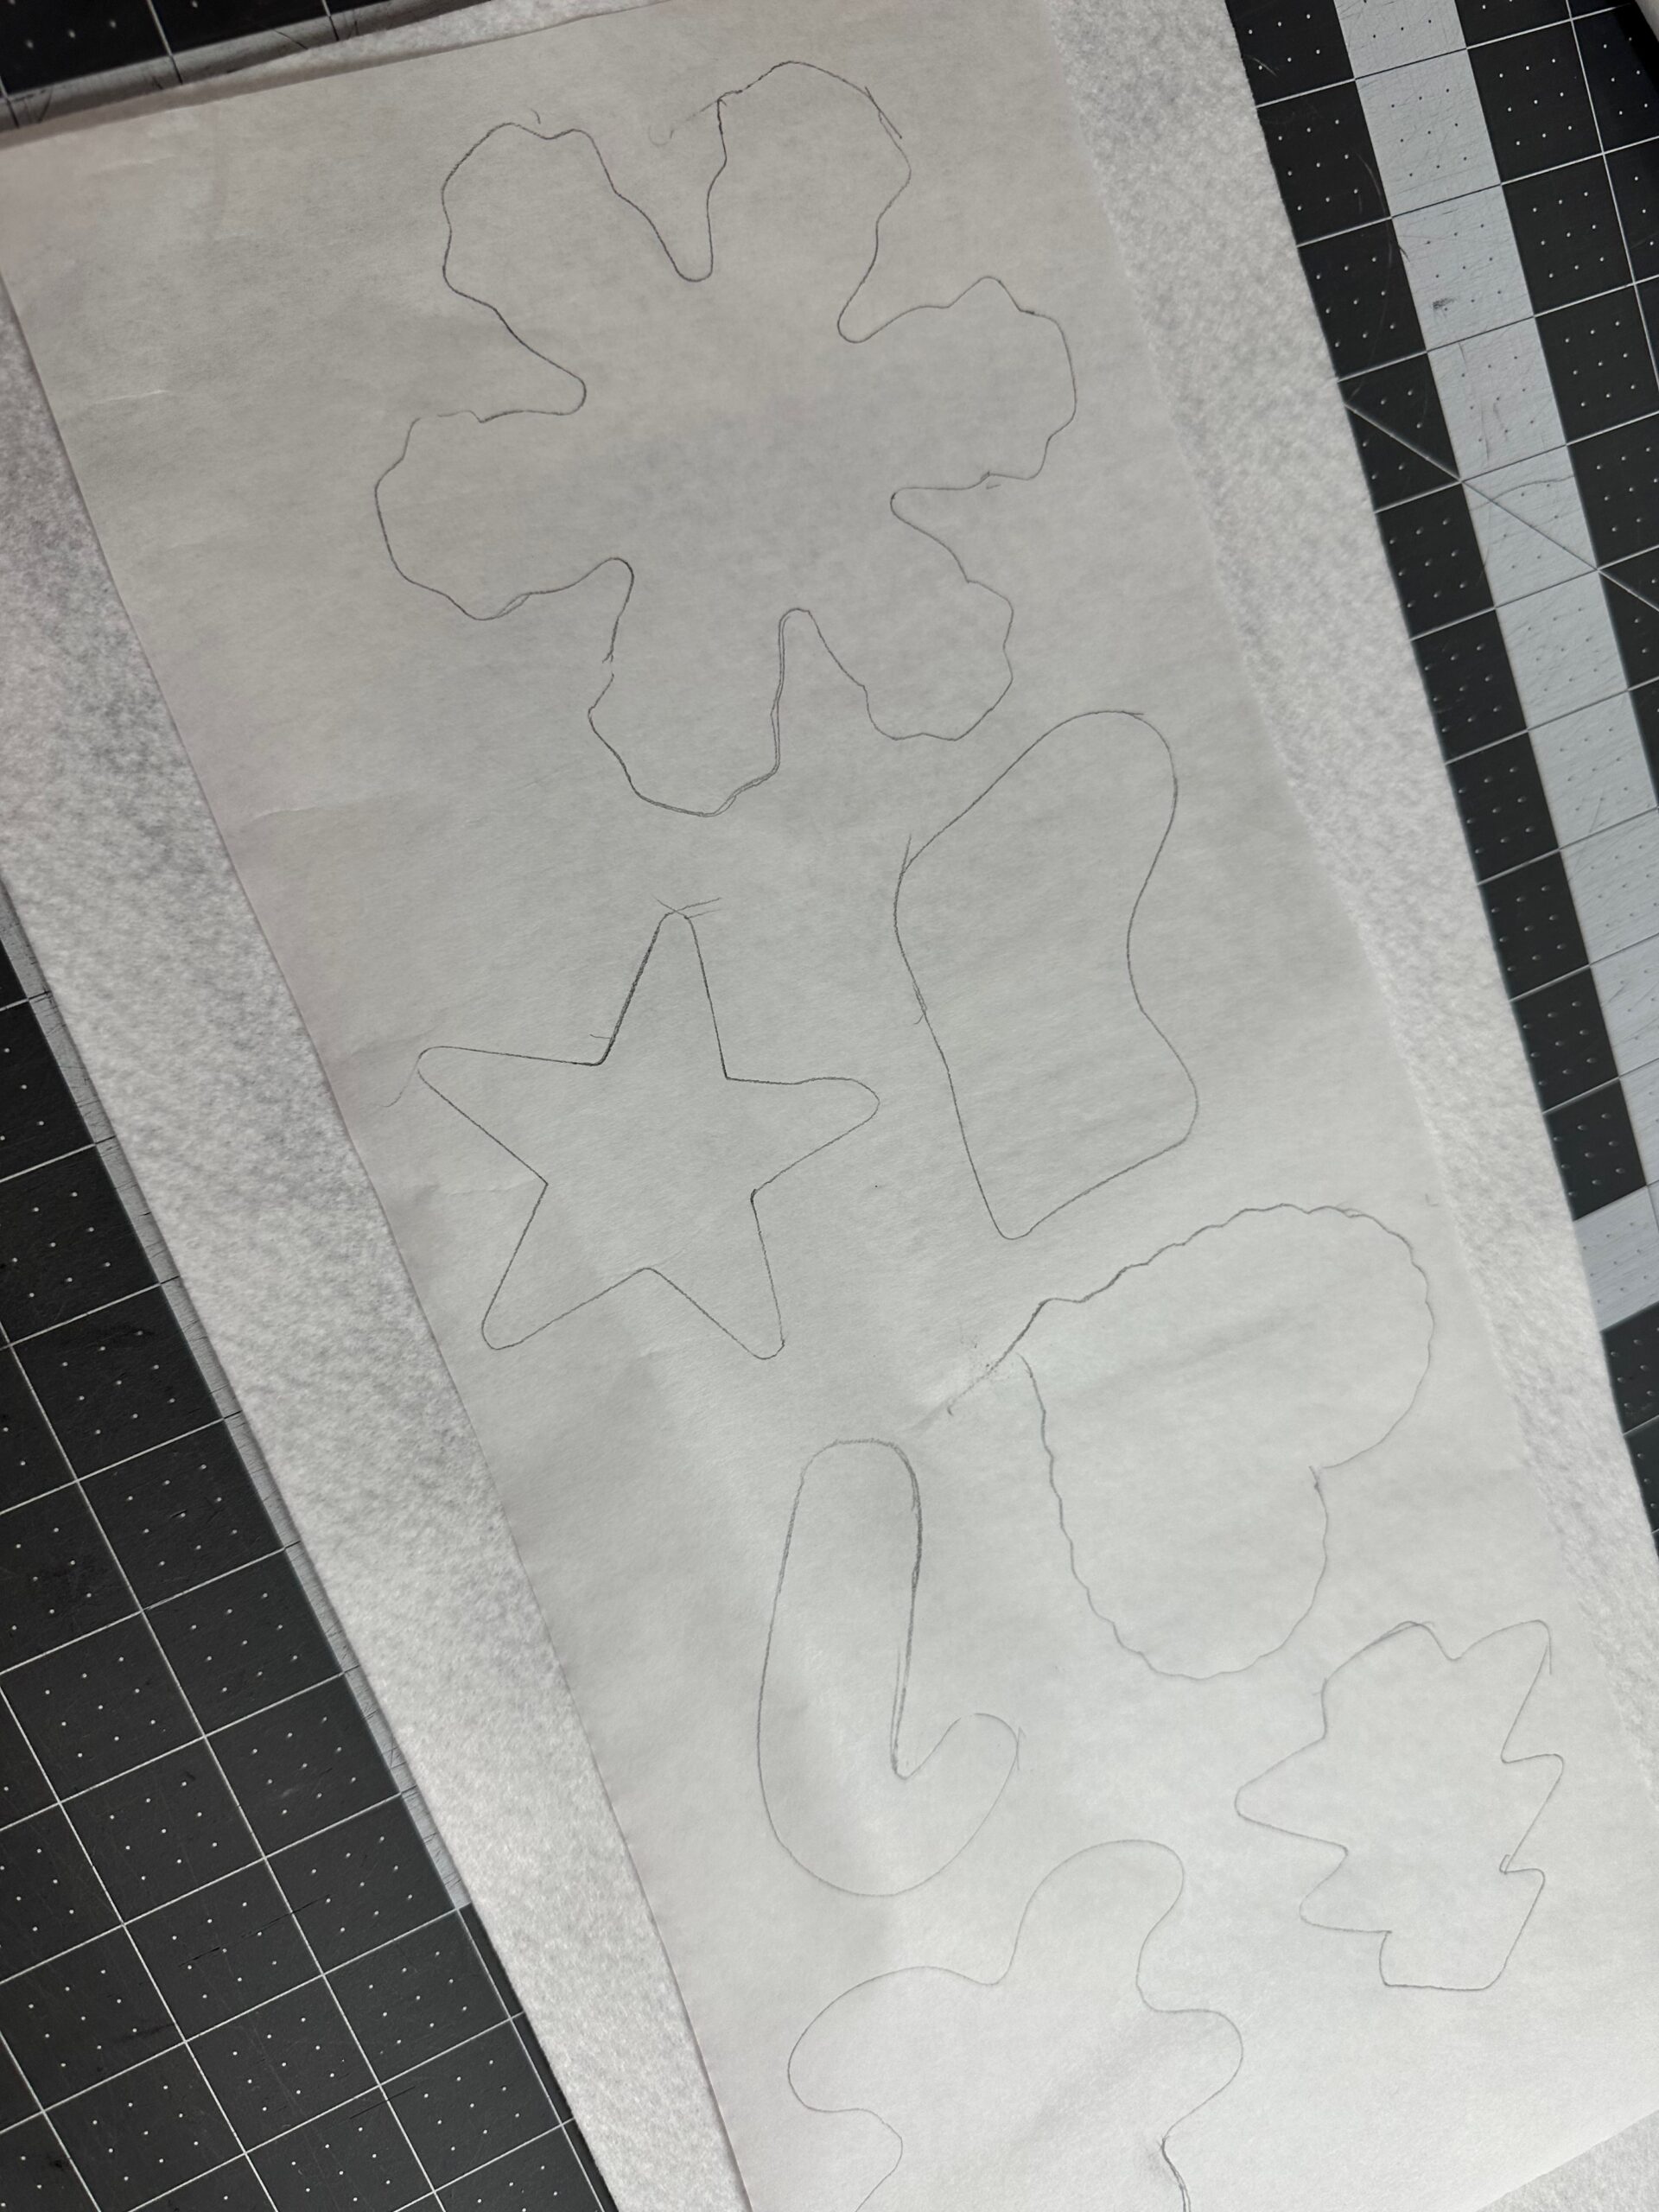
Trace either the inside our outside shape of the desired cookie cutters onto the paper side of Sulky Perfect Appliqué Fusible Web. Note: most cookie cutters are not directional; just remember to trace the shape in the mirror image of the cookie you want to create, if applicable.
Next, position the fusible web paper side up on the White Felty. Then, fuse the Perfect Appliqué to the Felty using a medium-temp iron. Remove the paper backing.
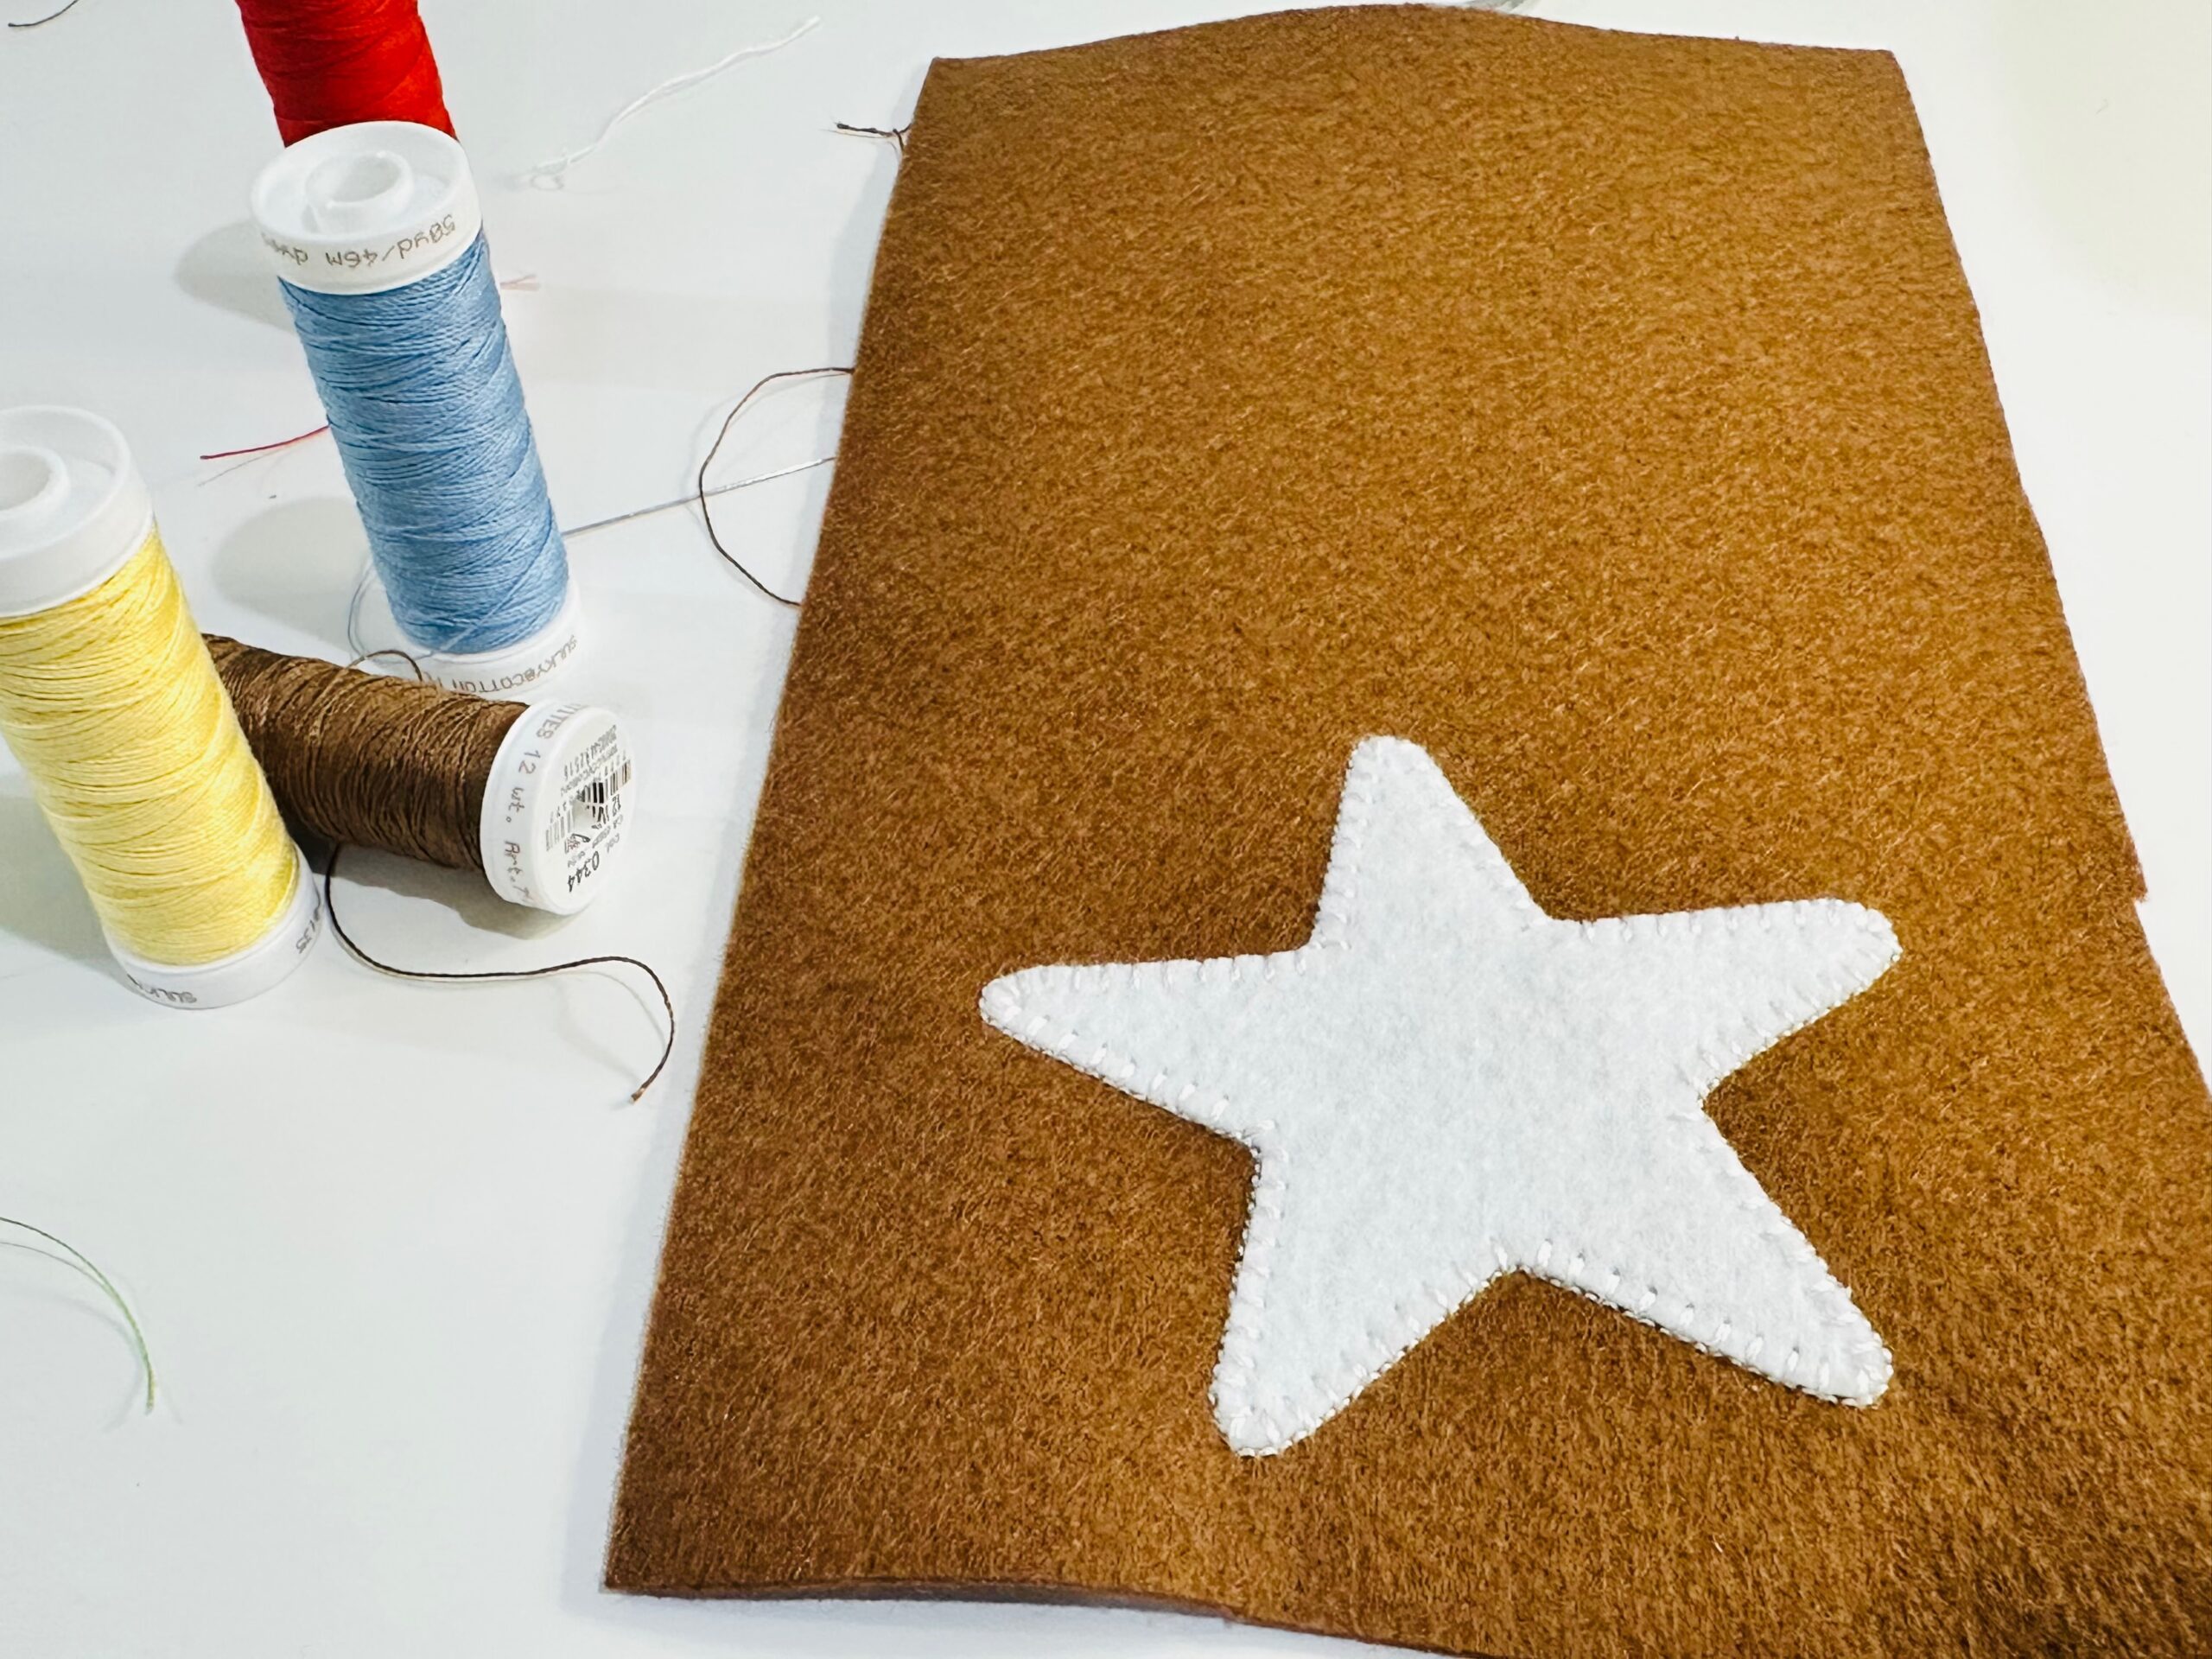
Cut a piece of Brown Felty at least 1″ larger on all sides than an appliqué. Place one Felty appliqué over the Brown Felty. Then, fuse the appliqué in place.
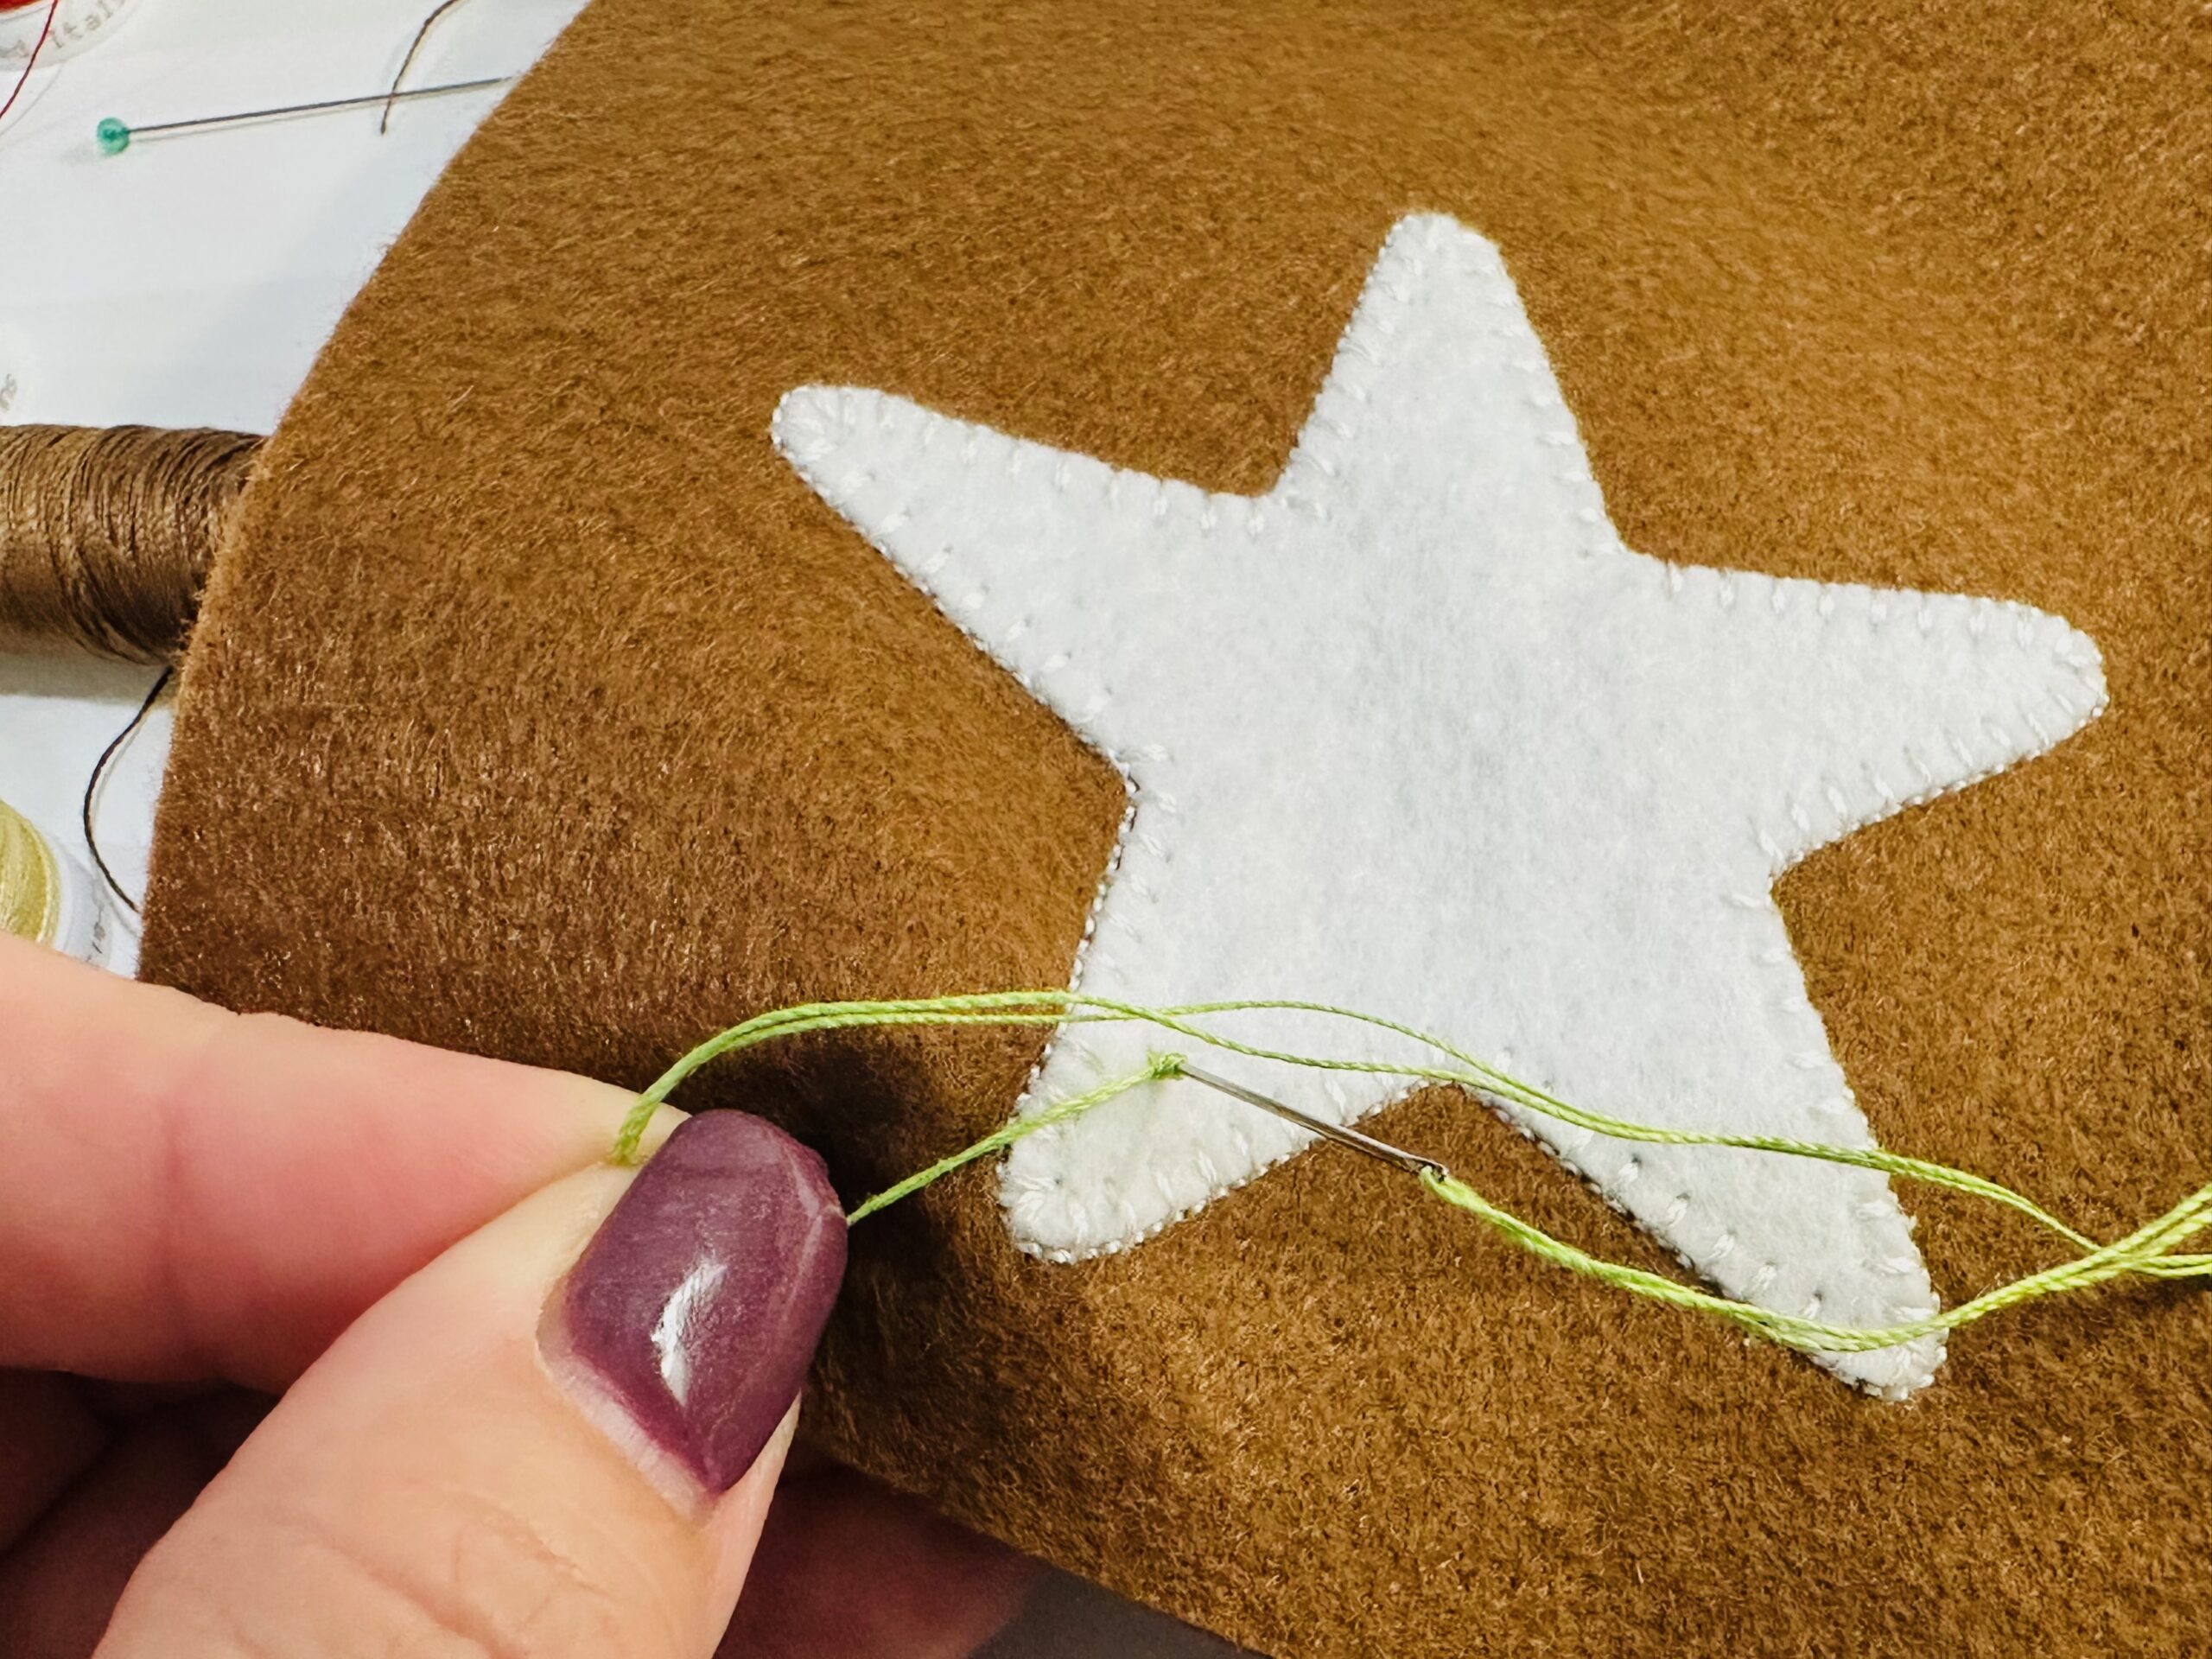
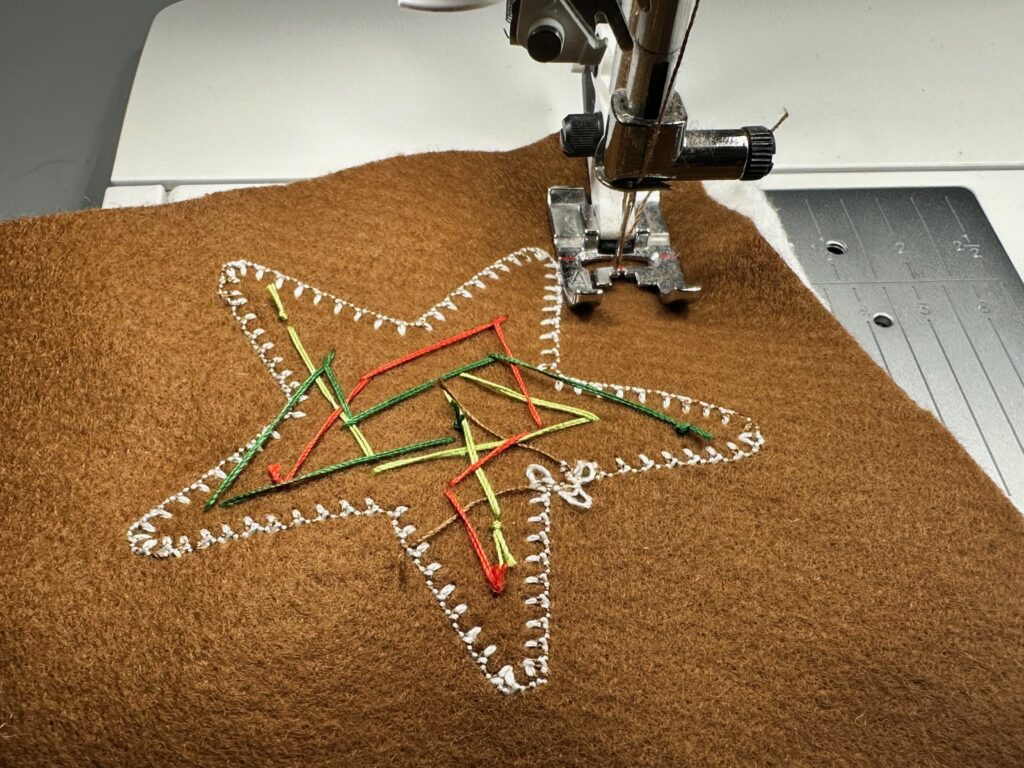
Select a blanket stitch or straight stitch on your machine. Install a size 100/16 Universal Needle. Thread the needle with the Soft White 12 wt. Cotton Petites Thread and wind a bobbin with 50 wt. Thread. Next, stitch the appliqué perimeter. (Note: You can also stitch the appliqué by hand if you’re new to sewing and don’t have a machine yet!)

FRENCH KNOT COOKIE SPRINKLES
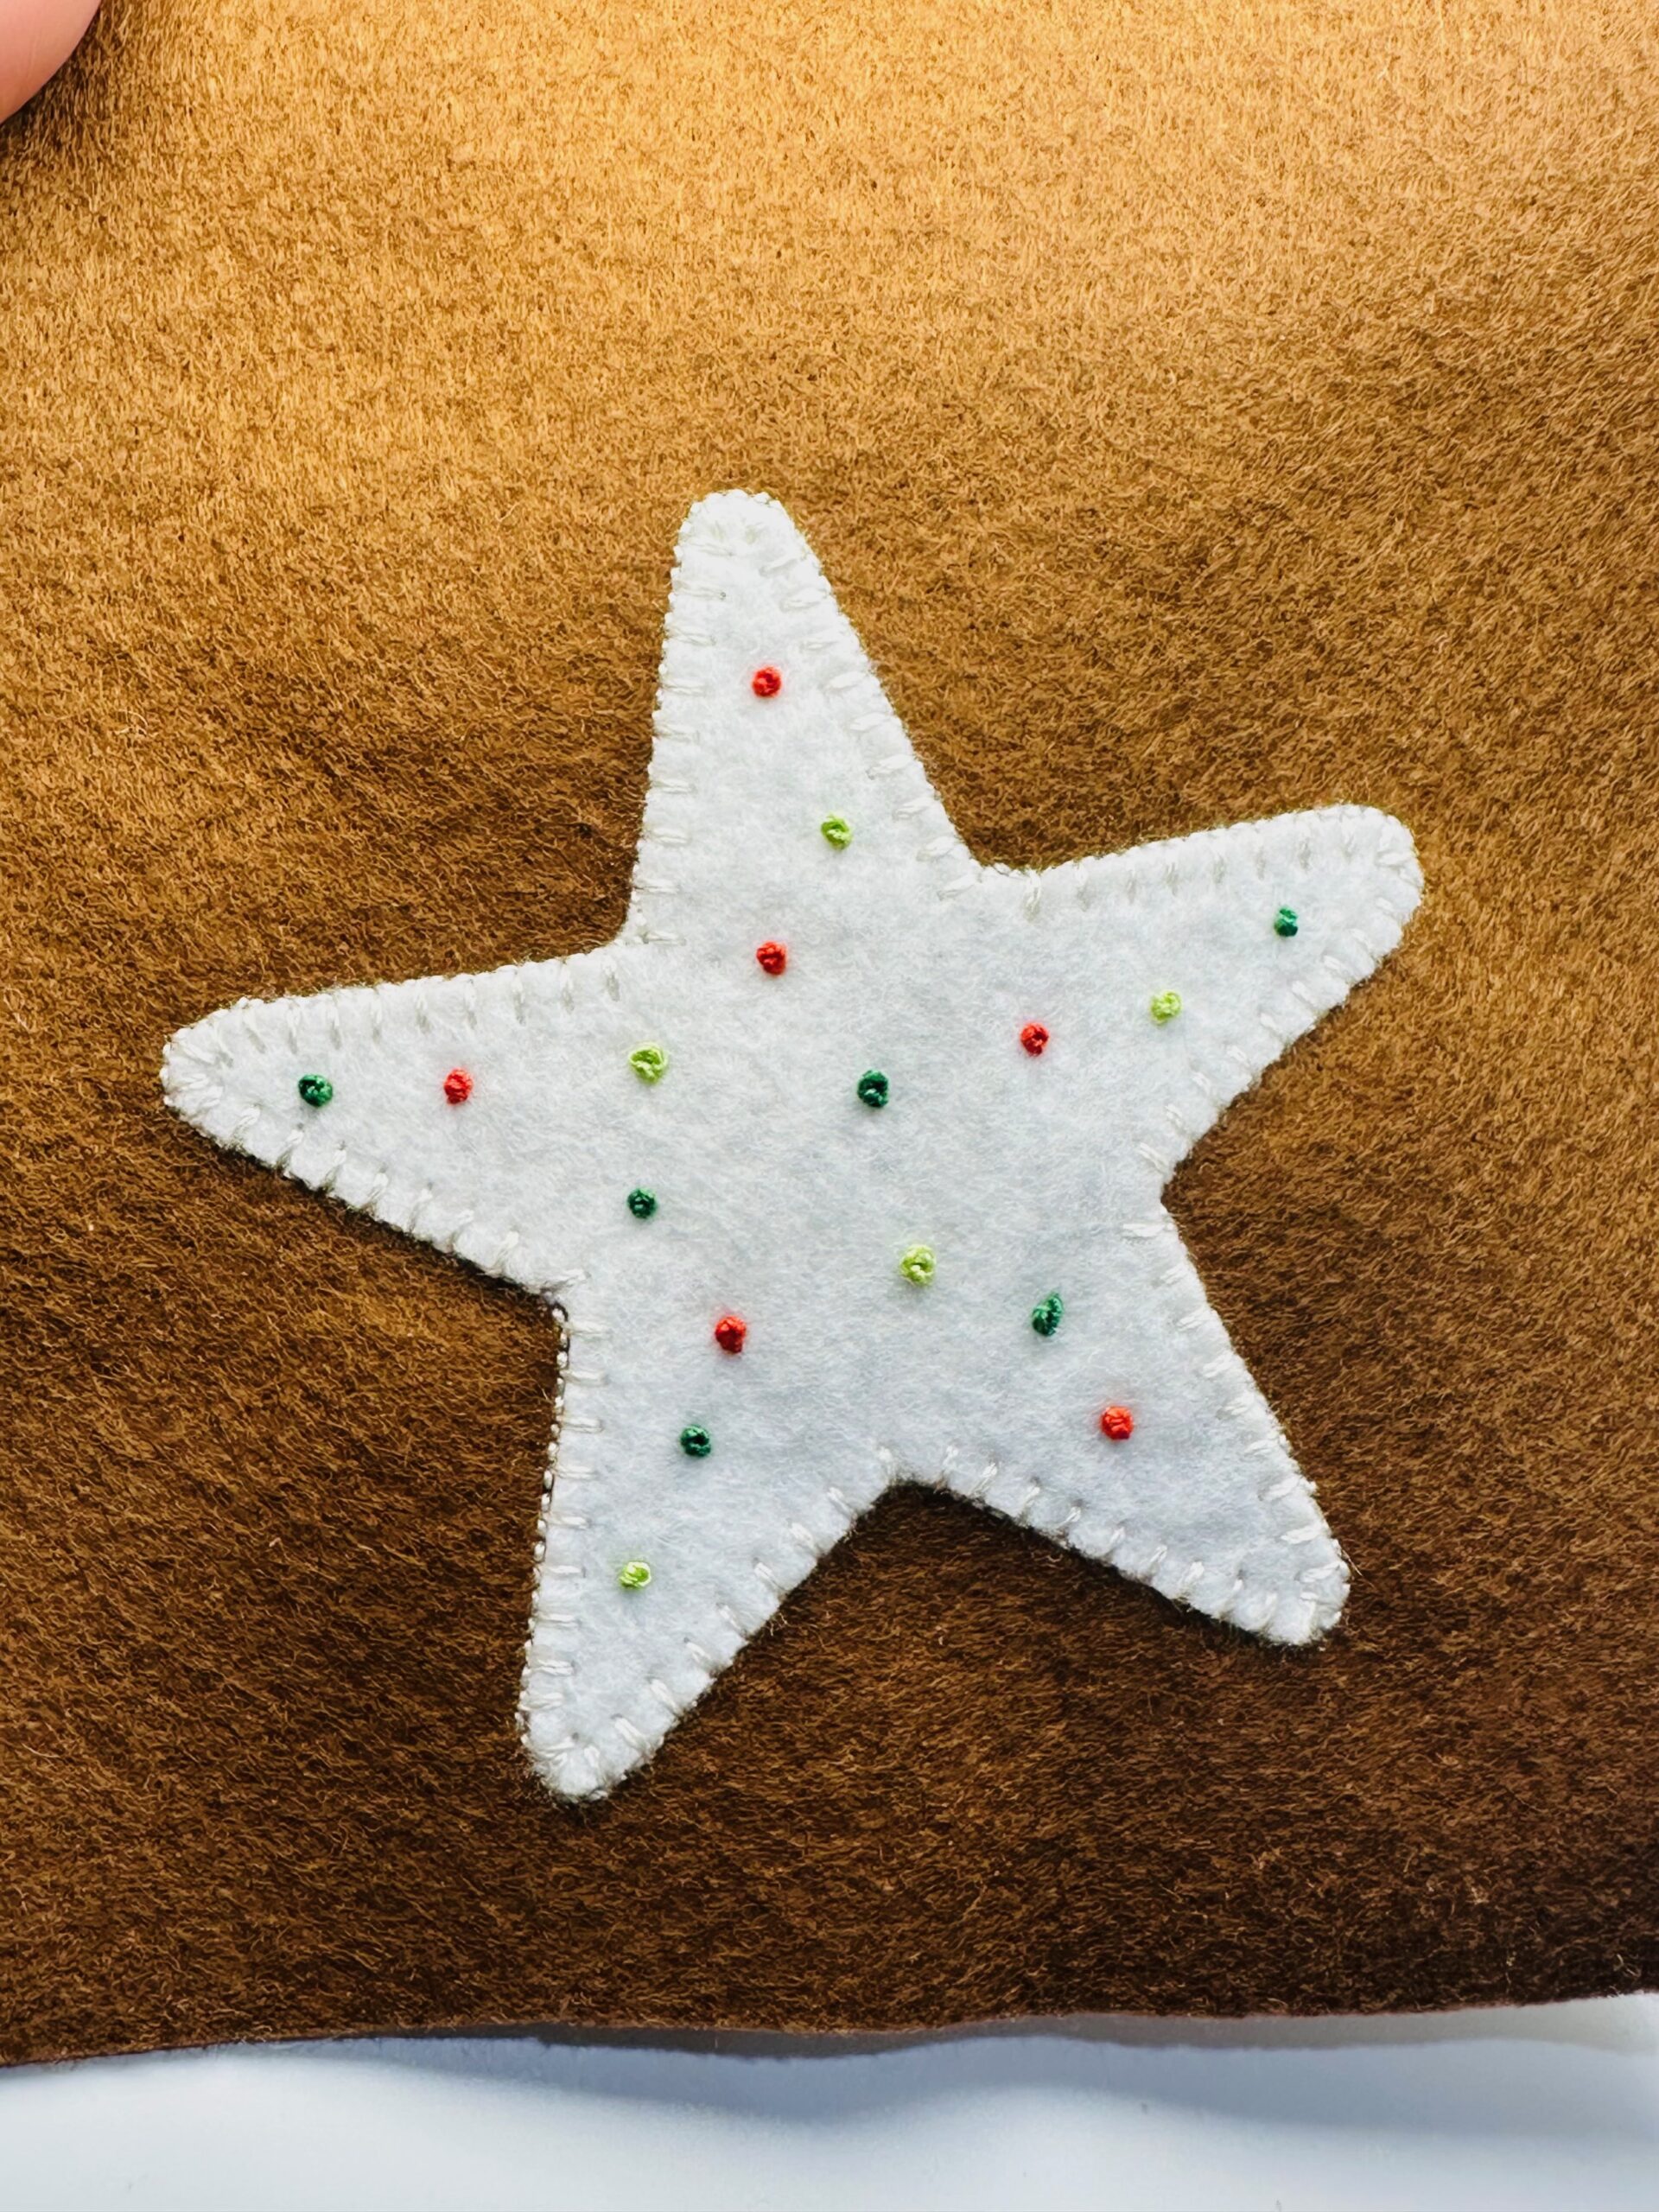
Choose desired colors for “sprinkles” for your cookie ornaments. A mix of pastels is nice, but classic reds and greens may match your tree best. You decide!
Stitch French knots in a random pattern inside the “frosting” appliqué.
To mimic sprinkles, switch thread colors and add them randomly, not worrying about placement.
ORNAMENT CONSTRUCTION
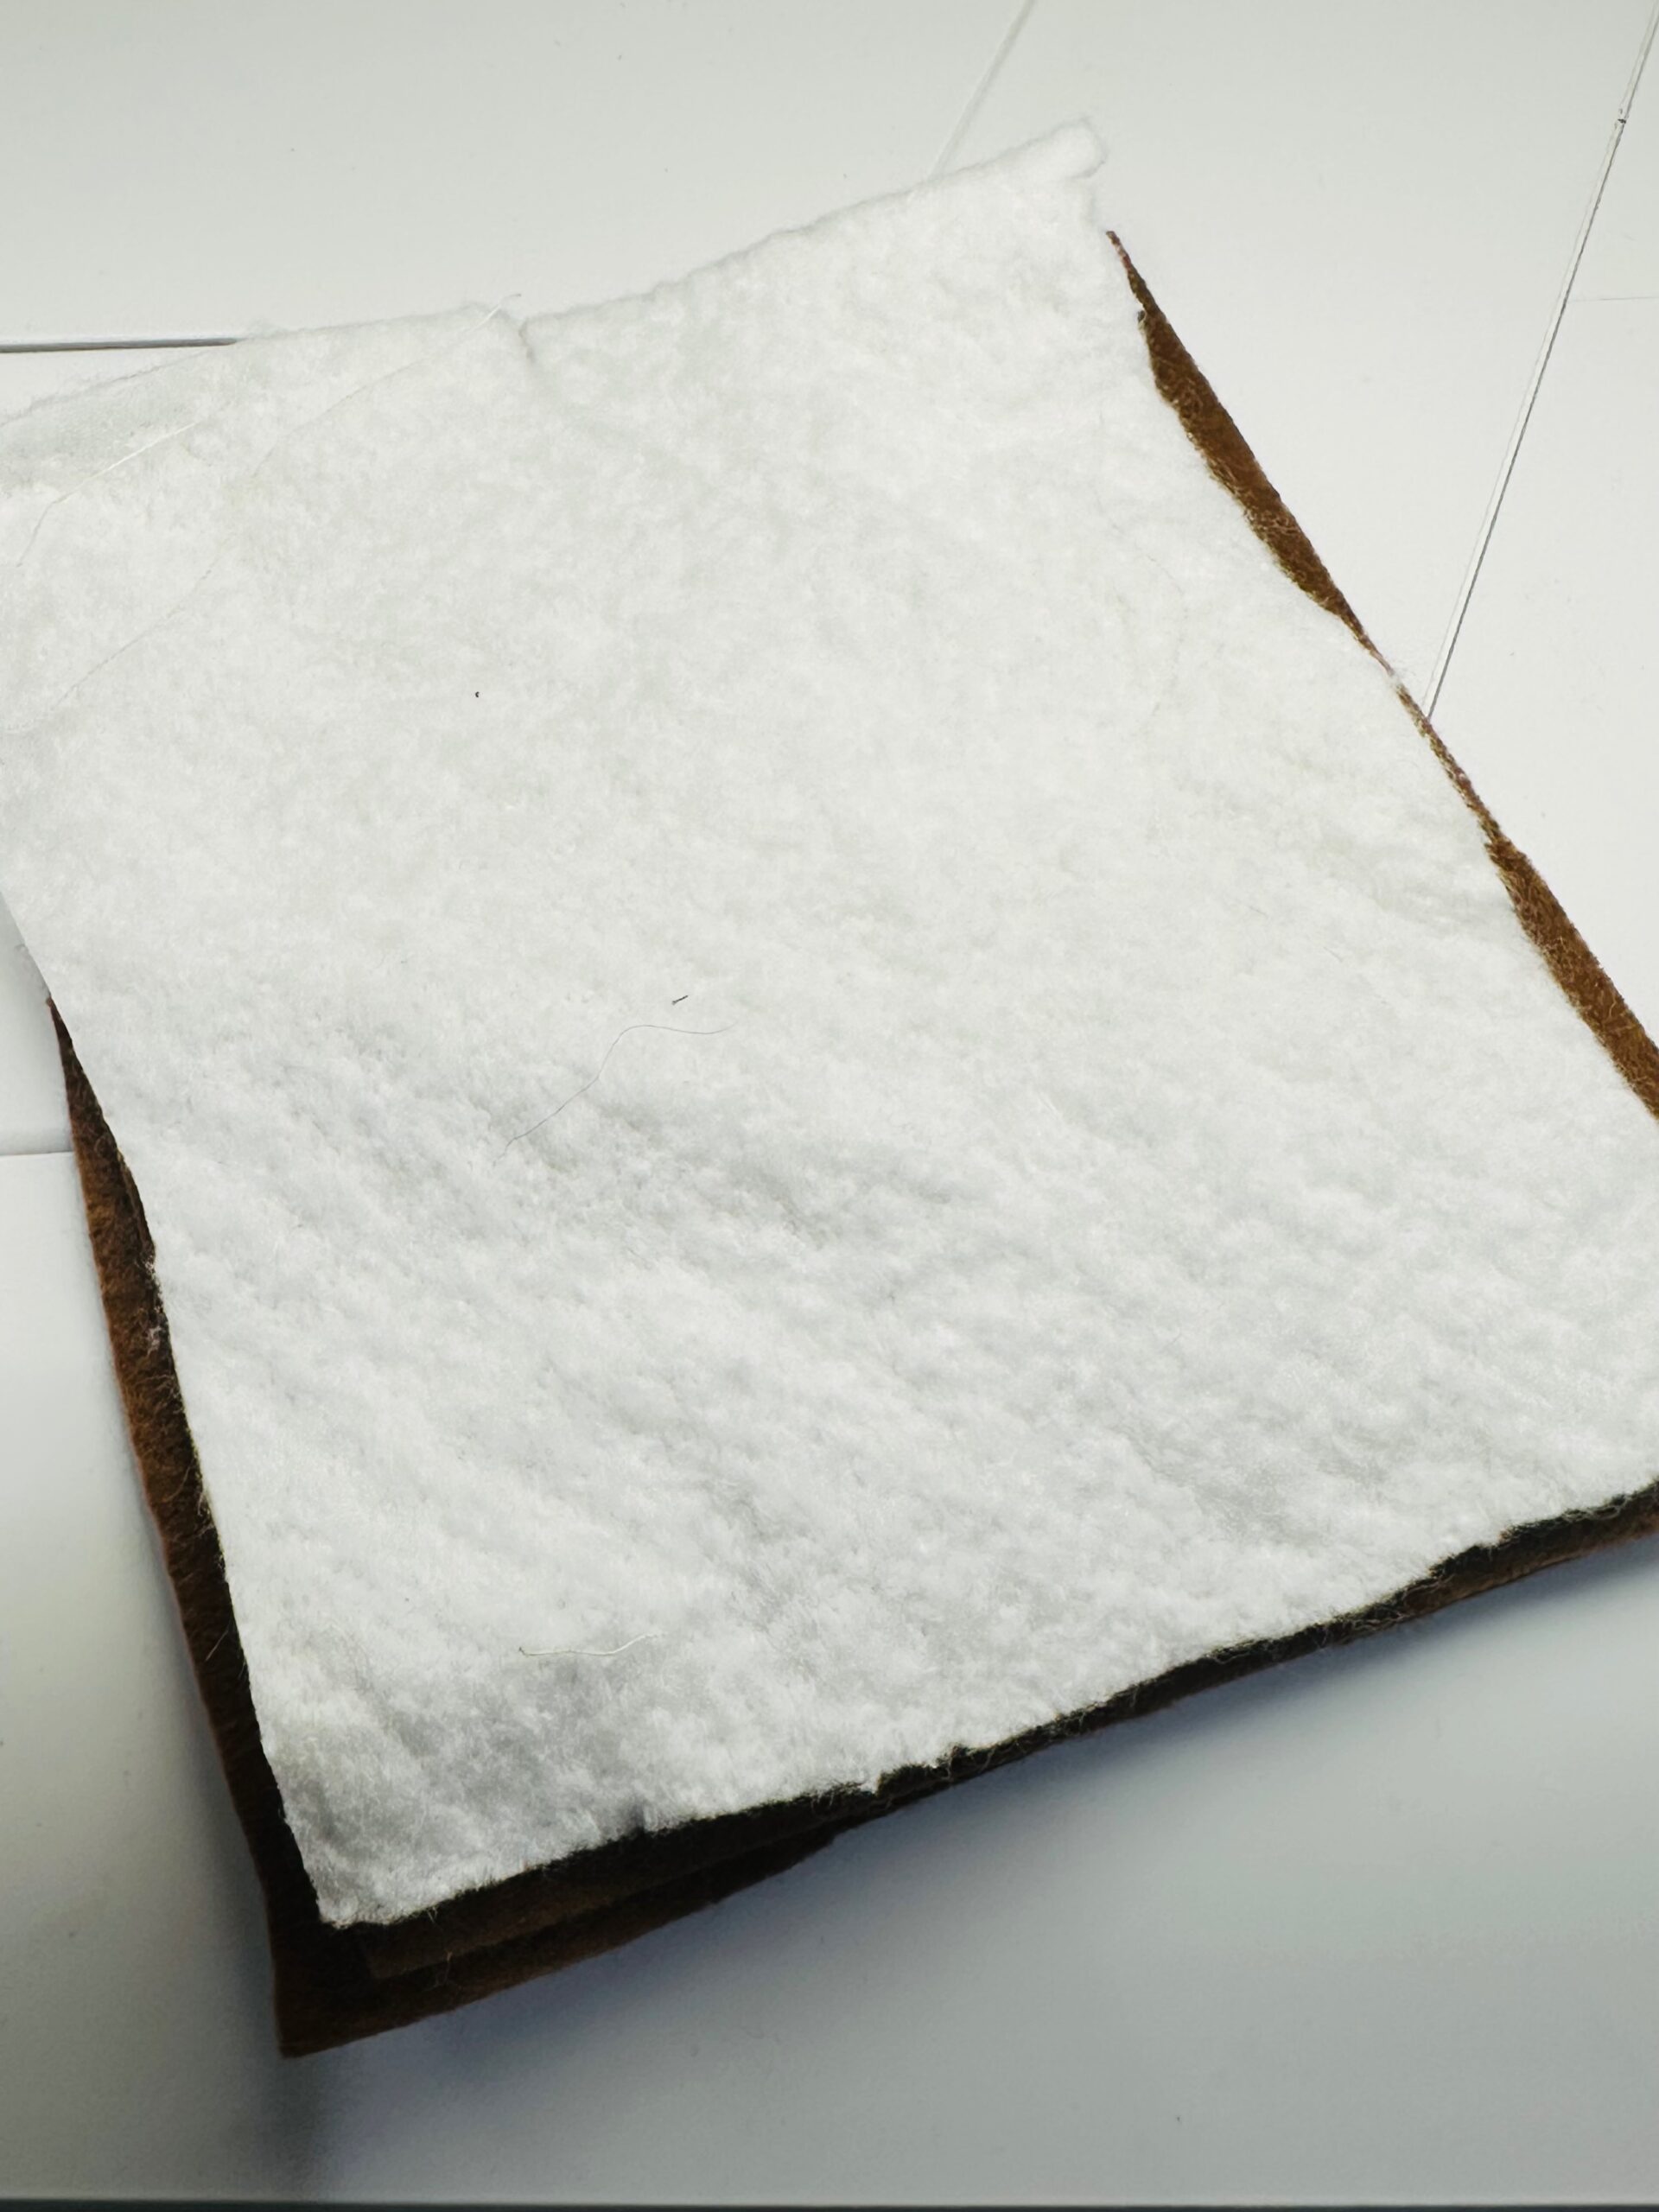
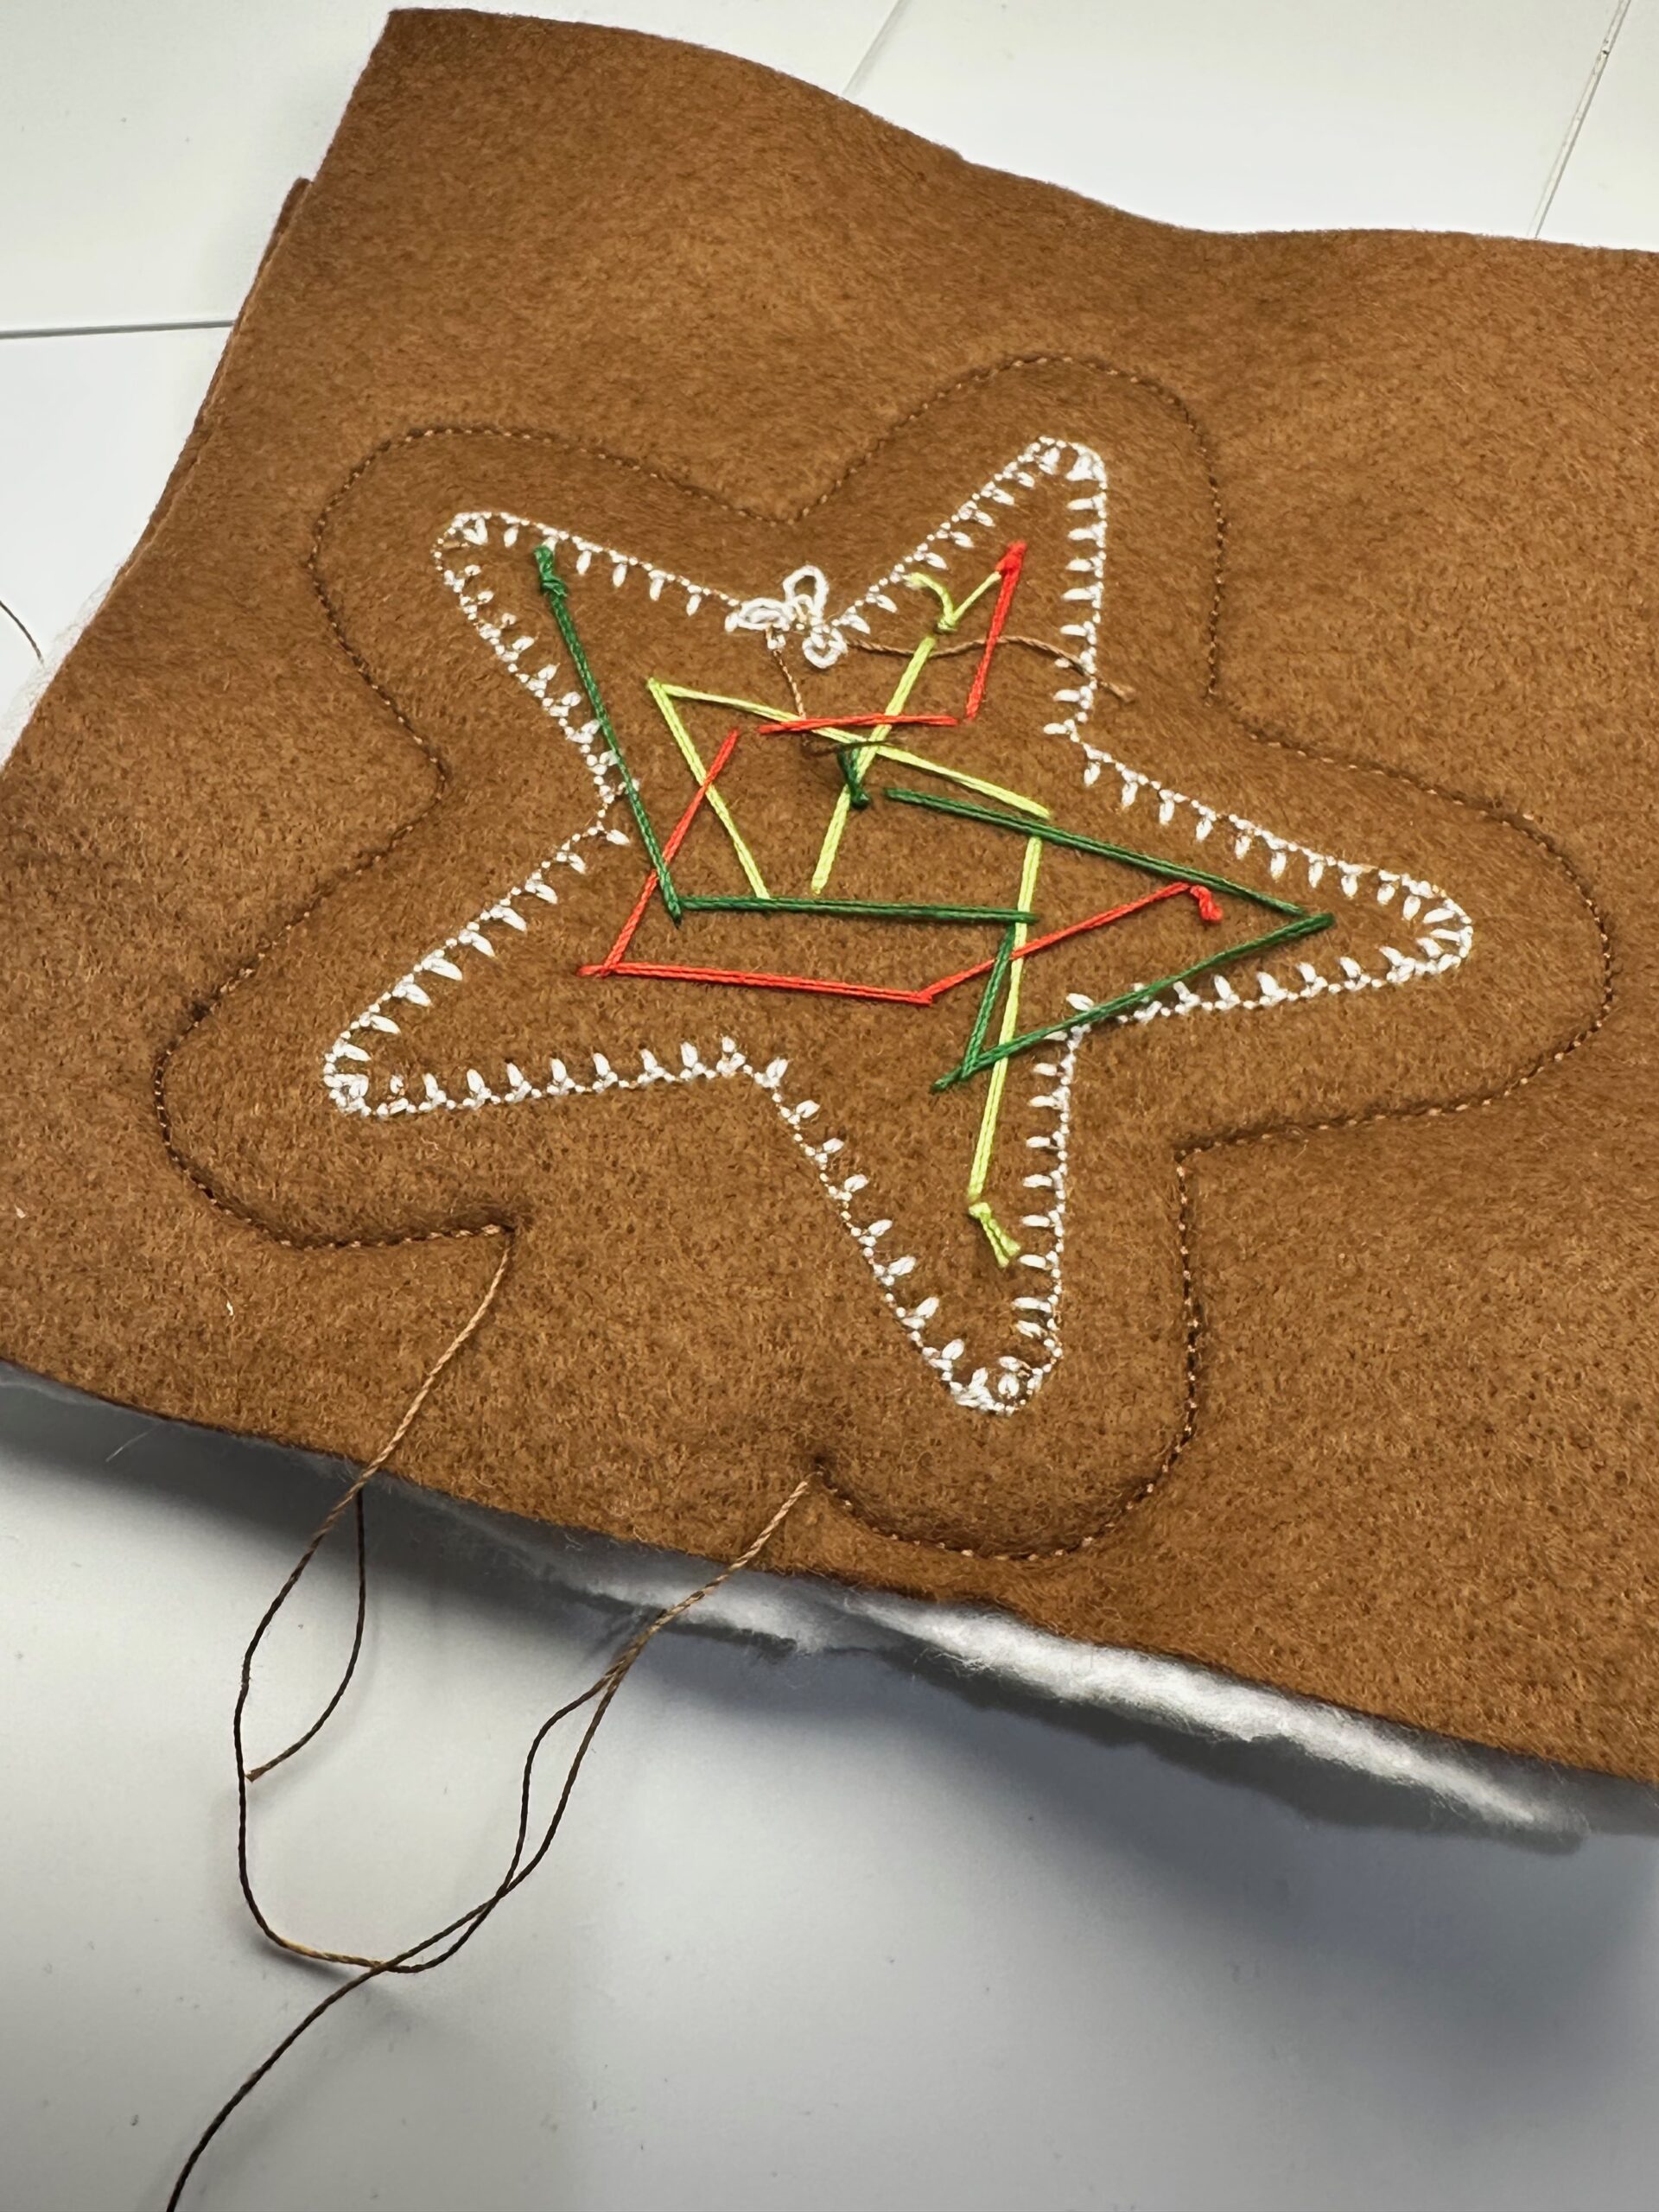
To construct the ornaments, place one appliquéd Brown Felty right side facing a piece of plain Brown Felty. Sandwich a piece of batting between the layers.
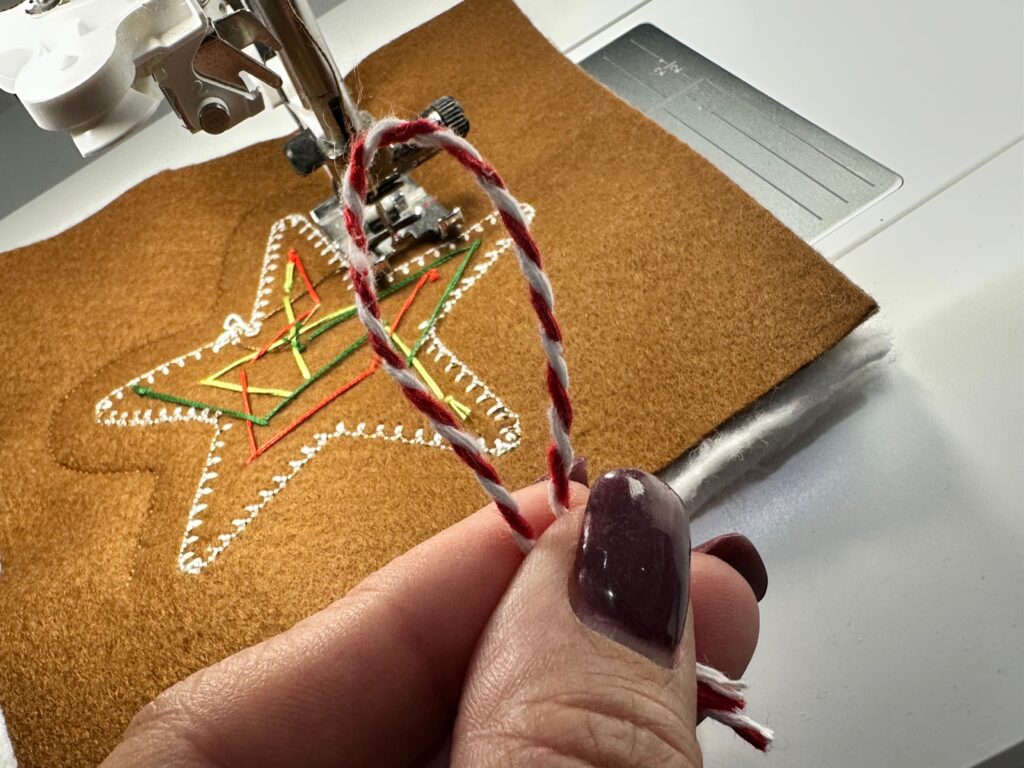
Using Saddle Brown 12 wt. Cotton Petites Thread in the needle and 50 wt. Cotton Thread in the bobbin, stitch approximately 1/2″ beyond the appliqué perimeter, leaving at least a 2″ opening for turning. Don’t forget to insert the ends of your hanging loop between the layers at the ornament upper-edge center.
When the stitching is complete, trim the ornament 1/8″ from the stitching edge. Leave a wider seam allowance at the opening for ease in stitching closed.
Carefully turn the ornament right side out through the opening. Note: The EZ Point Turner by Sookie Sews is a super helpful notion to use when turning small projects right side out!
COOKIE ORNAMENT FINISHING
Fold the opening seam allowances toward the wrong side; clip shut.

Next, hand sew the opening closed using a slipstitch or ladder stitch.

Repeat to create loads of matching cookie cutter ornaments for your festive Christmas tree! These also make great gift tags and gifts for family and friends.

These are very cute, I did many of them years ago completely by hand. I made some every year while we were plunked down in from of the TV to watch the World Series. Still have some and gifted many. Fun.
These ornaments/tags are adorable! Can’t wait to try them!