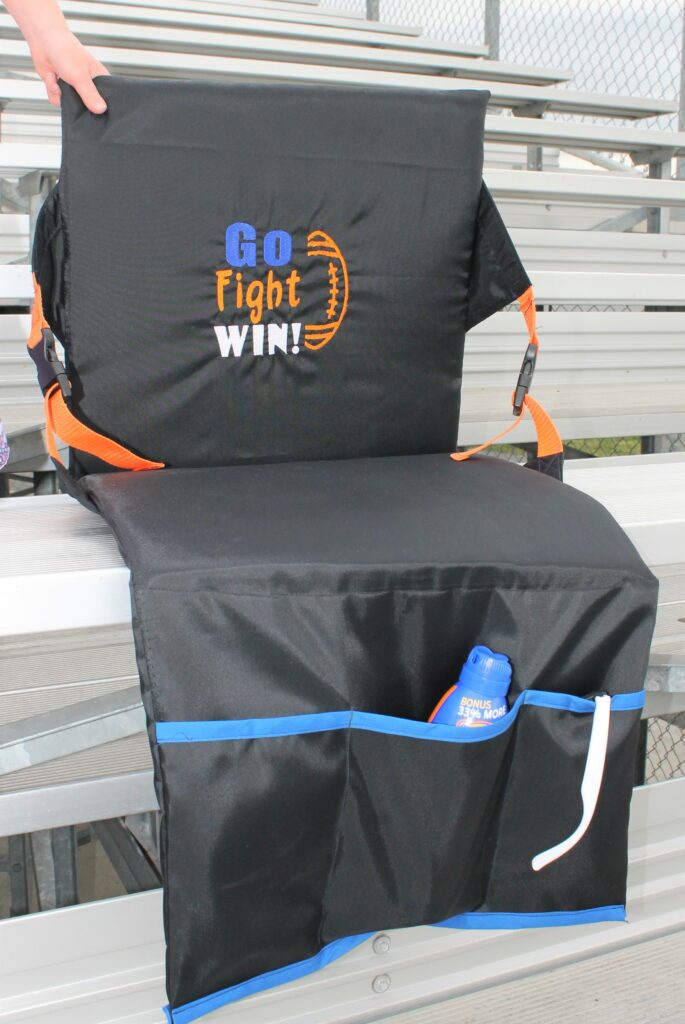
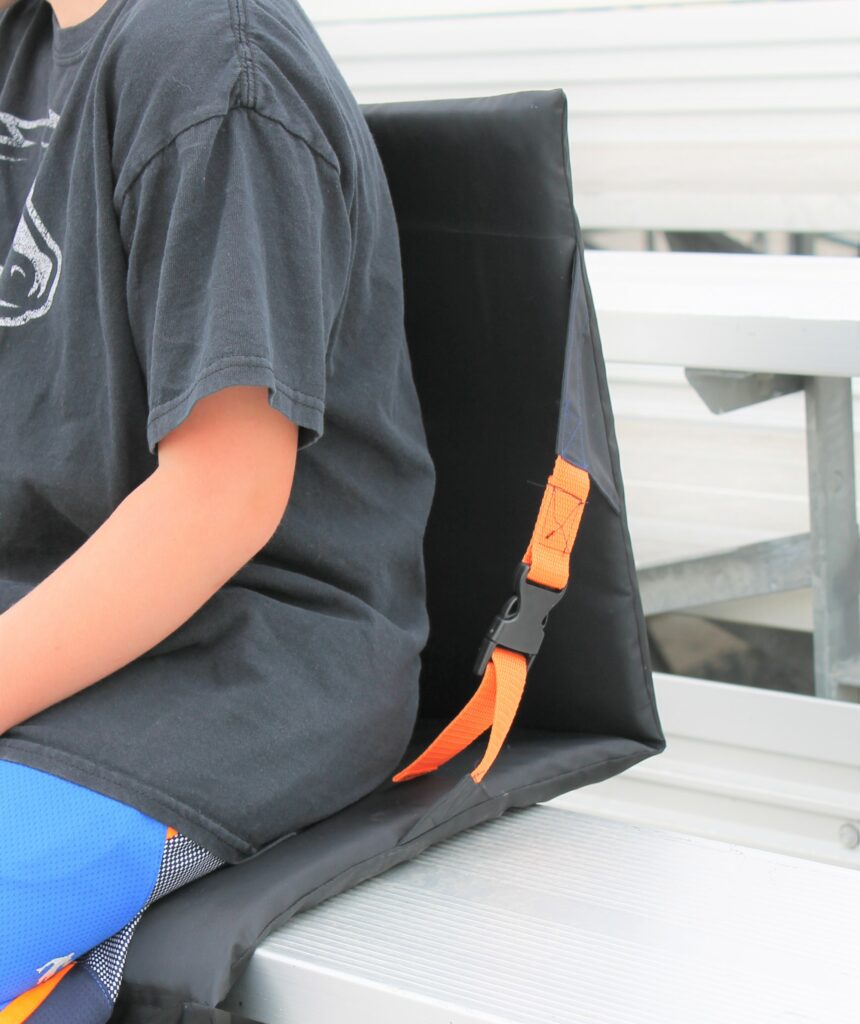
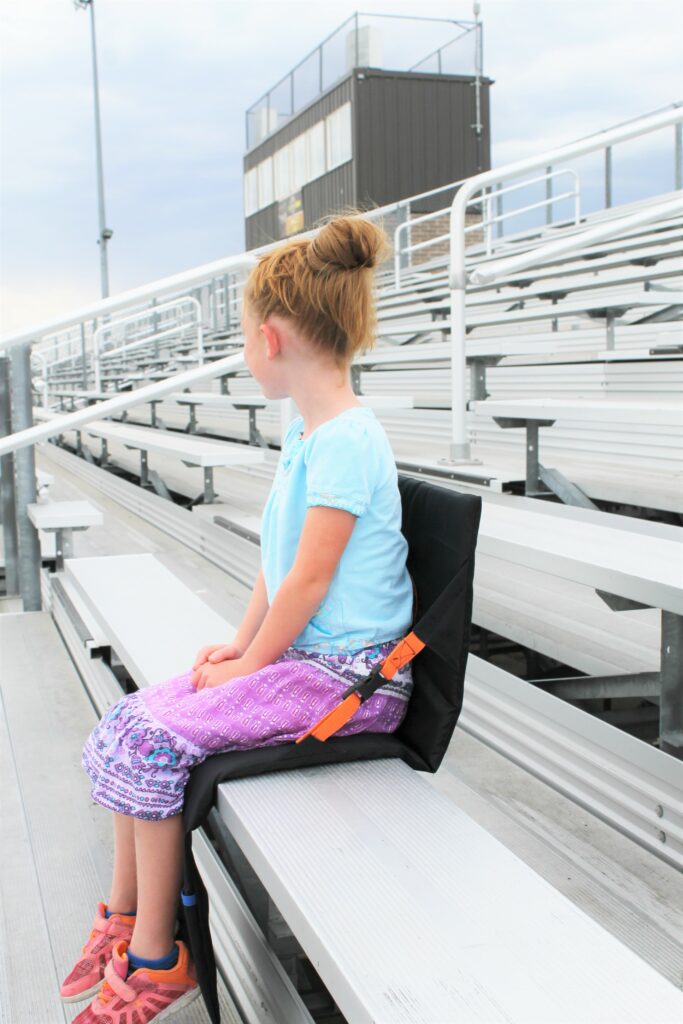
Create a DIY stadium seat cushion personalized with embroidery. As the school year starts, there are so many sports and other activities that begin, too. This DIY stadium seat cushion is portable and easily fits in the trunk of the car, so you always have a comfy place to sit. Whether you’re outdoors in the stands (that are hot at the start of the season and cold at the end), indoors on the bleachers, or on the grass, this cushion is adjustable and folds so you can carry it easily.
The addition of embroidery allows you to personalize it with a team name, mascot, or monogram. Or use the featured Go, Fight, Win! design, provided free, courtesy of Chelsea Briner of Sew Simple Home. Plus, the pockets in front are great for sunscreen, tickets, snacks, and more.
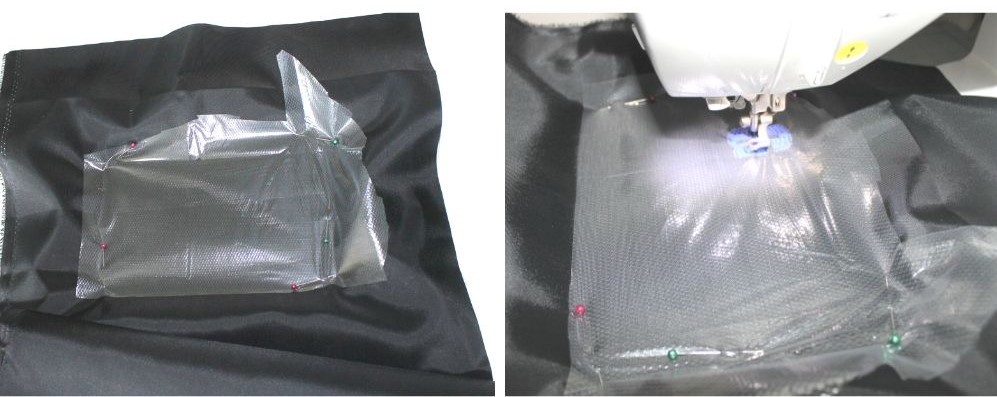
Note: If the nylon fabric you’re using is particularly stretchy, add Sulky Sticky Fabri-Solvy to the right side before embroidery, rather than using Heat-Away stabilizer. After embroidery is complete, wash away the stabilizer and let the fabric dry before construction. The tacky stabilizer will ensure that the fabric doesn’t stretch during embroidery, resulting in no puckering. Always test-sew using extra fabric, stabilizer, and threads to ensure there’s proper stabilization for your chosen fabric.
SUPPLIES
- Stadium Seat Cushion Pattern
- Cotton + Steel thread by Sulky (for construction)
- True Orange Sulky 40 Wt. Embroidery Thread
- Blue Ribbon Sulky 40 Wt. Embroidery Thread
- White Sulky 40 Wt. Embroidery Thread
- Sulky Cut-Away Plus Stabilizer
- Sulky Clear Heat-Away Stabilizer or Sticky Fabri-Solvy (see note above)
- KK 2000 Temporary Spray Adhesive
- 1 ½ yards of sport nylon fabric
- 1 yard of Nylon Webbing
- Double-fold bias tape
- (2) 15”x15” pieces of 1” Thick Foam
- (2) 1” Parachute Buckles
- Go, Fight, Win! Embroidery Design
PATTERN & CUTTING
Download and print out the pattern. Use the chart below to cut out all the pieces needed for the project.
| Number of Pieces | Measurements | |
| Stadium Seat Pieces | Cut 2 | 16” x 41” |
| Nylon Webbing | Cut 2
Cut 2 |
8” long (top)
11” long (bottom) |
| Strap | Cut 1 |
EMBROIDERY
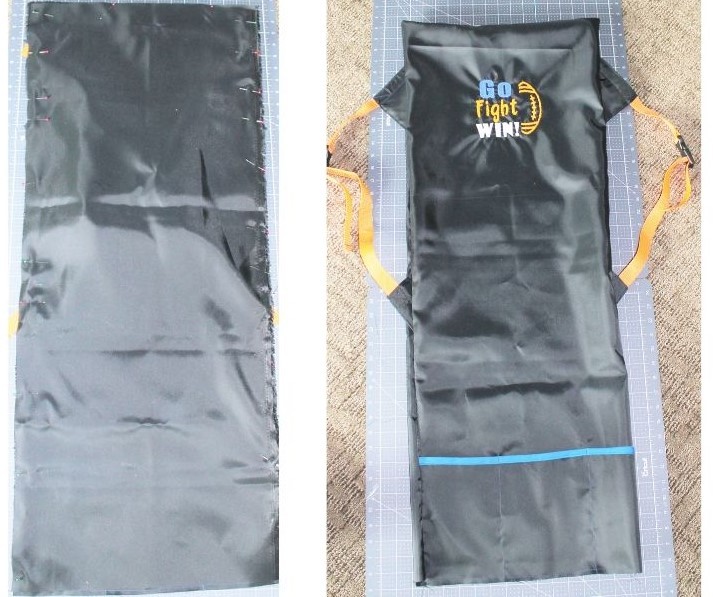
Mark the center of the stadium-seat top. Add a layer of Cut-Away Plus to the hoop. Spray the stabilizer with KK 2000 and center the fabric over the stabilizer. Finger-press it in place. Pin a layer or two of clear Heat-Away stabilizer over the fabric on the hoop. Embroider the design.
STADIUM SEAT POCKET
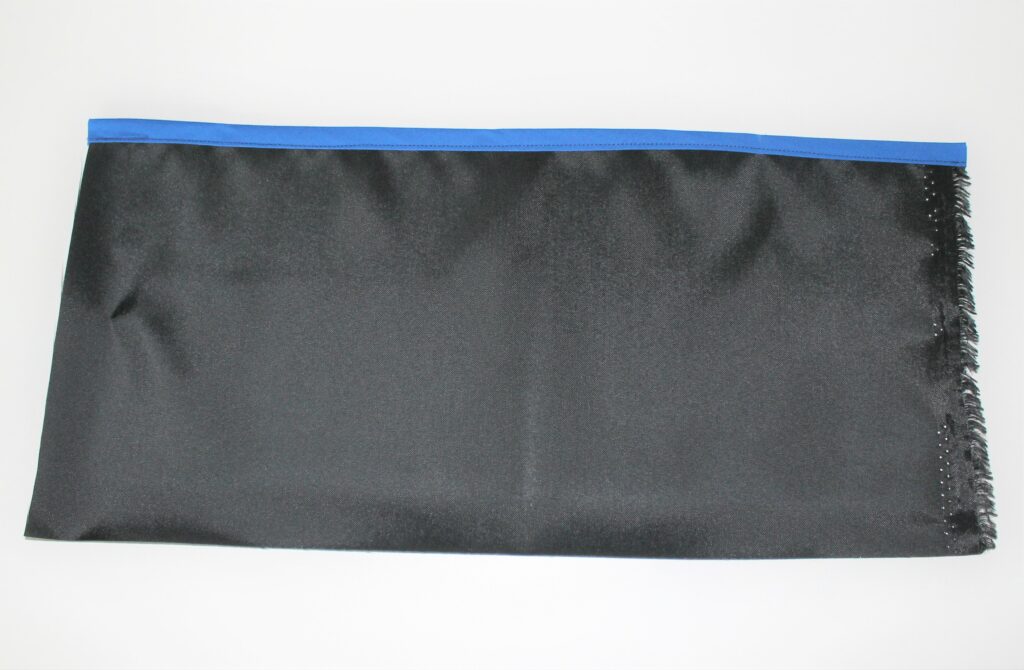
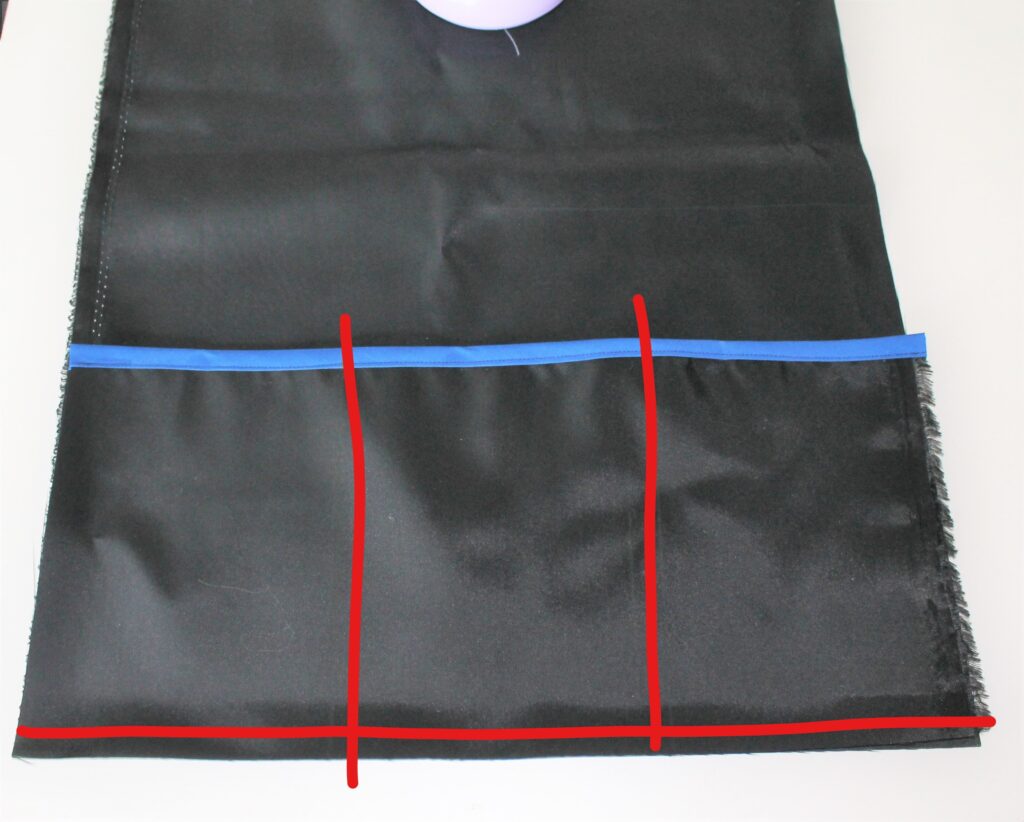
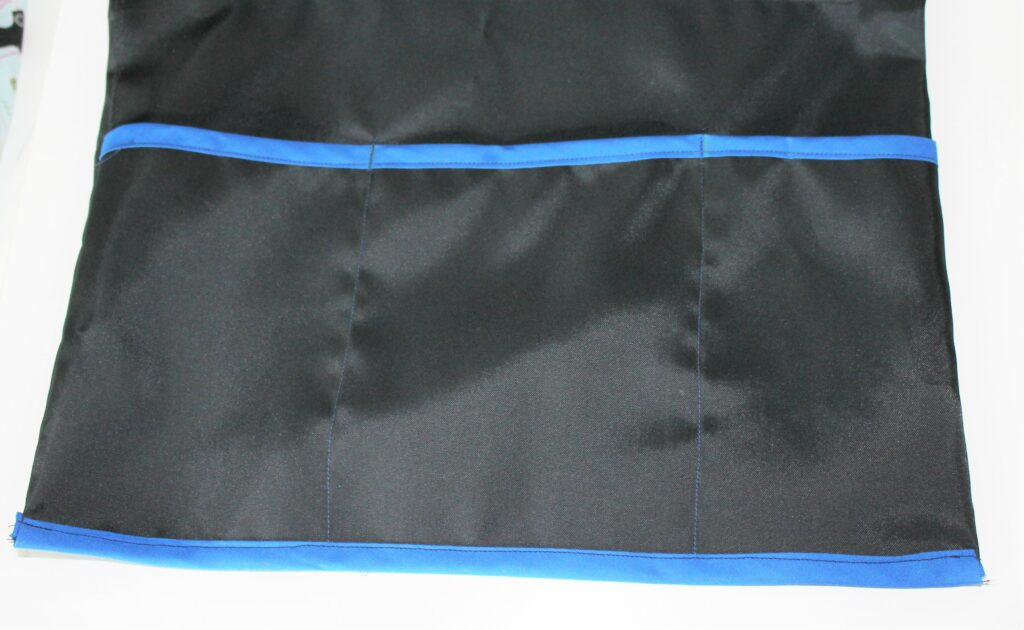
Cut a 16″ length of bias tape. Enclose the top raw edge of the pocket piece by wrapping the bias tape around it, and then stitch. Trim away any excess.
Place the pocket piece over the stadium-seat top, aligning the lower edges. Stitch the lower edge. Mark equidistant pocket lines on the pocket piece that are approximately 5 ½” apart.
Stitch along the marked pocket lines.
BUCKLE WINGS
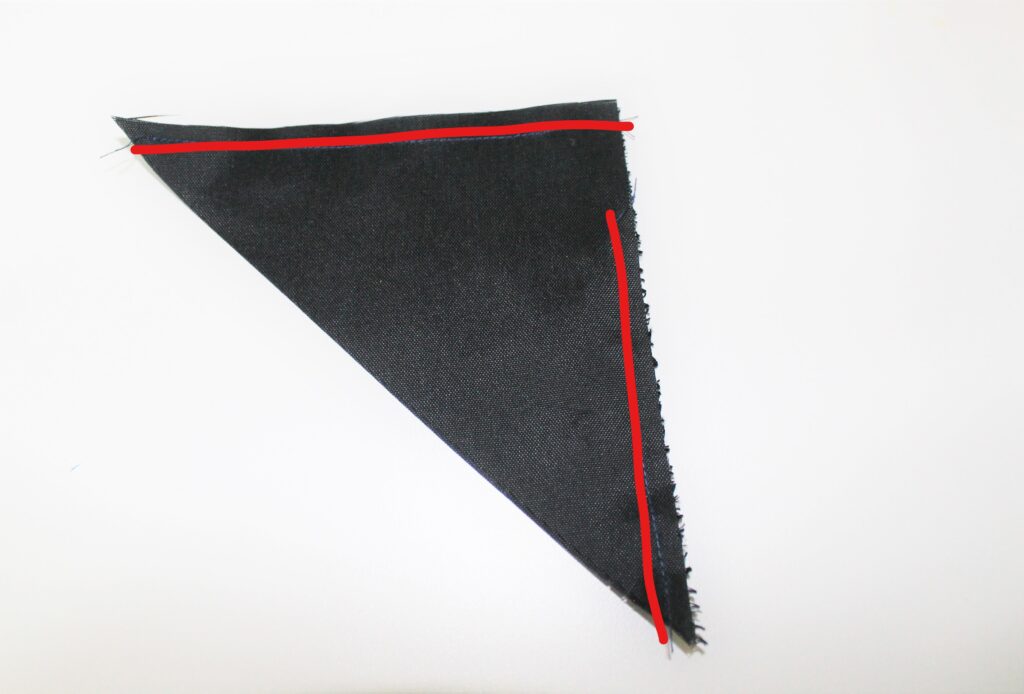
With right sides together, stitch two buckle wings along the short edges, leaving a 1” opening on one side.
Repeat to stitch the remaining three buckle-wing pieces to create two large wings and two smaller wings.
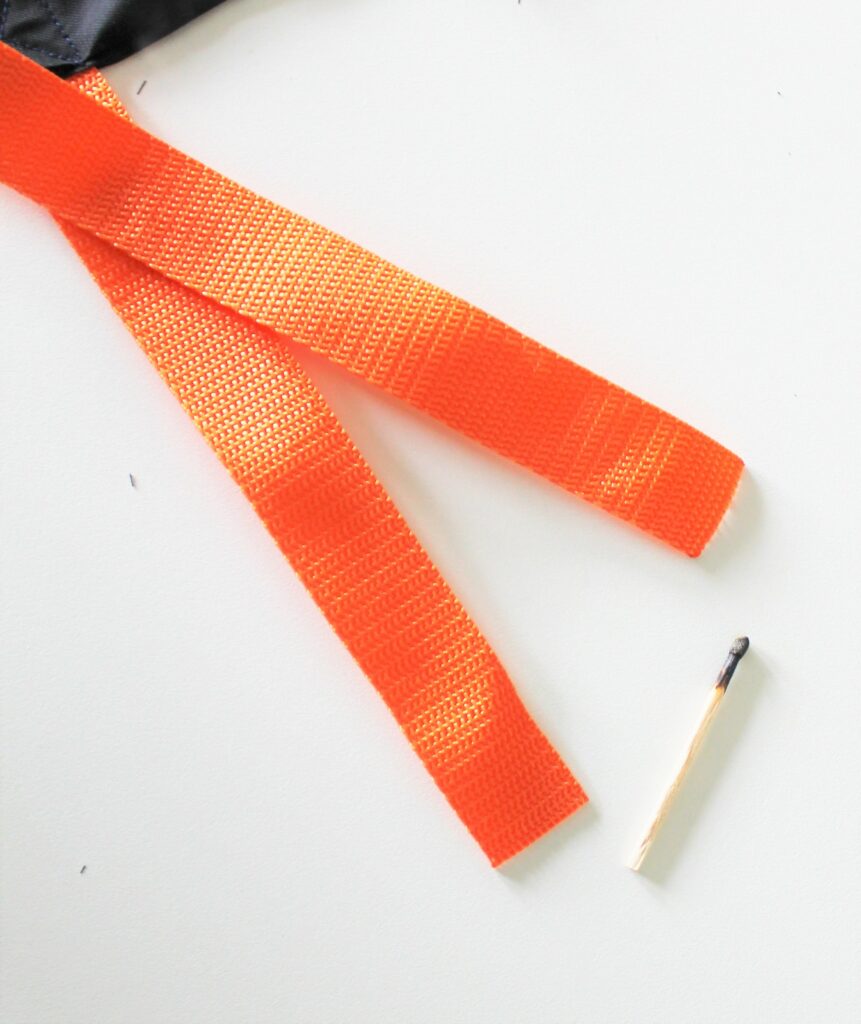
For the larger wings, thread an 8” piece of webbing through the opening; stitch in place.
For the smaller wings, thread an 11” piece of webbing through the opening; stitch in place.
Burn all the webbing ends (including the strap ends).
Place the female side of one parachute buckle through the larger buckle-wing pieces. Stitch the end down.
Place the male side through the smaller buckle-wing piece. Fold the end up ½” and stitch across to finish.
STADIUM SEAT ASSEMBLY
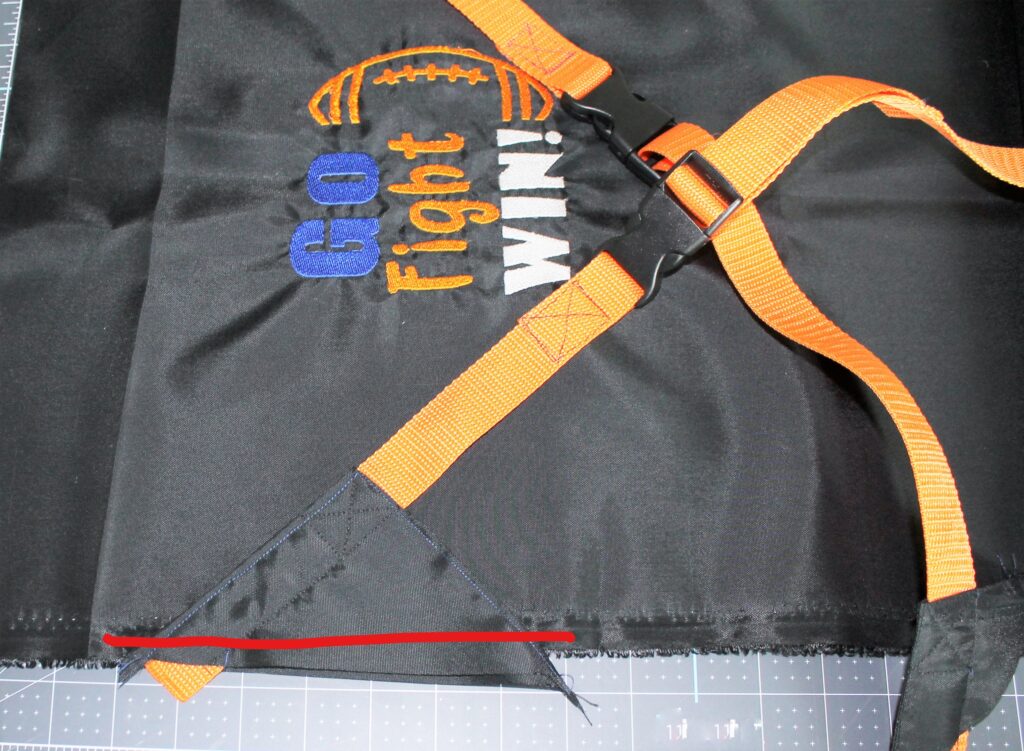
Place the main stadium seat piece right side up on a flat surface. Measure down 5” along the side. Pin the larger buckle wing to the seat. Repeat on the opposite side.
Measure down 14” and pin one handle side to the seat. Repeat on the opposite side of the handle and seat.
Measure down 21” from the upper edge and pin the smaller buckle wing to the seat. Repeat on the opposite side.
With right sides together, place the remaining stadium seat piece over the main piece. Pin across the upper edge and down the two sides. Stitch, using a ½” seam allowance.
Turn the DIY stadium seat right side out through the lower edge.
STADIUM SEAT FOAM
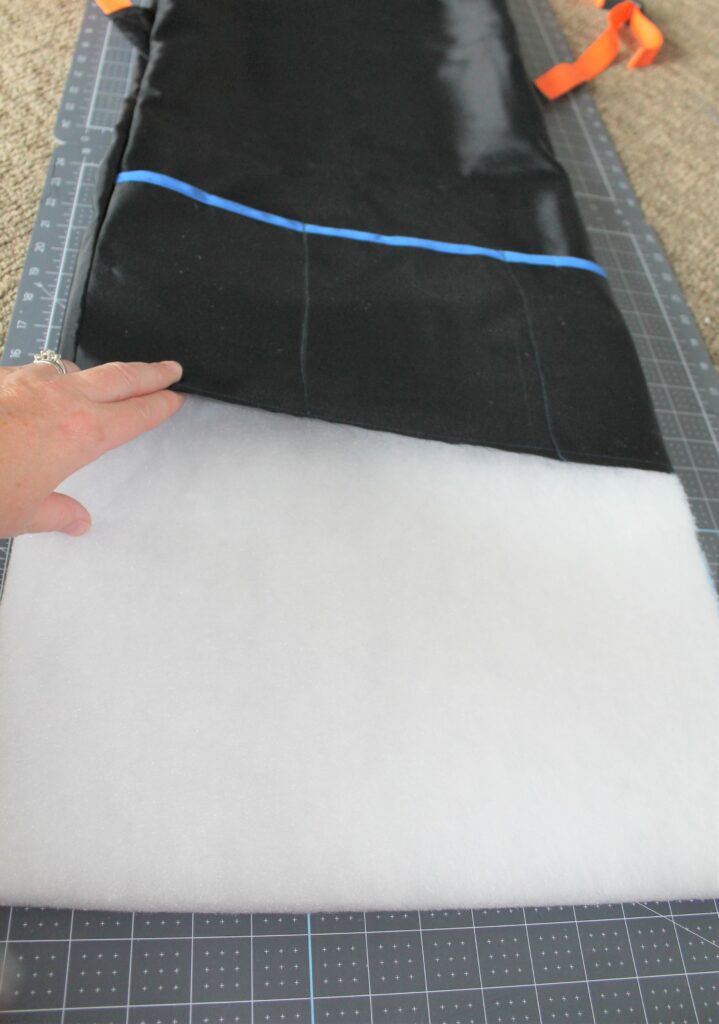
Trim the foam into two 15” squares. Place one piece of foam into the seat. Stitch across the seat right under the piece of foam to enclose it. Make sure not to stitch down the strap. Repeat with the second piece of foam.
Enclose the lower raw edge using bias tape. Make sure to fold the bias-tape ends in to enclose all raw edges.
Adjust the buckle straps to fit the recipient and level of comfort desired when sitting on hard (or grassy) surfaces.
Make one for each member of the family to have matching school spirit!

