Embossed Embroidered Towel Set
Great Gift Alert!
Looking for a thoughtful, practical, and personalized gift for a recent graduate heading off to college? An embroidered towel set with an elegant embossed design is the perfect choice. Not only does it add a touch of luxury to dorm life, but it’s also a functional keepsake that stands out in shared laundry rooms. We’ll walk you through how to create your own embossed towel set—from choosing the right materials to stitching a design that pops. Whether you’re a seasoned embroiderer or just getting started, this project combines creativity with heartfelt gifting.
EMBOSSED EMBROIDERED TOWEL SET SUPPLIES
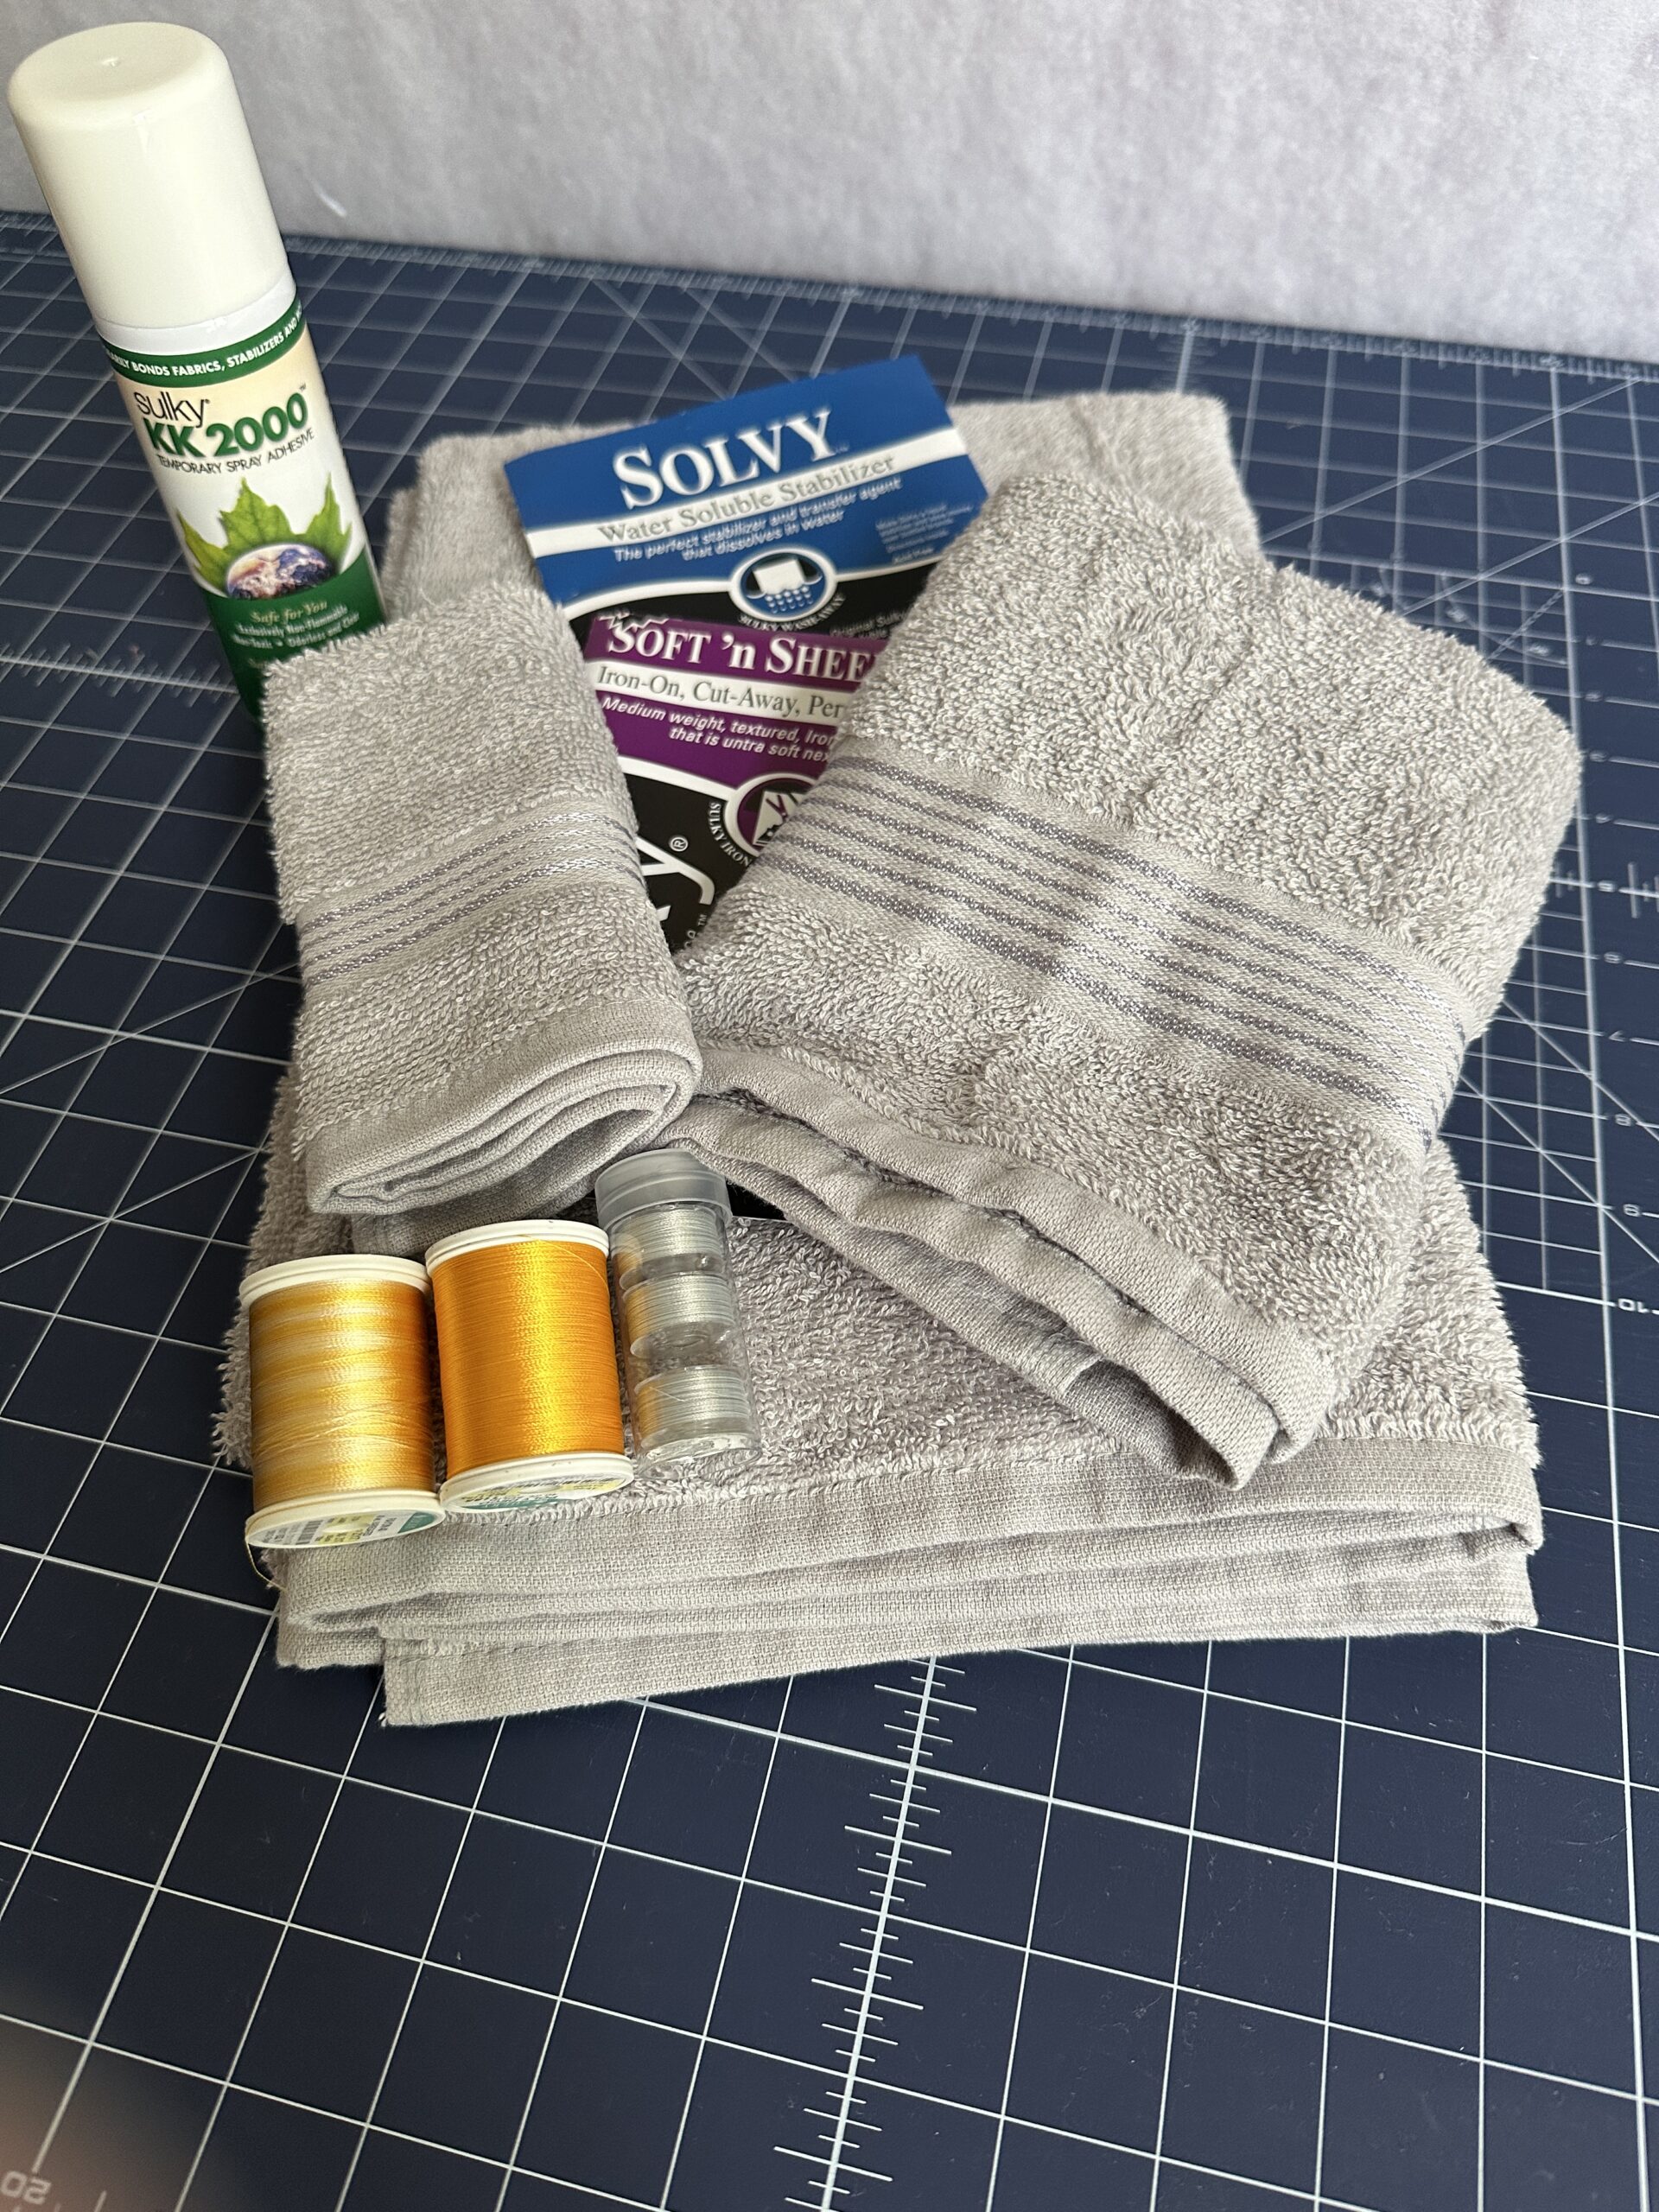
- Towel set: include a bath towel or sheet, hand towel & washcloth
- 40 wt. Rayon Thread (hint: try Vari-Rayon for this technique to showcase more color and dimension)
- 60 wt. Bobbin Thread (to match towel)
- Sulky Stabilizers
- Sulky KK2000™ Temporary Spray Adhesive
- Embossed Embroidery Design (such as Springtime Bee by Embroidery Library)
ABOUT EMBOSSED EMBROIDERY DESIGNS
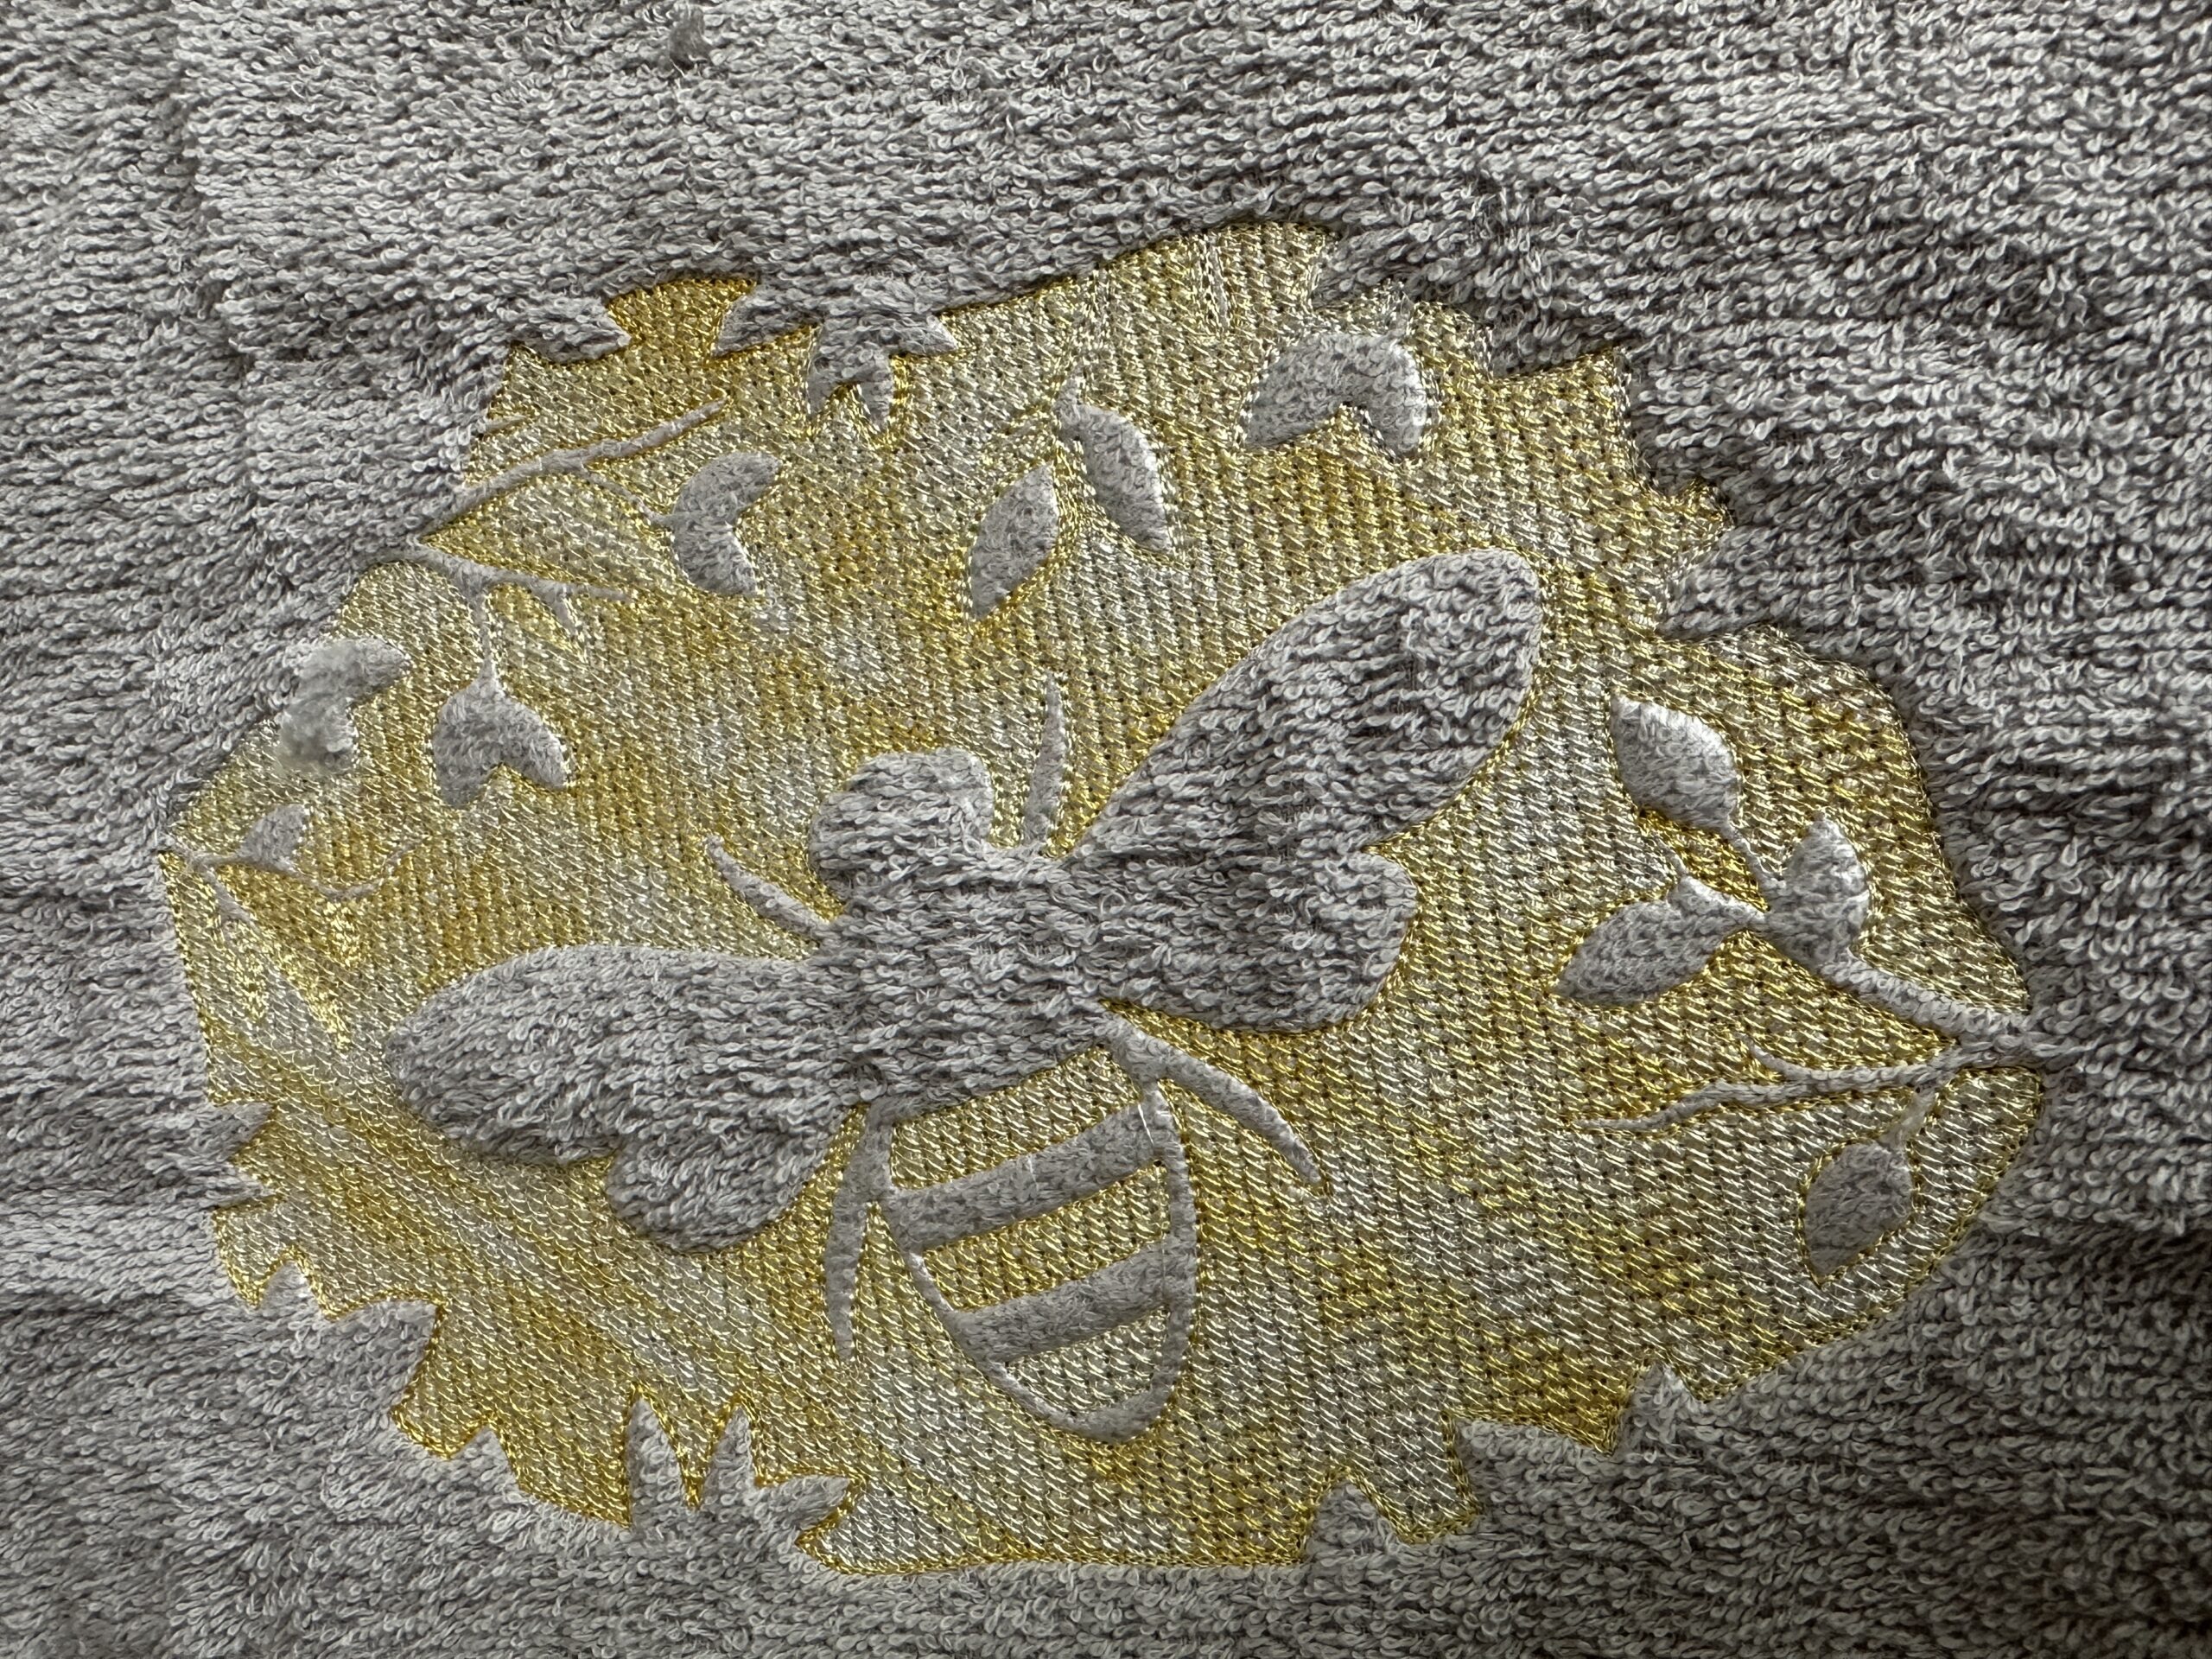
An embossed embroidery design is a type of embroidery where the stitching is arranged to create a raised or 3D effect, often with a subtle pattern or motif that appears to be “pushed out” from the fabric surface. This technique is commonly used on plush fabrics like towels, fleece, or minkee, and it creates a visually elegant and tactile design—often monograms, logos, or decorative shapes.
Key Features of Embossed Embroidery:
-
Raised texture: The design appears elevated from the fabric.
-
Fabric-dependent: Works best on fabrics with pile (like terry cloth or fleece) to achieve contrast between the stitched and unstitched areas.
-
Subtlety: Often a tone-on-tone look, where the thread color closely matches the fabric for a classy, understated finish. However, using a contrasting or variegated thread on a neutral fabric is also a nice choice.
How Home Embroidery Machines Create Embossed Designs:
-
Design Digitizing:
-
The design must be digitized specifically for embossed embroidery using embroidery software.
-
The digitizing process includes:
-
Creating a knockdown stitch area—a layer of low-density stitching that flattens the pile of the fabric around the design.
-
Leaving the actual shape unstitched or lightly stitched, allowing it to stand out due to the surrounding knockdown stitches.
-
-
-
Fabric Preparation:
-
Use high-pile fabrics like terry cloth or fleece.
-
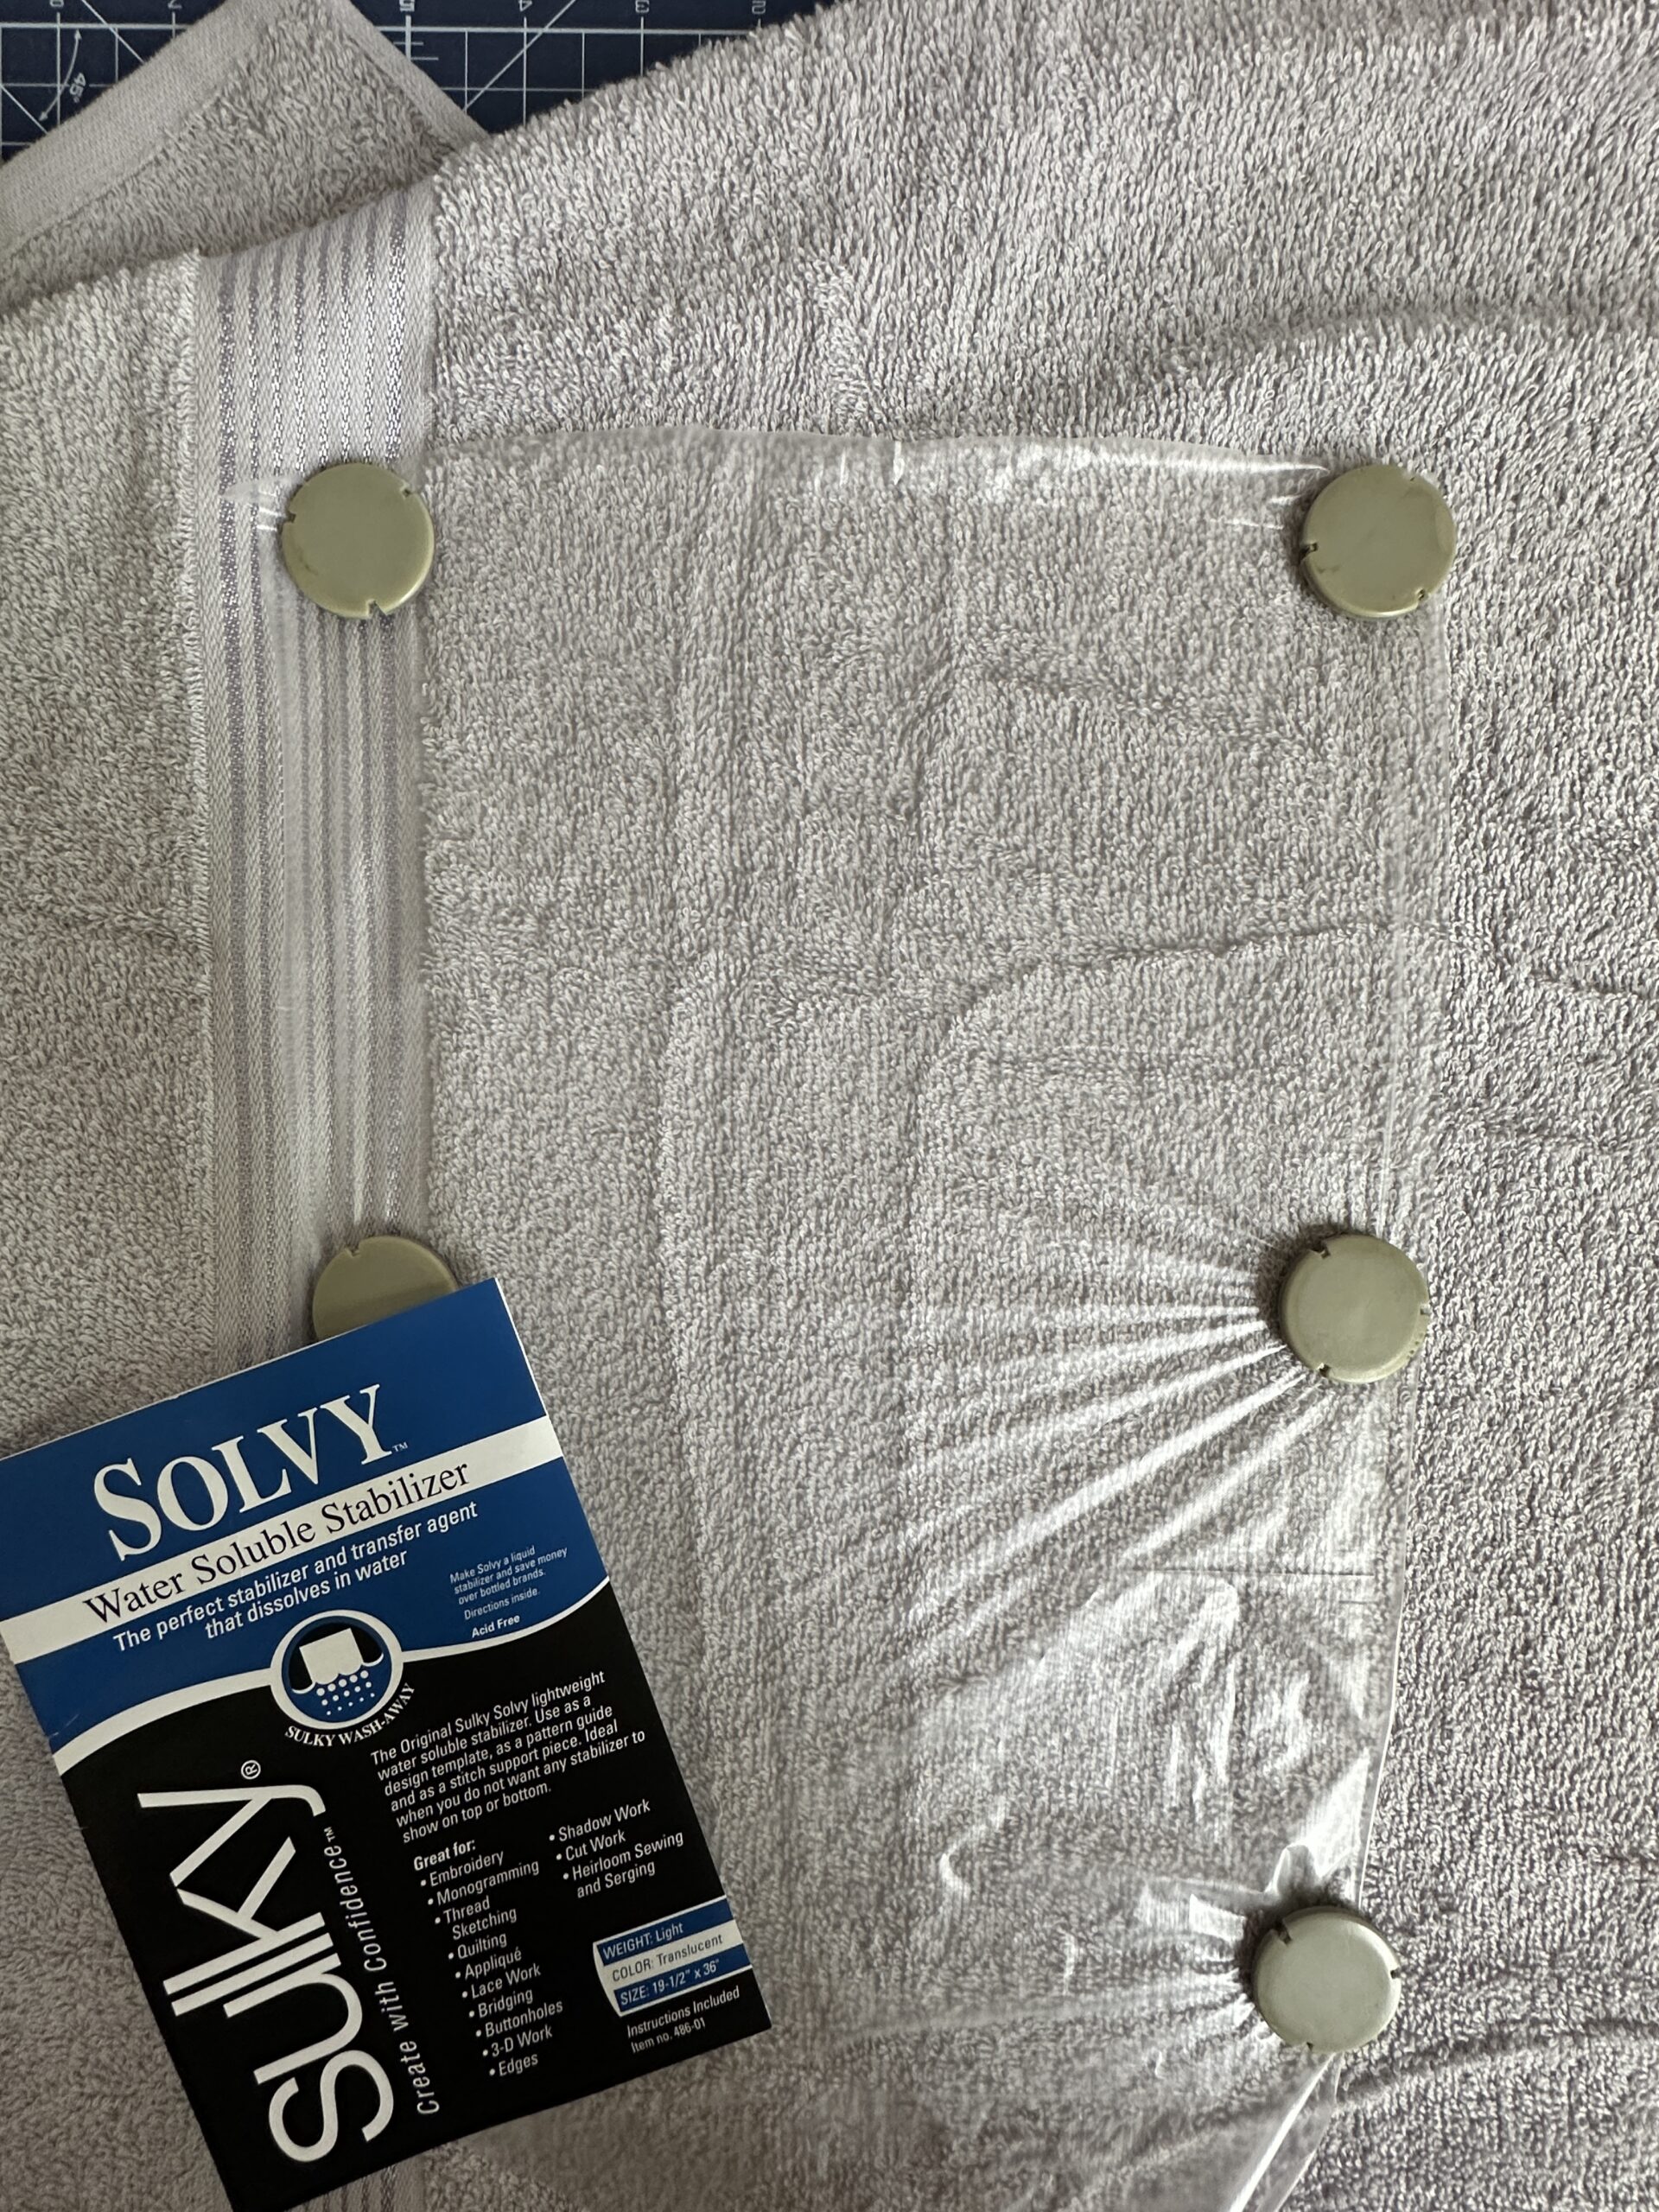
Apply Sulky Solvy as a topper on the fabric surface before embroidery. This prevents the stitches from sinking into the pile and helps keep the knockdown area crisp.
-
Use a light – to medium-weight cutaway stabilizer underneath for support. For lightweight towels, use Sulky Soft ‘n Sheer. For heavier weight towels, use Sulky Cut-Away Plus.
-
HOW TO EMBROIDER TOWELS USING EMBOSSED DESIGNS
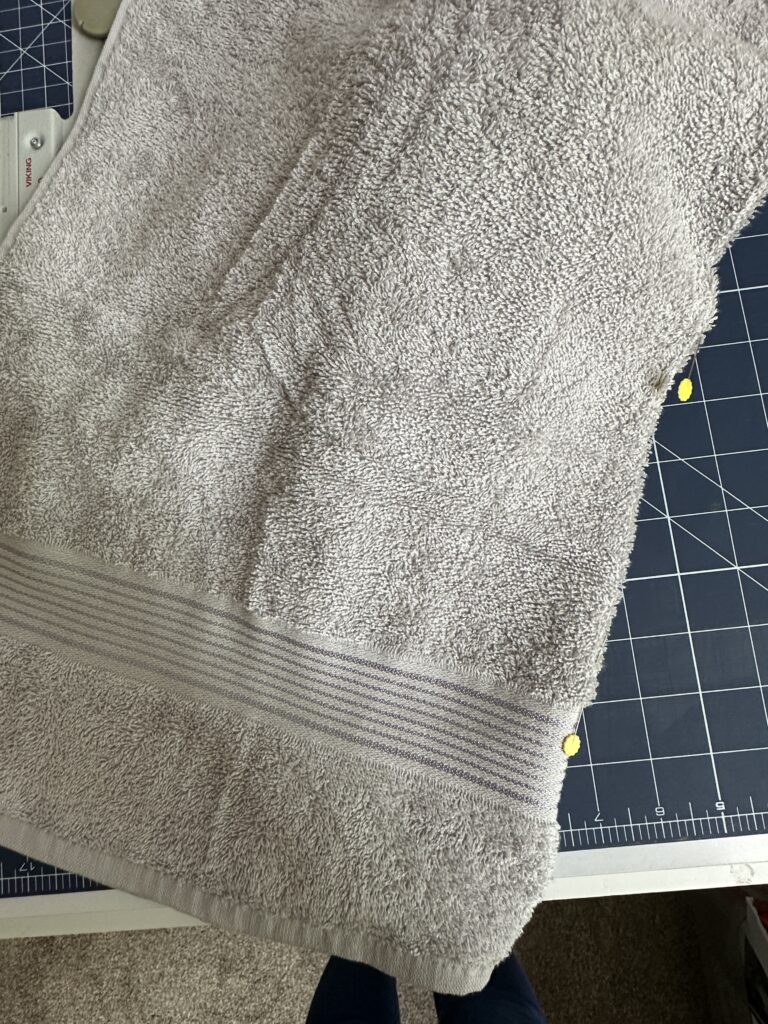
First, prepare the towels by determining the embroidery design placement. When purchasing embossed embroidery designs for a towel set, choose a design with multiple sizes. This option allows you to choose a design size that’s appropriate for the towel size while creating a cohesive set.
Fold each towel in half to pin-mark the center. If the towels have a band or decorative stitching, place the embroidery above those areas with at least a 1/4″ border.
Next, hoop a piece of Sulky Soft ‘n Sheer Stabilizer (if working with lightweight towels) or Cut-Away Plus (if working with heavyweight towels).
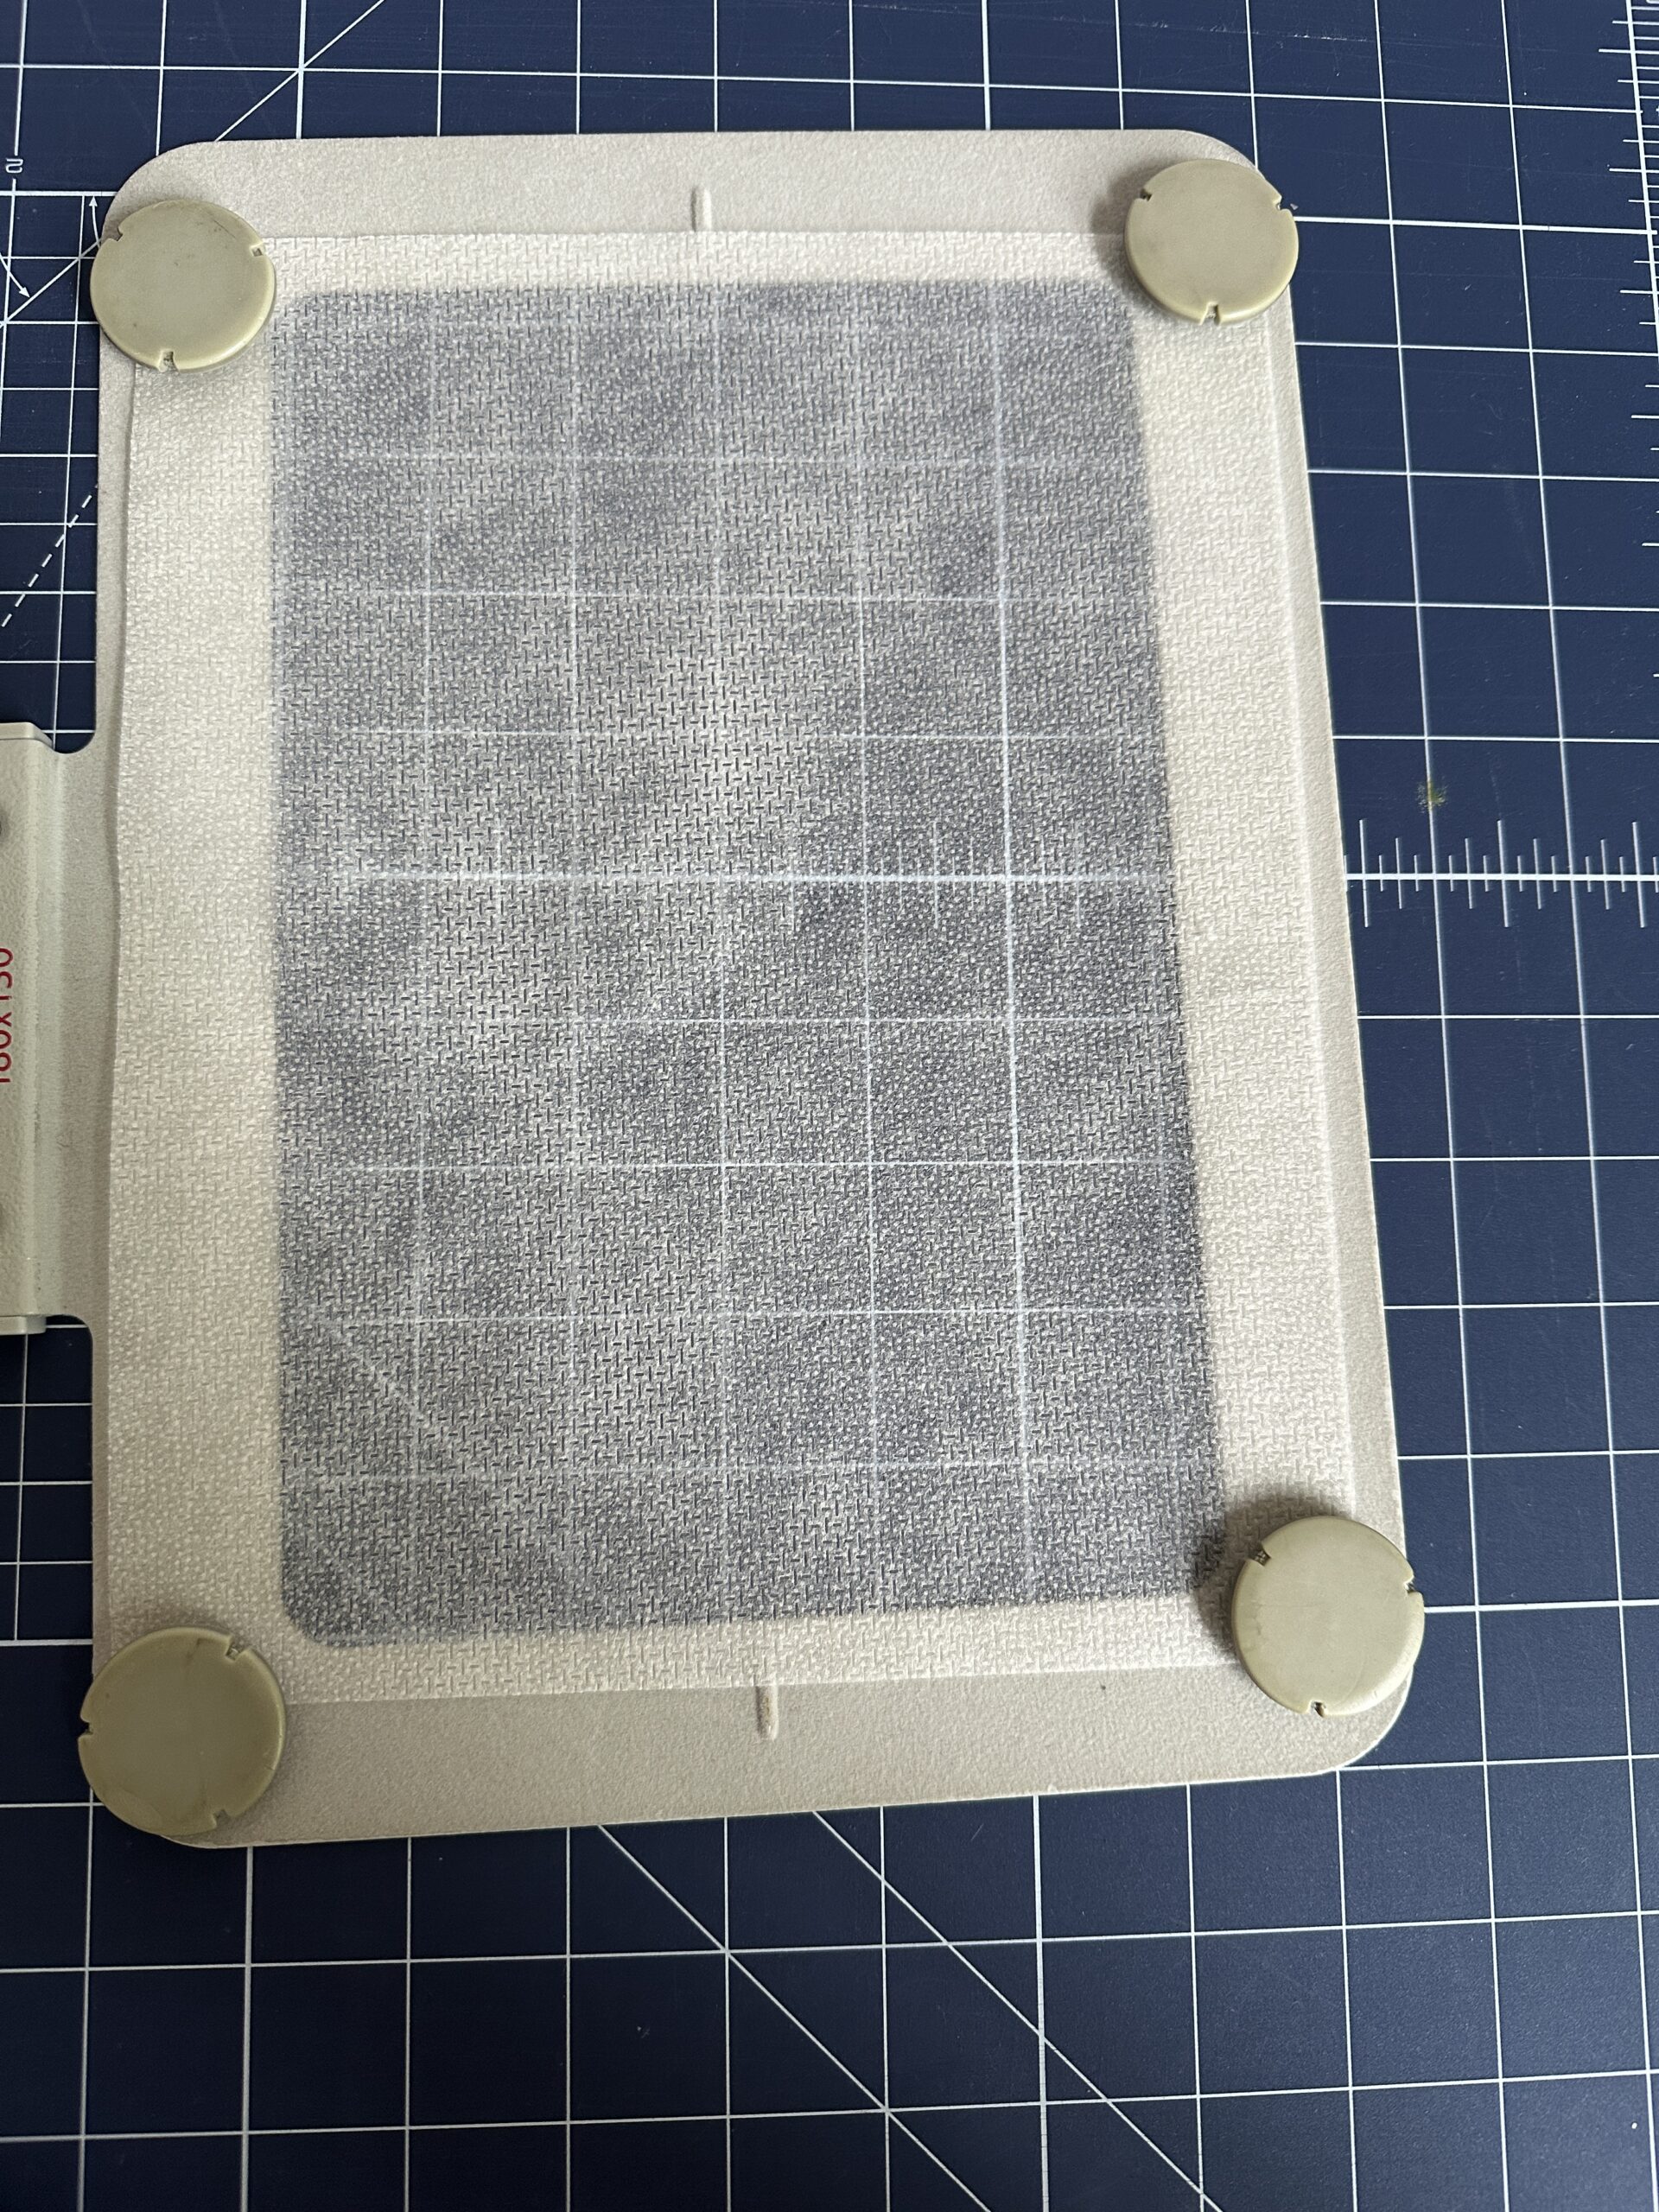
Spray the towel wrong side with KK2000 and place it onto the hooped stabilizer, aligning the placement marks with the hoop markings.
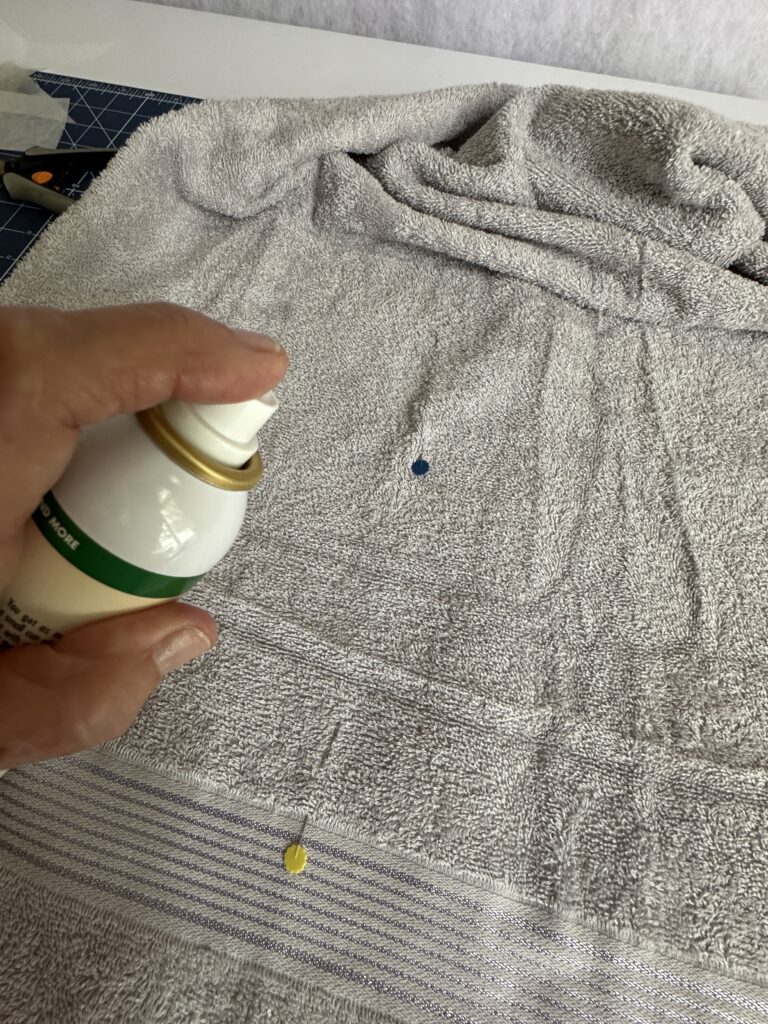
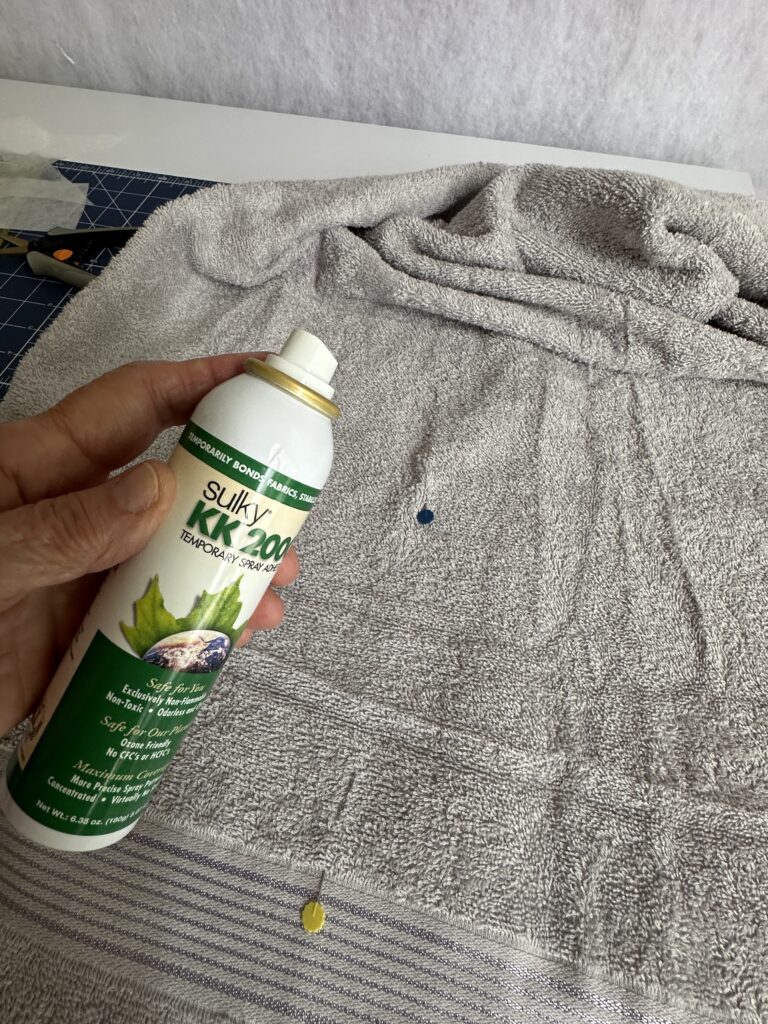
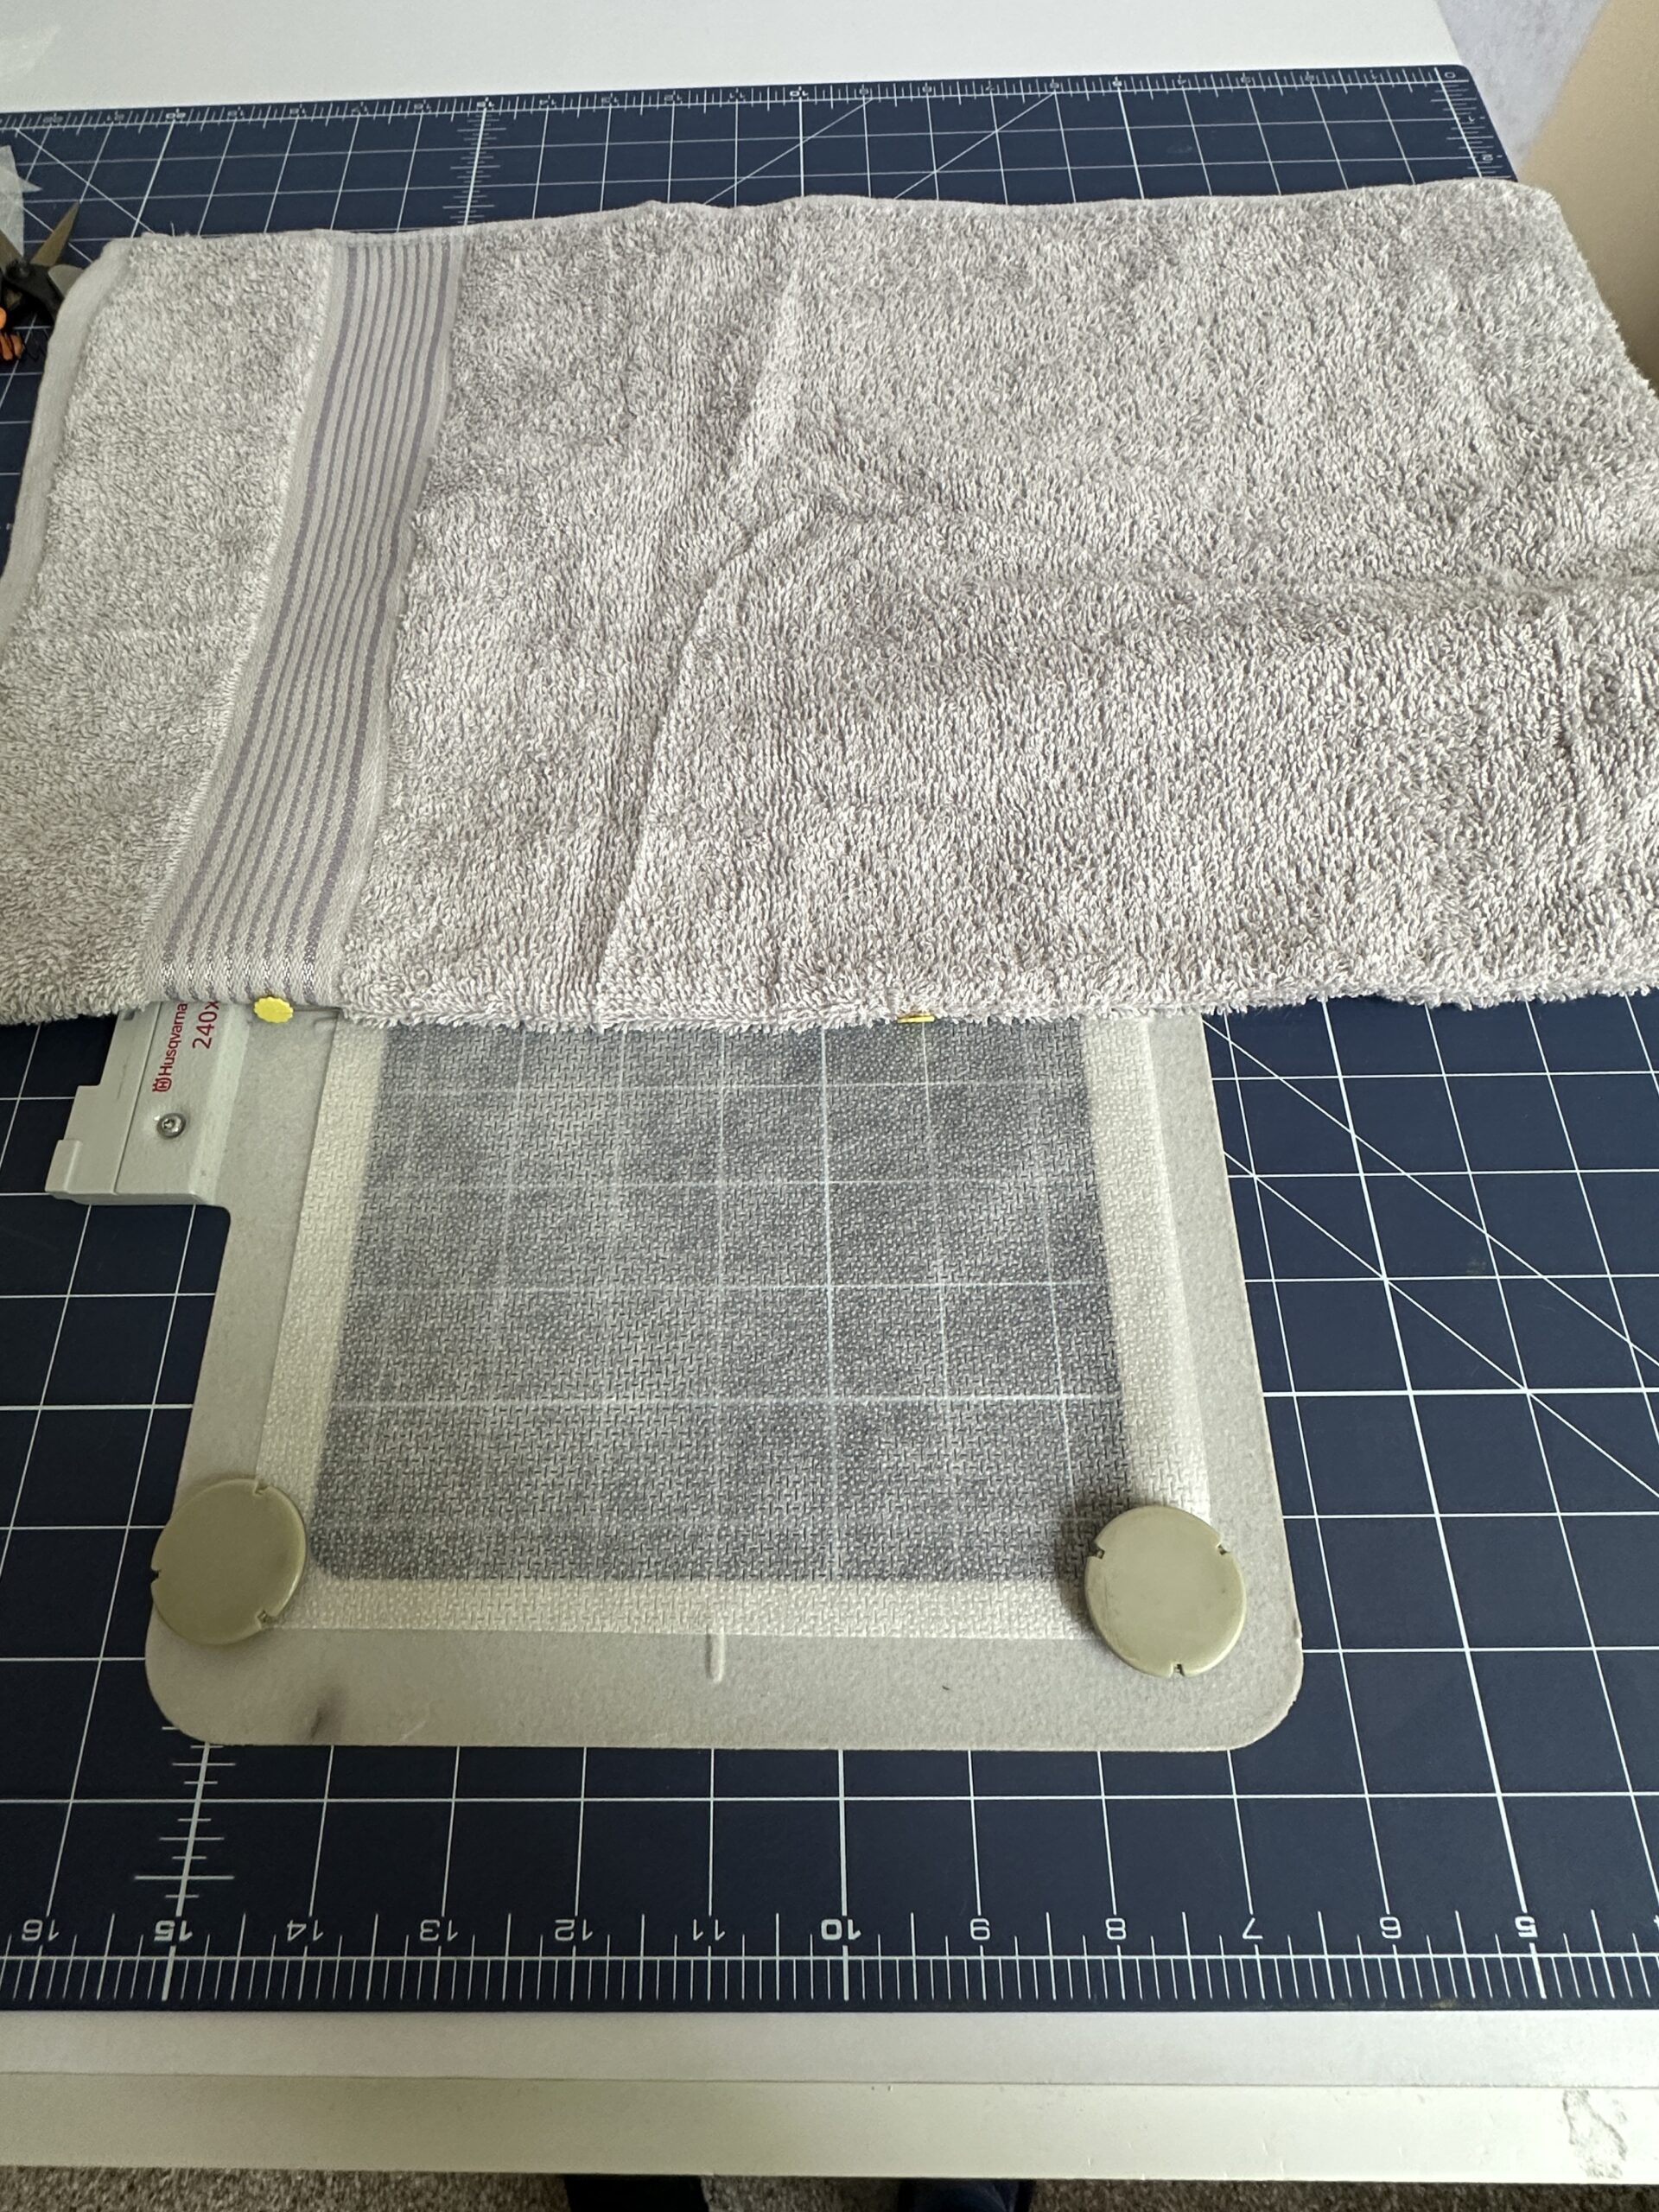
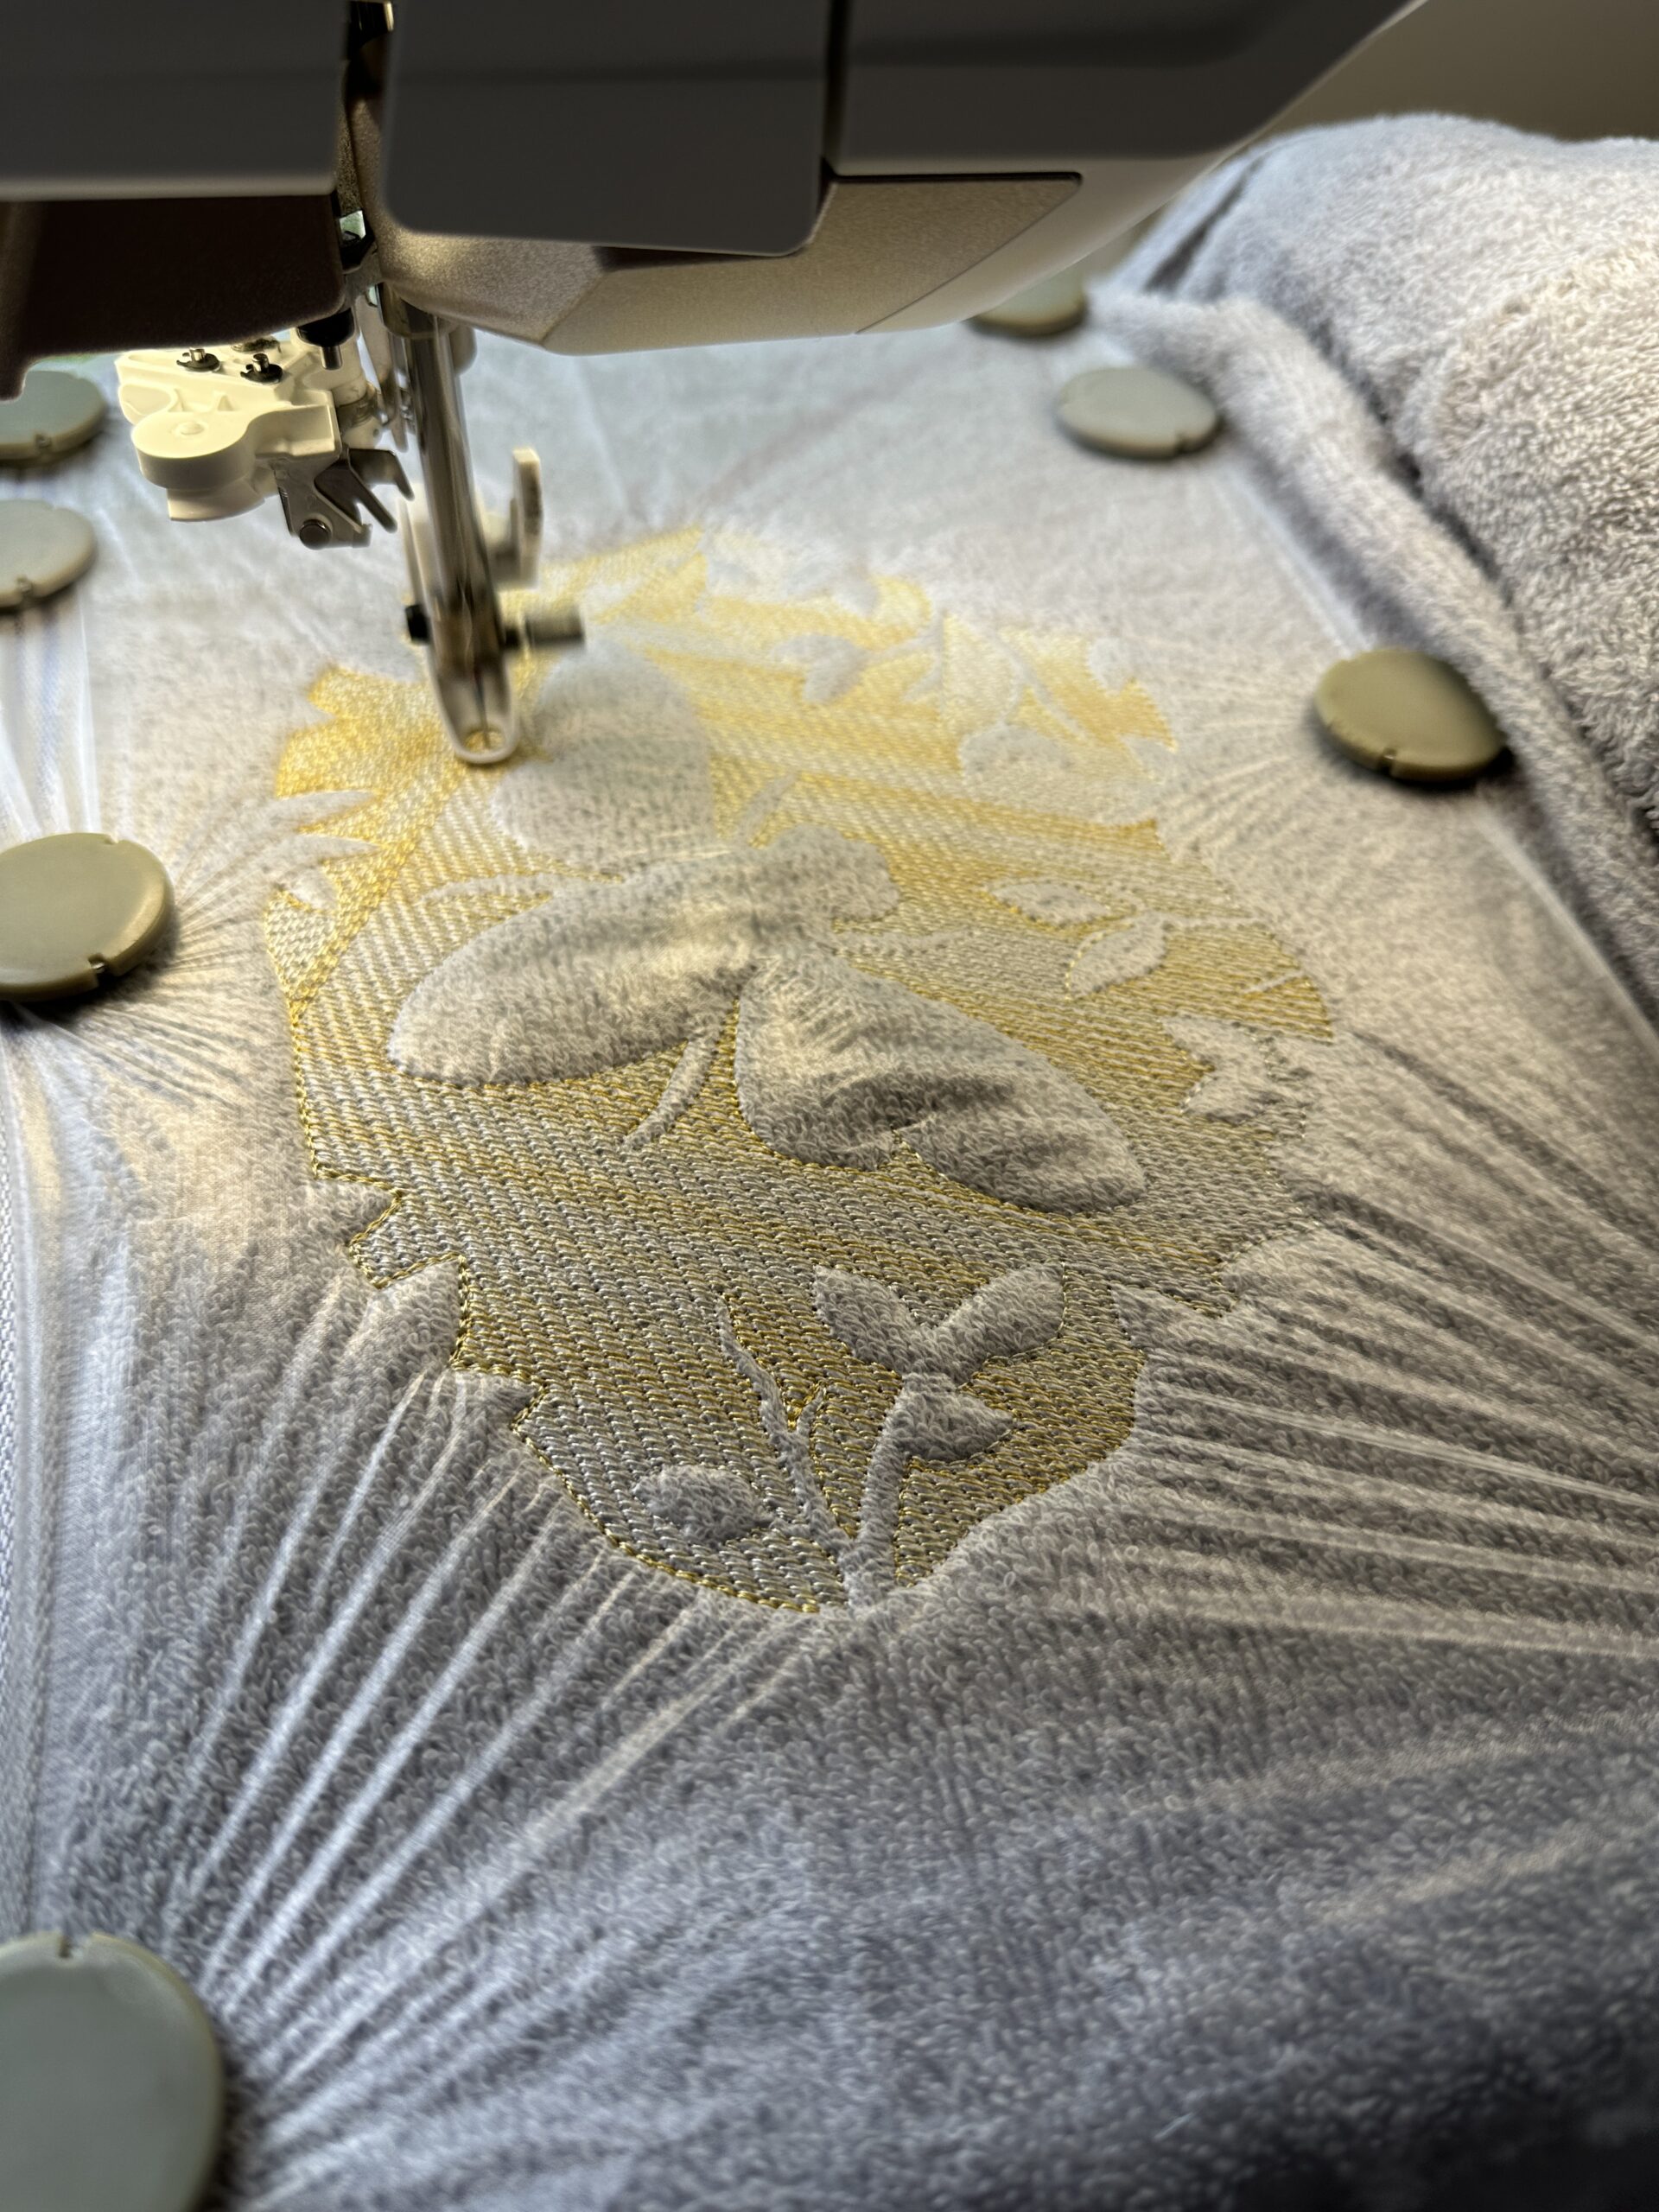
Next, smooth the towel pile toward its lower edge. Then, place a piece of Sulky Solvy over the towel, using KK2000 to secure. (Hint: If using a magnetic hoop, you can hoop all layers with the outer hoop ring or individual magnets, depending on brand. If not using a magnetic hoop, make sure to use enough KK2000 so the layers don’t shift as you place the hoop onto the machine.)
Embroider the design, using 40 wt. Rayon in the needle and 60 wt. Bobbin Thread that matches the towel in the bobbin.
EMBROIDERY FINISHING
Remove the hoop from the machine.
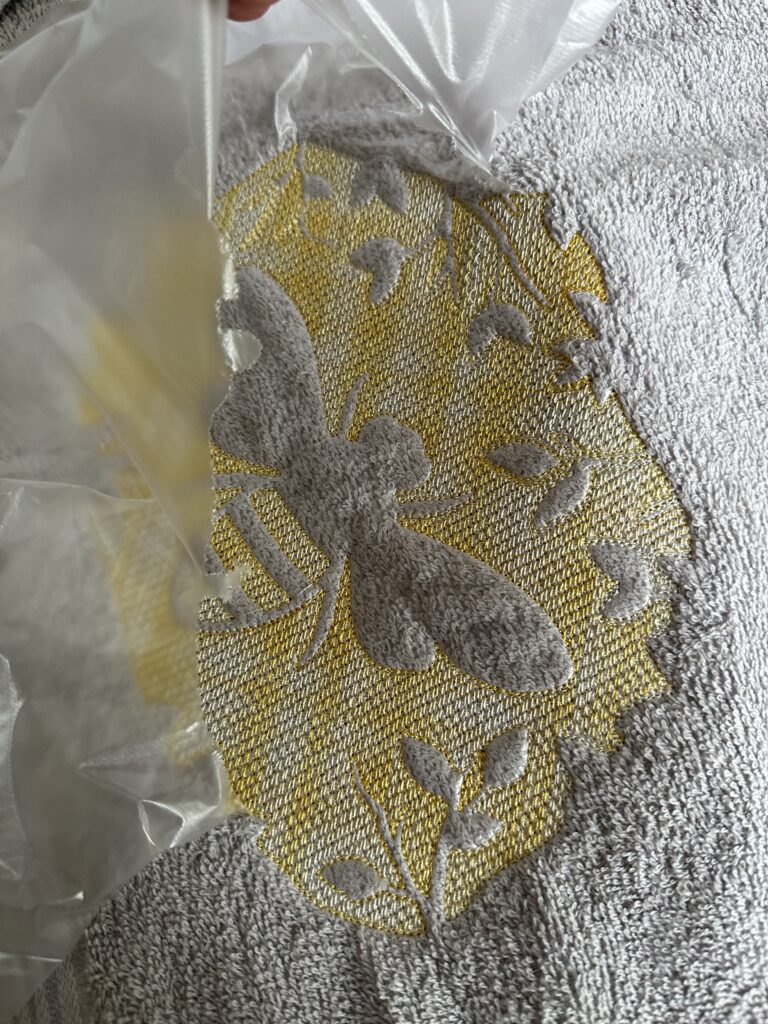
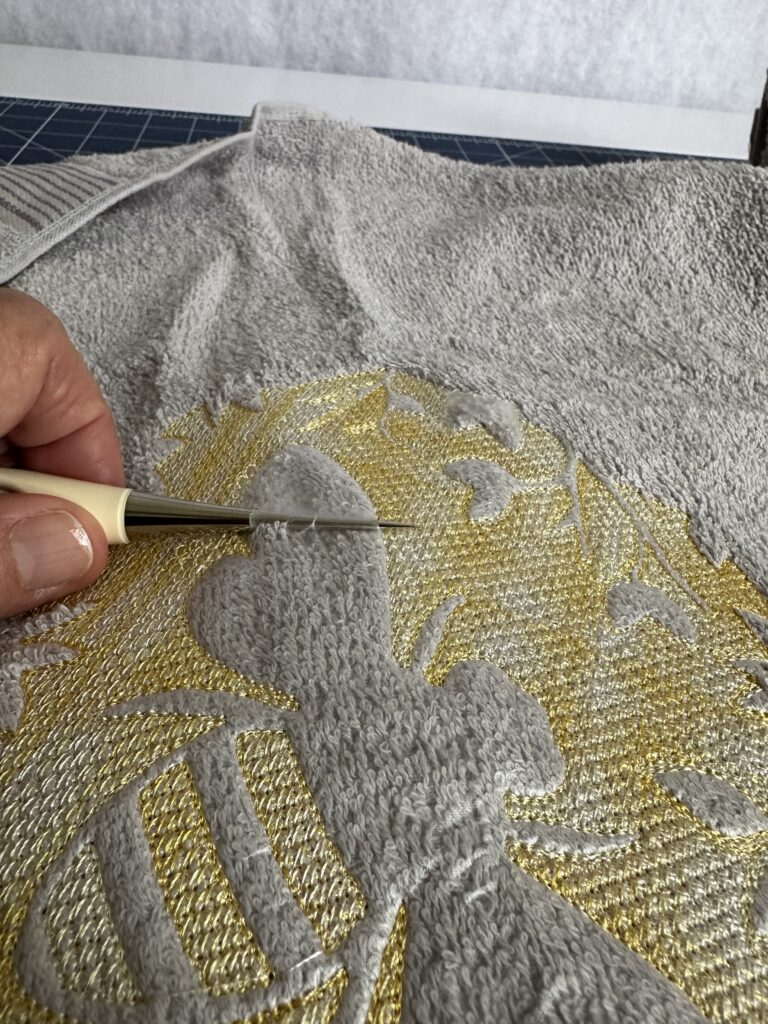
Then, remove the Solvy stabilizer. Begin by tearing it away from the design perimeter. Then, carefully use an awl or other blunt tool to tear away sections inside the knockdown stitching. Be mindful of the towel fabric pile/loops so as to not snag them during this process.
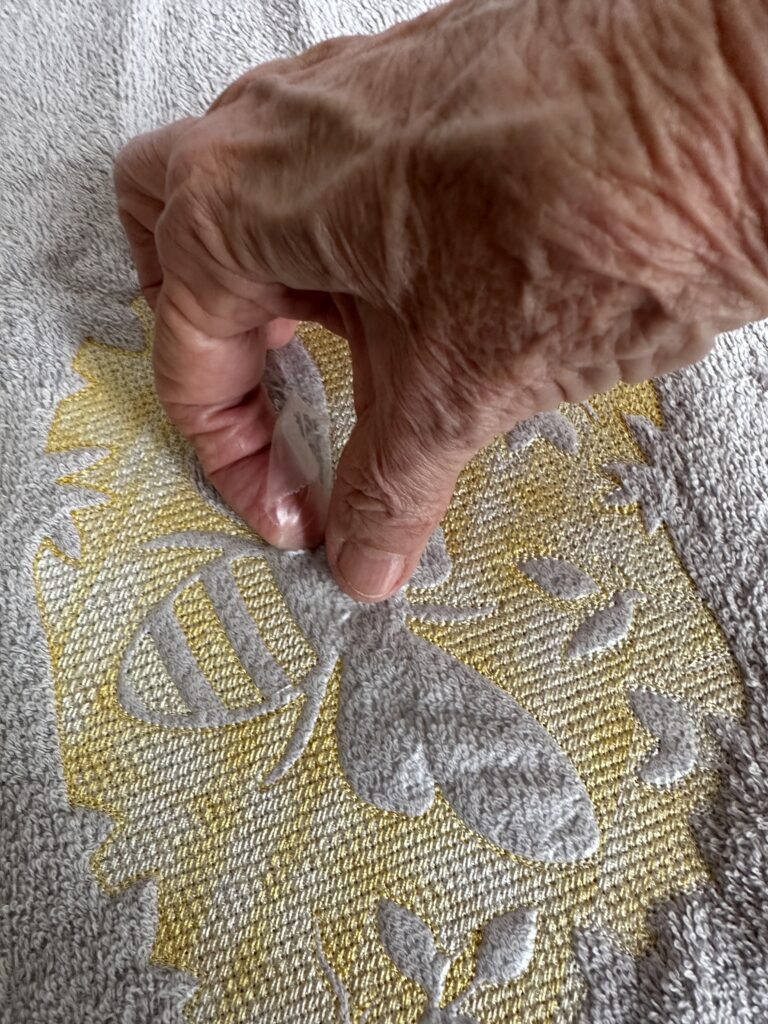
After most of the Solvy is removed, remove the towel from the hoop. You can remove the smaller bits of Solvy using water and/or a saturated cotton swab. Or place the finished towel(s) in a rinse-and-spin cycle in the washing machine.
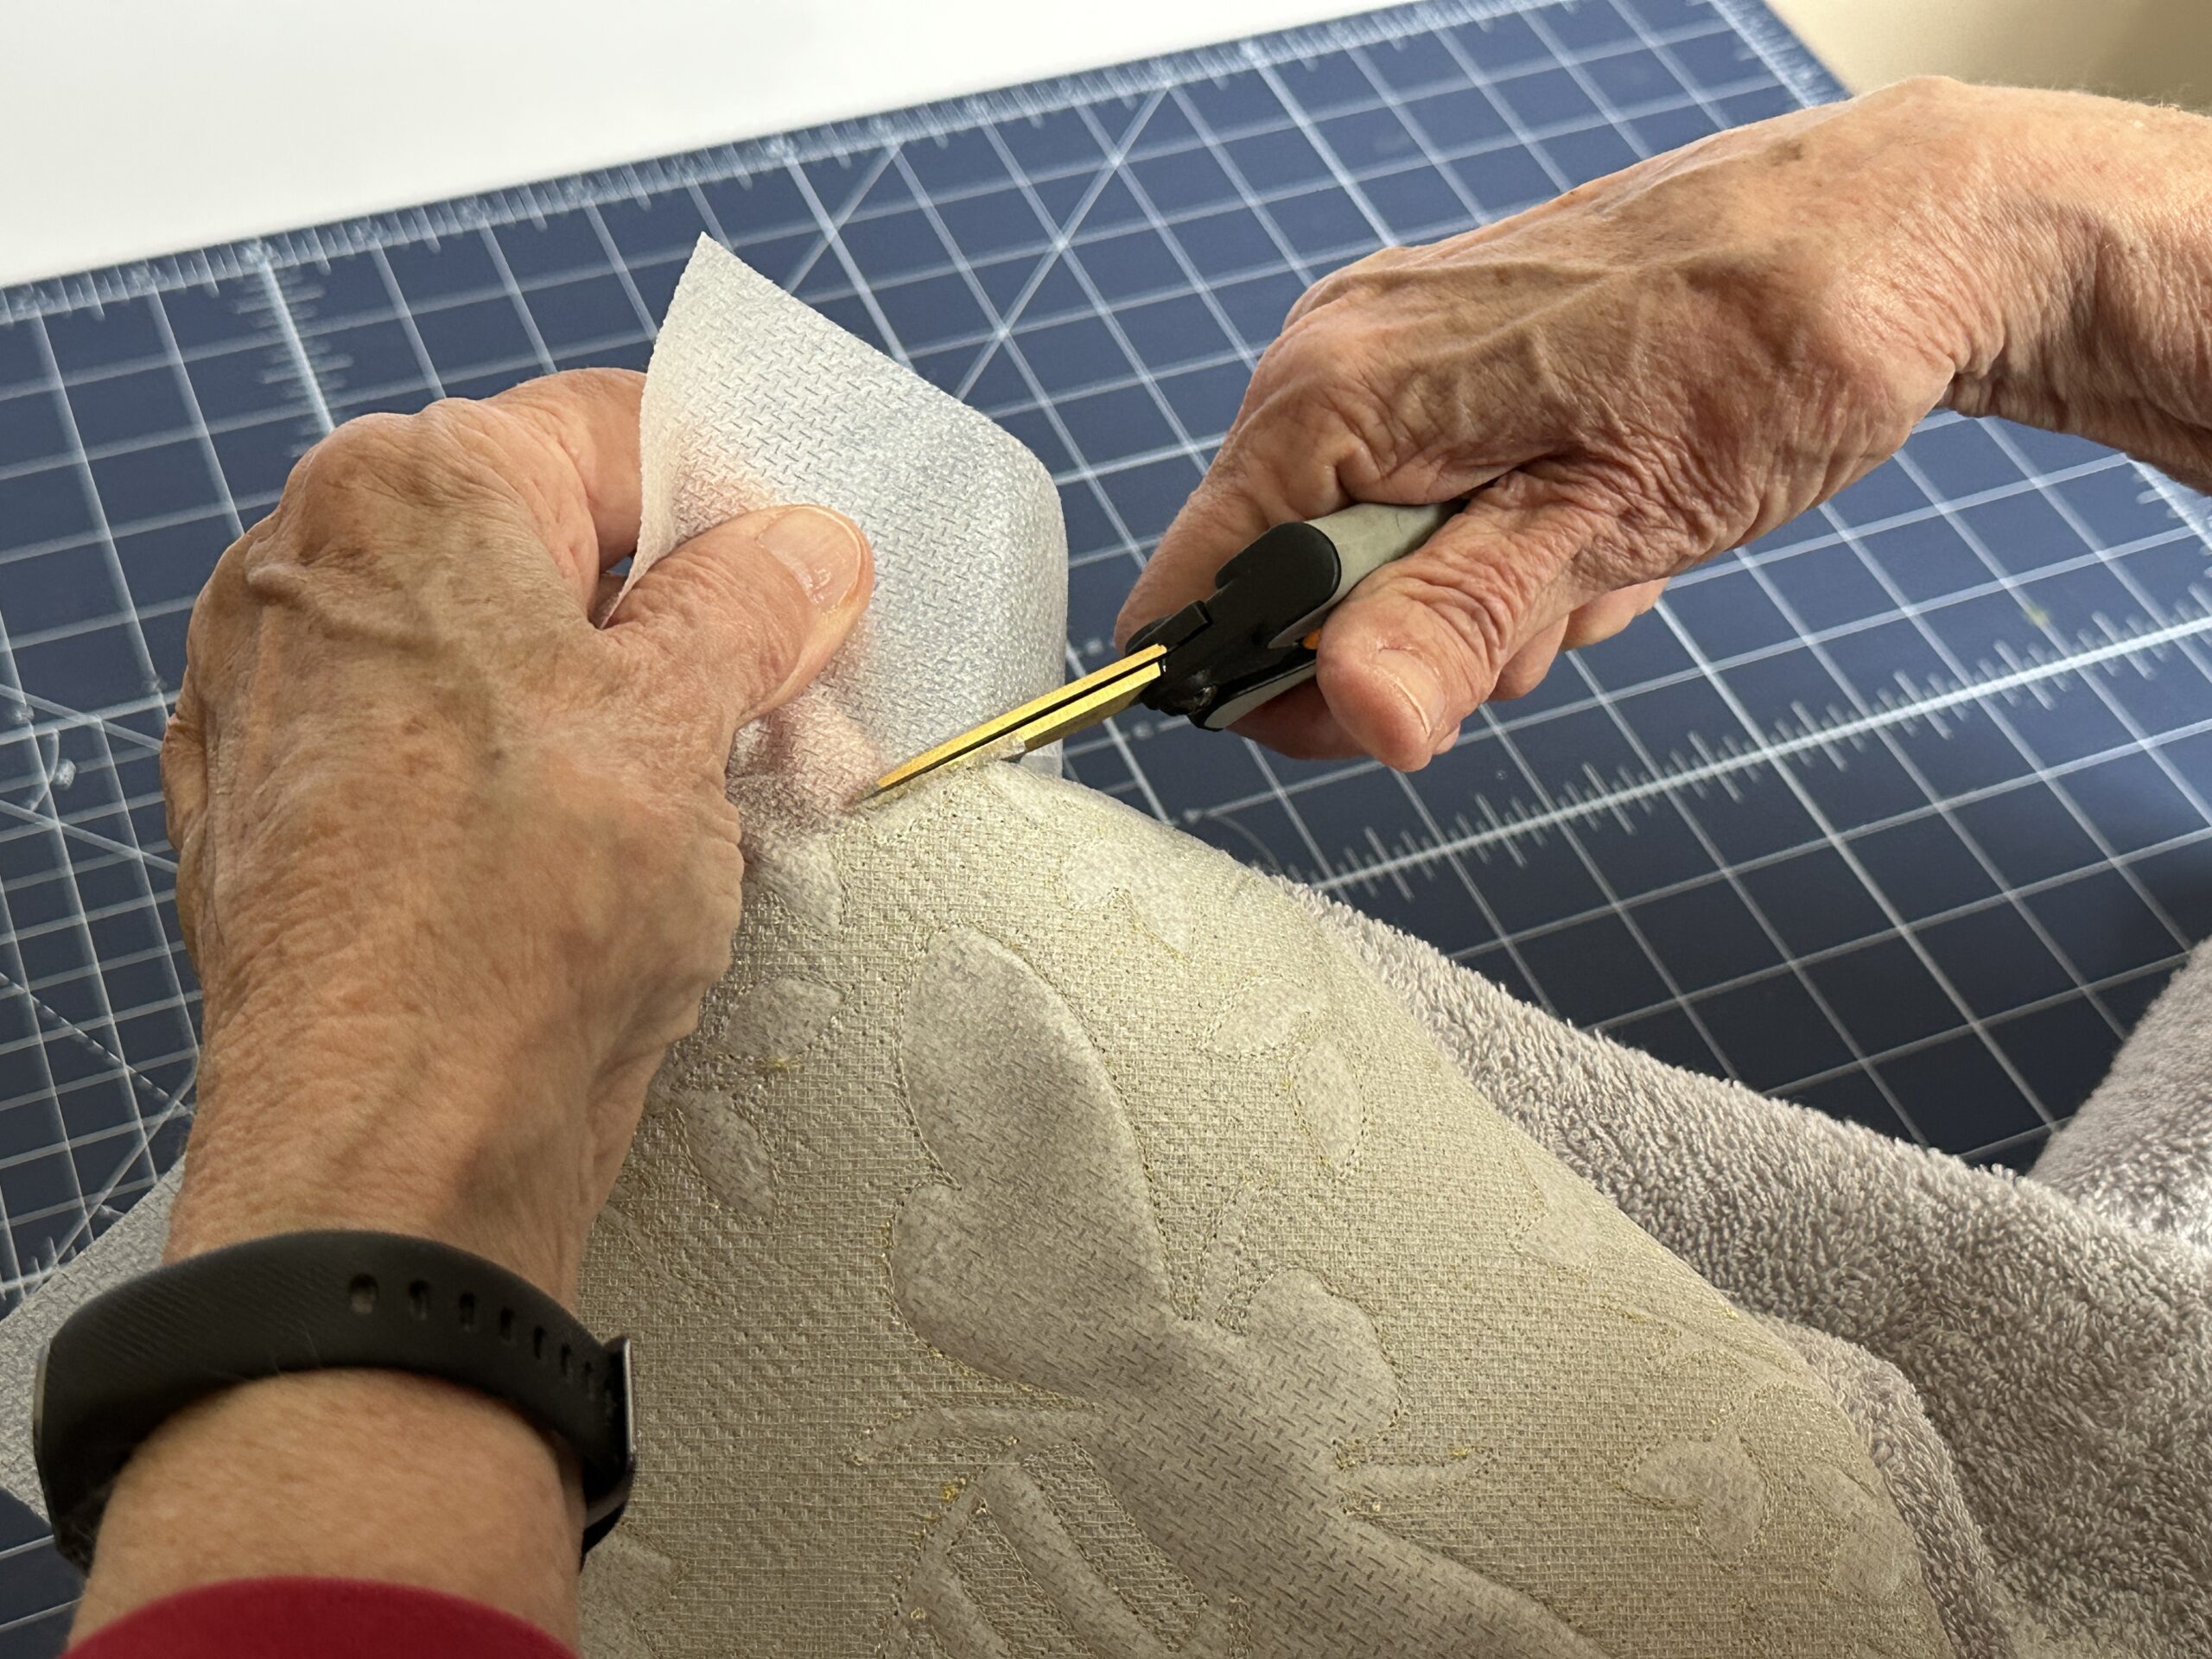
Trim the excess stabilizer from the towel back side. Get as close as possible to the outer stitching line without slicing through it.
Repeat to create as many towels as needed to create a matching set, using smaller or larger designs according to the towel size(s).
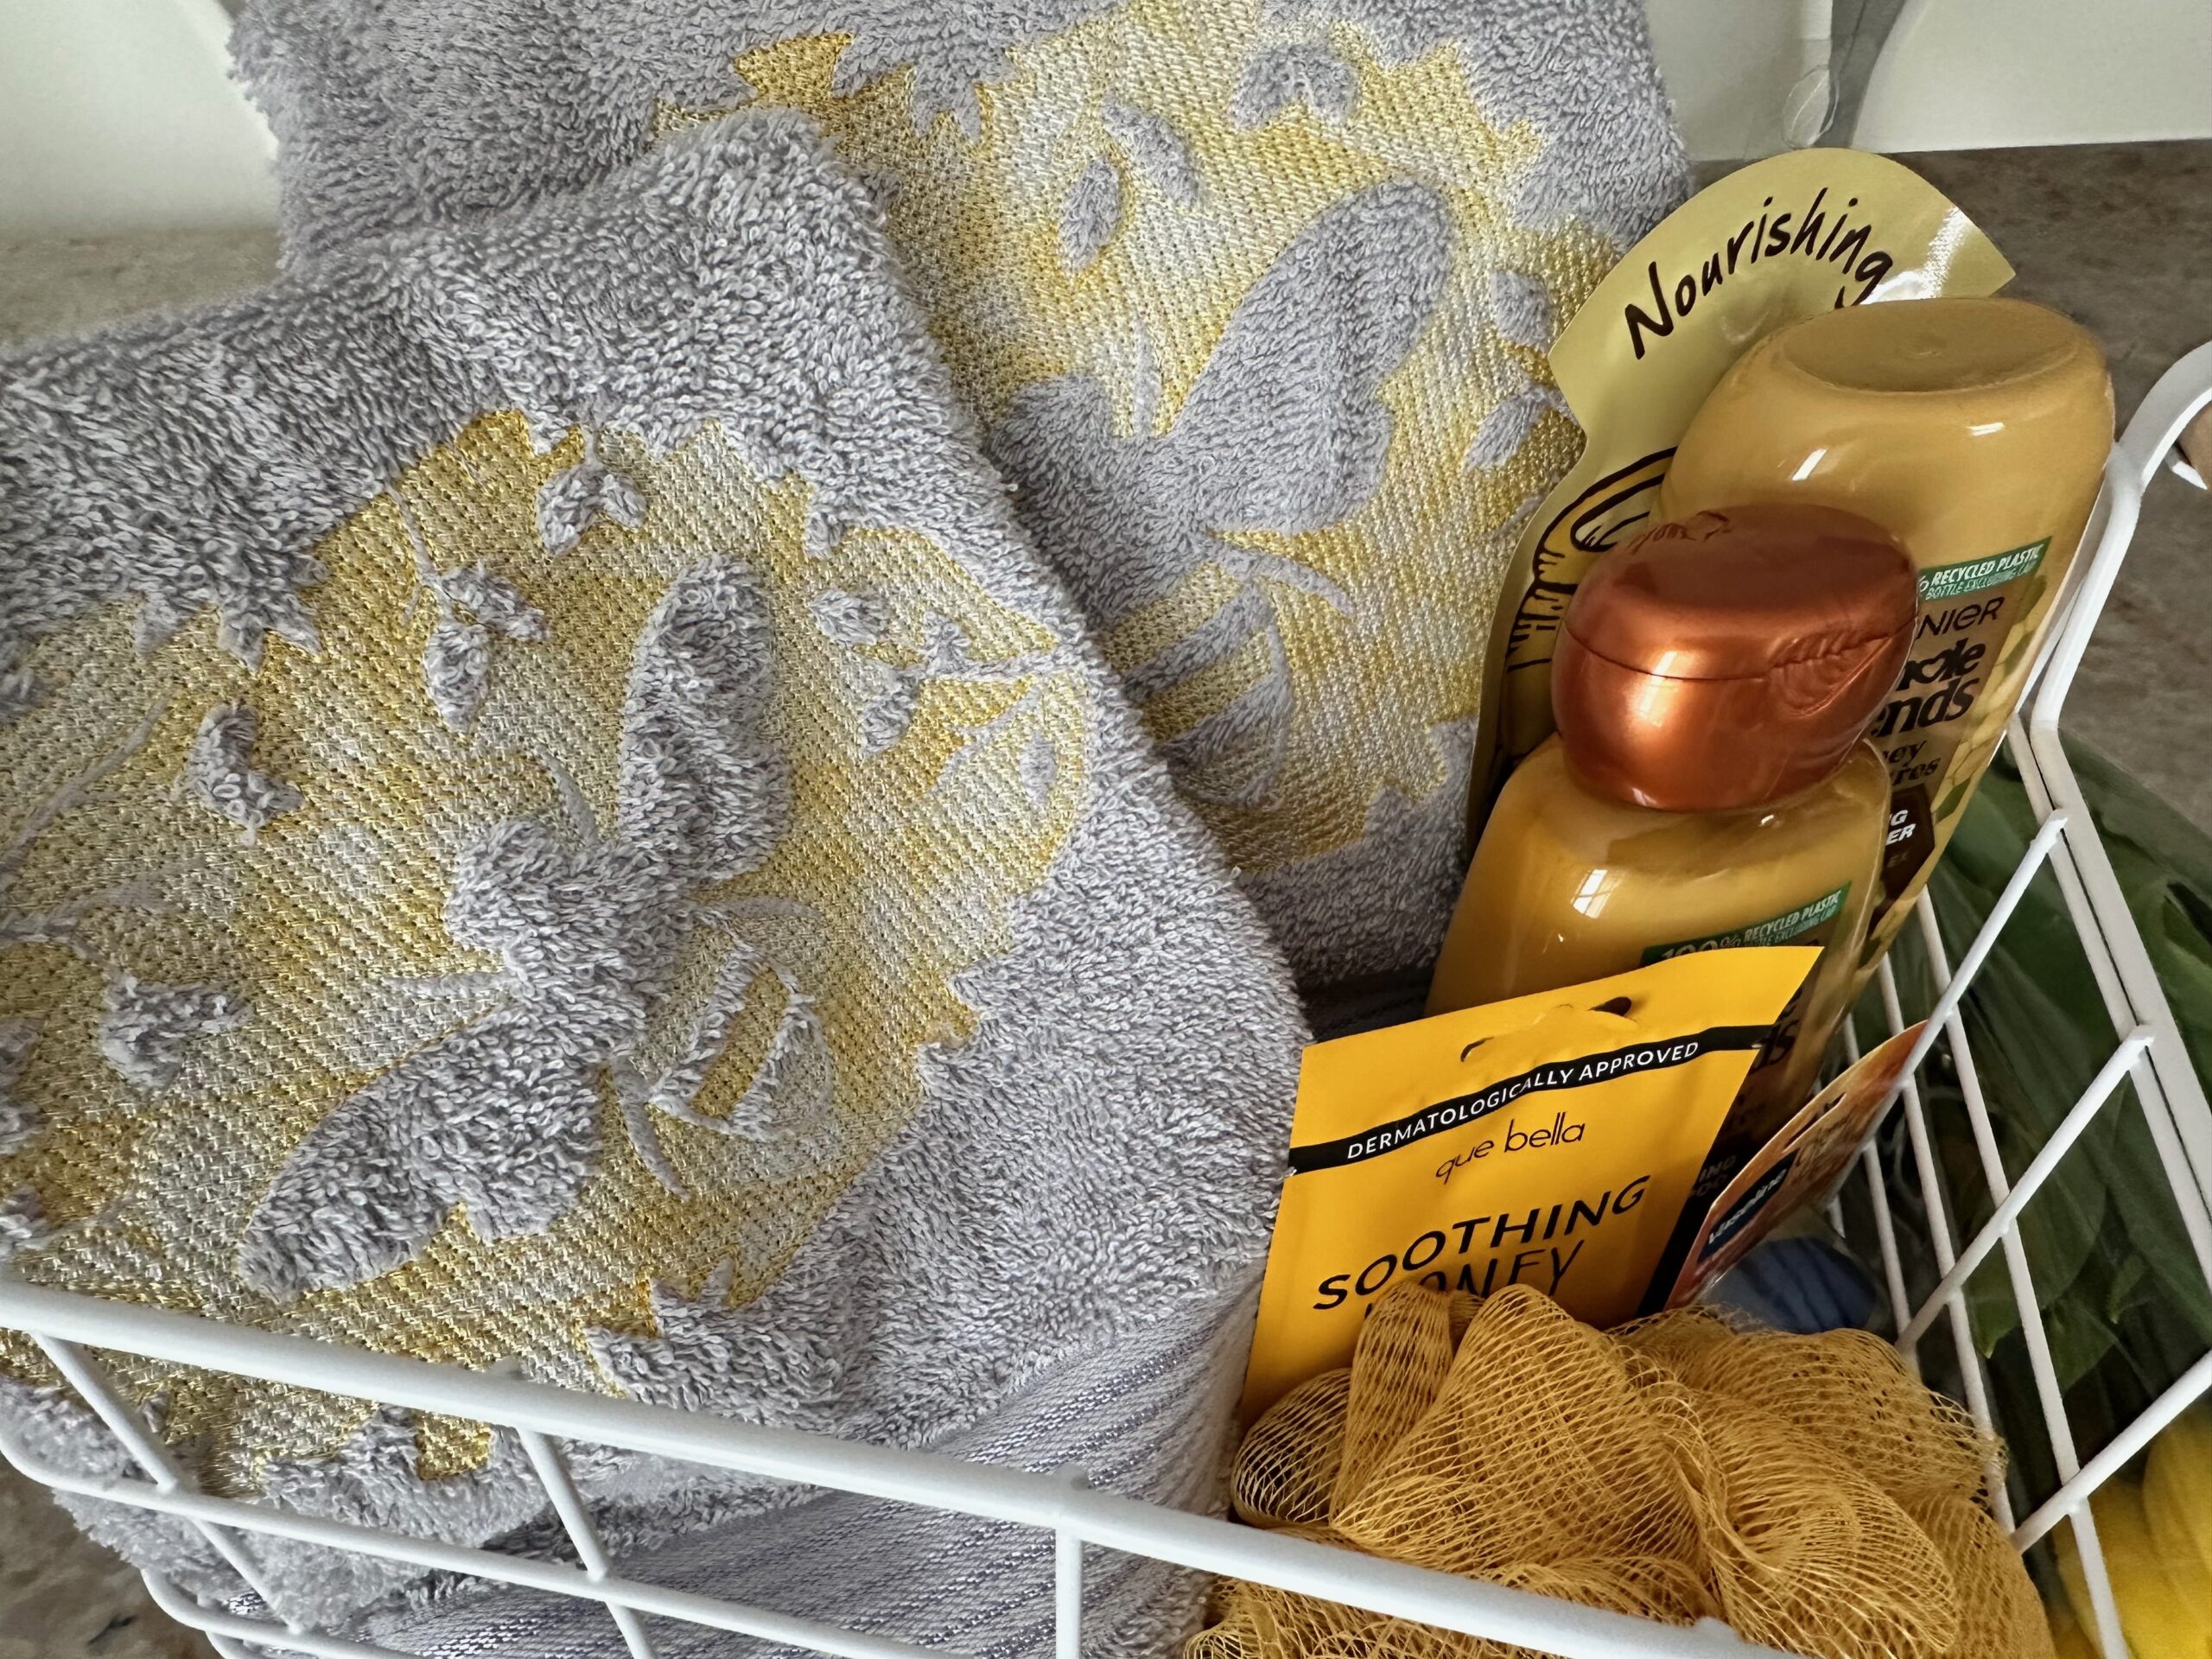
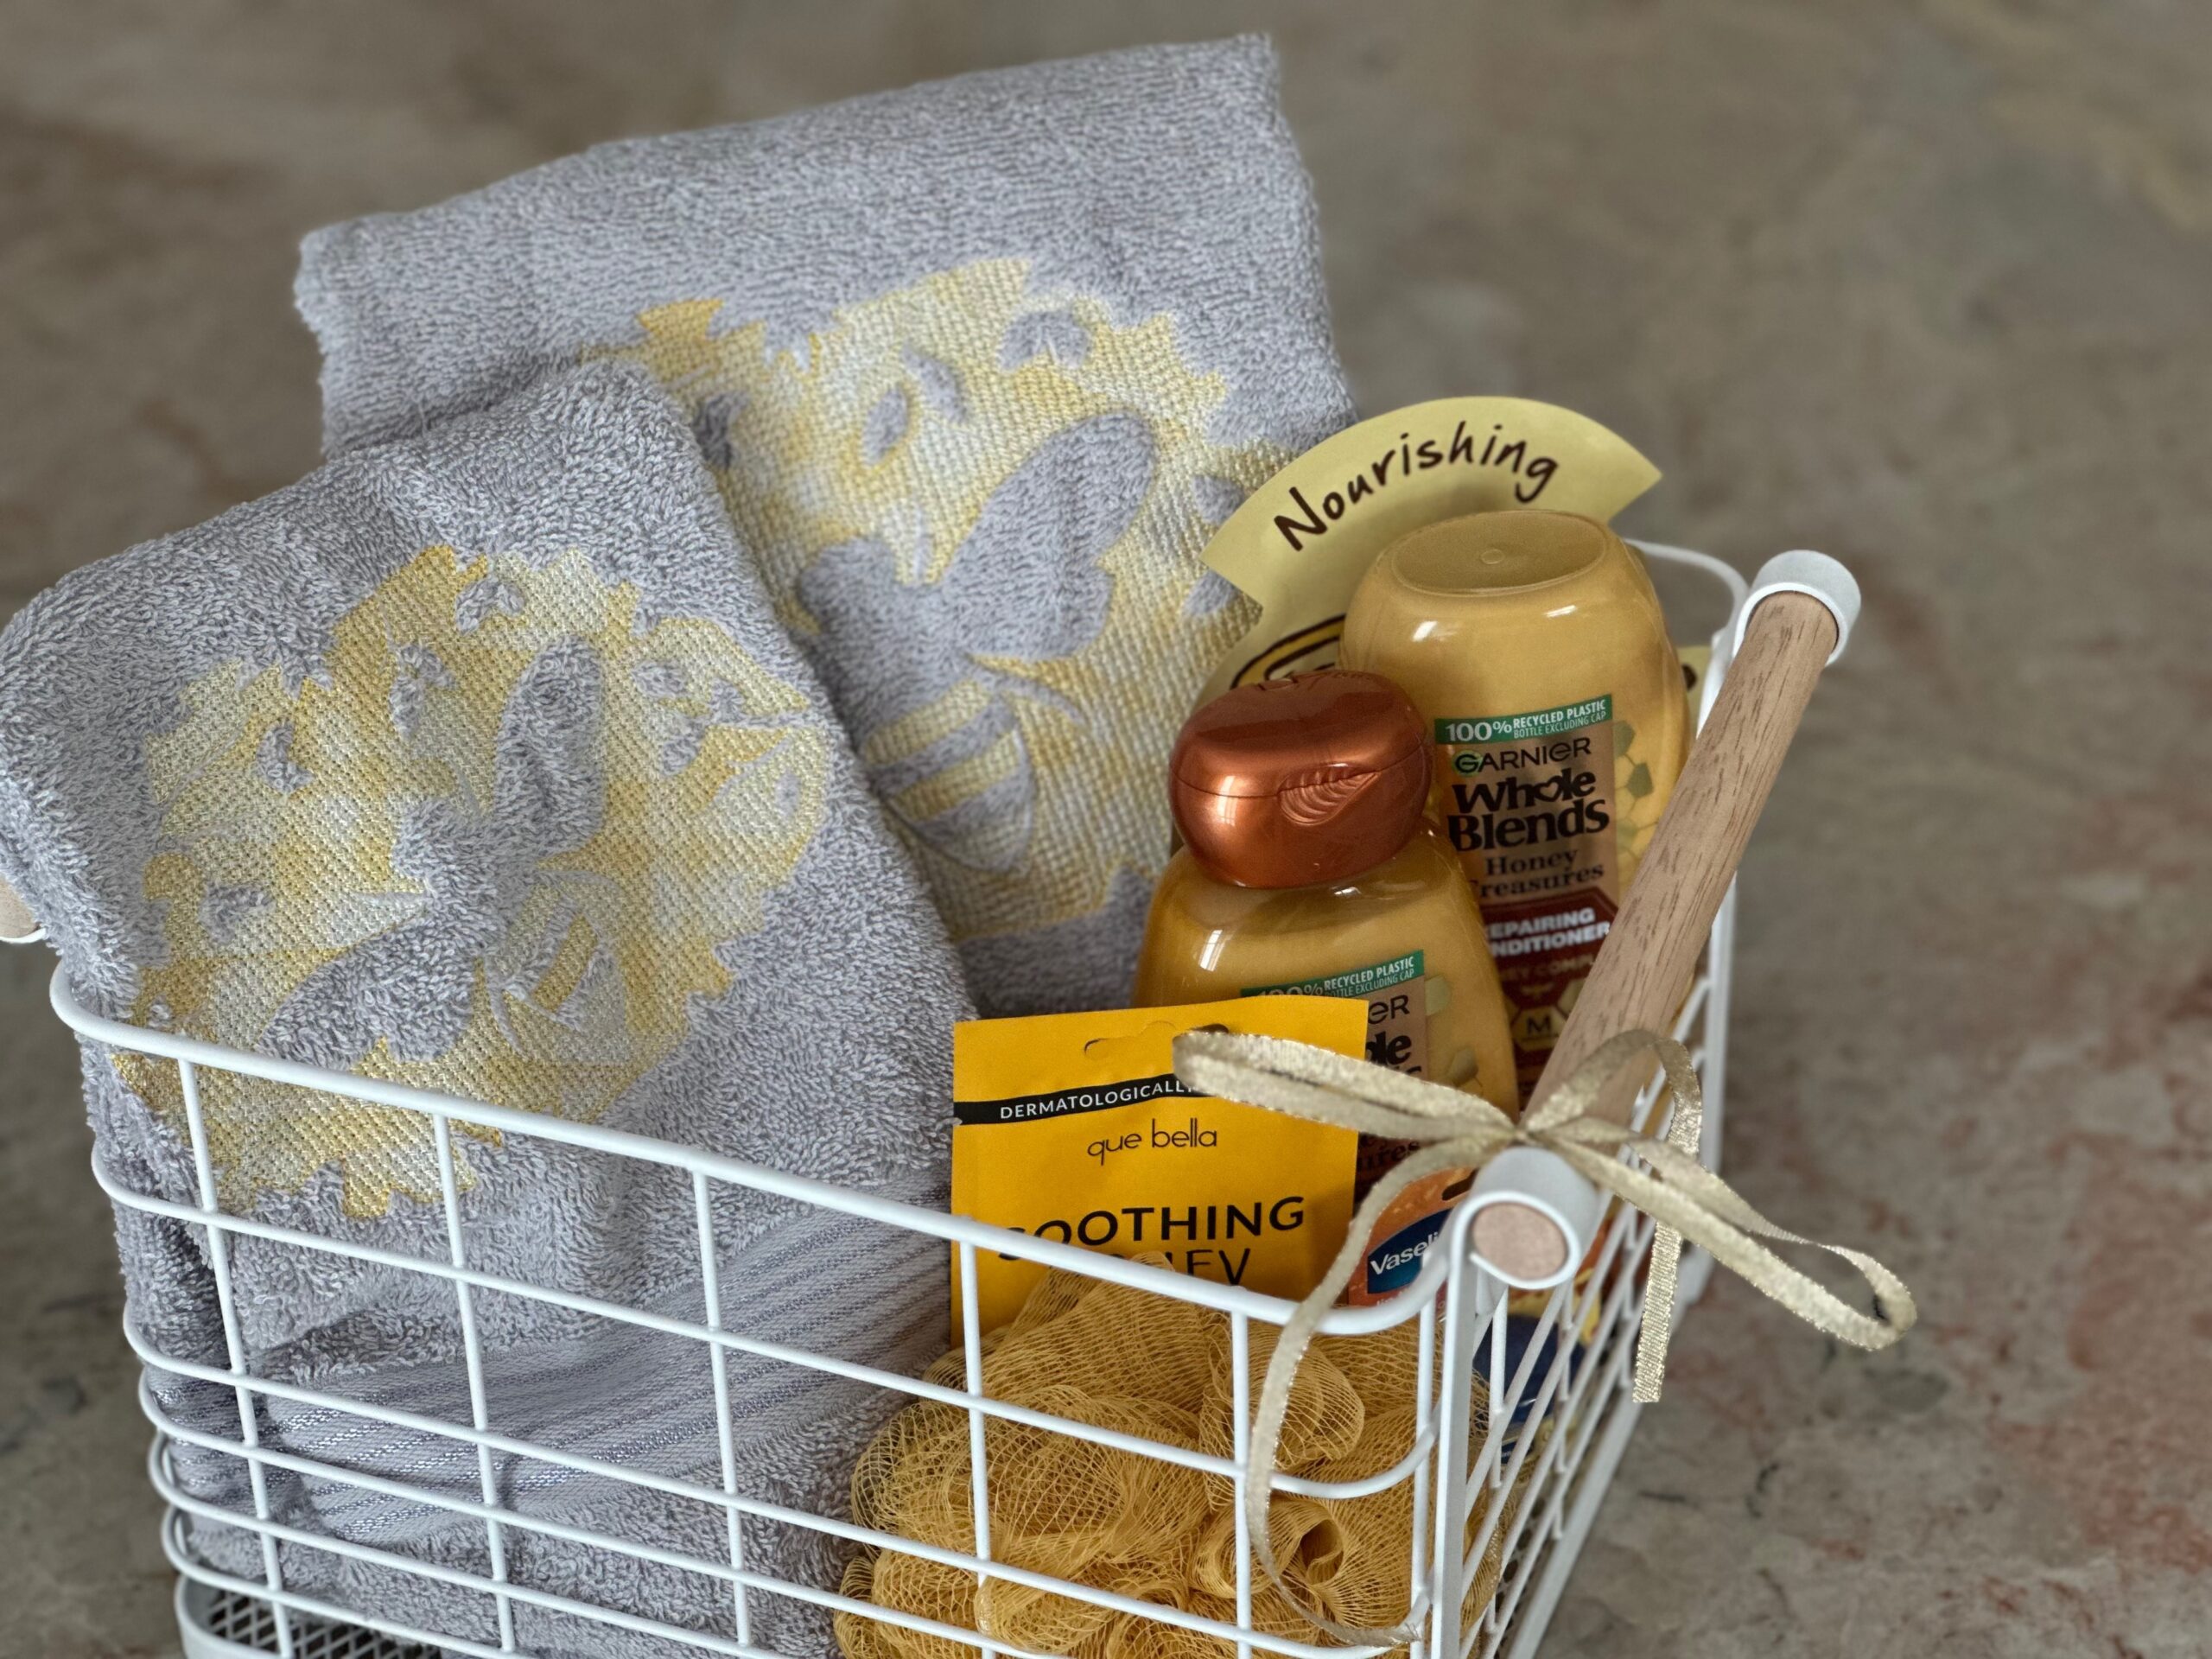
Wrap up the set with a shower caddy, scented lotion and bath scrubbie to complete a great gift!

The close up picture shows how wonderful it looks. Very nice!
Once most of the topper has been removed, a quick trick is to use a couple of layers of damp paper towels. Place it over the remaining Solvy and iron with a medium heat. The remaining bits of Solvy will stick to the paper towels.
Great tip! Thanks for sharing!