Embroidered Golf Towels for National Golf Month
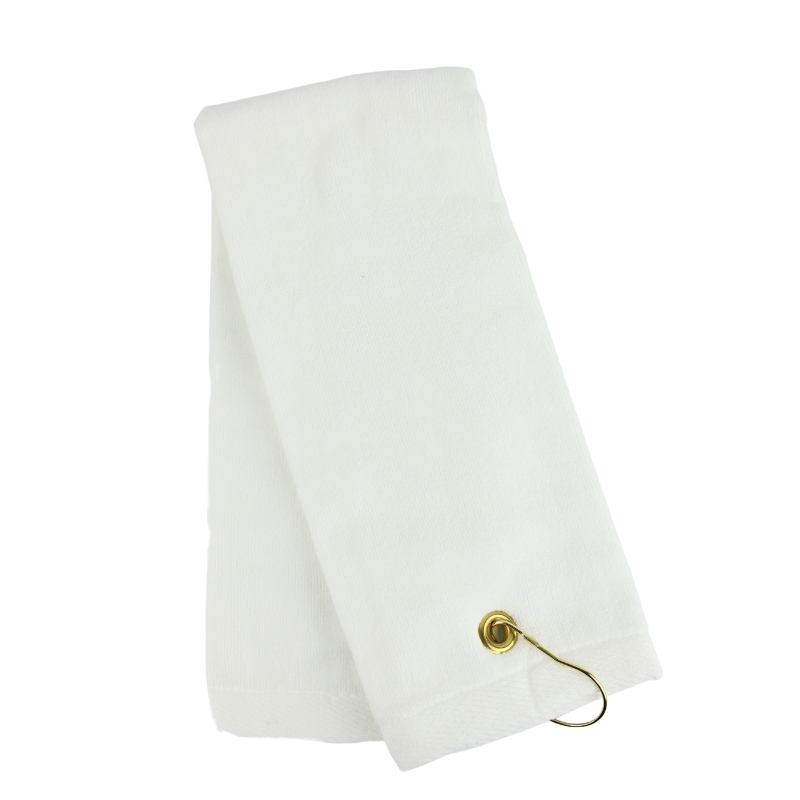
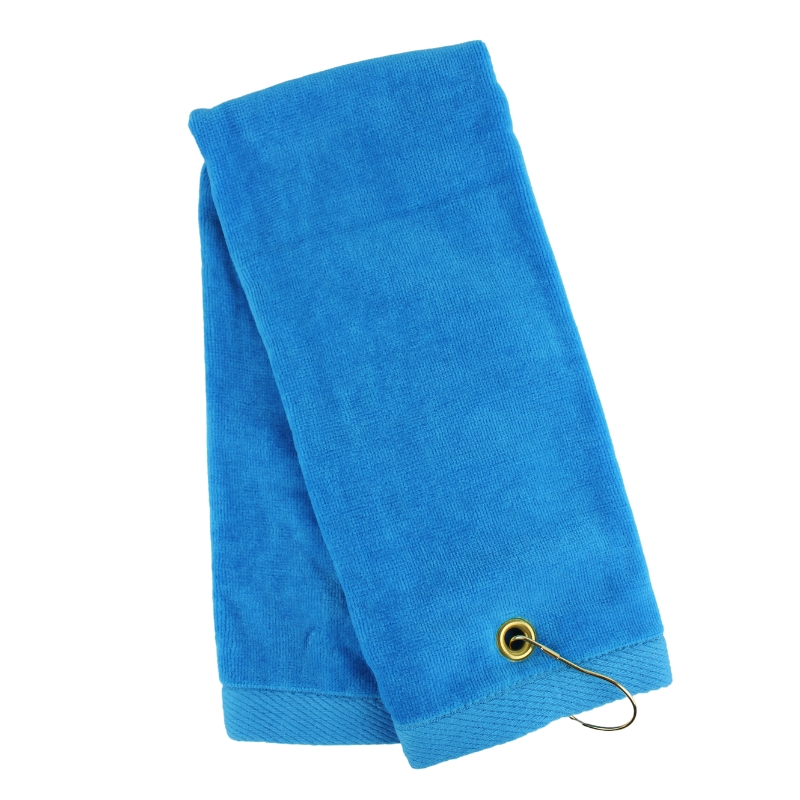
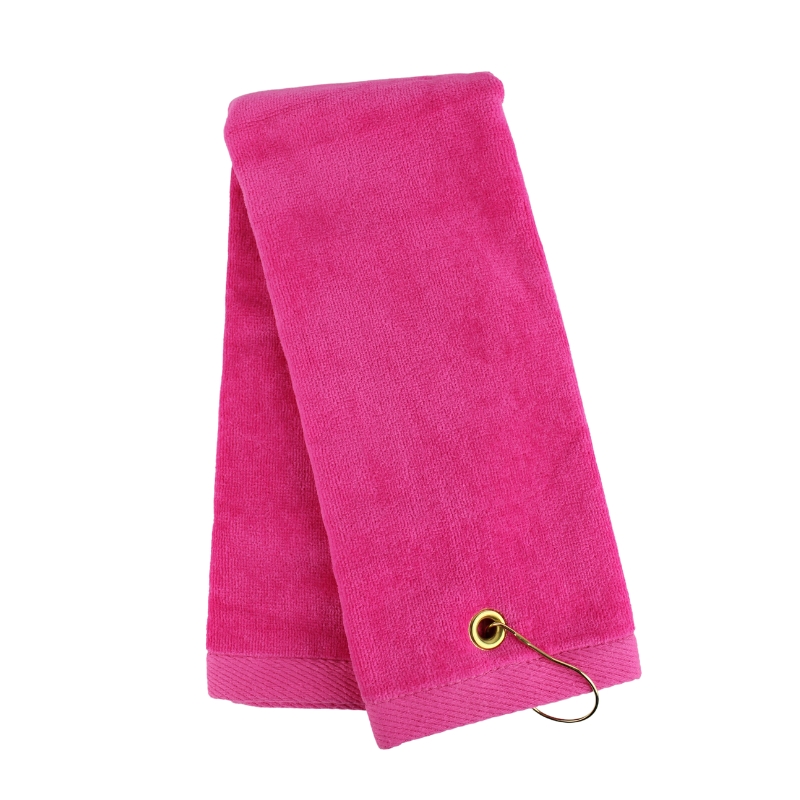
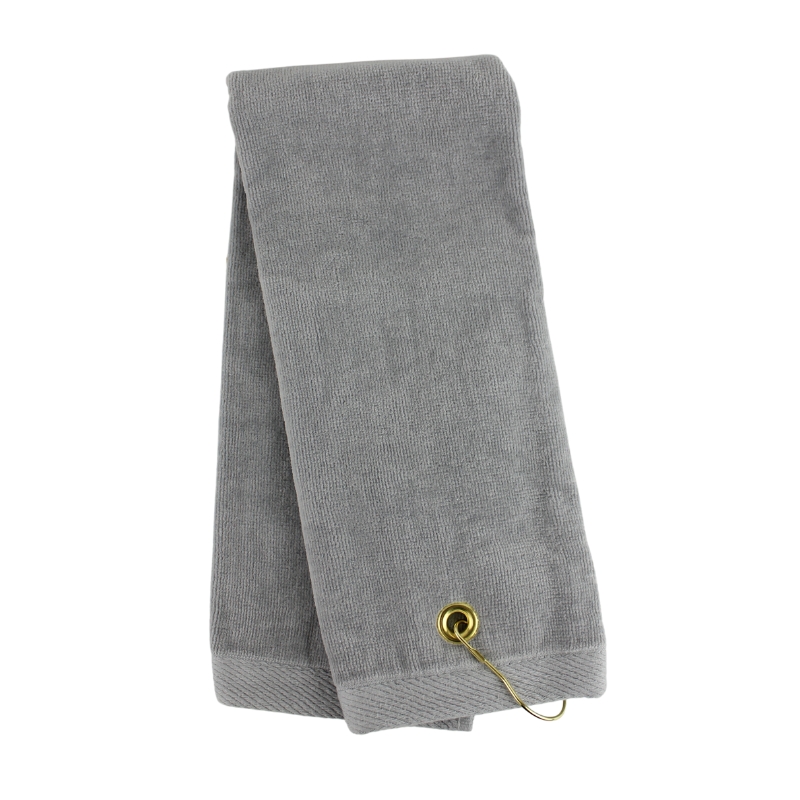
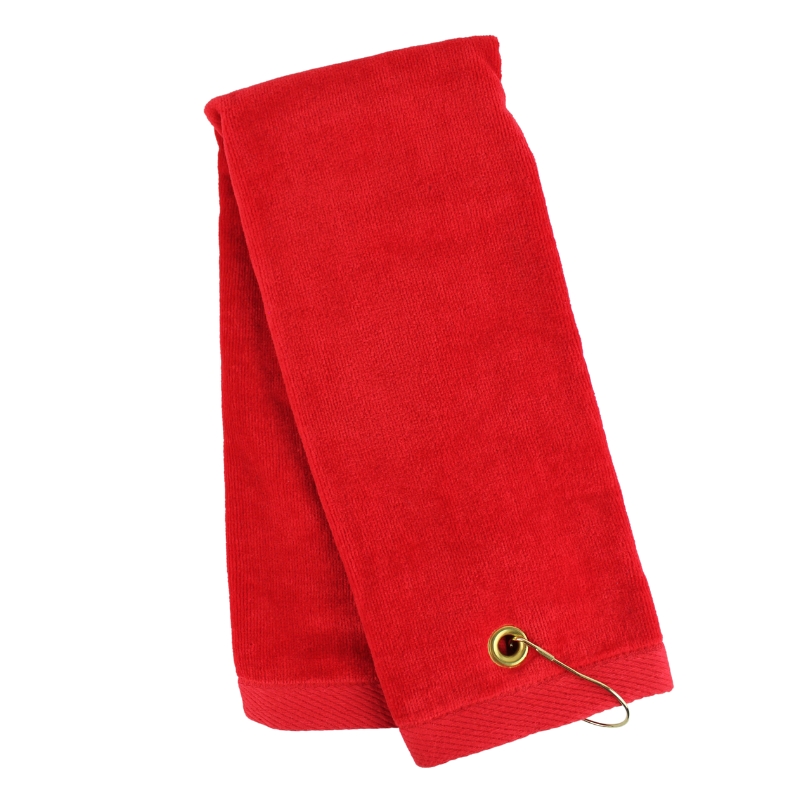
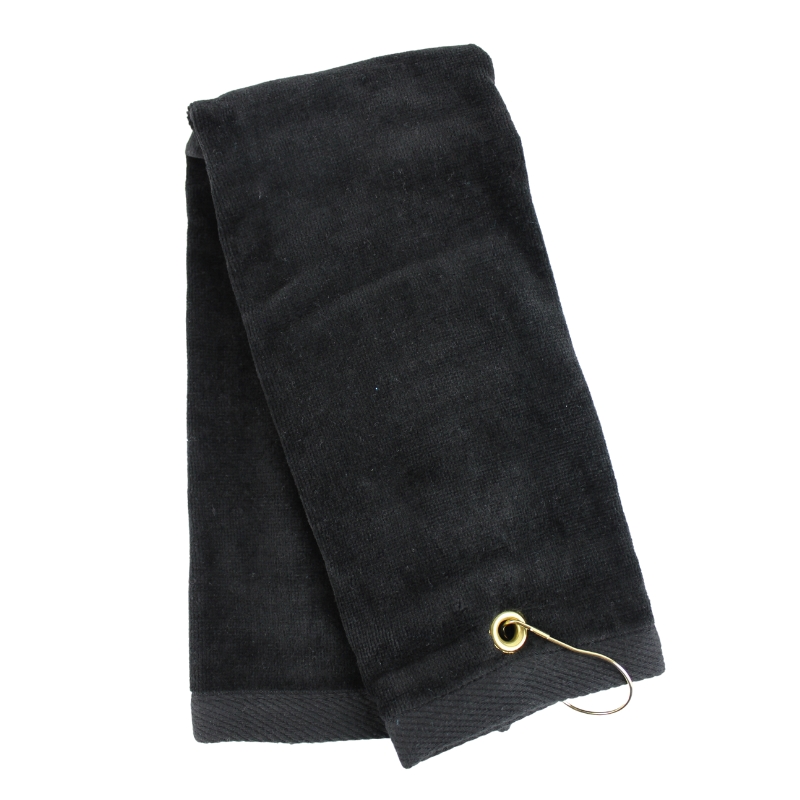
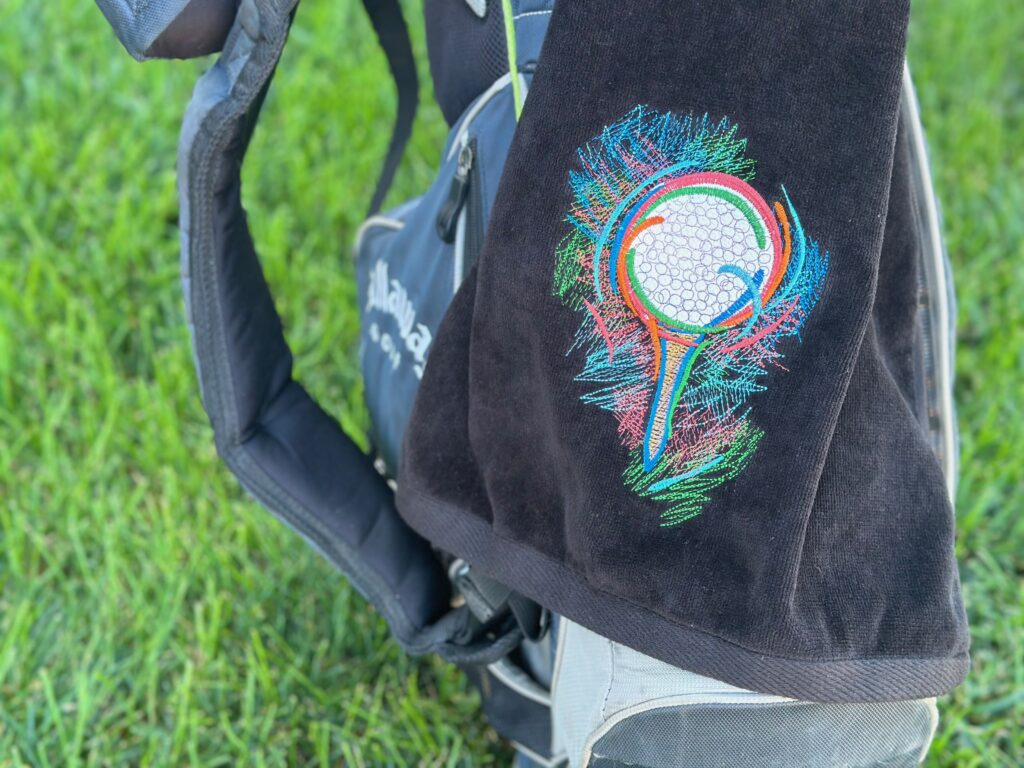
Embroidered golf towels make great gifts! Stitch up a set for a bachelor or bachelorette party, gift them to the guys for Father’s Day, embroider several for the nieces and nephews and take them on an outing to hit the links. These six colors of golf towels have a gold grommet attached, complete with the perfect hook to attach the towel to a golf bag or tennis bag. And the towels are easily embroidered using Sulky Solvy, Ultra Solvy and Poly Decoâ„¢ Threads. Read on to learn how.
EMBROIDERED GOLF TOWEL SUPPLIES
- Golf Towel Blank
- Golf-themed embroidery design (featured design: Golf Appliqué by OESD)
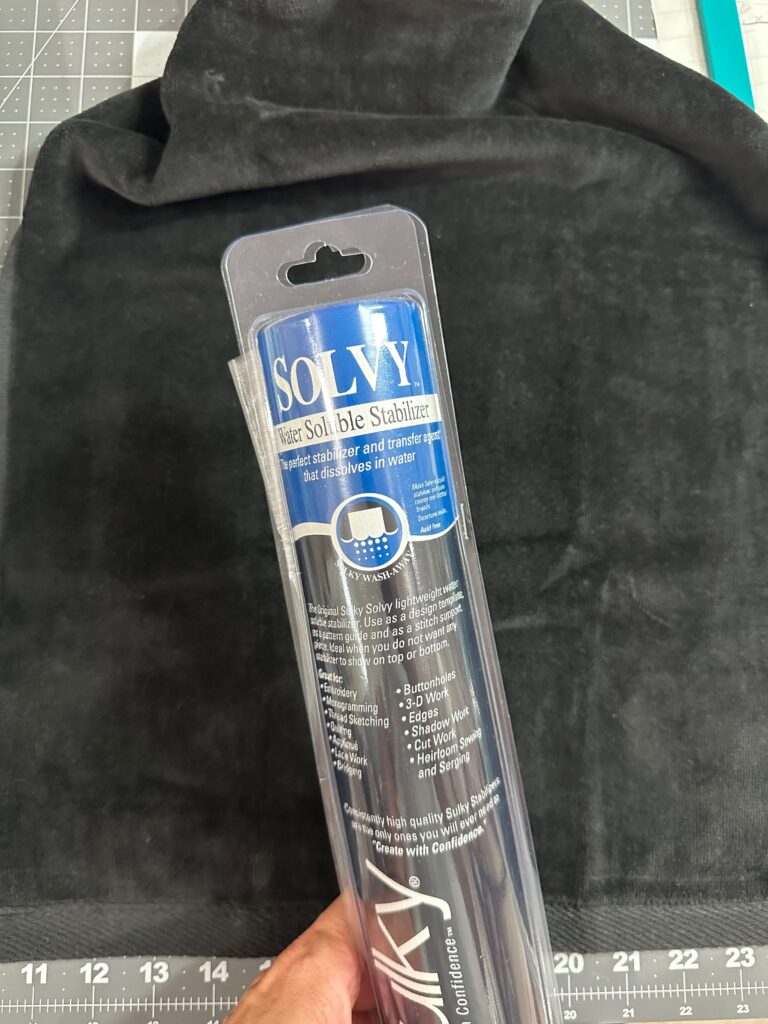
- Sulky Stabilizers: Solvy® & Ultra Solvy™
- 40 wt. Poly Decoâ„¢ Thread (colors according to chosen design)
- Organ size 75/11 Embroidery Needles
- Magnetic Hoop (not required but super helpful!)
- Sulky 60 wt. Bobbin or PolyLiteâ„¢ Thread (in a color that matches the towel)
- Removable fabric marker or chalk
- Sulky KK 2000â„¢ Temporary Spray Adhesive
TOP HOOP OR NOT TO HOOP
This golf towel blank is very plush and soft, made of cotton velour terry. Since the towel has a nap to it, hooping is not recommended. However, if you have a Magnetic Hoop, you can hoop the towel without running the risk of hoop burn!
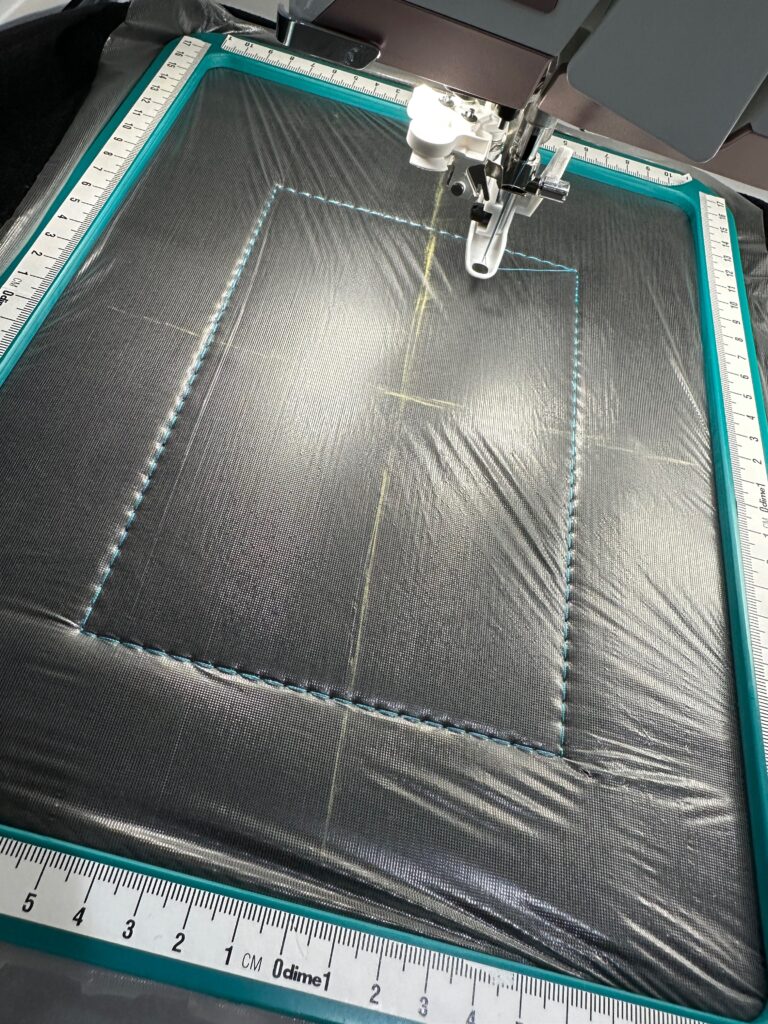
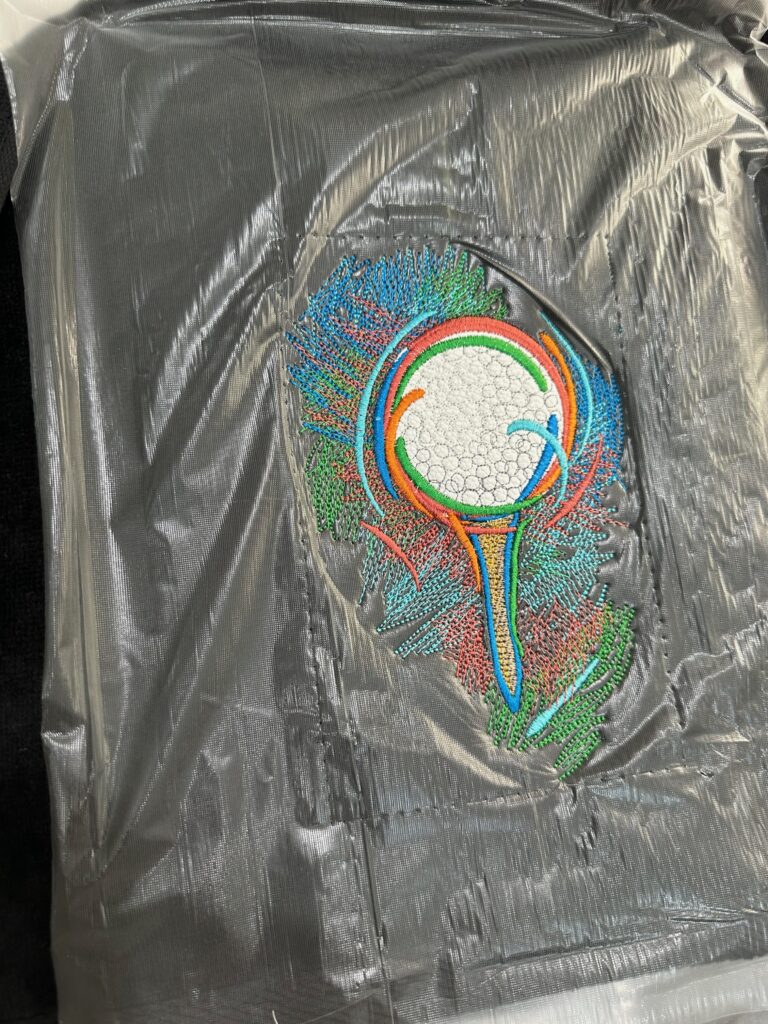
The following photos show a Magnetic Hoop in use. If you only have a standard hoop, first only hoop the Ultra Solvy Stabilizer. Then, spray it with KK 2000 Temporary Spray Adhesive. Next, center the towel right side up over the stabilizer; press with your hand to secure the towel to the stabilizer. Then, float the Solvy over the towel right side as a topper before embroidery, using KK 2000 and a basting stitch to secure.
If using a Magnetic Hoop, first place the Ultra Solvy flat on a work surface. Then, place the towel over the Ultra Solvy, centering the desired design area.
Cut a piece of Solvy large enough to cover the design area.
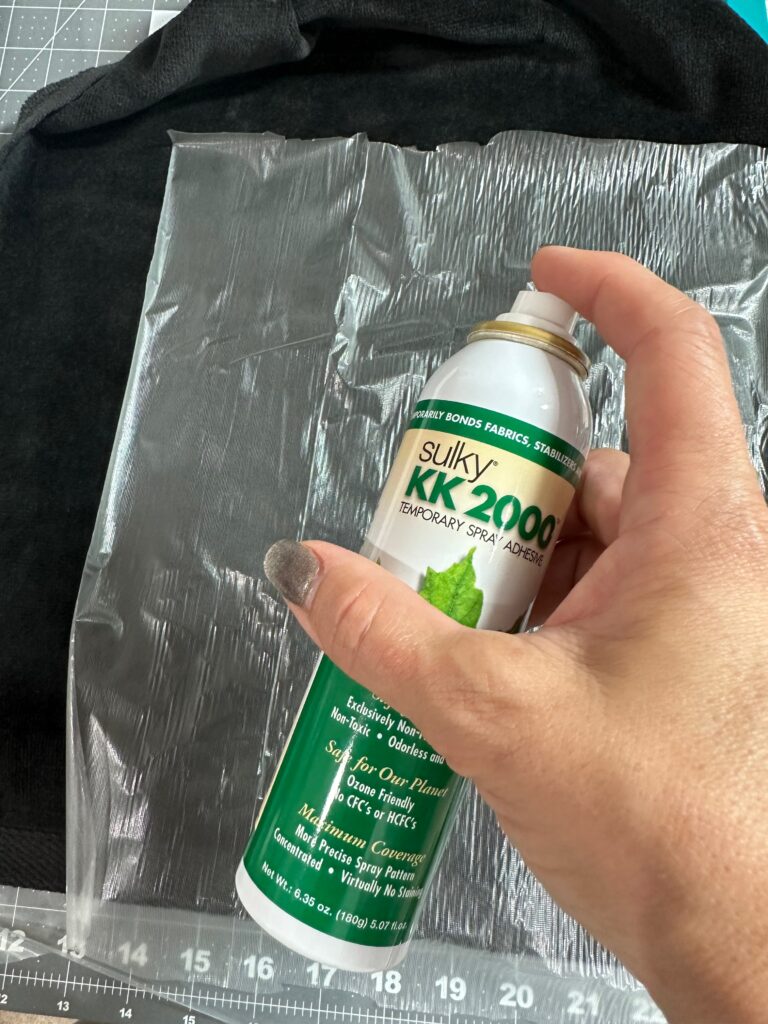
Spray the Solvy with a bit of Kk 2000, and then place it over the towel.
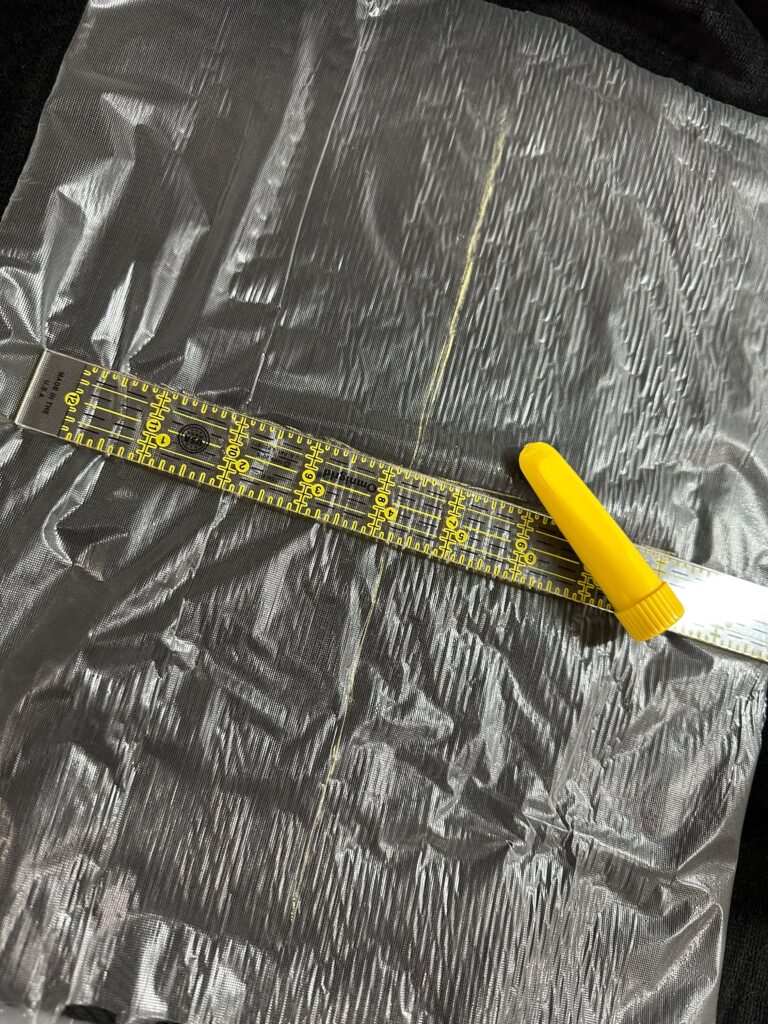
Then, use a removable fabric marker or chalk to transfer the design vertical and horizontal cross marks onto the Solvy.
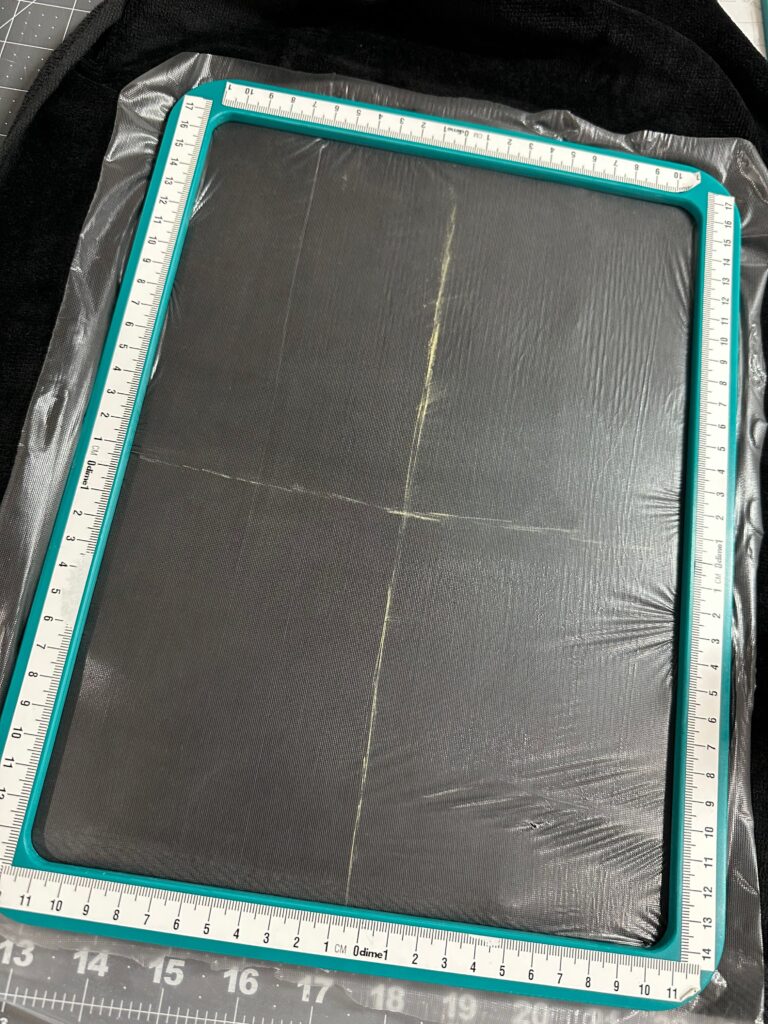
Place the towel “sandwich” into the Magnetic Hoop, using the cross marks as a placement guide.
EMBROIDERY
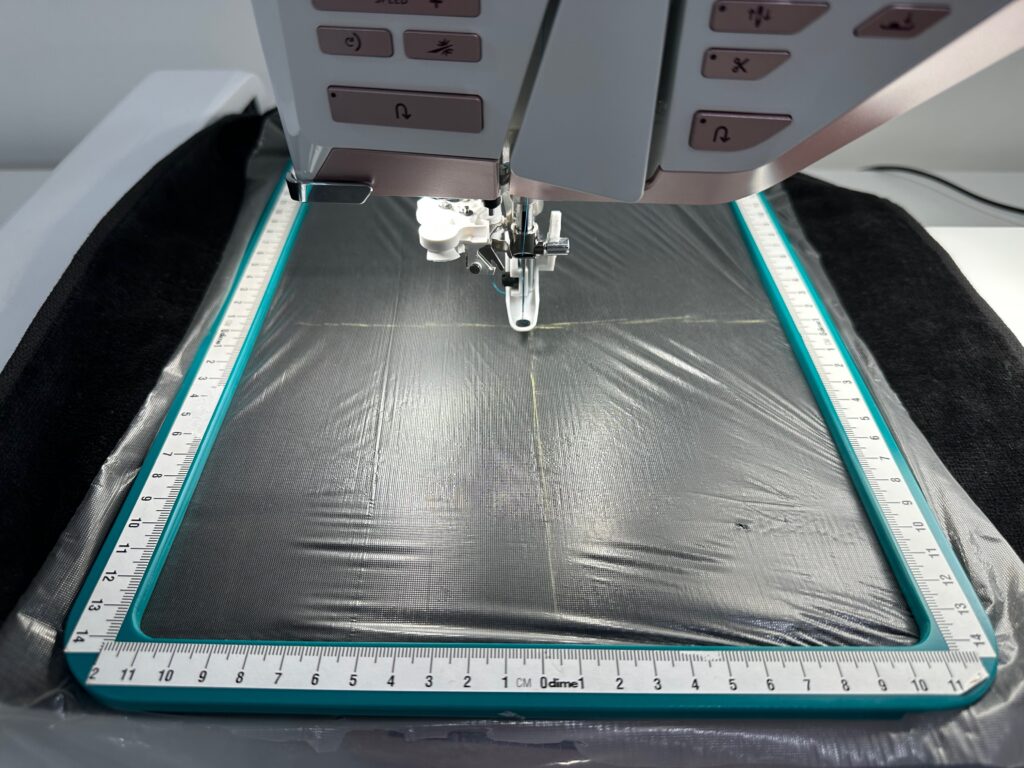
Place the hoop onto the machine.
Direct the machine to add a “baste-around-design” or use the “perimeter basting” function to stitch a basting line around the design before the embroidery begins.
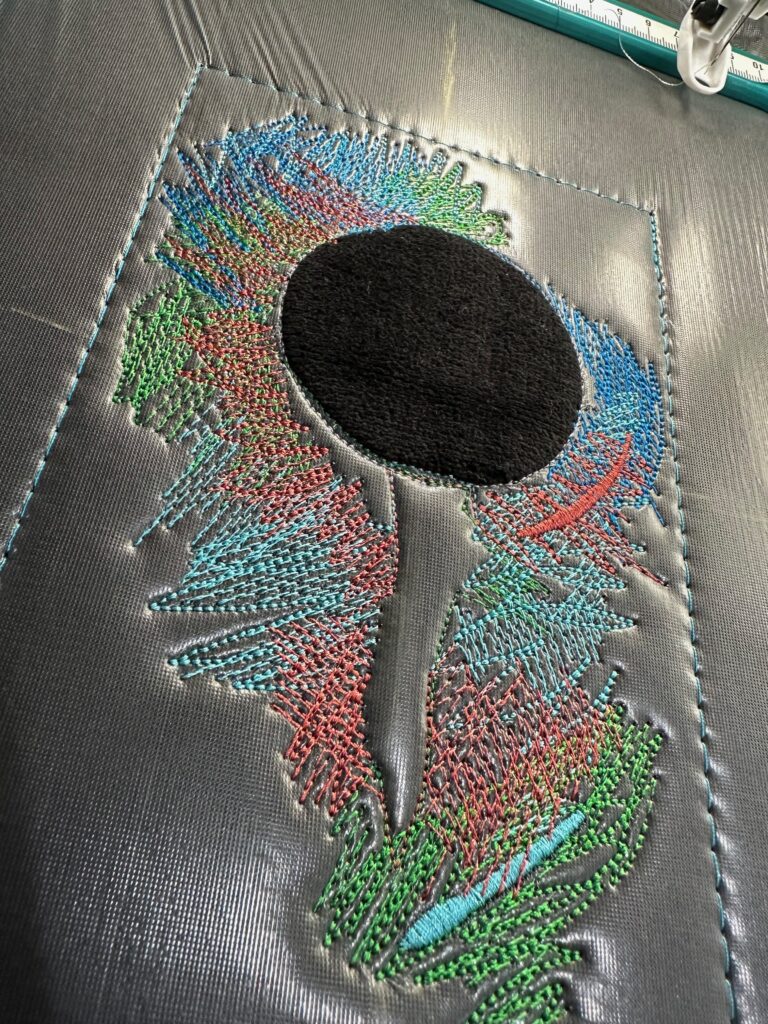
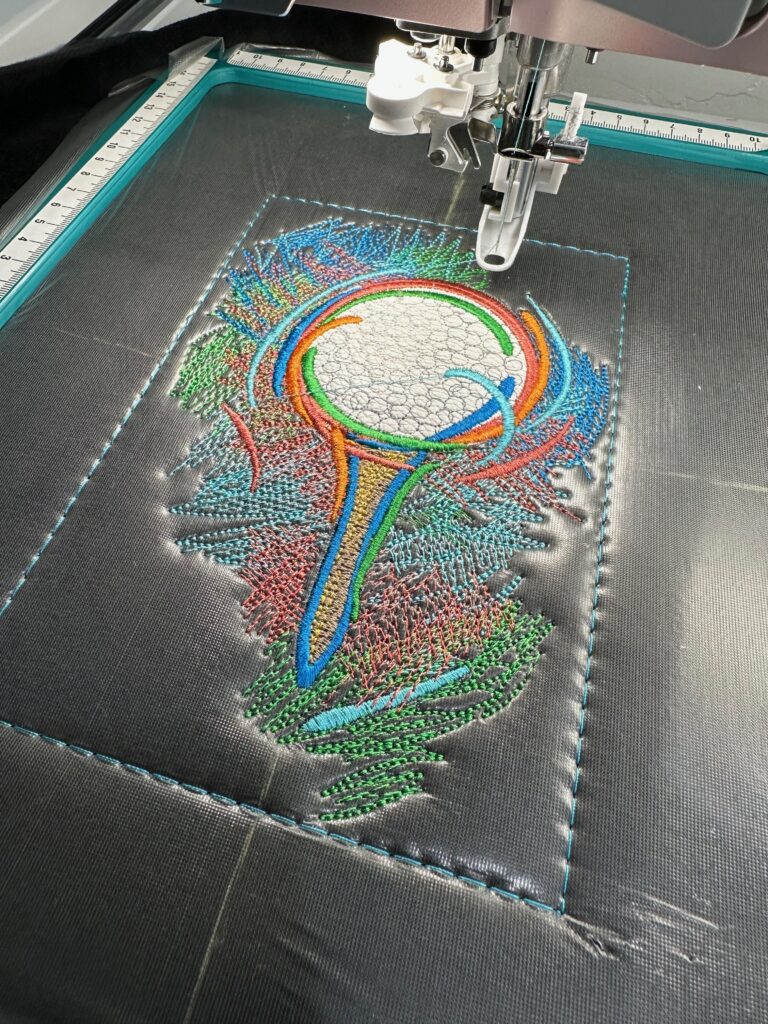
Then, embroider the design.
If using an appliqué design, such as the one shown, you may want to remove the Solvy from under the appliqué fabric before placing it there during the stitchout. In this case, a vinyl fabric was used to mimic the texture of the golf ball pictured in the design. So, the Solvy is removed before this fabric is placed, as it doesn’t tolerate water well.
Continue with the design, clipping jump threads with each thread change.
FINISHING THE GOLF TOWEL
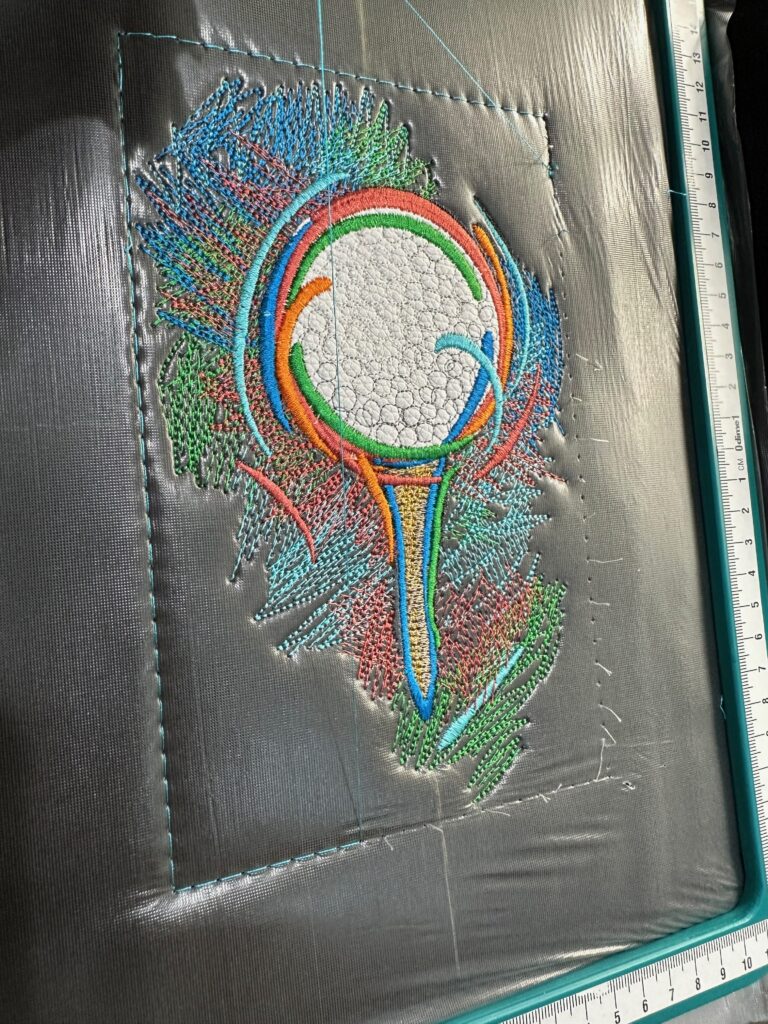
When the embroidery is complete, remove the hoop from the machine.
Carefully remove the basting stitches using a seam ripper or Curved Tip Squeezers.
Then, remove the golf towel “sandwich” from the hoop, if using a Magnetic Hoop. If using a standard hoop, remove the Ultra Solvy from the hoop.
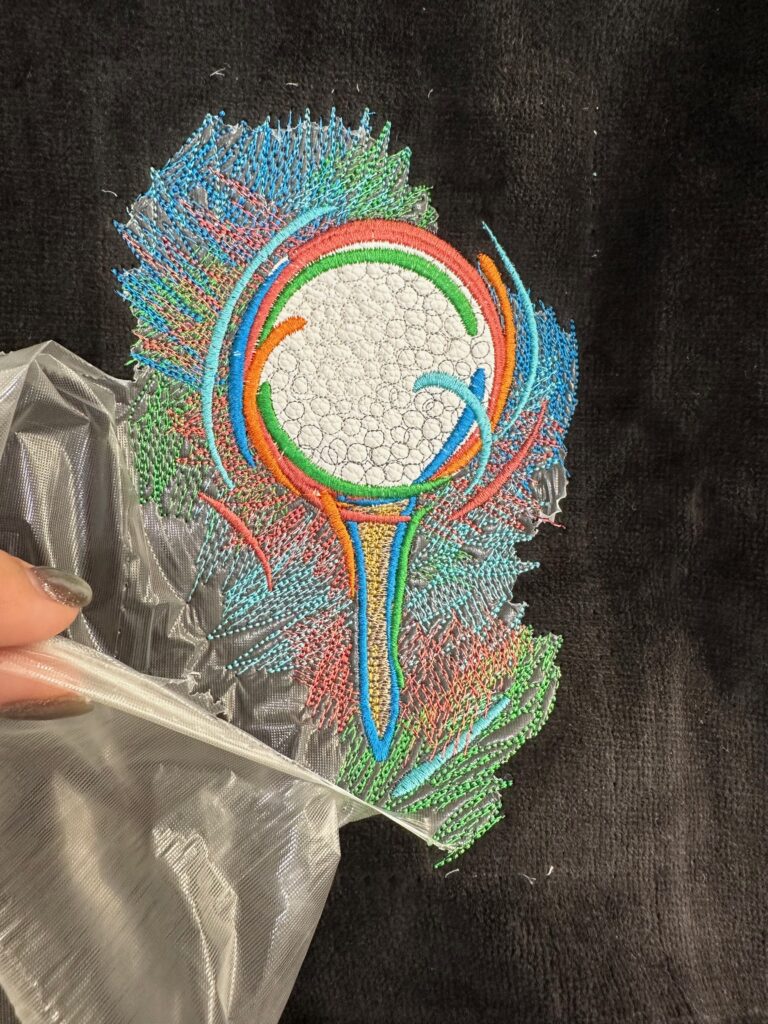
Tear away as much of the excess Solvy Stabilizer as possible from the golf towel right side.
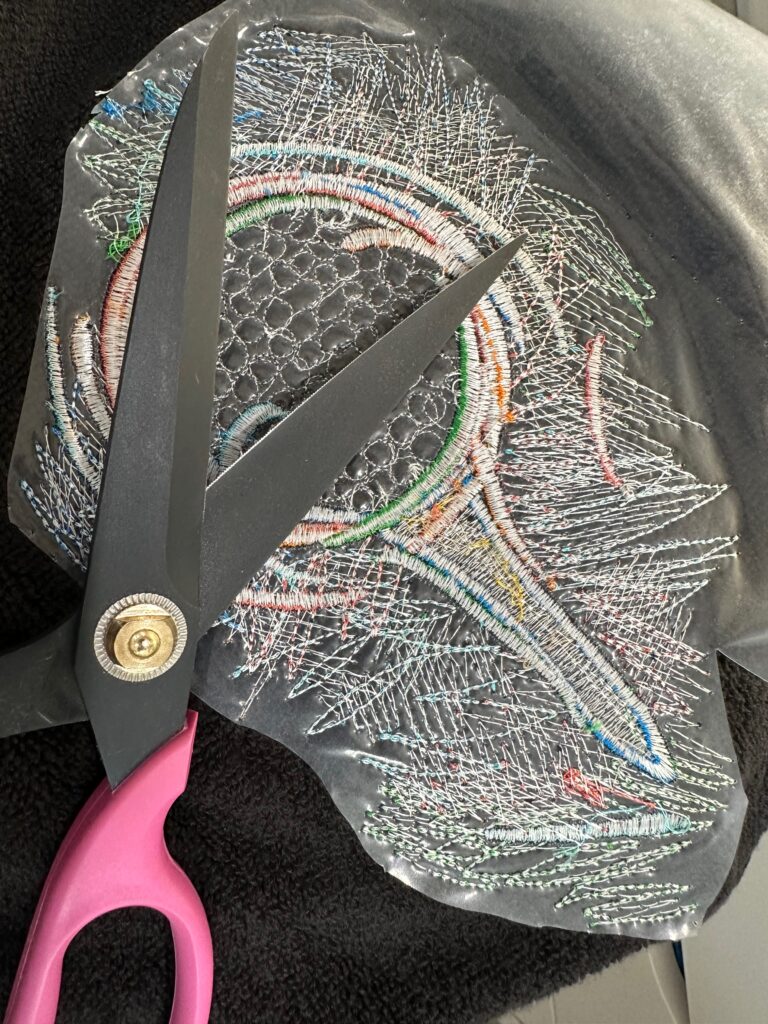
Next, trim away the excess Ultra Solvy from the golf towel wrong side. (You will use Bobbin Thread that matches the towel, so it’ll barely be visible on the wrong side.)
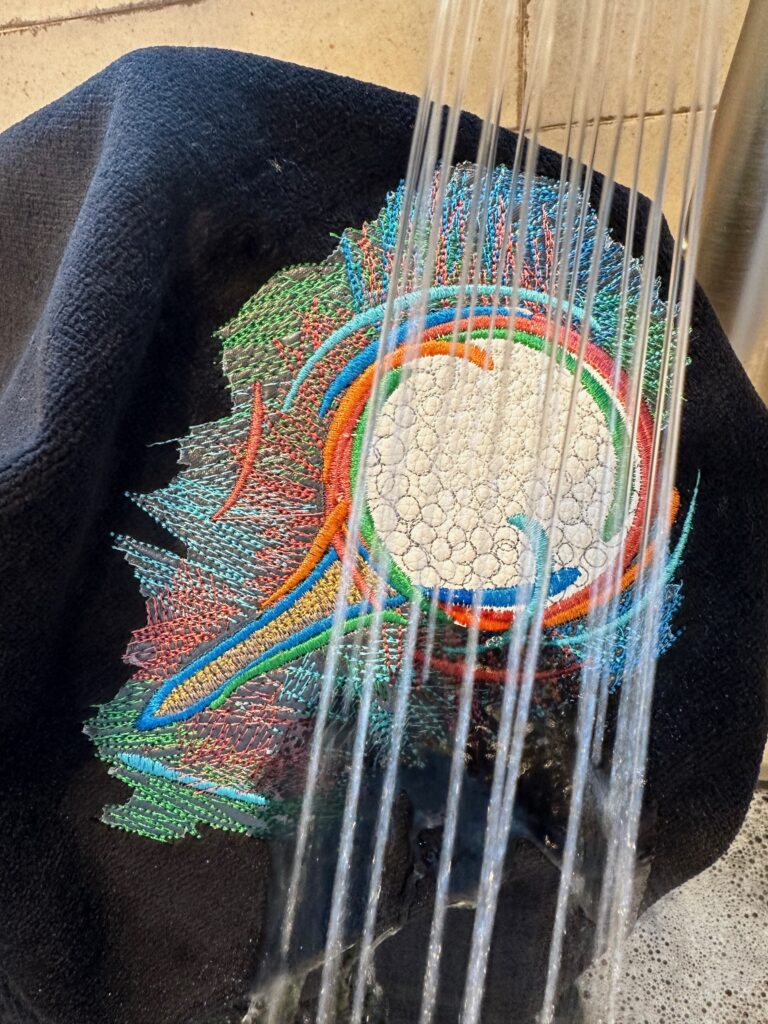
Rinse away the remaining stabilizer from the towel right and wrong side, using warm, running water.
Let the embroidered golf towel dry thoroughly.

