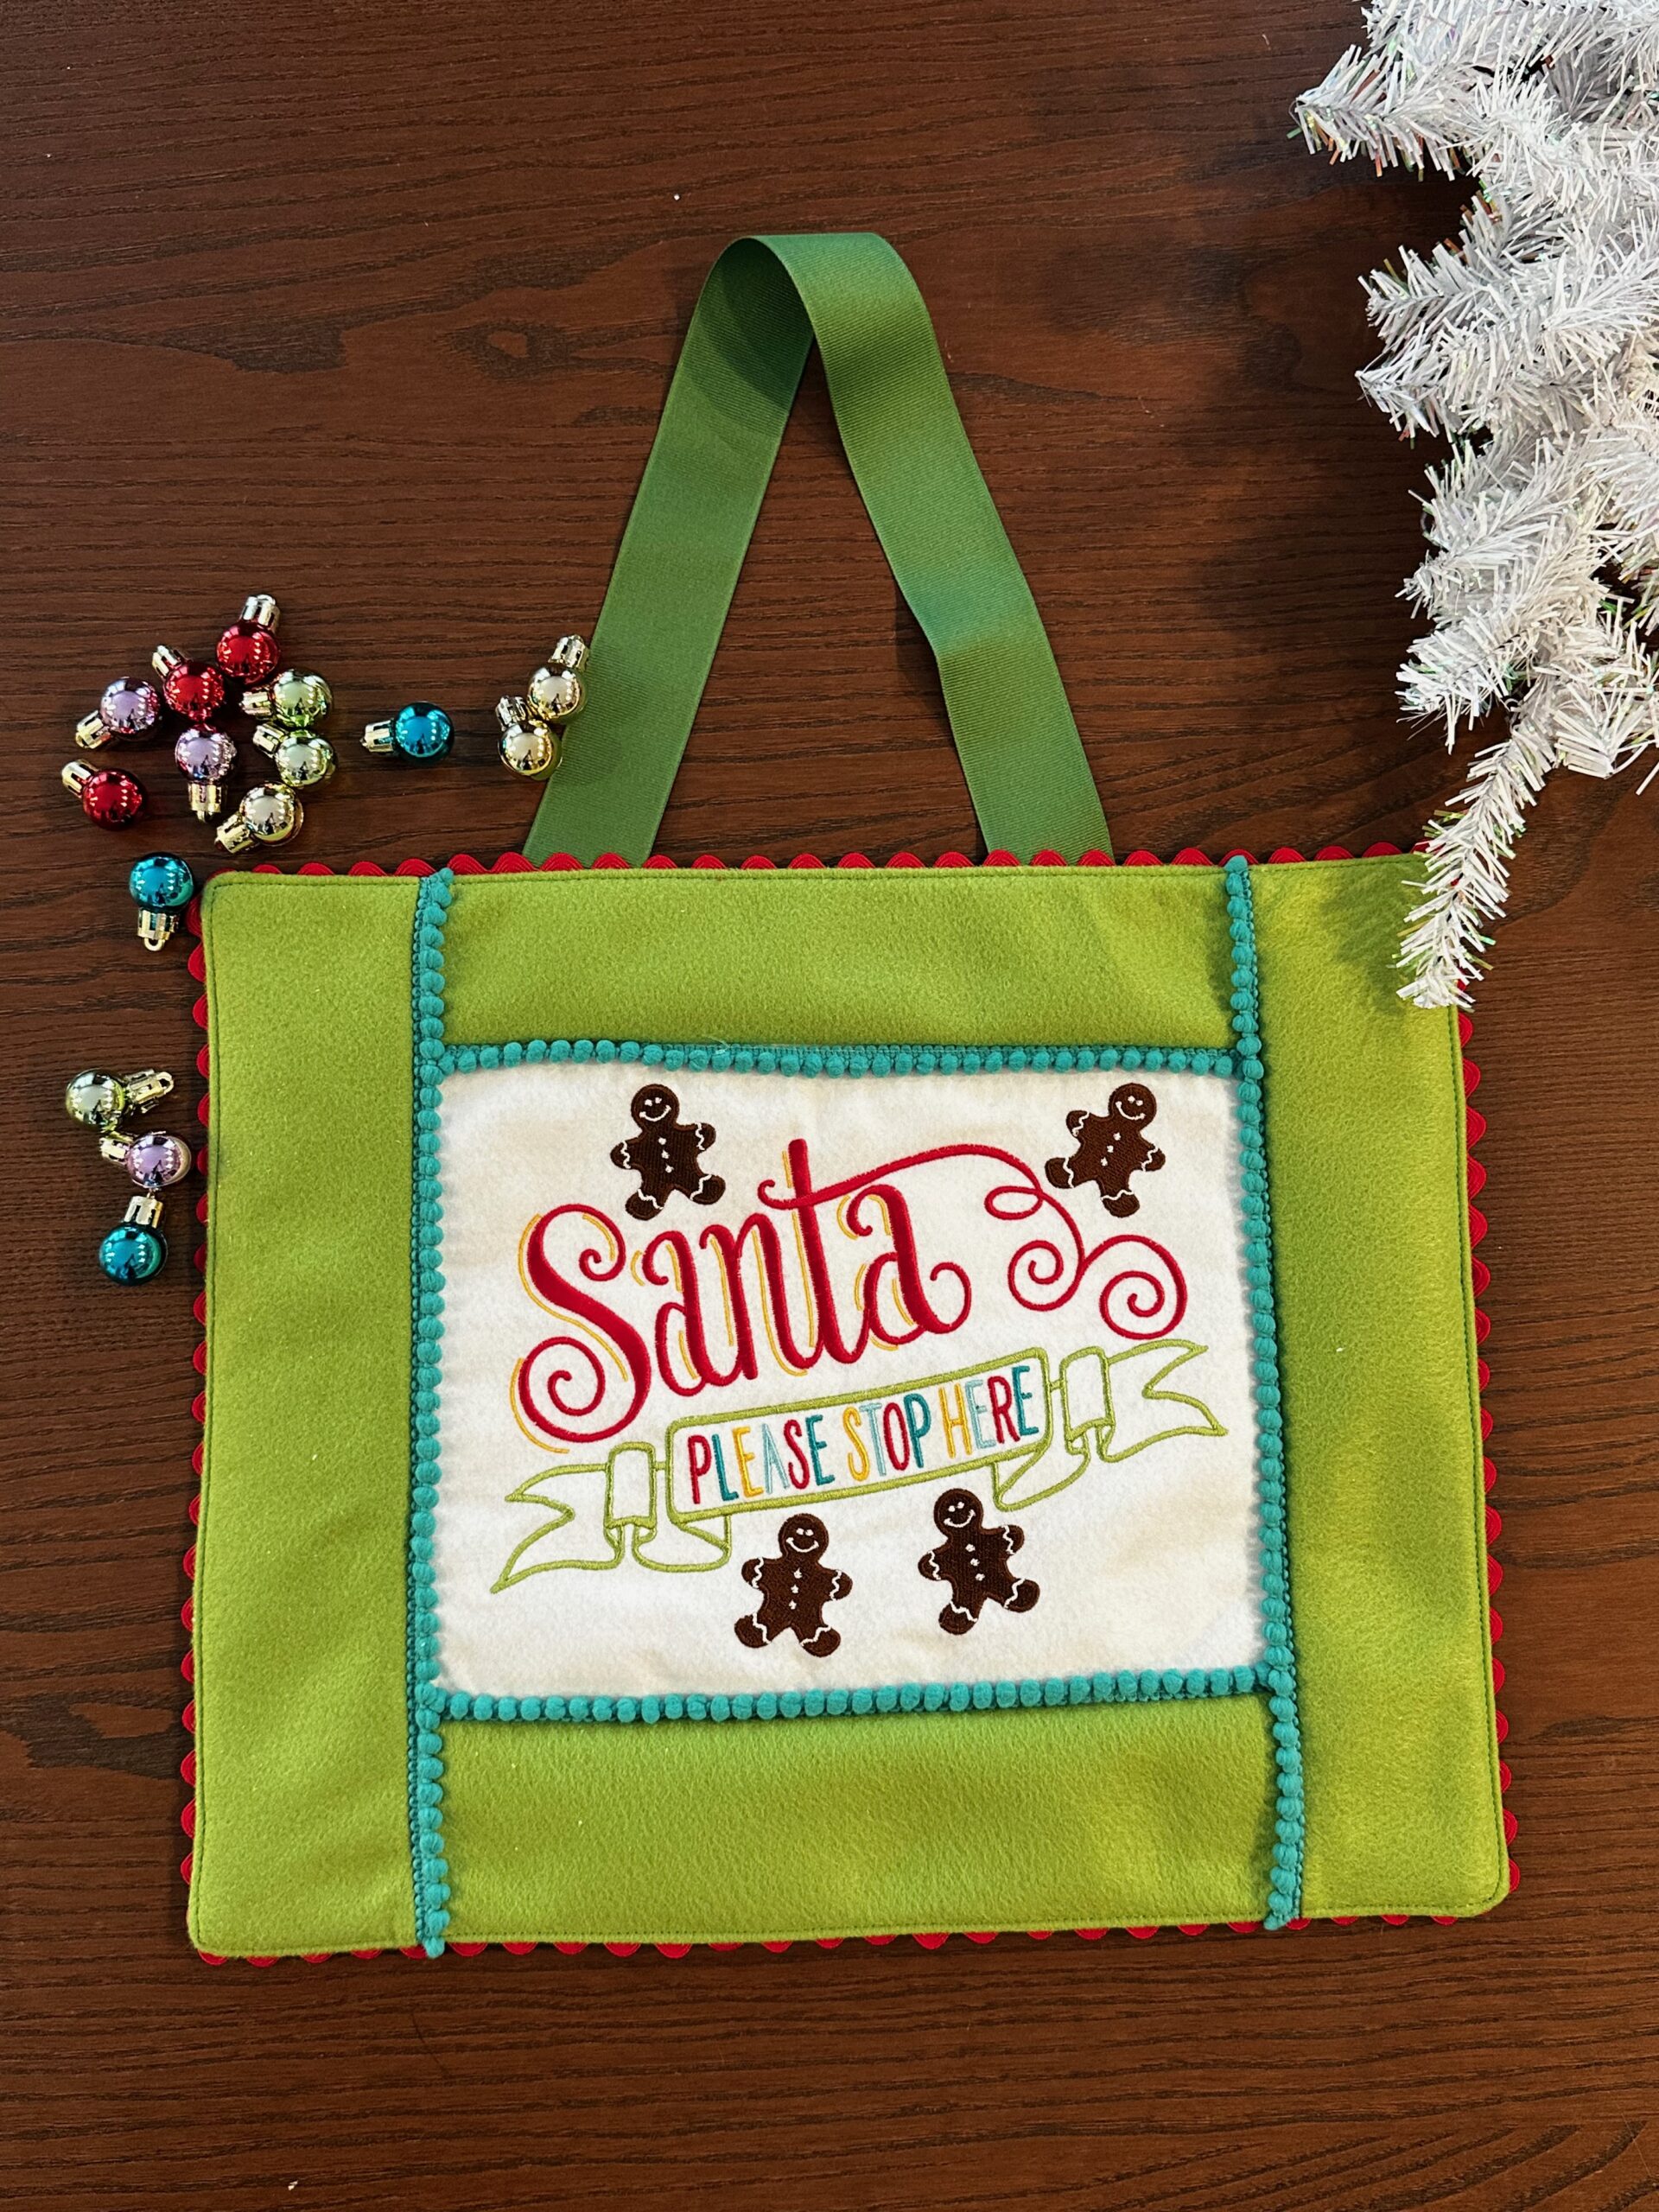
Embroidered Santa Sign
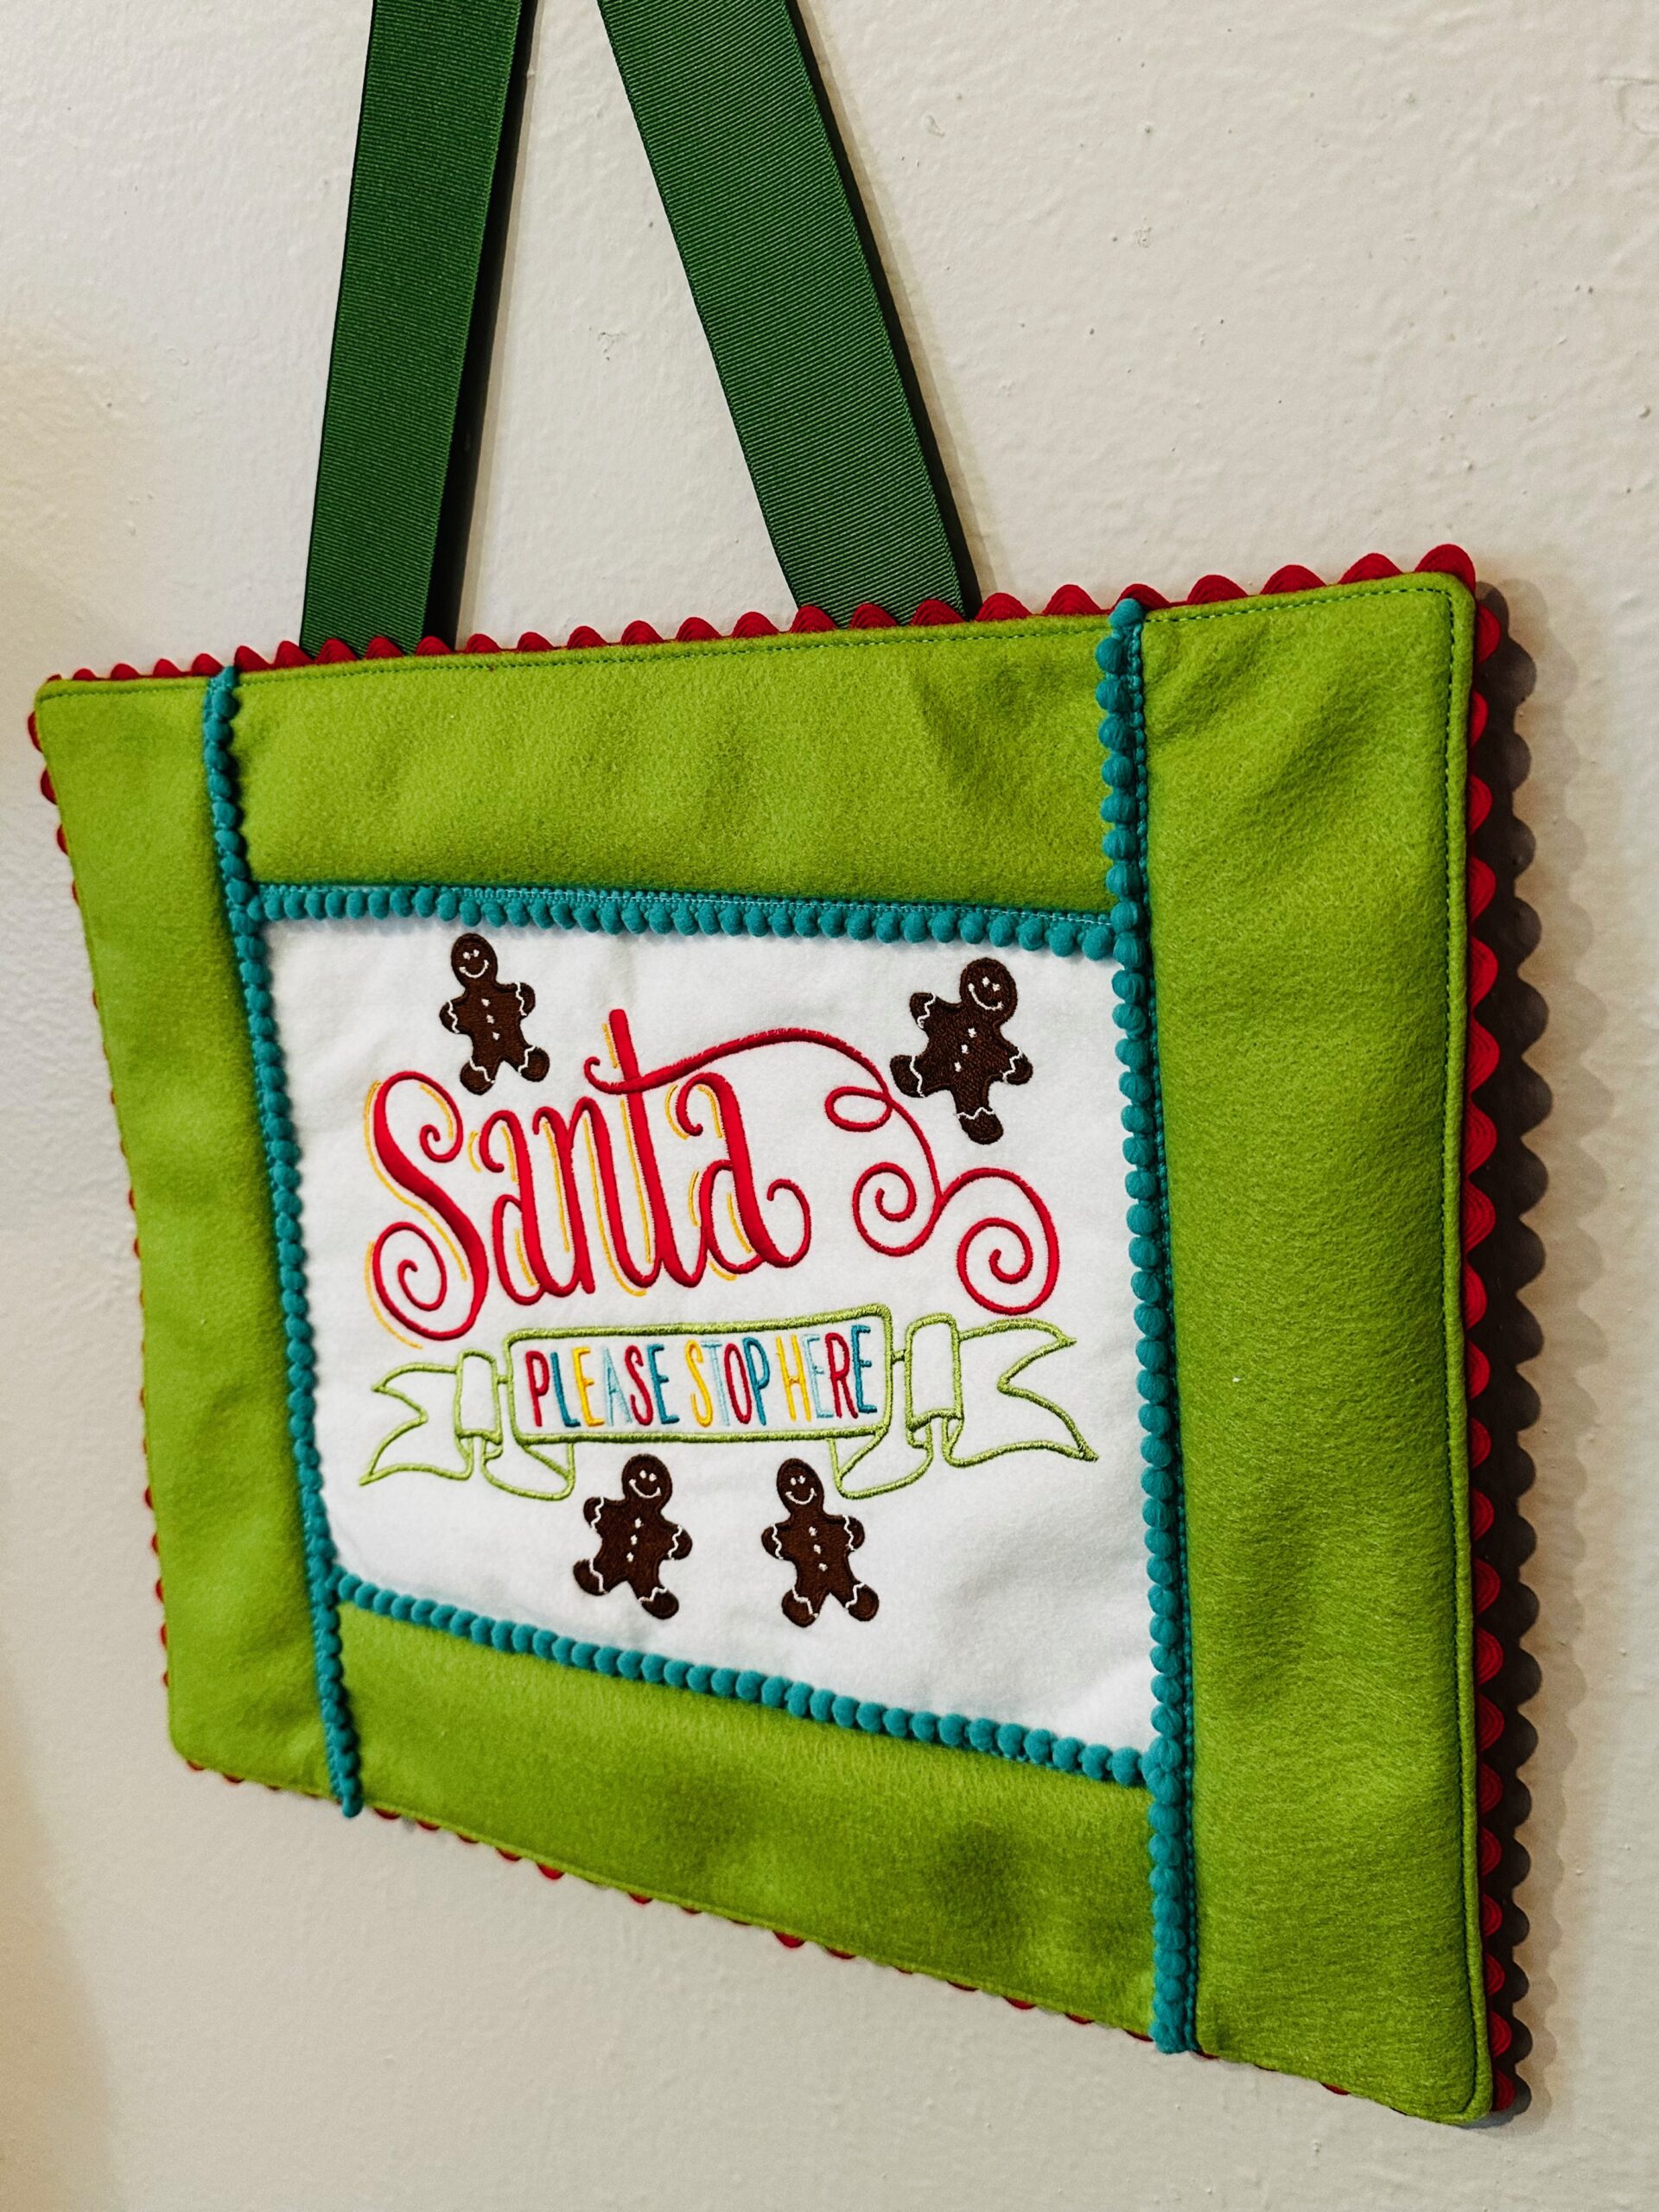
Sew an embroidered Santa sign so the big man is sure to stop at your house on Christmas Eve. This “Santa Please Stop Here” embroidery design is available in three sizes, so the sign is adjustable for several hoops. Adjust the fabric requirements as needed to sew an embroidered Santa sign that suits your needs.
EMBROIDERED SANTA SIGN SUPPLIES
- Sulky Felty™ (off-white roll, light green roll)
- 50 wt. Cotton Thread (light green & teal, or colors to match per the instructions below)
- 13″ x 16″ rectangle each of quilting cotton fabric & batting (backing)
- Sulky KK 2000™ Temporary Spray Adhesive
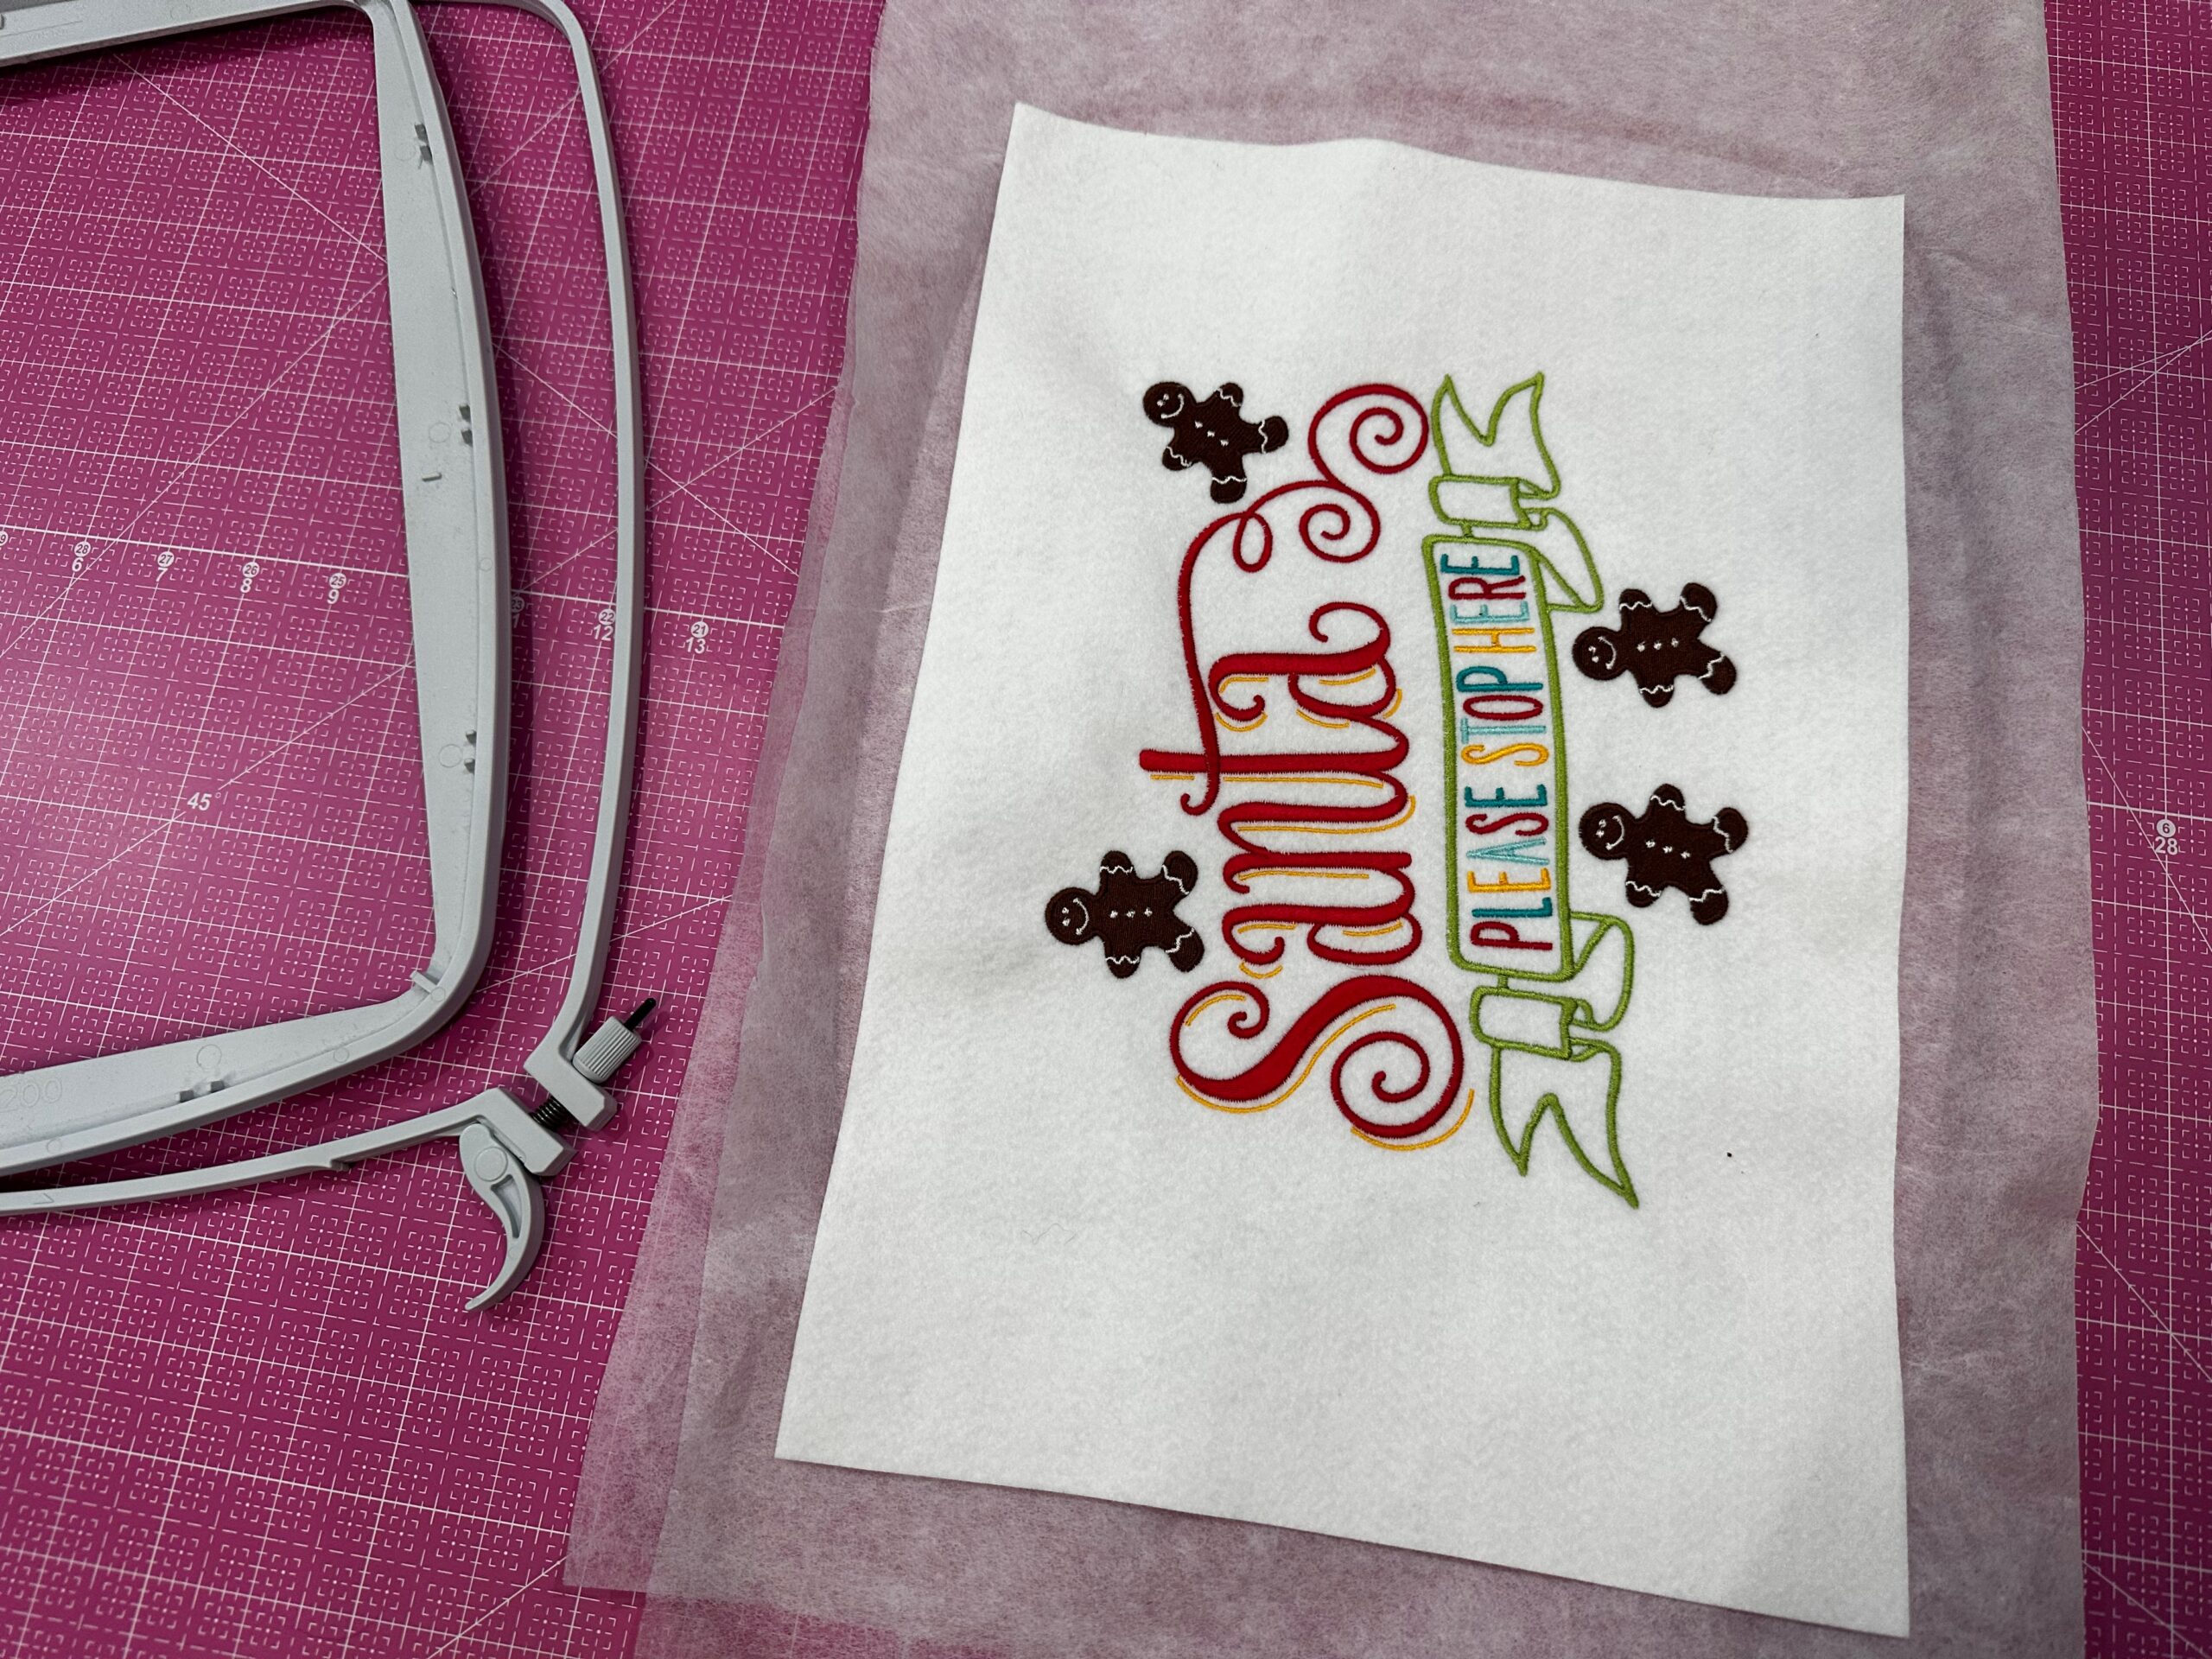
- Santa Sayings Machine Embroidery Palette (Includes 10 spools of Sulky Rayon Thread and six designs in three sizes; featured design: Santa Please Stop Here in the 6×10 hoop size)
- Sulky Tear-Easy™ Stabilizer
- Organ® Needles: 75/11 Embroidery & 70/10 Universal
- Mini pompom fringe trim (featured color: teal)
- Rickrack trim (featured color: Christmas red)
- 18″ length of 1 1/2″-wide grosgrain ribbon (hanger)
- Curved Tip Squeezers
- Sulky Turning Tool
*Some of the above links are affiliate links. Sulky may receive a small commission if you choose to make a purchase through these links.
TIP: Check out our Felty Holiday Assortment, which comes with 12 sheets of white, black, reds and greens to create loads of crafty holiday projects.
CUTTING & PREP
From the light green Felty, cut two 3″ x 10 1/2″ short rectangles and two 3″ x 13 1/4″ long rectangles.
From the off-white Felty, cut one 13″ x WOF rectangle for the embroidered front.
EMBROIDER THE SANTA DESIGN
Load the chosen embroidery design into the machine.
Hoop two layers of Sulky Tear-Easy Stabilizer. Place the Felty rectangle right side up on the stabilizer; use KK 2000 to secure the Felty to the layers.
Embroider the design, using Sulky Bobbin Thread in the bobbin and Sulky Rayon Thread in the needle.
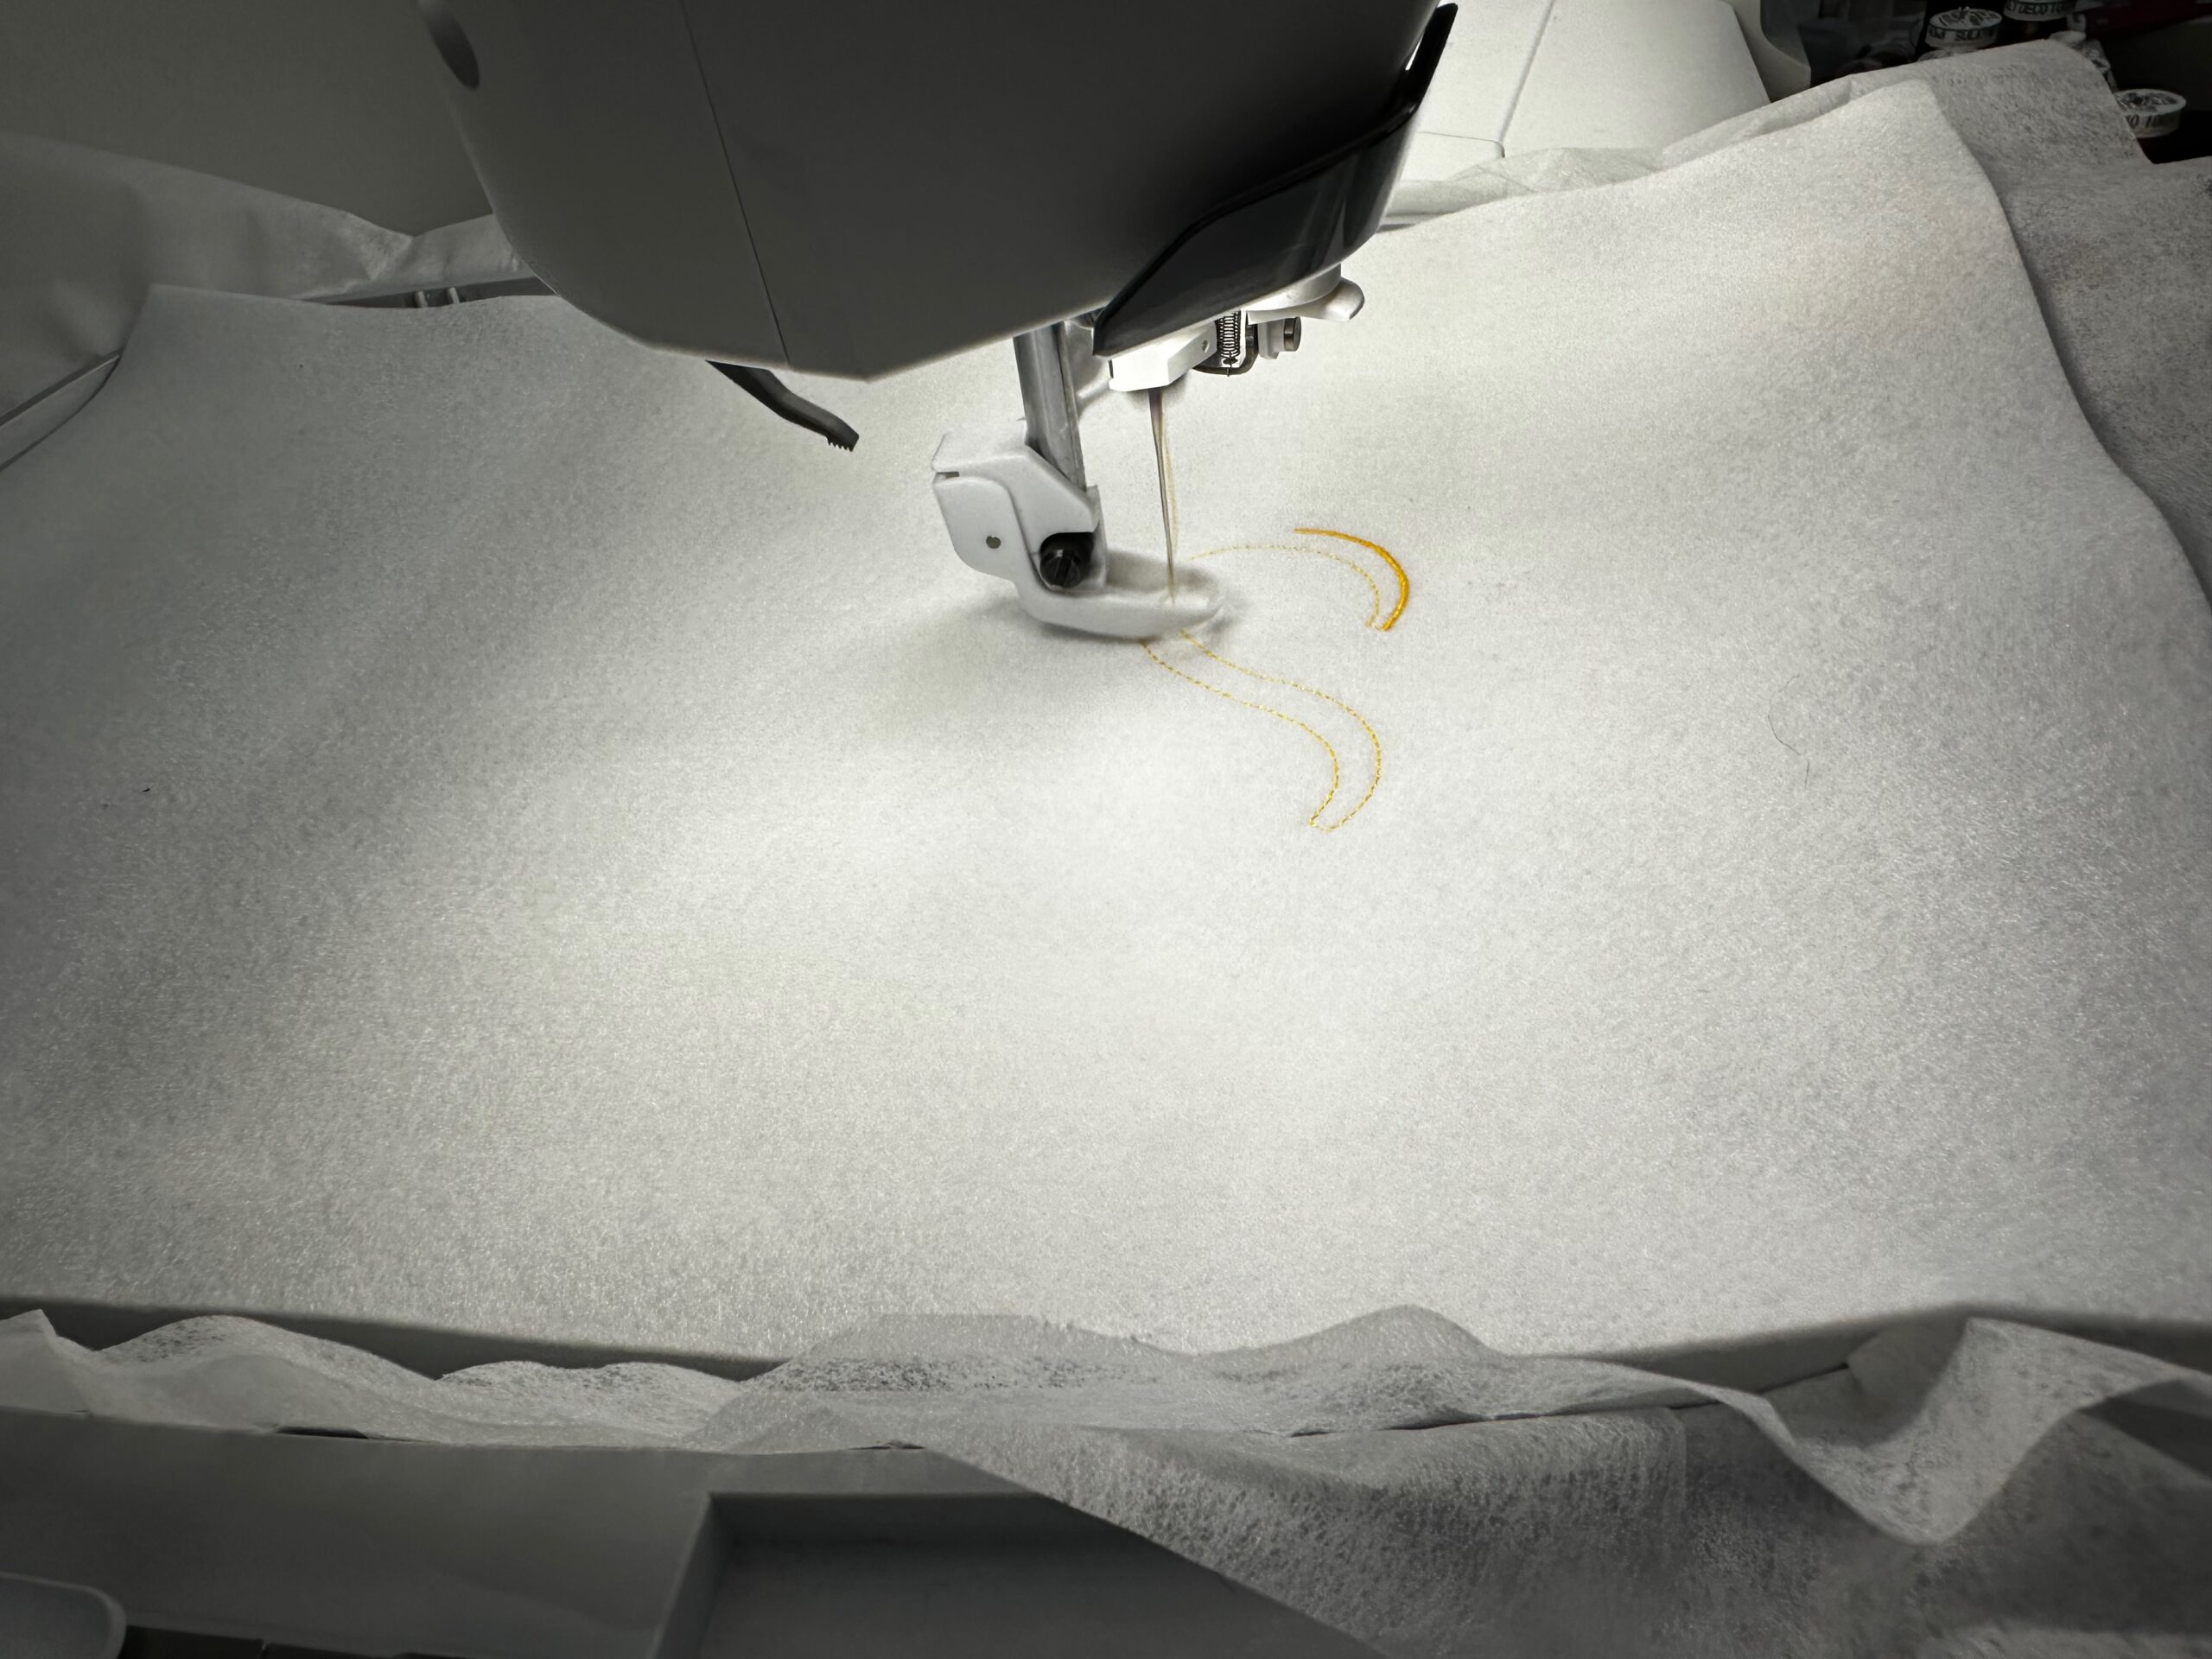
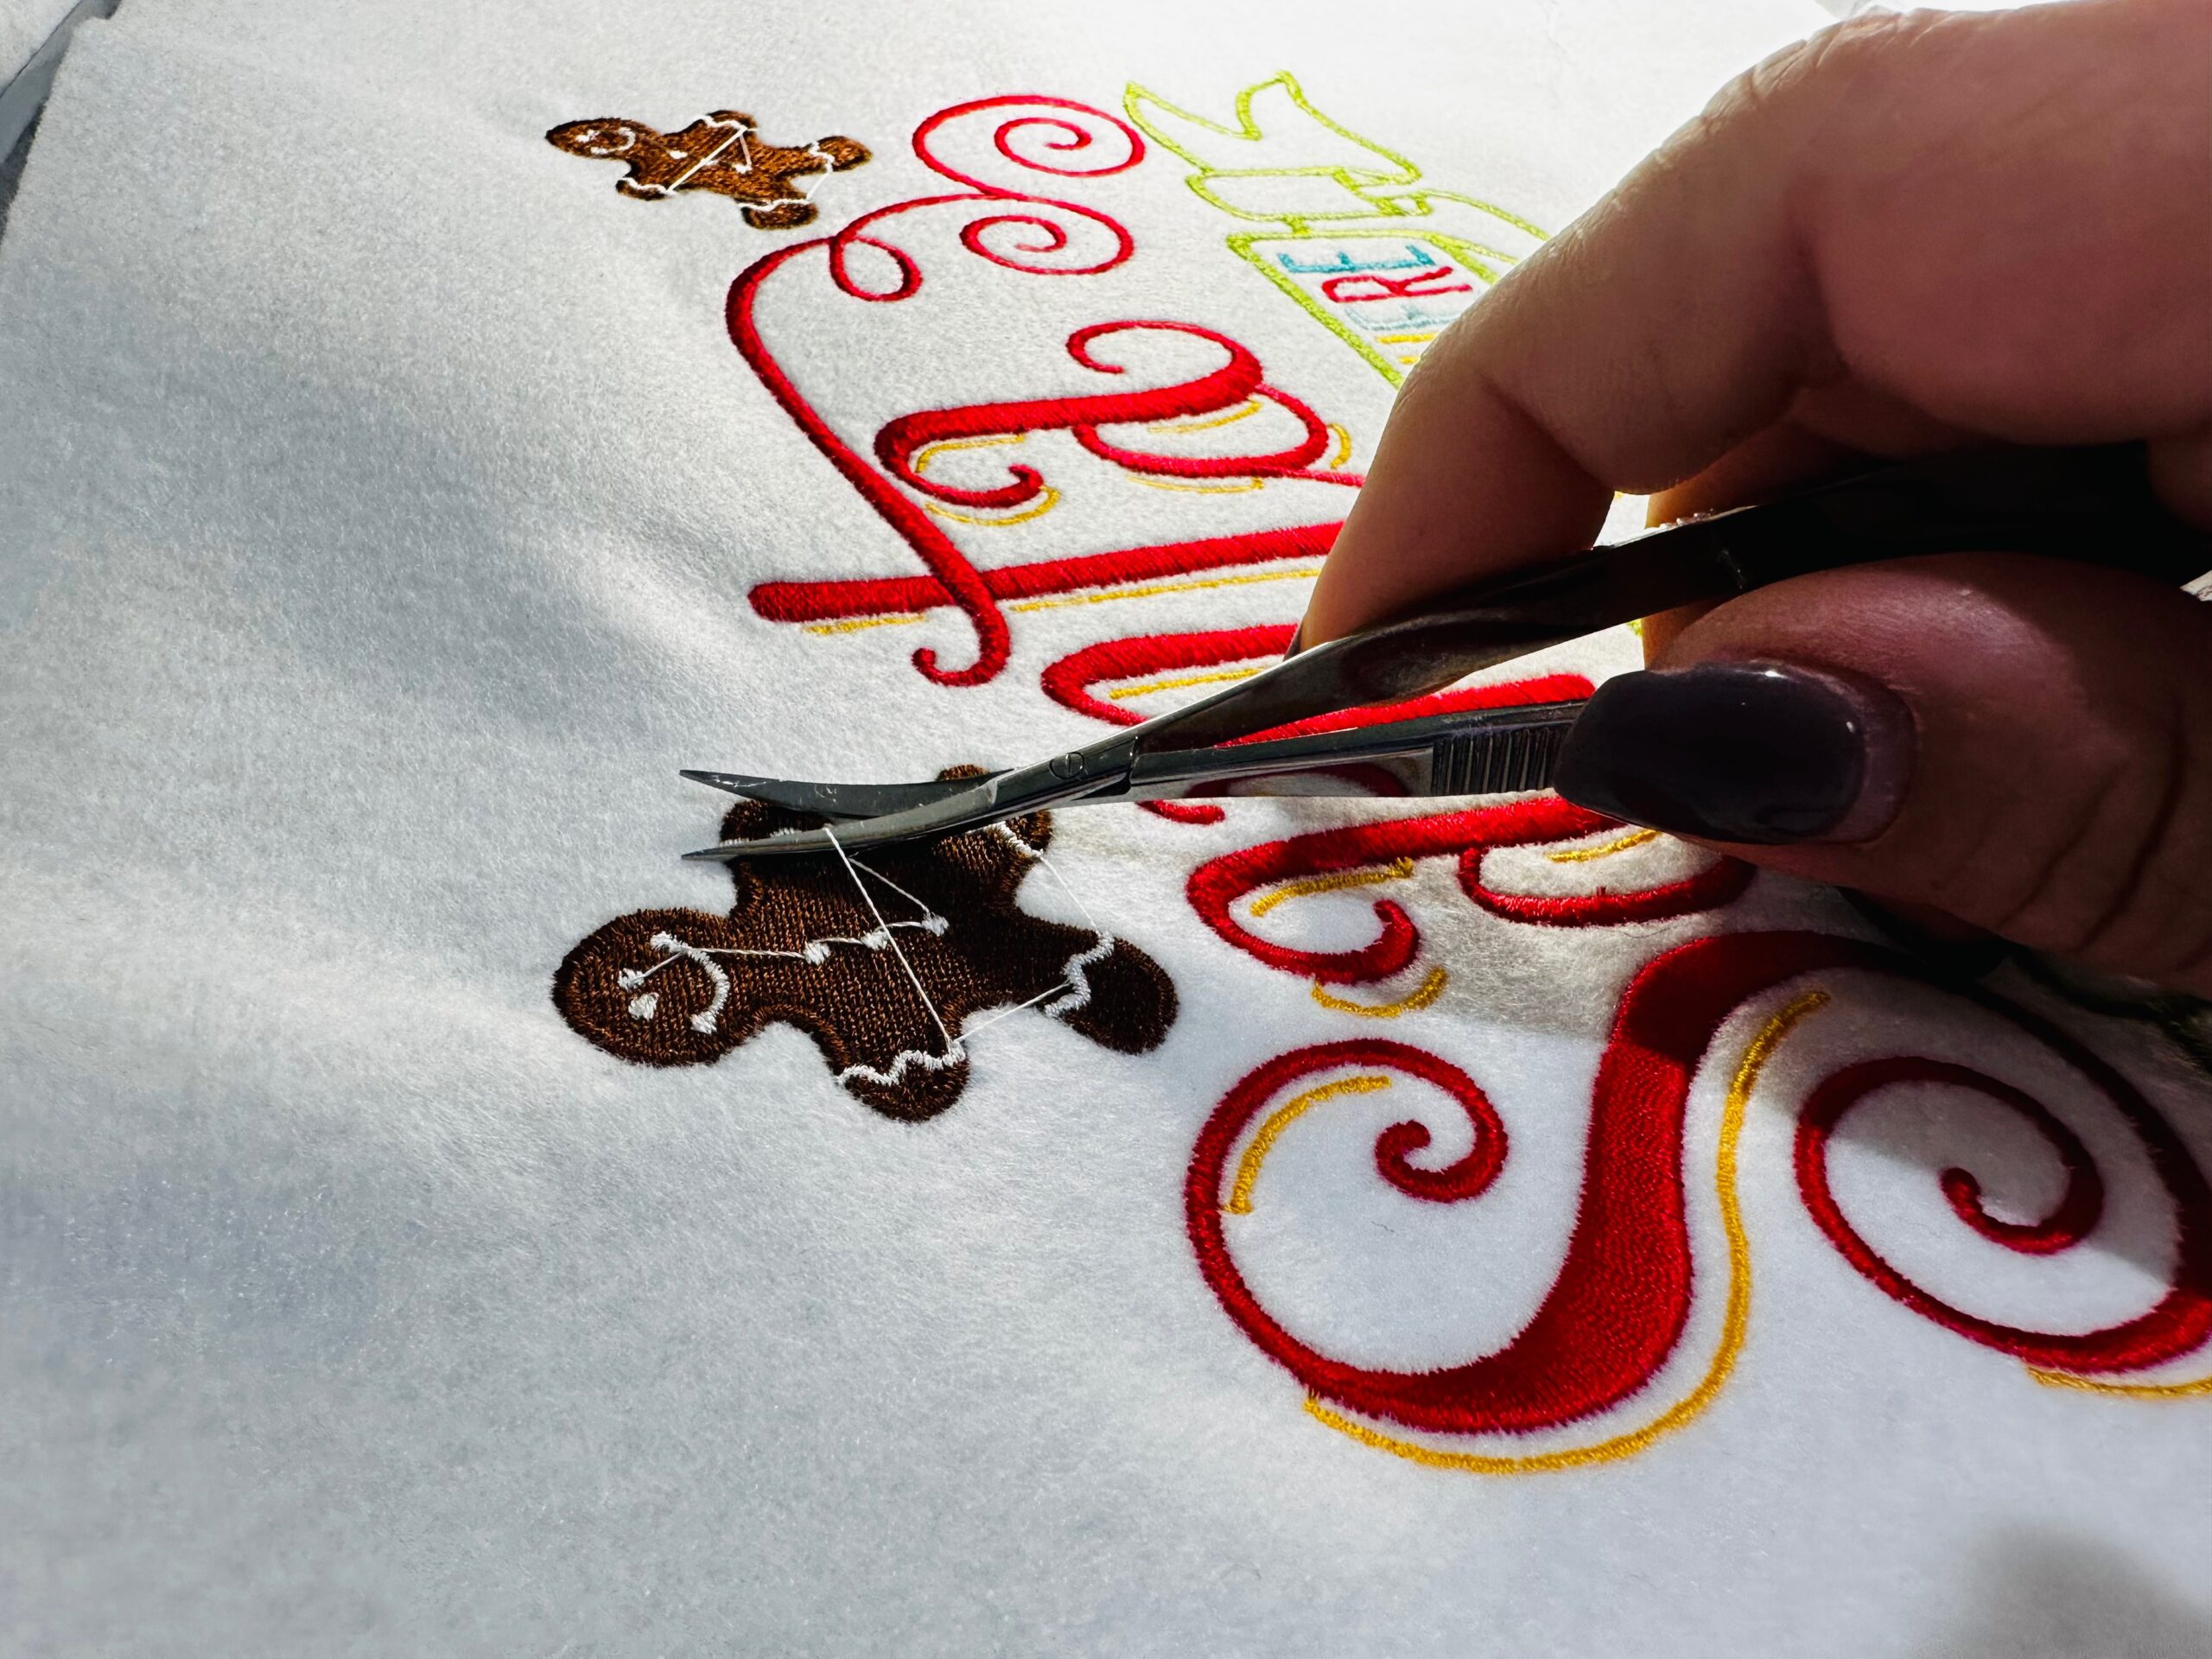
Clip any jump threads with each thread change, using Curved Tip Squeezers.
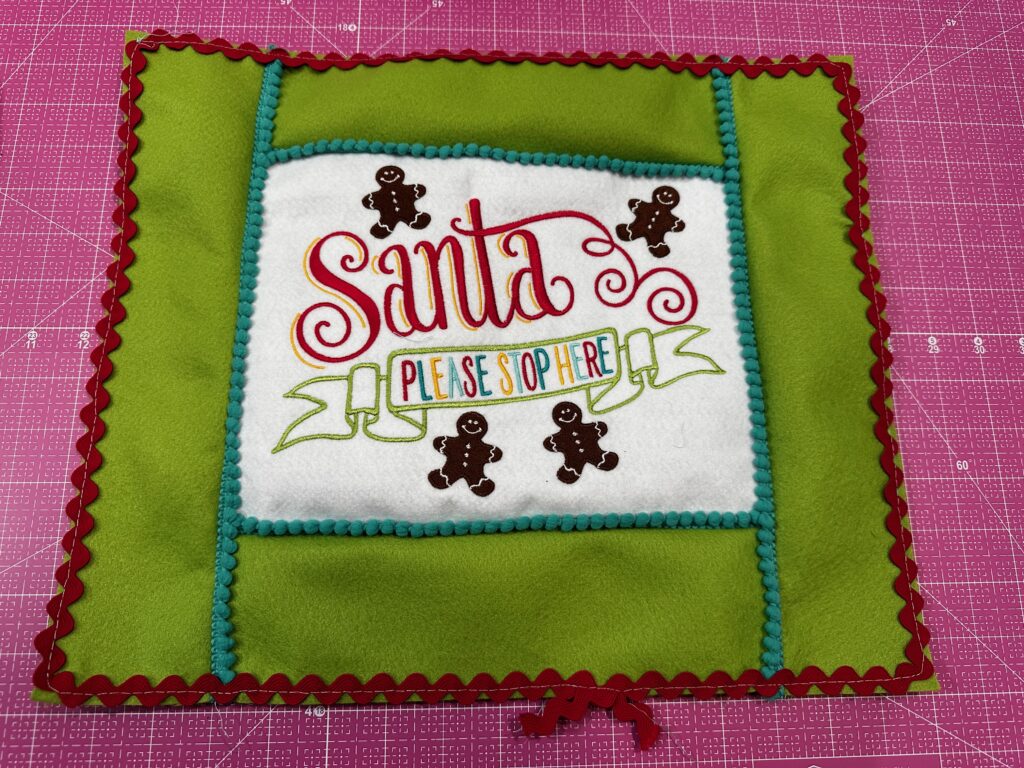
SANTA SIGN BORDERS
After embroidery is complete, remove the hoop from the machine and the stabilizer from the hoop.
Remove the stabilizer by gently tearing away each layer independently.
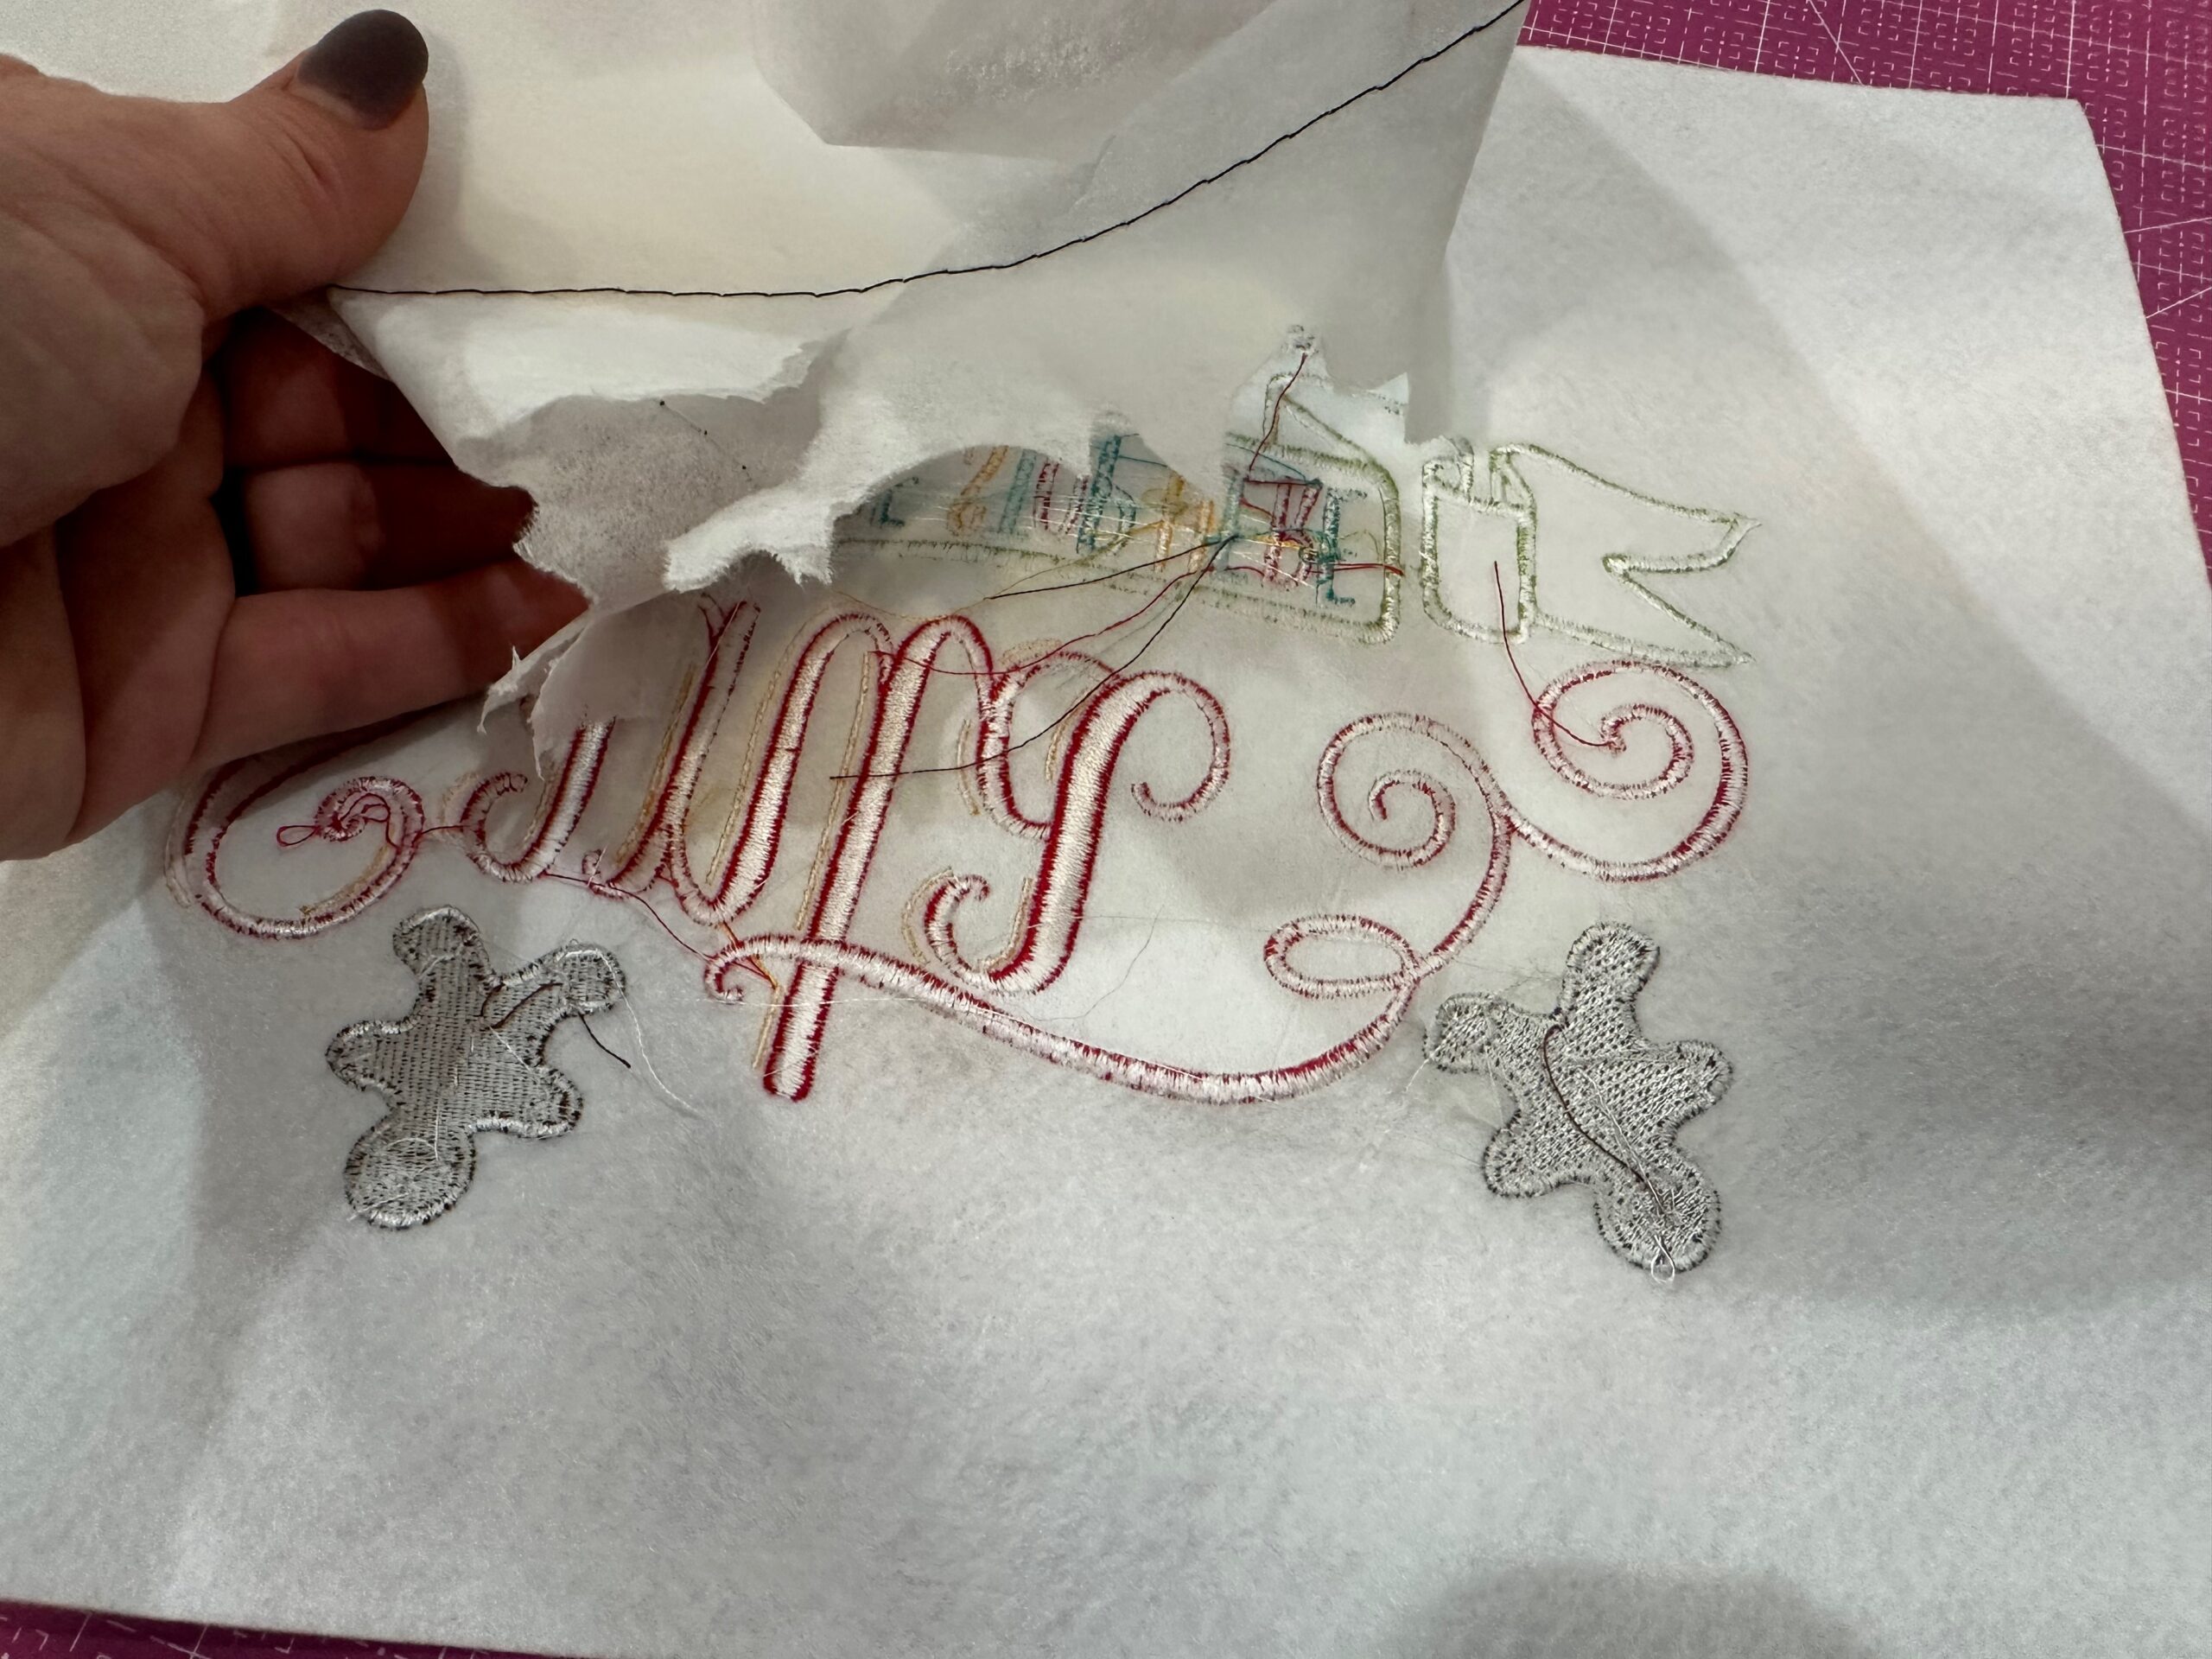
Trim the embroidered Felty to 10 1/2″ W x 8 1/4″ H. (Note: if working with a different design, trim the Felty rectangle 3/4″ beyond the design perimeter on all sides.)
With right sides together, pin the short light green Felty rectangles to the upper and lower edges of the embroidered Felty rectangle. Stitch, using a 50 wt. Cotton Thread that matches the green Felty.
Turn the rectangles to the right side; finger-press the seam allowance toward the green Felty or press lightly with a low-temp iron.
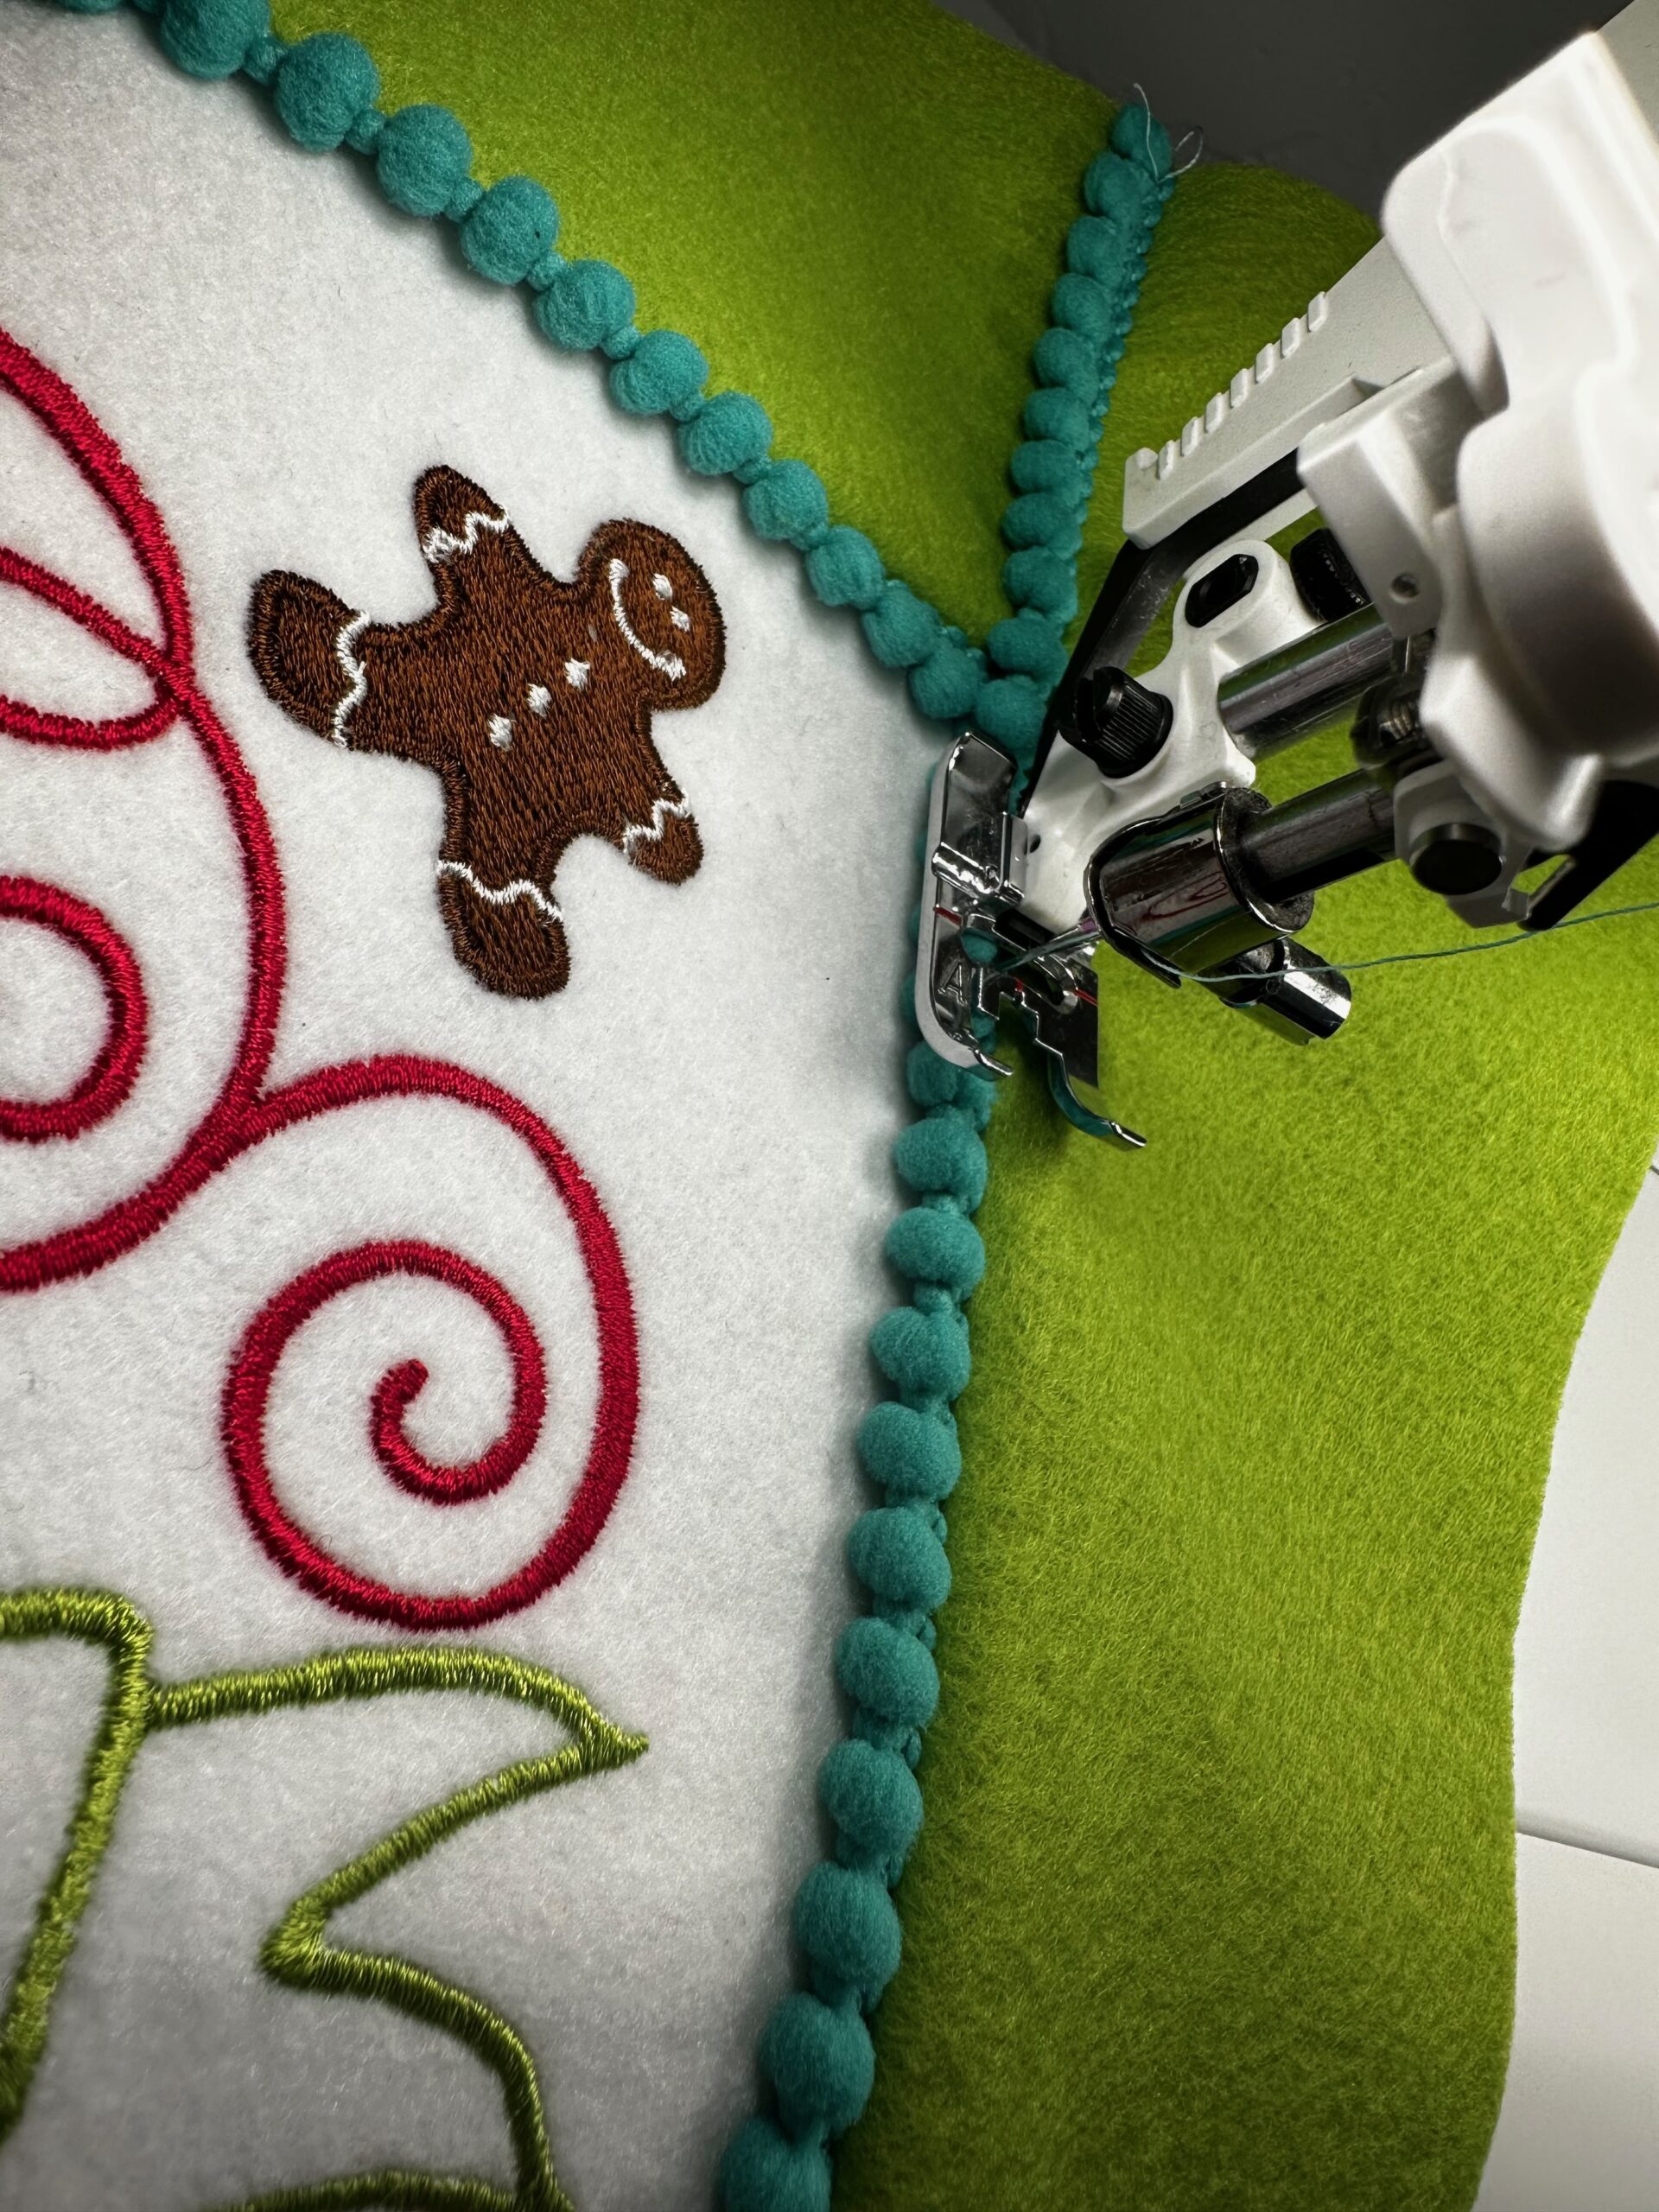
Abut the tape end of a length of pompom trim against the seams just sewn. Stitch down the trim tape. If needed, use a zipper foot to get close to the pompoms.
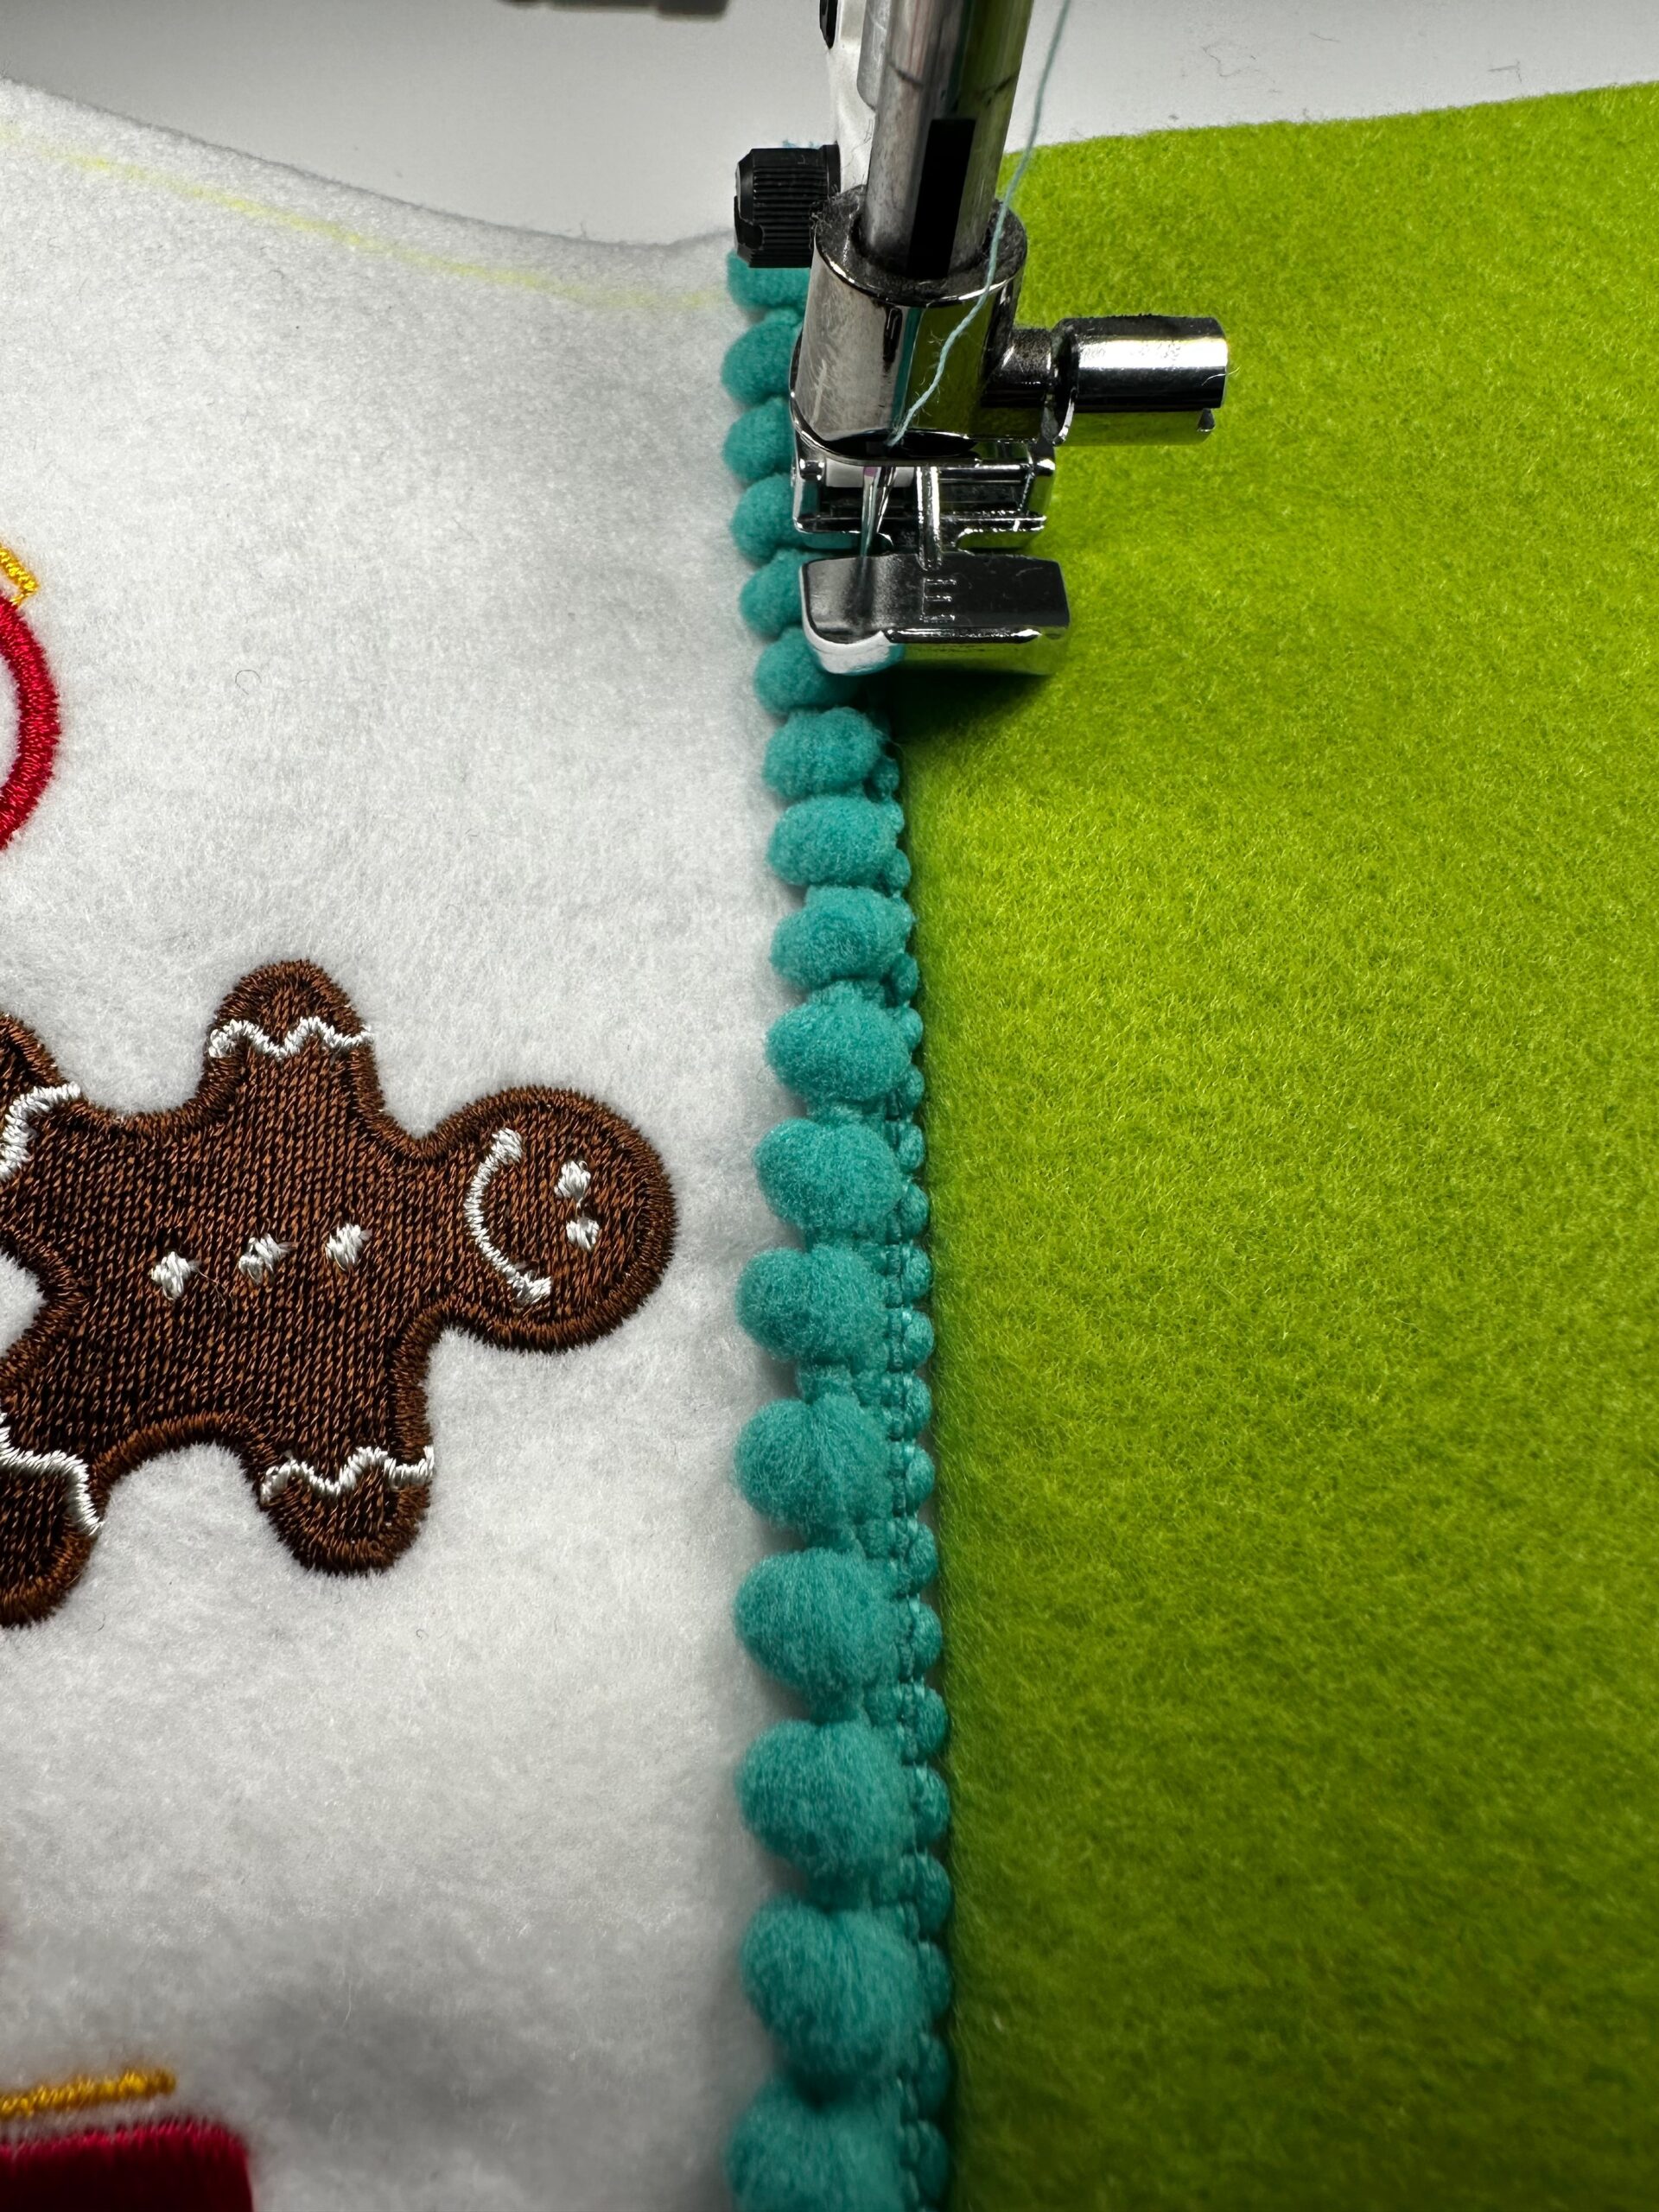

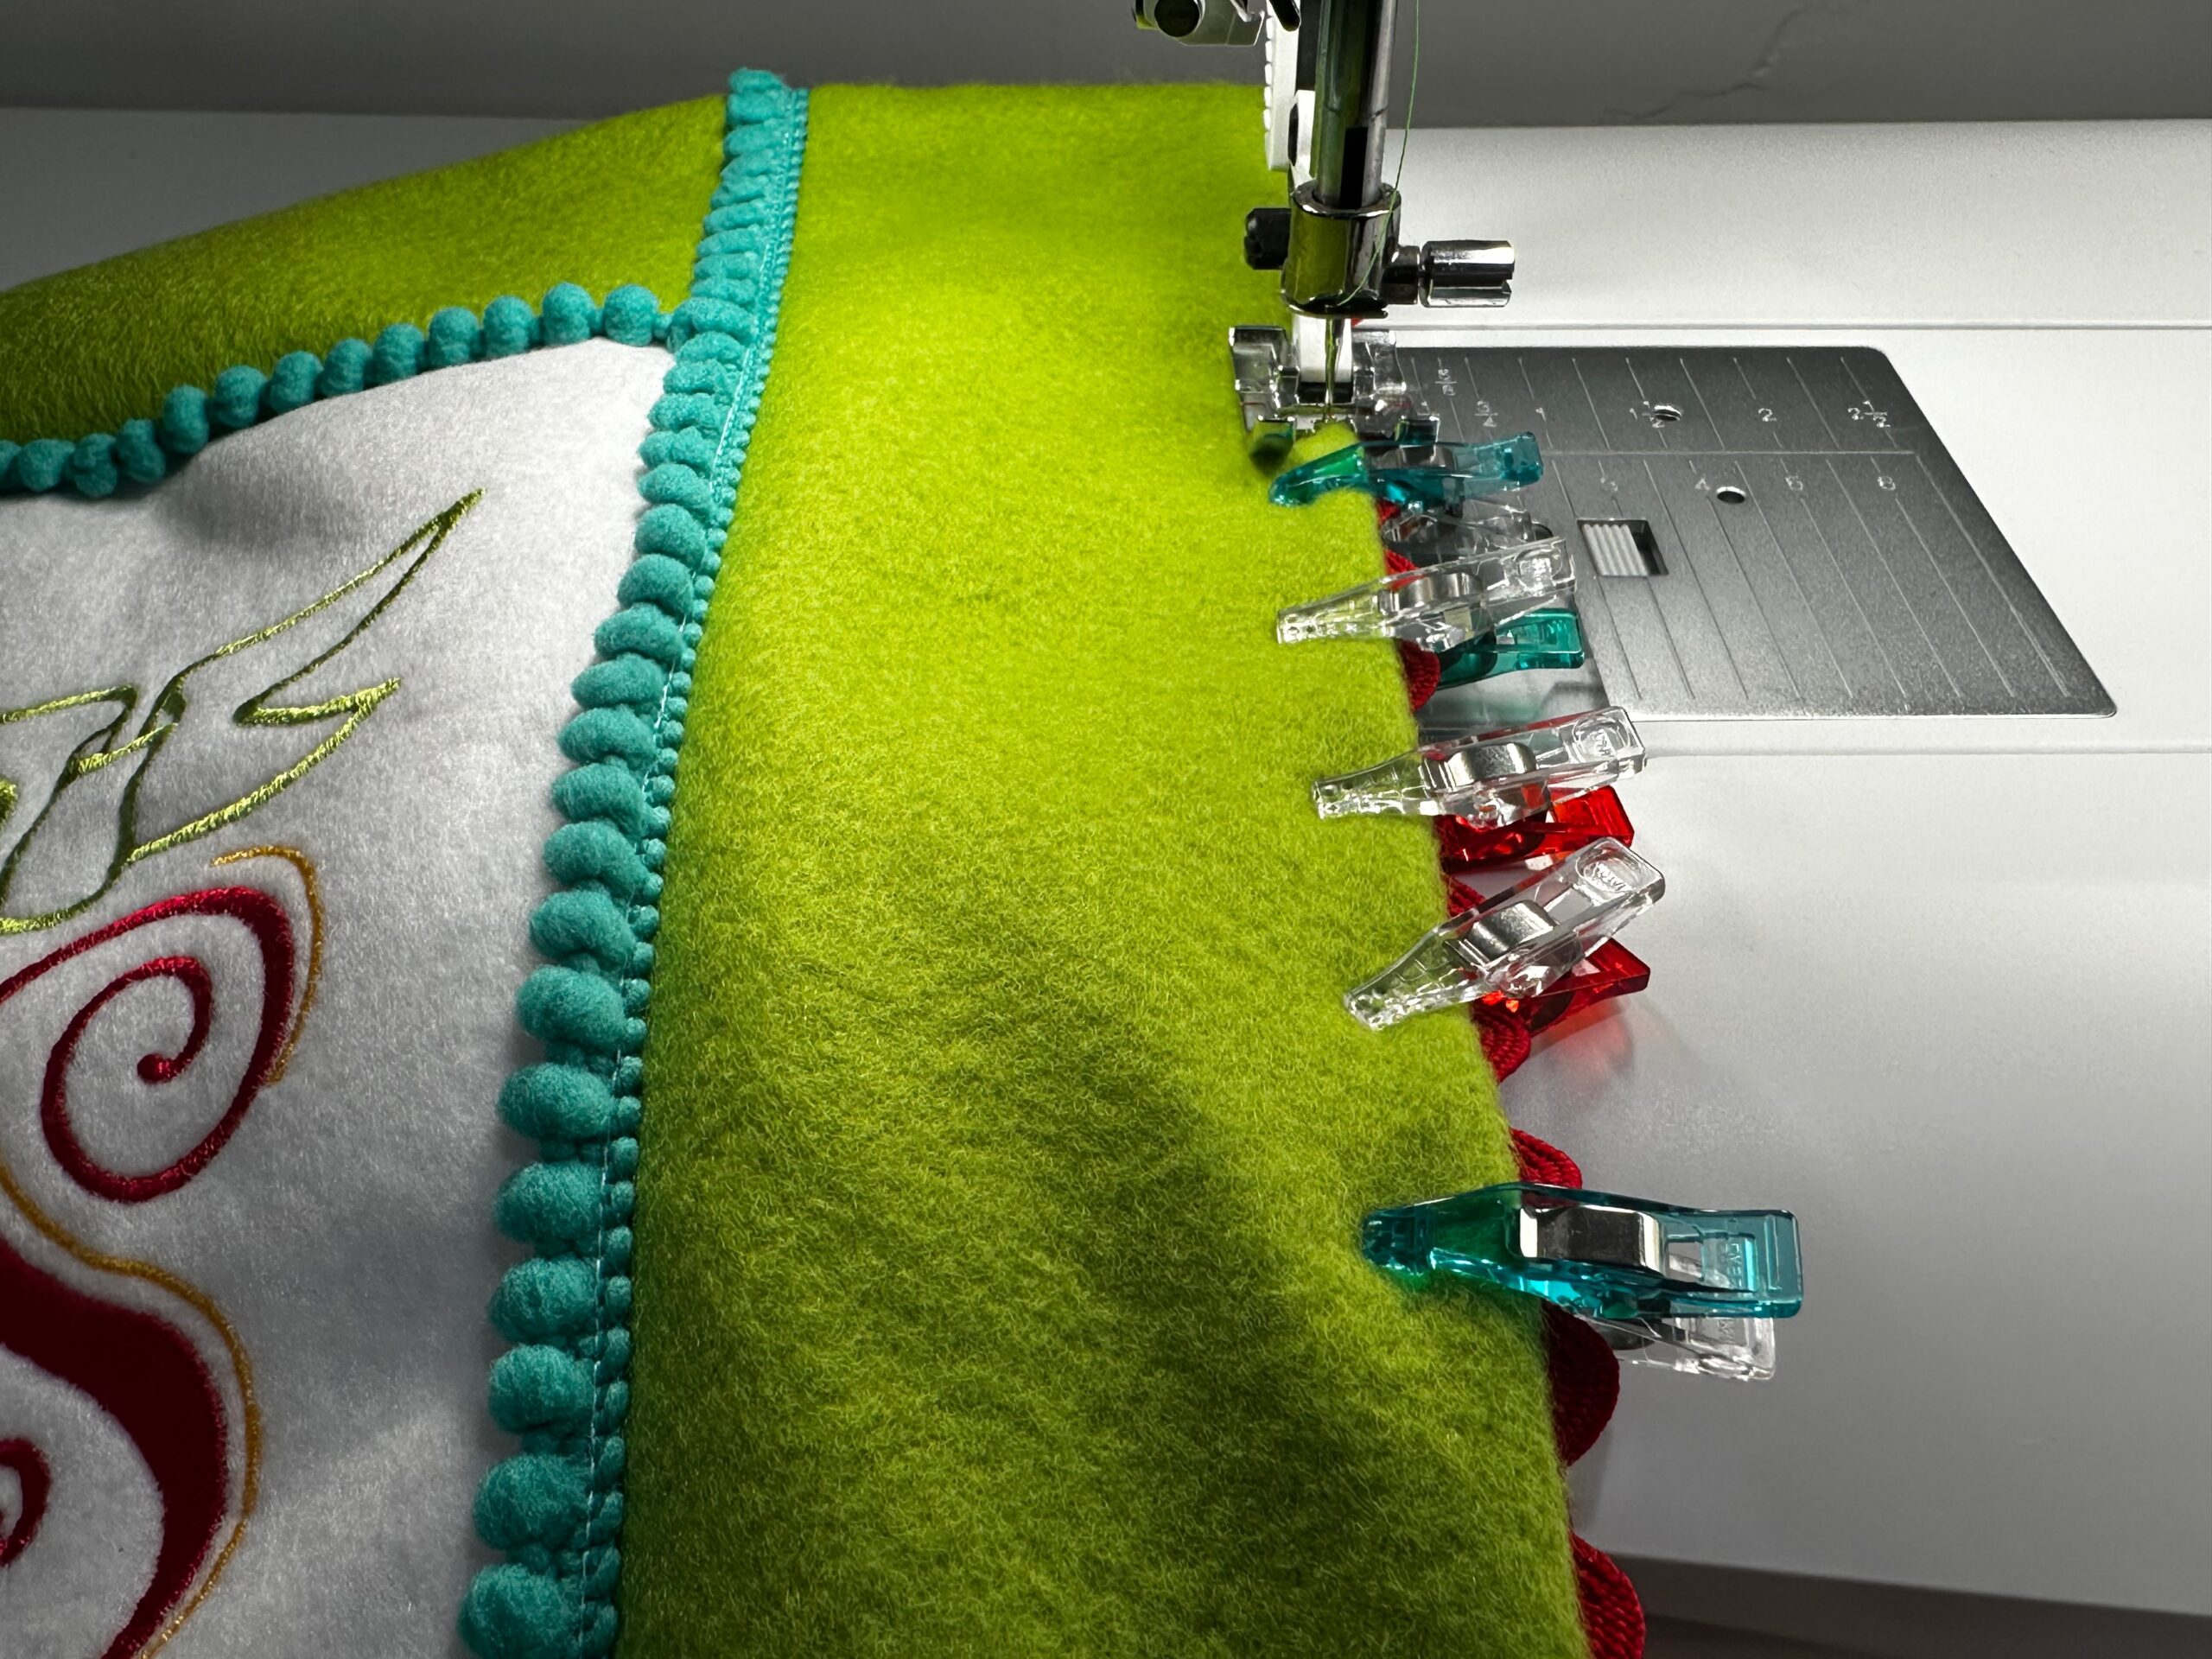
With right sides together, pin the long light green Felty rectangles to the side edges of the embroidered Felty rectangle. Stitch, using a 50 wt. Cotton Thread that matches the green Felty.
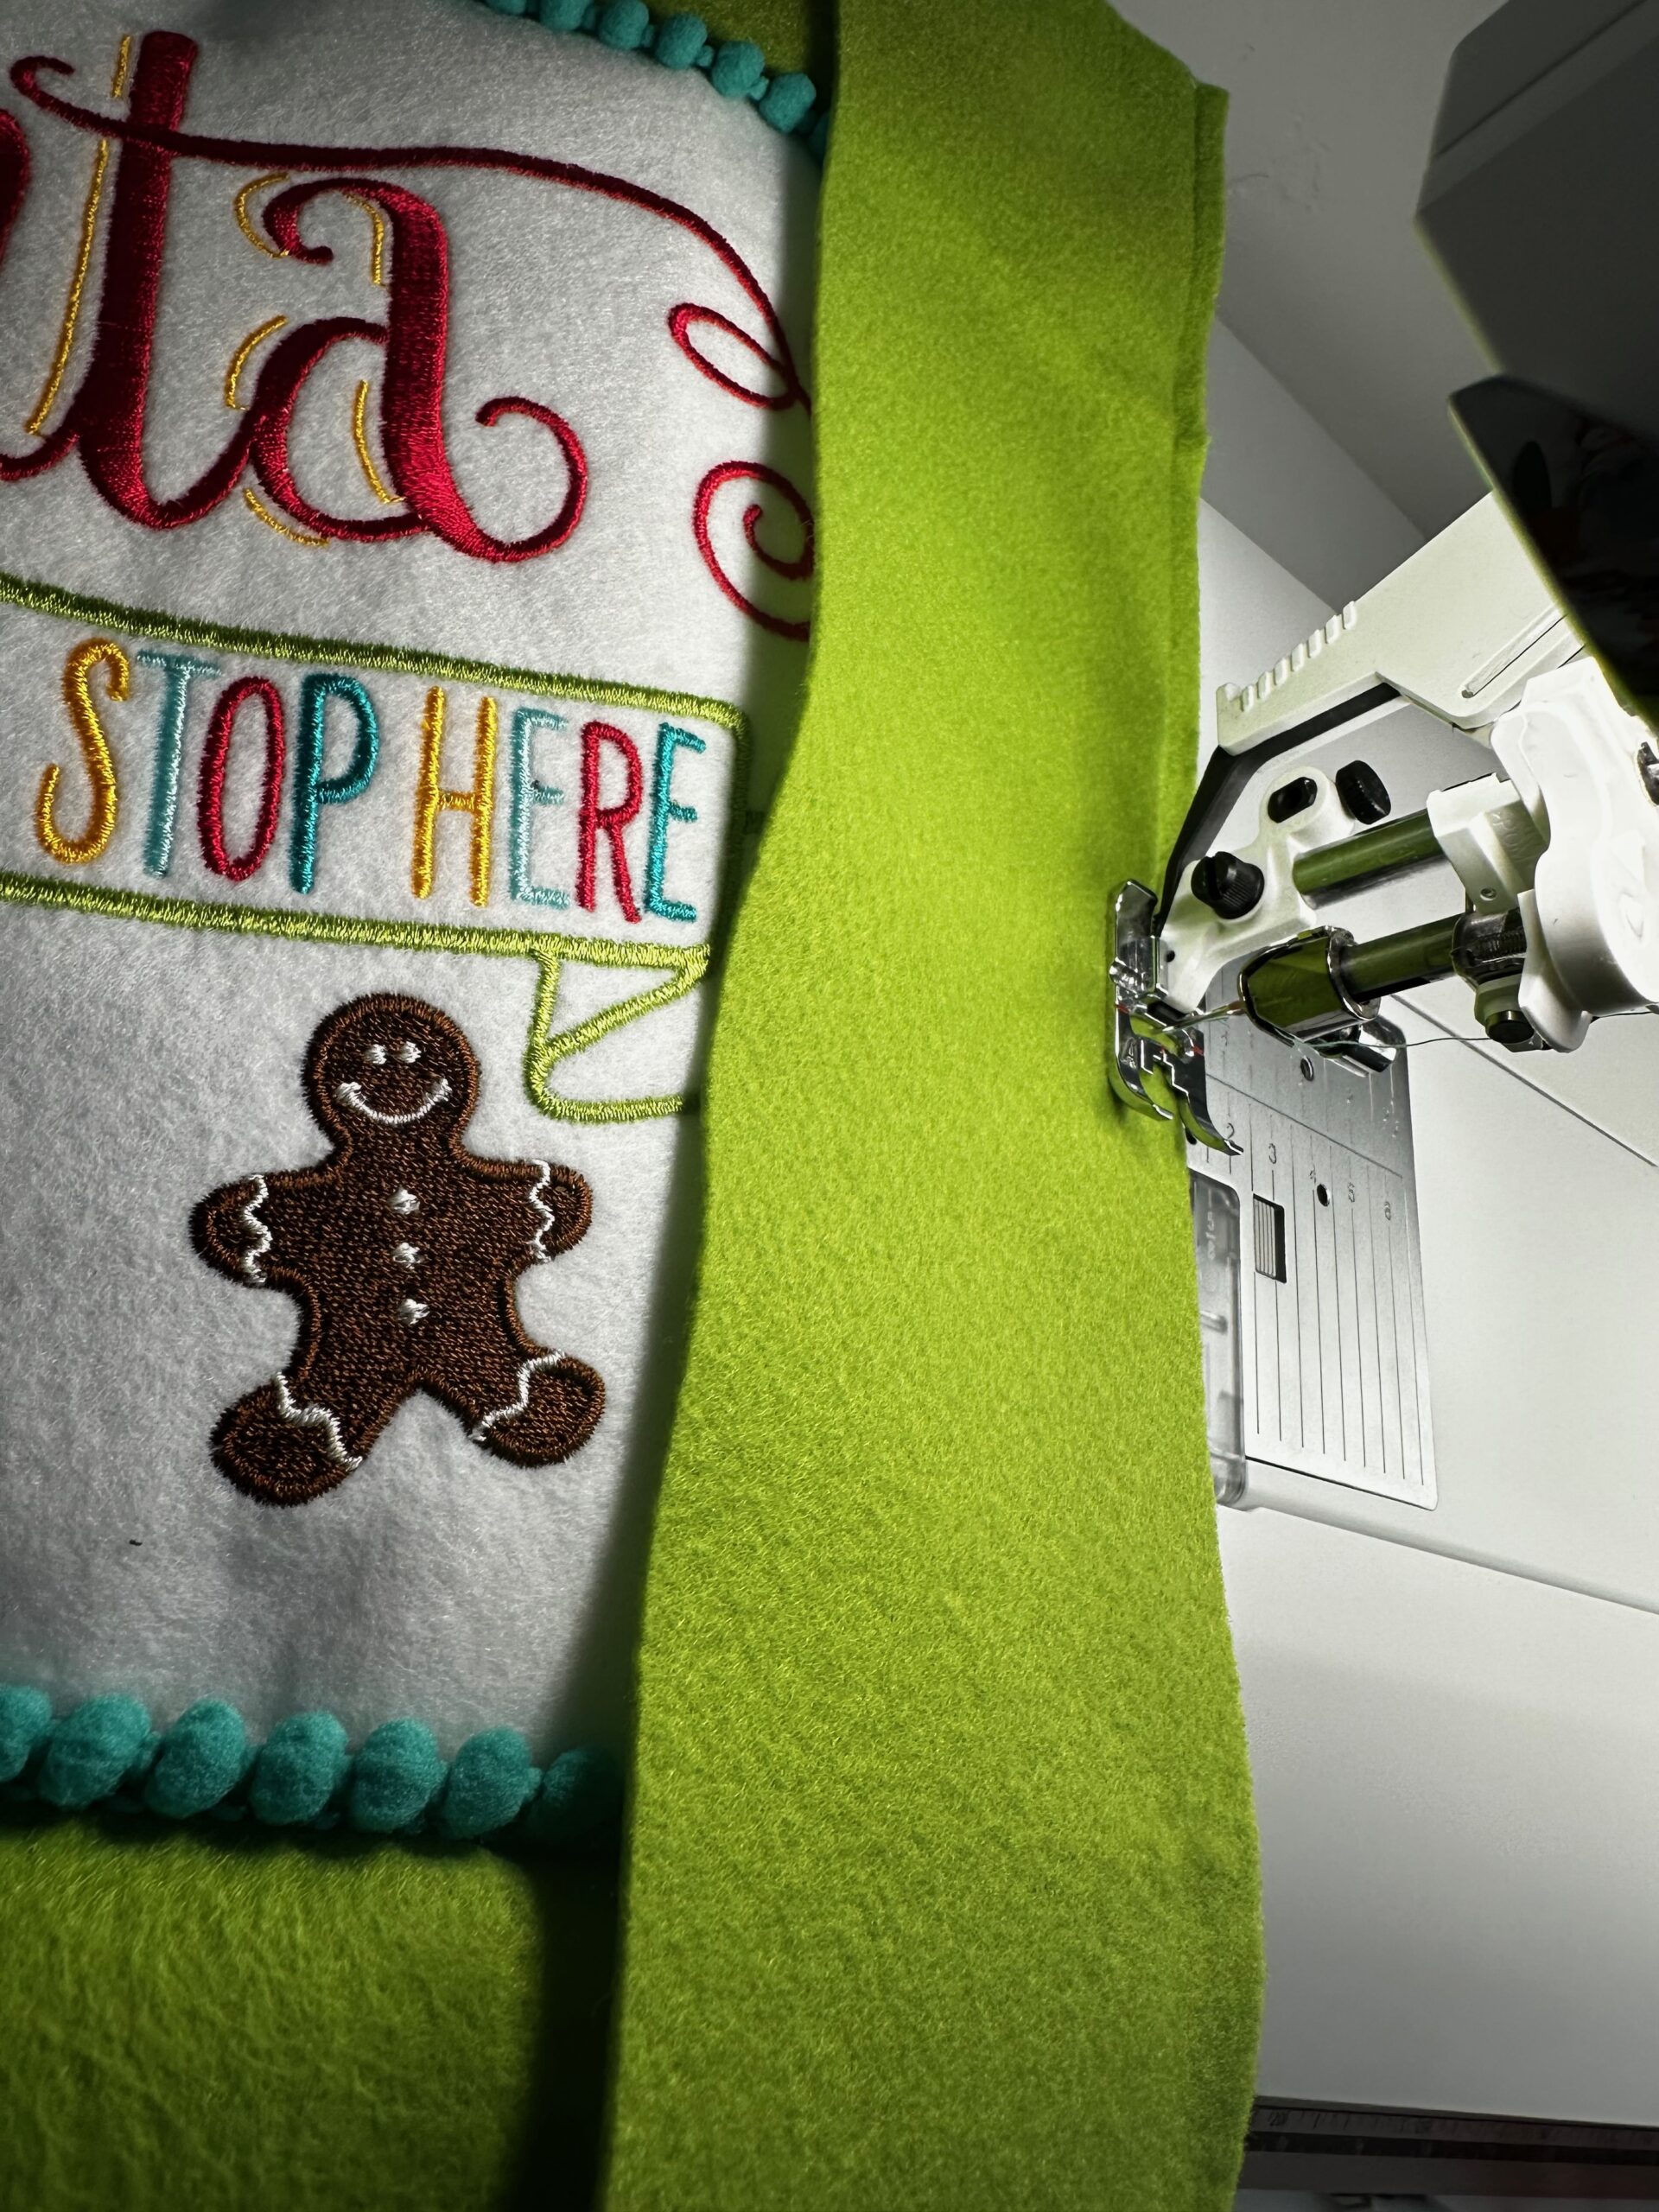
Turn the rectangles to the right side; finger-press the seam allowance toward the green Felty or press lightly with a low-temp iron.
Abut the tape end of a length of pompom trim against the seams just sewn. Stitch down the trim tape. If needed, use a zipper foot to get close to the pompoms.
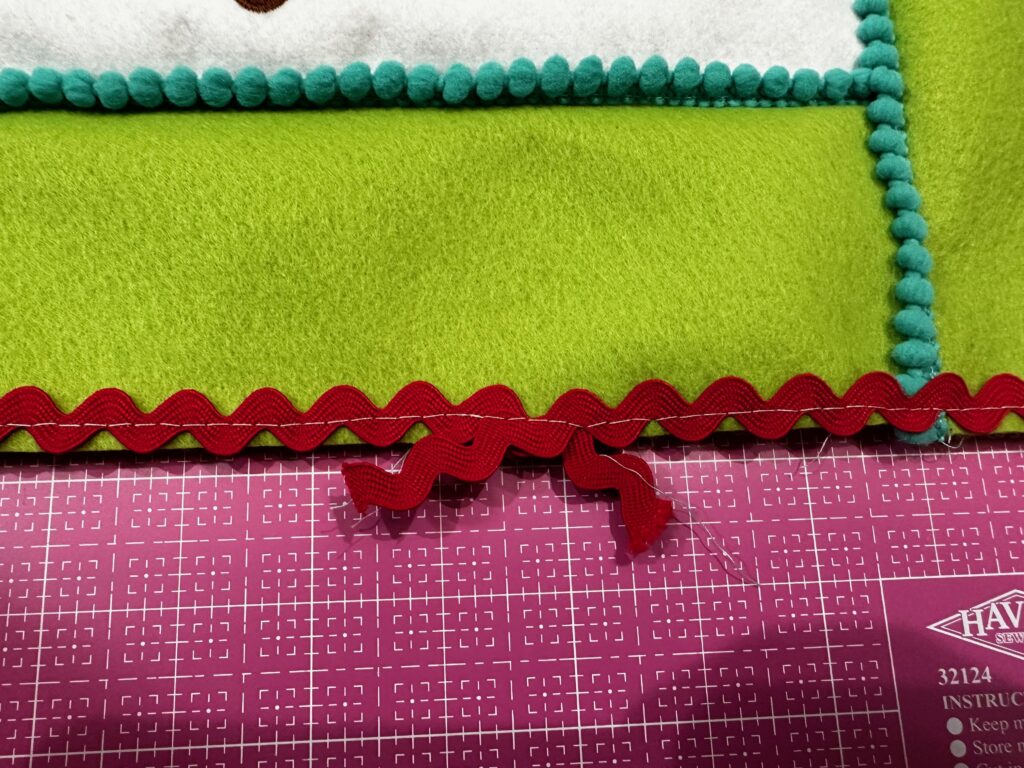
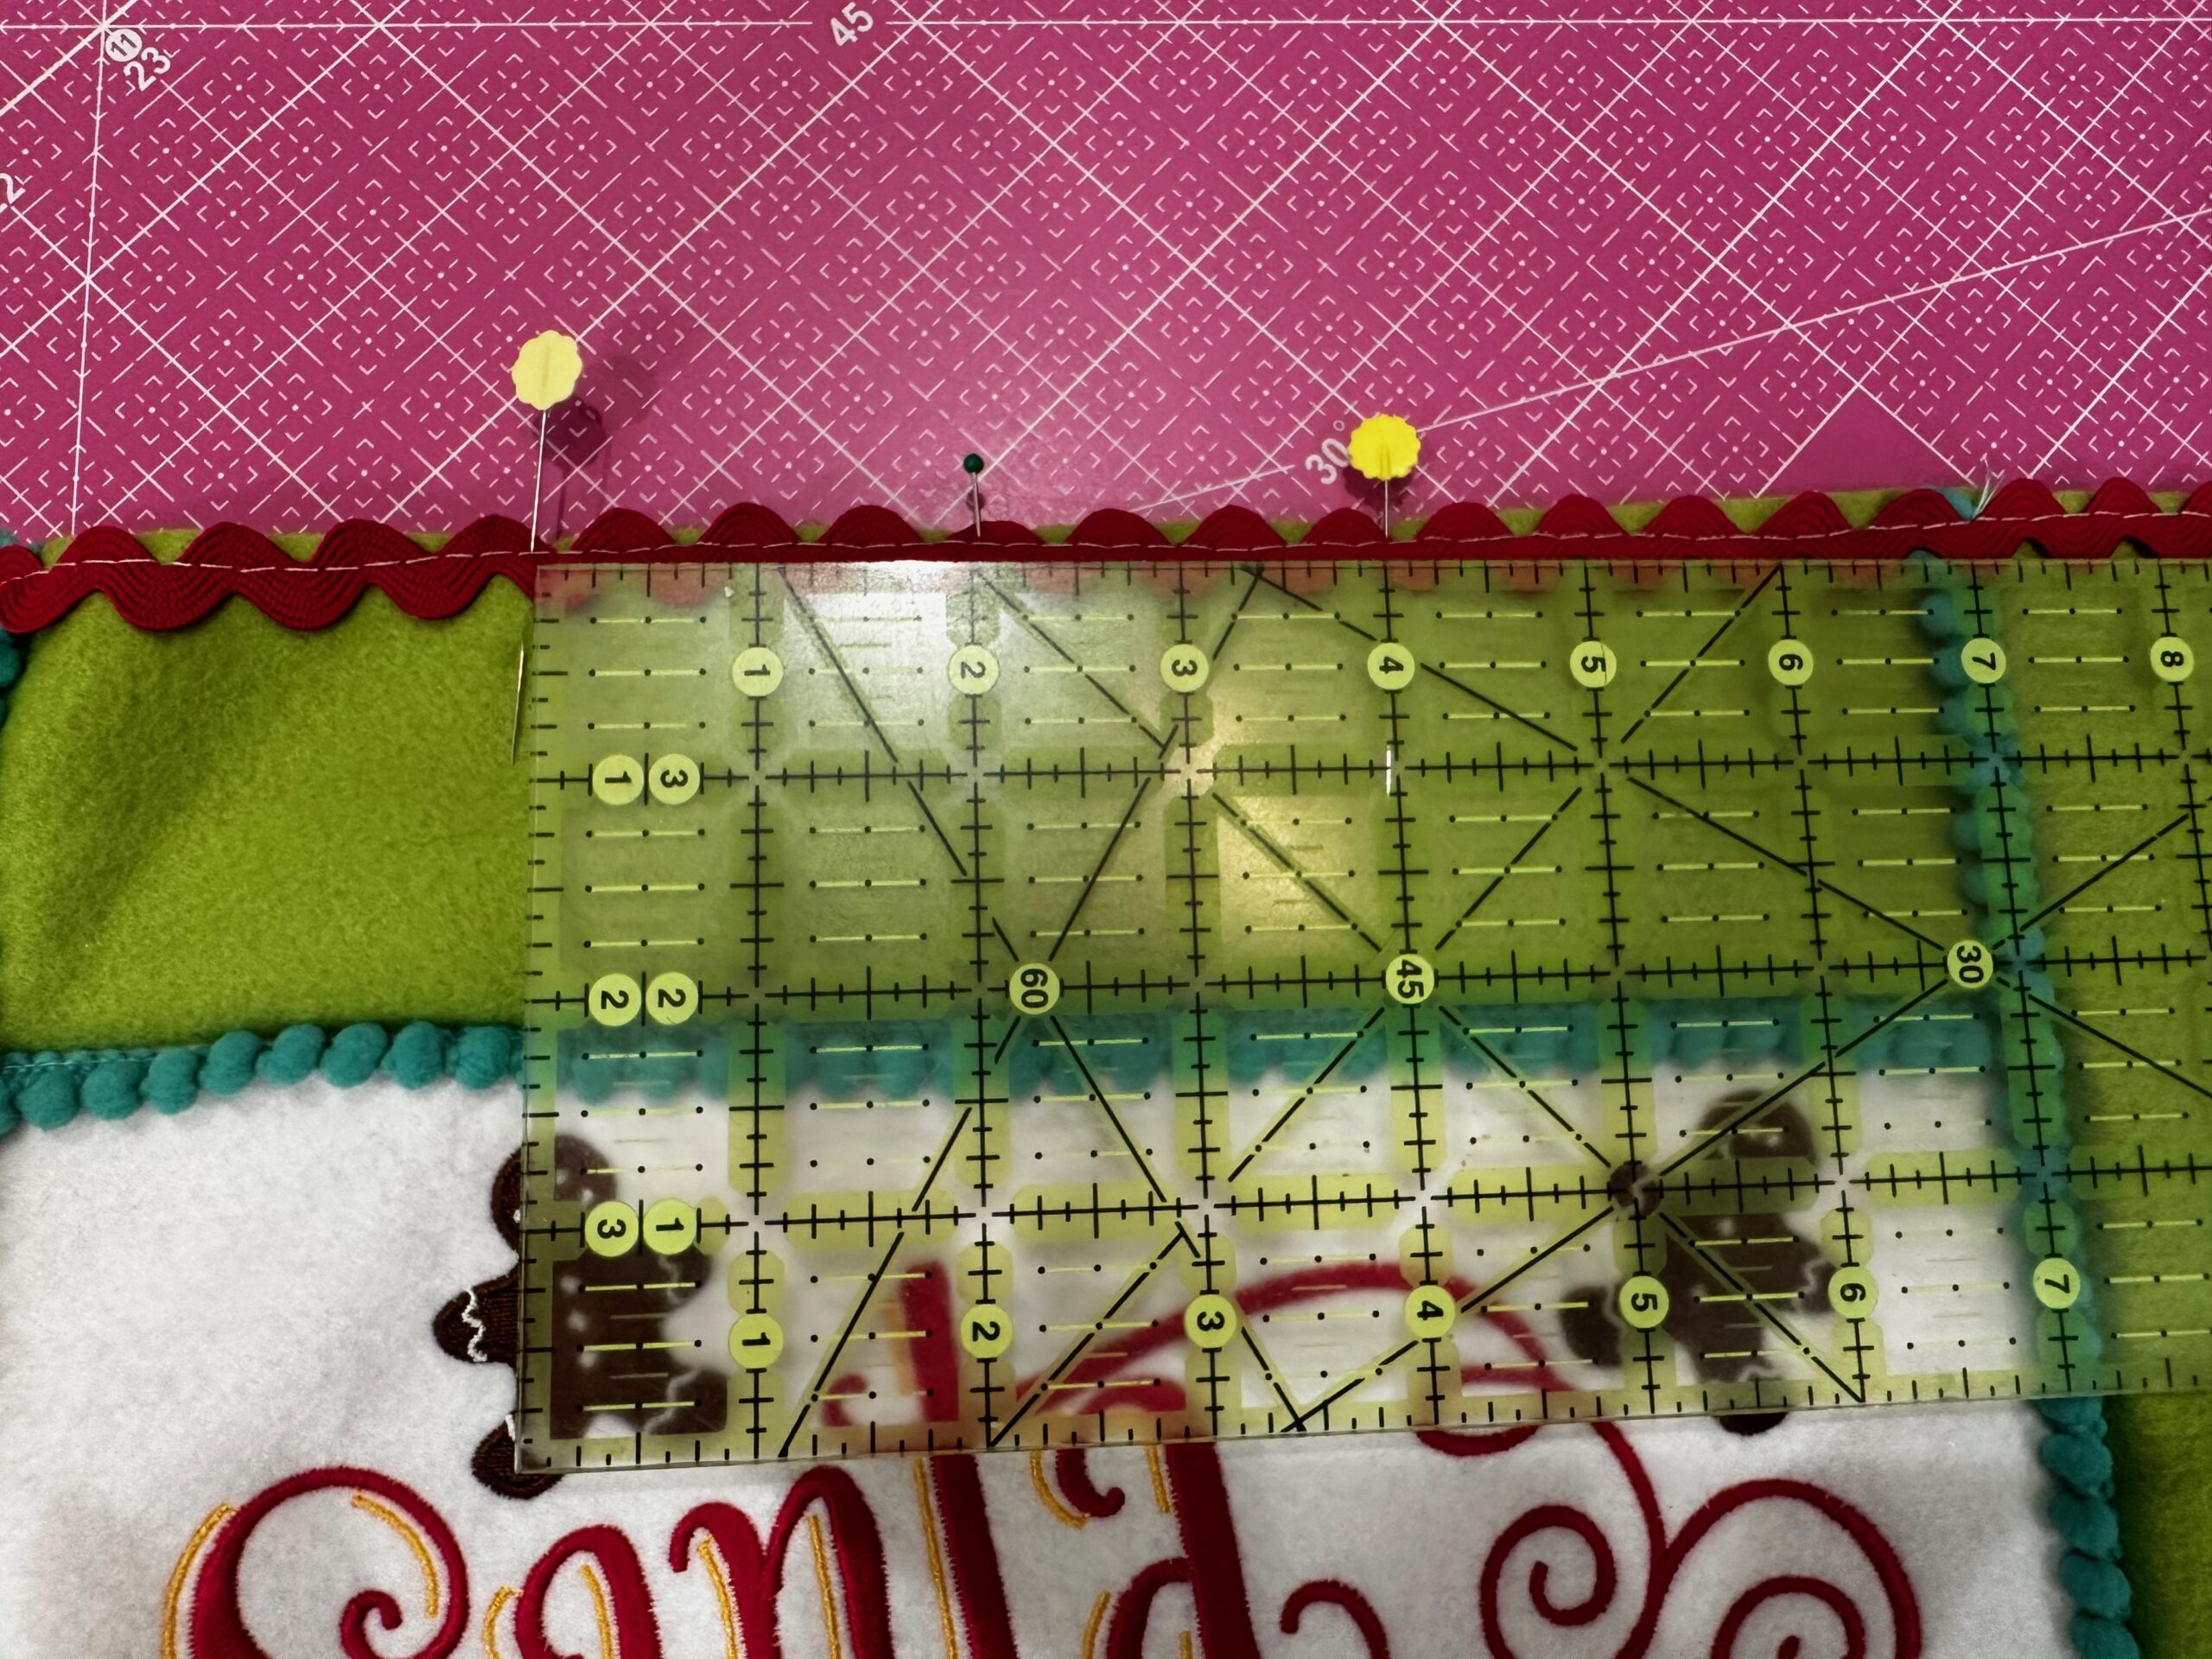
Baste the rickrack to the Santa sign outer perimeter.

At the rickrack beginning/end join, overlap the ends and extend them about 1″ beyond the Santa sign lower edge.
SANTA SIGN FINISHING
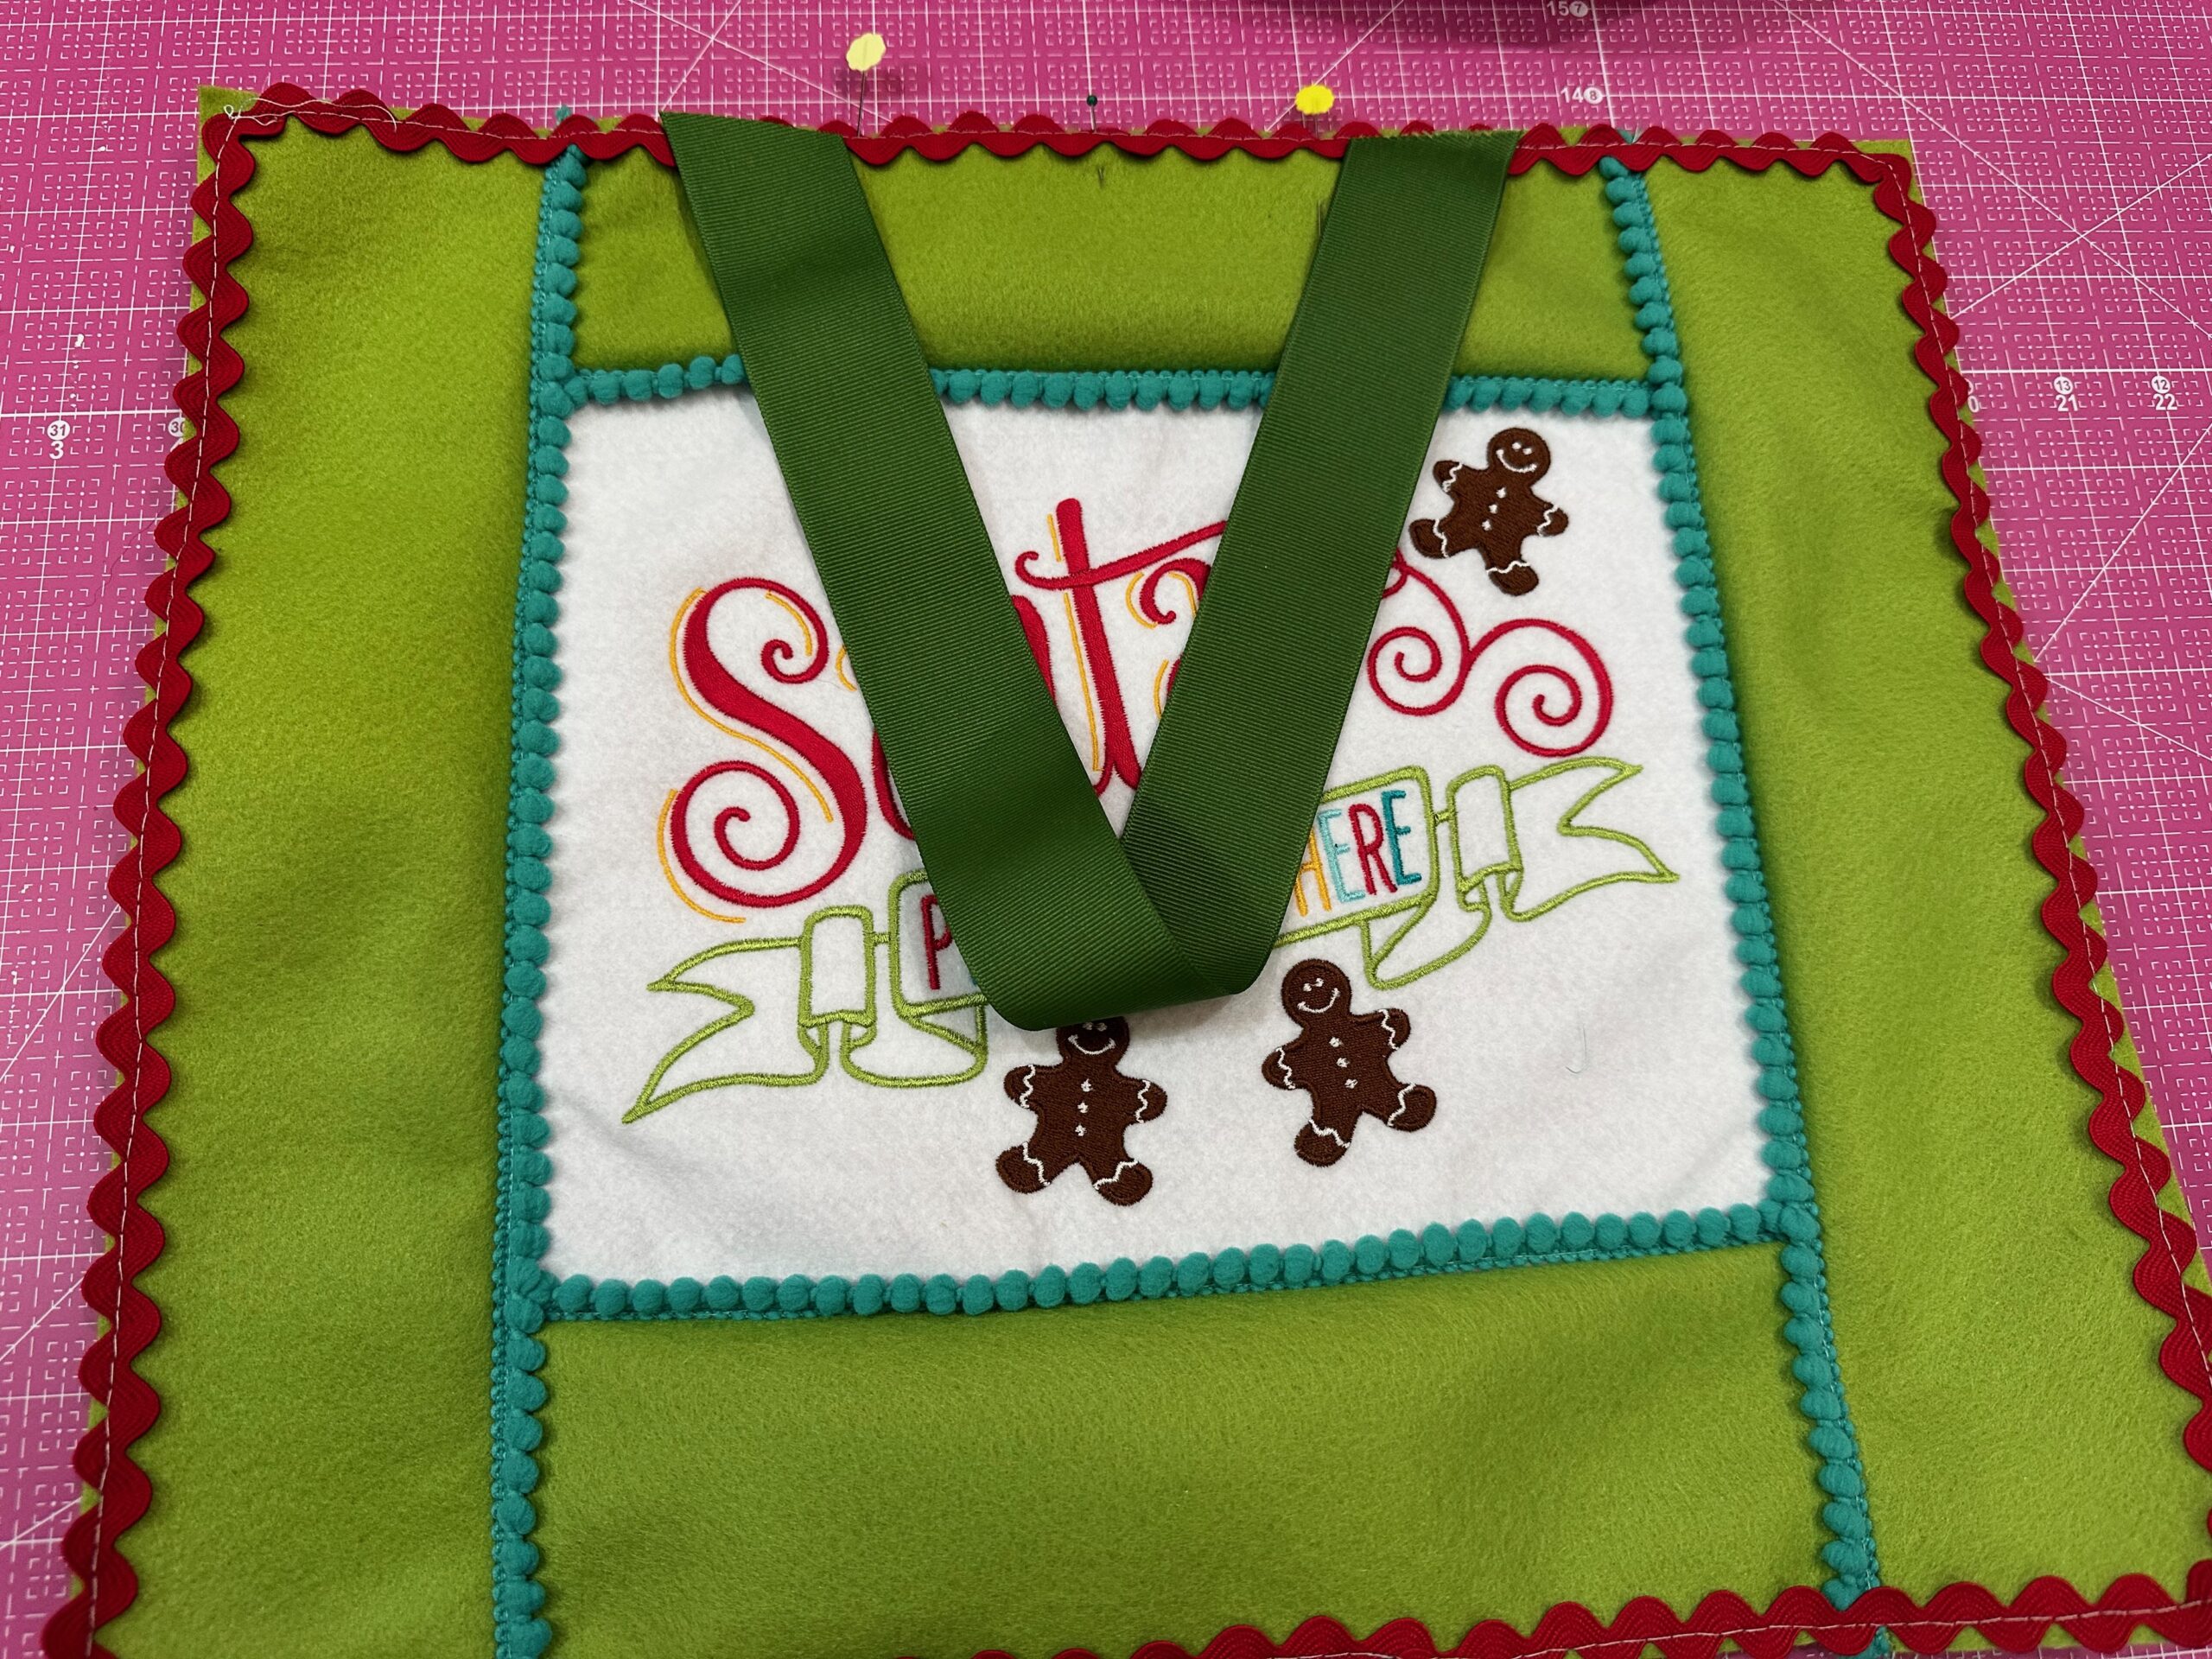
Pin-mark 2″ from each side of the Santa sign upper-edge center.
Place each ribbon end at the marks, folding the ribbon at the center and making sure the ribbon bulk faces the sign center. Baste the ribbon ends in place.
Secure the batting rectangle to the backing rectangle wrong side using KK 2000 Temporary Spray Adhesive. If desired, baste the perimeter for additional security.
Place the backing fabric over the Santa sign front, with right sides together; pin the perimeter. Stitch, leaving a 4″ opening along one side edge for turning.
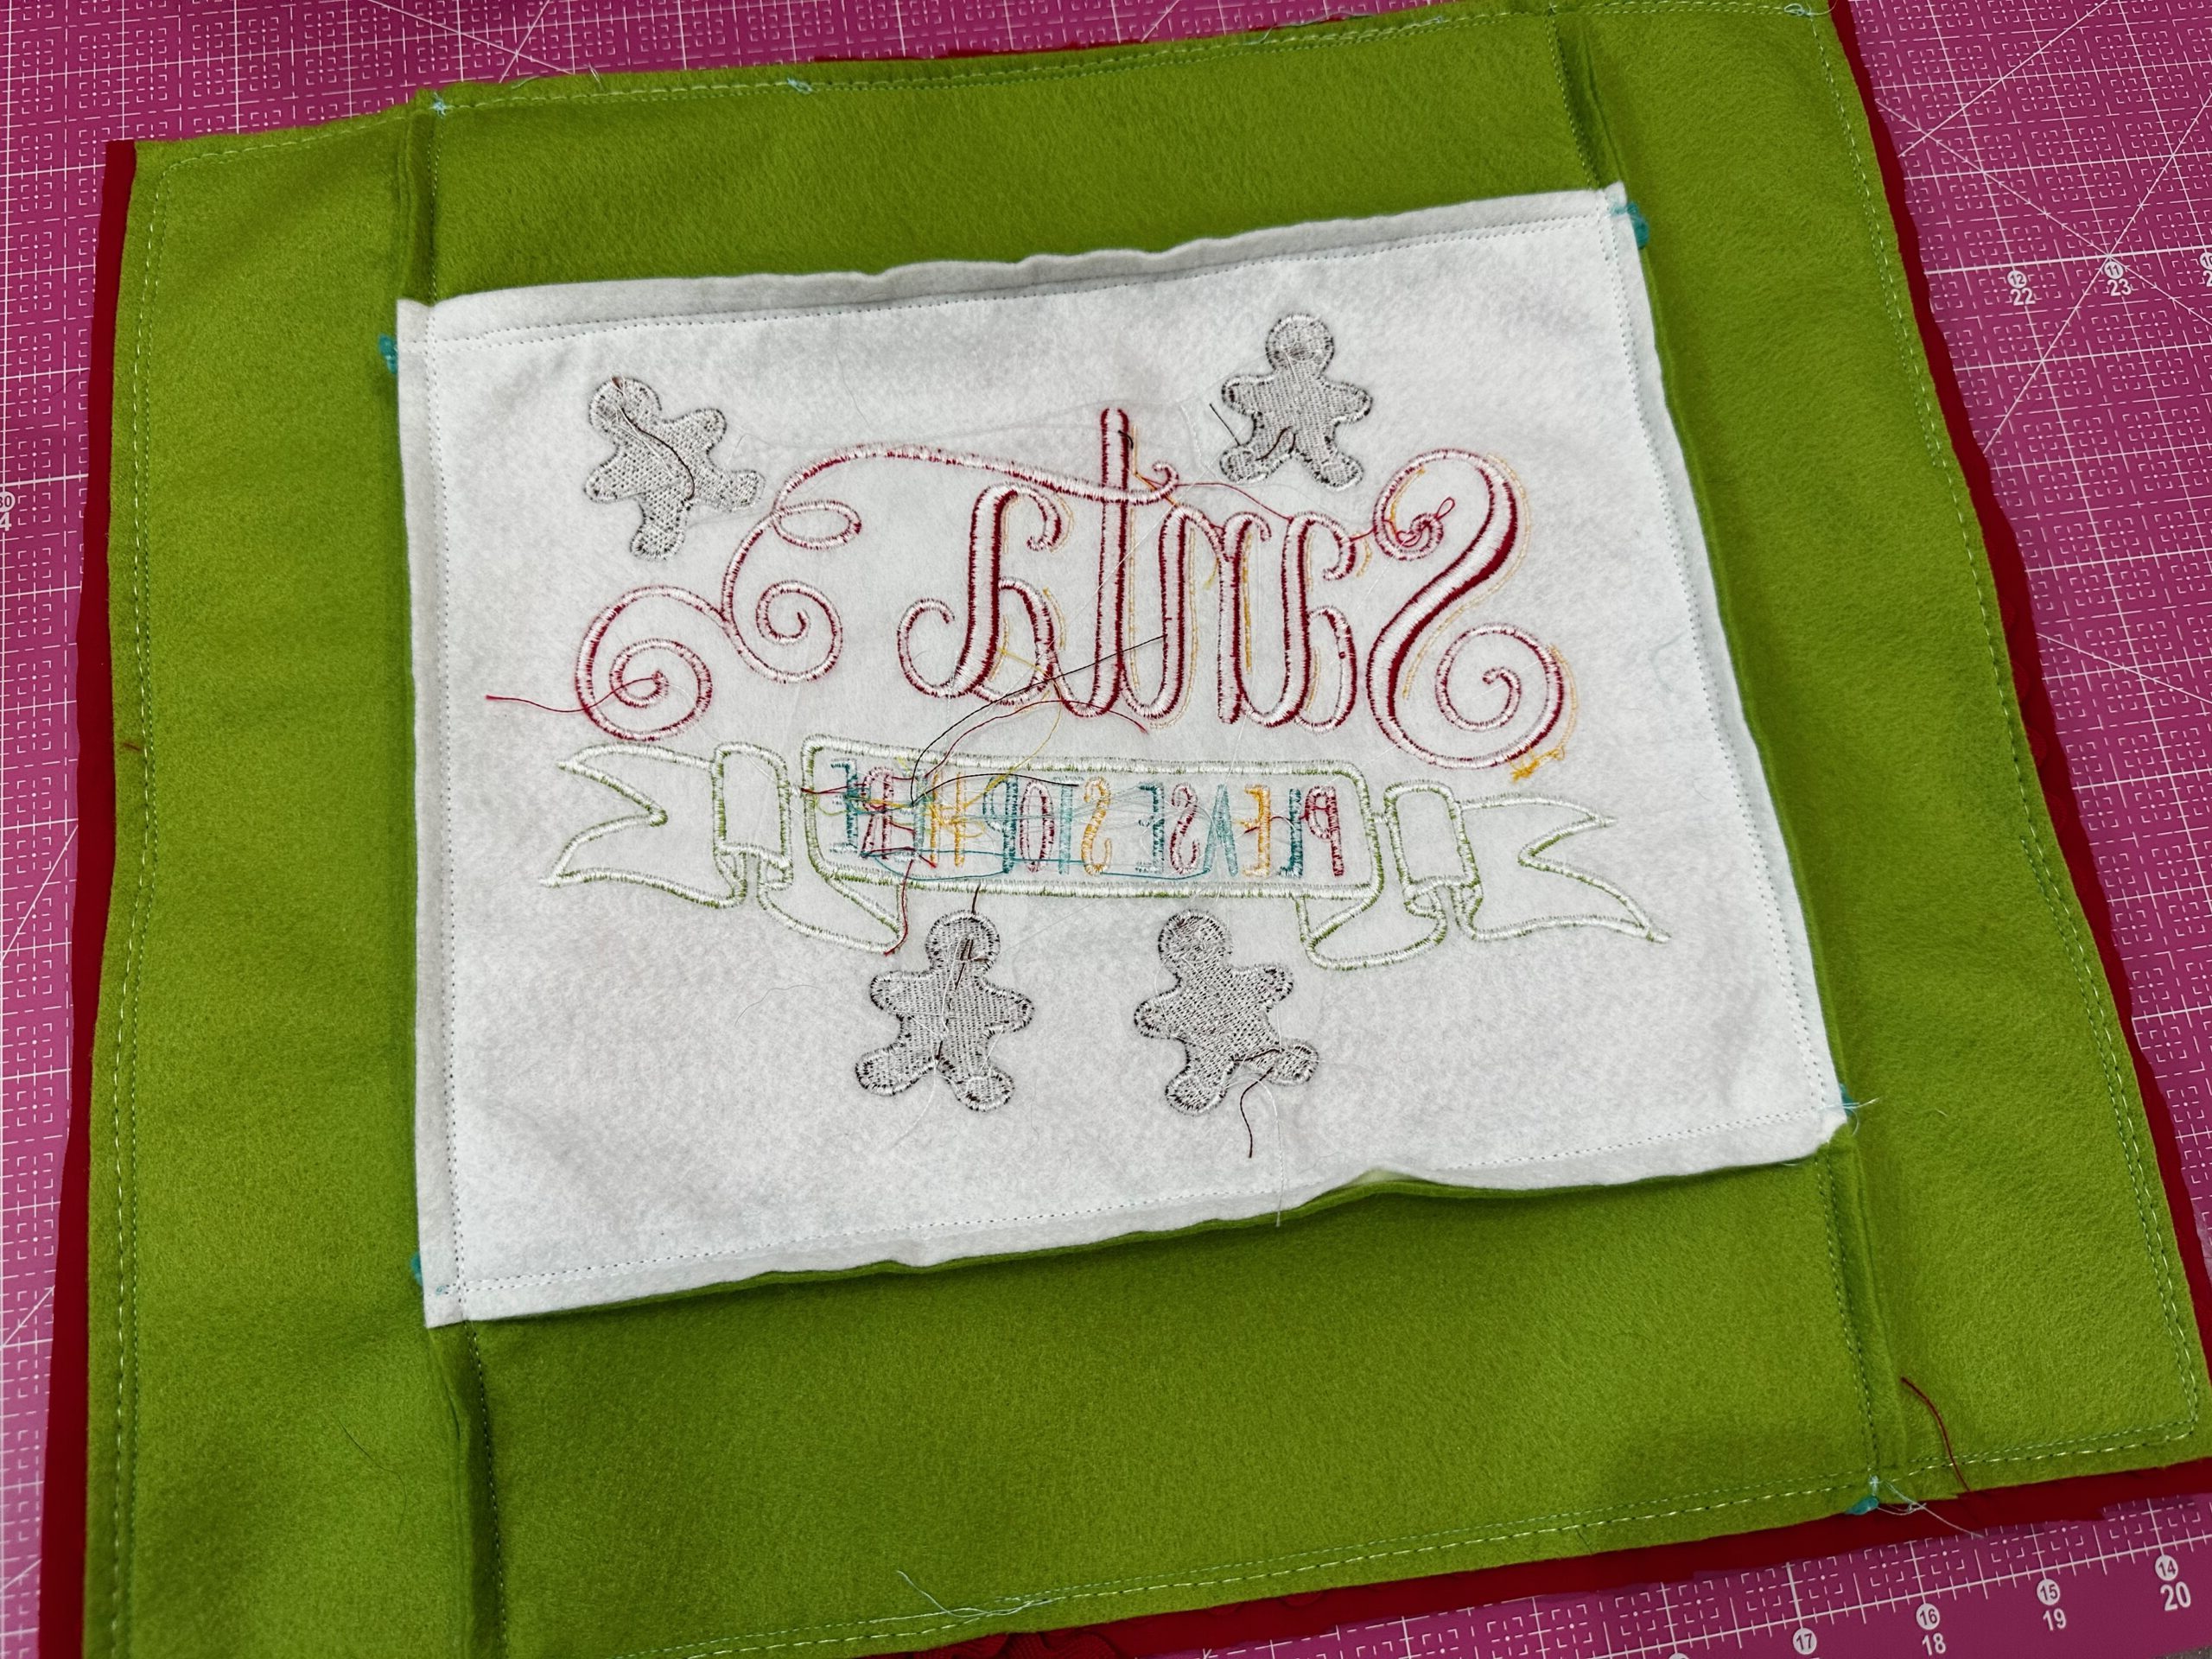
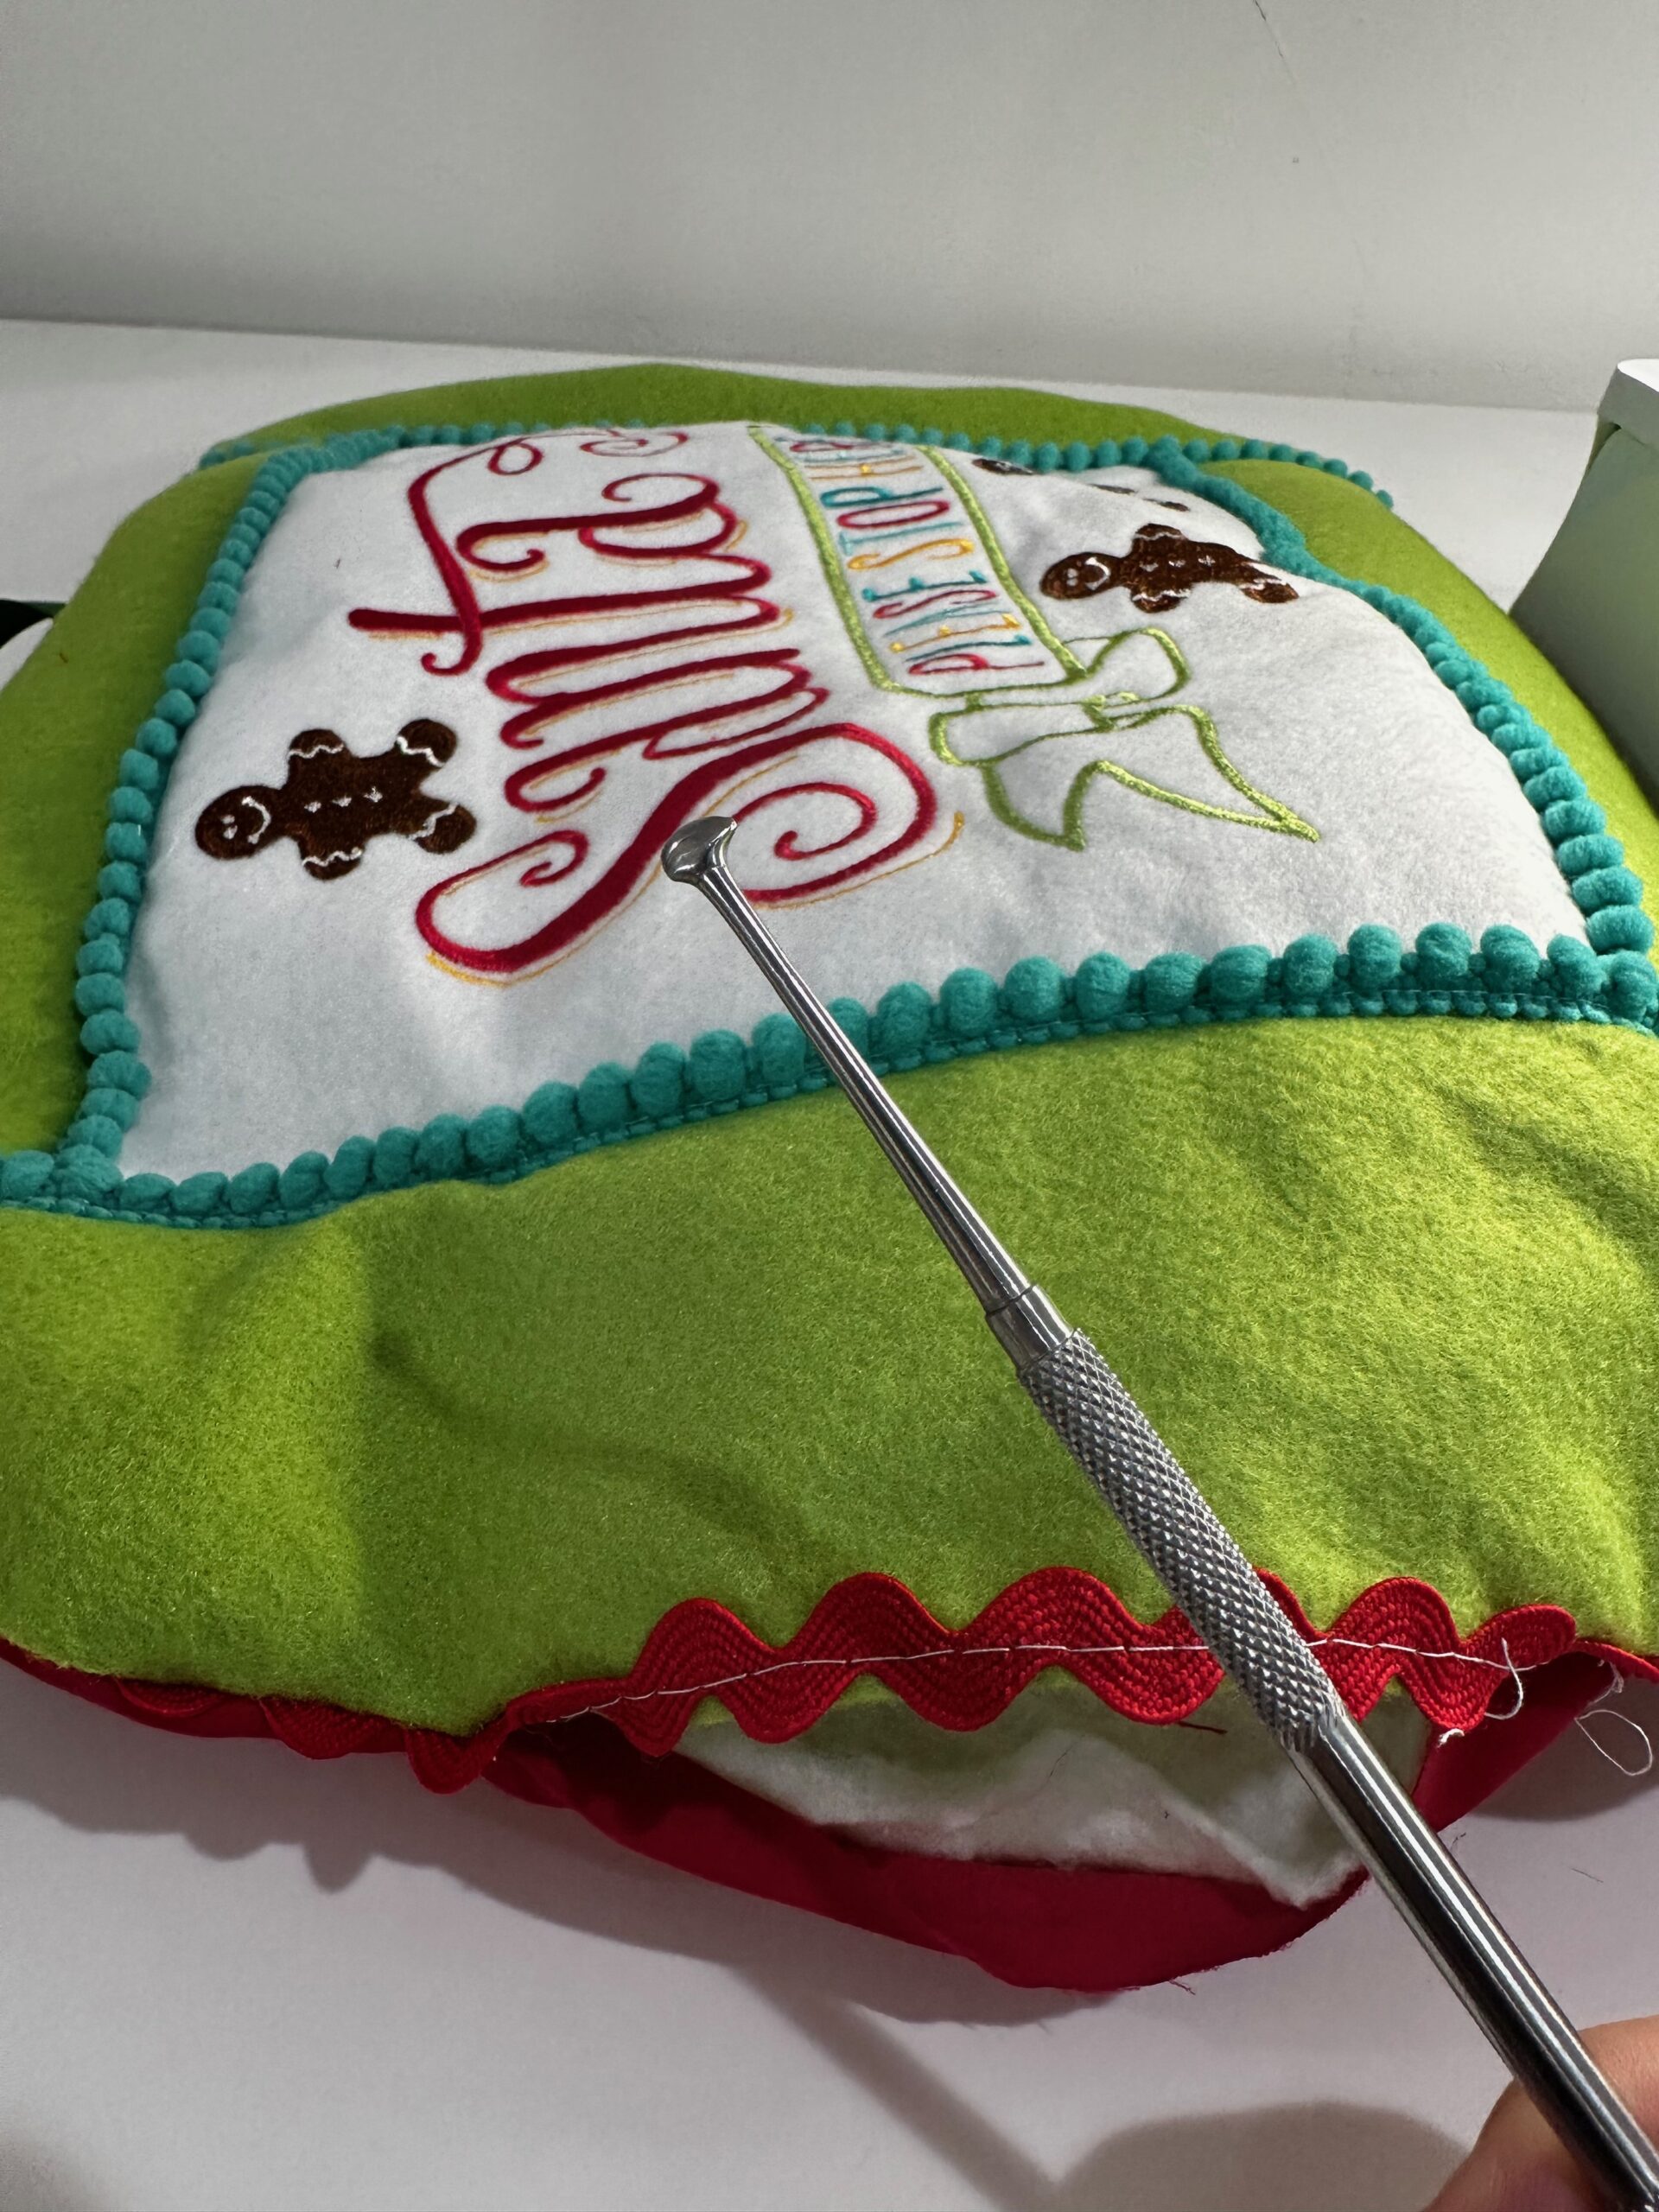
Turn the sign right side out through the opening. Use a Sulky Turning Tool to push out the corners gently and run the tip along the seams inside the project.
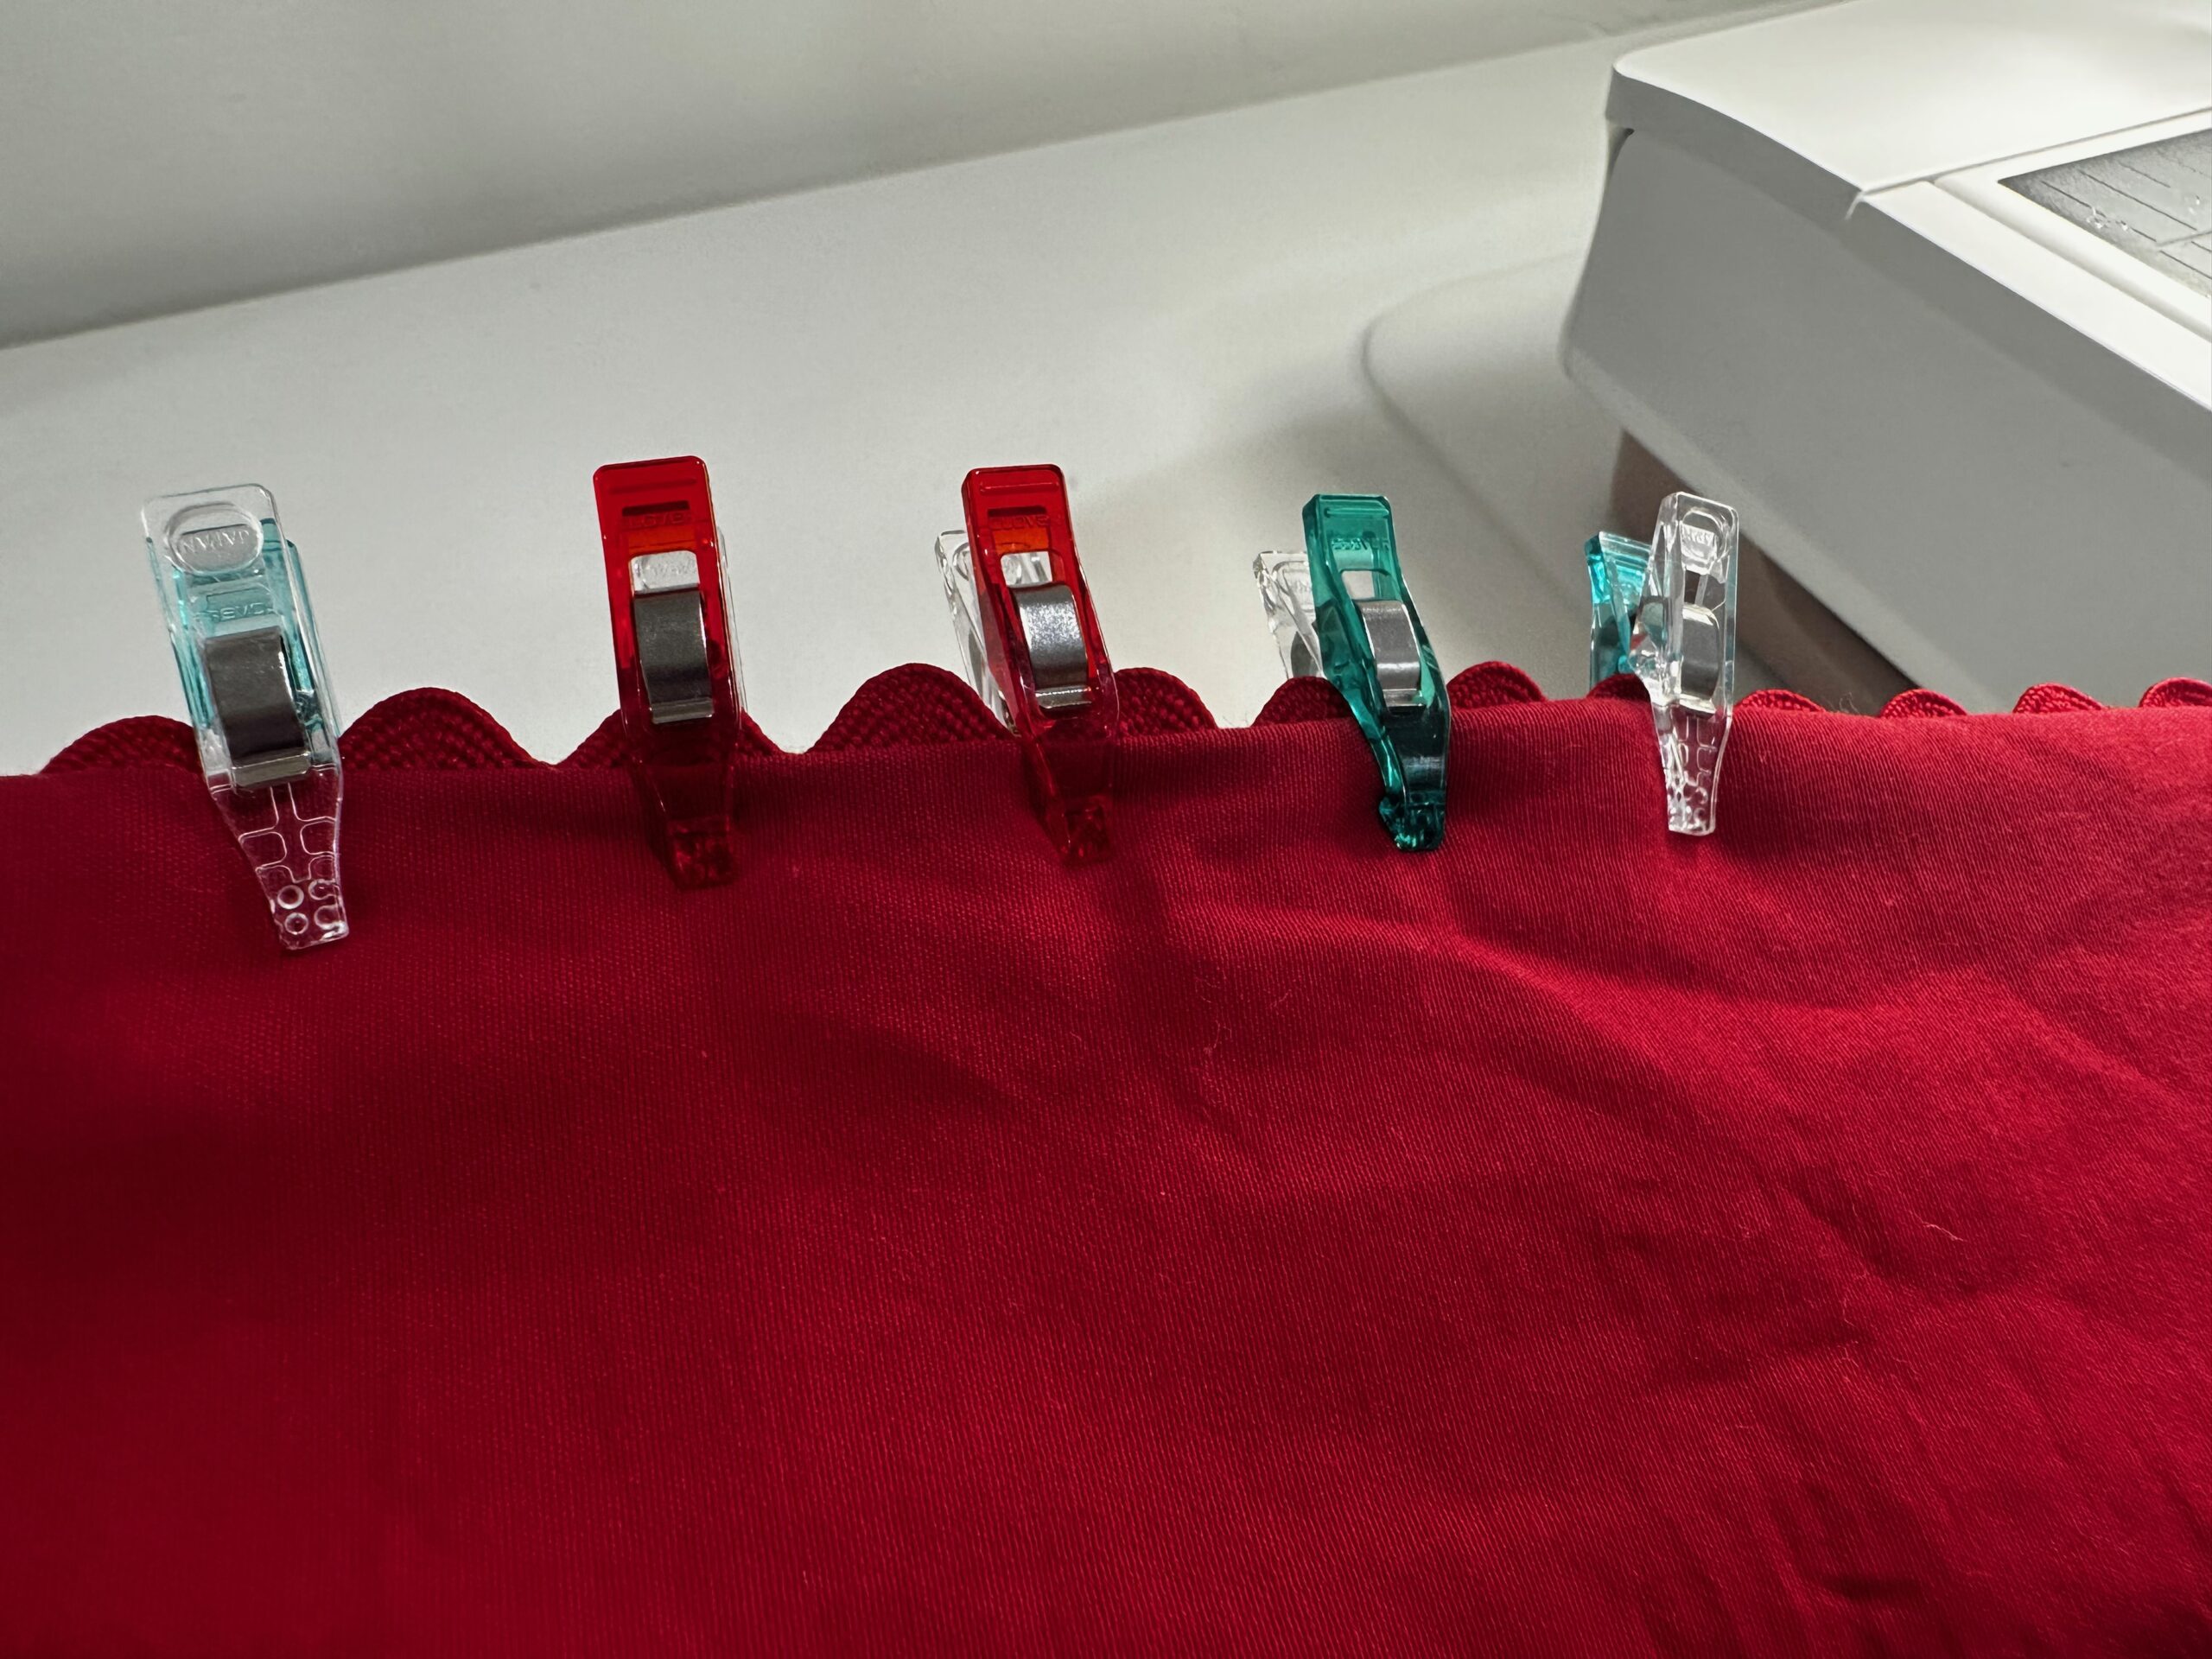
Fold the opening seam allowances toward the wrong side; pin or clip shut.
Topstitch the embroidered Santa sign from the front, using 50 wt. Cotton Thread that matches the light green Felty in the needle and thread that matches the backing fabric in the bobbin.
Hang the sign on the front door or on the wall to signal Santa to stop at your place!