Basic Apron to Sew
for anyone on your gift list
Sew a basic apron by creating your own pattern right onto the fabric. Then, add machine embroidery to the center front to make a statement, show your favorite animal or sports team or celebrate a favorite holiday. This basic apron is easily completed in 30 minutes or less, save for the machine embroidery time, which depends on the complexity of the design you choose.
Make the apron your own and add fun trim to the lower edge, contrasting and/or adjustable straps or a patch pocket.
BASIC APRON SUPPLIES
- 5/8 yard of mediumweight fabric, such as lightweight canvas, twill or interfaced quilting cotton
- 6 x 36 rectangle of contrasting quilting cotton fabric
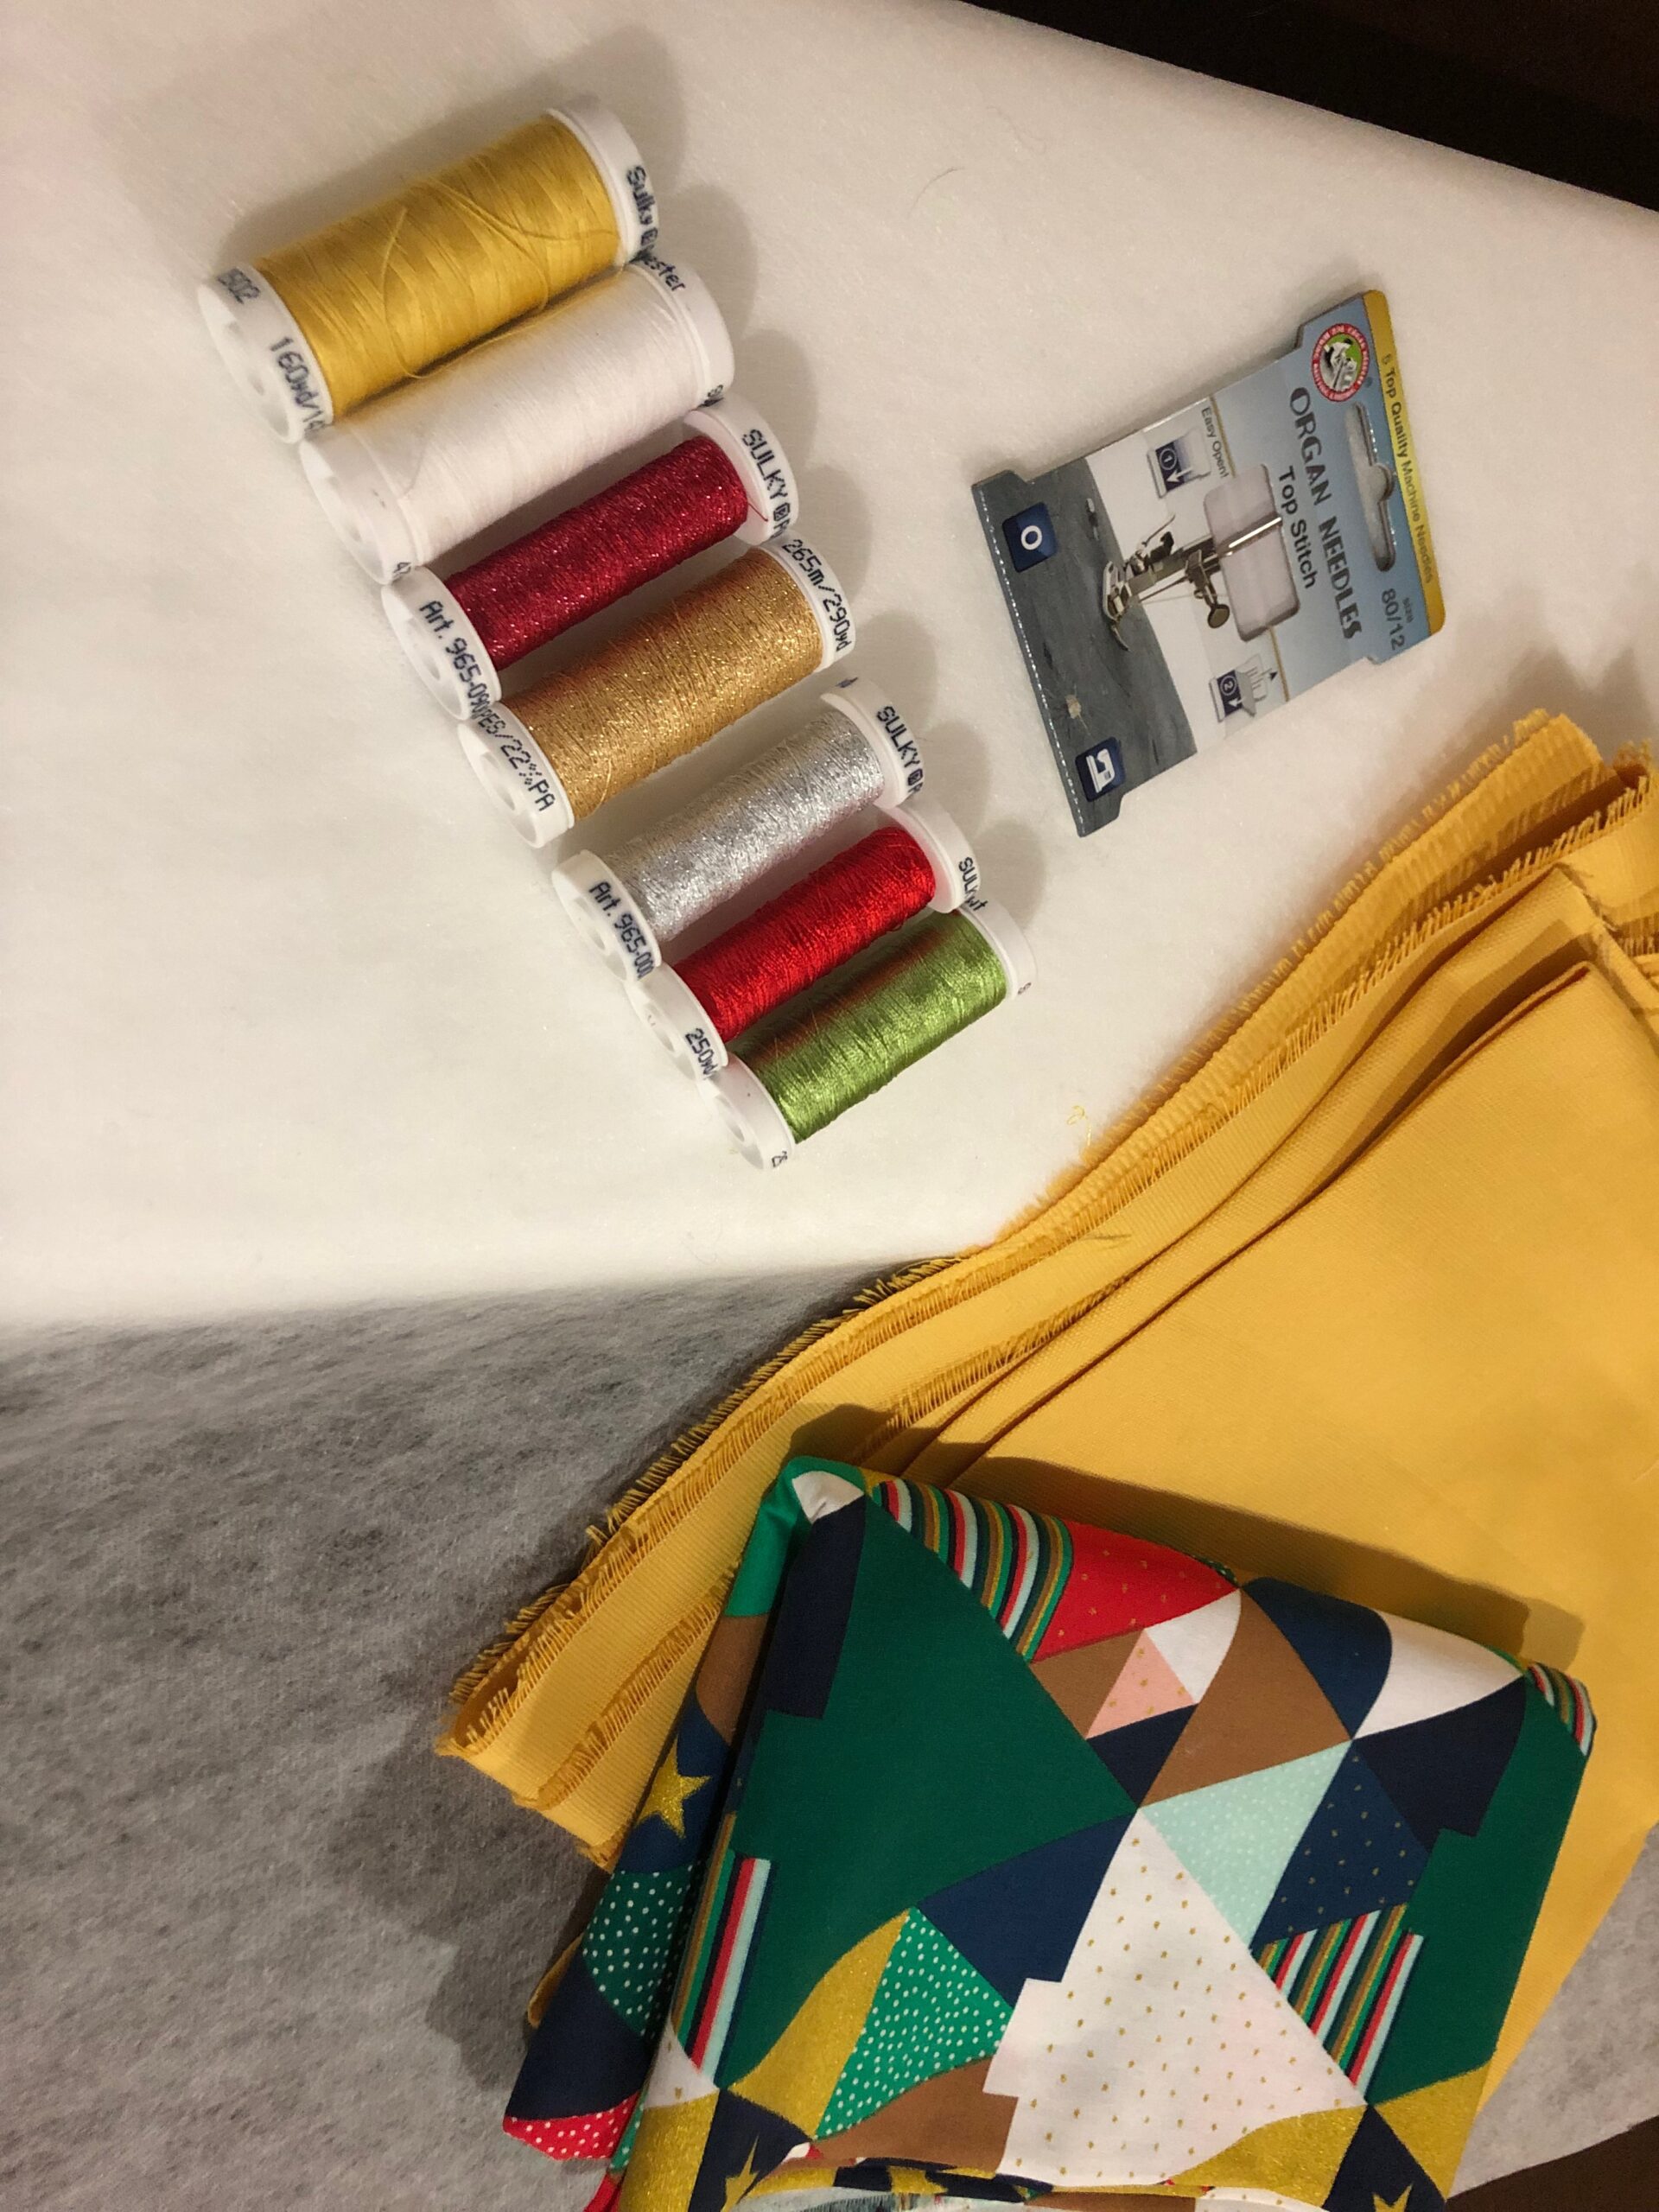
- Sulky Thread
- 50 wt. Cotton (construction)
- 30 wt. Poly Sparkle (machine embroidery elements)
- Santa Sayings Machine Embroidery Palette (comes with 10 spools fo Sulky Rayon Thread & 6 designs in 3 sizes)
- Sulky 60 wt. Bobbin Thread
- Sulky Fabri-Solvy Stabilizer
- Organ Needles
- Size 70/10 Universal (construction)
- Size 90/14 Top Stitch (if using 30 wt. Poly Sparkle Thread)
- Size 80/12 Top Stitch (if using 40 wt. Rayon Thread)
- Removable fabric marking pen
- Point turner
- Clover Wonder Clips
- Clover Hot Ruler (optional)
Use ¼ seam allowances unless otherwise noted.
EMBROIDERY DESIGN NOTES
The available embroidery area on this basic apron is about 7 x 9, so a relatively large-scale design will work. However, depending on where the apron fits, you may want to adjust the size and/or go to a smaller design to avoid large circles, florals or ornaments that may call attention to certain body parts. For example, a giant sunflower placed on the apron front could be placed right over the breast area when the apron is worn. If you want that, great! If not, be sure to audition the design on the apron front after it’s cut from the fabric to ensure desired placement before embroidery. Simply drape the cut apron over your body and pin the upper and side corners in place. Then, mark the desired embroidery placement using a removable fabric marker.
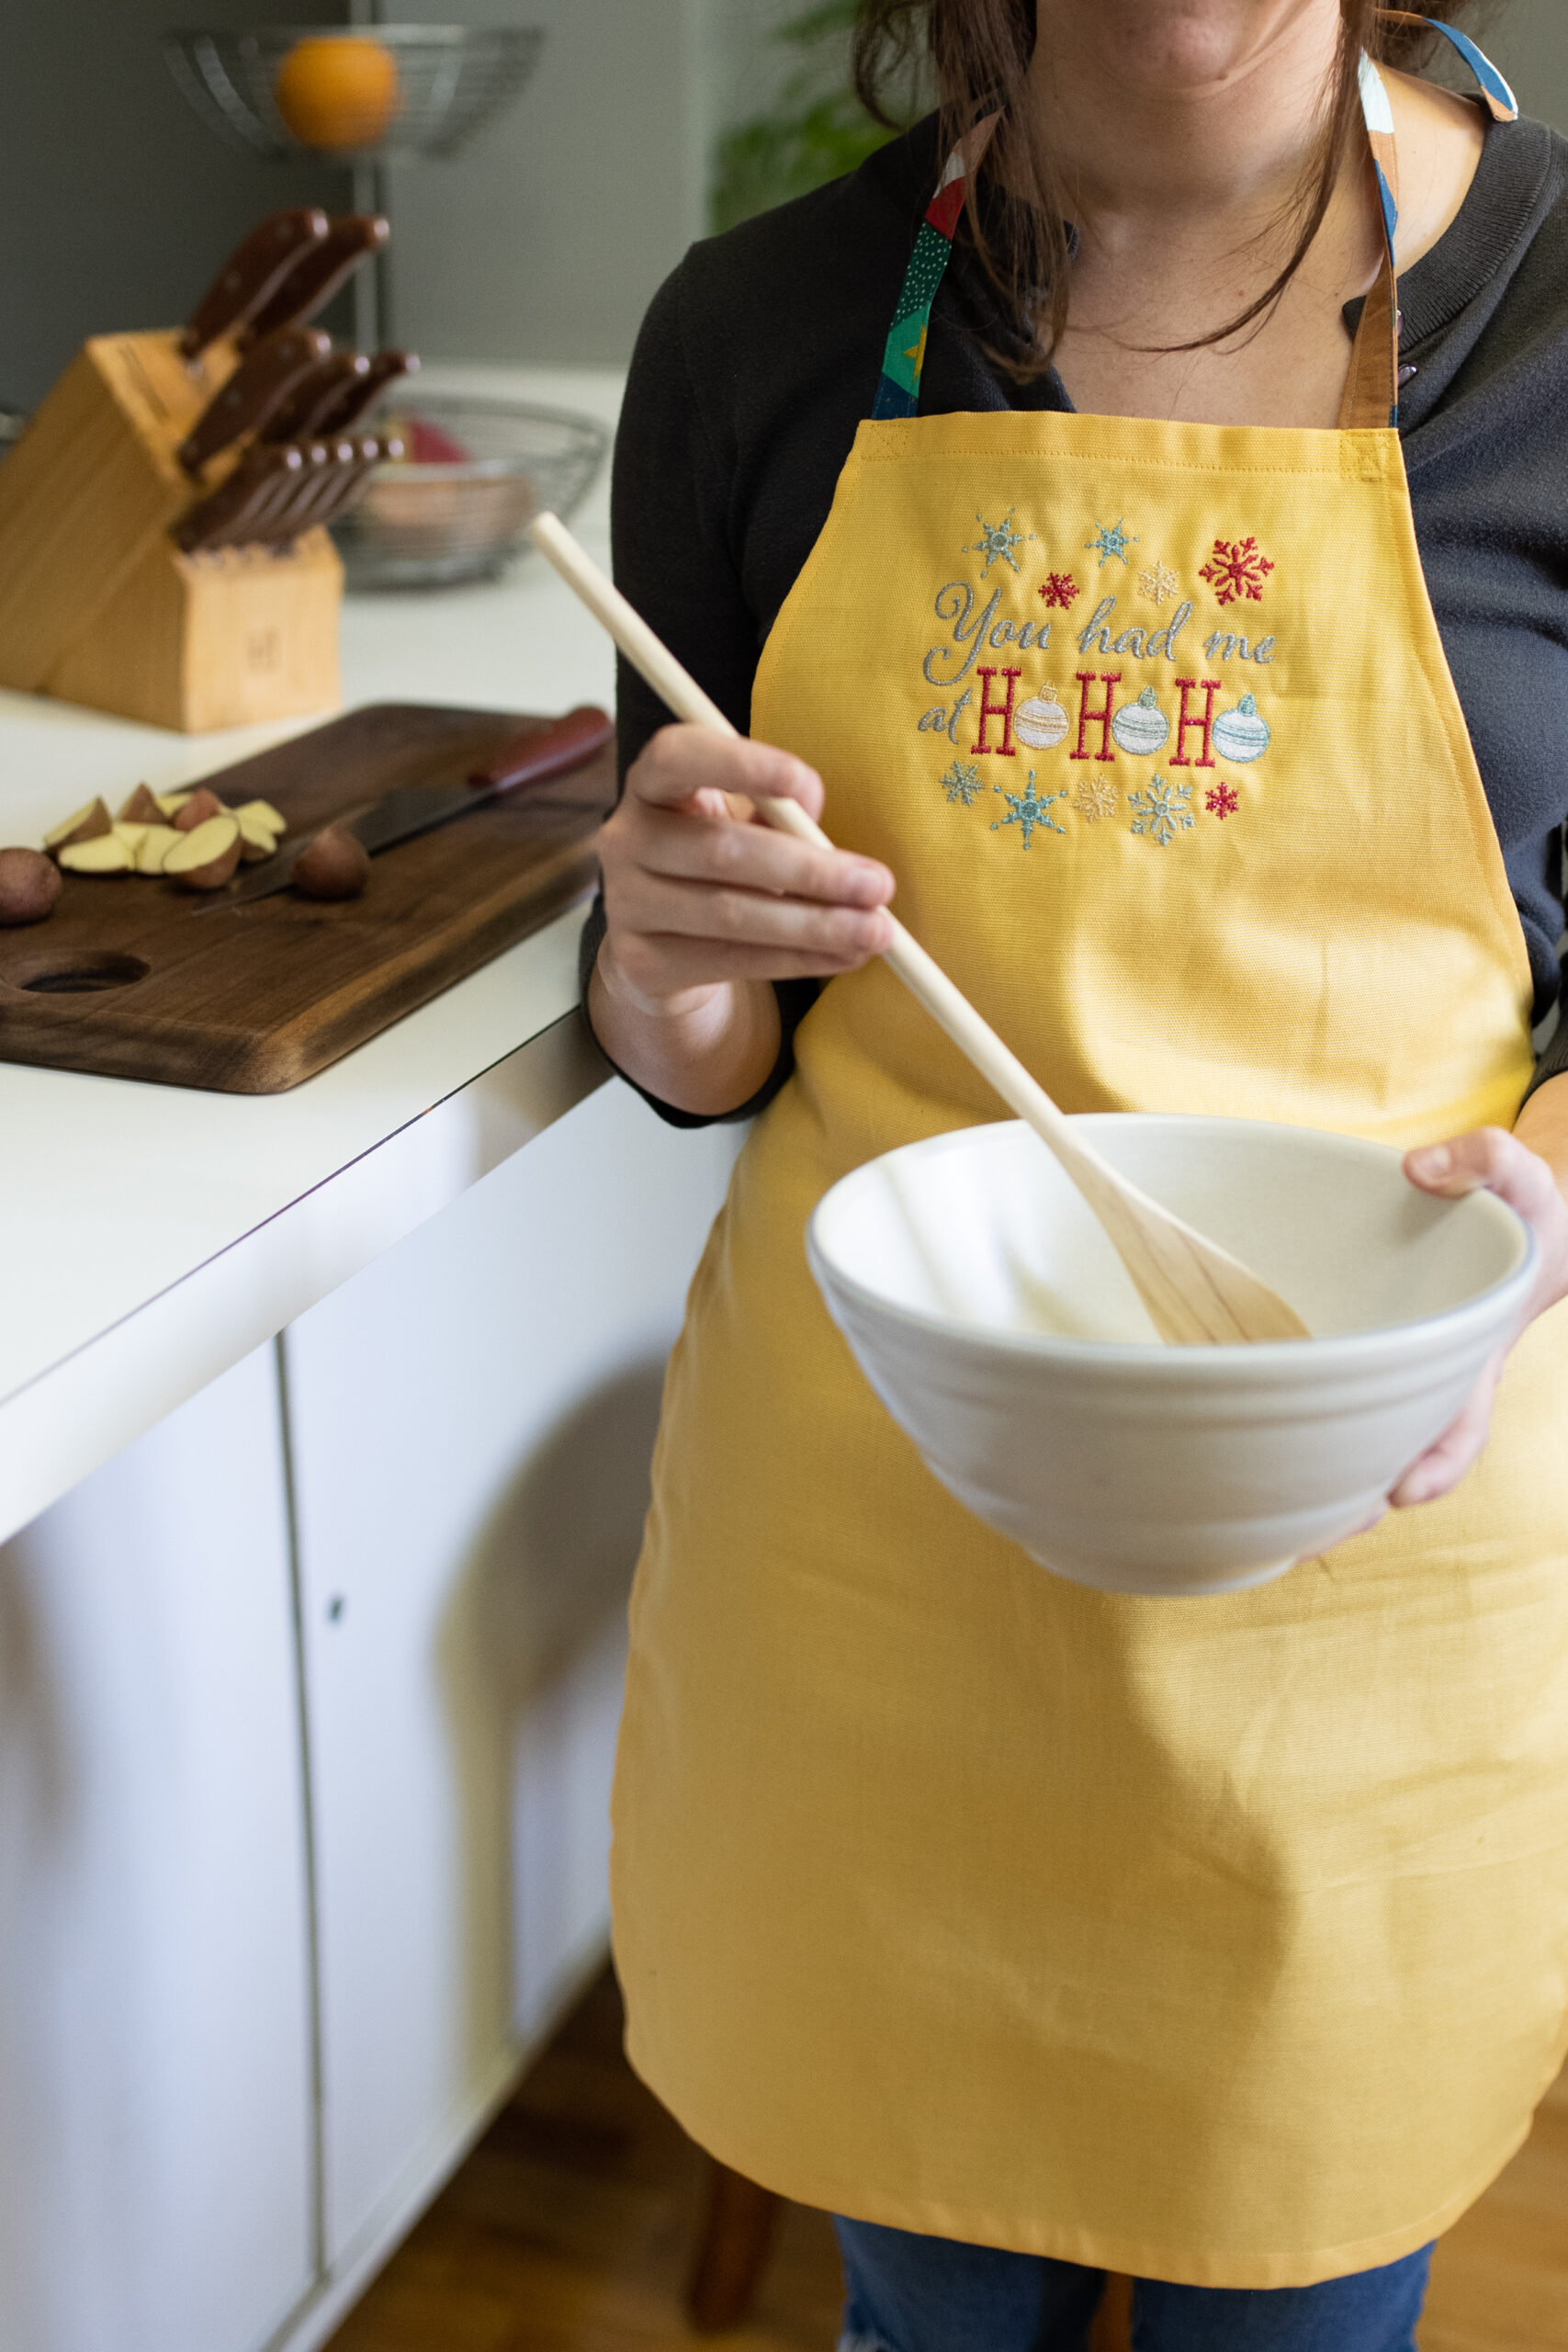
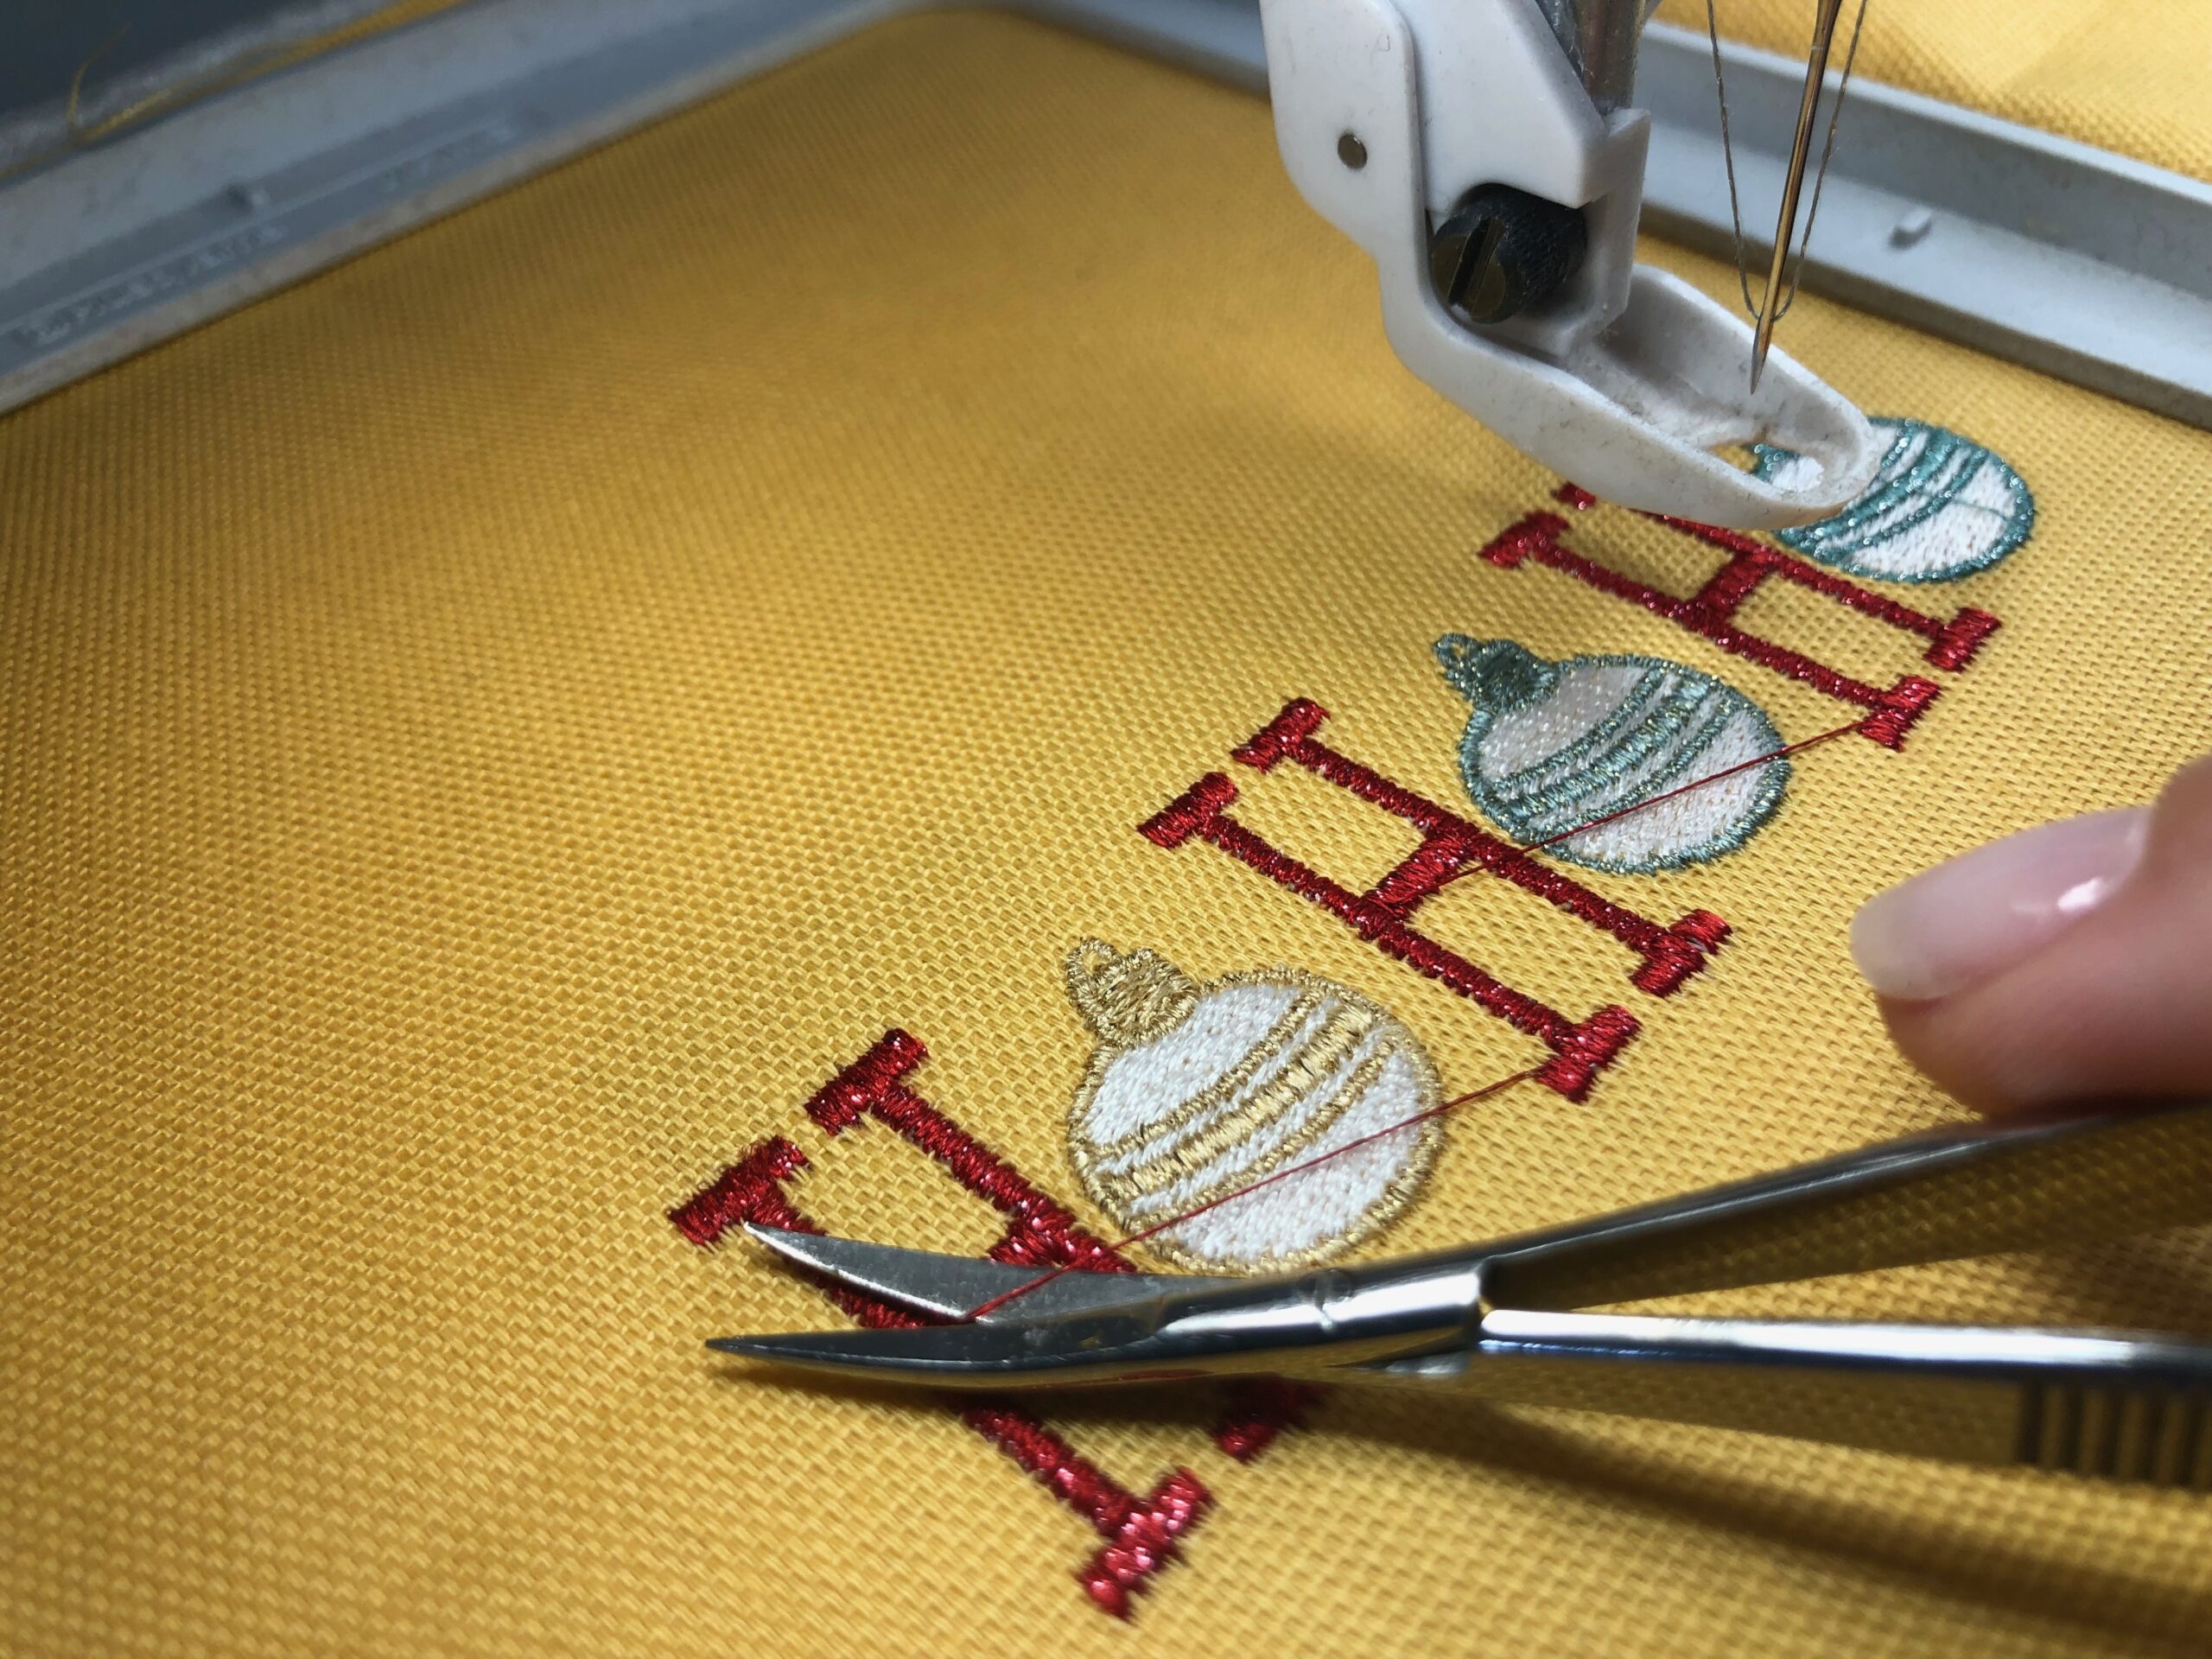
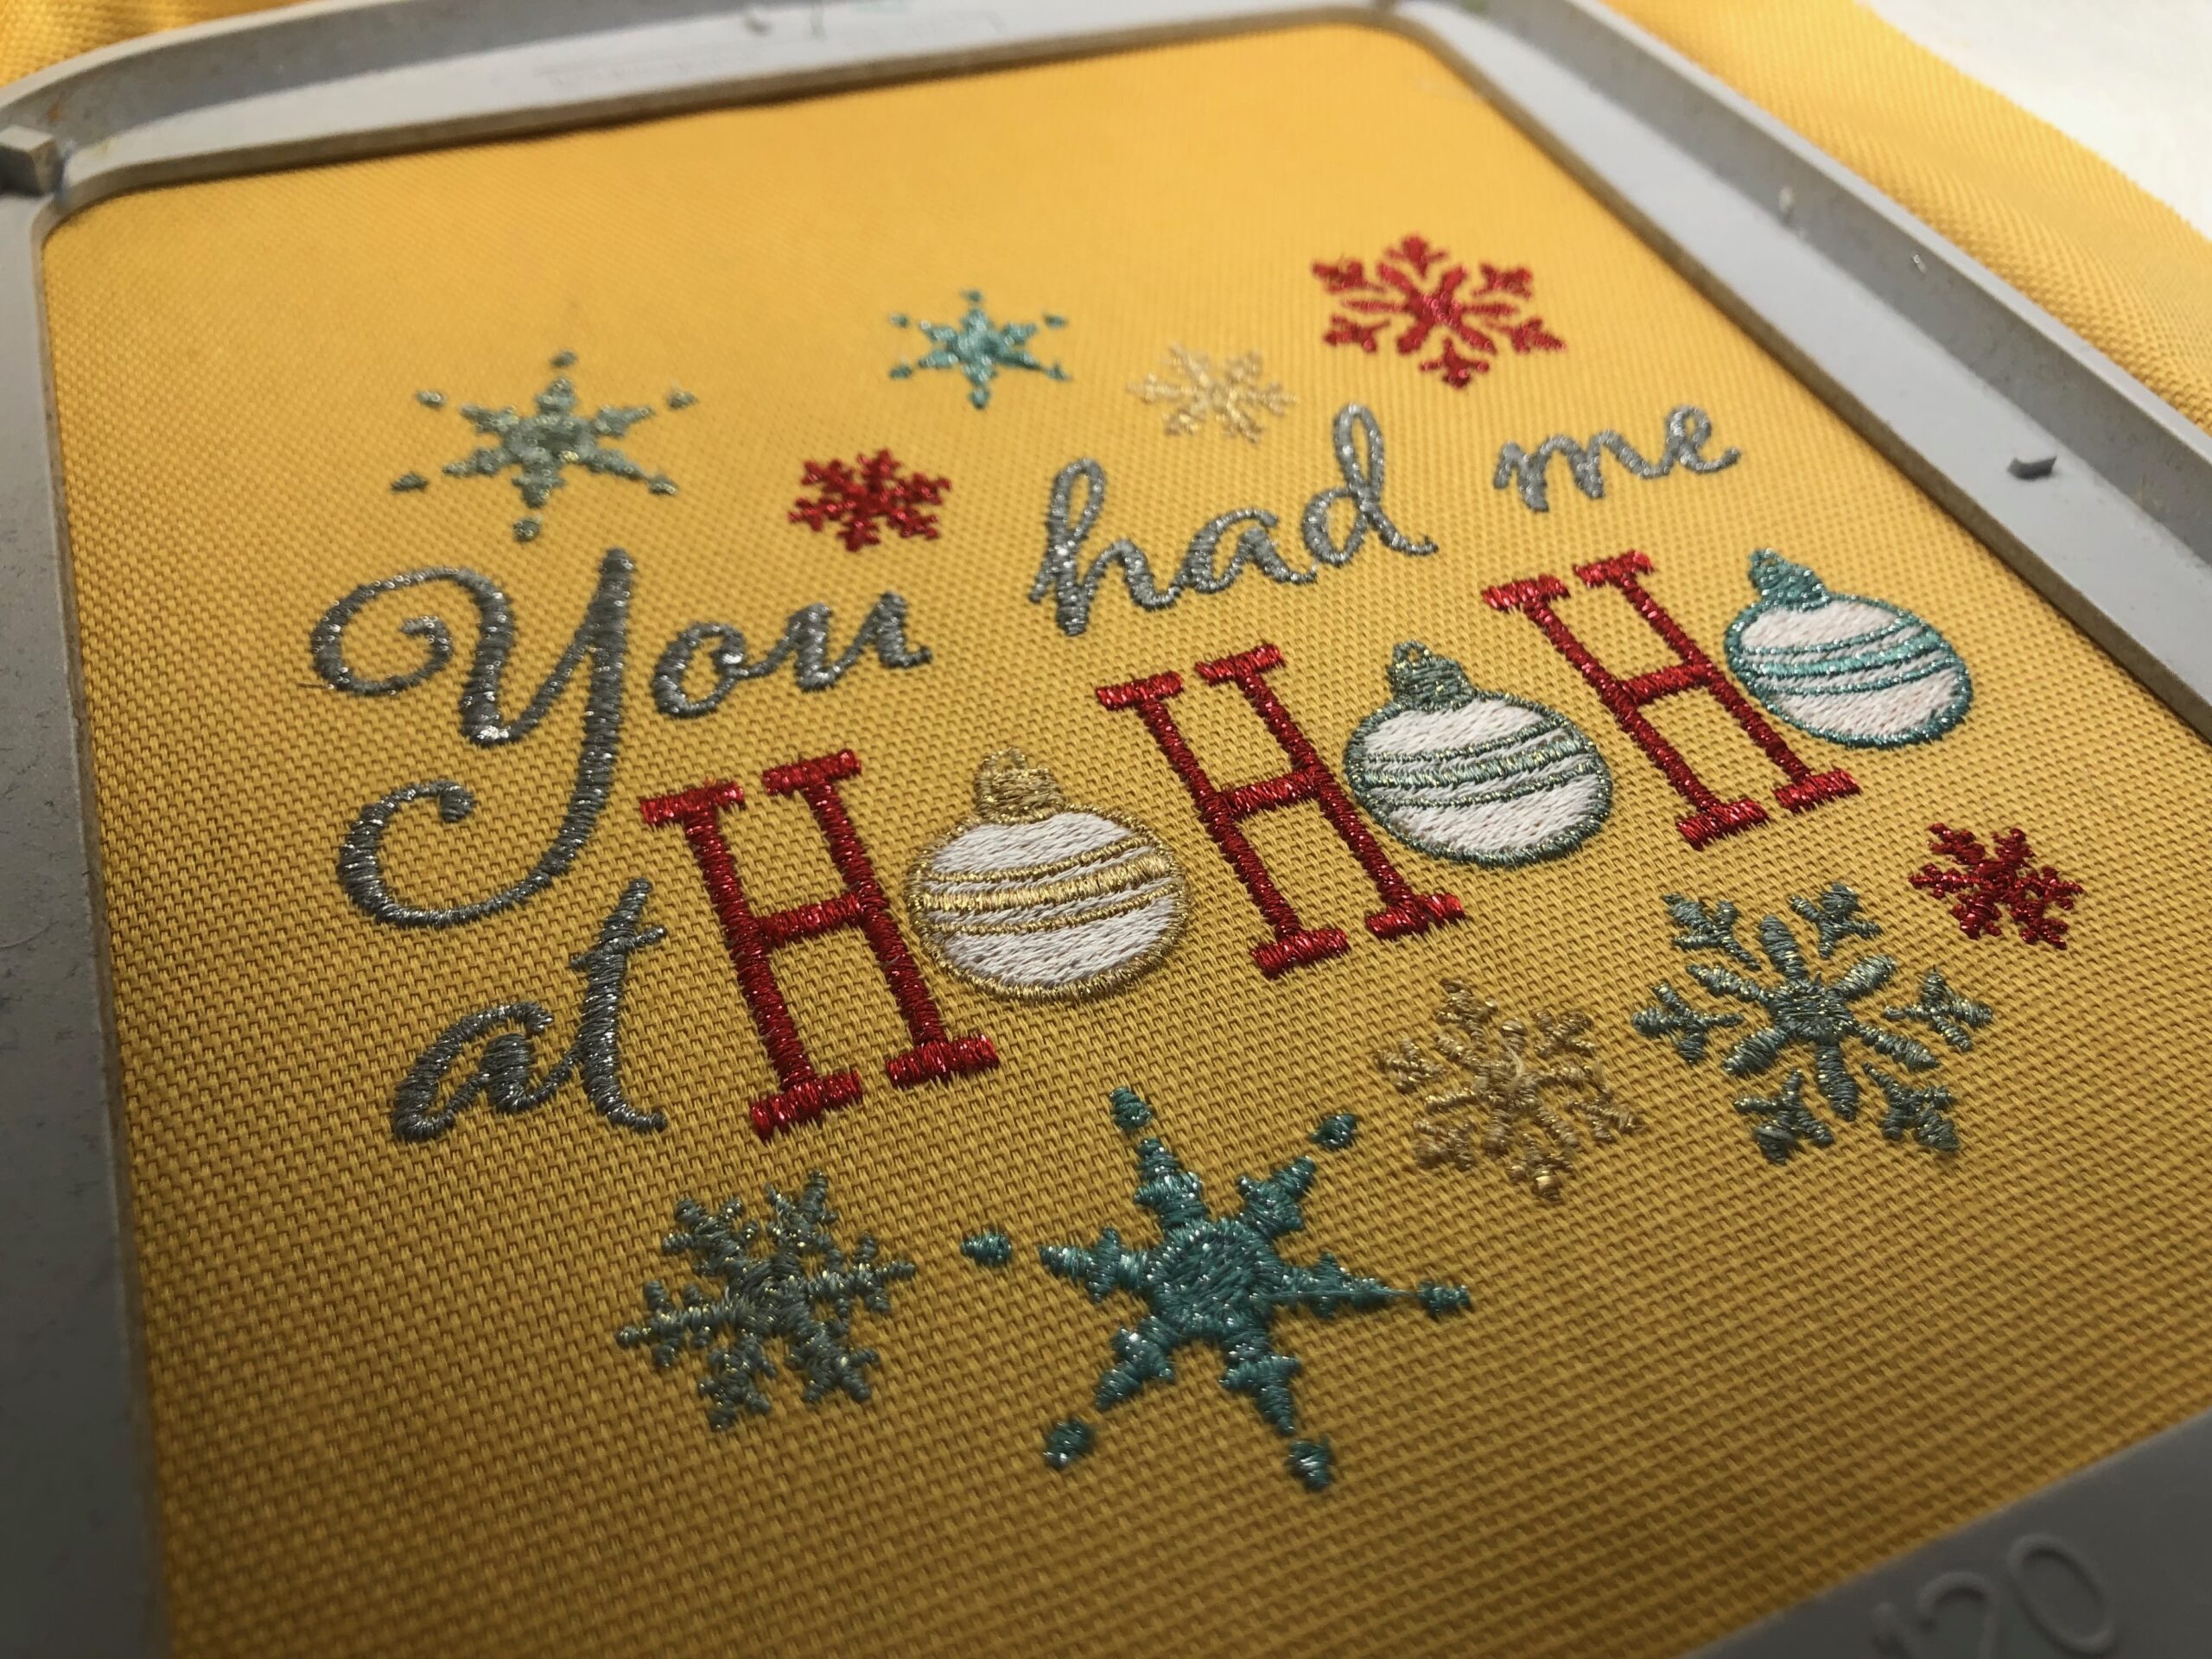
The featured embroidery design, You Had Me at Ho Ho Ho, is from the Sulky Santa Sayings Machine Embroidery Collection. It comes in three sizes for a 4×4 hoop, 5×7 hoop and 6×10 (or larger) hoop. For the featured apron, the 5×7 hoop size was used.

The design shown is digitized for Sulky 40 wt. Rayon Thread. However, for everything but the white ornament background fill stitching, 30 wt. Poly Sparkle Thread was substituted to give a hint of fun glitz.
Be careful when substituting a thicker thread for a standard embroidery design, digitized for 40 wt. or thinner thread. Depending on the fill stitches in the design, the thicker thread may require more space and longer stitches. If that’s the case, thread breakage, bunching and/or bird’s nesting could result. Swap a thicker thread for line-art portions of the design, without loads of underlay and fill stitching.
CUTTING & PREP
Prewash and dry the fabrics. Then, press to remove any wrinkles.
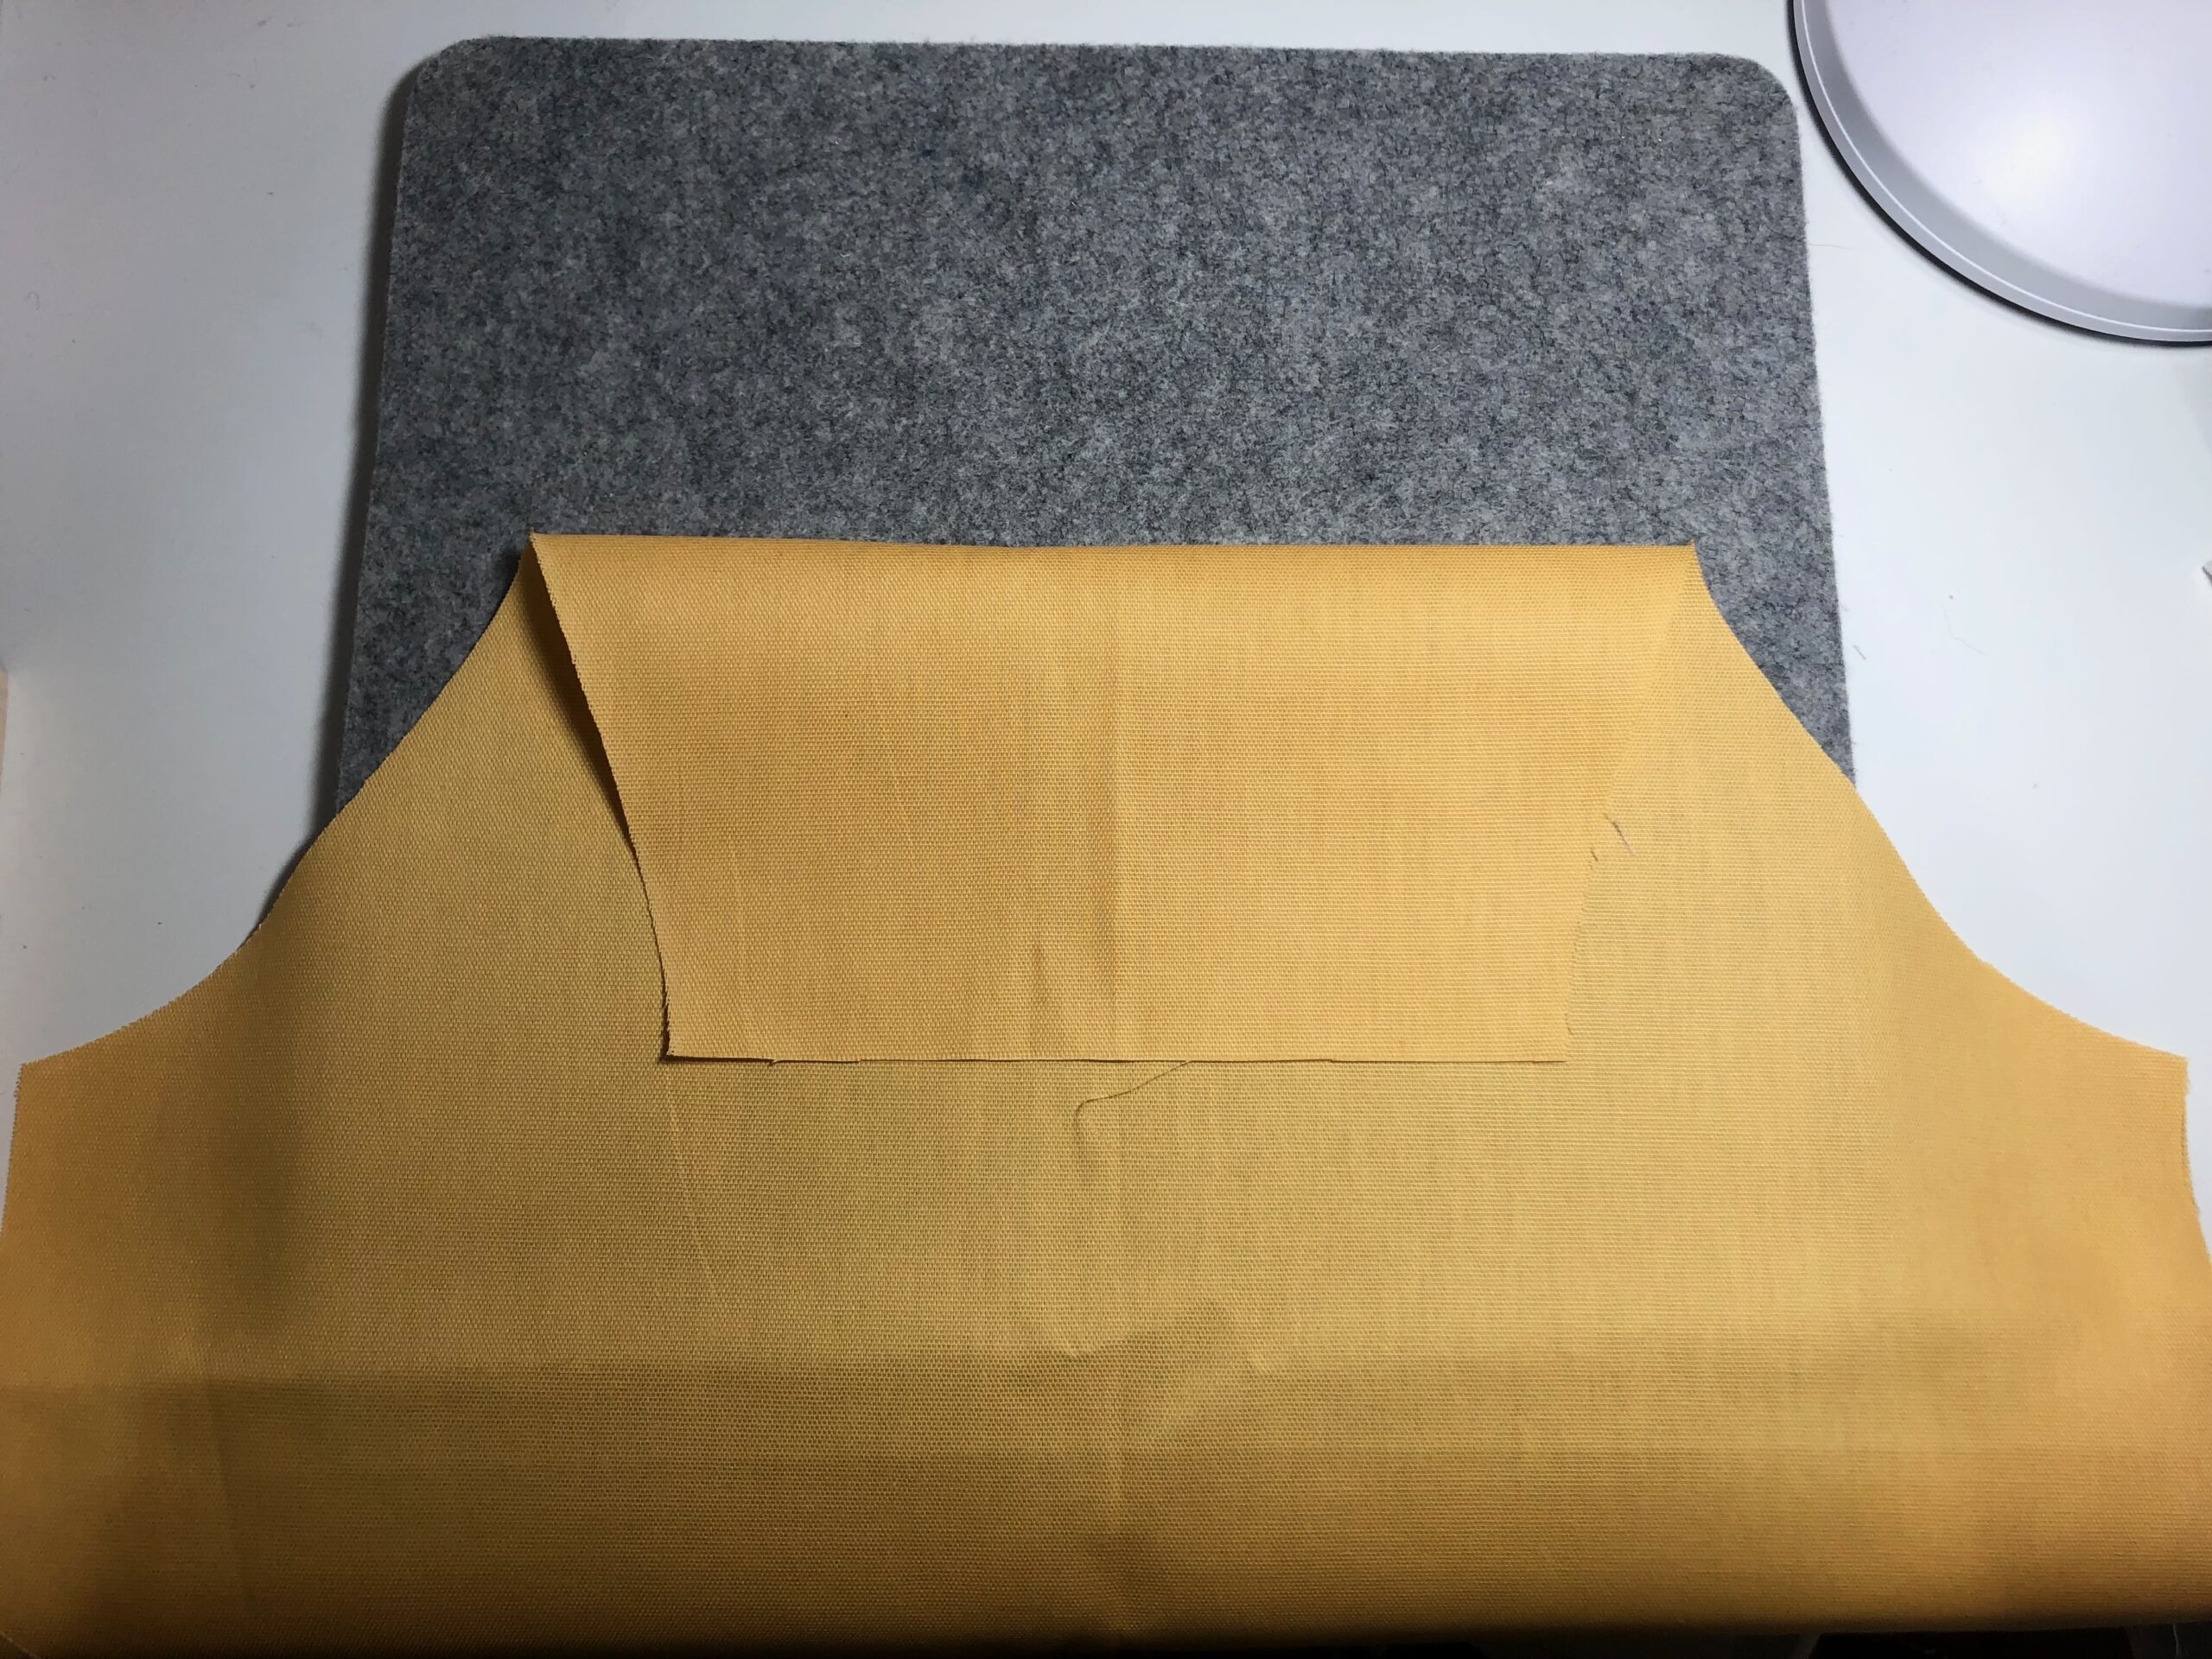
From the mediumweight fabric, cut one 20 W x 30 H rectangle. Fold the fabric in half lengthwise with right sides together. Place on a flat work surface.
Measure 4 from the foldline along the fabric upper edge; mark.
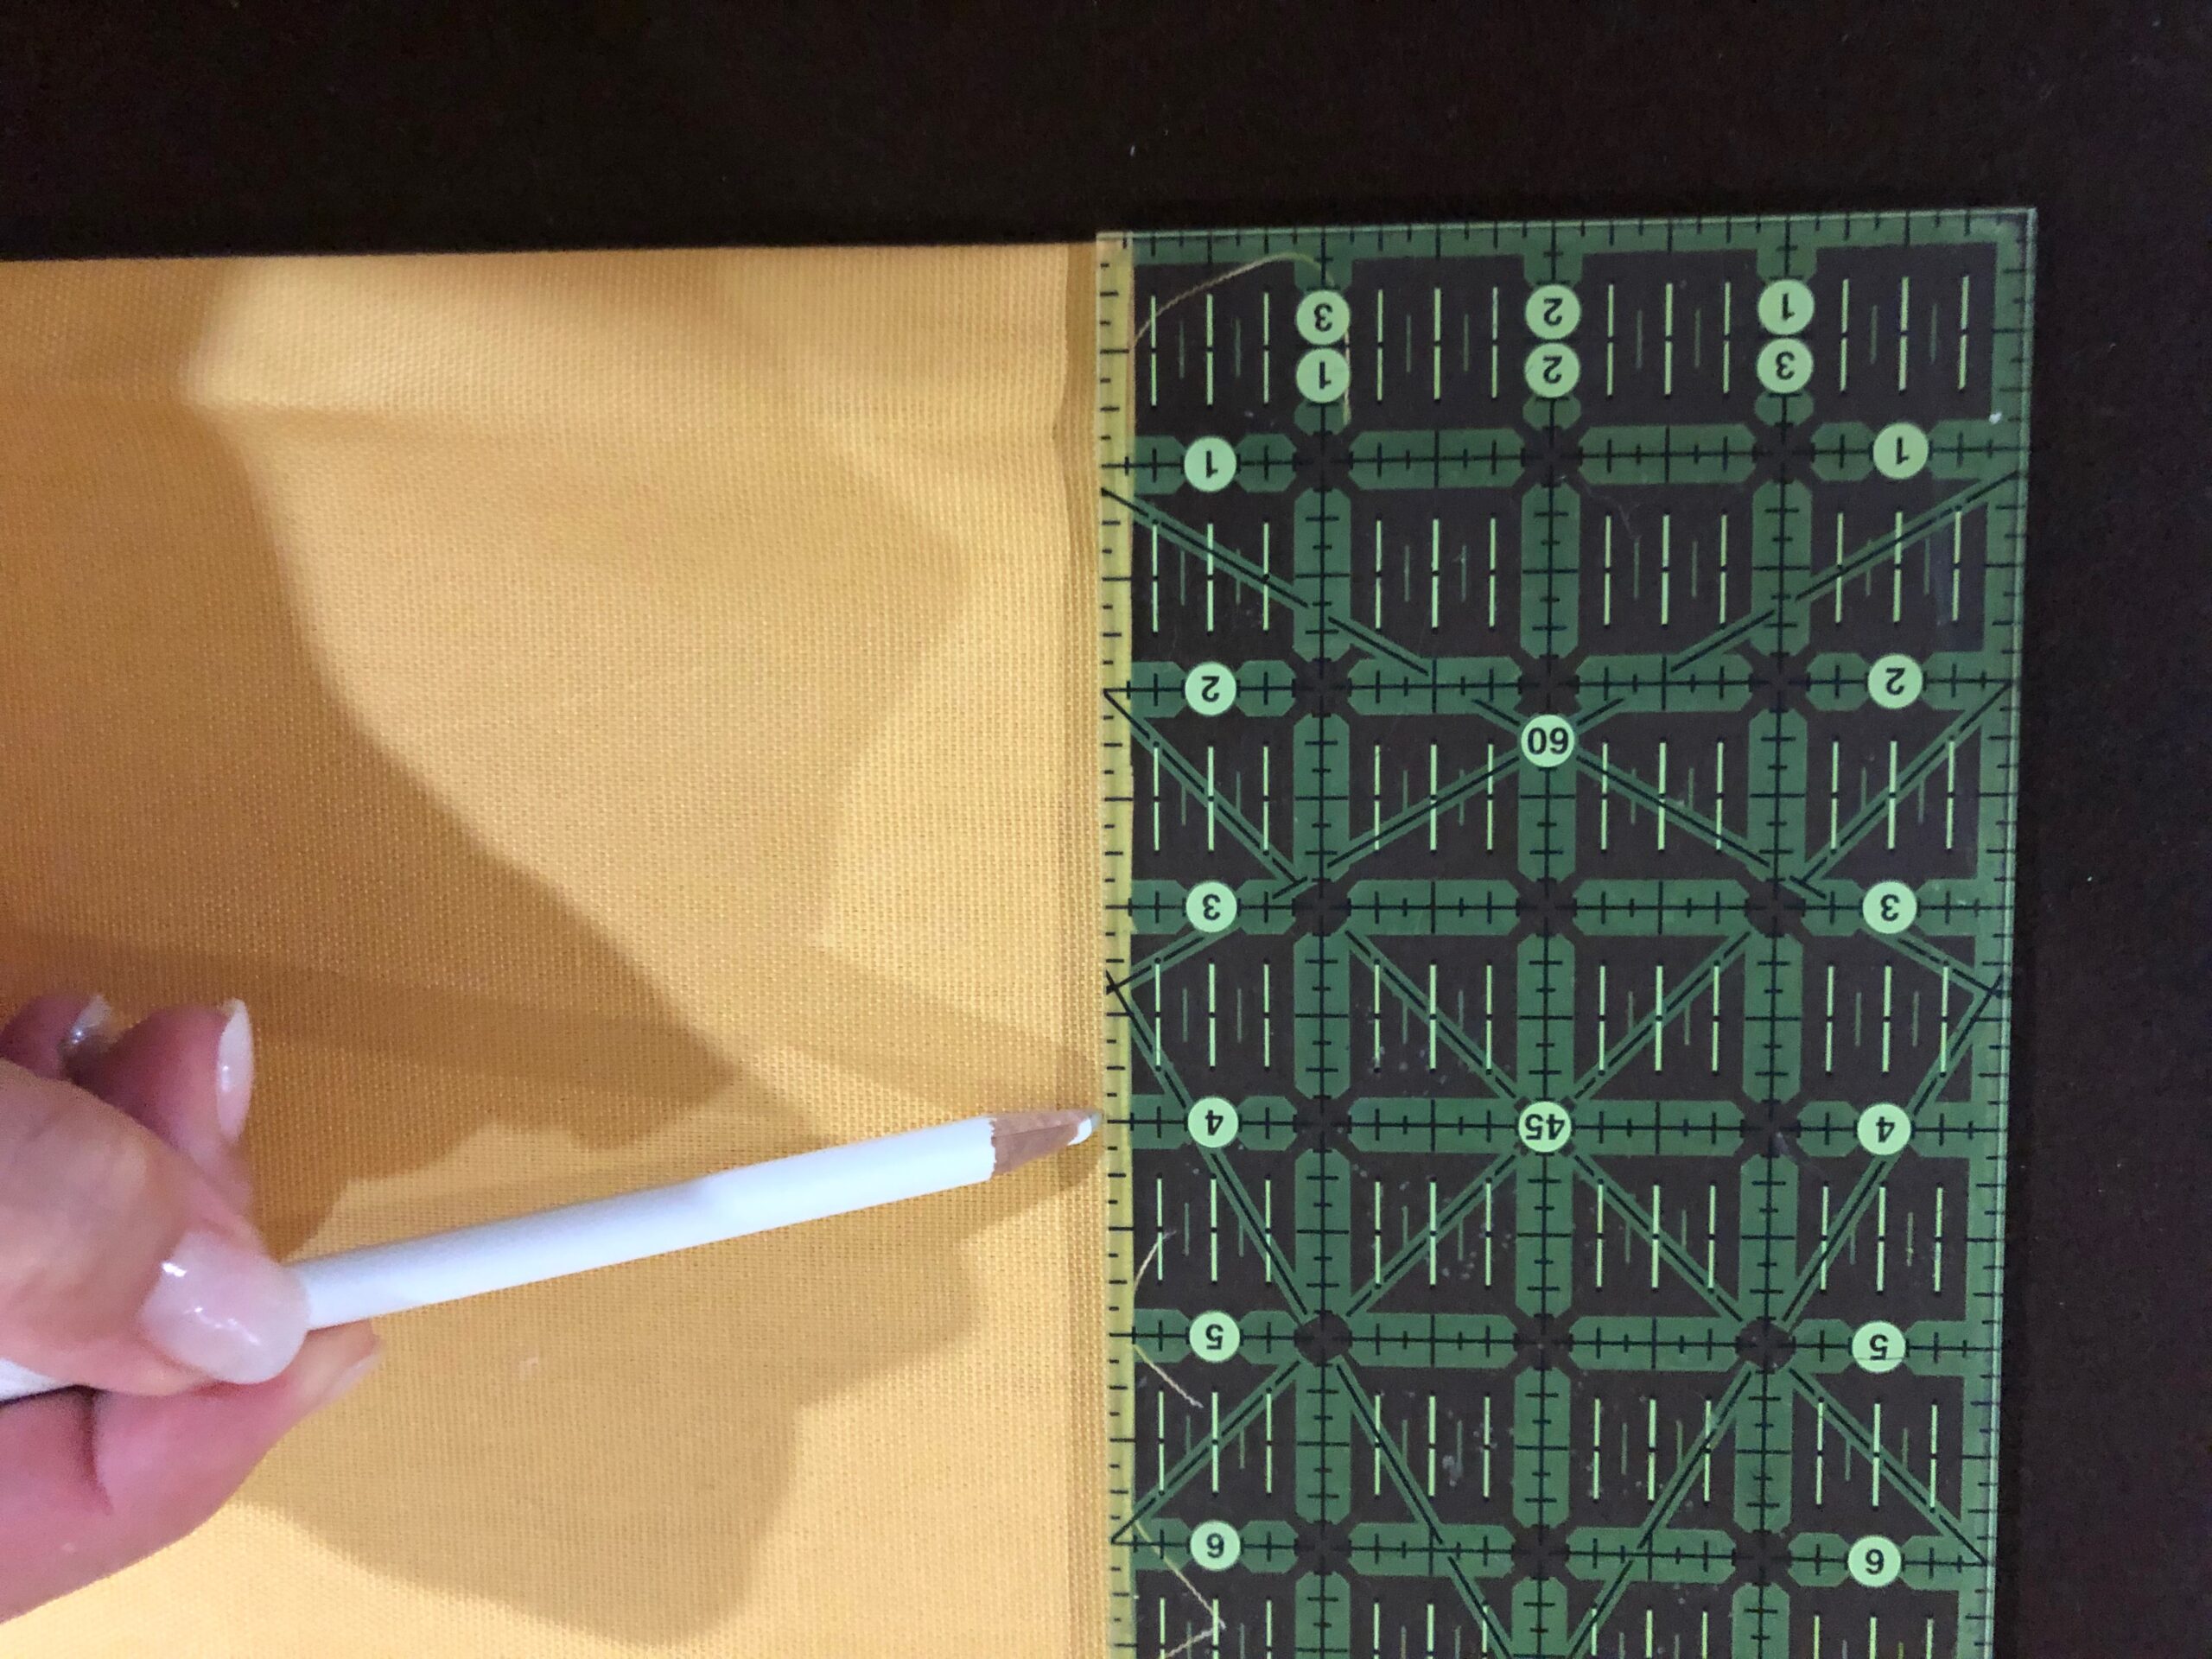
Measure 10 down from the upper edge along the raw fabric edges; mark.

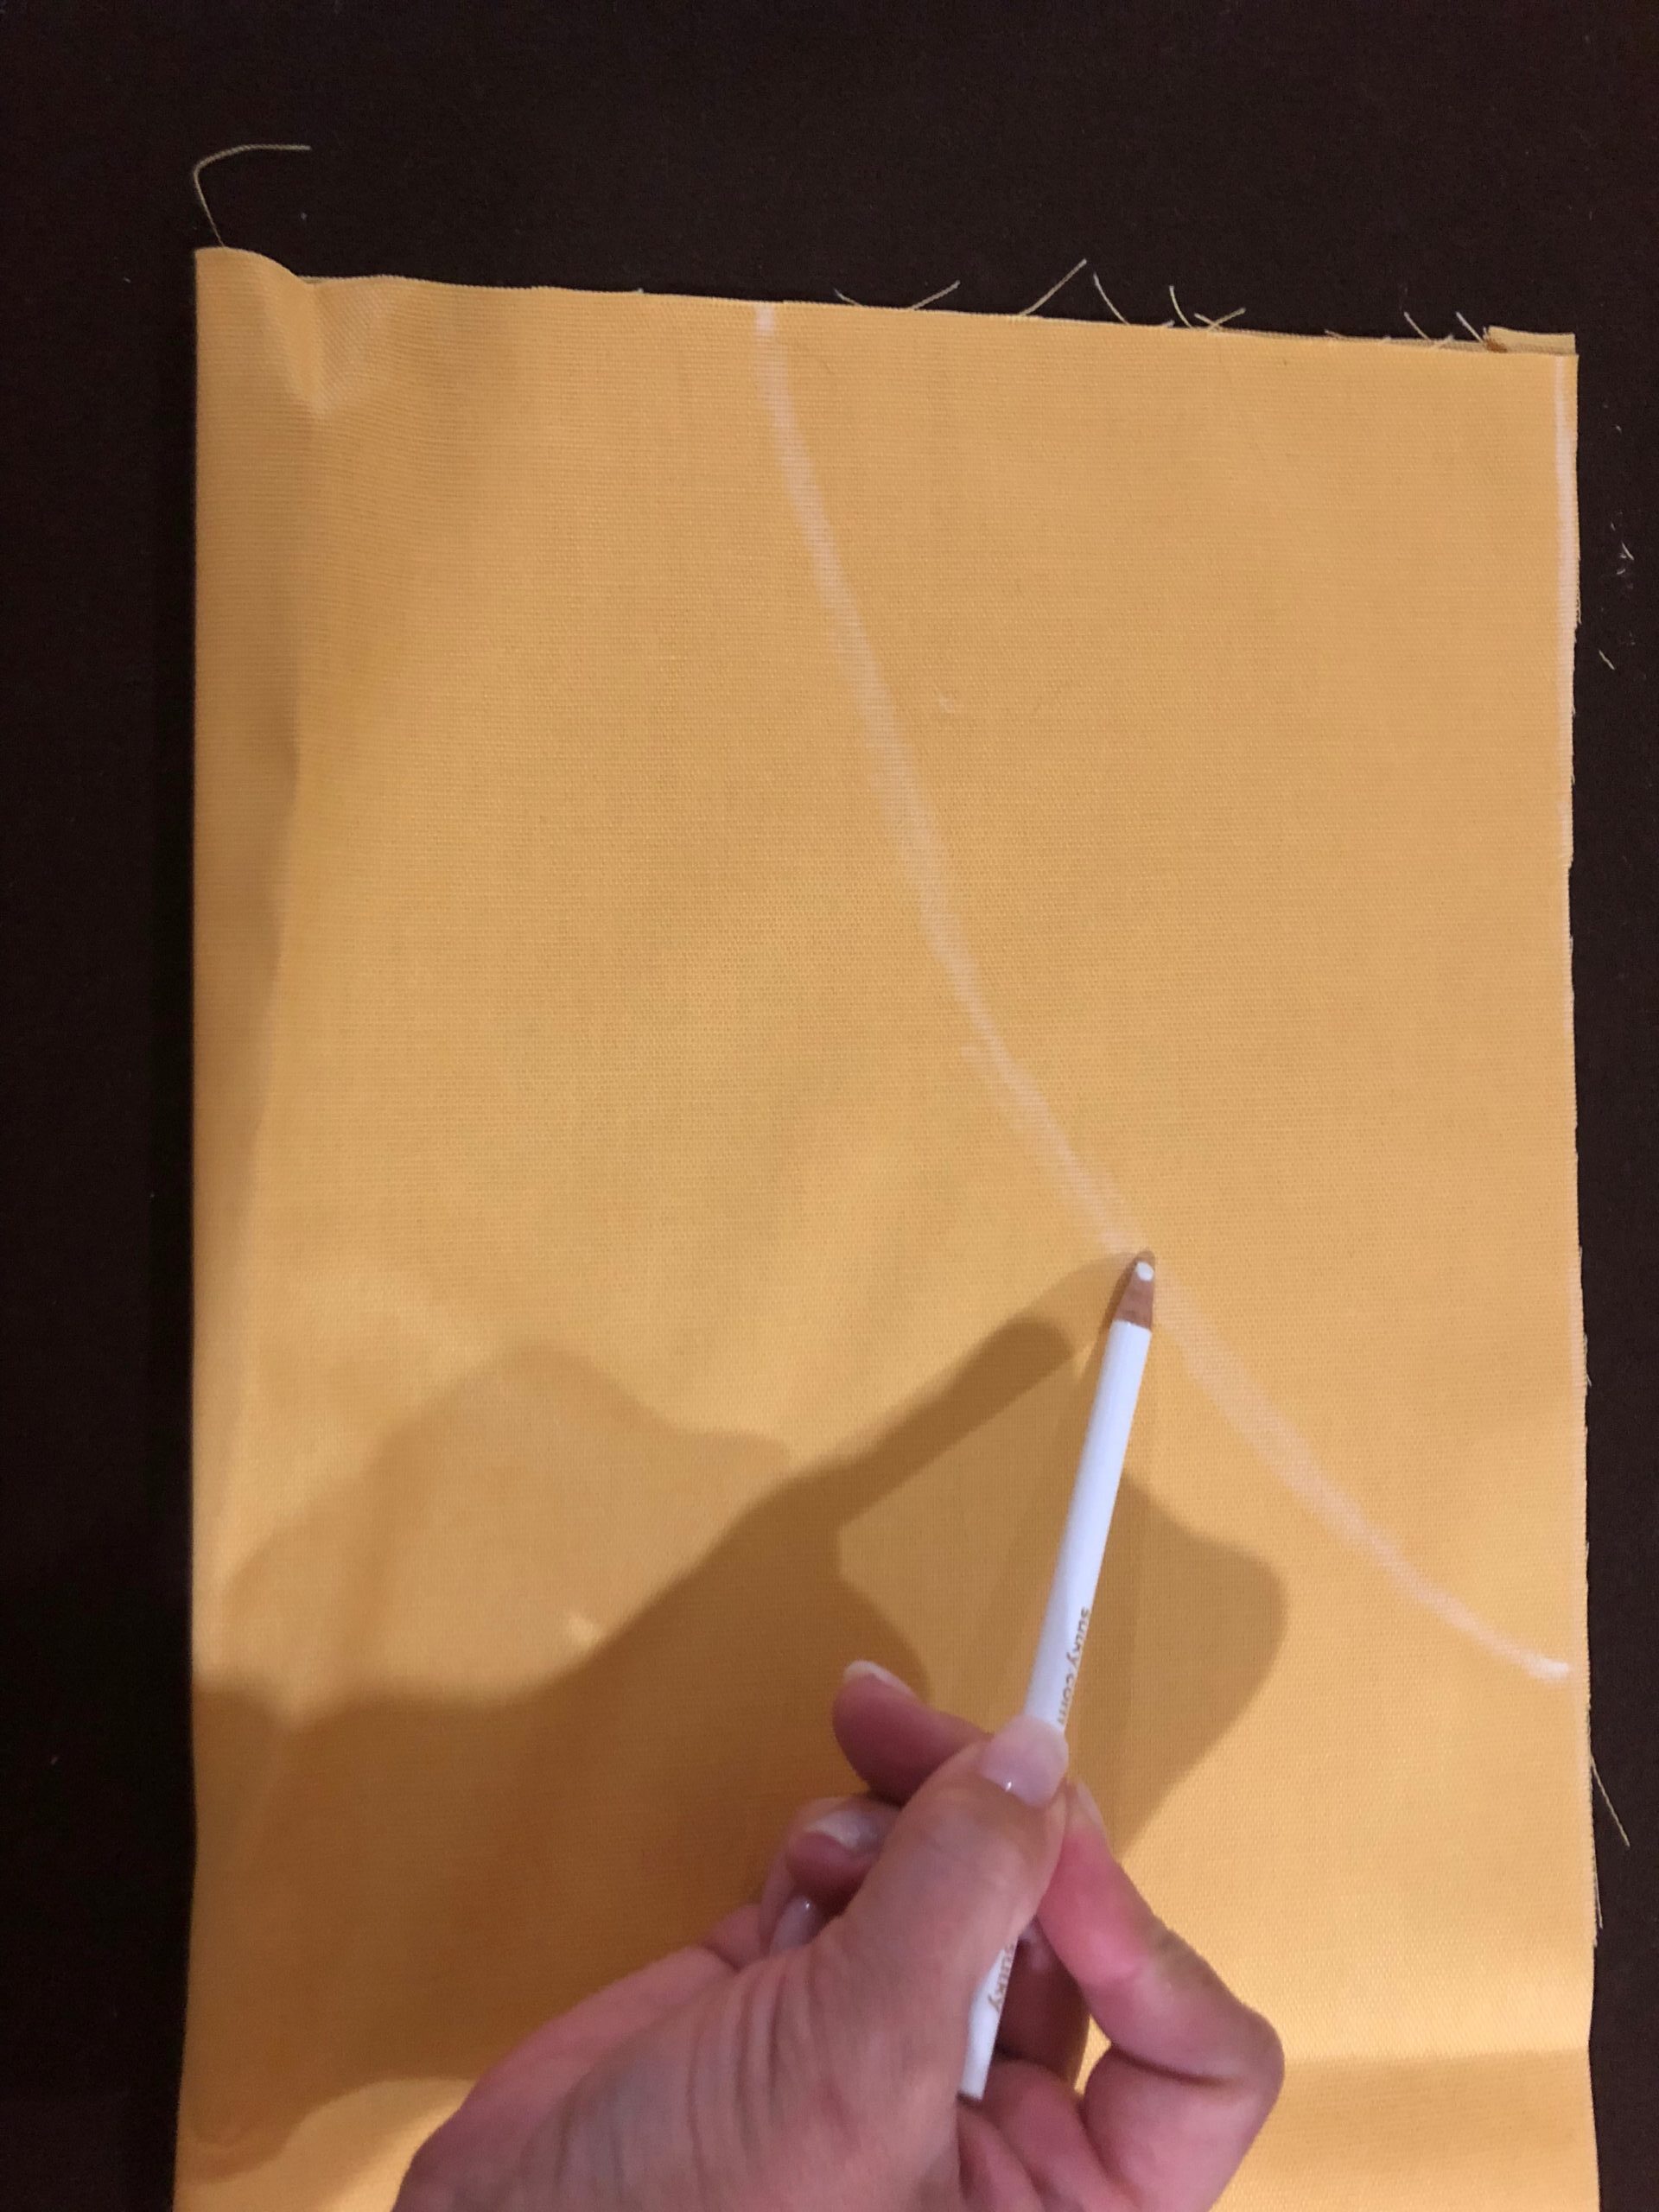
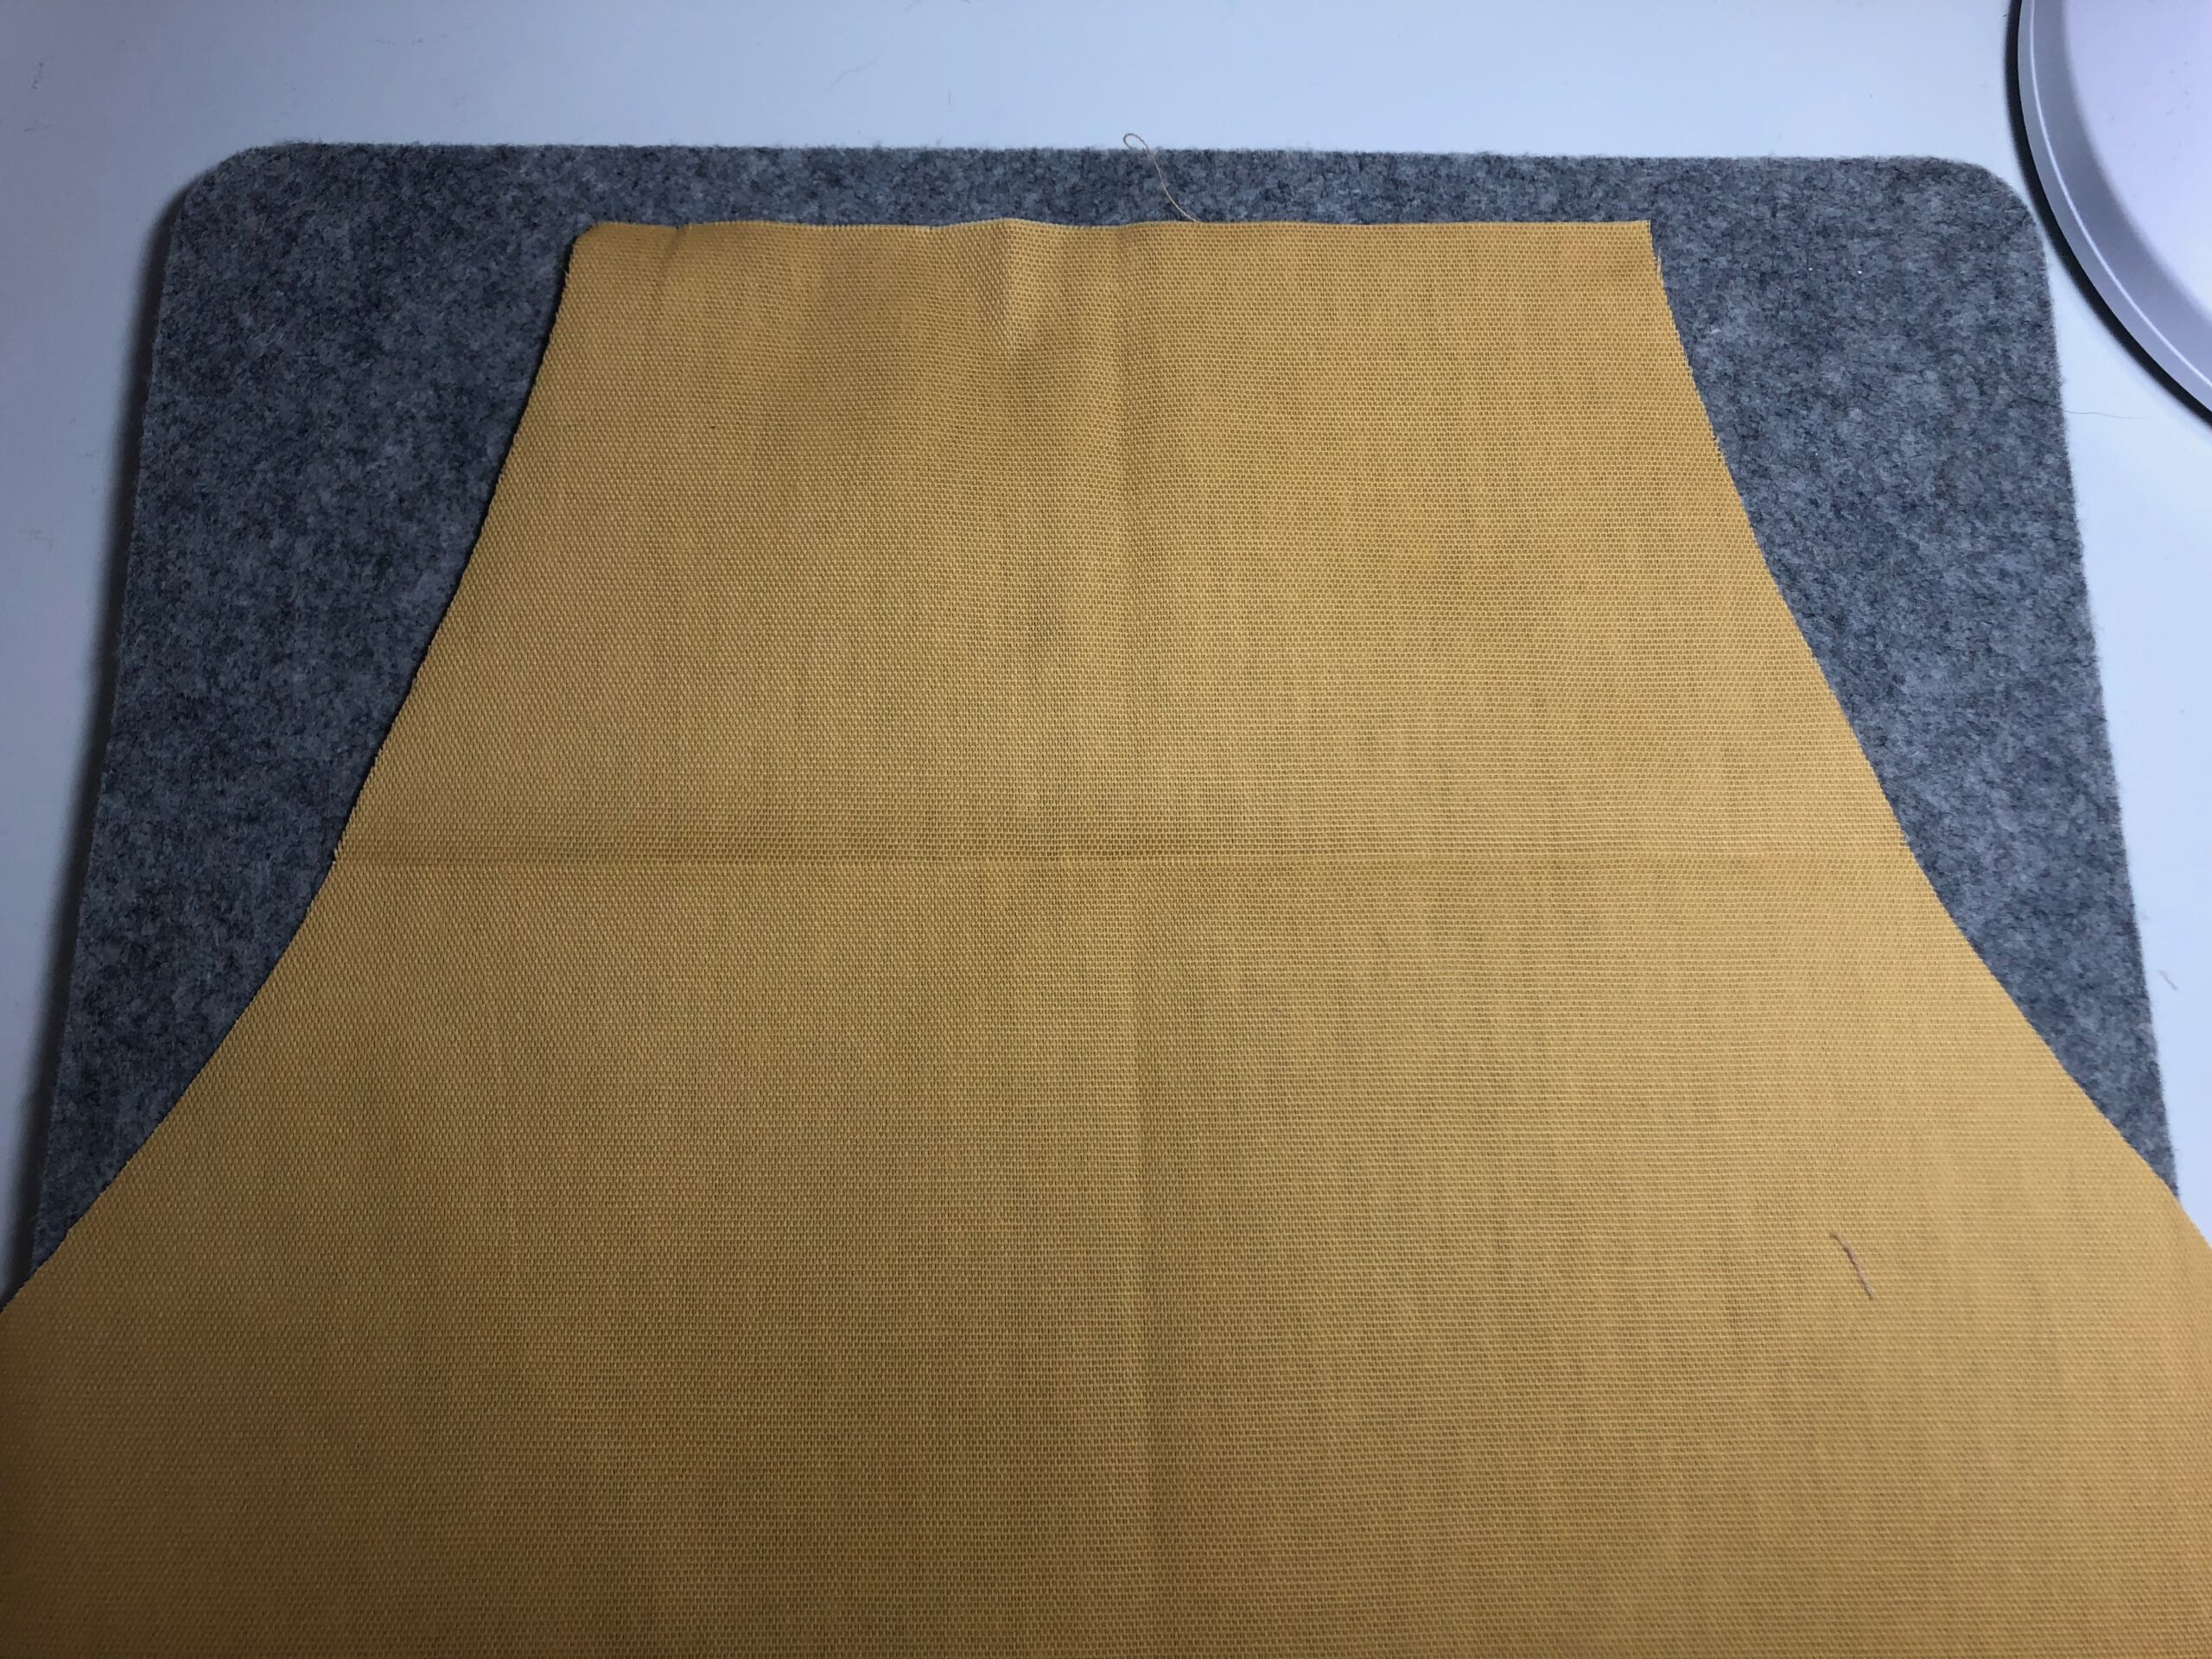
Connect the two marks with a curved line. Then, cut out the apron.
From the quilting cotton fabric, cut two 2 x 36 strips for the ties. Cut two 2 x 18 strips for the neck straps.
Fold each strip in half lengthwise with right sides together; press. Stitch the long edge and both short ends. Leave a 5 opening along the long edge for turning.
Then, clip the corners along each strap end.
Next, turn each strip right side out. Use a point turner to poke out each corner.
Install a size 70/10 Universal Needle and thread it with 50 wt. Cotton Thread. Wind a bobbin with the same thread.
Press each strip flat, and then topstitch the perimeters, closing the openings with the stitches.

BASIC APRON EMBROIDERY
Refold the cut apron piece in half lengthwise with wrong sides together. Fold the upper edge down toward the lower edge, aligning the upper edge with the side upper edges (the top of the straight edge below the curve). Finger-press to set a crease.
The foldline intersections denote the center of the available embroidery area. As previously mentioned, audition the chosen embroidery design to ensure desired placement.
Once the embroidery placement is determined, mark the center cross marks, if different from the foldlines.
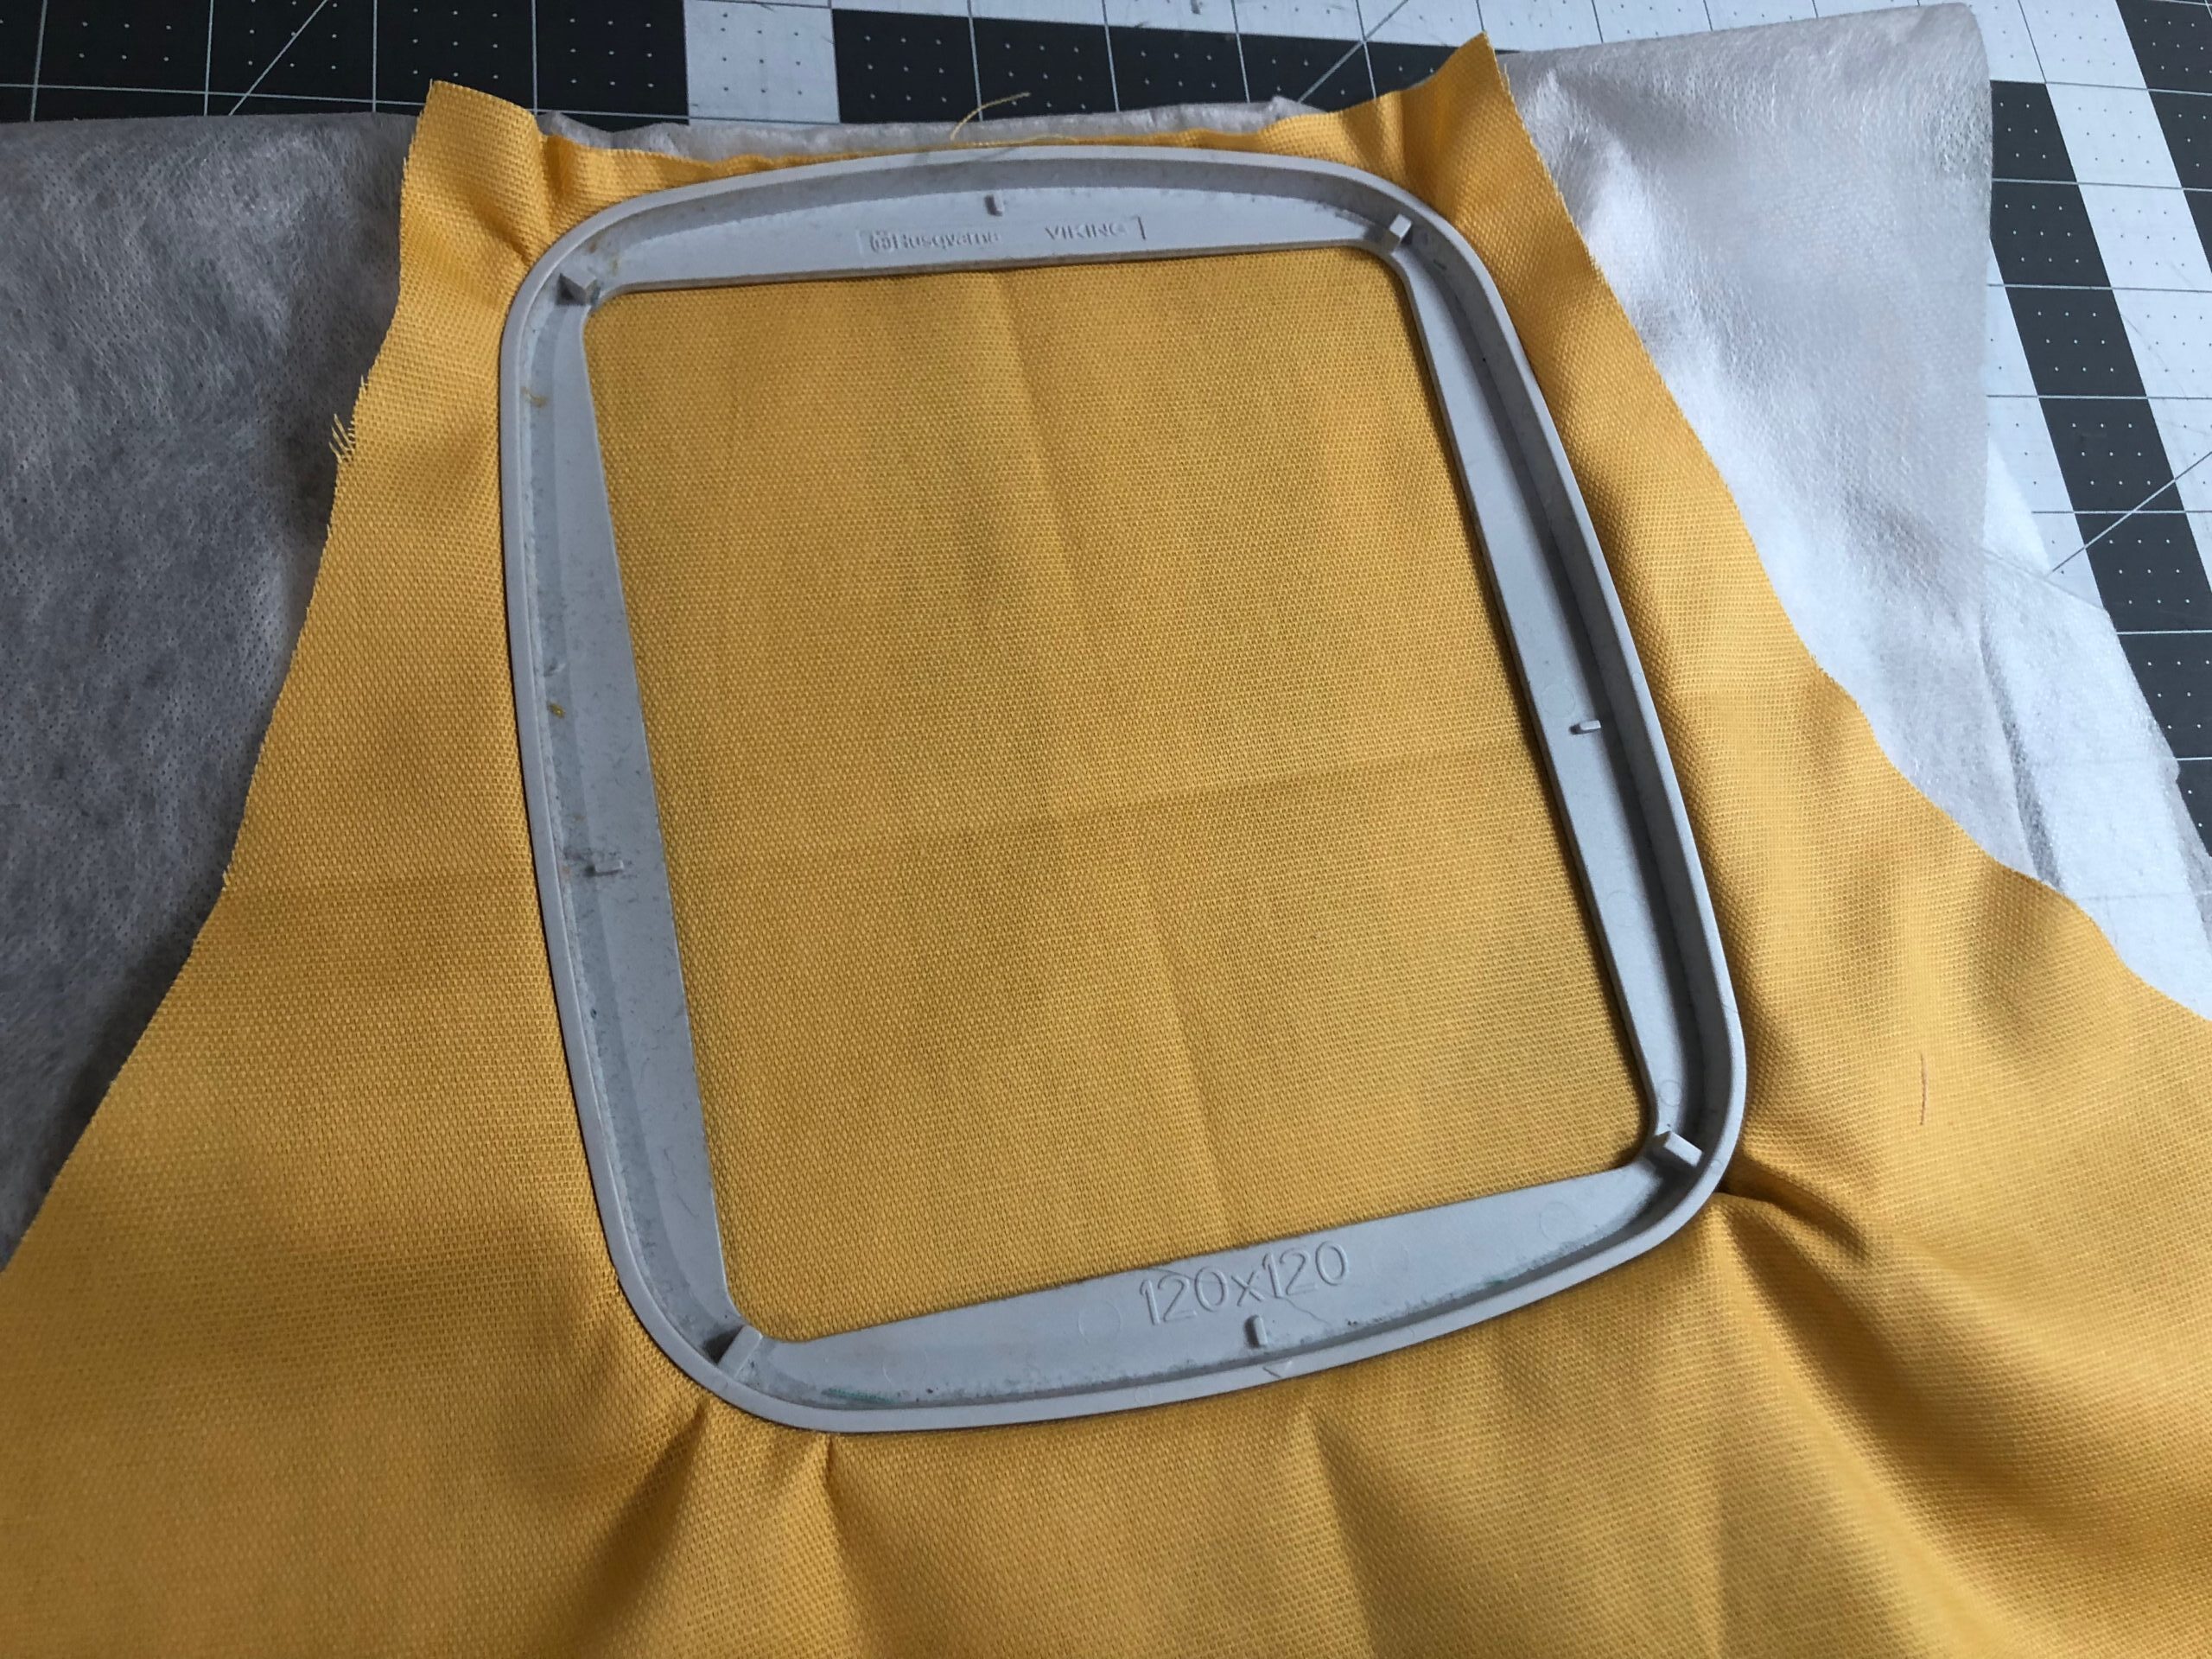
Hoop the apron fabric with two layers of Fabri-Solvy, using the proper sized hoop for the chosen design.

Install a size 90/14 Top Stitch Needle, if using Poly Sparkle Thread for the embroidery. Install a size 80/12 Top Stitch Needle if using 40 wt. Rayon Thread.
Wind a bobbin with 60 wt. Bobbin Thread in a color that closely matches the apron fabric.
Embroider the design, clipping jump threads with each thread change on the fabric right and wrong side.
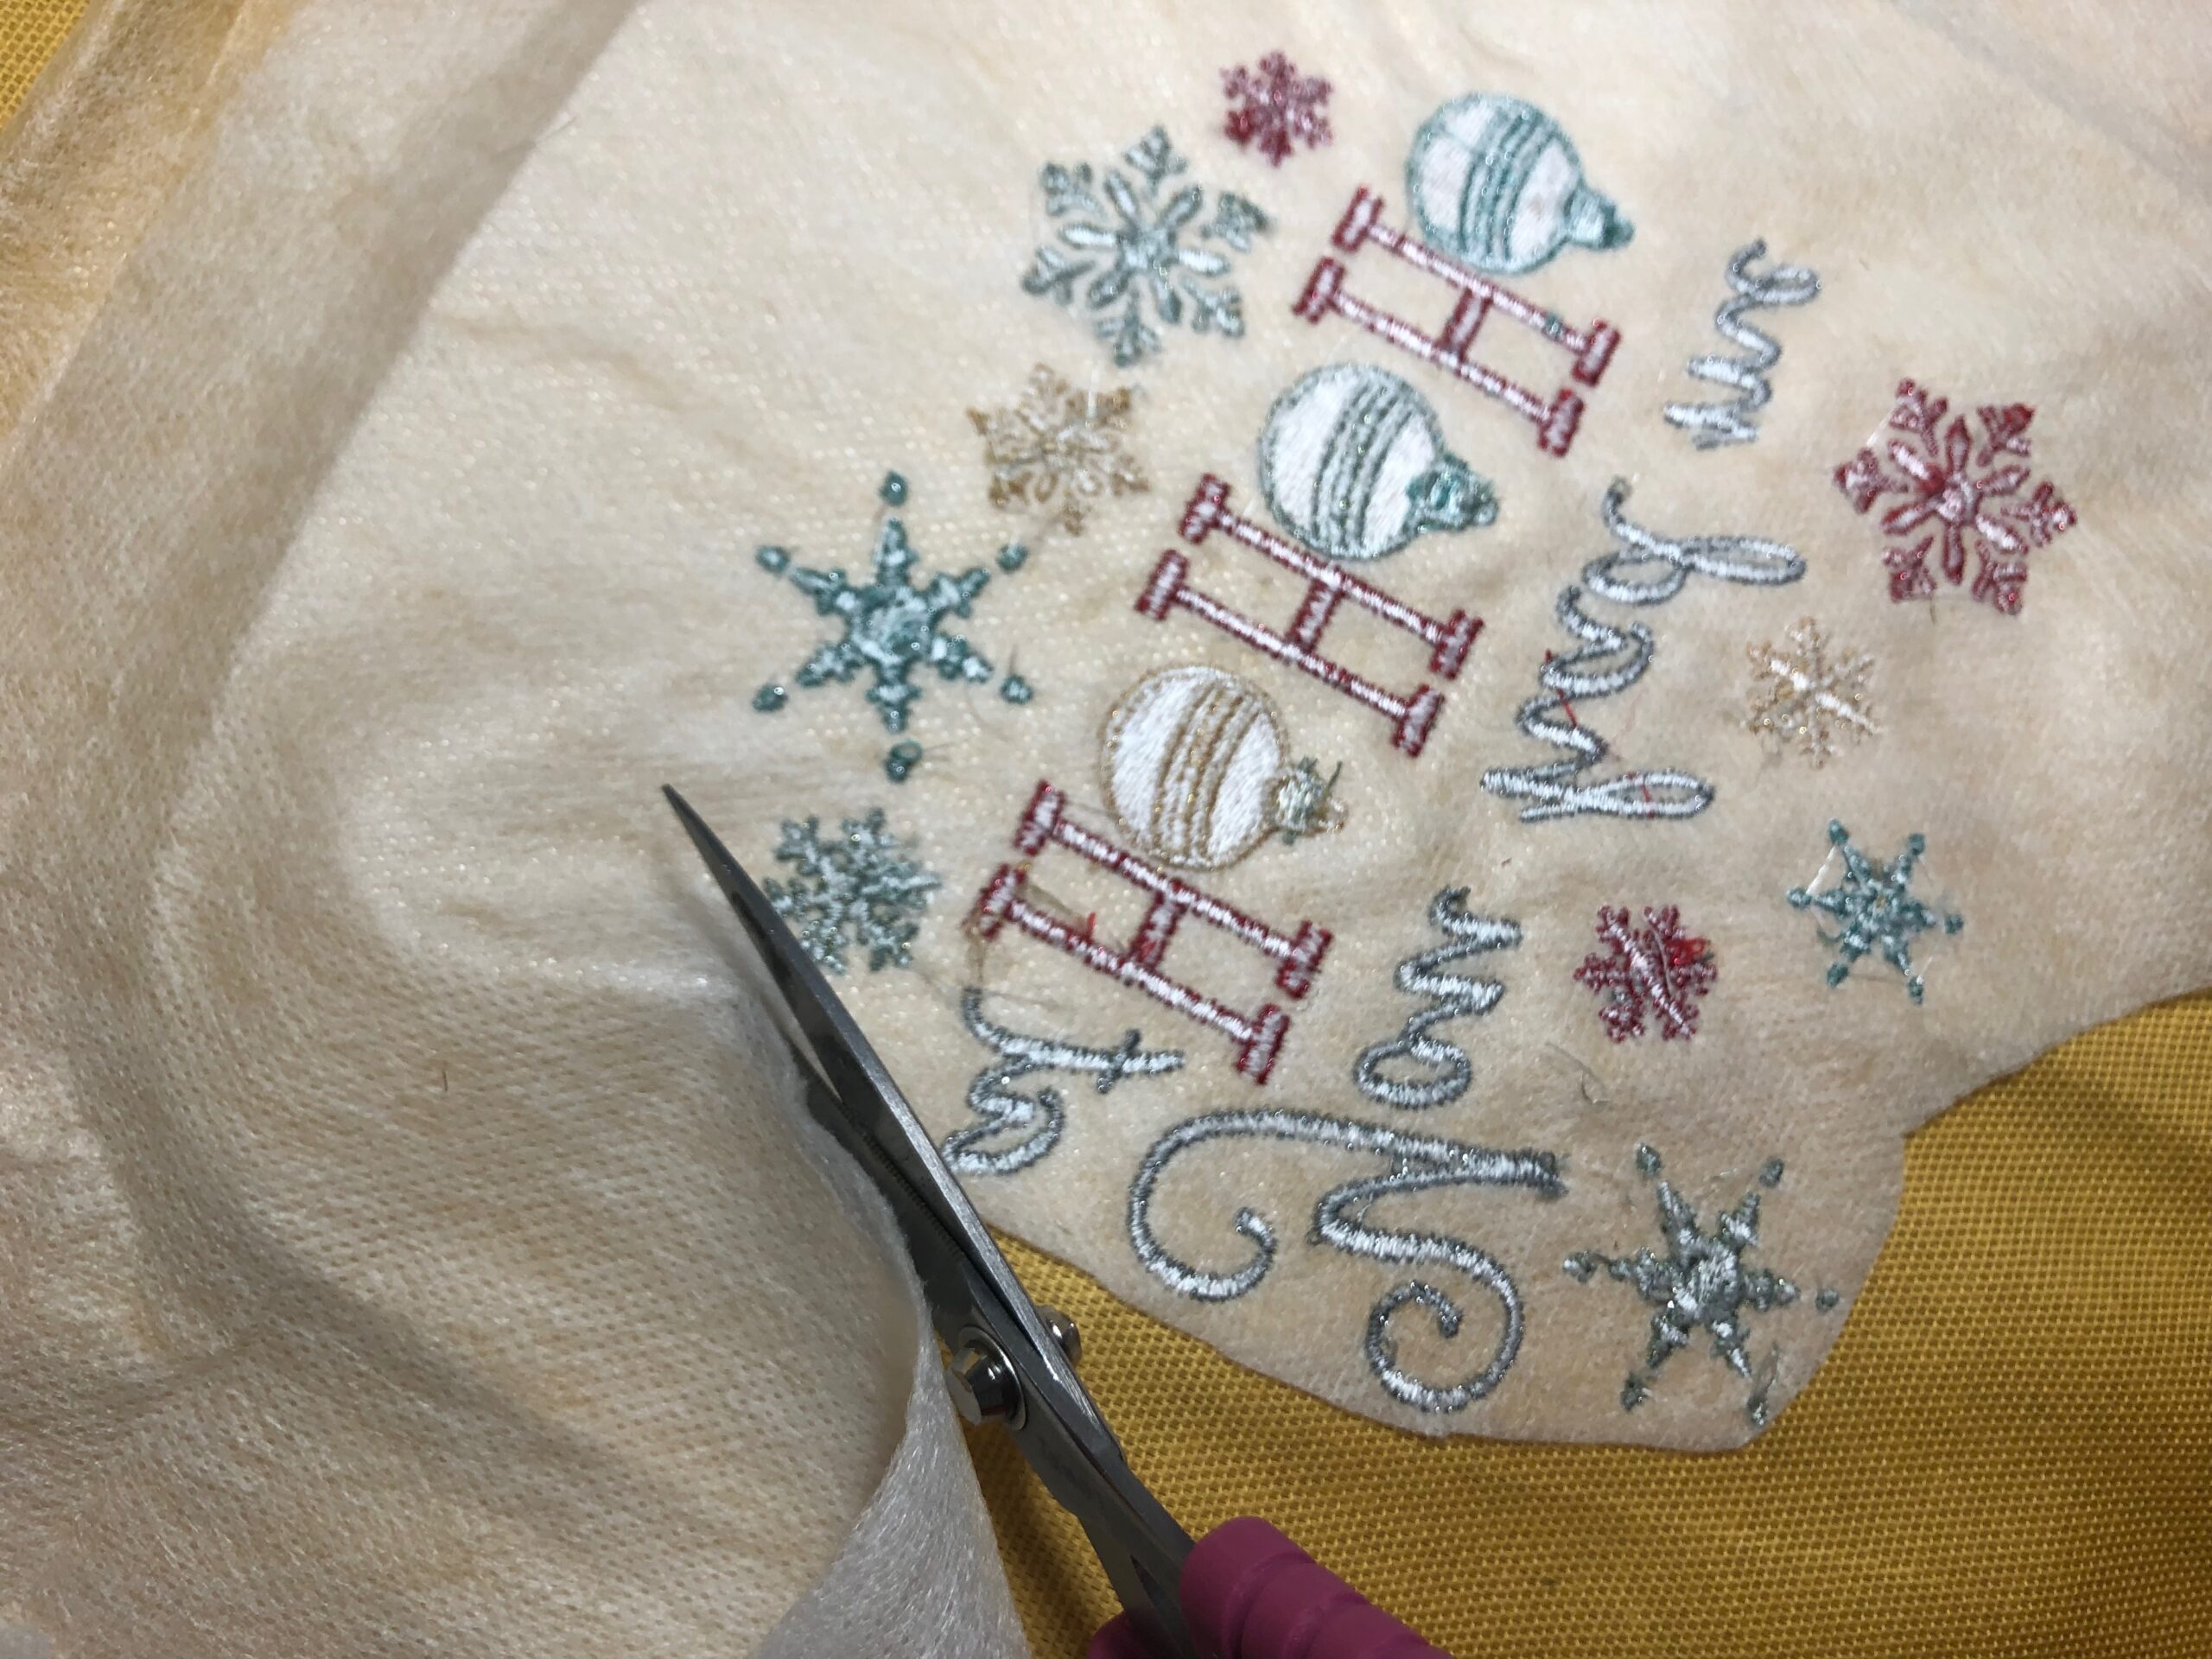
When the embroidery is complete, remove the hoop from the machine and the fabric from the hoop.
Cut away each stabilizer layer independently just beyond the design perimeter.
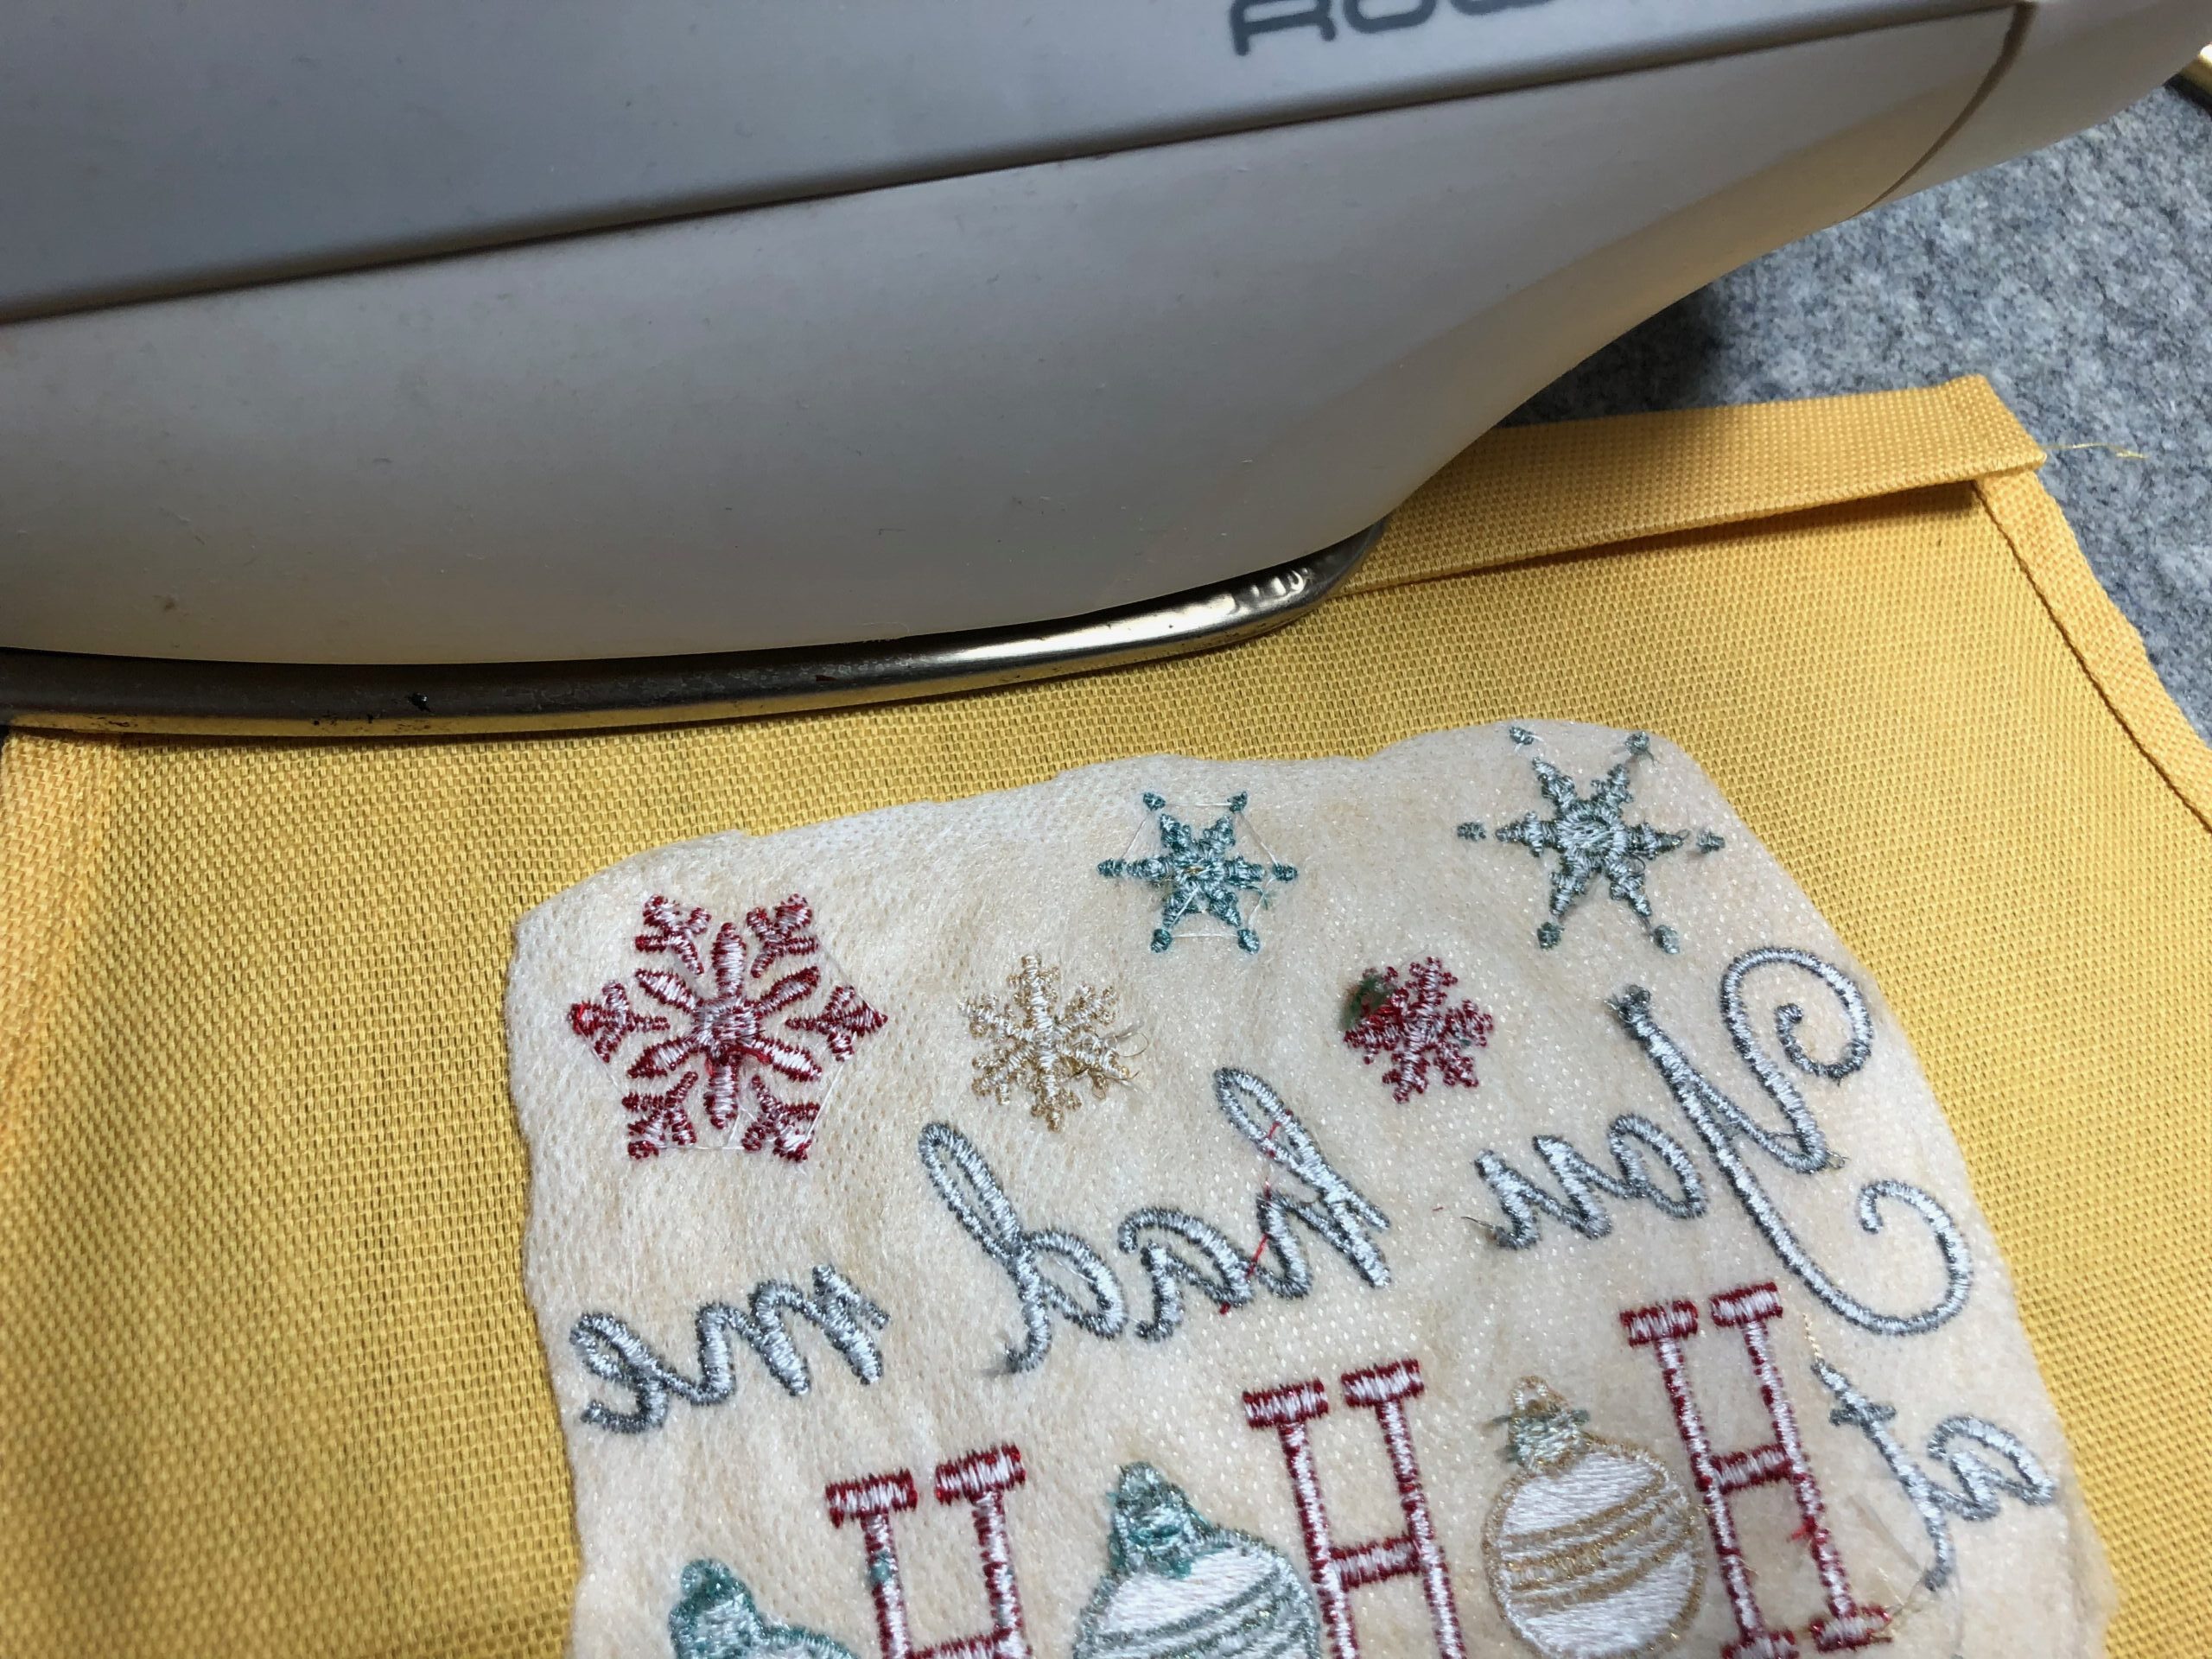
Press the fabric gently to remove any hoop marks, avoiding the stitches with the iron if possible.
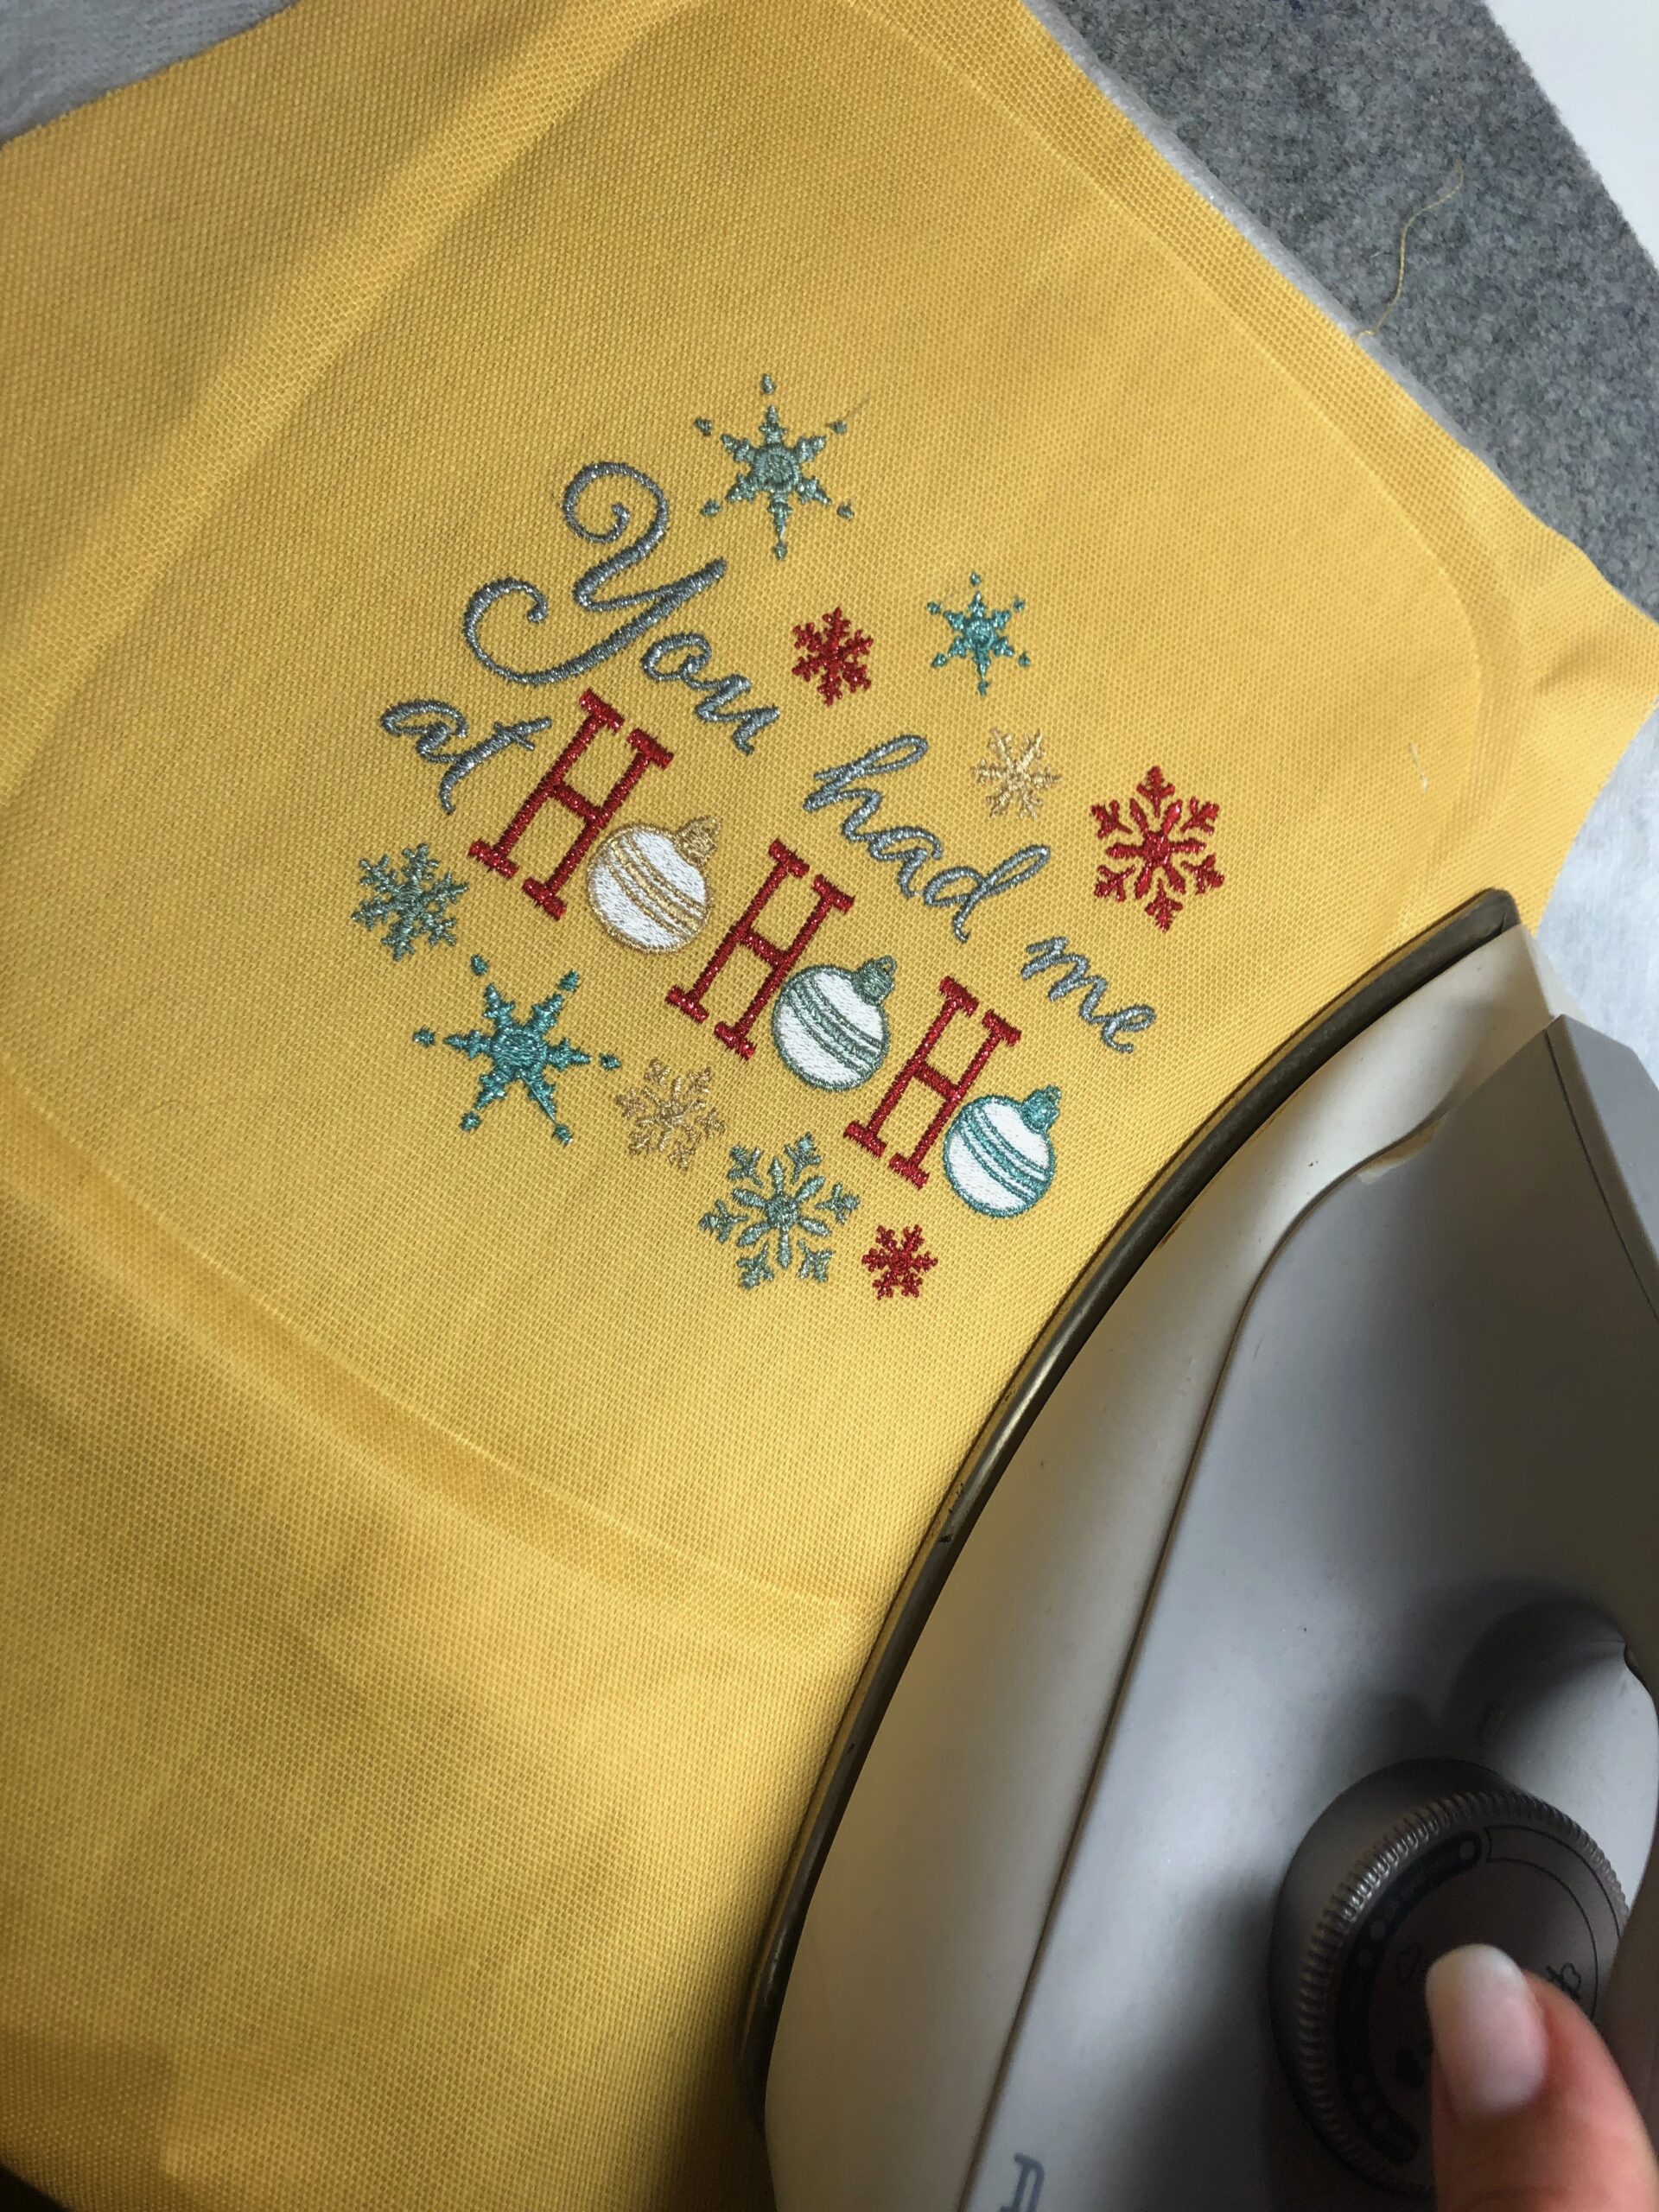
Plan to remove the stabilizer with the first washing of the finished apron. The stabilizer is water-soluble so will disappear completely once the fabric is washed or run under warm water.
APRON FINISHING
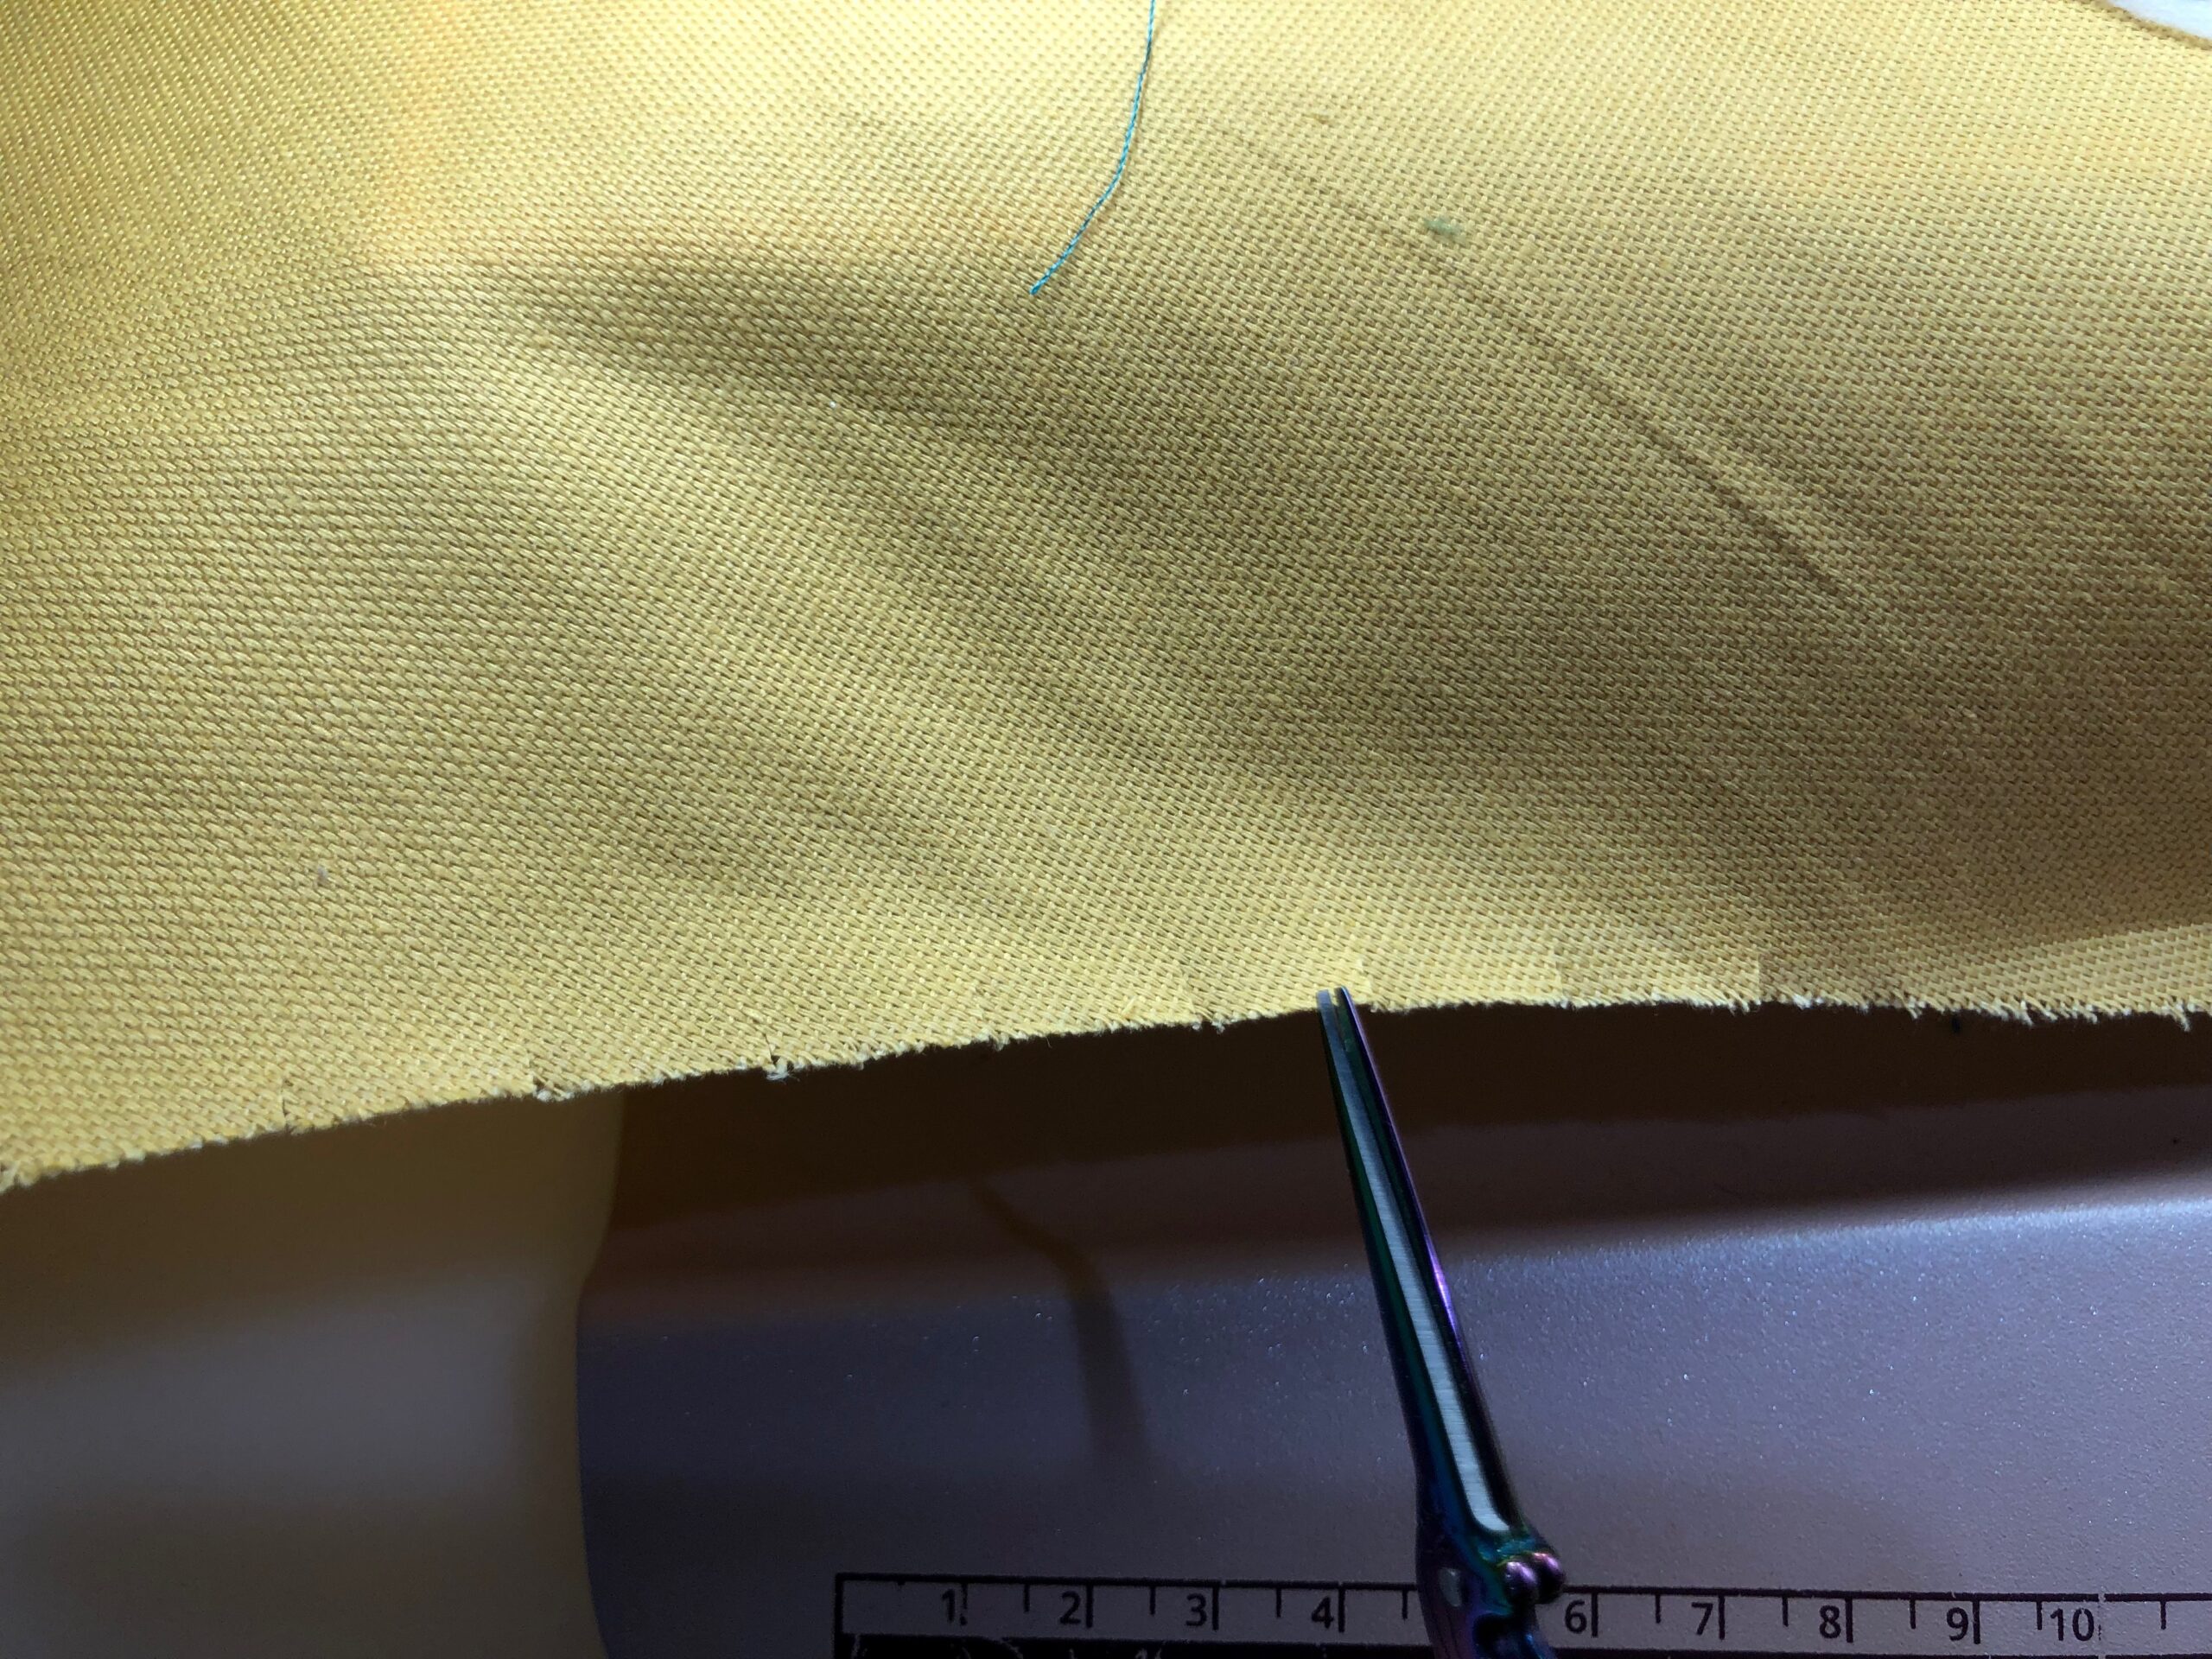
Clip the apron curved sides ¼ into the fabric edge. Then, double-fold the curved edges ¼ toward the wrong side; press. Next, topstitch along the fold.
Double-fold the apron upper and lower edge ½ toward the wrong side; press. Topstitch along the fold.
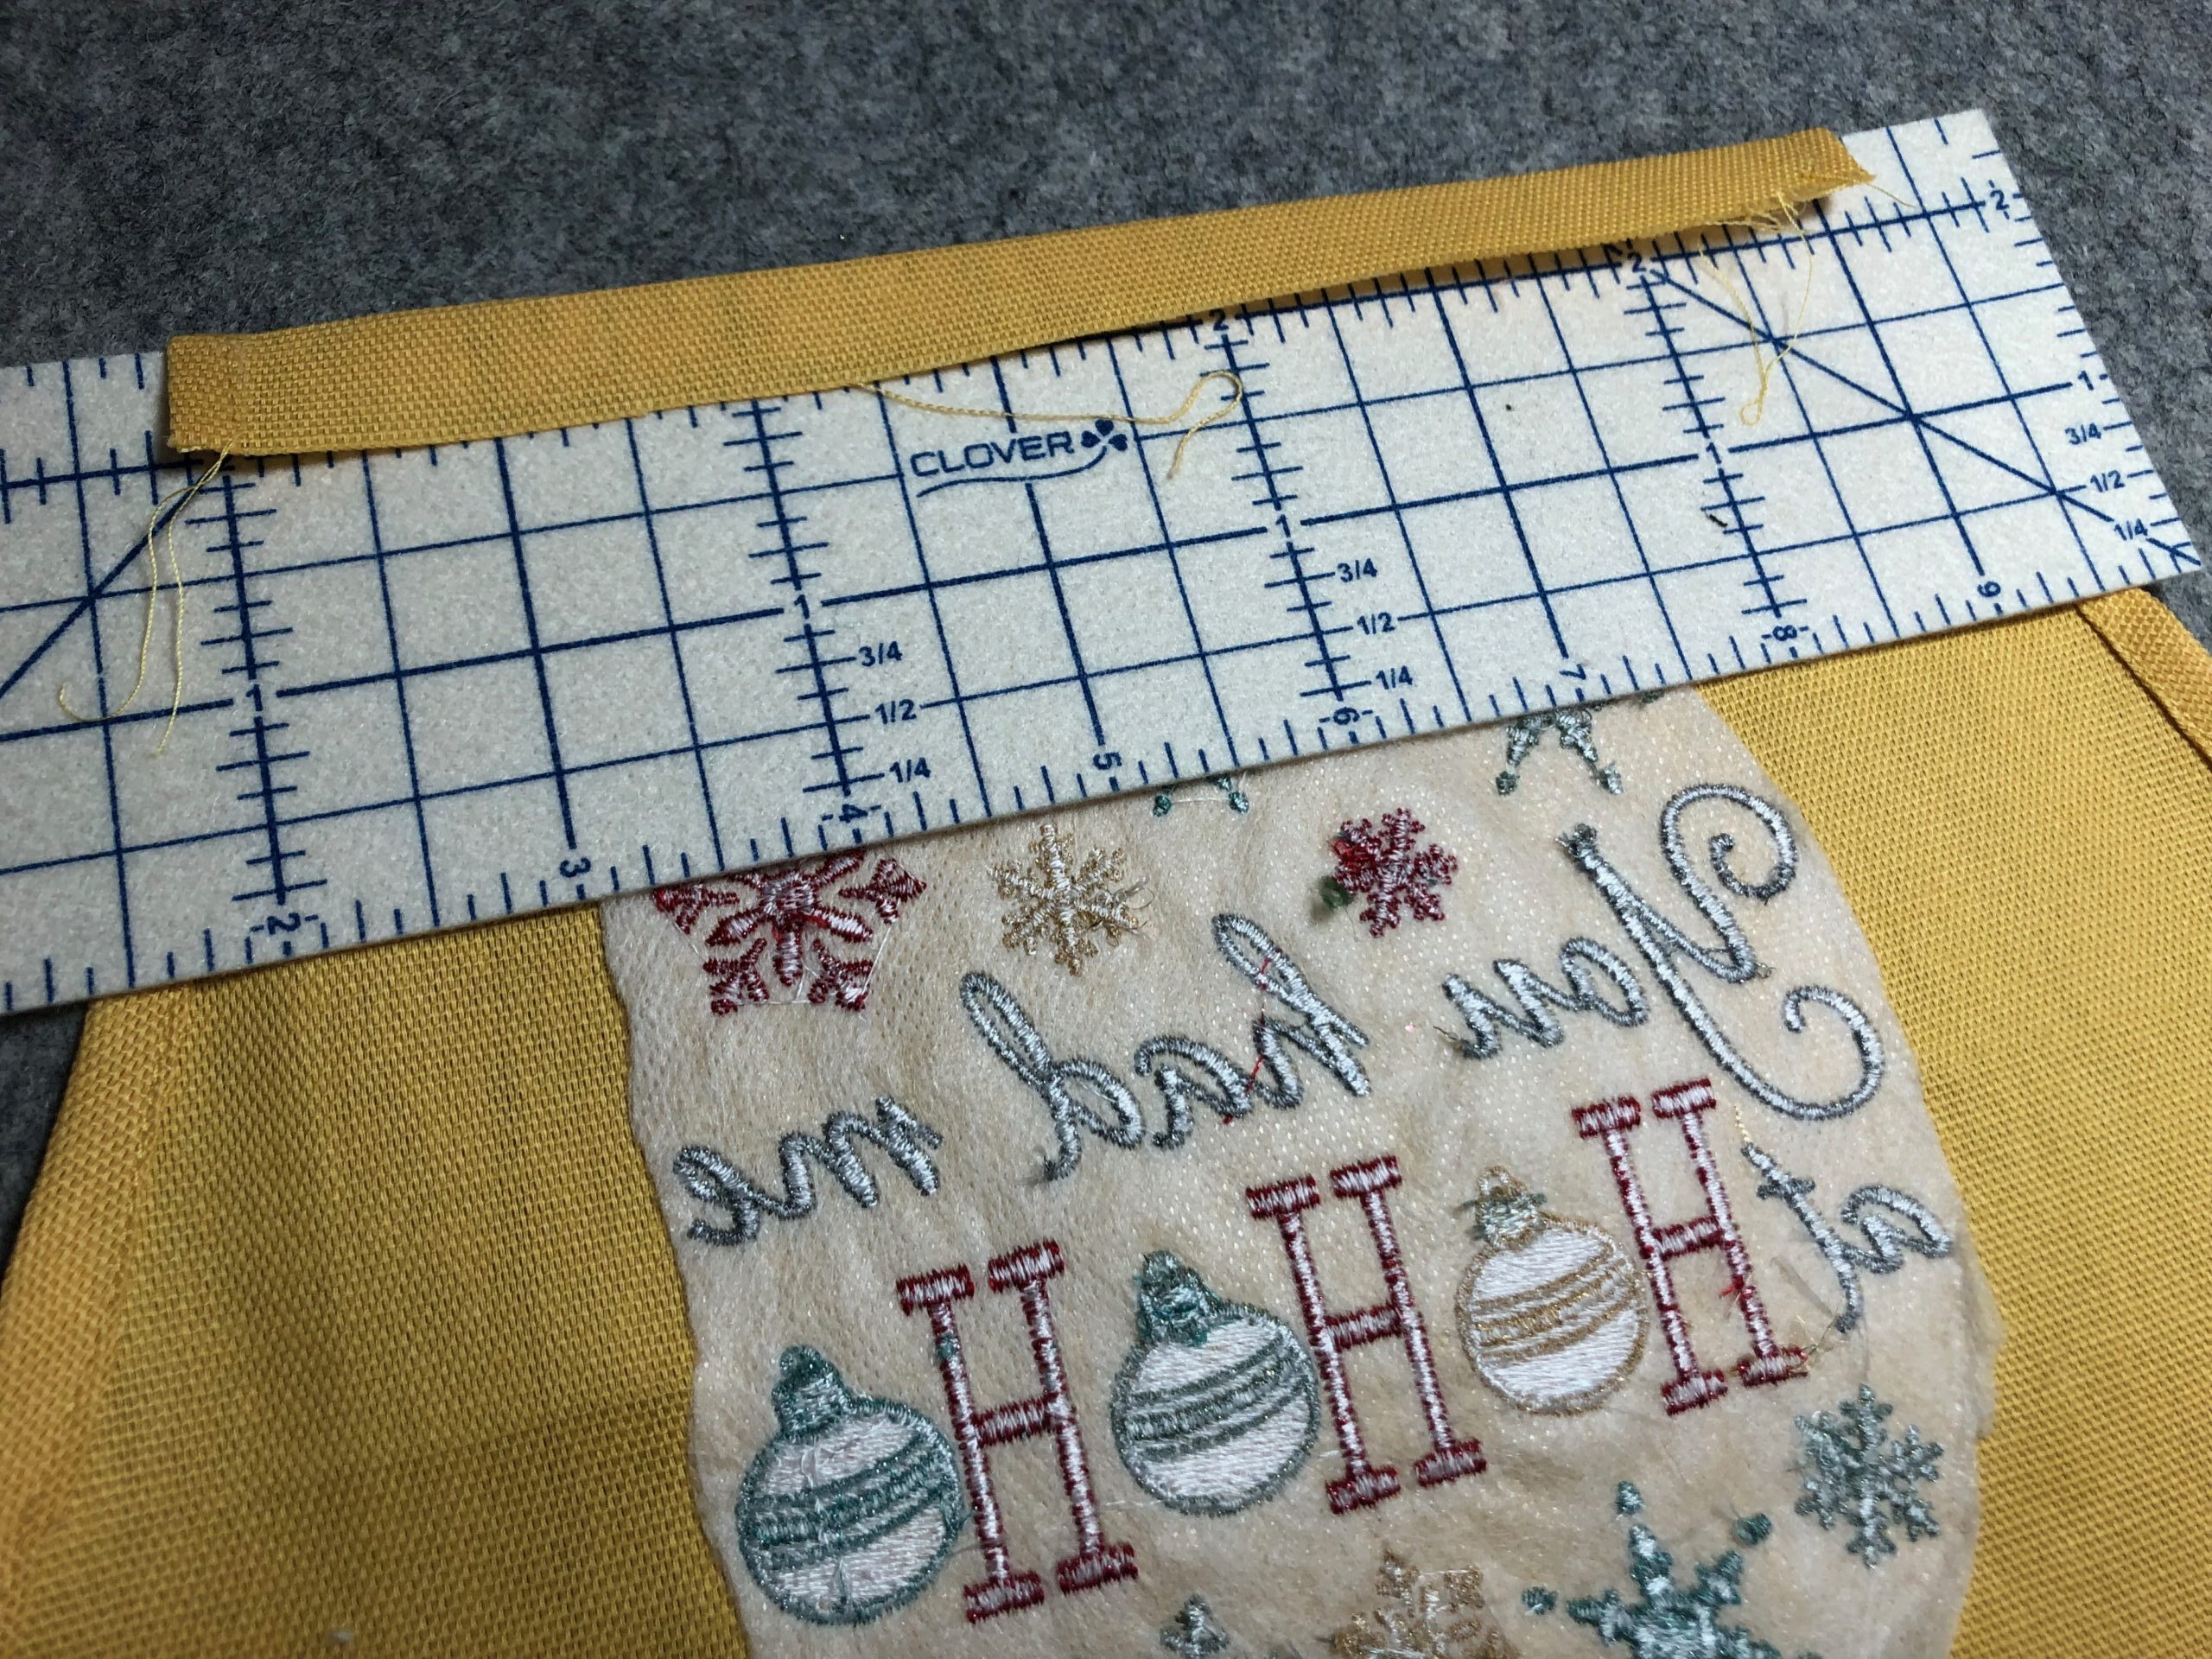
TIP: A Clover Hot Ruler is a great tool for accurate pressing on hems and edges.
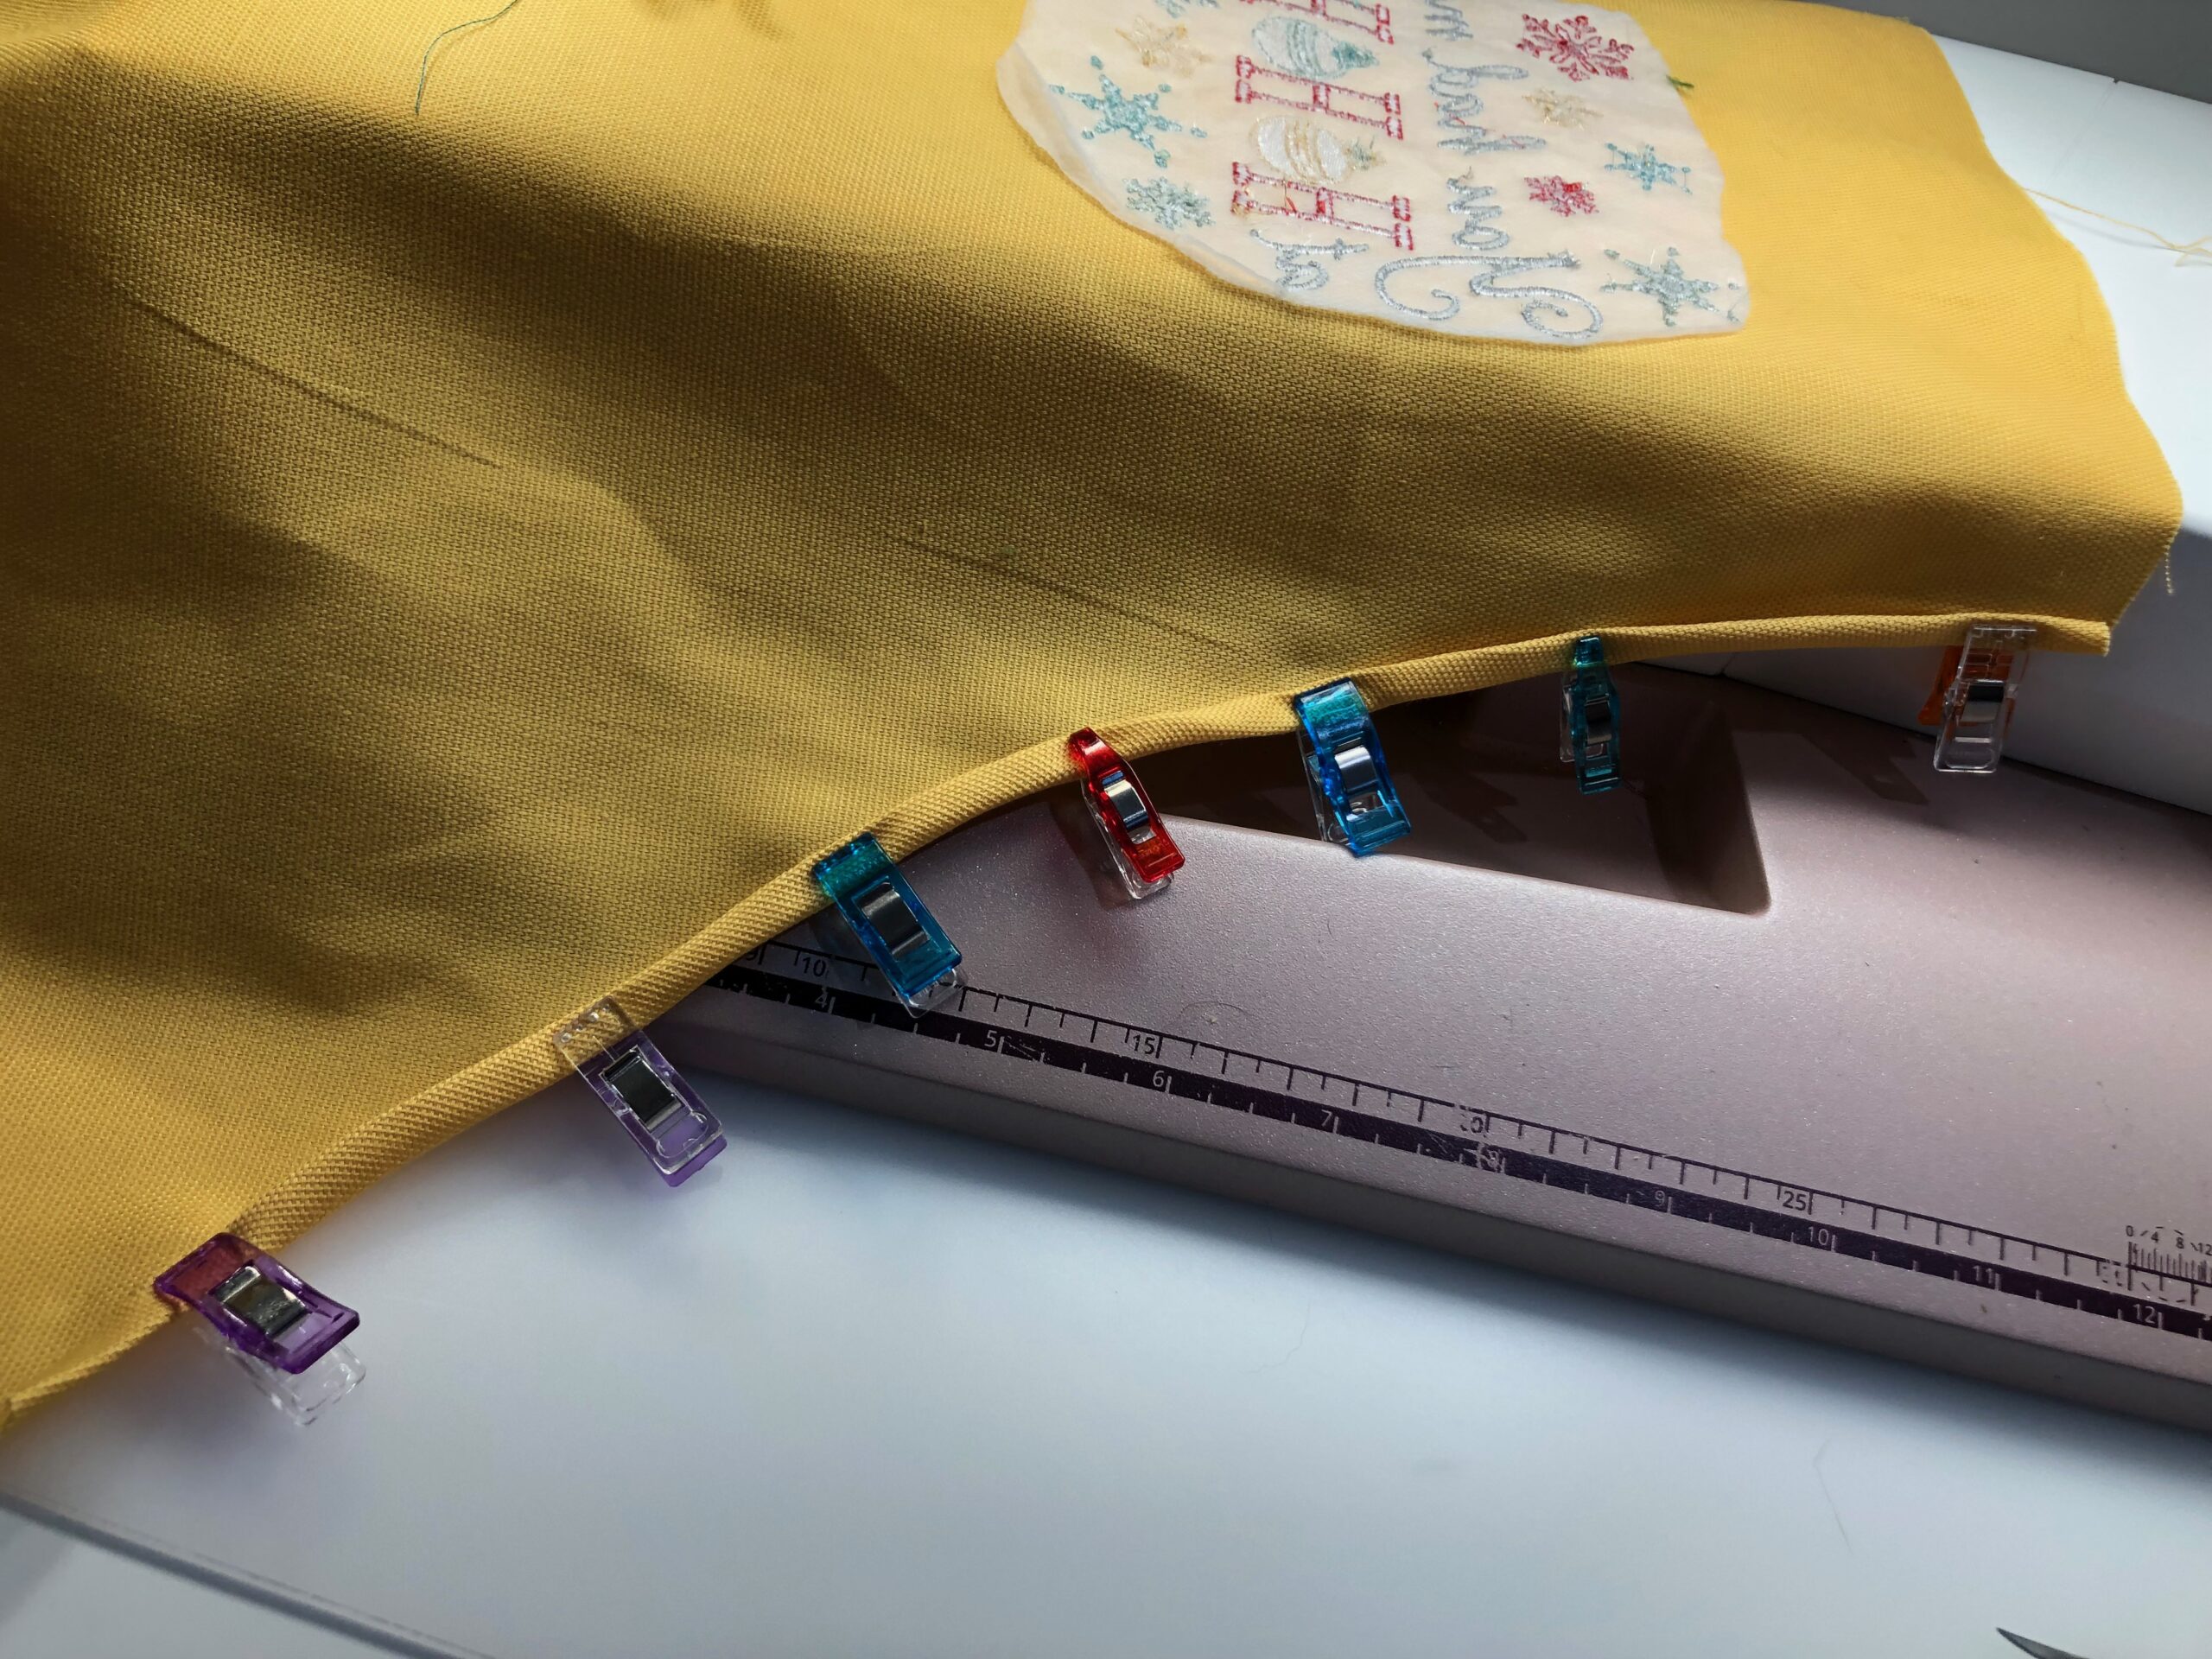
Then, double-fold the apron straight side edges ½ toward the wrong sides; press. Topstitch along the fold.
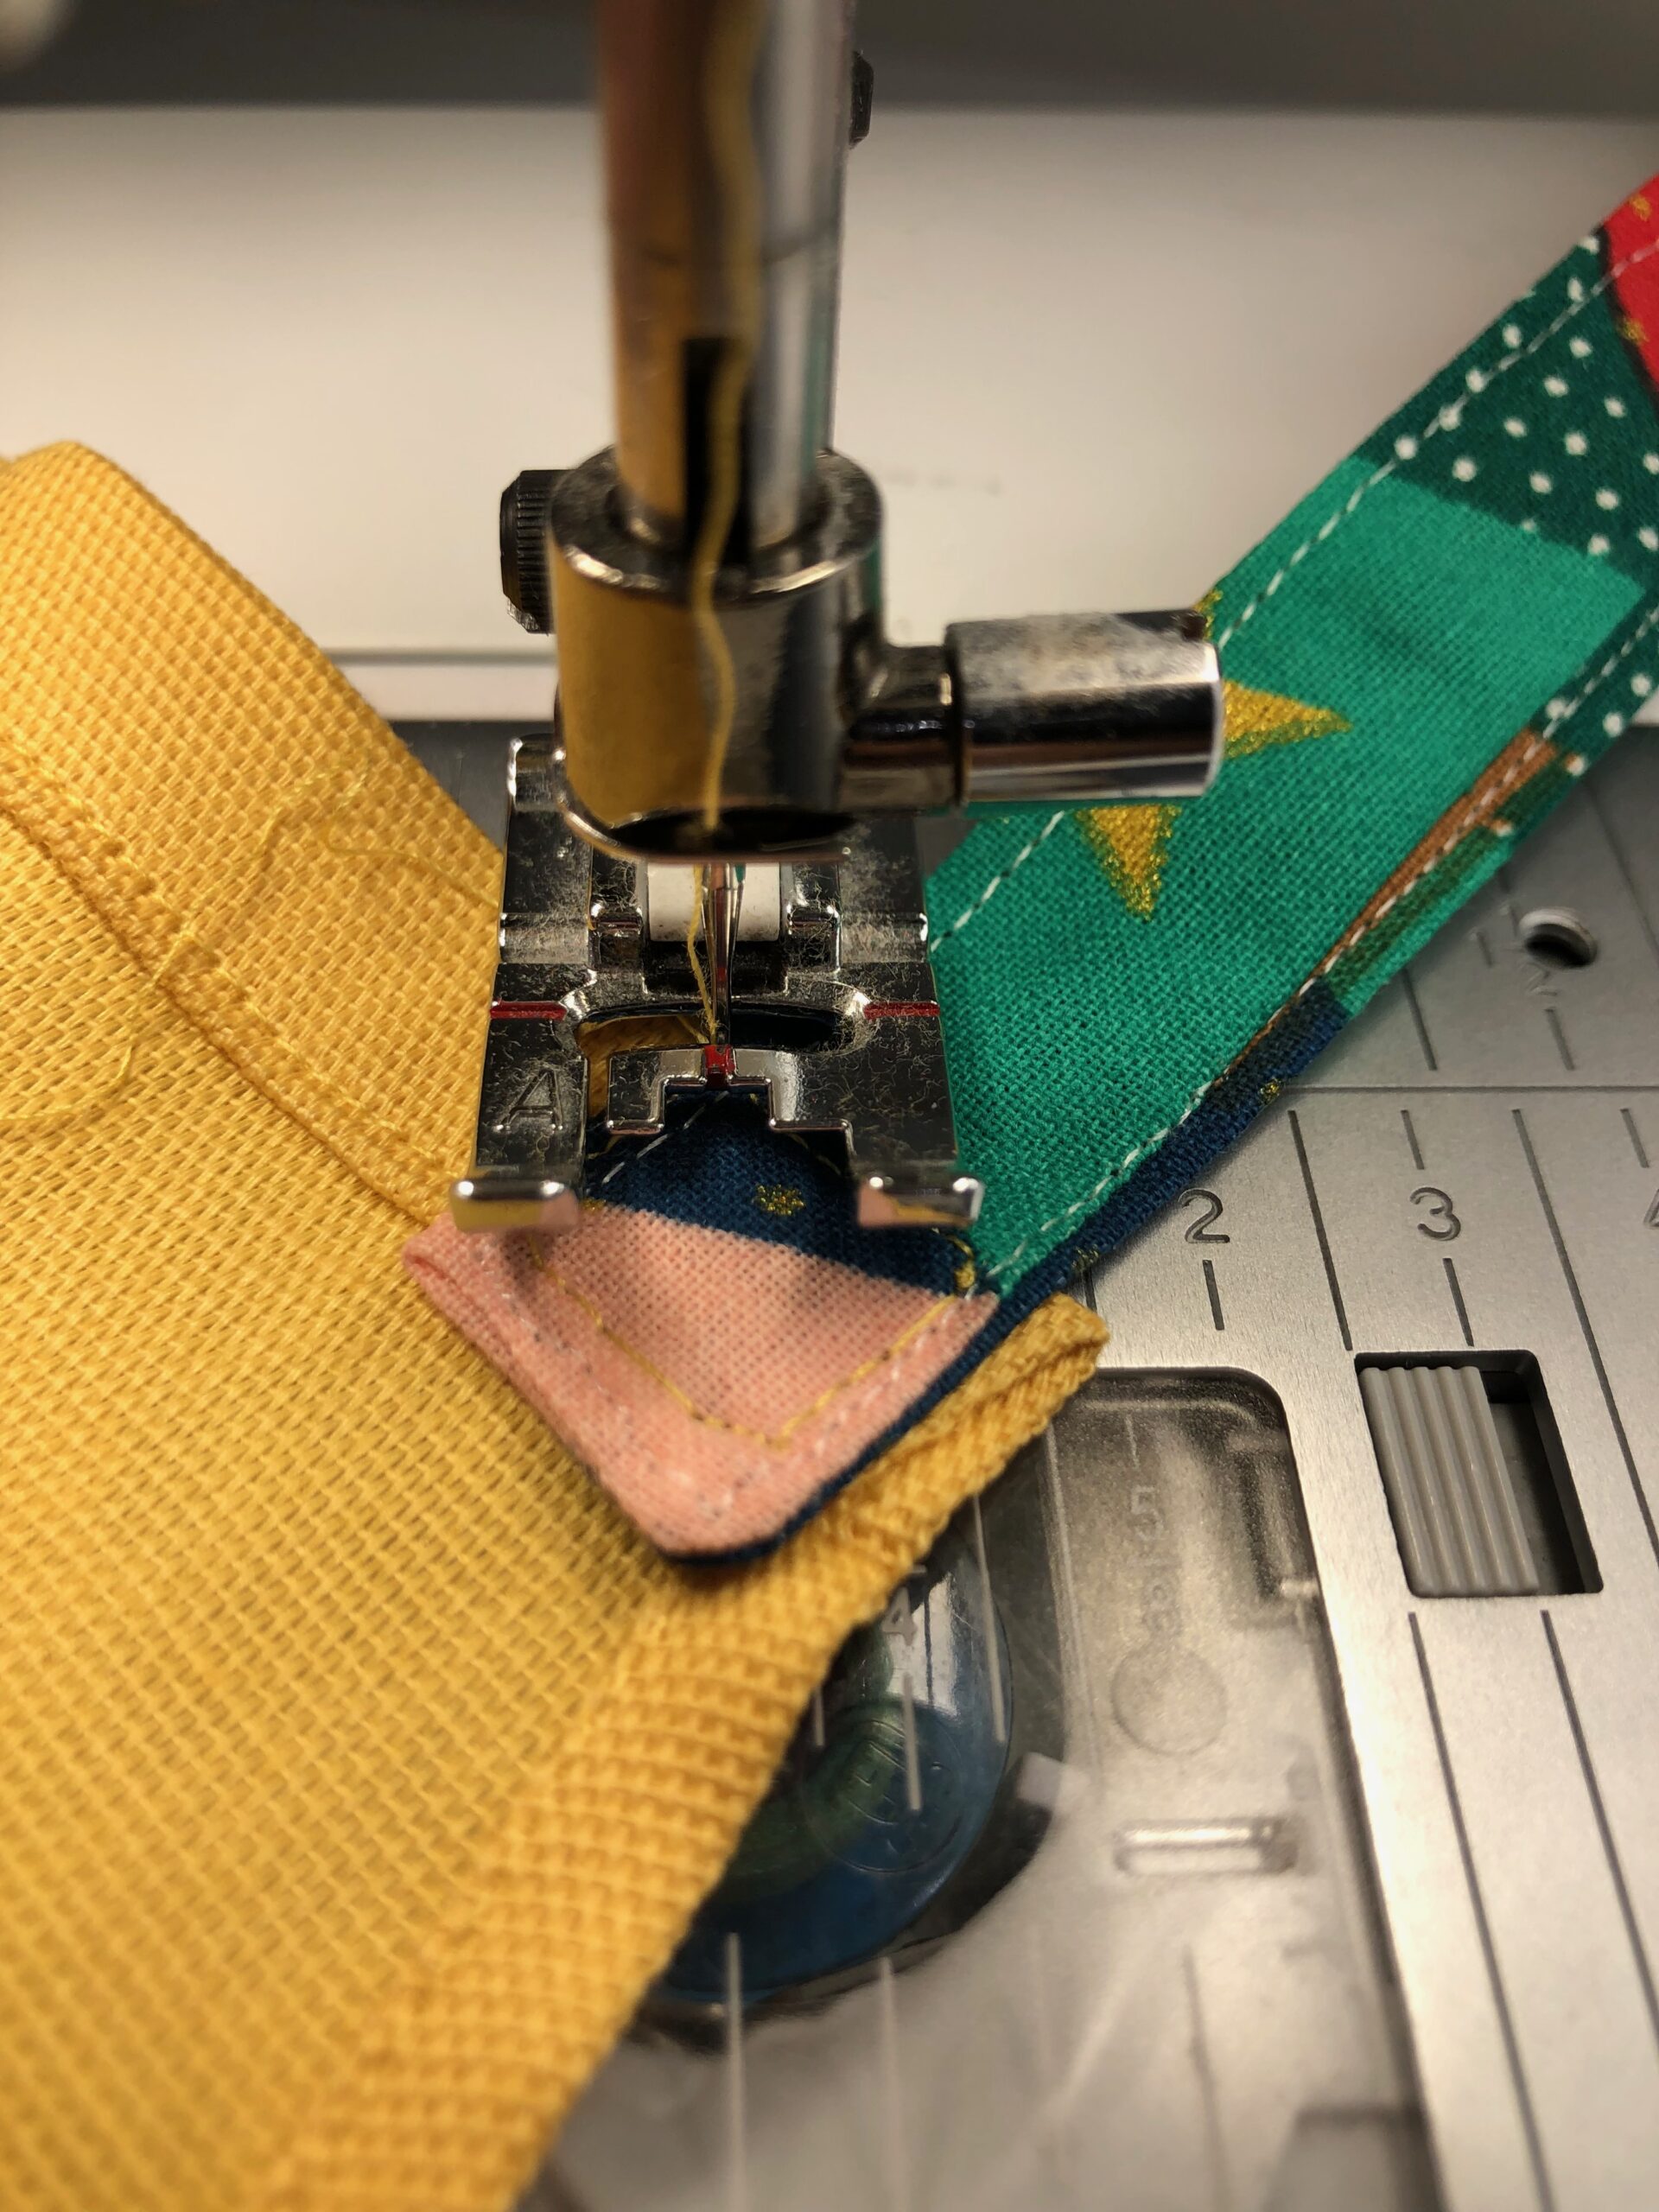
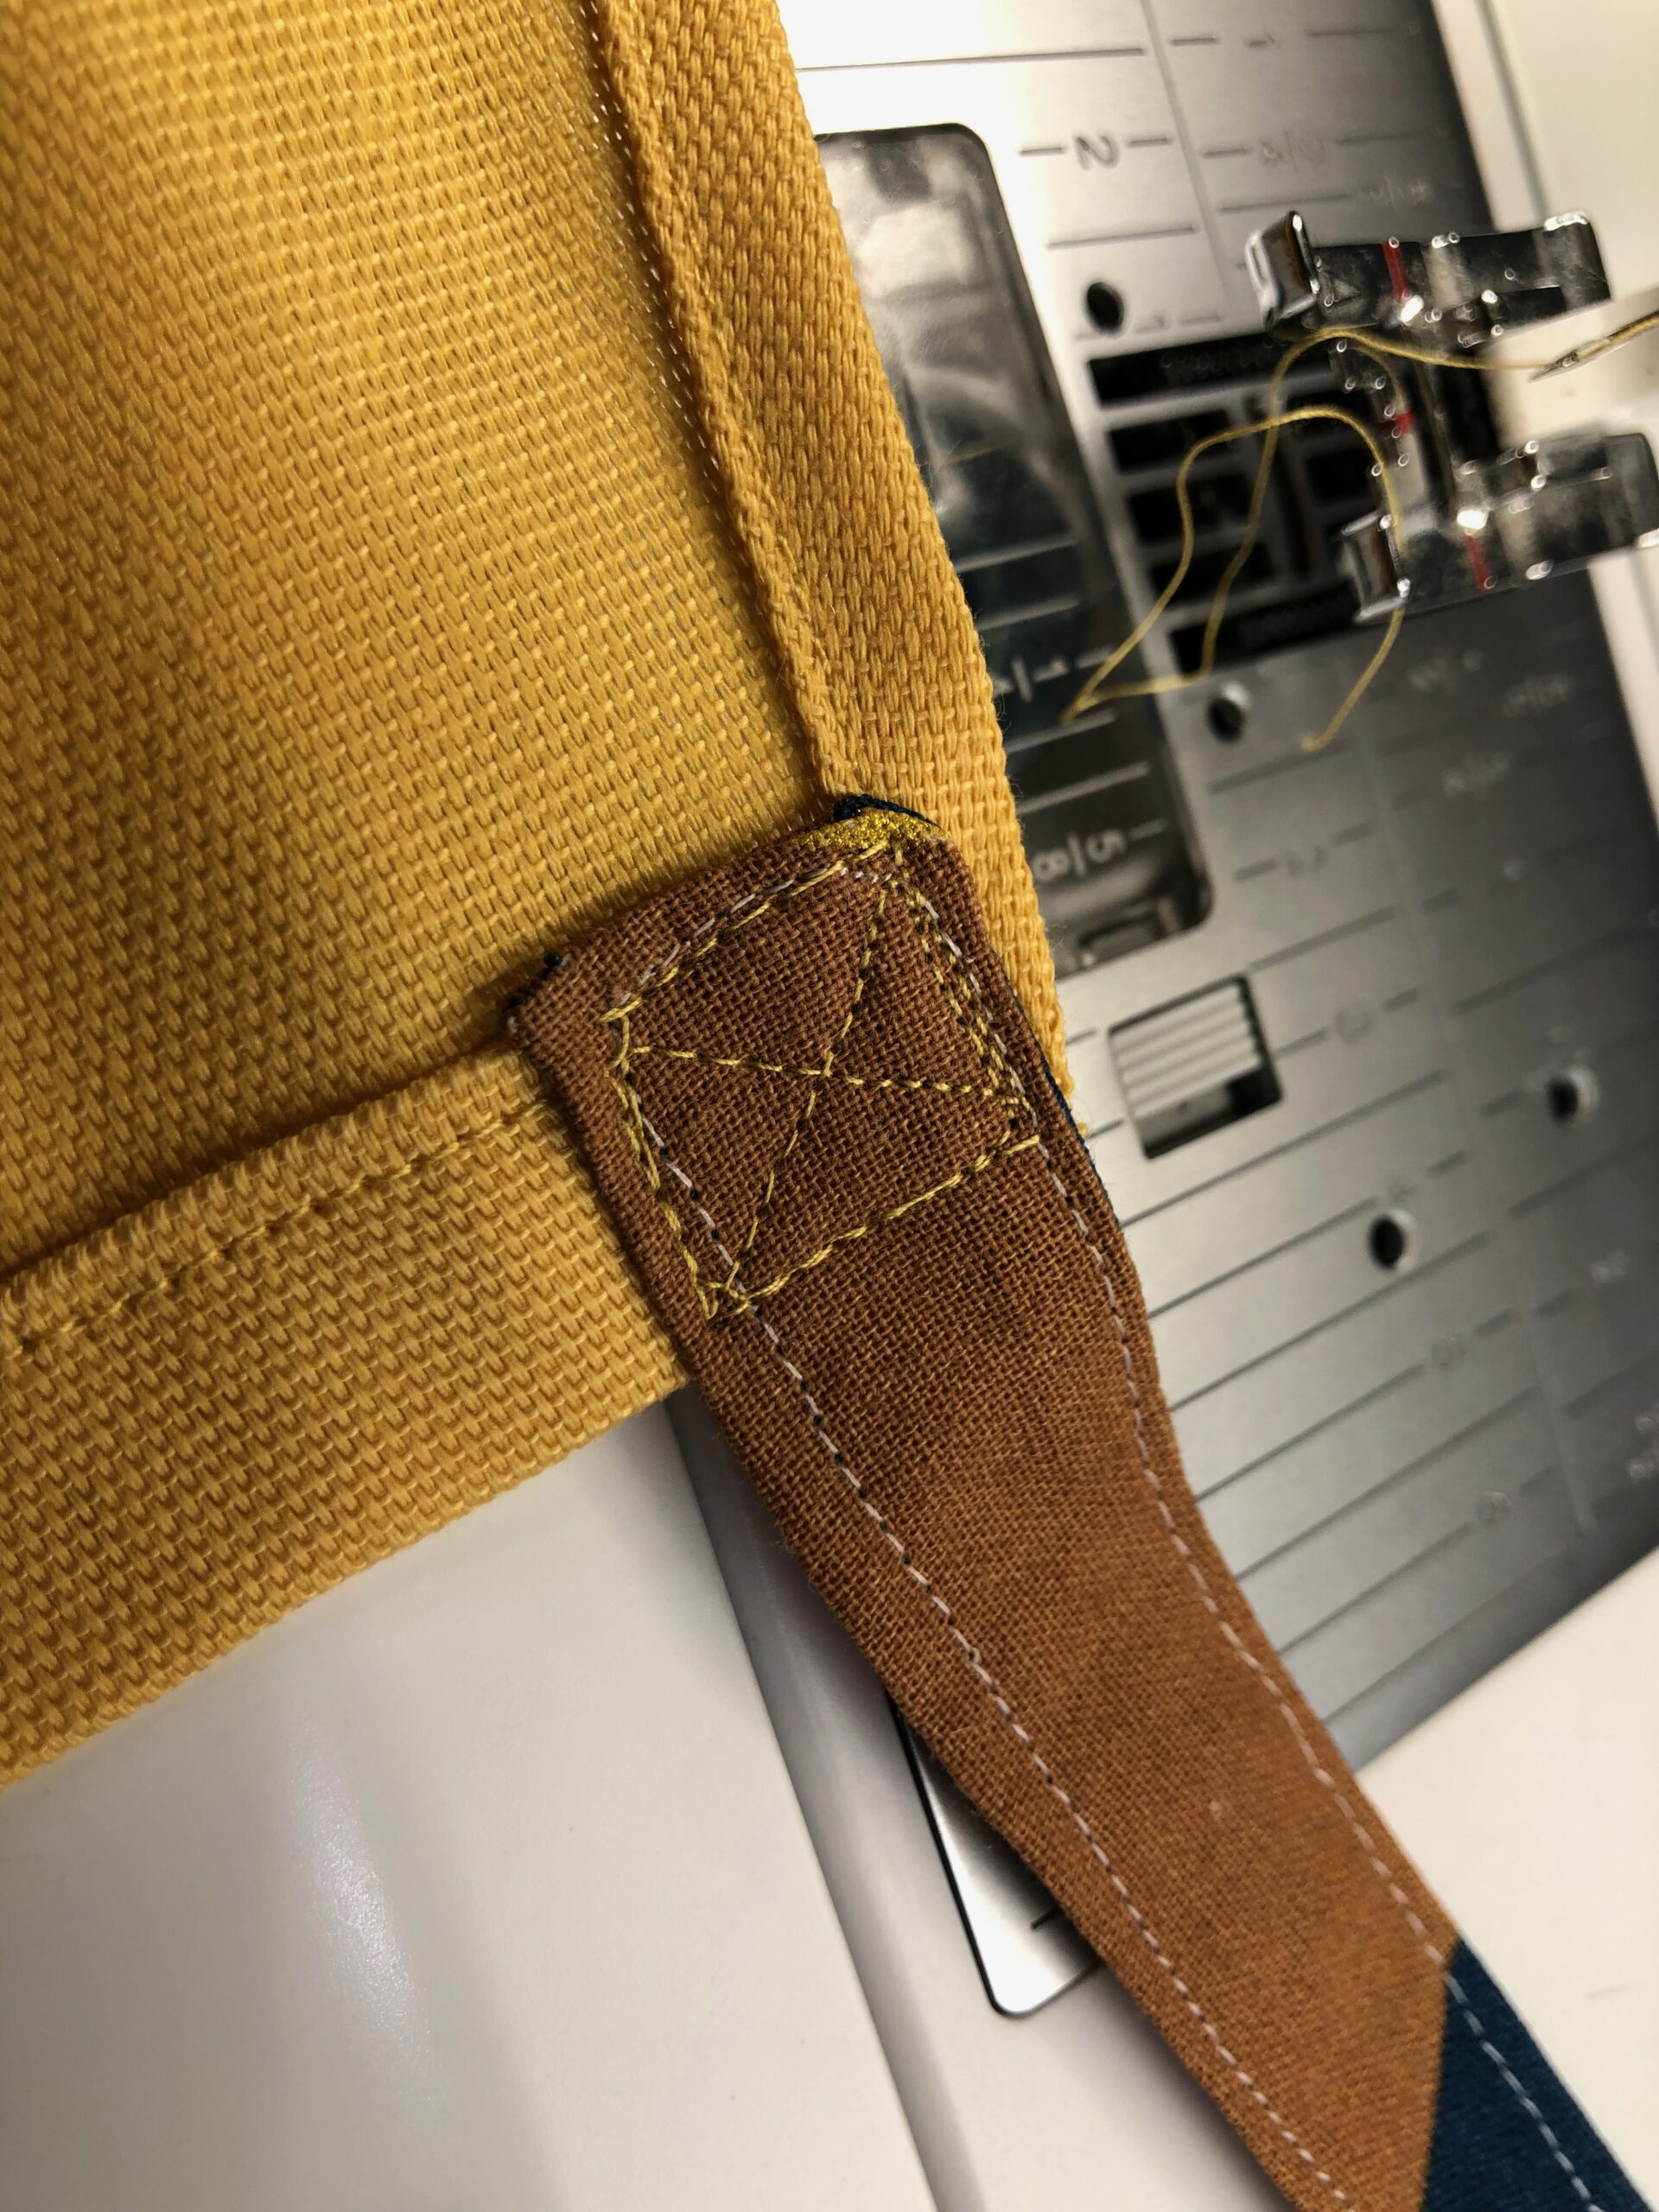
Place the strap ends along each upper-edge corner, making sure the strap isn’t twisted.
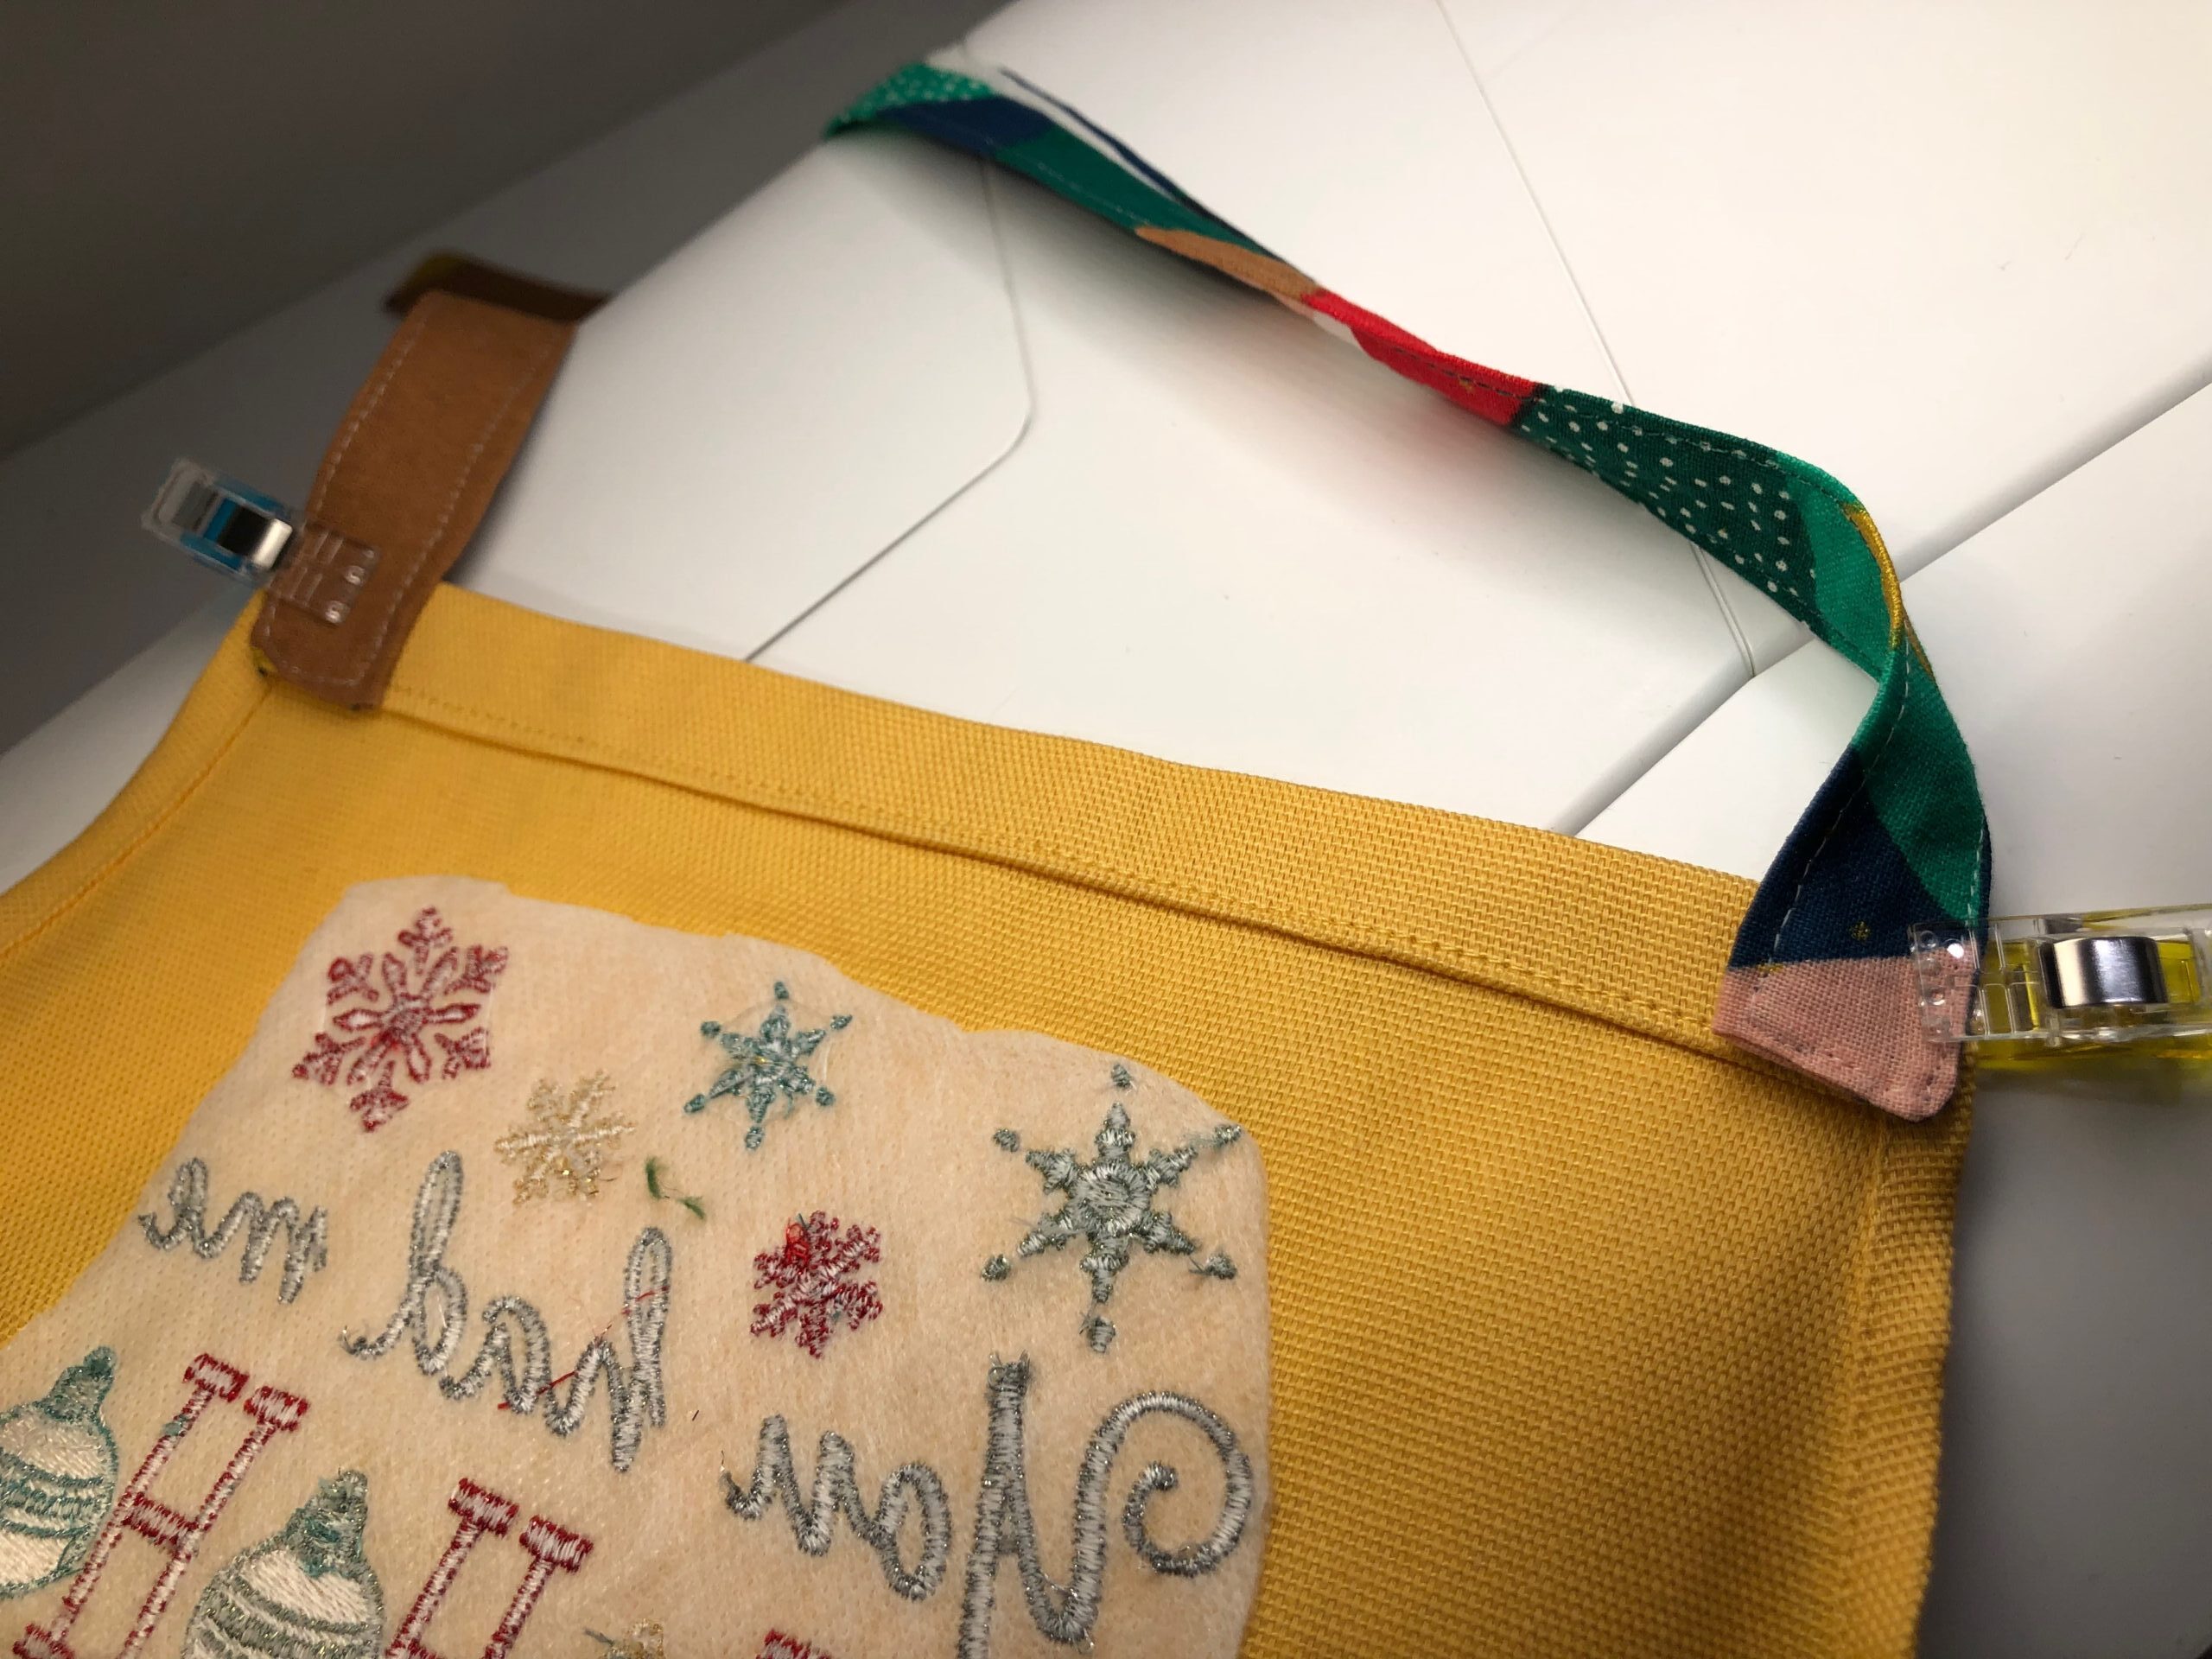
Clip the ends to the apron wrong side, matching the topstitching on the end with the topstitching line. Stitch a box, beginning across the strap end along the previous topstitching and extending upward. If desired, stitch an X inside the box for reinforcement.
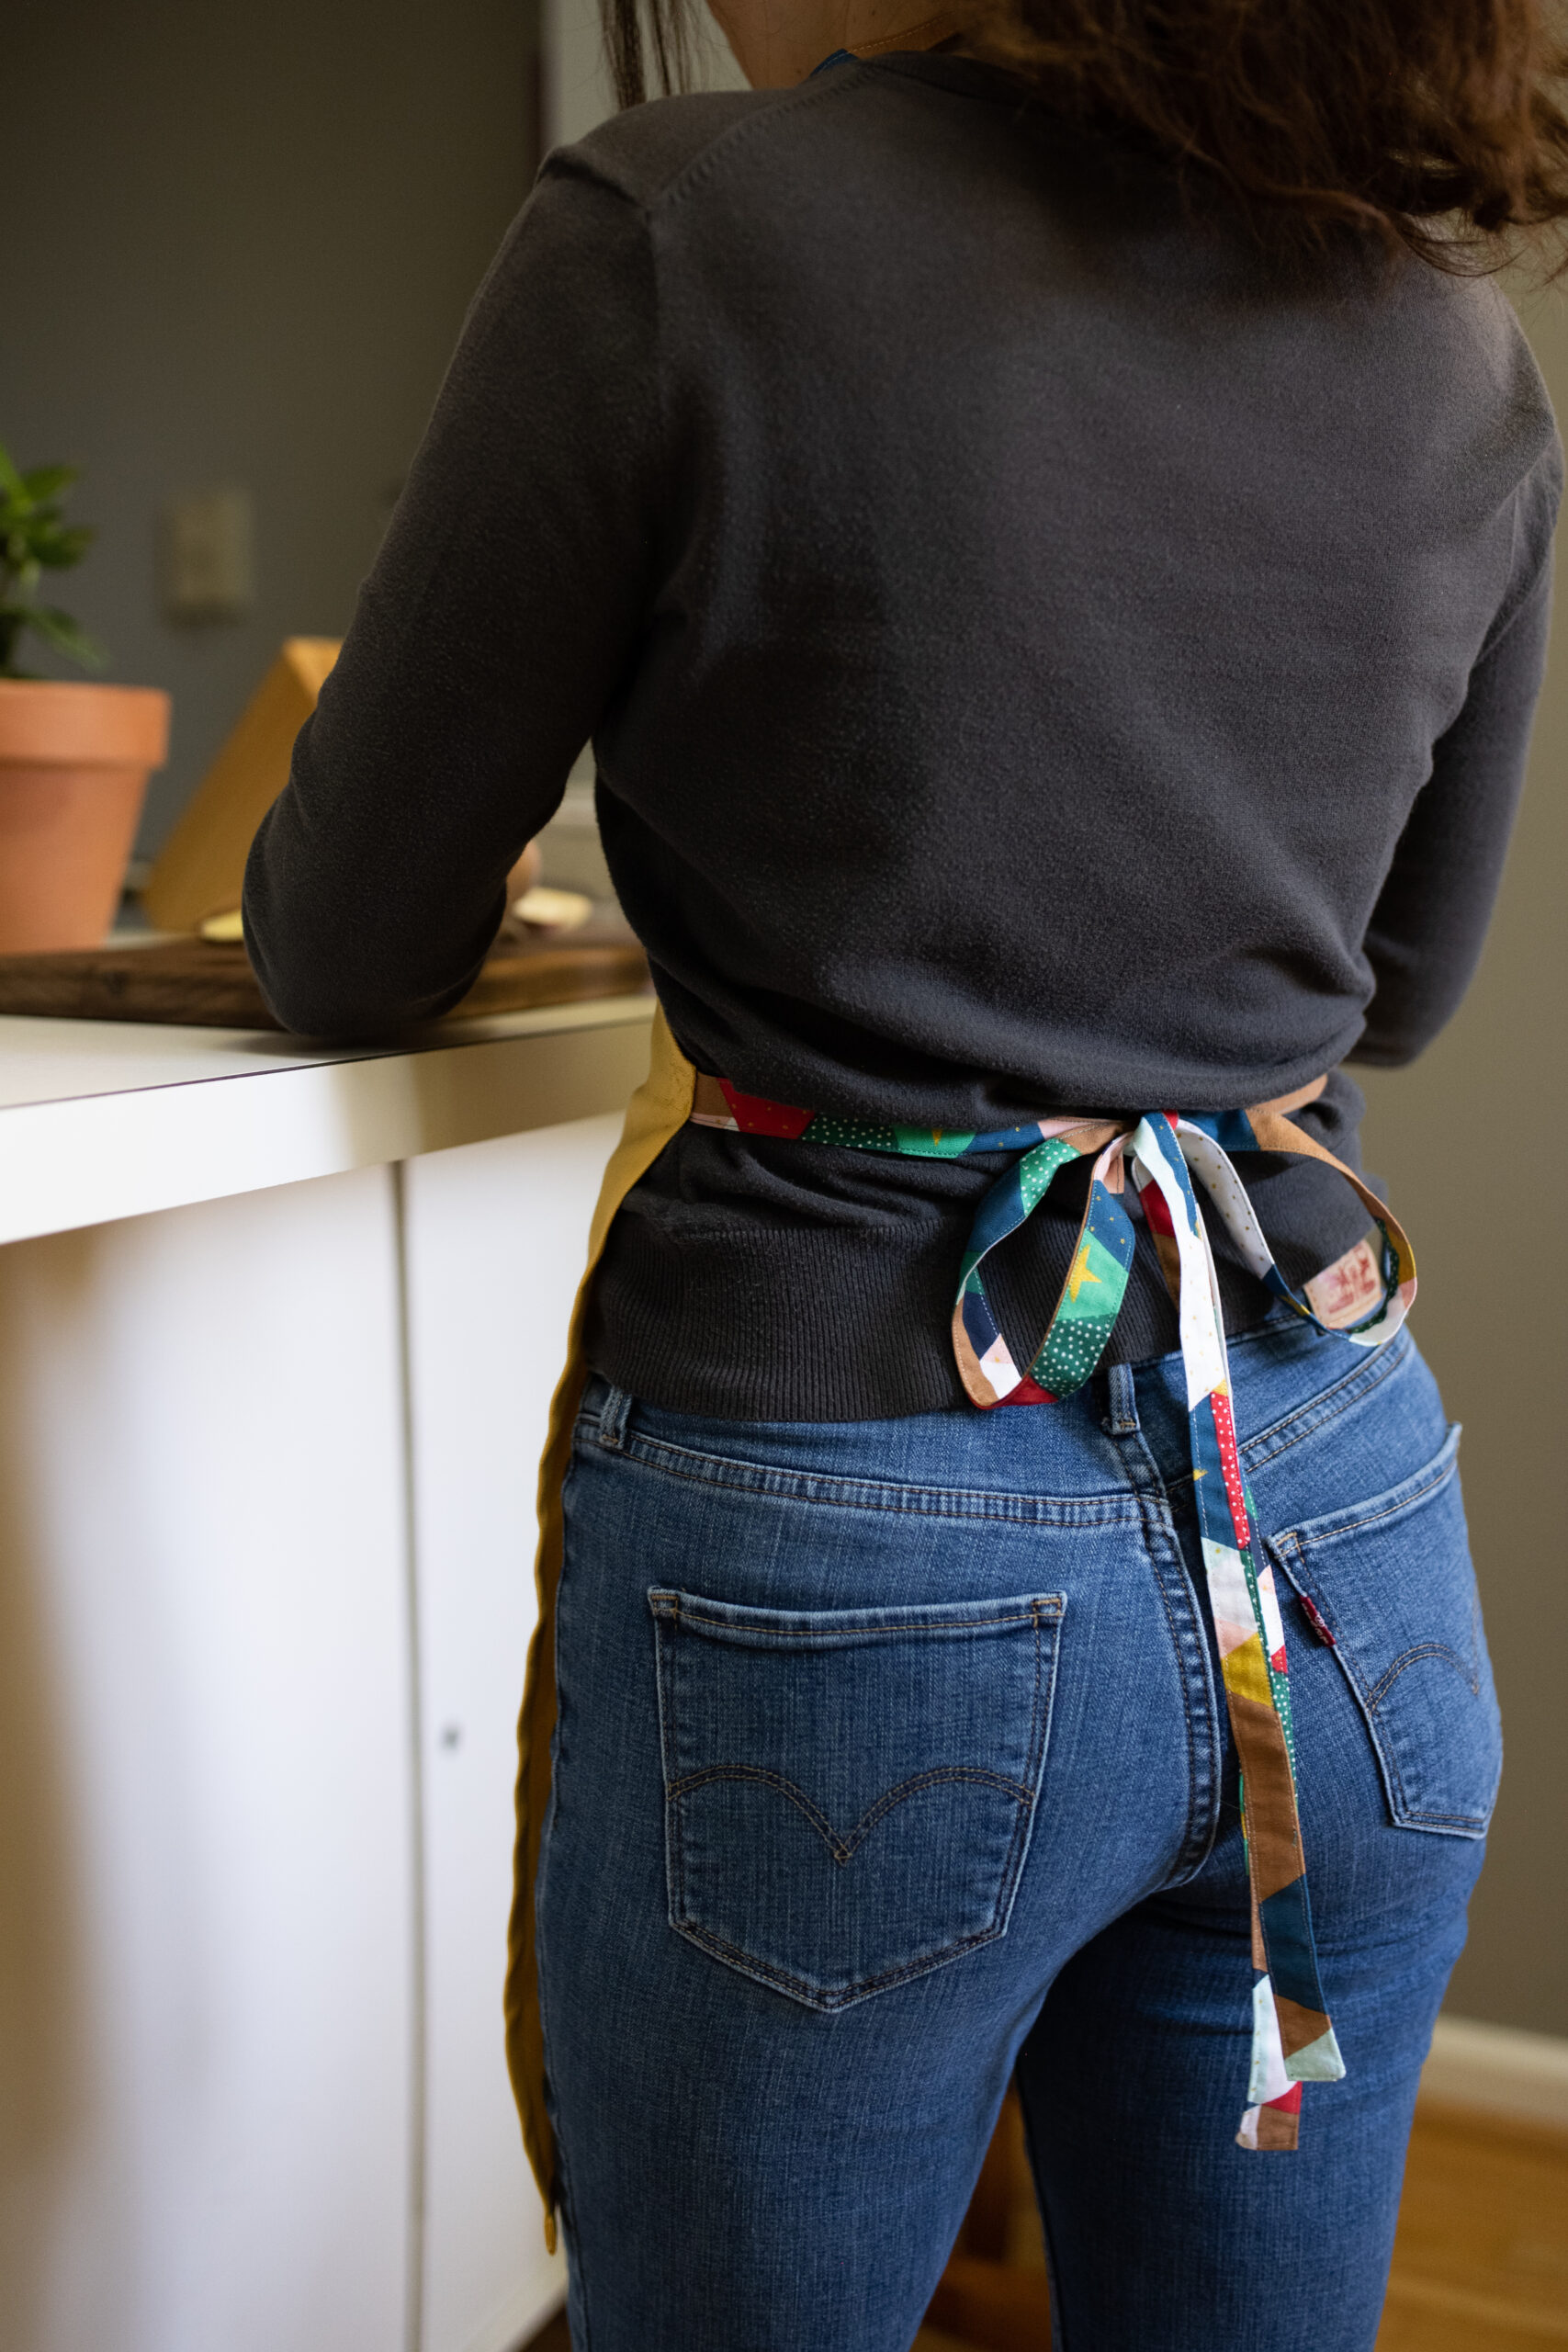
Repeat to stitch one end of each tie to the upper edge of each apron side, under the curved edge at the waistline.

The basic apron is ready to wear once the stabilizer is removed per the method of your choice (rinsing or washing). To wear, tie the neck straps in a loose knot or bow around your neck and tie the straps into a loose knot or bow around your waist.


How do I download the design on the apron pattern?
Hi Janet,
This design is included in our Santa Sayings Machine Embroidery Collection and also available separately. You can find it here: https://sulky.com/santa-sayings-you-had-me-at-hohoho-machine-embroidery-design
This is just “toooo” cute. Thanks for an easy thing for my post concussion brain to make and share with friends.
Thank you Linda! I’m glad you enjoy it.