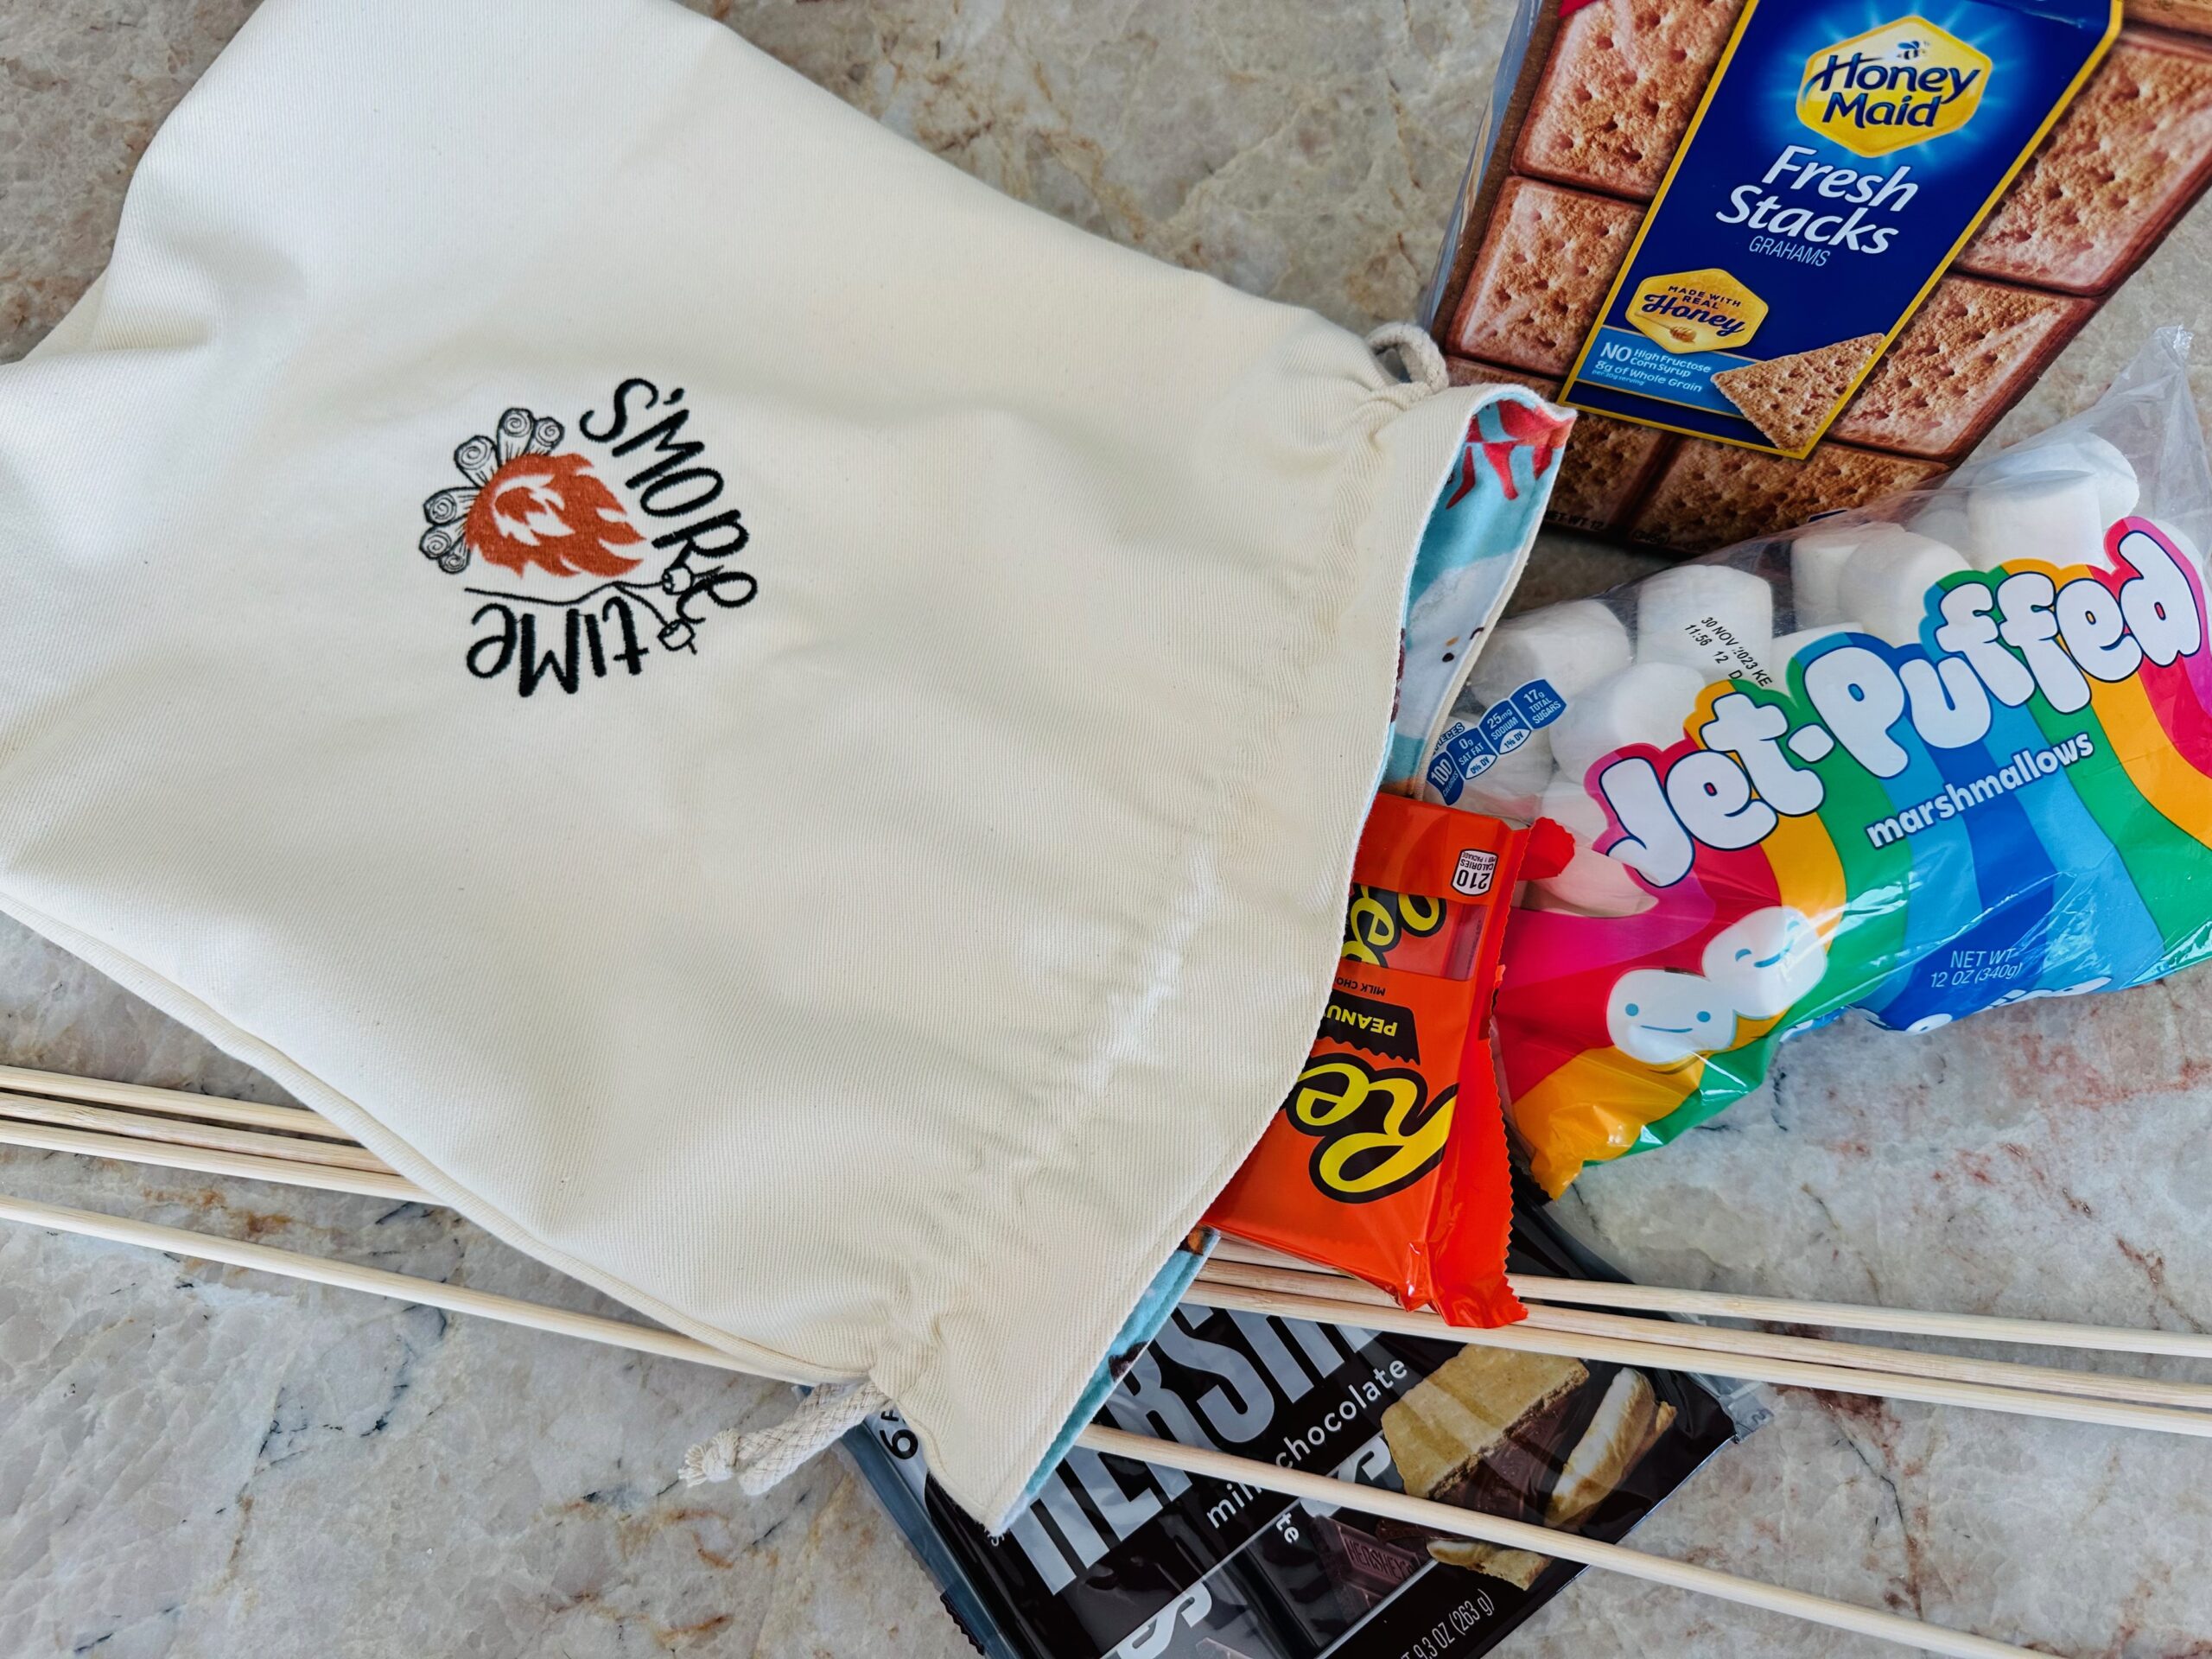
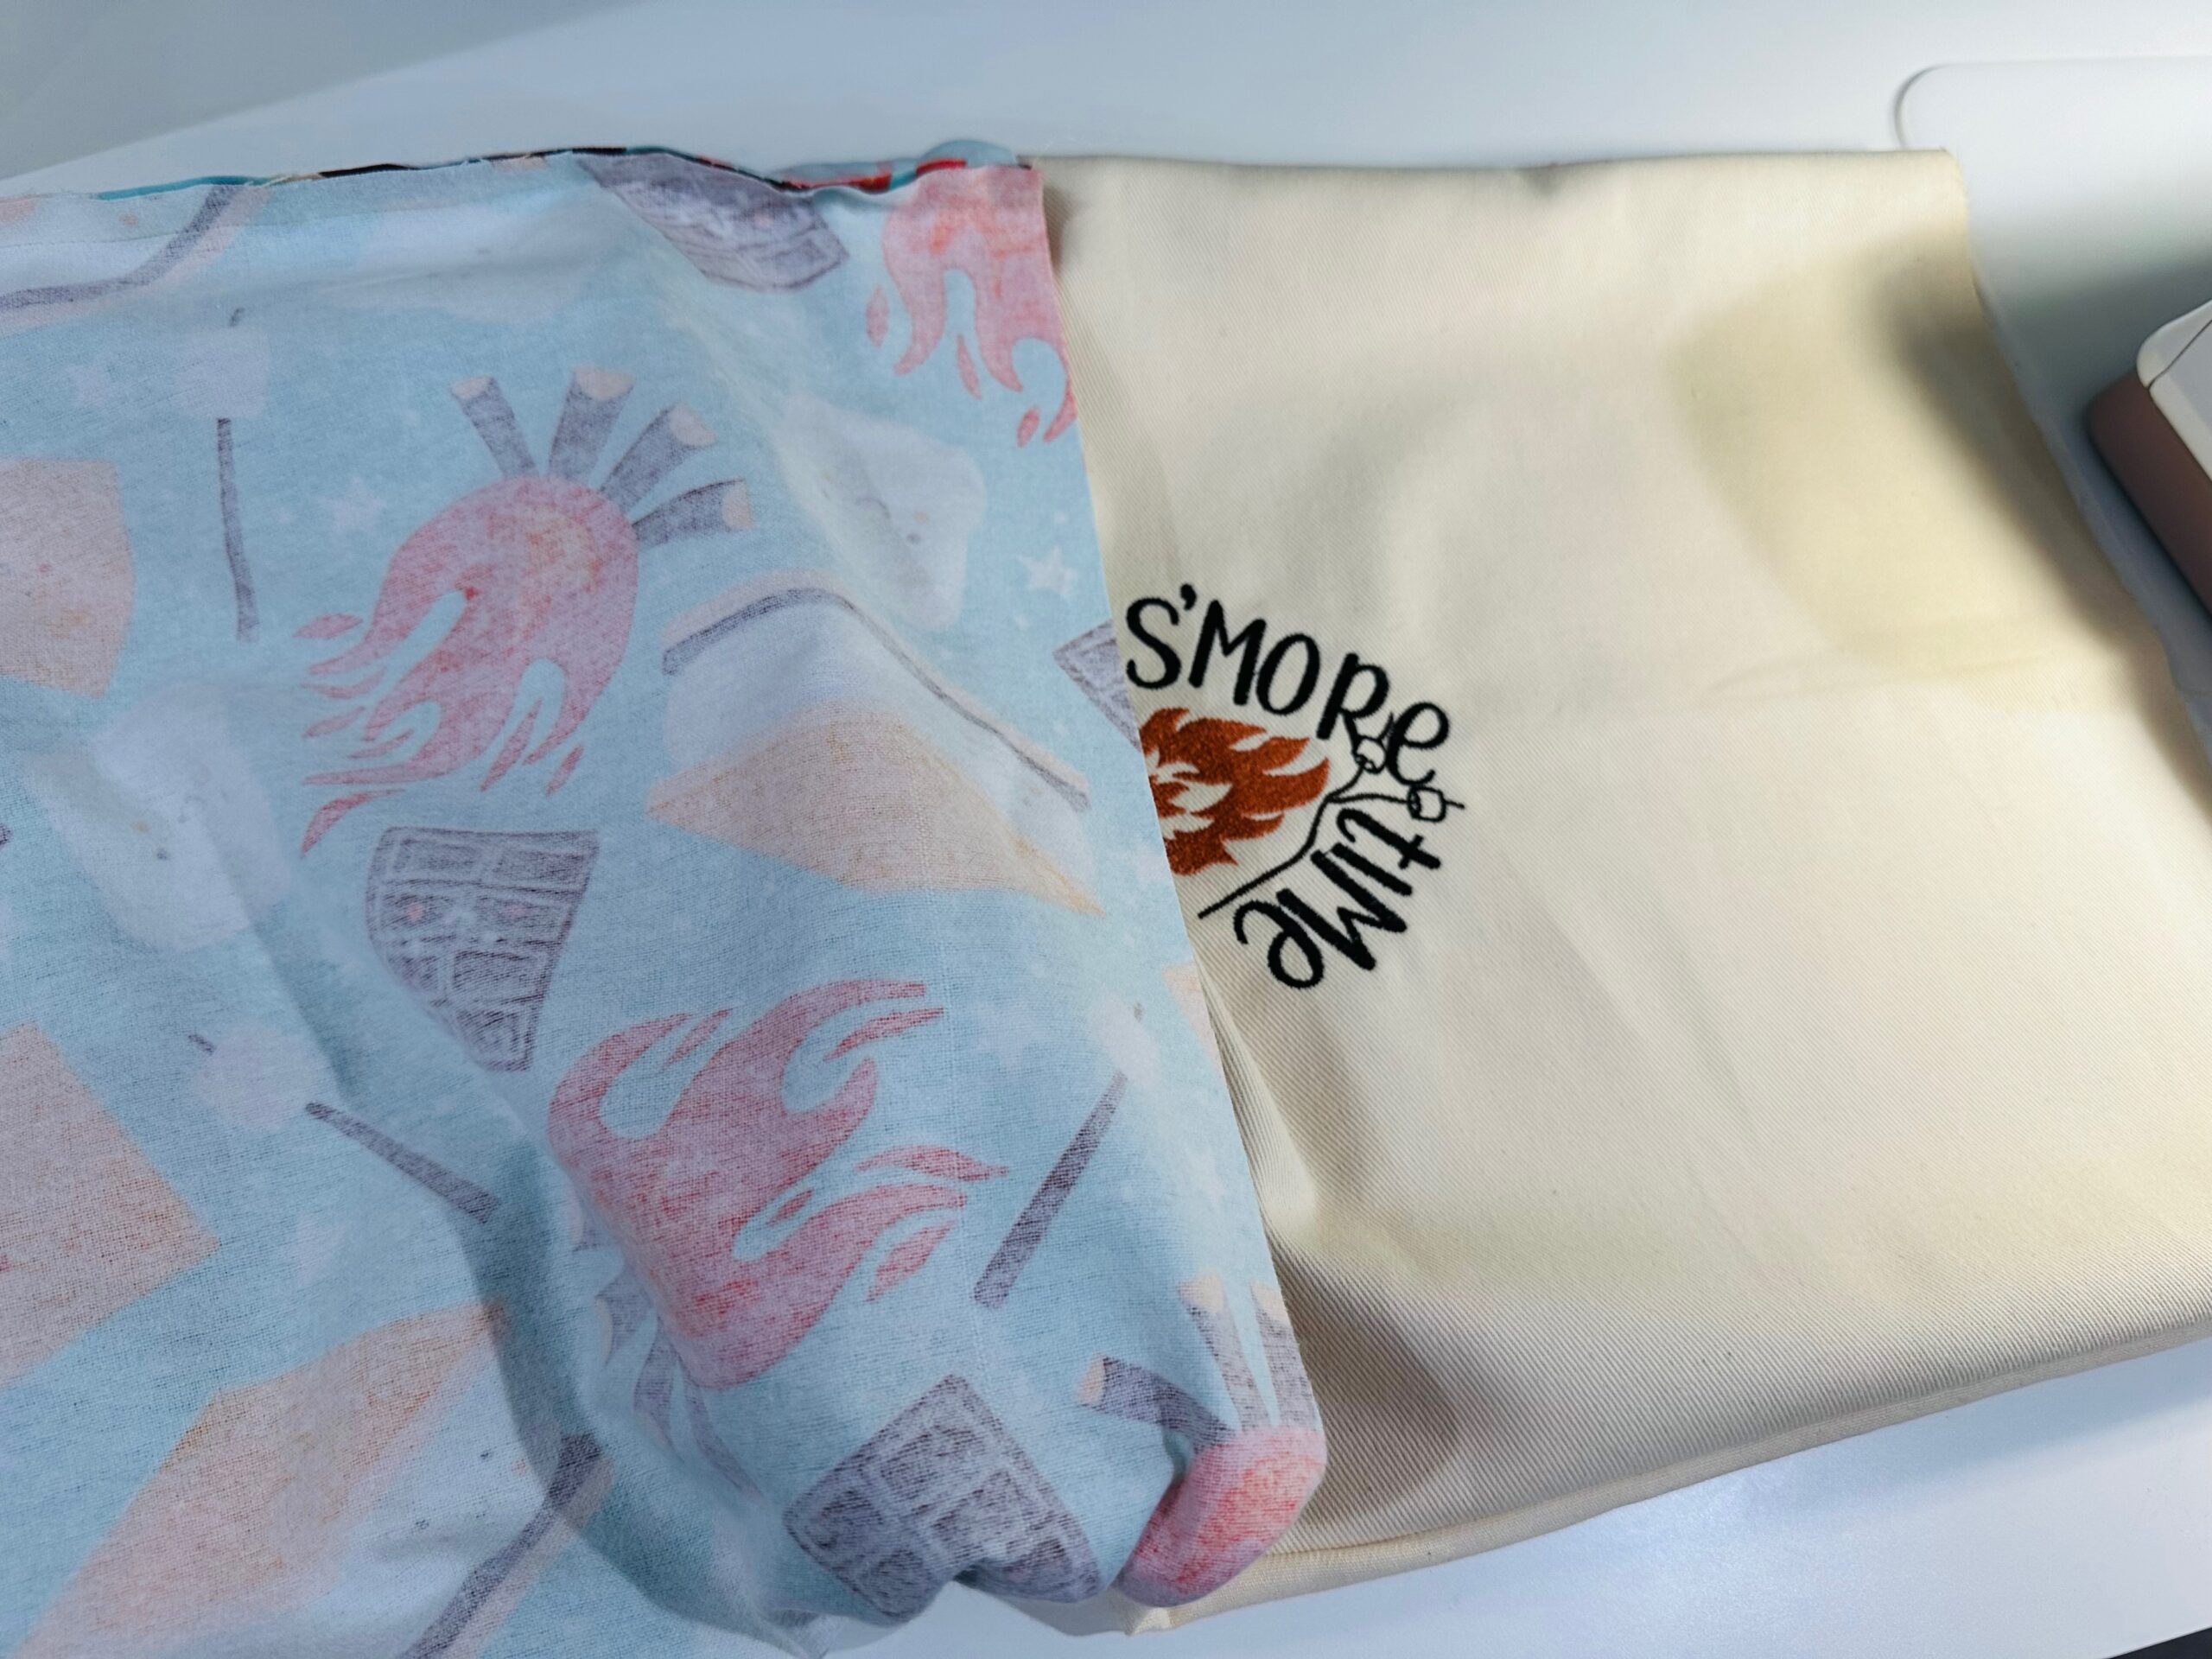
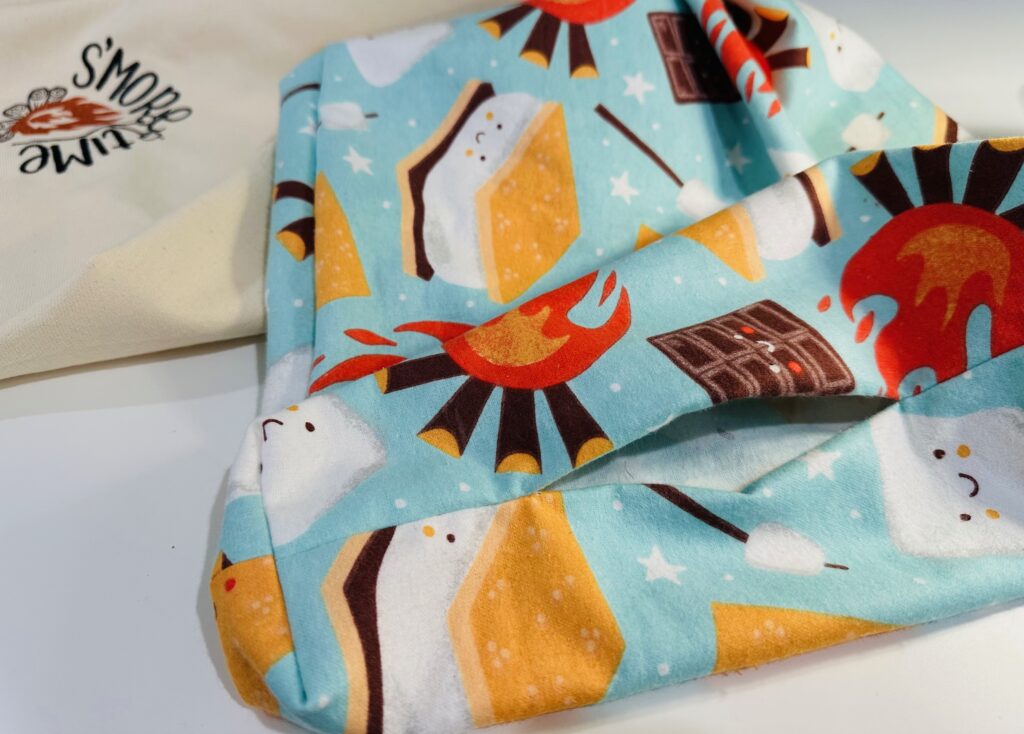
Embroidered S’mores Kit Perfect for Gifting
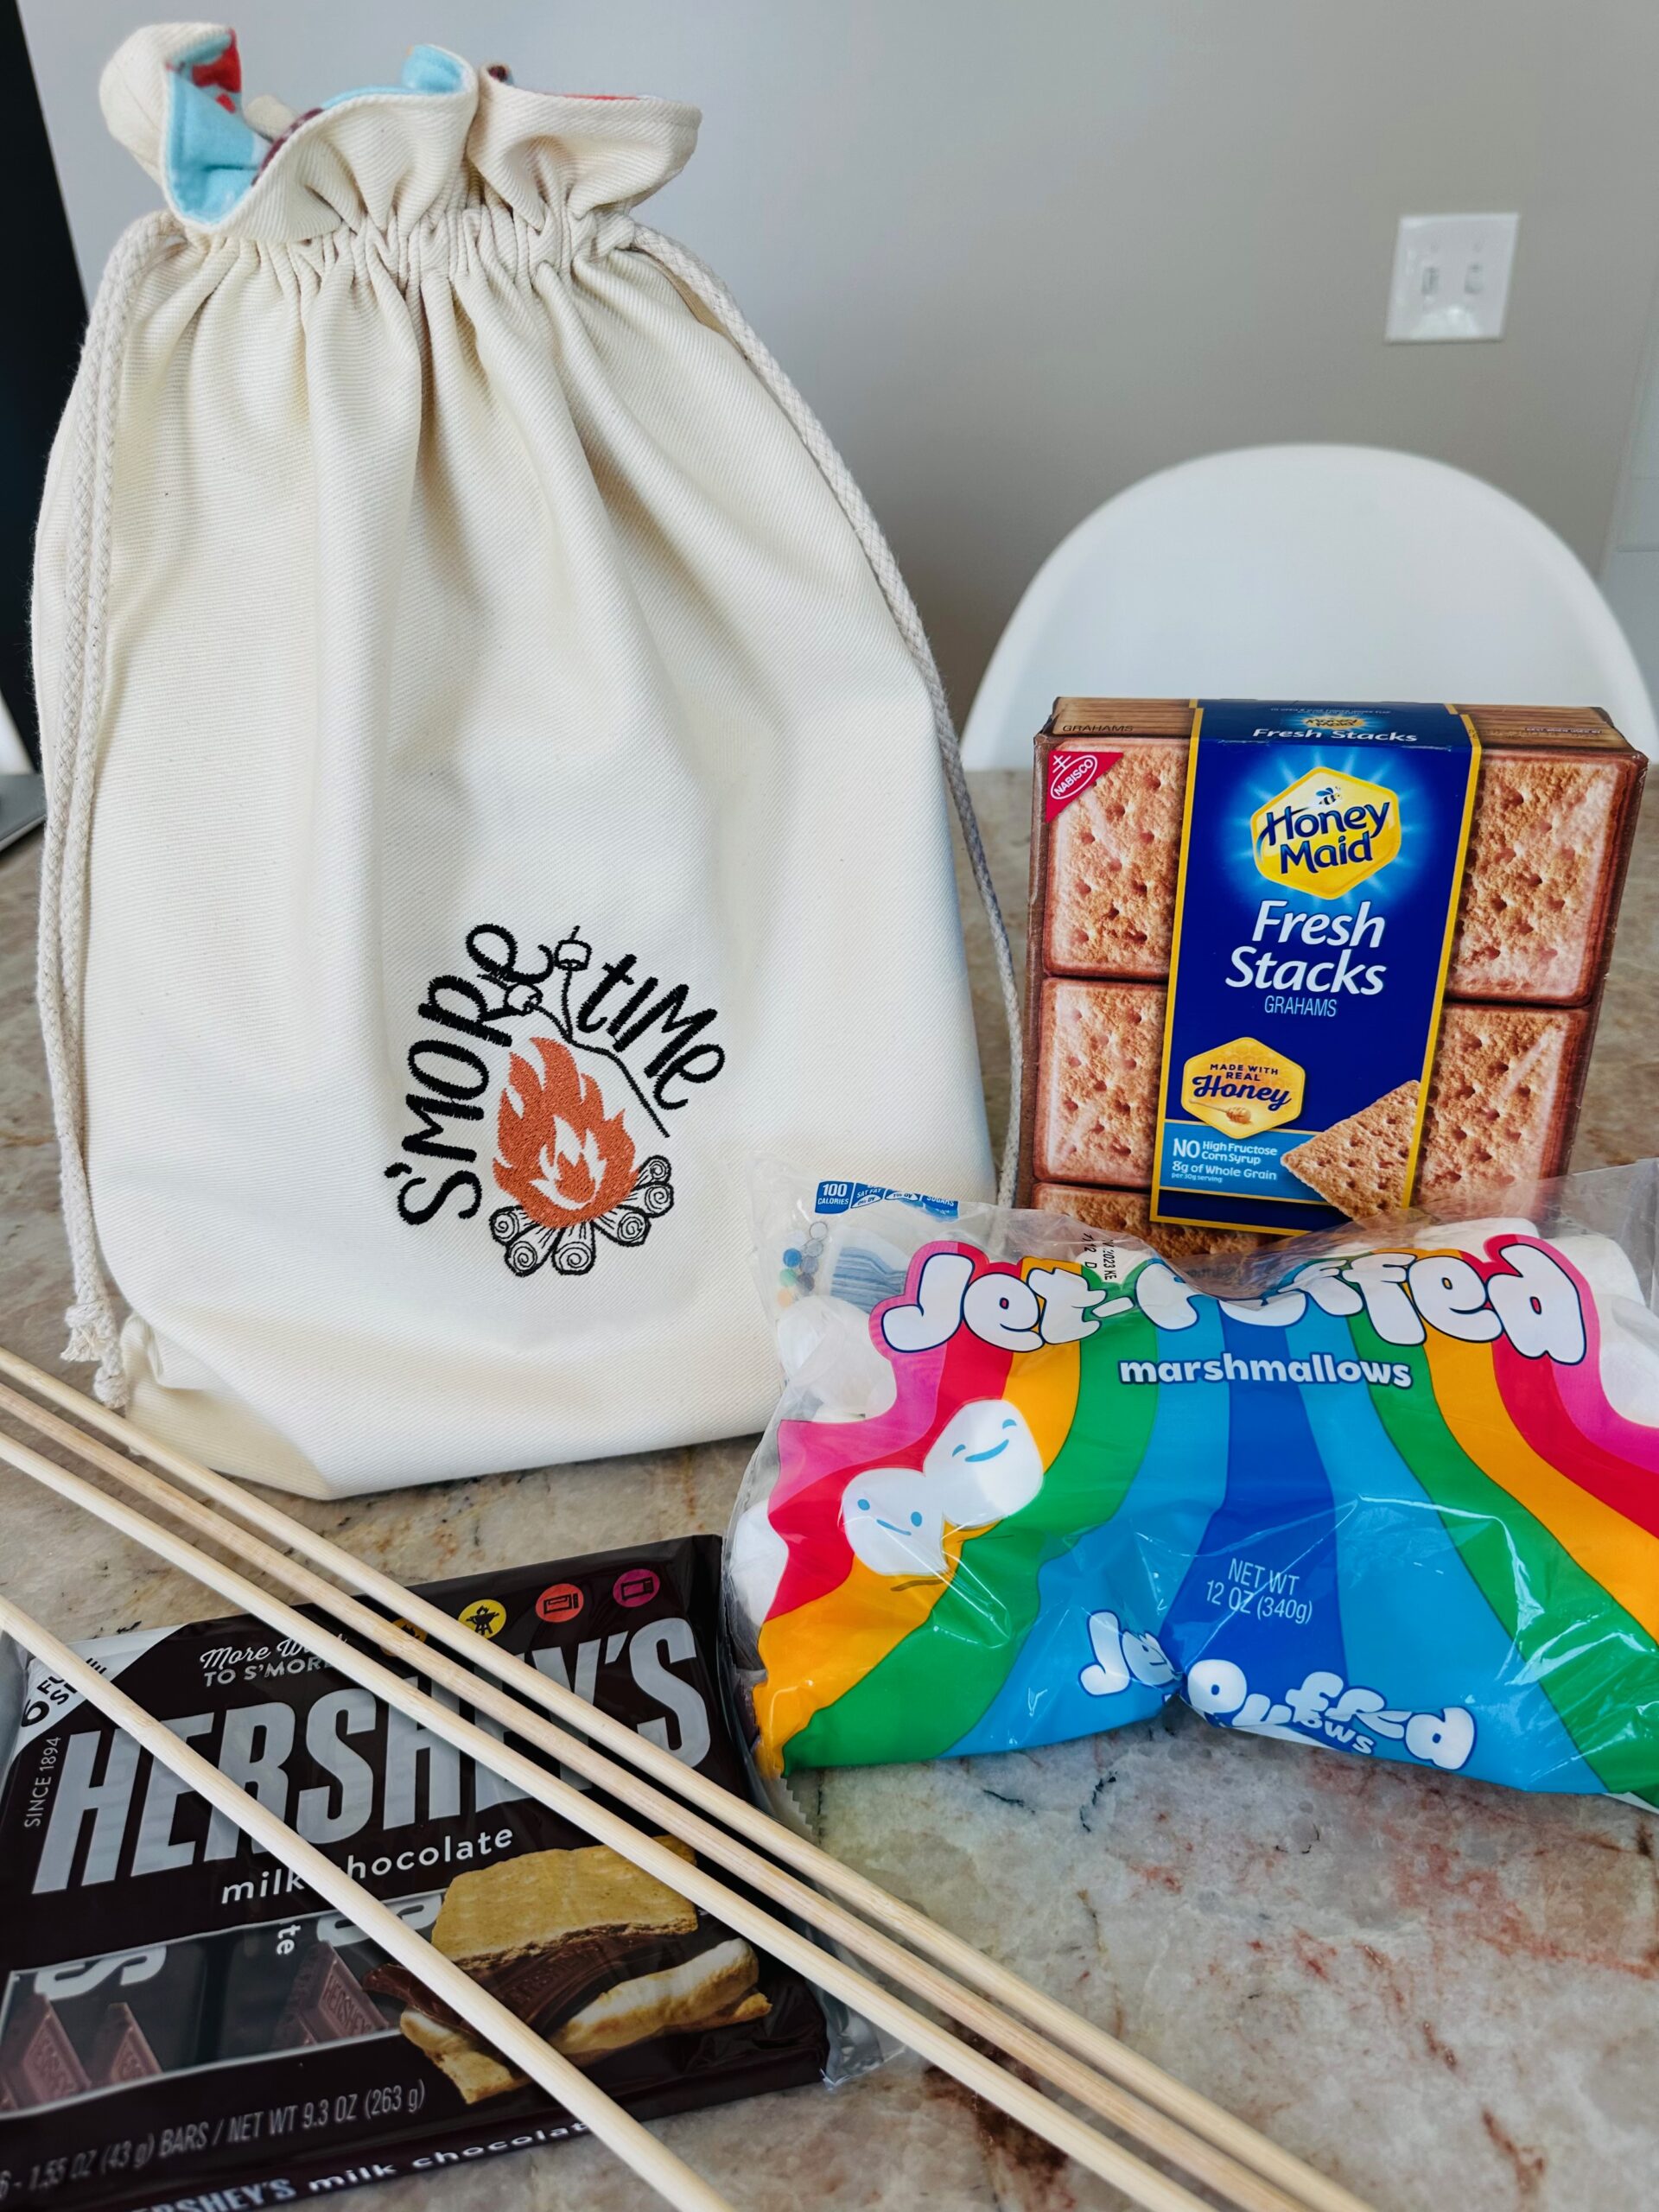
Create an embroidered S’mores kit for summer campouts. This embroidered S’mores kit is a drawstring pouch with boxed corners for dimension. The roomy interior fits a 16 oz. bag of large marshmallows (or larger), 6 full-size chocolate bars, 6 full size peanut butter cup packs and 12 oz. box of graham crackers so everything you need is at the ready. The S’mores kit also makes a great last-minute Father’s Day gift, too! Make the embroidered S’mores kit from canvas or denim to ensure durability and longevity.
EMBROIDERED S’MORES KIT SUPPLIES
- Road Trip Machine Embroidery Palette (includes six spools of Sulky Rayon Thread and six embroidery designs from the Sulky Road Trip Machine Embroidery Collection; or purchase the Sulky Rayon Threads and designs separately)
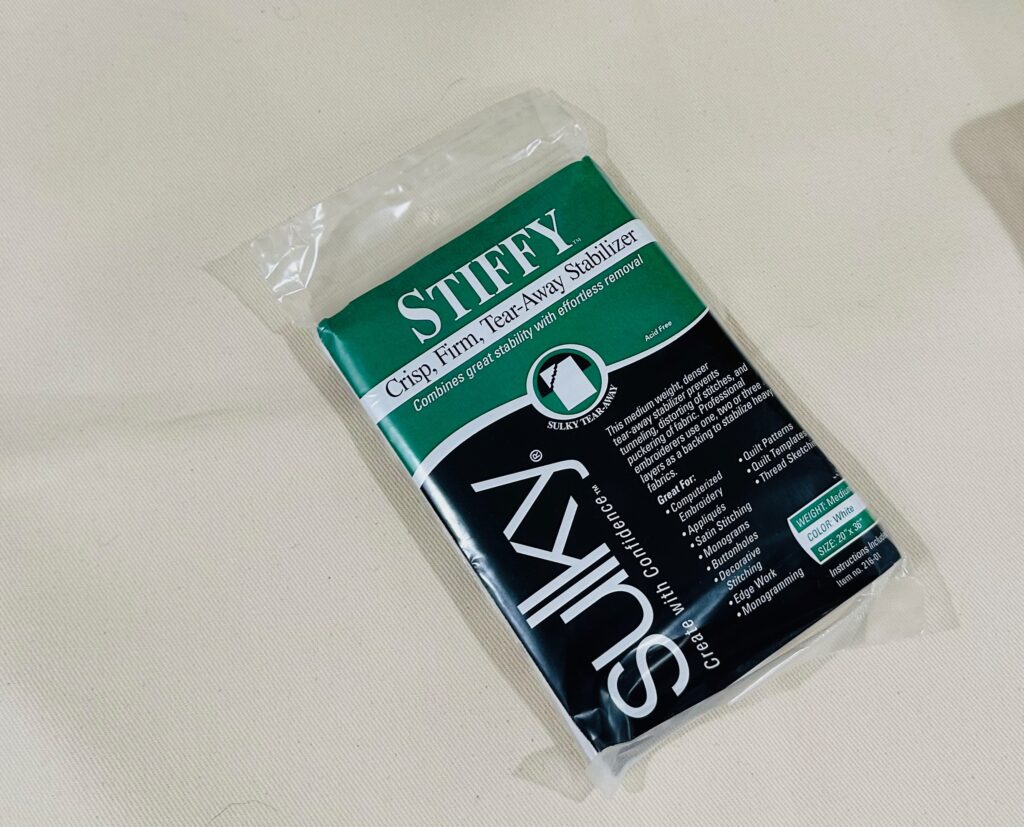
- Sulky Stiffy™ Stabilizer
- Organ® size 80/12 Top Stitch Needles
- Sulky Bobbin Thread
- (2) 16″ W x 20″ H canvas or denim fabric rectangles (exterior)
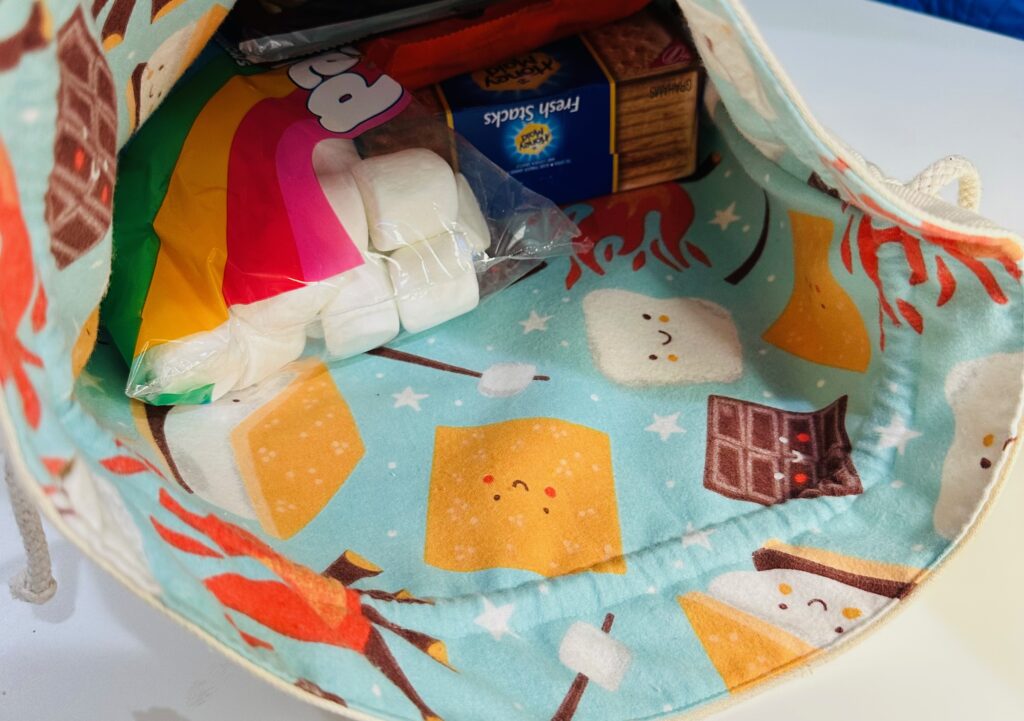
- (2) 16″ W x 20″ H quilting cotton fabric rectangles (interior)
- (2) 1-yard lengths of 1/2″-wide ribbon or 1/4″-diameter cording (ties)
- Magnetic embroidery hoop (optional)
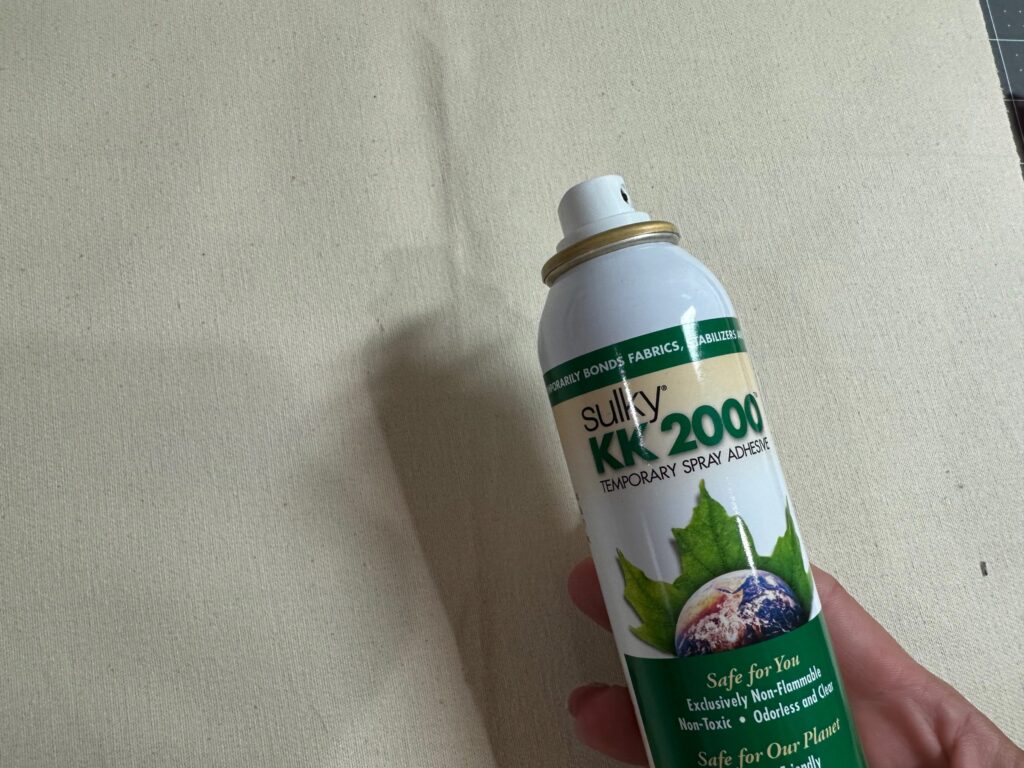
- Sulky KK 2000™ Temporary Spray Adhesive
- Safety pin or bodkin

EMBROIDERED FRONT
Install a new size 80/12 Top Stitch Needle. Thread the needle with the first color of the design. Wind a bobbin with Sulky Bobbin Thread in a color that matches or coordinates with the outer fabric.
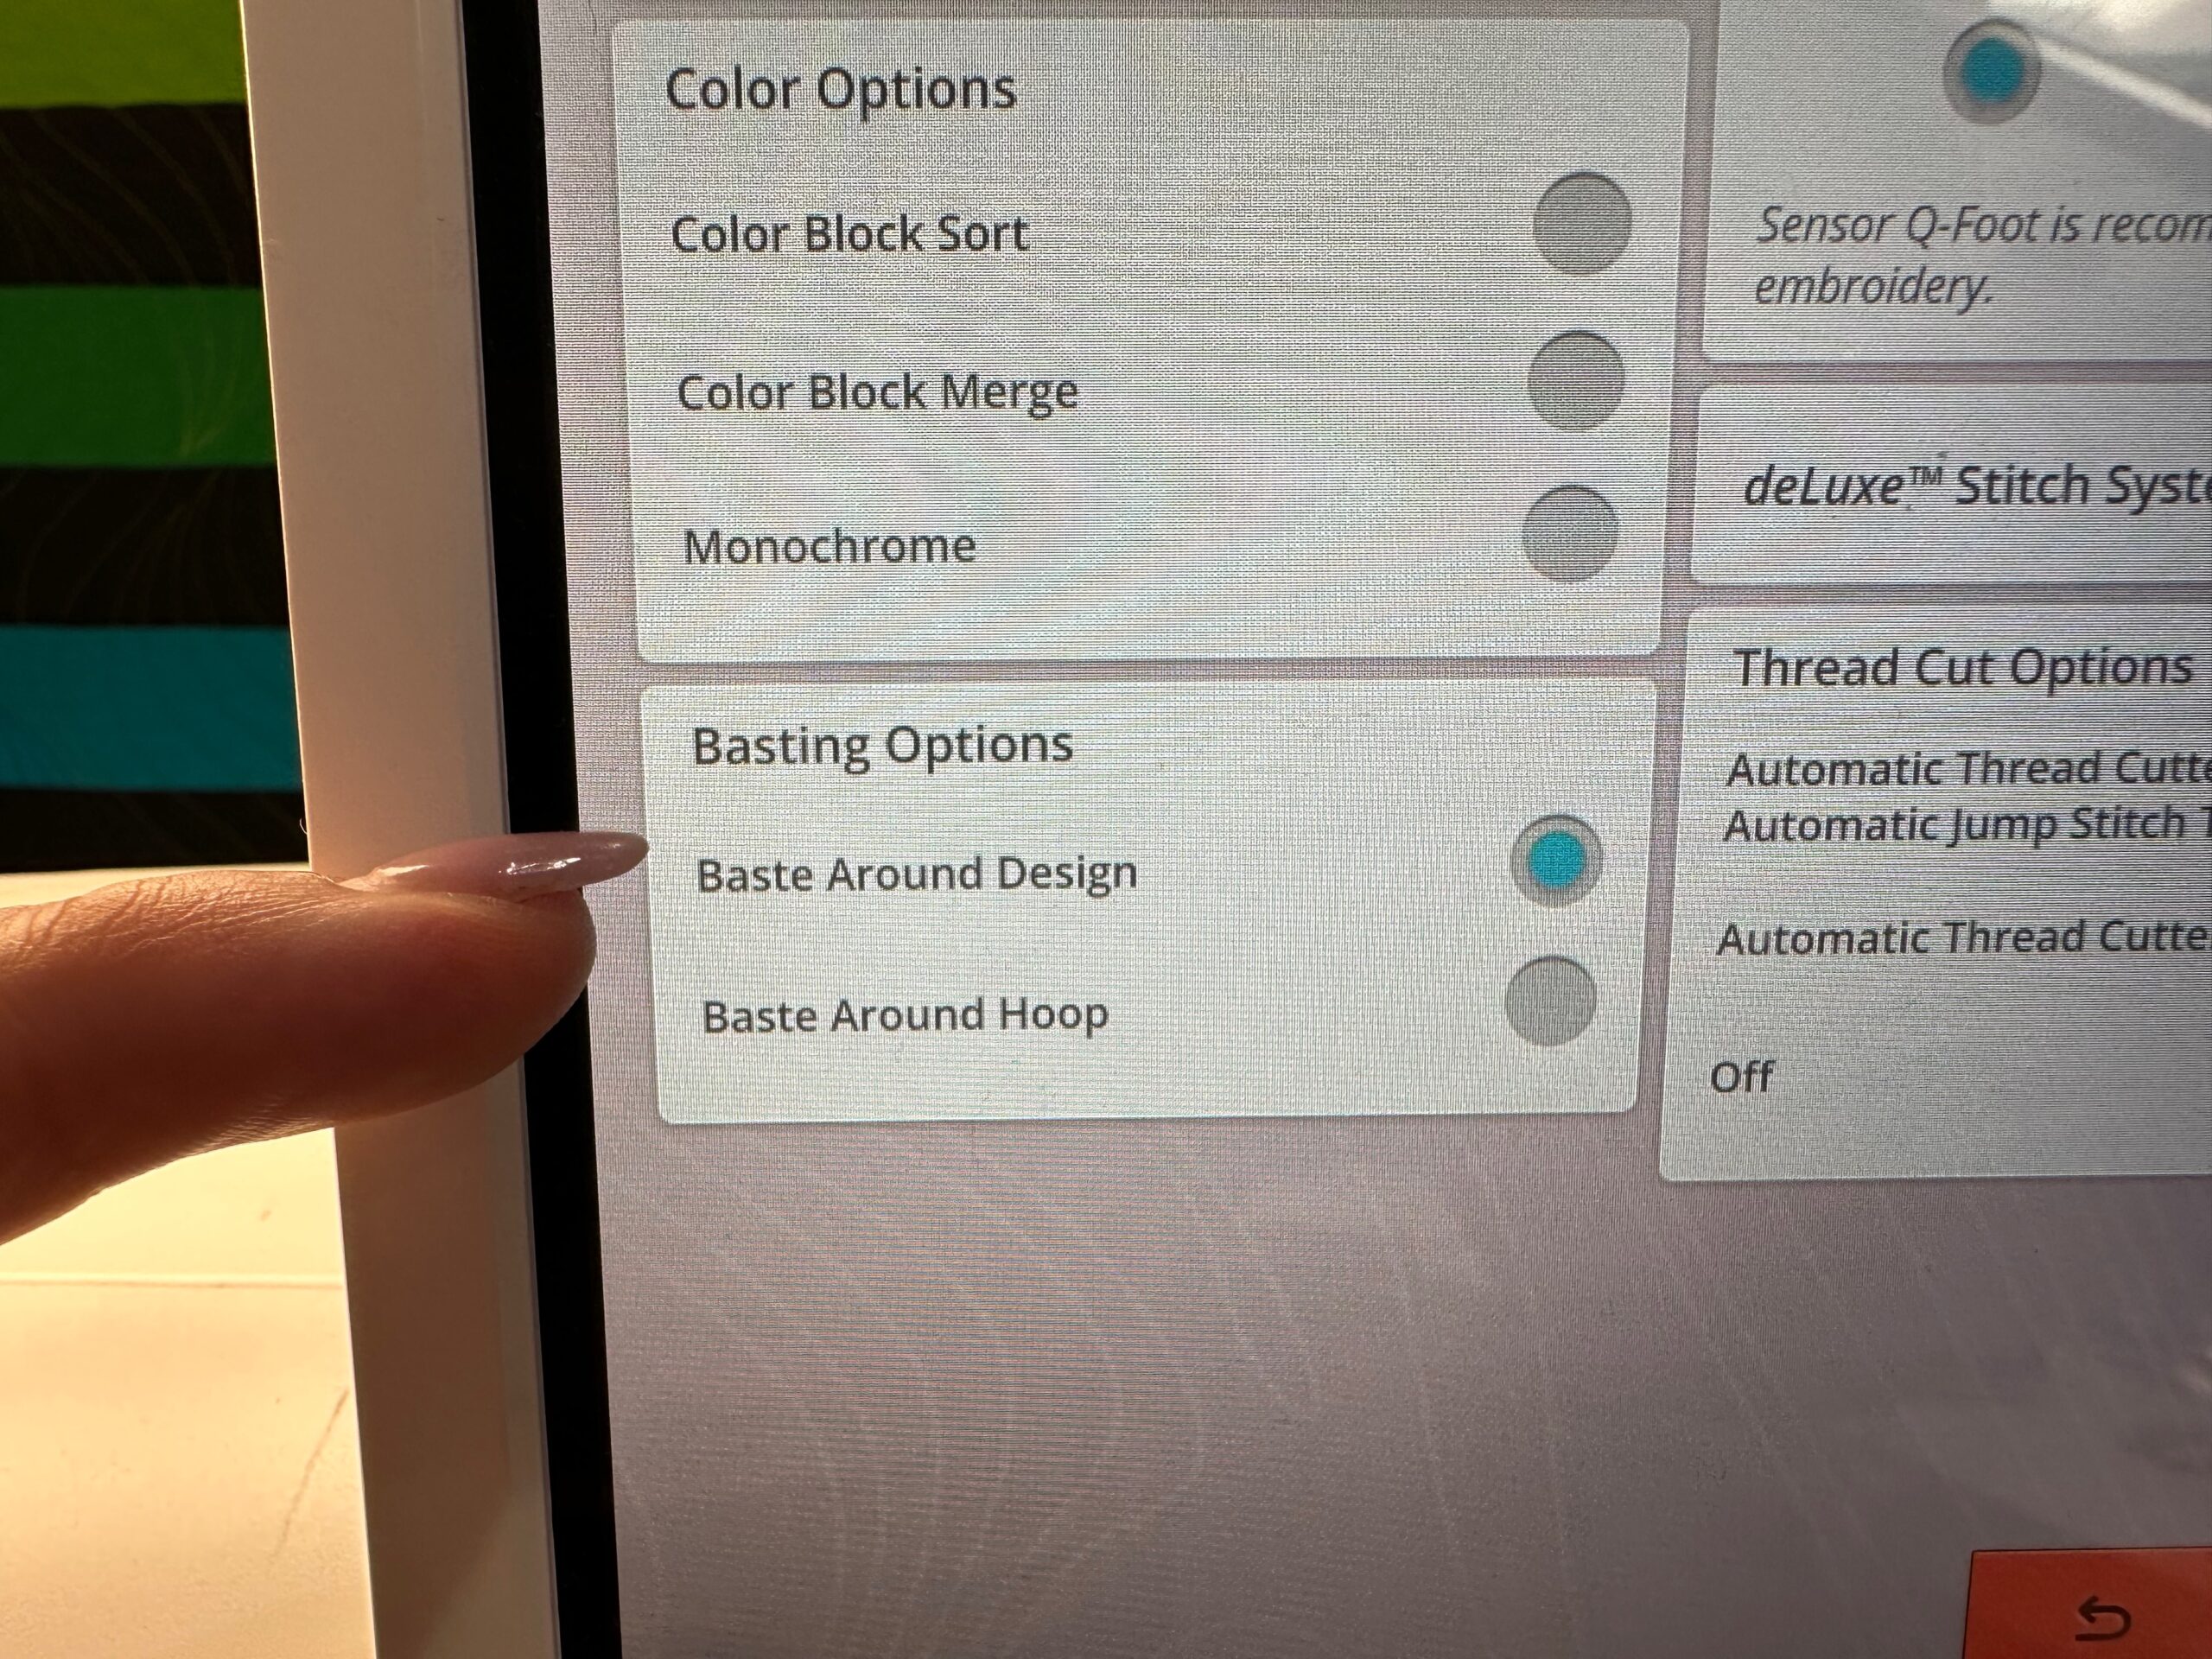
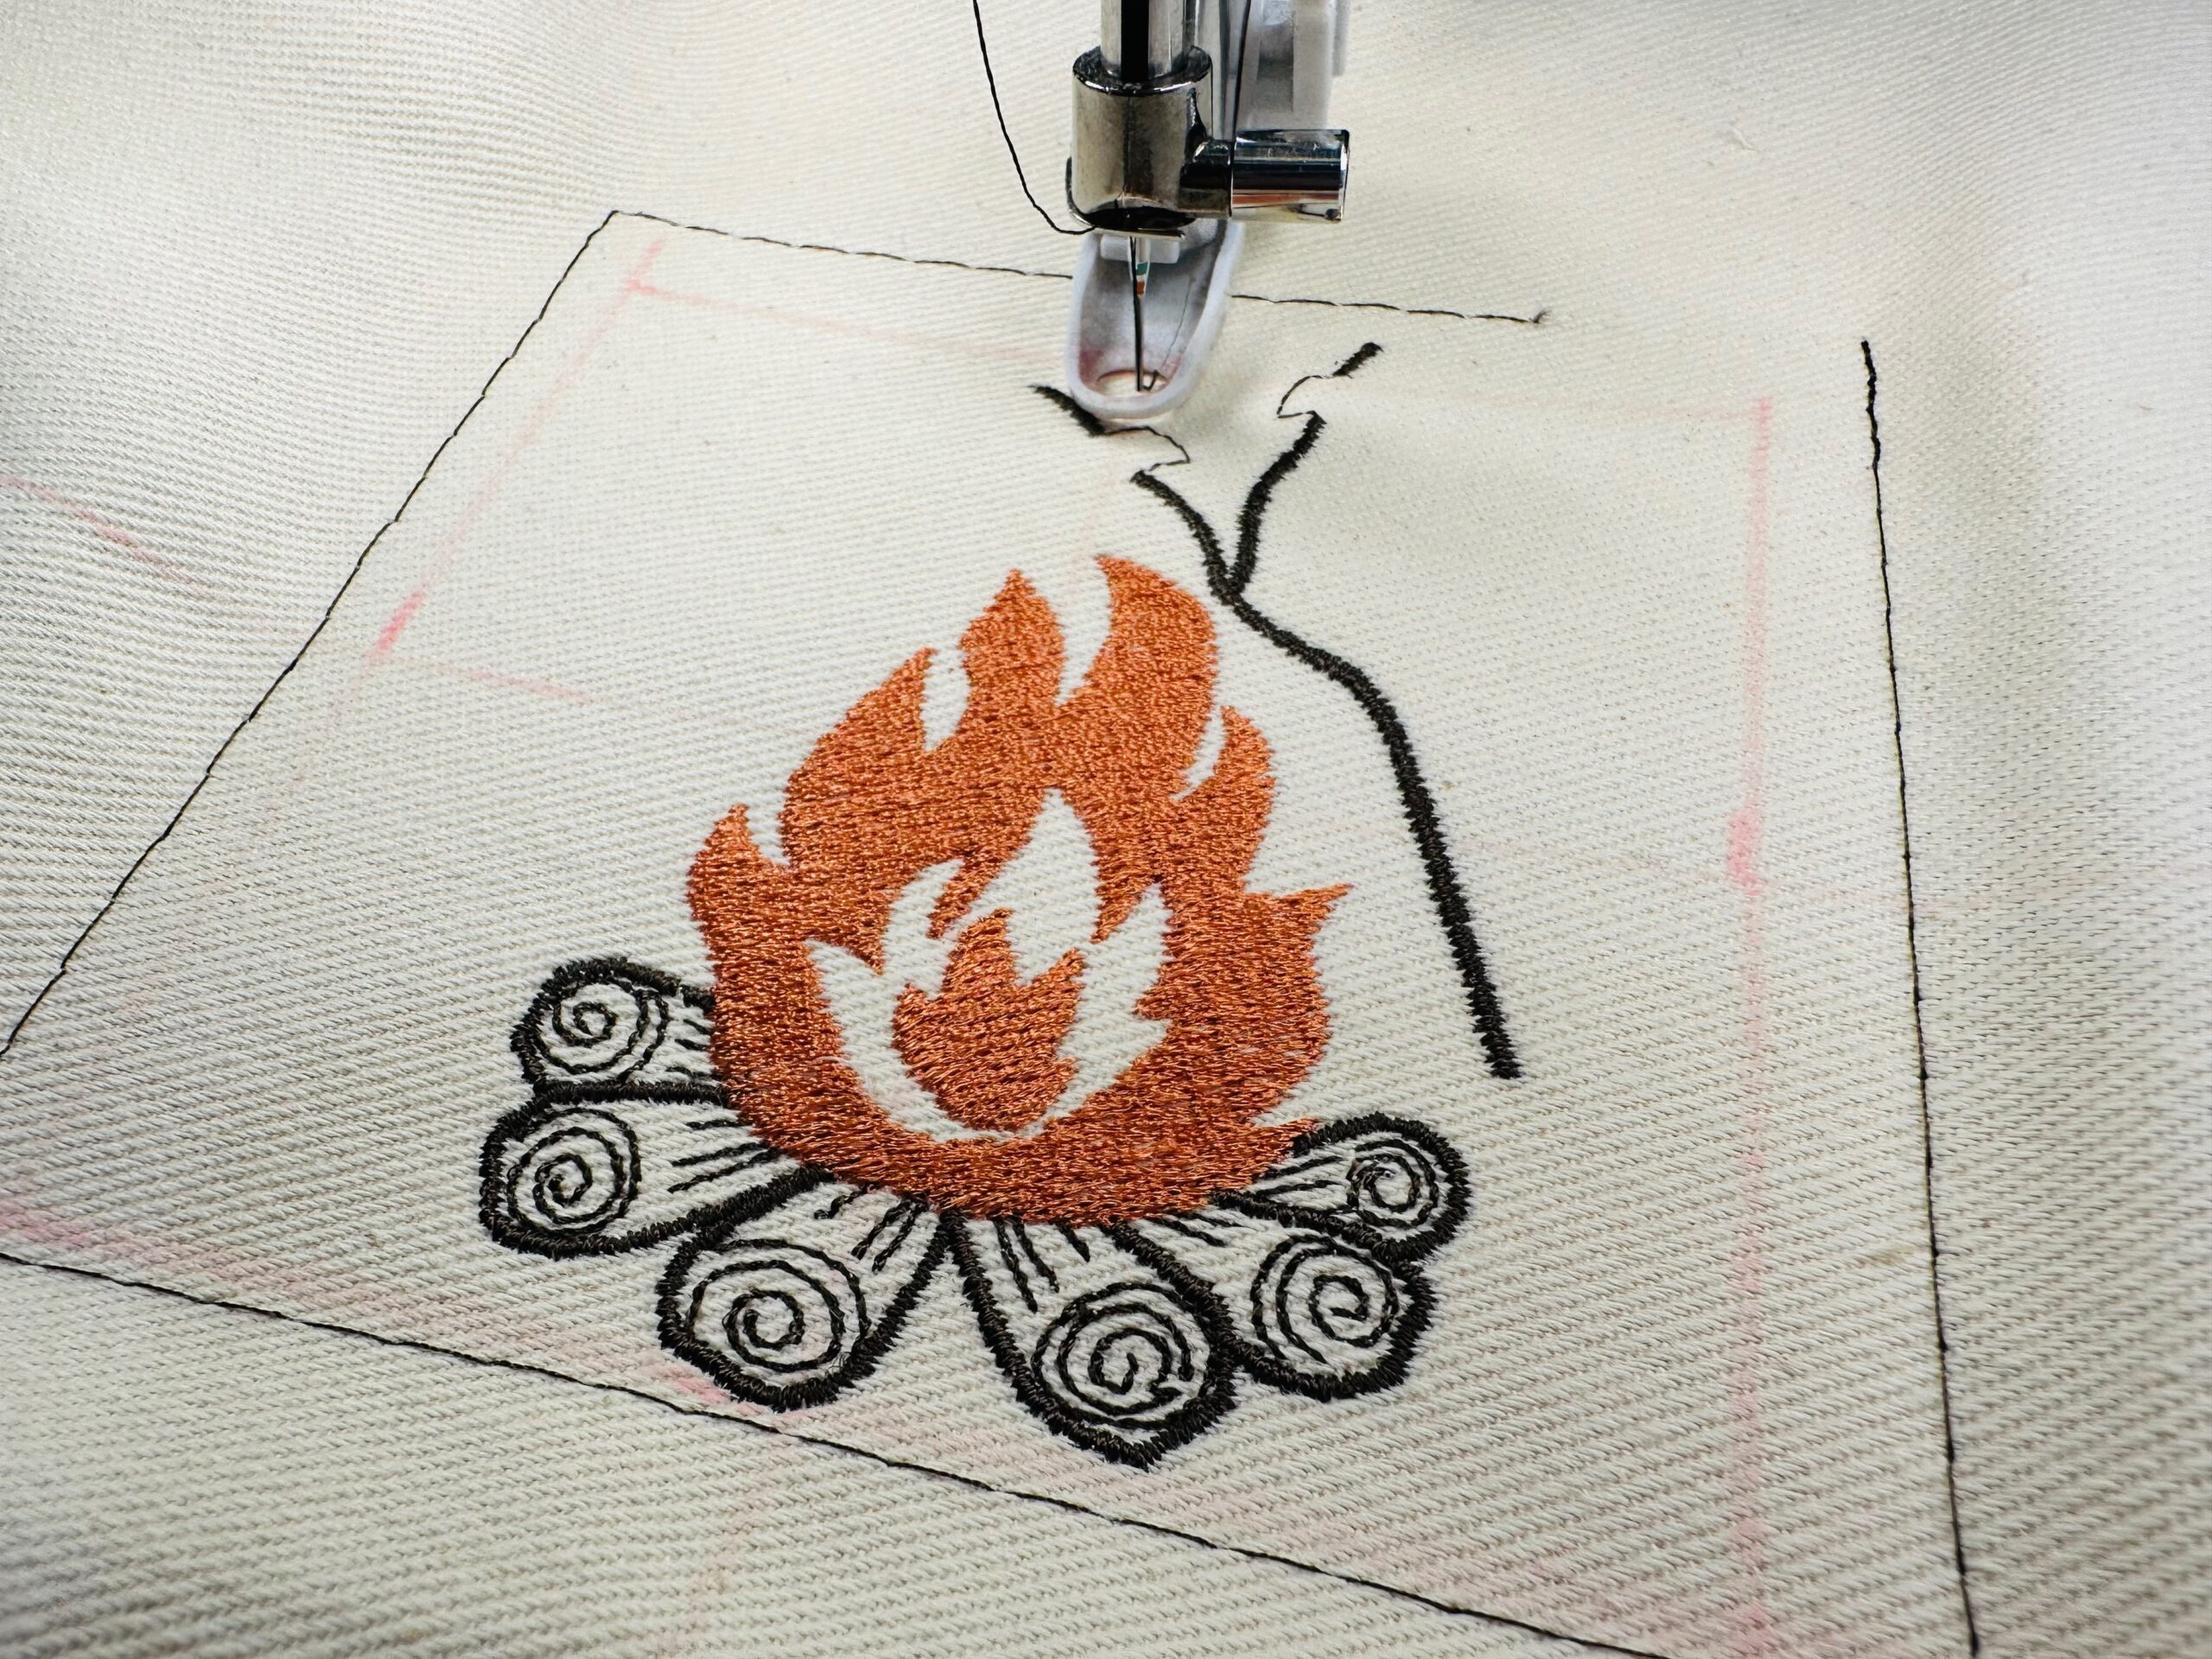
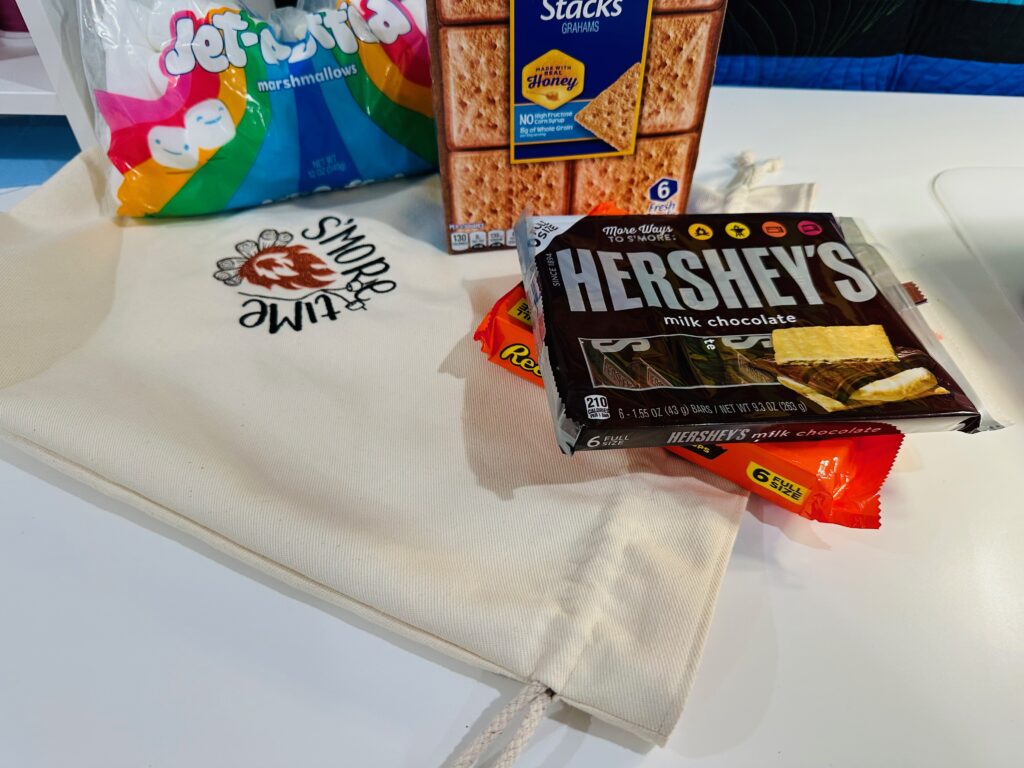
Choose a S’more themed embroidery design for the pouch front. The featured design is “S’more Time” from the Sulky Road Trip Collection. It fits into a 120mm x 120mm hoop (or larger) and measures 3.9″ x 3.77″. Enlarge the design 20%, if desired, on the machine screen. Also, add a “Baste Design Perimeter” step to the design when loading.
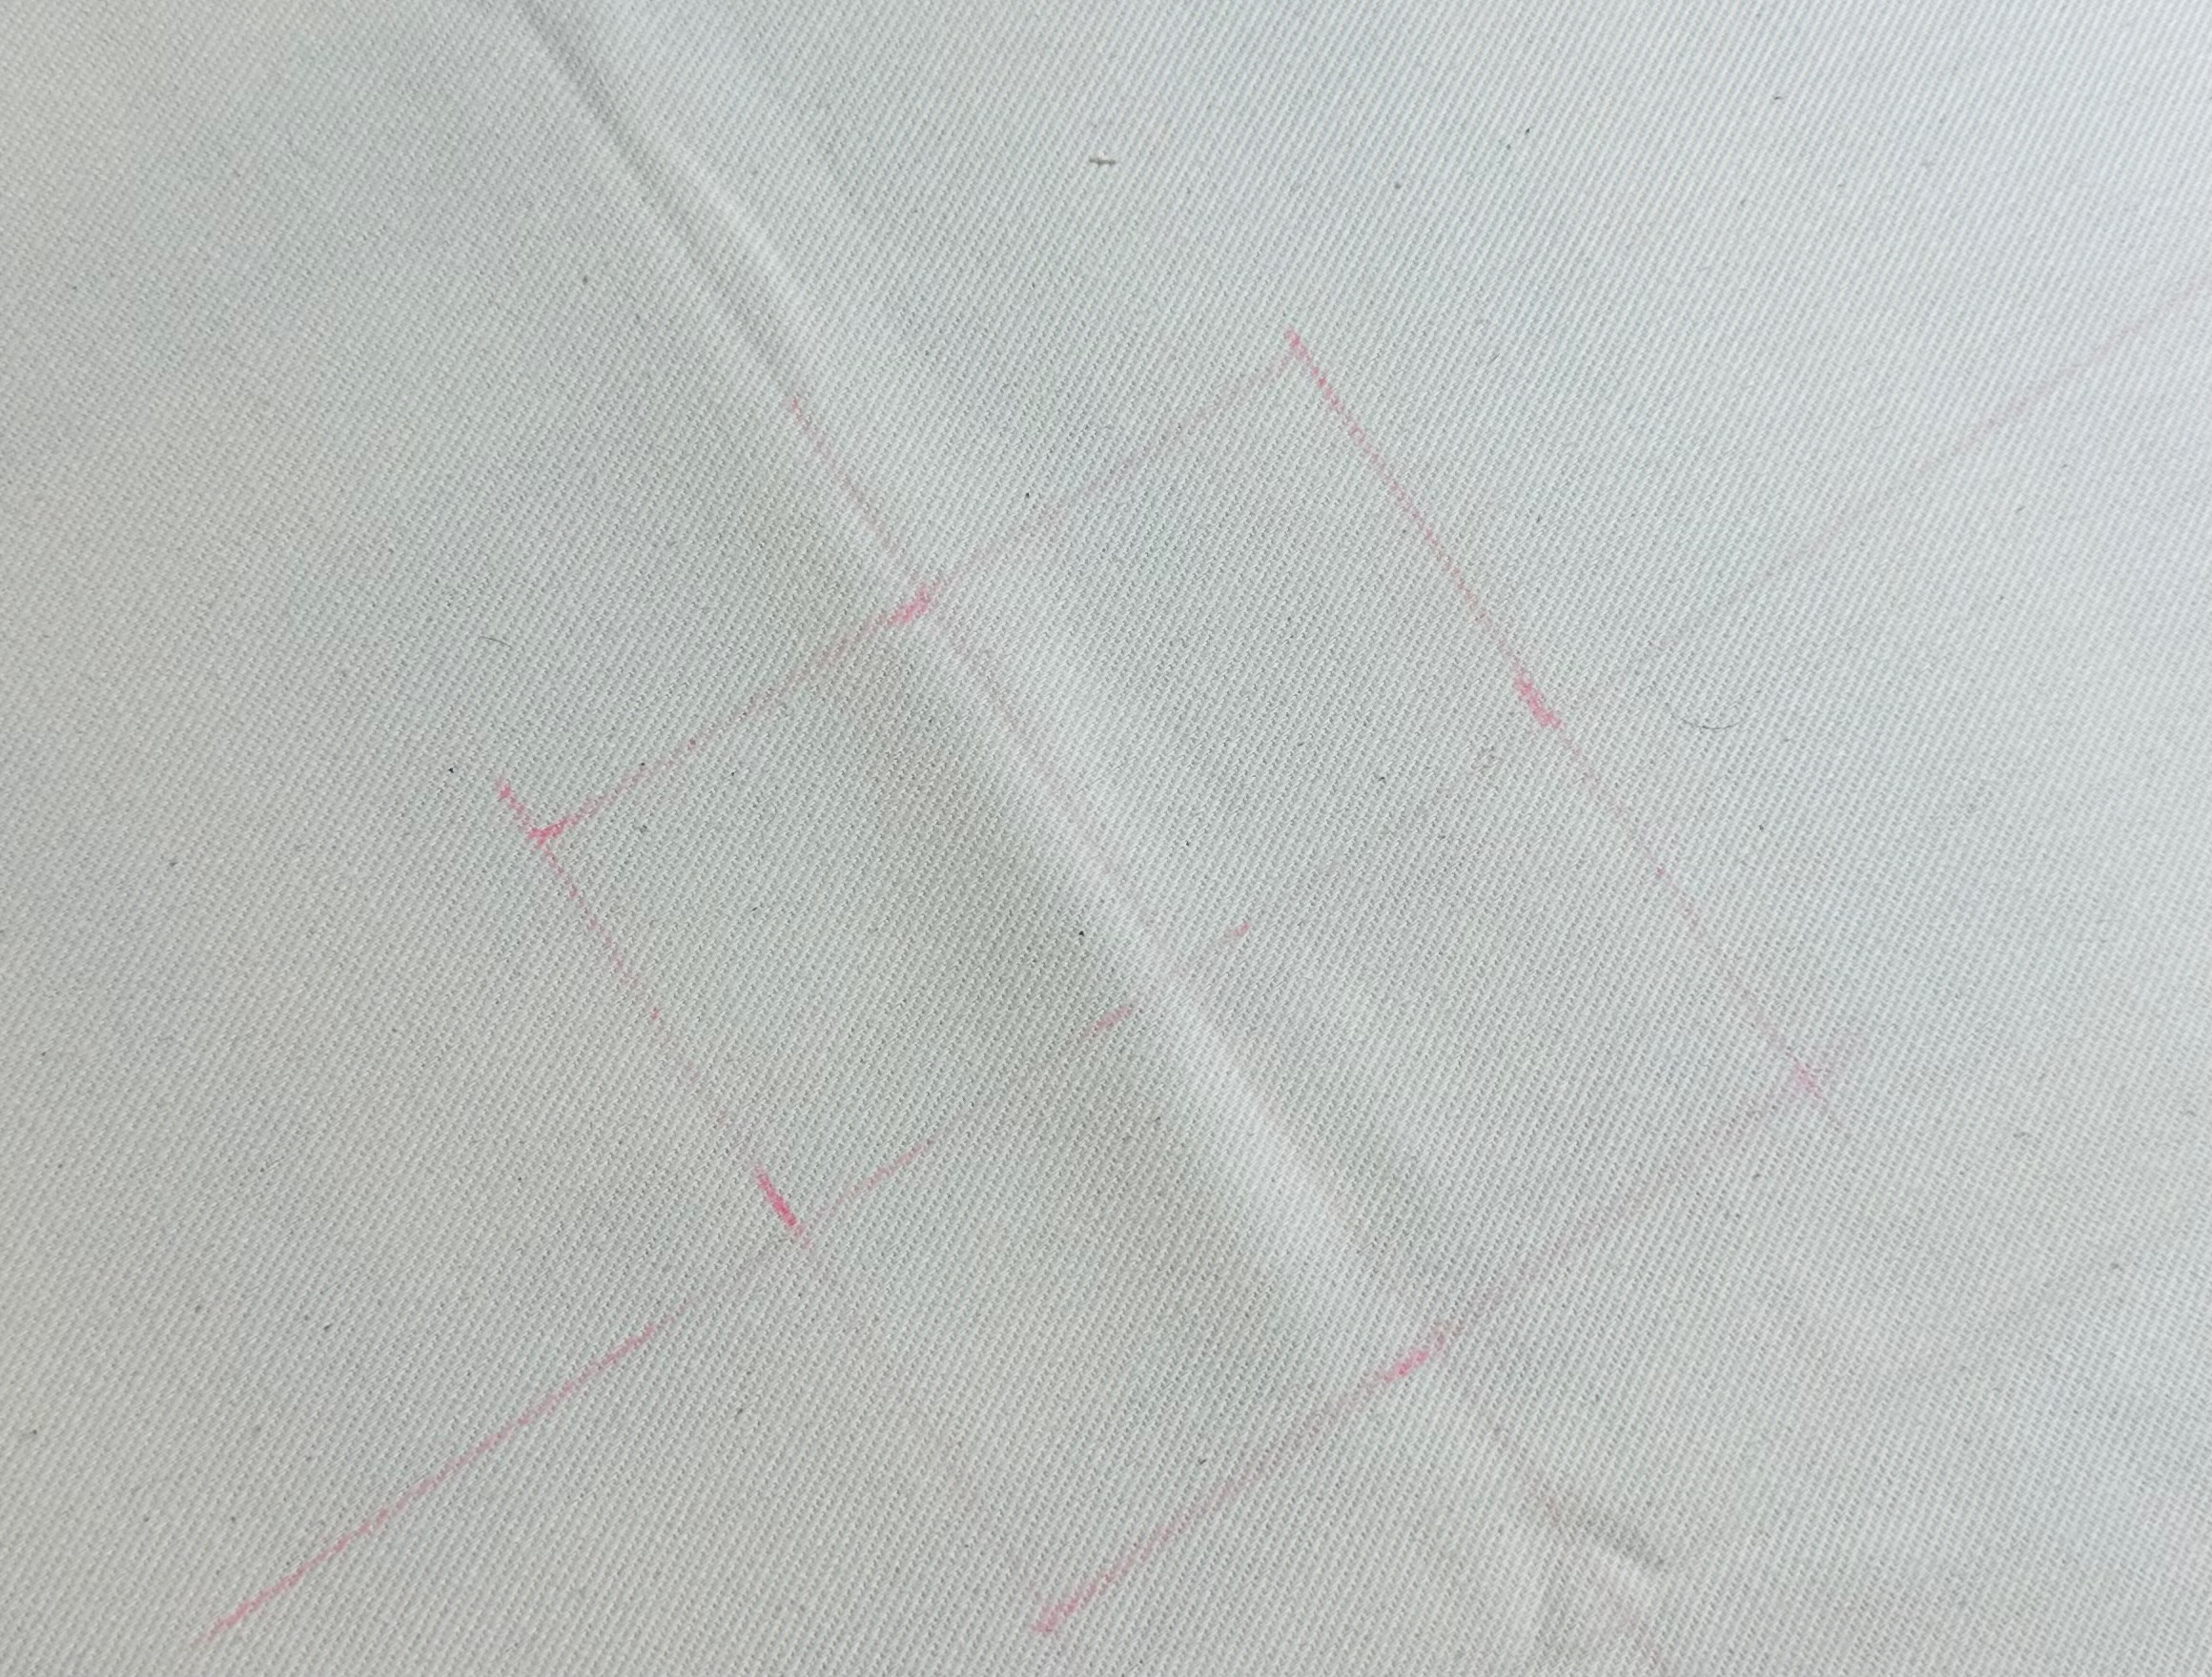
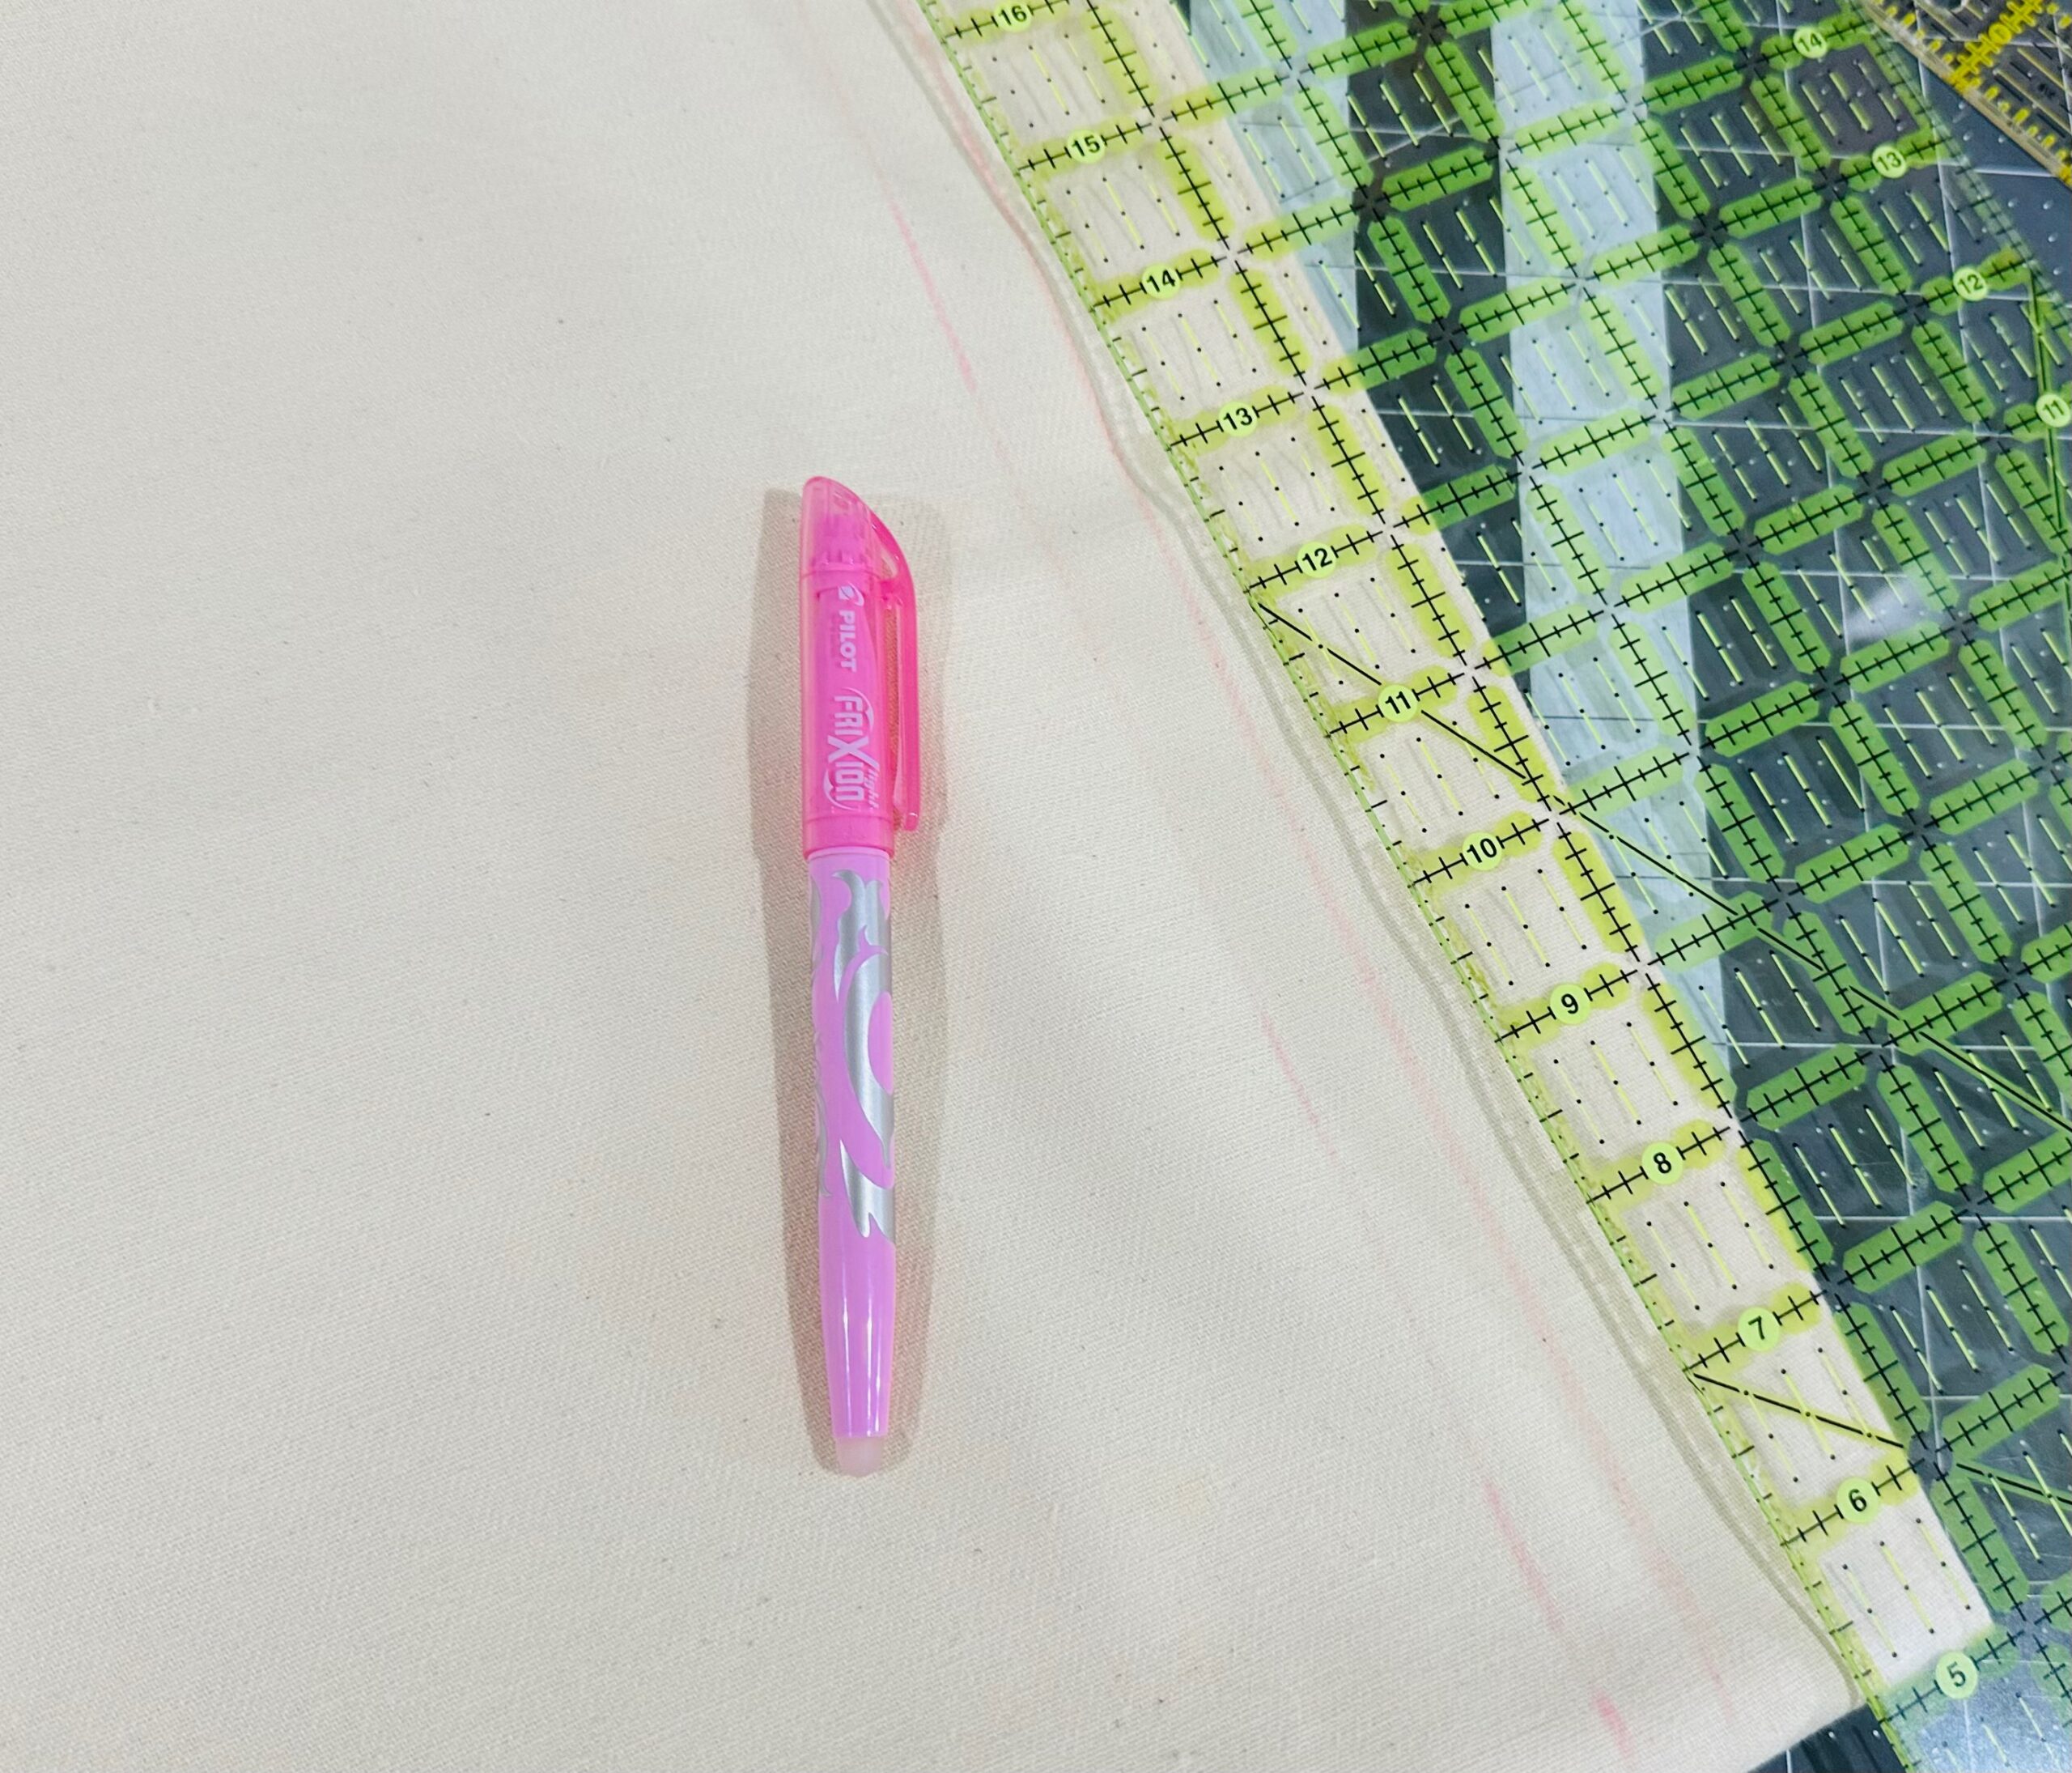
Determine the desired embroidery design placement on the front exterior rectangle. Use a removable fabric marker to draw the center cross-marks, using a template or embroidery dimensions as reference. (If you have a preferred embroidery placement method, do what you love.)
If using a magnetic hoop, secure the outer fabric rectangle to a piece of Sulky Stiffy Stabilizer using KK 2000 Temporary Spray Adhesive. Then, hoop the fabric and stabilizer, centering the design cross marks.

If not using a magnetic hoop, hoop only the stabilizer. Then, place the fabric right side up onto the stabilizer, centering the design cross marks. Use KK 2000 Temporary Spray Adhesive to secure the fabric to the stabilizer.
Place the hoop onto the machine and stitch the basting box, which outlines the design perimeter. Double-check the design placement.
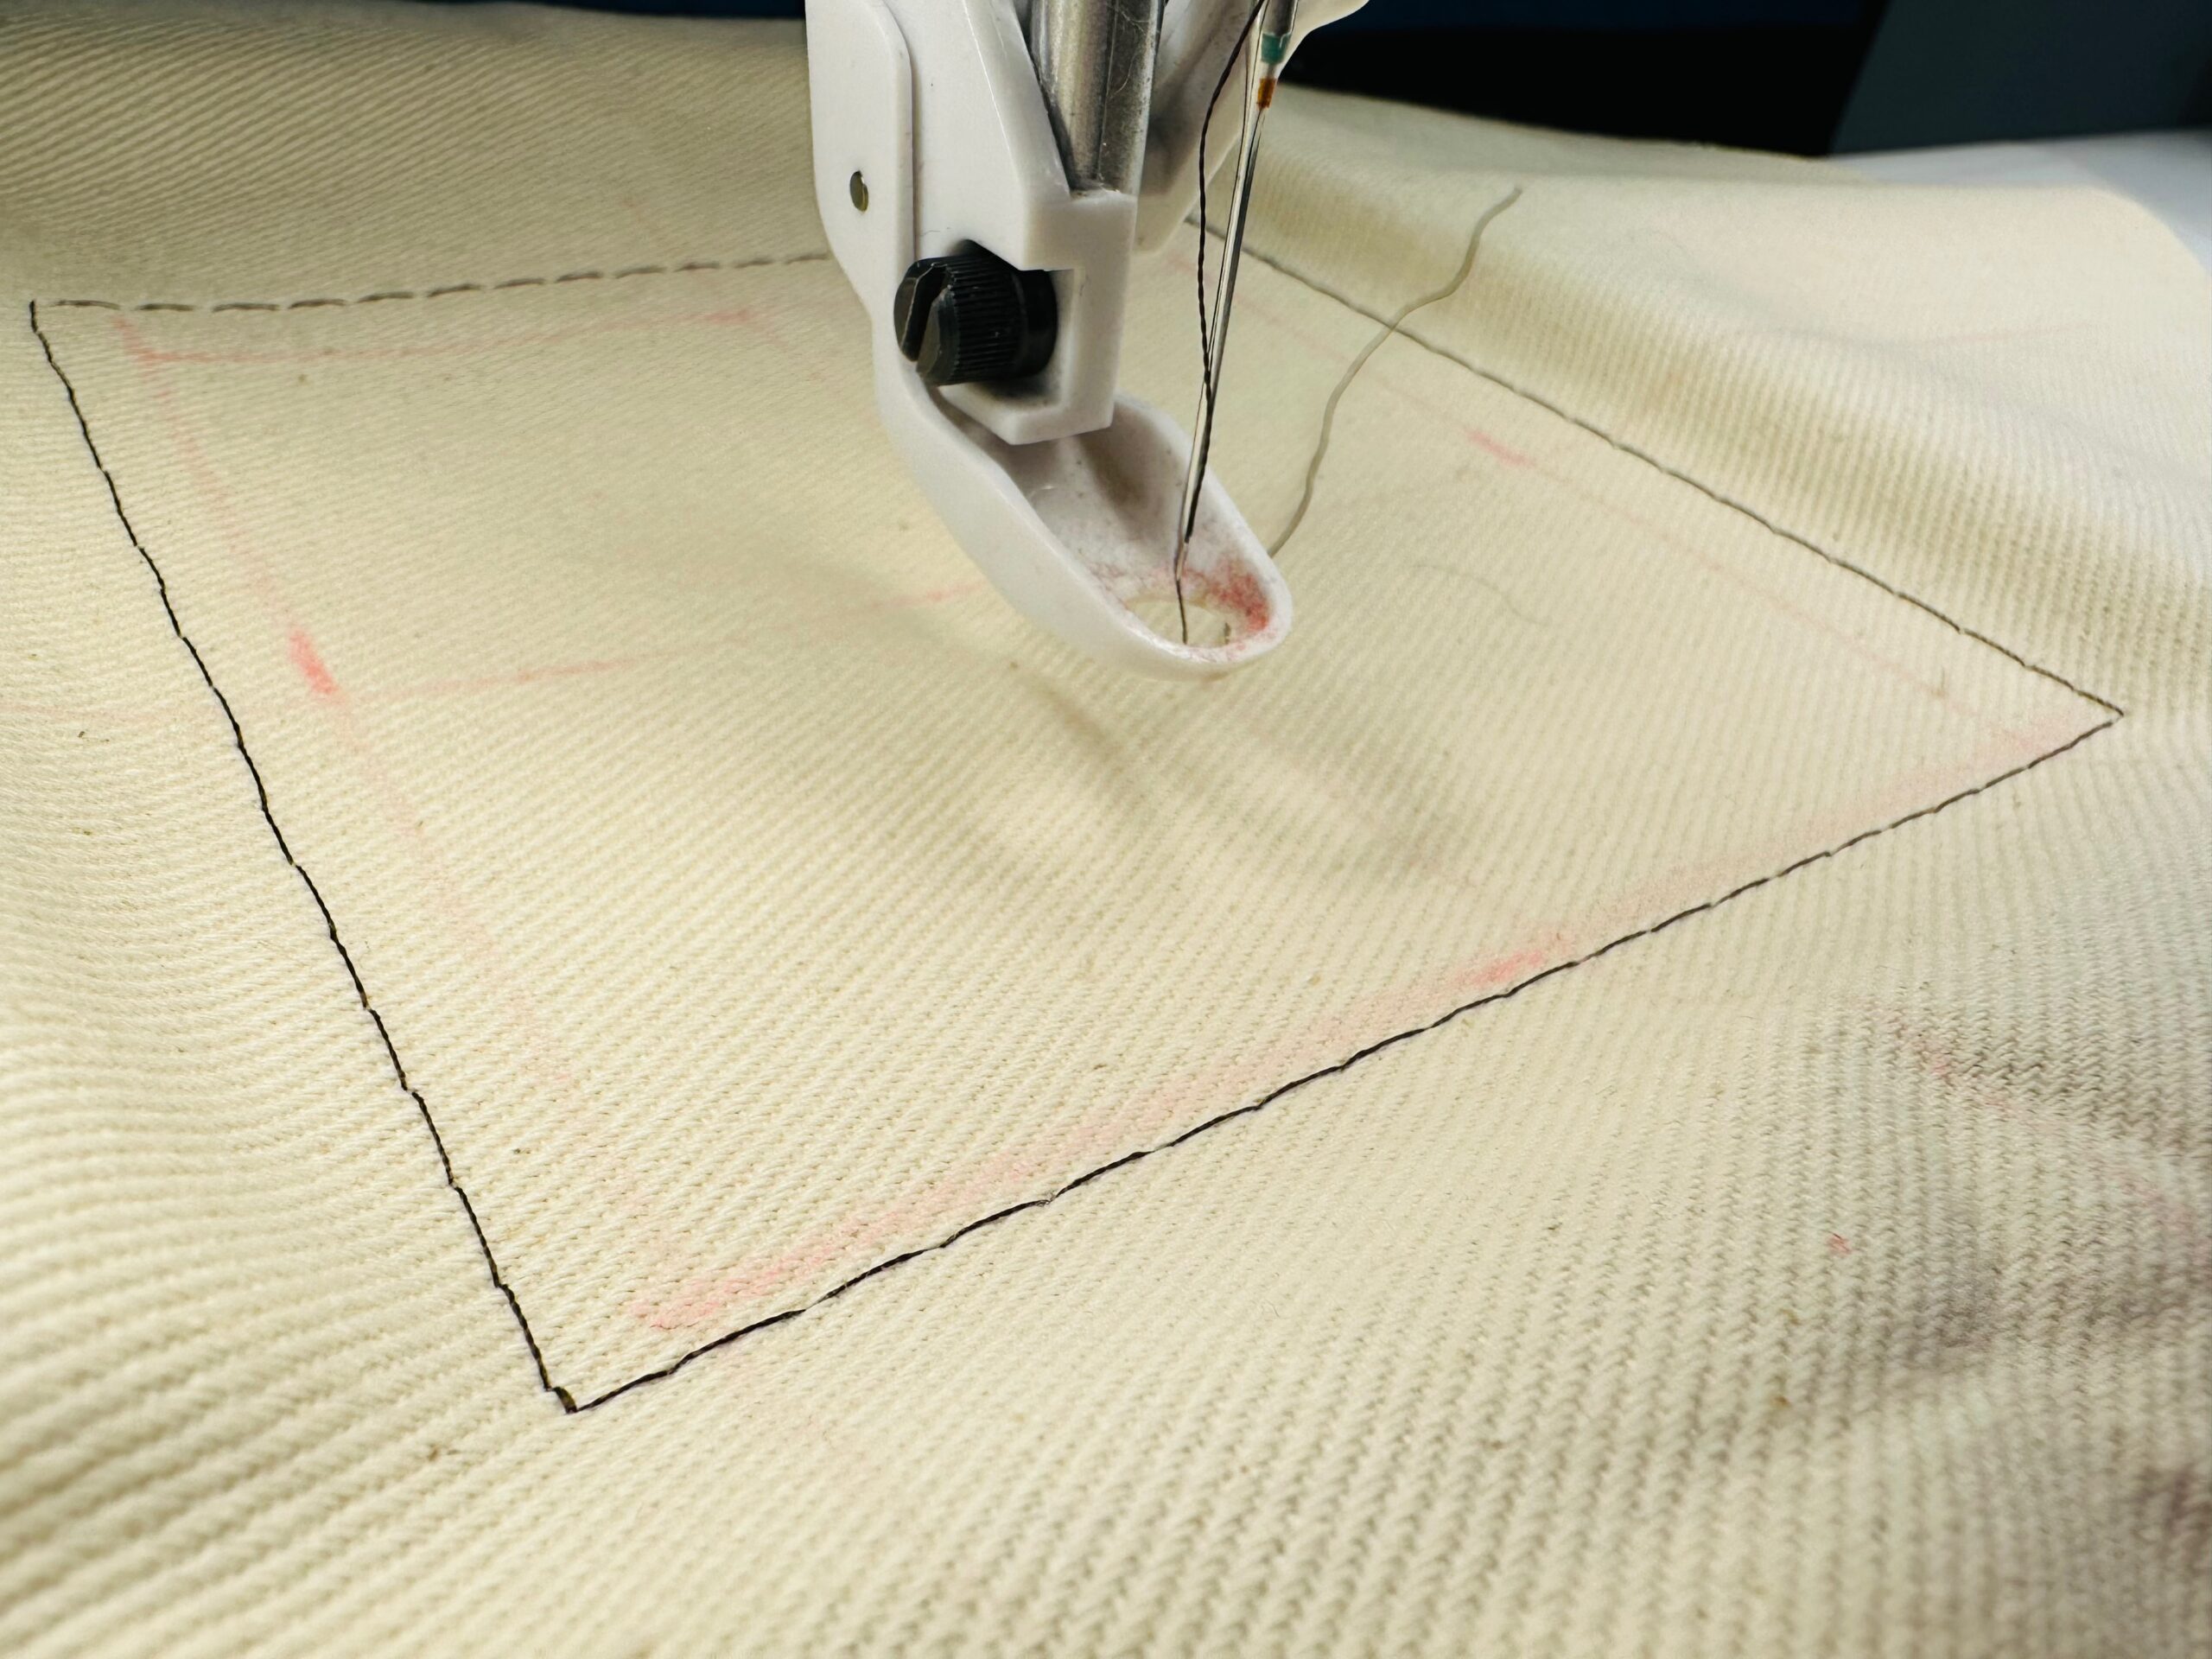
If satisfied, continue embroidering the design. Be sure to clip any jump threads with each thread change and refer to the color chart as you work.
When the embroidery is complete, remove the fabric and stabilizer from the hoop. Remove the basting stitches.
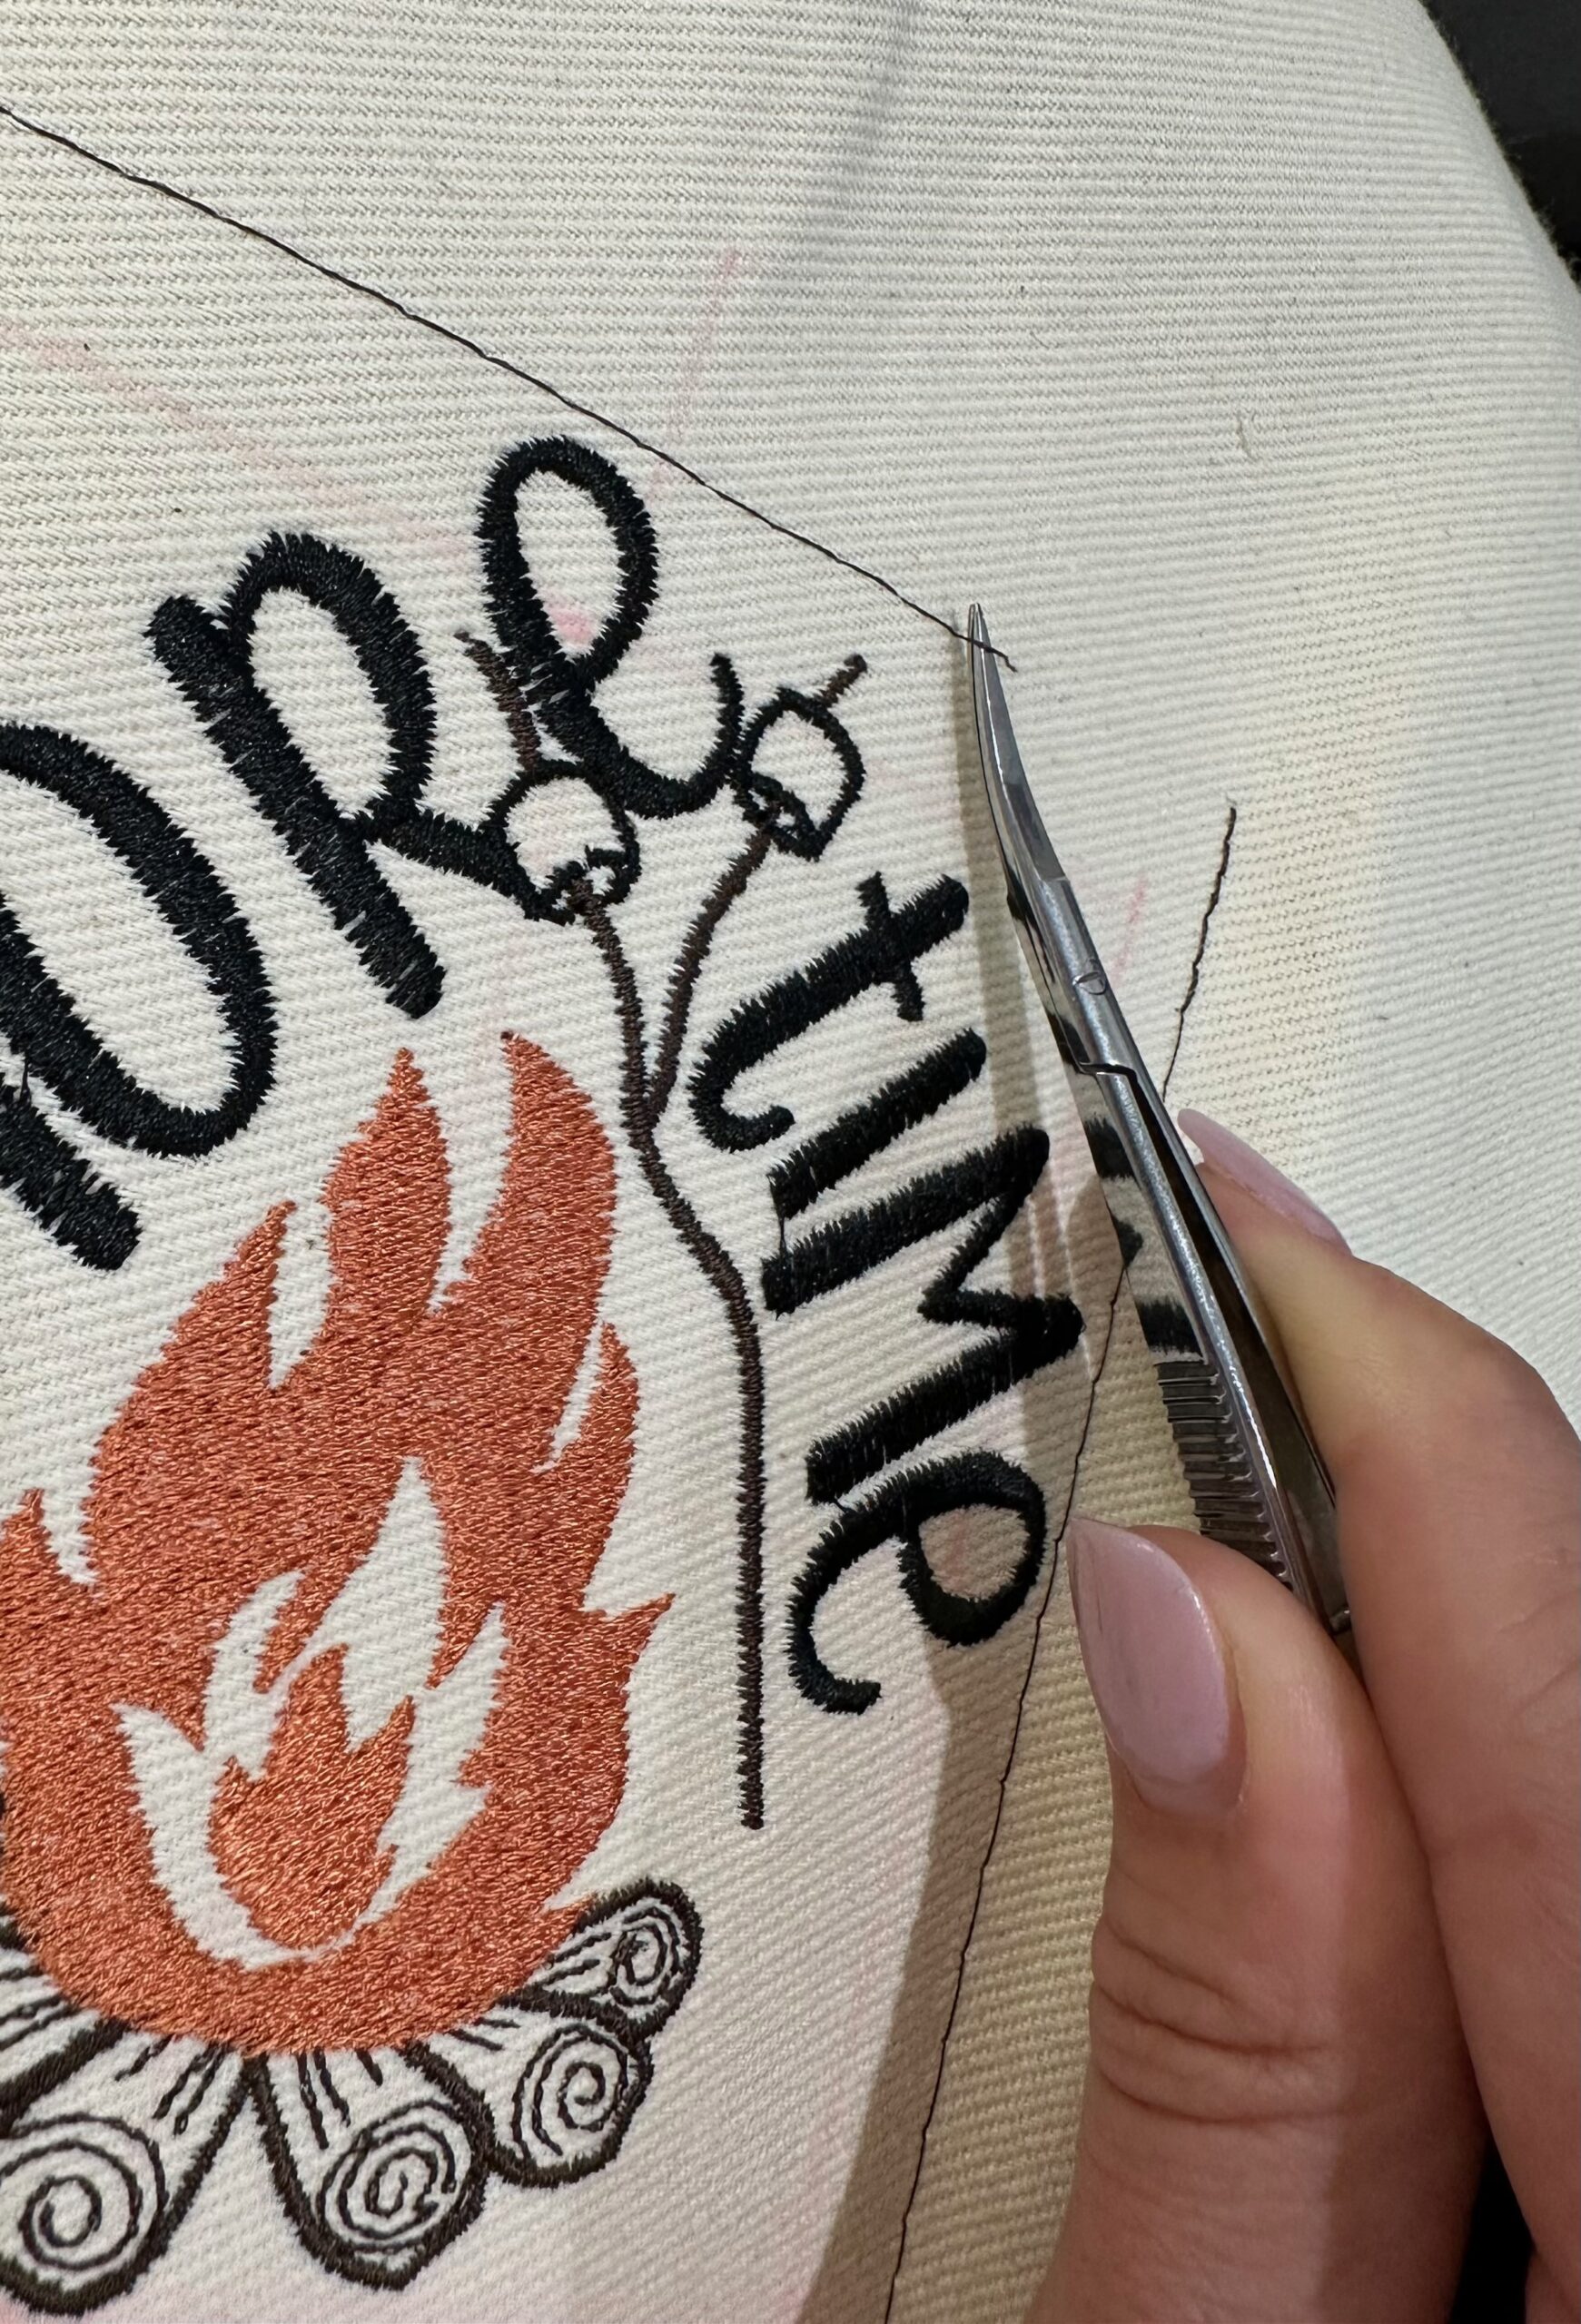
Then, trim any excessive stitching on the fabric wrong side. Carefully remove the stabilizer by tearing it away beyond the design perimeter stitches.
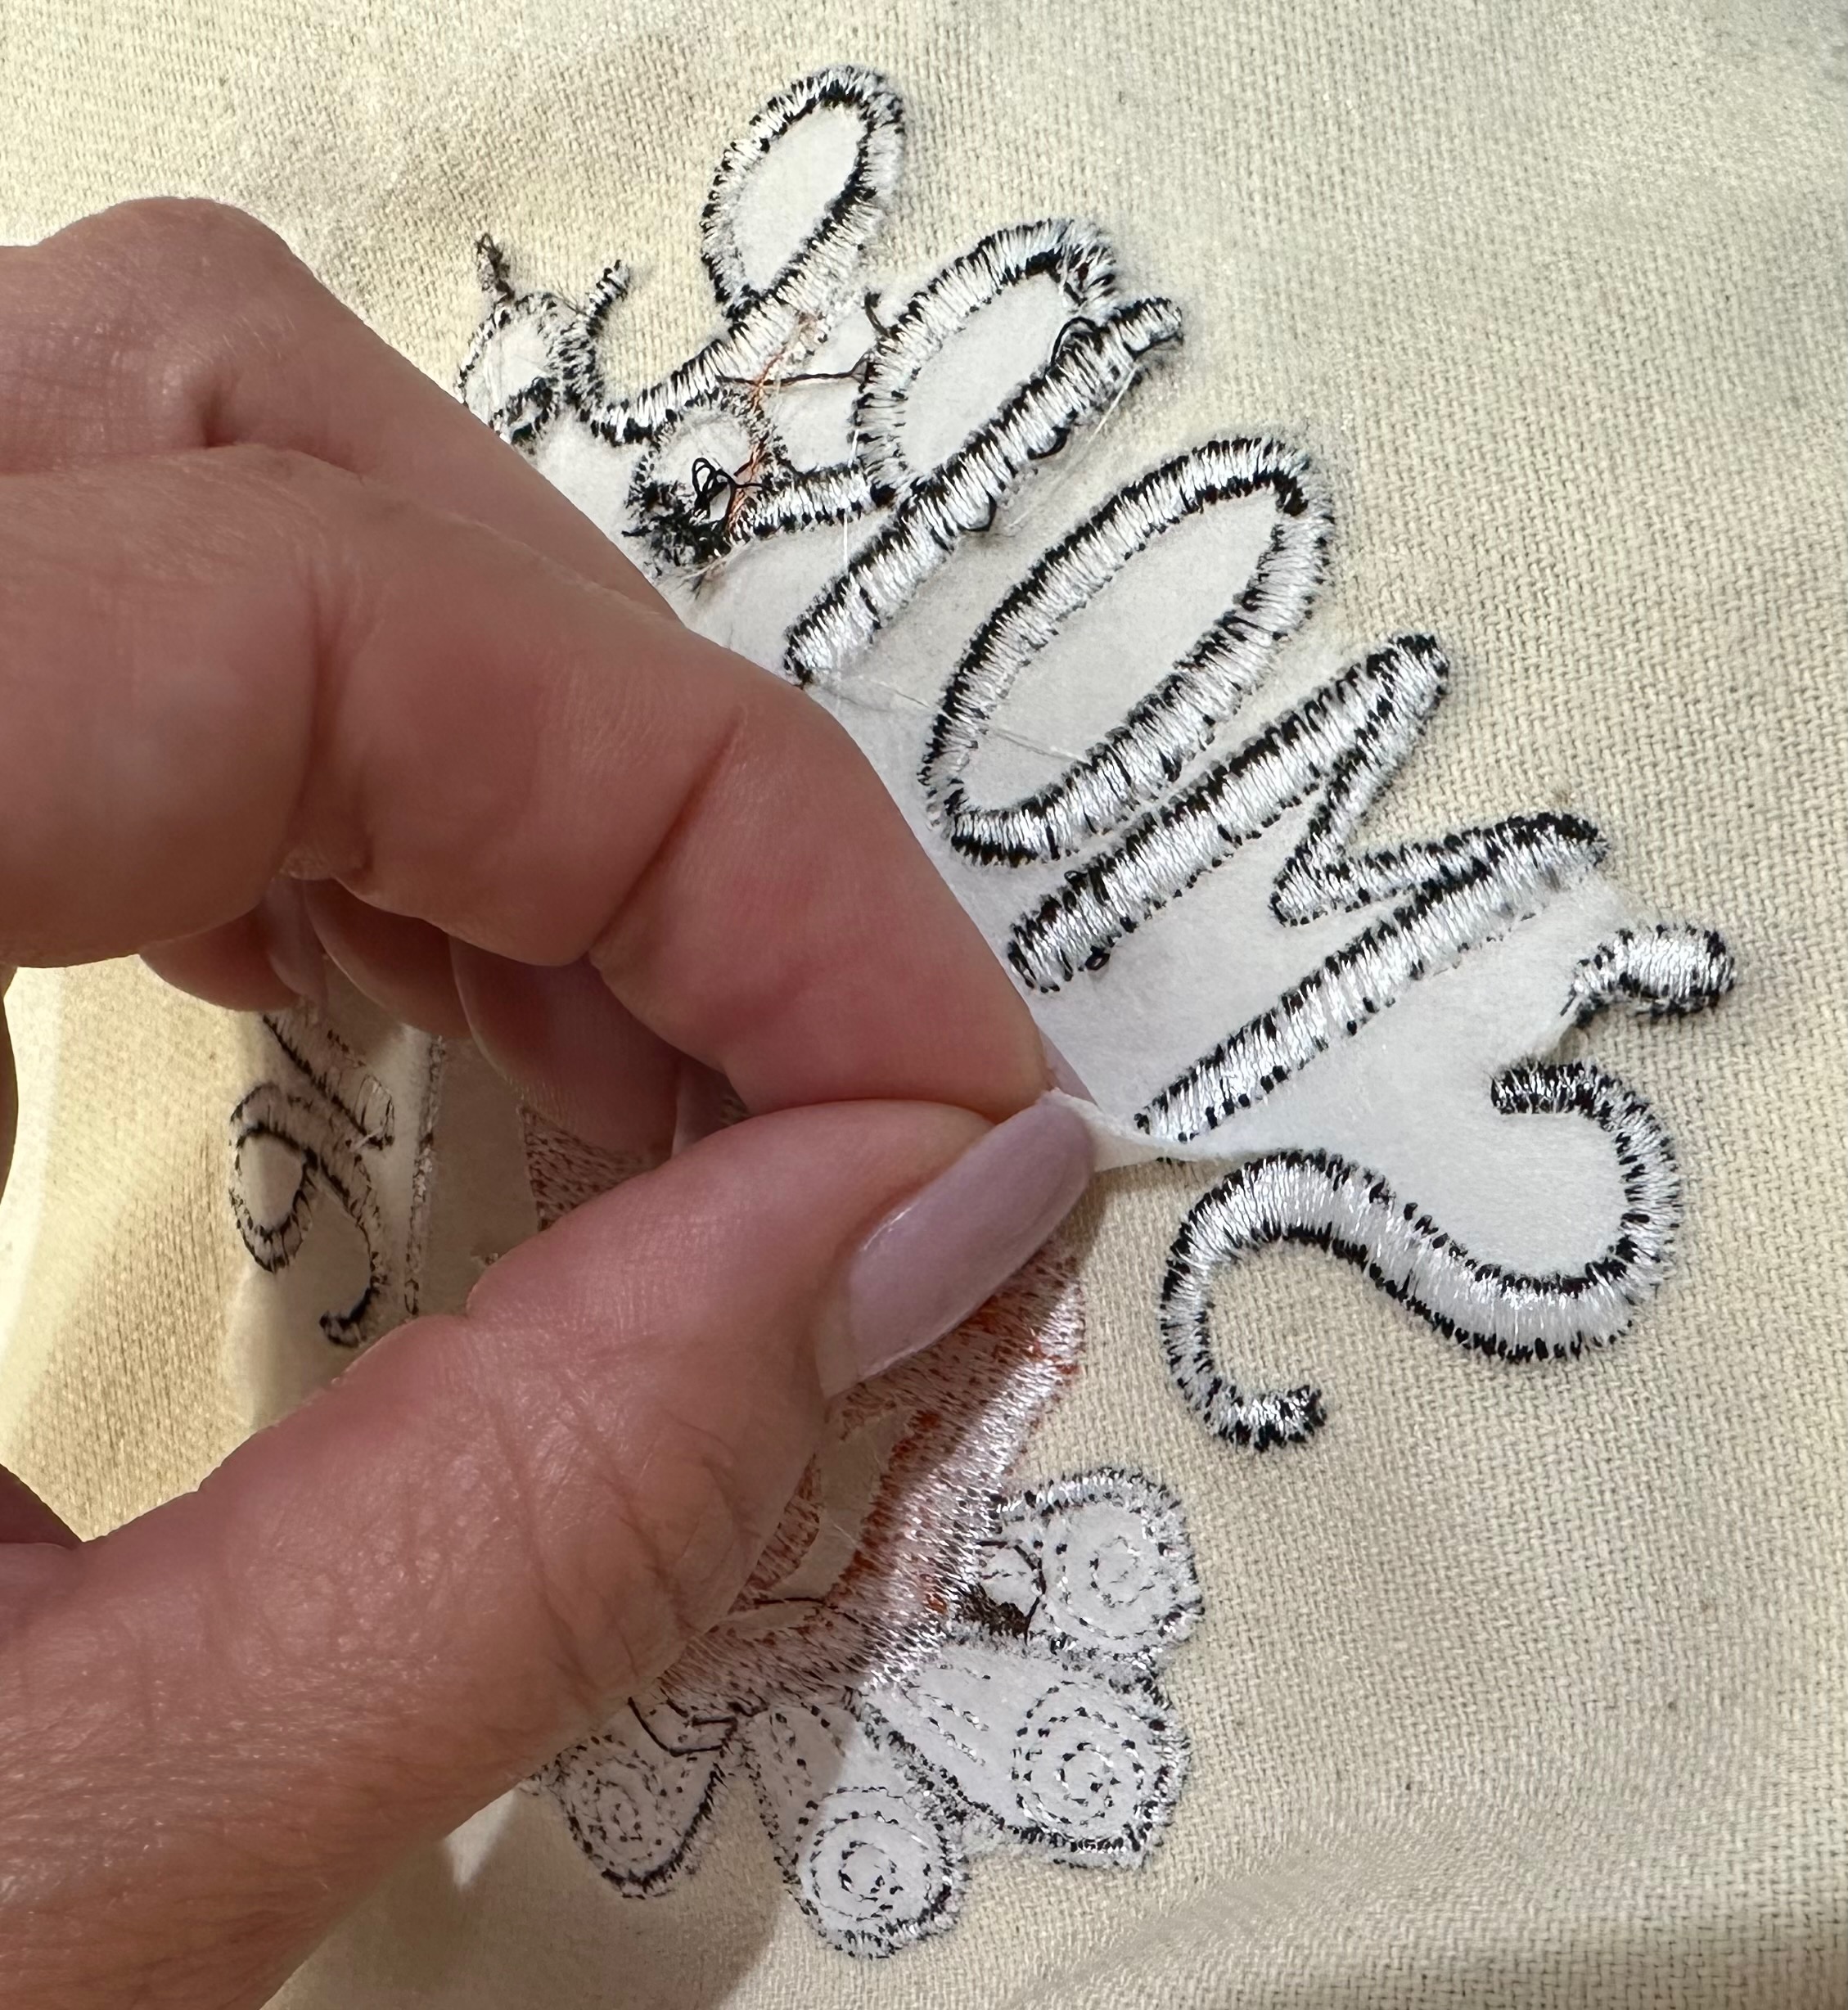
Remove the fabric marker, following the manufacturer’s instructions. Press the fabric from the wrong side to remove any hoop markings, if needed. Avoid the stitching, if possible.
S’MORES KIT CONSTRUCTION
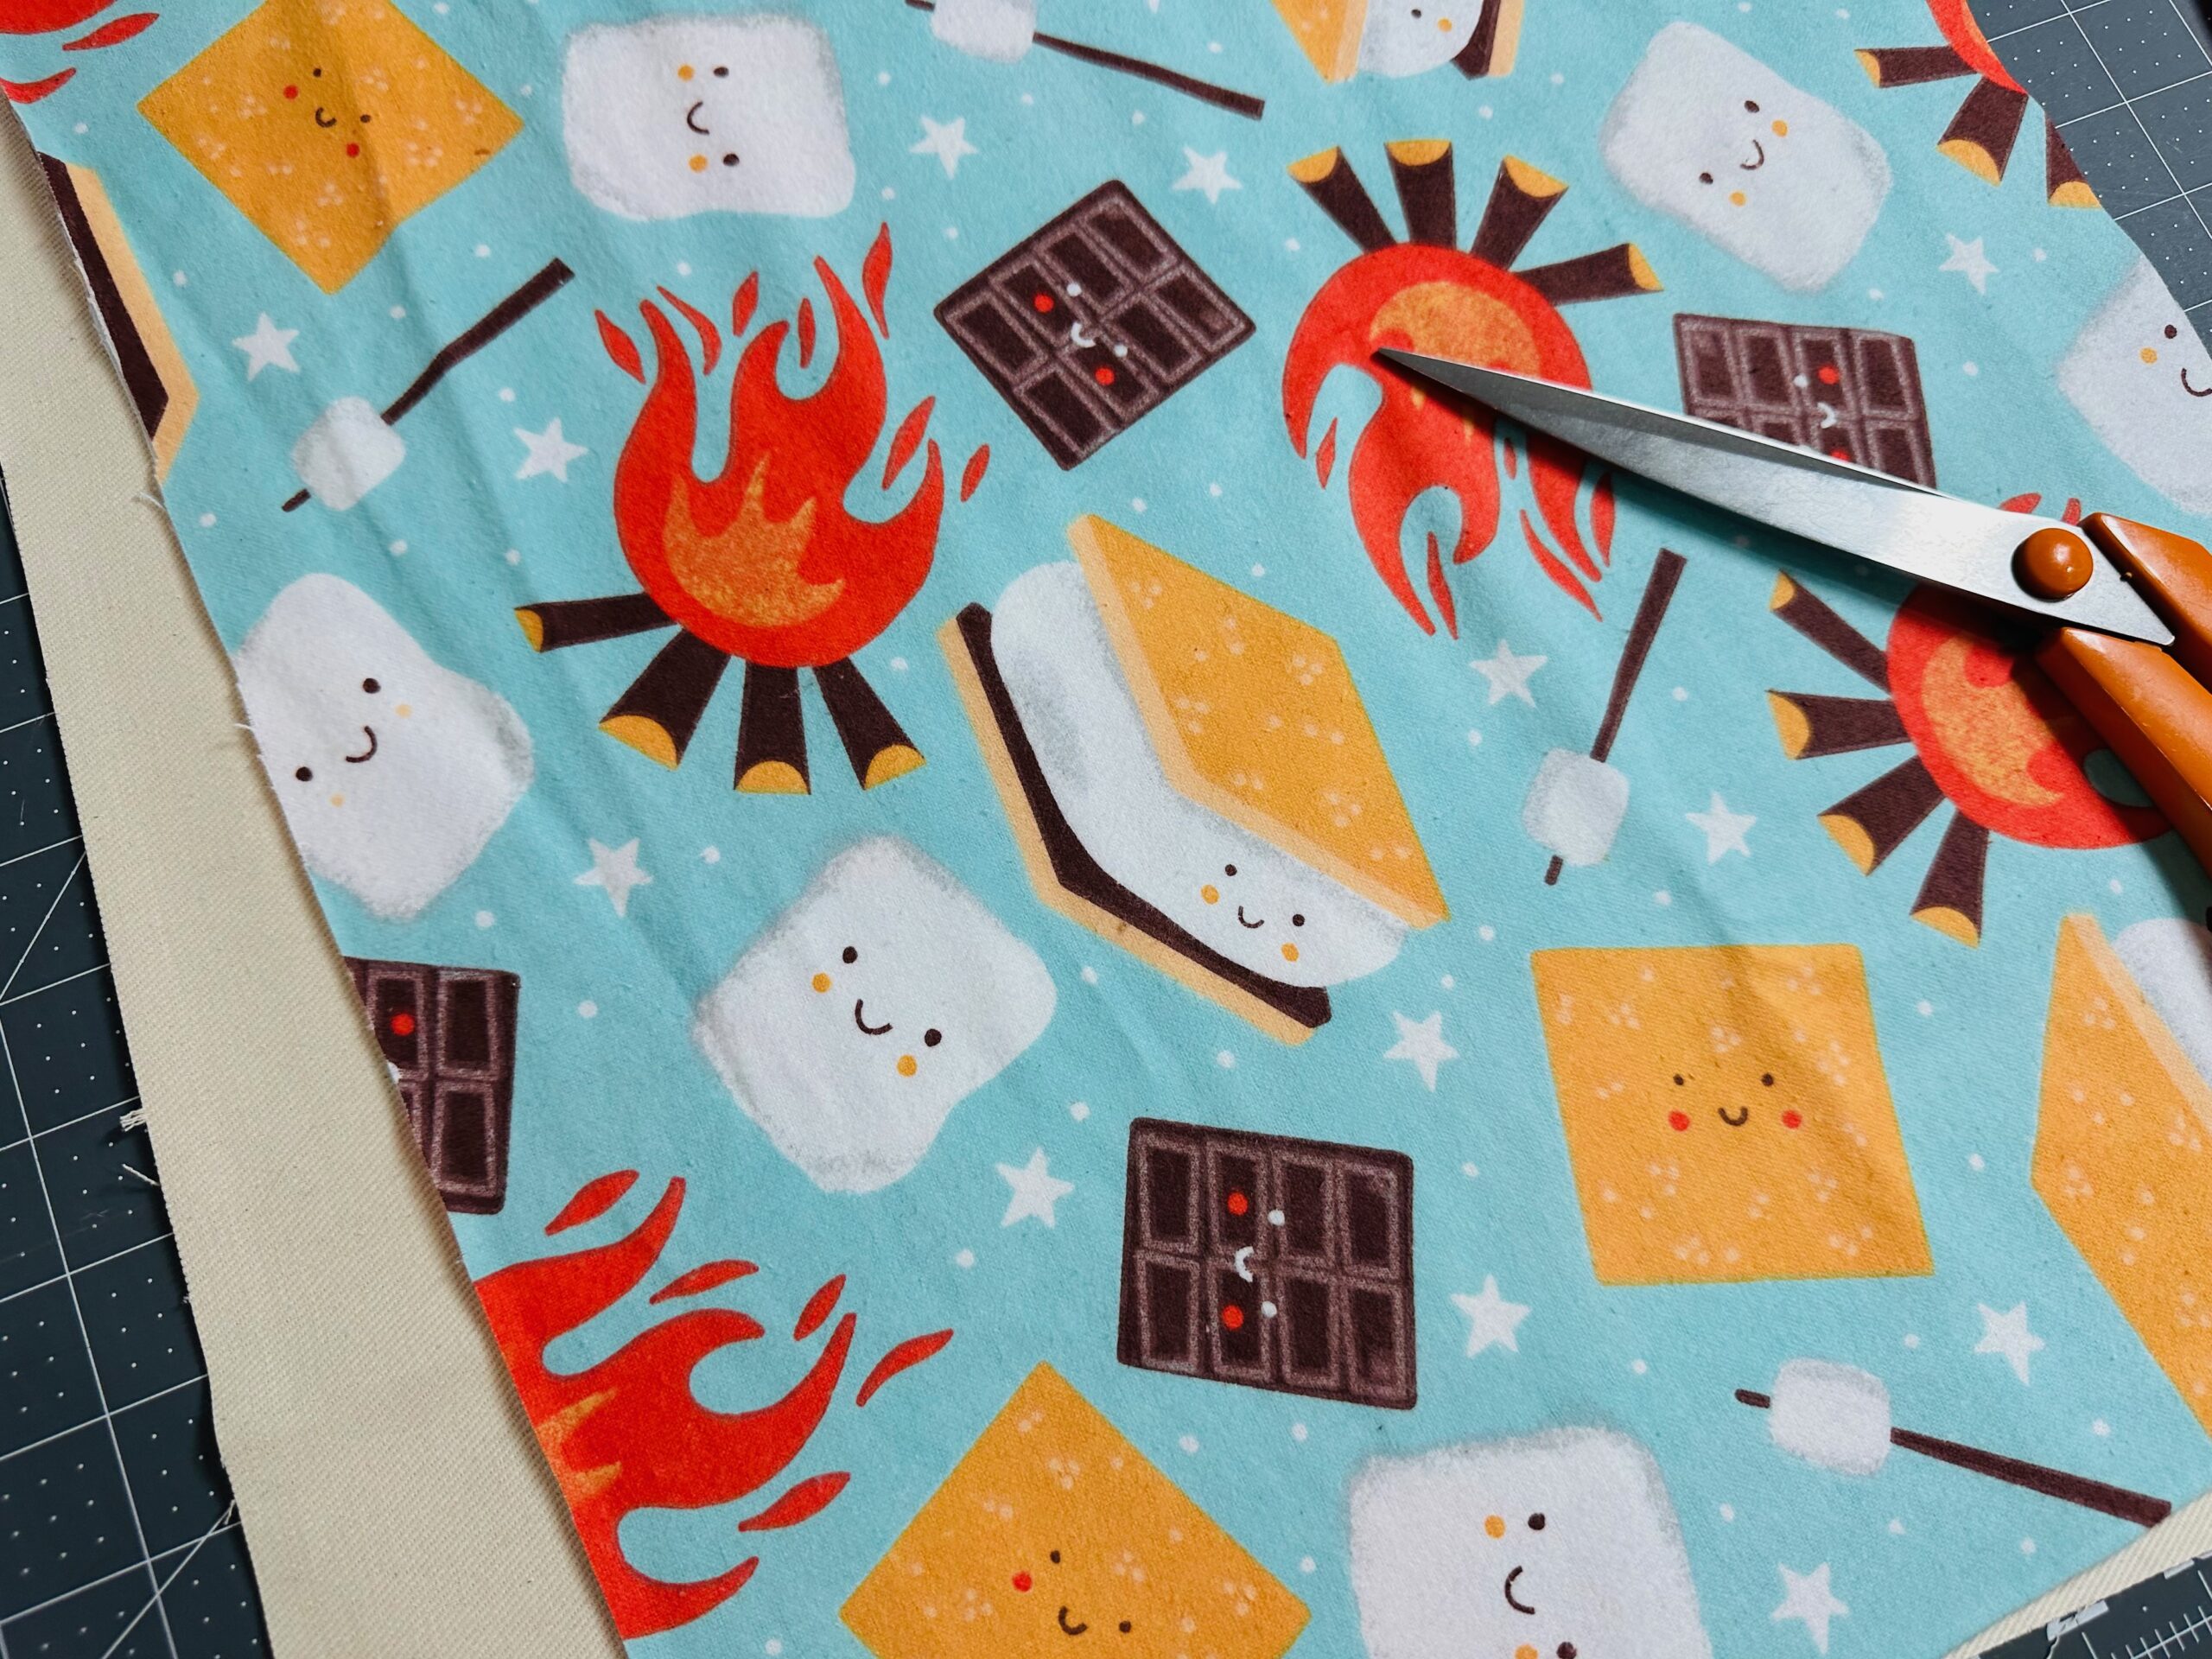
First, place the two outer rectangles right sides together on a flat work surface. Pin the sides and lower edge.
Stitch the sides and lower edge using a 1/4″ seam allowance. Press open the seams.
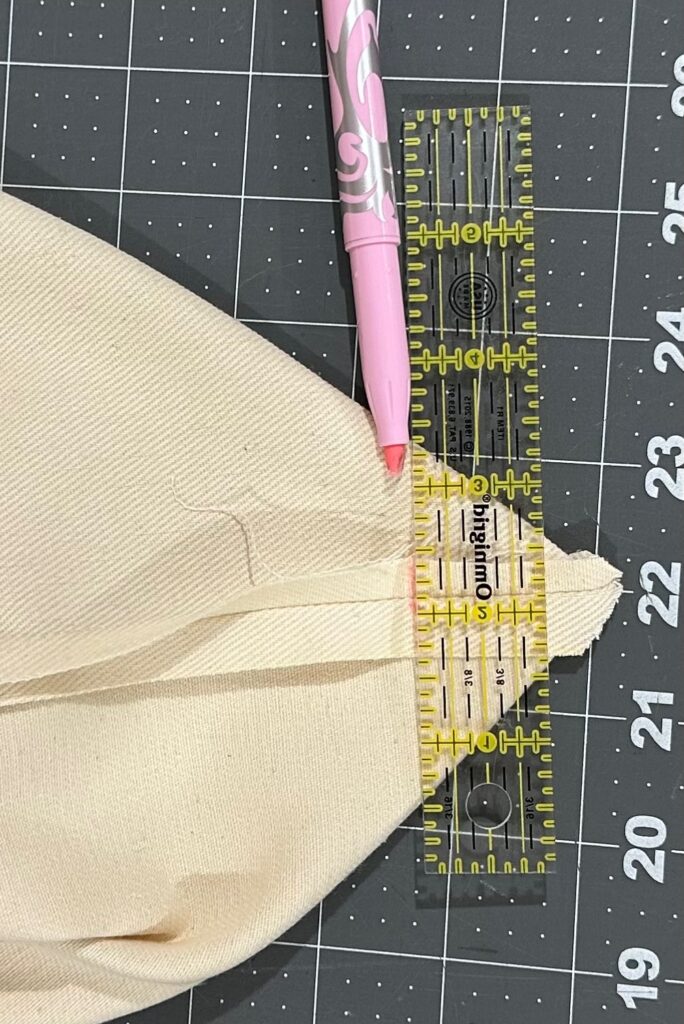
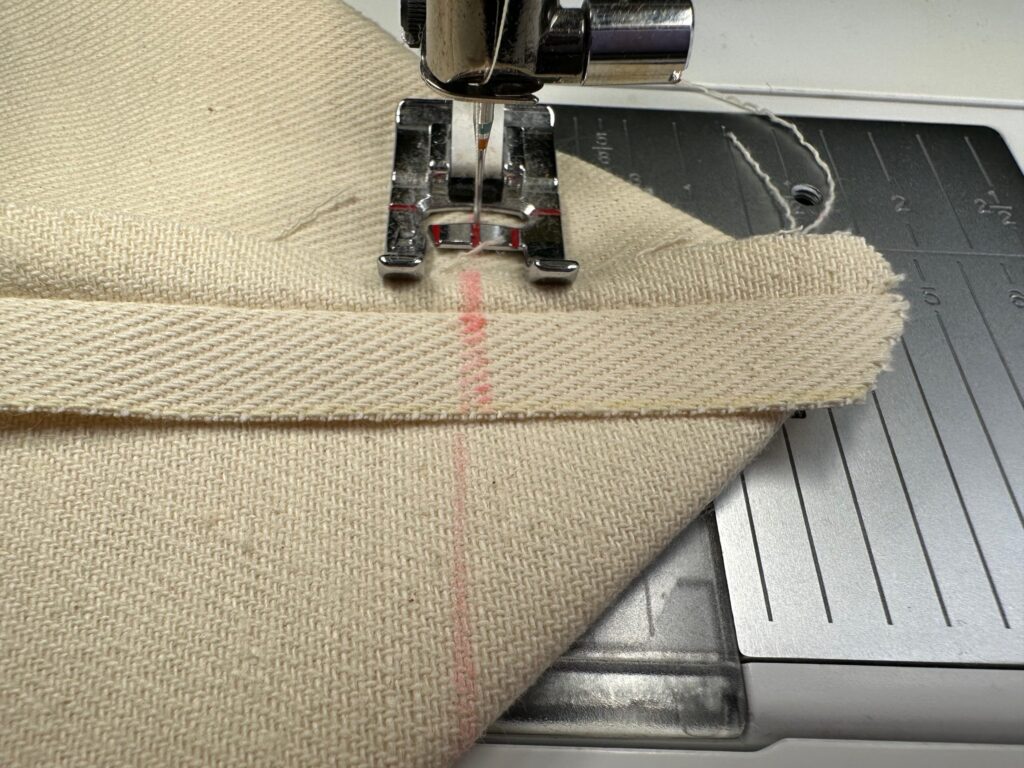
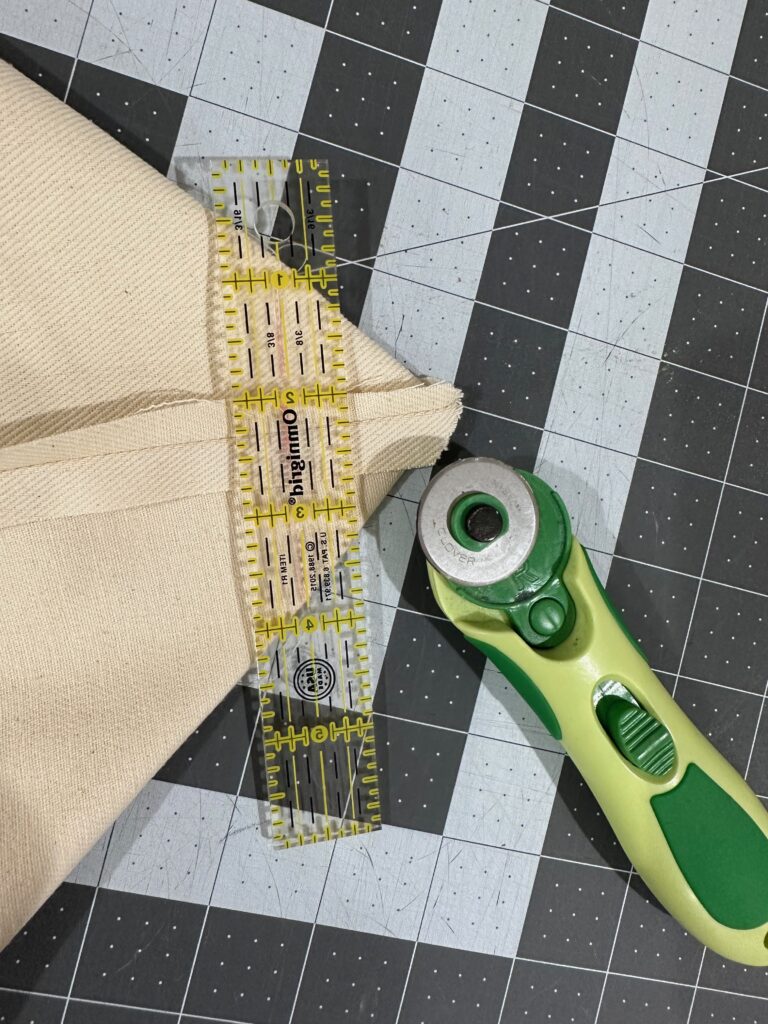
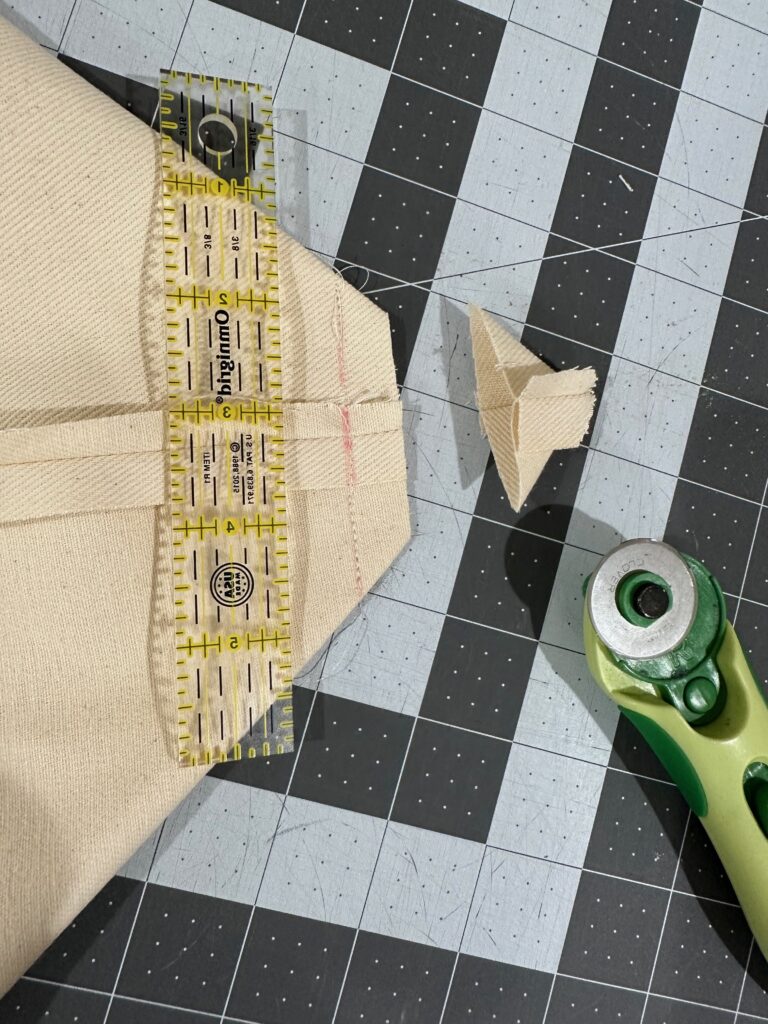
Align one side seam with the adjacent lower-edge seam. Flatten the corner, and mark across it 1 1/2″ from the corner point. Then, stitch along the line. Trim the seam allowance to 1/2″. Repeat to box the opposite corner.
Repeat to stitch the lining rectangles, but leave a centered 5″ opening along the lower edge for turning and use a 3/8″ seam allowance. Box the corners, stitching 1 1/2″ from the corner points.
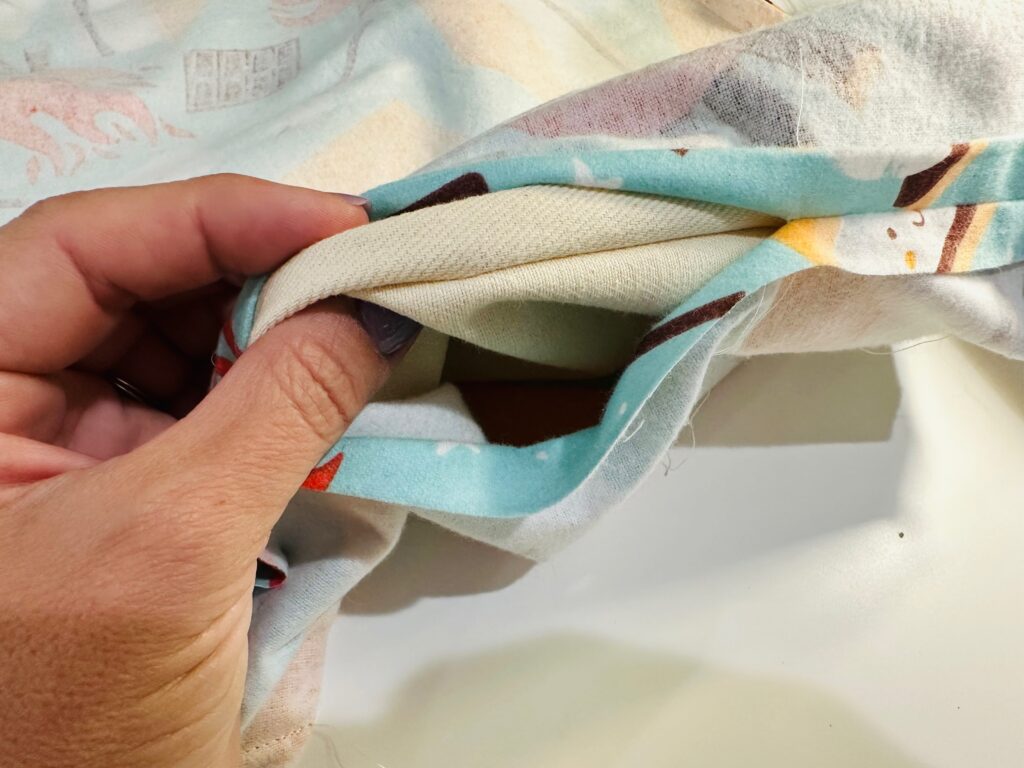
Turn the outer bag right side out. Insert it into the lining bag so right sides are facing and seams are aligned.
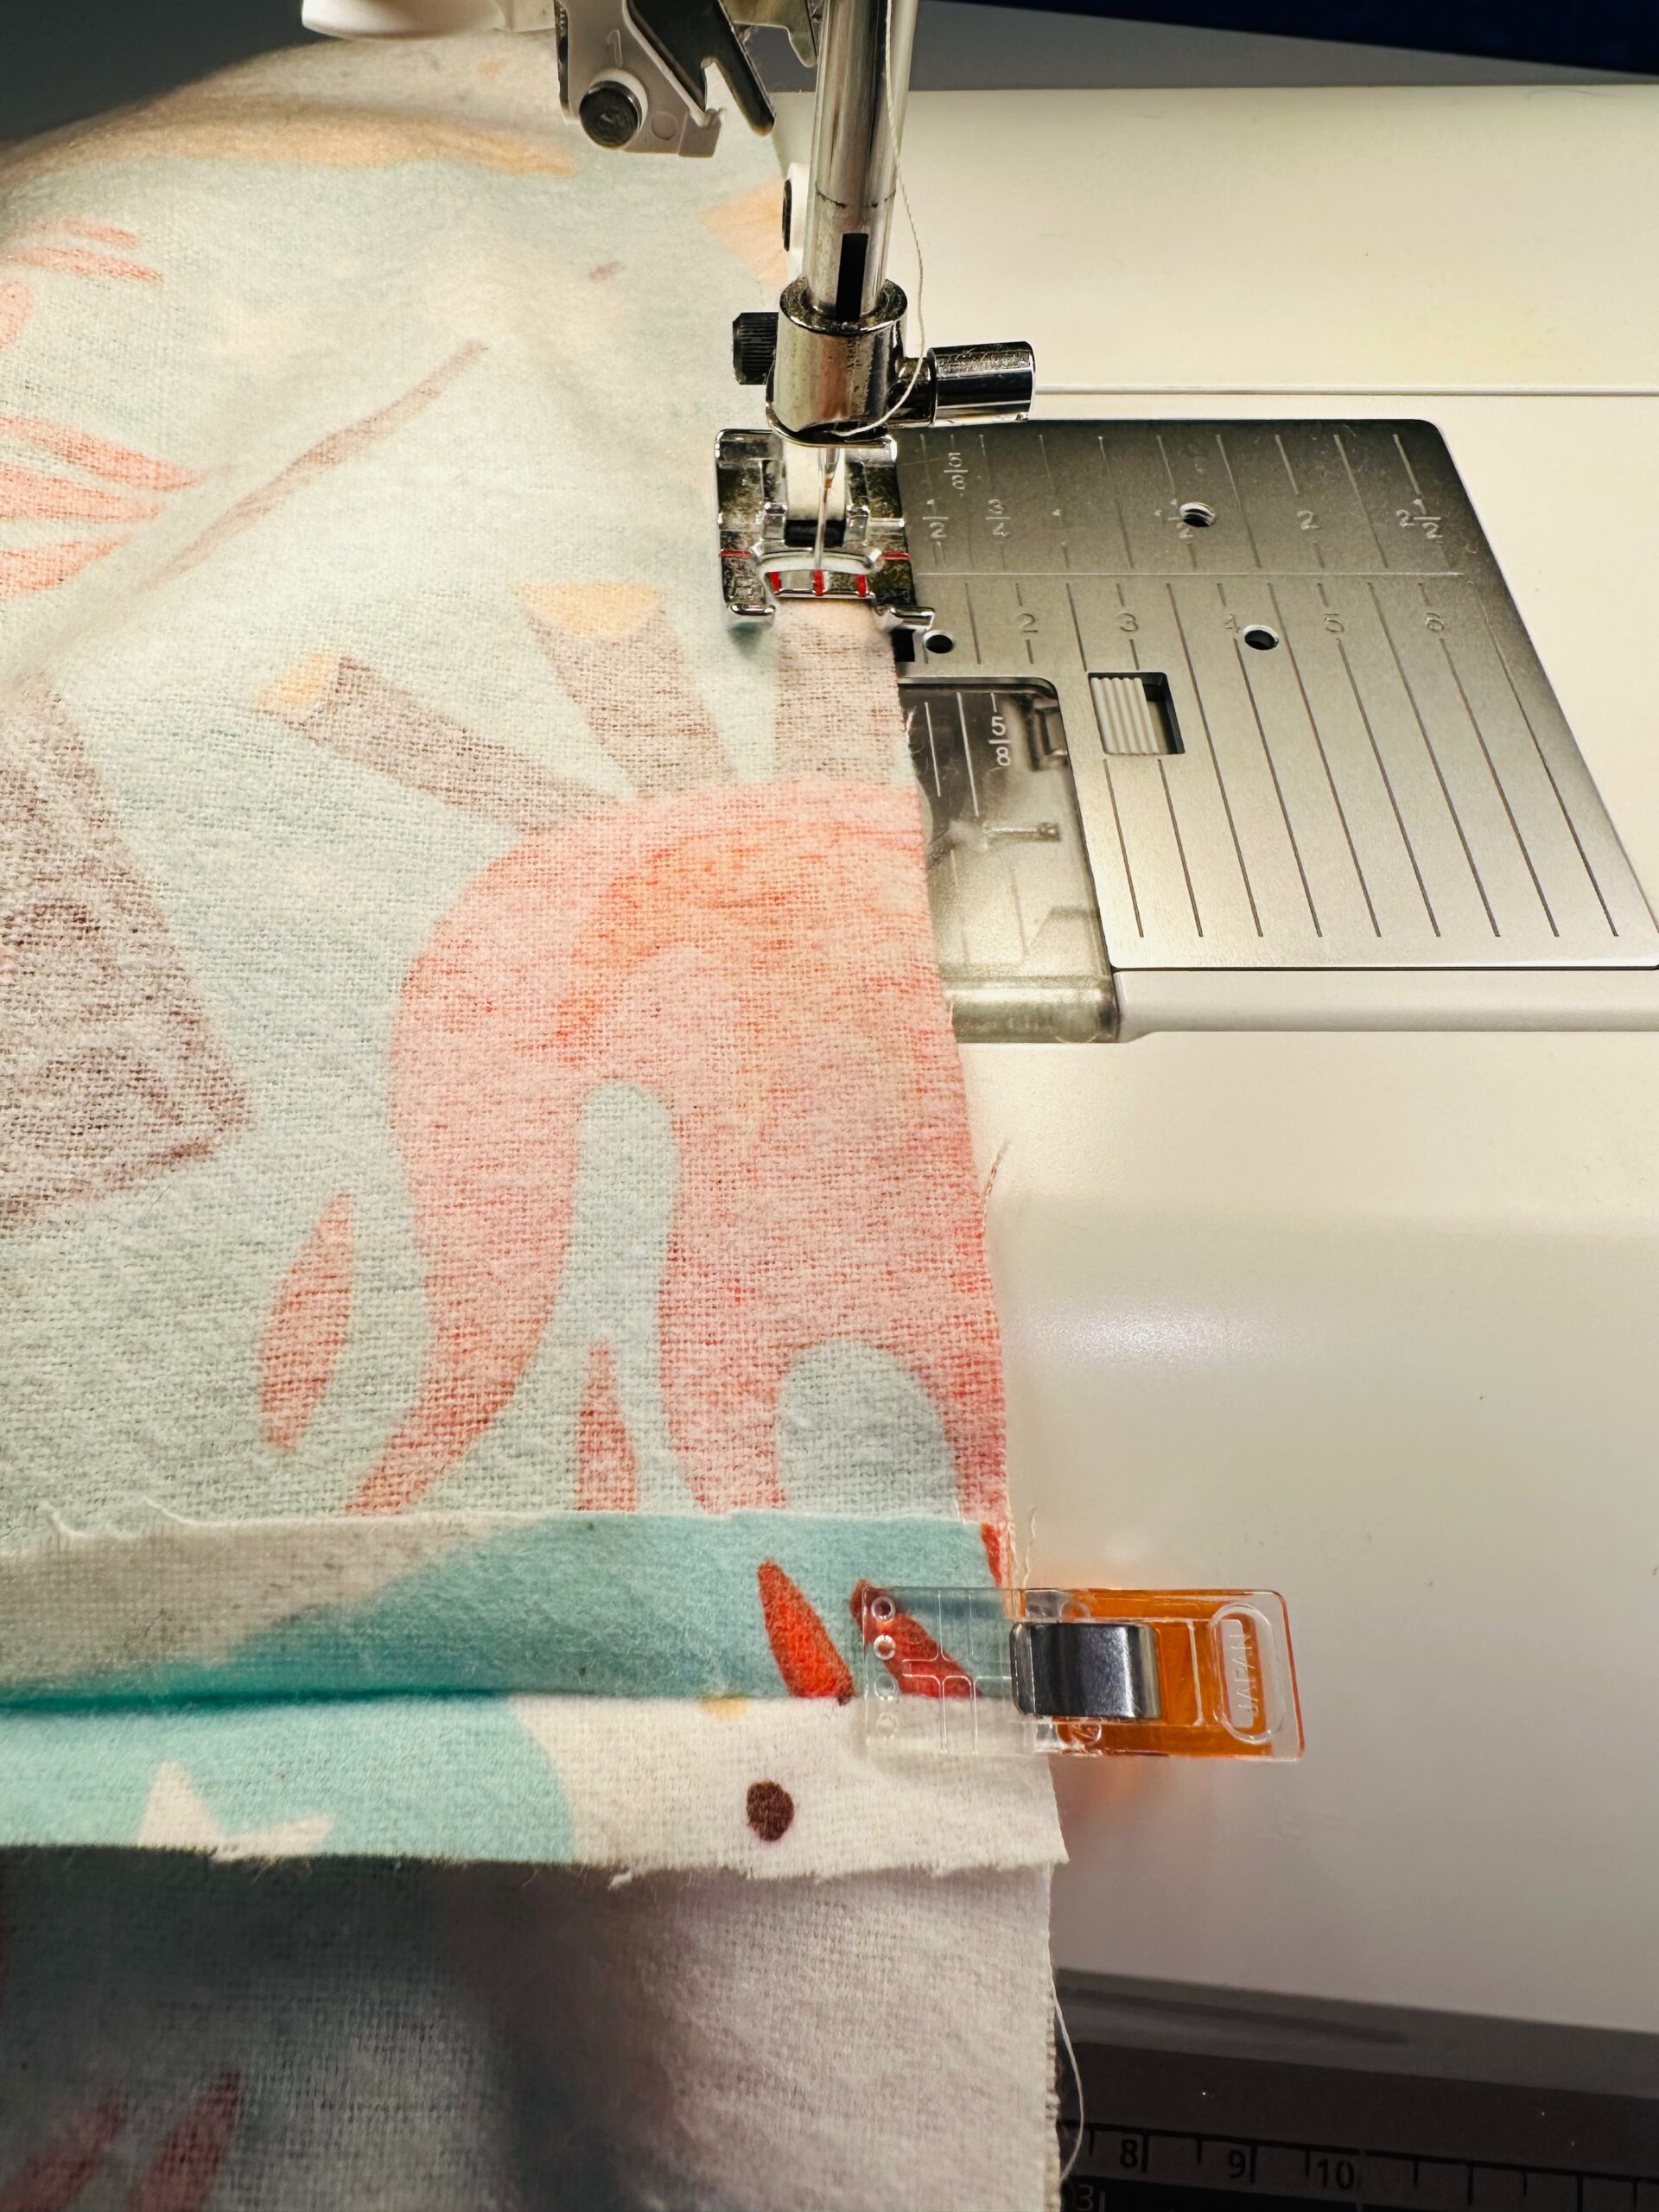
Stitch the upper edge using a 1/4″ seam allowance.
Next, turn the whole bag right side out through the opening in the lining.
Then, hand stitch or topstitch the opening shut.
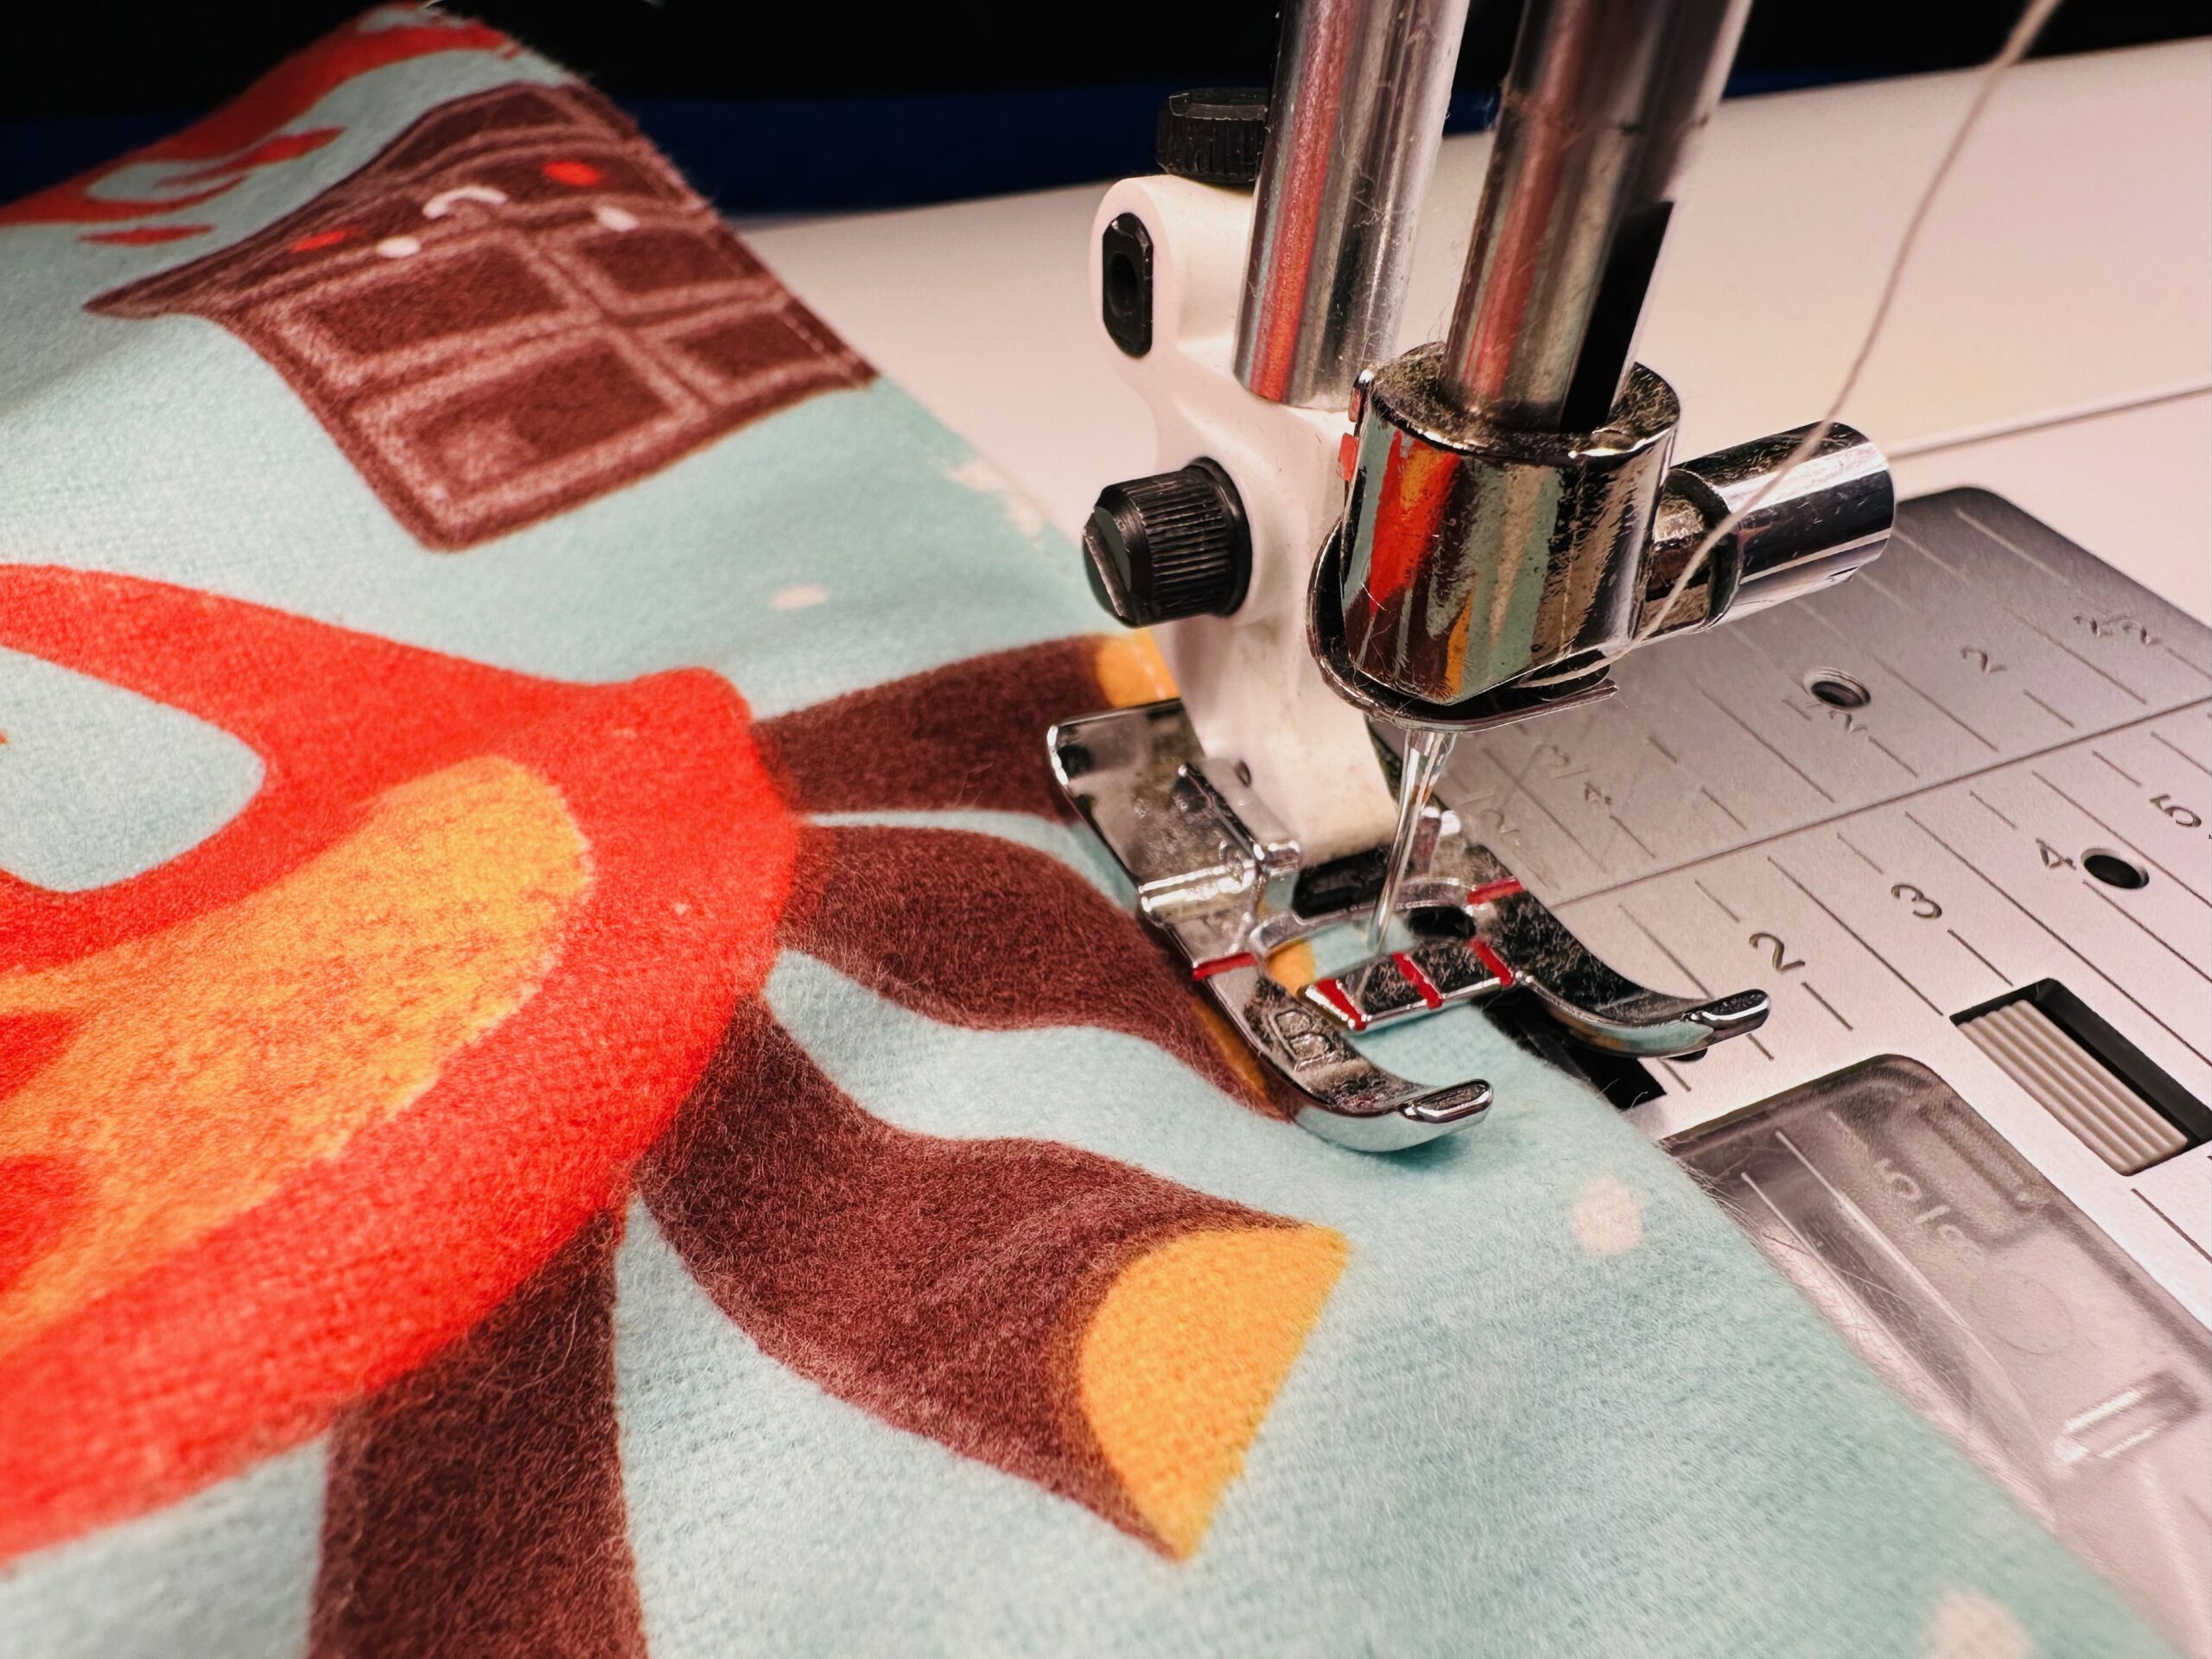
Push the lining bag into the outer bag, matching all seams. Topstitch 1/8″ from the upper edge.
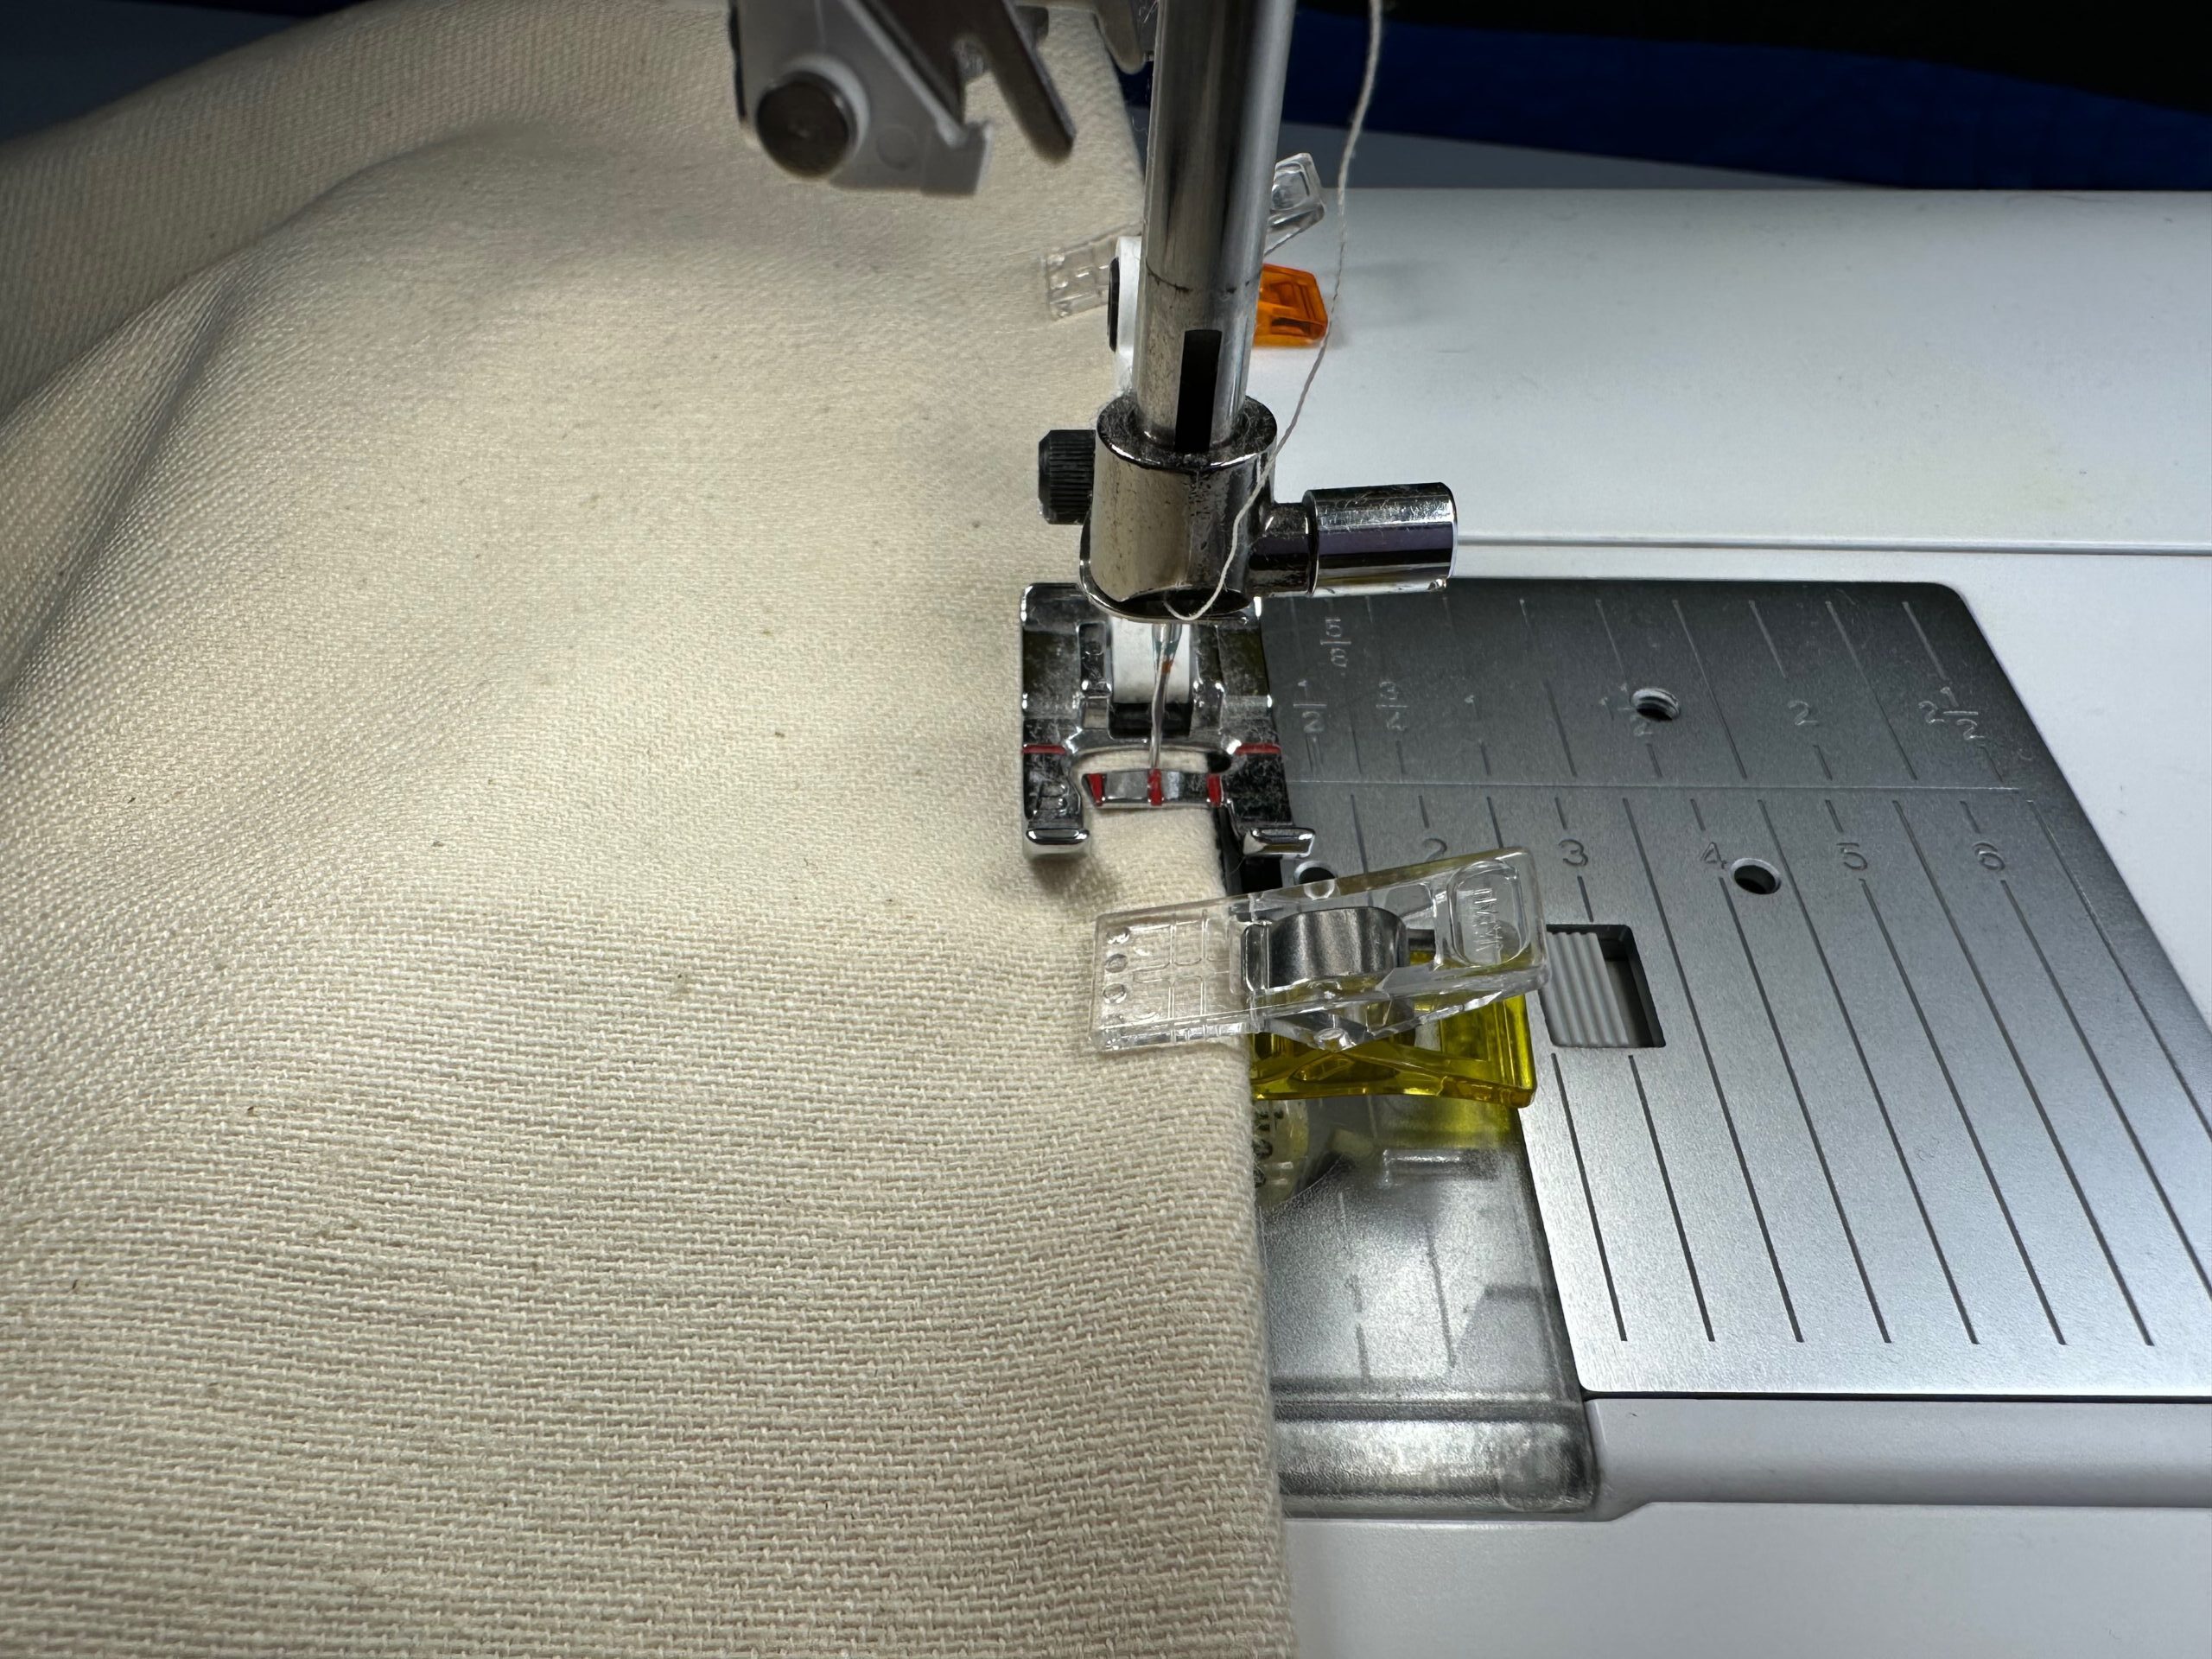
CASING
Using a removable fabric marker, draw a line 1 1/2″ from the bag upper edge. Draw another line 5/8″ from the first line. These are the stitching lines for the drawstring casing.
Stitch along both lines, backstitching at each side seam.

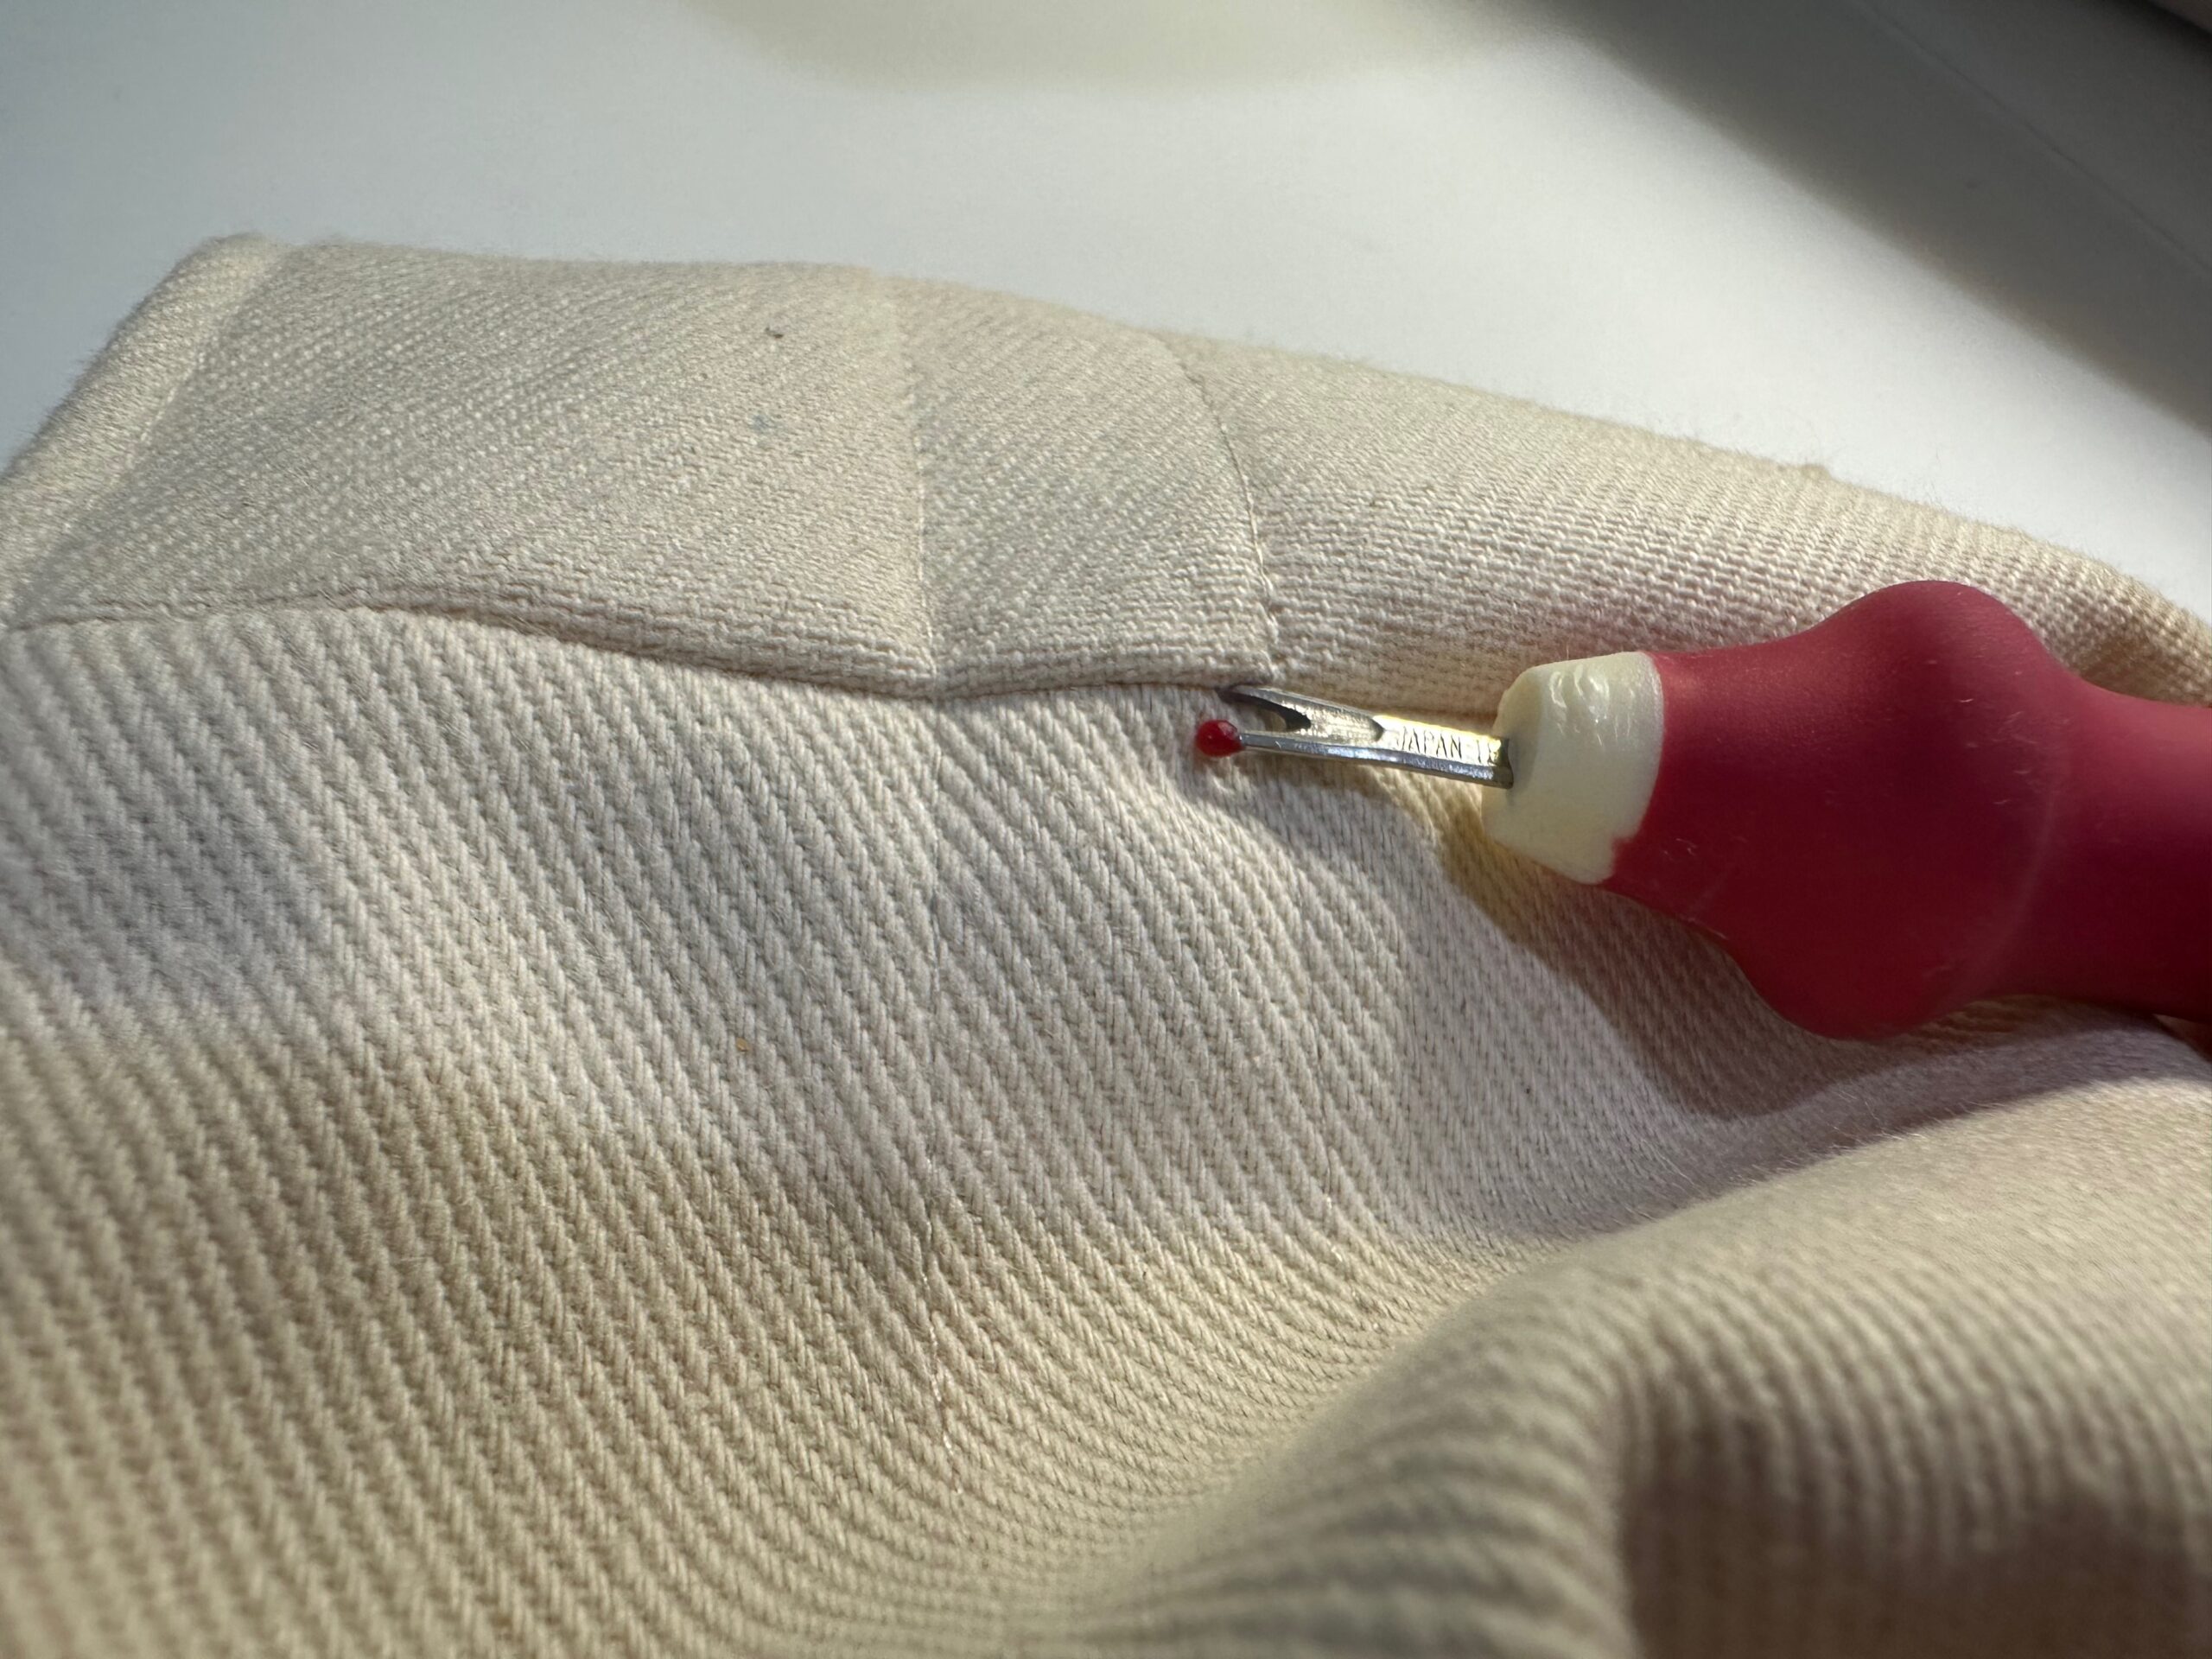
At each side seam, use a seam ripper to undo 4 or 5 stitches within the casing stitching only.
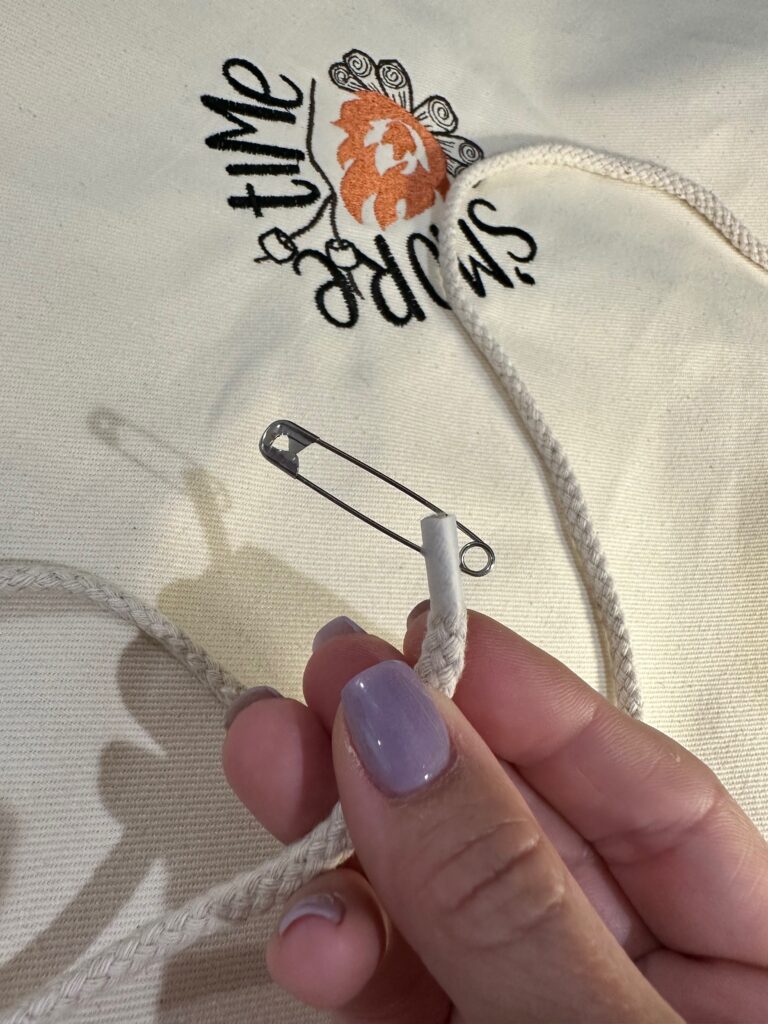
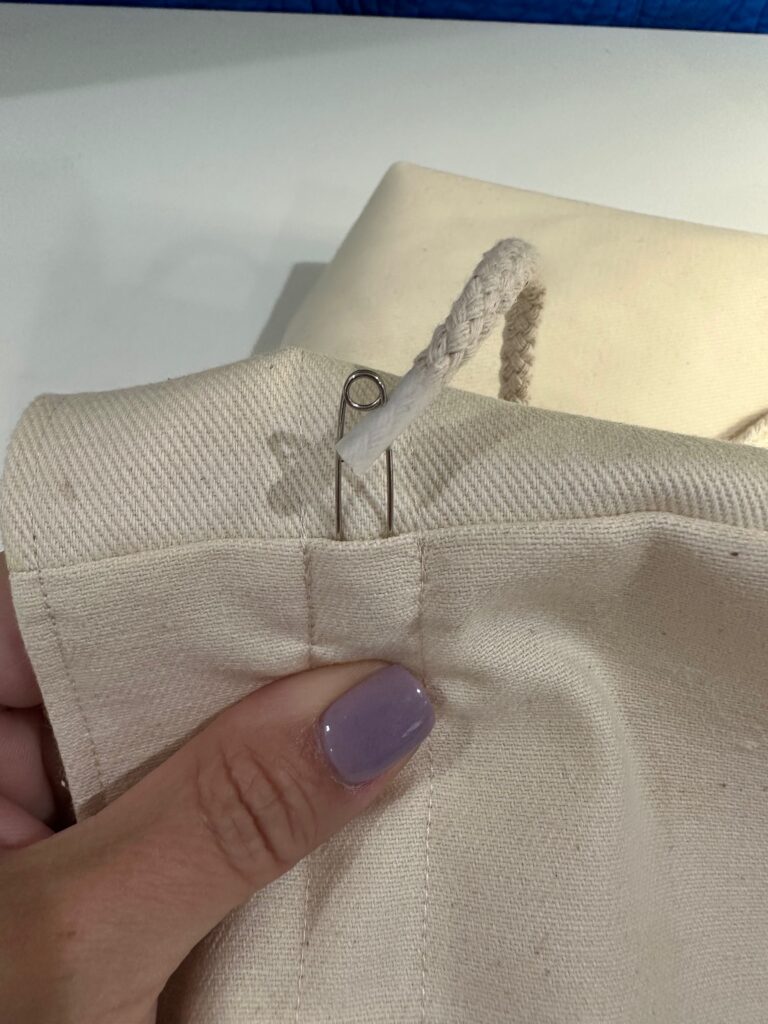
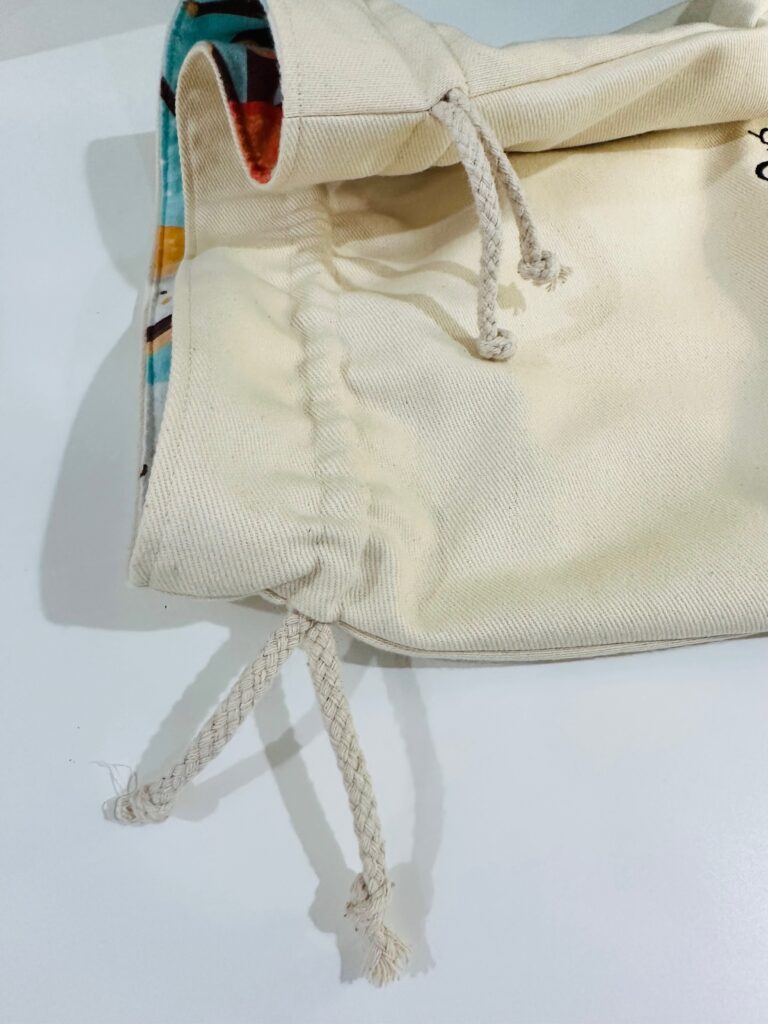
Insert a safety pin through one ribbon or cording end. (Depending on the type of cording used, you may need to wrap the end with tape prior to inserting the safety pin to reduce fraying.) Thread it into one side-seam opening, around the bag, and out through the same opening. Repeat to insert the remaining ribbon or cording through the opposite side-seam opening. remove the safety pin and knot the ends independently.

BUILDING THE S’MORES KIT
Fill the bag with a box of graham crackers, your favorite chocolate bars (or peanut butter cups) and a bag of marshmallows.
If desired, create a matching long skinny pouch to fit long roasting sticks using the same directions. Simply change the rectangle dimensions to fit the sticks you use at the campfire!