Citrus Slice Placemats – a Summery Set
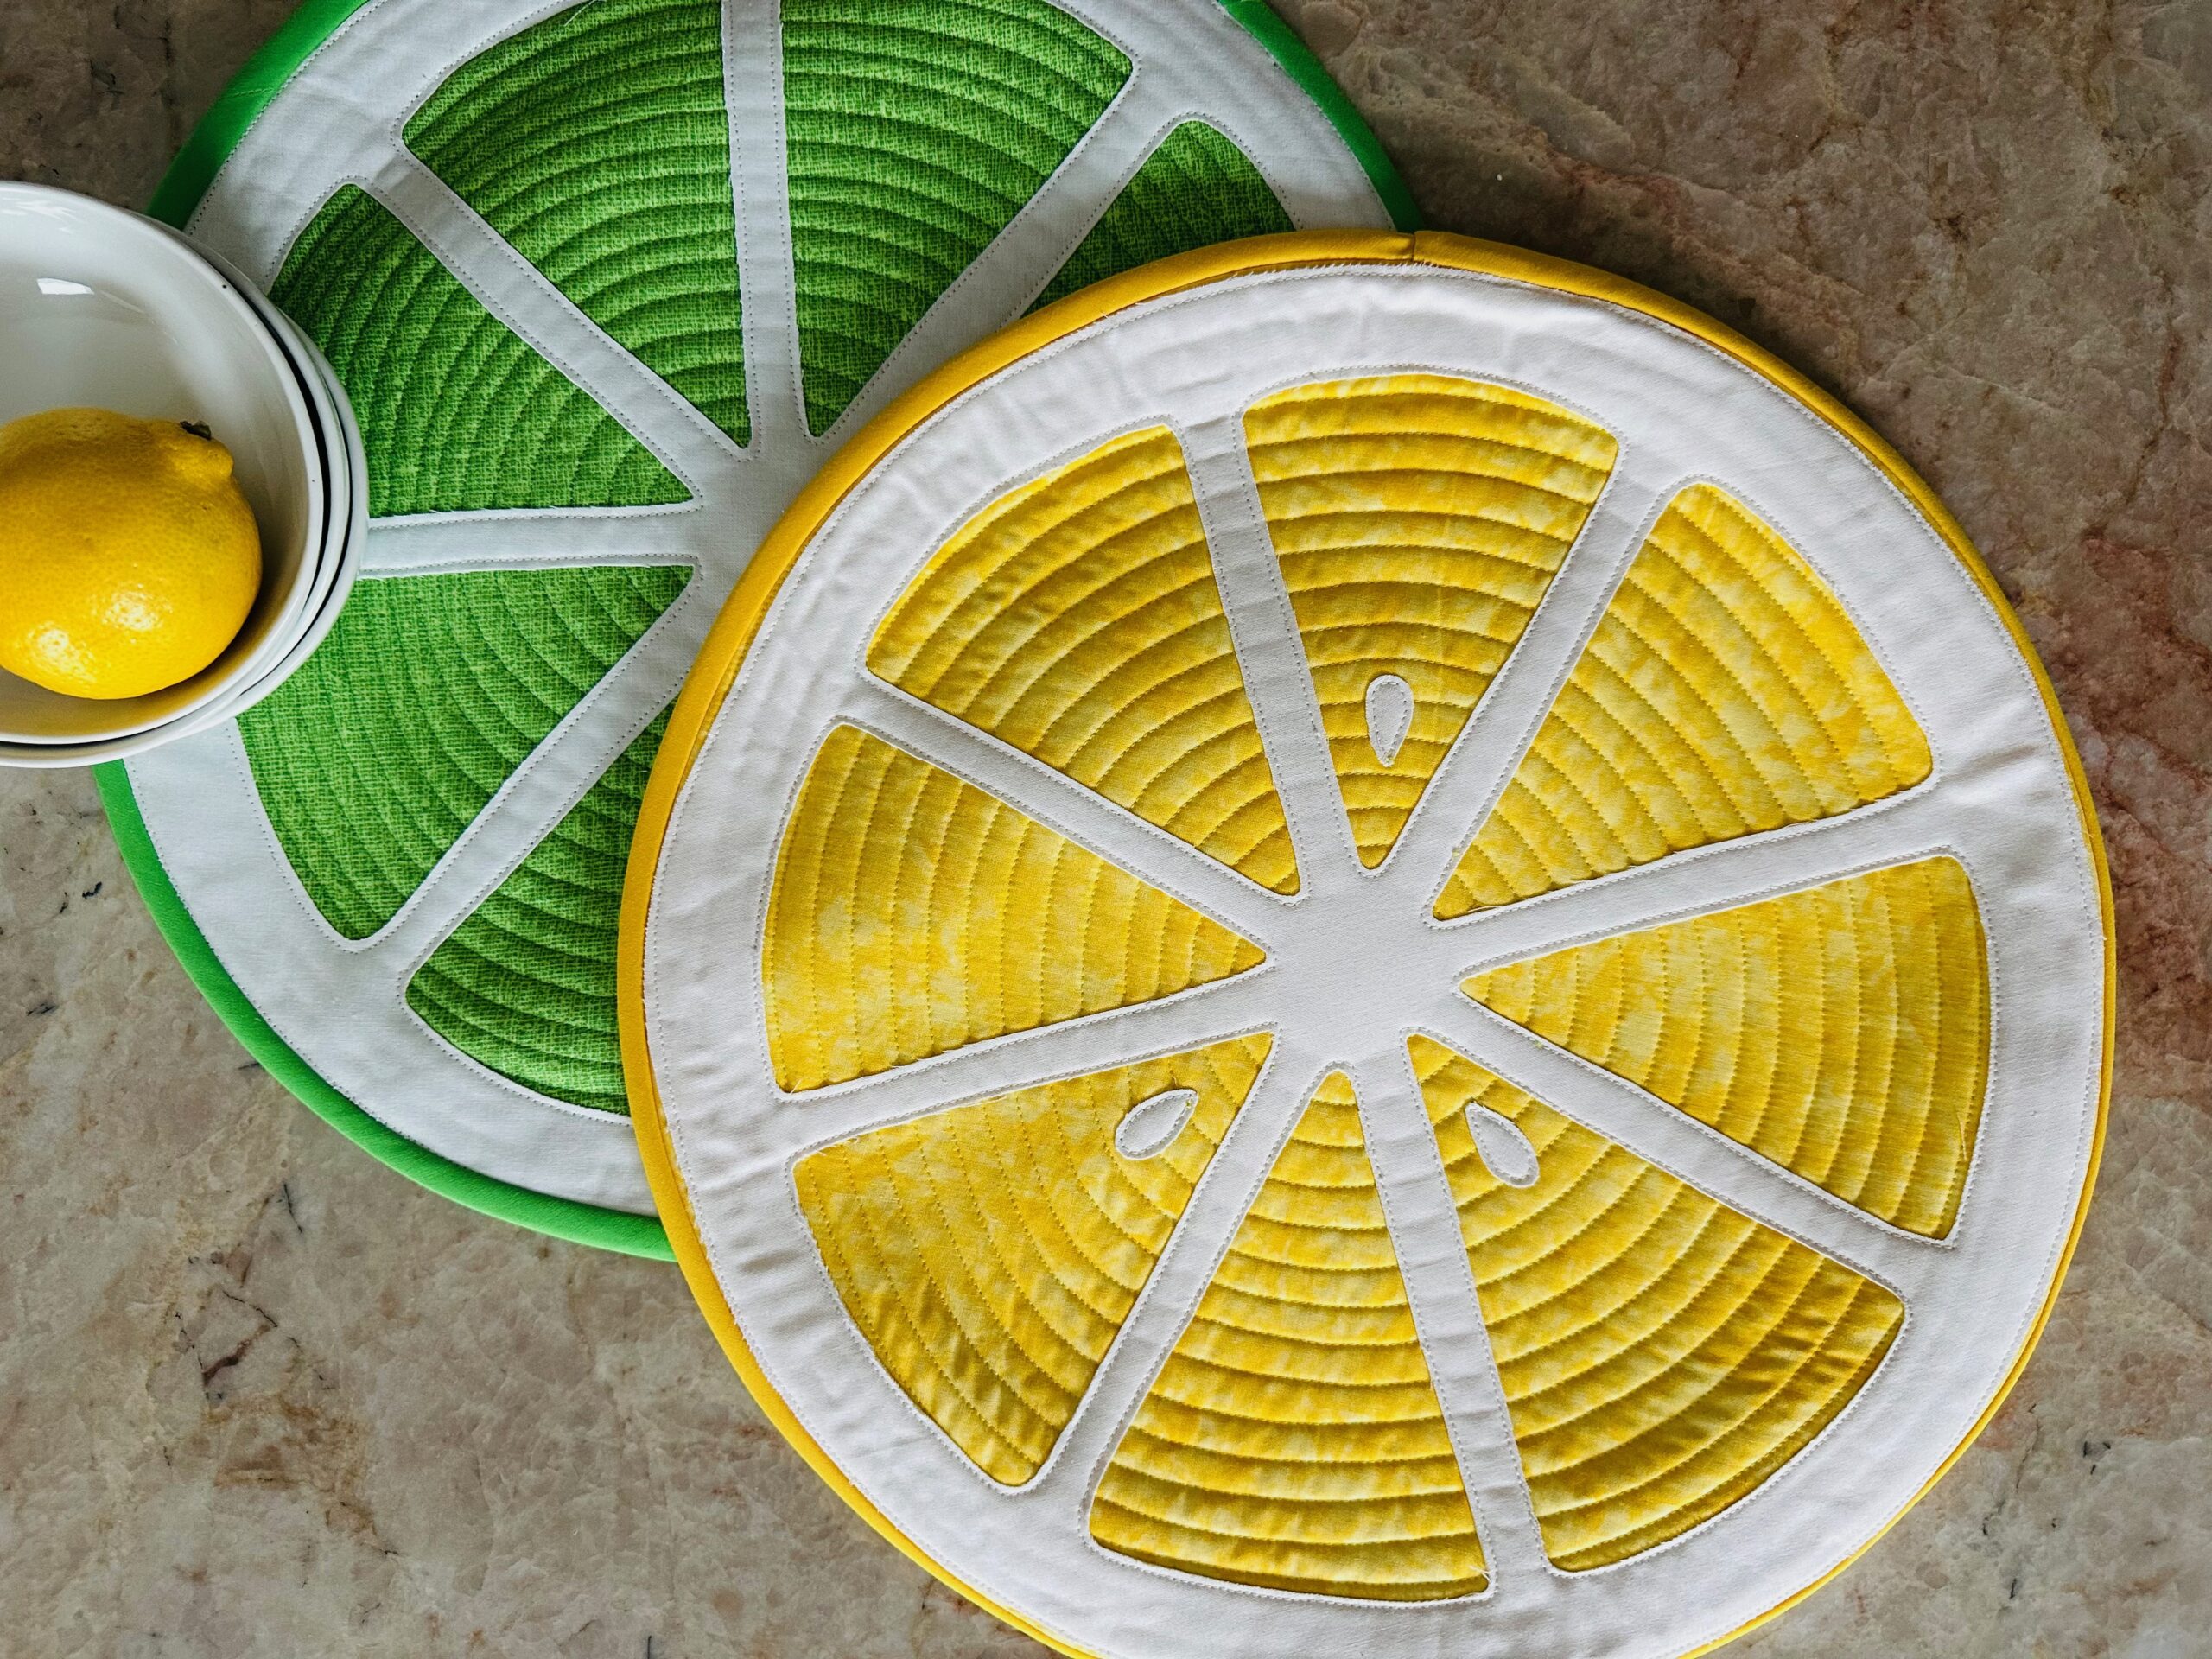
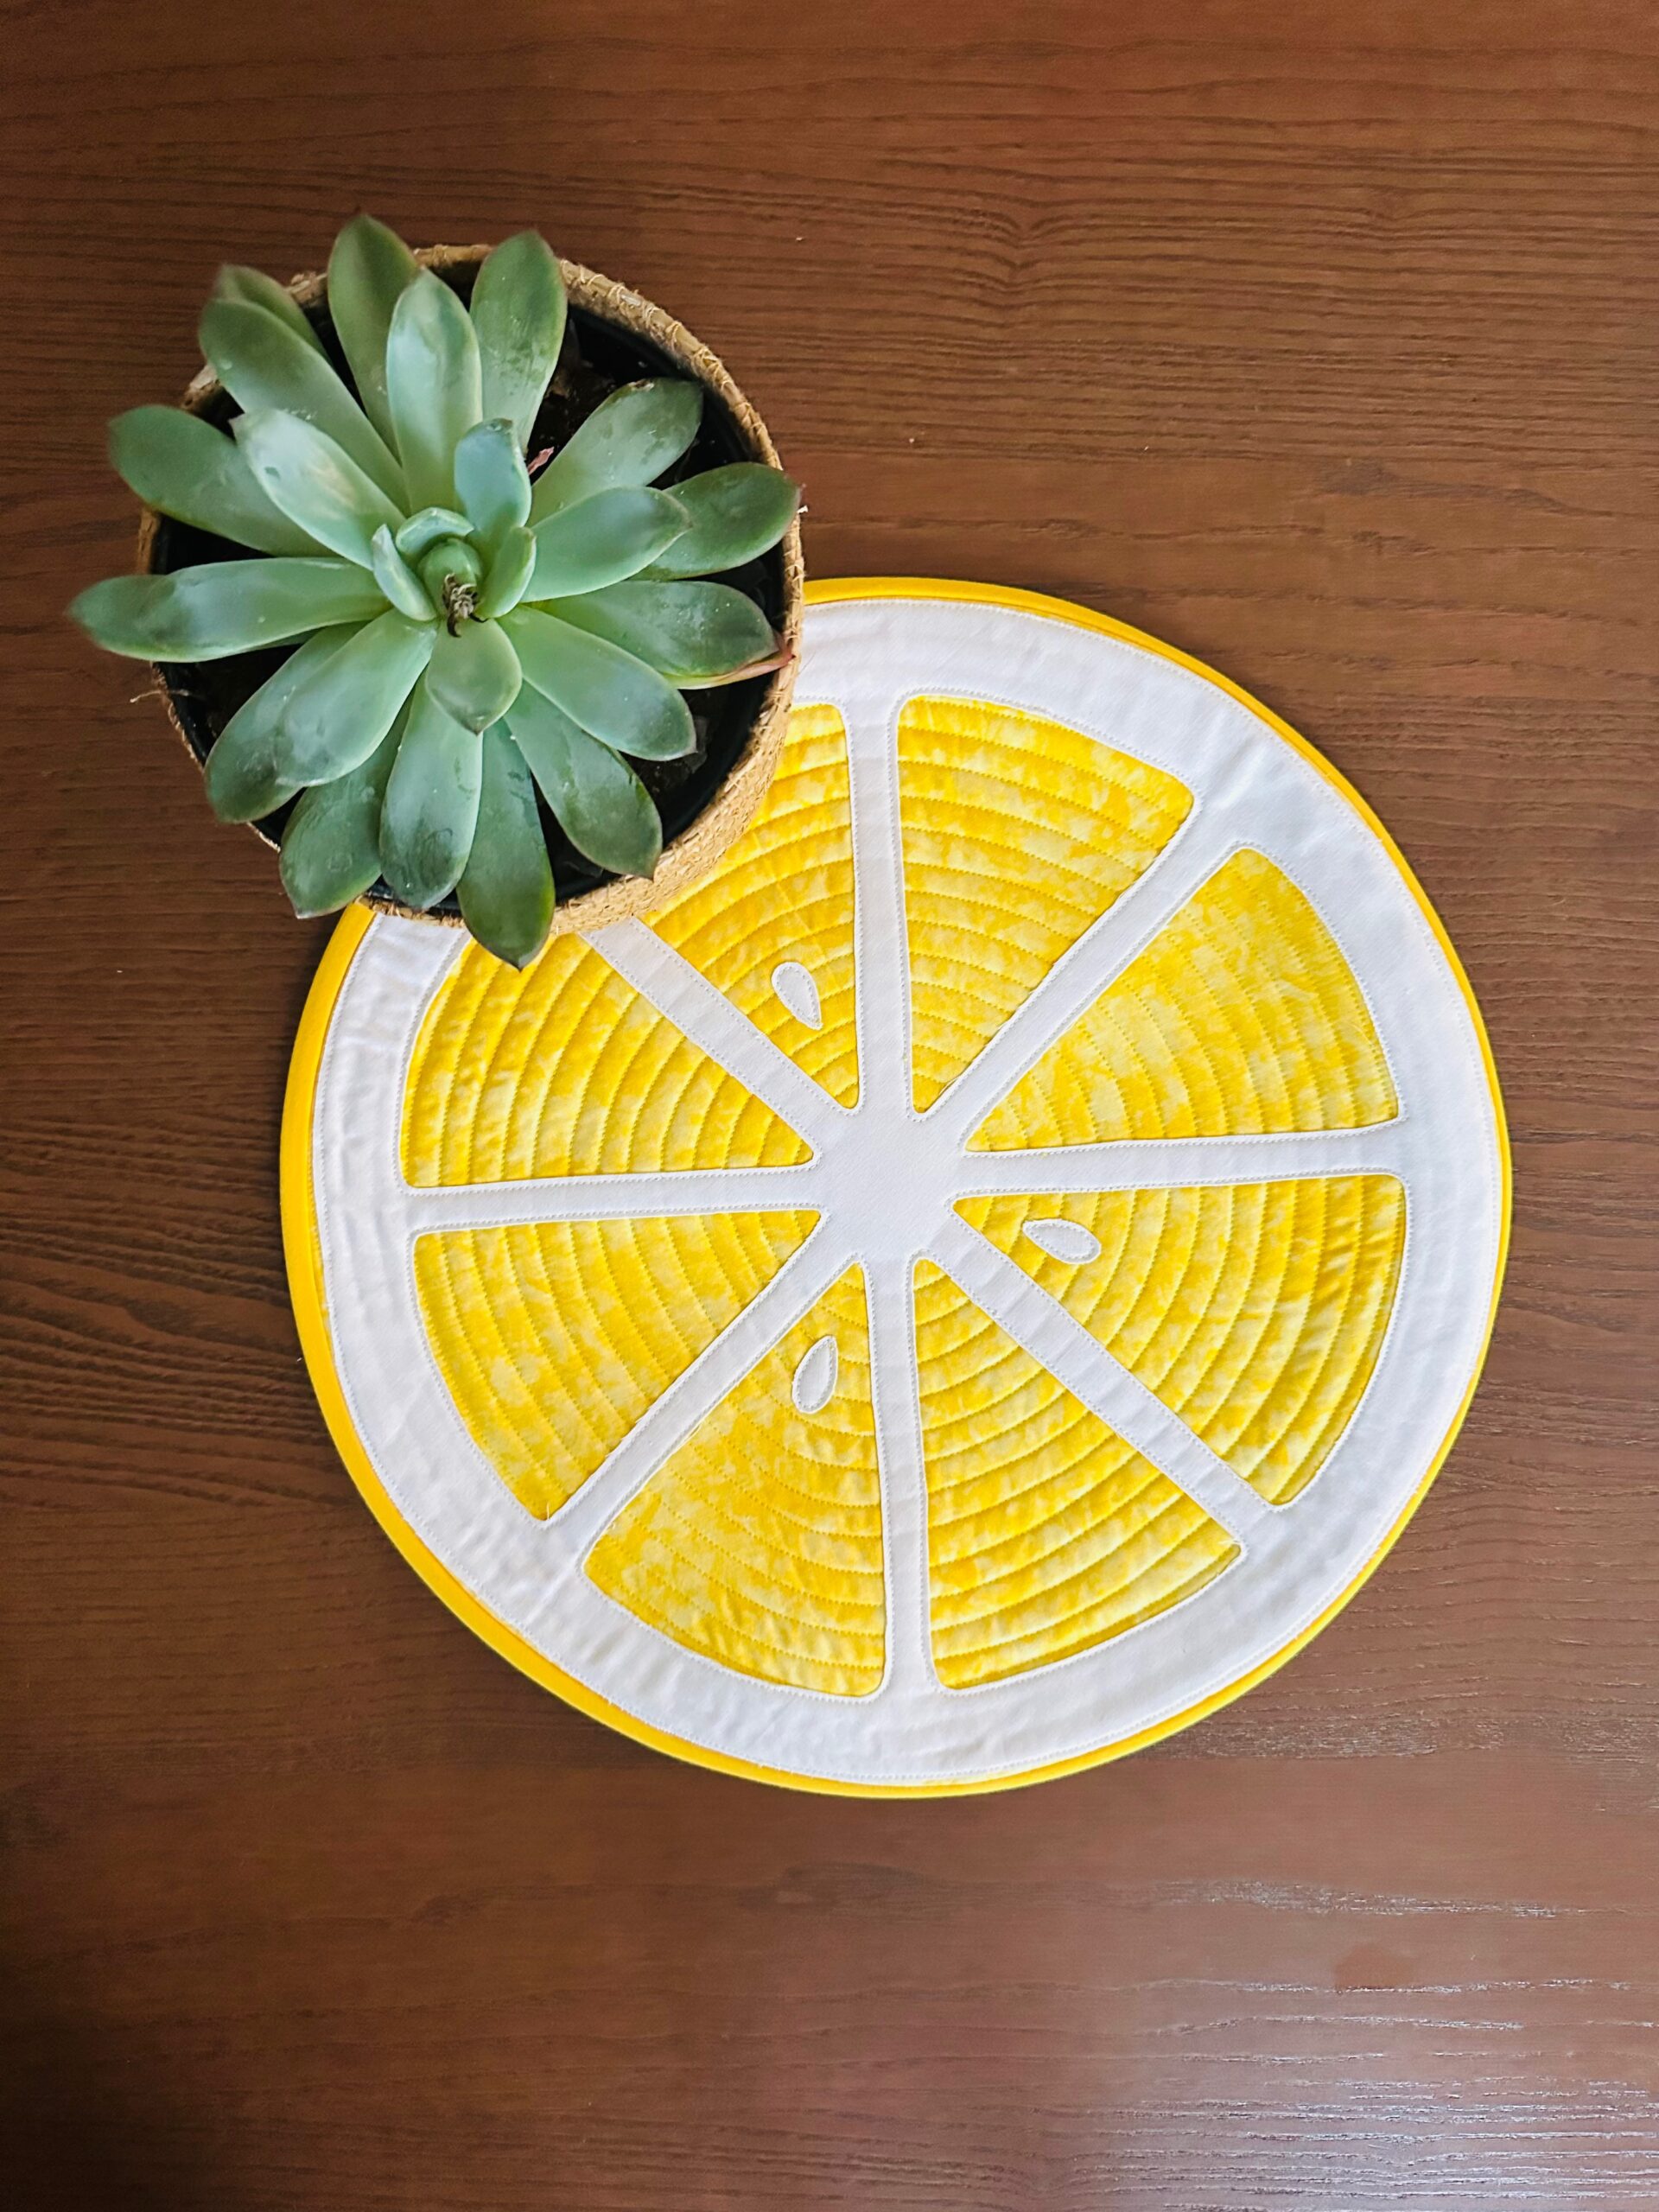
Create quilted citrus slices for your summery table with simple applique methods. Create your own pattern (with or without seeds!). A set of these Citrus Slice Placemats will look great on your outdoor table for a summer brunch, birthday lunch or pool party!
CITRUS SLICE PLACEMAT SUPPLIES
- Patternmaking materials (paper, pencil, hand embroidery hoop or compass)
- Sulky 50 wt. Cotton Thread (white or off-white to match pith & color to match citrus fabric)
- Sulky Perfect Applique Fusible Web
- Citrus-colored fabrics (approximately two 16″ squares for each placemat)
- White or off-white fabric (approximately one 15″ square for each placemat)
- Low-loft batting (approximately one 16″ square for each placemat)
- Binding: self- or pre-made (one or two shades darker than citrus color featured in placemat)
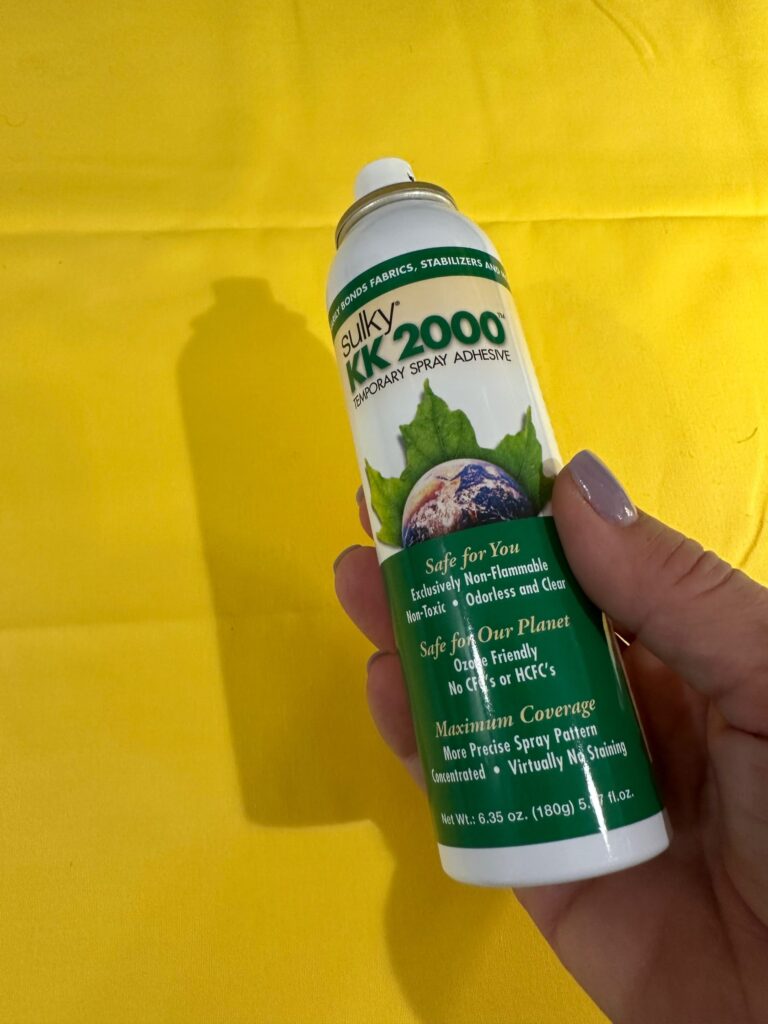
- Sulky KK 2000 Temporary Spray Adhesive
- Organ size 70/10 Universal Needle
- Lightweight woven fusible interfacing (optional)
The above list contains affiliate links. If you purchase through the links we may receive a commission.
CITRUS SLICE PATTERN
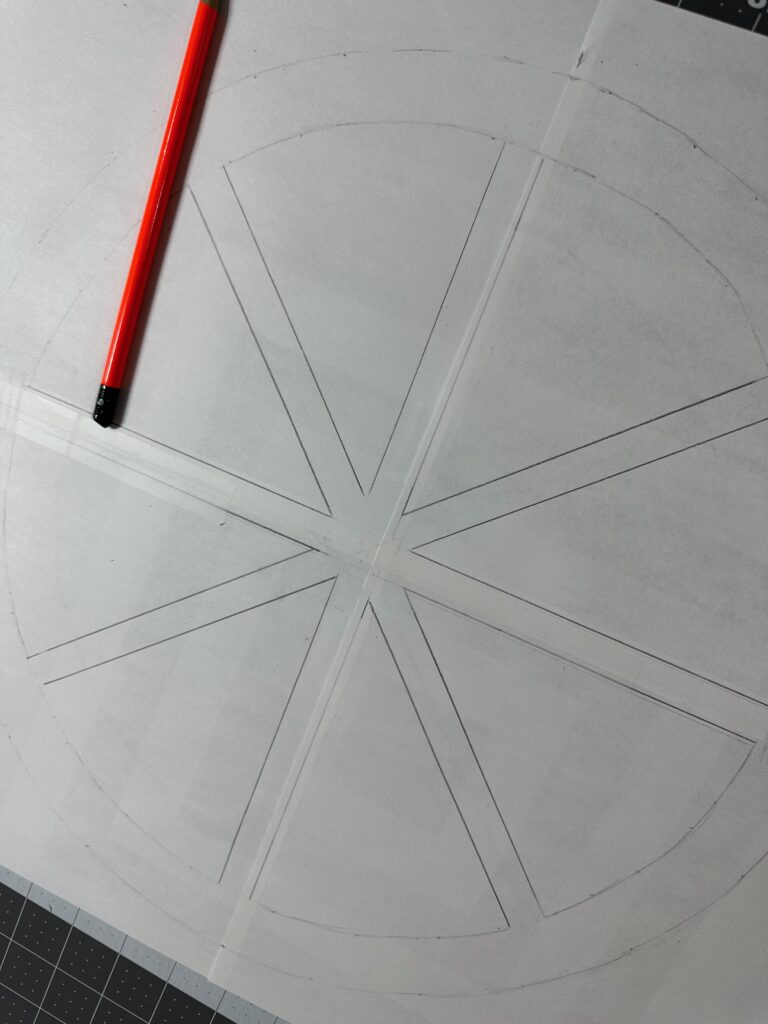
Tape together four sheets of 8 1/2″ x 11″ paper to create one large approximate 16″ x 21″ rectangle.
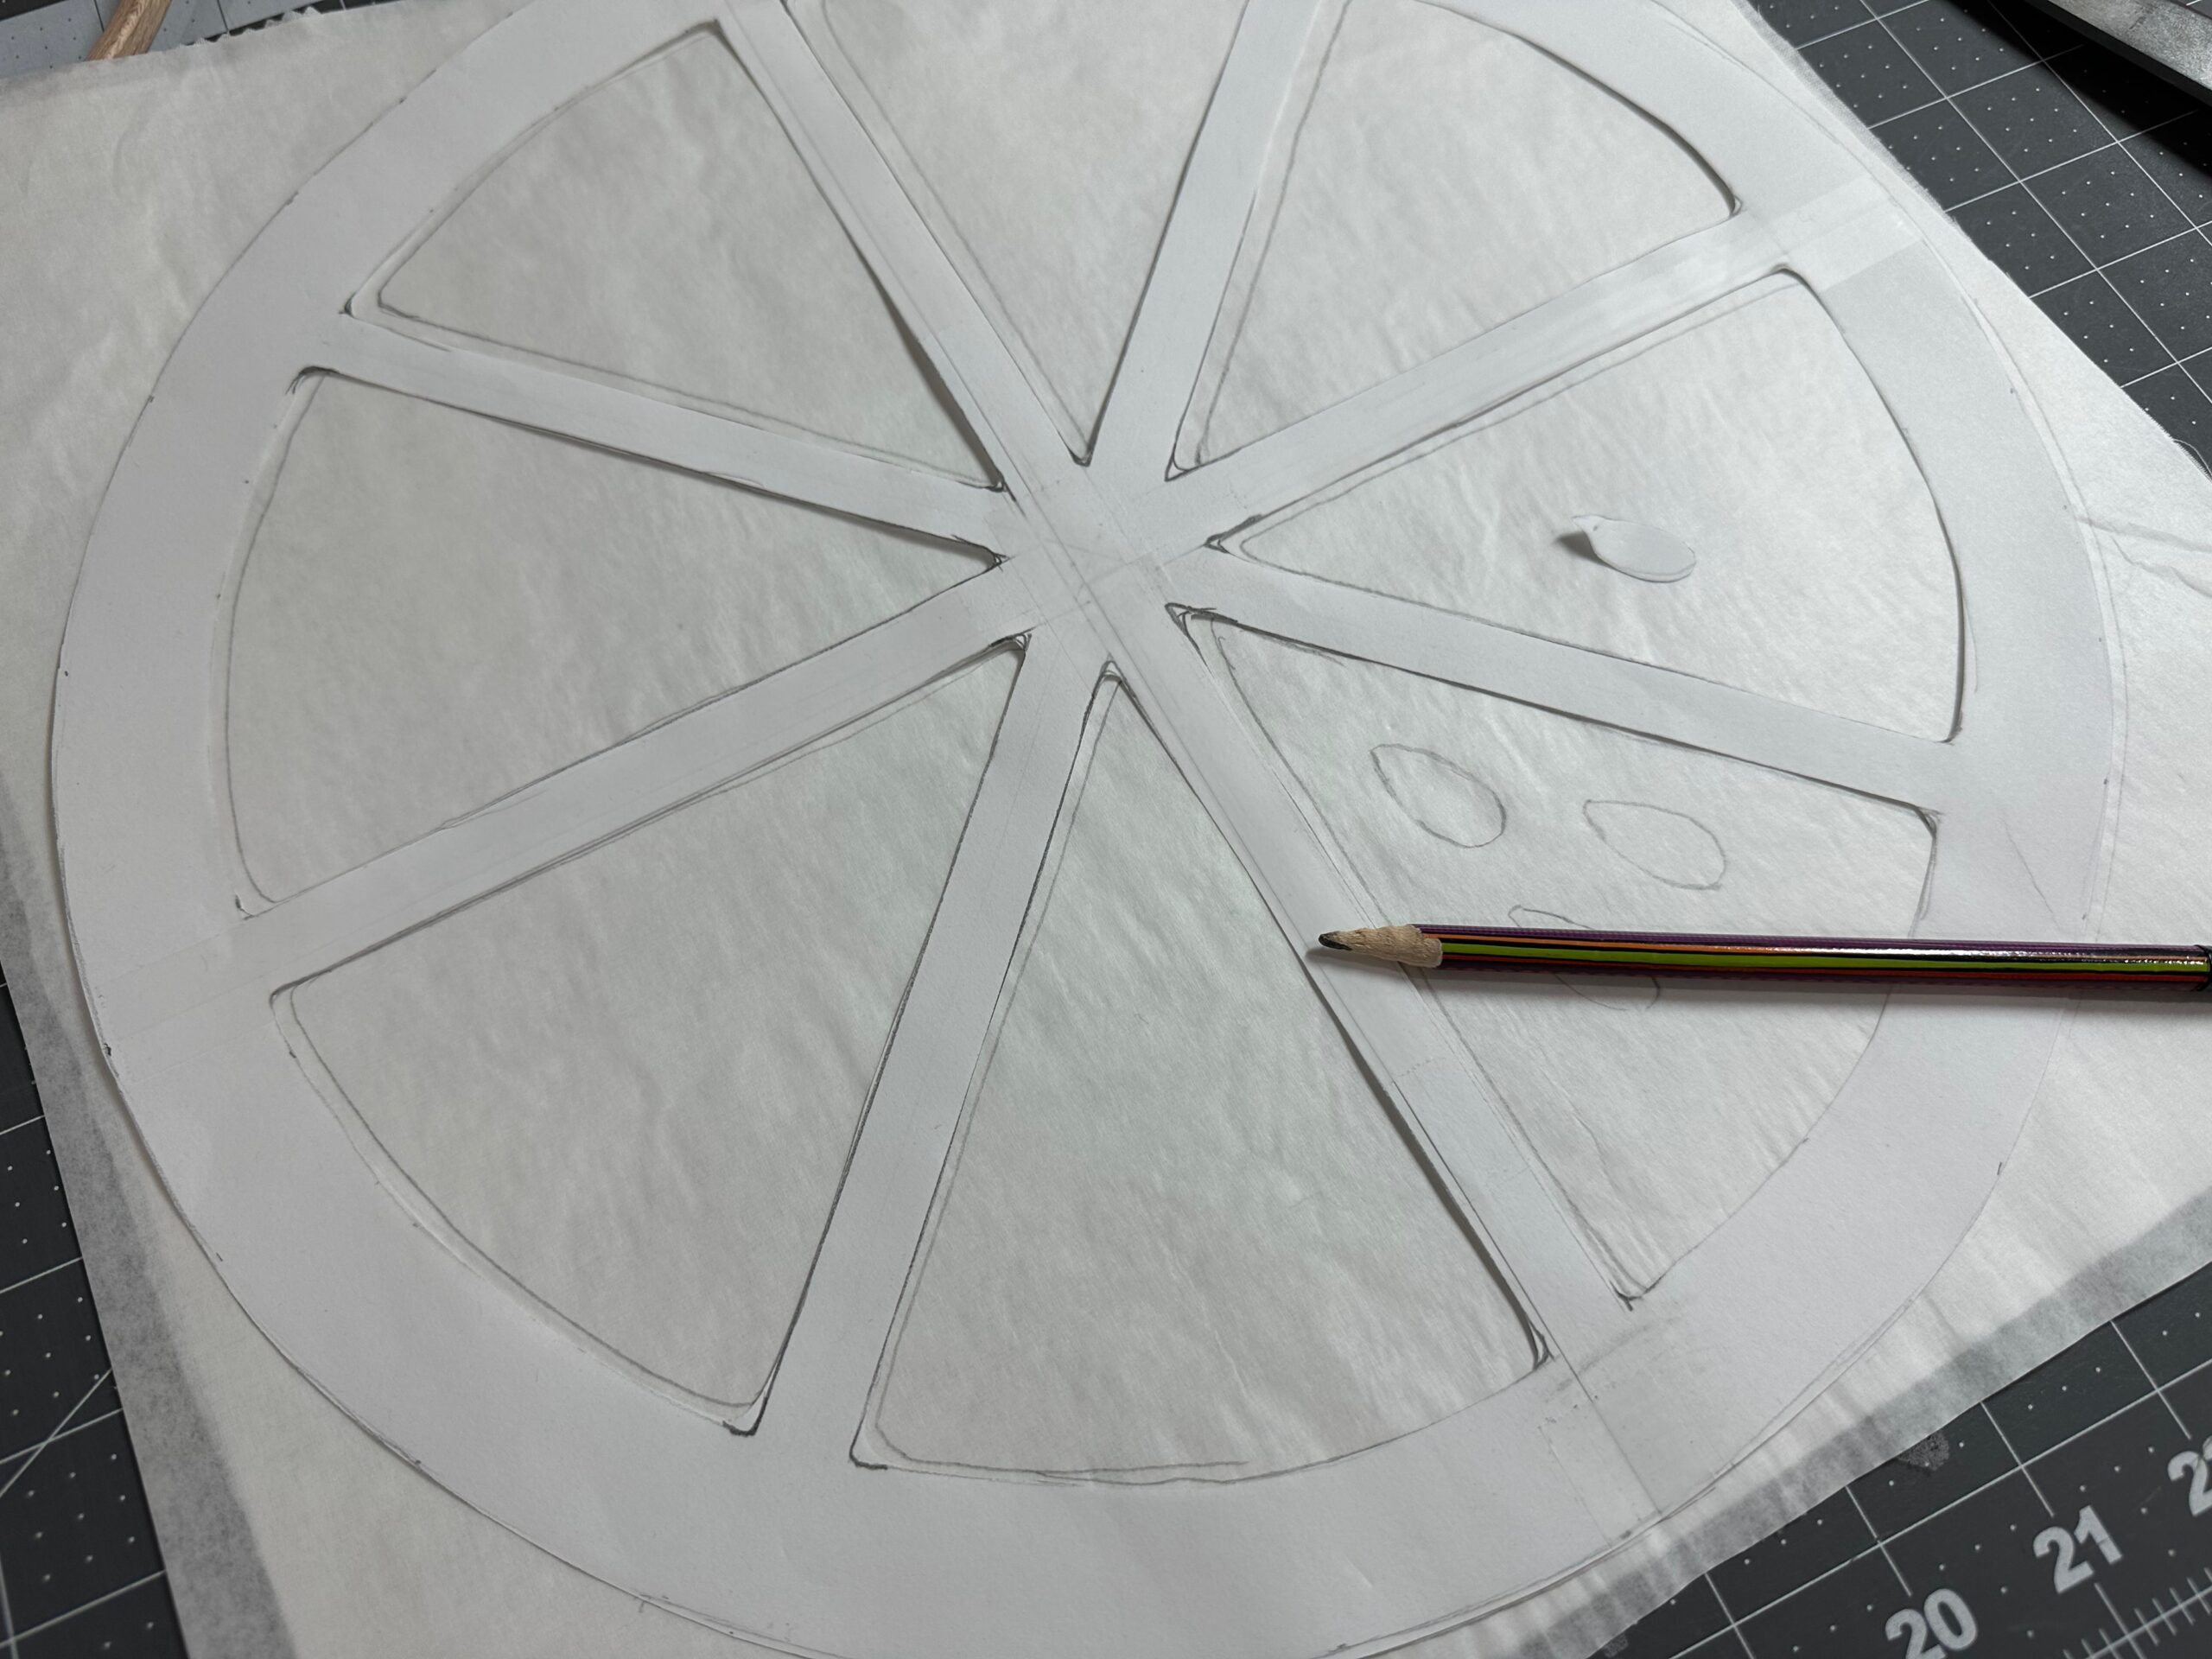
Draw a 14″-diameter circle onto the paper, using a compass or trace a hand embroidery hoop.
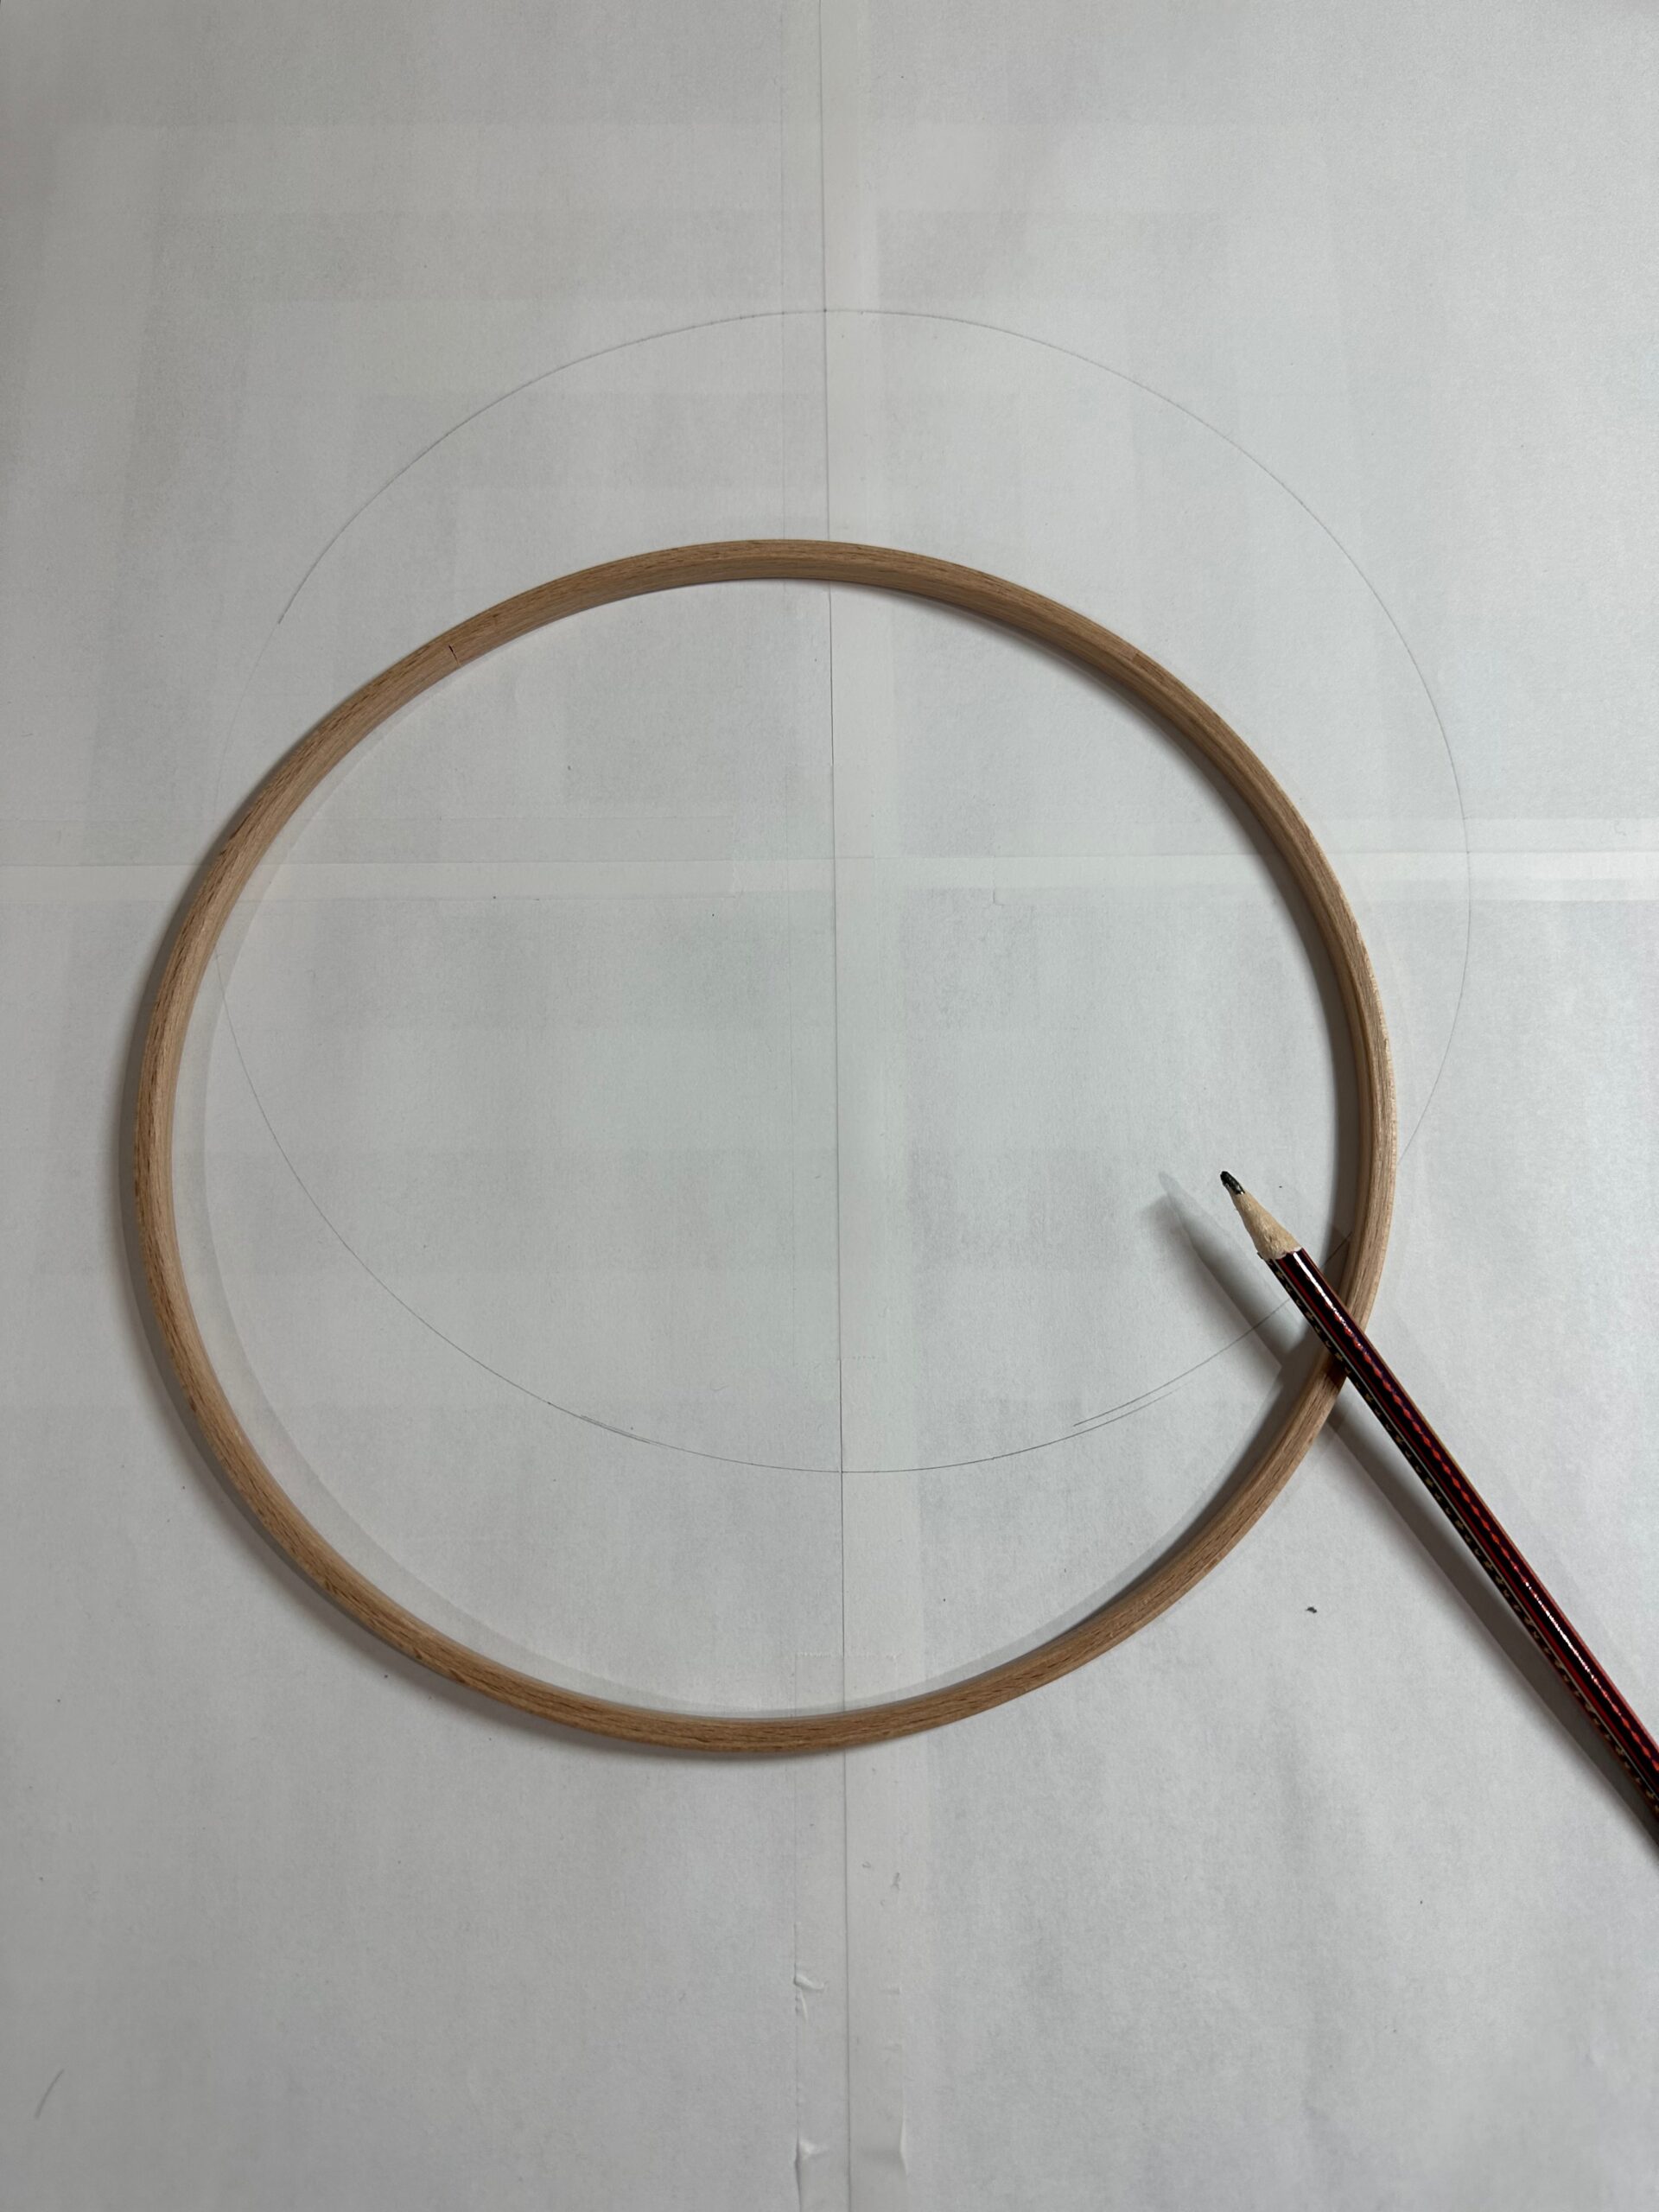
Draw a 13″-diameter circle inside the previous circle.
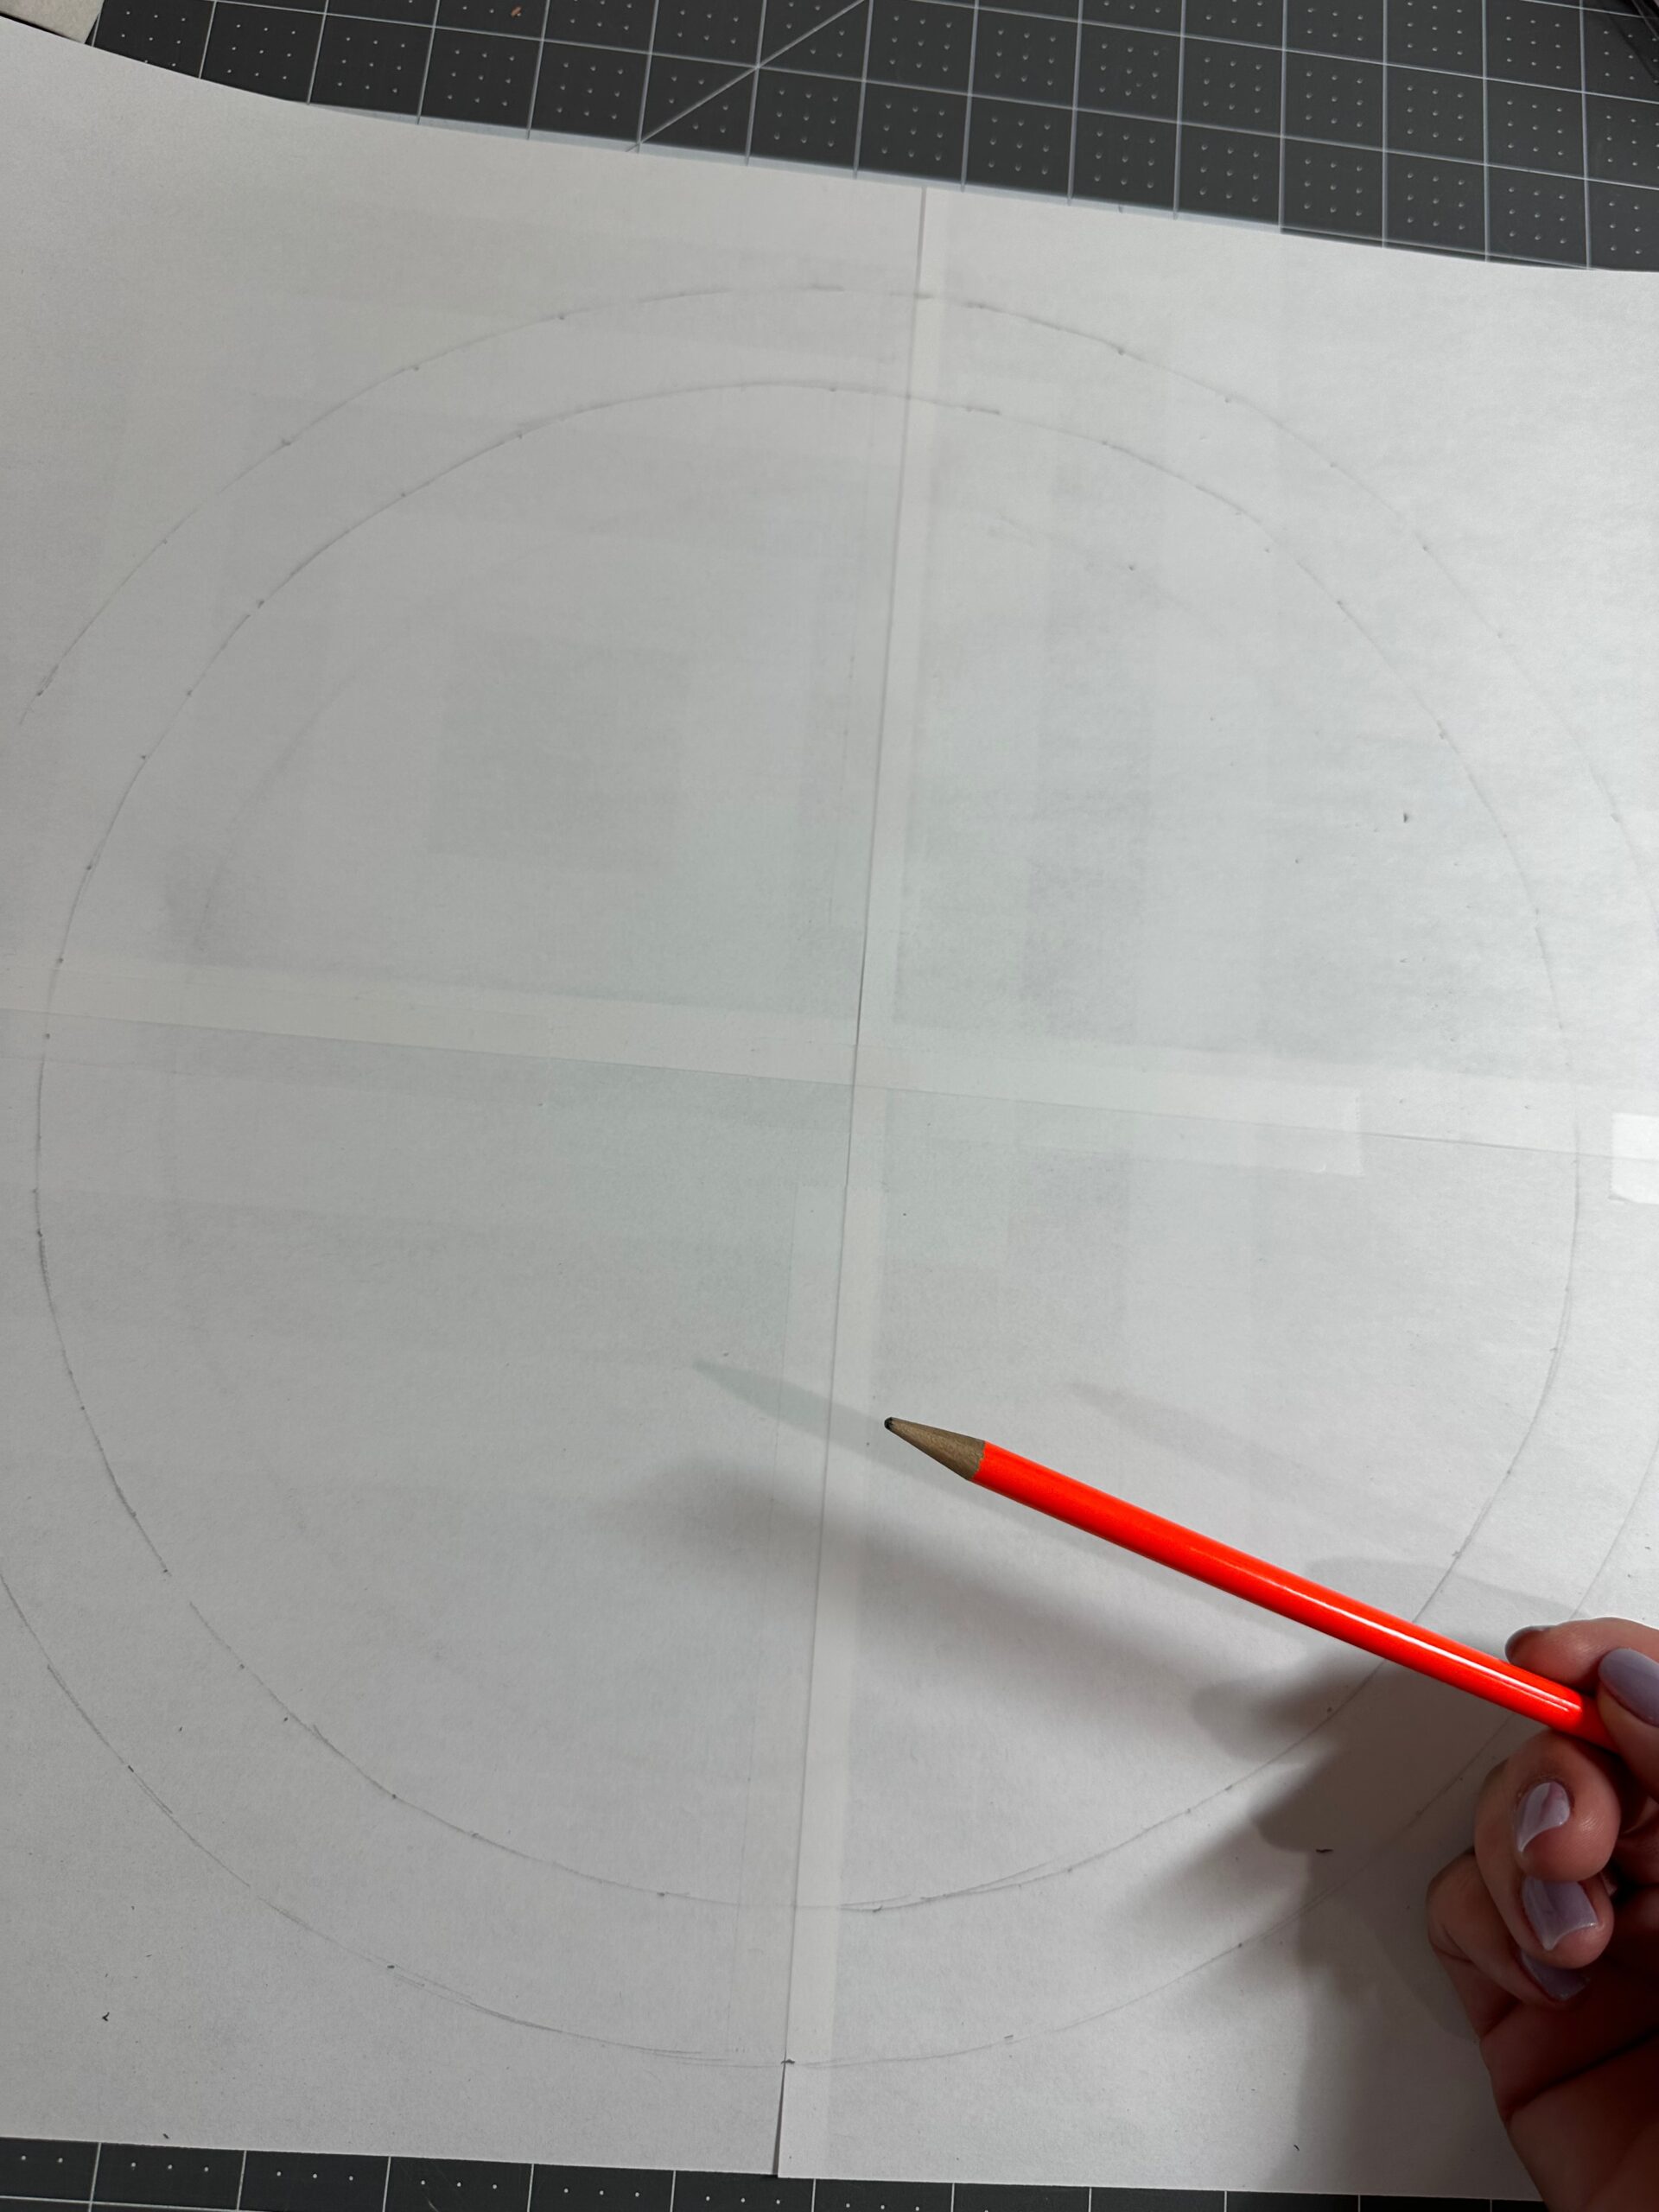
Draw a centered horizontal line through the circle. Draw a line 1/4″ away from the center line on both sides. Erase the center line.

Repeat to draw a 1/2″-wide centered vertical line through the circle.
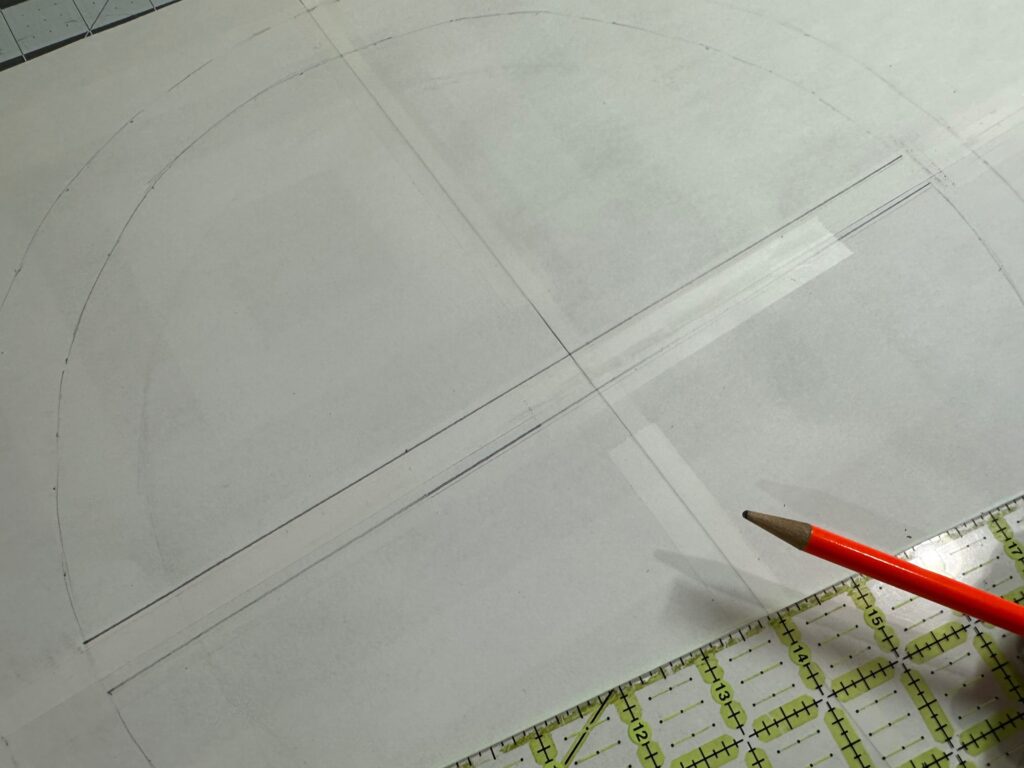

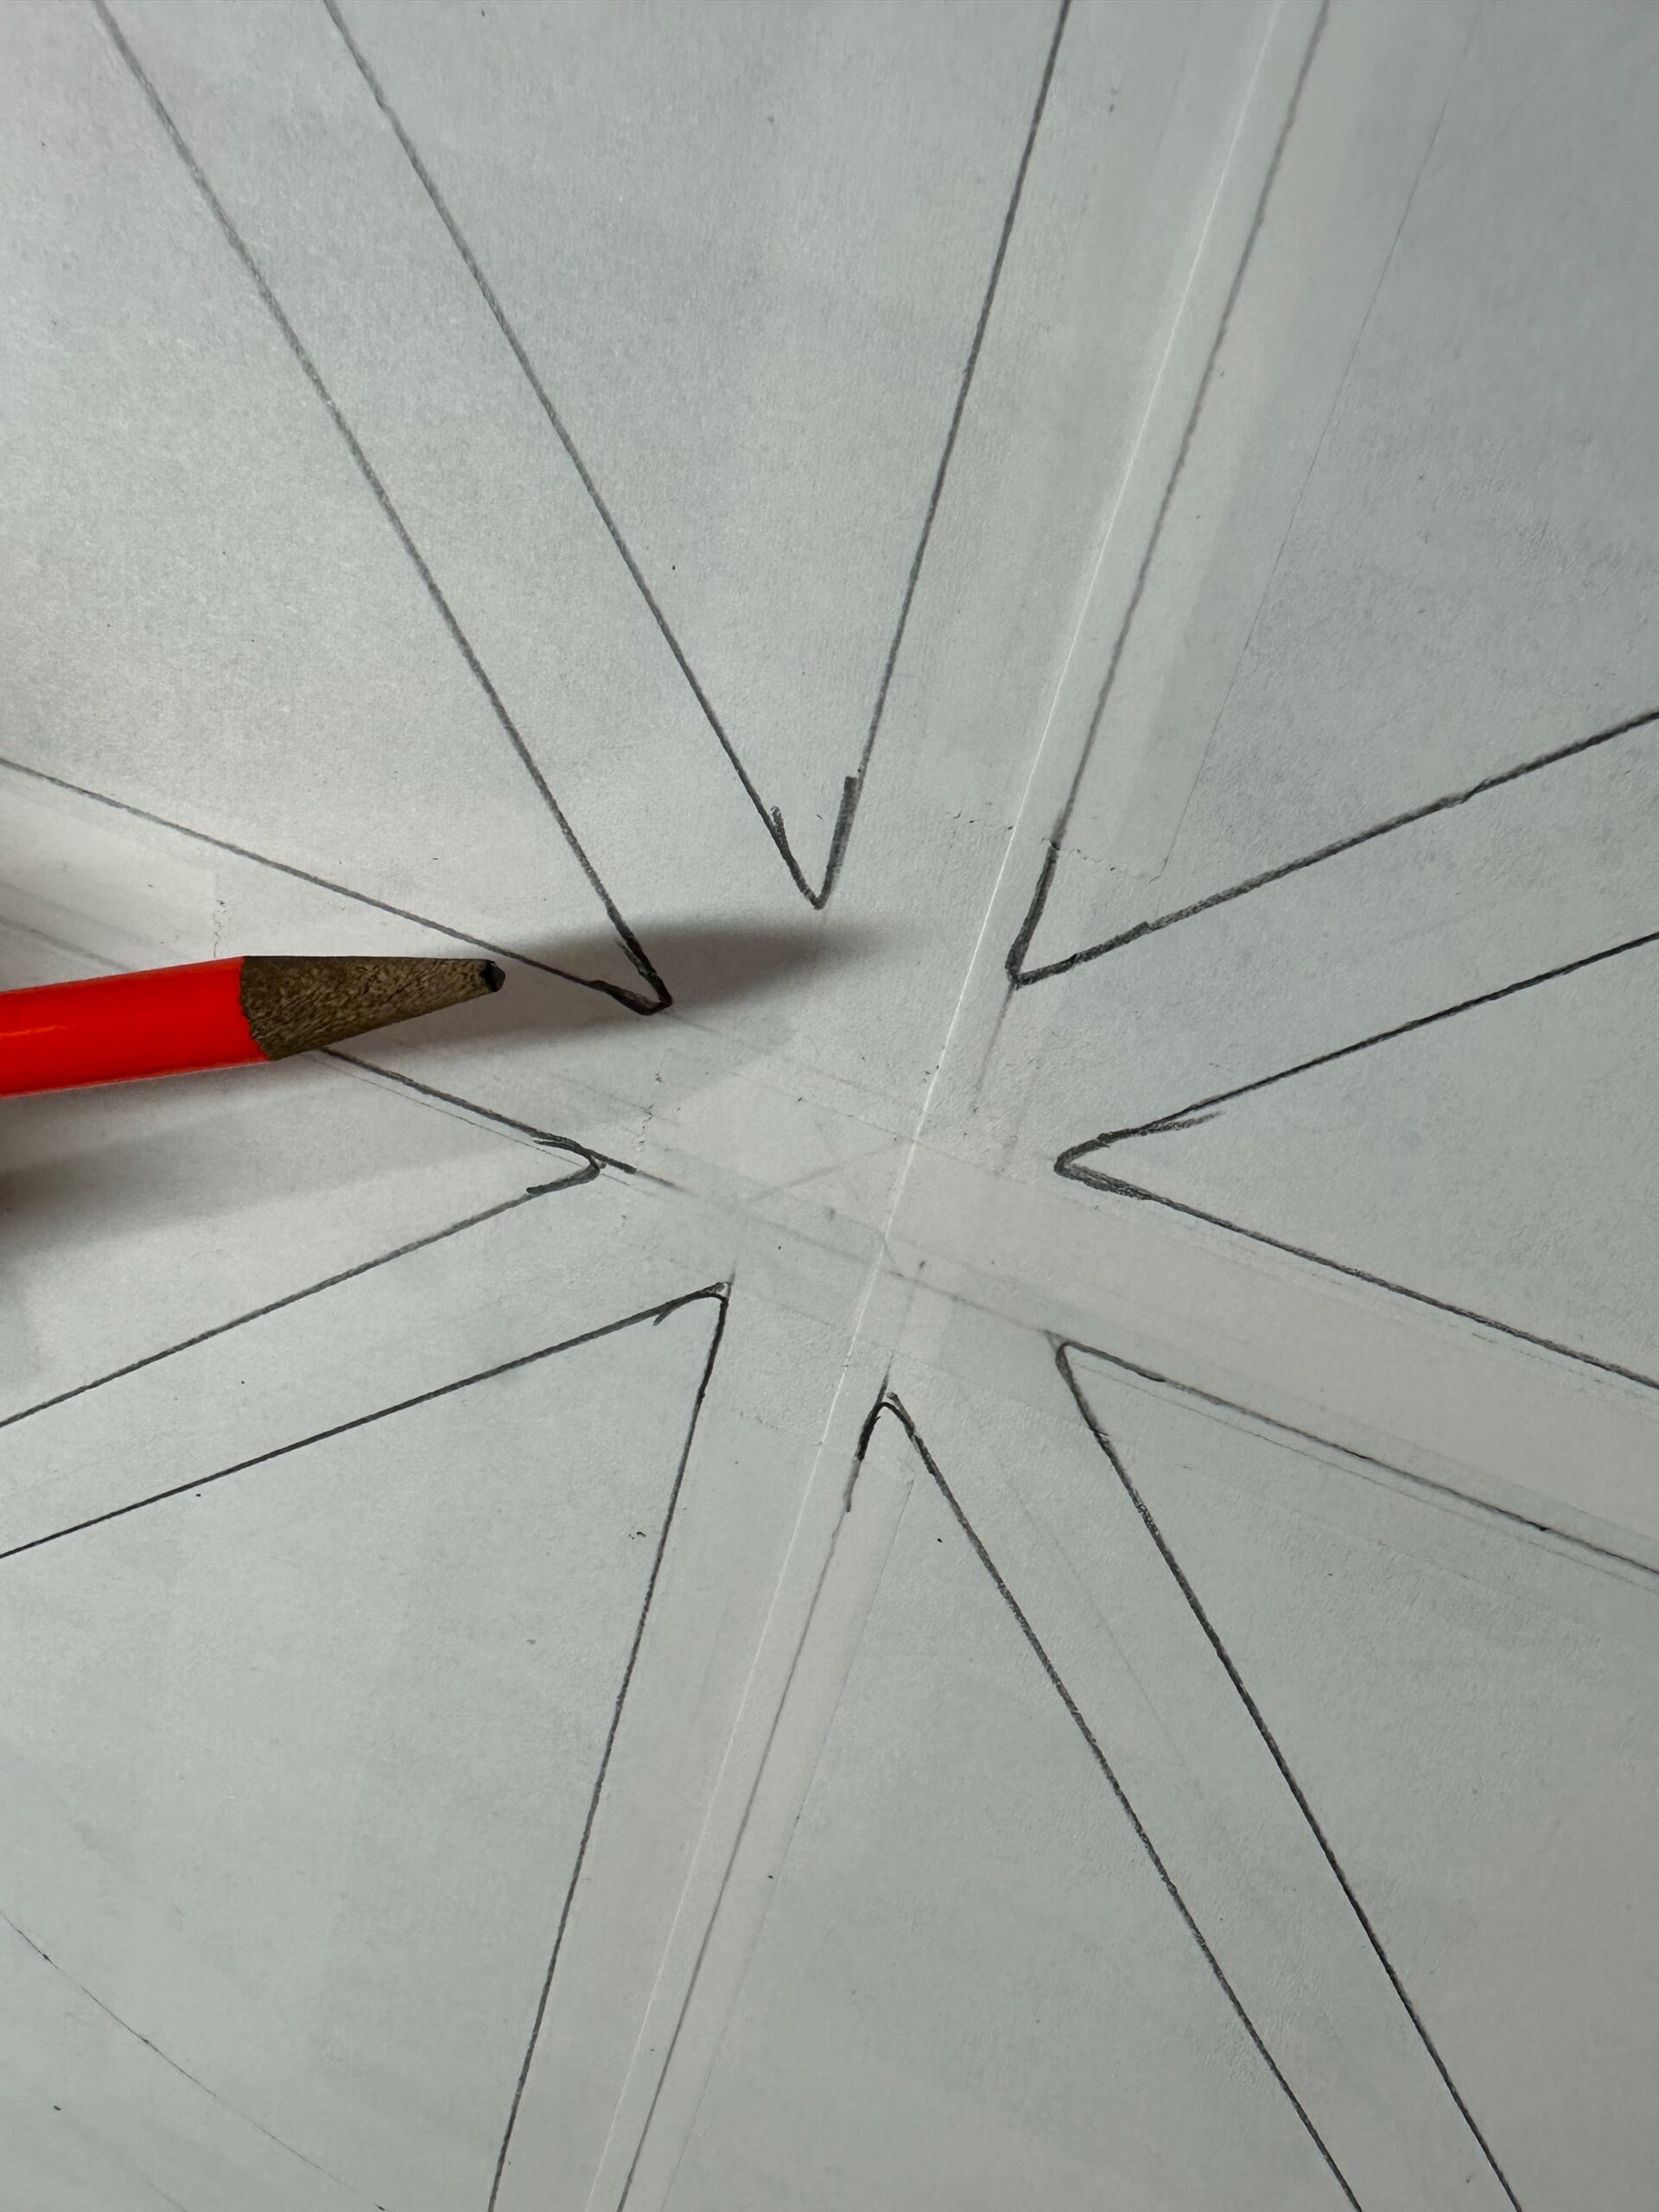
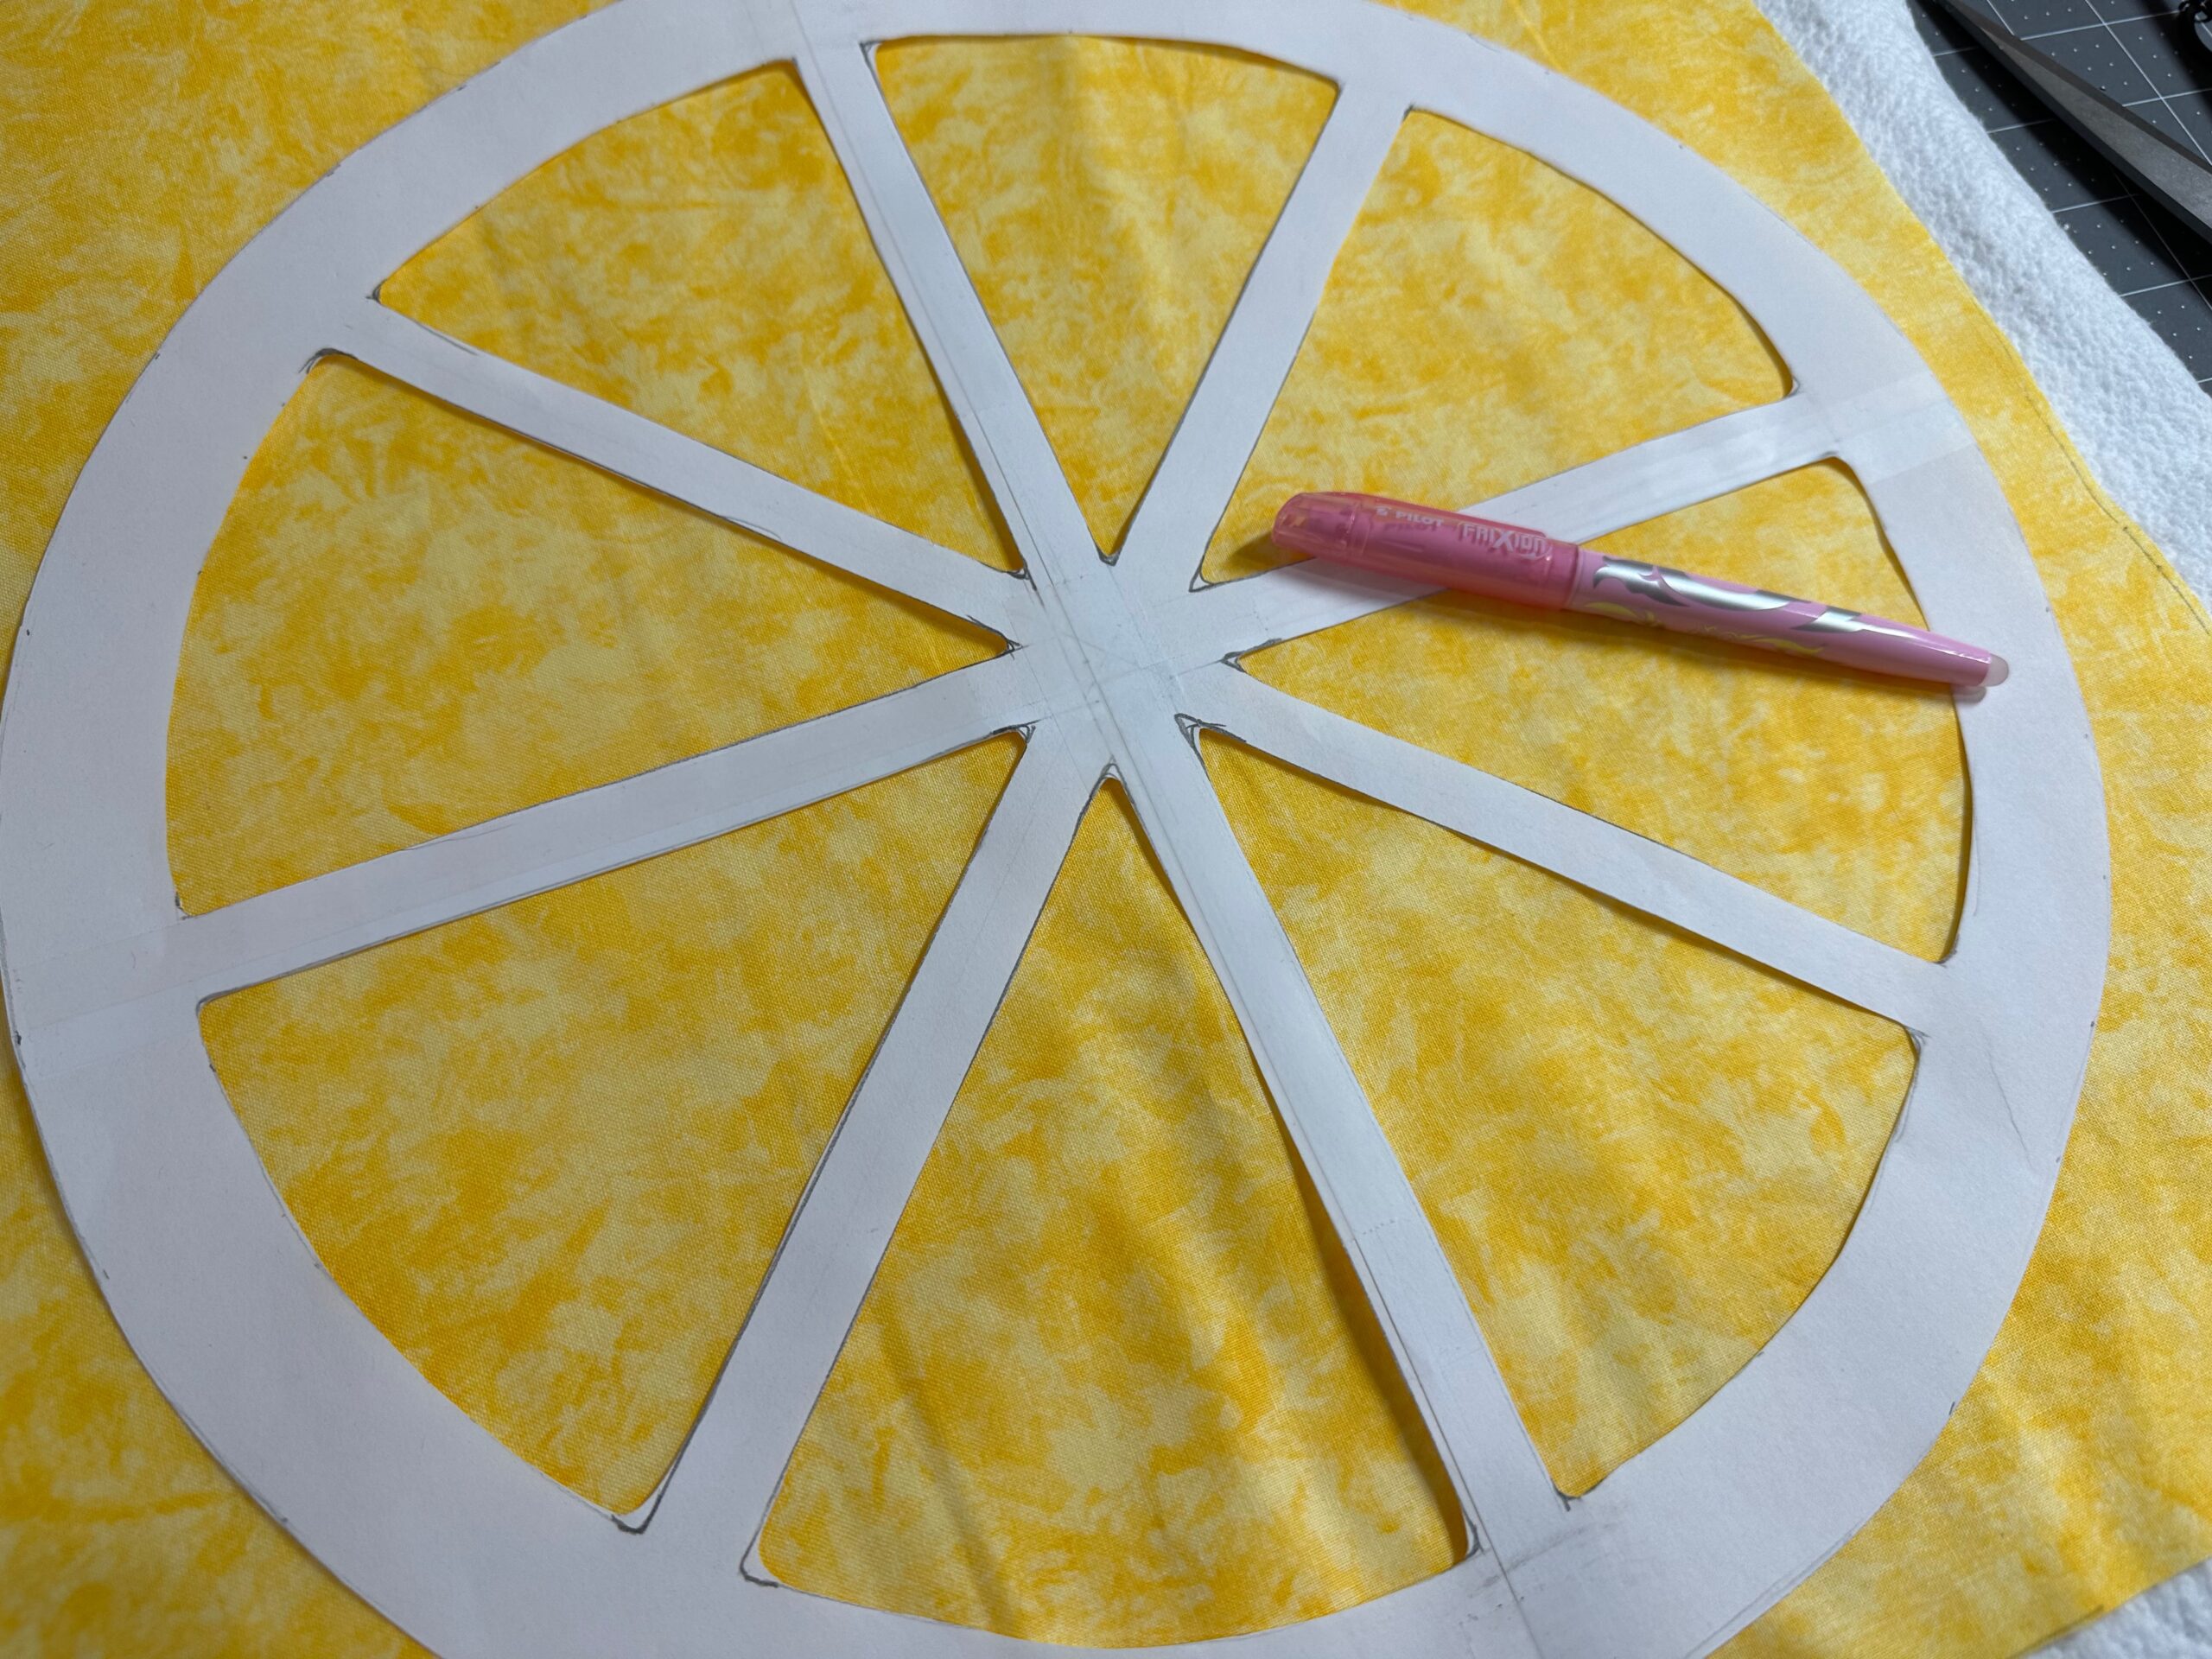
Then, rotate the circle to evenly split the remaining halves in two, resulting in eight triangle sections.

Round the corners slightly. If desired, vary the corner shapes at the center points and along the outer edges for a more organic look.
If you want seeds in some (or all) of the citrus sections, draw them inside the triangle sections.
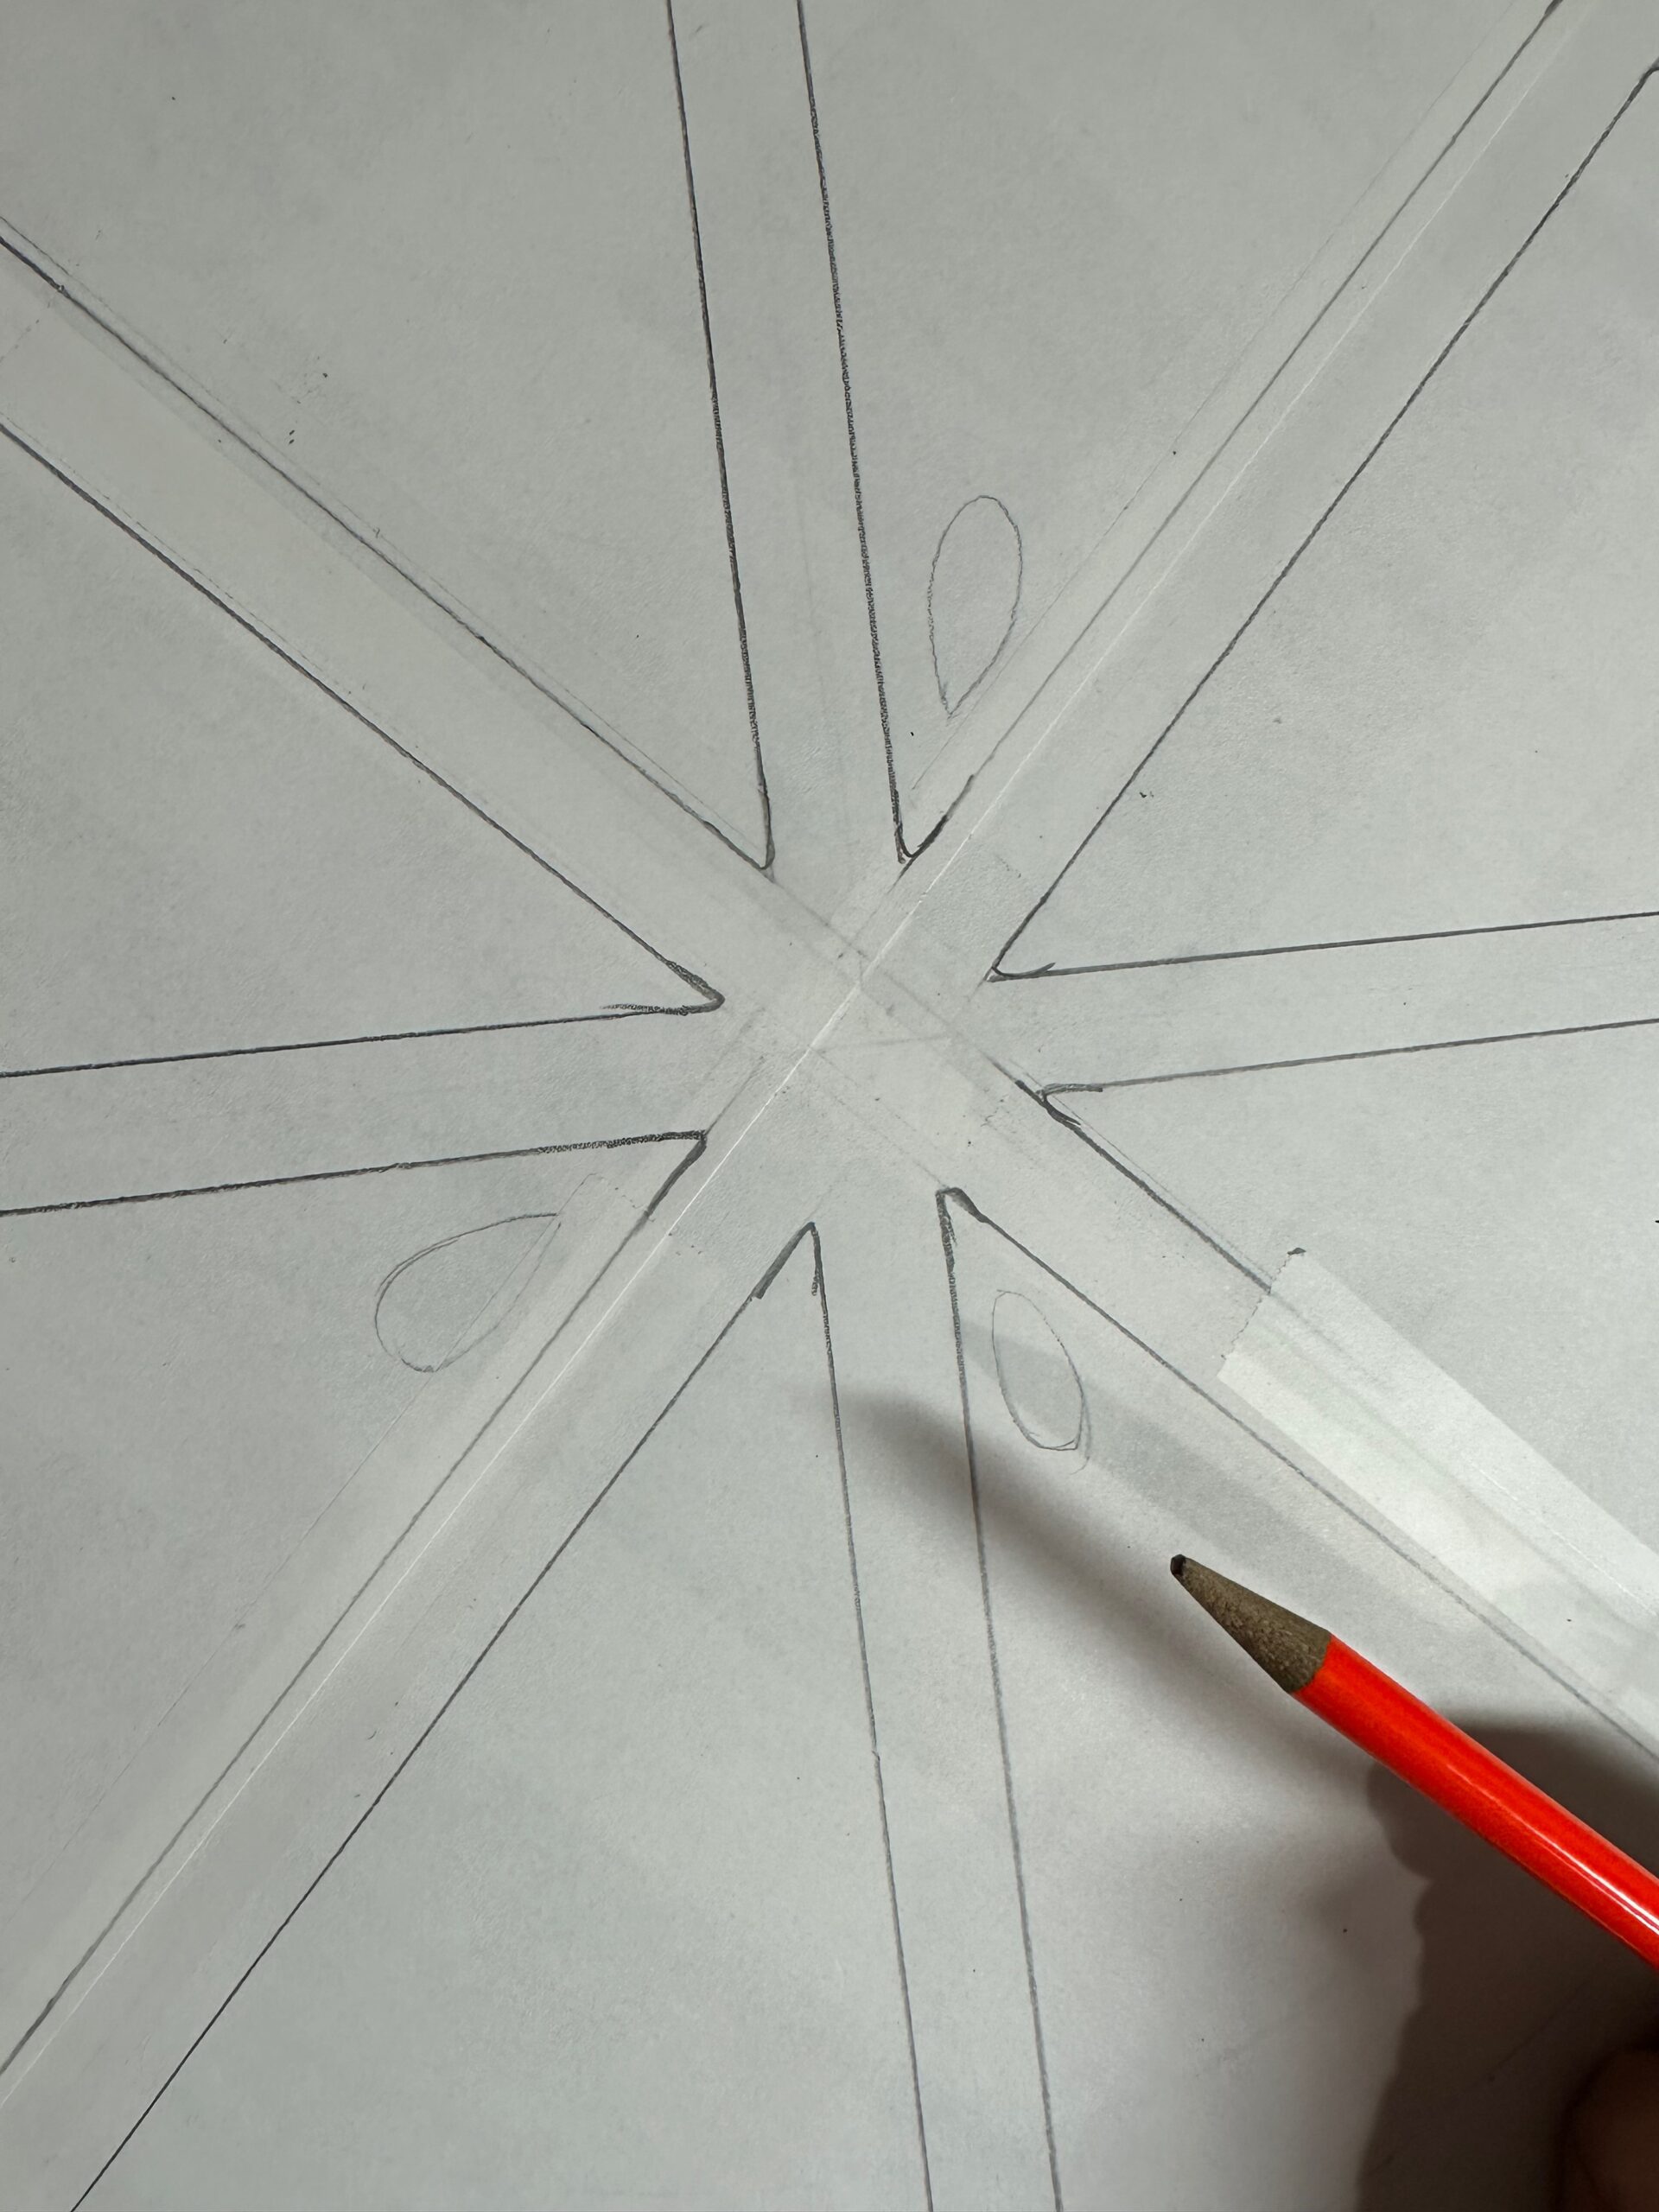
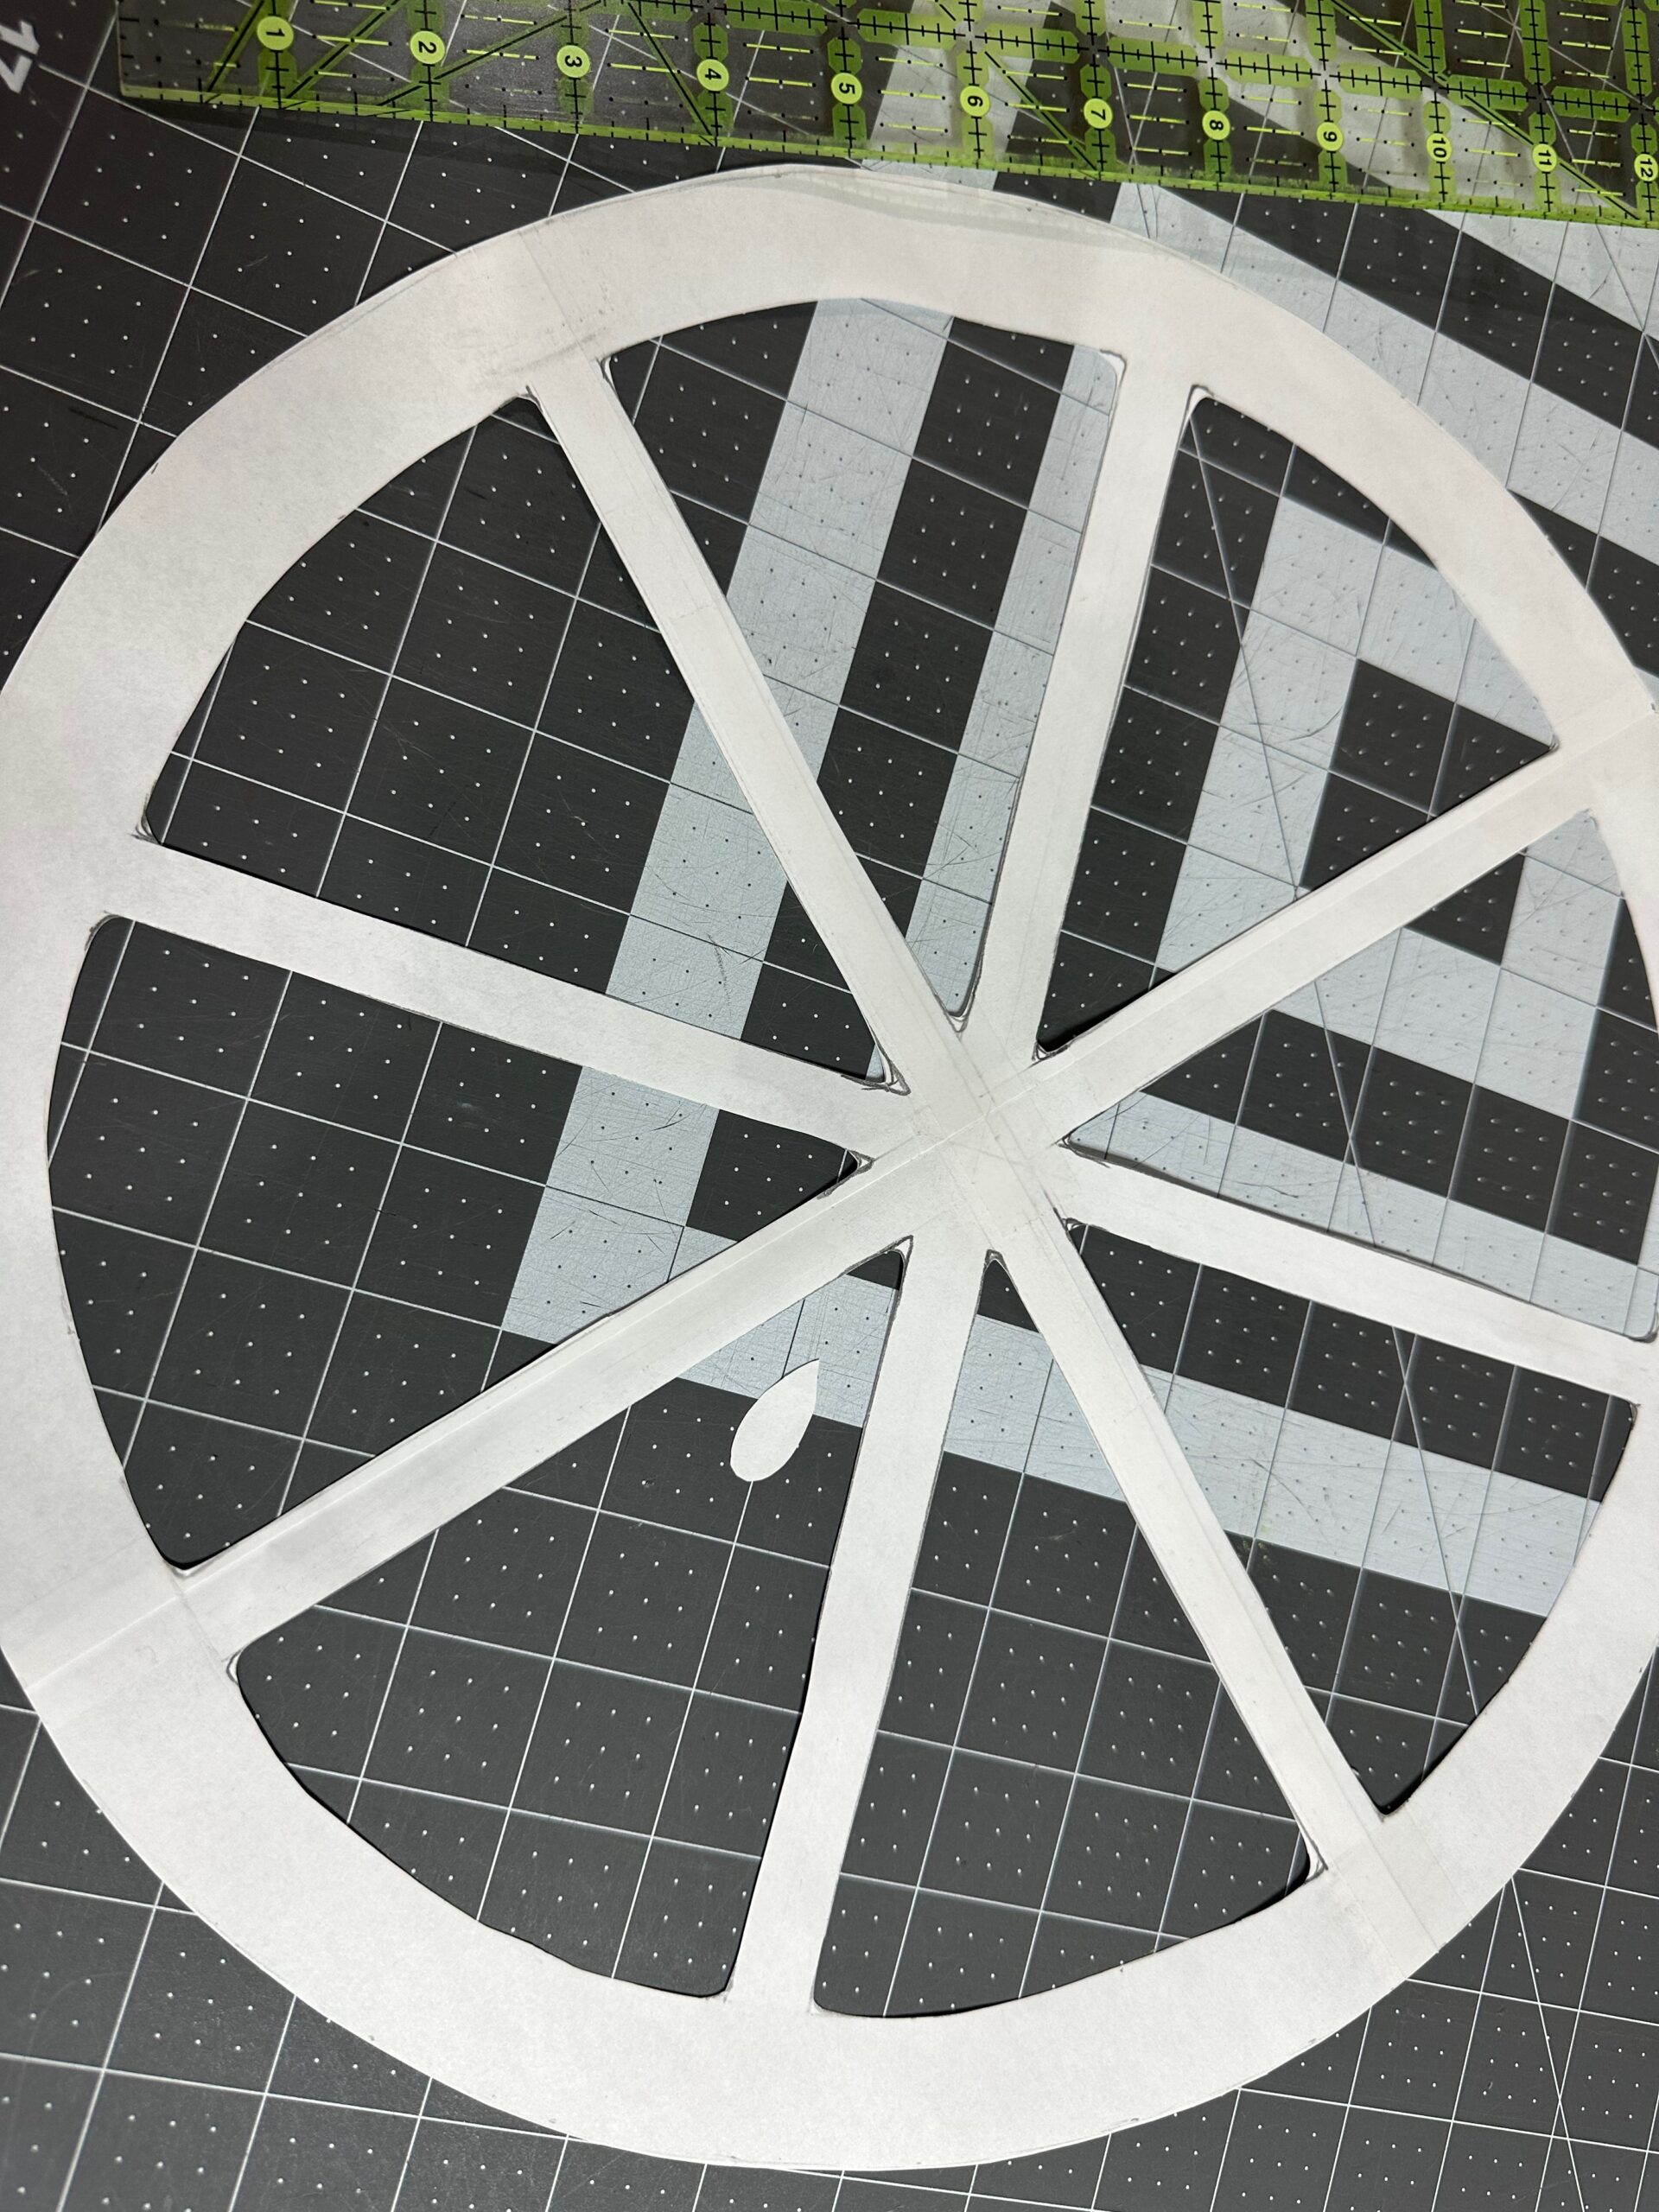
Once satisfied with the “pith” pattern and seed(s), cut the pattern(s) out.
CITRUS SLICE QUILTING
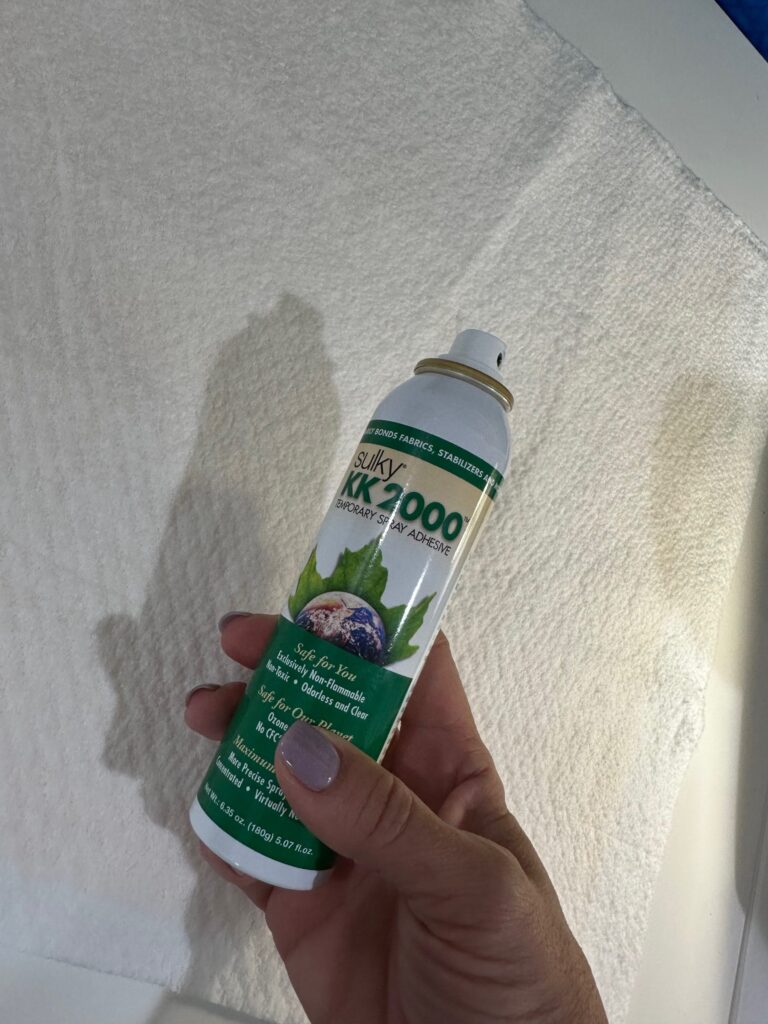
Place one citrus fabric square wrong side up on a flat work surface. Spray the fabric wrong side with KK 2000. Center the batting square over the fabric; use your hands to smooth it in place so there are no lumps or folds without stretching the fabric.
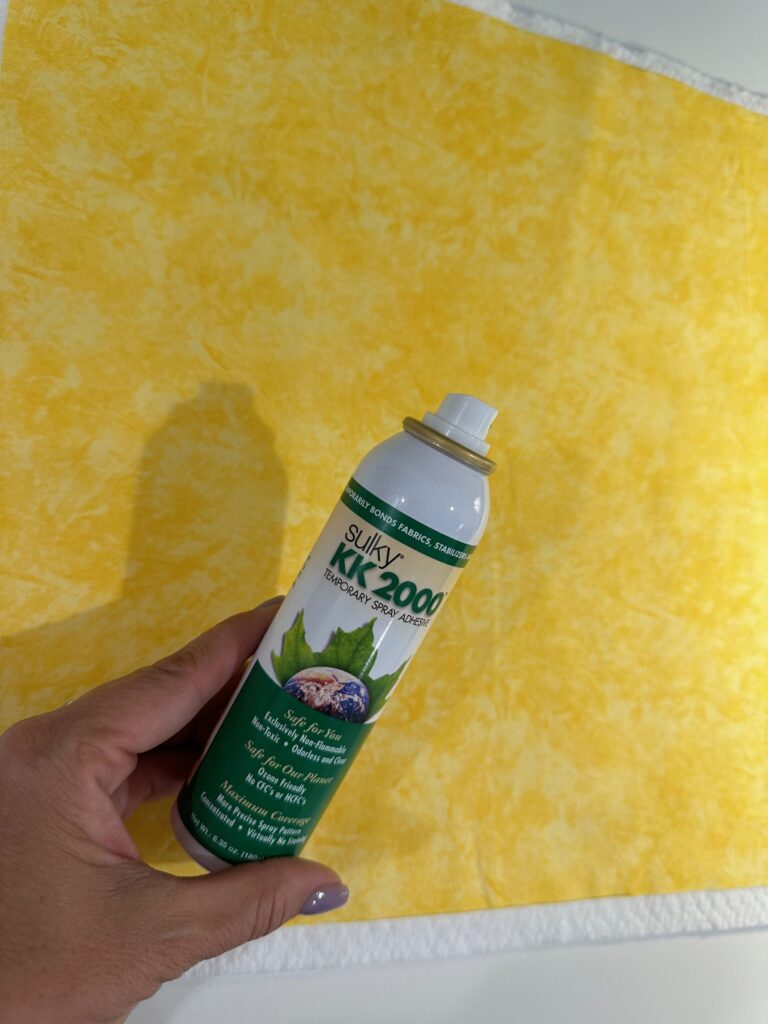
Center the remaining citrus fabric right side up over the batting, using more KK 2000 to secure.
Install a new size 70/10 Universal Needle. Thread the machine with Sulky 50 wt. Cotton Thread that matches the citrus fabric in the needle and bobbin.
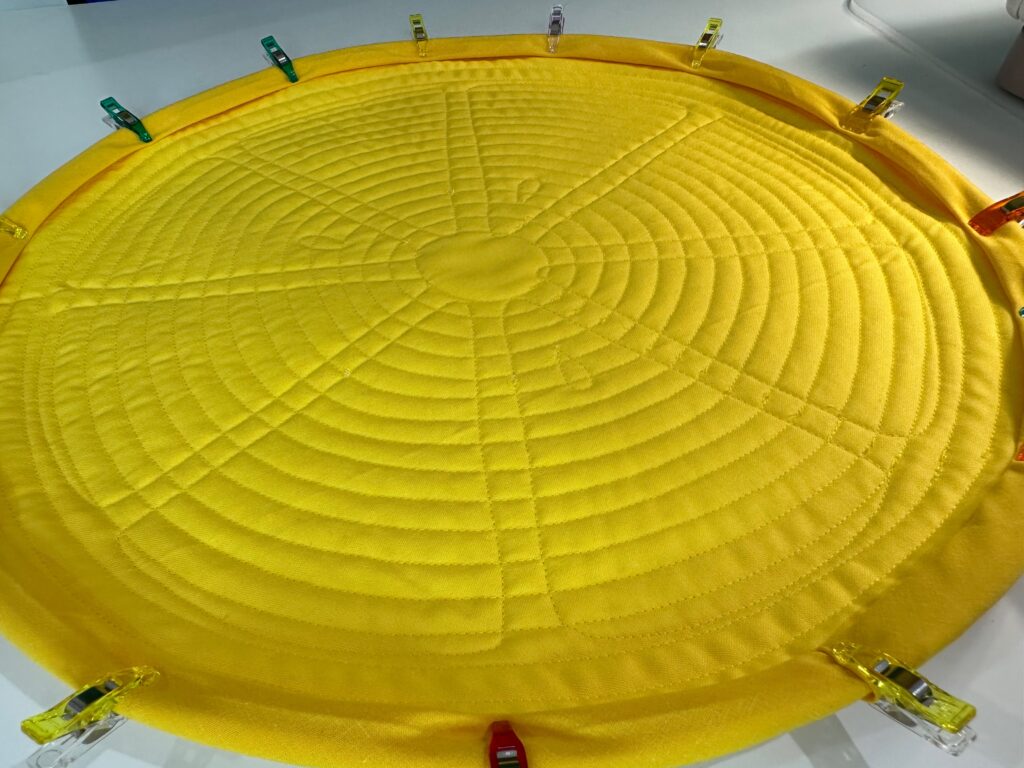
Quilt through all layers. Try free-motion stitching, mimicking the pulp of the citrus segments. Or try channel quilting wavy lines across the quilt sandwich or in a circular pattern.
Depending on the chosen quilting pattern, it may be helpful to trace the appliqué outline onto the fabric sandwich to have a visual clue for where to begin/end the stitching.
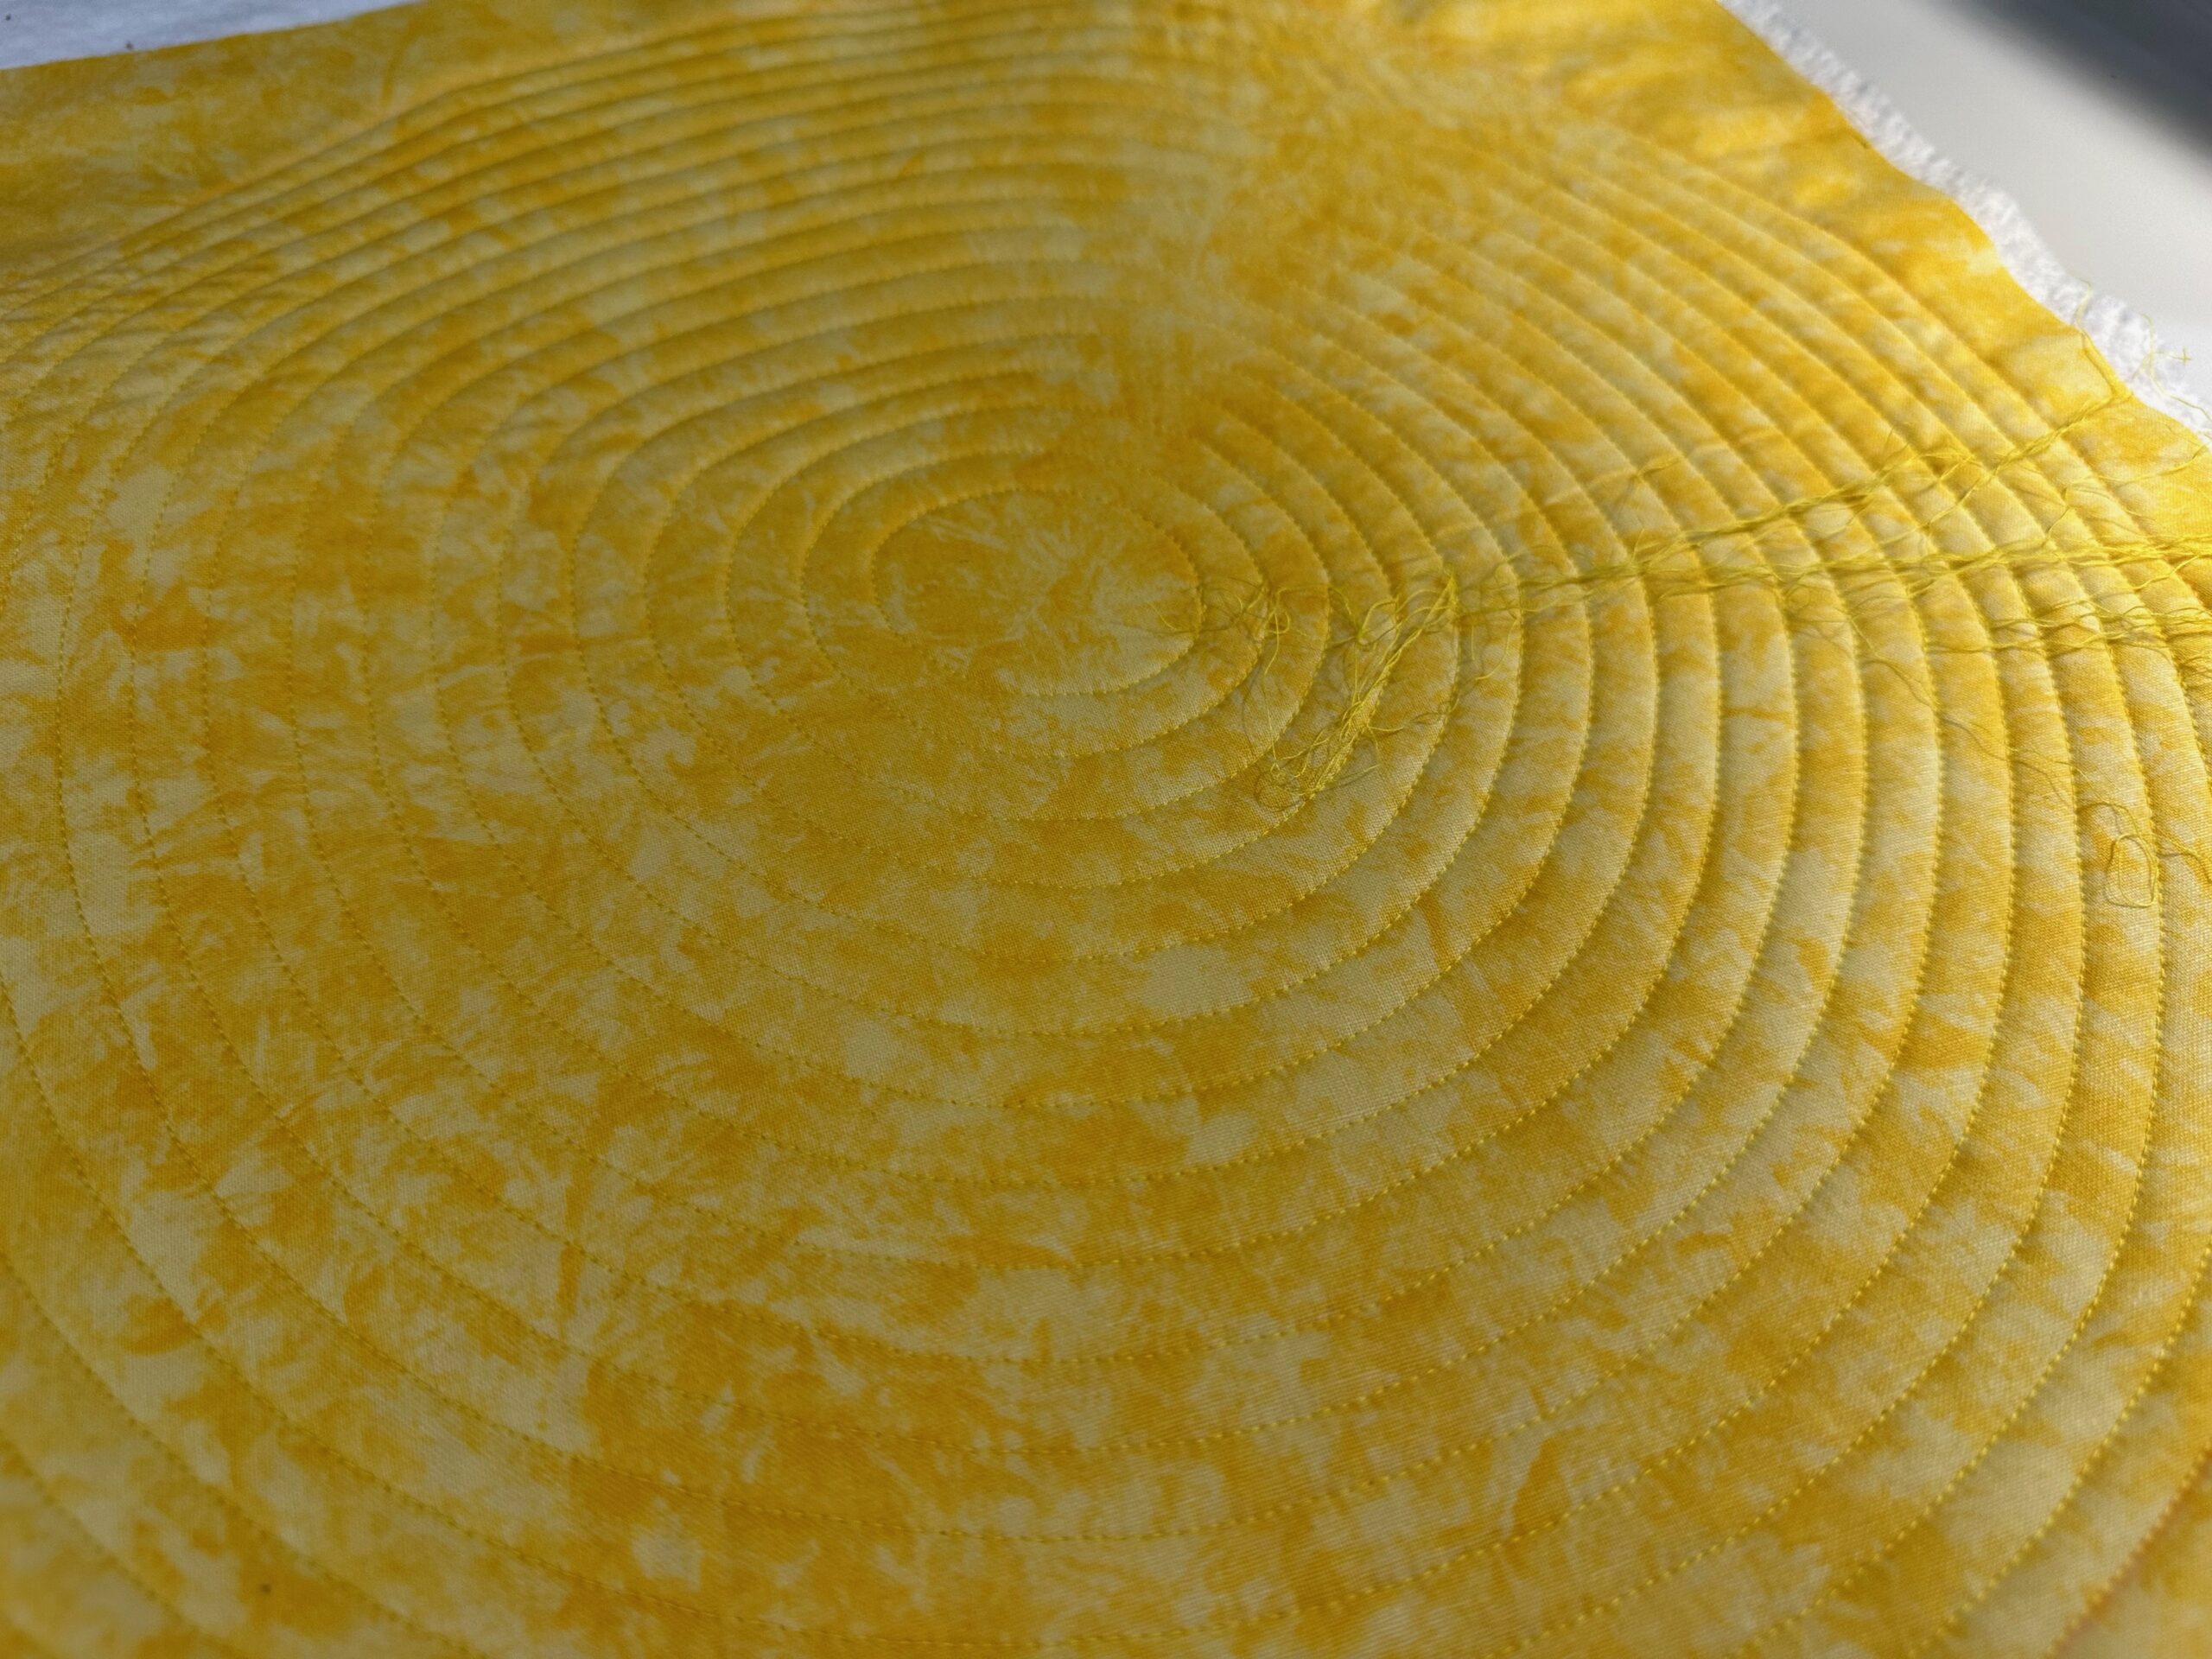
If quilting concentric circles, as per the featured placemat, start and stop the stitching at the same point along each line. This way you can strategically position the pith applique so it covers the stitching beginning/end points.
CITRUS SLICE APPLIQUE
Note: If using a lightweight quilting cotton for the white “pith” fabric, you may want to fuse a piece of lightweight woven interfacing to the wrong side before adding the Perfect Applique Fusible Web. The featured sample included interfacing to eliminate show-through on the white fabric.
Fuse a piece of Perfect Applique Fusible Web to the wrong side of the white fabric square, following the manufacturer’s instructions.
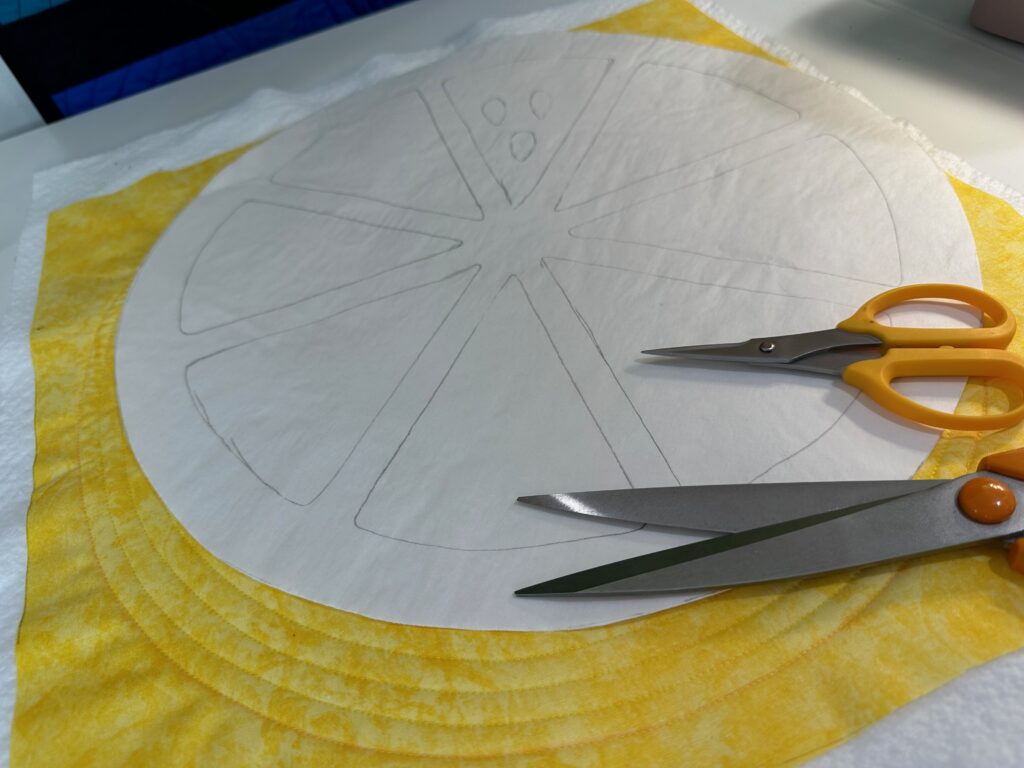
Trace the pith pattern onto the paper side of the fusible web. If creating seeds, trace how every many you’d like to stitch inside one or more of the triangle portions of the pattern.
Cut out the pith piece and however many seeds desired. Remove the paper backing from the fusible web.
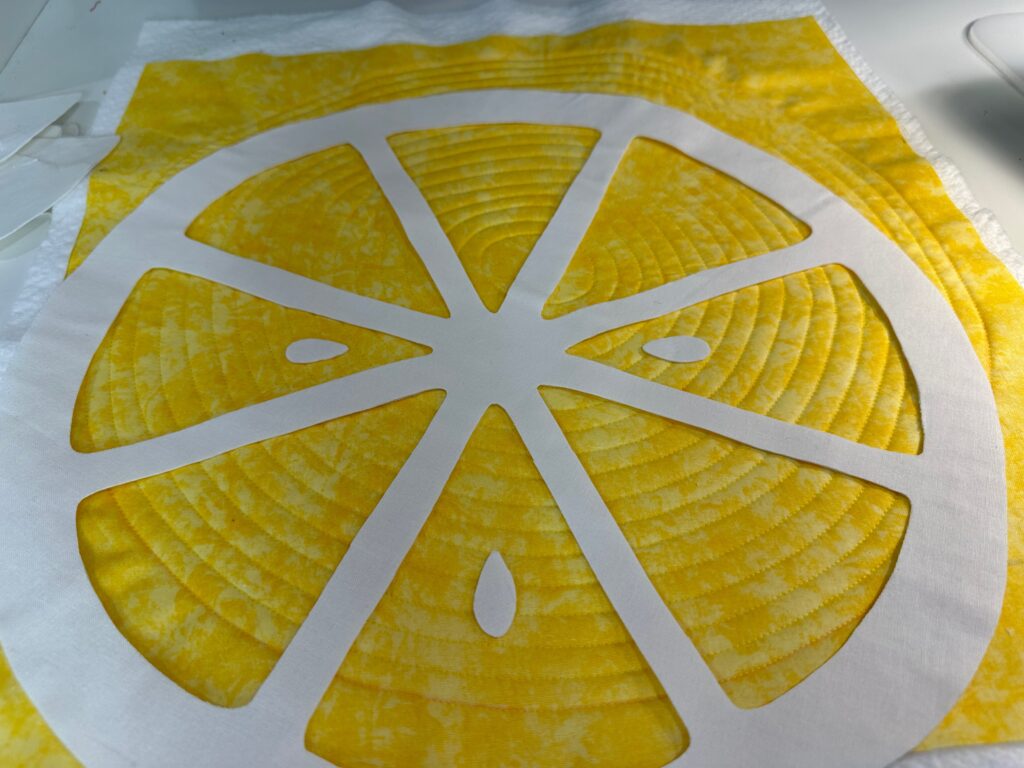
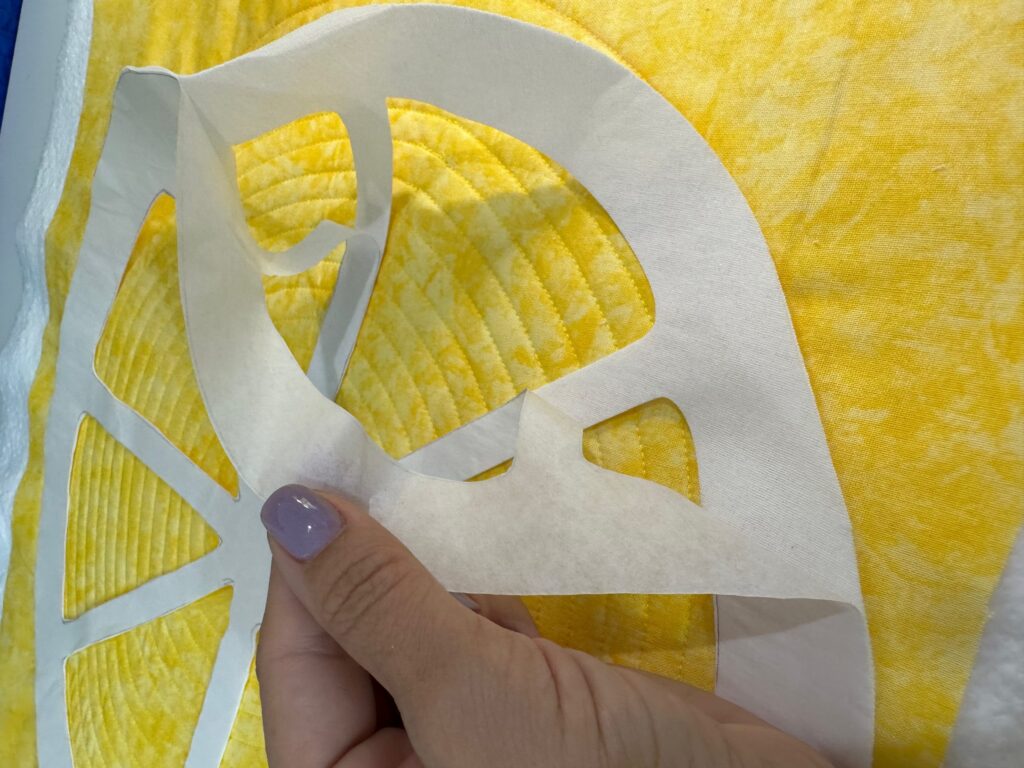
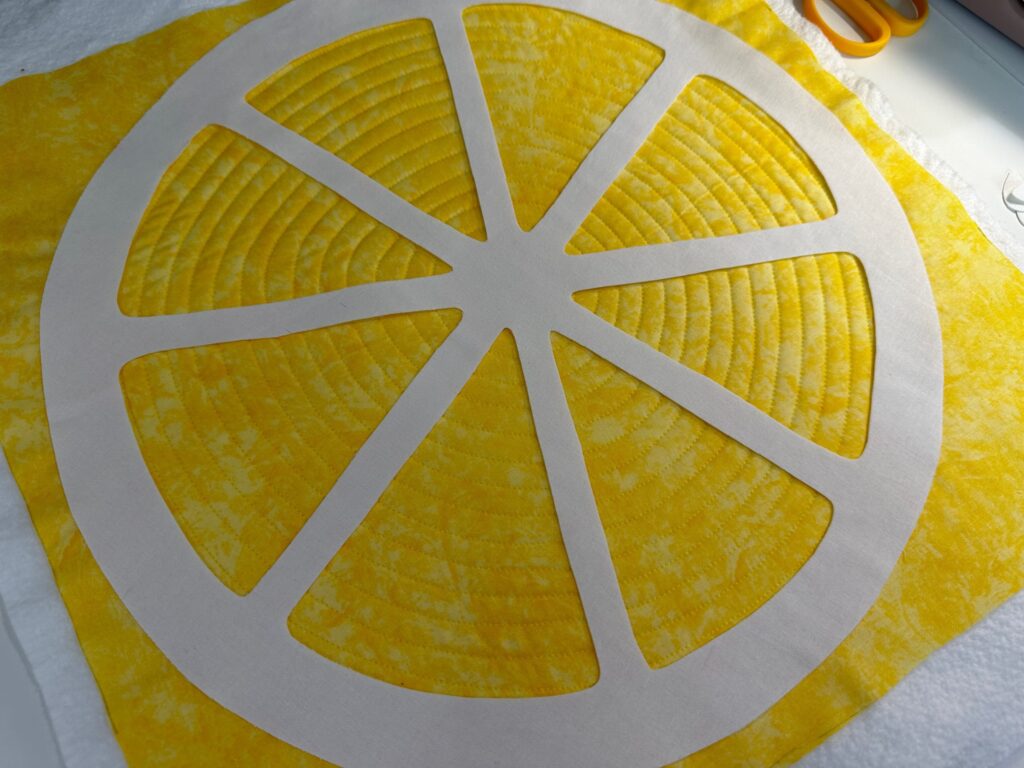
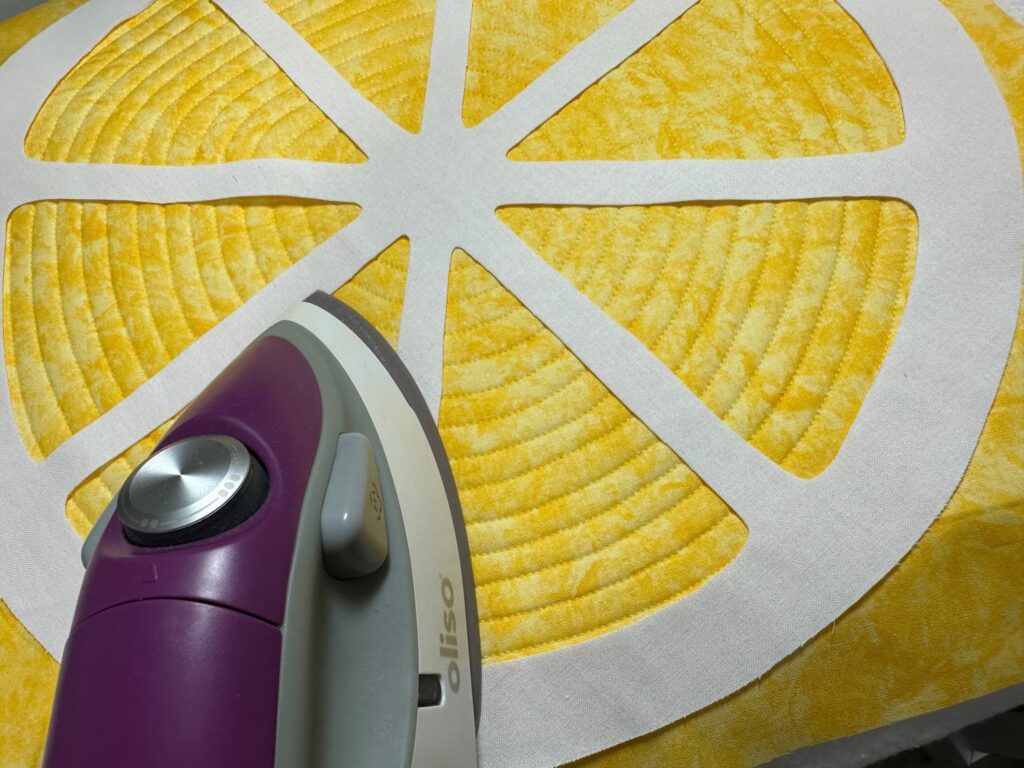
Center the pith pattern onto one citrus-fabric square with both right sides facing up. Fuse the pith piece in place. Position the seeds where desired; fuse in place.
Set the machine for a straight stitch or decorative stitch of your choice for the applique. Thread the machine with Sulky 50 wt. Cotton Thread that matches the pith fabric in the needle and the color that matches the citrus fabric in the bobbin.
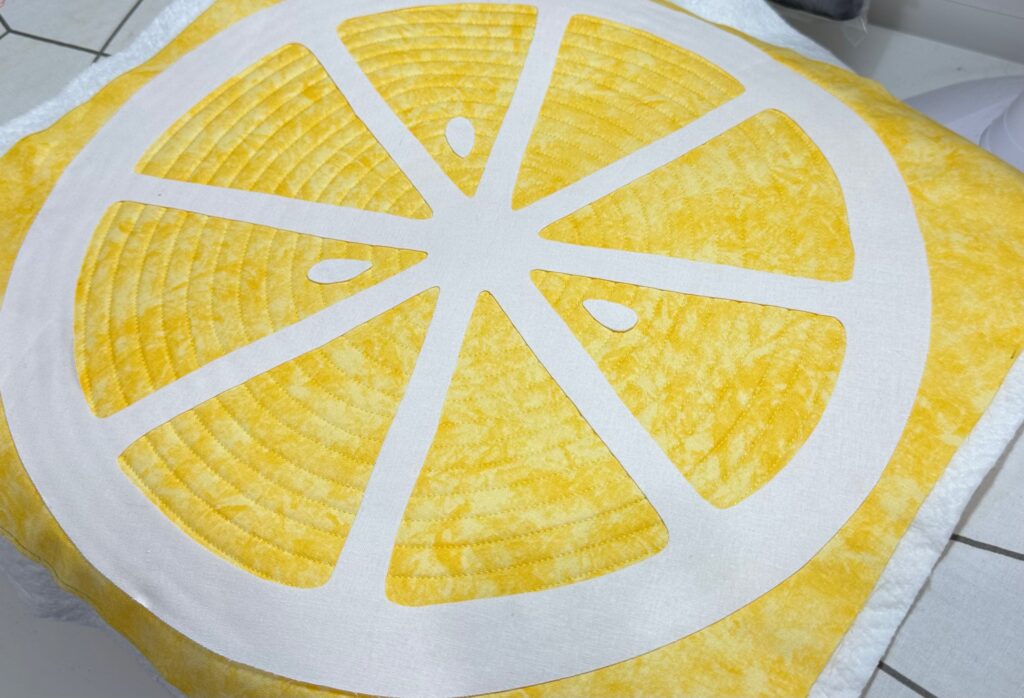
Stitch along the pith perimeter in the manner of your choice. The featured placemats were stitched just inside the pitch edges for a raw-edge applique look.
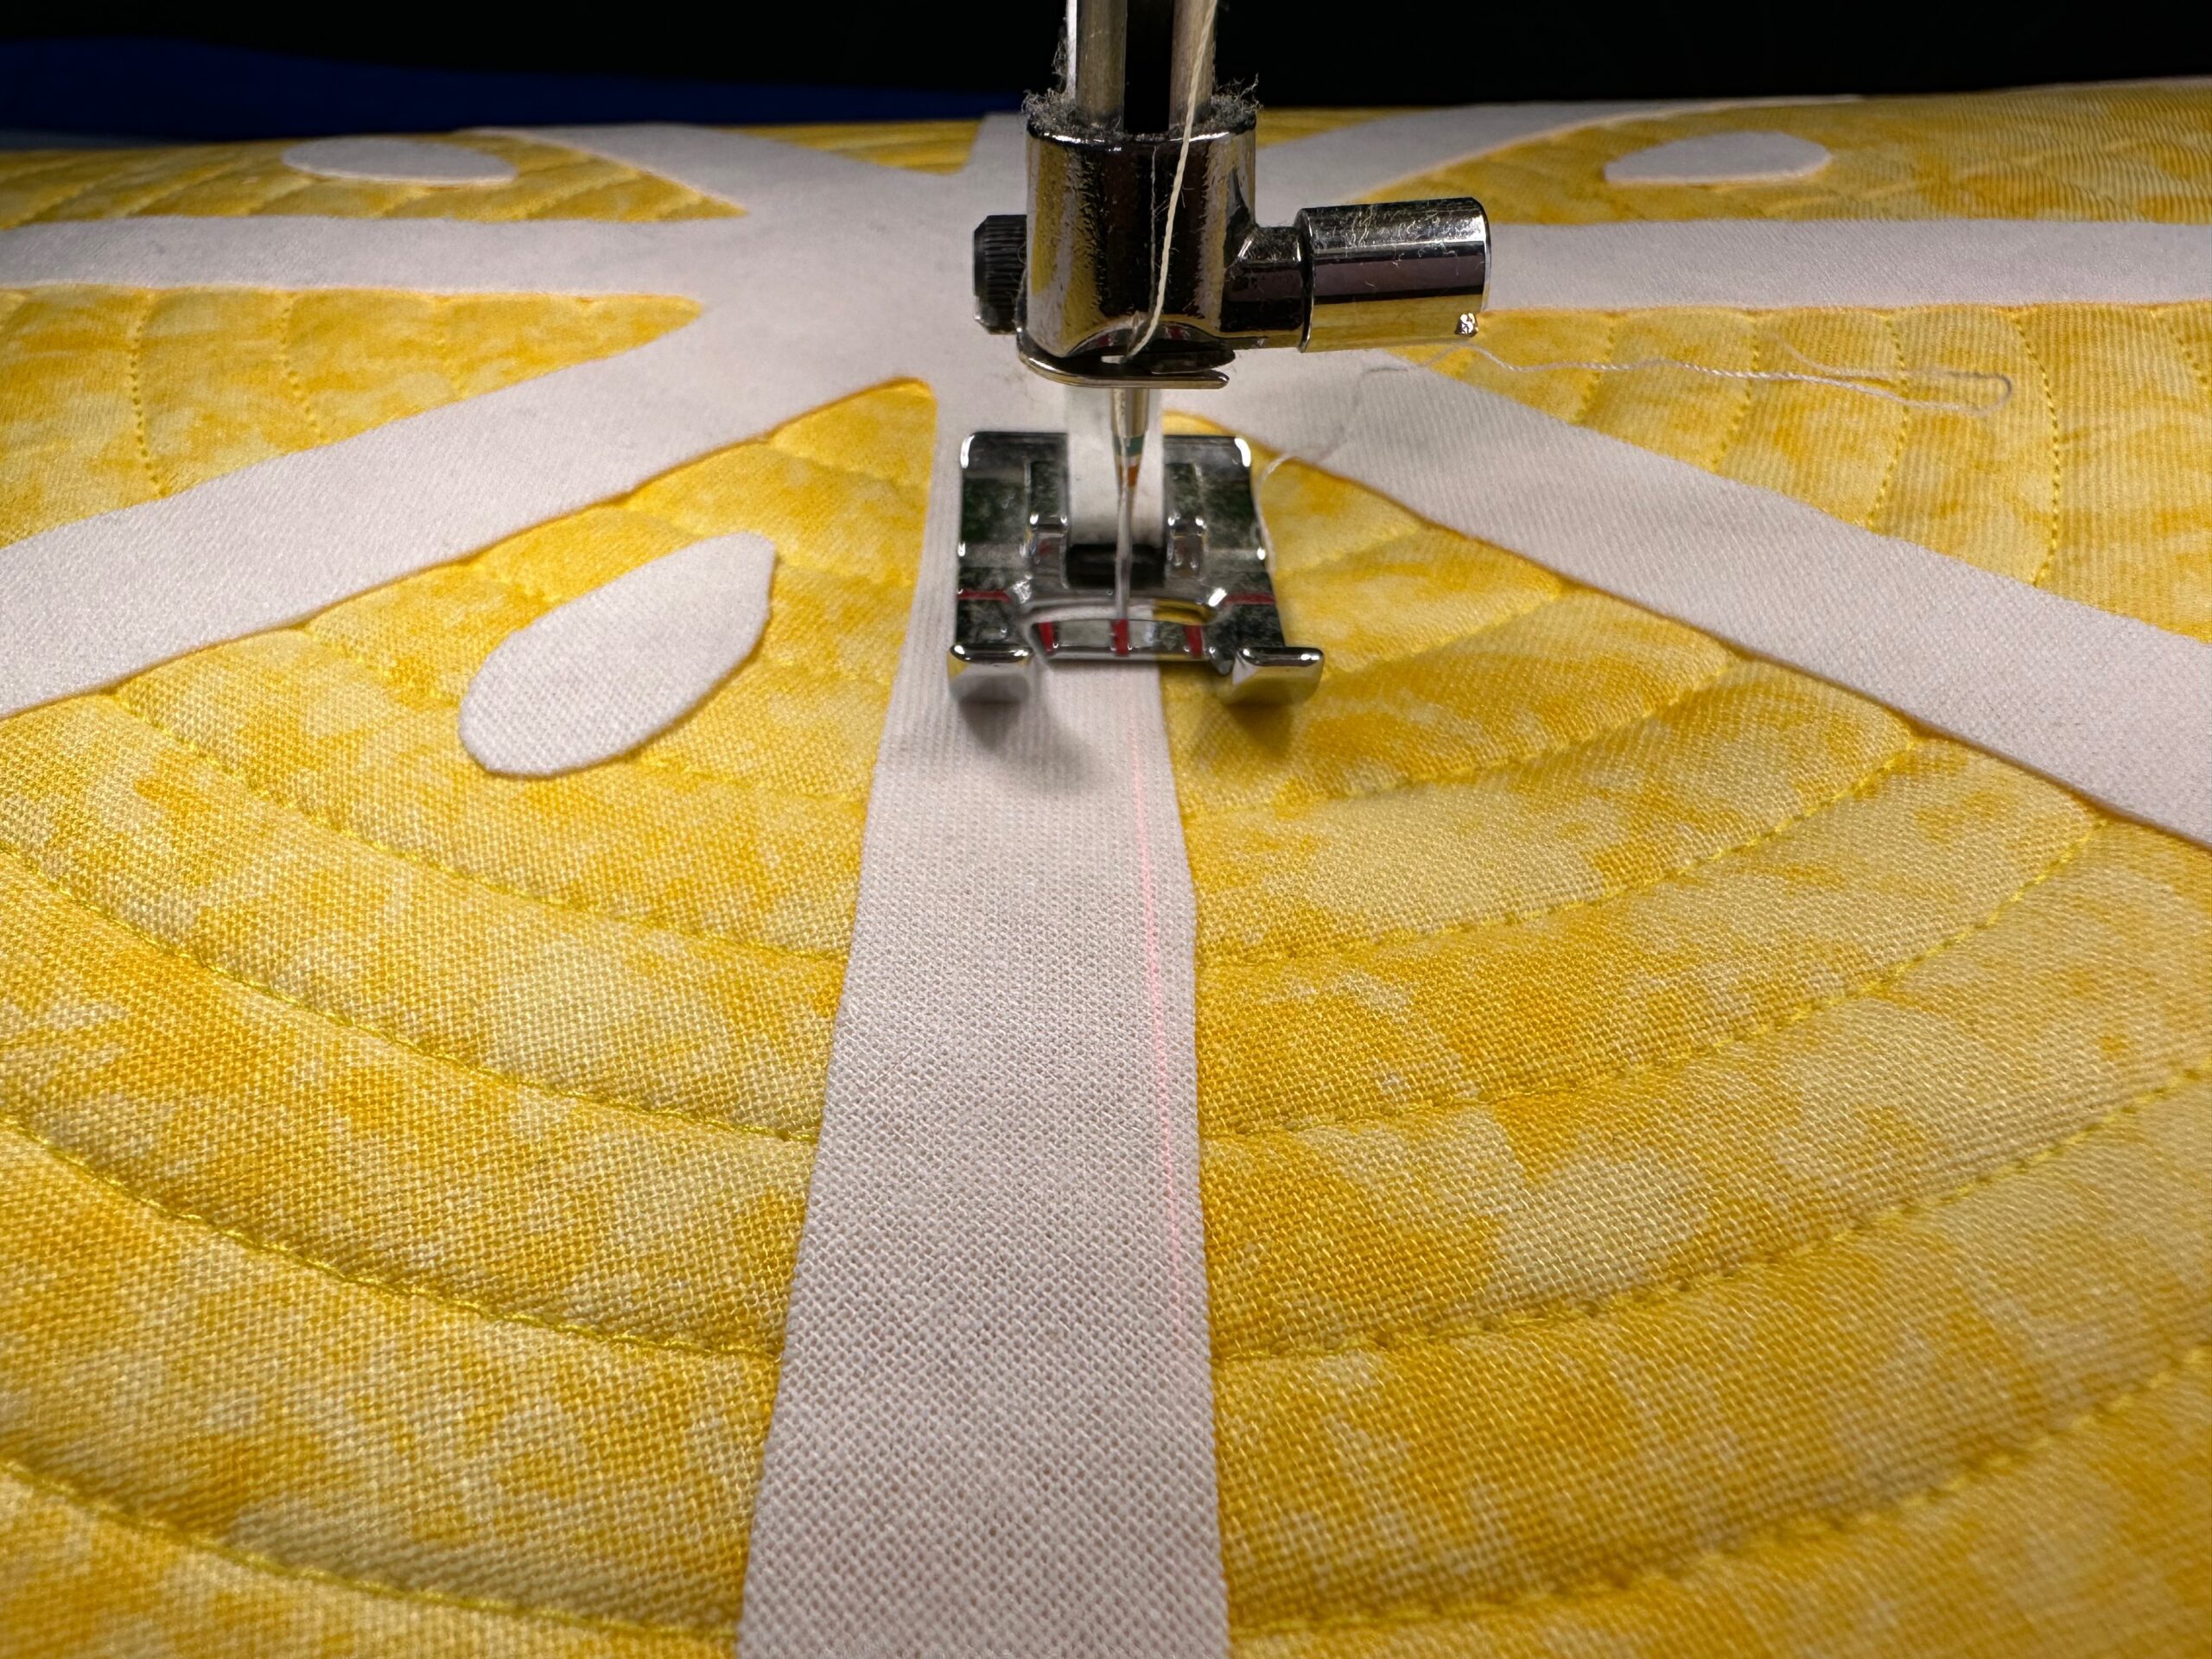
If desired, satin stitch or deco-stitch the edges for different looks.
Repeat to secure the seed(s) with stitching.
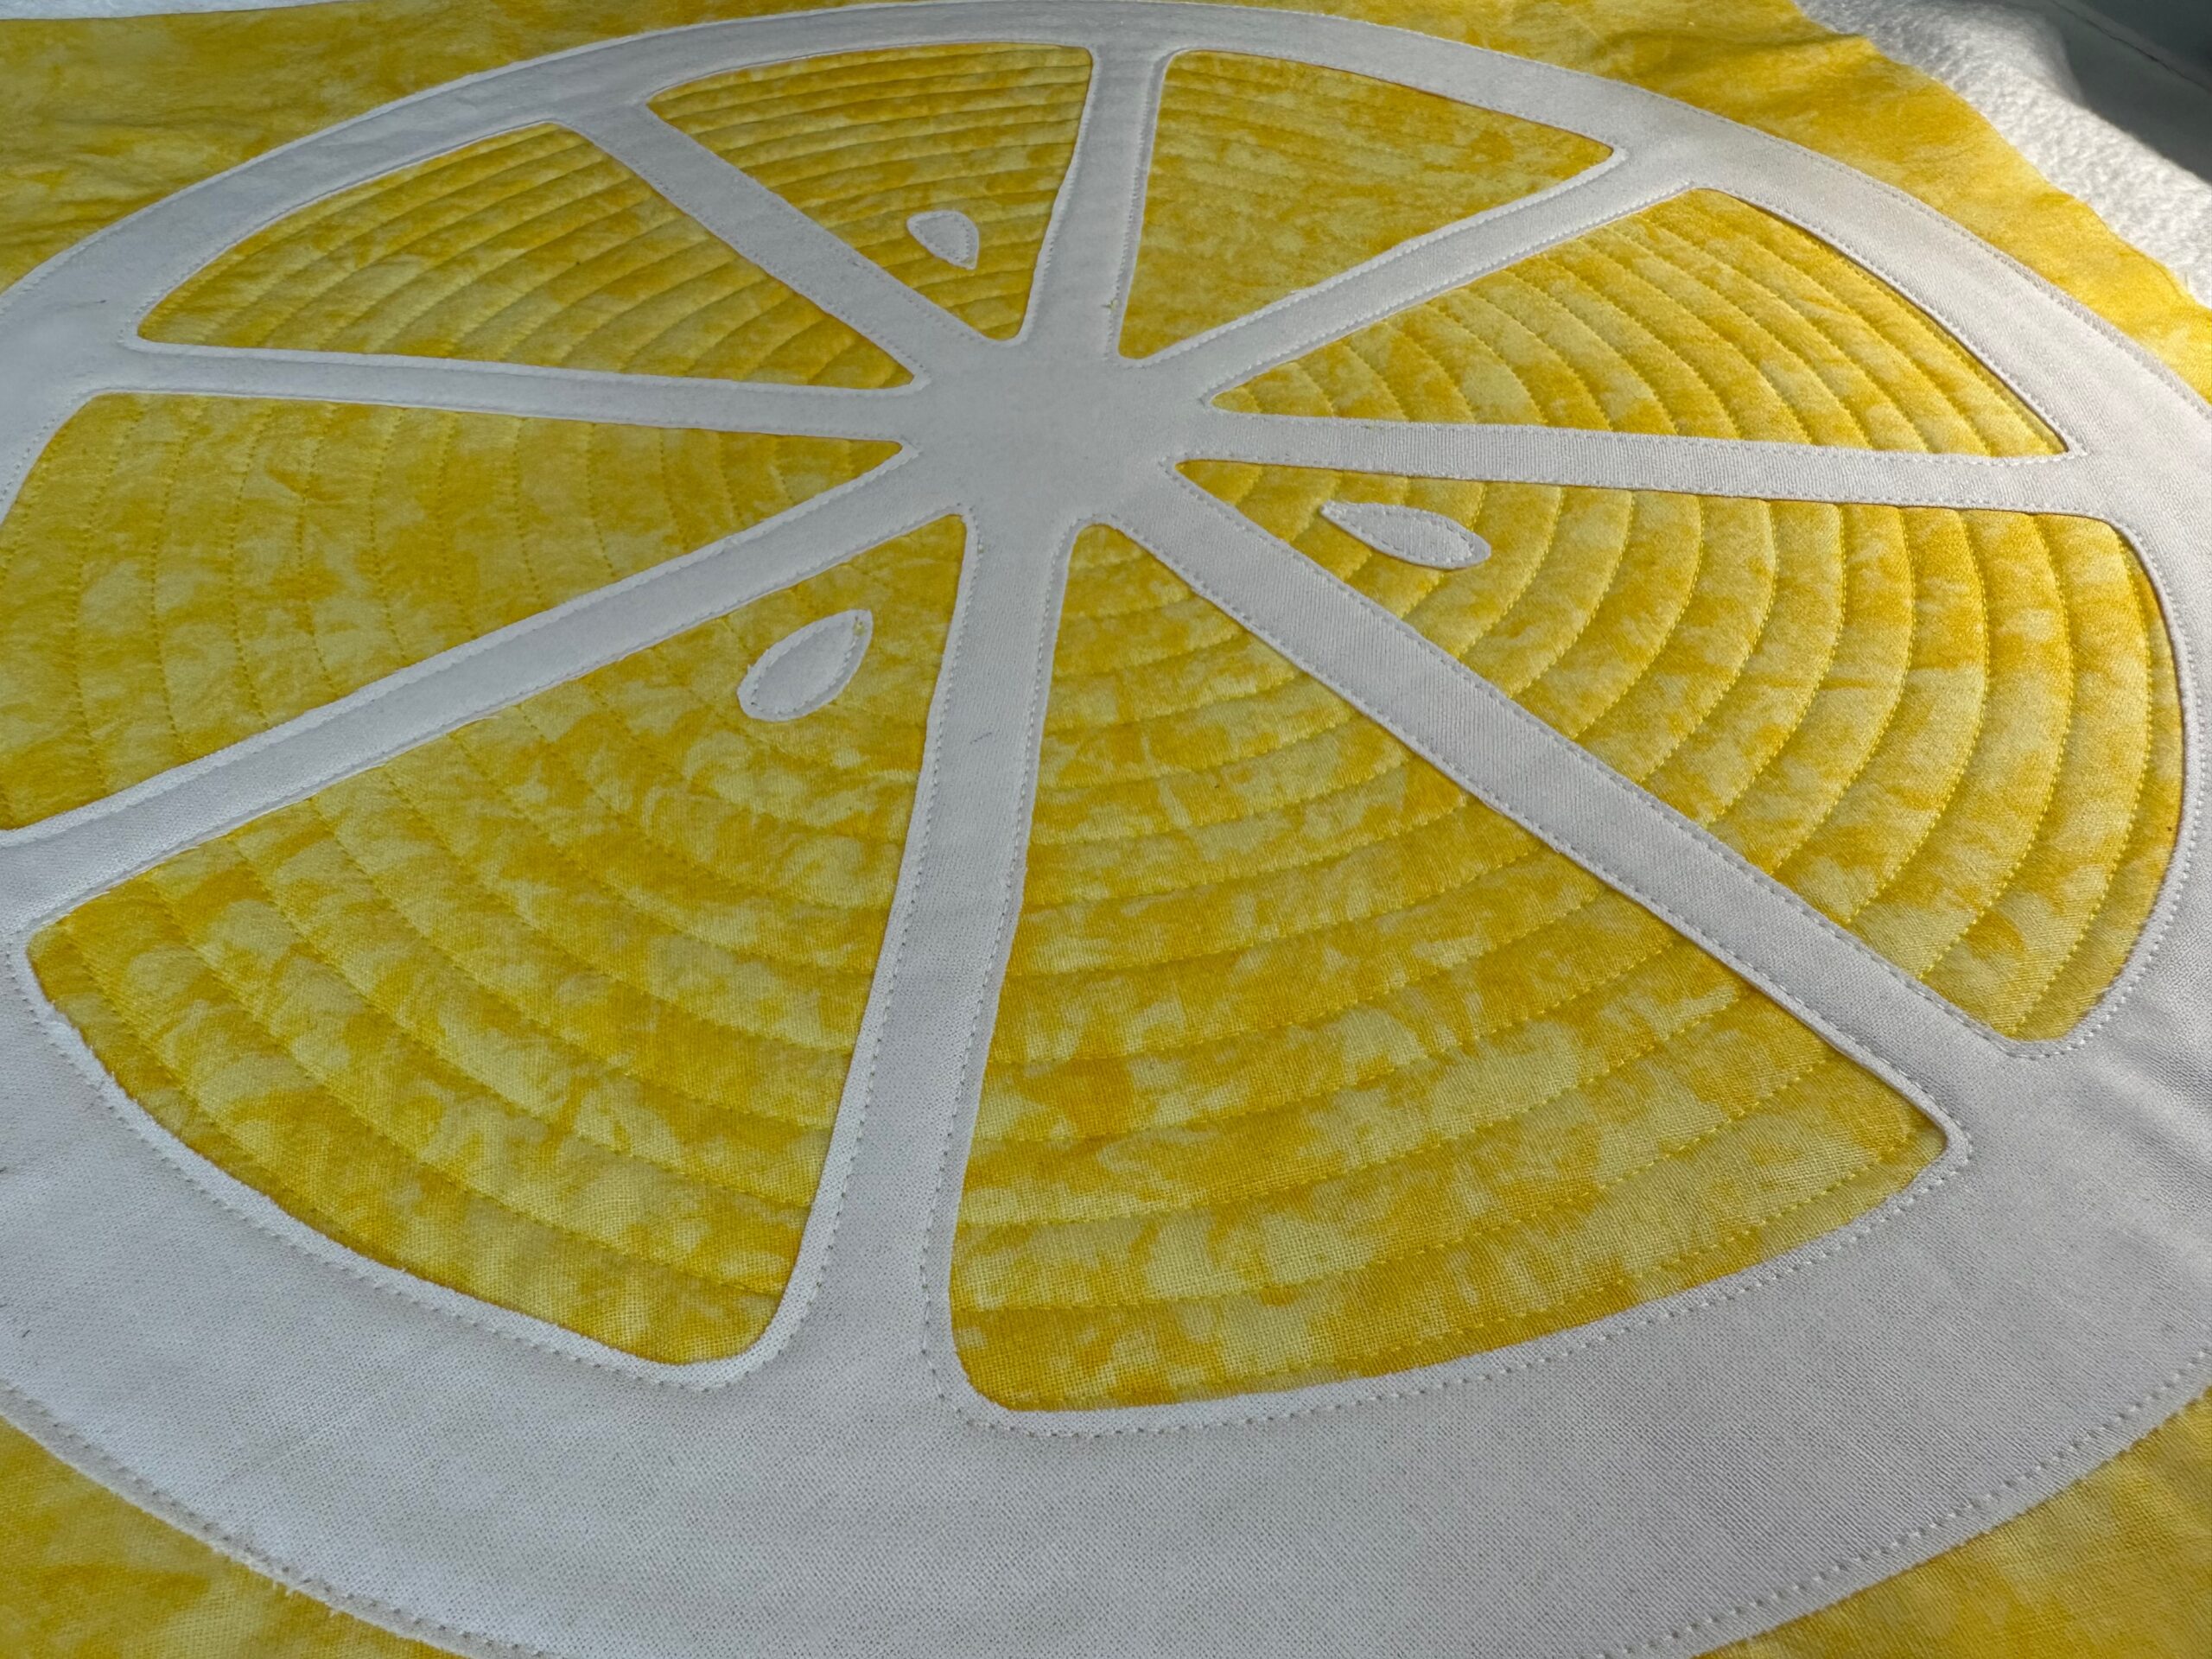
If desired, further quilt inside the pith and seed(s), working outward from the placemat center.
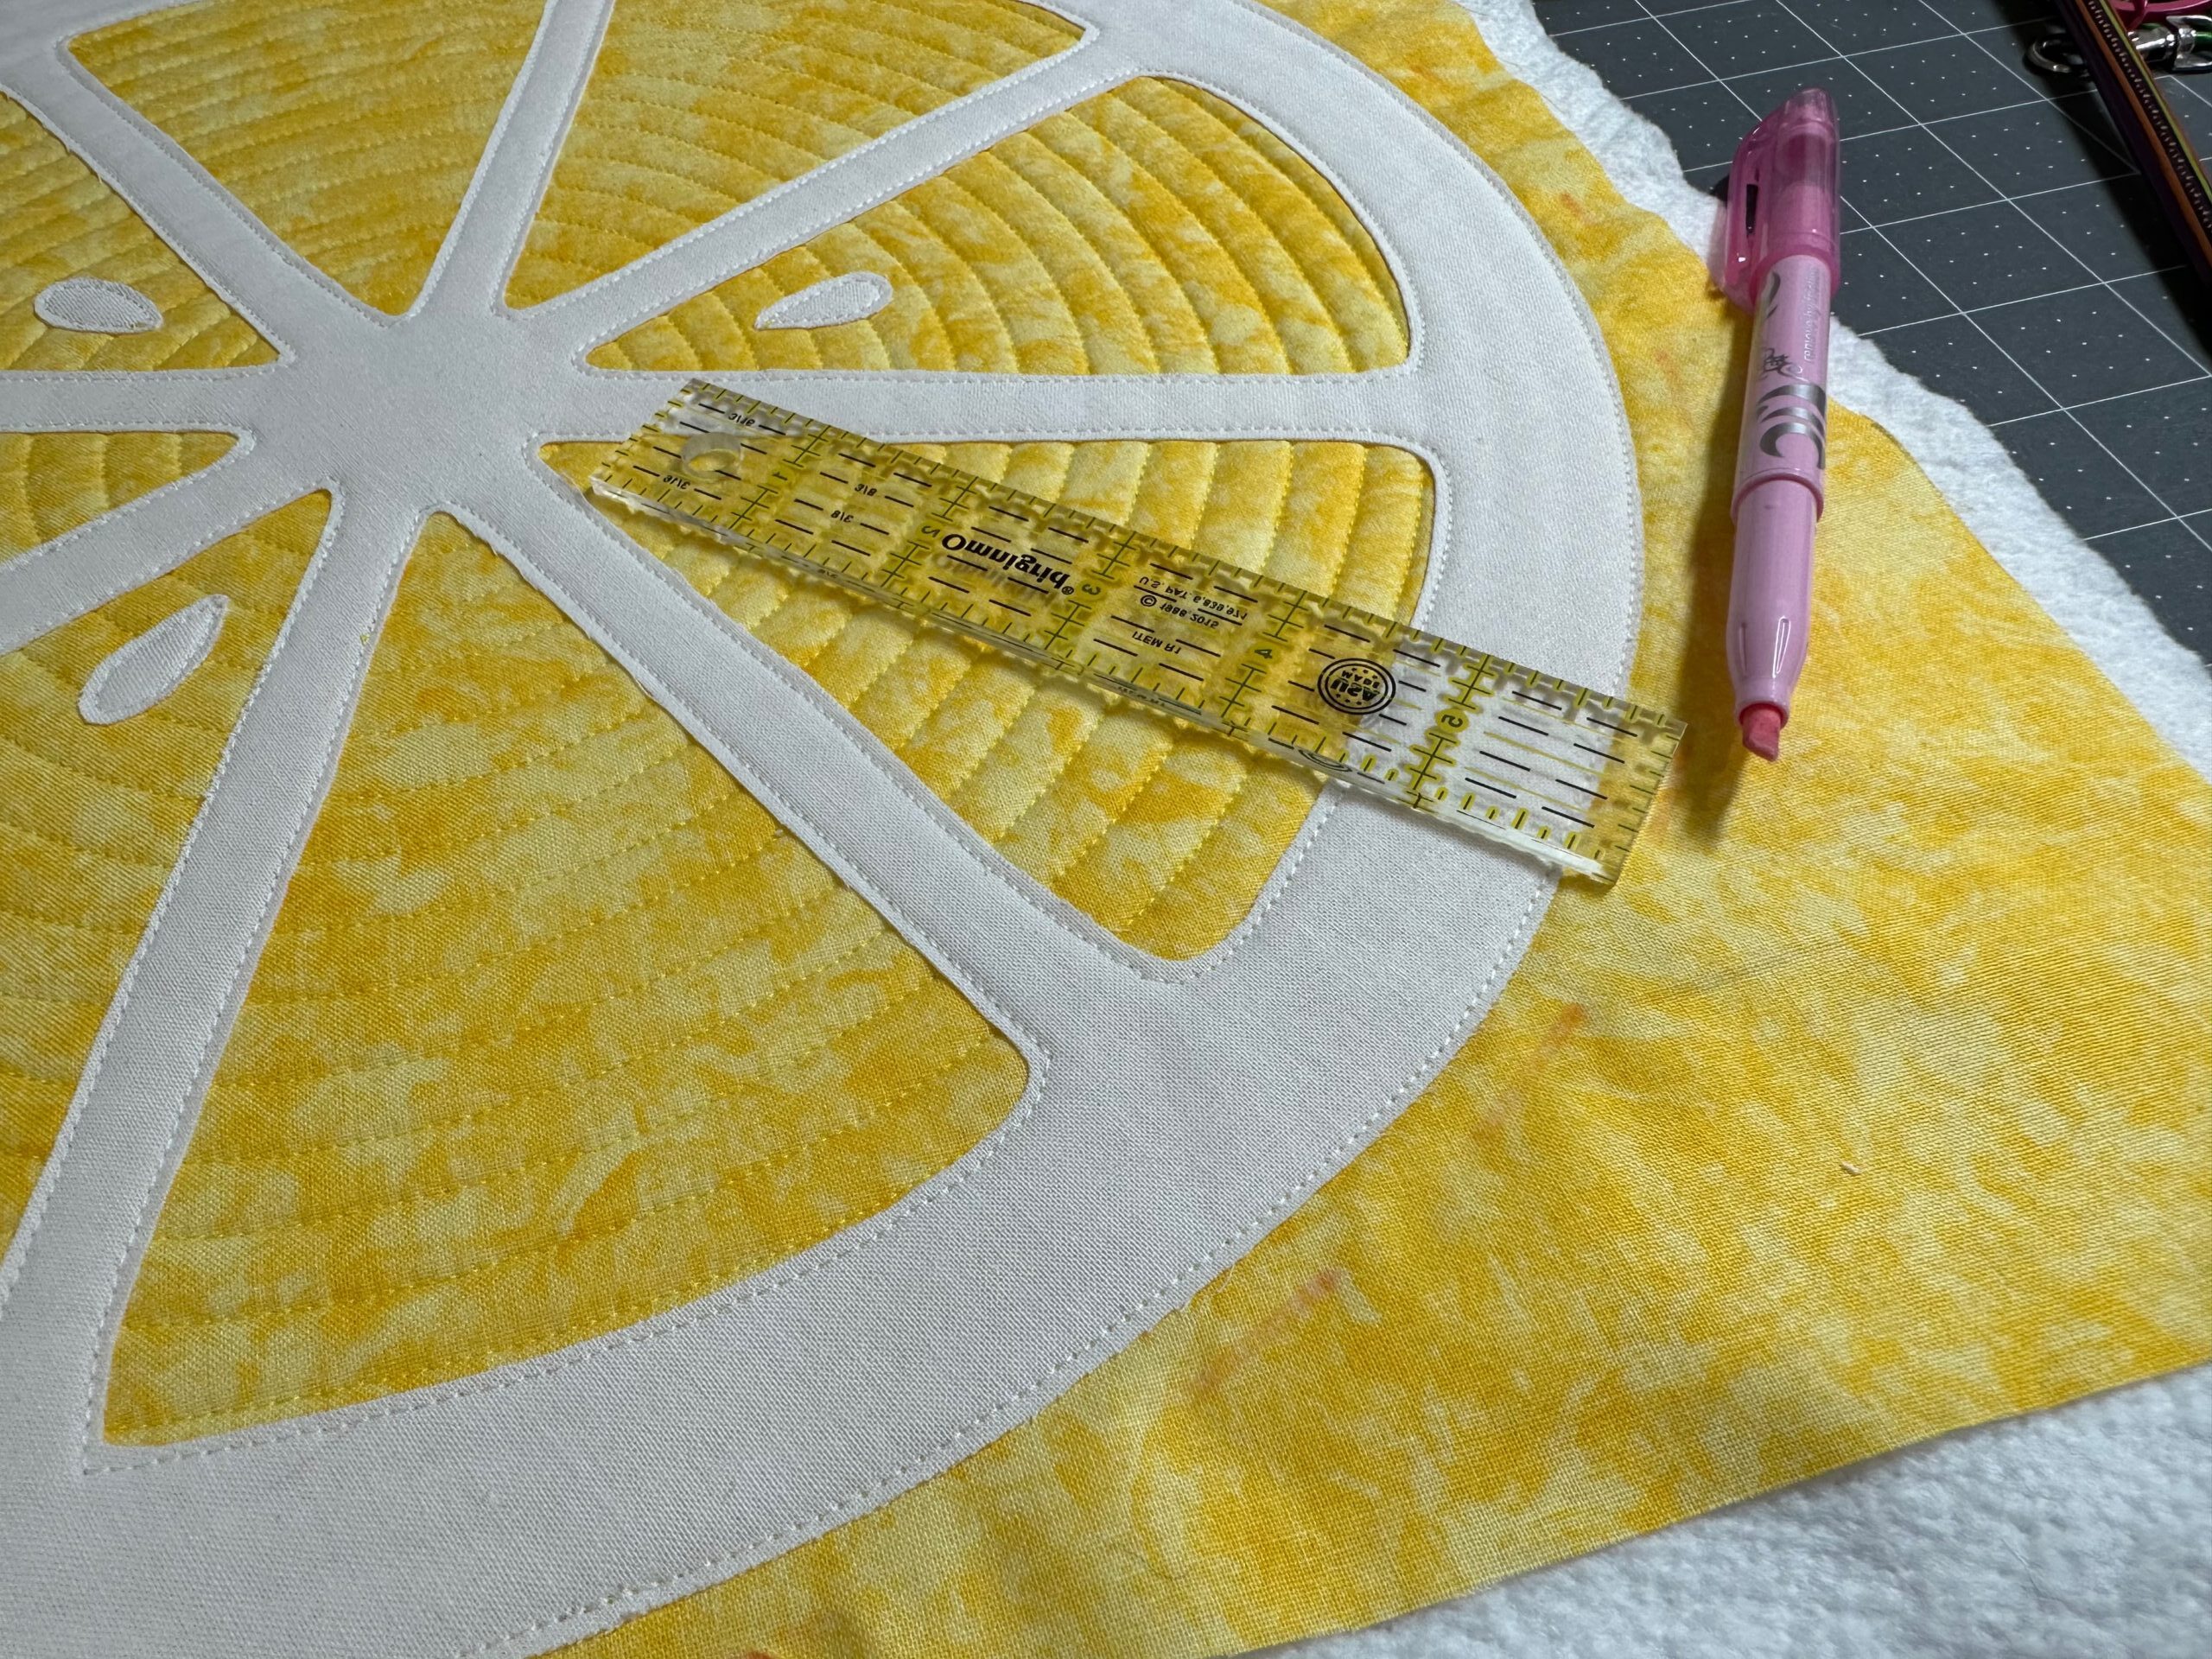
When the quilting and applique are complete, mark and then trim the square 1/4″ beyond the pith outer edge circle.
BINDING THE PLACEMAT
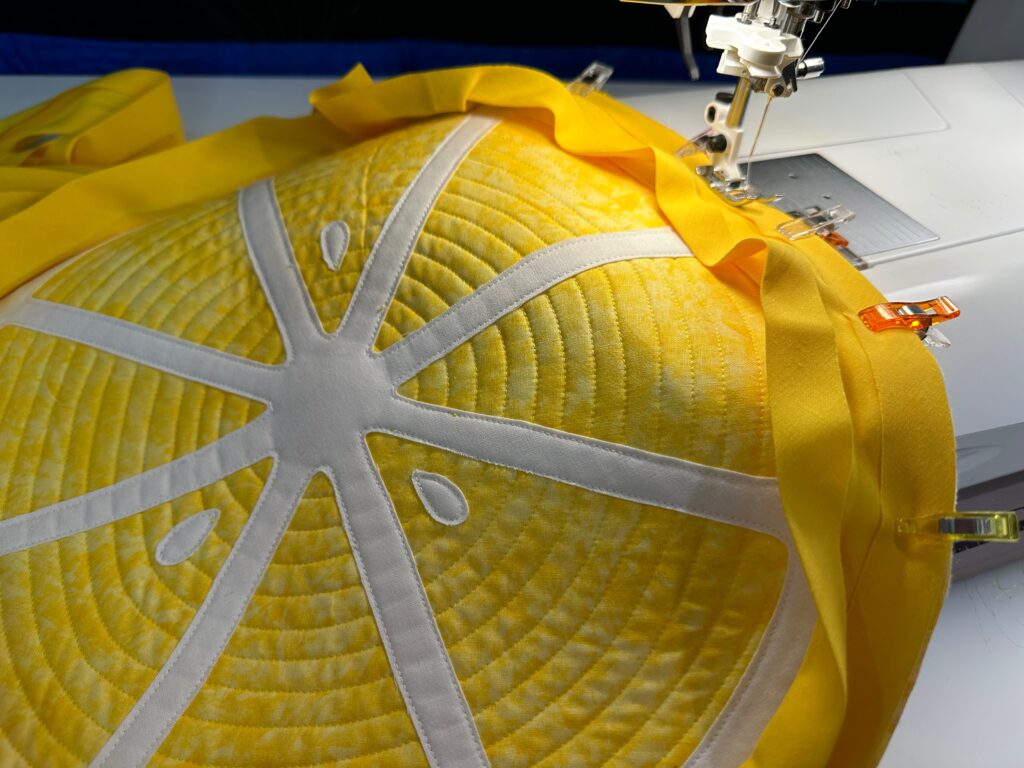
You’ll need a length of binding measuring about 50″ for each placemat.
If creating your own binding, begin with 2 1/4″-wide bias fabric strip. Piece together strips along the short ends until the necessary length is achieved. If making multiple placemats, make one super long strip and trim it with each placemat application. Fold the strip in half lengthwise with wrong sides together; press. Apply the binding per your preferred method; either railroading the ends or piecing them together.

Repeat to create as many placemats as desired to fit your summer table!
TIP: Choose yellow fabric for a lemon slice, orange fabric for an orange slice or light green fabric for a lime slice.
ADDITIONAL INSPIRATION: To make a watermelon slice, omit the triangles and cut a pink circle following the inner pith line; applique that to a dark green circle cut to the outer pith line. Create lots of seeds from black fabric, and then applique them onto the pink fabric in a random pattern.

The lemon looks great, quite unique!!
It would be great to see a completed watermelon project! I would need help for a watermelon project, but that sounds like something I would want to try!