Fall Leaves Felt Garland
designed by Ashley Hough
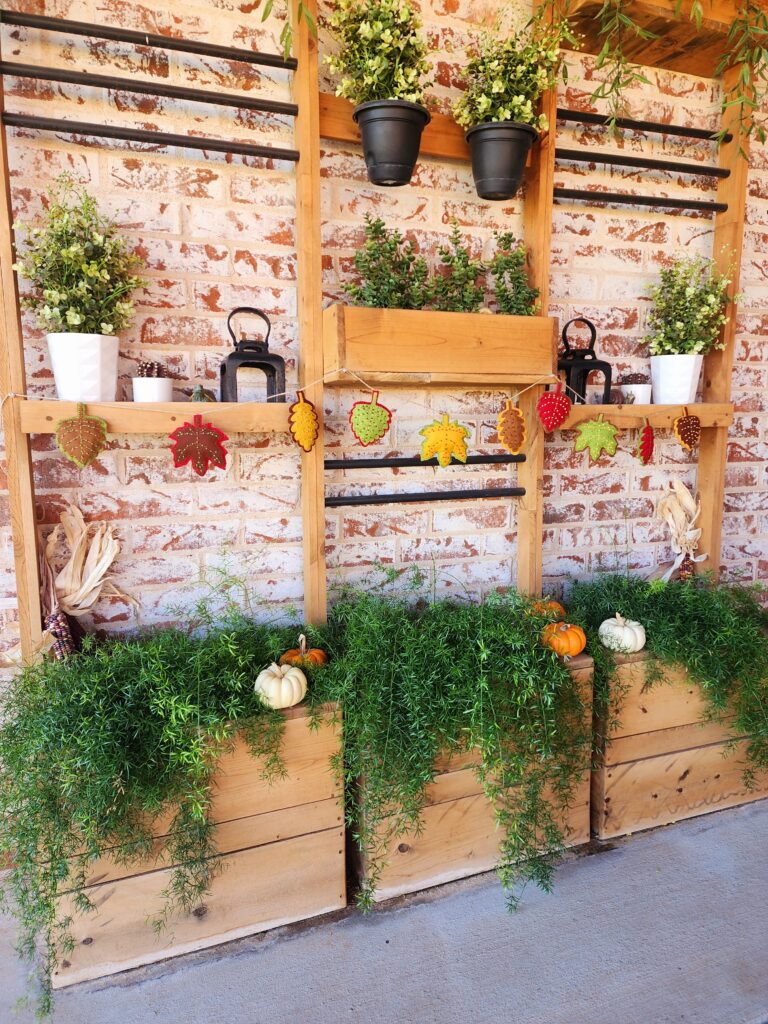
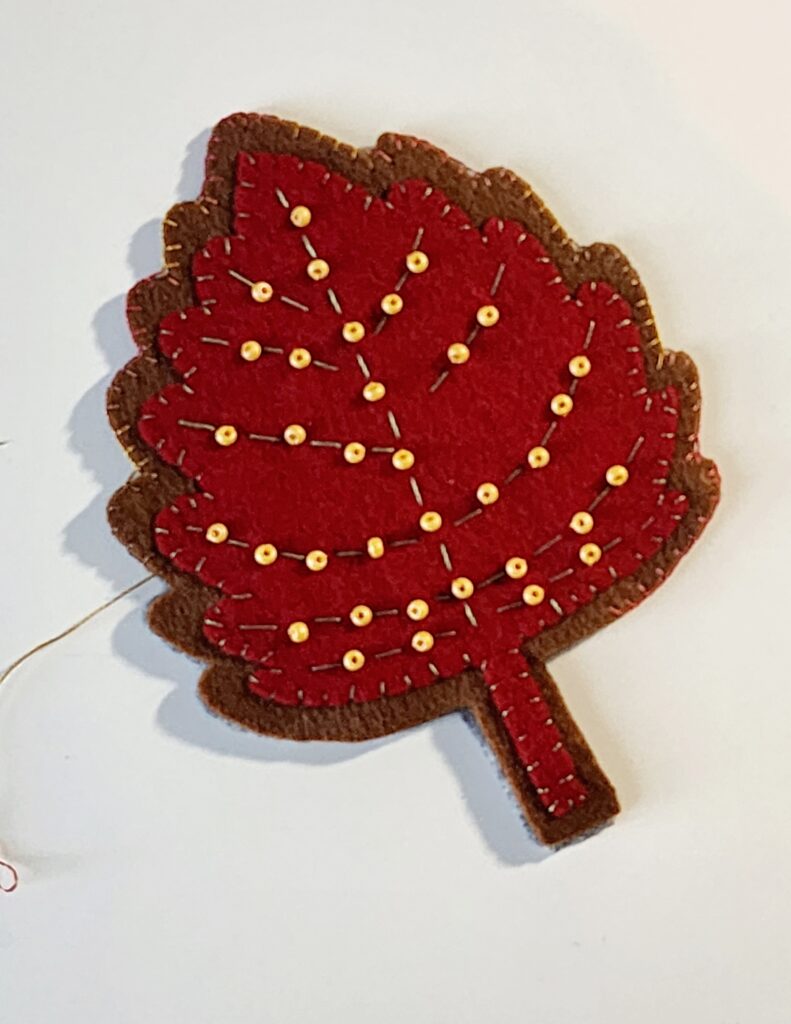
Celebrate the changing leaves with a fall felt leaf garland accented with beadwork. These fall felt leaves can also double as ornaments for a decorative tree. Make several felt leaf projects to add to your fall décor. Place one at each Thanksgiving place setting. Or give them as gifts to friends and family who don’t get to experience the changing leaf colors. This garland project also makes a great kid-friendly activity for budding sewists who want to learn some basic skills.
Fall Leaves Garland Supplies
- Felty in various fall (front) and neutral (back) colors
- 12 wt. Sulky Thread – Autumn Sampler
- Hand sewing needle
- Inner & Outer Leaf Templates
- Small beads
- Polyester fiberfill
- String for hanging garland
Cutting & Prep
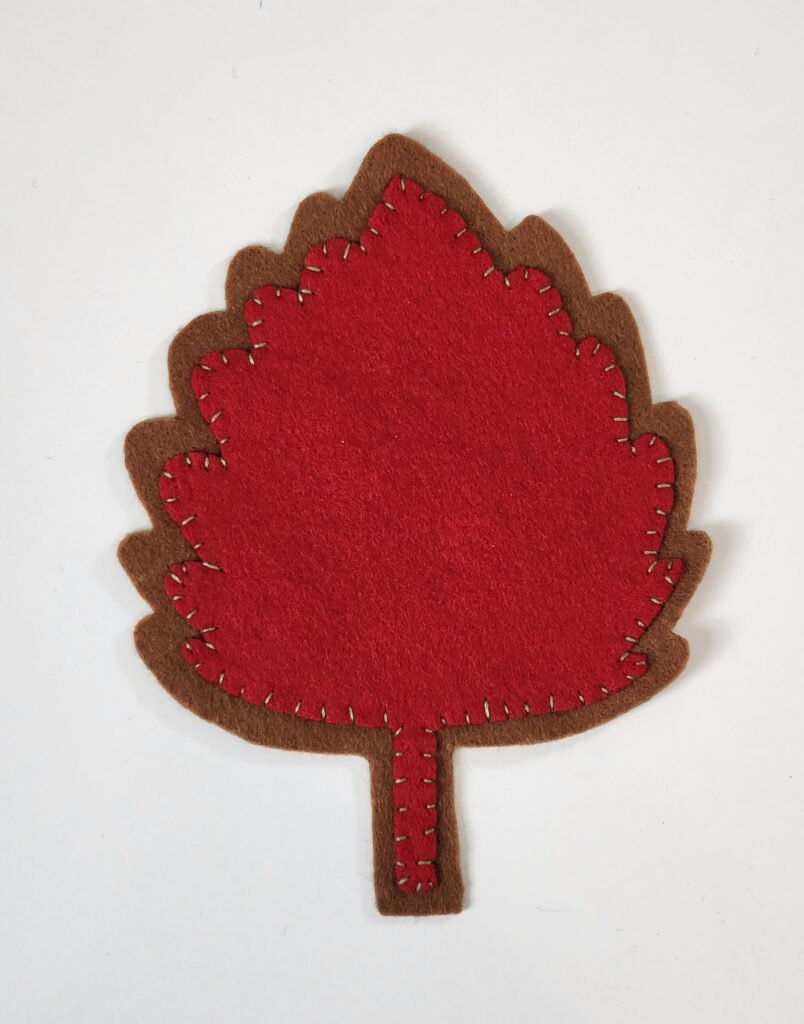
Choose one of the three leaves from the templates to begin. From two different fall colored Felty sheets, cut one inner and one outer leaf.
Center the inner leaf on the outer leaf and either pin or hold in place.
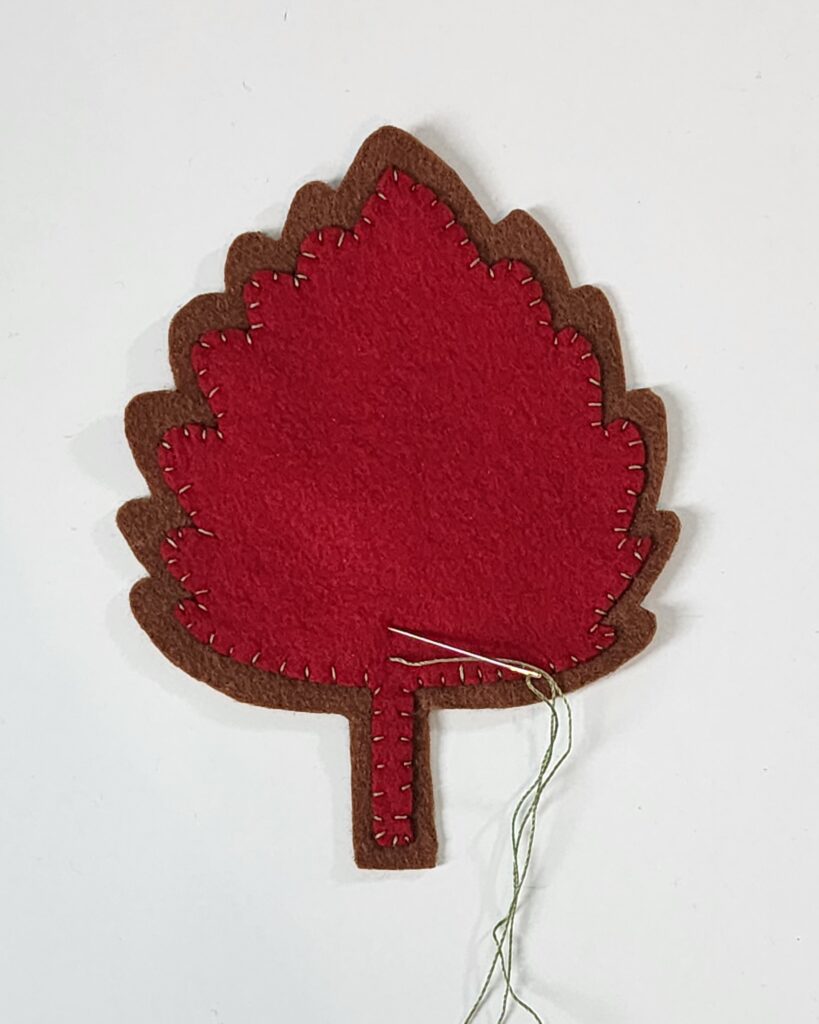
Thread a hand sewing needle with a length of 12 wt. Sulky thread and tie a knot at the end.
Fall Leaf Embroidery
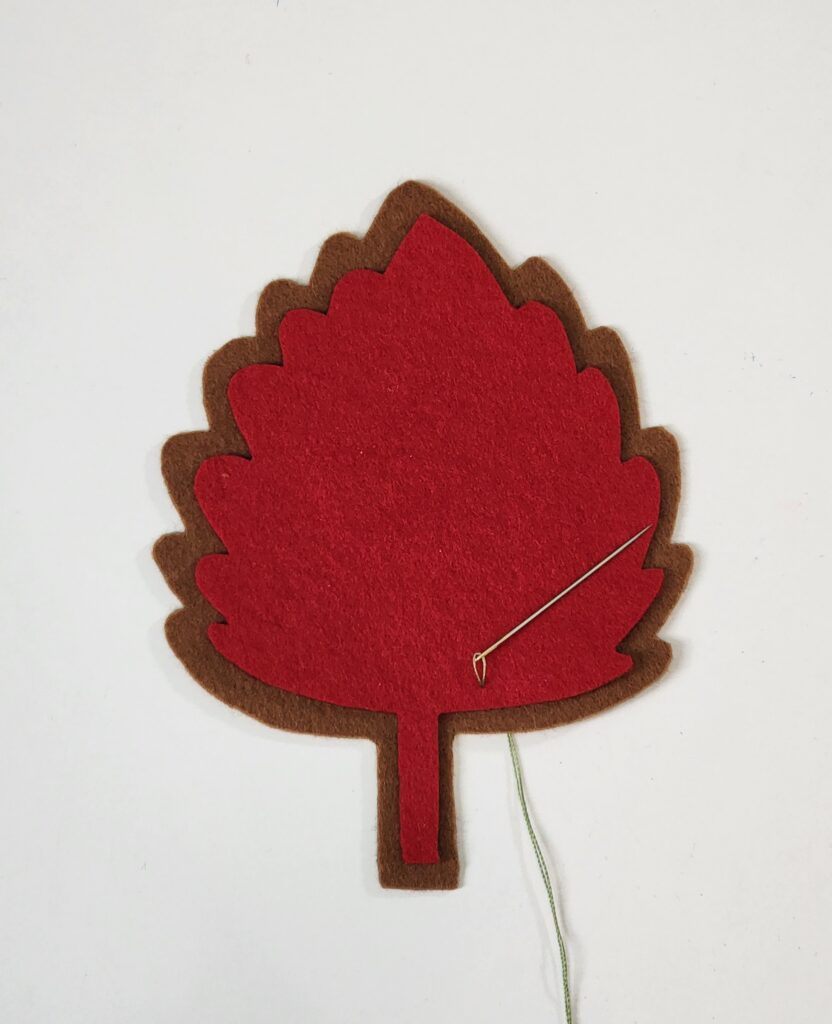
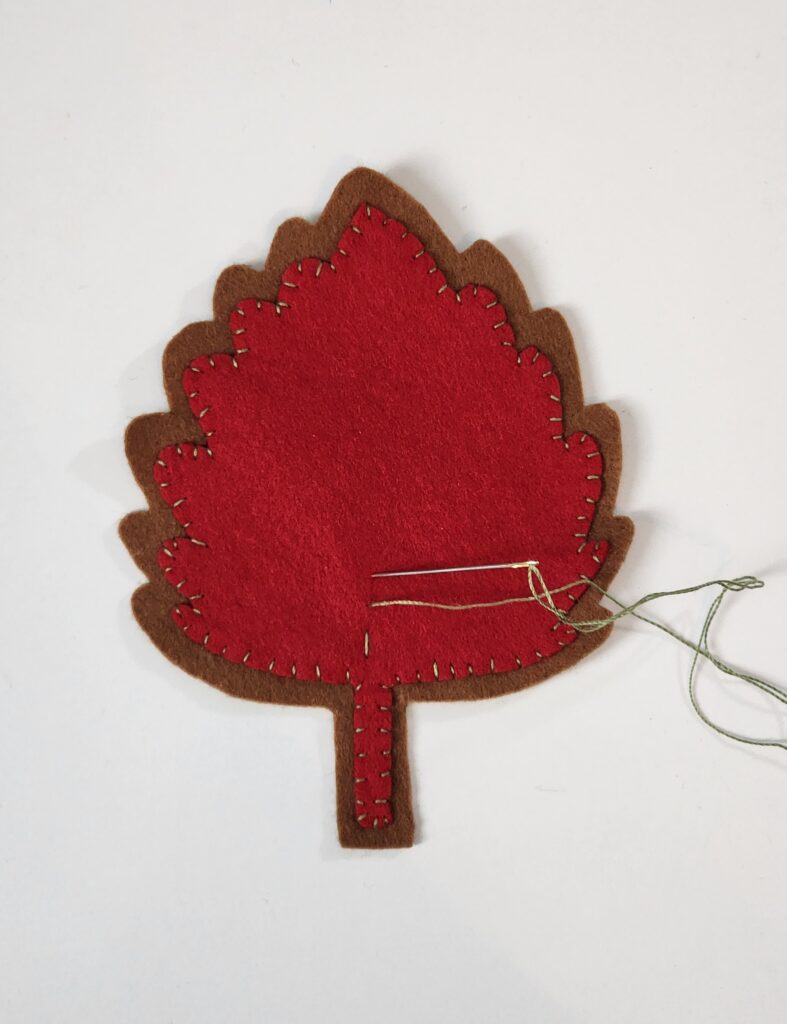
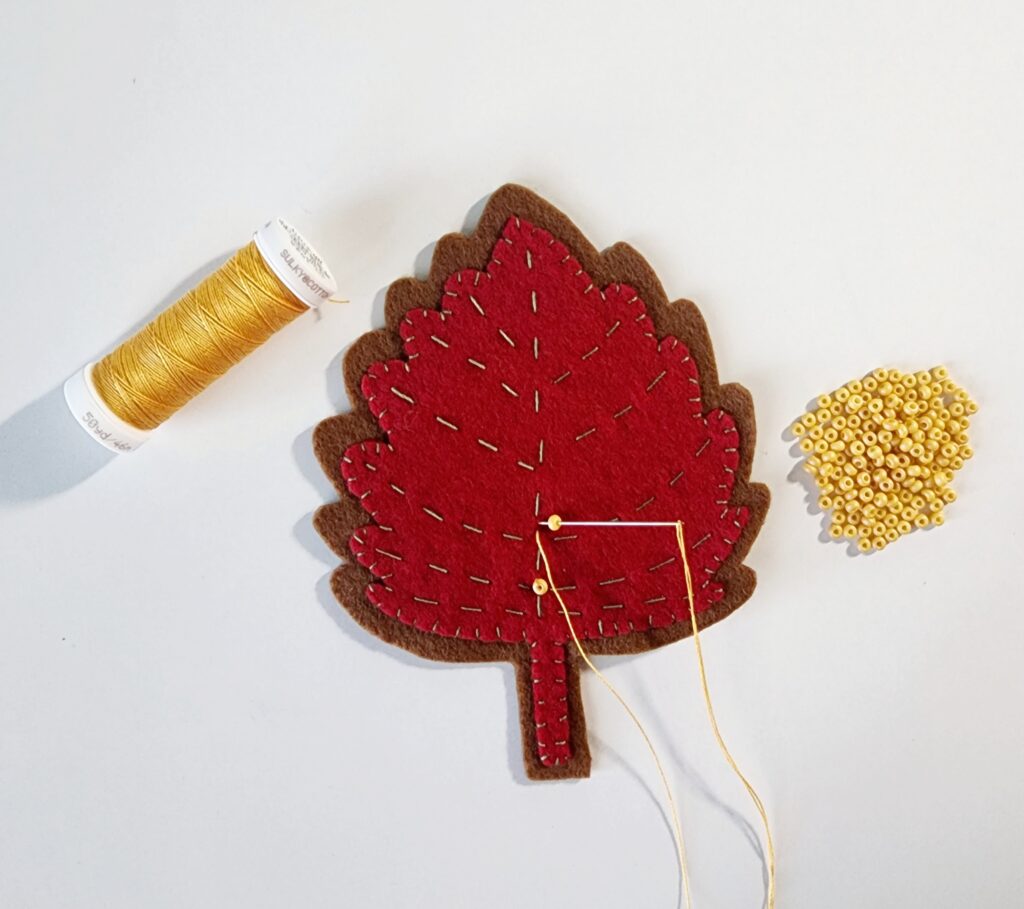
Starting from the wrong side, bring the needle and thread through both layers of Felty approximately 1/8” away from the edge of the inner leaf.
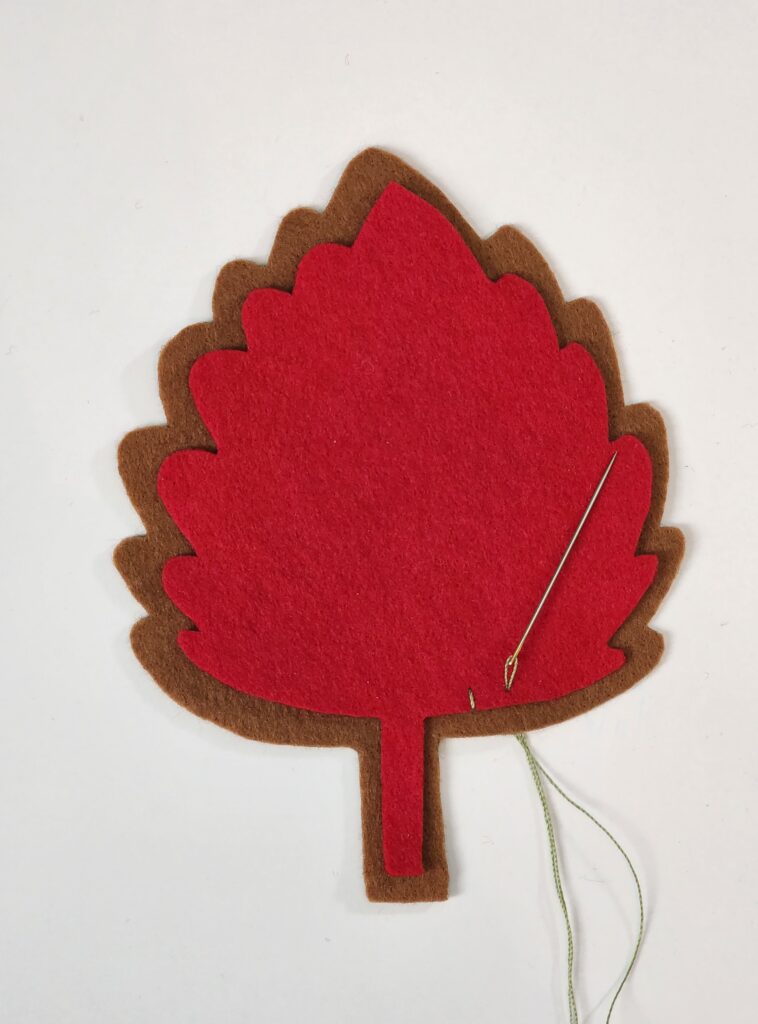
Pull the needle and thread back down through just the outer layer of Felty, perpendicular to the inner layer to make a stitch.
Repeat the steps above to make another stitch approximately 1/8” away from the first.
Continue stitching the perimeter of the inner leaf.
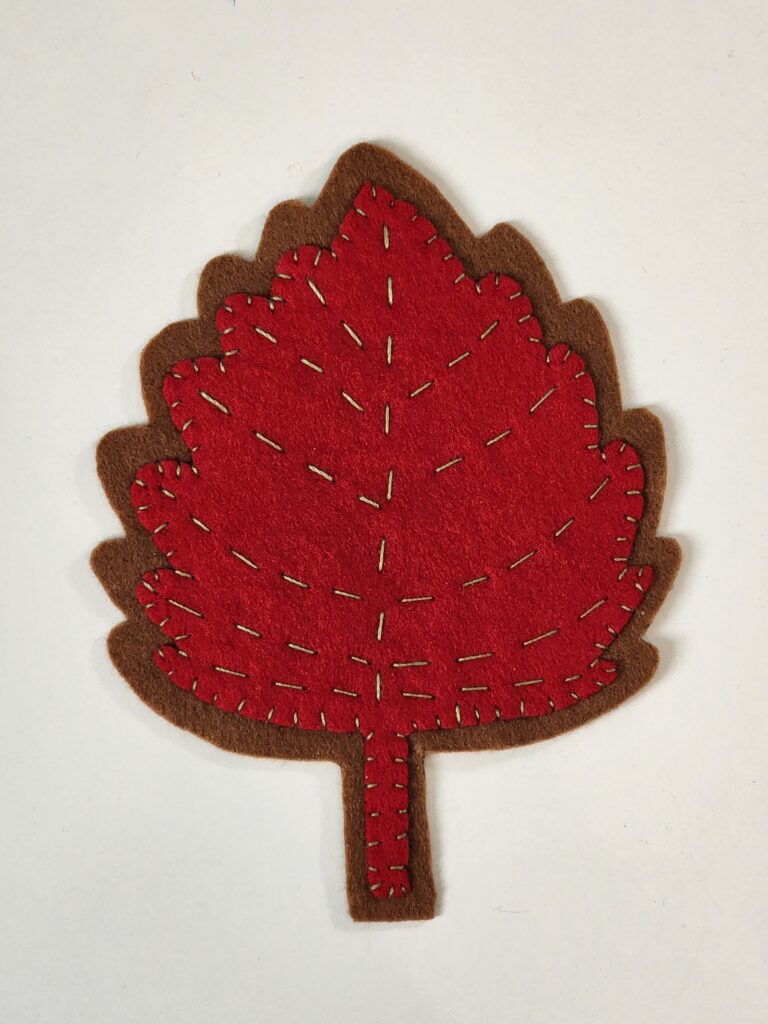
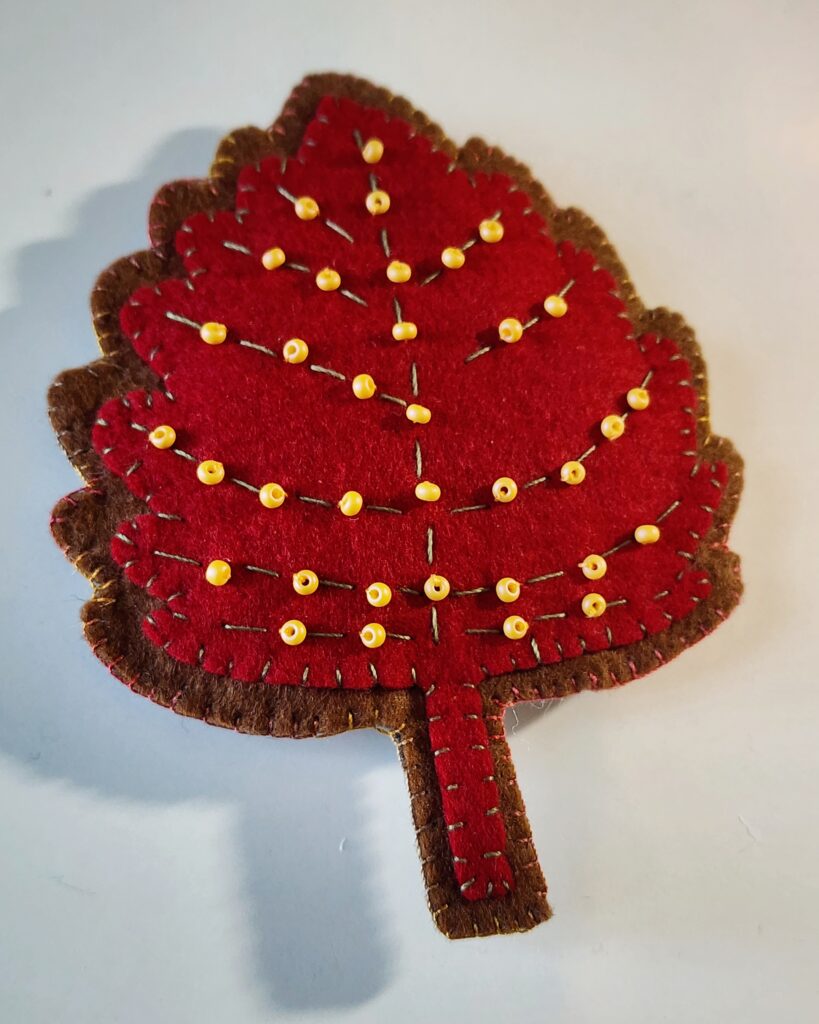
Using the suggested stitch lines on the inner leaf template as a guide, add stitches through both layers of Felty to form the leaf vein lines.
Leaf Beading
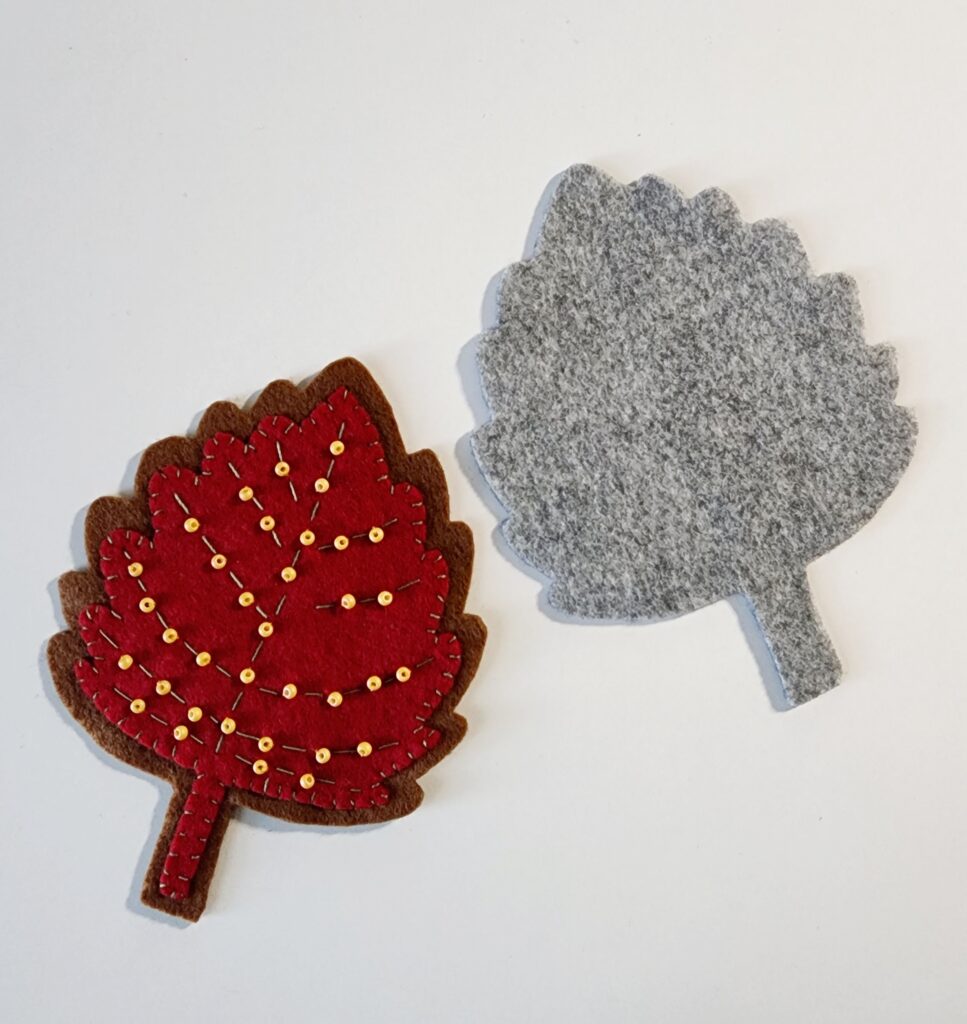
Using the hand sewing needle and thread, add a small bead between each stitch of the leaf vein lines.
From a neutral colored Felty sheet, cut one outer leaf to be used for the back.
Leaf Backing
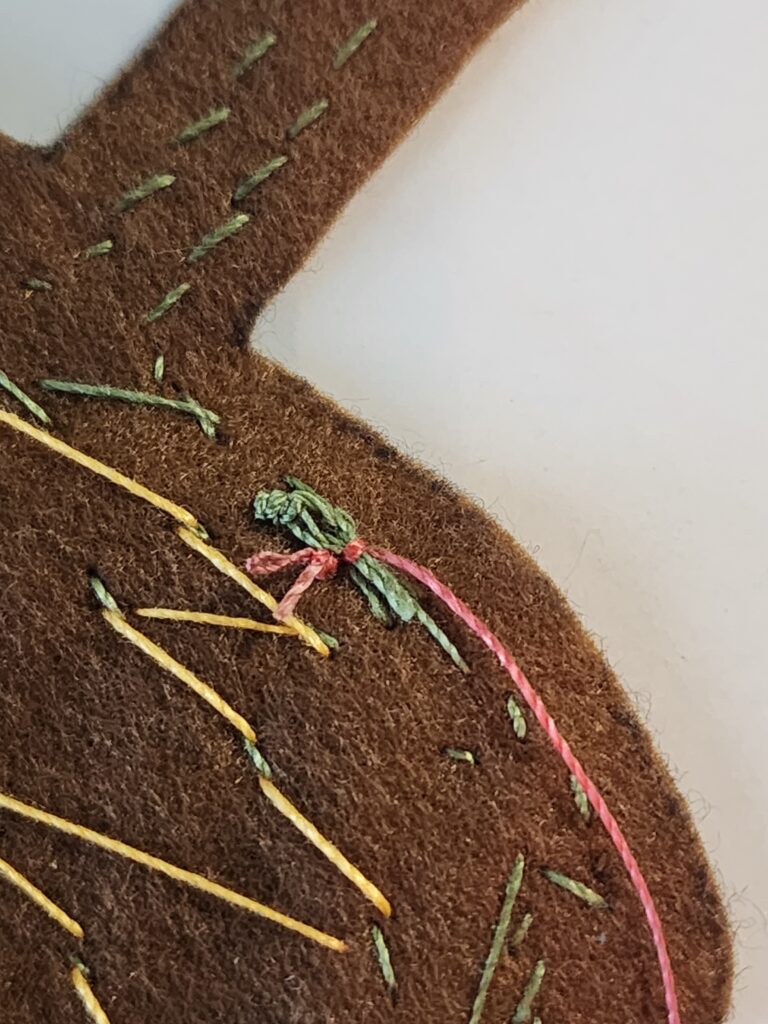
Thread a hand sewing needle with a length of 12 wt. Sulky thread and knot the end. Secure the knotted end to the wrong side of the layered leaves you just stitched, close to the edge. This will hide the knot.
Place the layered fall felt leaves on the back leaf and ensure all edges are aligned.
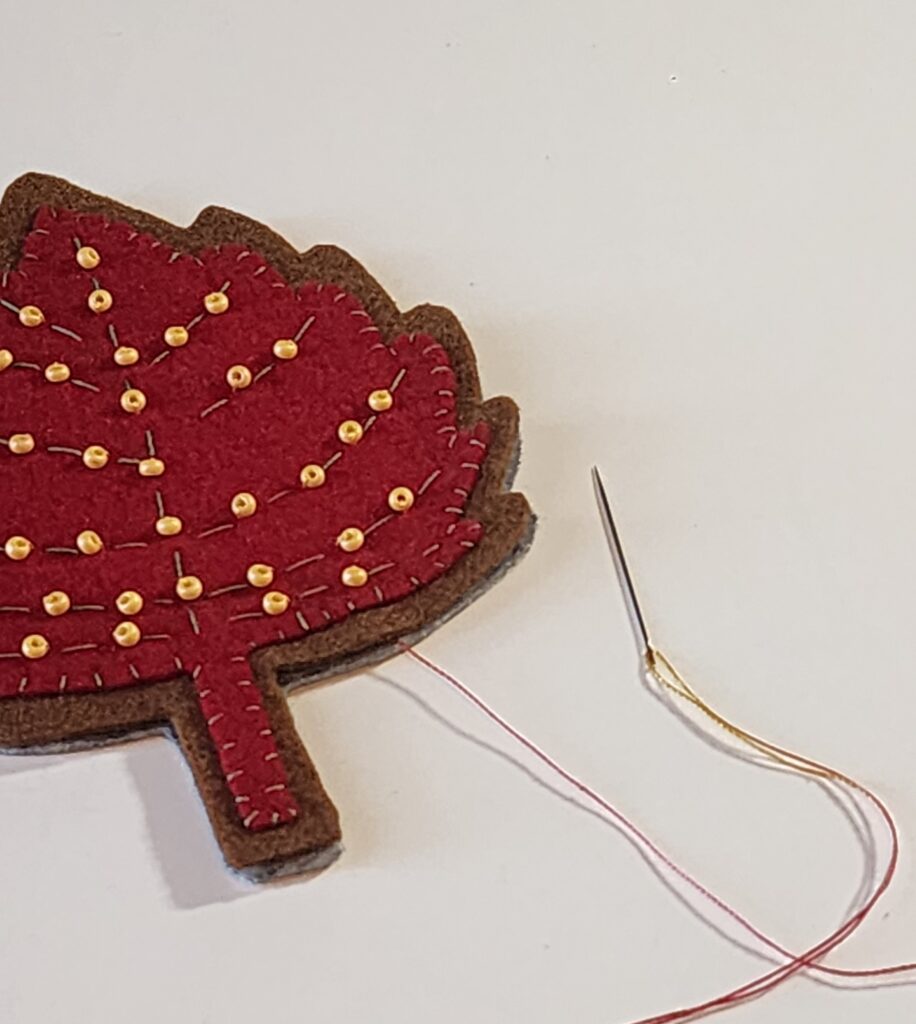
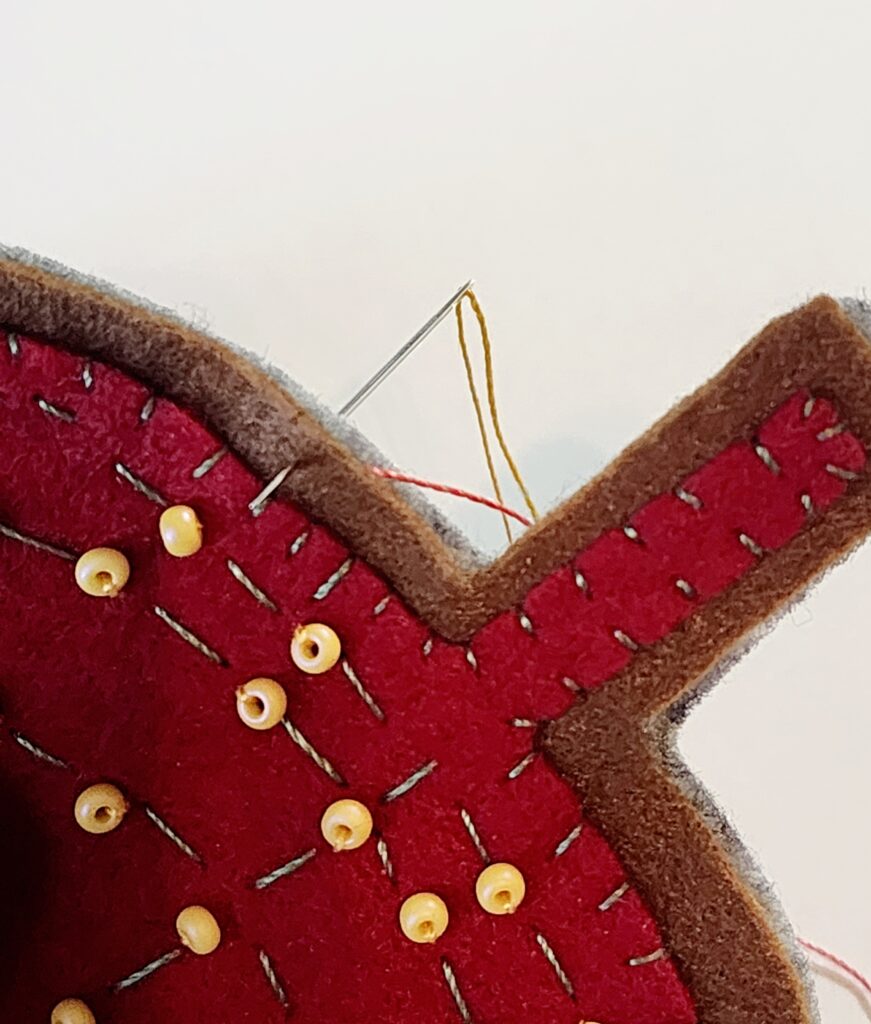
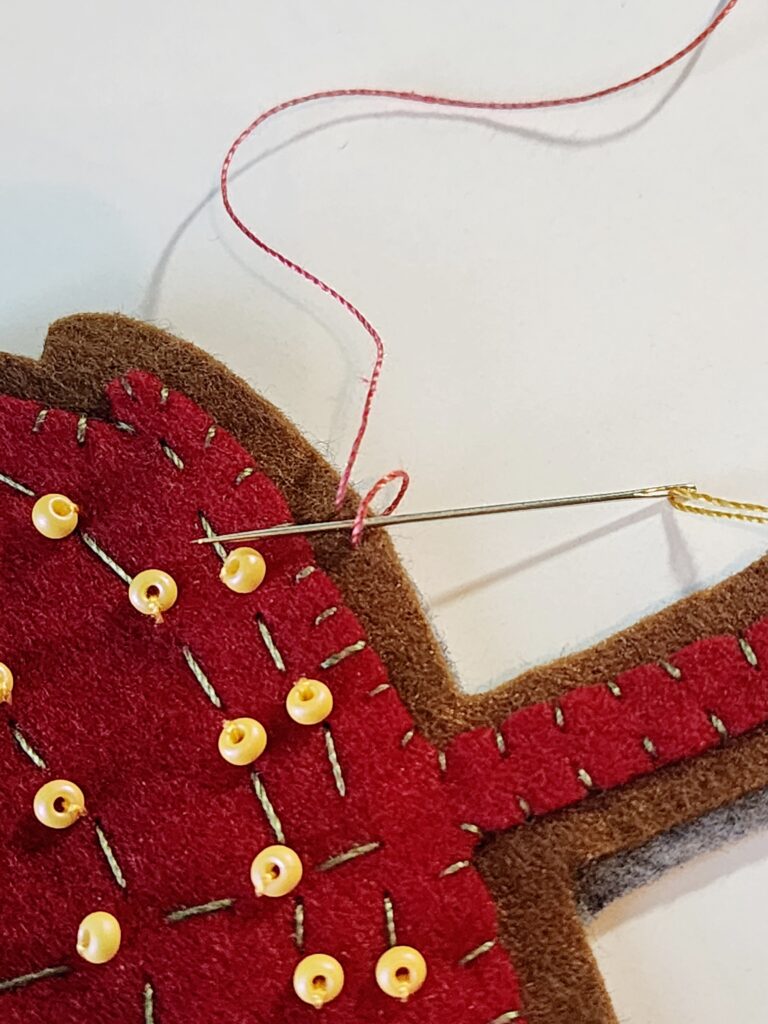
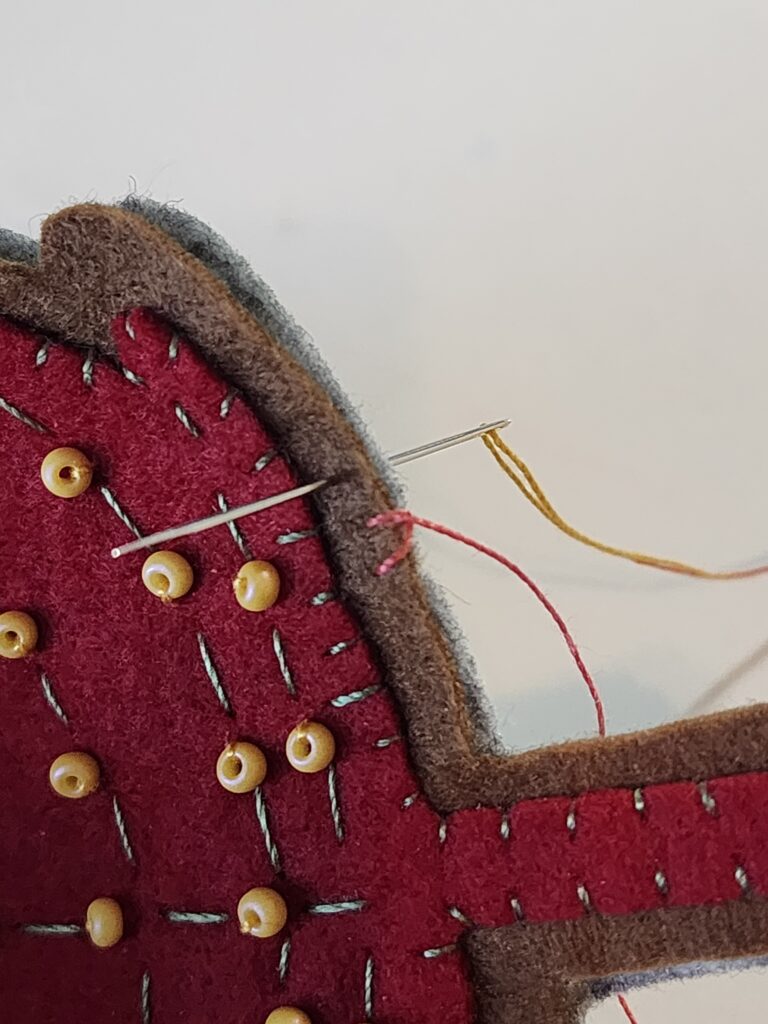
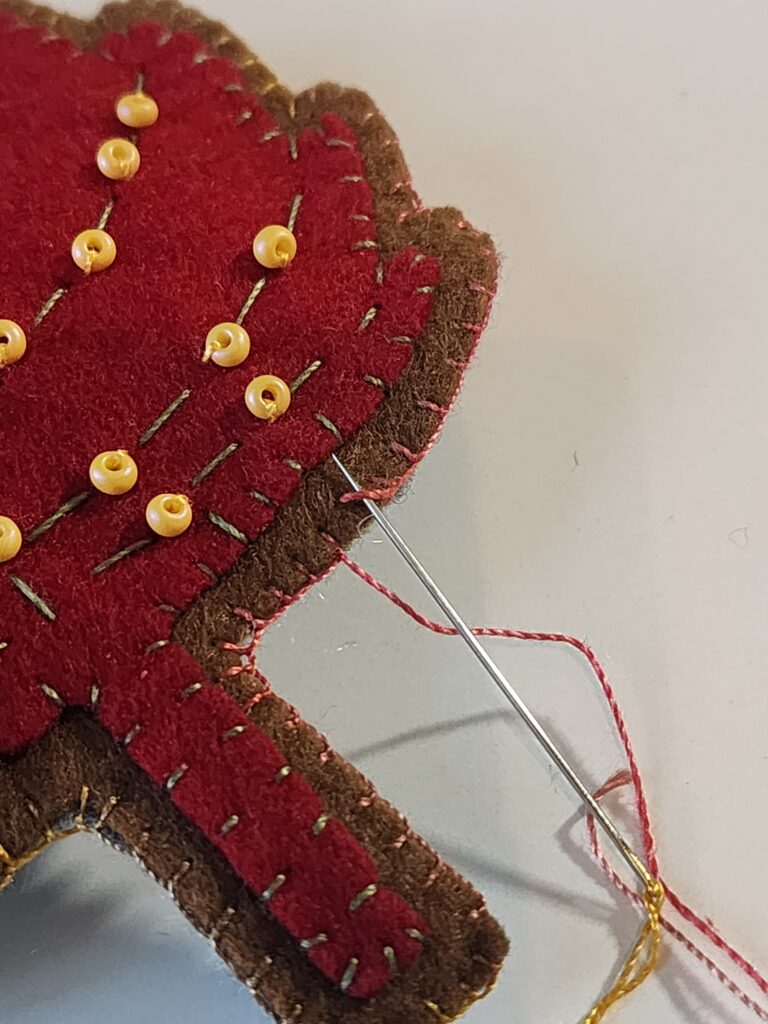
Starting from the wrong side, bring the needle and thread through both front and back leaf layers approximately 1/8” away from the edge.
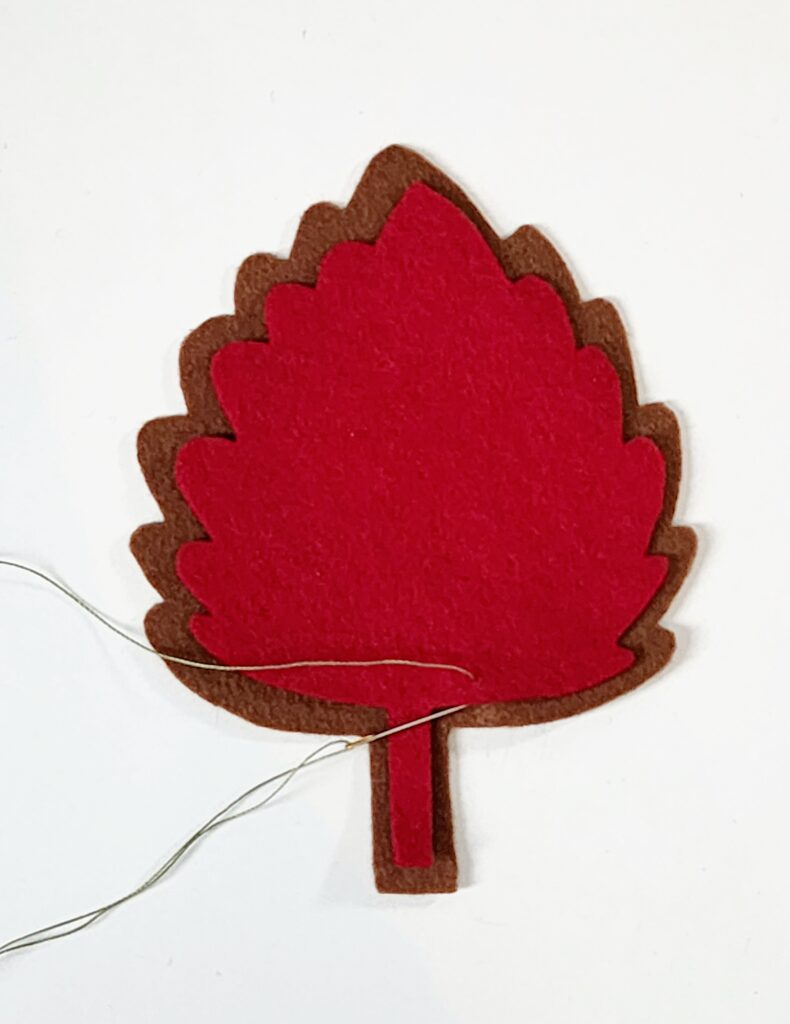
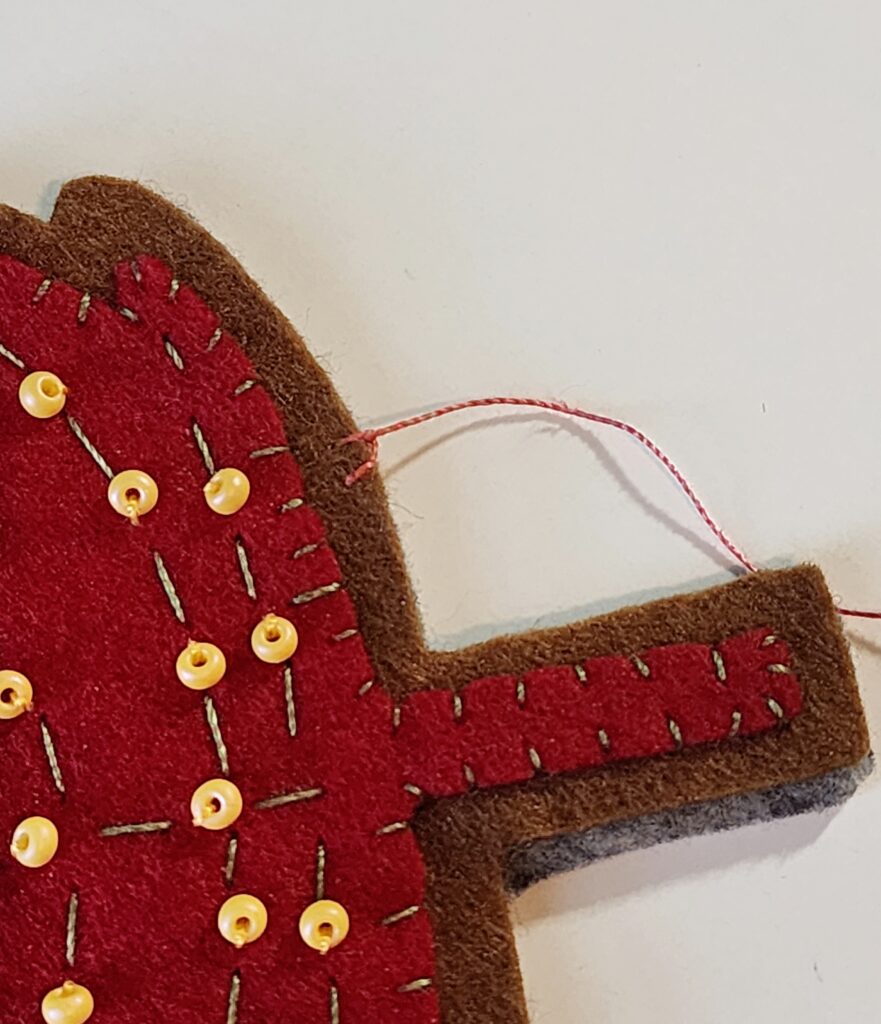
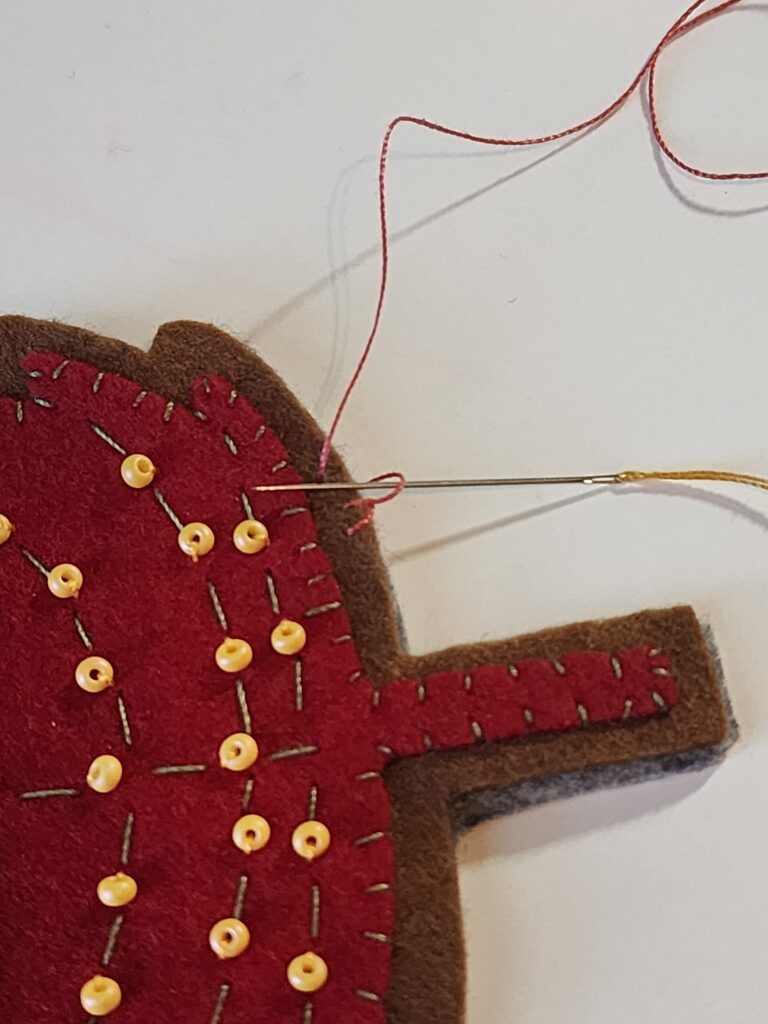
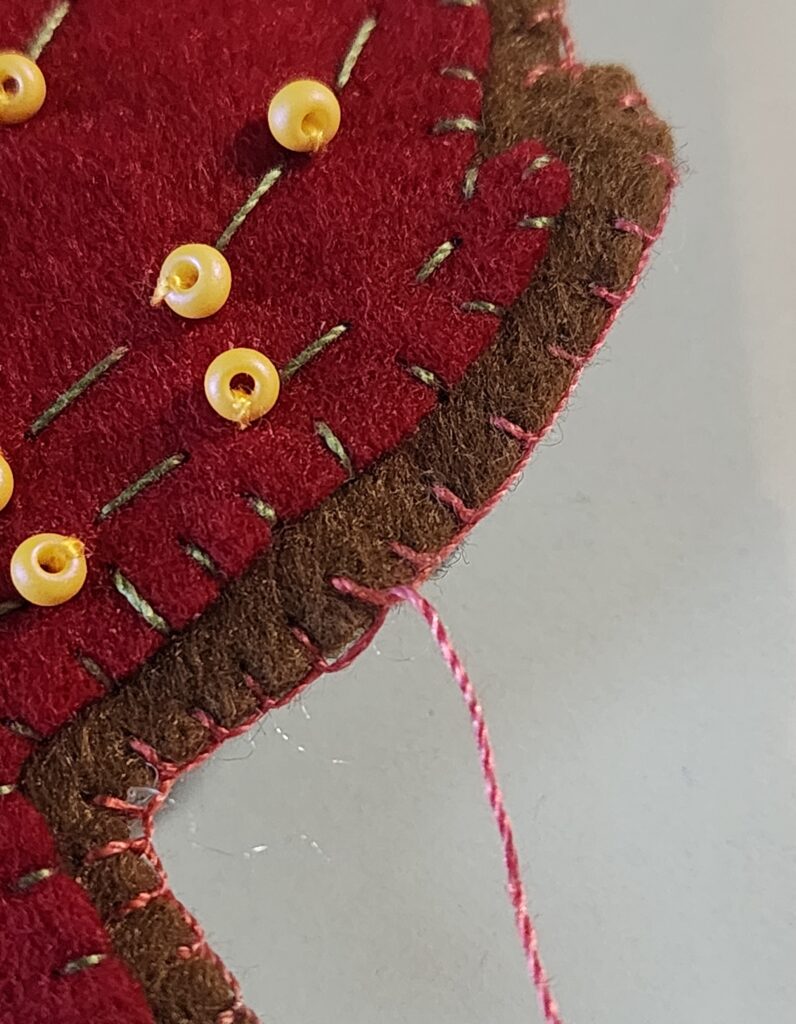
Next, pull the thread through the Felty until only a small loop of thread remains. Then, pass the needle through the loop of thread.
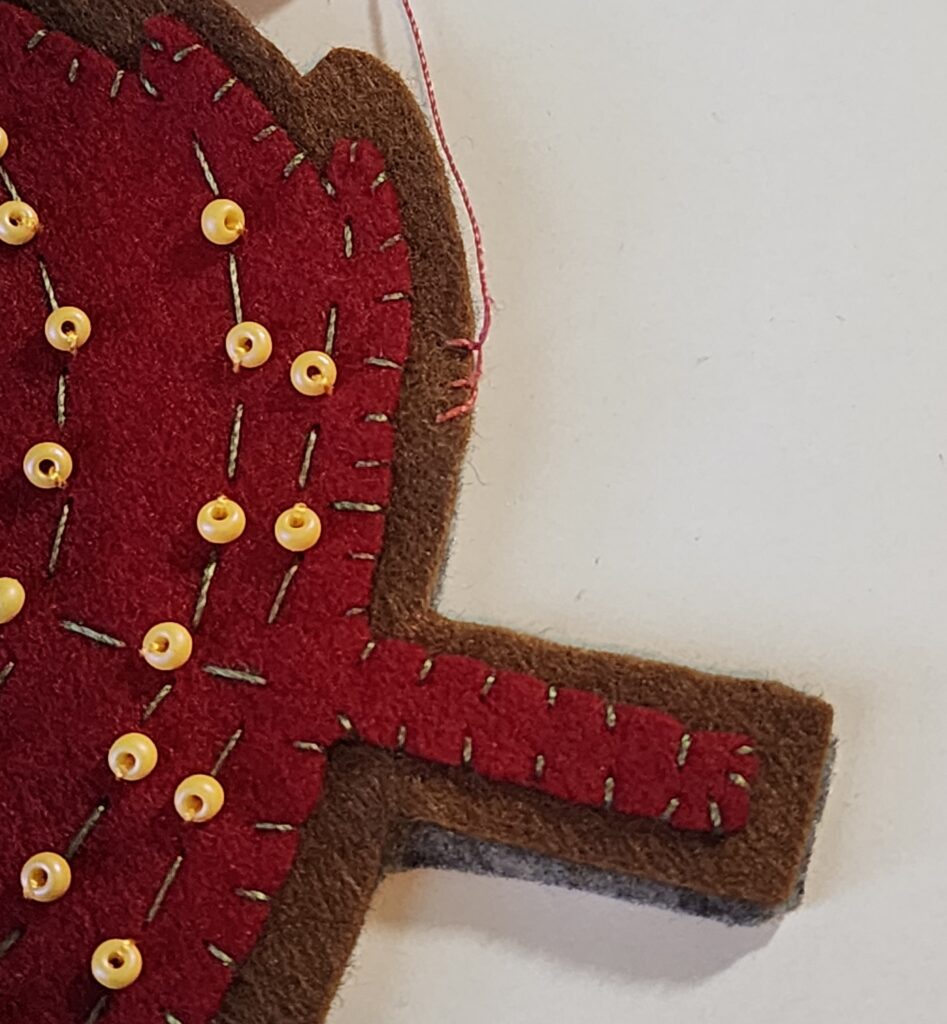
Next, pull the thread tight to form a blanket stitch along the edge.
Repeat the steps above to make another stitch approximately 1/8” away from the first.
Continue stitching, completing approximately ¾ of the perimeter of the fall leaf.
Felt Leaf Finishing
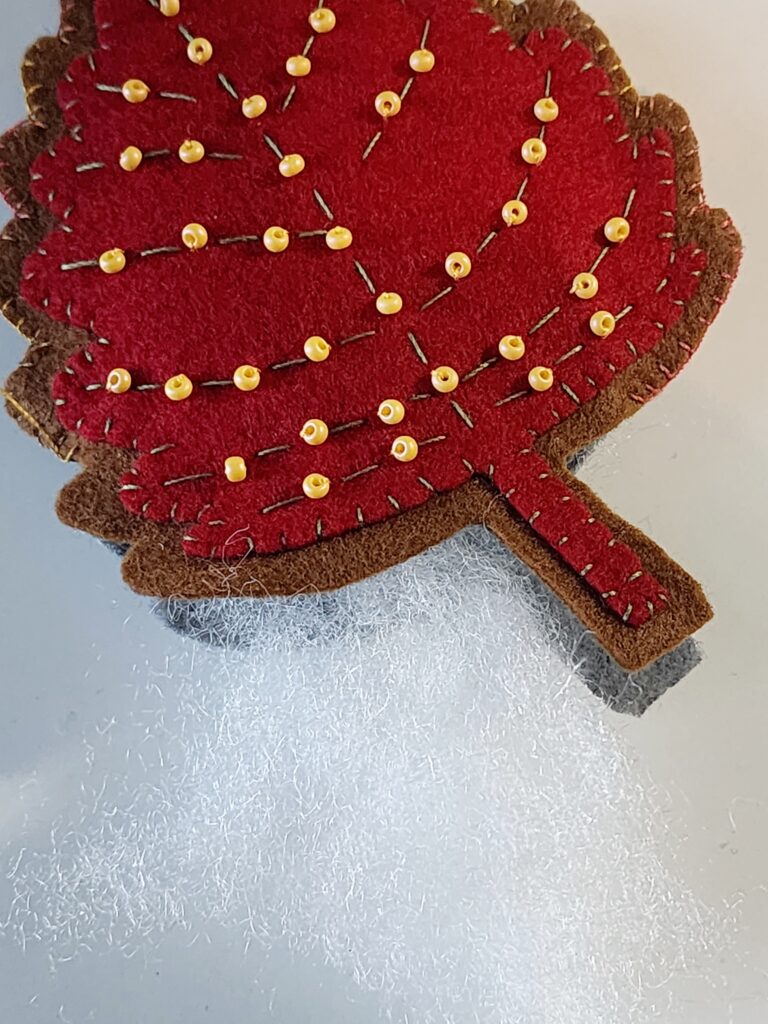
Insert a small amount of fiberfill into the leaf. Don’t overstuff the leaf, add just enough to give it some extra dimension.
Continue stitching the remainder of the leaf perimeter. At the last stitch, bring the needle and thread through the first stitch to complete that blanket stitch.
Tie a knot and trim the thread approximately ½” from the edge. Bury the thread end between the layers of Felty.
Repeat to make additional leaves in various colors.
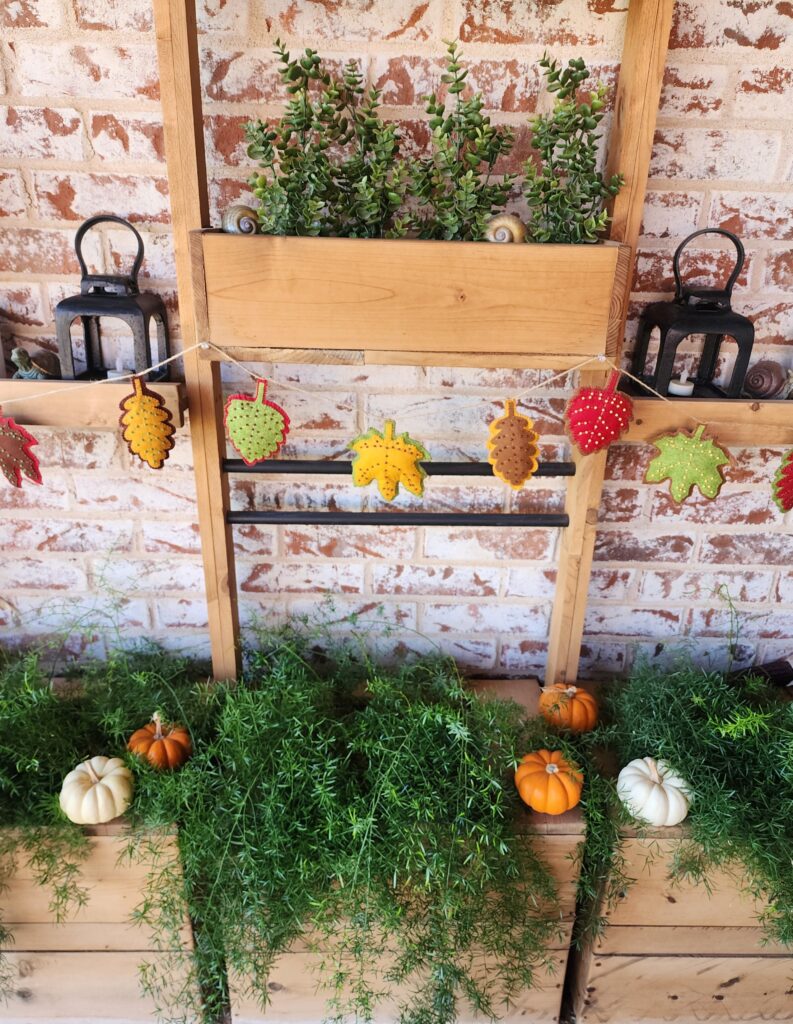
Using a hand sewing needle and thread, sew the stem ends of the leaves to a length of string, spacing the leaves a few inches apart.
Hang the fall felt leaf garland where desired.

