I
How to Create Felty Snowflake Ornaments
by Judy Briley
Felty Snowflakes are an easy and elegant way to add handmade sparkle to your holiday décor. Follow along as we stitch metallic snowflake designs on Sulky Felty, layer contrasting colors, and turn them into dimensional ornaments perfect for Christmas, Hanukkah and beyond into the winter season. These ornaments are great to make with kids, who may need something to
Felty Snowflake Supplies
- Sulky Christmas Palette for Machine Embroidery (includes 20 designs including snowflakes & 10 spools of assorted Sulky Threads)
- 60 wt. Bobbin Thread
- Sulky Tear-Easy Stabilizer
- Perfect Appliqué Fusible Web
- Felty (at least two coordinating colors)
- KK 2000 Temporary Spray Adhesive
- Organ® Metal Needles
- Fiberfill stuffing
- Elastic cording or ribbon for hanging
Snowflakes – Embroidery
Determine the desired snowflake embroidery design(s) for the project. The Machine Embroidery Palette listed above contains six different snowflake designs to choose from.
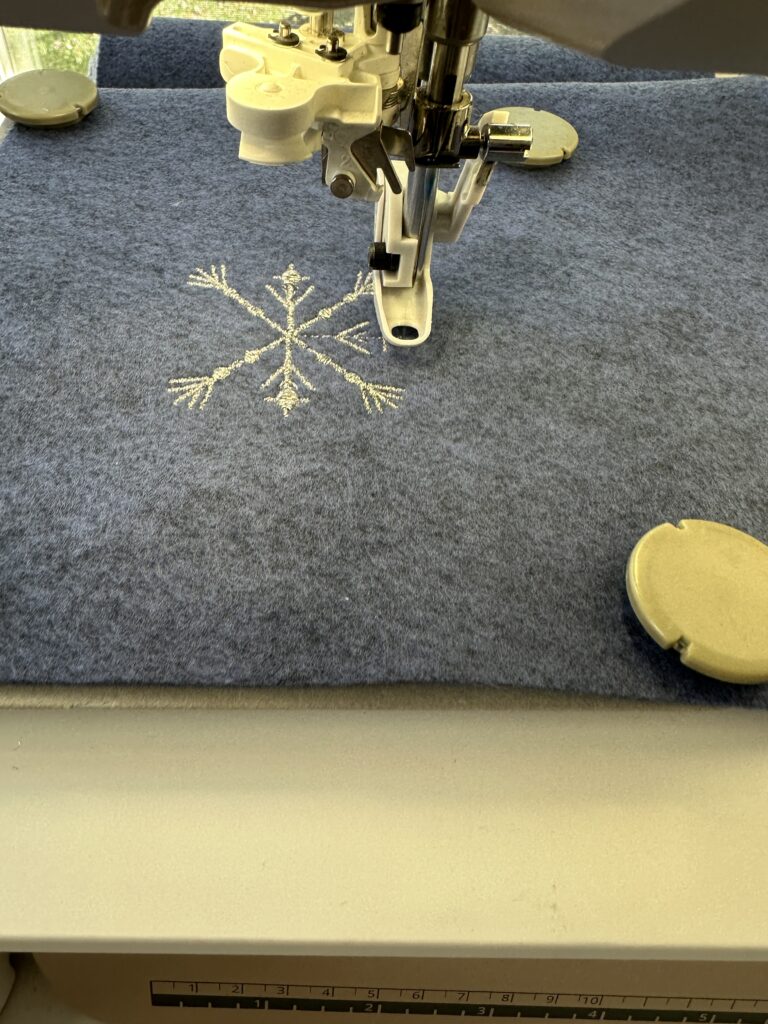
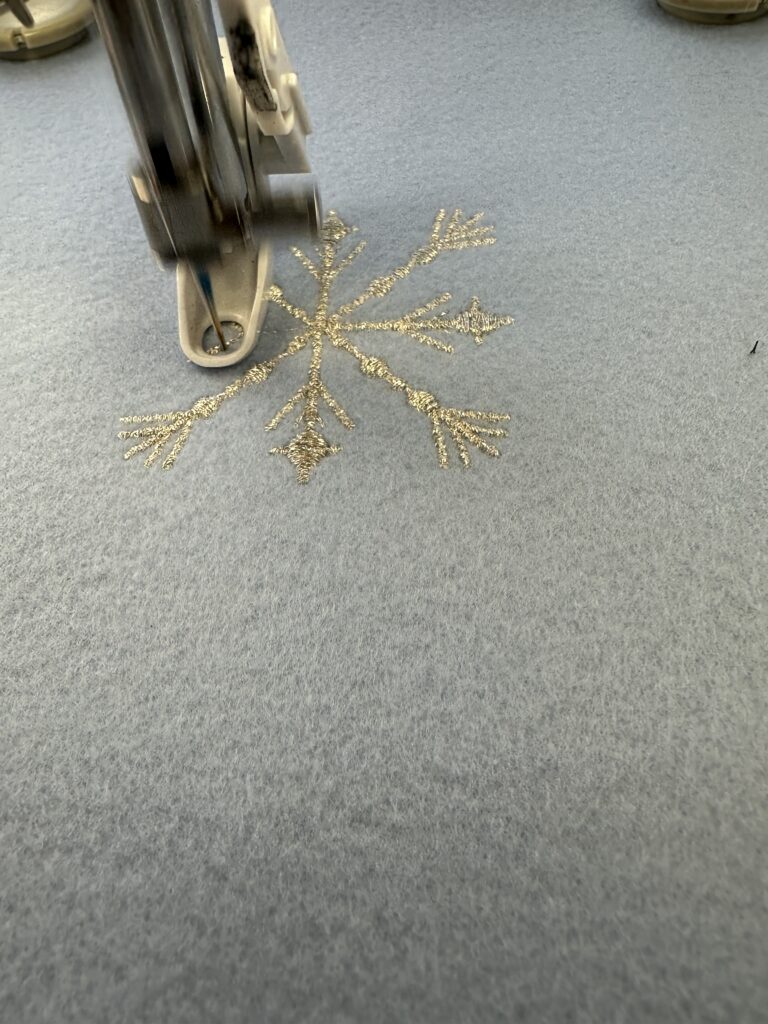
Embroider the chosen snowflake design onto two different colors of Sulky Felty. First, hoop a piece of Sulky Tear-Easy, and then adhere the Felty to the stabilizer using Sulky KK 2000 Temporary Spray Adhesive. Then, embroider the design.
For added contrast and sparkle, stitch some snowflakes using Sulky Metallic Thread and some with Sulky Sliver™. Use Sulky 60 wt. Bobbin Thread in the bobbin. Make sure to slow the machine speed as low as possible and use a Metal or Metallic Needle to reduce heat/friction during the stitchout.
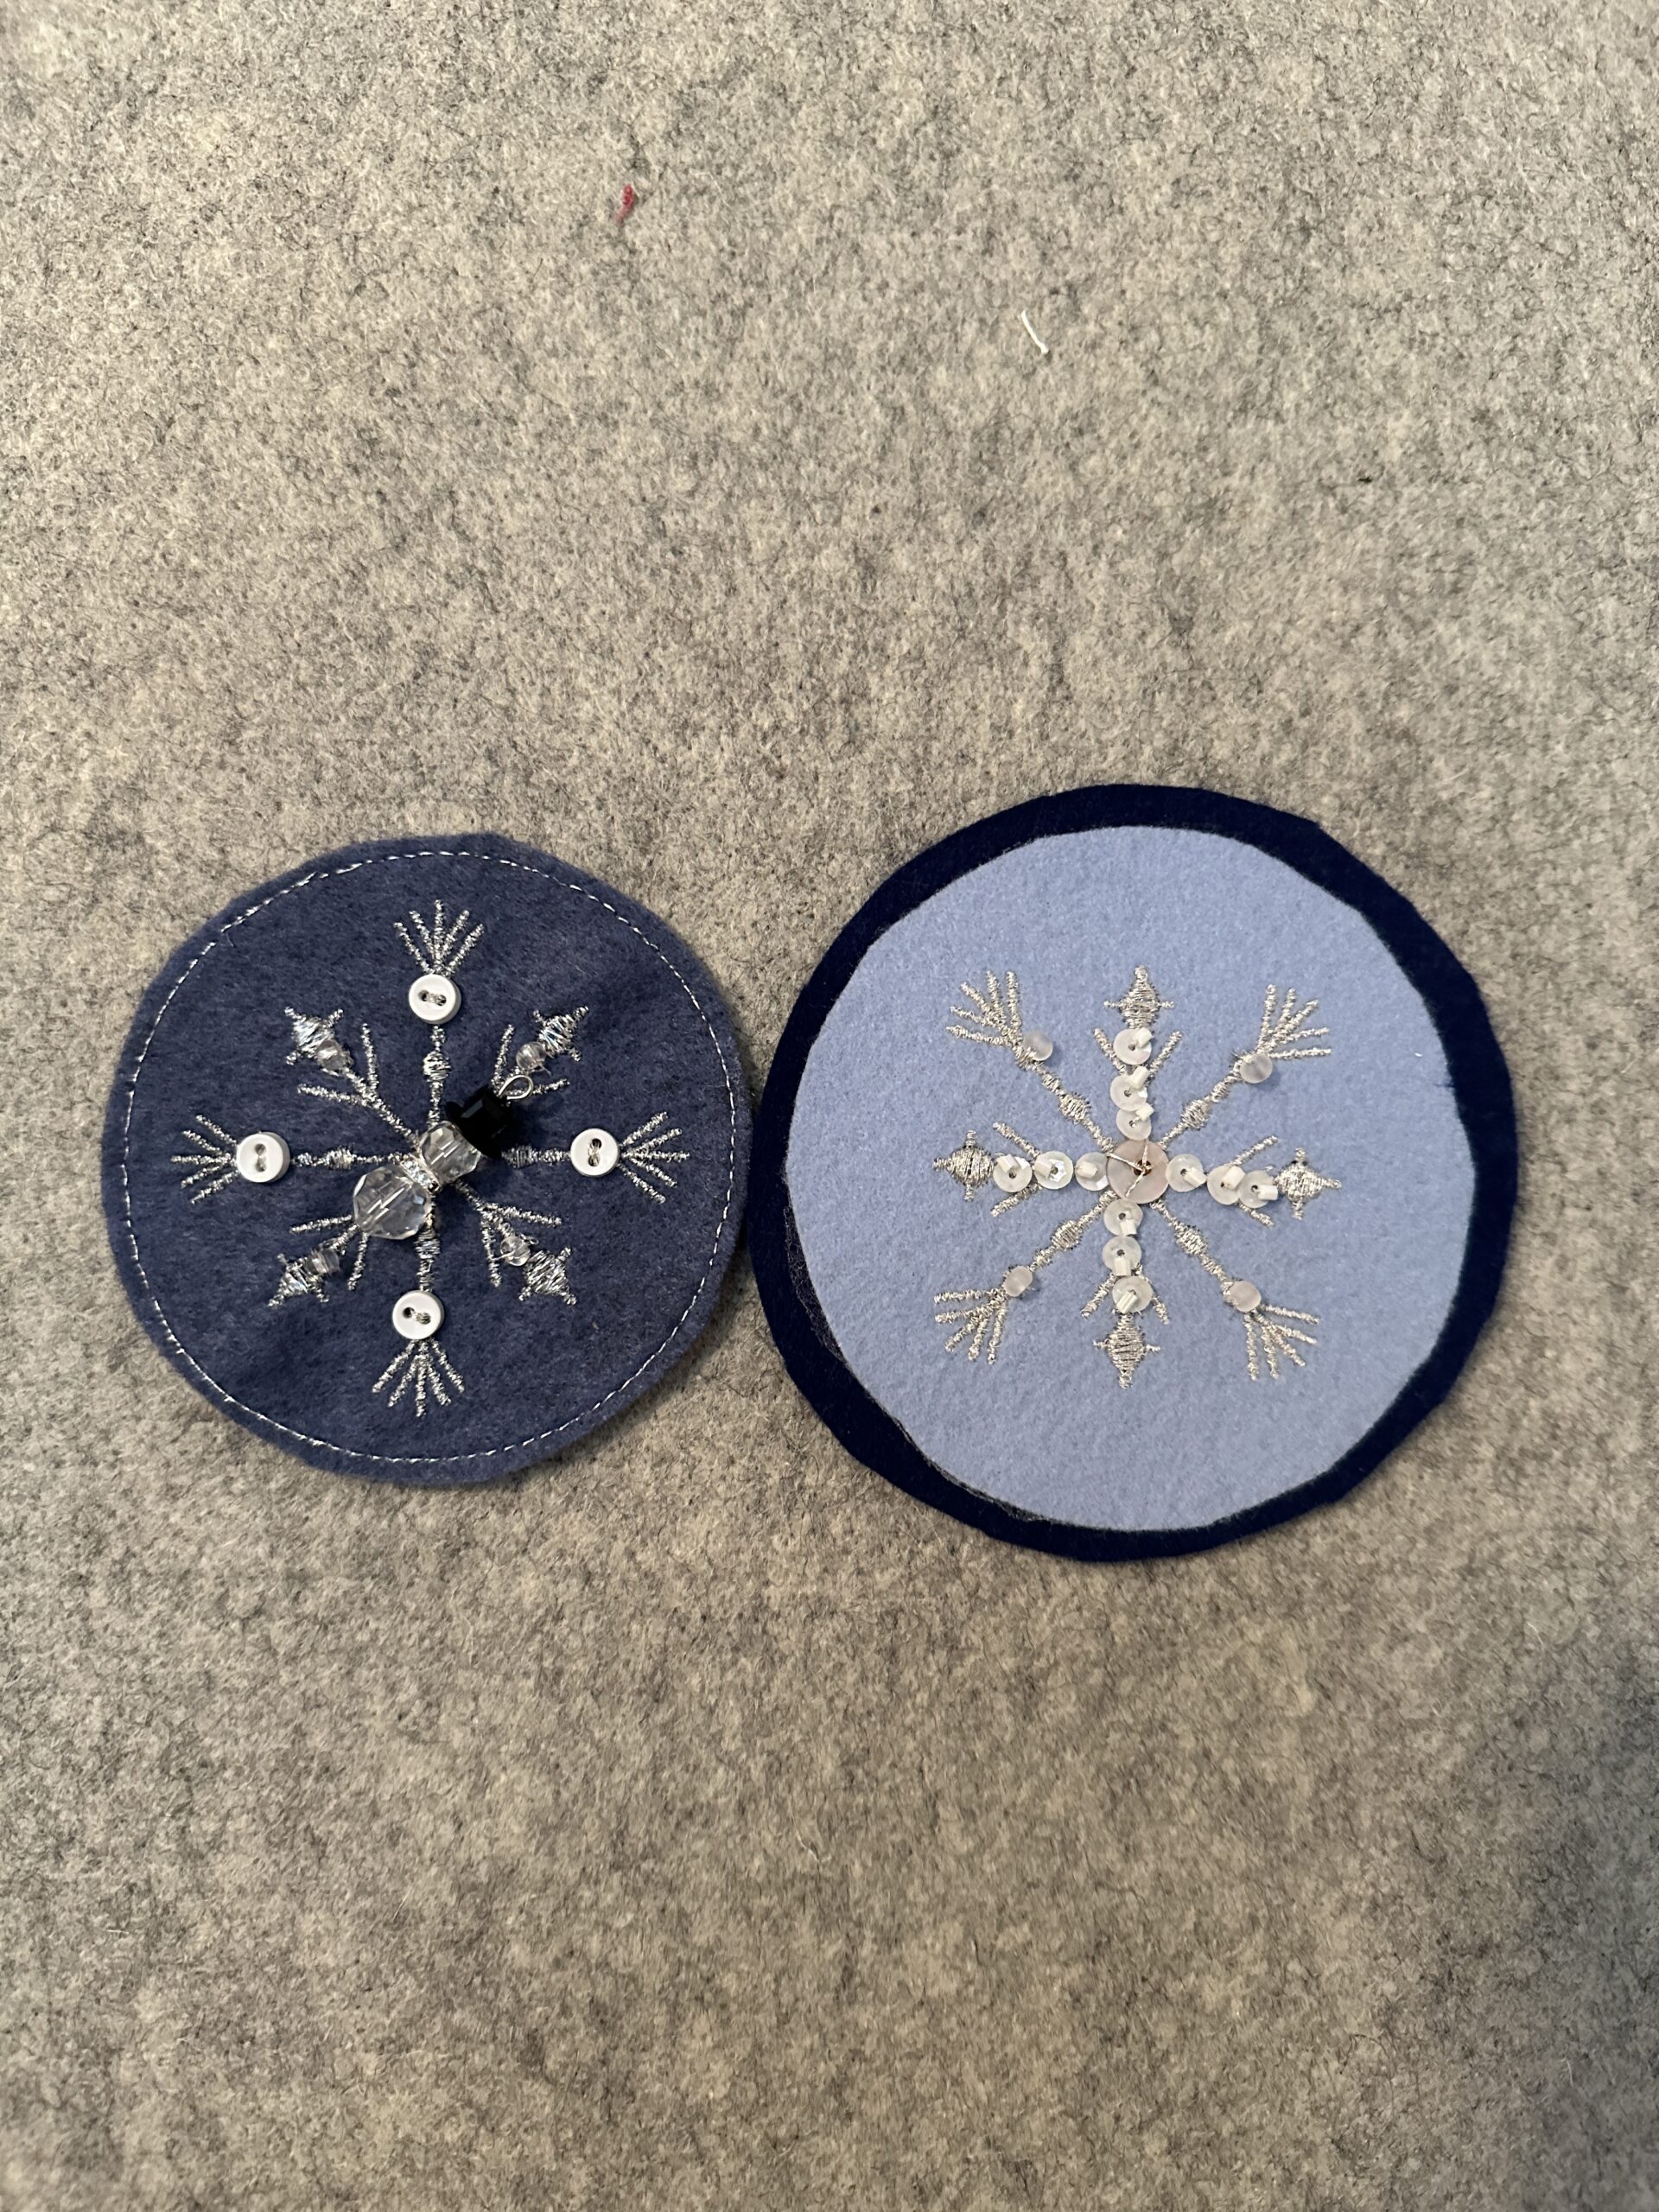
Mark & Cut Base Snowflakes
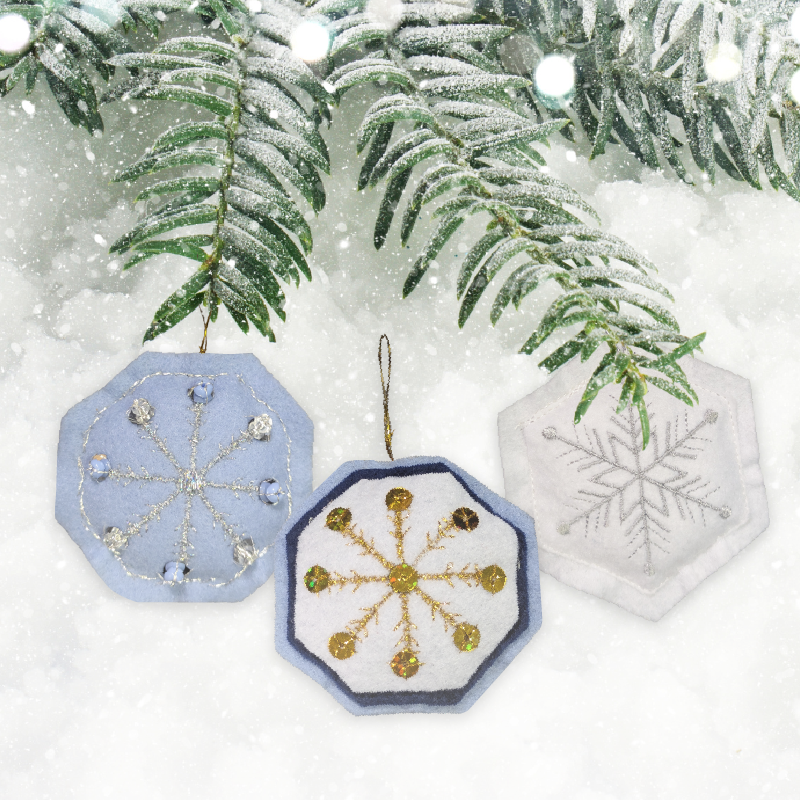
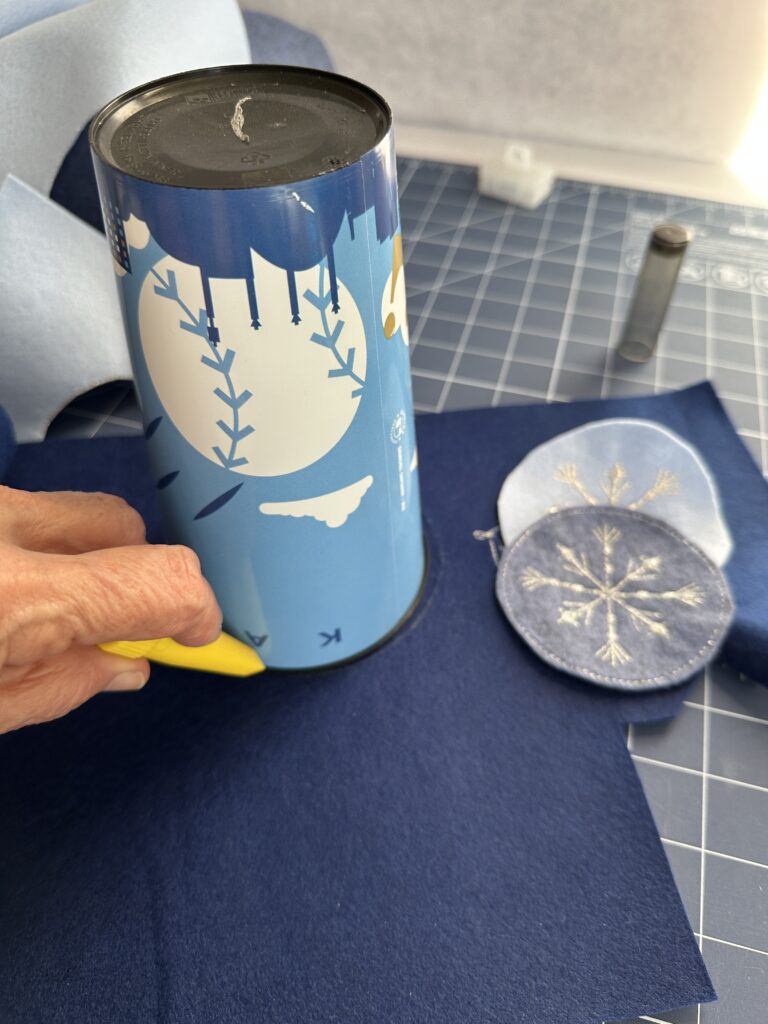
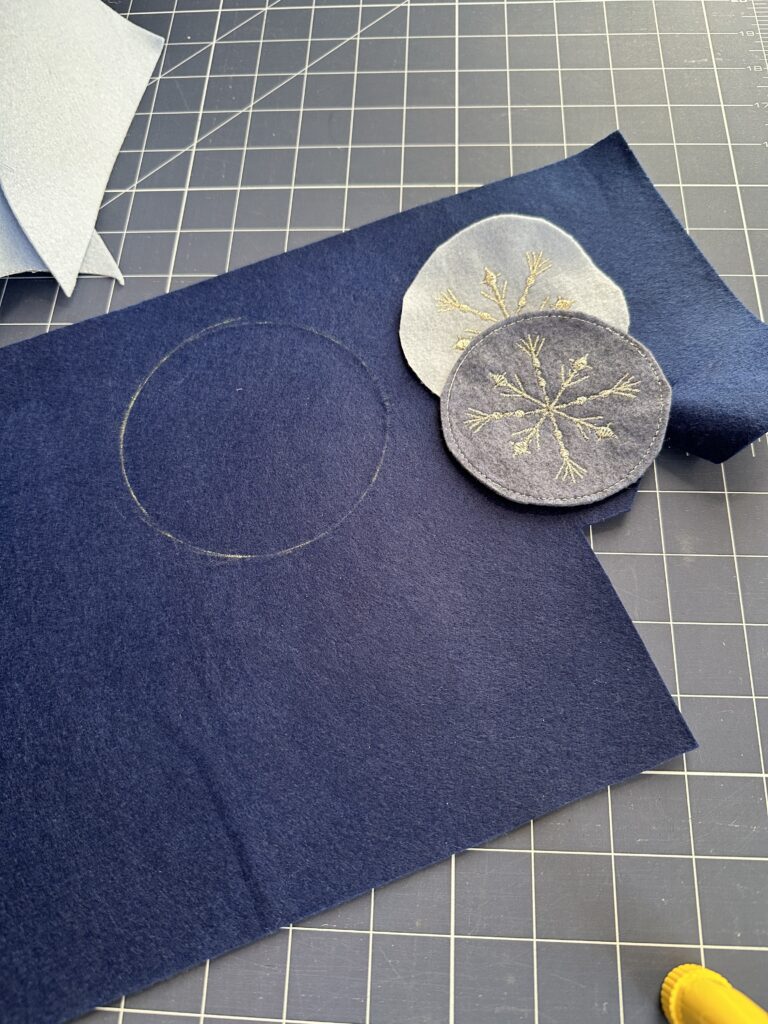
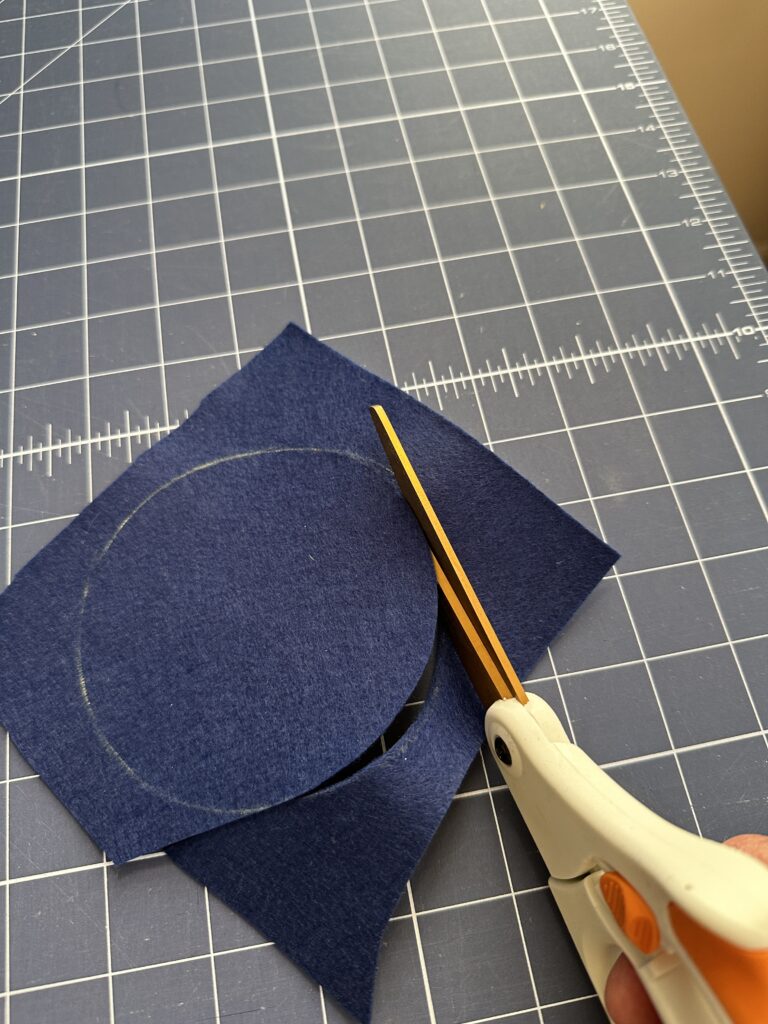
Using a circular object as a guide, trace and cut a circle from each embroidered Felty piece. Cut an additional circle from a third color of Felty.
Vary the circle sizes slightly so the layers can be stacked, allowing different colors to peek out around the edges.
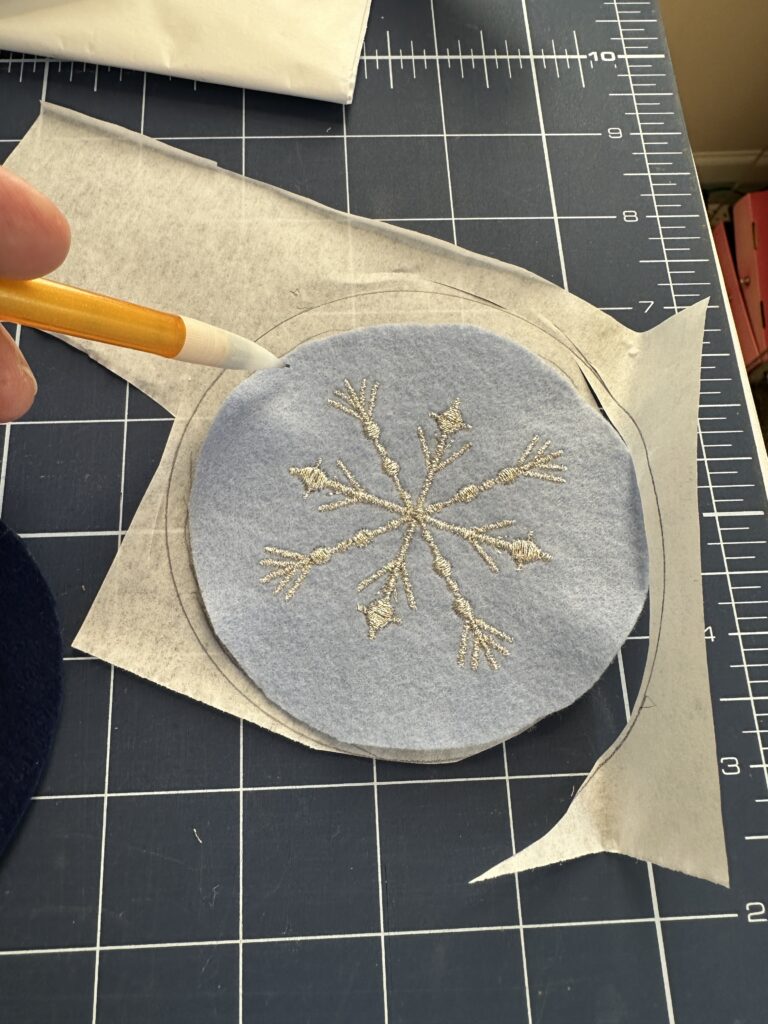
Next, trace a circle (matching one of the smaller Felty circles) onto Sulky Perfect Appliqué™, then cut it out.
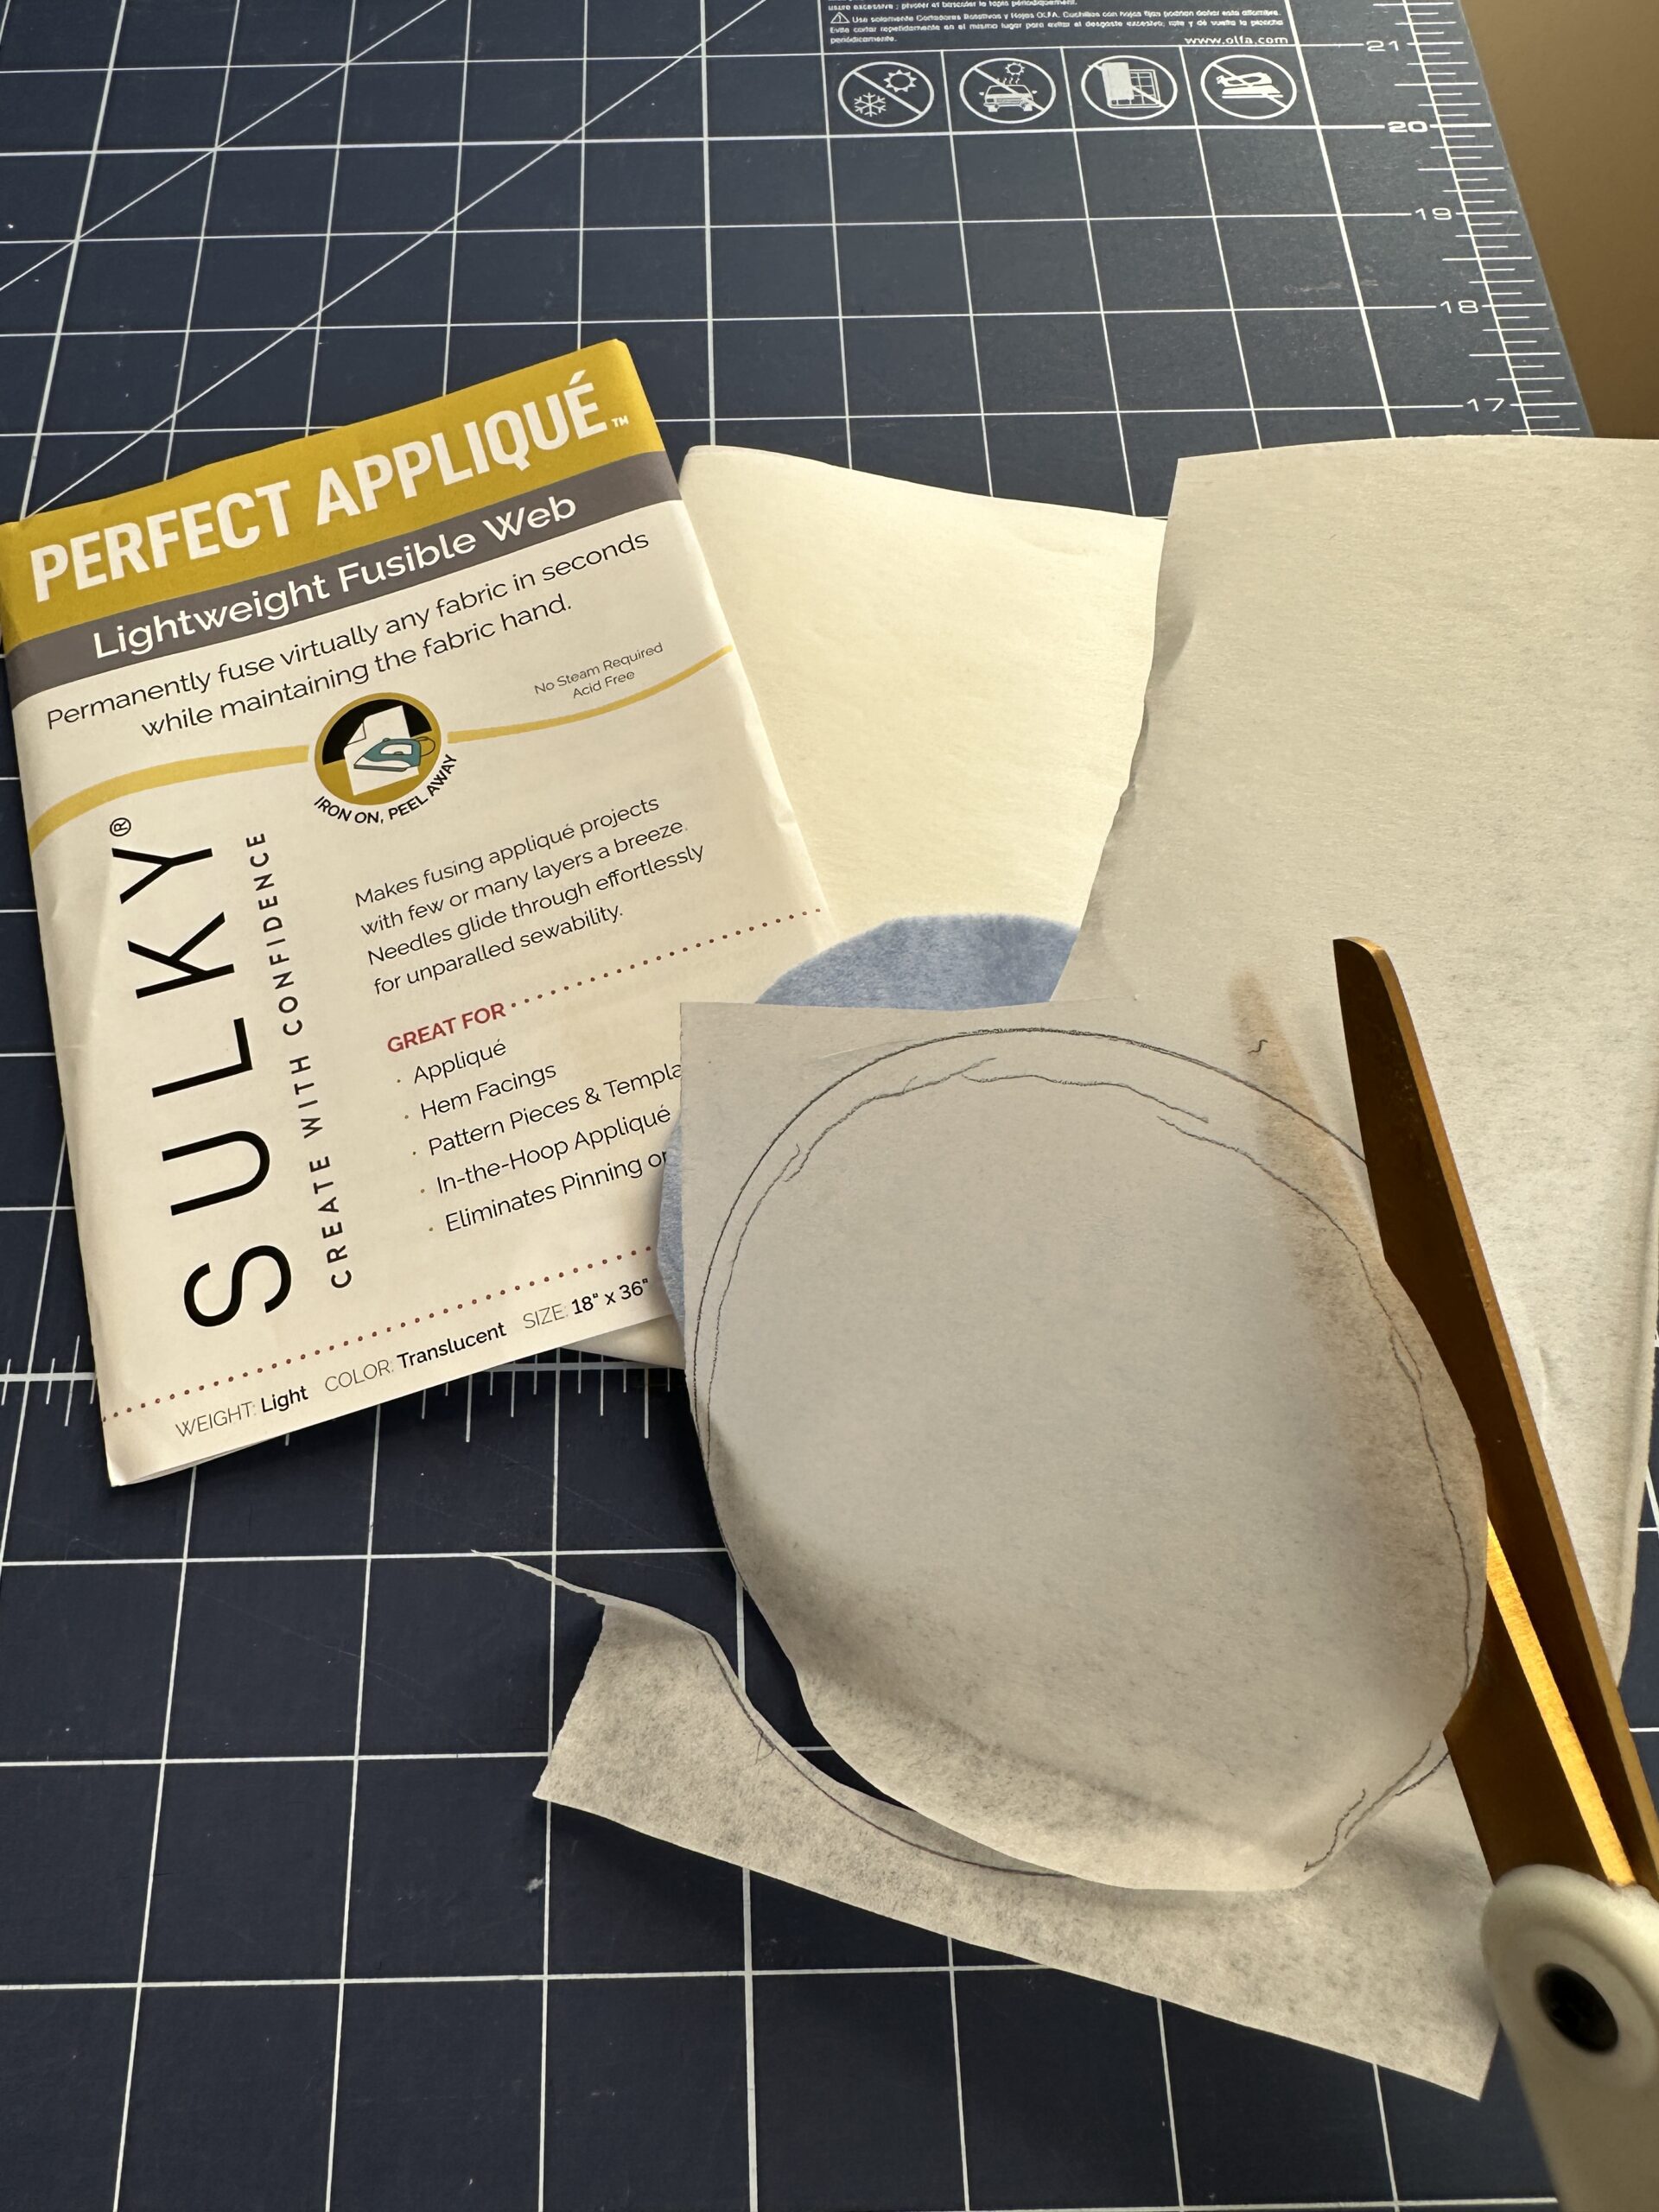
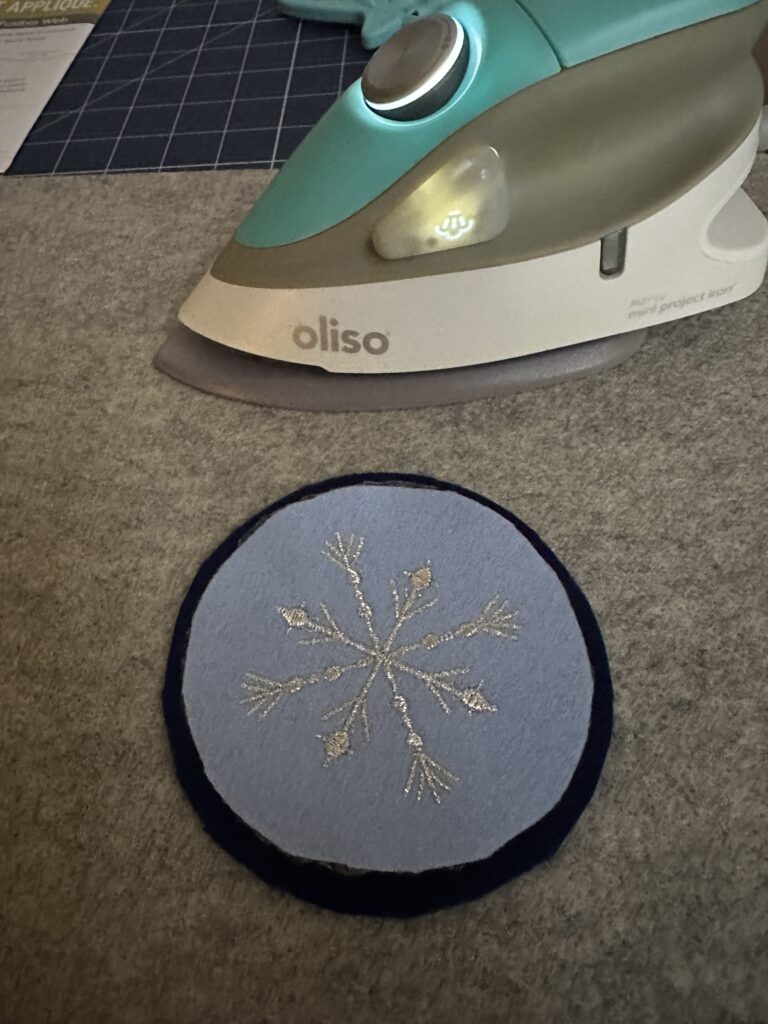
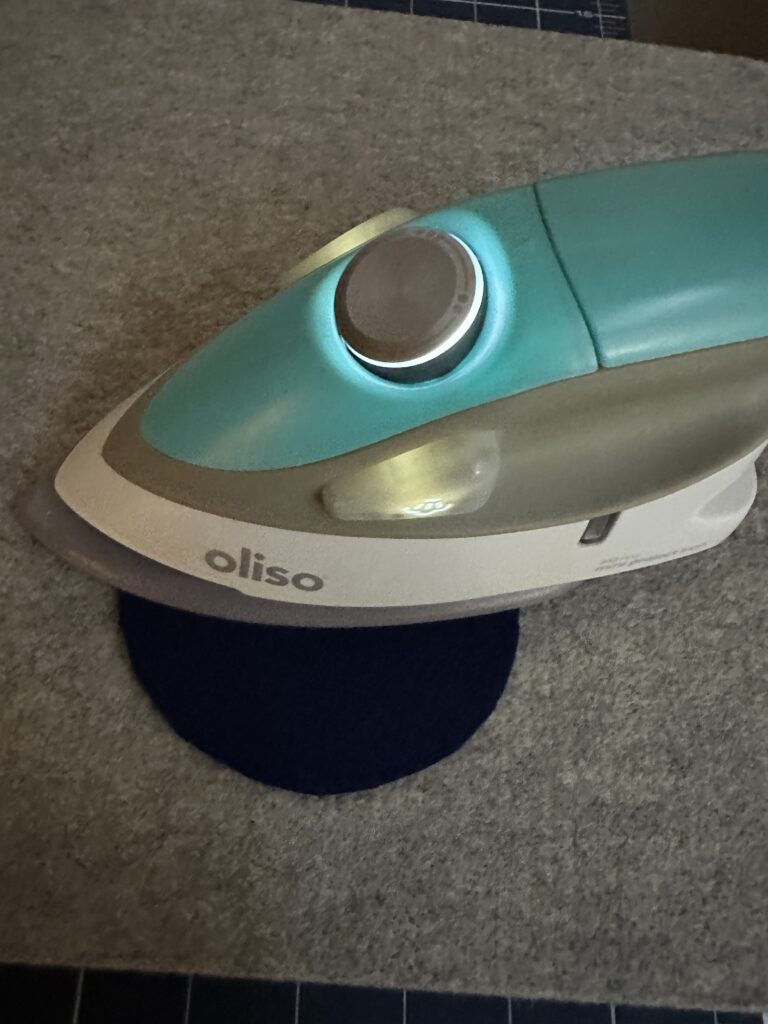
Fuse it to the back of the plain Felty circle, following the manufacturer’s instructions.
Then, place the fused Felty circle onto the back of one embroidered circle and press to adhere the layers together securely.
Add Embellishments
Select beads and sequins to embellish the ornament. To keep everything organized and visible, place each embellishment color in a separate small bowl.
Audition several layout options before stitching to find the look you like best.
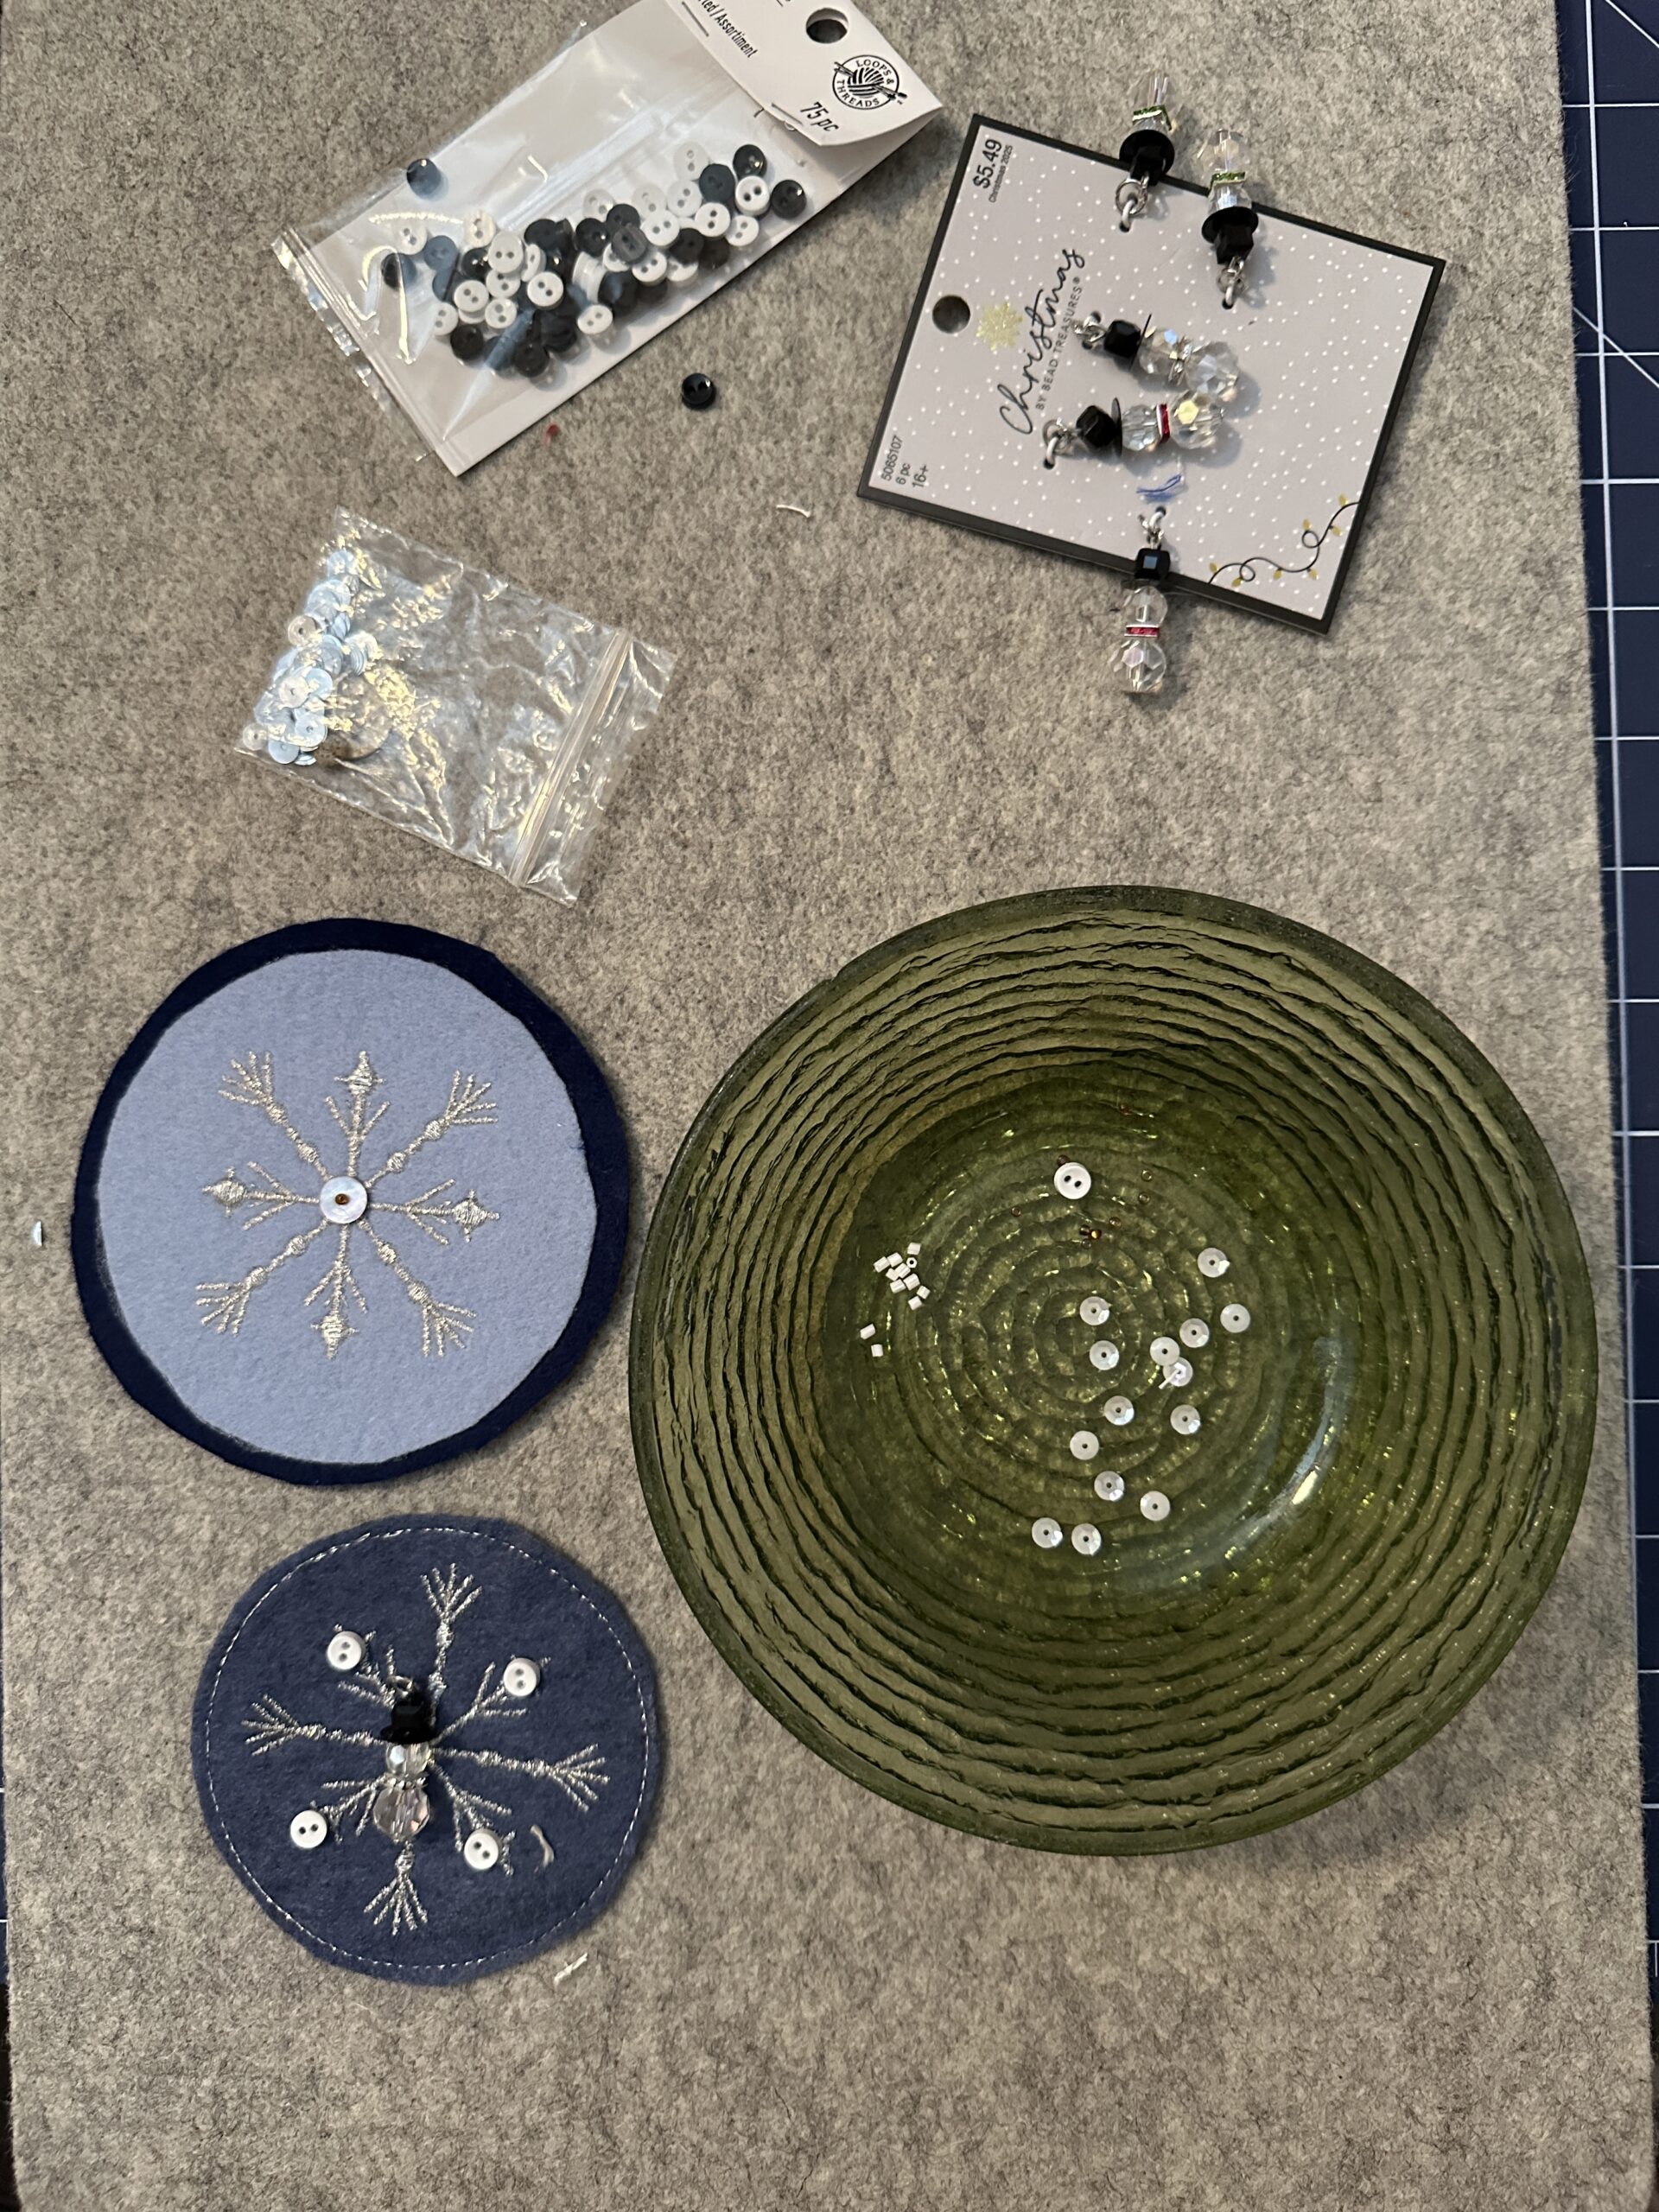
Using coordinating threads, hand-sew the embellishments in place.
Try to keep embellishments far enough from the edge so the ornament can be stitched together by machine later. If embellishments are too close to the edge, you may need to hand-sew the ornament closed—especially on smaller pieces.
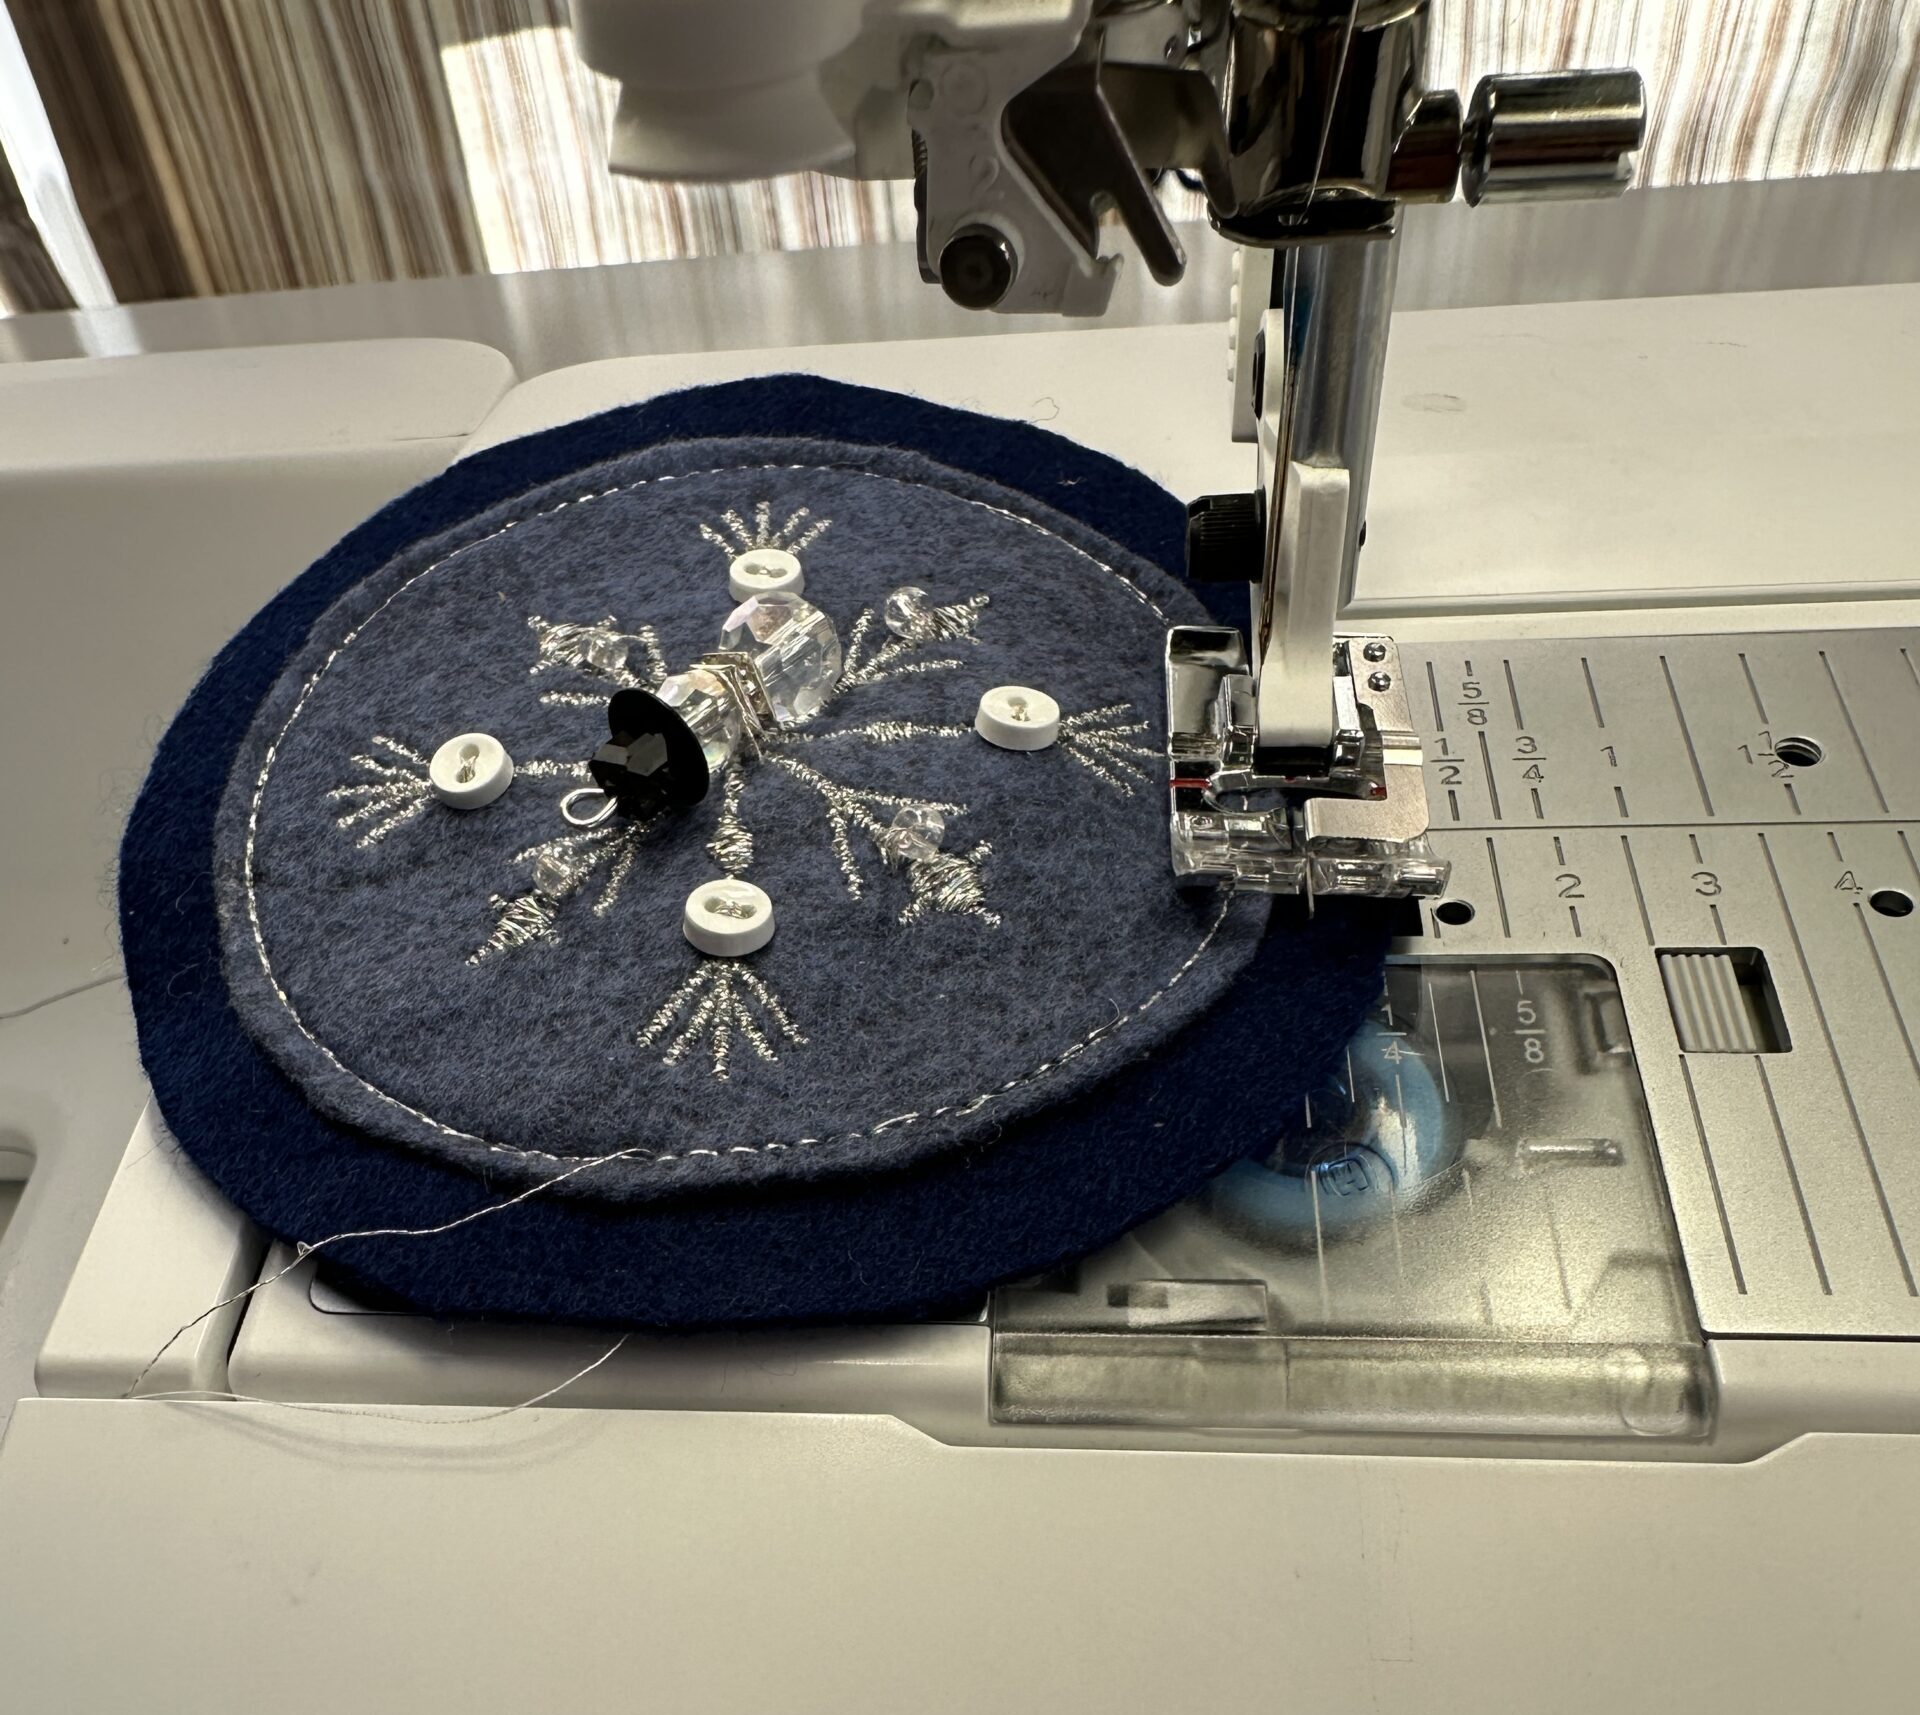
Snowflake Ornament Assembly
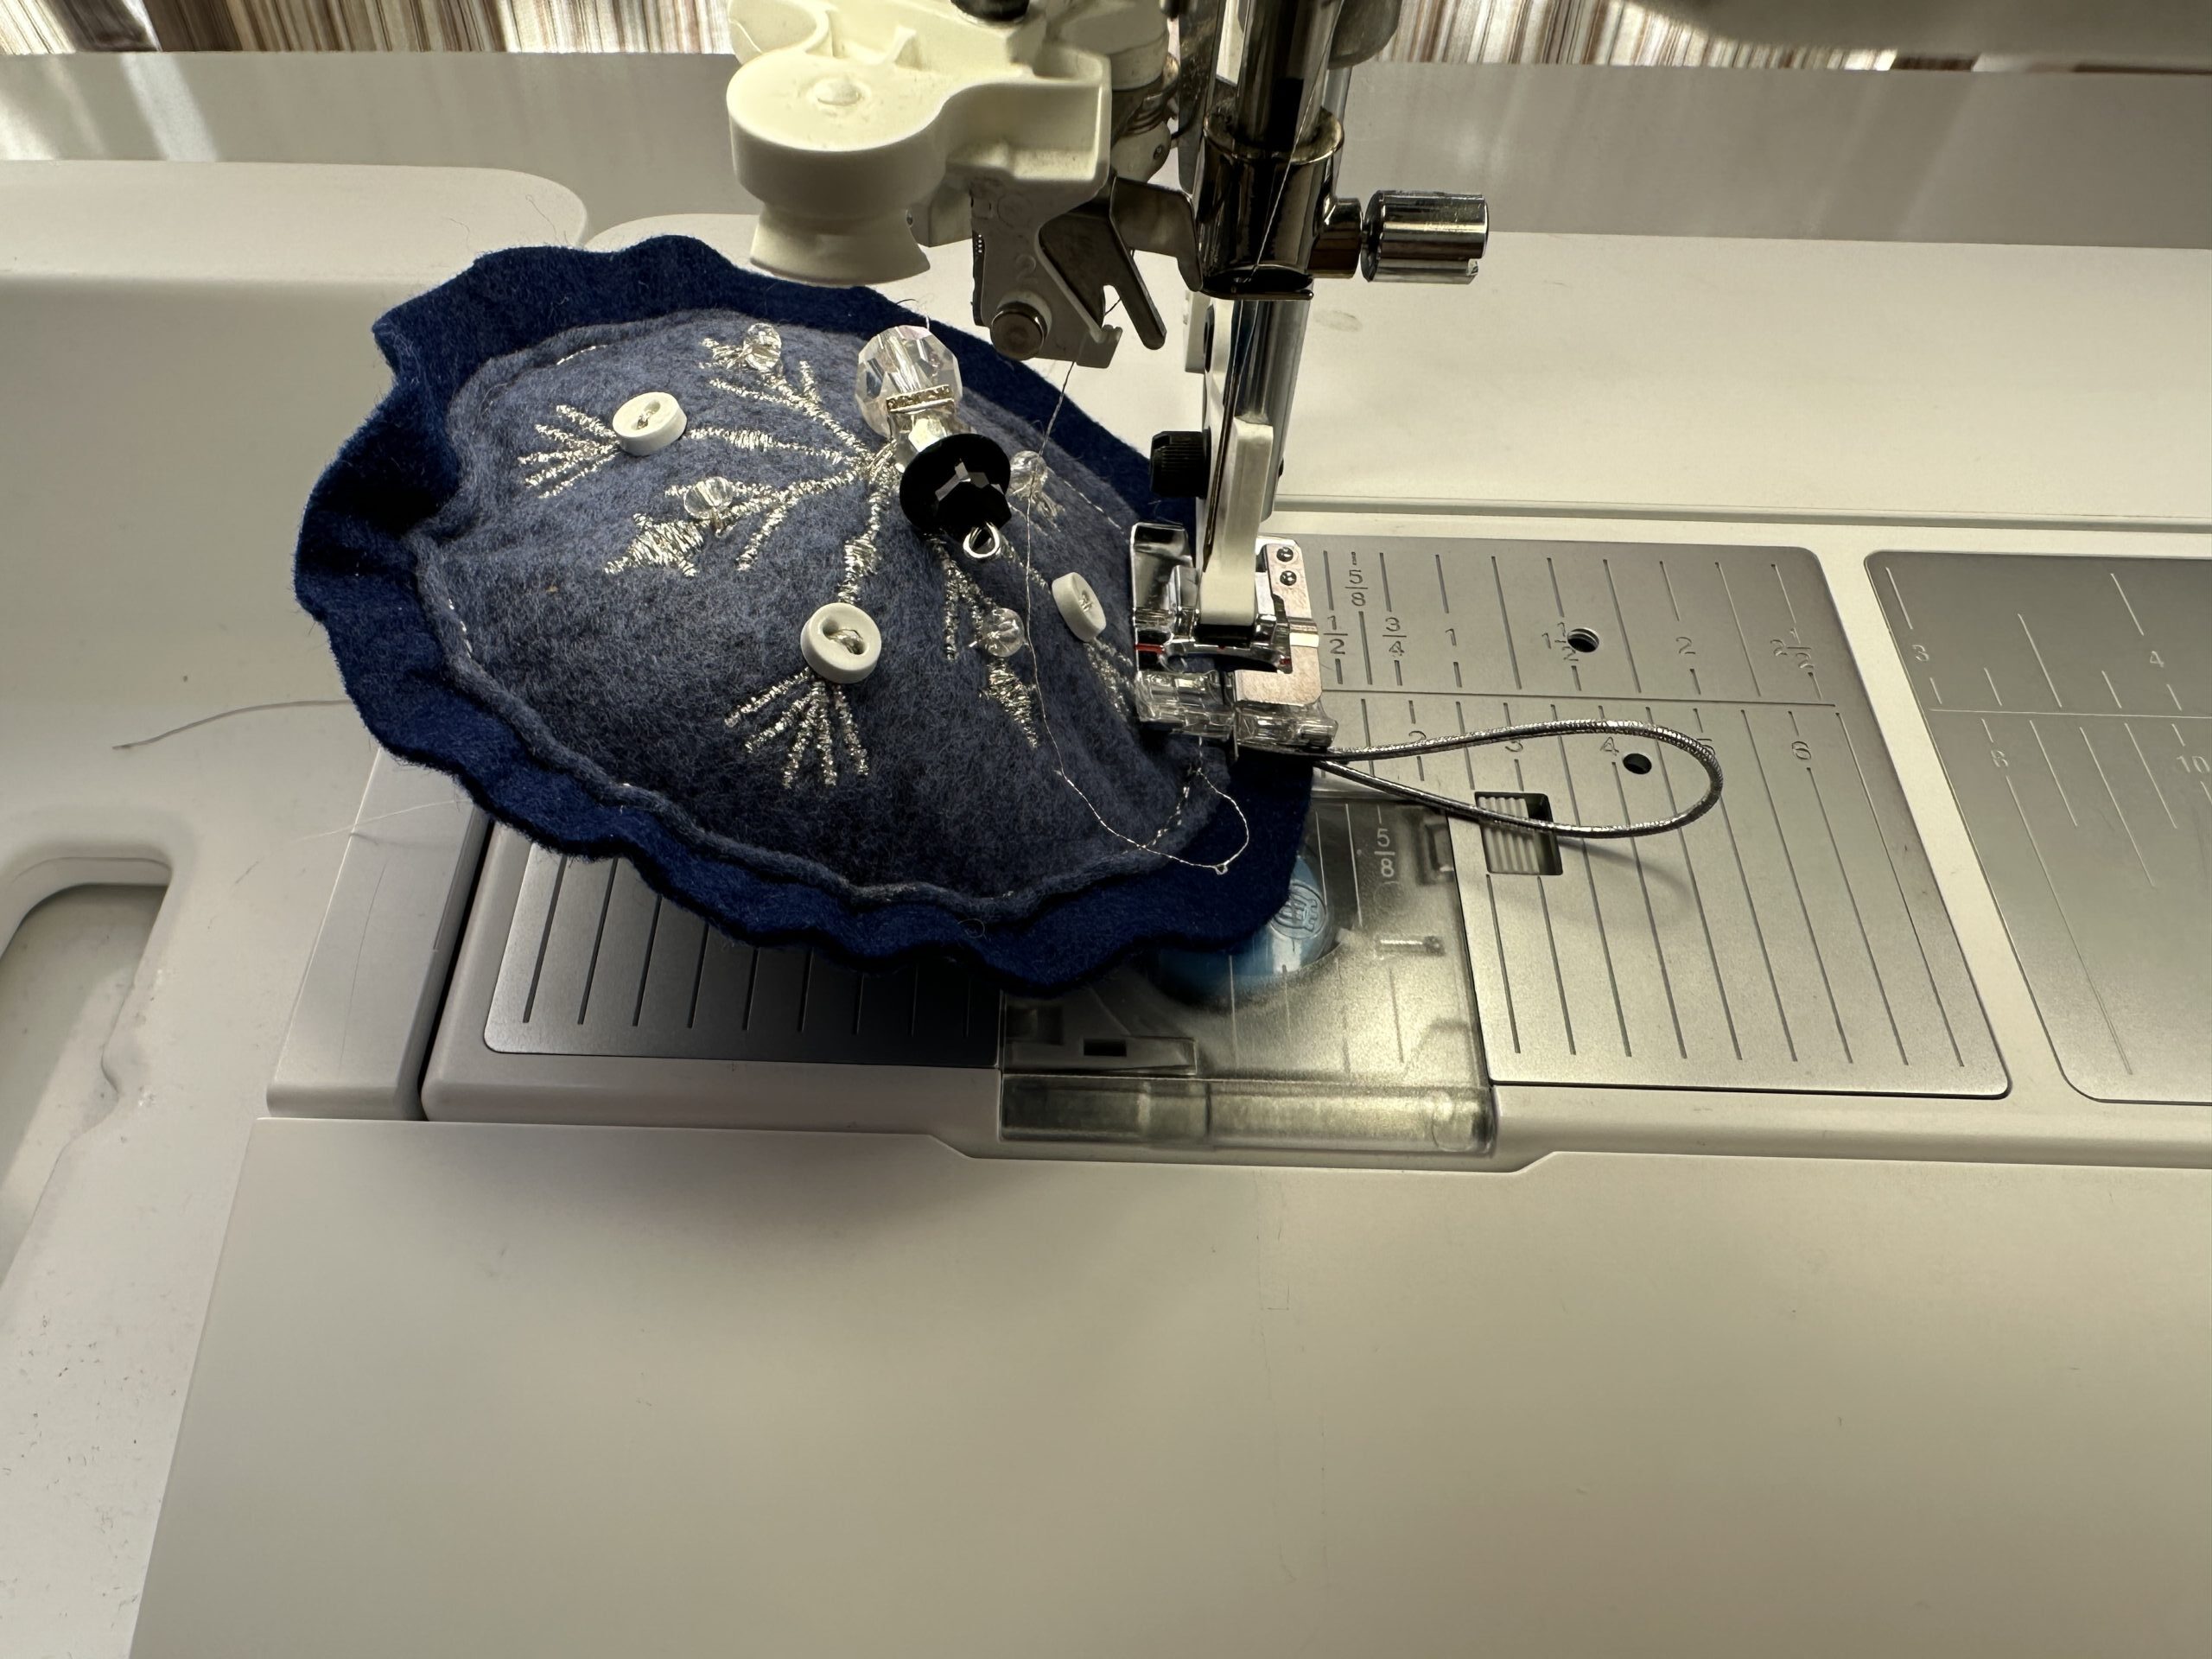
To assemble the ornament, place the ornament layers wrong sides together and stitch the perimeter, either by machine or by hand, leaving a small opening for stuffing.
To form the hanger, knot the ends of a length of elastic cording or ribbon. This prevents the hanger from pulling free after the ornament is finished.
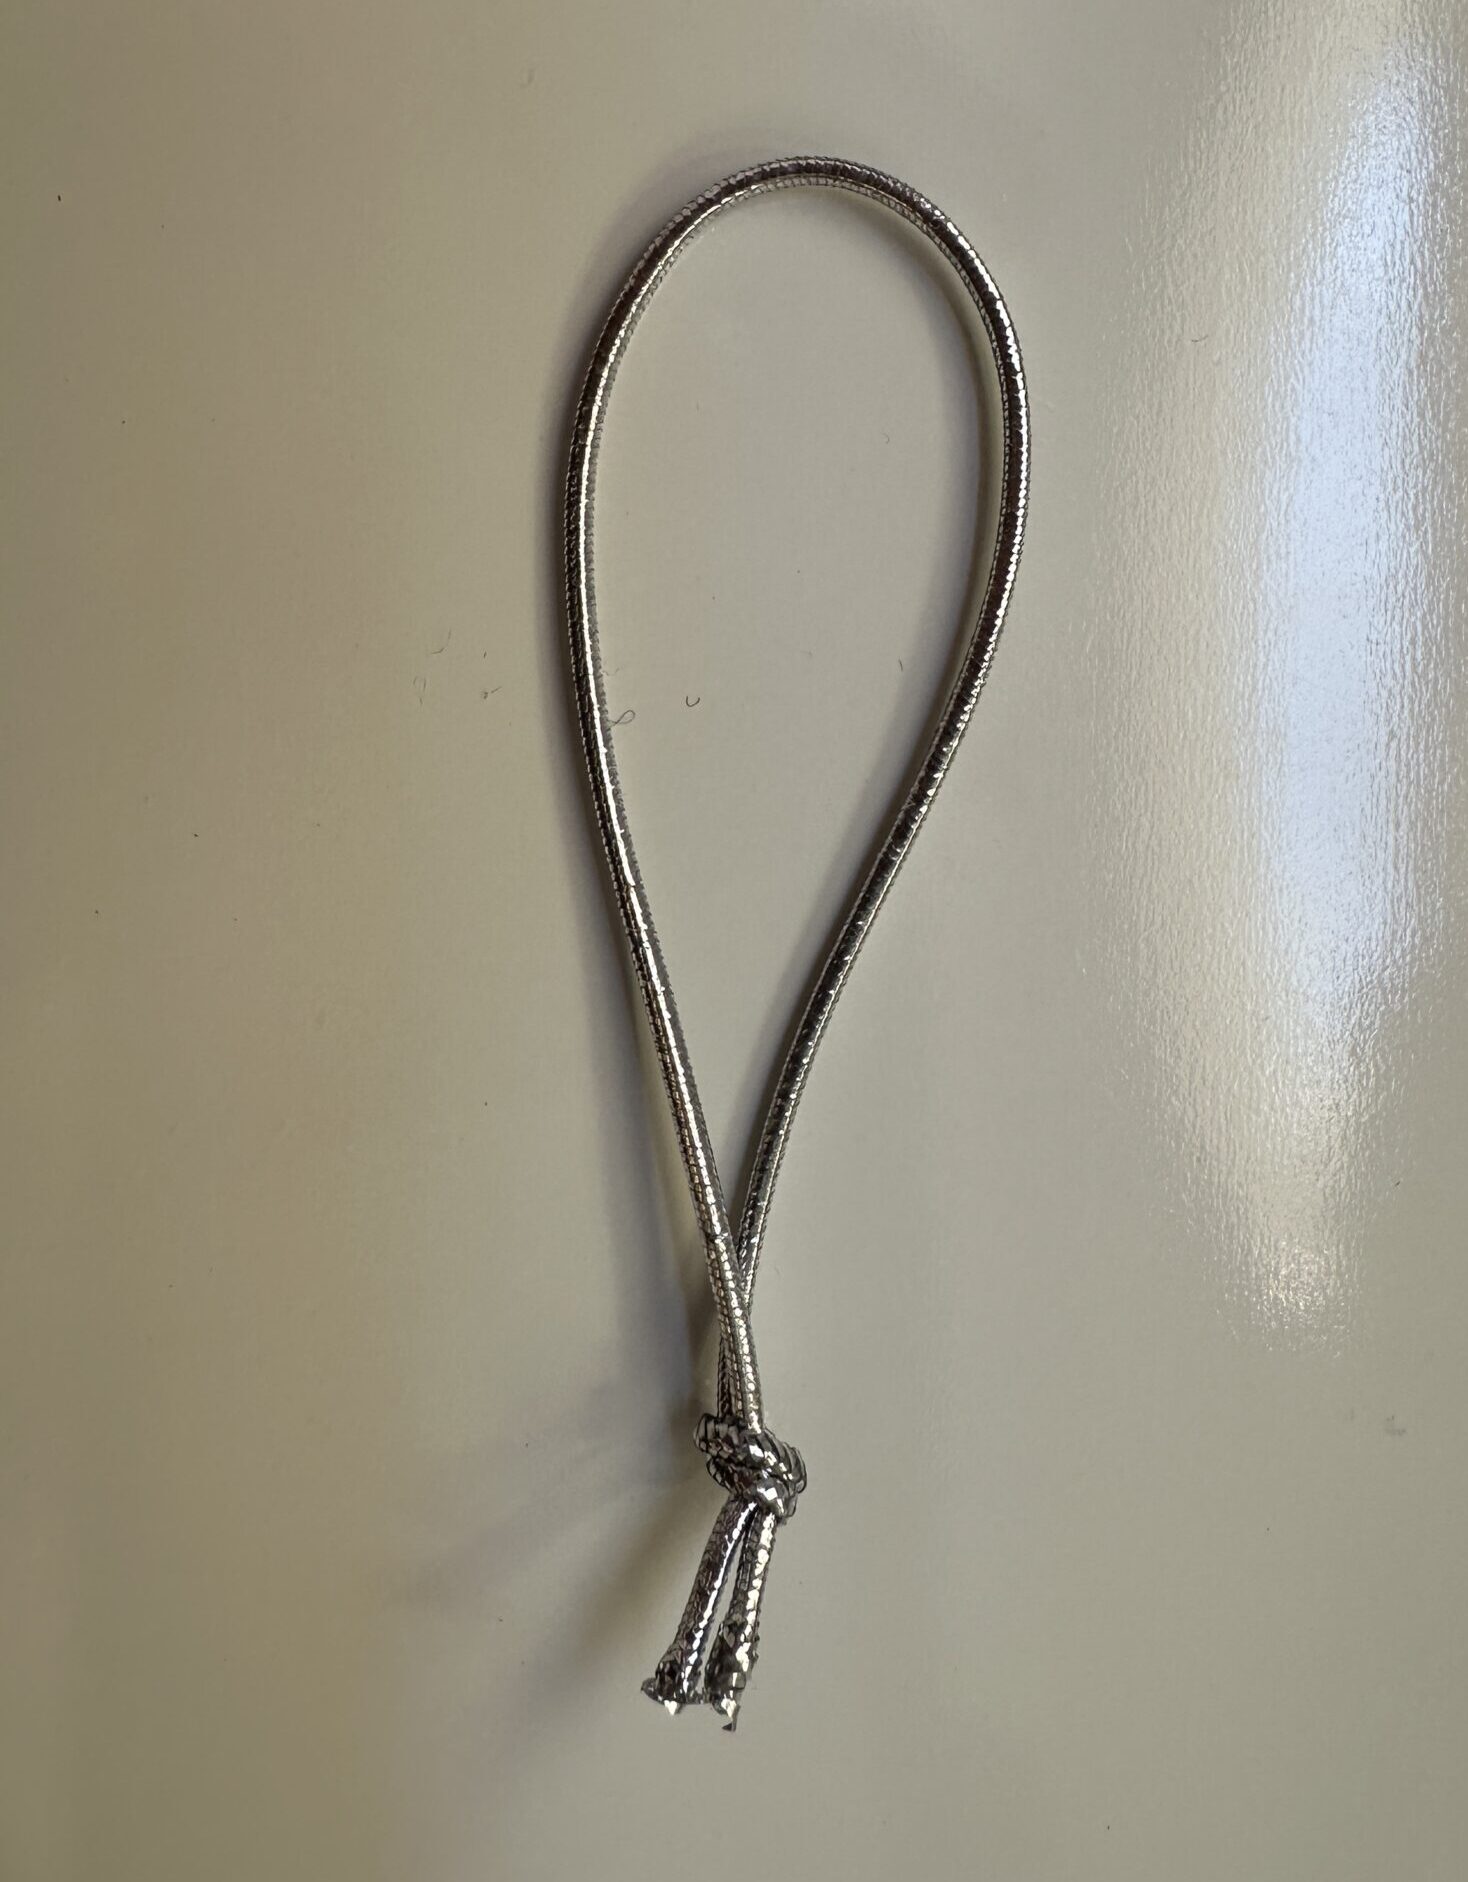
Insert the knotted end inside the ornament through the opening, positioning it at the top.
Lightly stuff the ornament.
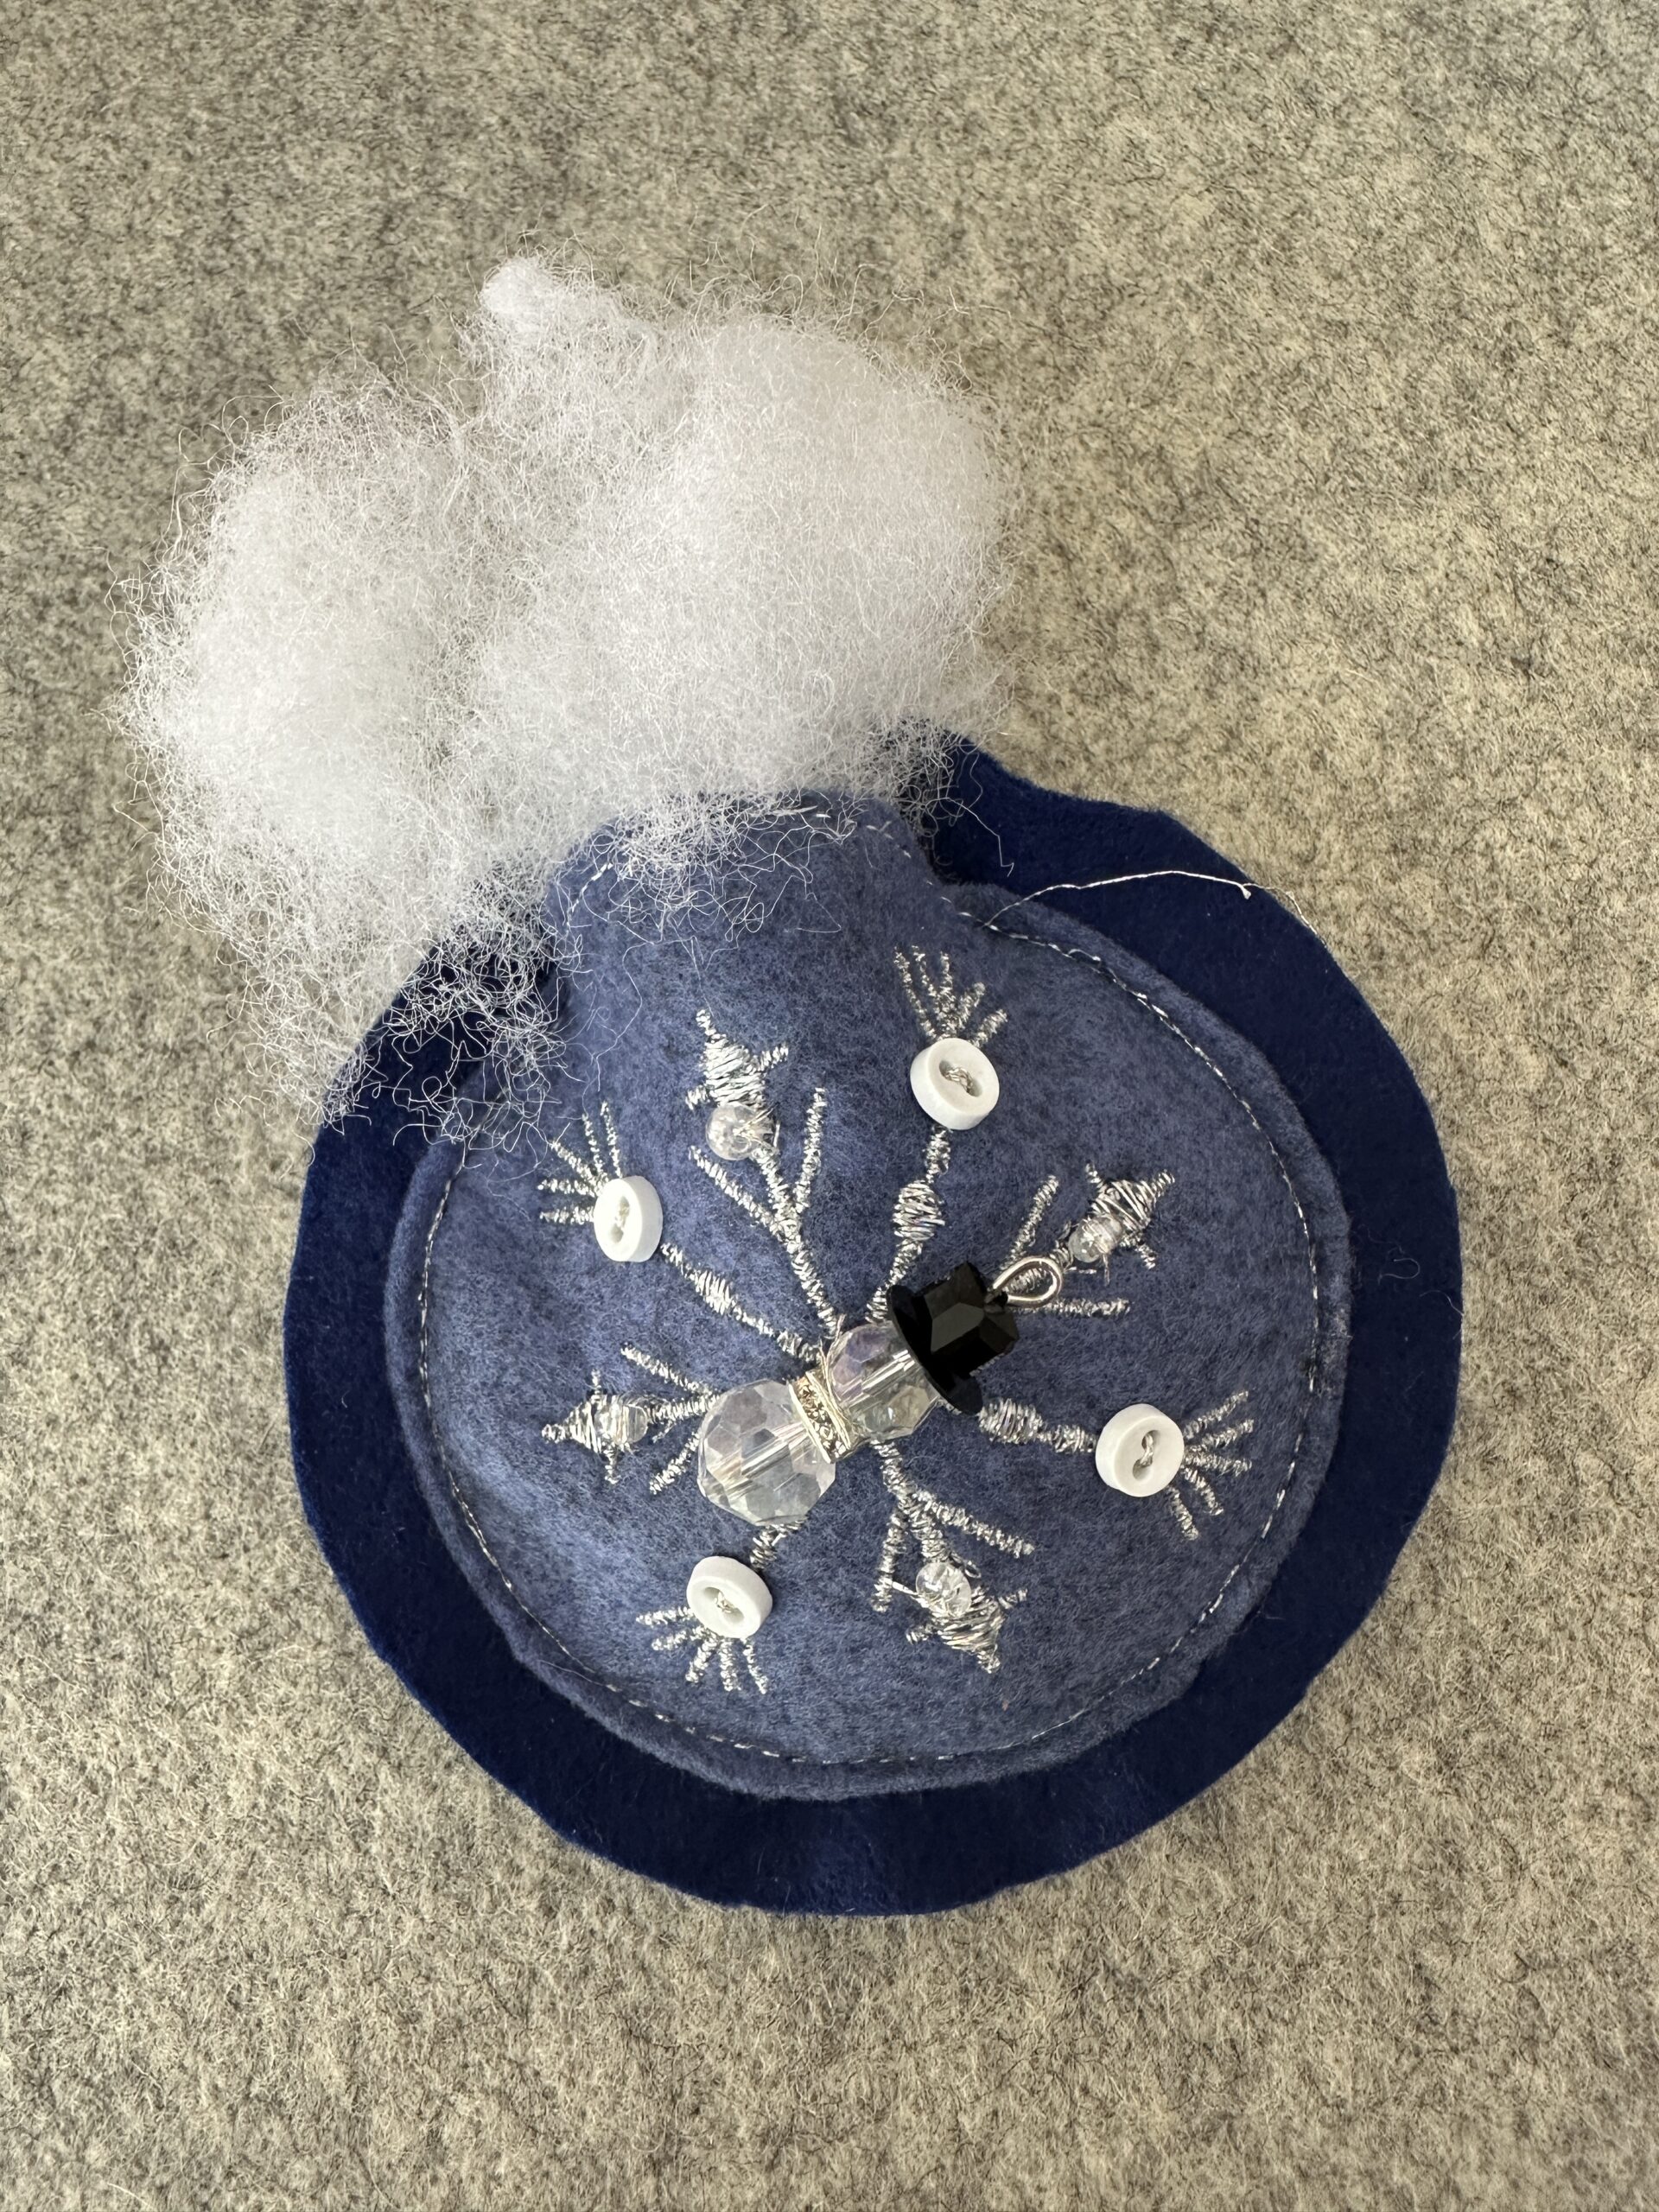
Then, stitch the opening closed, catching the hanger securely in the seam.
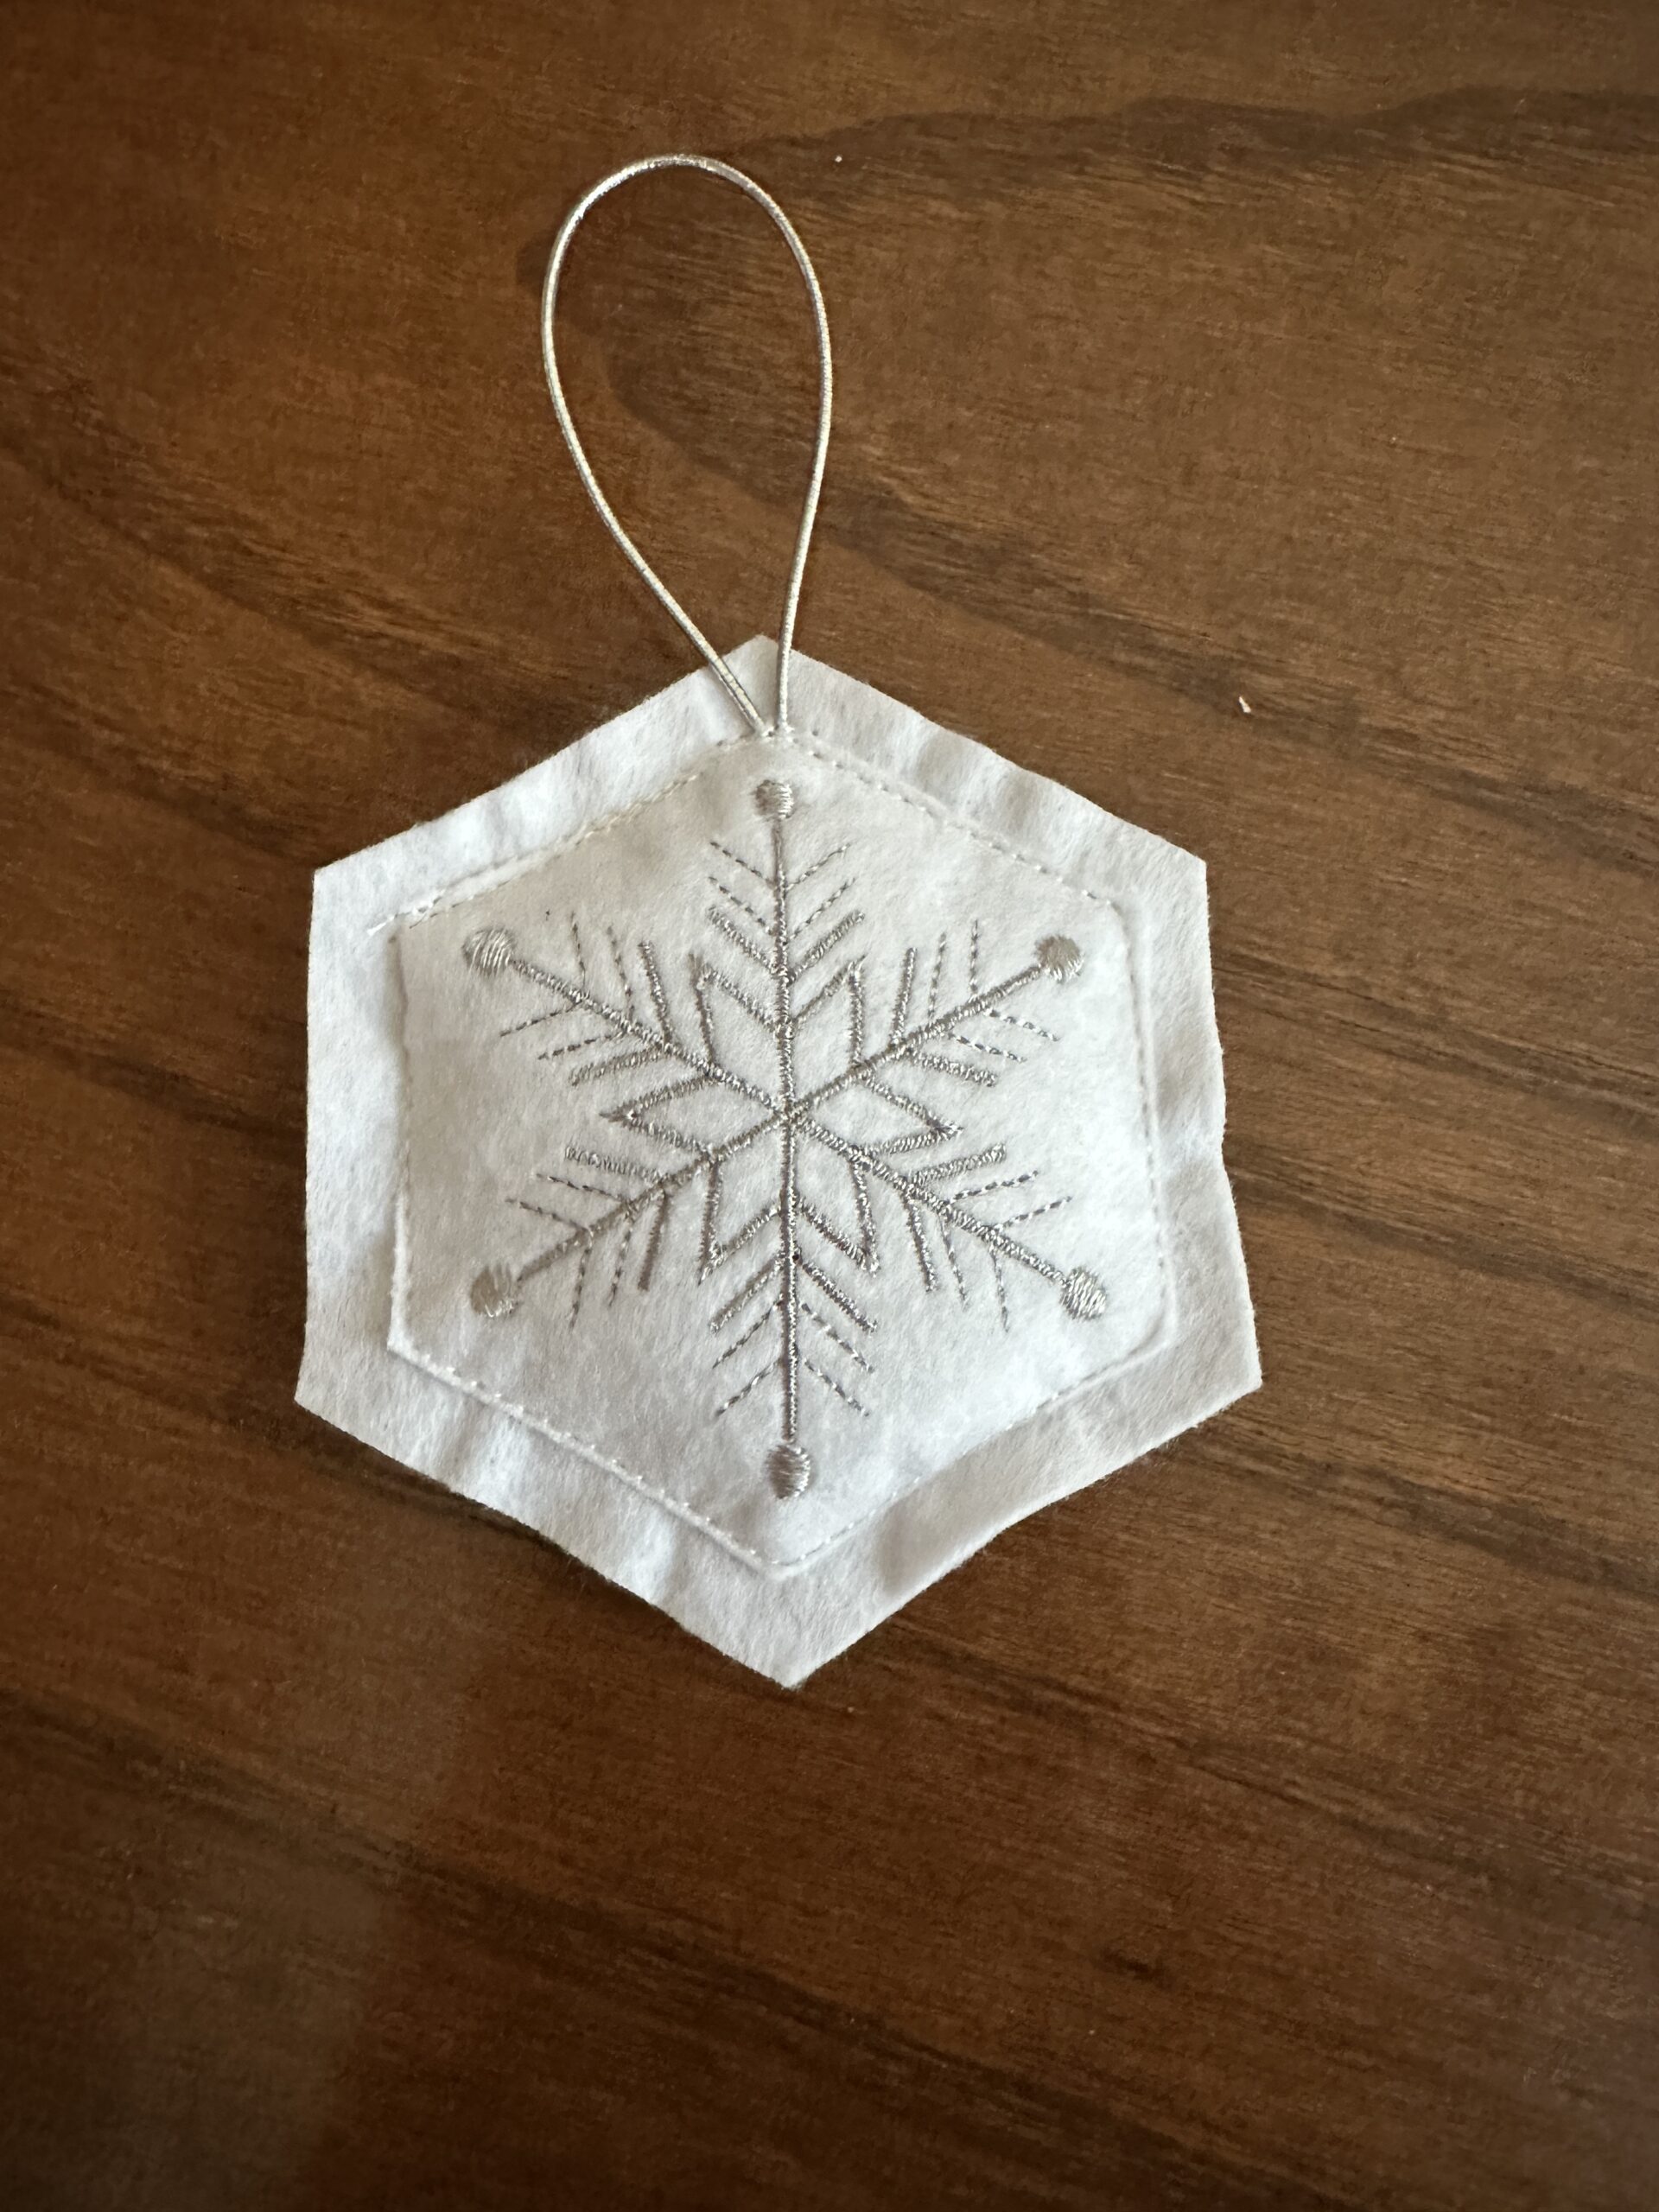
Optional Shaped Edges
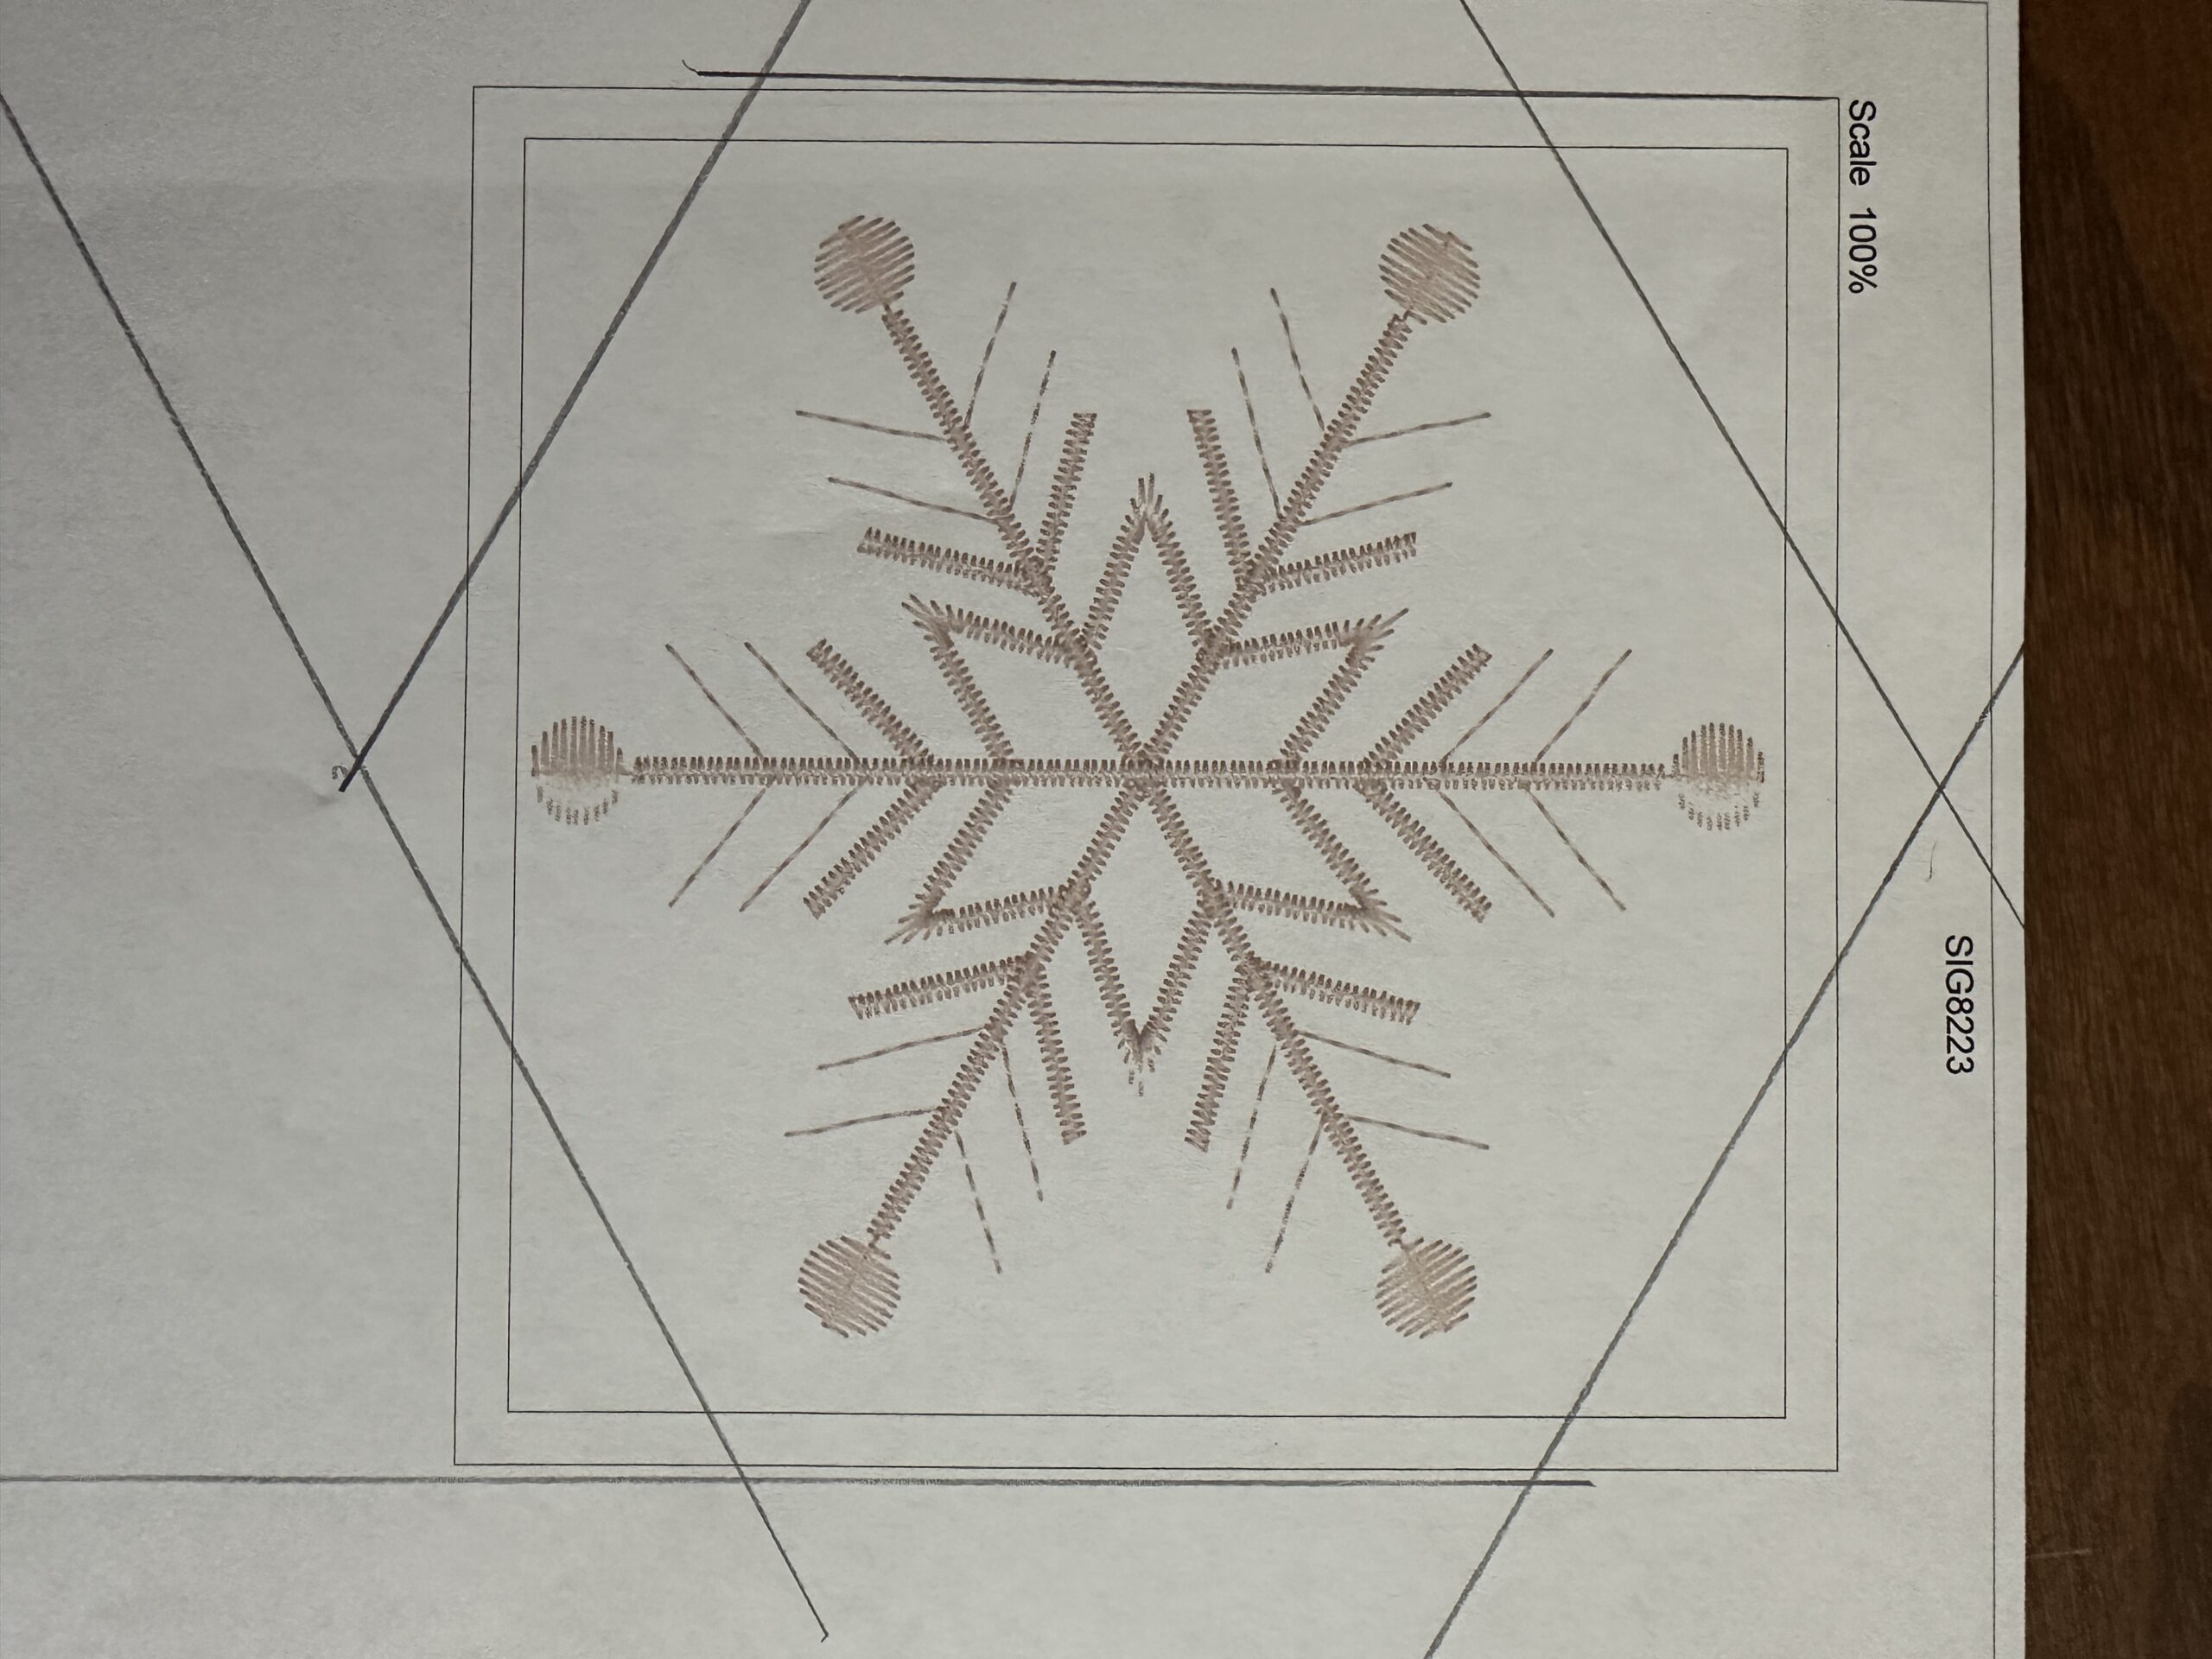
For additional ornaments, try creating shaped edges instead of circles. After embroidering the snowflakes, measure ¼” or ½” out from the snowflake tips and cut from point to point. This creates a decorative snowflake-inspired silhouette with layered color peeking around the edges.
If desired, print a template of the design and mark the shaped edges to use as a cutting guide for the Felty.
Follow the same instructions to create snowflake ornaments in different shapes.