Free-Motion Fun

Free-motion fun quilting is a technique that isn’t as hard as it seems. With the proper machine setup and a few expert tips, you’ll be prepared to drop the sewing machine feed dogs and start painting fabrics with thread. Read on for a free practice printable and take your quilting to new heights!
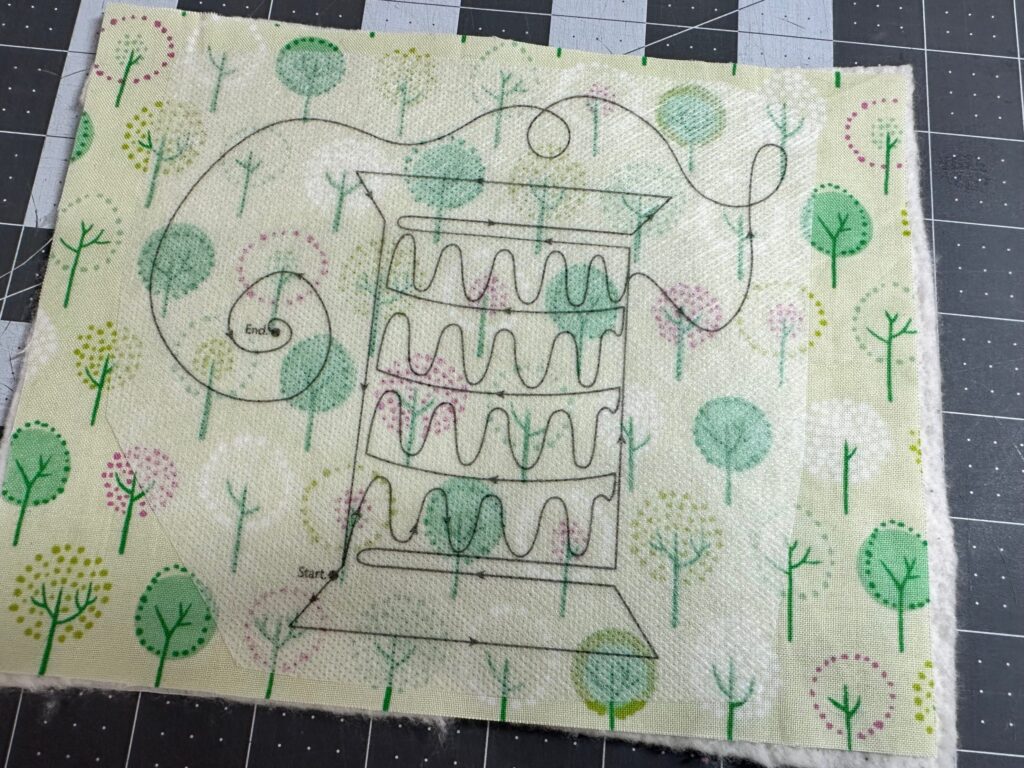
The featured “Spool of Thread” design is by Lori Kennedy, author of 180 Doodle Quilting Designs: Free-Motion Ideas for Blocks Borders and Beyond, compiled by Karen Burns for Martingale & Company (used with permission). Grab the design HERE and print it onto a sheet of Sulky Stick ‘n Stitch Stabilizer to begin your free-motion fun journey!

FREE-MOTION SAMPLE SUPPLIES

- Sulky Stick ‘n Stitch Stabilizer
- (2) 7″ x 8″ fabric rectangles
- (1) 7″ x 8″ batting rectangle
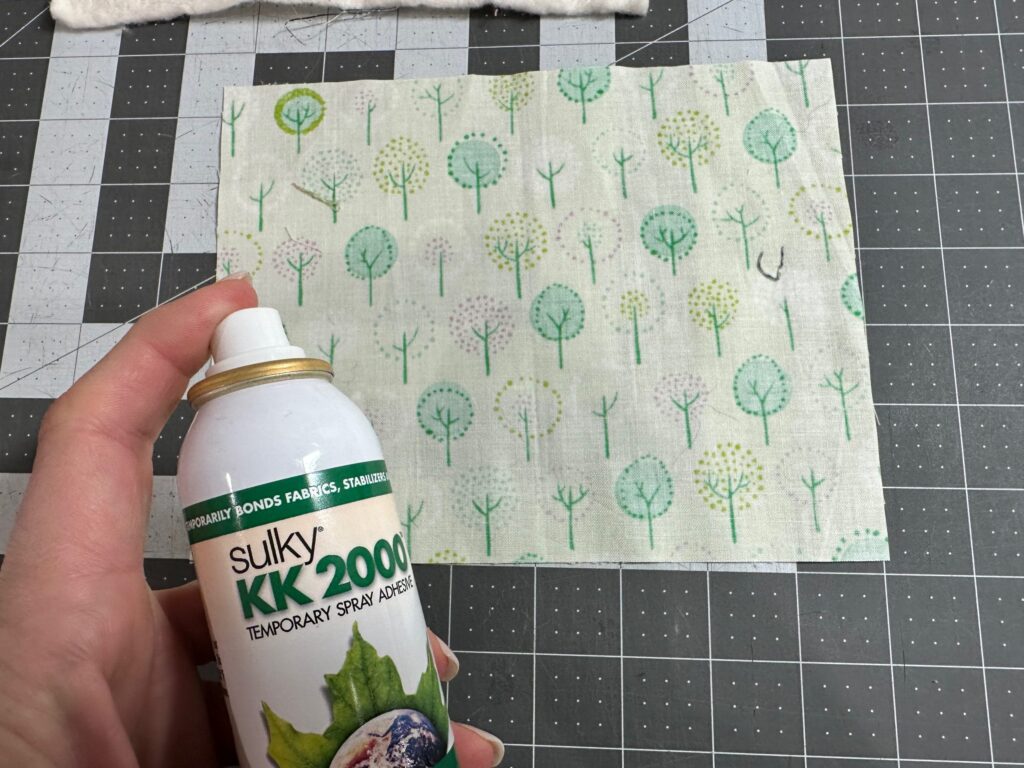
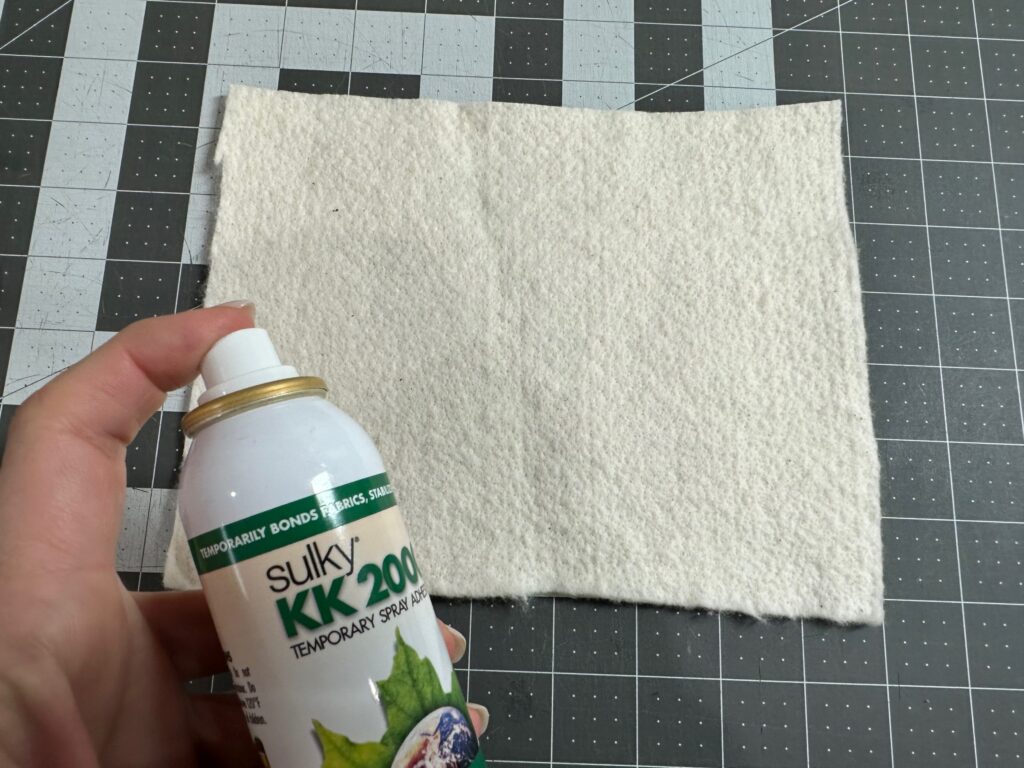
- Sulky KK2000 Temporary Spray Adhesive
- Sulky 30 wt. Cotton Blendables® or Solid Thread
- Size 90/14 Quilting Needle
- 60 wt. Sulky Polylite Thread (optional; if not using 30 wt. Cotton in the bobbin)
FREE-MOTION PREP
Set up the machine for free-motion stitching. If this is your first time or if you need a refresher, consult our “Free-Motion for Beginners” start-anytime Session for tons of videos and expert tutorials.
Thread the 90/14 Quilting Needle with Sulky 30 wt. Cotton Blendables® or Solid Thread. Load either the same thread in the bobbin or matching lighter weight 60 wt. Sulky Polylite Thread in the bobbin.
Create a mini quilt sandwich for practicing. Place one fabric wrong side up on a flat work surface. Spray the wrong side with Sulky KK2000 Temporary Spray Adhesive. Next, center the batting rectangle over the fabric wrong side. Now, spray the batting with Sulky KK2000 Temporary Spray Adhesive. Center the front fabric right side up over the batting. Smooth with your hand to ensure there are no wrinkles.
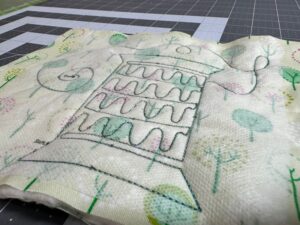
Cut out the Spool of Thread Design from the printed Sulky Stick ‘n Stitch Stabilizer, leaving a bit of a border. Remove the paper backing, and then place the transfer sticker on the front fabric right side.

FREE-MOTION FUN
Locate the “Start” indicator on the printable transfer sticker. Sink the needle into the quilt sandwich at that point to bring up the bobbin thread. Holding on to both thread tails, begin stitching. Follow the pattern arrows, stitching as slow or as fast as you’re comfortable with.
Secure the first stitch, and the stop the machine after a few stitches to trim the thread ends.


Continue free-motion quilting until you reach the “End” indicator.

If you notice the thread eyelashing on the quilt sandwich wrong side, slow down and make sure the stitches are closer together during stitching. You may need to increase the top tension as well.
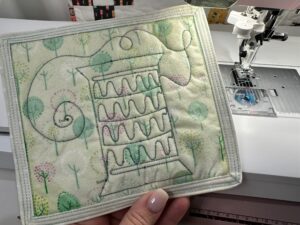
When the free-motion fun design is complete, tie off the threads and/or or bury them into the batting.
FREE-MOTION FINISHING
Trim the quilt sandwich so all edges are even.
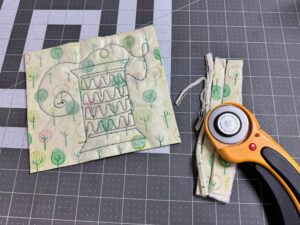
Bind the mini quilt sample, using your preferred method.

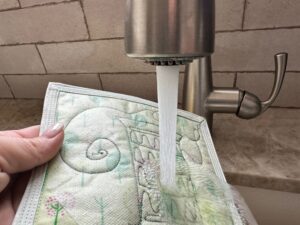
Rinse away the stabilizer design transfer sheet under warm, running water until dissolved. Let the free-motion fun sample dry flat on a towel.
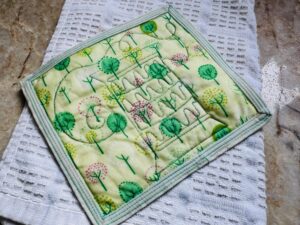
Once dry, admire your work! Use the sample as a coaster or display it on a wall.

Now that you’ve had some practice, take your free-motion quilting to the next level with our “Free-Motion for Beginners” start-anytime Session! Kits are available for a limited time!