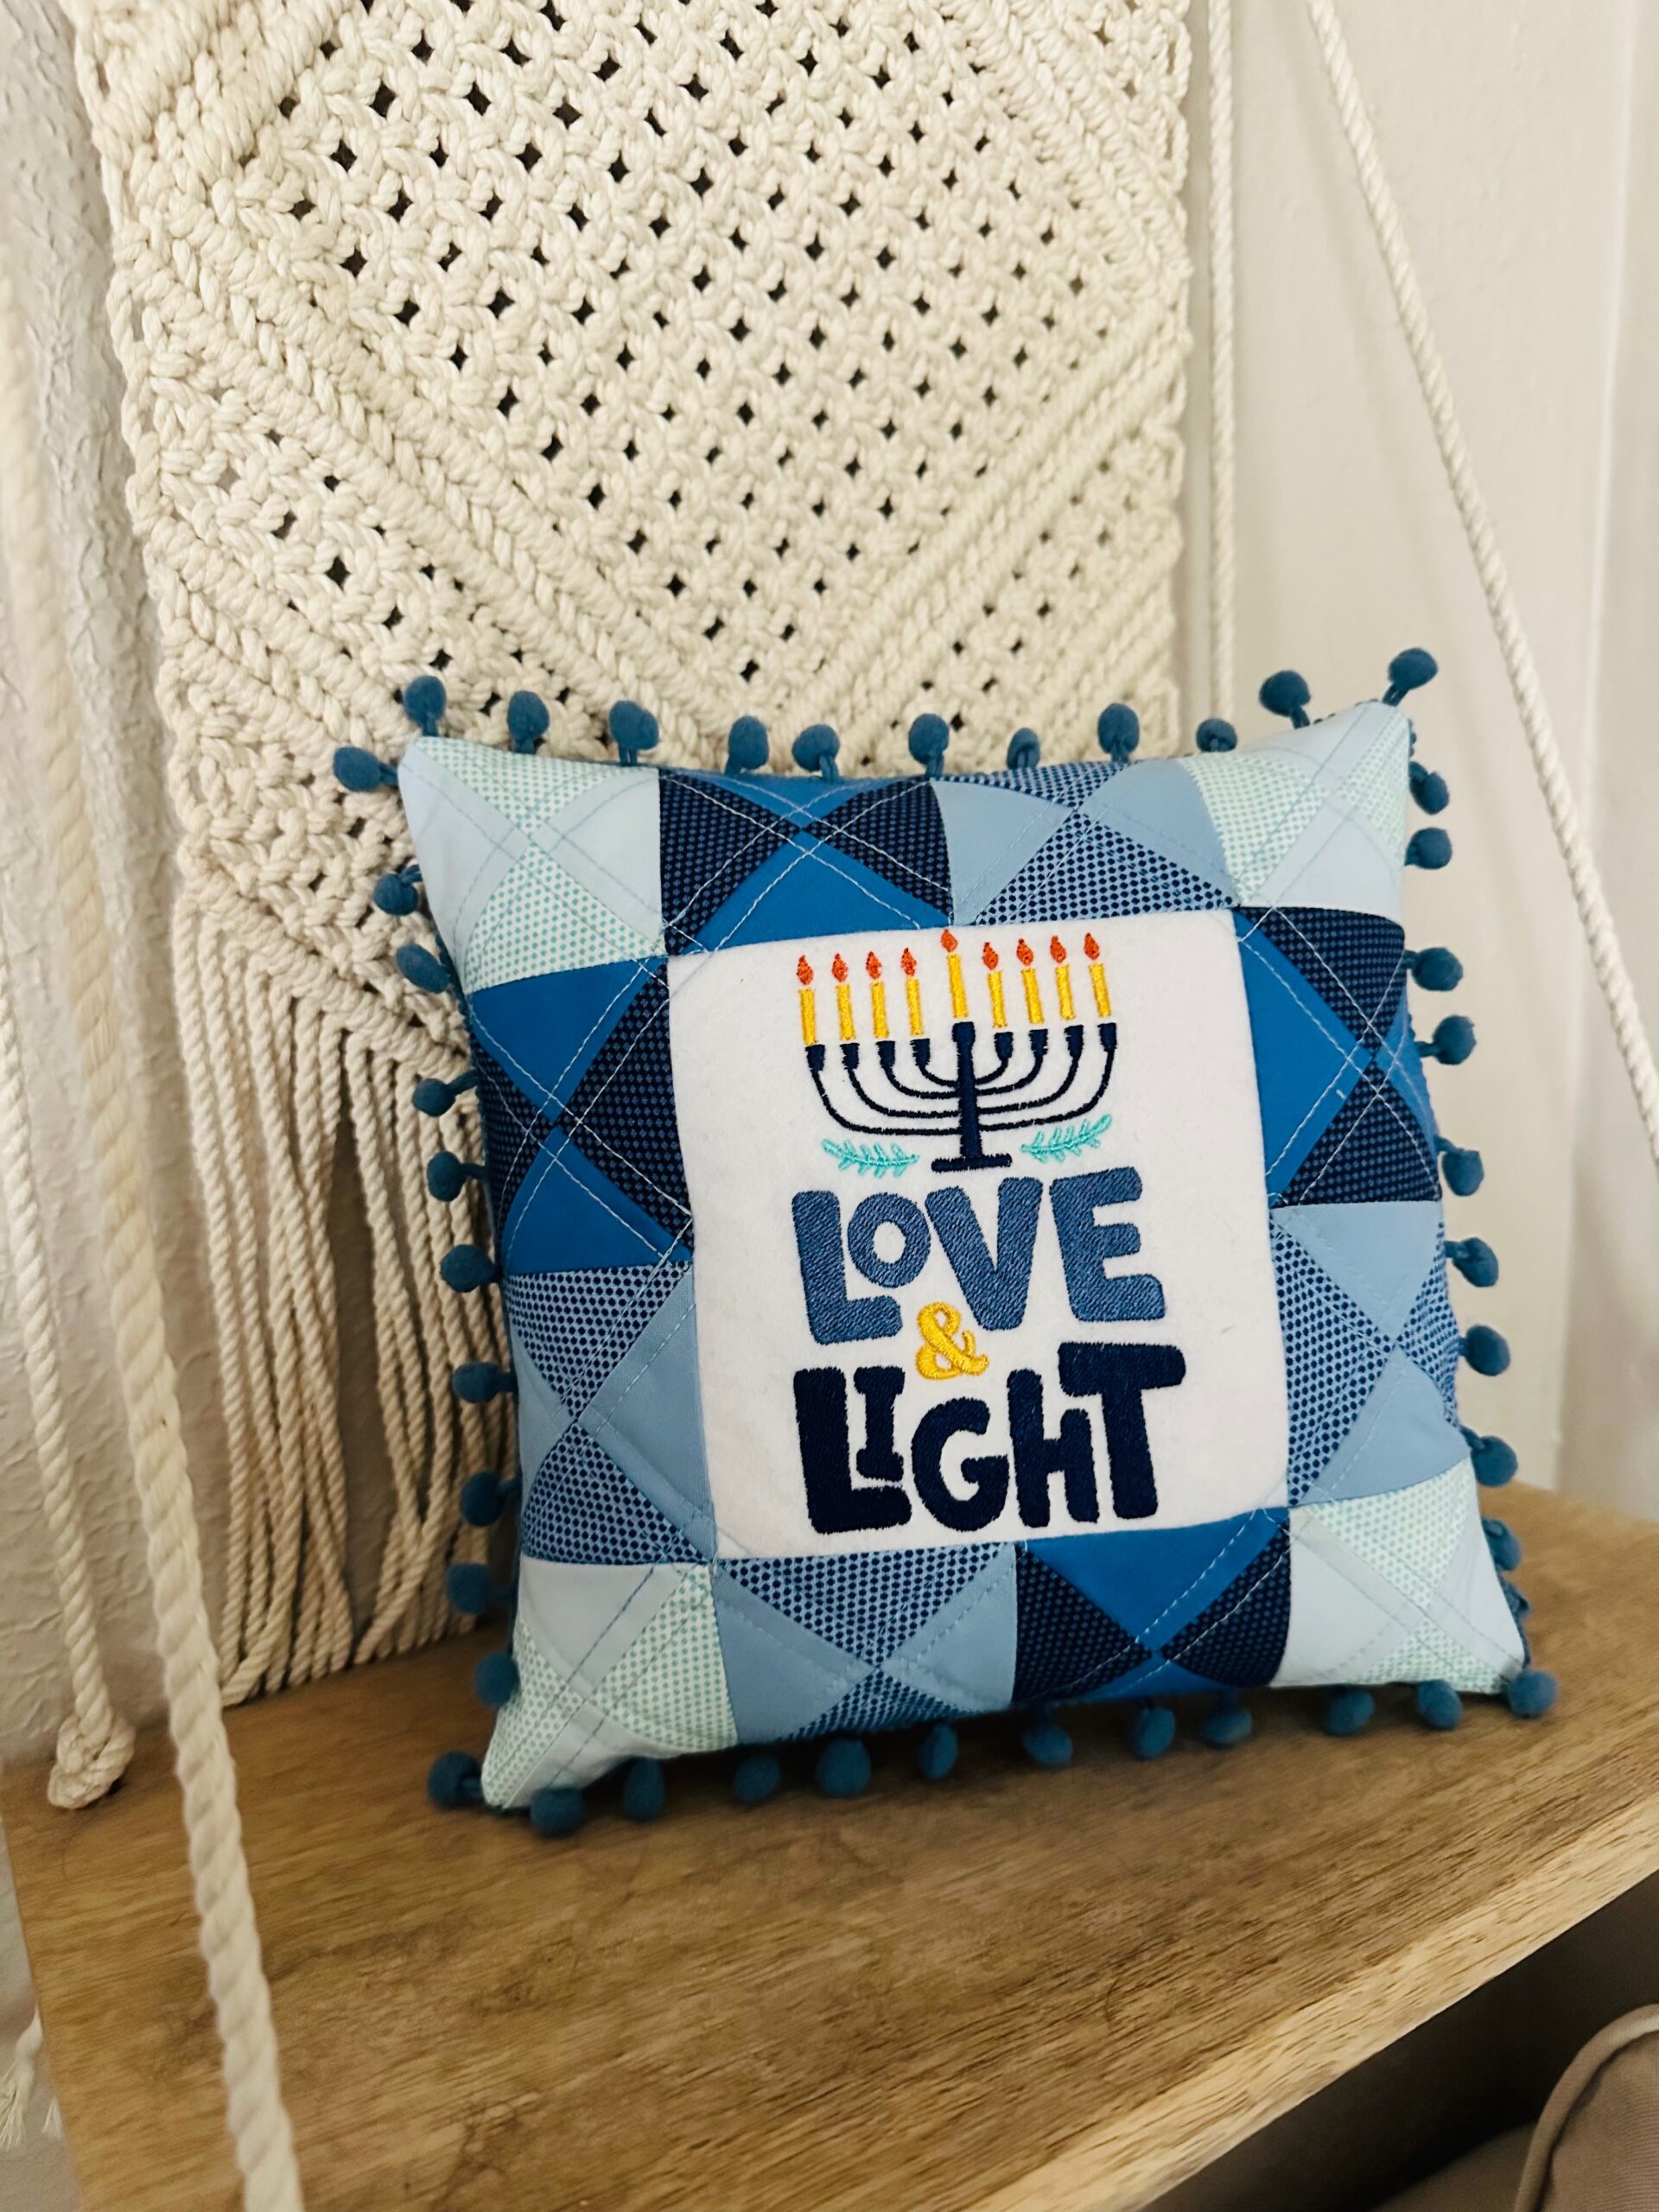
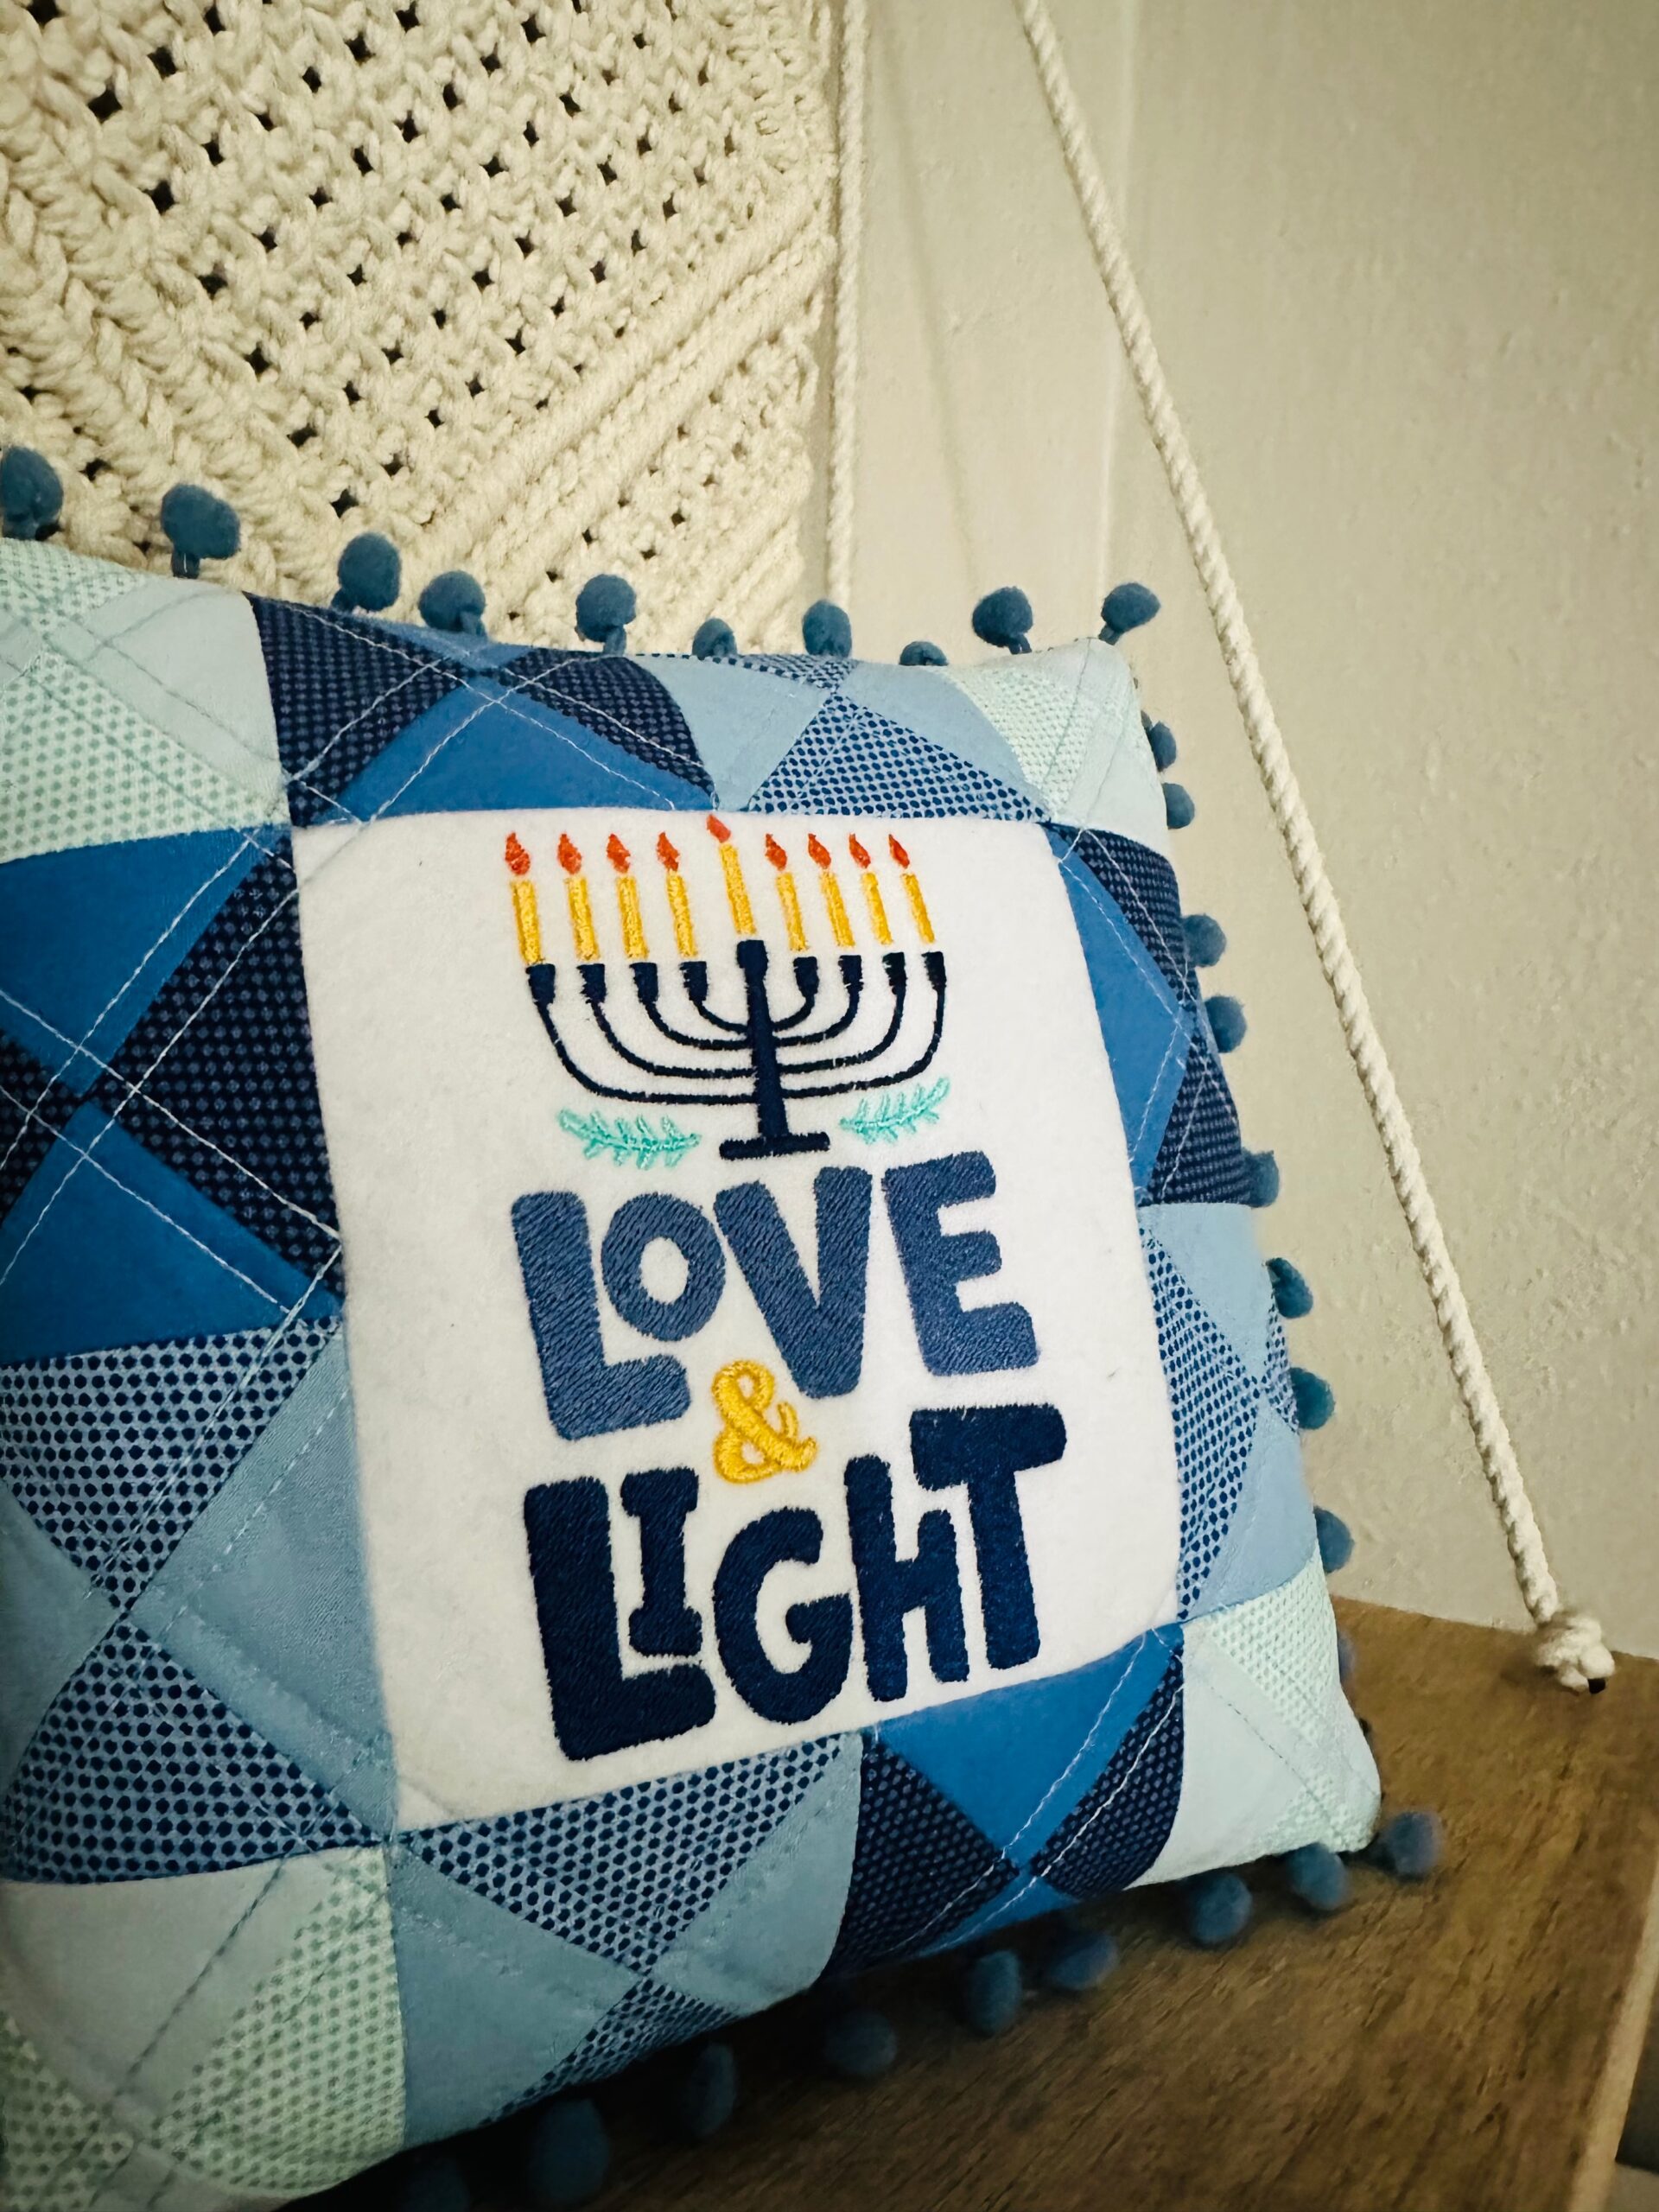
Hanukkah Shelf Pillow
HANUKKAH SHELF PILLOW SUPPLIES
- Cotton+Steel 50 wt. Thread by Sulky
- Sulky Bobbin thread
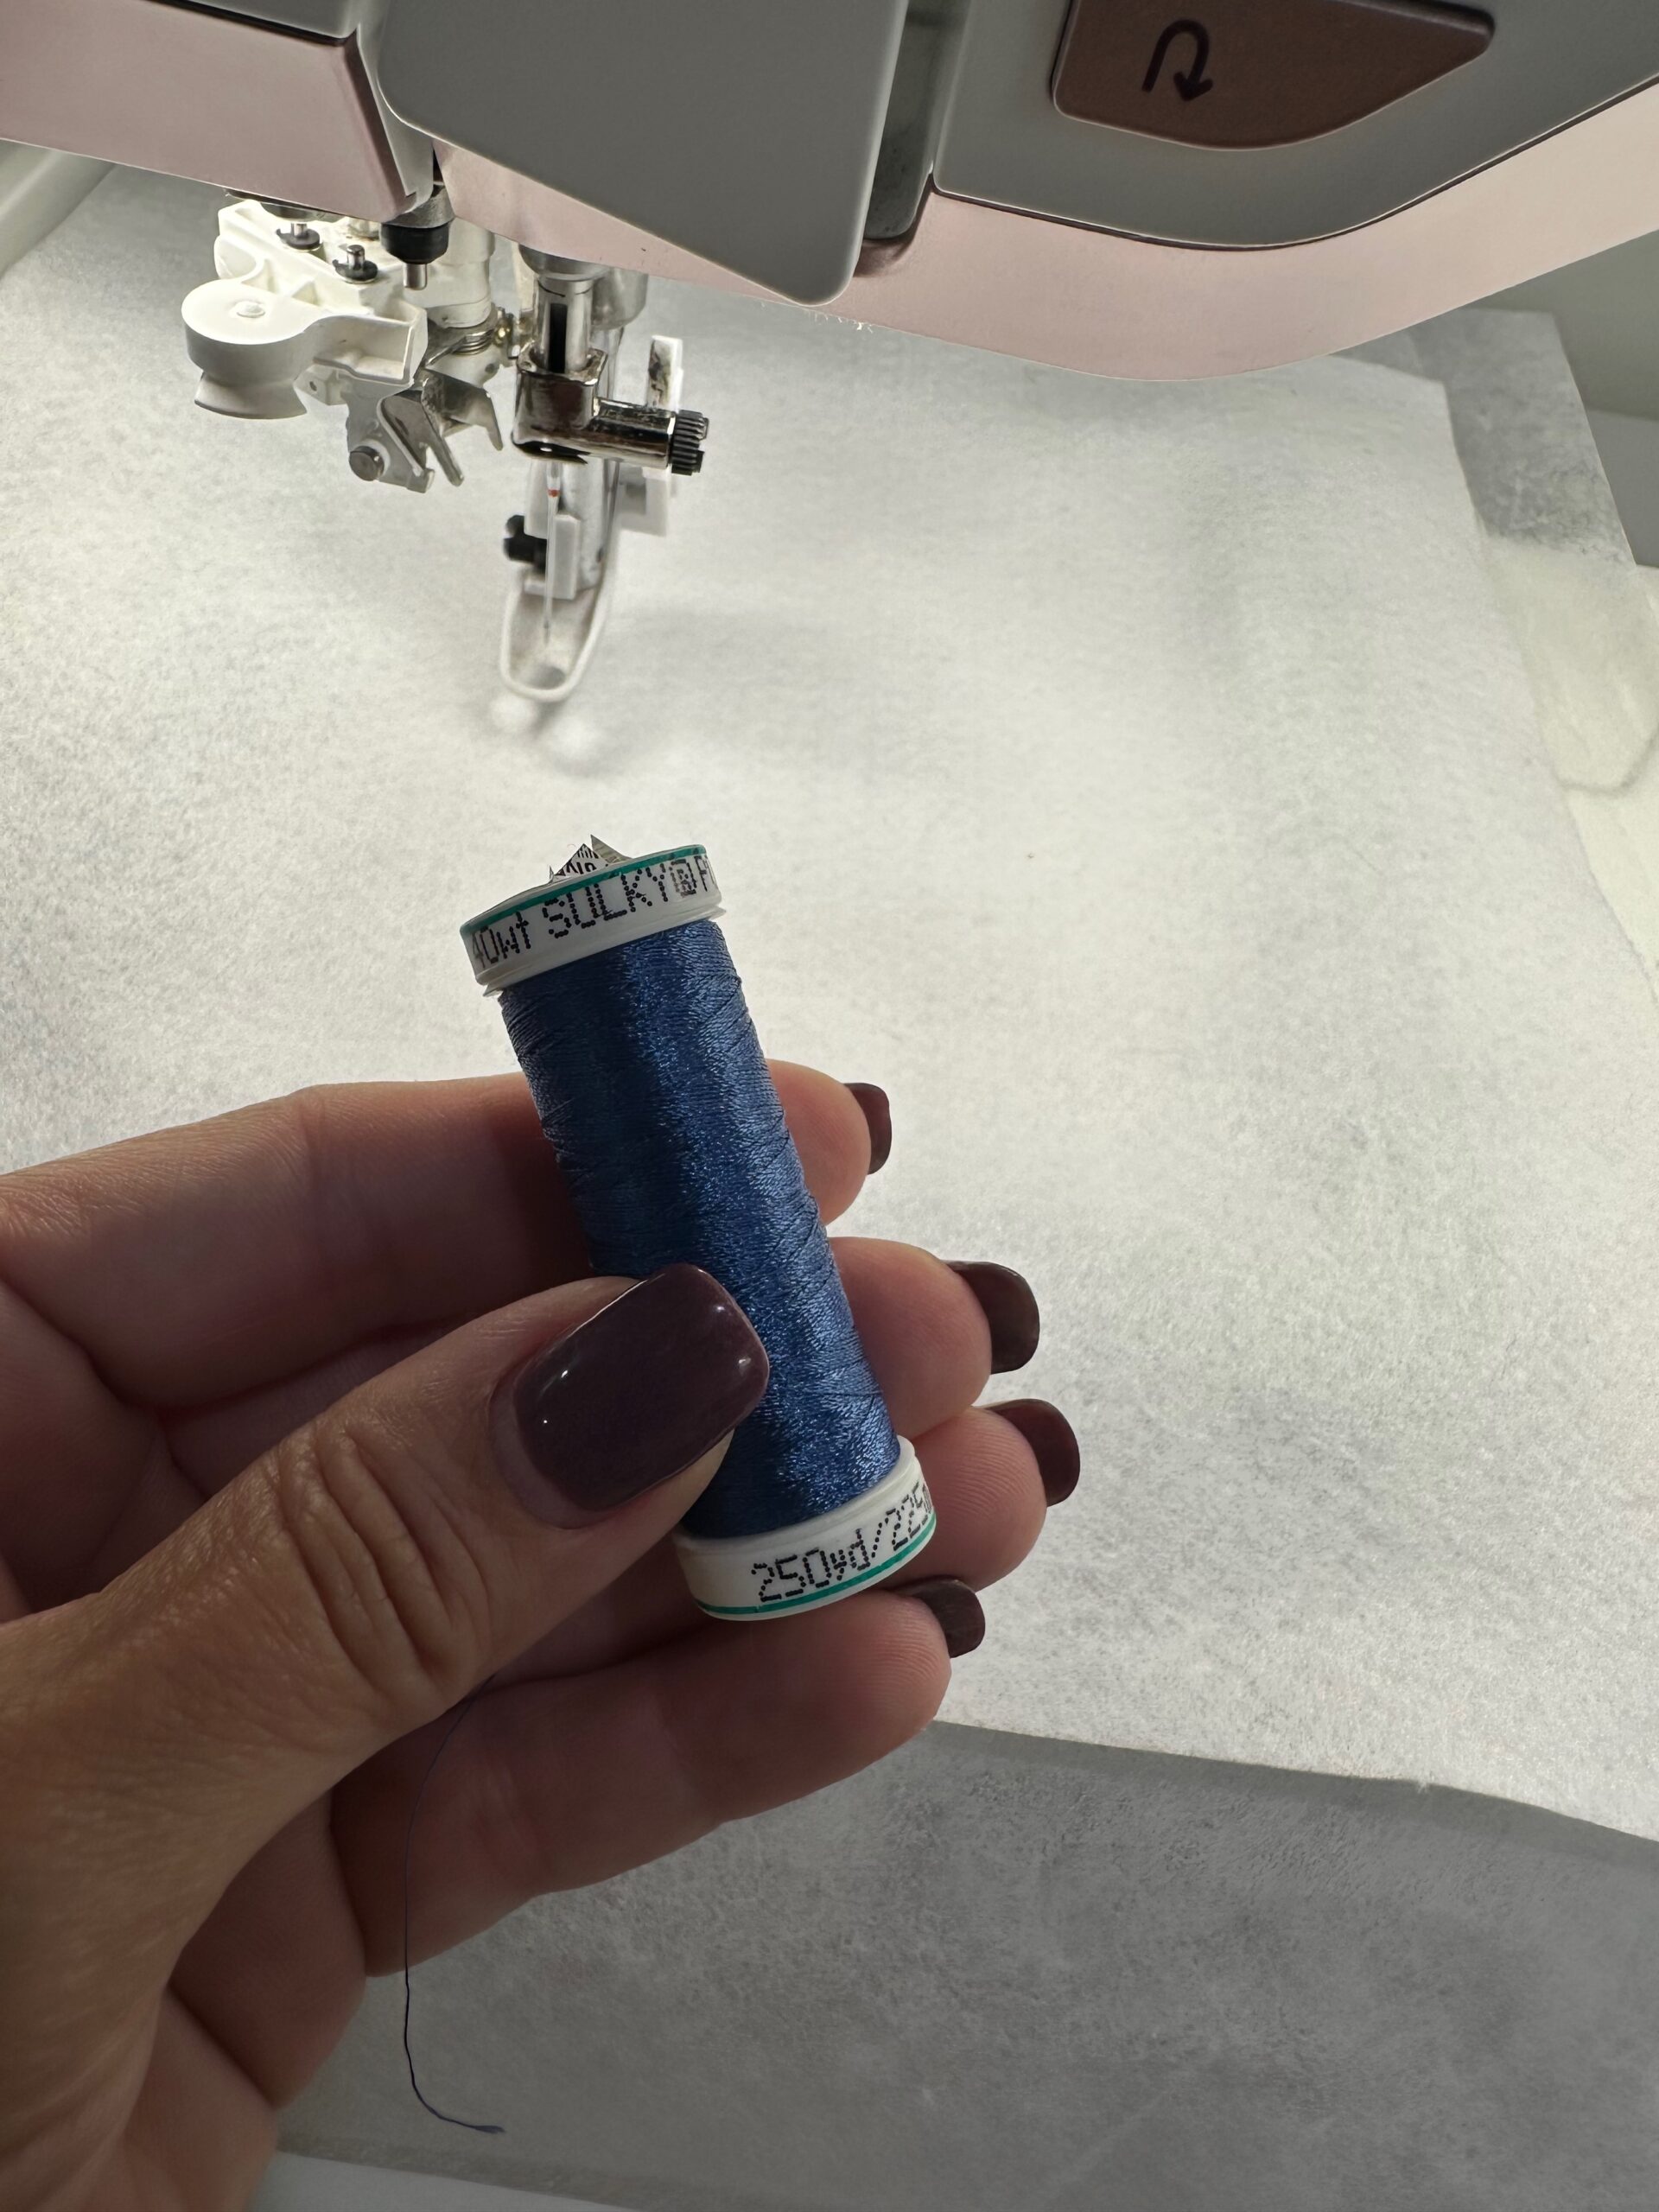
- Sulky 40 wt. Rayon Thread
- Stabilizer: Sulky Tear-Easy™
- Organ Needles: 90/14 Embroidery (machine embroidery), 70/10 Universal (construction), 90/14 Quilting Needle (Quilting)
- 1 sheet of Sulky Felty (white)
- Clover Wonder Clips
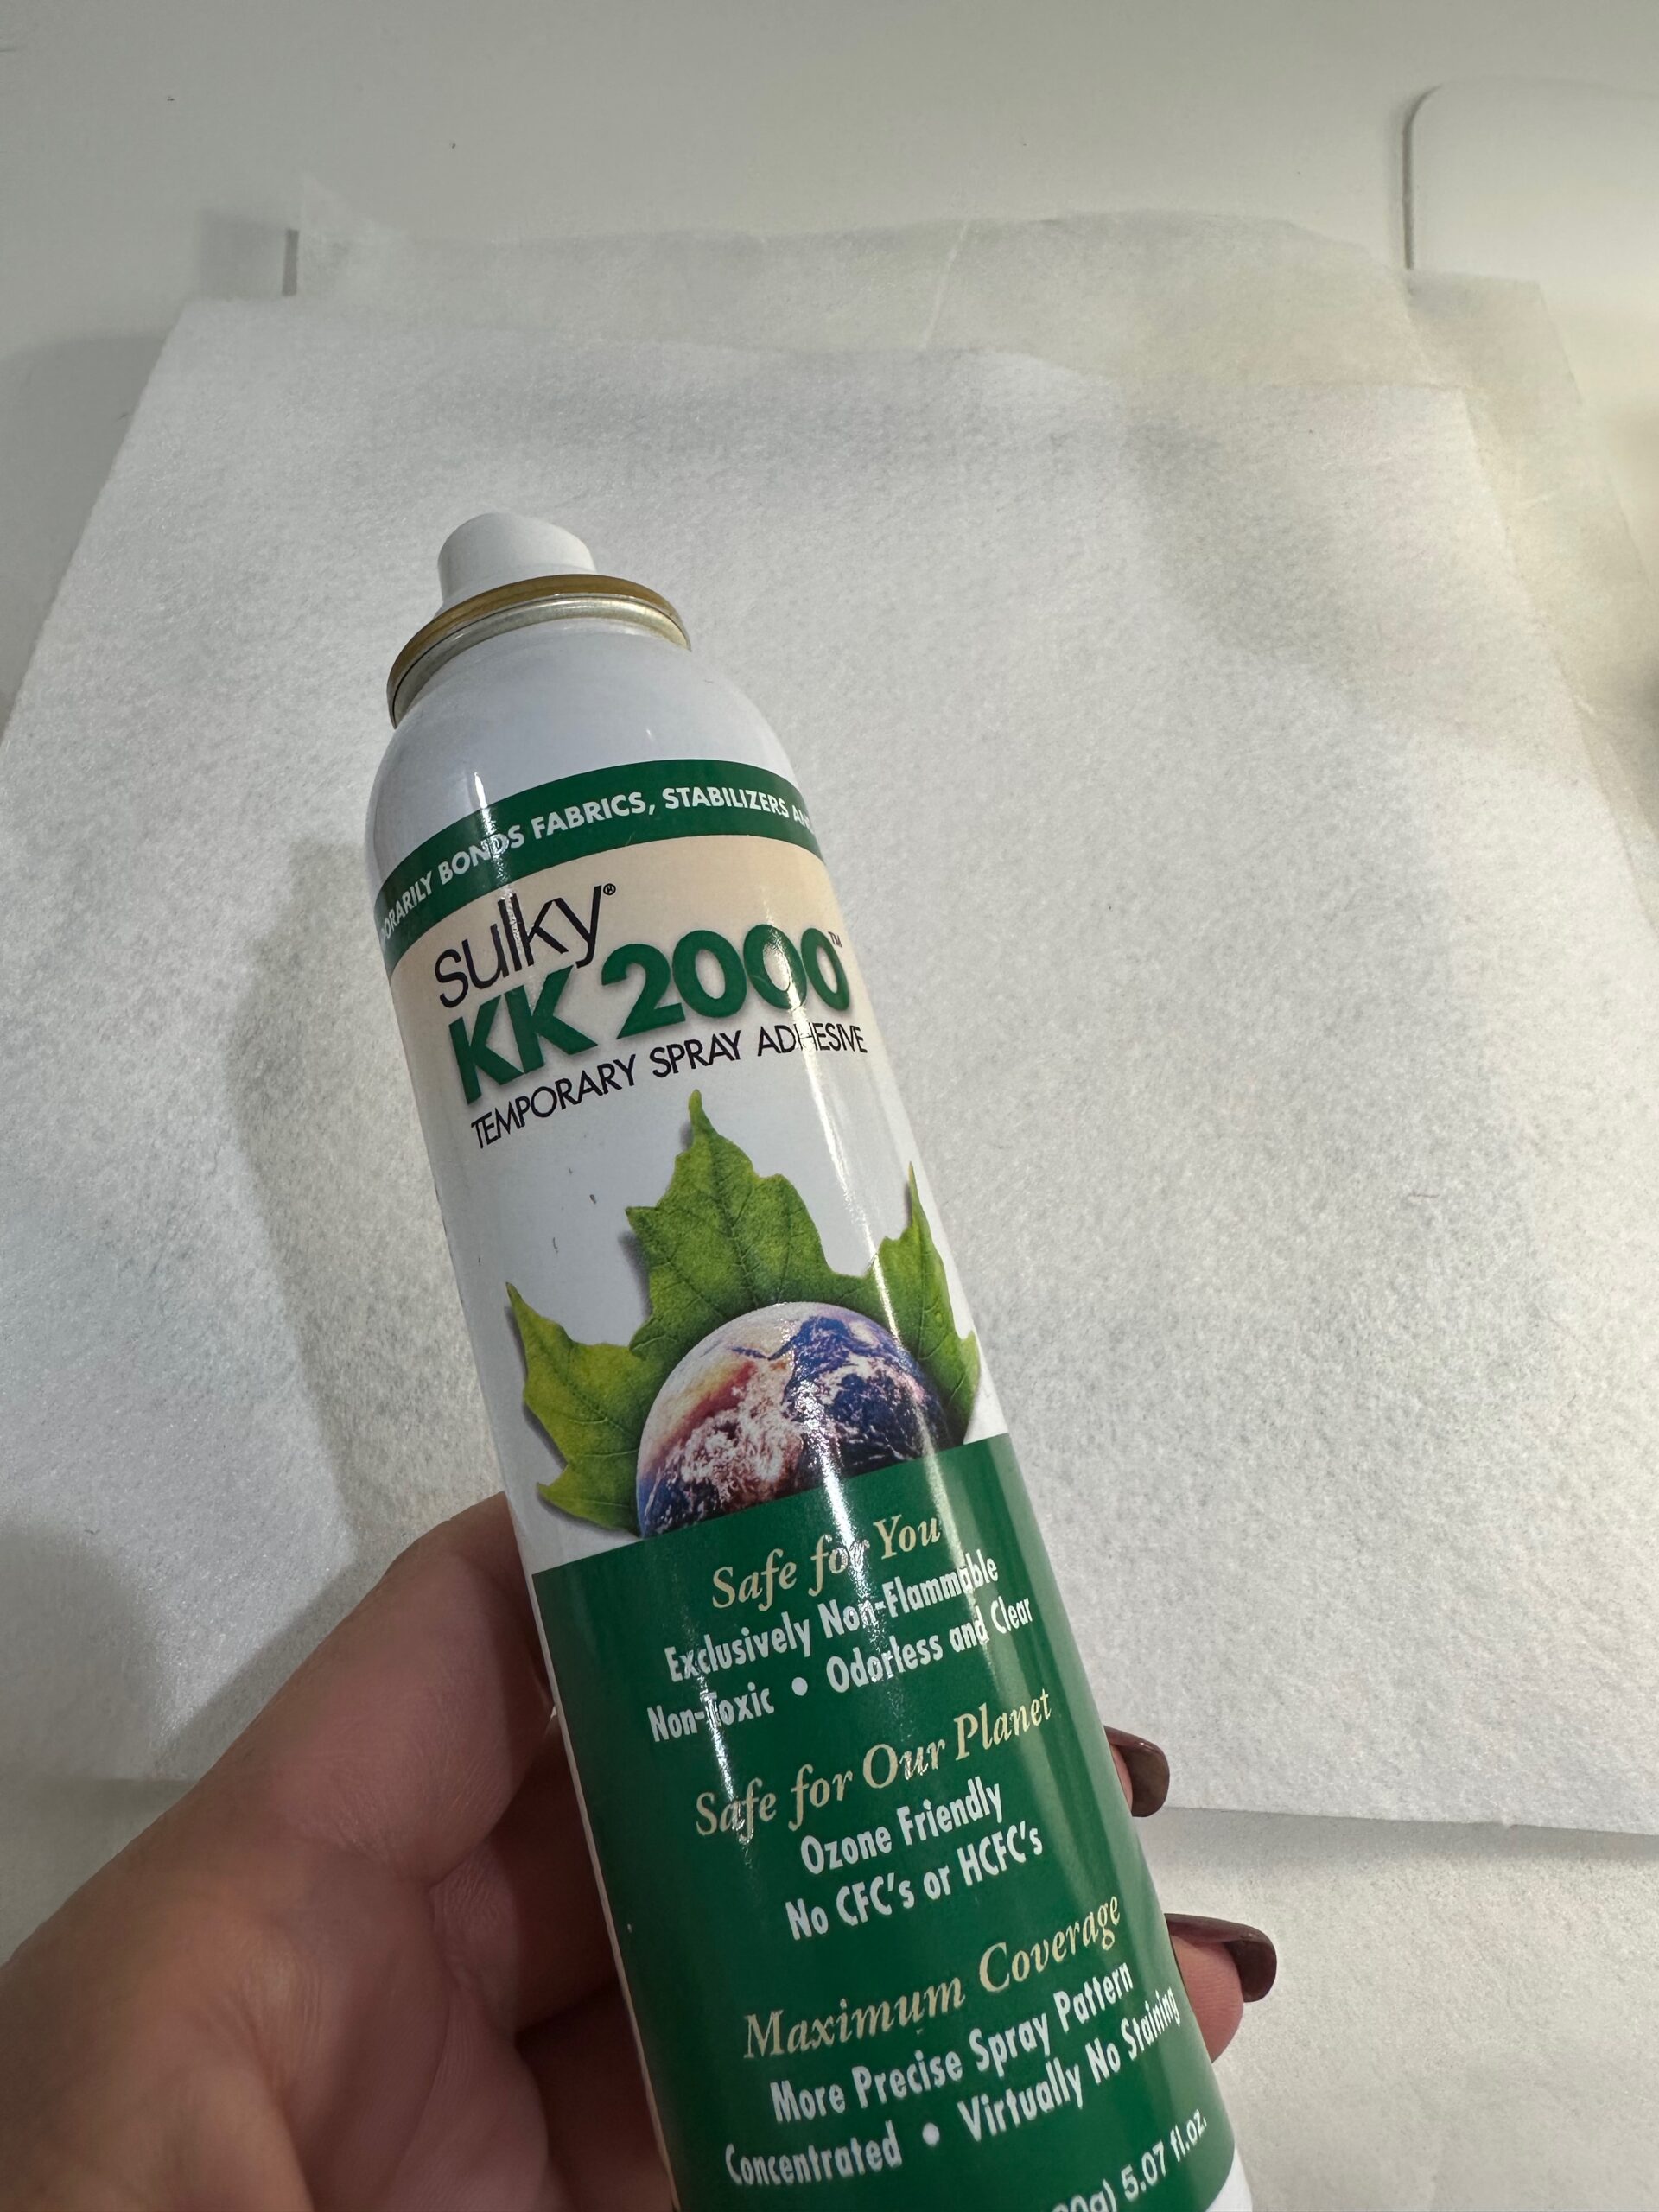
- Sulky KK 2000™ Temporary Spray Adhesive
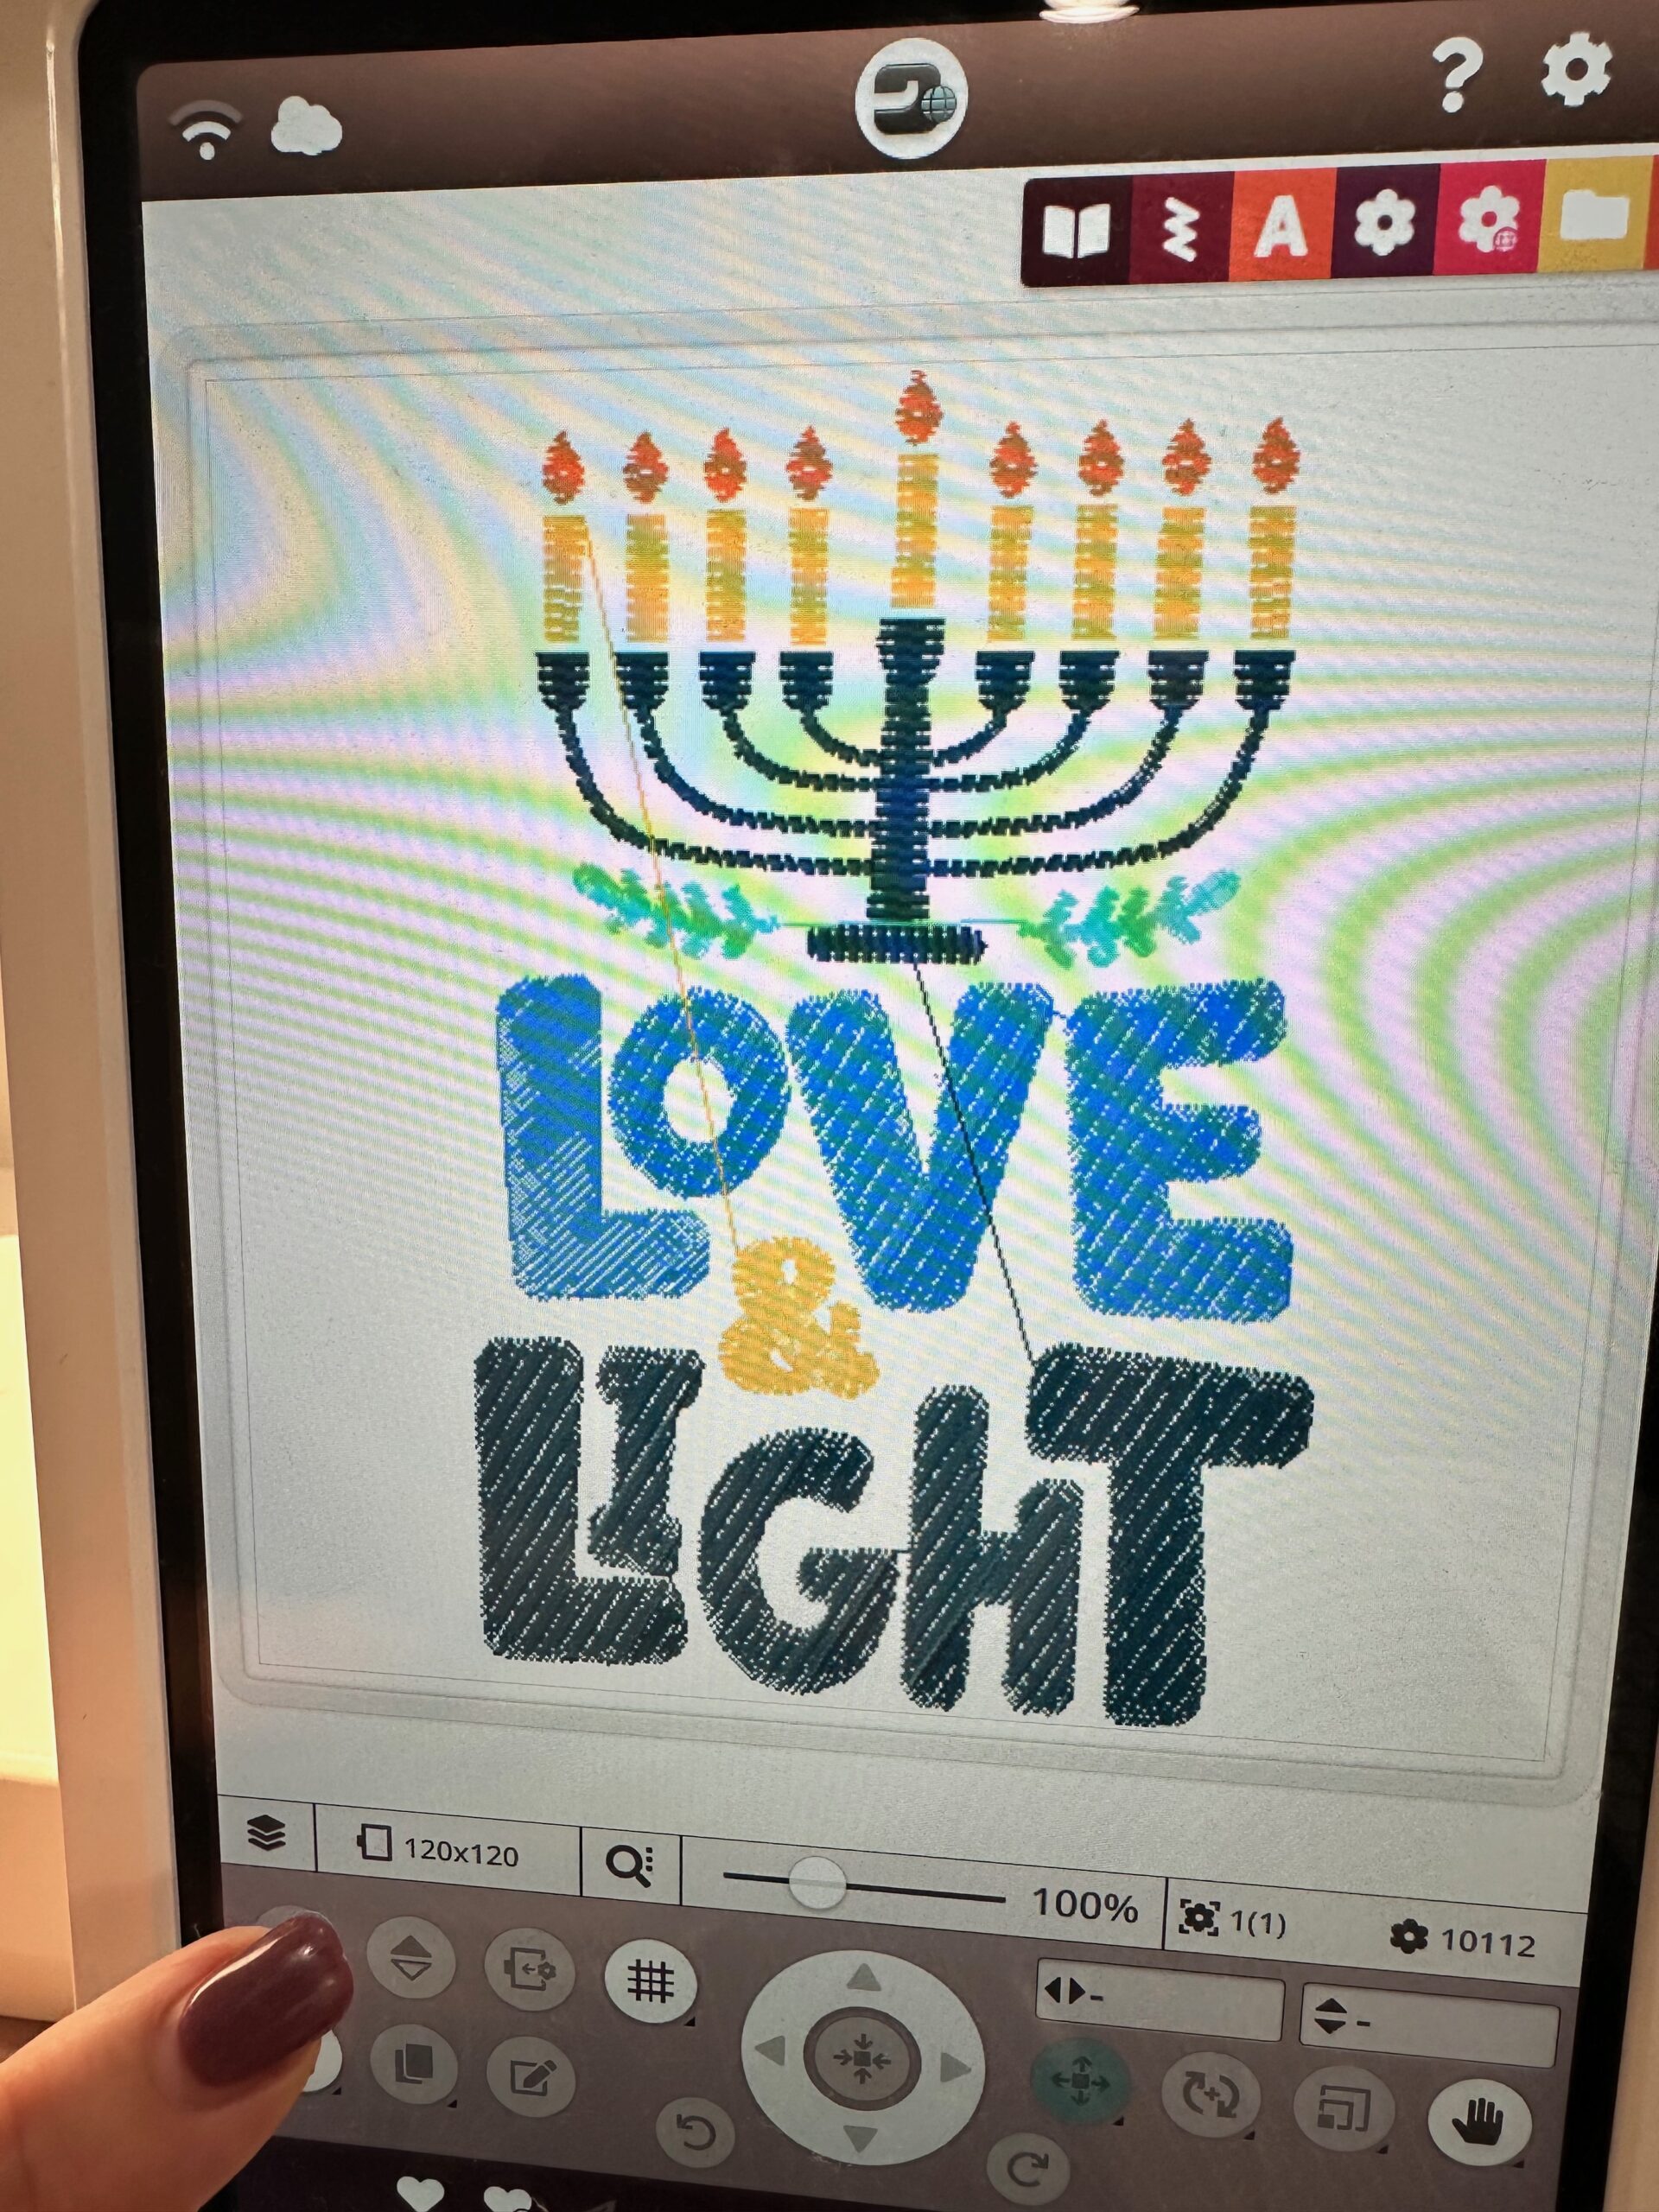
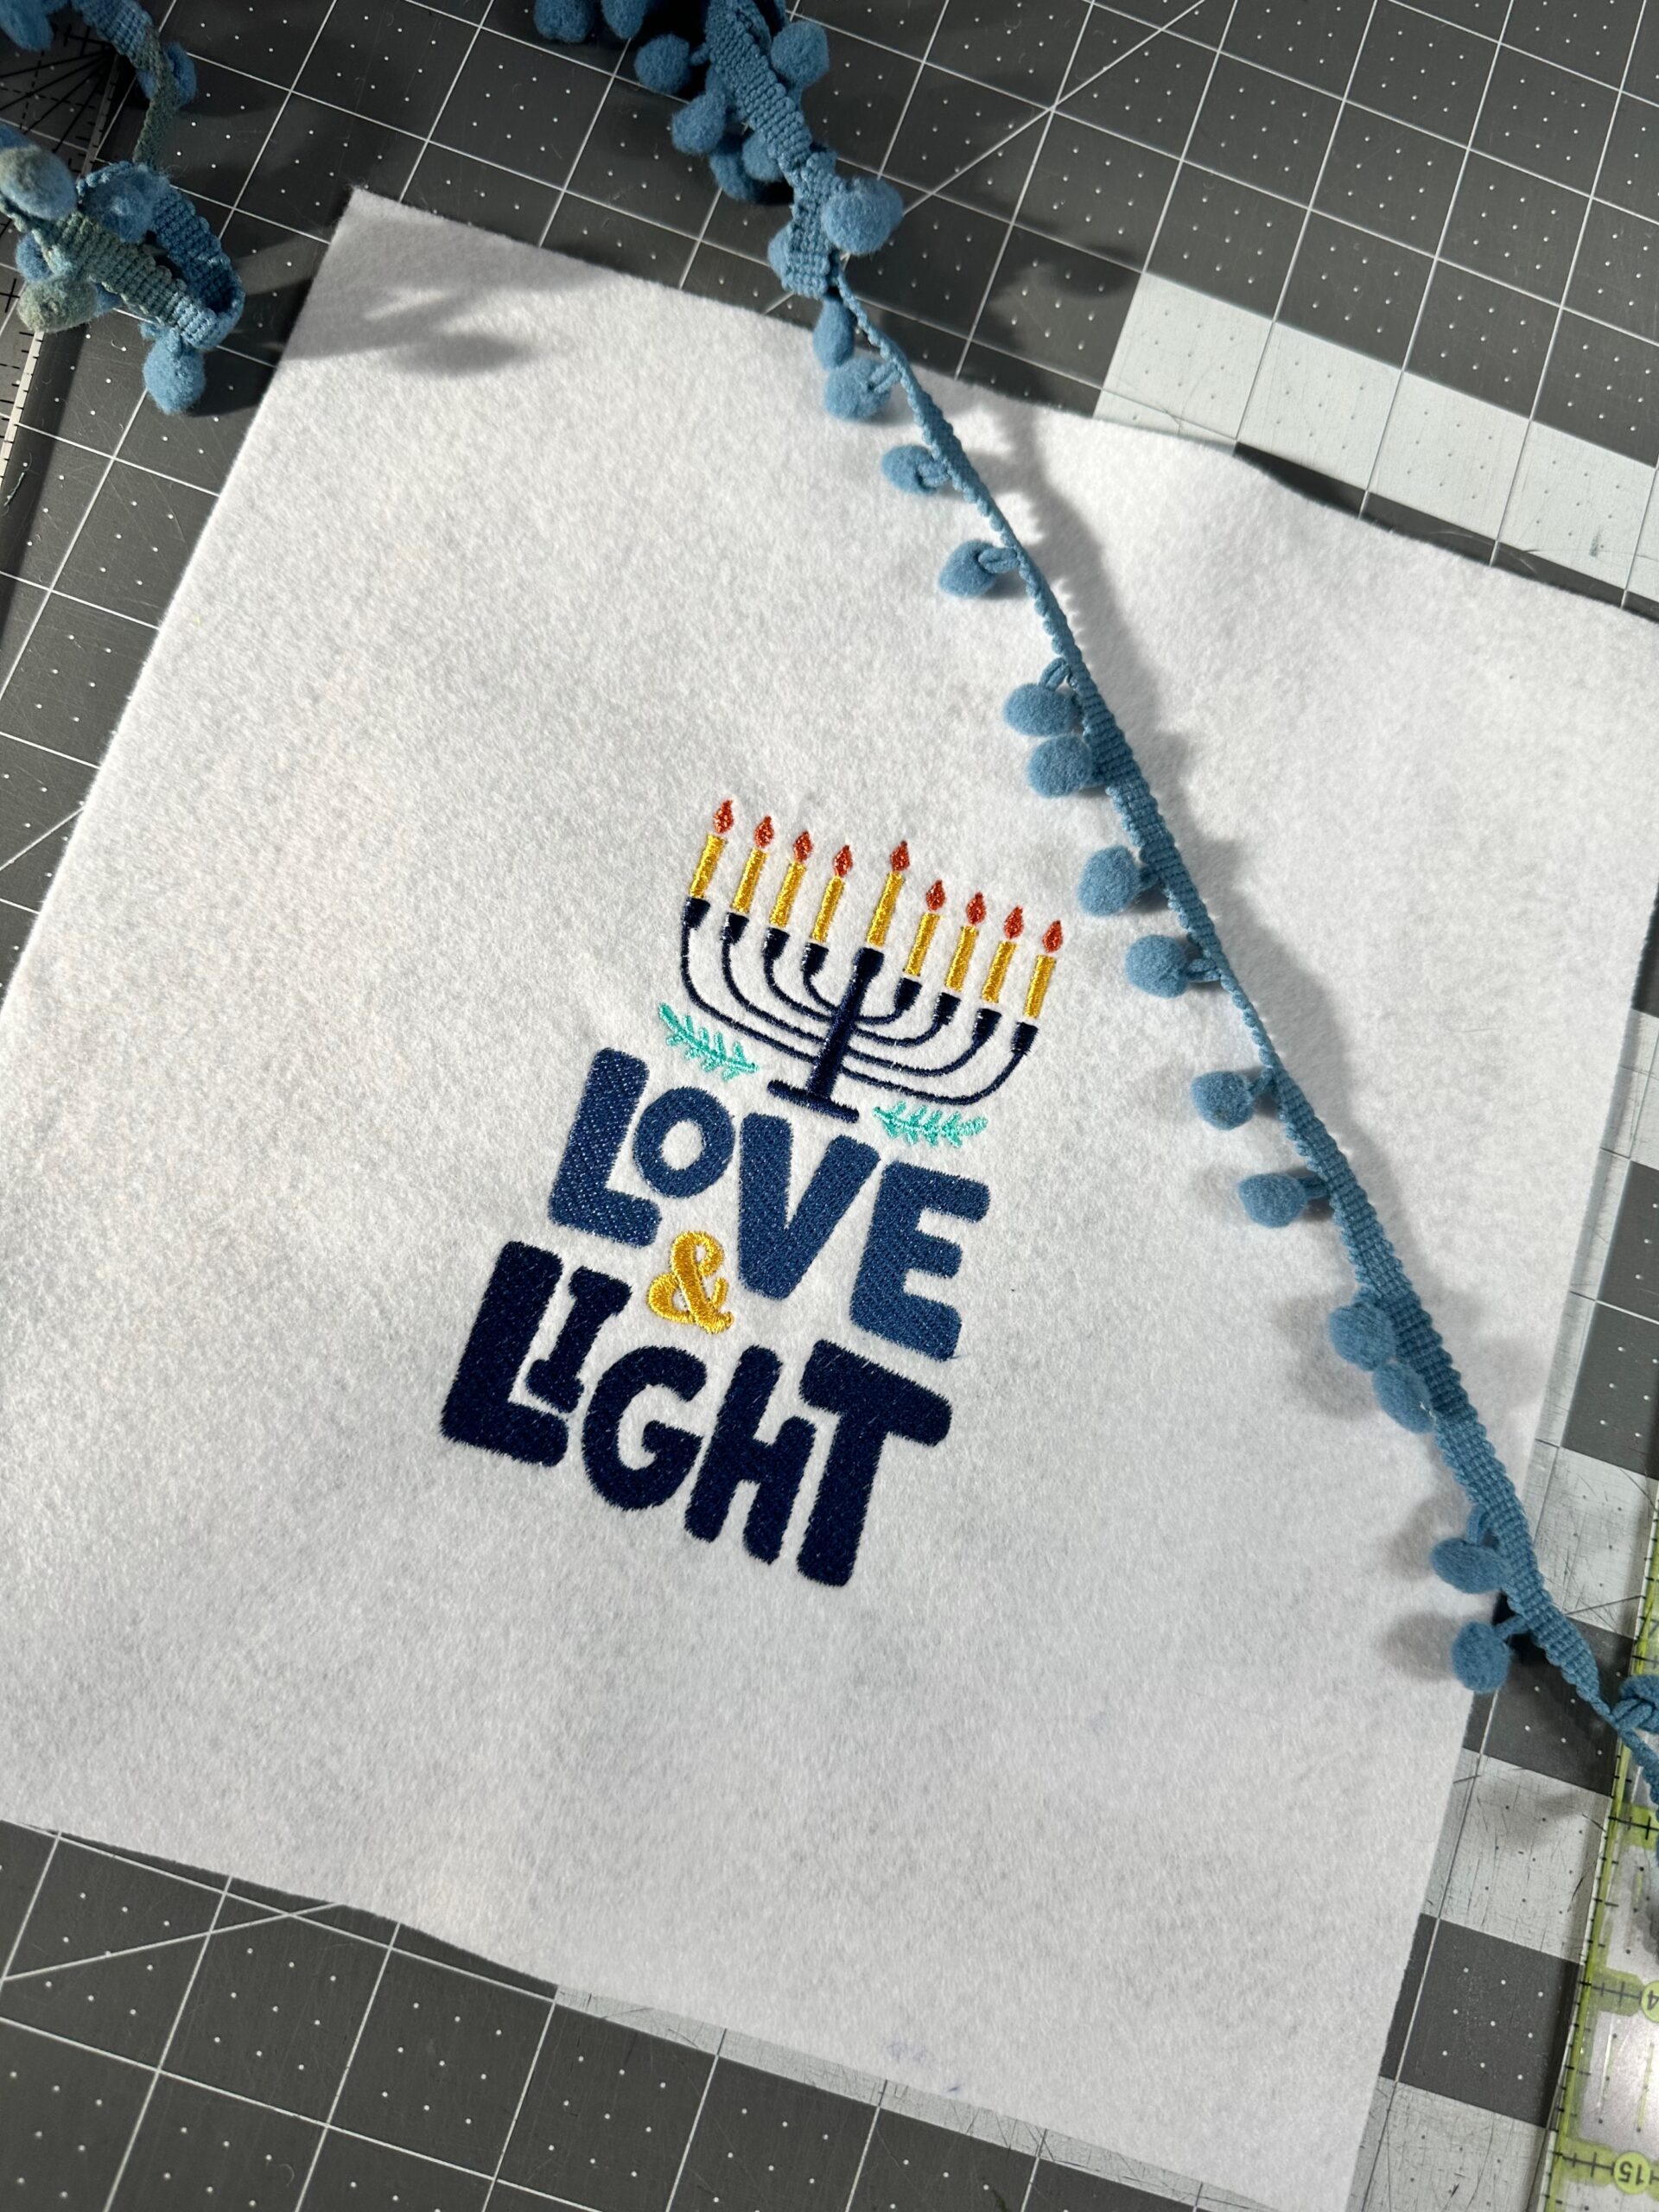
- Embroidery design: (featured is “Love & Light from the Love You A Latke collection by OESD/Scissortail Stitches)
- Curved Tip Squeezers
- 10 1/2″ square of batting
- KK 2000™ Temporary Spray Adhesive
- Sulky 30 wt. Blendables® Thread
- Fabric
- (3) charm squares (5″) of coordinating print cotton fabric
- (3) charm squares (5″) of coordinating solid fabric
- 9 1/4″ square of coordinating quilting cotton (pillow back)
- Pom-pom fringe (optional)
- Polyester fiberfill
SHELF PILLOW EMBROIDERY
First, load the chosen machine embroidery design into the machine. The featured Love & Light design size fits inside a 120mm x 120mm hoop.
Hoop two pieces of Sulky Tear-Easy Stabilizer.
Next, place a piece of Sulky Felty over the stabilizer in the hoop. Use Sulky KK 2000 Temporary Spray Adhesive to secure the Felty to the stabilizer.
Place the hoop onto the machine. Thread a size 90/14 Embroidery Needle with Sulky Rayon Thread in the first color of the design.
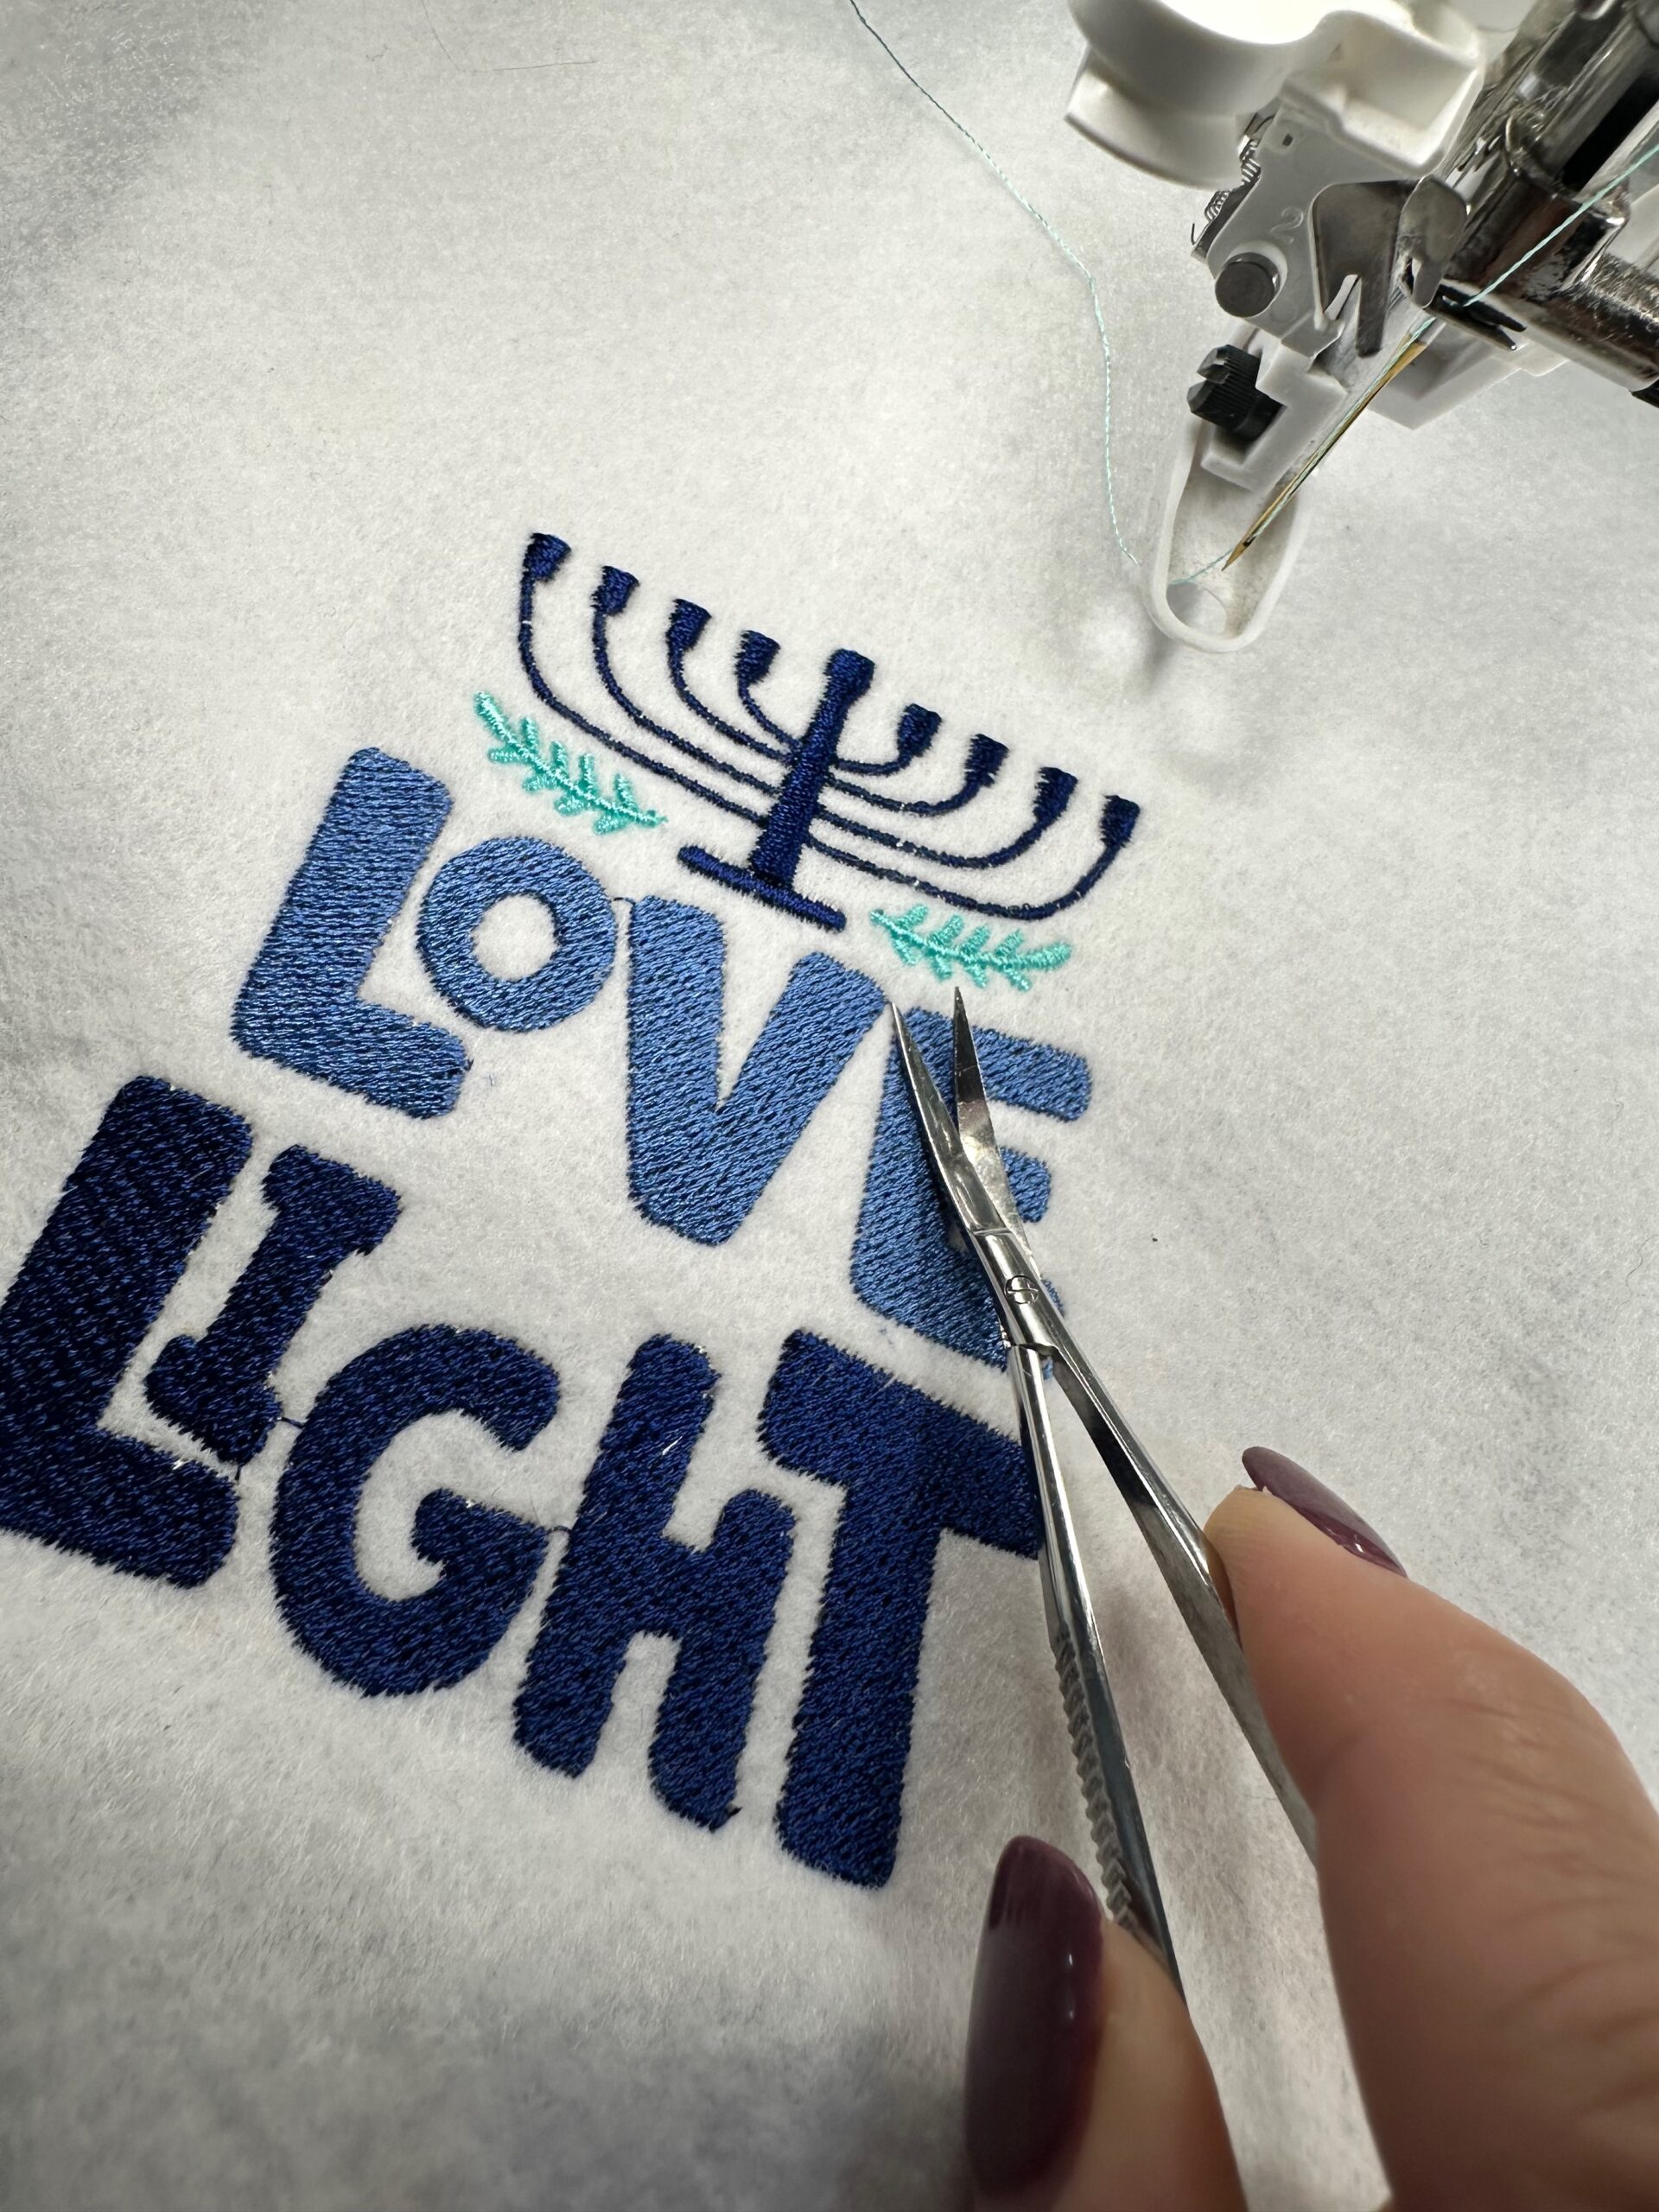
Next, embroider the design, clipping any jump threads with each color change using Curved Tip Squeezers.
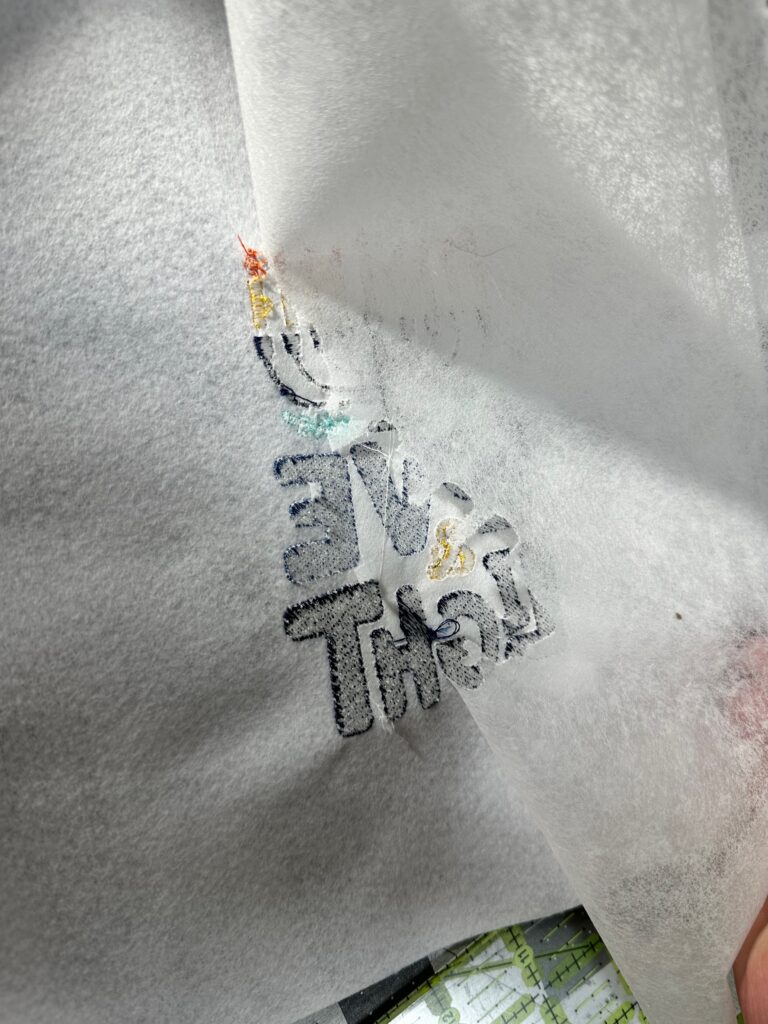
When the embroidery is complete, remove the hoop from the machine.
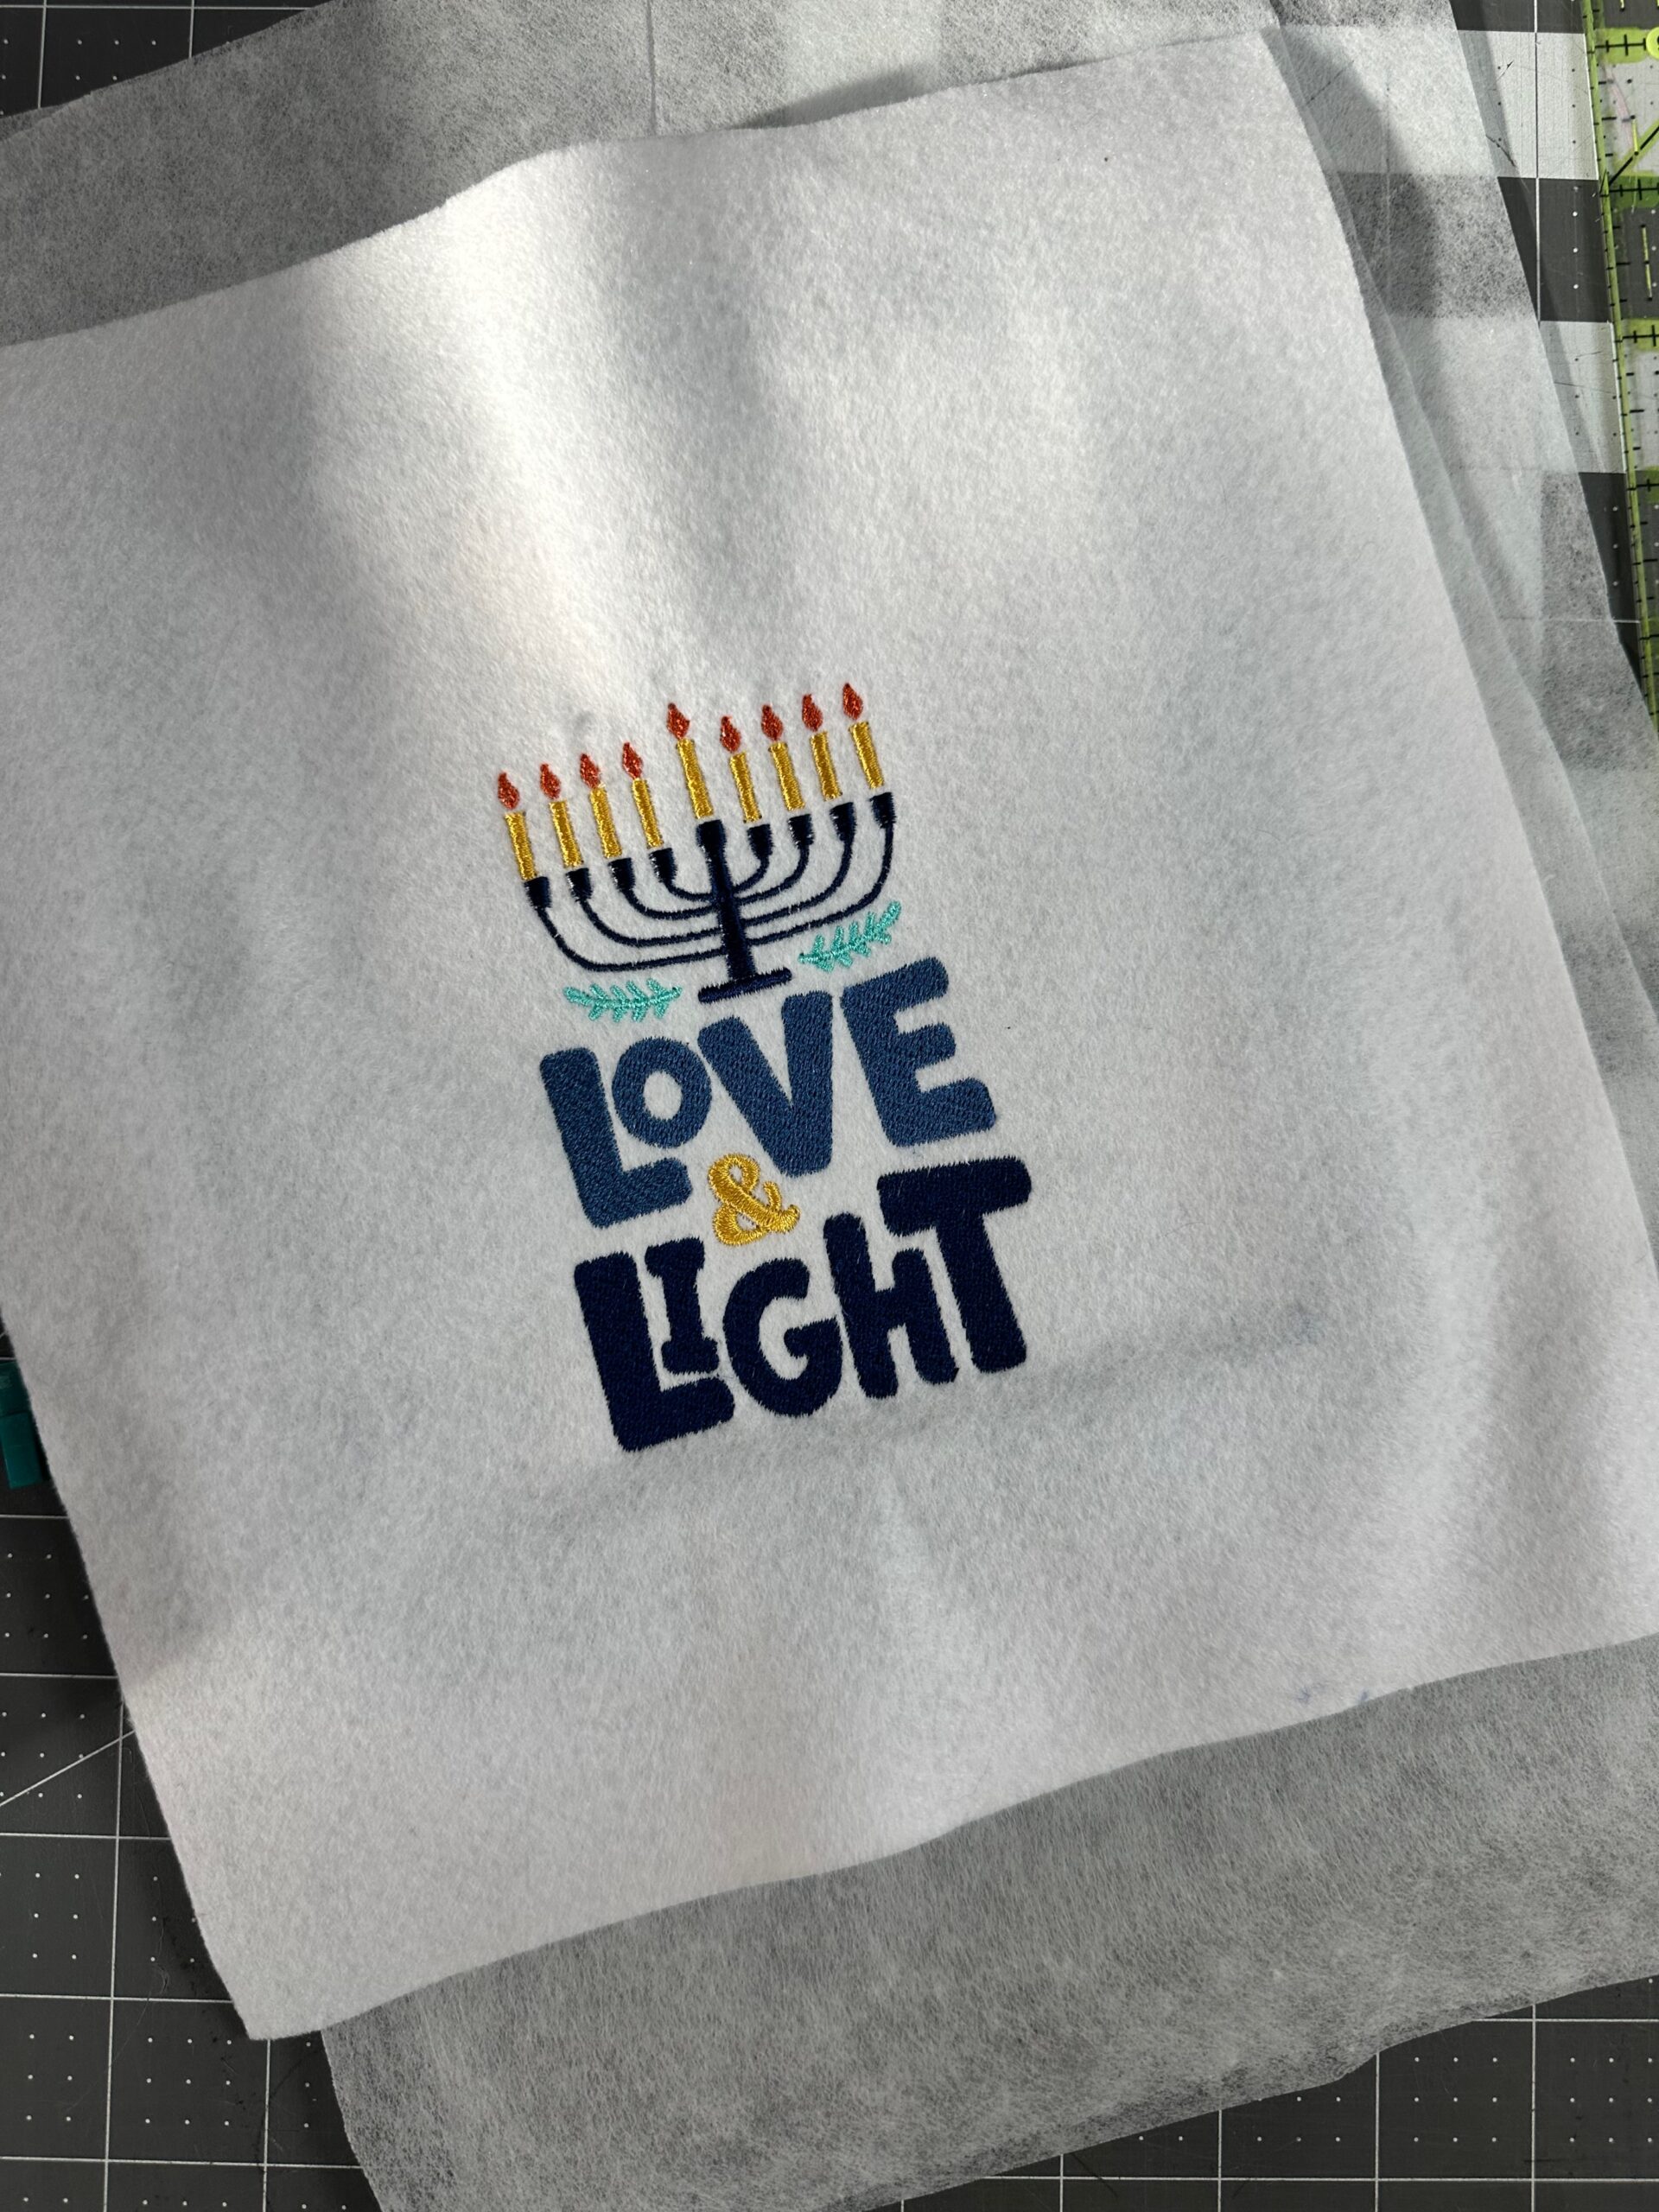
Then, tear away the stabilizer one layer at a time.

PILLOW PREP
To begin constructing he Hanukkah Shelf Pillow, gather the materials you want to use. For the featured pillow, pom-pom fringe is used. You may prefer to insert flat piping or rick-rack into the seam instead! Have fun with trims and ribbons. Leftovers are great for small shelf pillows. Bits of lace look nice, topstitched along the pillow side or upper edge, too.
Set up the machine for standard sewing. Install a size 70/10 Universal Needle and thread the needle with 50 wt. Cotton Thread that matches the Felty.
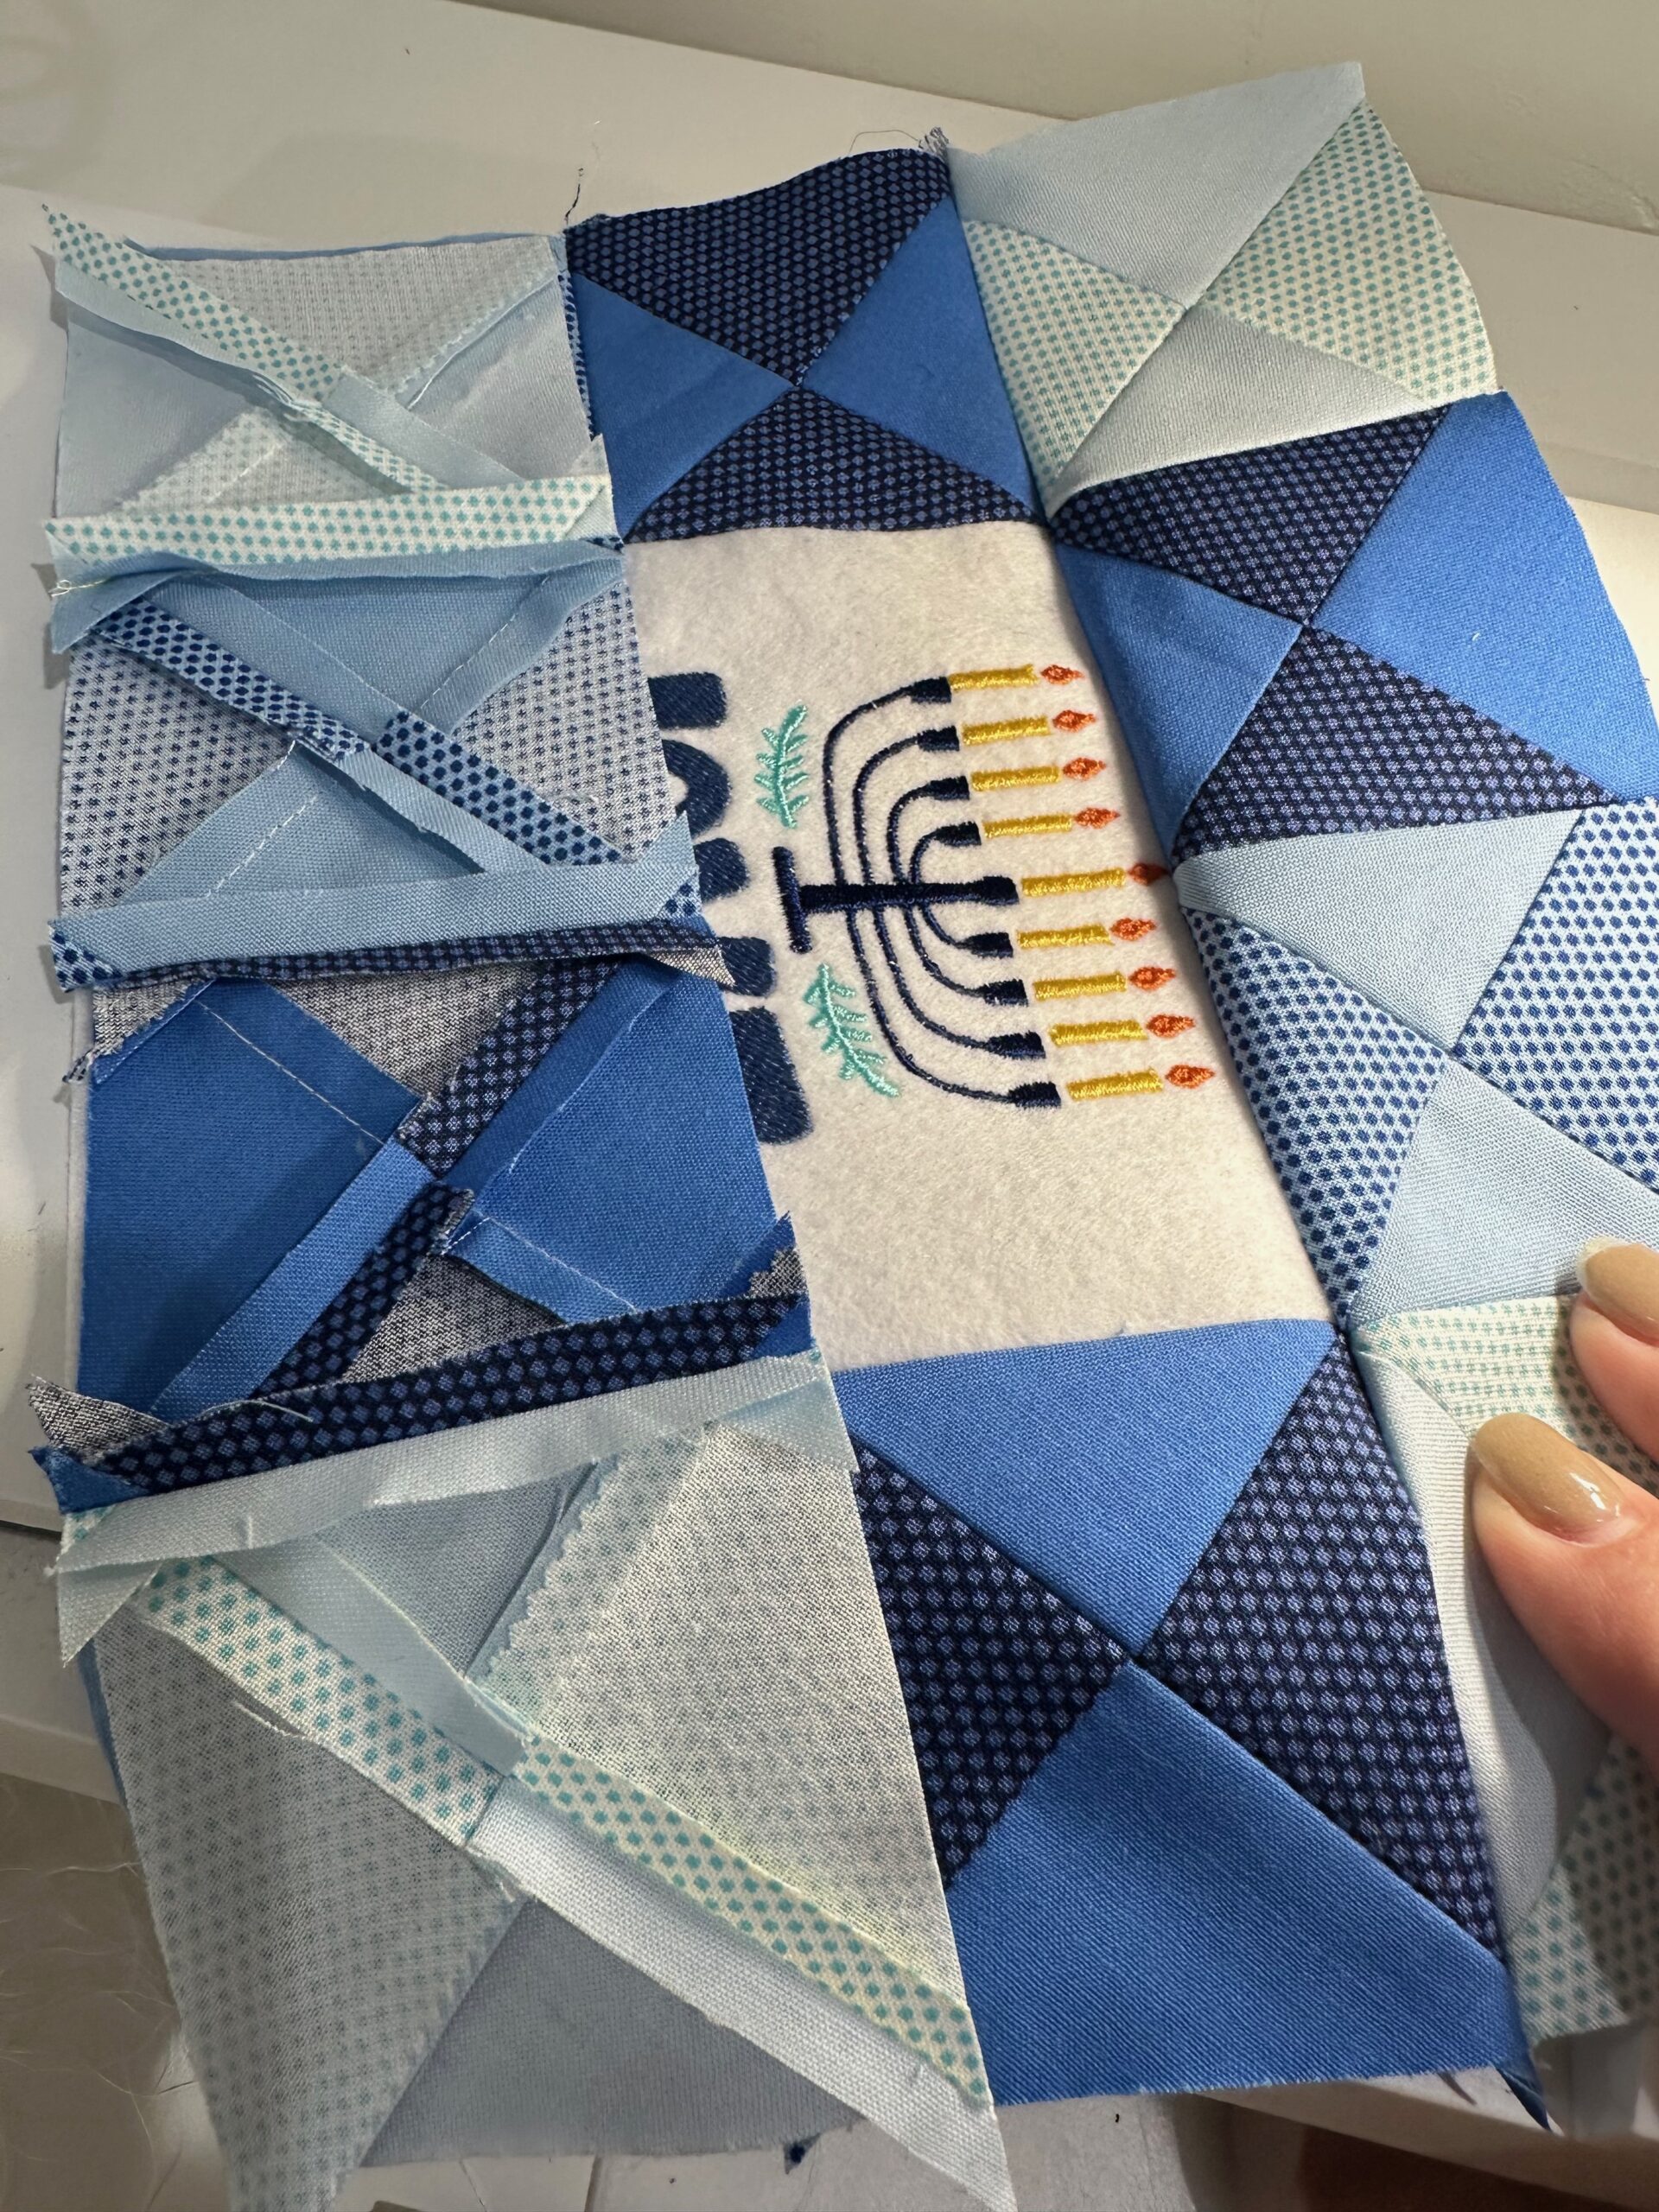
Trim the embroidered Felty to 5″ square, centering the design.
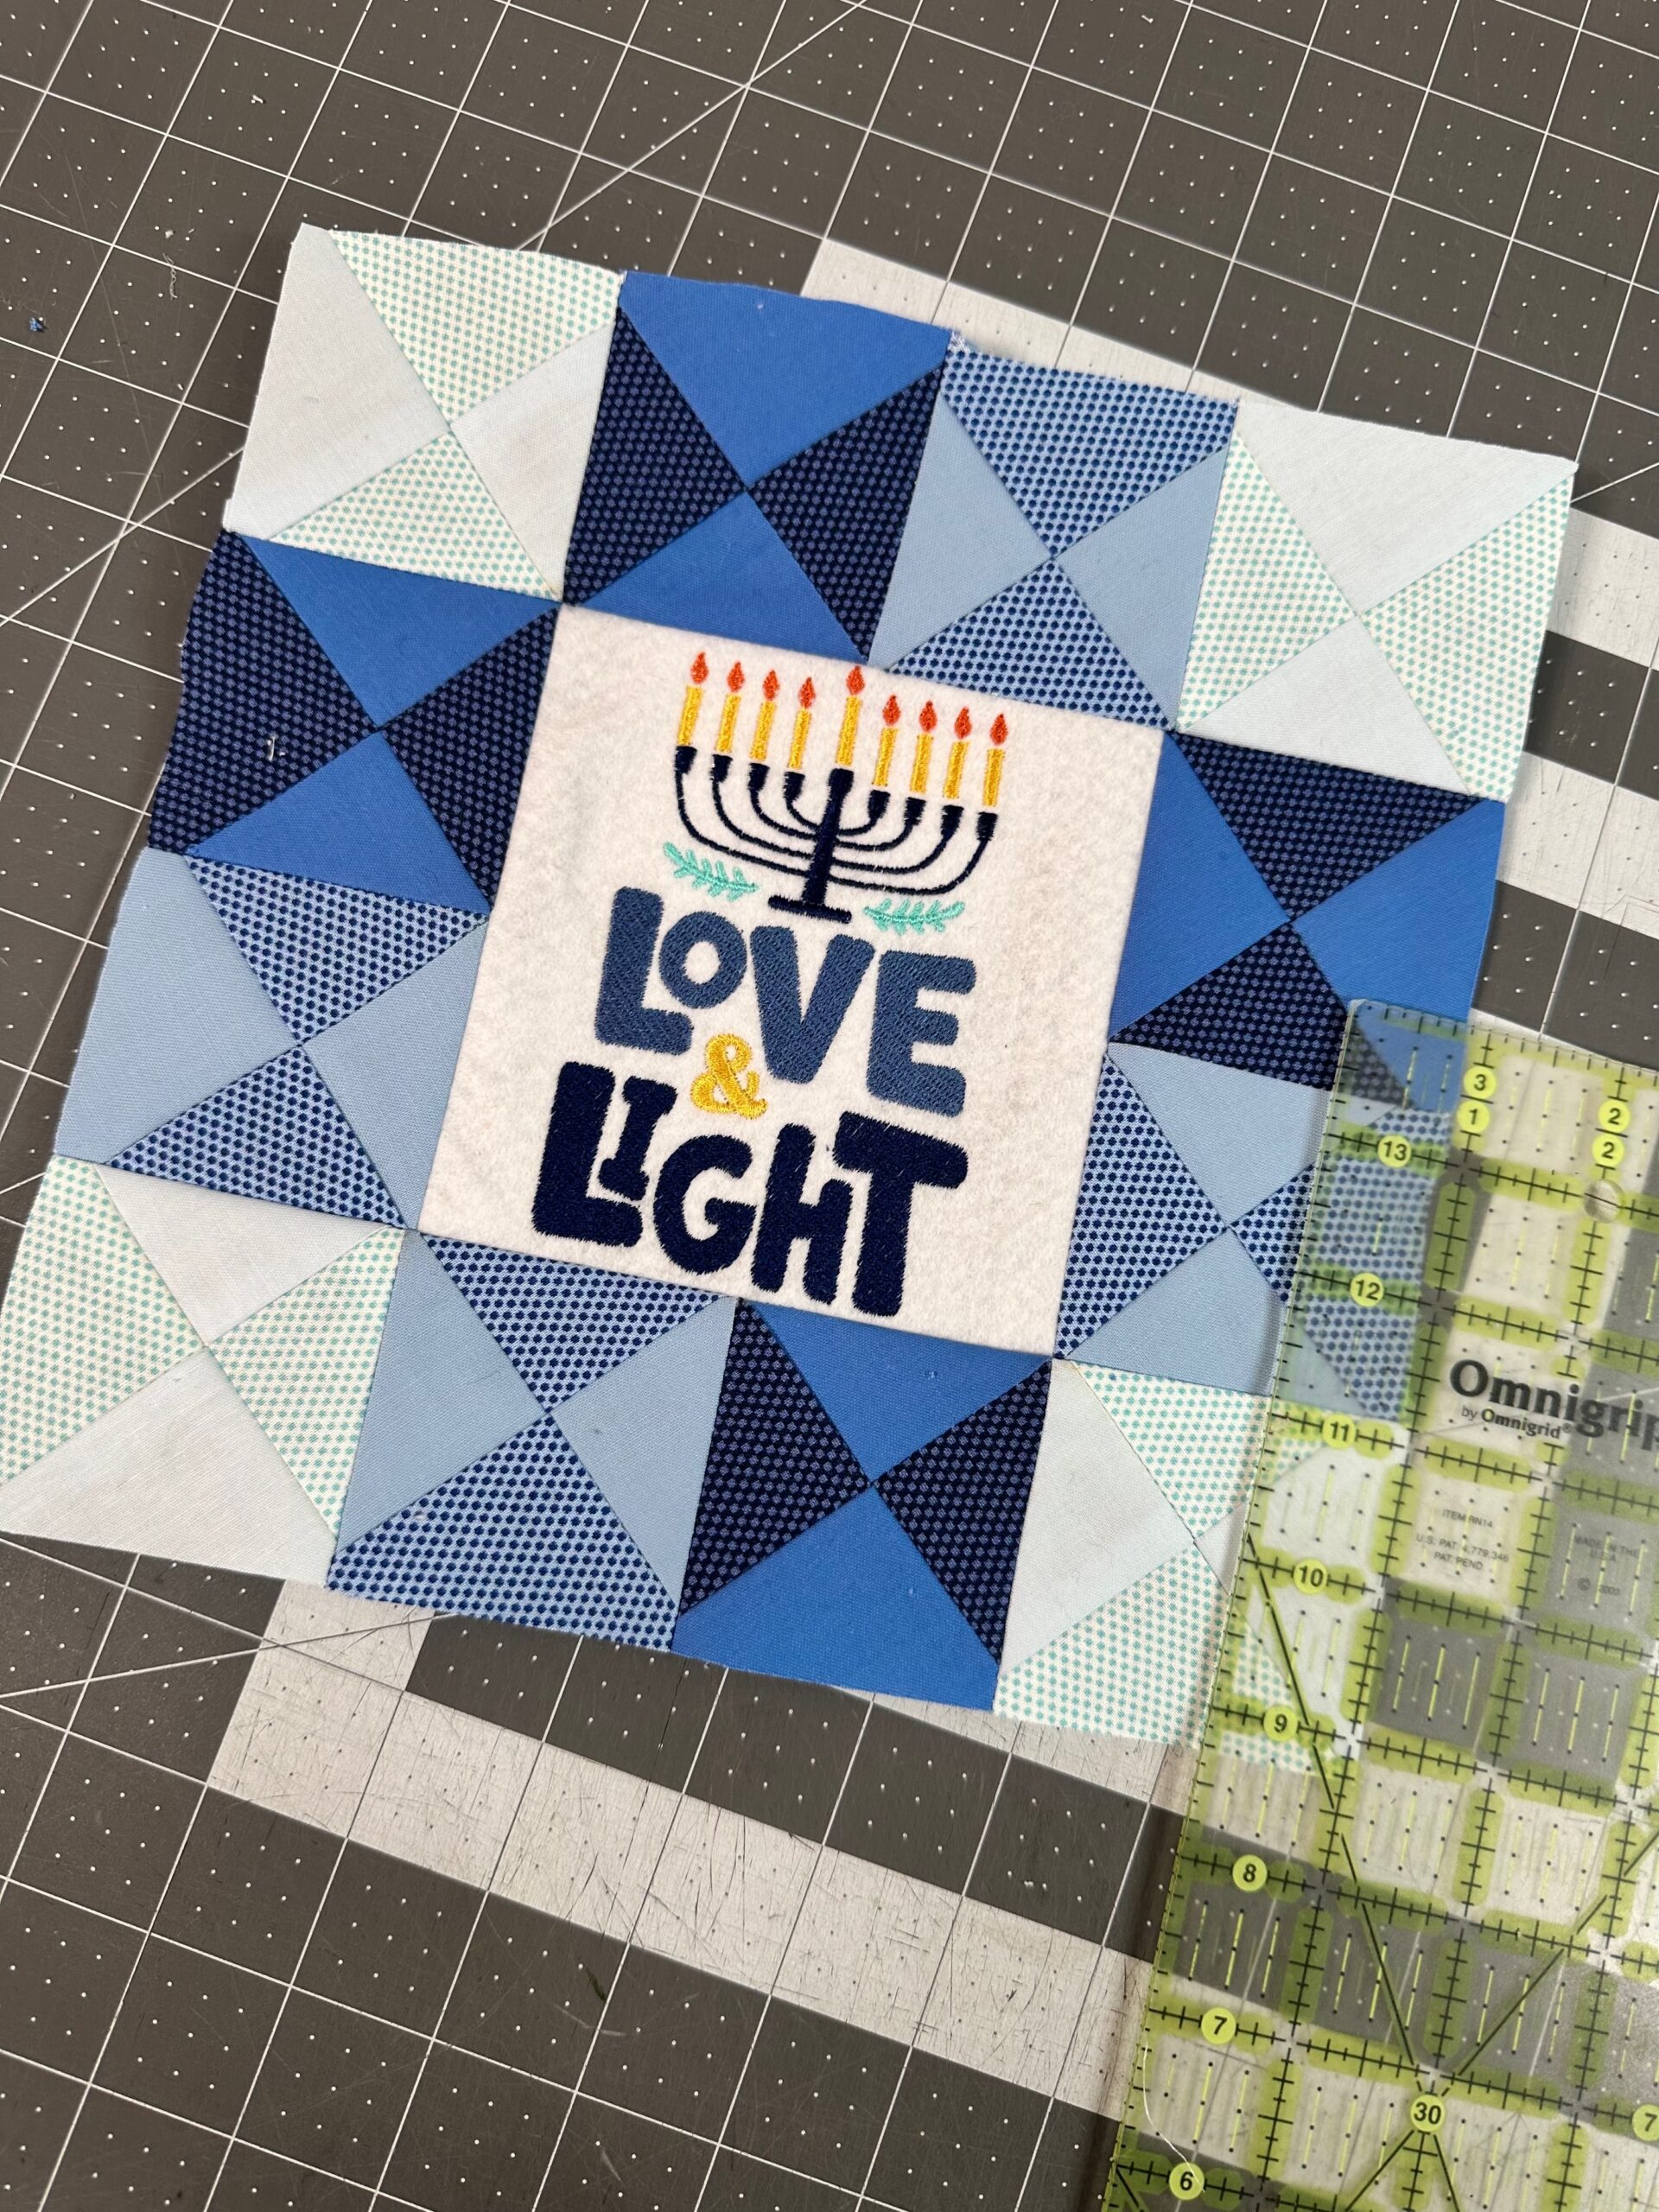
MINI HOURGLASS BLOCKS
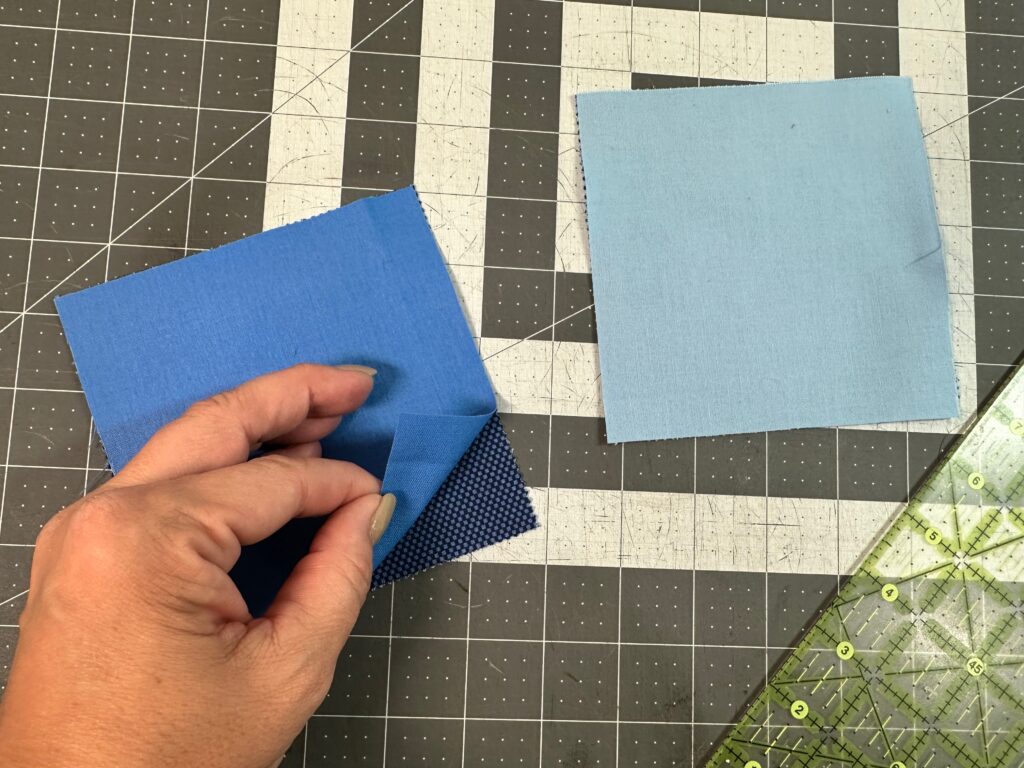
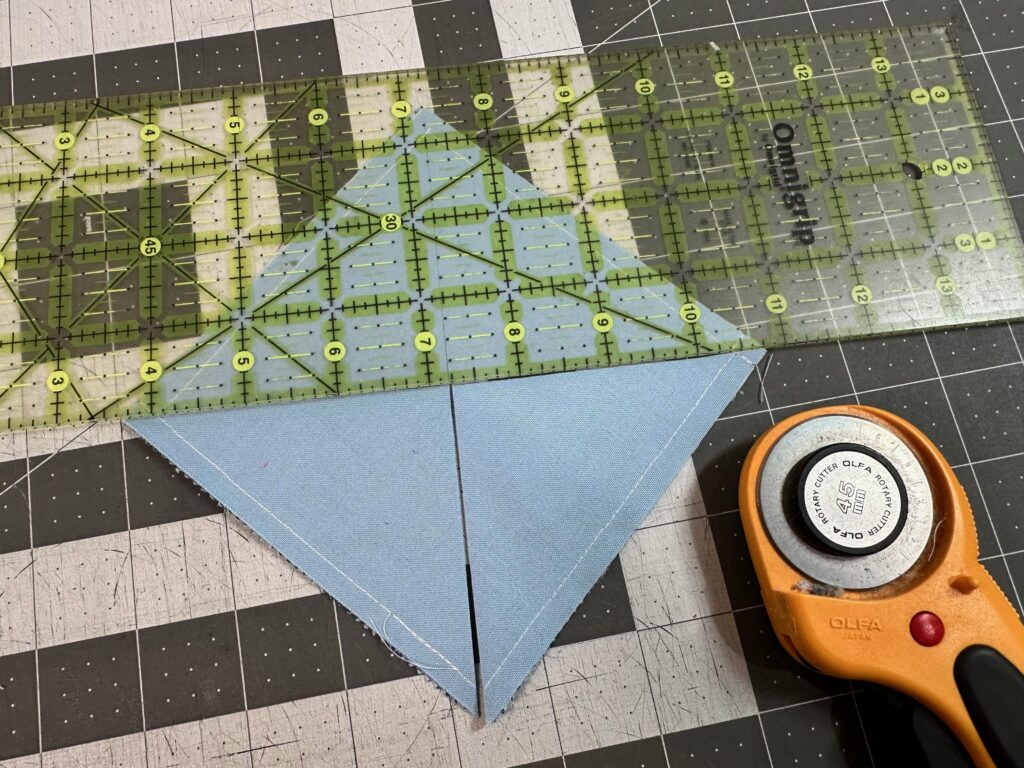
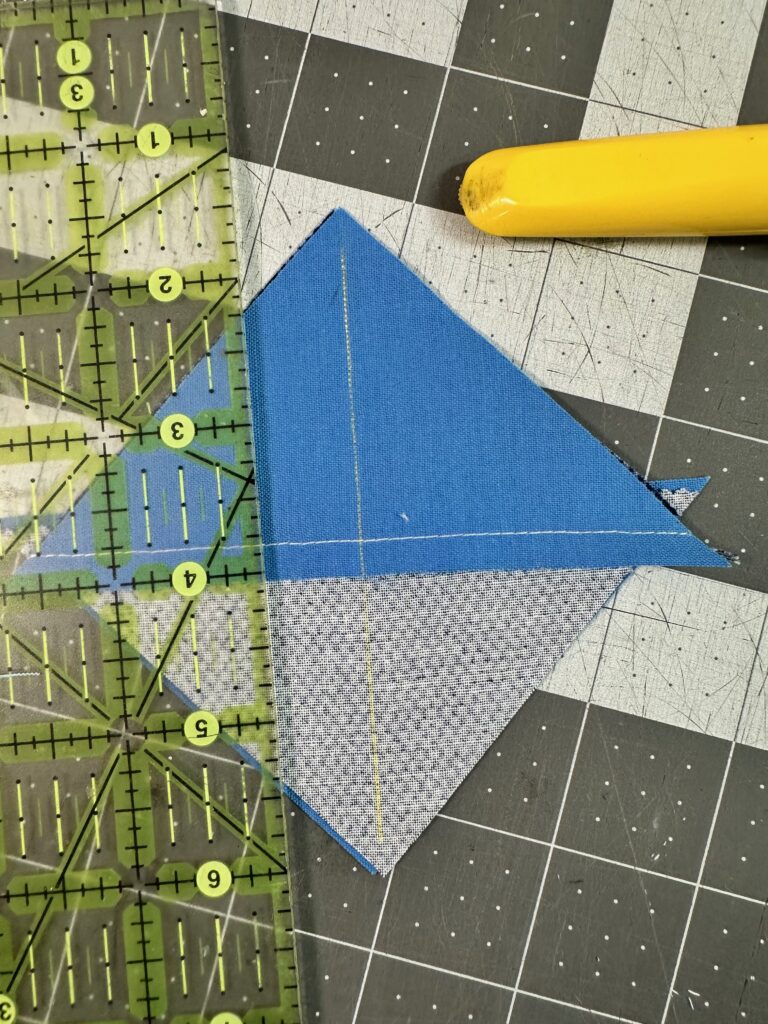
To create the hourglass blocks, first place one print cotton charm square right side facing a solid charm square. Stitch the perimeter 1/4″ from the edges.
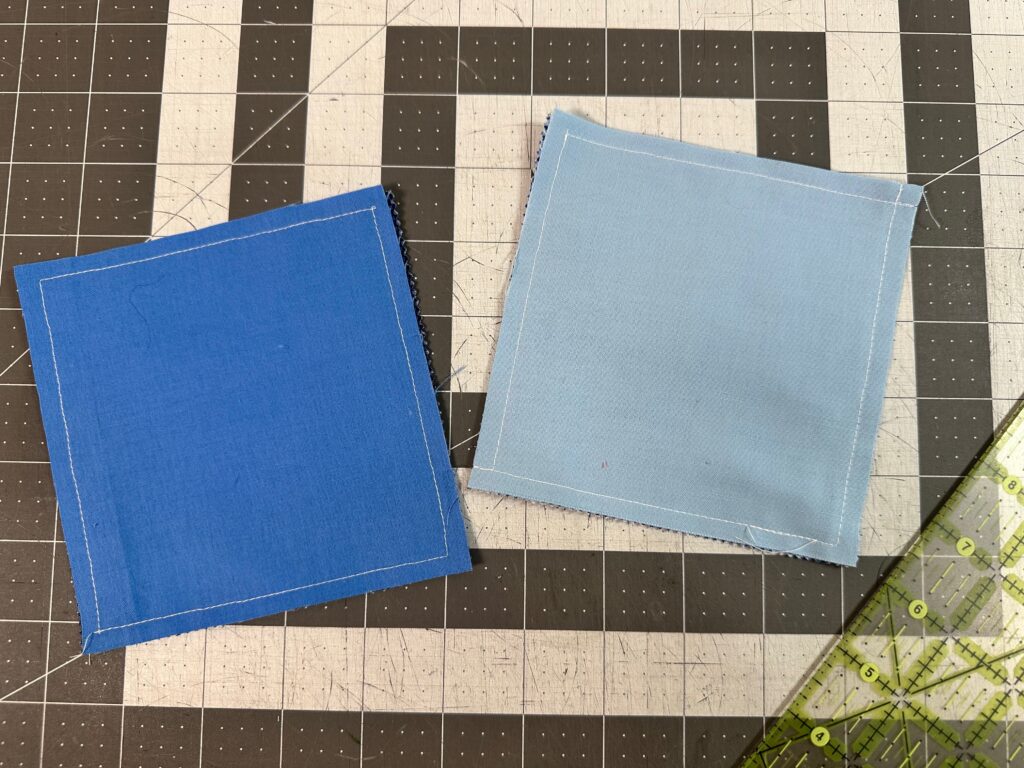
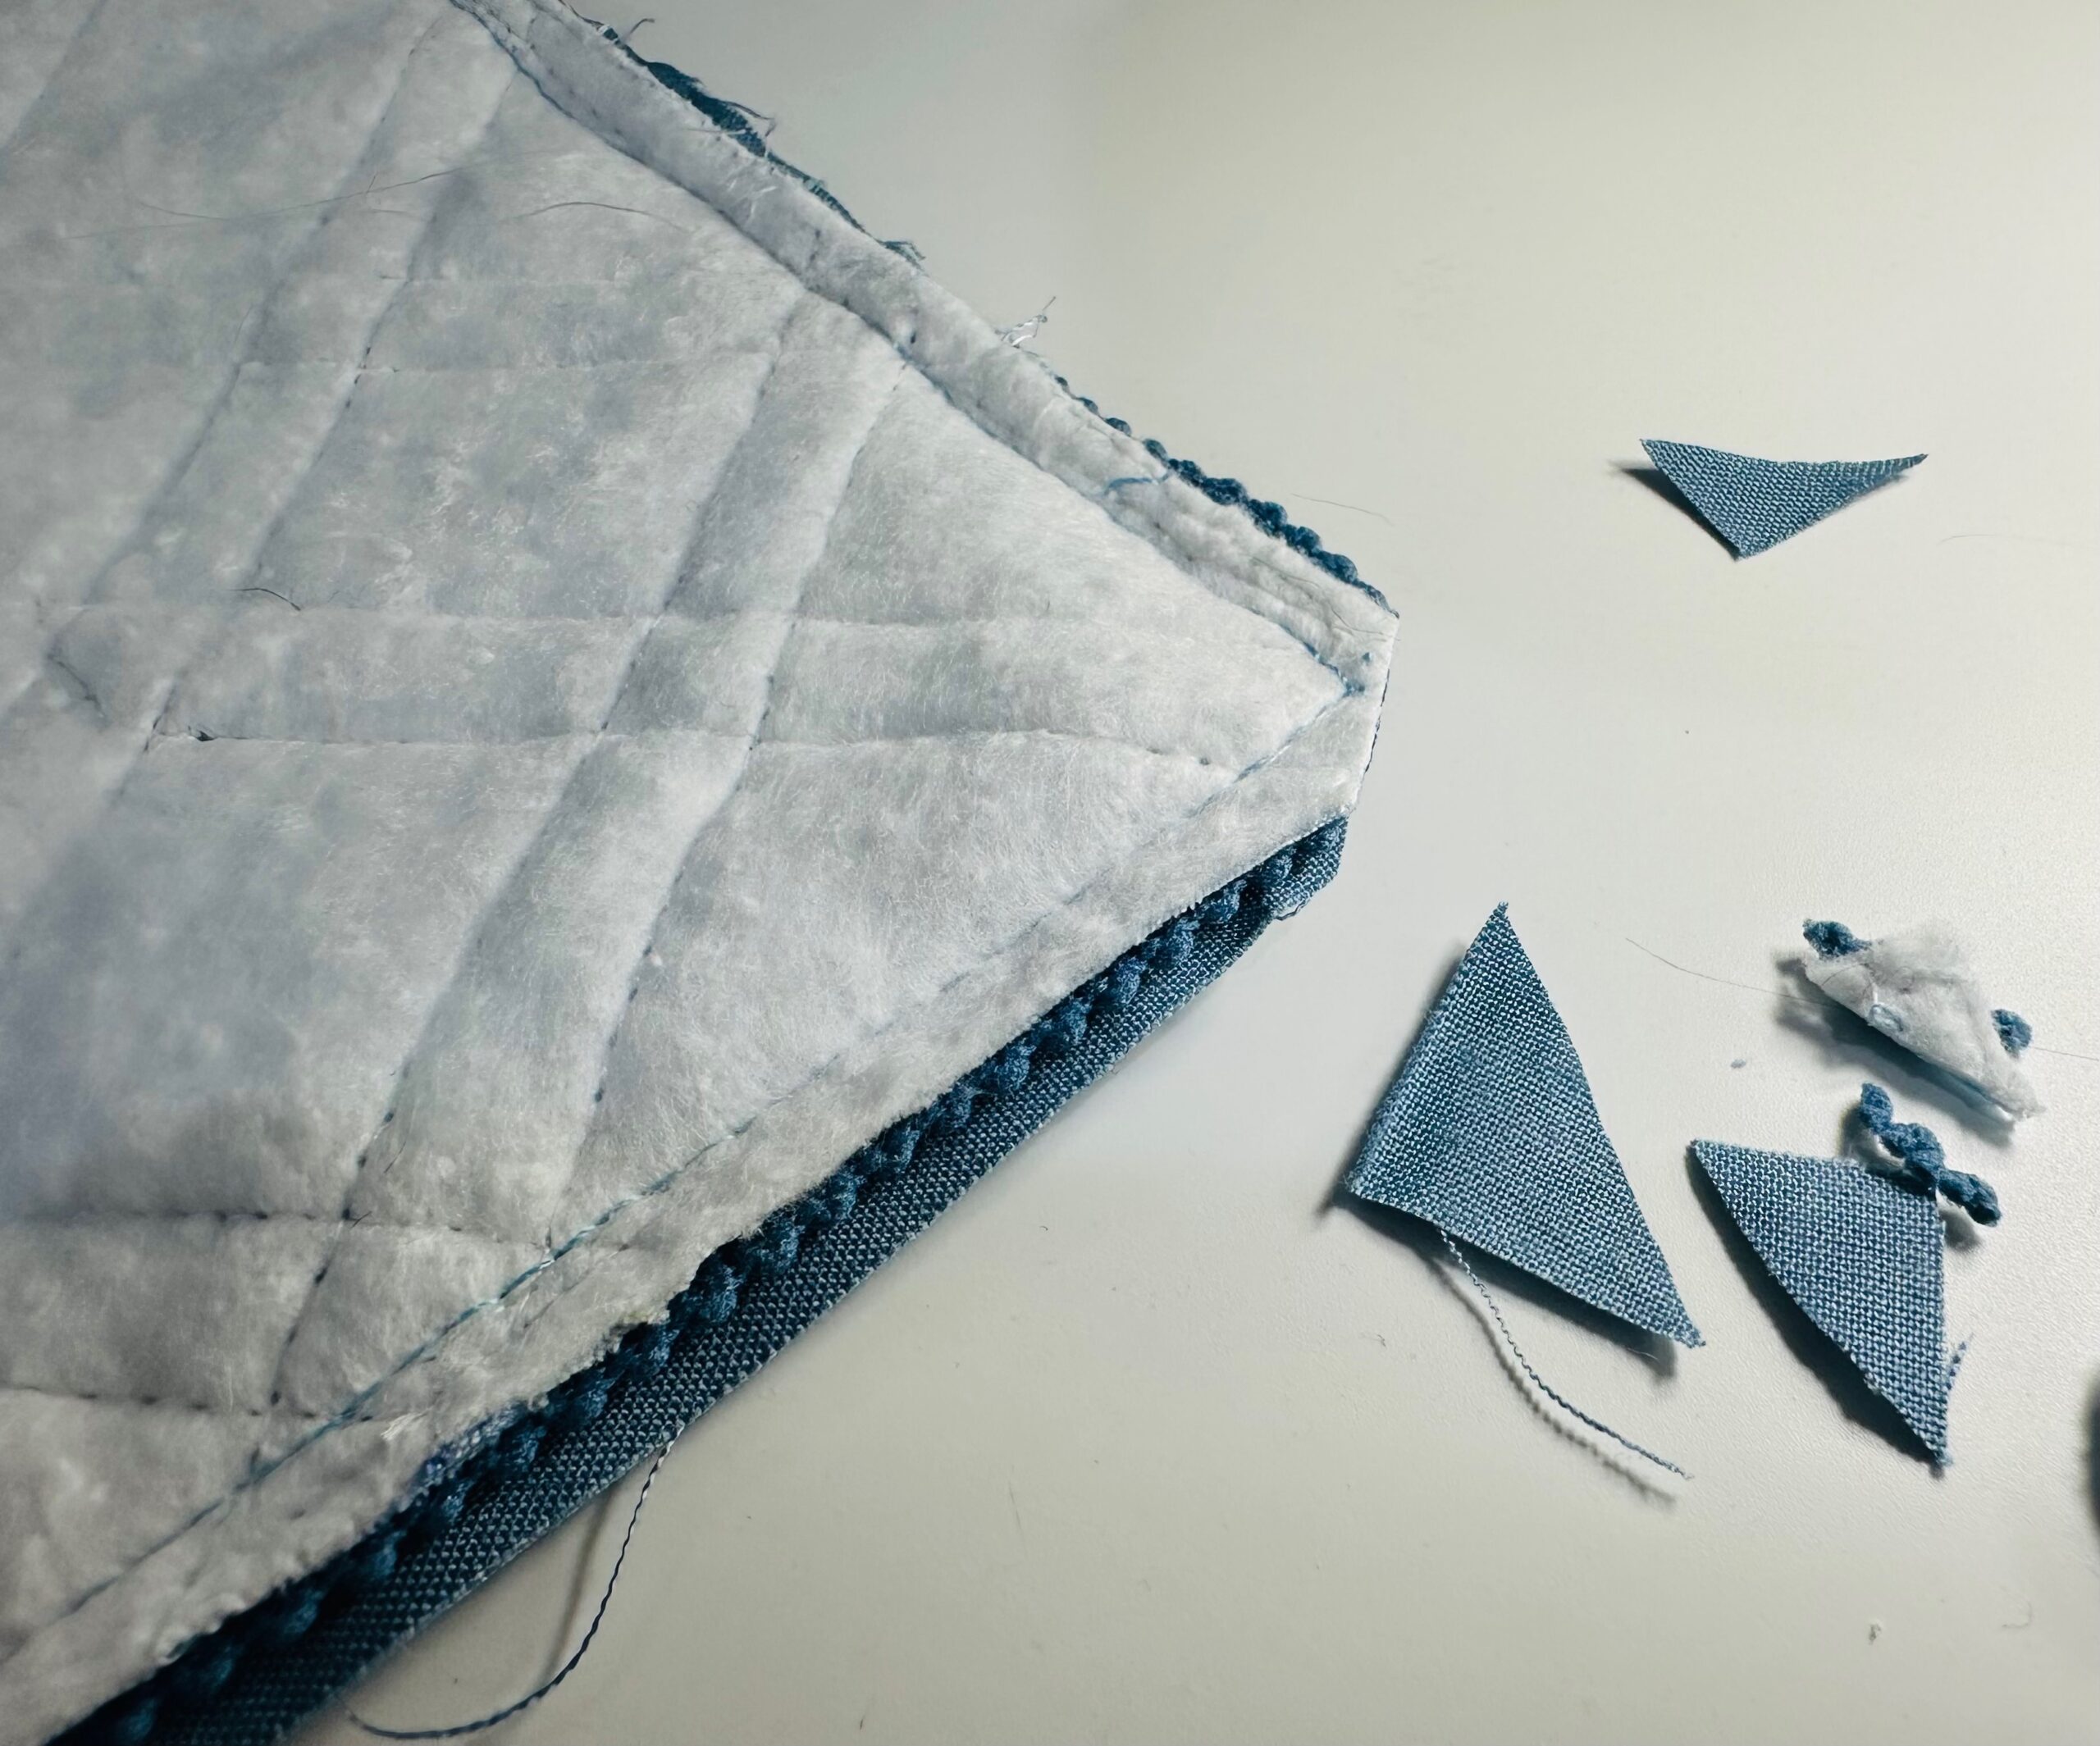
Next, Cut a diagonal line from one upper-edge corner to the opposite lower-edge corner. Then, without moving the fabrics, cut a diagonal line from the remaining upper-edge corner to the opposite lower-edge corner. Press each seam allowance from the four half-square triangles toward the darker fabric.

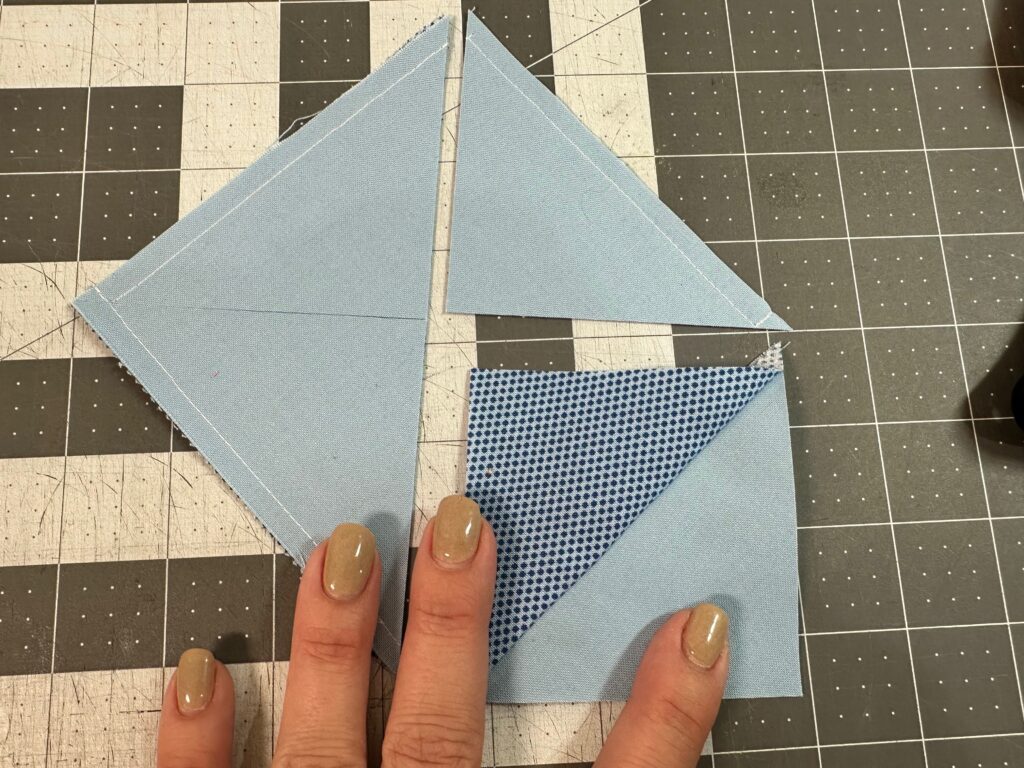
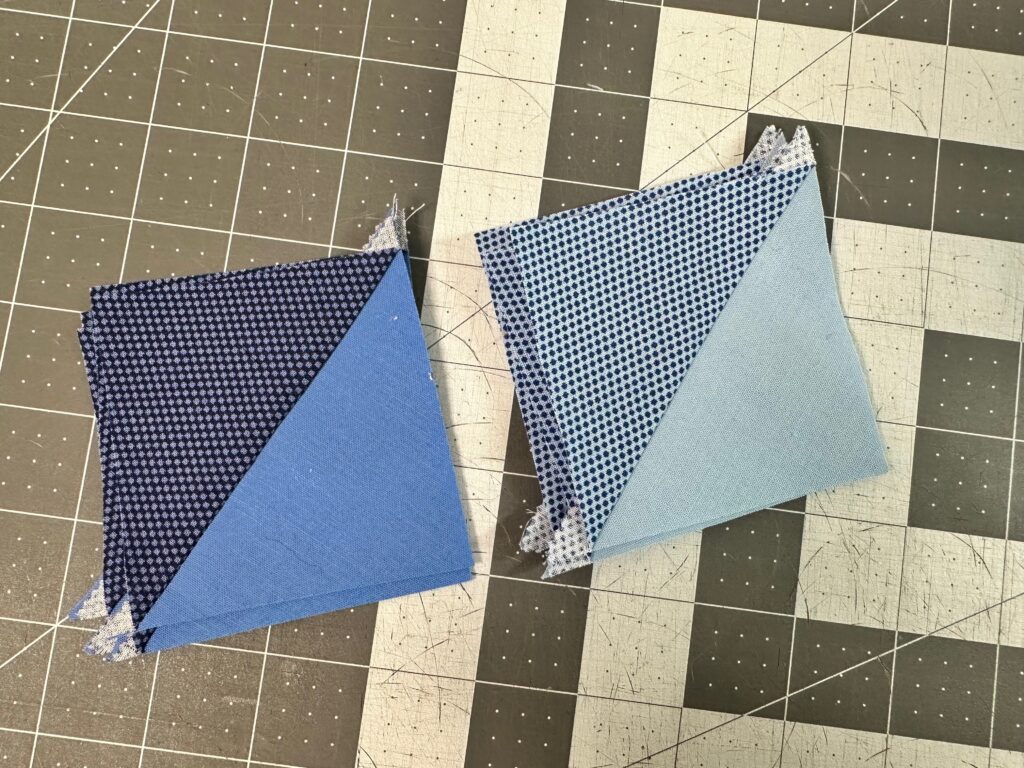
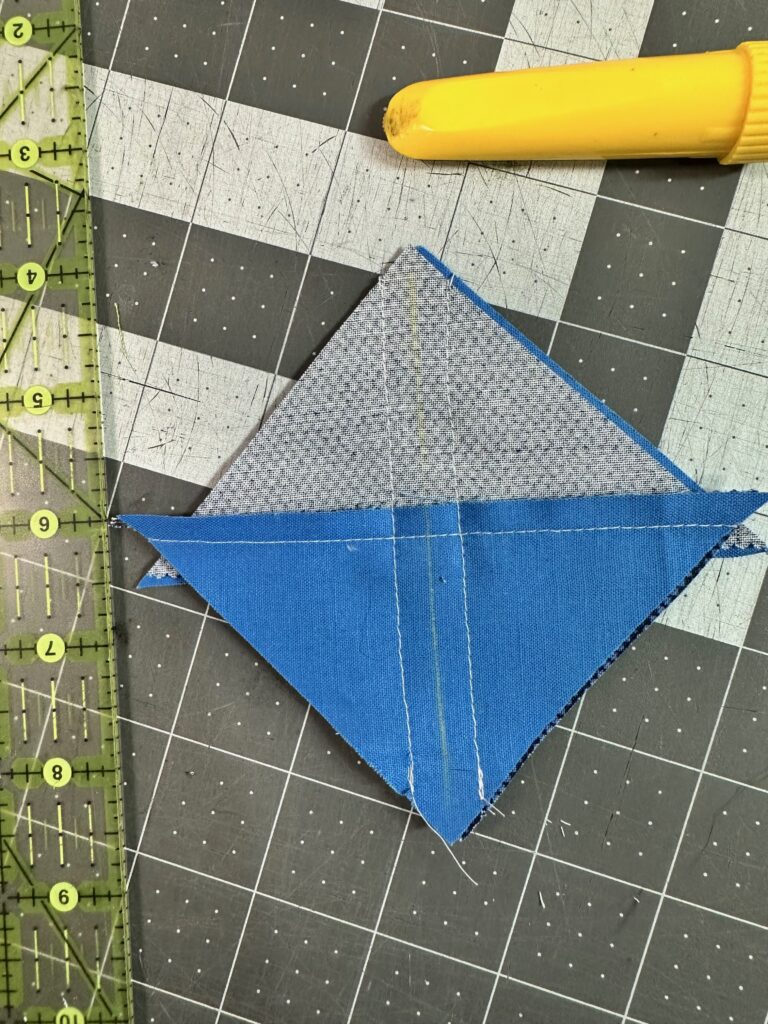
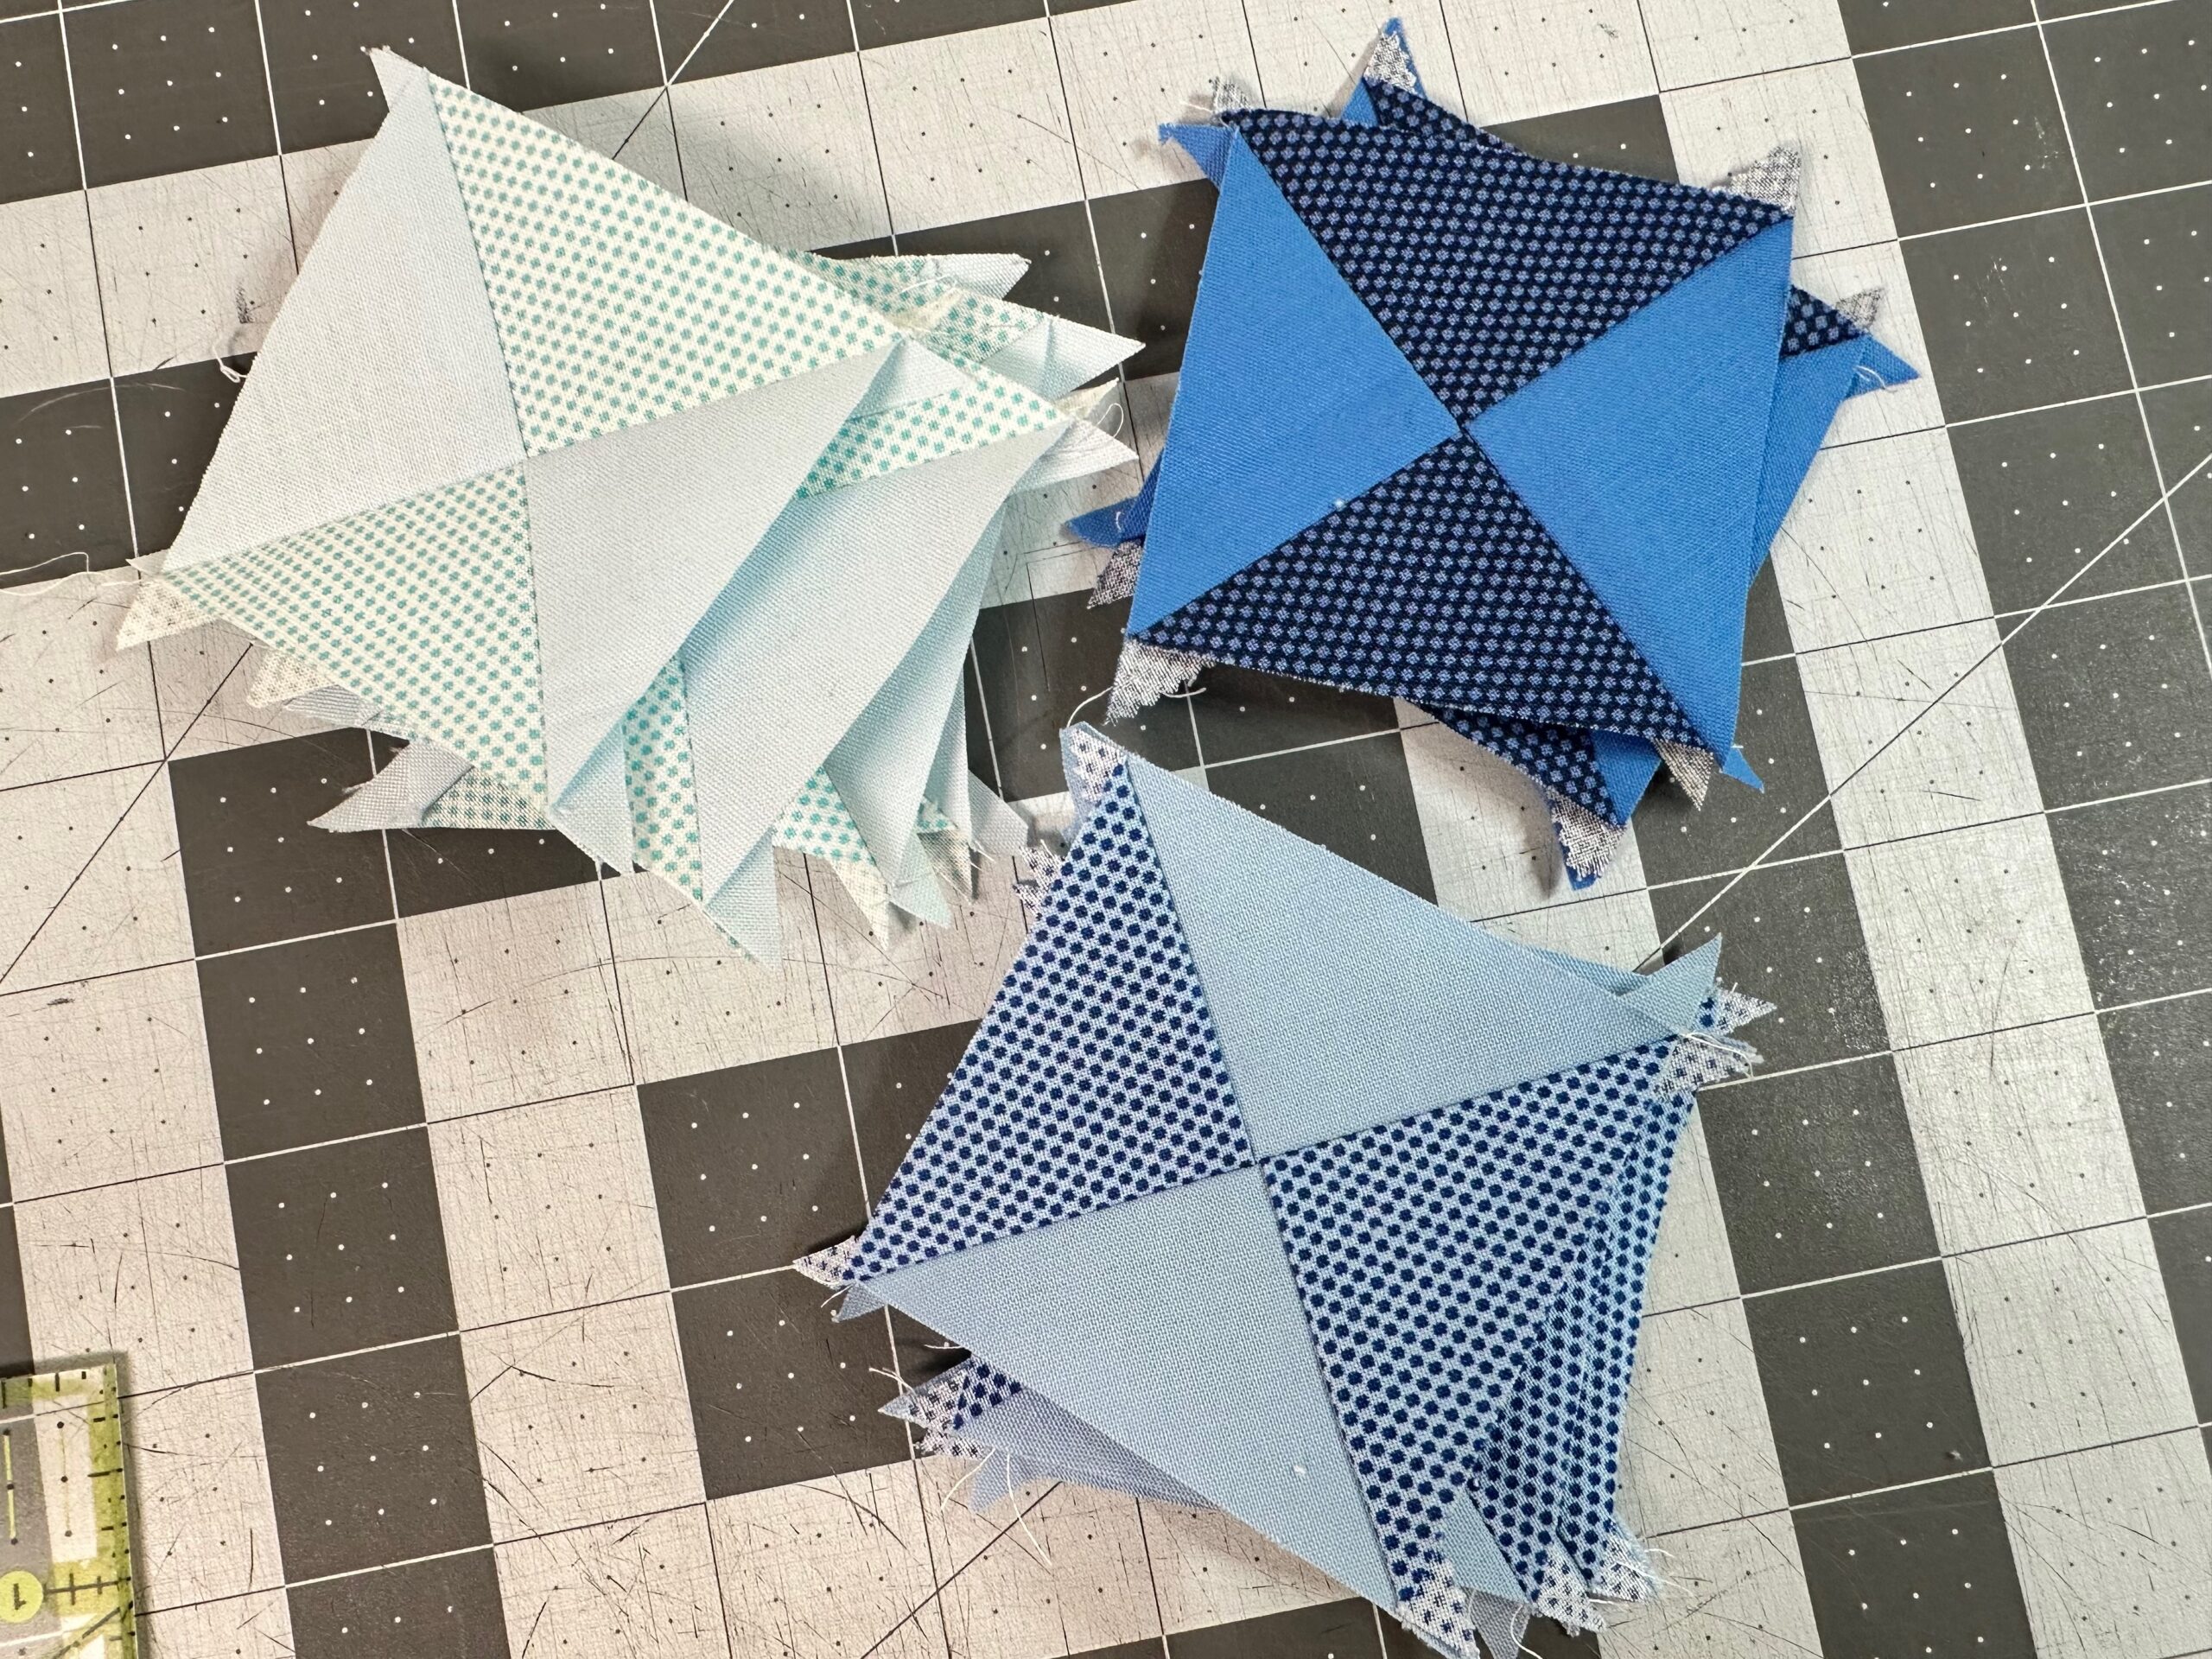
Repeat for the remaining print and solid charm squares to have 12 half square triangle (HST) blocks measuring 3 1/4″ square.
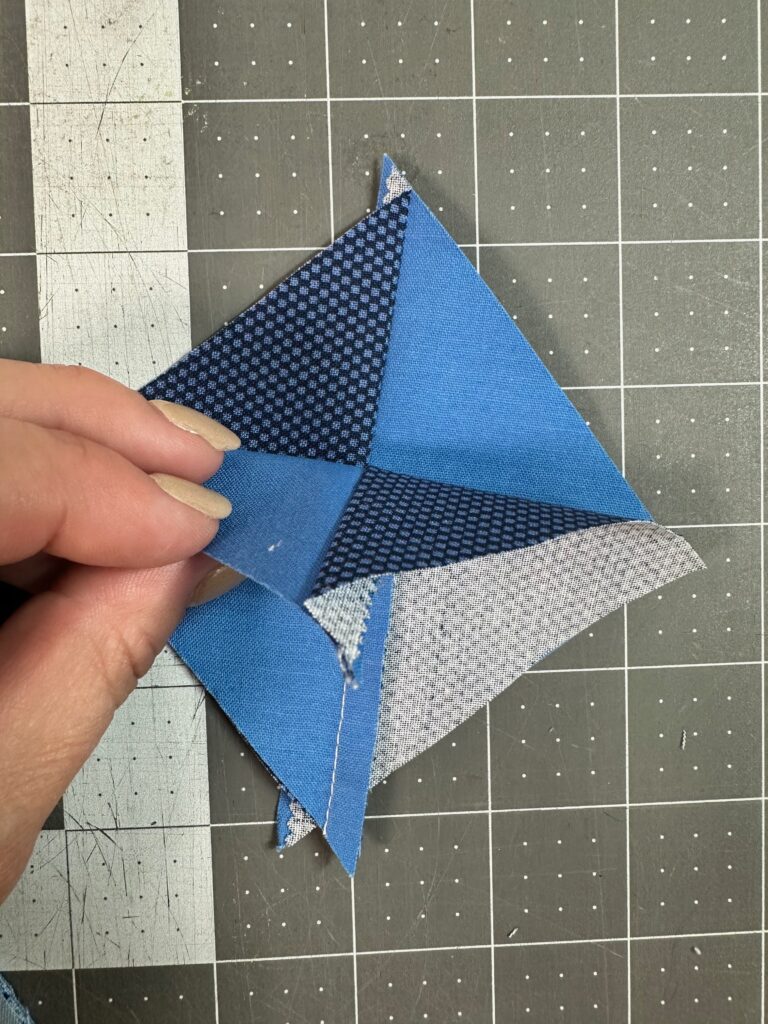
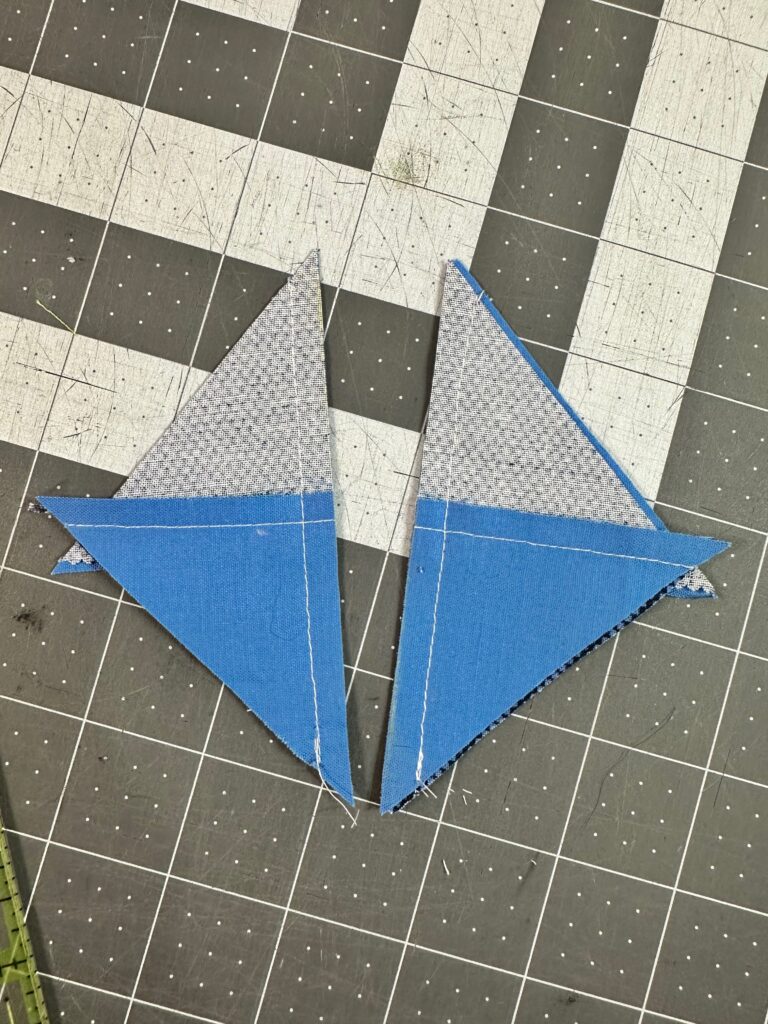
Next, place two matching HSTs right sides together, matching one print triangle to one solid triangle. Mark a line from corner to corner opposite the seam. Then, mark two lines, each placed 1/4″ from the first line. Stitch along both lines. Then, cut along the first line. Repeat with all HST blocks to have 12 hourglass blocks measuring 2 3/4″.
PIECING THE PILLOW TOP
Arrange the hourglass blocks to have four blocks along the center block upper and lower edges and two blocks bordering the sides of the center block. Play around with the block orientations, varying the color pattern as desired.
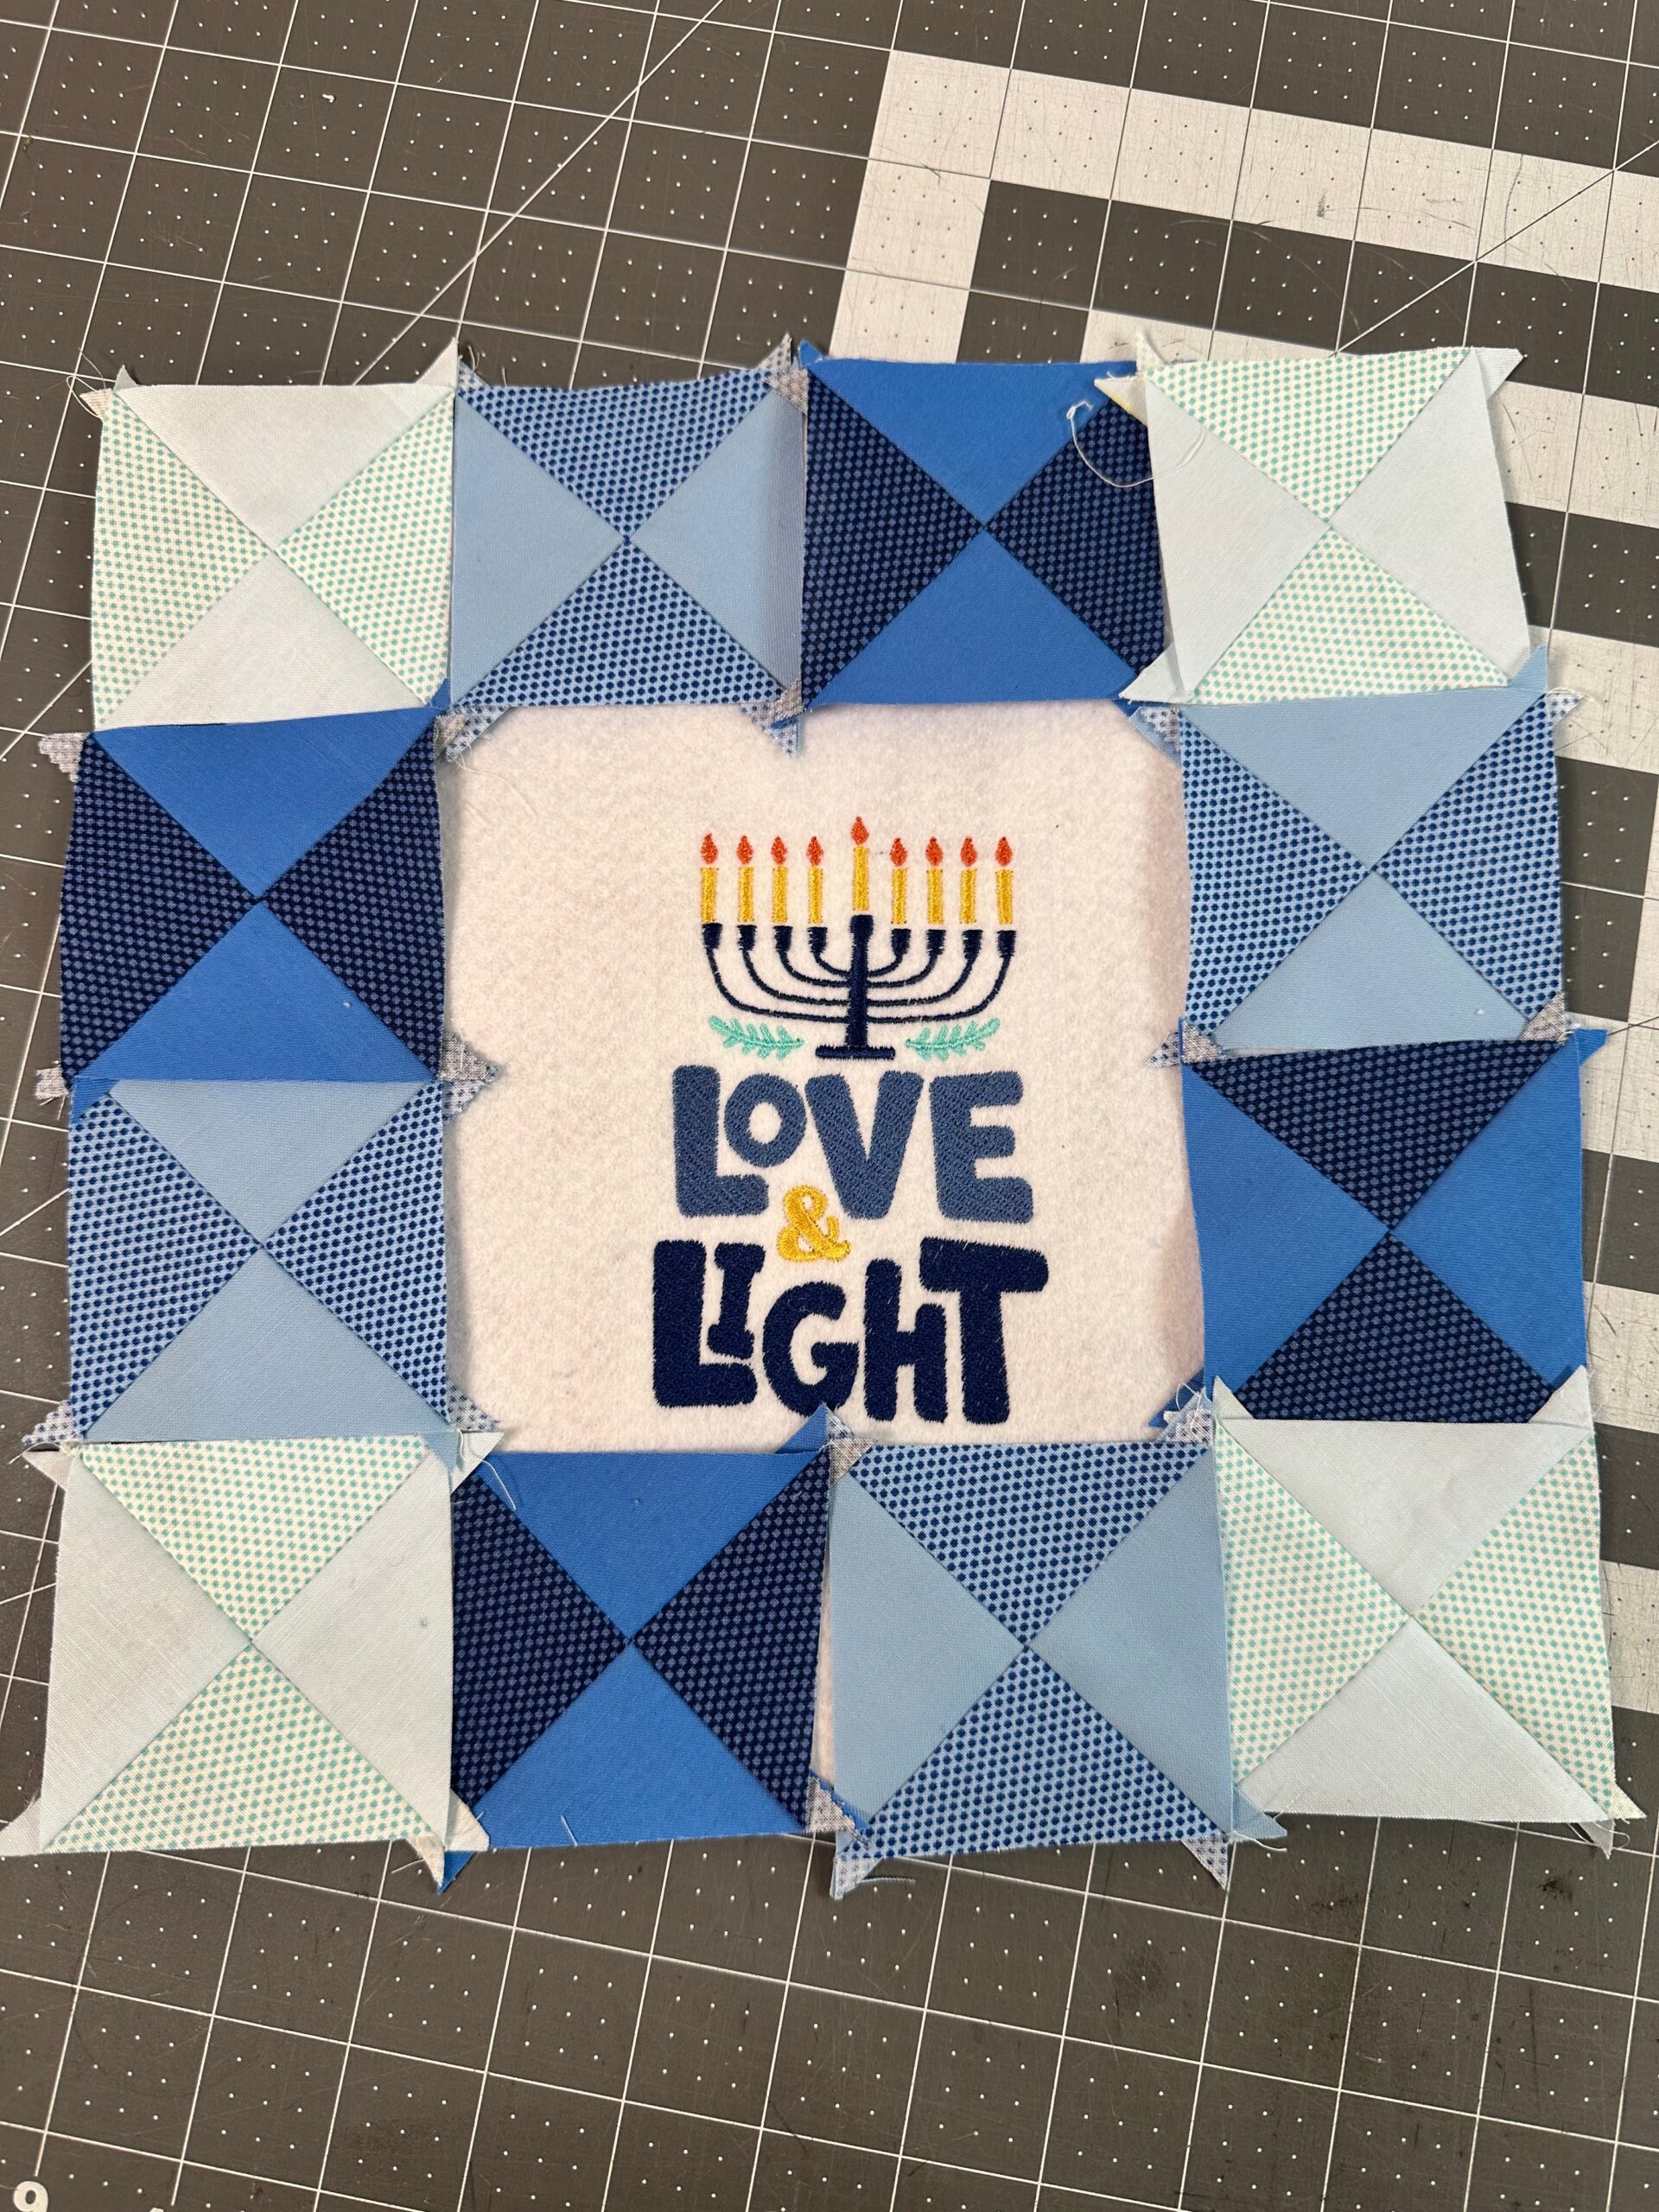
Once satisfied with the block placement, stitch the upper and lower blocks to create a border. Then, stitch the side blocks together.
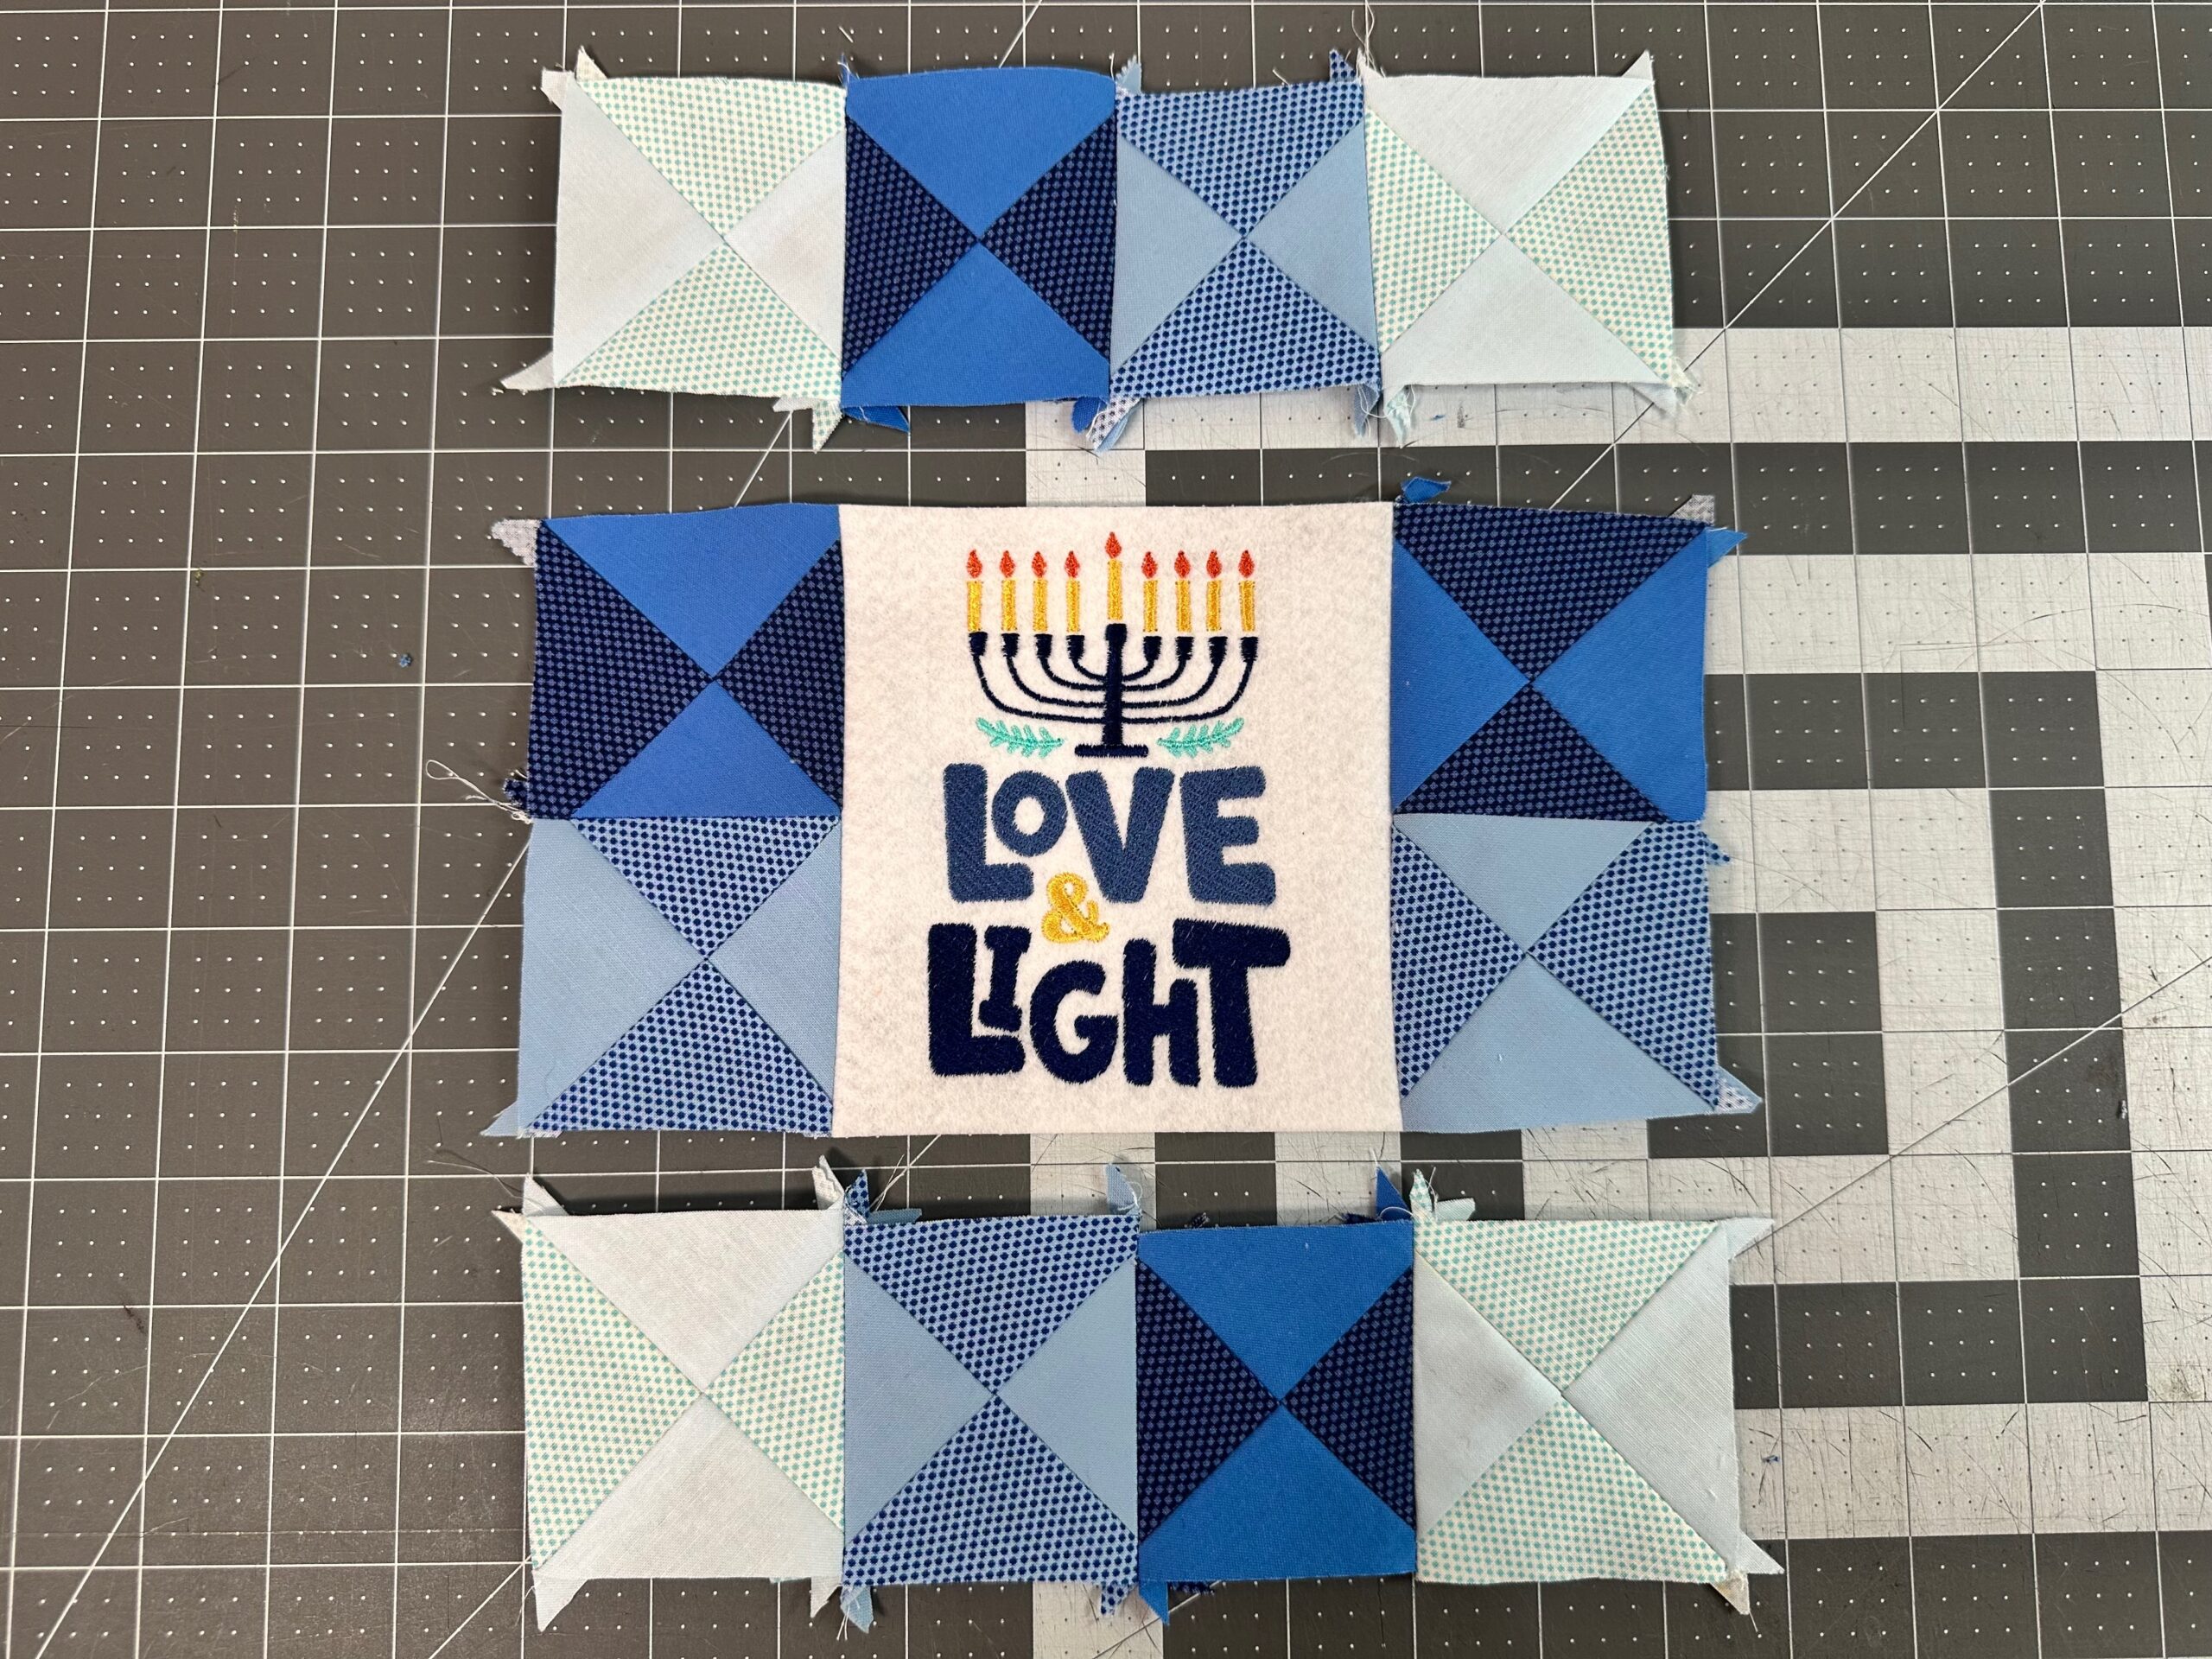
Next, stitch the side blocks to the center block sides. Lastly, stitch the upper and lower borders to the center.
Press all seams outward from the center block.
If needed, trim the pillow top so all edges are even.
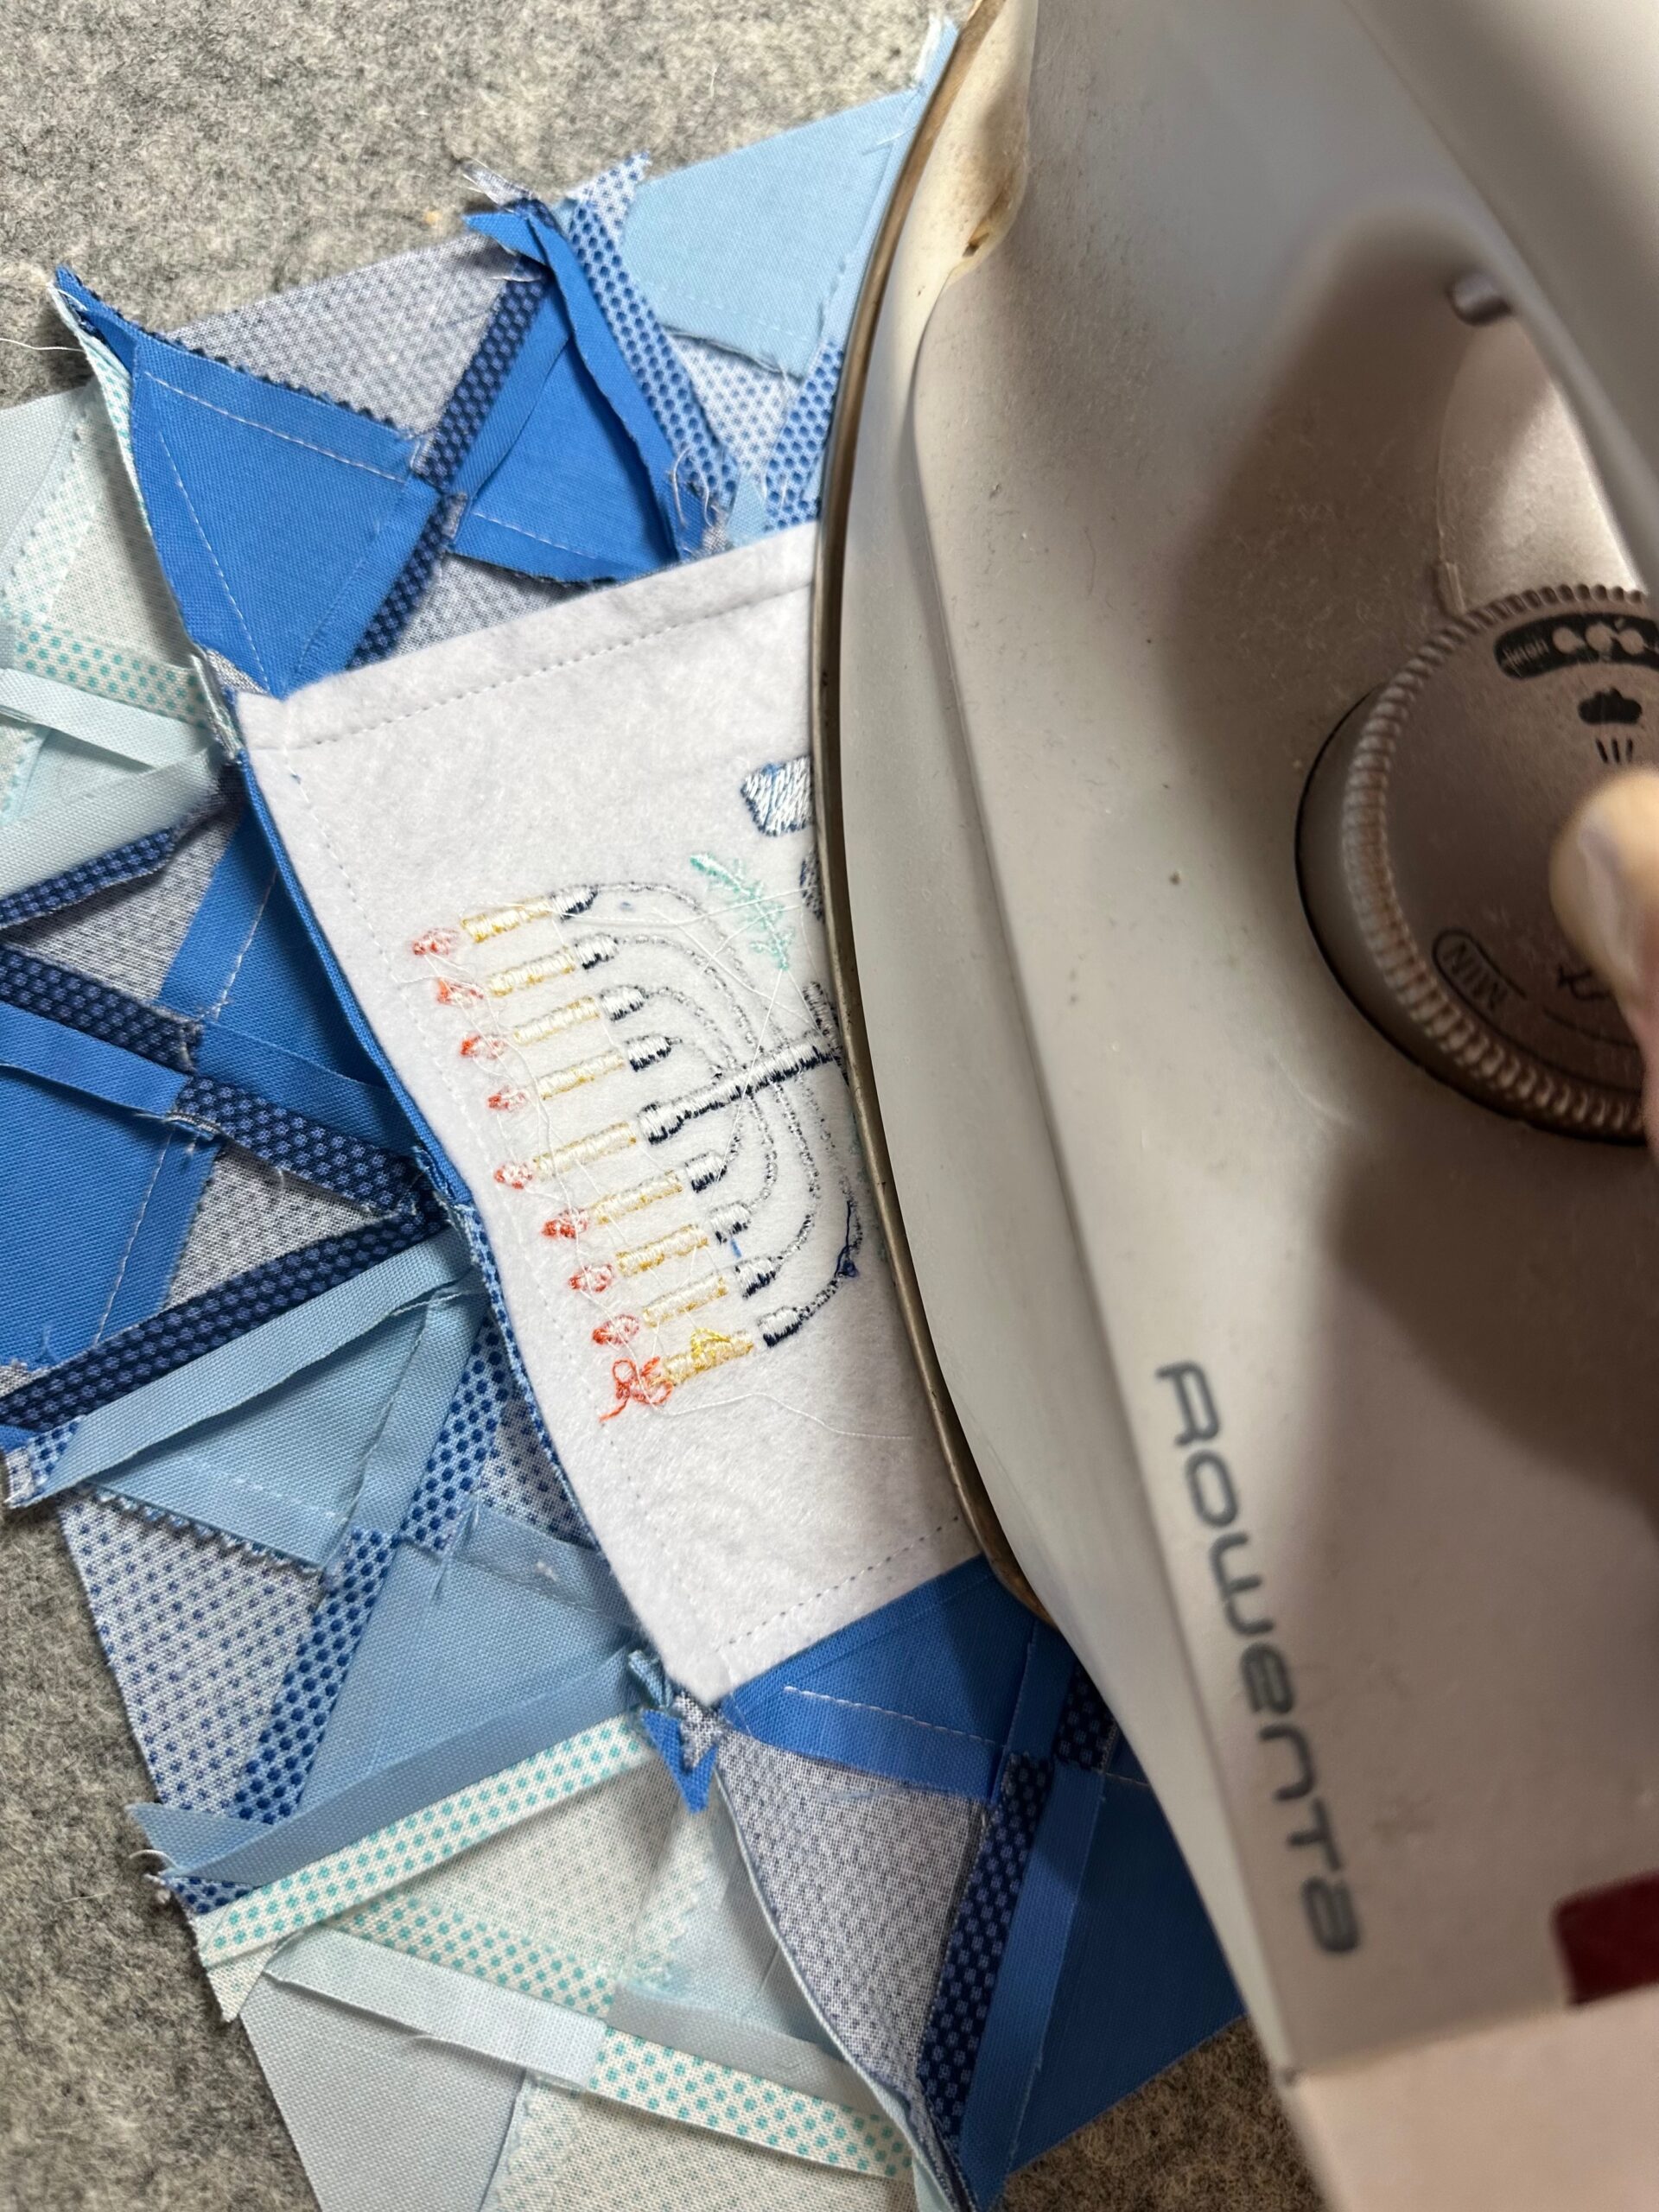
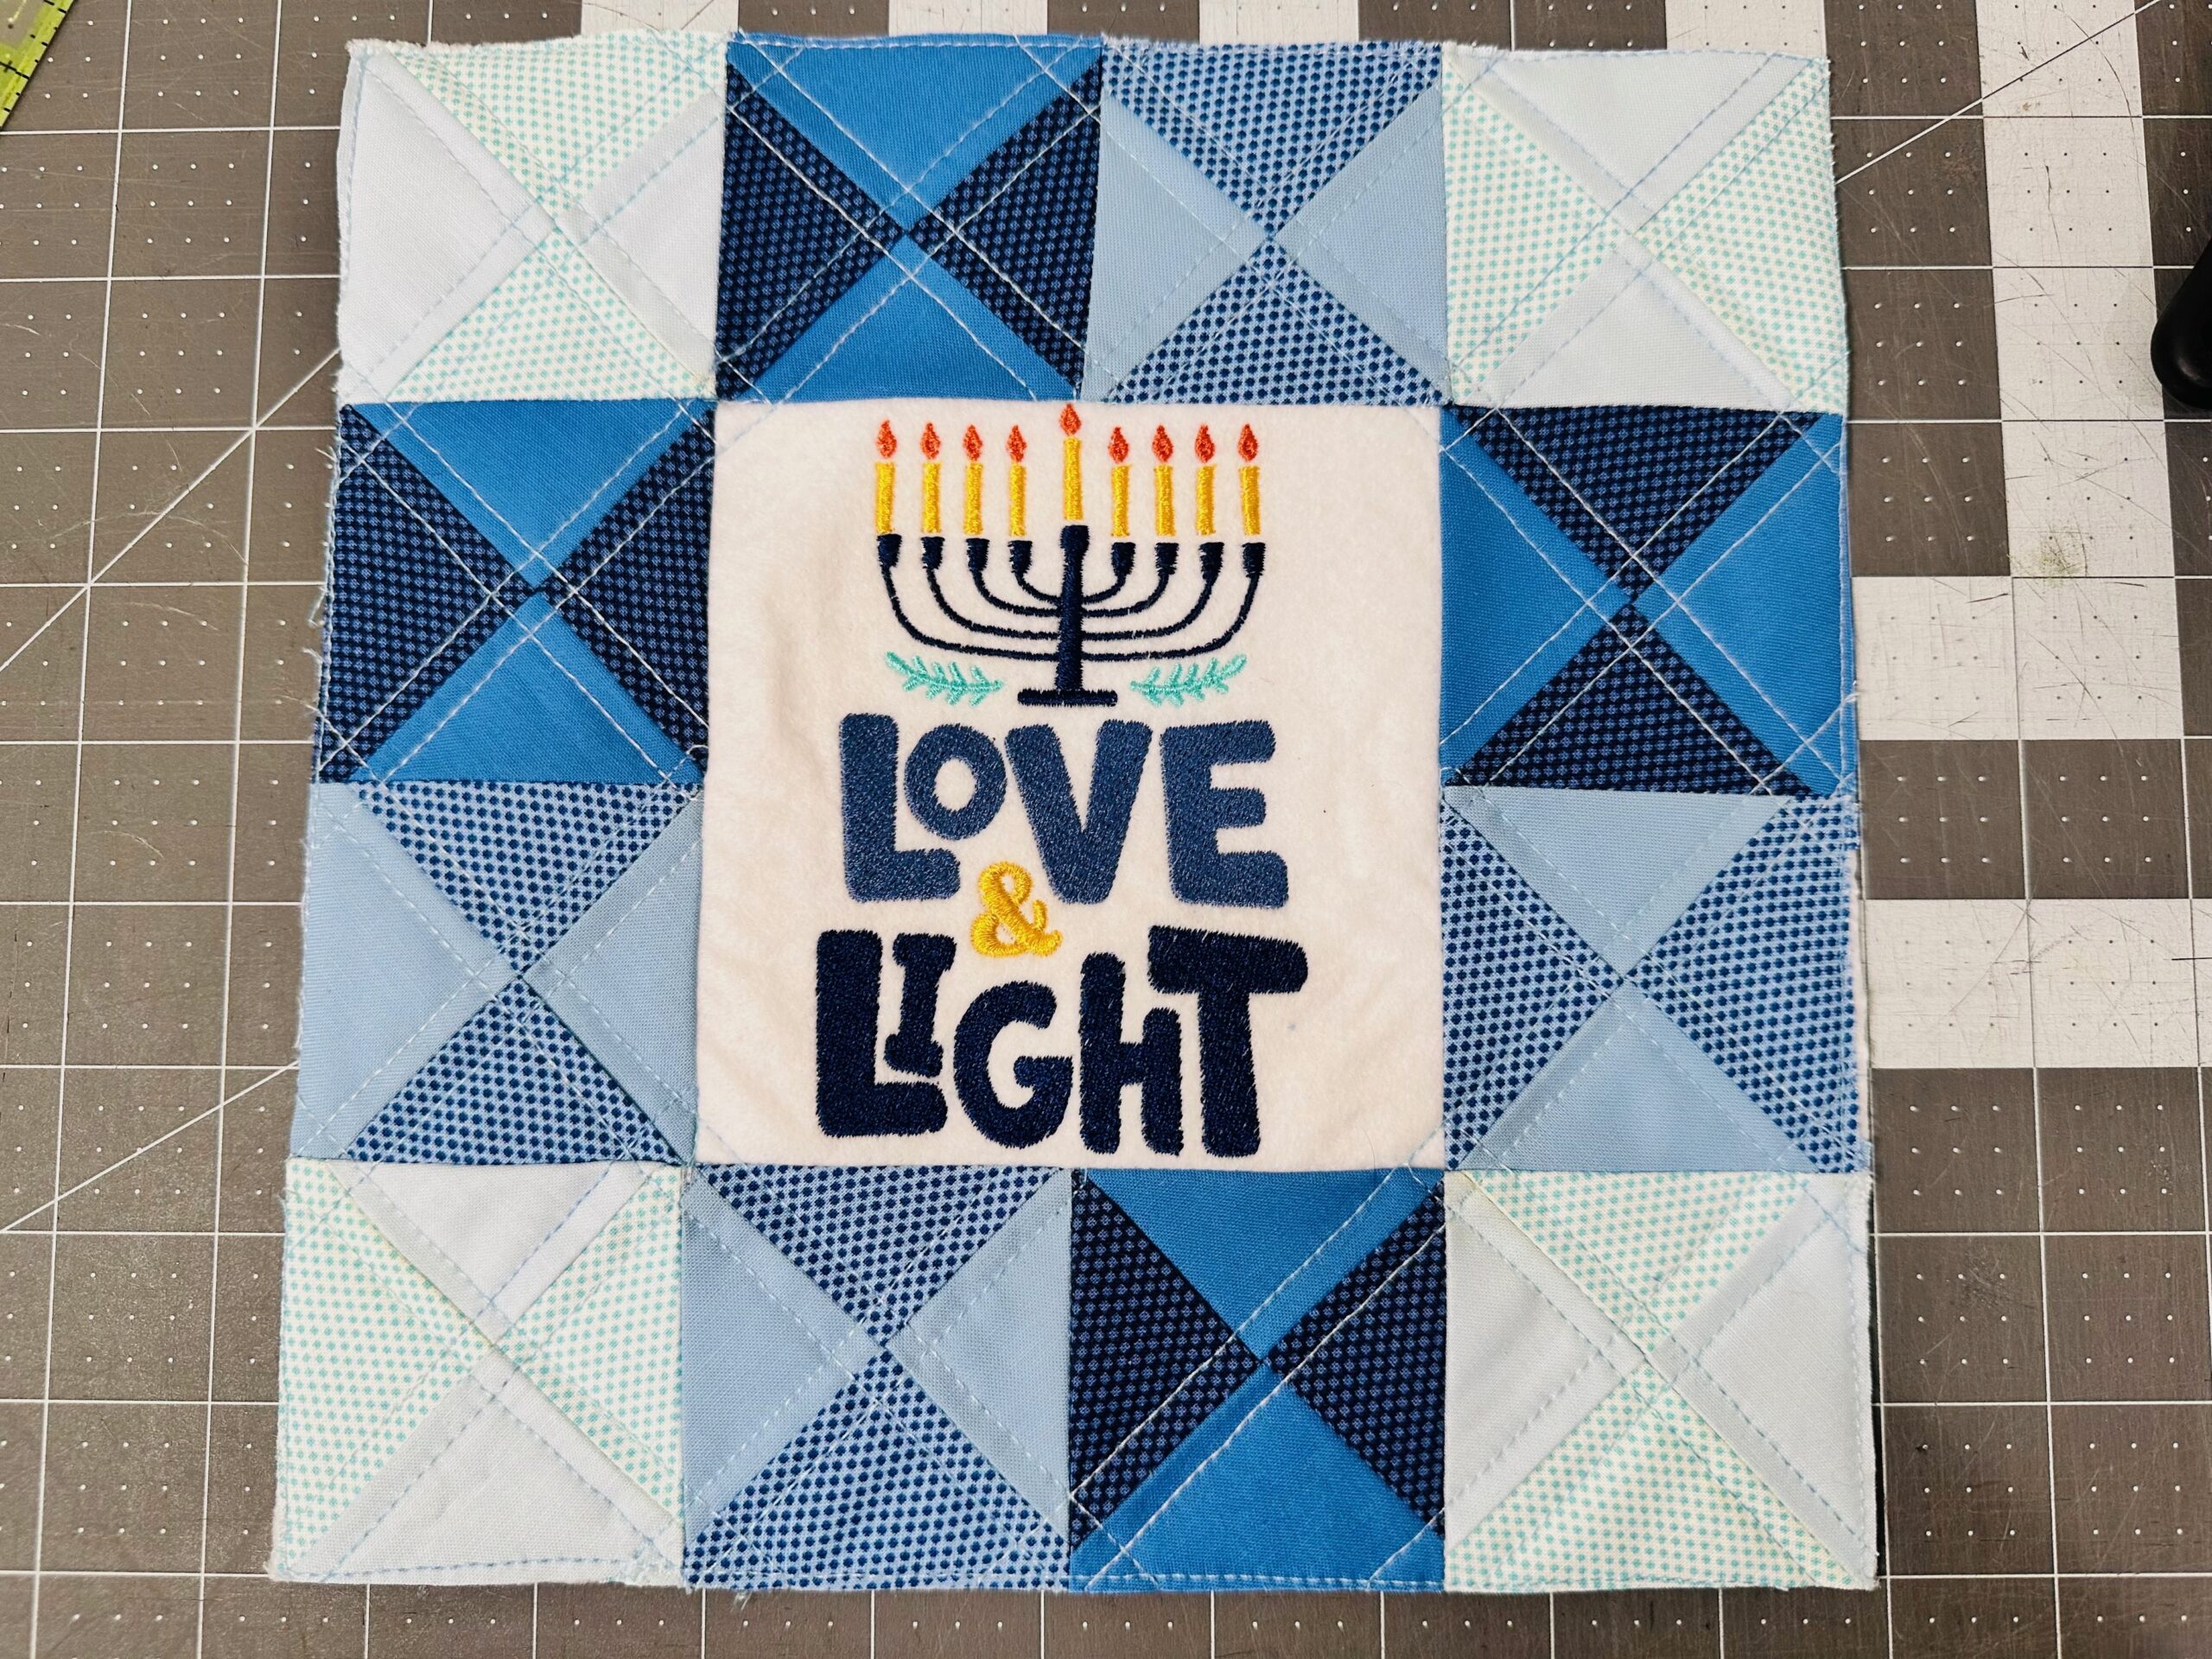
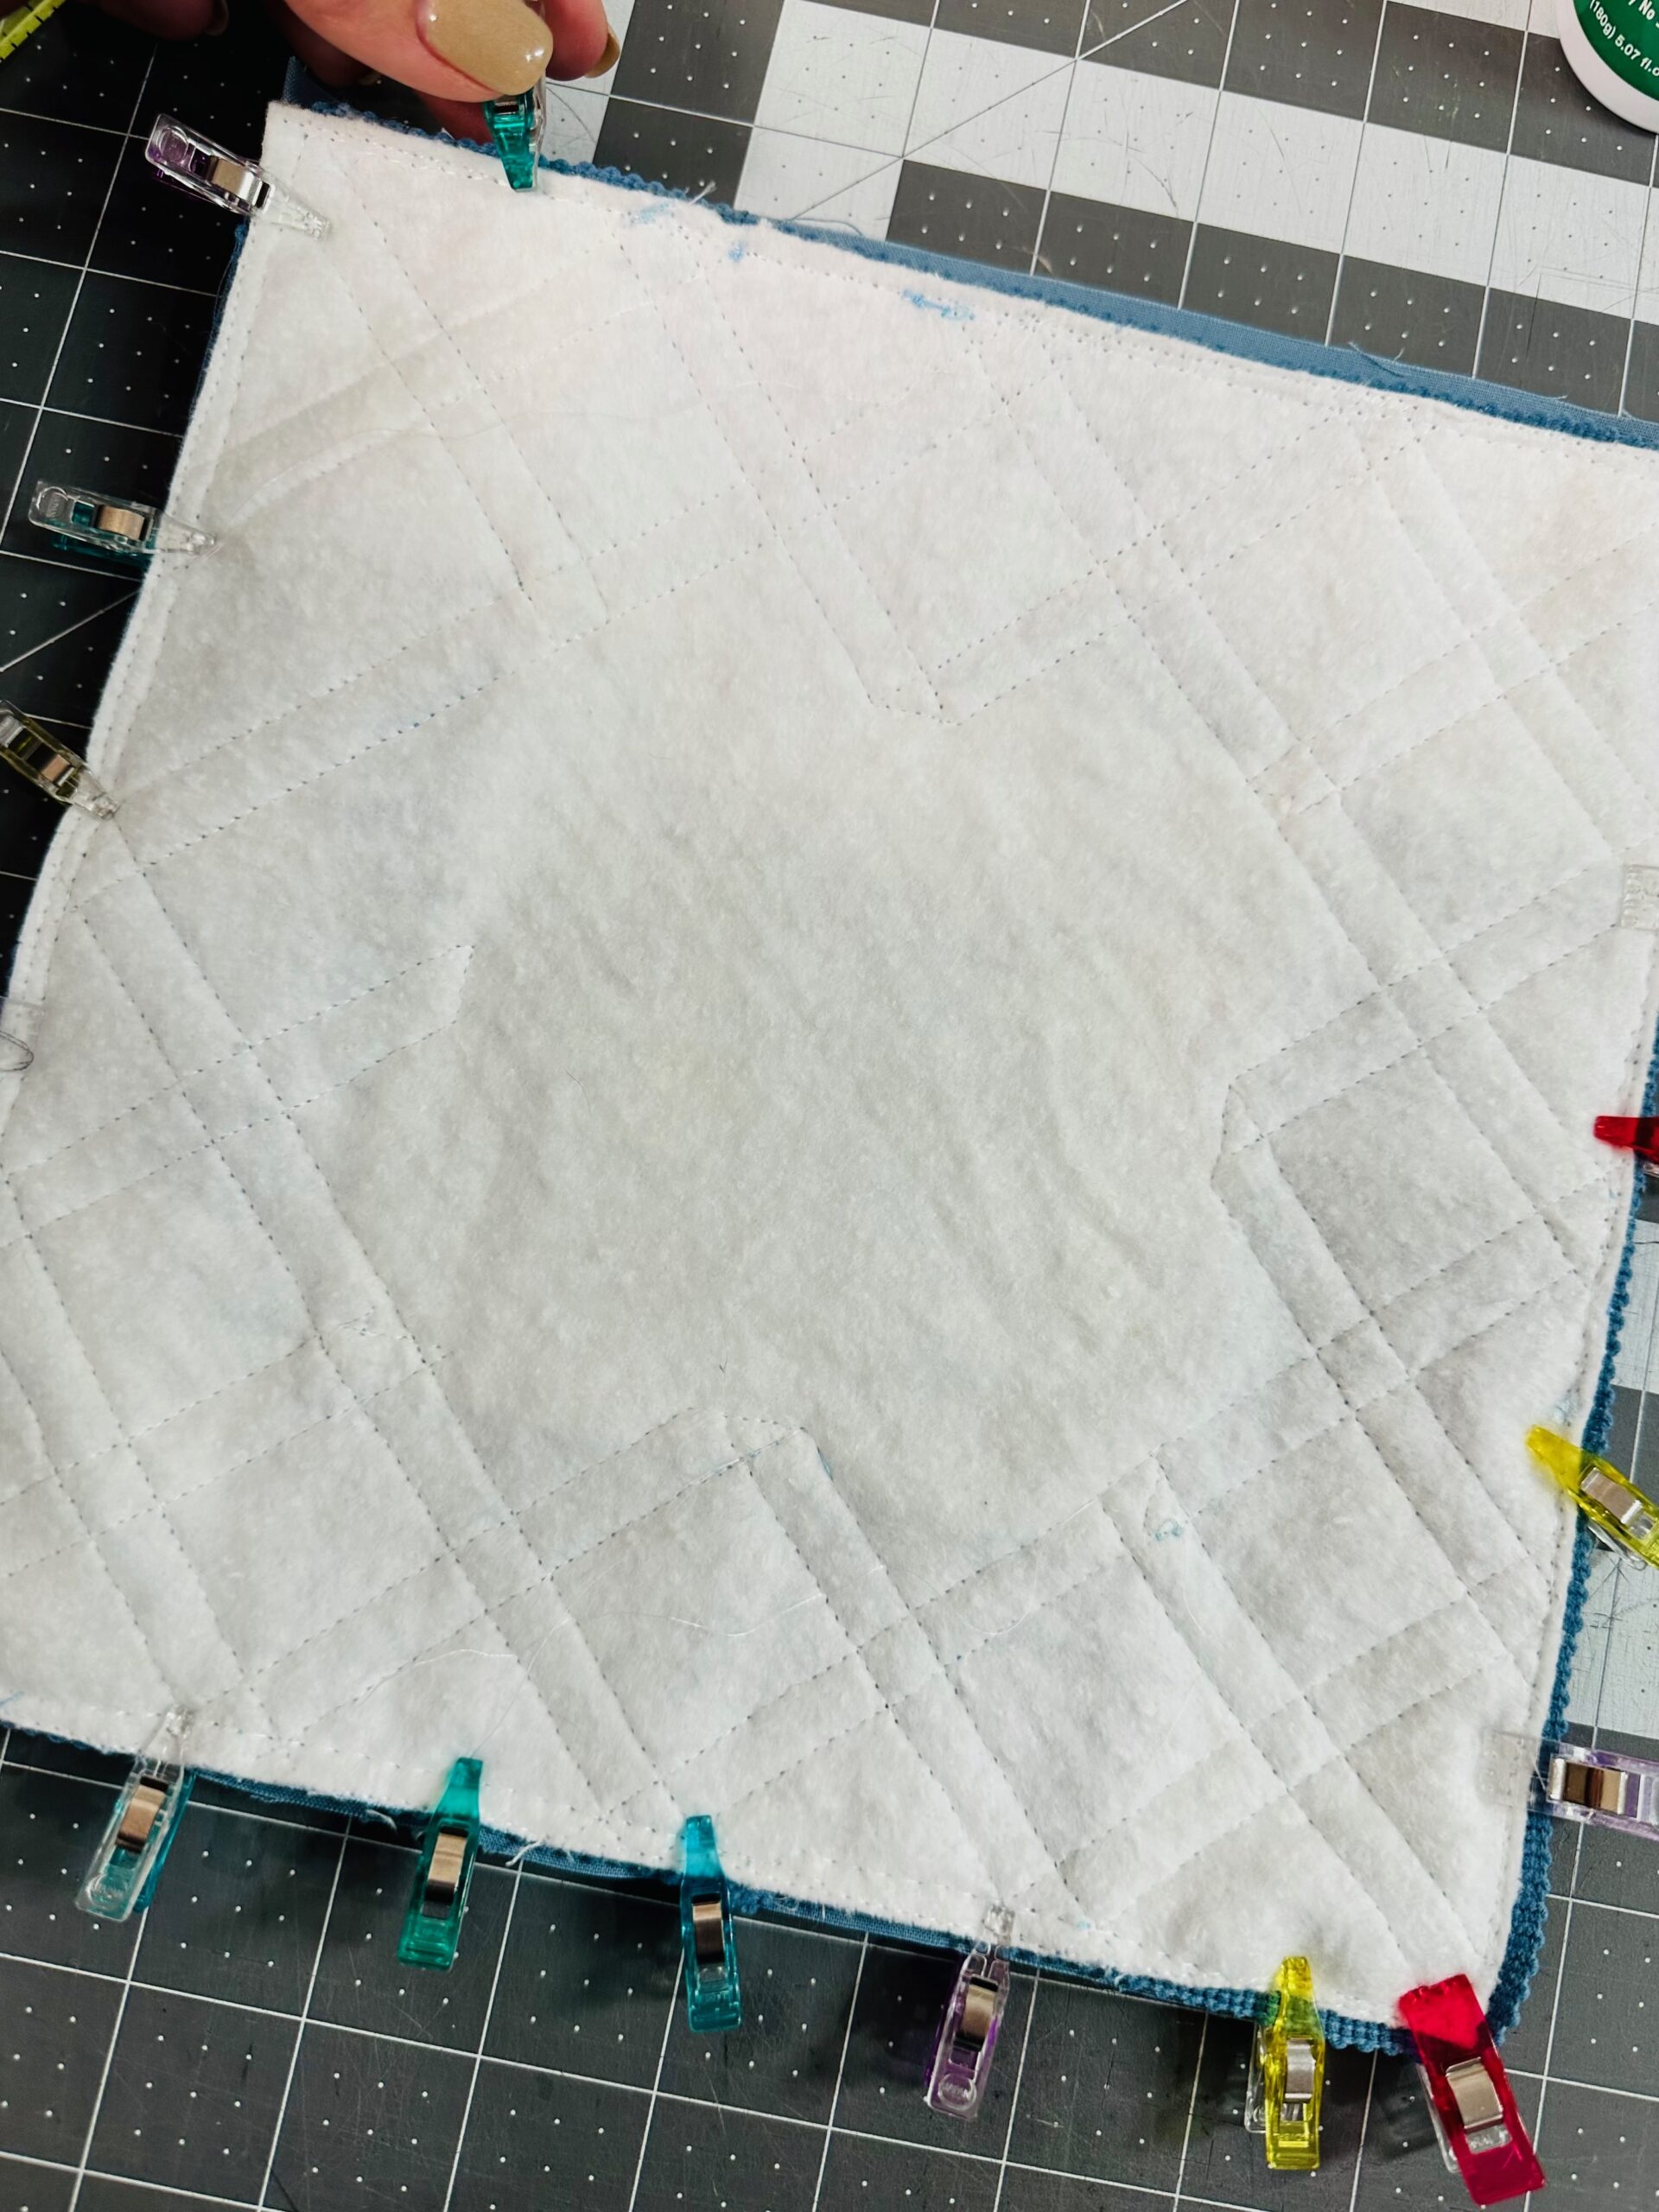
QUILTING THE SHELF PILLOW TOP
Place the pillow top wrong side up on a flat work surface. Spray the wrong side with KK 2000 Temporary Spray Adhesive.
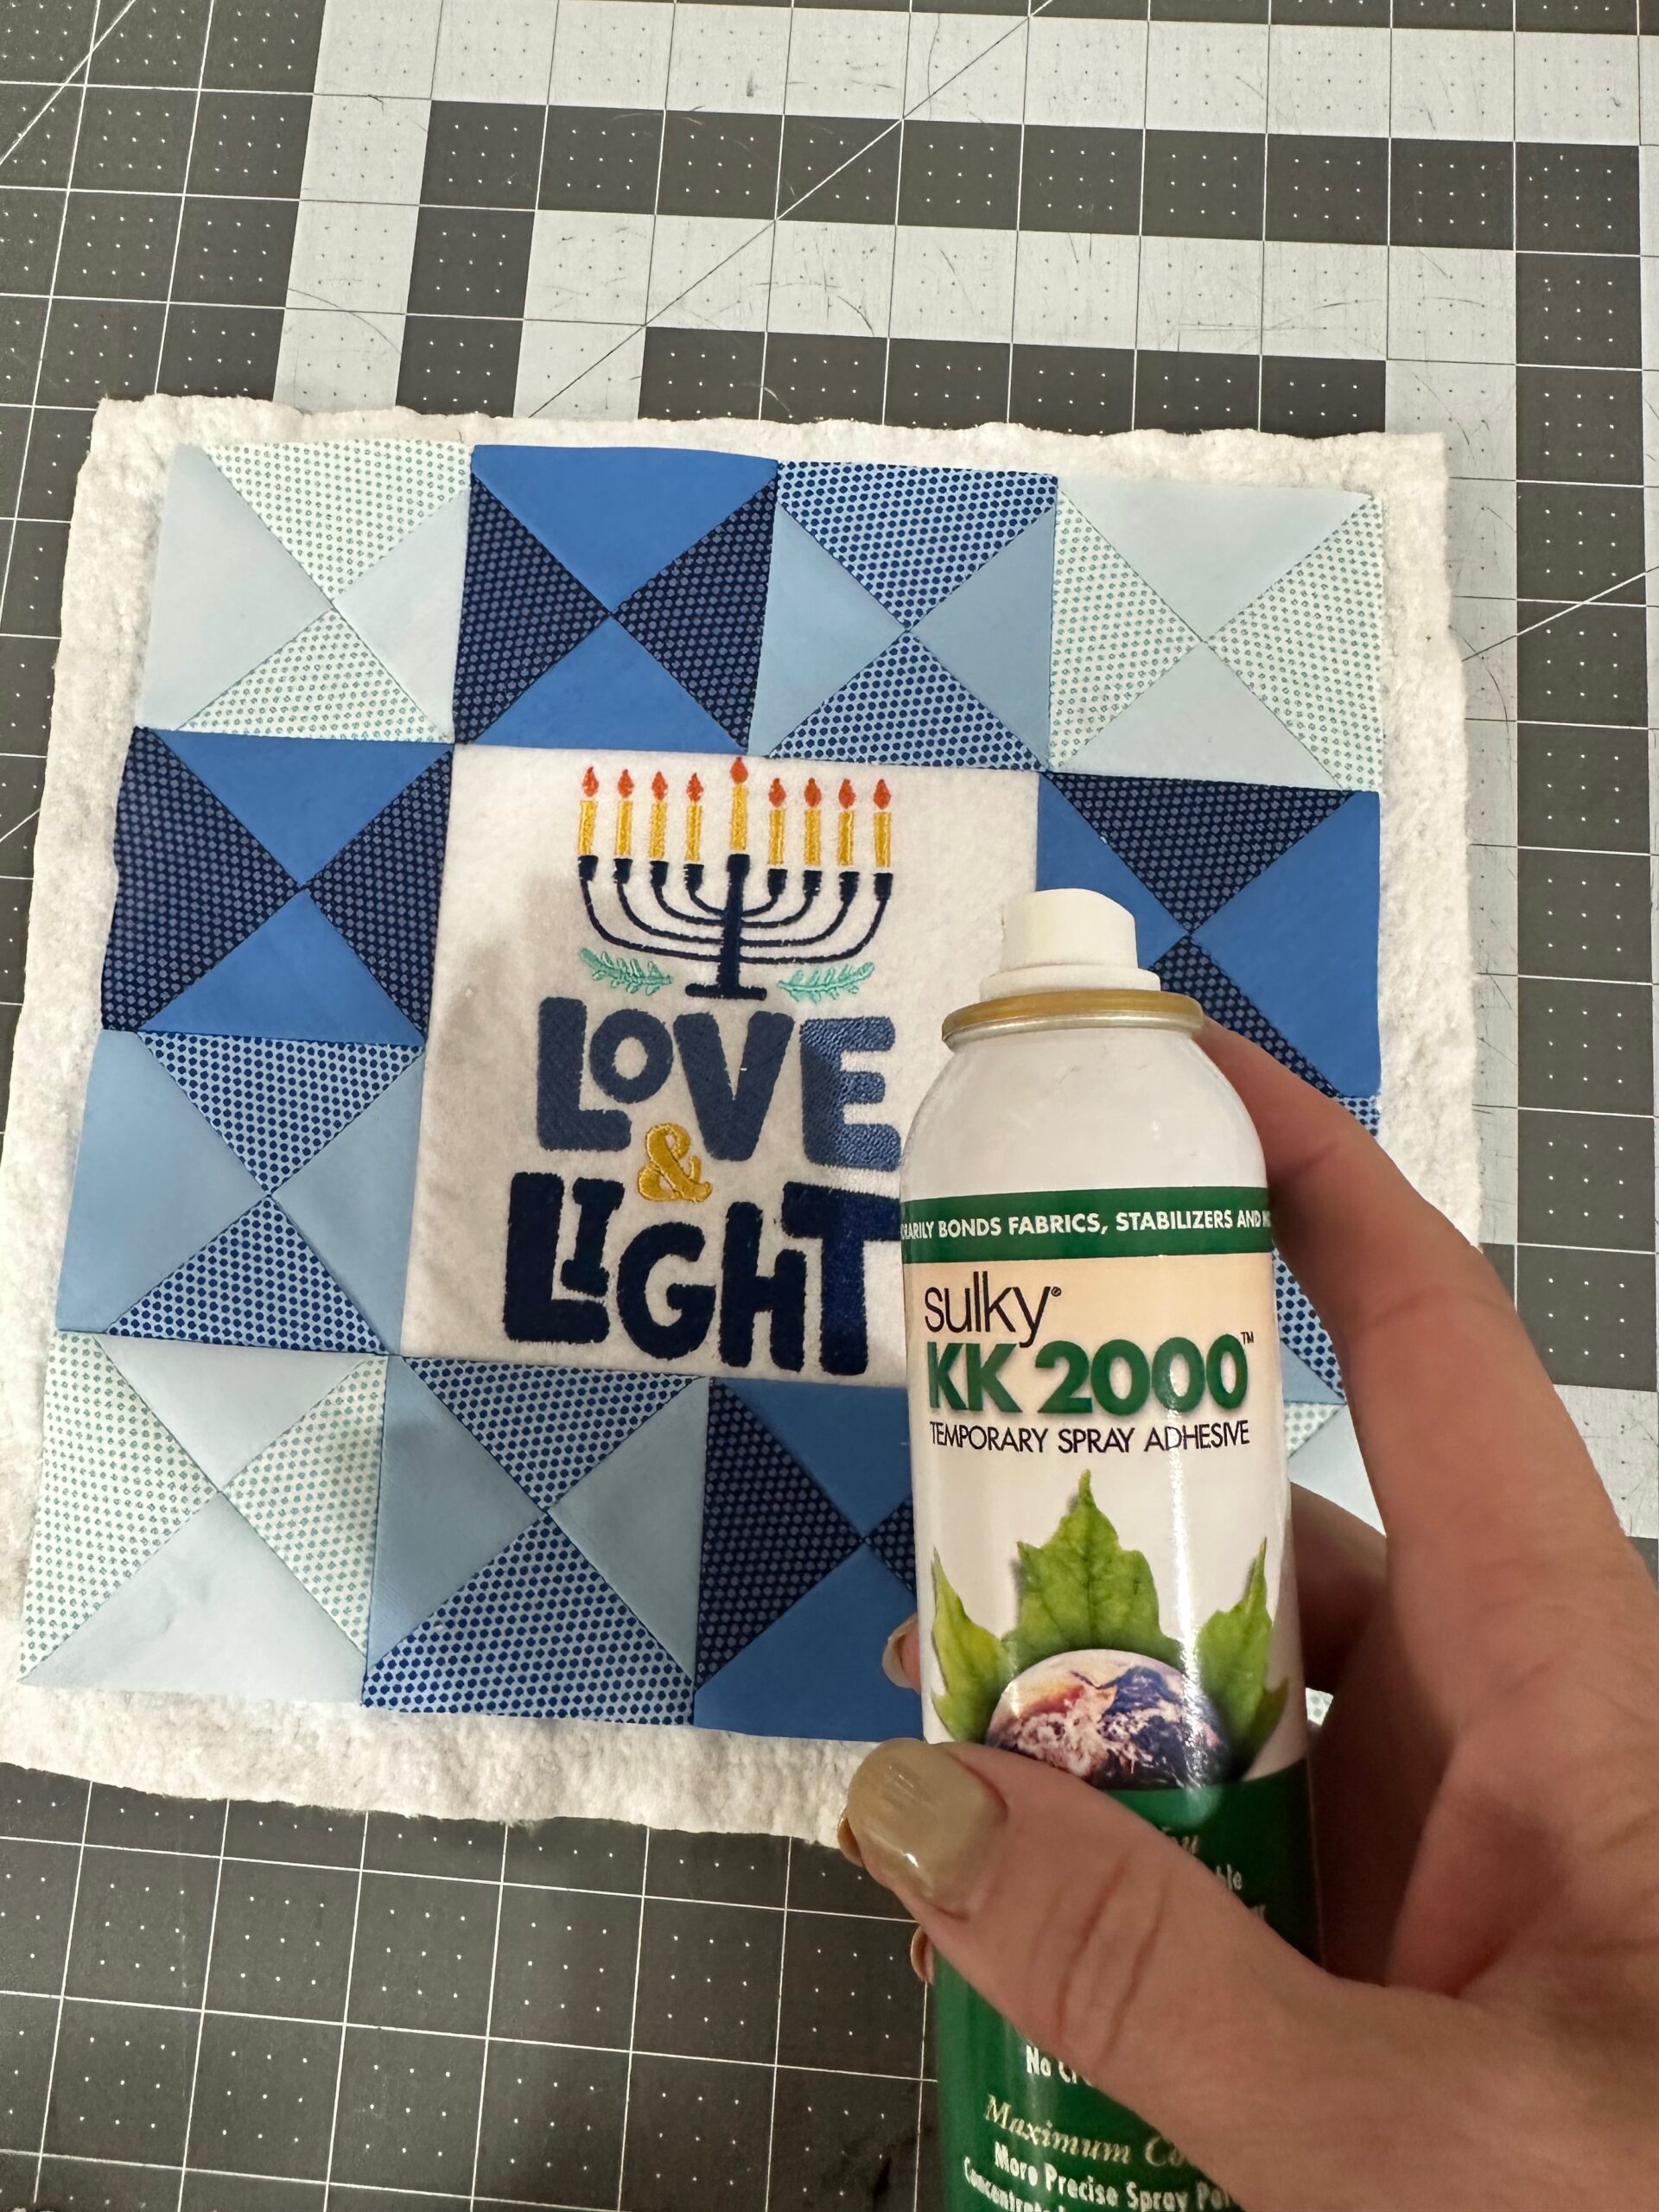
Install a size 90/14 Quilting Needle into the machine. Thread it with 30 wt. Cotton Blendables Thread. Keep the 50 wt. Thread in the bobbin. Lengthen the stitch length to 3.0mm.
Quilt the pillow top as desired.
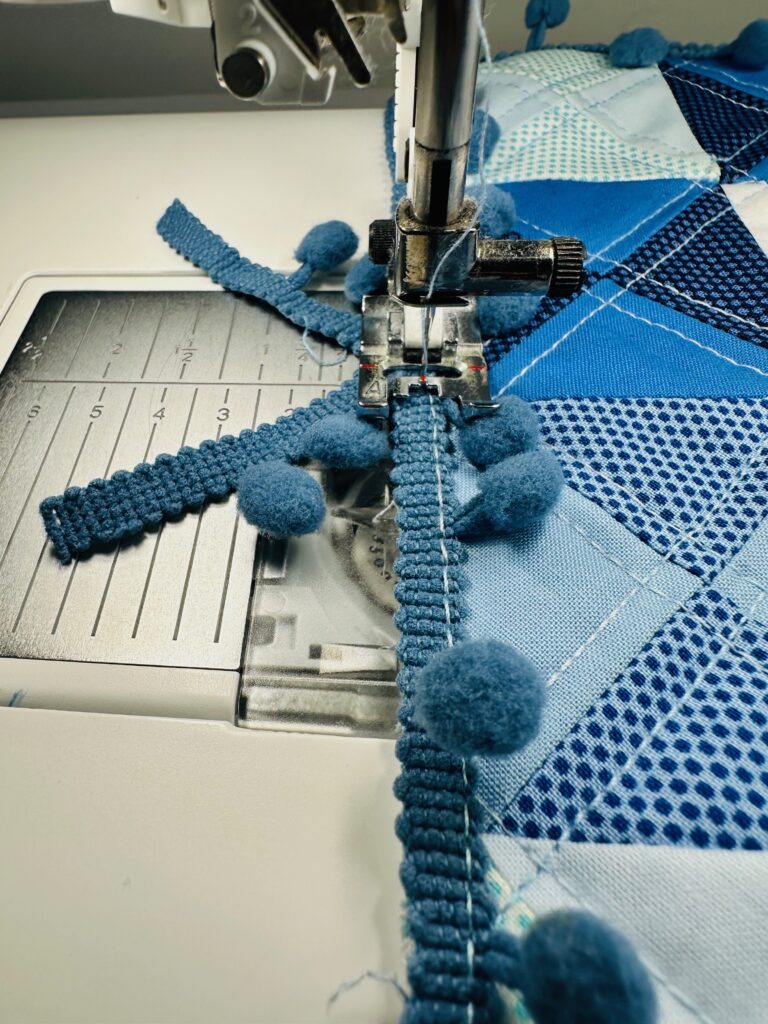
ADDING TRIM
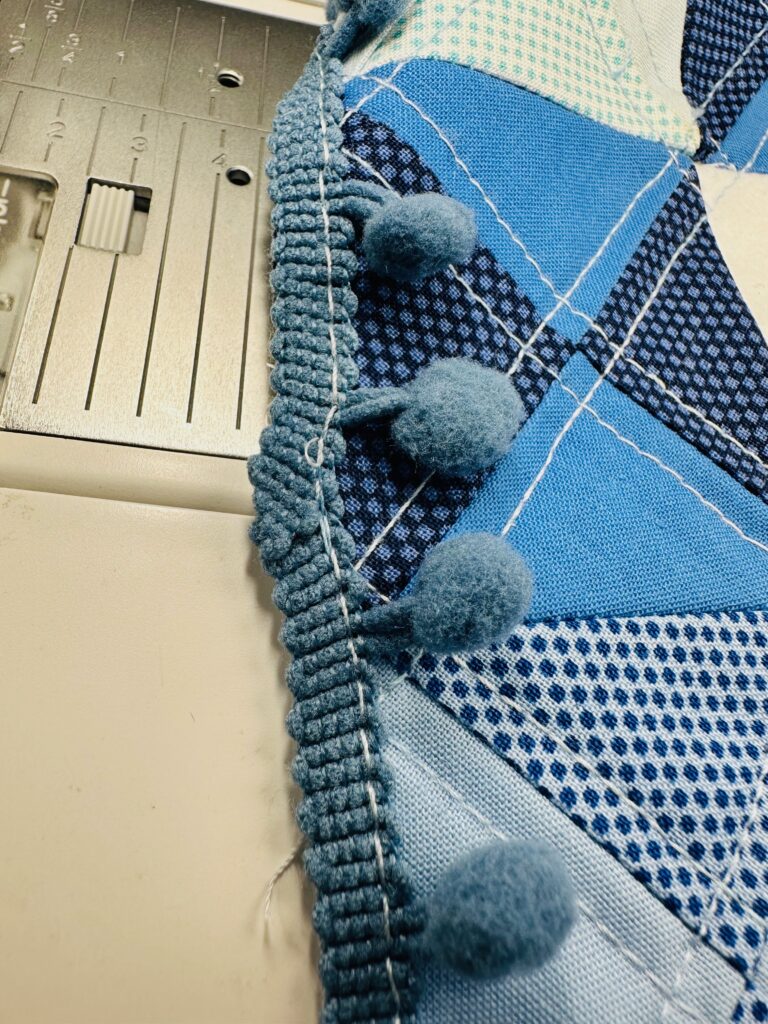
Trim is completely optional but does add a fun, festive touch. Clip or pin the trim tape edge to the pillow-top perimeter, slightly curving at the corners. The pom-poms (if using) should be facing the pillow top right side.
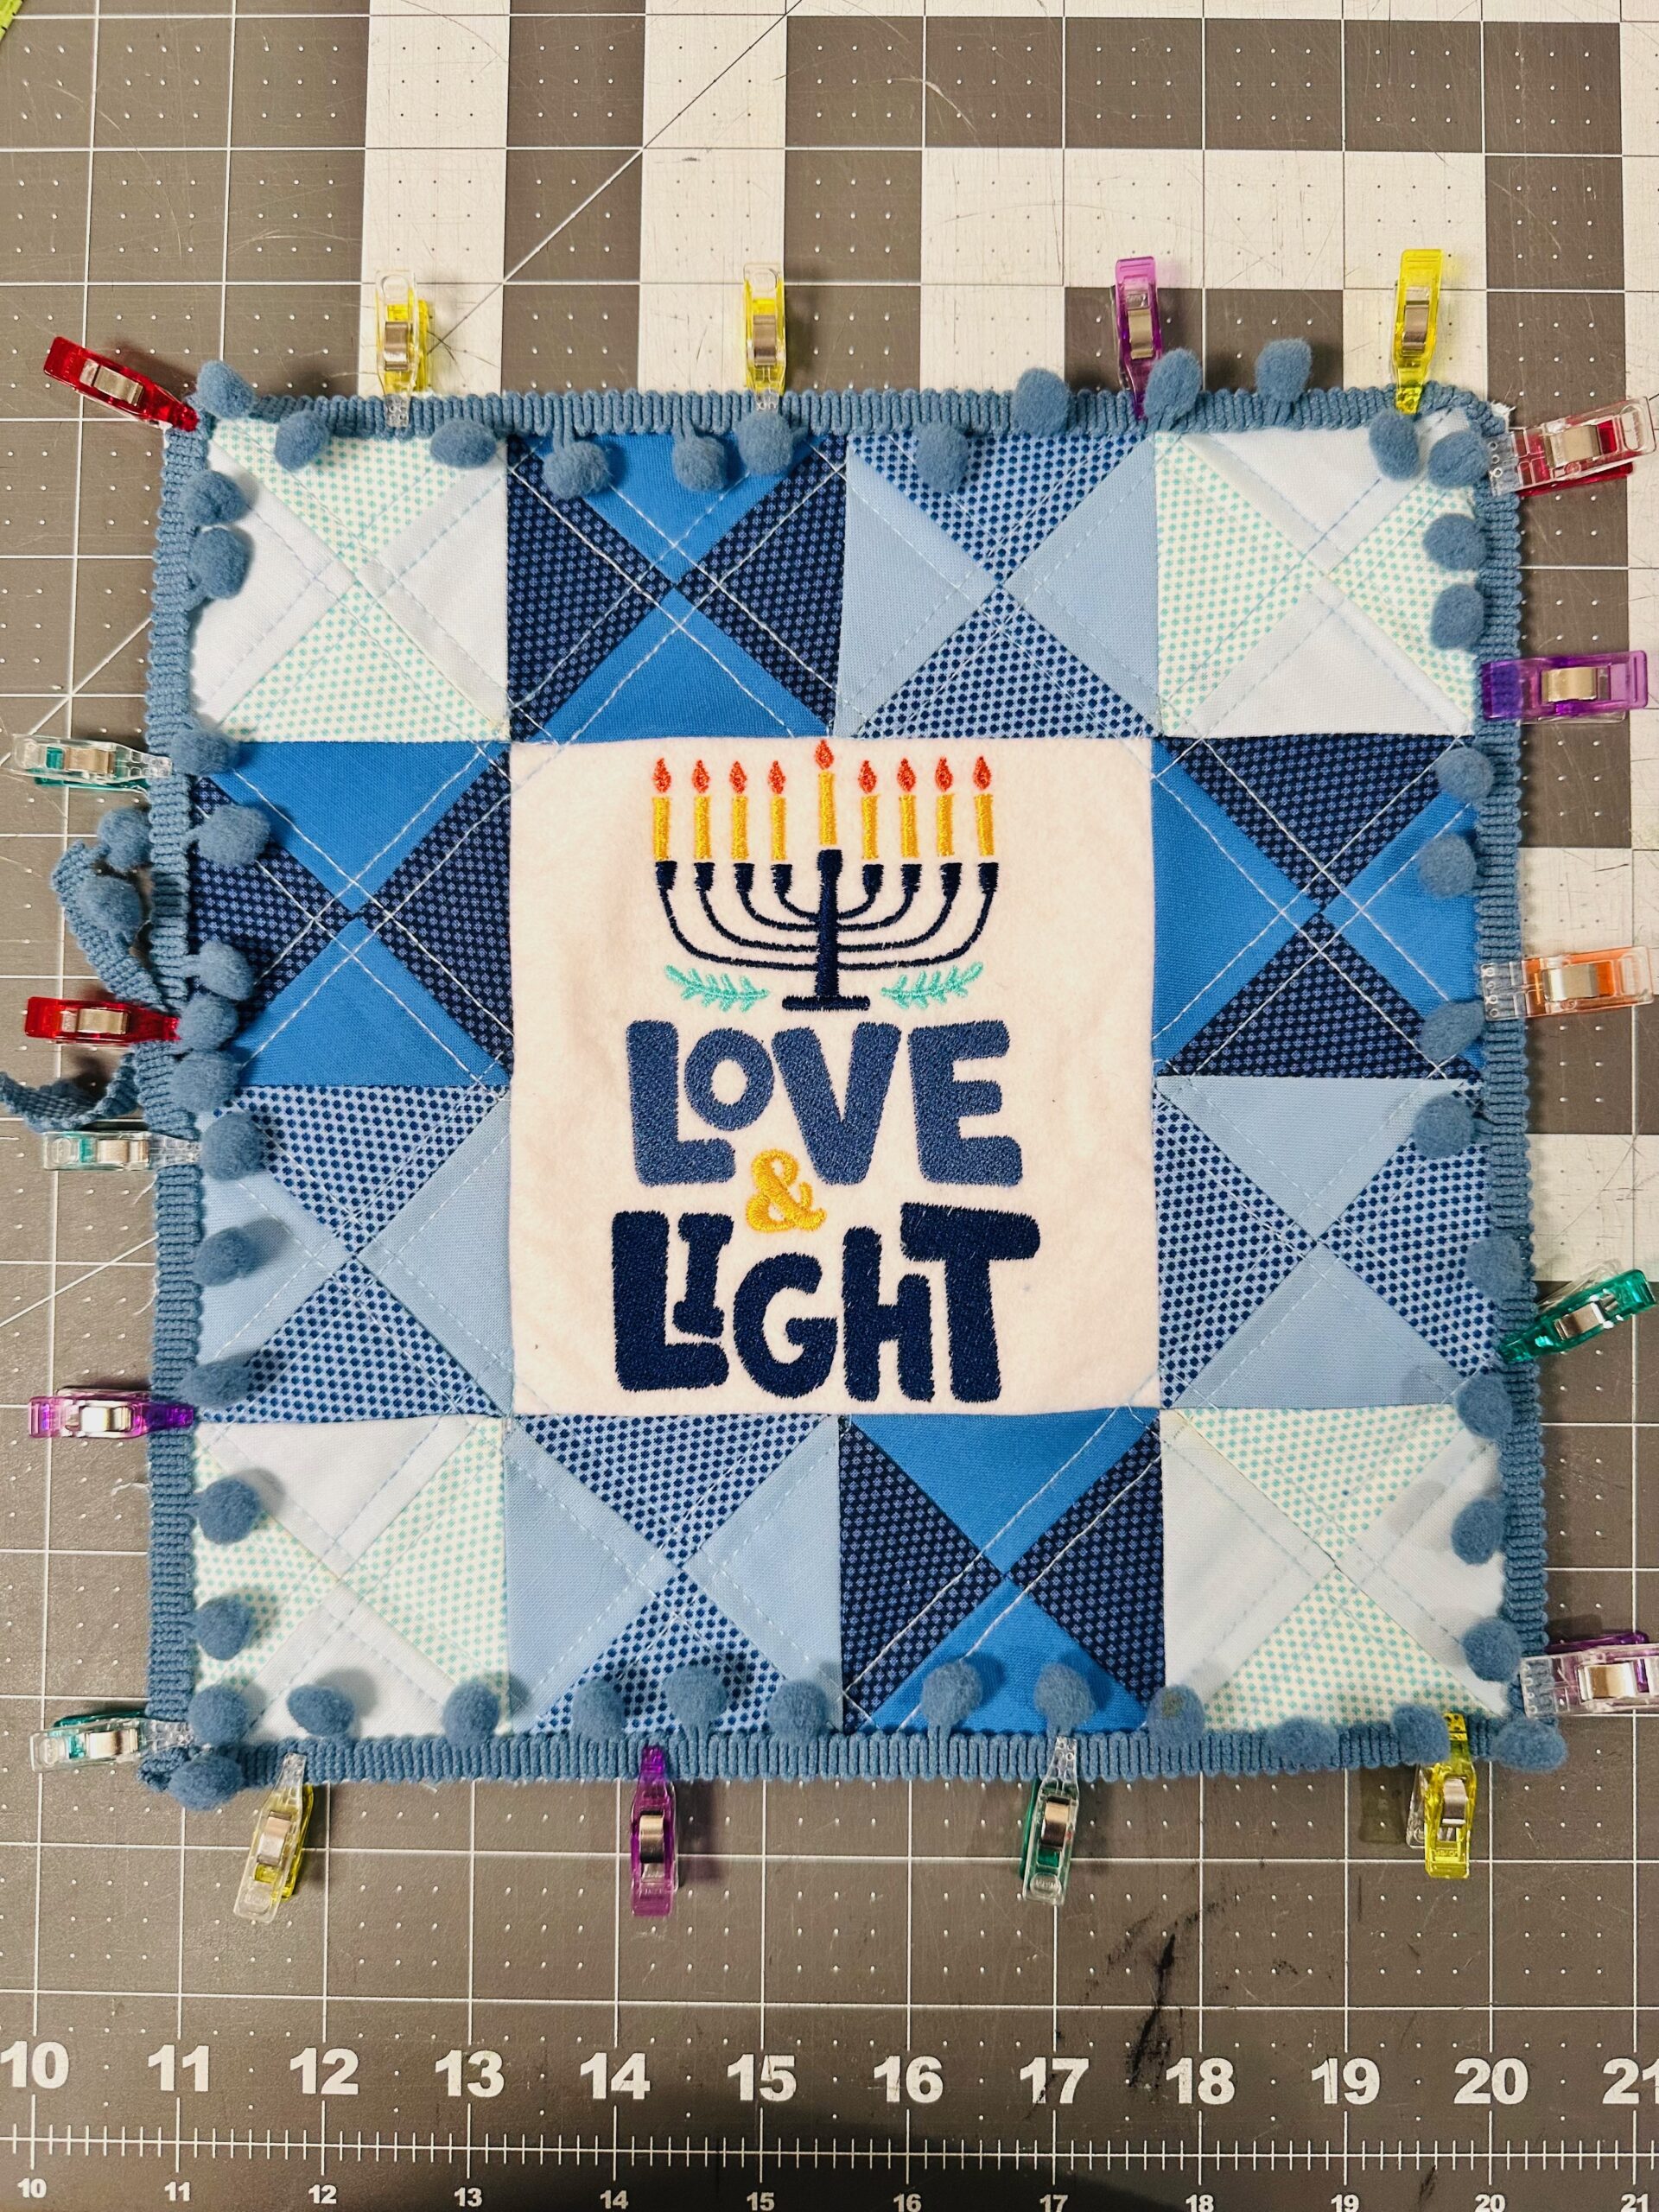
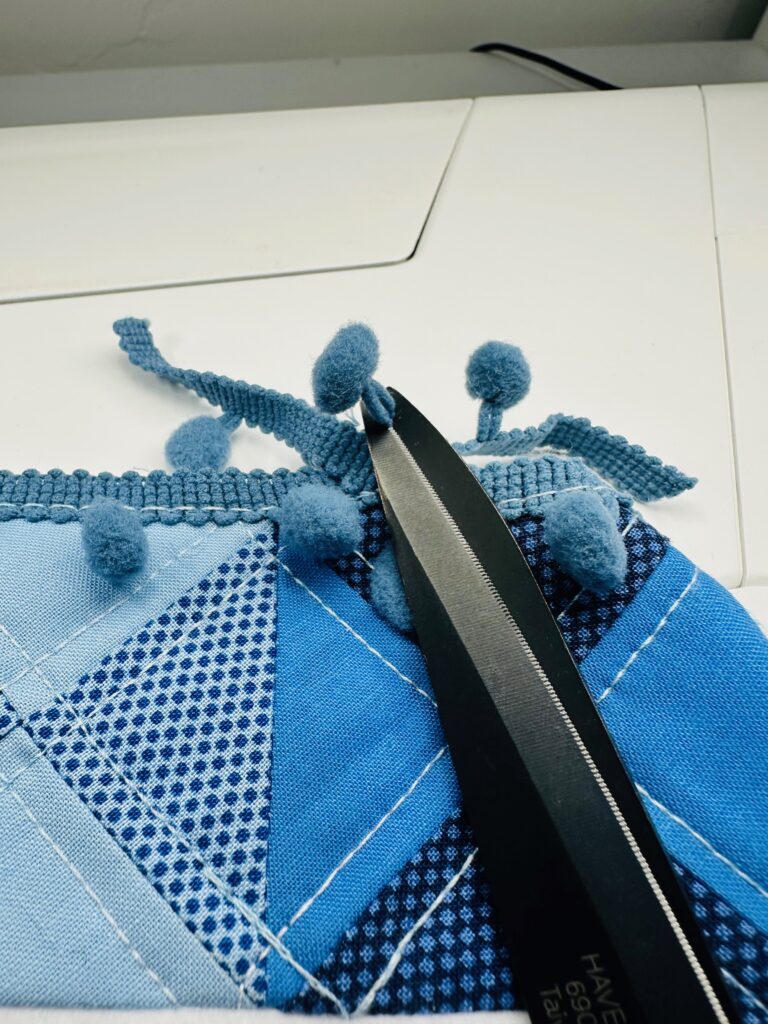
At the trim beginning and end, overlap the ends by at least 1″, making sure the pom-poms (if using) are spaced evenly. The ends should extend beyond the pillow-top perimeter. Clip off any poms (if using) that extend outside of the seam allowance. Then, cut the excess trim even with the pillow-top edge.
Switch back to the size 70/10 Needle and thread When satisfied with the trim placement, baste the trim tape edge 1/8″ from the pillow top perimeter.
FINISHING THE HANUKKAH SHELF PILLOW
Place the back fabric square right side up over the pillow top, aligning all edges and corners and sandwiching the trim. Clip or pin generously.
Stitch the perimeter using a 1/4″ seam allowance and leaving a centered 4″ opening along the lower edge for turning. Clip the corners.
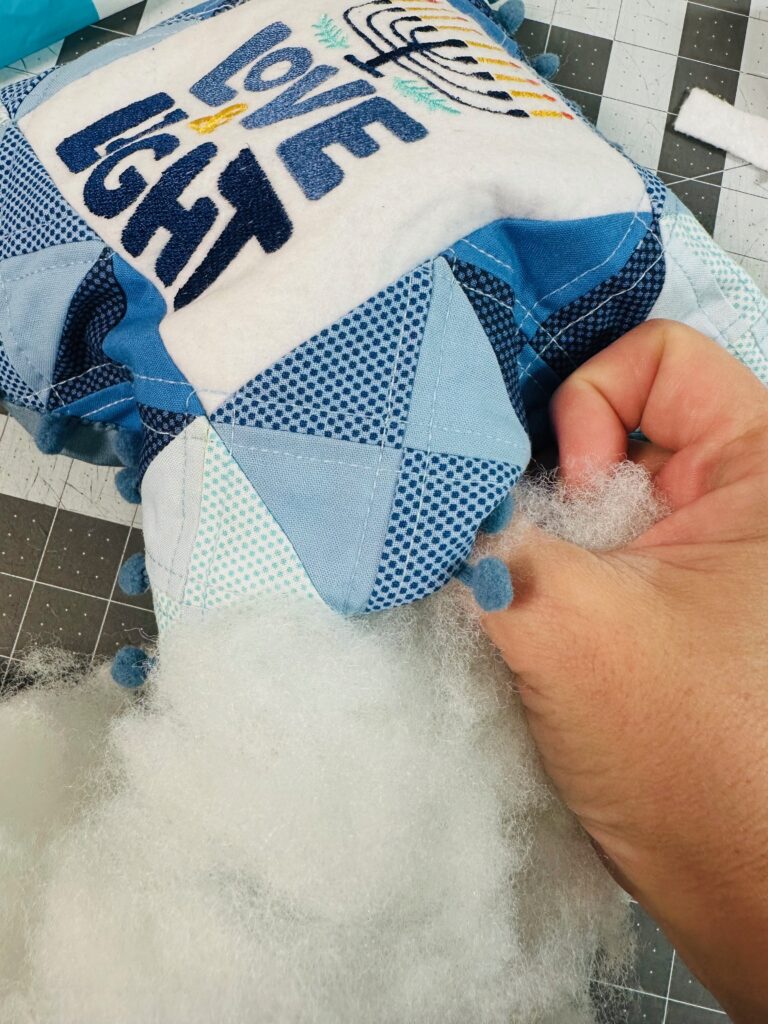
Turn the pillow right side out through the opening. Stuff with fiberfill until the desired plumpness is achieved.
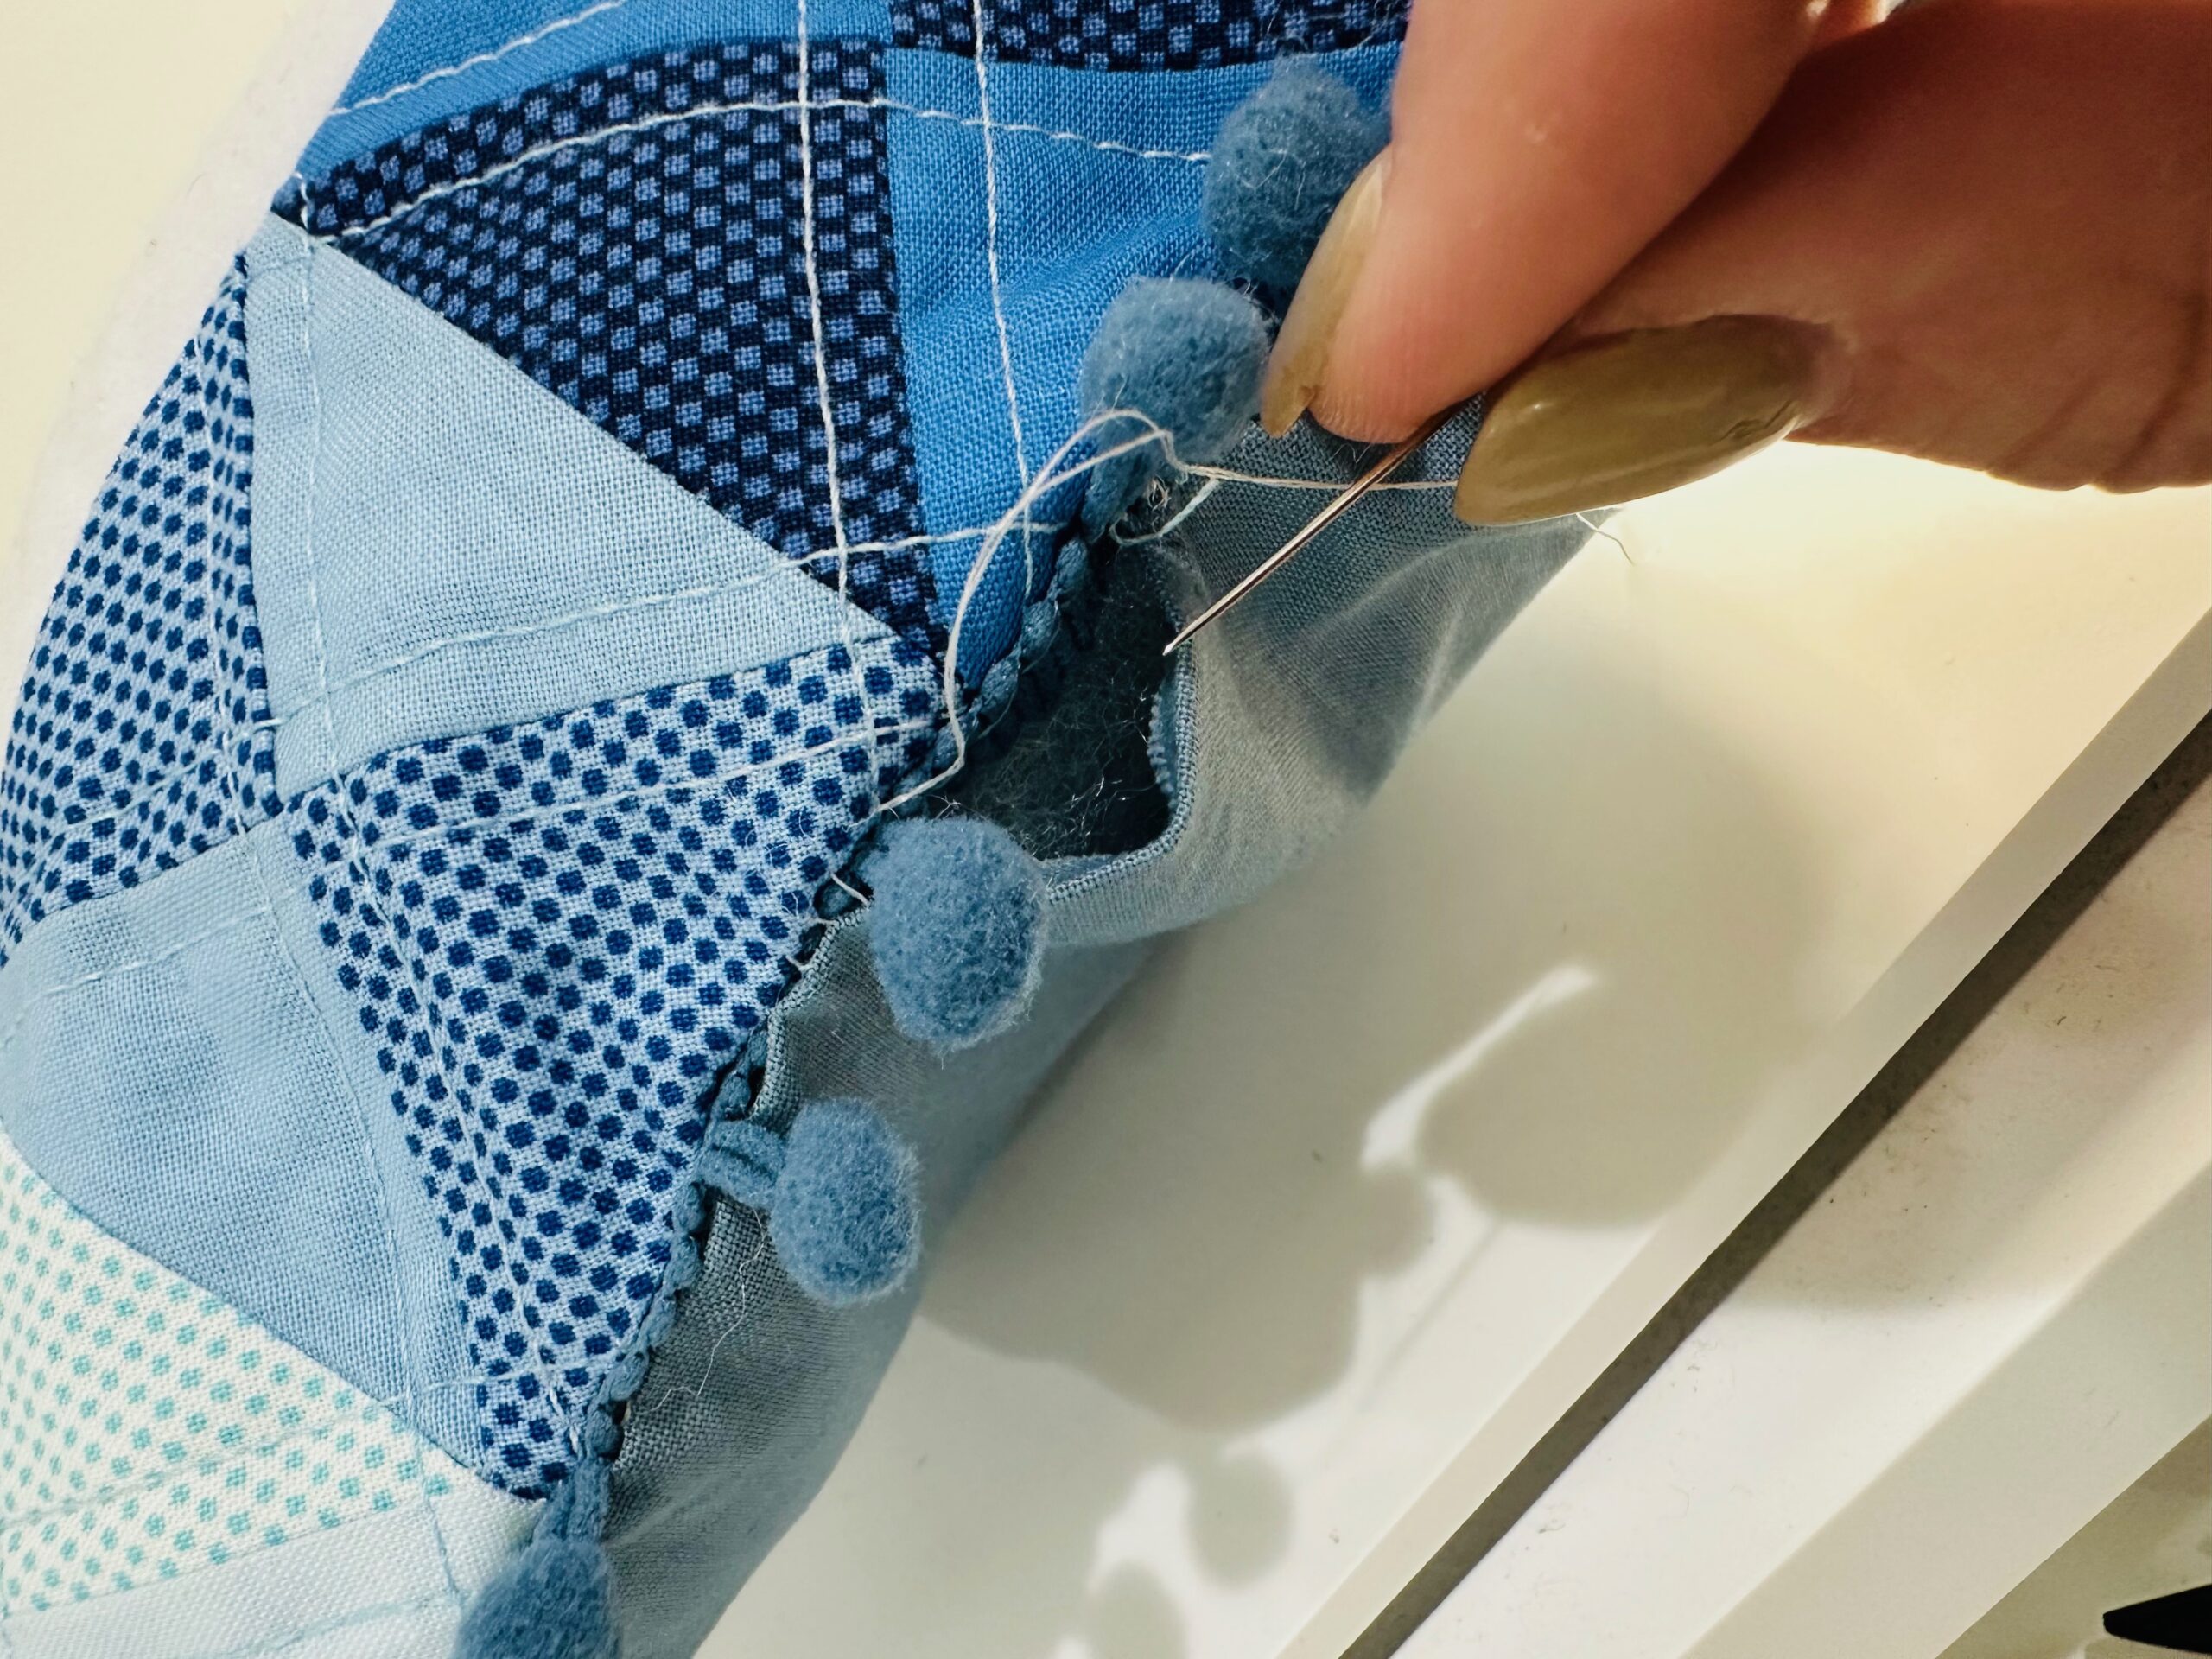
Then, hand sew the opening shut using a slipstitch or whipstitch.
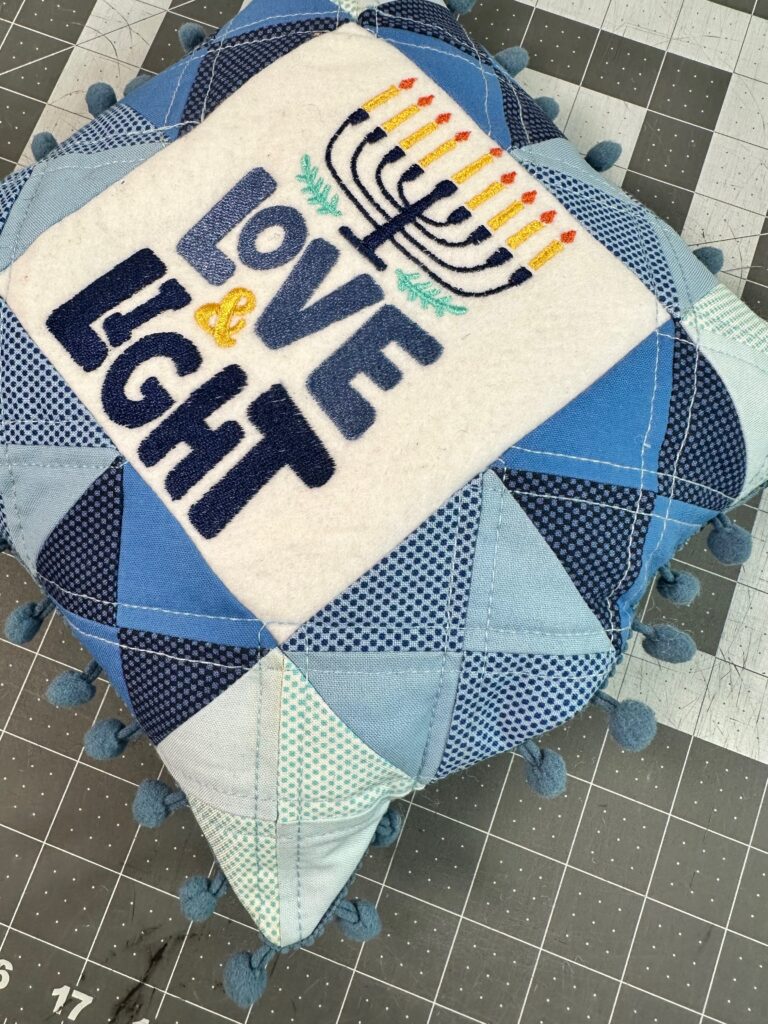
Display the Hanukkah Shelf Pillow on a bookcase, mantle or table for a festive touch to your home.