Embroider a Can Koozie
Learn how to embroider a can koozie with this quick tutorial. A can koozie makes a great gift for Father’s Day, birthdays or any time of year. Find a fun design that fits the can koozie front or use software to resize a design to fit.
CAN KOOZIE SUPPLIES
- Can Koozie Blank (SPOILER ALERT: find one in our 35th Anniversary Mystery Box! Available for purchase on 6/17/22!)
- Sulky Rayon or Poly Deco Thread (machine embroidery; colors according to chosen embroidery design)
- Poly Deco Thread (construction; one spool for sewing machine, 3 or 4 spools for serging)
- 60 wt. Bobbin or PolyLite Thread
- Organ® 90/14 Embroidery Needles
- Sulky Sticky+ Stabilizer
- Sticky+ Slitting Pen
- Appliqué fabric (such as Sulky Twilly – coming soon! optional; if using appliqué design)
- Machine embroidery design (featured design is from the Hold My Beer machine embroidery collection by Scissortail Stitches)
- Curved Tip Squeezers
- Sulky Placement Sticker PDF
- Sticky Fabri-Solvy sheet (for printing placement sticker PDF)
- Clear 1″ x 6″ ruler
- Wonder Clips
- Serger (optional)
- Large-eye hand sewing needle (optional; if using a serger for construction)
DESIGN CONSIDERATIONS
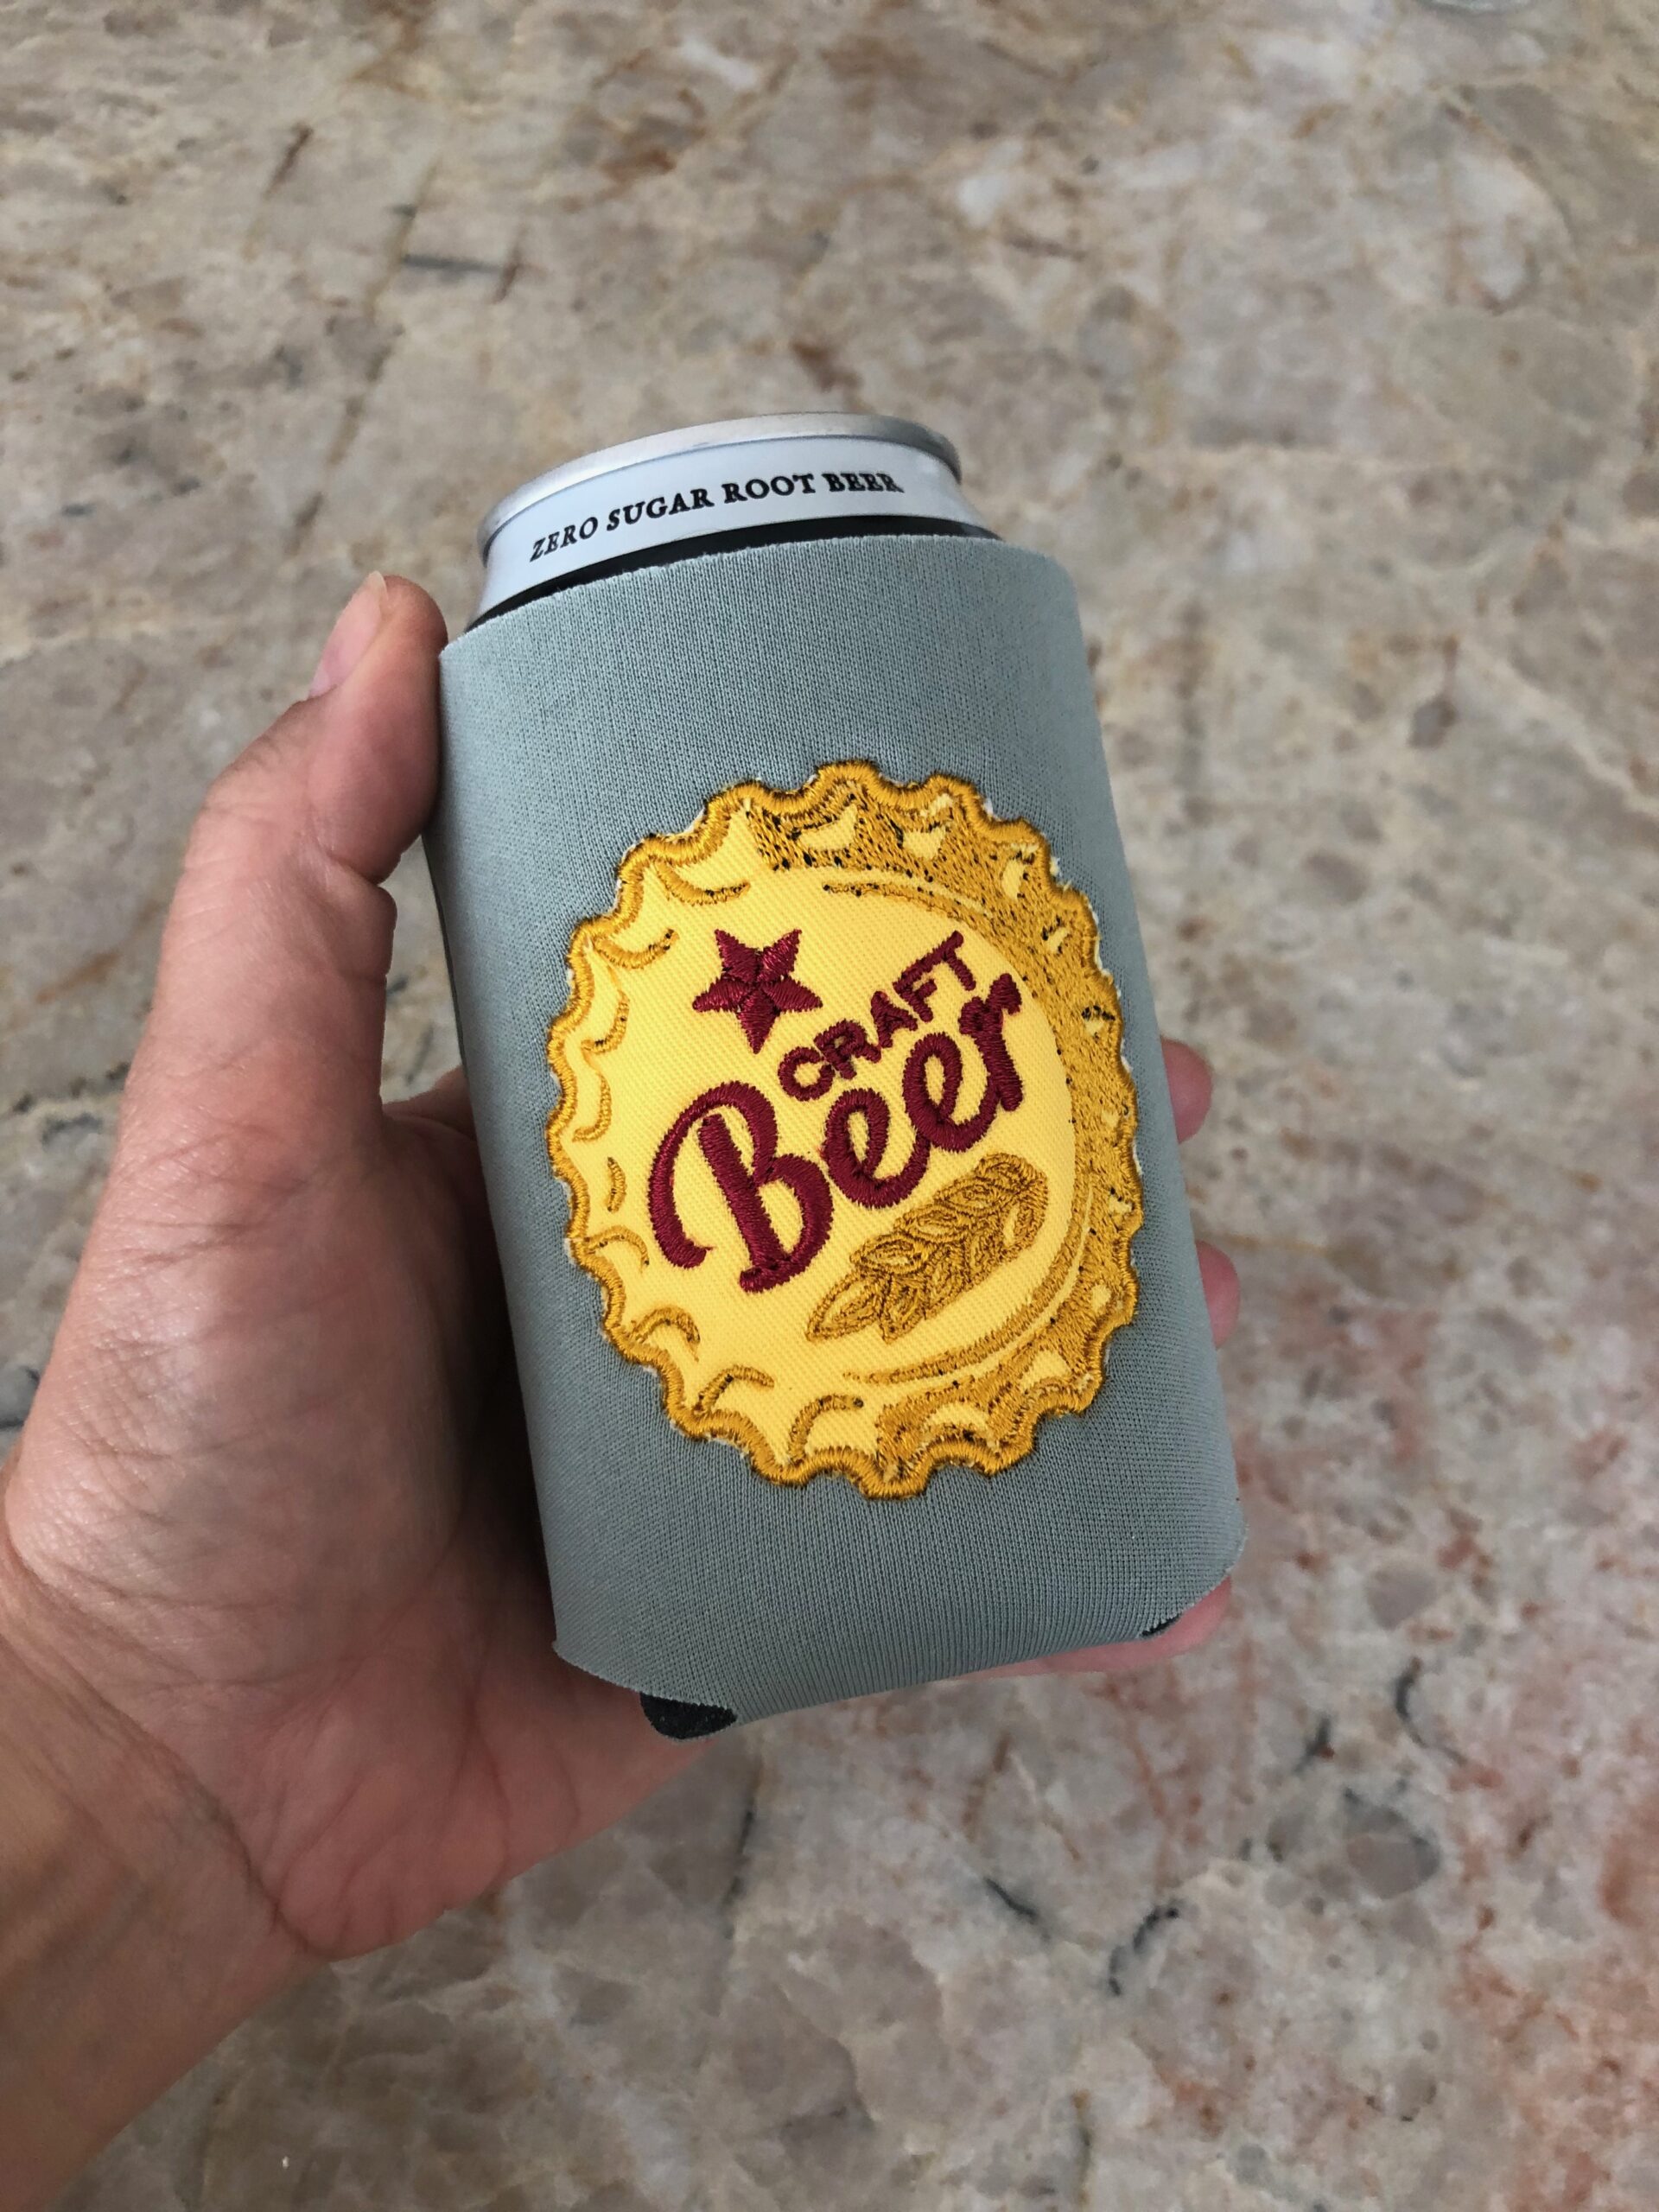
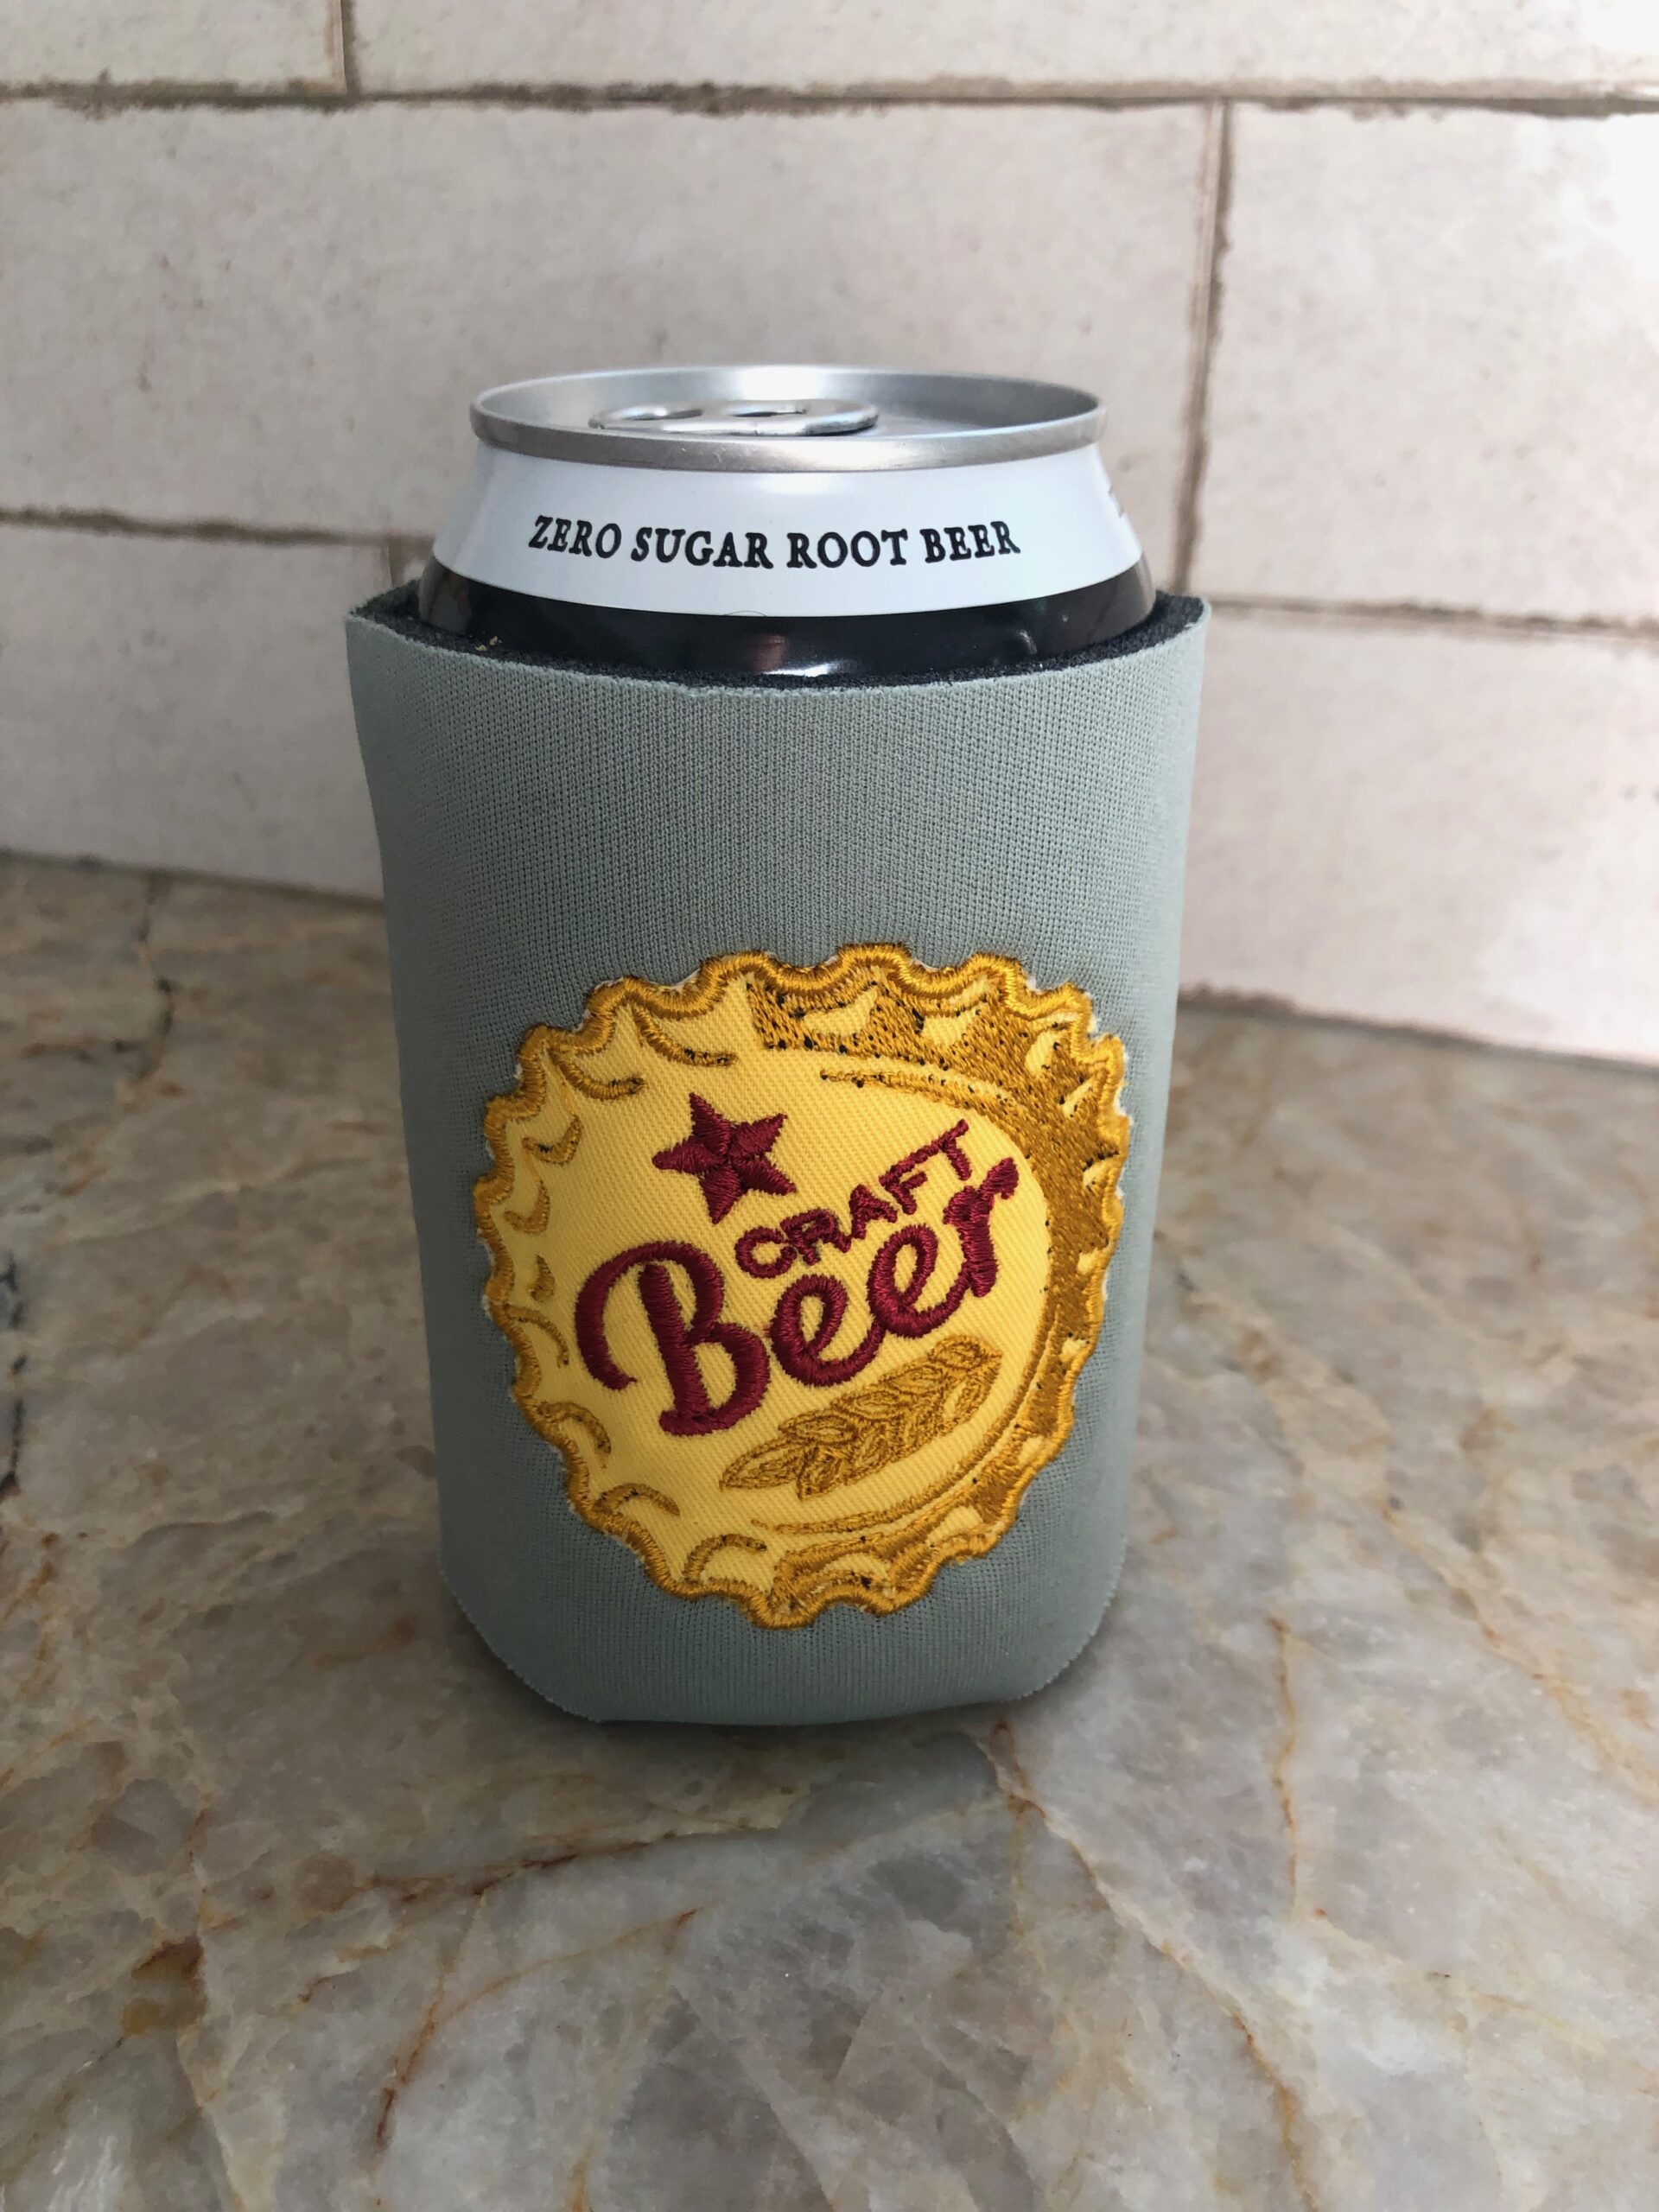
This tutorial showcases an appliqué machine embroidery design, Craft Beer Appliqué, but a design with satin or other fills also works great. Choose a dense design so the thread pops rather than sinks into the koozie fabric.
Choose a monogram design, “knockout” letter or design that suits the recipient’s interest.
If desired, use Sulky Puffy Foam if stitching a satin fill letter, monogram or word. Place the foam on the koozie right side like a topper, and then tear it away after the stitching is complete. The foam creates raised stitches, making the threadwork really prominent. Choose a Puffy Foam color that coordinates with the thread color.
The available embroidery field is about 3″ square, so if choosing a larger design you may need software for proper resizing without compromising the stitch quality. Remember that it’s only possible to resize up or down by 20% using the machine screen functions. Anything beyond that requires software so the stitch density is accurate.
The featured design measures 4.88″ x 4.89″, so Creative Drawings software was used to resize the design to fit the koozie front. Note: Choose a koozie side as the “front” as the sides are the same!
Remember to account for a margin around the design and seam allowances when determining the design size and placement.

After resizing, if necessary, export the design in the needed embroidery format. Then, import the design into your machine.
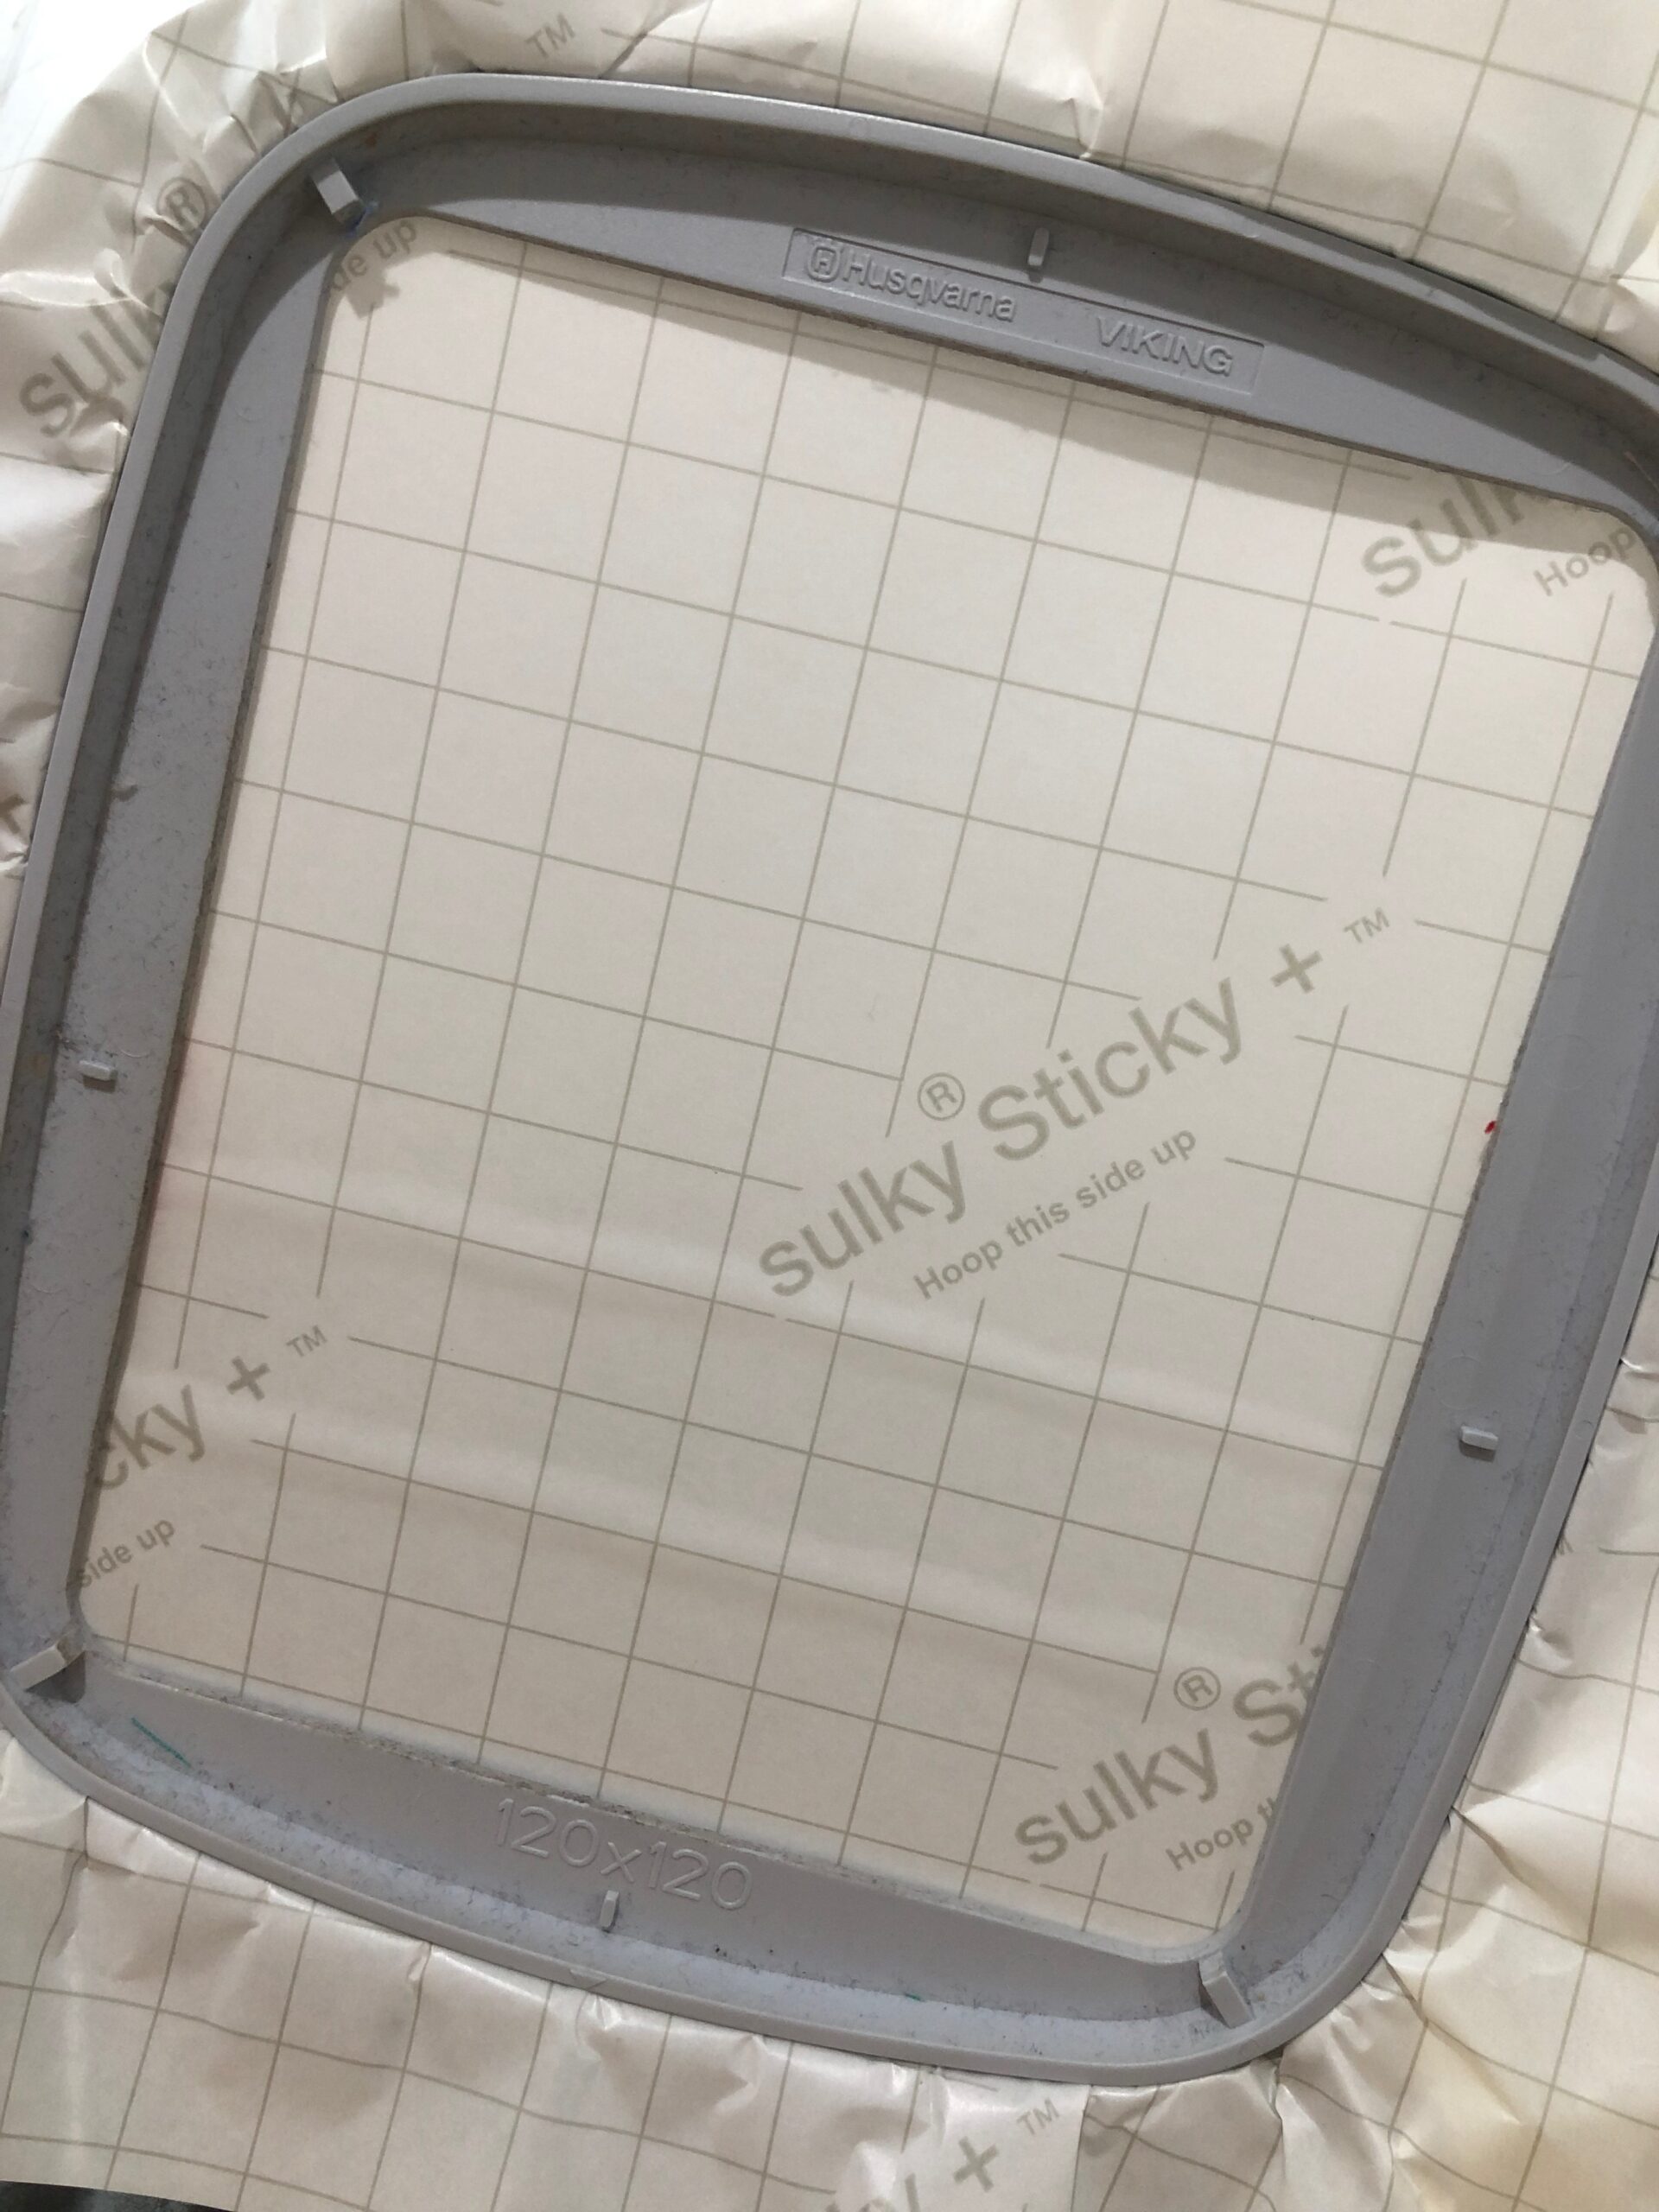
STABILIZE CAN KOOZIE
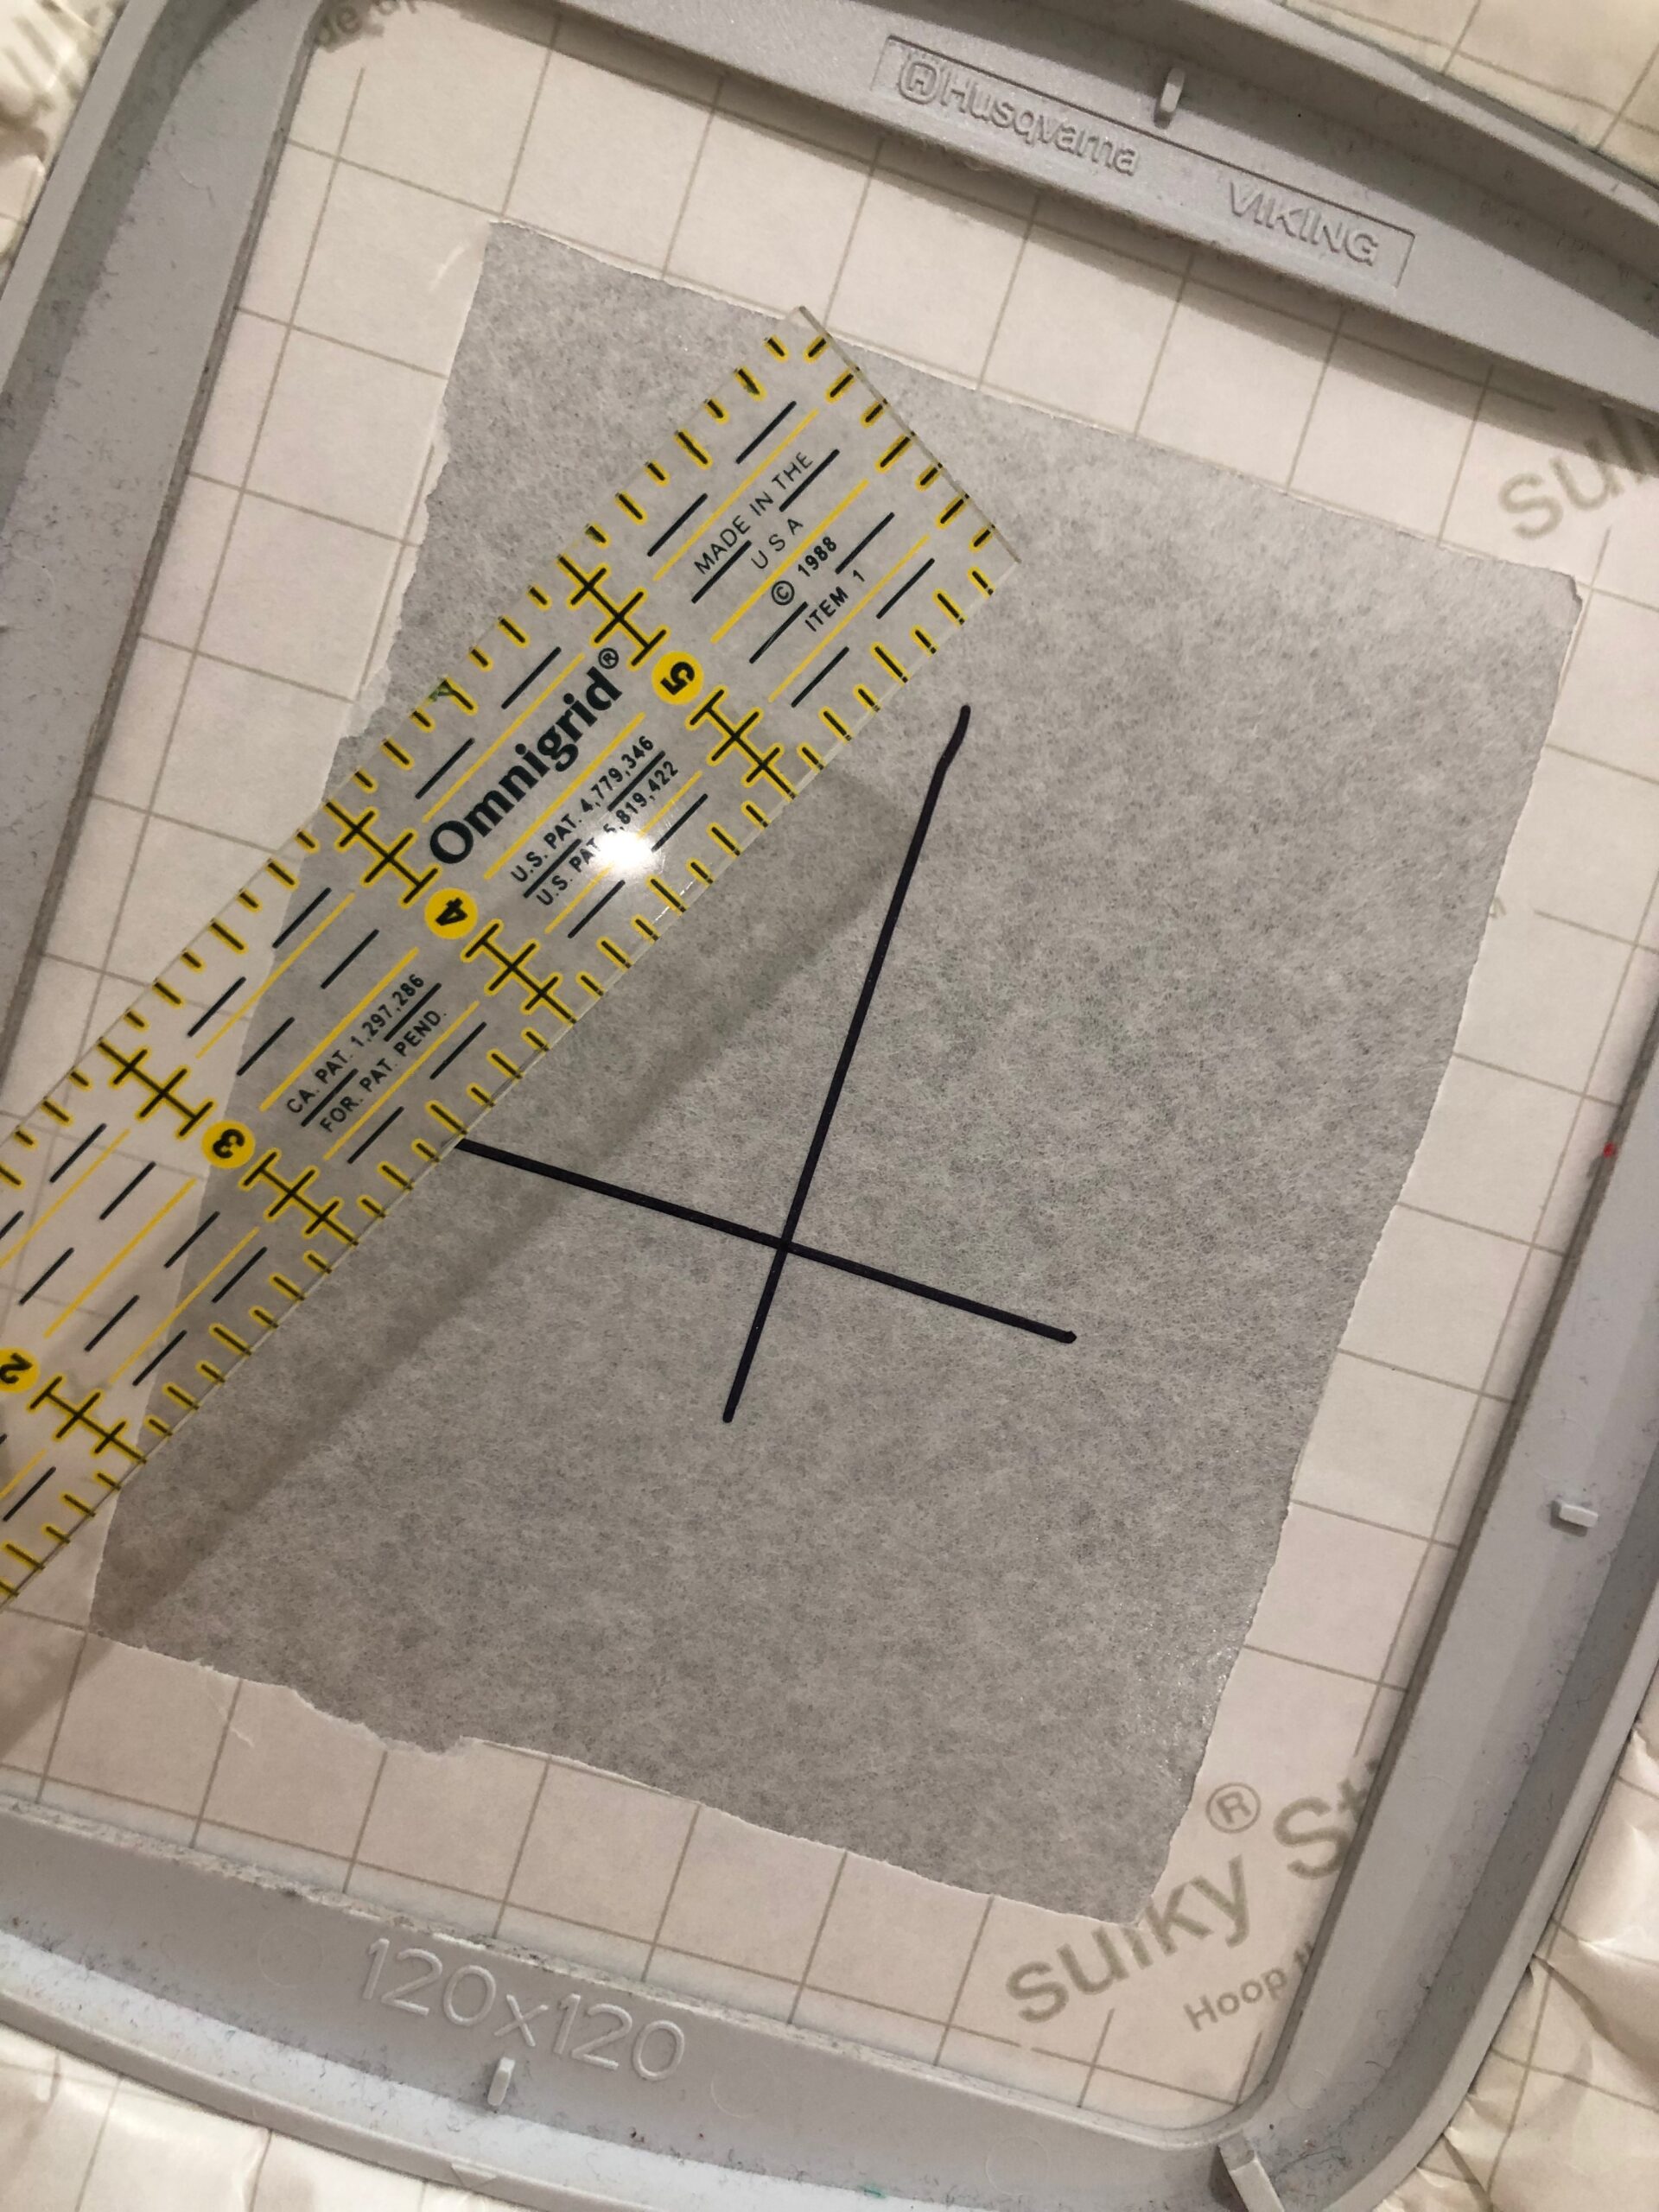
First, hoop a piece of Sulky Sticky+ in the hoop appropriate for the chosen machine embroidery design. Make sure the paper side is facing up in the hoop.
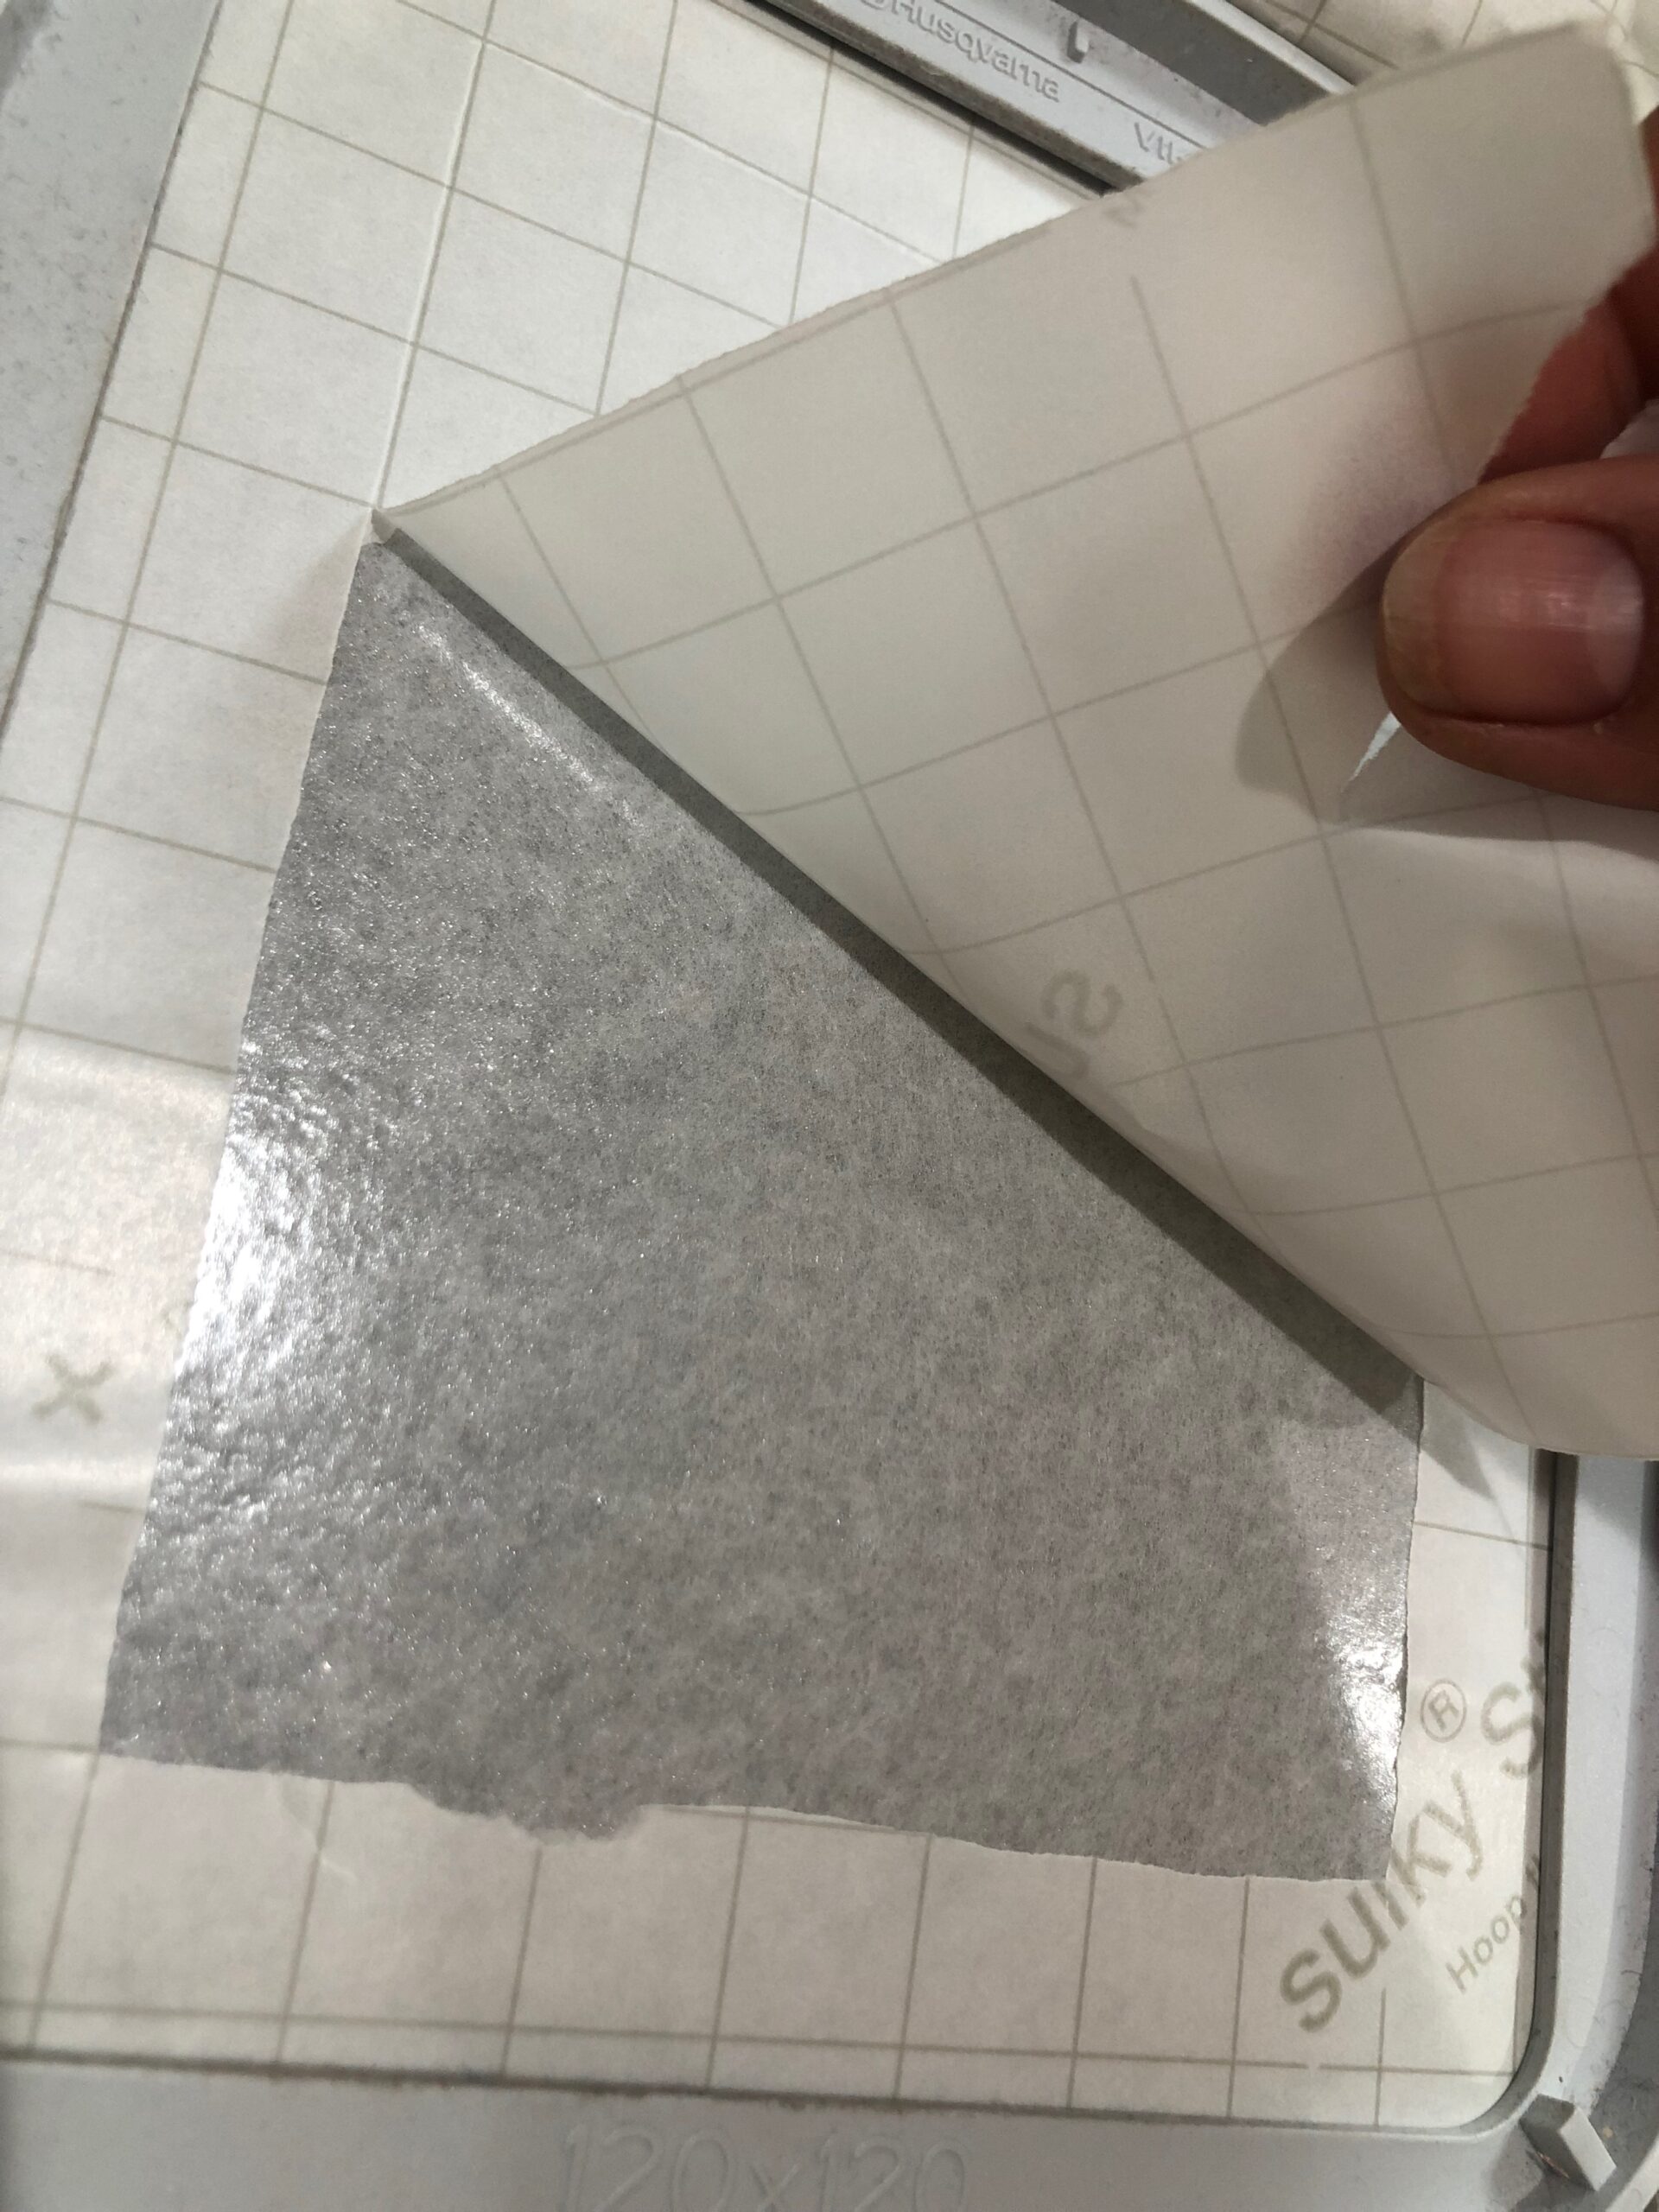
Use the Sticky+ Slitting Pen to score just the paper within the inner hoop ring. Then, tear away the paper backing to reveal the adhesive.
Mark the center cross marks onto the stabilizer using the hoop markings as a guide. A clear 1″ x 6″ ruler is handy for this process. Note: If using a permanent marker to mark the center cross marks, place clear tape on the ruler edge, and then remove the tape after marking to avoid transferring permanent marks to the ruler.
Print the Sulky Placement Sticker PDF onto a sheet of Sticky Fabri-Solvy using the lowest ink setting.
Cut out one circle, and then remove the paper backing. Then, center the sticker on the can koozie front.
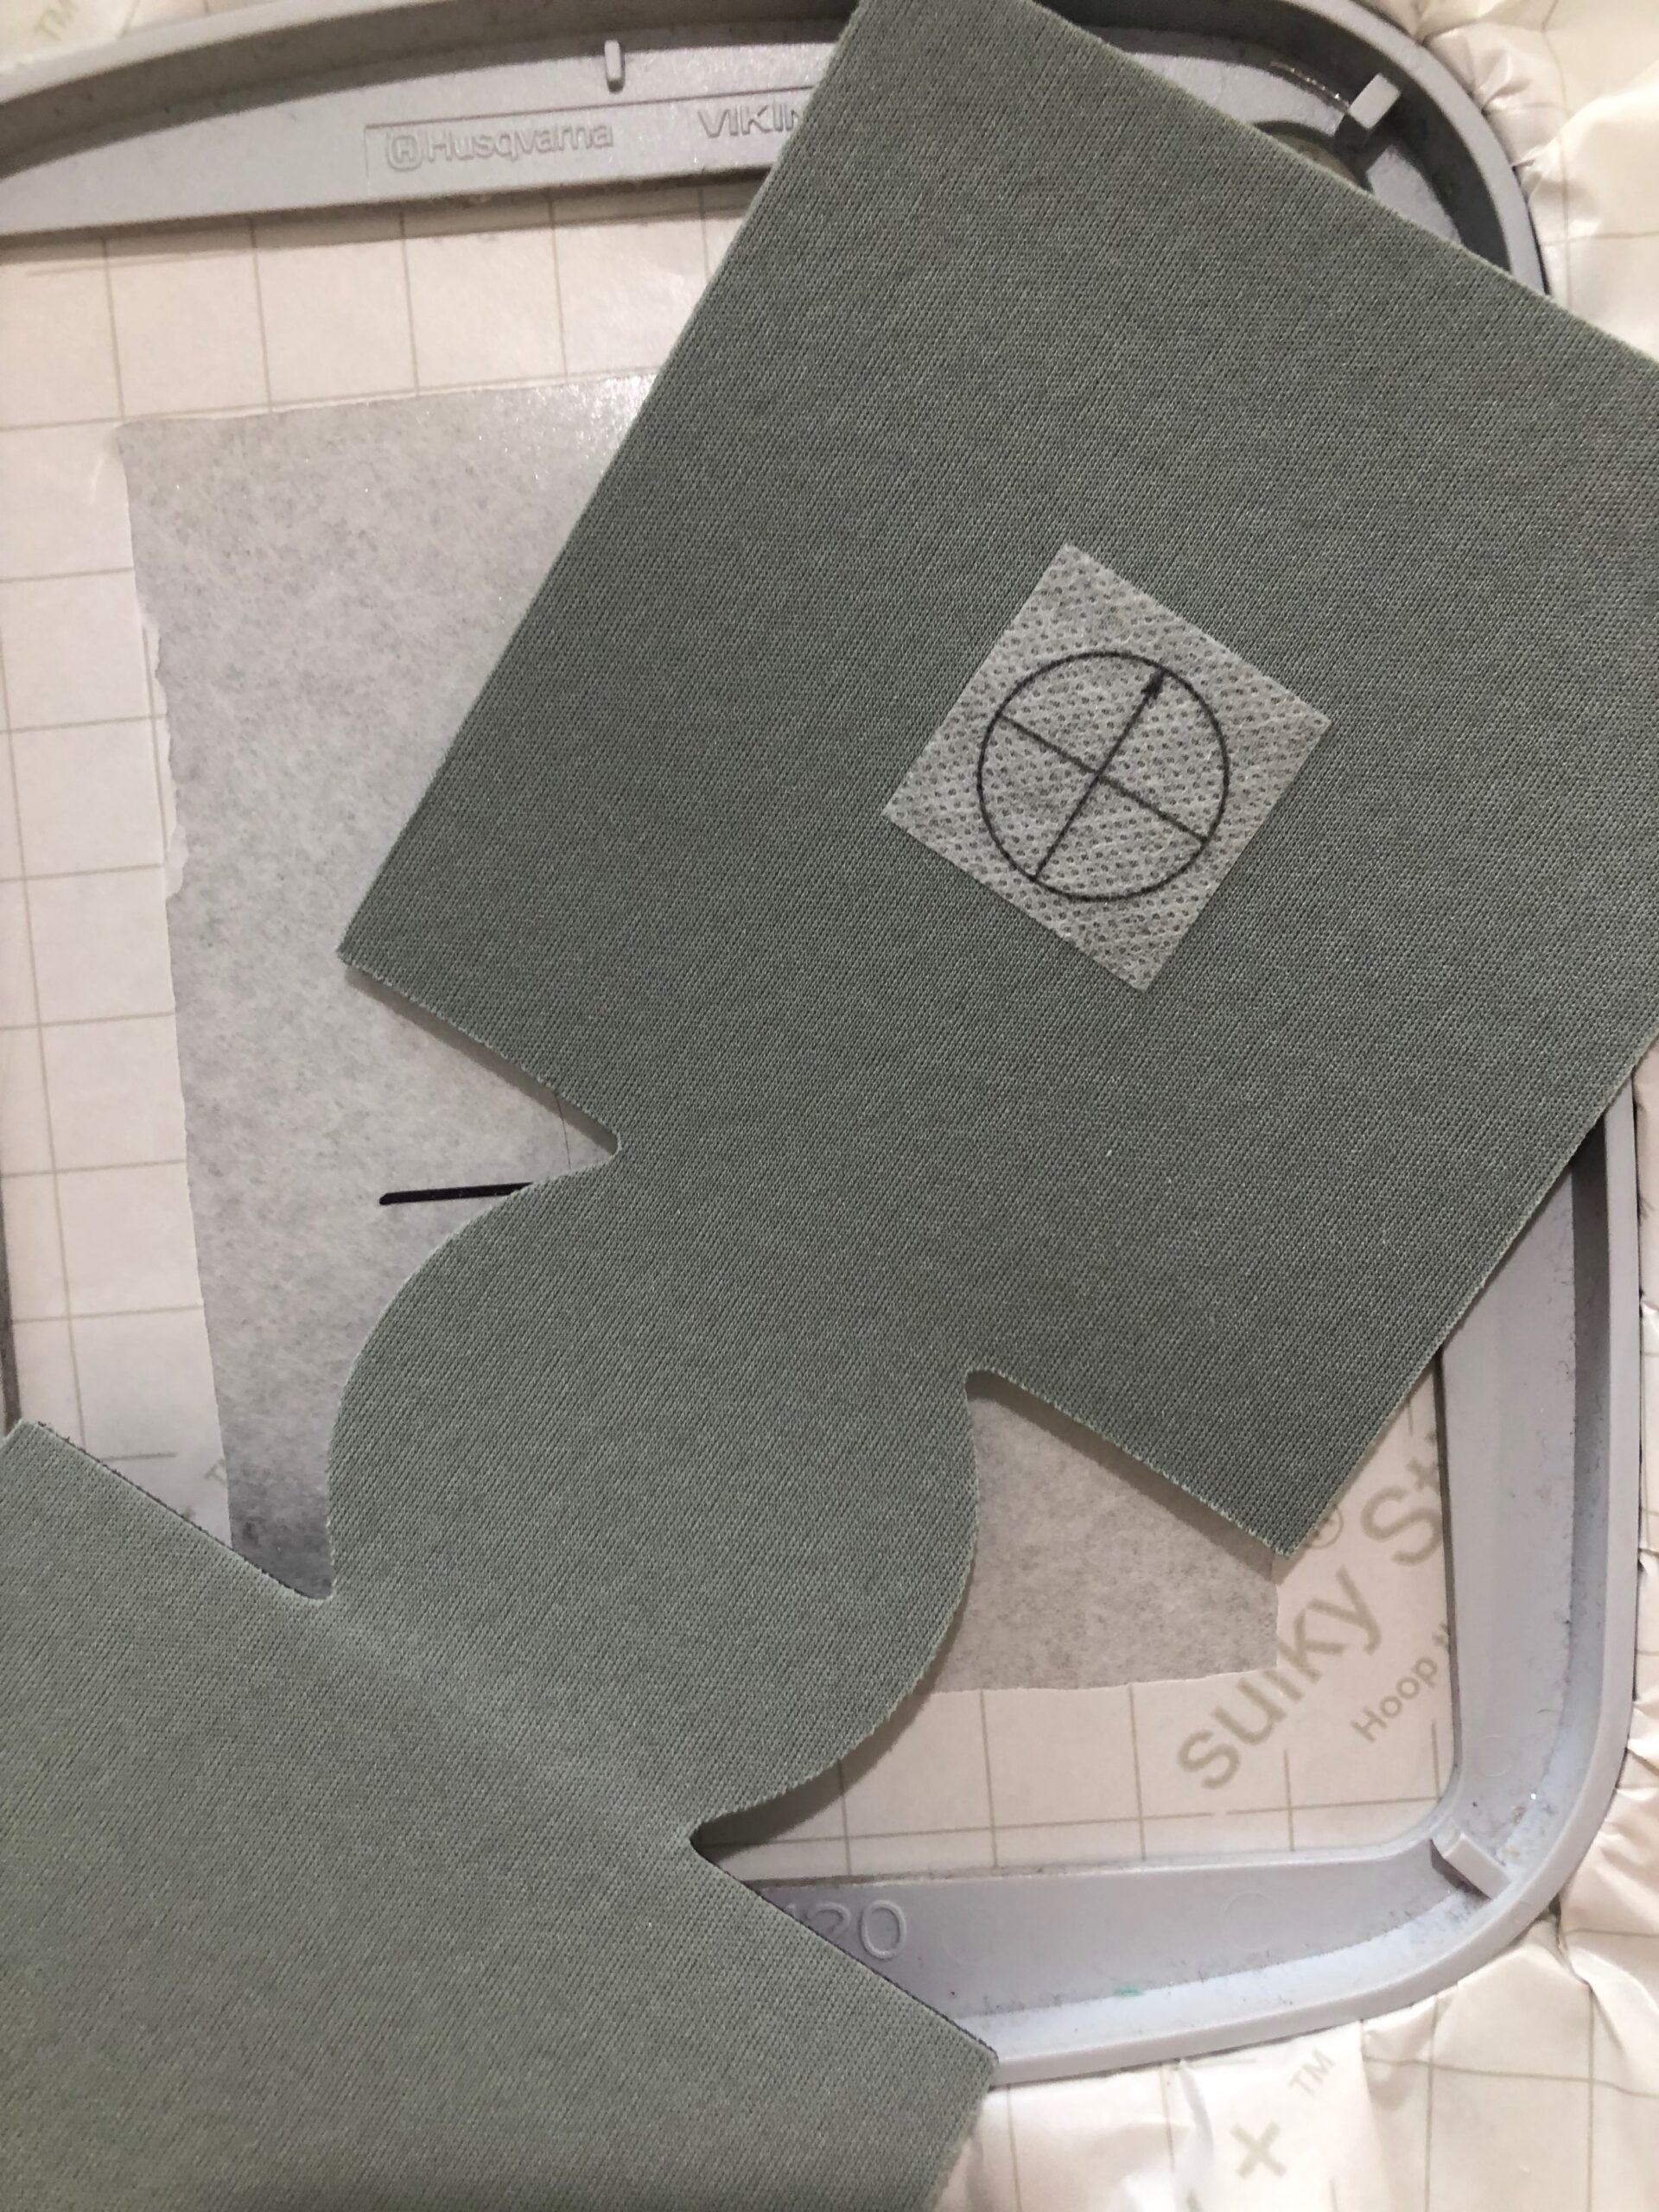
Align the placement sticker cross marks with the marked cross marks on the stabilizer, and then stick the koozie in place.

EMBROIDER THE CAN KOOZIE
Install a size 90/14 Embroidery Needle and thread the needle with the first color in the design. Use Sulky Bobbin or PolyLite Thread in the bobbin.
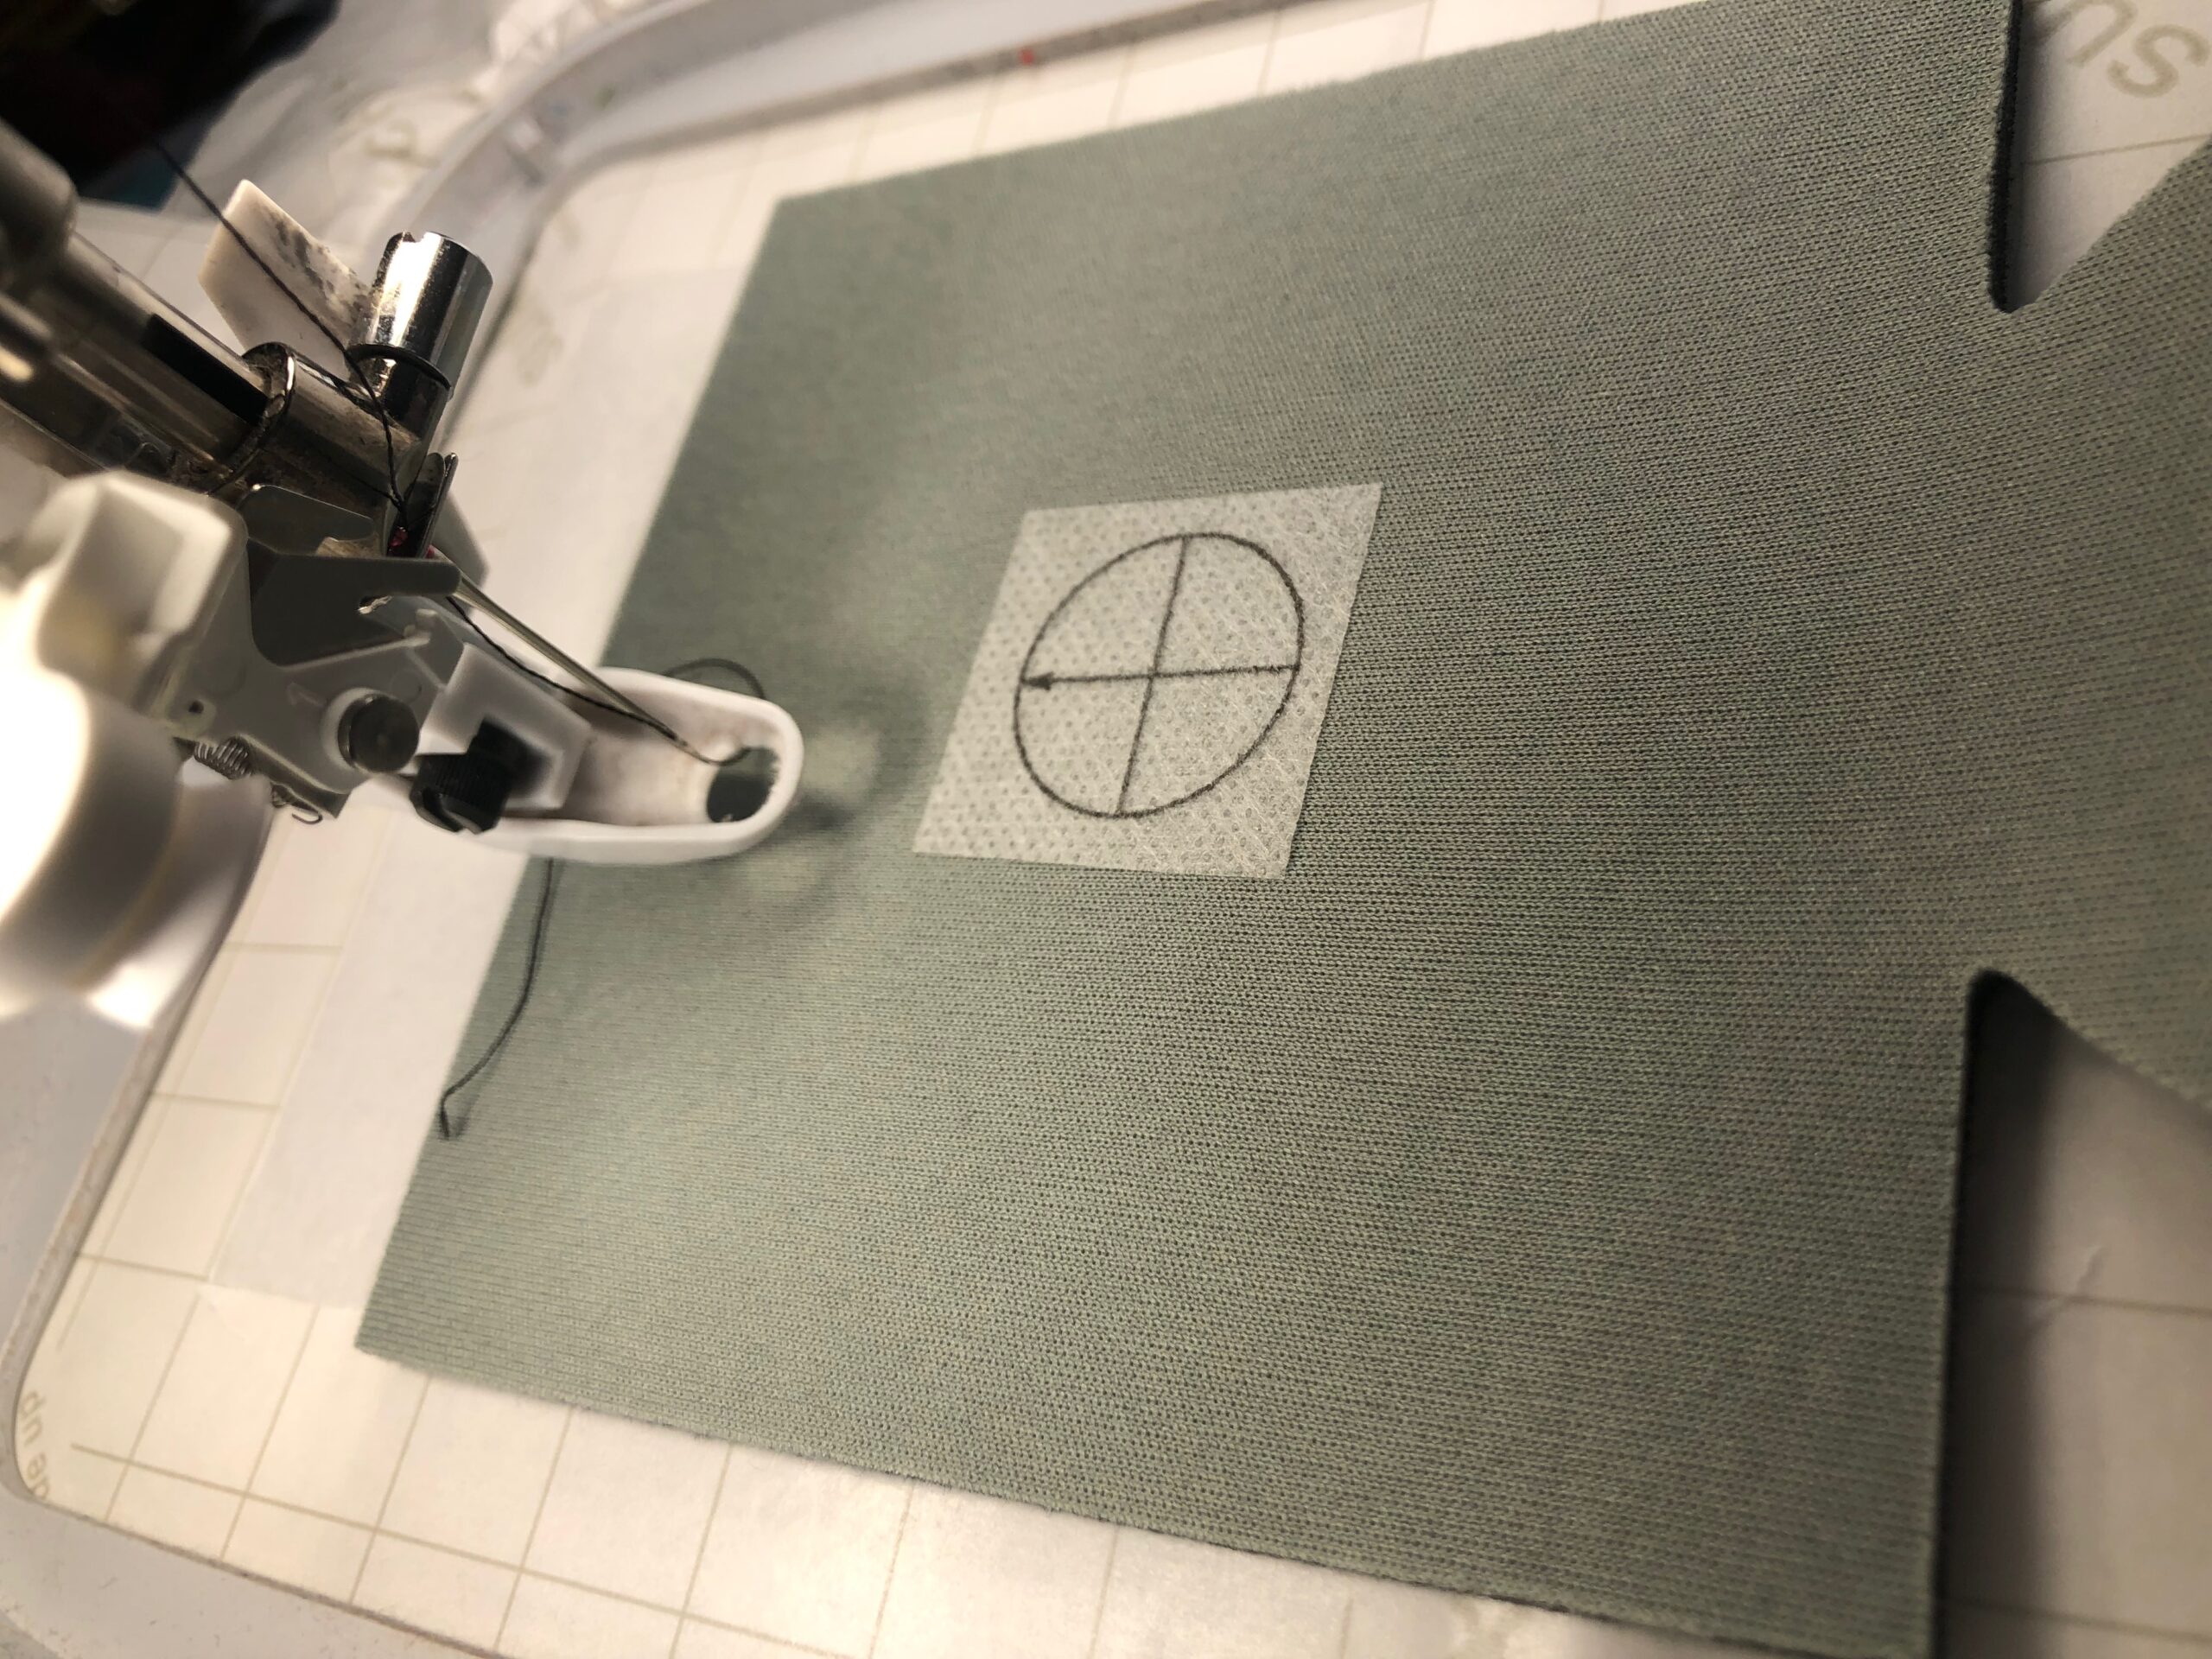
Remove the placement sticker. Note: If you forget to remove the sticker, it’s water-soluble! So it washes away after embroidery is complete. Bonus!
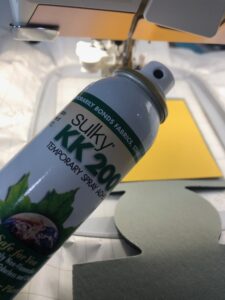
Begin the embroidery. If using an appliqué design, place the appliqué fabric according to the design instructions, using Sulky KK 2000 to secure.
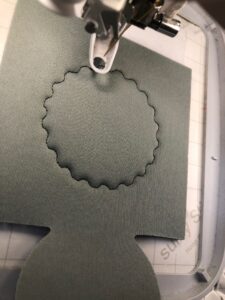
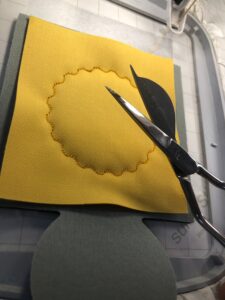
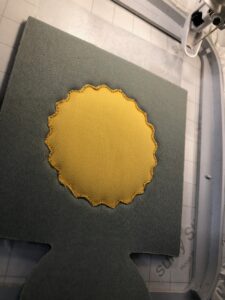
Finish the embroidery according to the color sequence chart, clipping jump threads with each color change using the Curved Tip Squeezers.
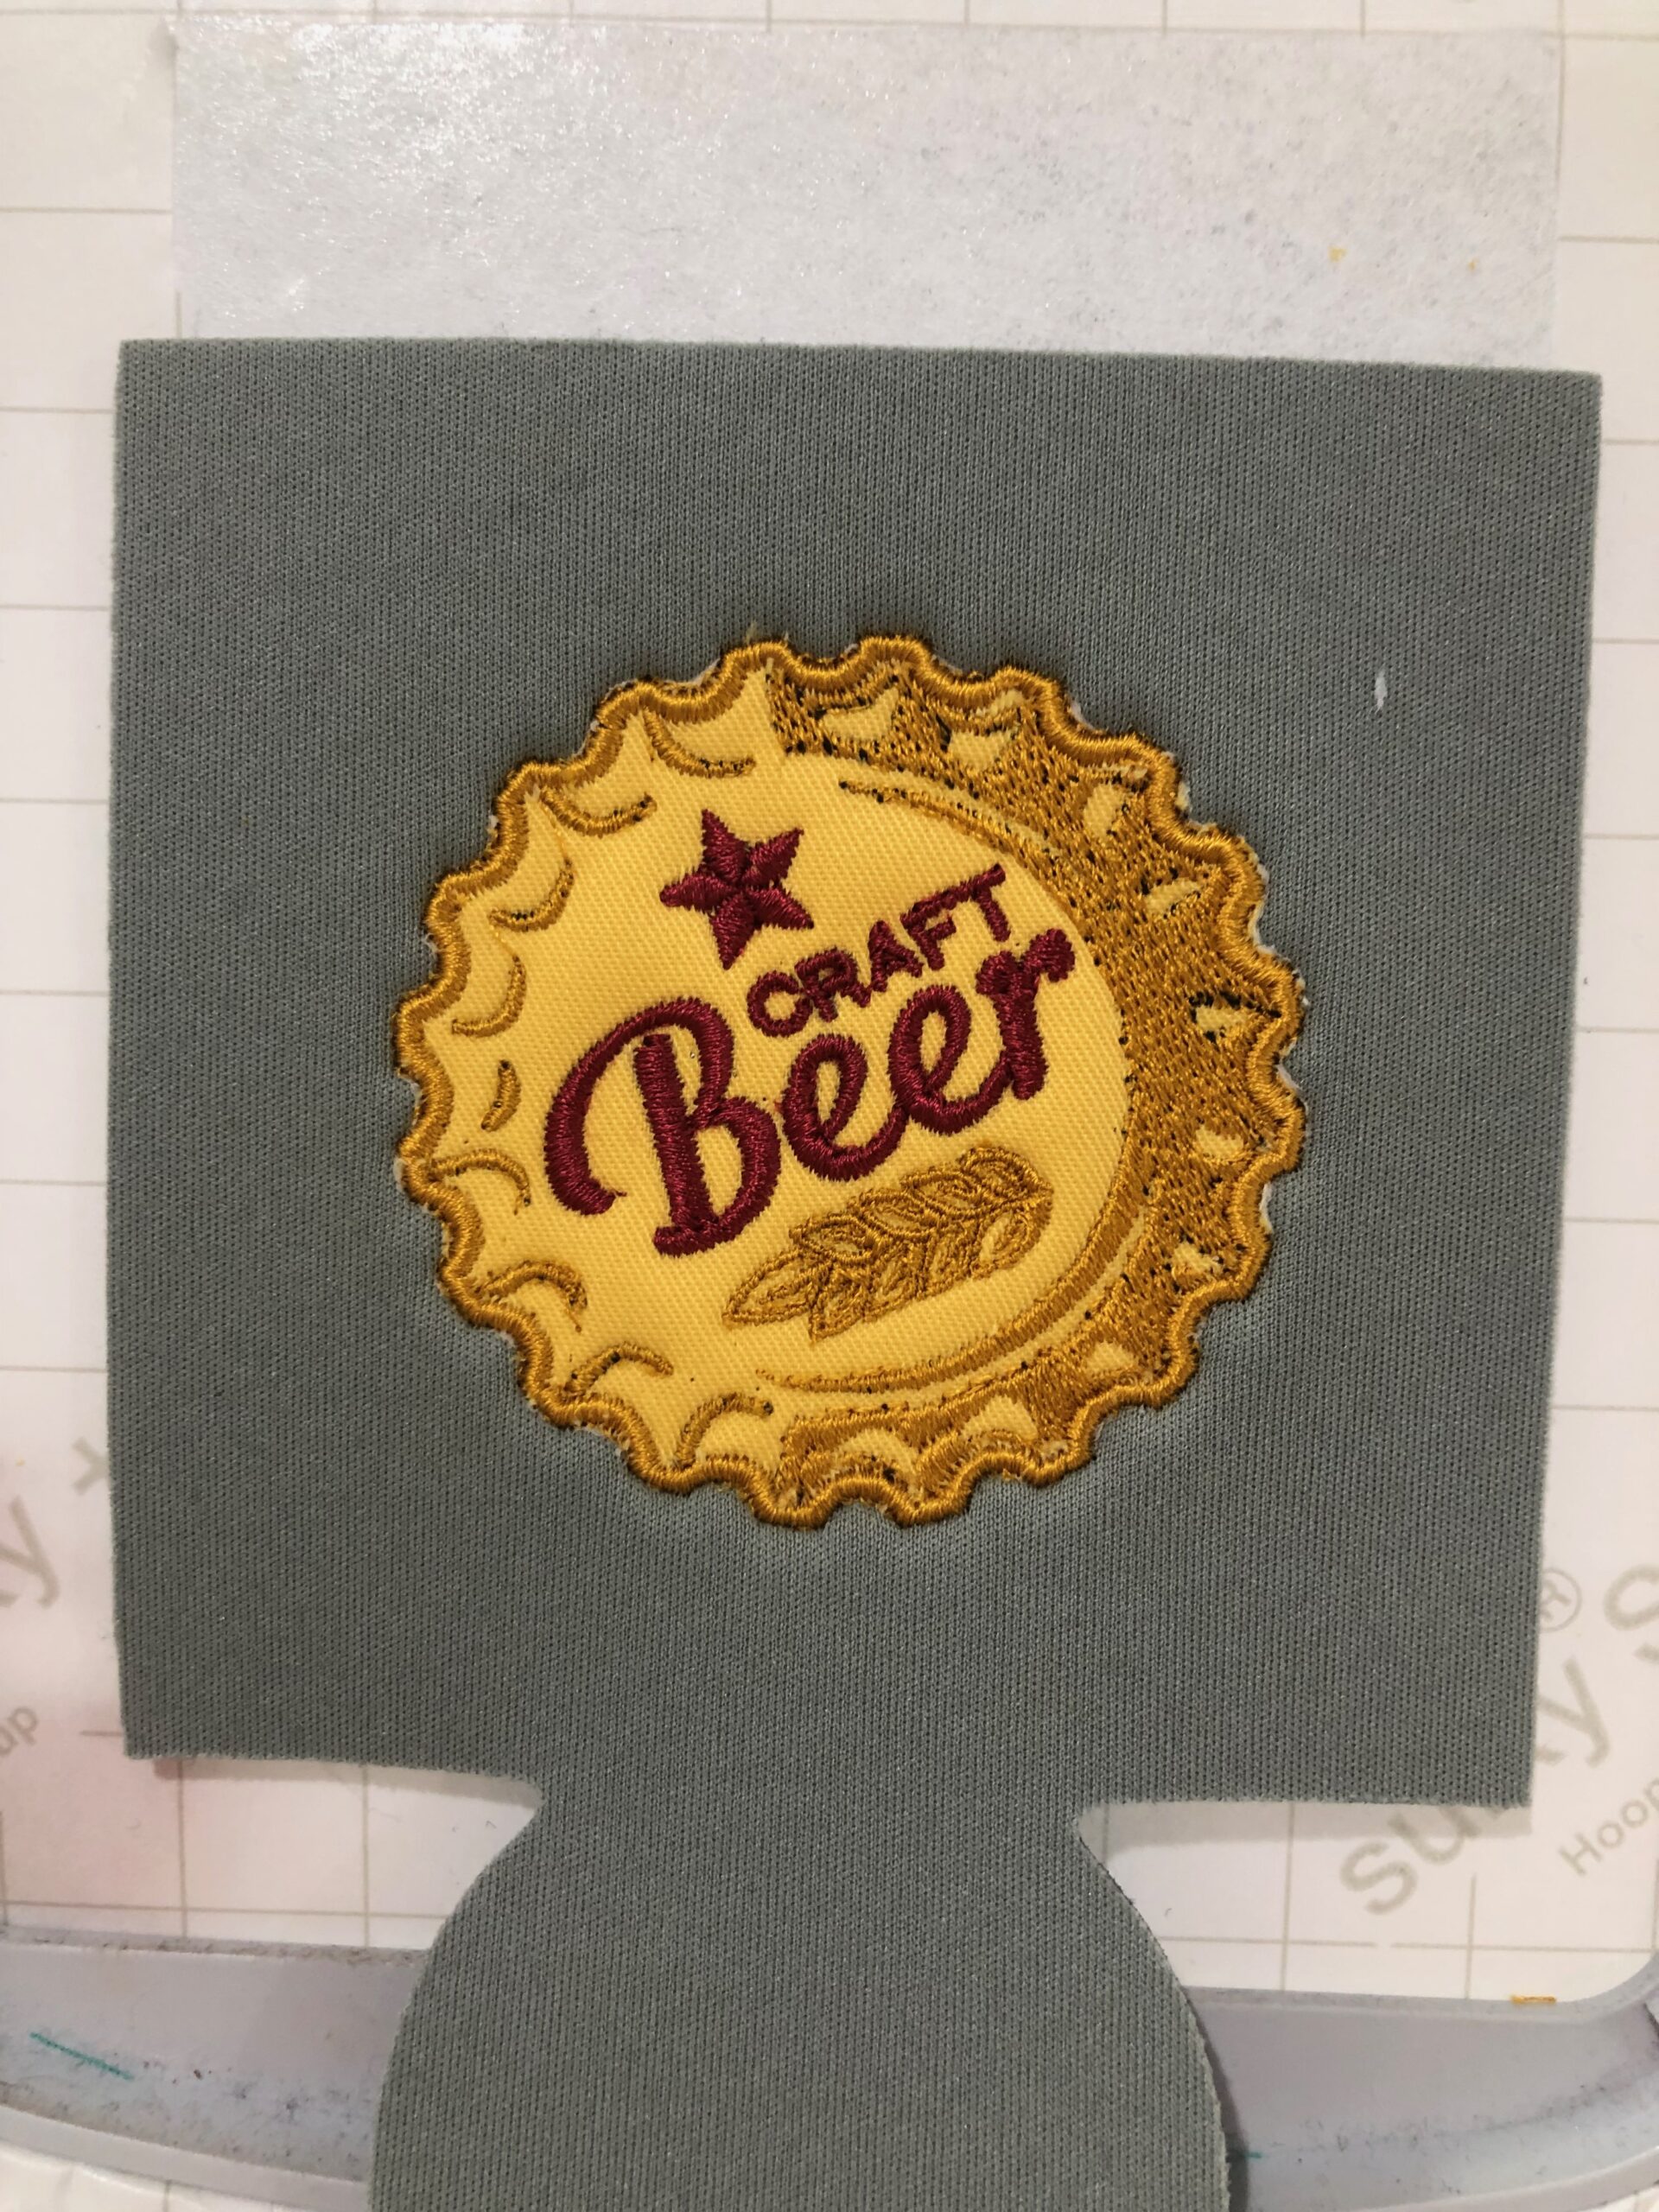
After embroidery is complete, carefully tear away the can koozie from the stabilizer.
CAN KOOZIE CONSTRUCTION
Fold the can koozie in half with right sides together. Clip the side edges using Wonder Clips, as pins could damage the fabric.
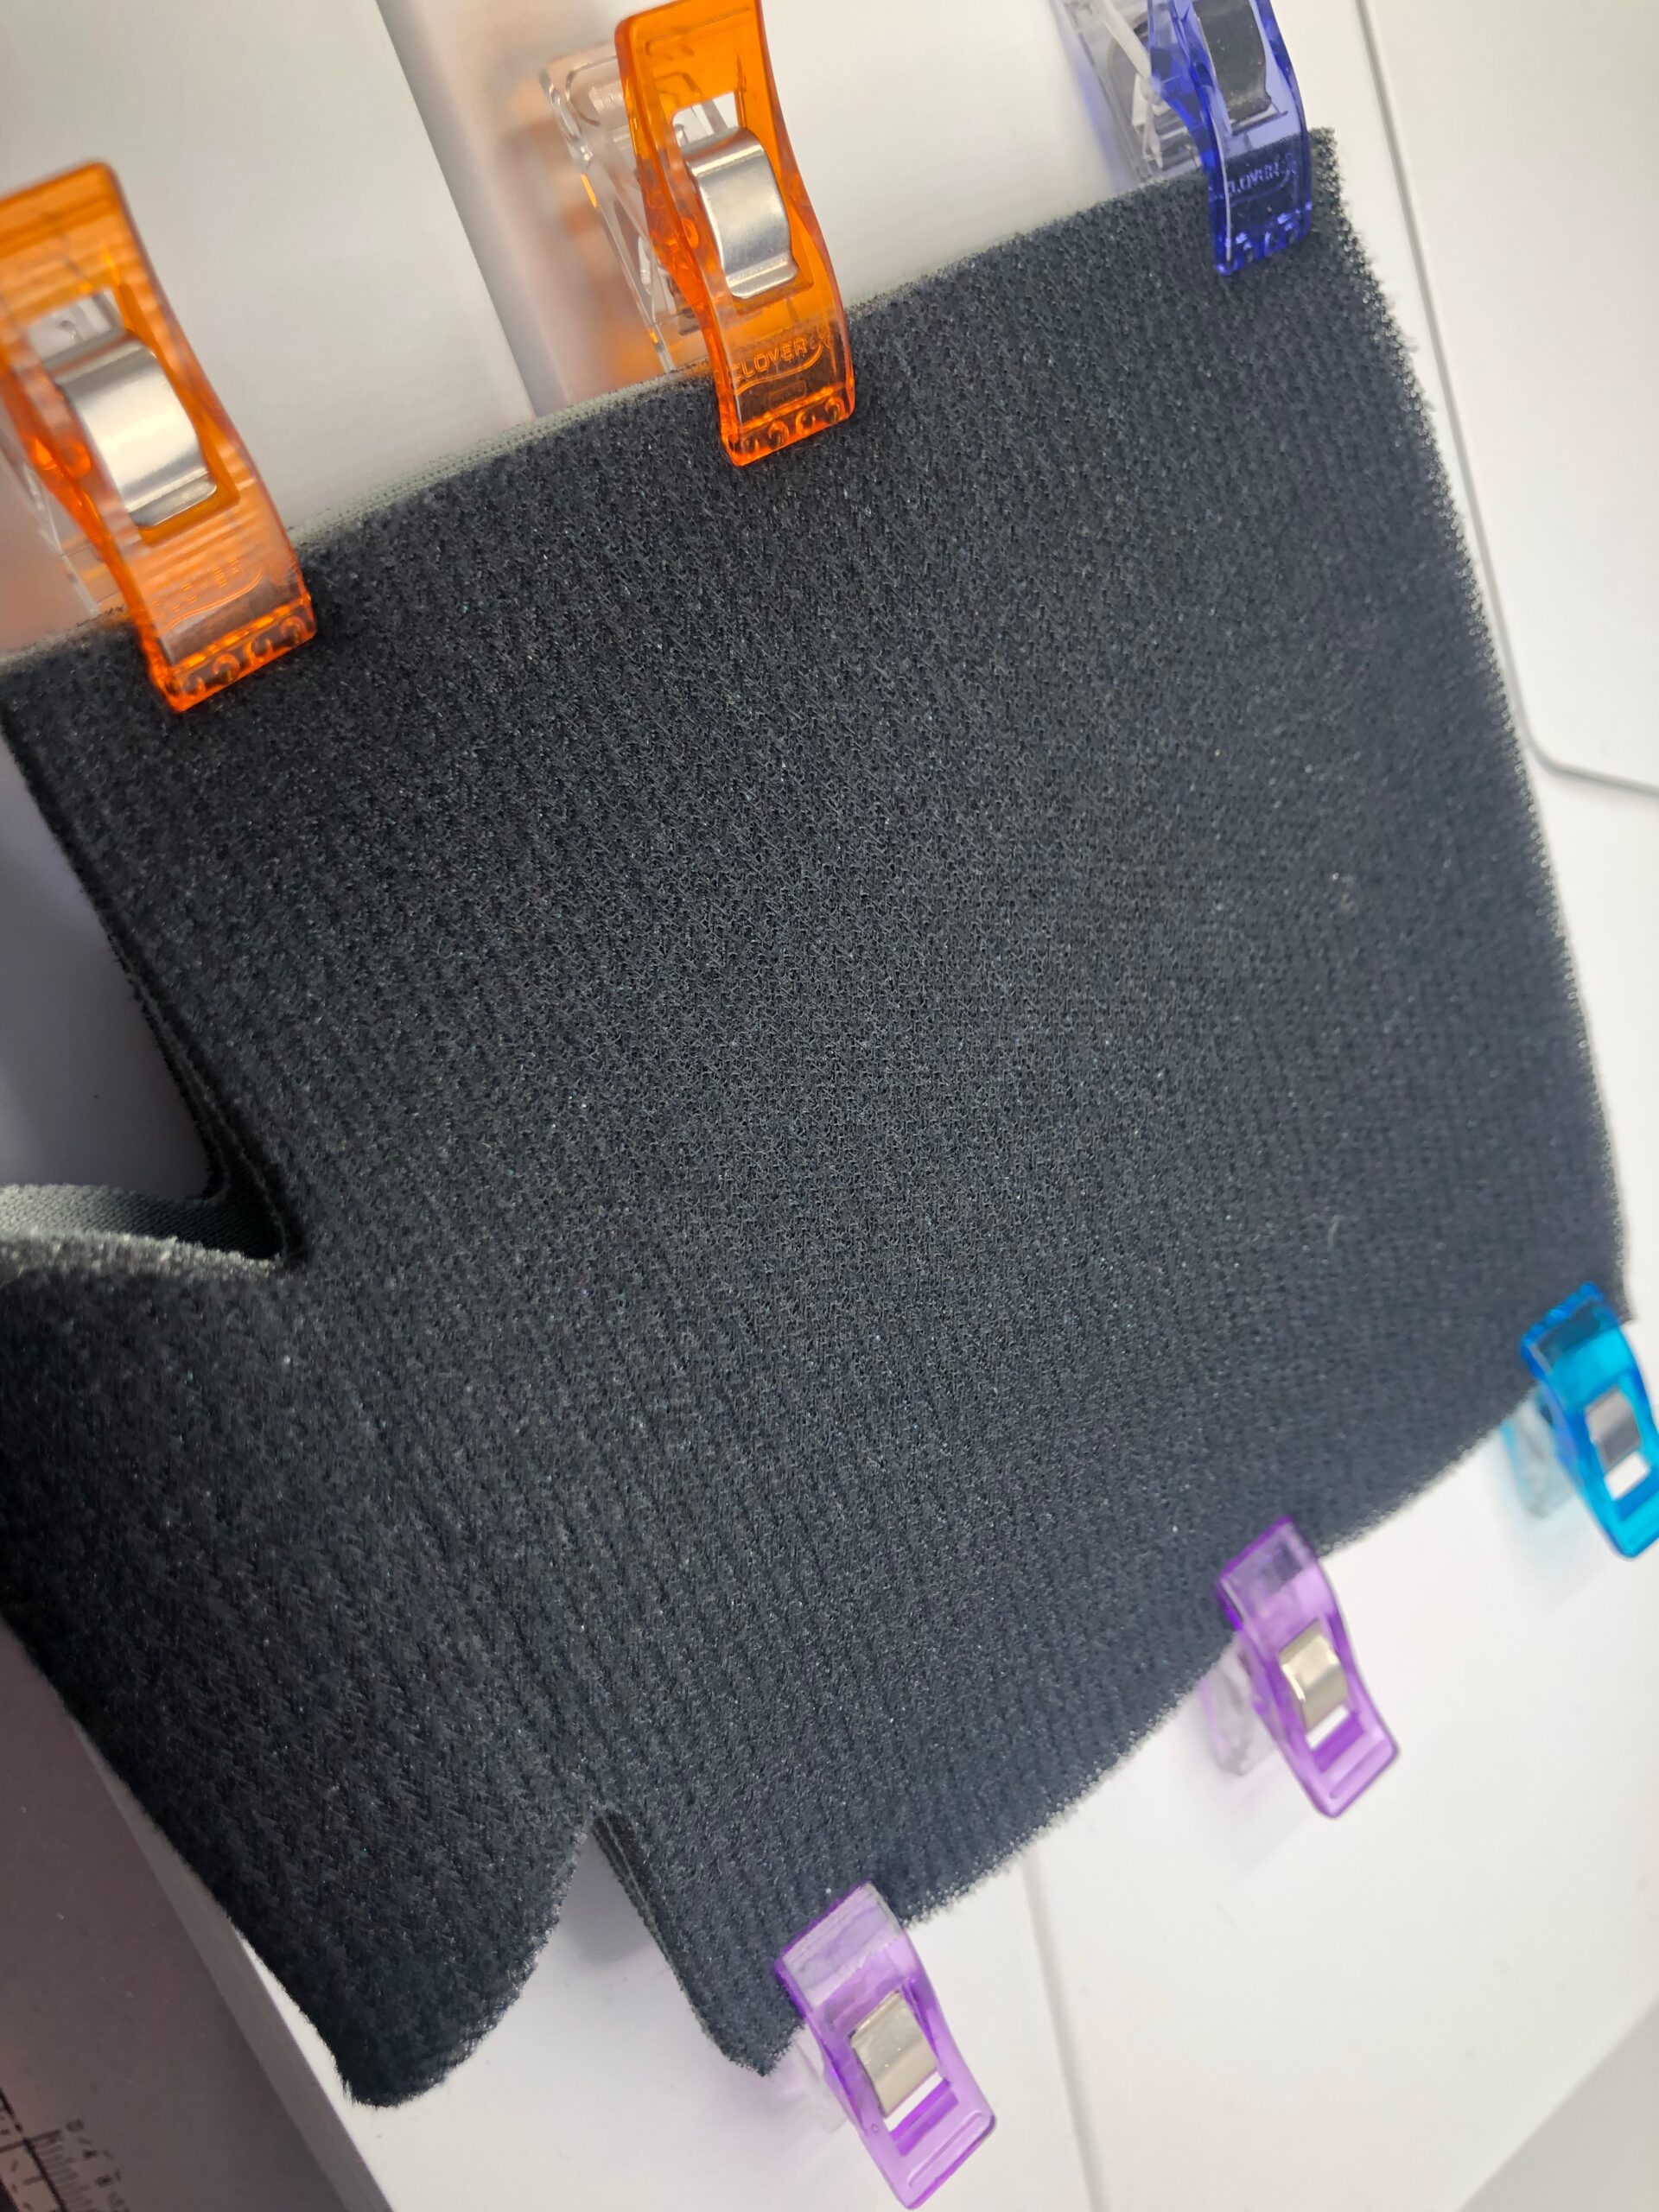
Use Poly Deco Thread for constructing the can koozie.
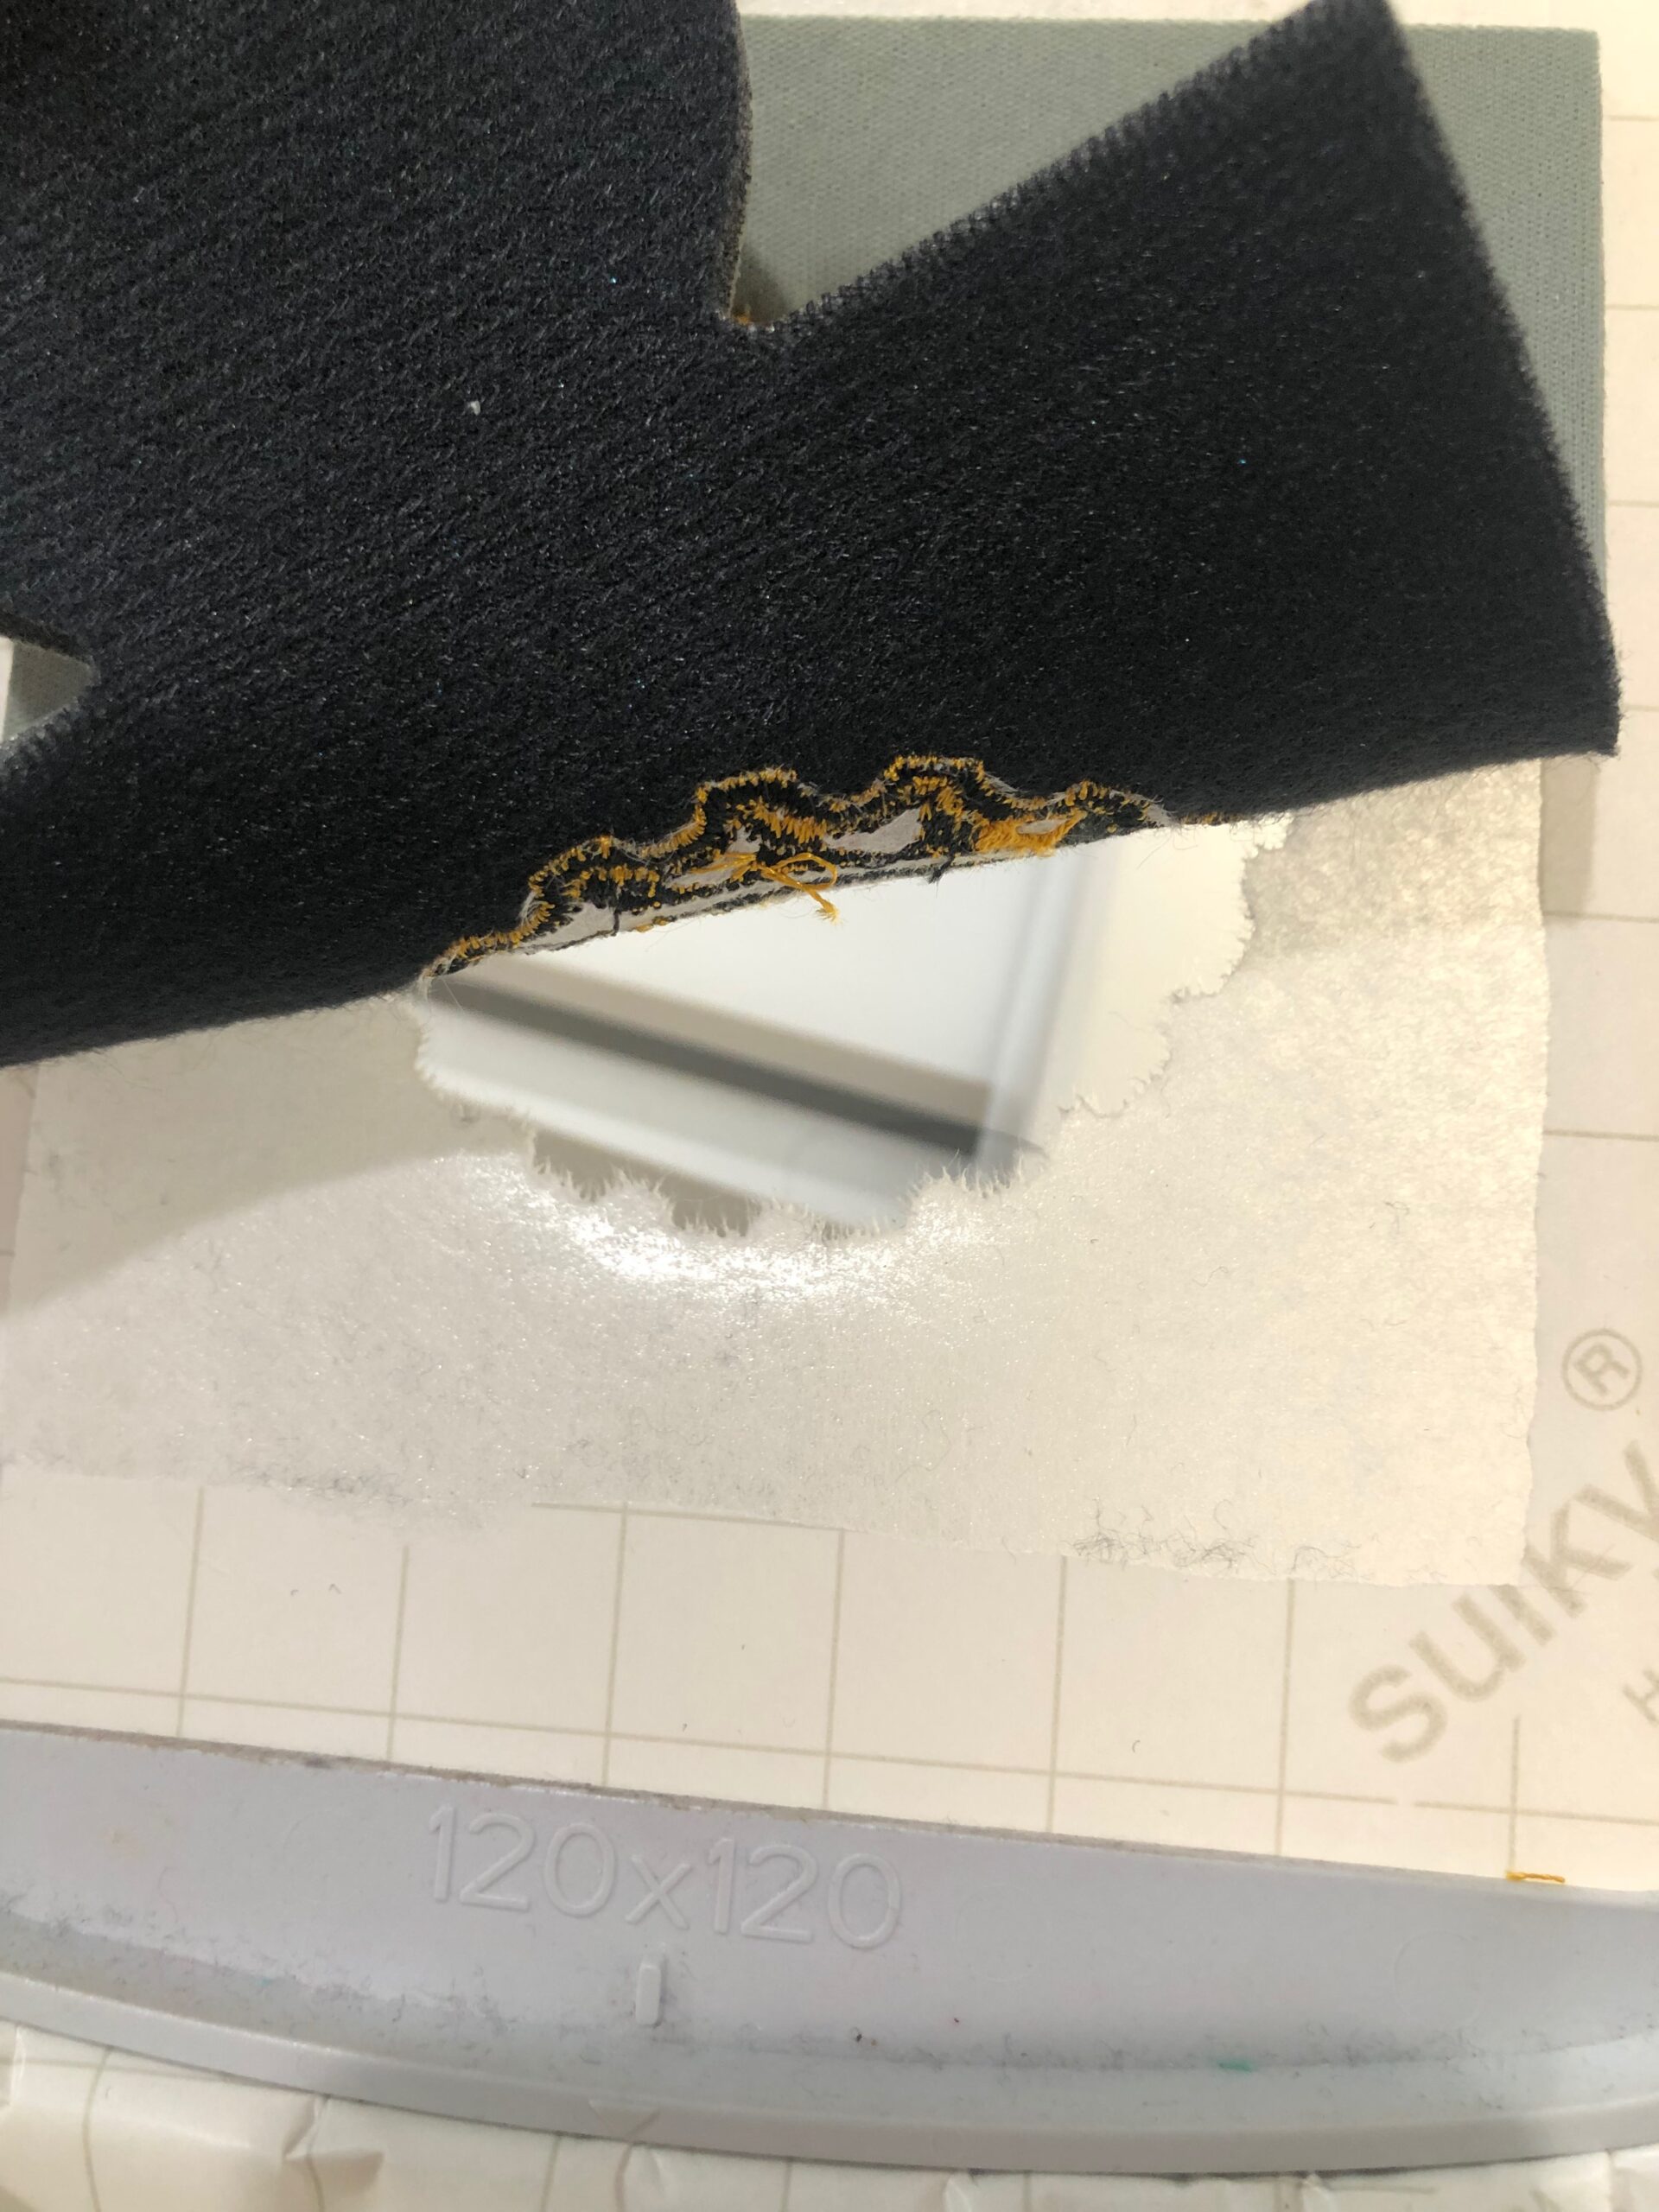
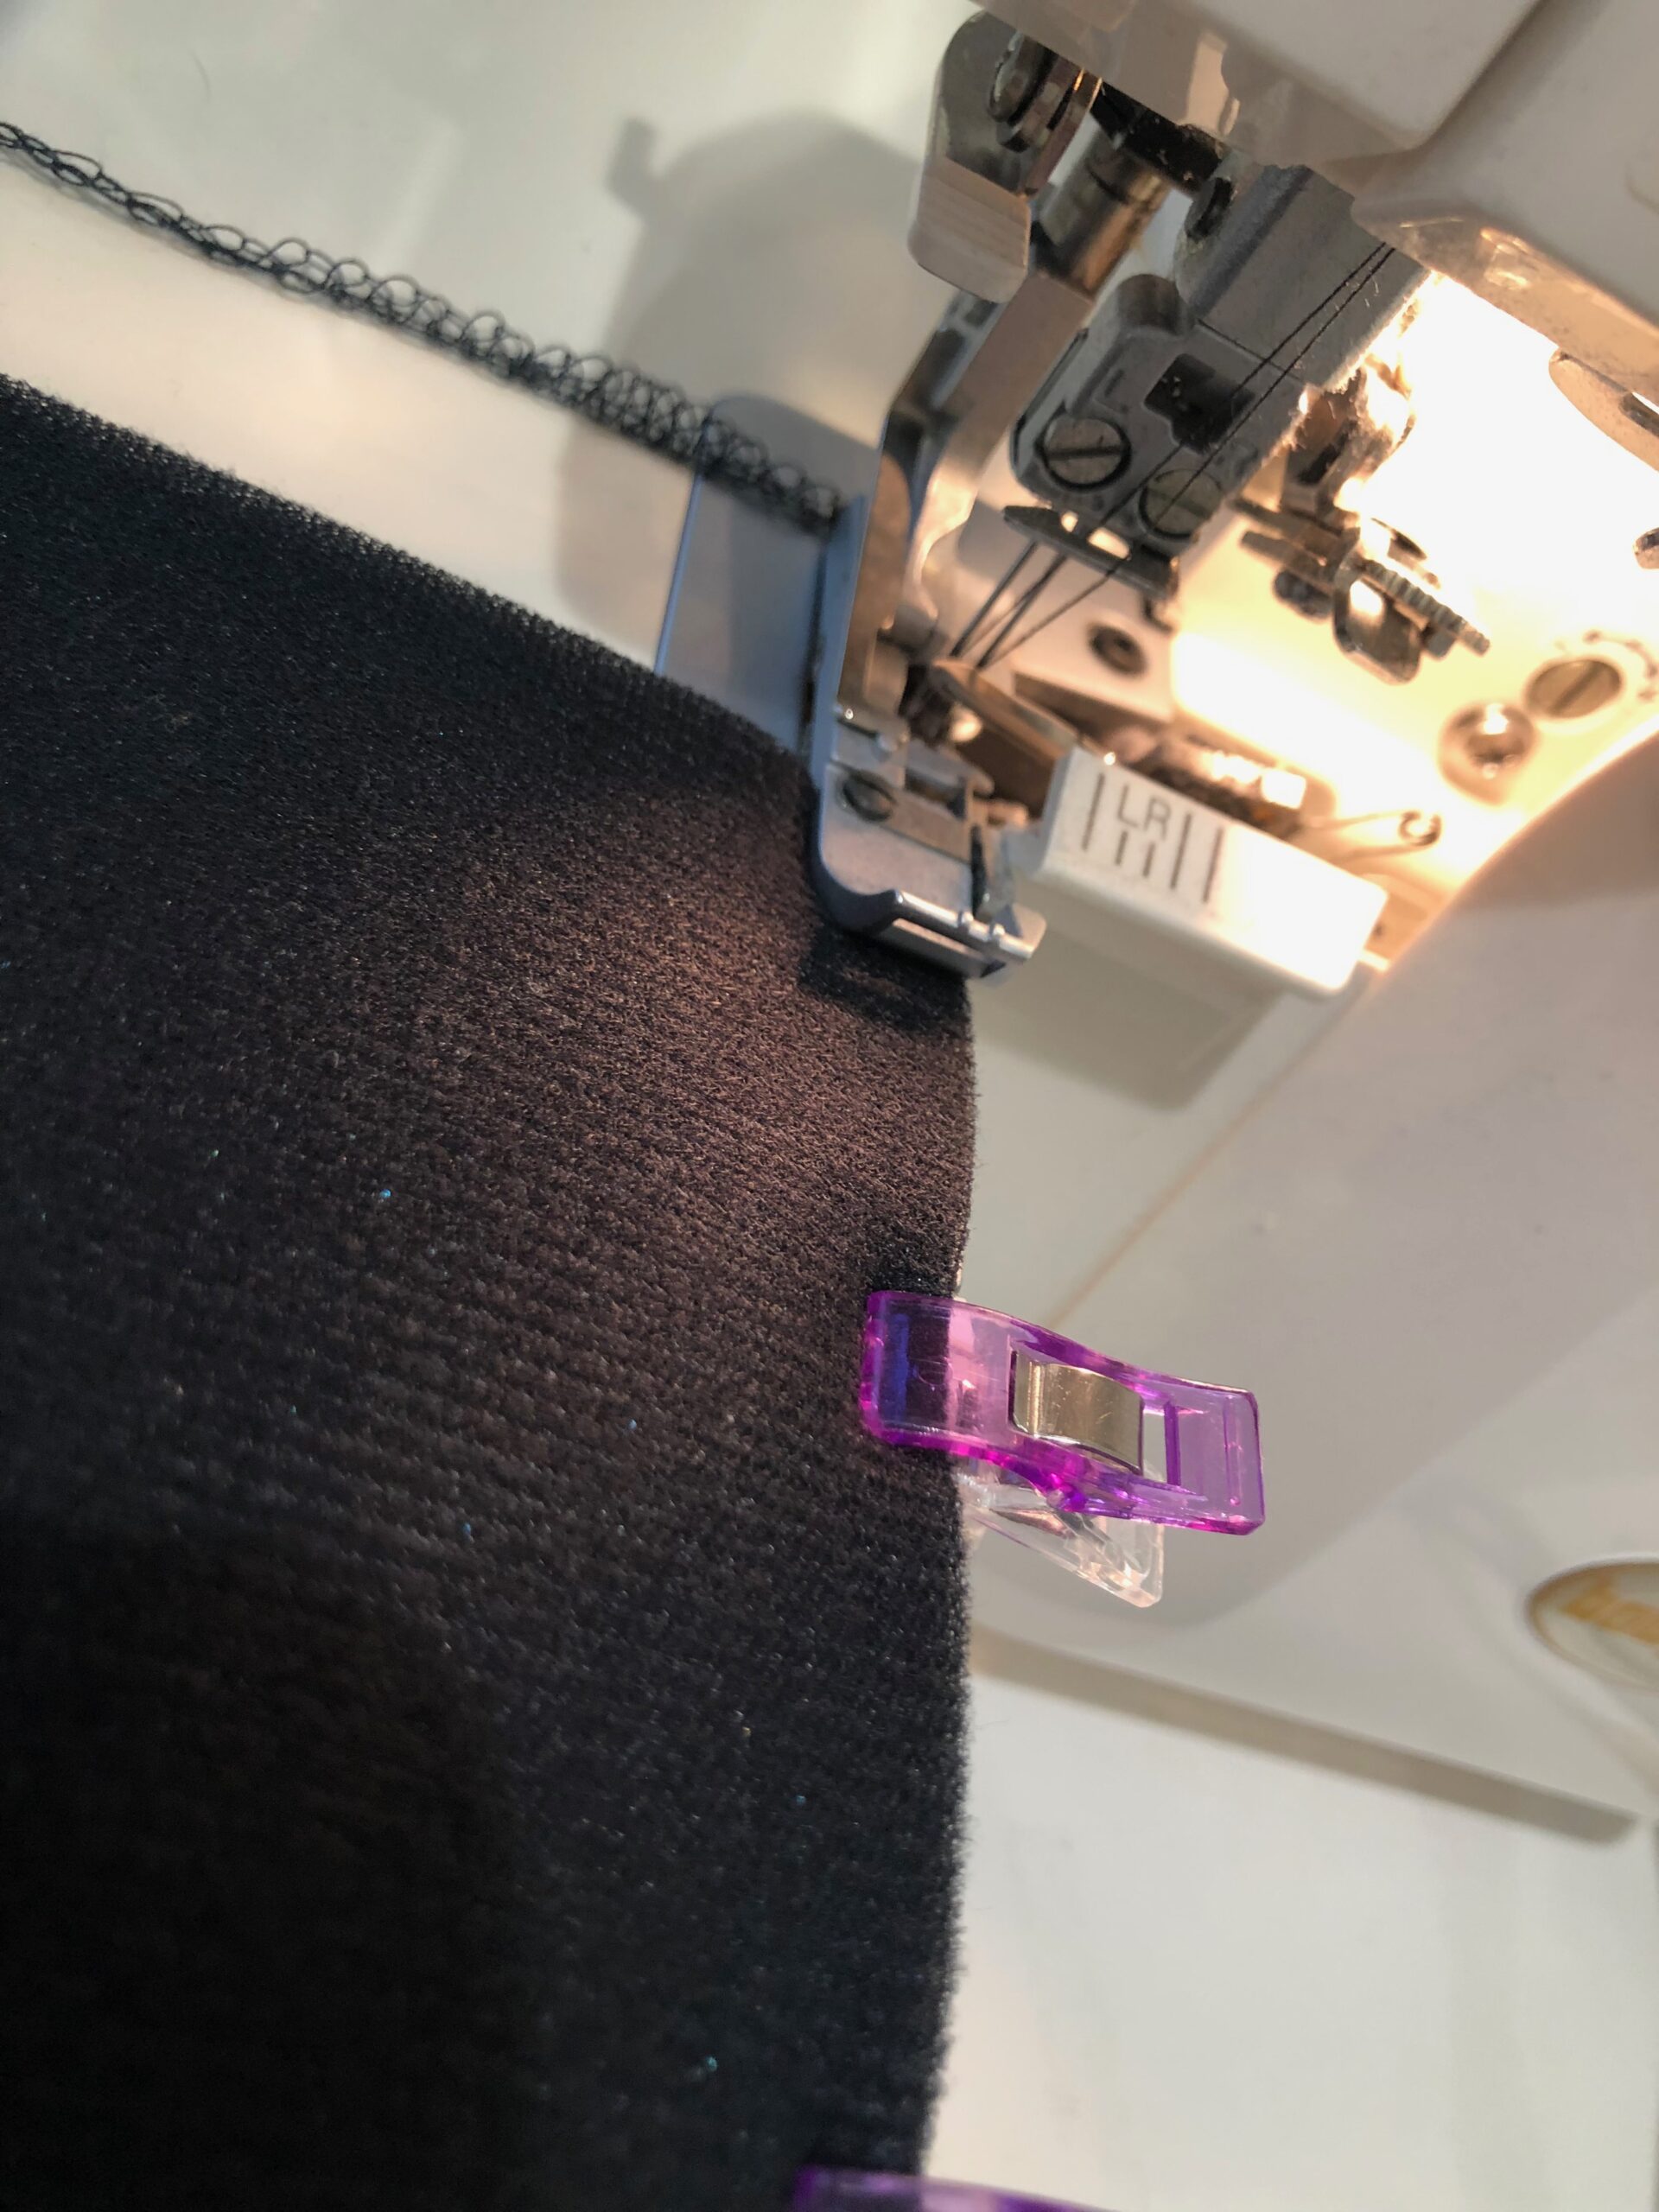
A serger is completely optional for finishing the can koozie. However, it makes quick and secure work of stitching the side seams. If you don’t have a serger, set the machine for a zigzag or straight stitch, and then stitch each side seam with a 1/4″ seam allowance.
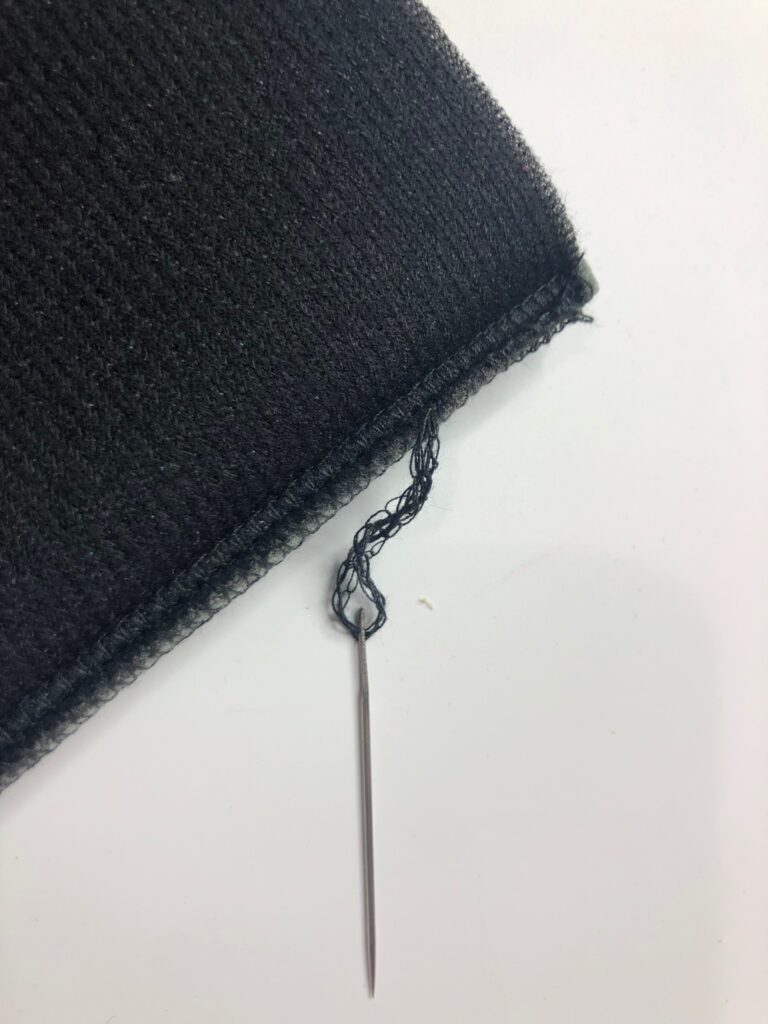
If using a serger, serge the side seams with a 3- or 4-thread overlock stitch.
Once serging is complete, thread the serger thread tails through the looper stitches using a large-eye hand sewing needle.
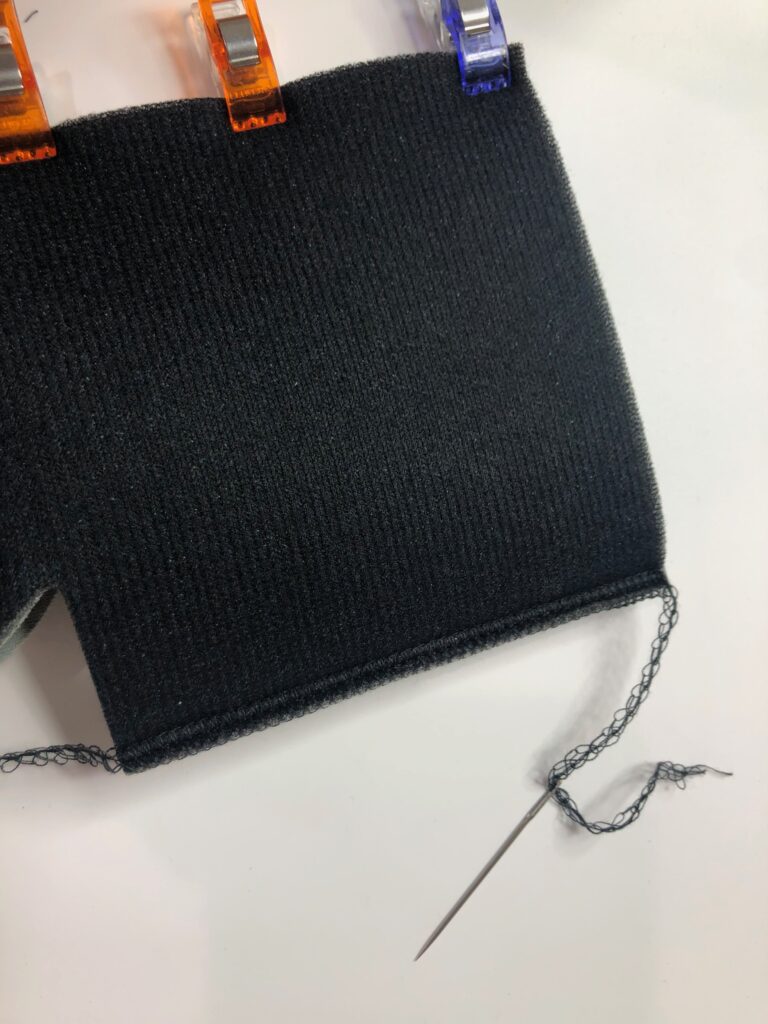
Turn the koozie right side out.

Insert a beverage of choice or wrap it up as a gift!