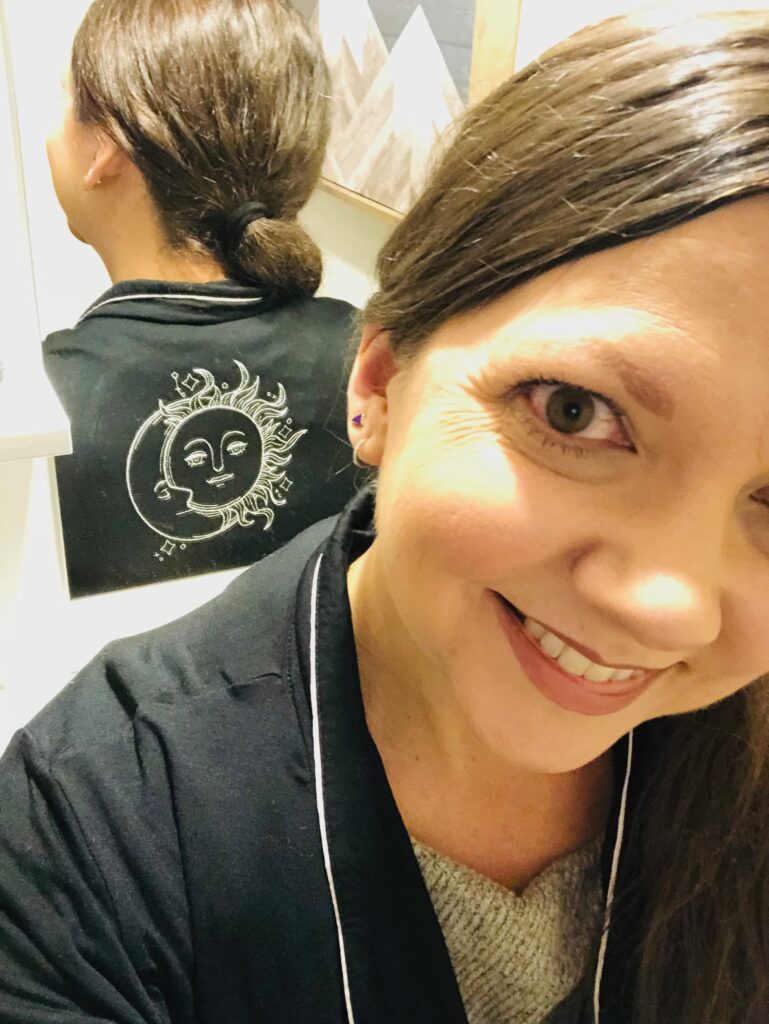
Embroider a Robe for Comfy Lounging in Style
Embroider a robe to add a personalized touch. Monograms are great embroidery design choices, as are sleepy-themed designs, such as moons, stars and even music notes.
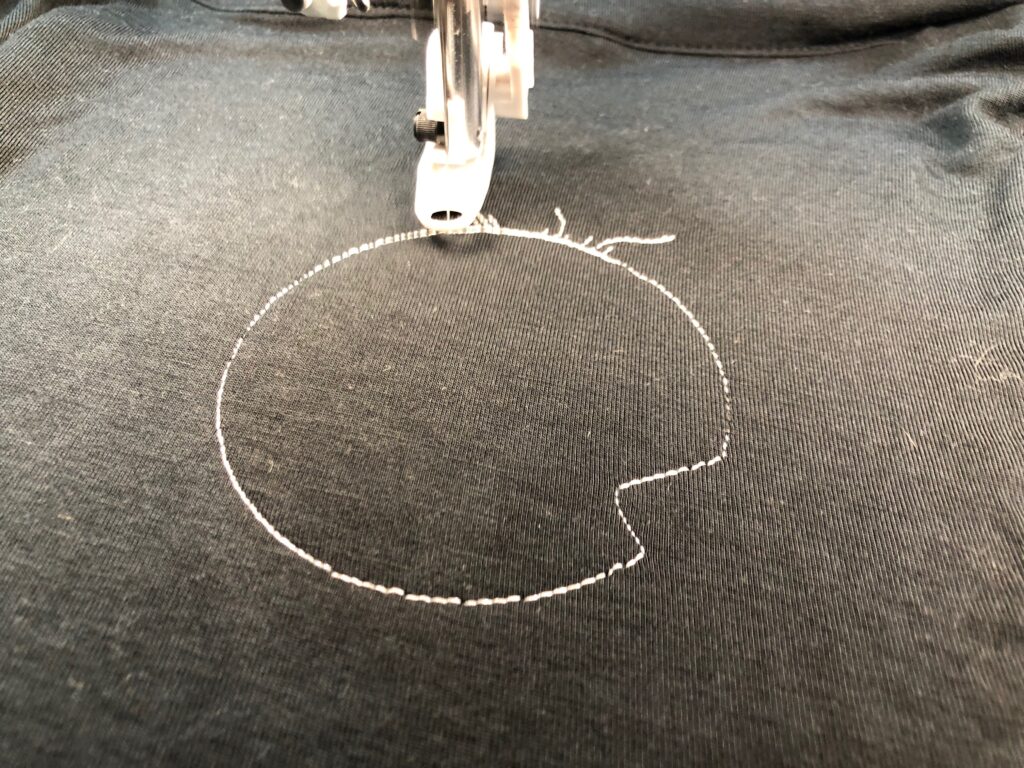
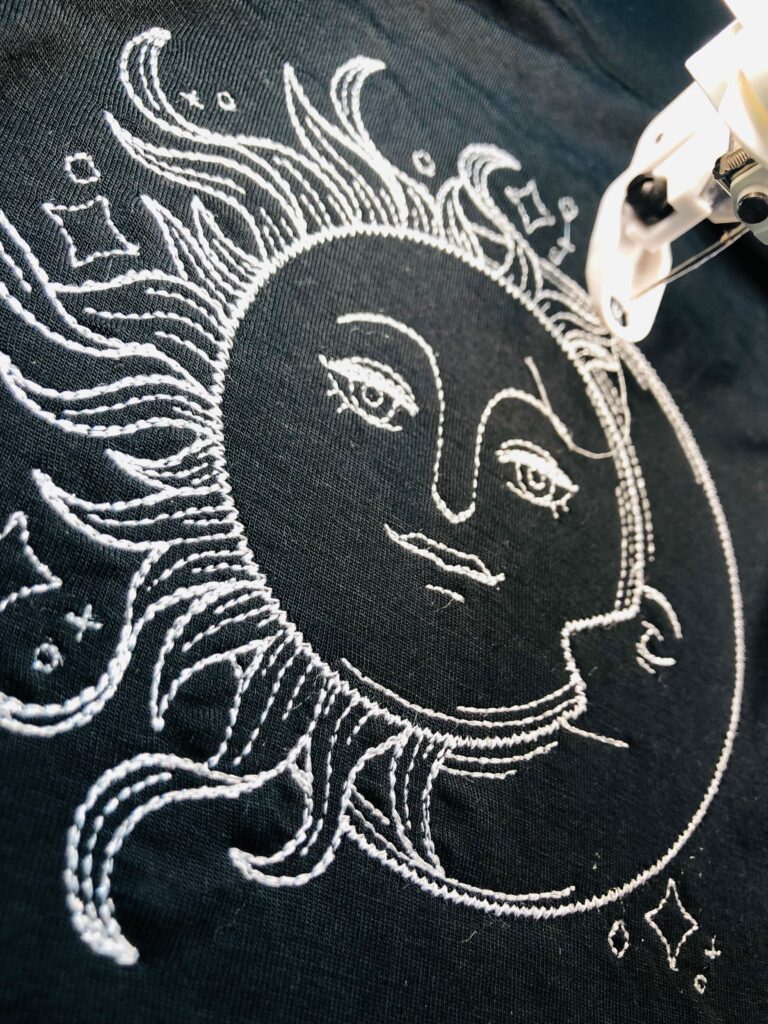
Vintage Celestial Sun & Moon Design from Urban Threads
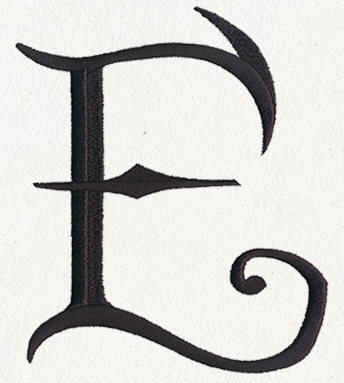
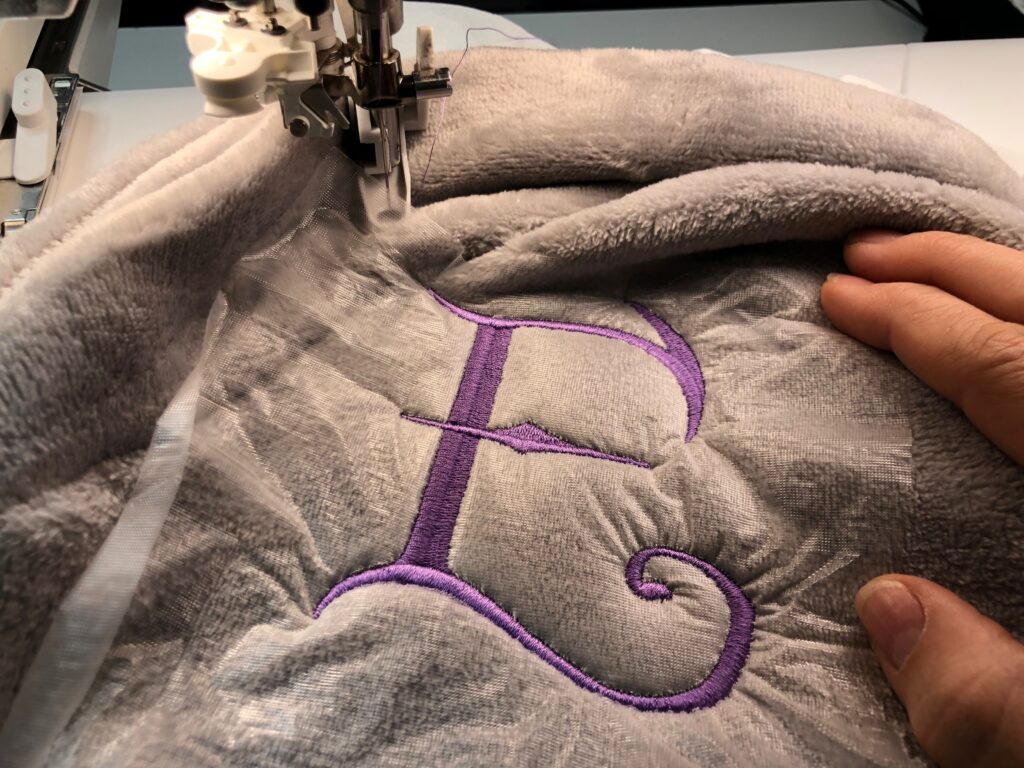
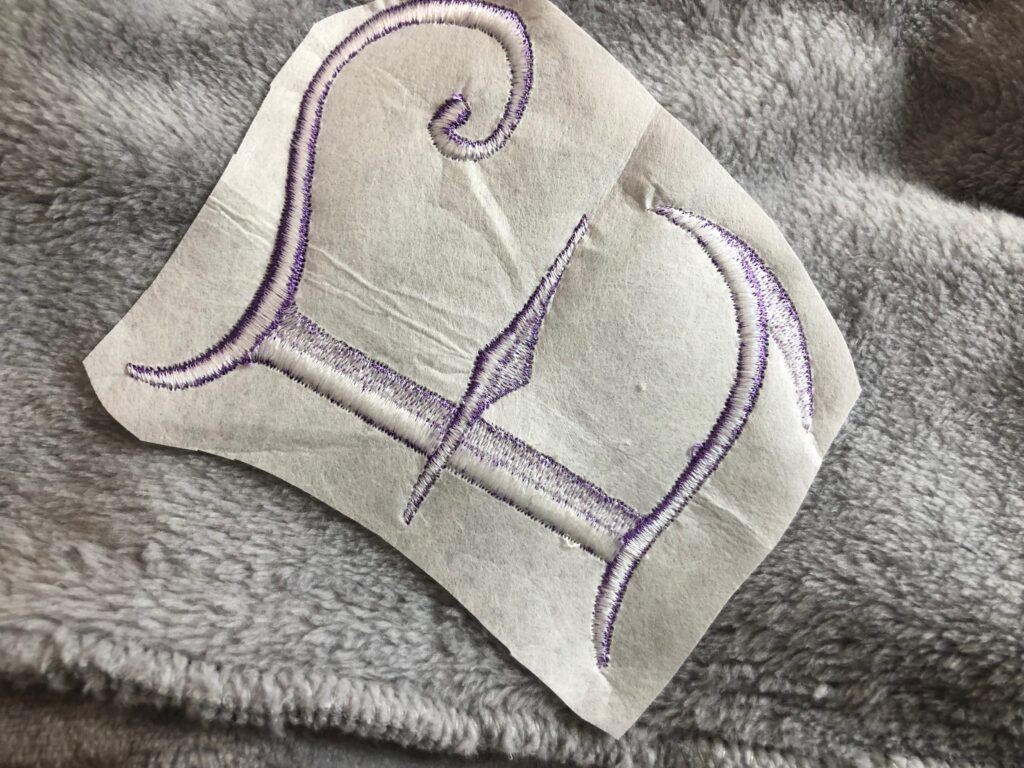
Fantasy Letter E from Urban Threads
For plush robes, choose designs with medium to heavy stitch fills, as line-art style designs may get lost in the fabric pile. For knit robes, choose a lighter stitch fill or line-art style design to avoid bulletproof embroideries that don’t move with the fabric.
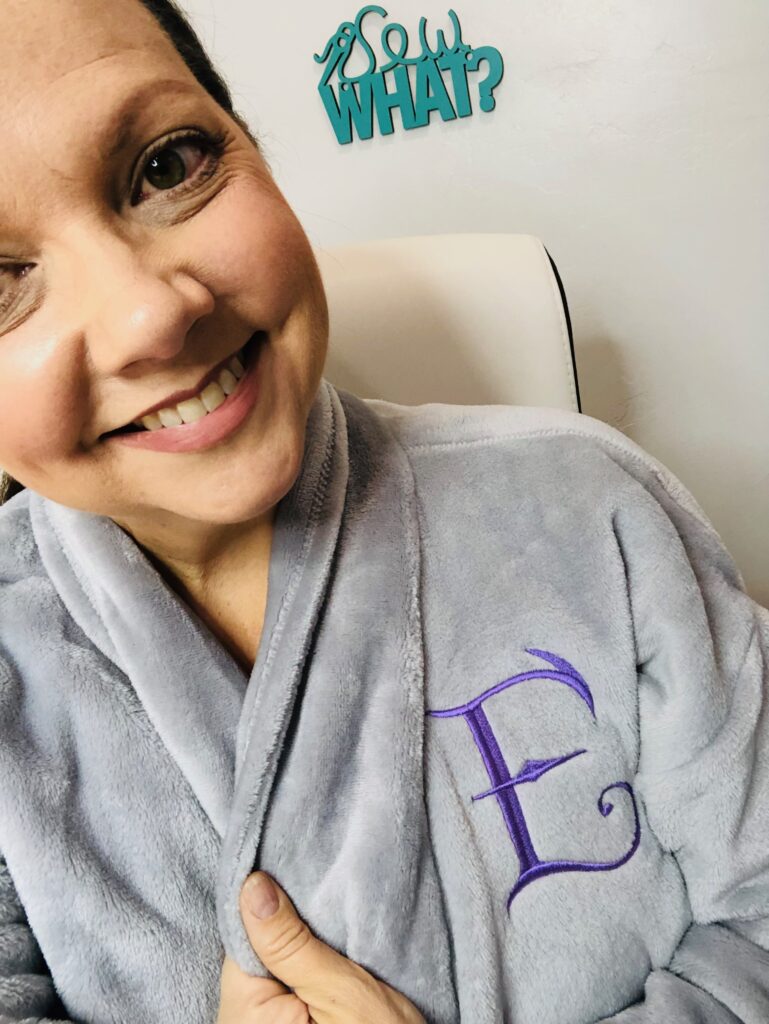
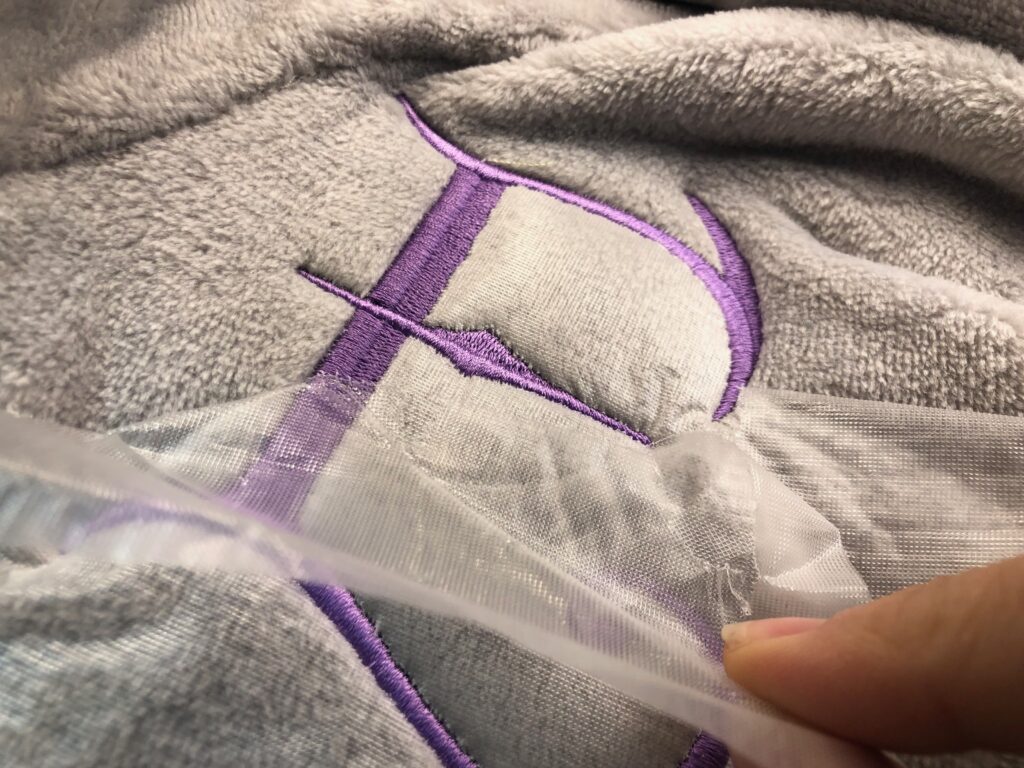
Monograms that have embossed effects (or “knockout” effects) are especially nice on super plush, fleece robes. A one-letter monogram is best if using this type of design.
If giving the robe as a gift, pair it with a set of towels that feature the same monogram. This makes a great gift for a college-bound student!
The following is for embroidering a purchased robe. However, you can certainly sew your own robe using a pattern and add machine embriodery during construction, too!
ROBE STABILIZER CHOICE
Purchased robes come in so many fabric choices, from lightweight knits to plush fleece to silky wovens and heavyweight flannels. The fabric determines the stabilizer needed.
When learning how to embroider a robe, we will stick with our “plush” and “bamboo knit” versions. If your robe is made of a similar material, choose the stabilizer that closely matches. If your robe is made of something entirely different, consult our Stabilizer Selection Tool to determine the best stabilizer to pair with your chosen fabric.
PLUSH FABRIC STABILIZER
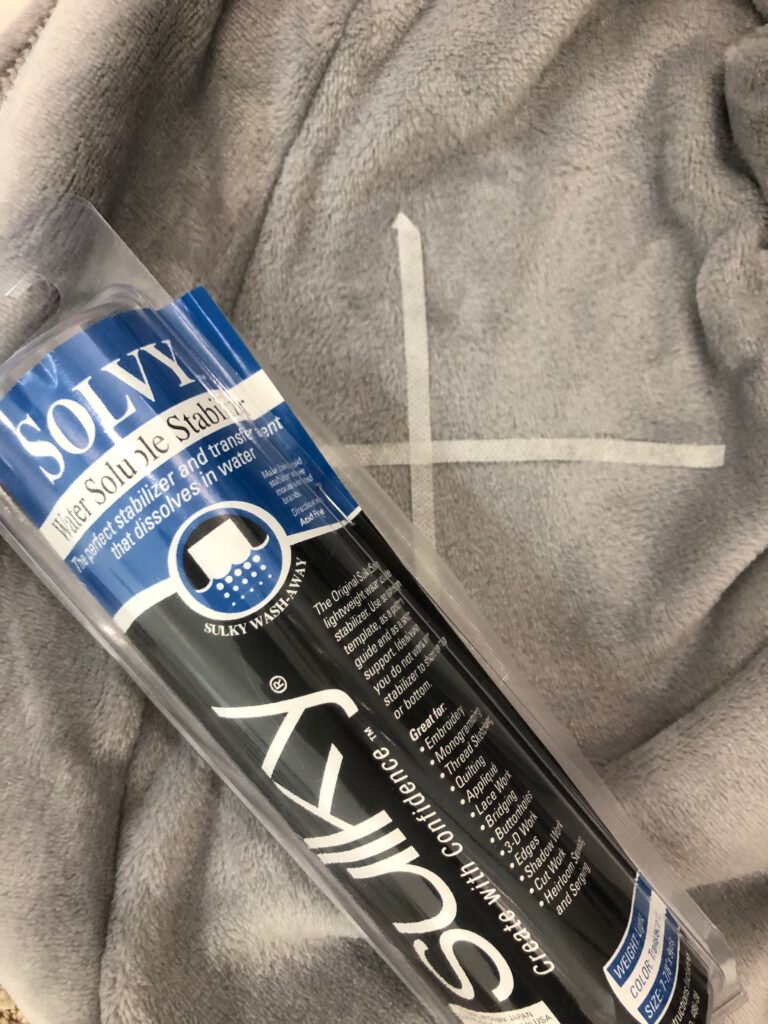
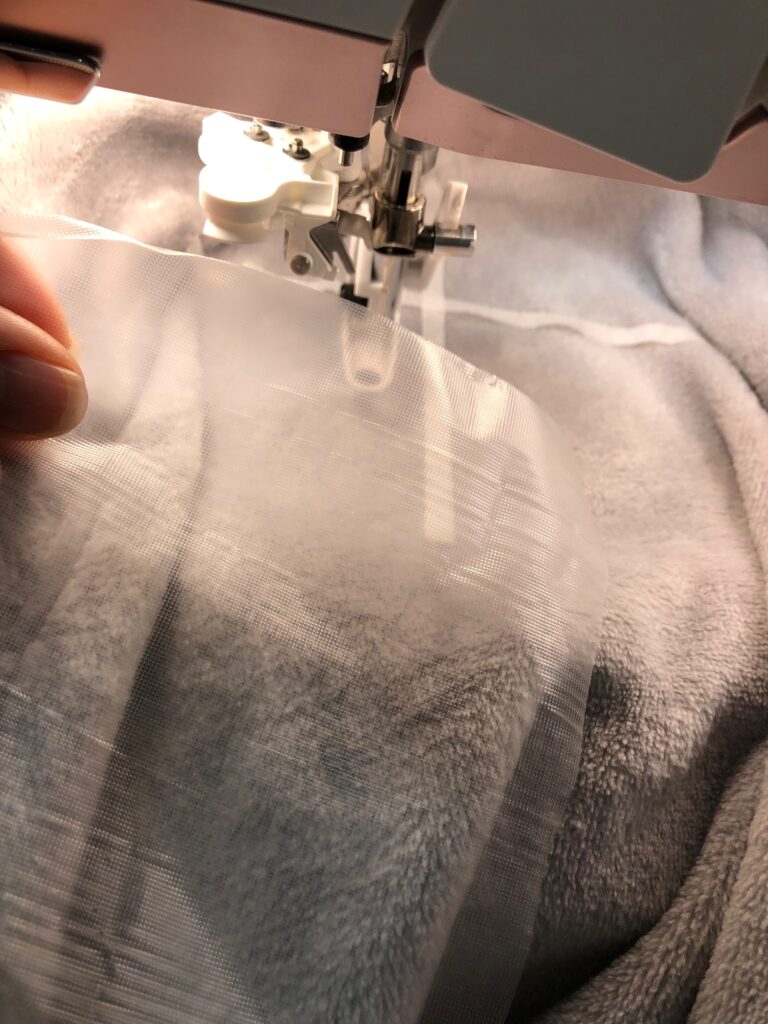
To embroider a robe made of plush fleece with moderate stretch, choose a mediumweight cut-away variety. This stabilizer will support the design over time and withstand stretching without distorting the pretty stitching. Sulky Cut-Away Plus™ is a great choice. Just with most plush fabrics, we’ll hoop ONLY the stabilizer to avoid crushing the fabric pile, resulting in irrecoverable damage. A plush robe also needs a topper to ensure the stitches won’t get lost in the fabric pile. Choose a wash-away topper, such as Sulky Solvy®, as a heat-removable stabilizer is only suitable if the fabric can withstand high heat.
KNIT FABRIC STABILIZER
To embroider a robe made of bamboo, jersey or slinky knit fabric, choose a lightweight cut-away variety. Sulky Soft ‘n Sheer is a nice lightweight choice that doesn’t change the hand or drape of the finished garment. This type of fabric is typically fine in the hoop, but be sure to not over-tighten the hoop to avoid crushing and/or “shining” the fabric. For this lighter weight fabric, Sulky Tender Touch™ is needed after embroidery. This permanent, fusible stabilizer is applied after embroidery is complete to shield the wearer’s shin from any potential scratchy embroidery stitches. It also helps stabilize the design over time, washing and wearing.
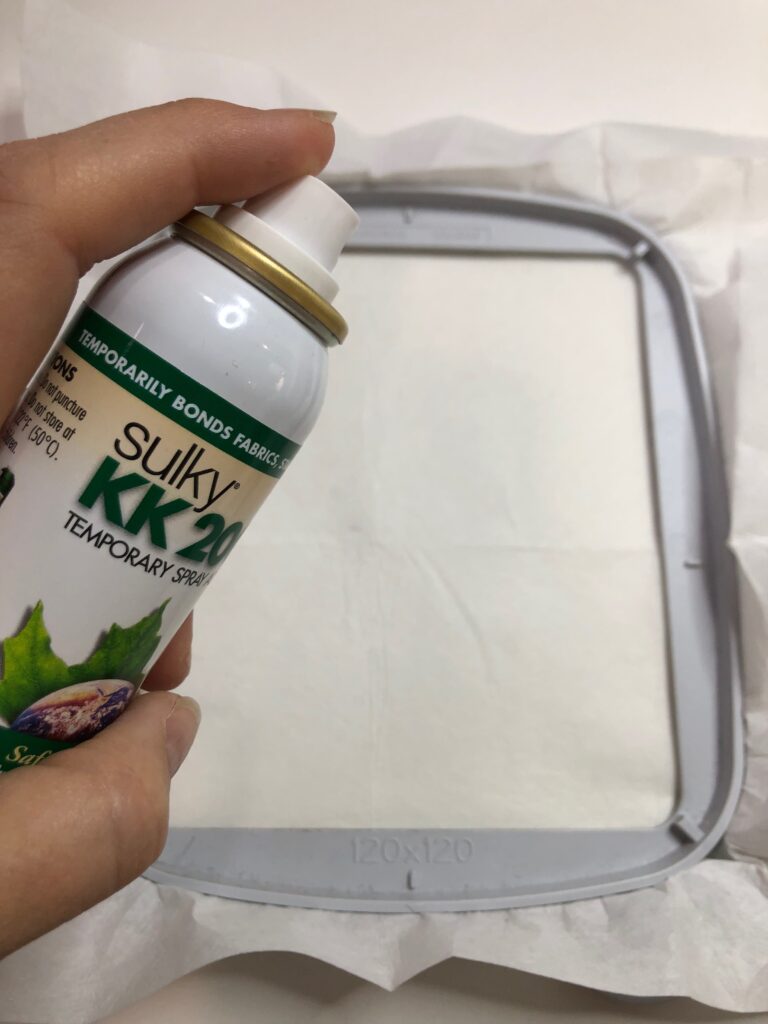
In either case, to embroider any stretchy or plush robe, you’ll need Sulky KK 2000™ Temporary Spray Adhesive to adhere the robe fabric to the stabilizer. This air-soluble spray is easy to use and eco-friendly.
HOOPING THE ROBE
Before hooping, decide where you want the embroidery design in the robe. A monogram looks great just below the upper-left shoulder, but also looks good centered along the back between the shoulders. A more intricate or larger design looks great along the center back, but can also work along the lower right corner, depending on the robe length.
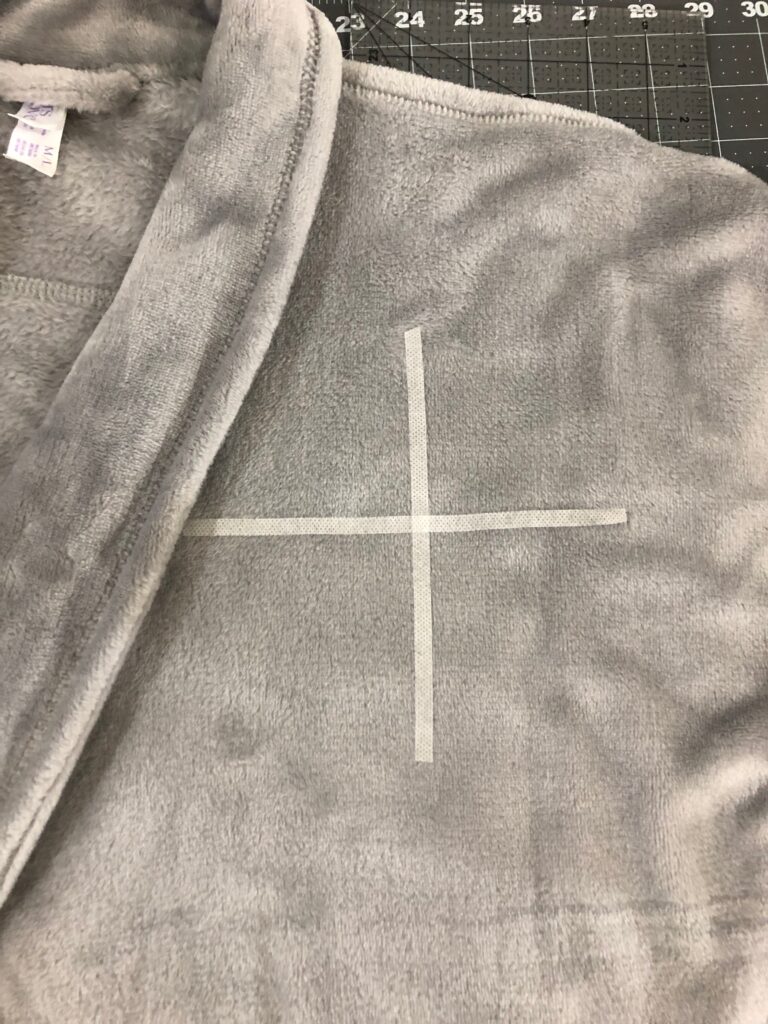
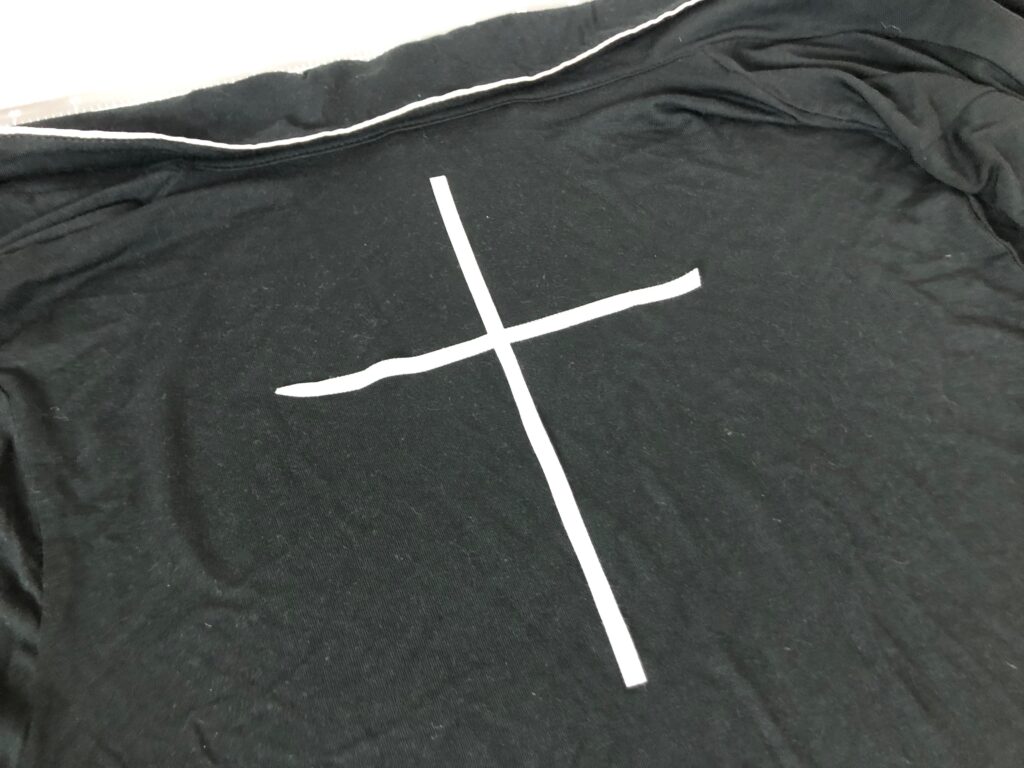
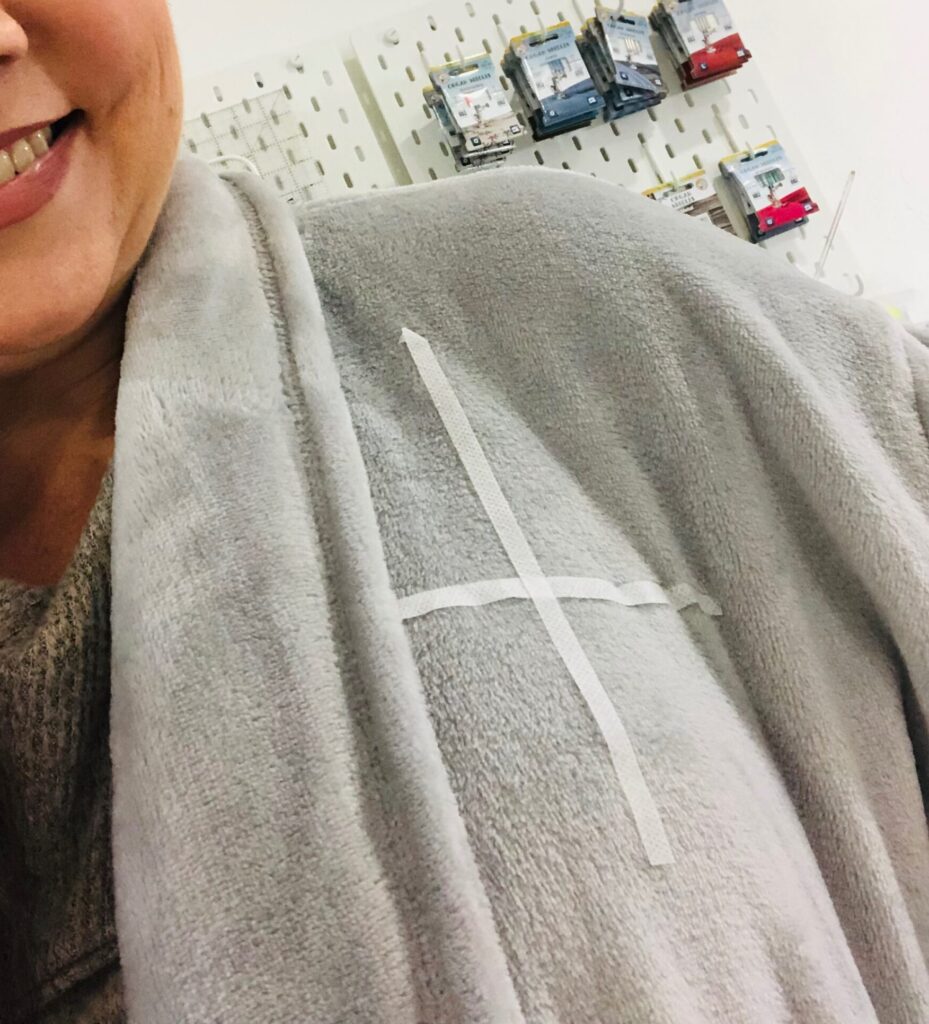
Once the desired placement is determined, mark the center cross marks on the robe right side. Use narrow strips of Sulky Sticky Fabri-Solvy to mark the design center. This way the marks are easily repositionable and if you forget to remove them until after embroidery is complete, they will wash away!
Be sure to try on the robe after marking to ensure the placement looks good once it’s worn. Oftentimes the design looks good when flat but needs moving or rotating to appear straight when worn.
TIP: If you have another embroidery placement method that you prefer, do that! As all machines are different, and come with different technology and functionality, you may have a foolproof method that works for you every time.
If embroidering the plush version, first hoop a piece of Cut-Away Plus only. Spray the stabilizer with KK 2000, and then place the robe right side up over the stabilizer, centering the marks. Be careful to NOT stretch the fabric when hooping. Brush the fabric pile downward using your hand to ensure it’s all facing the same direction. Cut a piece of Sulky Solvy and place it over the fabric on the hoop. If desired, use a small amount of KK 2000 to secure the Solvy.
If embroidering the knit version, hoop the robe right side up with a piece of Soft ‘n Sheer backing. Be sure to center the cross marks and use the hoop indentations to ensure the design center aligns with the fabric marks, if applicable. If the design placement is located in an un-hoopable area, such as near the collar, follow the instructions above to hoop only the stabilizer, and then adhere the robe to the stabilizer using KK 2000.
EMBROIDER A ROBE
Place the hoop onto the machine.
Install a size 80/12 Universal or 75/11 Embroidery Needle. Choose Sulky Poly Deco™ Thread for the design and Sulky Bobbin Thread in a color that closely resembles the robe color. (PolyLite™ Thread is a great bobbin choice if you’d like to match the top thread or robe exactly.) If using a one-color line-art style design, try swapping a solid thread for a Rayon Variegated or Poly Sparkle™ color for added embellishment.
Embroider the design, clipping jump threads with each thread change.
When embroidery is complete, remove the robe from the hoop.
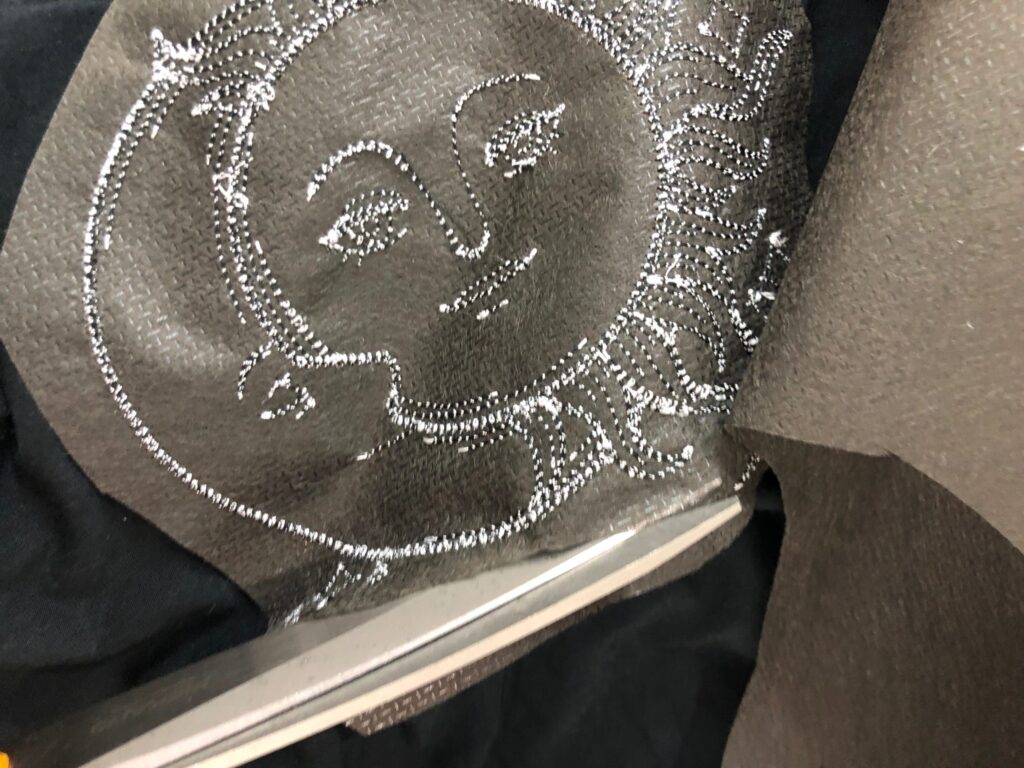
Trim the stabilizer just beyond the stitching on the robe wrong side.
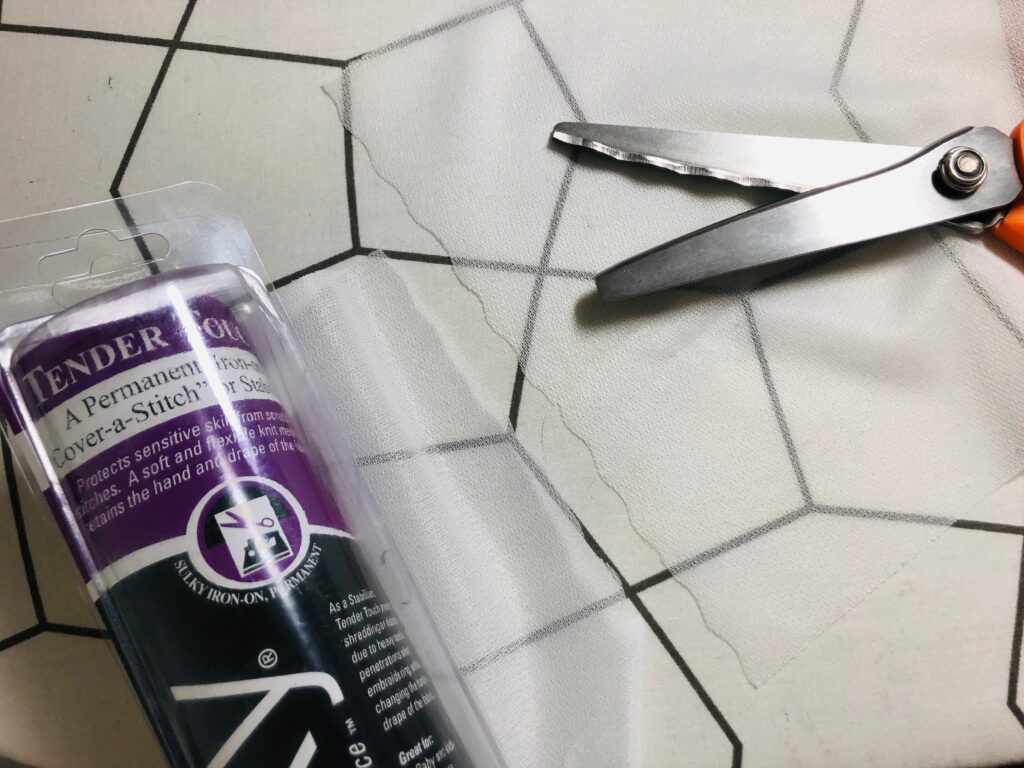
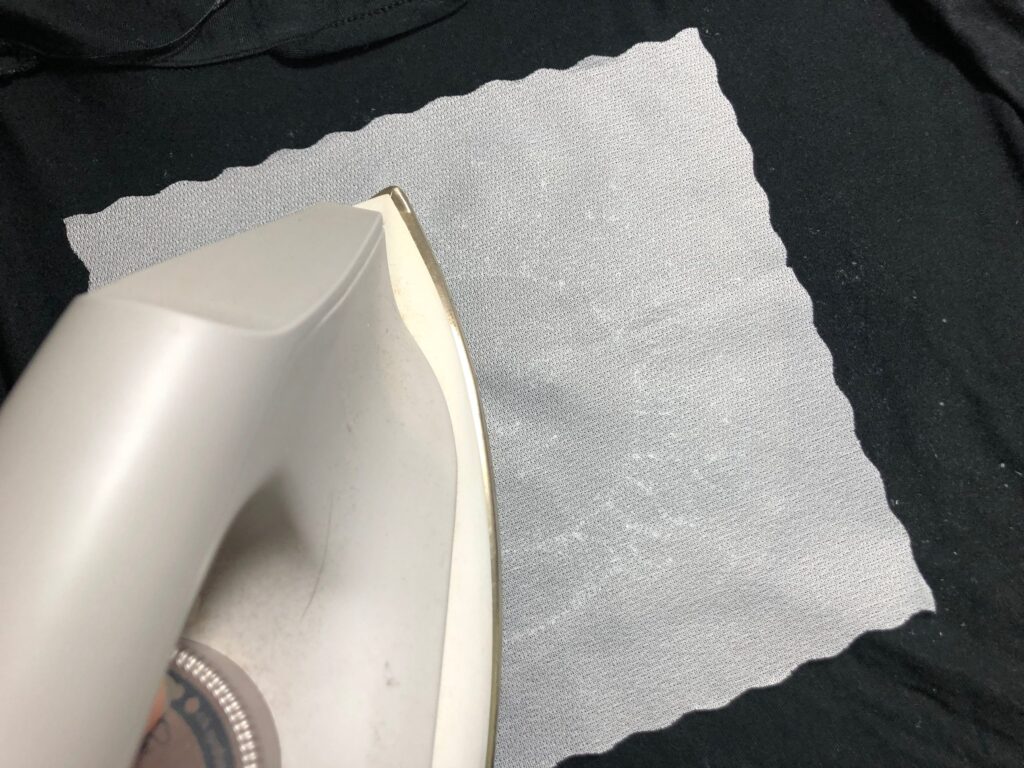
If working with lightweight knit, fuse a piece of Tender Touch™ to the embroidery wrong side, making sure it covers all the stitching with a nice border. (Pinking shears or wavy edge scissors keep this looking nice and easier to bond by fusing.)
Remove the topper, if using. Either rinse the embroider right side in lukewarm, running water, or run a wet cotton swab along the stitching to release the stabilizer from the design.
Gift the robe or wear it yourself with some stylish PJs! And join us on New Year’s Eve at 12 noon (eastern time) for our 2021 New Year’s Eve Sew-Along! The theme is “Pajama Party,” so we want to see you rocking your fun robes!

