How to Embroider Fleece
& make a personalized plush scarf
Fleece is one of the coziest, most forgiving fabrics you can embroider, but it does behave differently from woven fabrics. Its loft, stretch, and fuzzy surface require the right stabilizer and techniques to keep your stitches crisp and readable. Follow this step-by-step guide to learn how to embroider fleece and create a plush scarf that makes a great gift.
FLEECE SCARF SUPPLIES
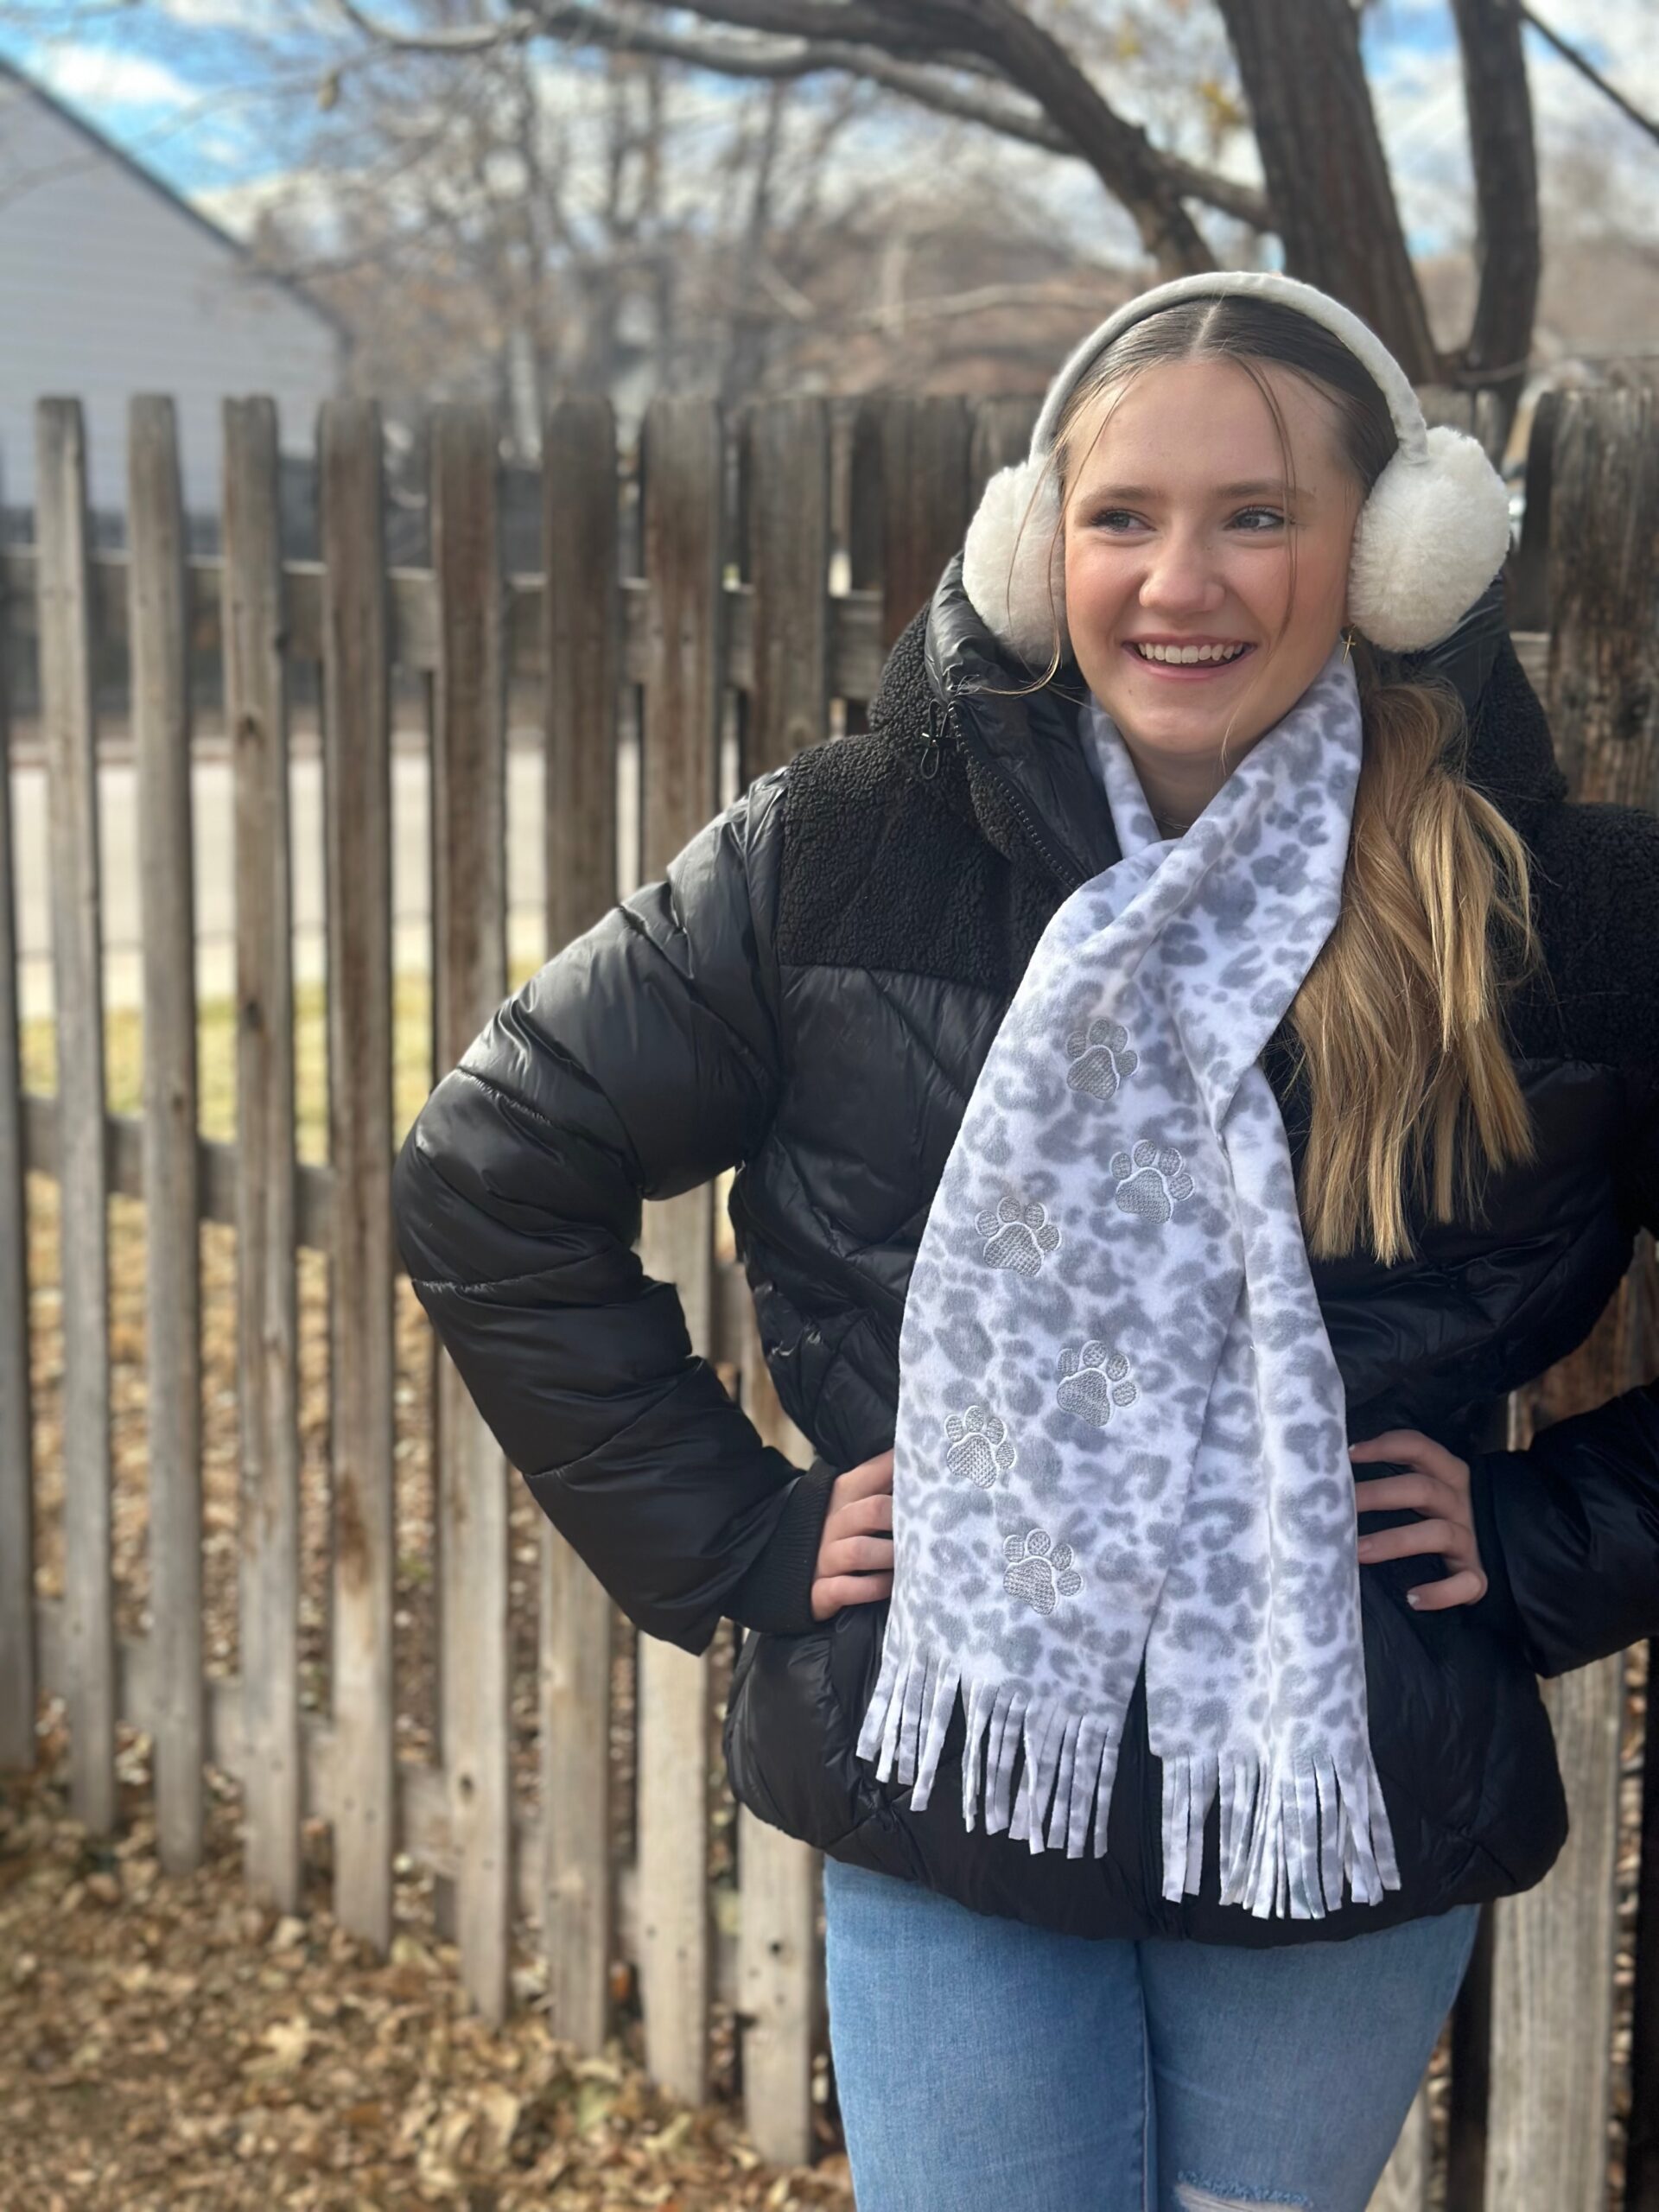
- Fleece fabric (amount determined by desired scarf width; the featured scarf measures 7″ x WOF)
- Sulky Stabilizers
- Fabri-Solvy paired with KK2000 Temporary Spray Adhesive or Sticky Fabri-Solvy
- Solvy
- Sulky Thread
- 40 wt. Rayon for shine or 40 wt. Poly Deco for durability (use the same thread or a matching 60 wt. Polylite Thread in the bobbin for each thread change if the design will show on the fabric wrong side)
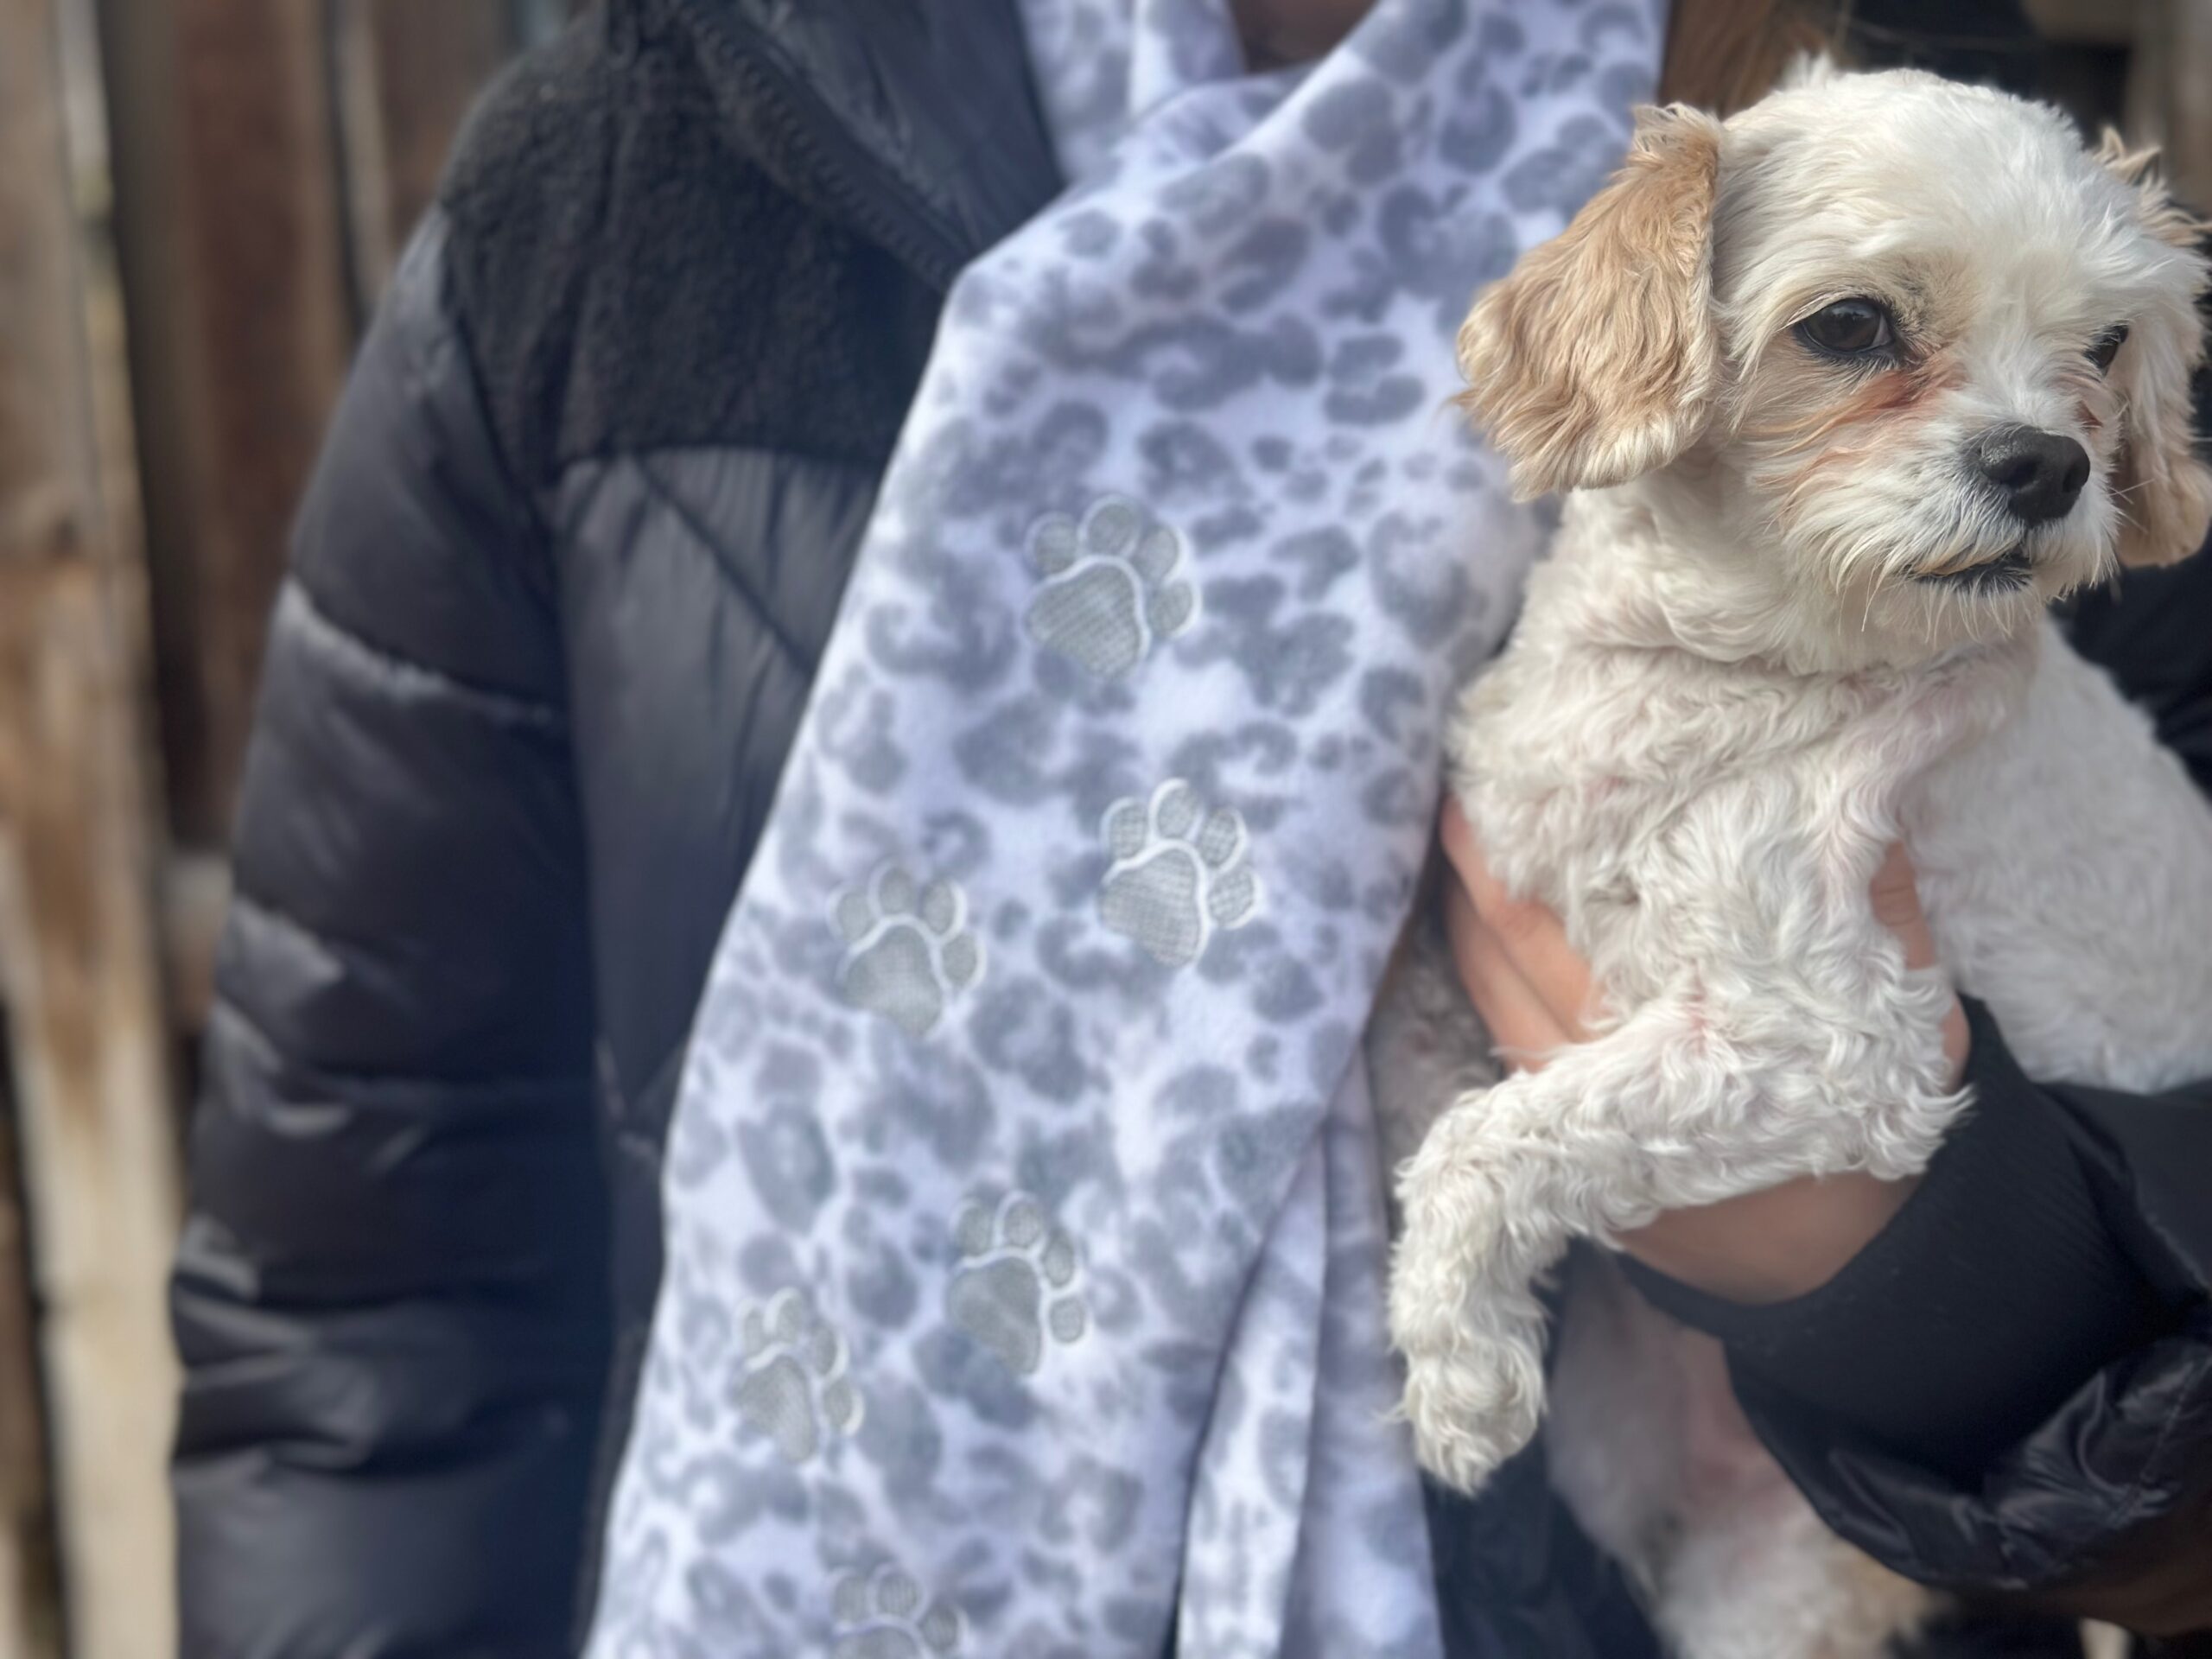
- Embroidery design (avoid extremely dense designs; featured design is Animal Paw Prints Embossed by Embroidery Library)
- Organ® size 75/11 embroidery needle
- Rotary cutter, self-healing mat & clear ruler (best for cutting fringe)
- Removable fabric marker or chalk
SCARF HOW-TOS
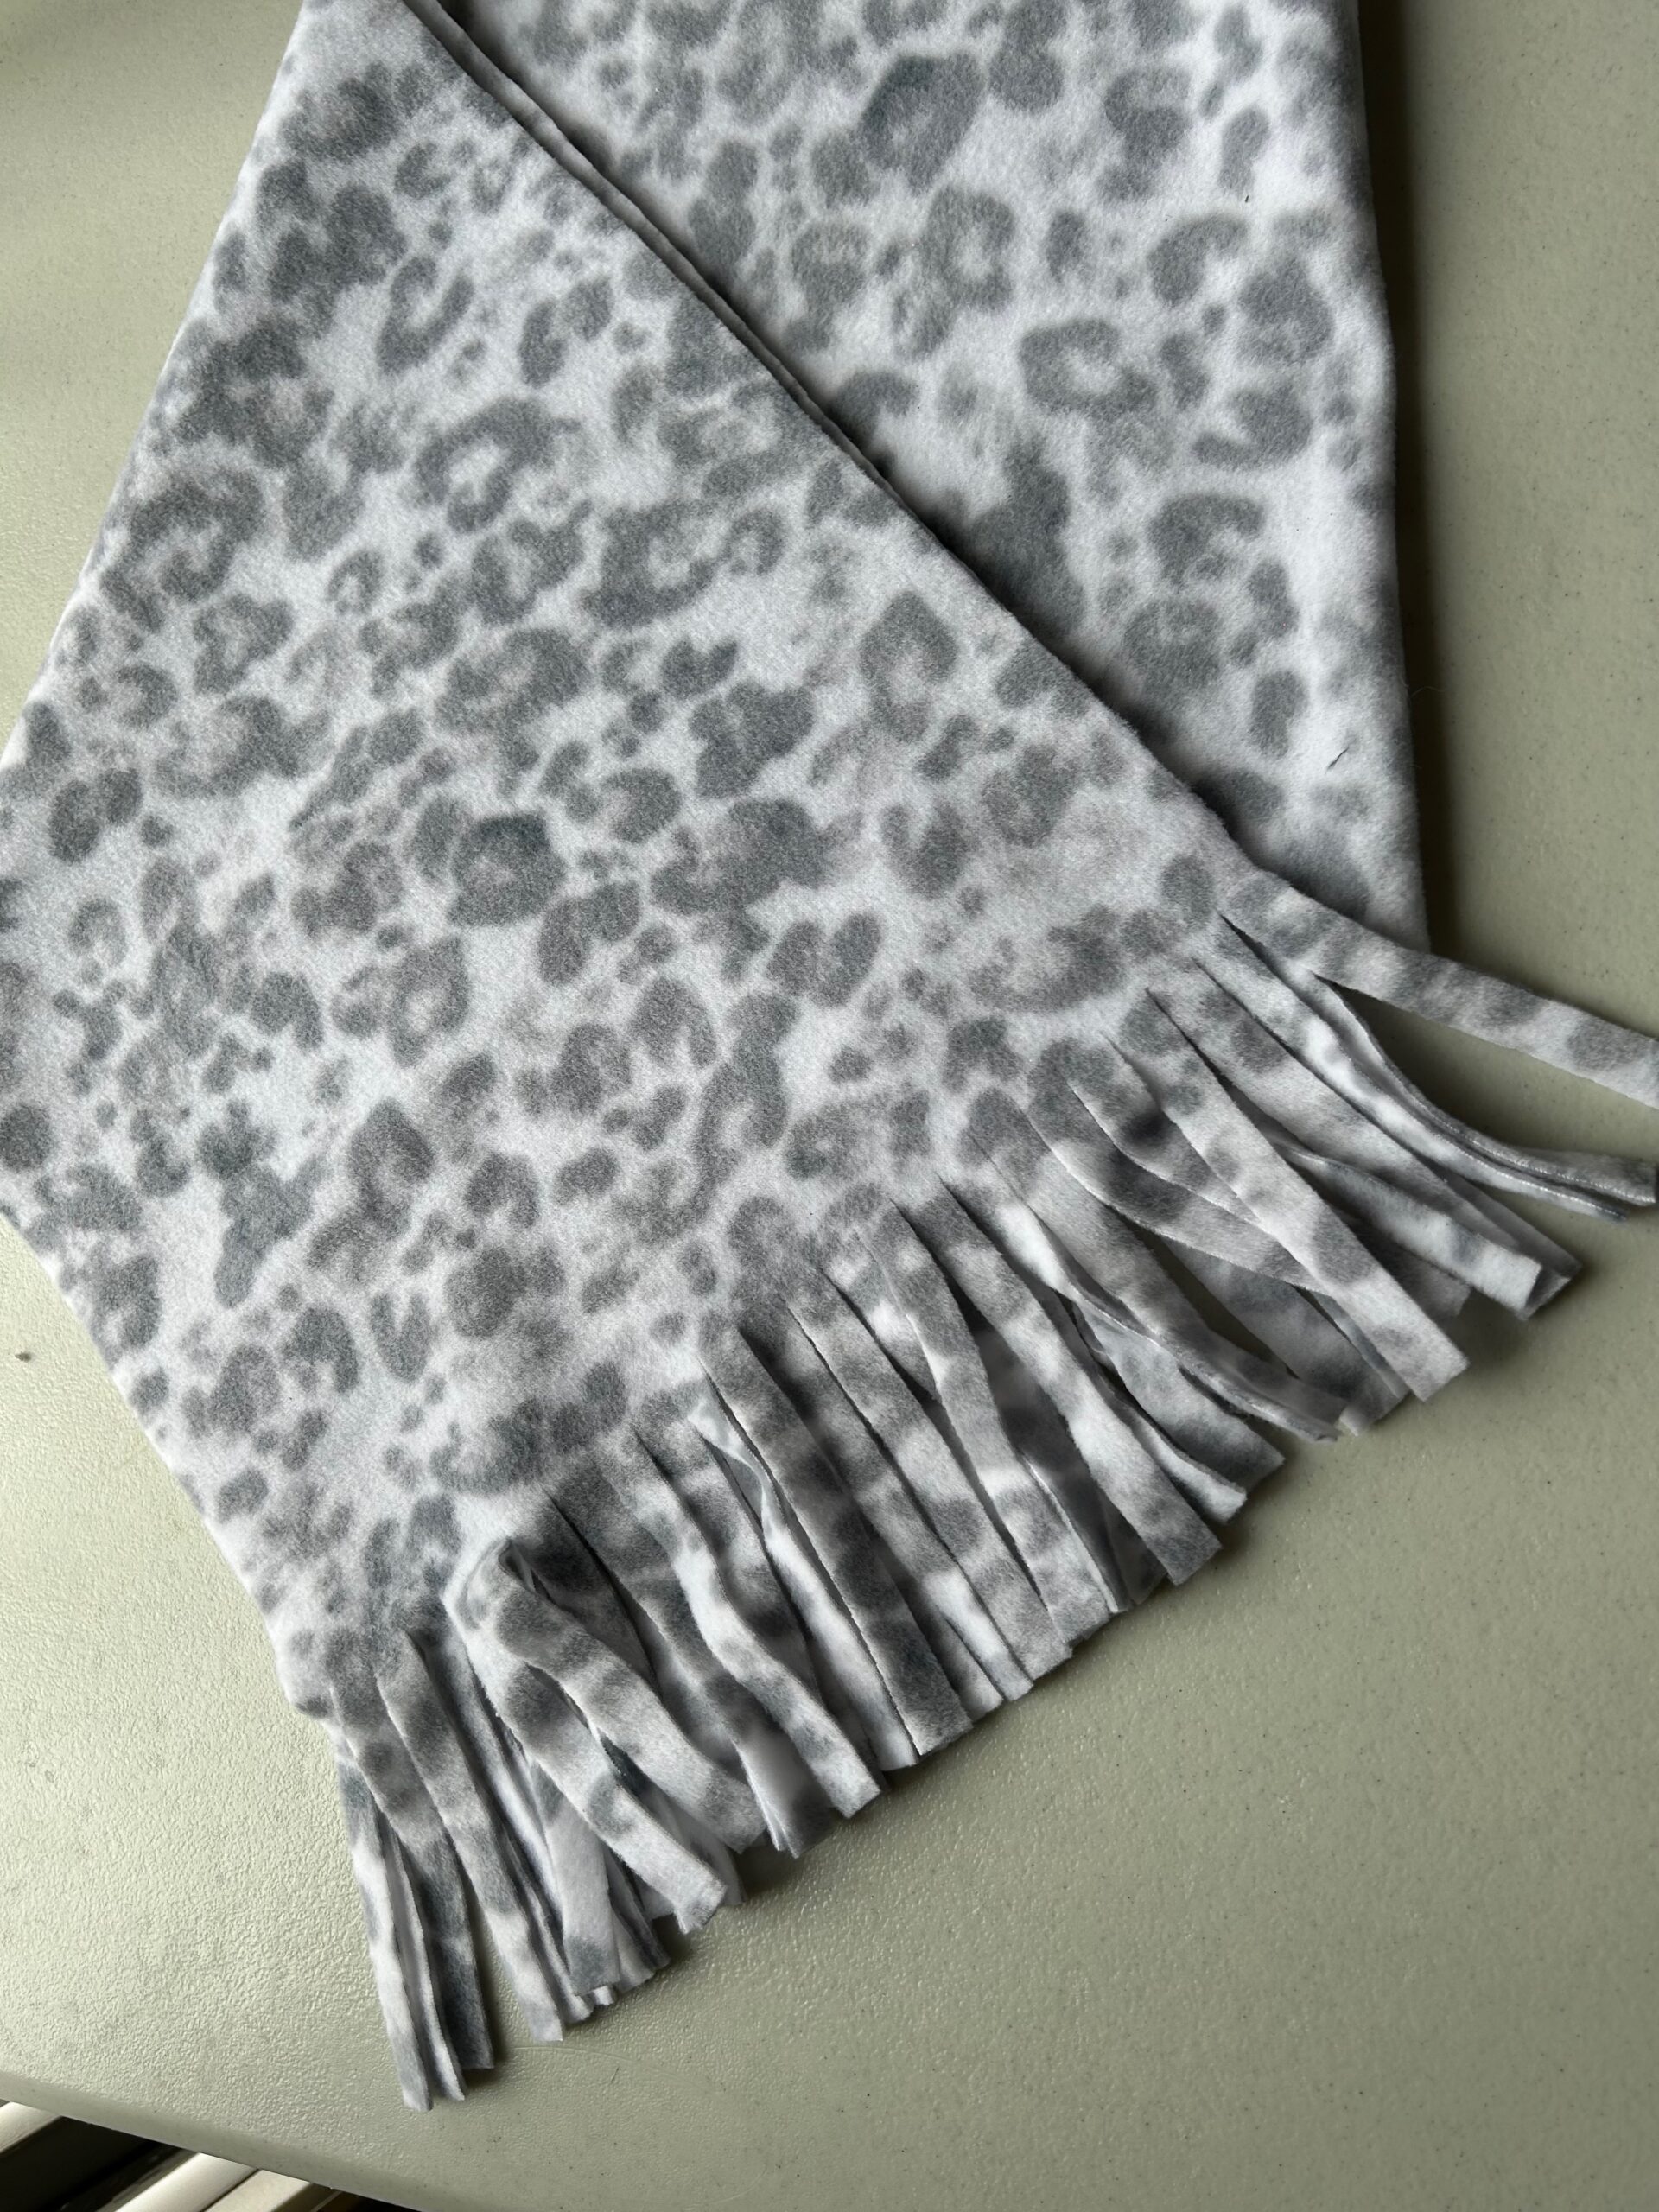
A fleece scarf os super easy and requires no sewing, as the fabric doesn’t fray so doesn’t need finishing. Determine the desired scarf width and cut a rectangle to that width x WOF (width of fabric). Fleece is typically 58″ to 60″ wide, so that makes for a nice size scarf. If making a scarf for a child, consider sizing down.
Measure and mark 4″ up from both scarf short ends. Place a piece of transparent tape at the 4″mark, across the entire scarf width. The tape allows you to mark the fringe without marking the fleece!
Mark along the tape every 1/2″ to denote the fringe cut lines. Then, carefully cut up to the 4″ tape marking, along each 1/2″ mark. (Tip: a rotary cutter, self-healing mat and ruler make quick, accurate work of cutting fringe!)

After all the fringe is cut, the scarf is complete! It’s that simple! Now it’s time to add machine embroidery for that special touch.
DESIGN CHOICE FOR FLEECE
Fleece is plush and has stretch. Dense or tiny-detail designs can sink in or distort.
Choose:
-
Satin outlines
-
Appliqué designs
-
Low–medium stitch density
-
Chunky lettering
Avoid: minuscule text, extreme fills, micro details.
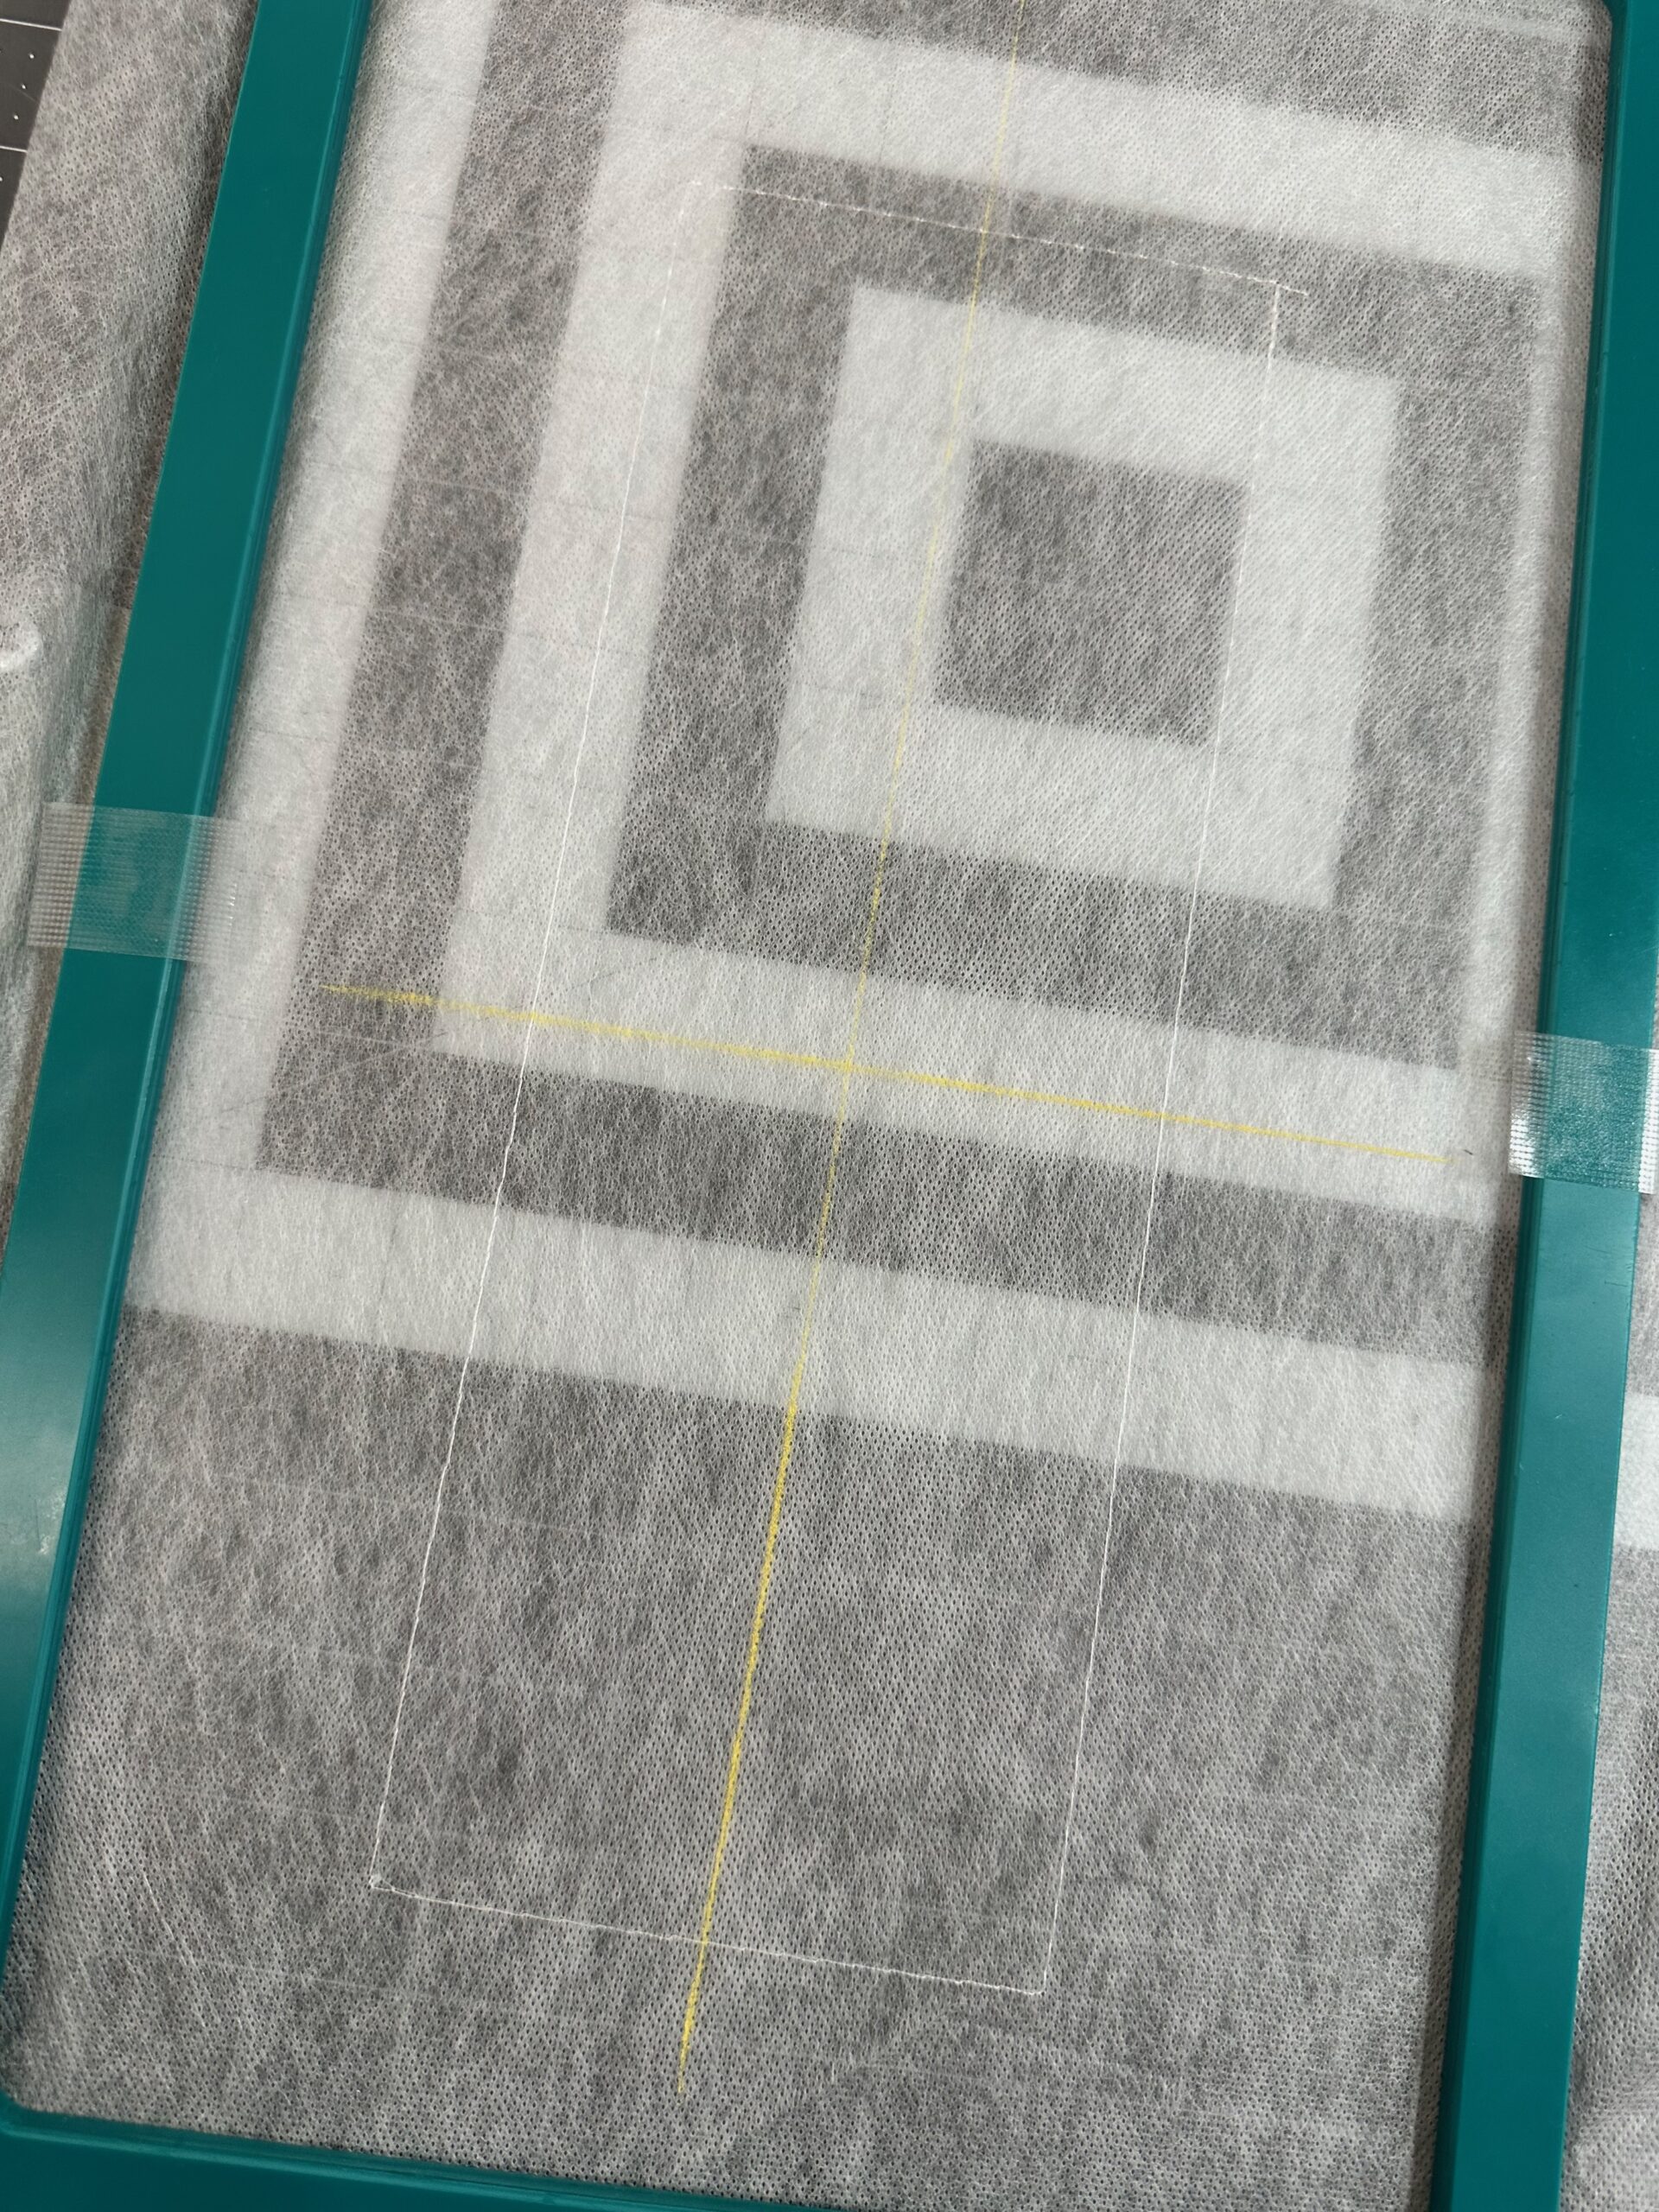
After choosing the design for the scarf, mark the desired design placement onto the scarf right side. Use a removable fabric marker or chalk and draw both the horizontal and vertical cross marks.
After loading the design into the machine, direct it to perform a baste-around-design function, if possible. Then, mark the design center cross marks directly onto the stabilizer. Use the perimeter basting box and the drawn markings as a placement guide for the scarf.
STABILIZER CHOICE FOR FLEECE
Fleece needs adequate support to prevent tunneling or distortion. If you’re making a fleece garment where the fabric wrong side won’t show, a cut-away stabilizer is preferred. This type of stabilizer stays with the fabric for its lifetime, supporting the thread through multiple washings and wearing. If you’re embroidering a fleece blanket or scarf, where the fabric wrong side will show, opt for a wash-away stabilizer and choose a design with much less density than a cut-away stabilizer can support. For the purposes of this tutorial, we’re embroidering a scarf so will go with a water-soluble Fabri-Solvy or Sticky Fabri-Solvy.
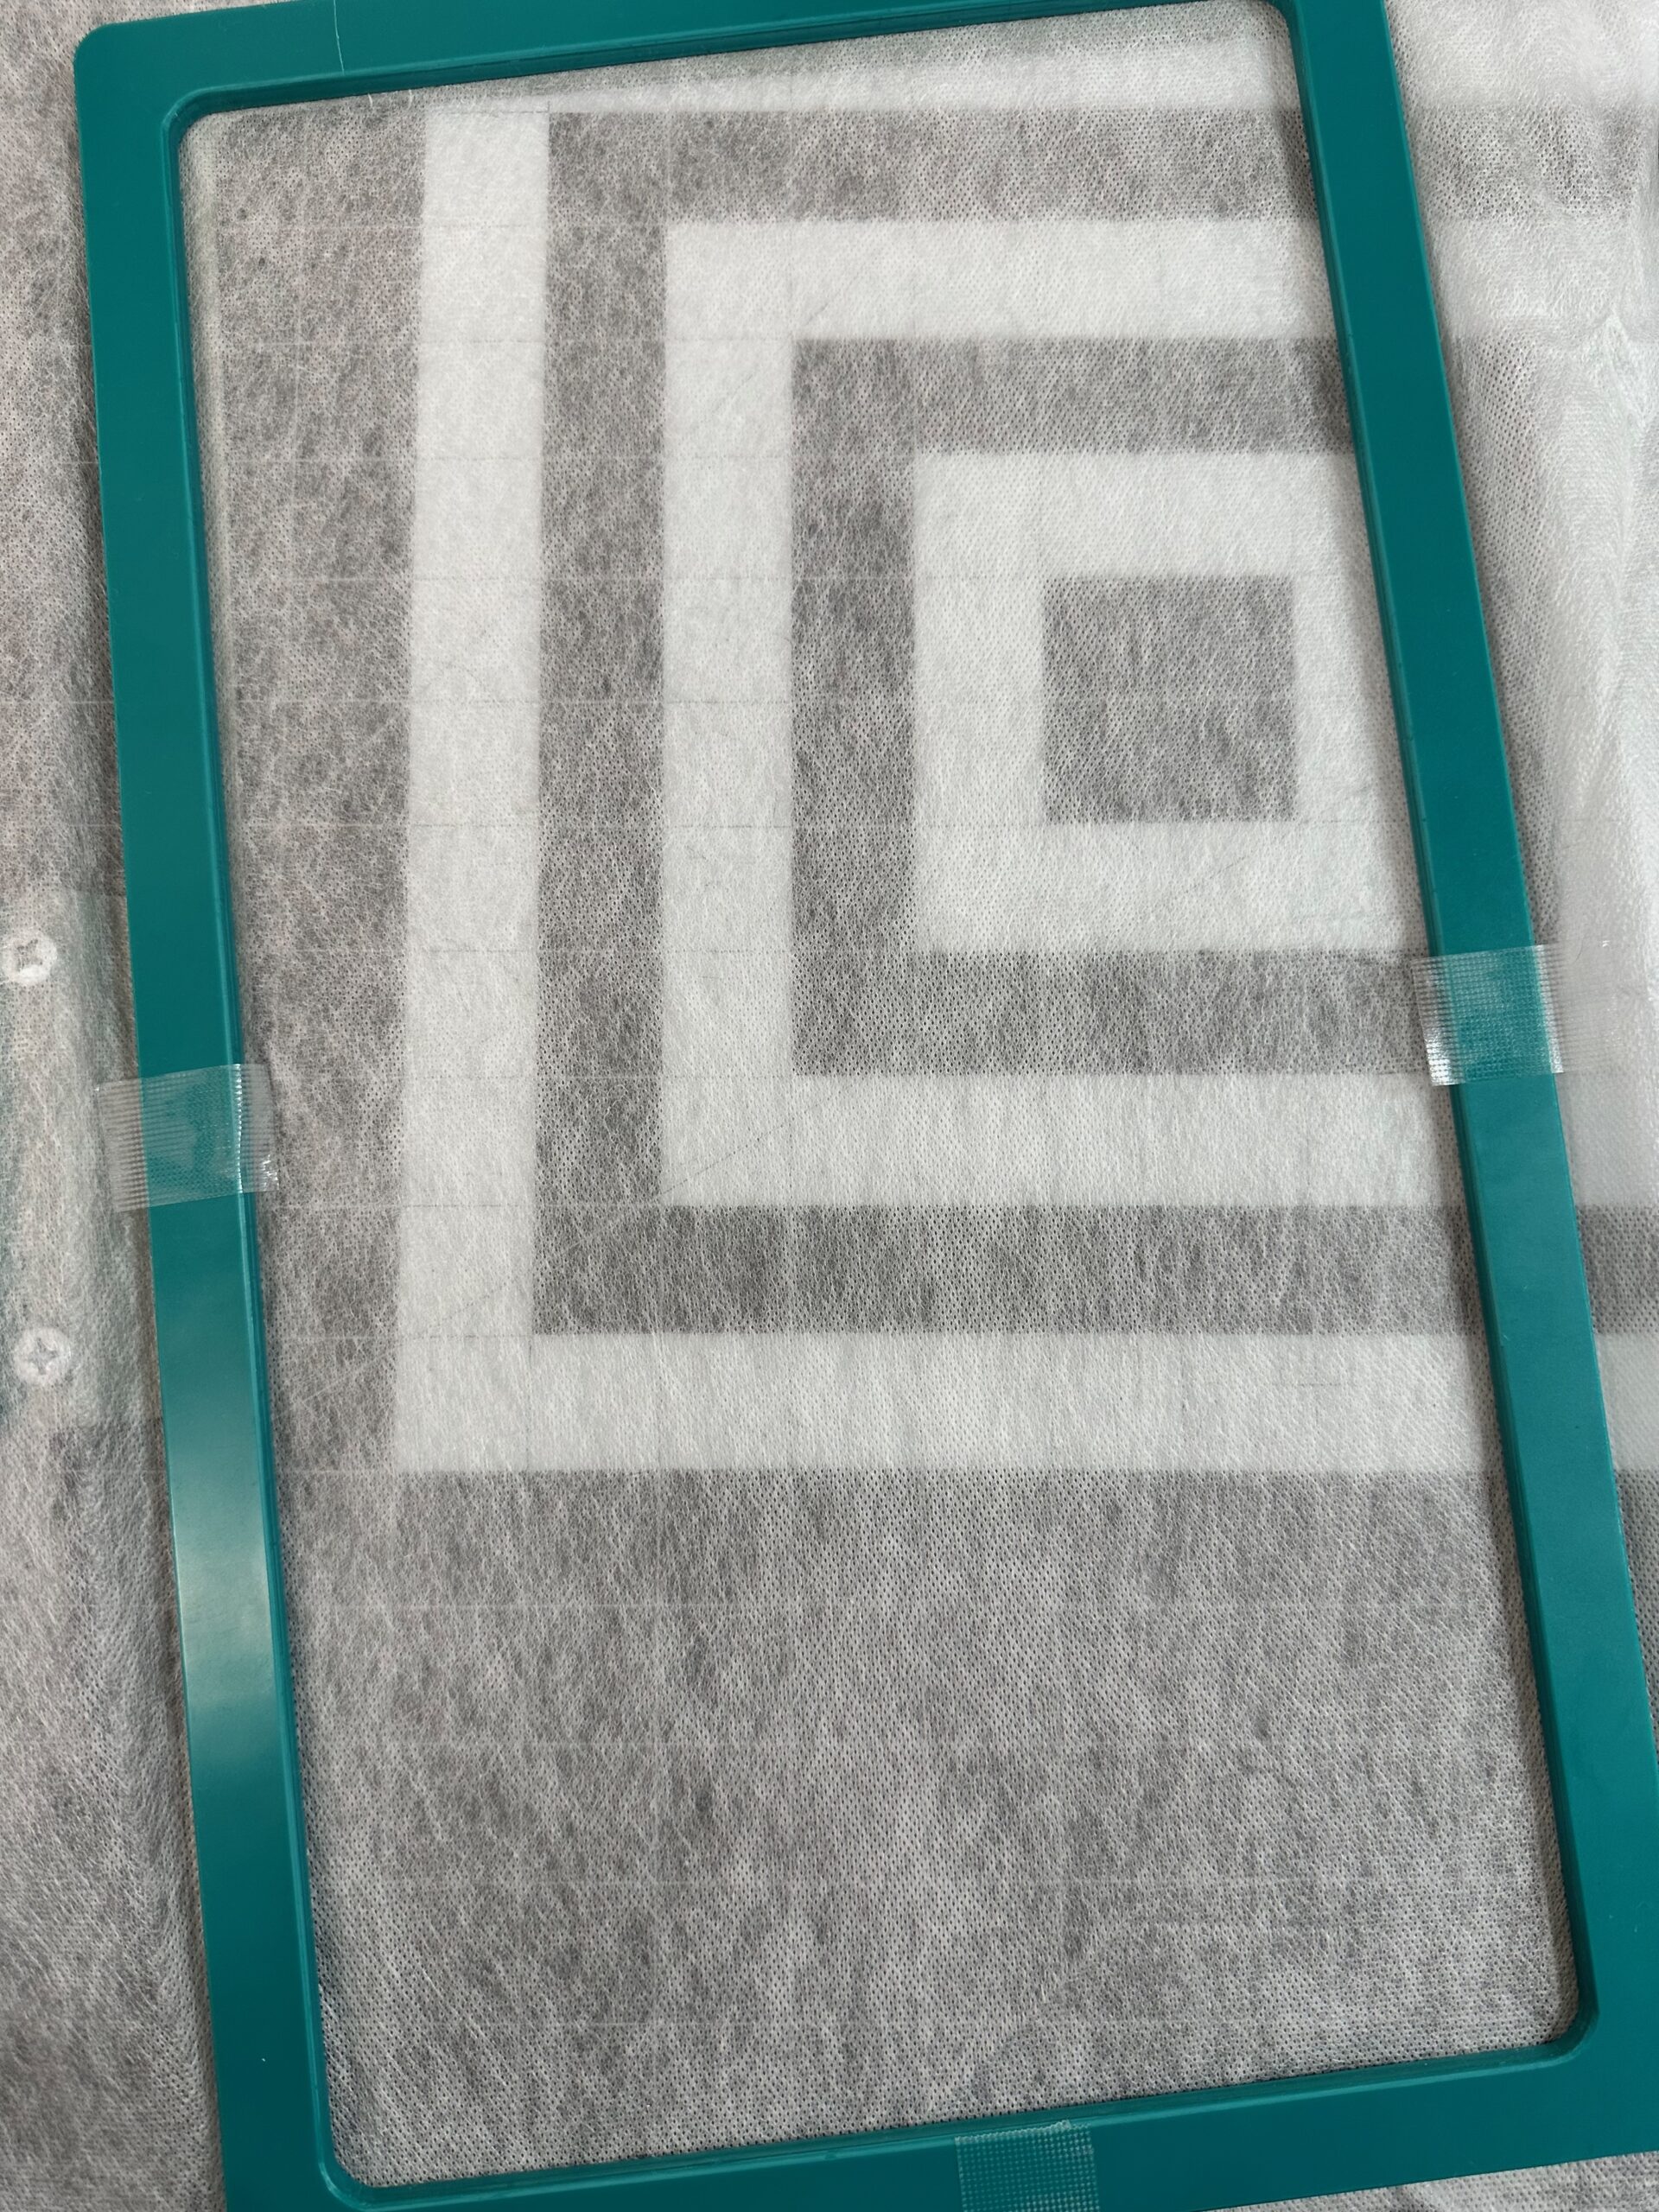
Hooping Method A: Fabri-Solvy
Hoop Sulky Fabri-Solvy by itself.
Spray a light mist of KK2000 Temporary Spray Adhesive onto the stabilizer.

Gently place the fleece onto the hooped stabilizer, making sure to align the predetermined design placement marks on the scarf with the placement lines on the stabilizer.
Tip: Never hoop fleece unless using a magnetic Hoop. Hooping can crush the nap and cause the fabric to stretch, causing puckering around the design.
Hooping Method B: Sticky Fabri-Solvy
Hoop Sulky Sticky Fabri-Solvy with the paper side facing up. Note: Sticky Fabri-Solvy doesn’t have a printed grid on the paper side, like Sticky+ does.
Using a Sticky+ Slitting Pen, score and peel away the paper to expose the sticky surface.
Smooth the fleece onto the stabilizer without stretching it. Be sure to align the determined design center cross marks with the hoop markings to ensure proper placement.
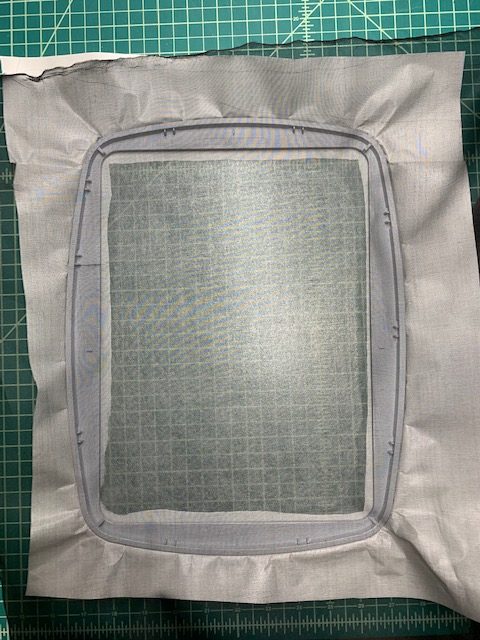
Topper
Fleece fibers love to swallow stitches. To prevent this, place a layer of Sulky Solvy on top of the fleece. Adhere it to the fabric using a bit of KK2000 Temporary Spray Adhesive.

EMBROIDER THE FLEECE SCARF
First, install a size 75/11 embroidery needle. Thread the needle with Sulky Rayon or Poly Deco Thread. Use the same thread or a matching 60 wt. Polylite Thread in the bobbin. Because the back of the scarf will be seen as it’s worn, the back of the design should look as pretty as the front!
Place the hoop onto the machine, making sure to smooth the Solvy so there are no folds and it covers the fleece entirely.

Stitch all the steps in the design, clipping jump threads with each thread change.
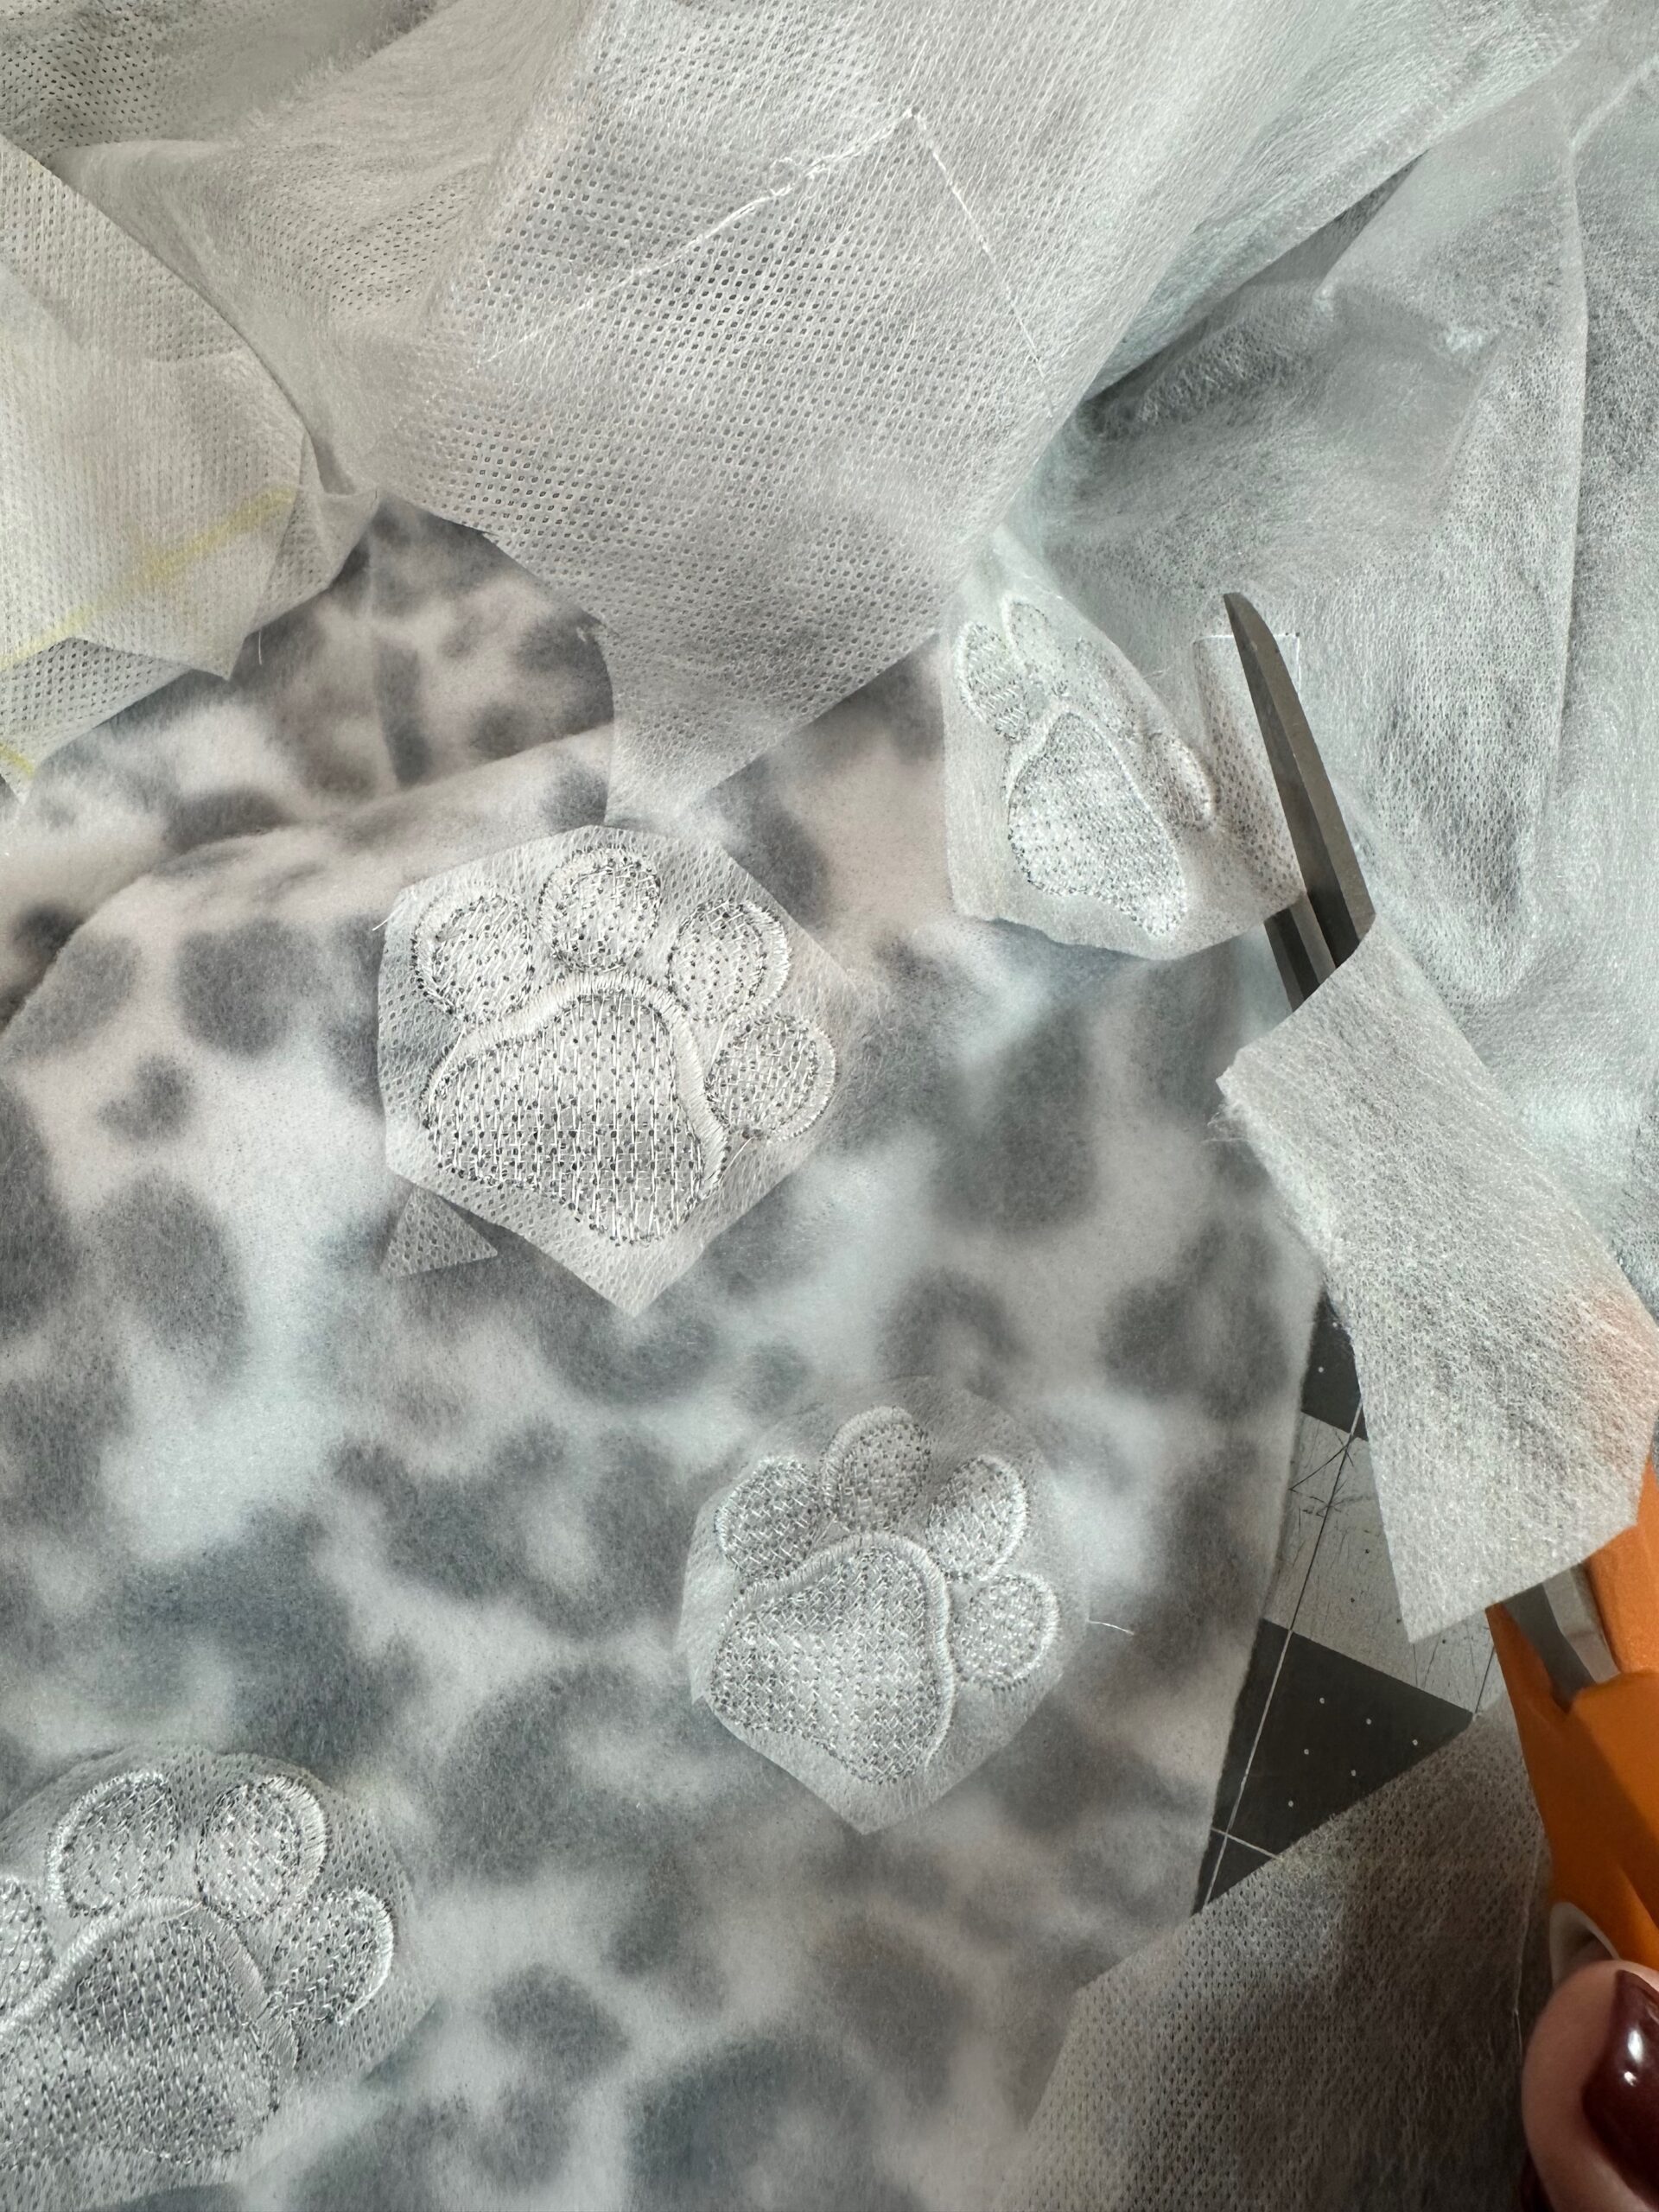
When the embroidery is complete, remove the hoop from the machine. Tear away as much of the Solvy as possible.
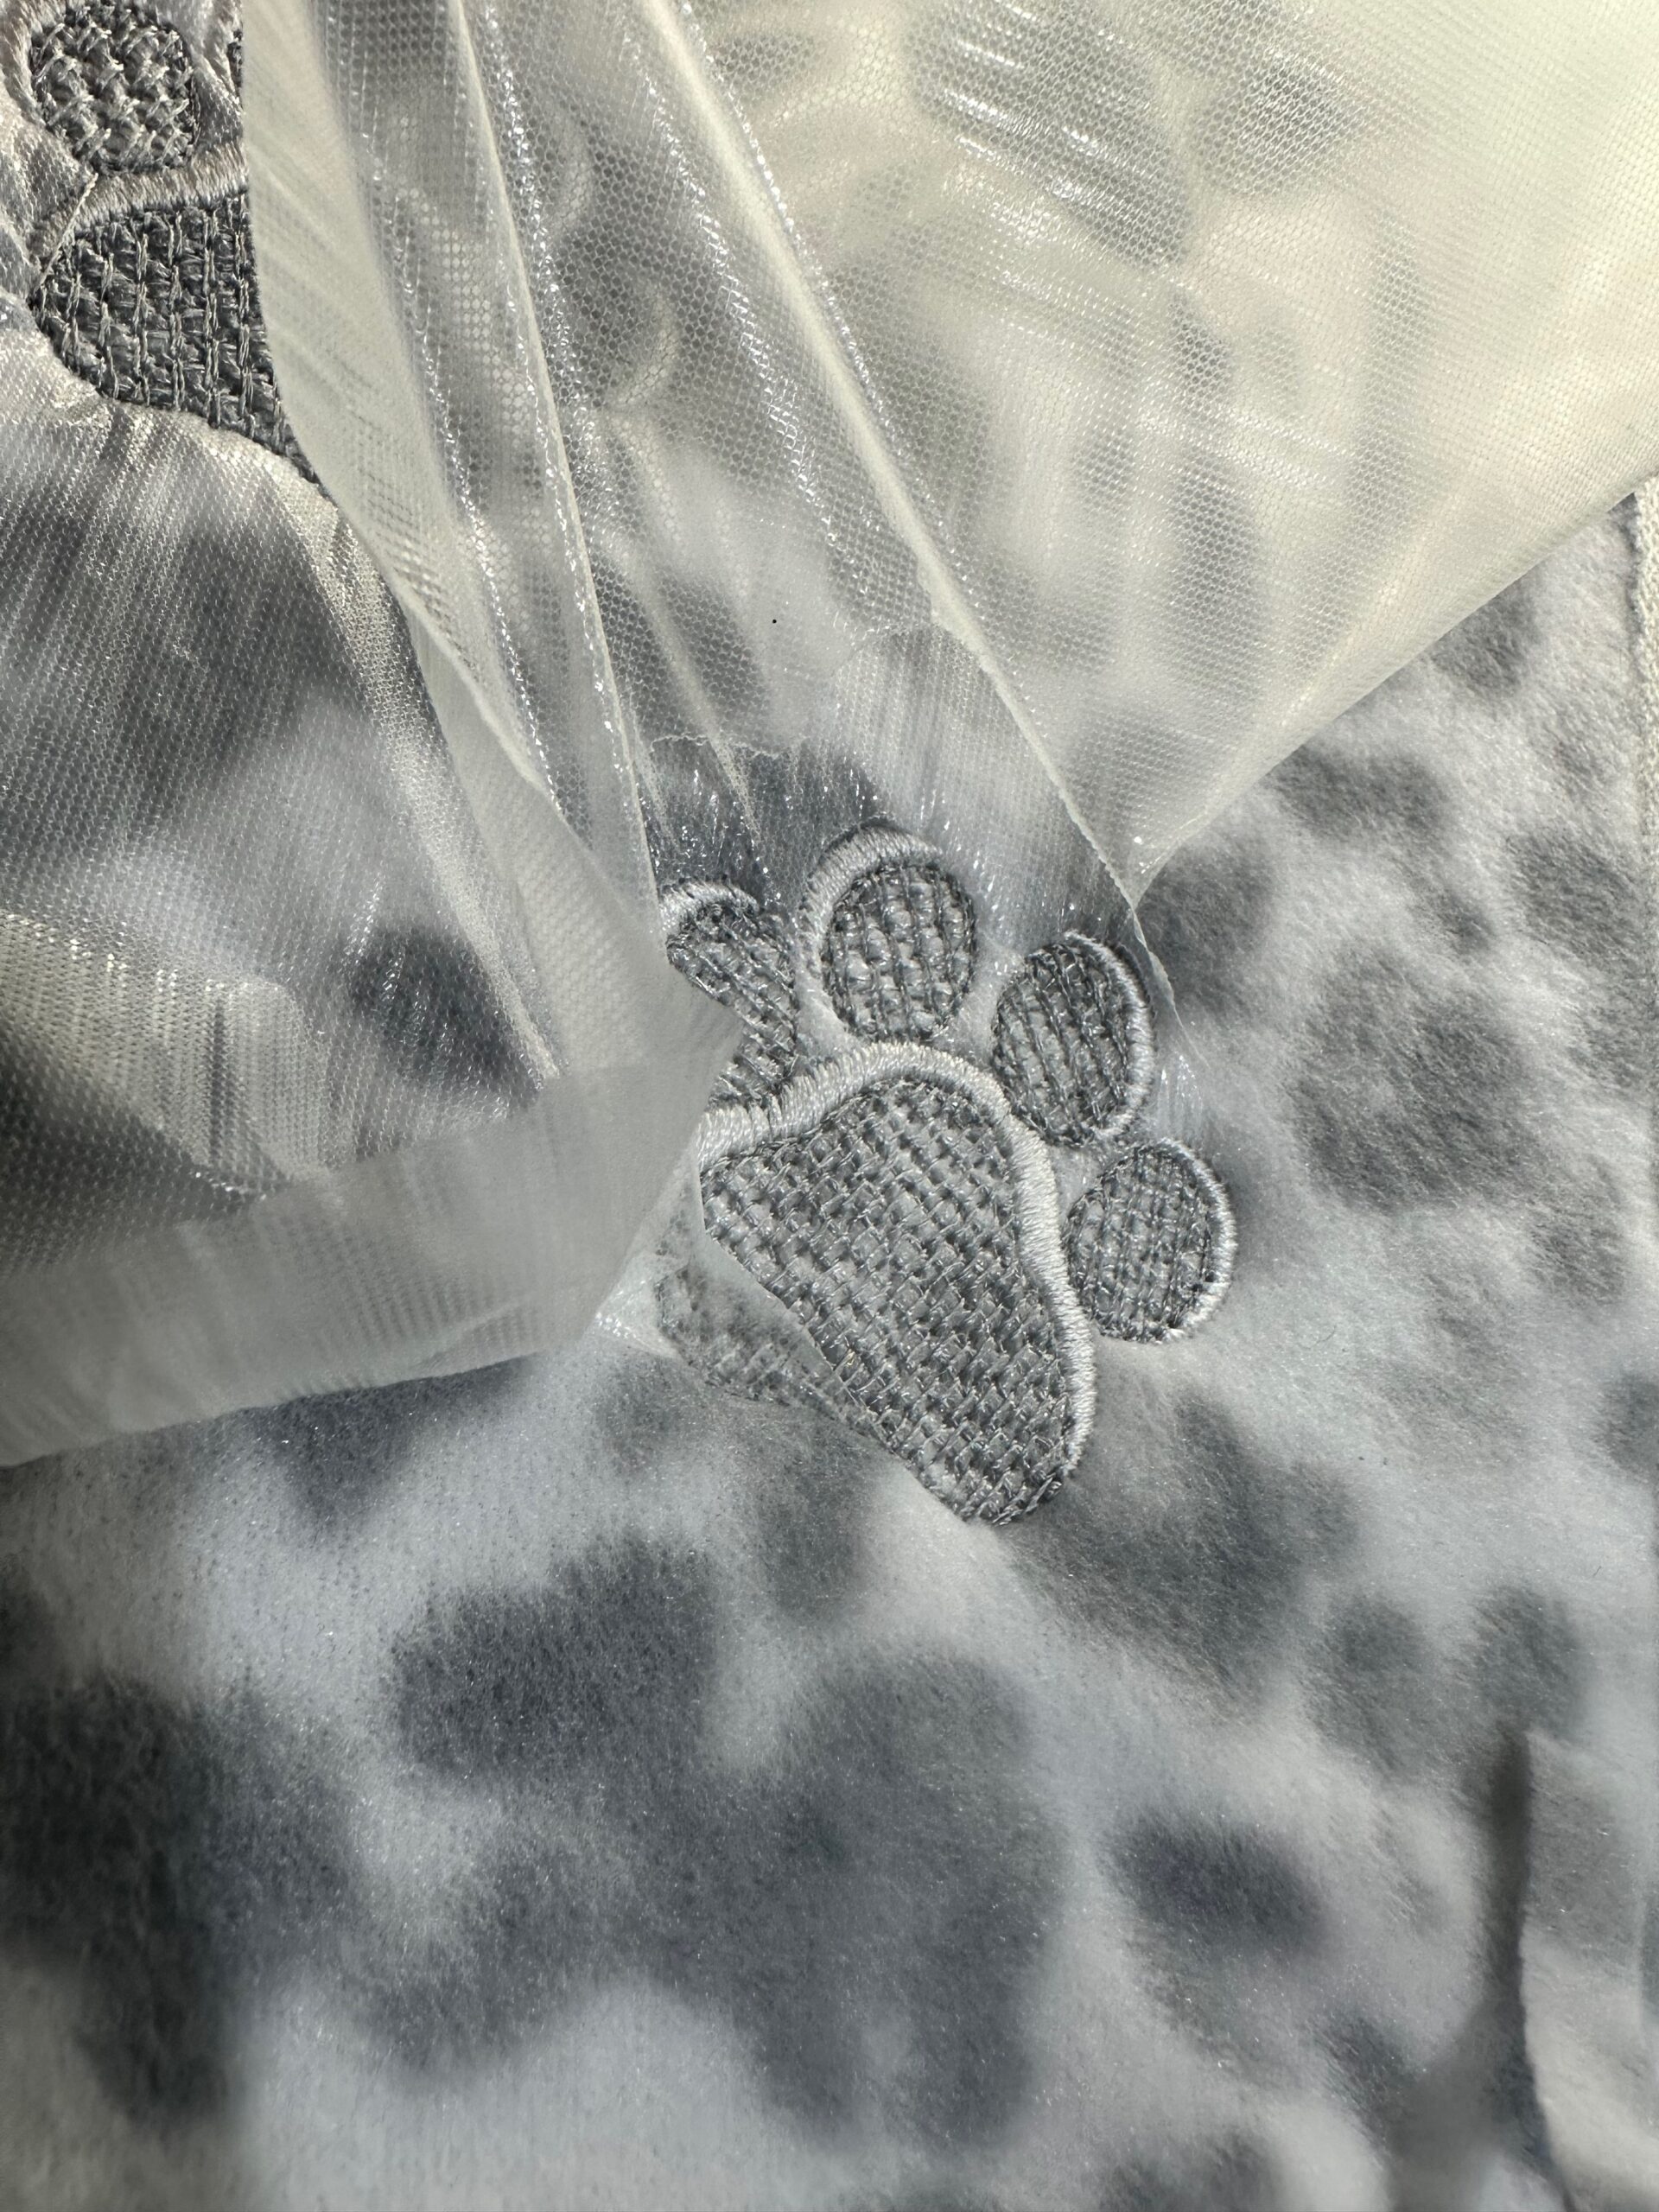
Remove the scarf from the hoop, and then trim away the excess Fabri-Solvy (or Sticky Fabri-Solvy) beyond the design perimeter. If using Sticky Fabri-Solvy, be careful to not pull the fabric too much, as the stretch may cause puckering even after embroidery is completed. Instead, you may choose to leave all of the sticky stabilizer in place until the final rinse.
Next, rinse the fleece under warm, running water to remove the Fabri-Solvy (or Sticky Fabri-Solvy) and any residual Solvy bits.

After the stabilizer is removed, let the scarf dry flat on an absorbent towel. Wear your new scarf with pride! Or gift it to someone special.