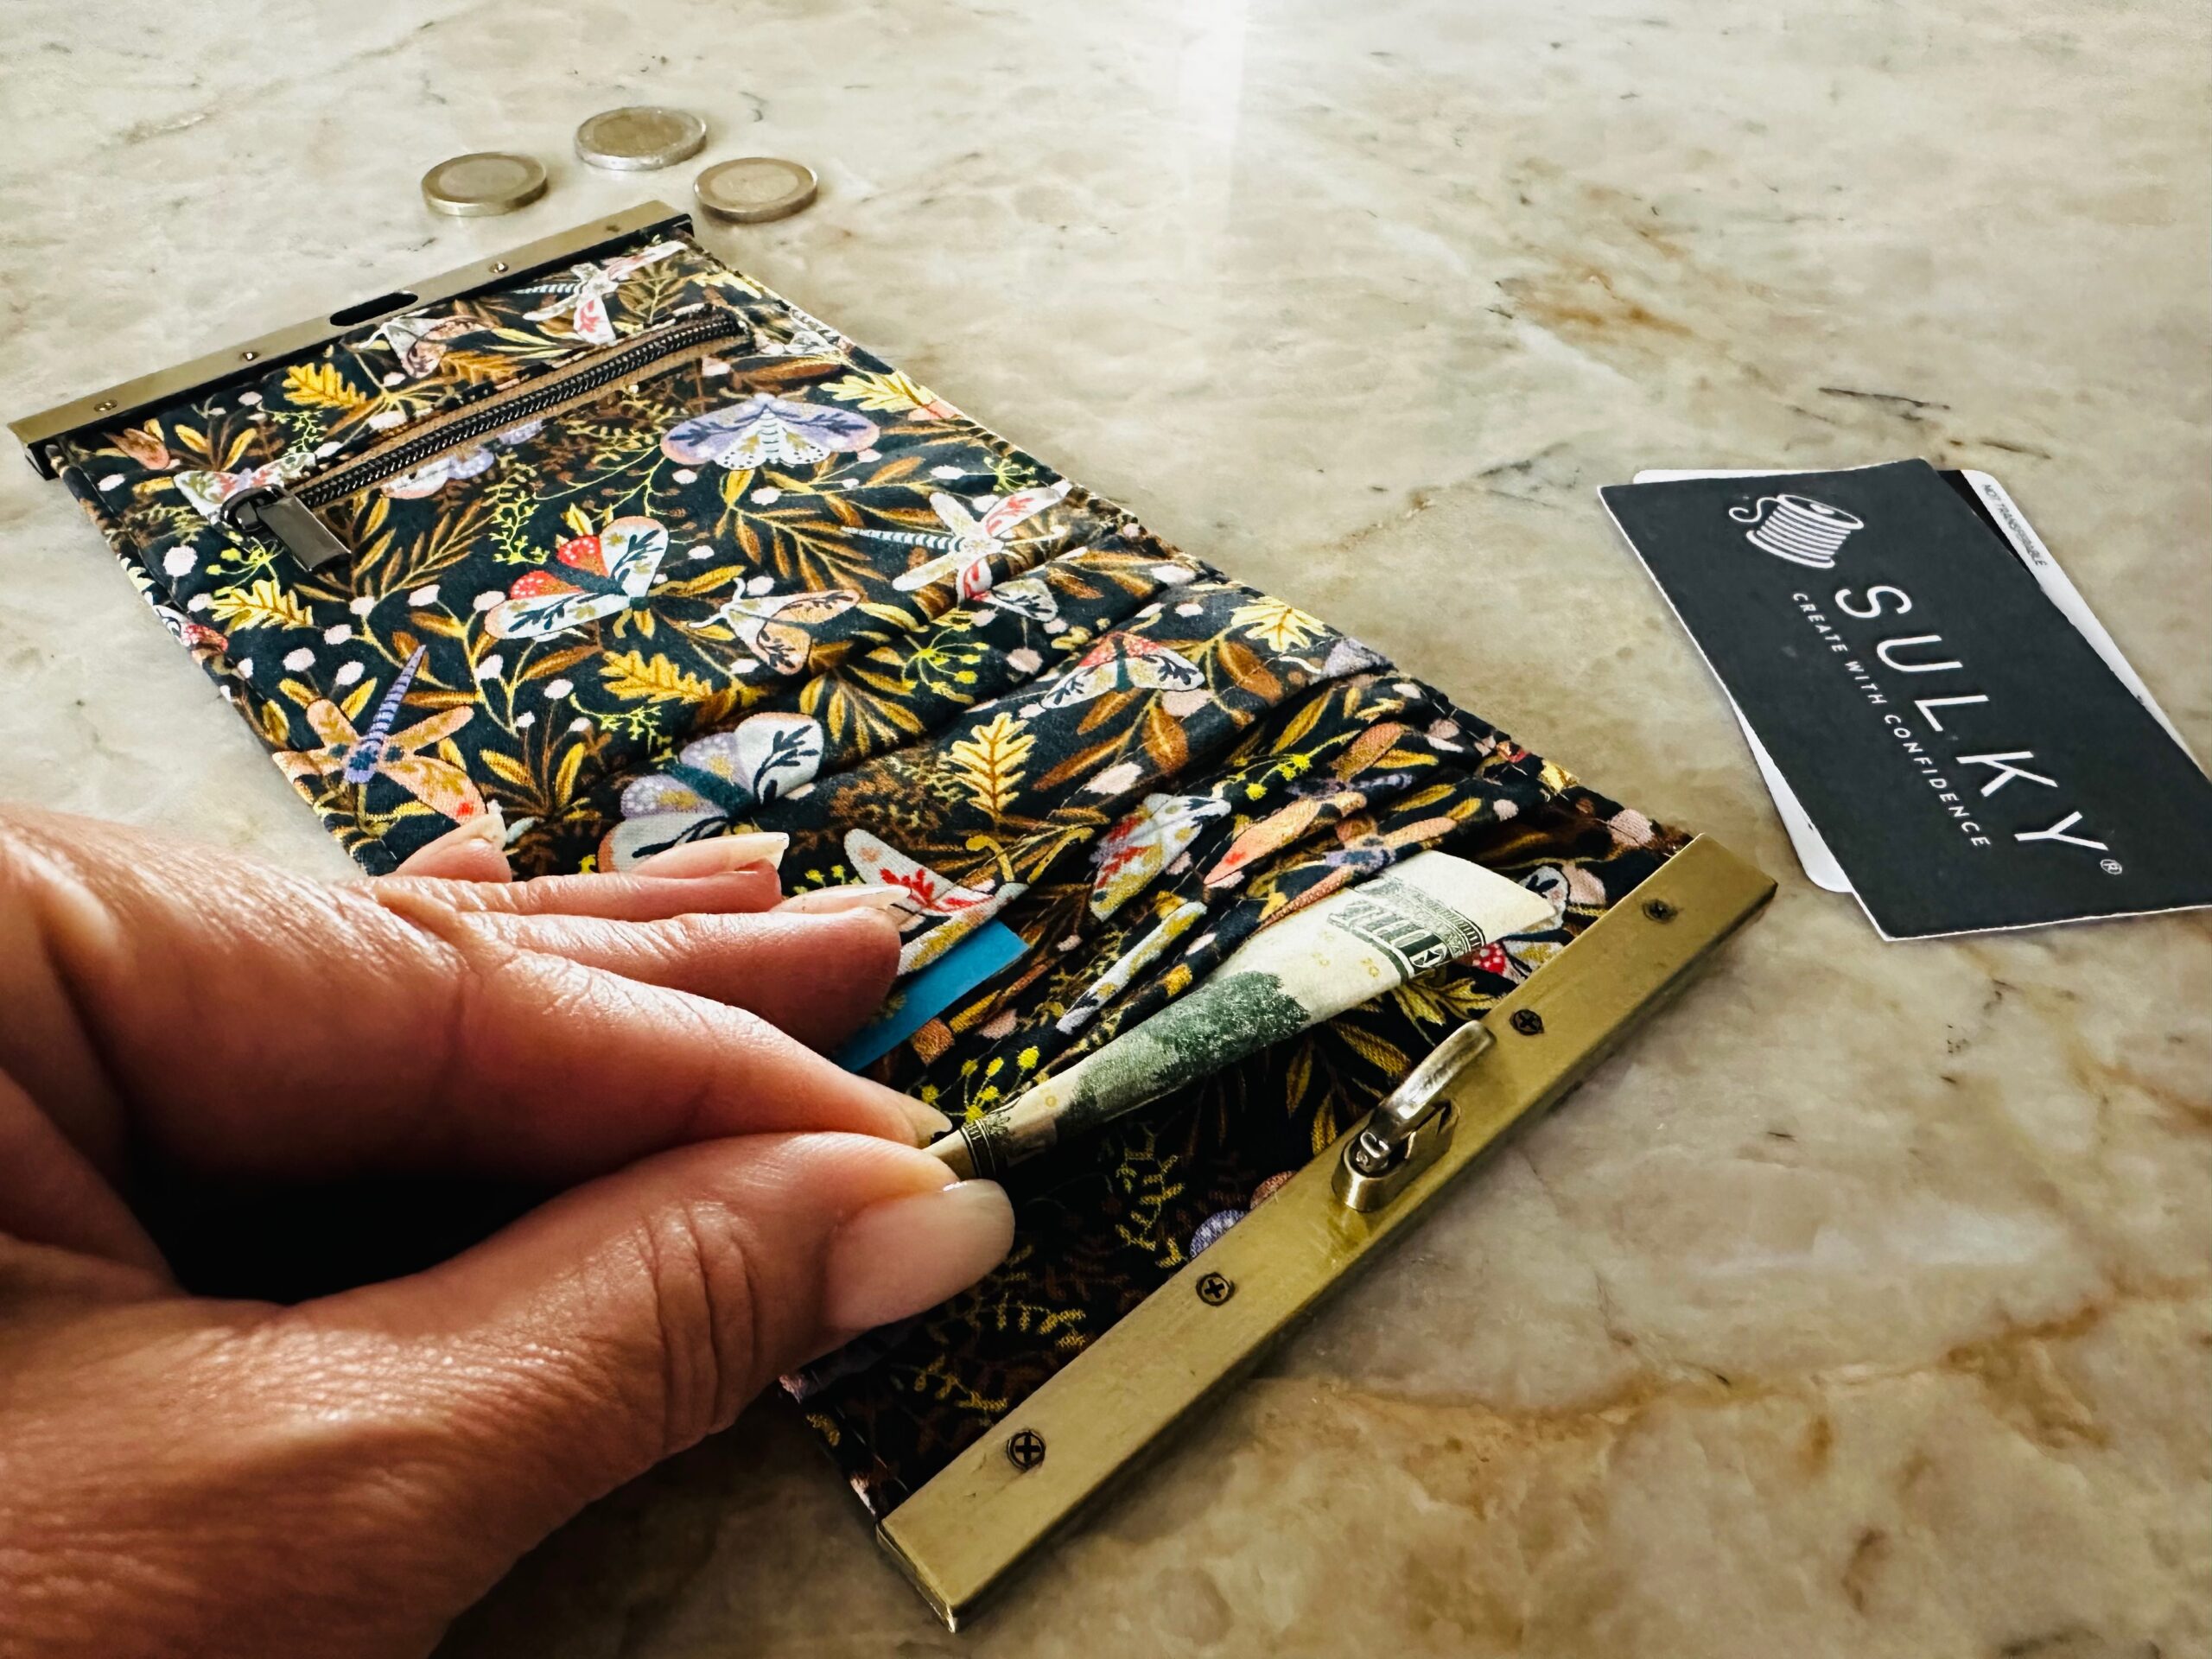
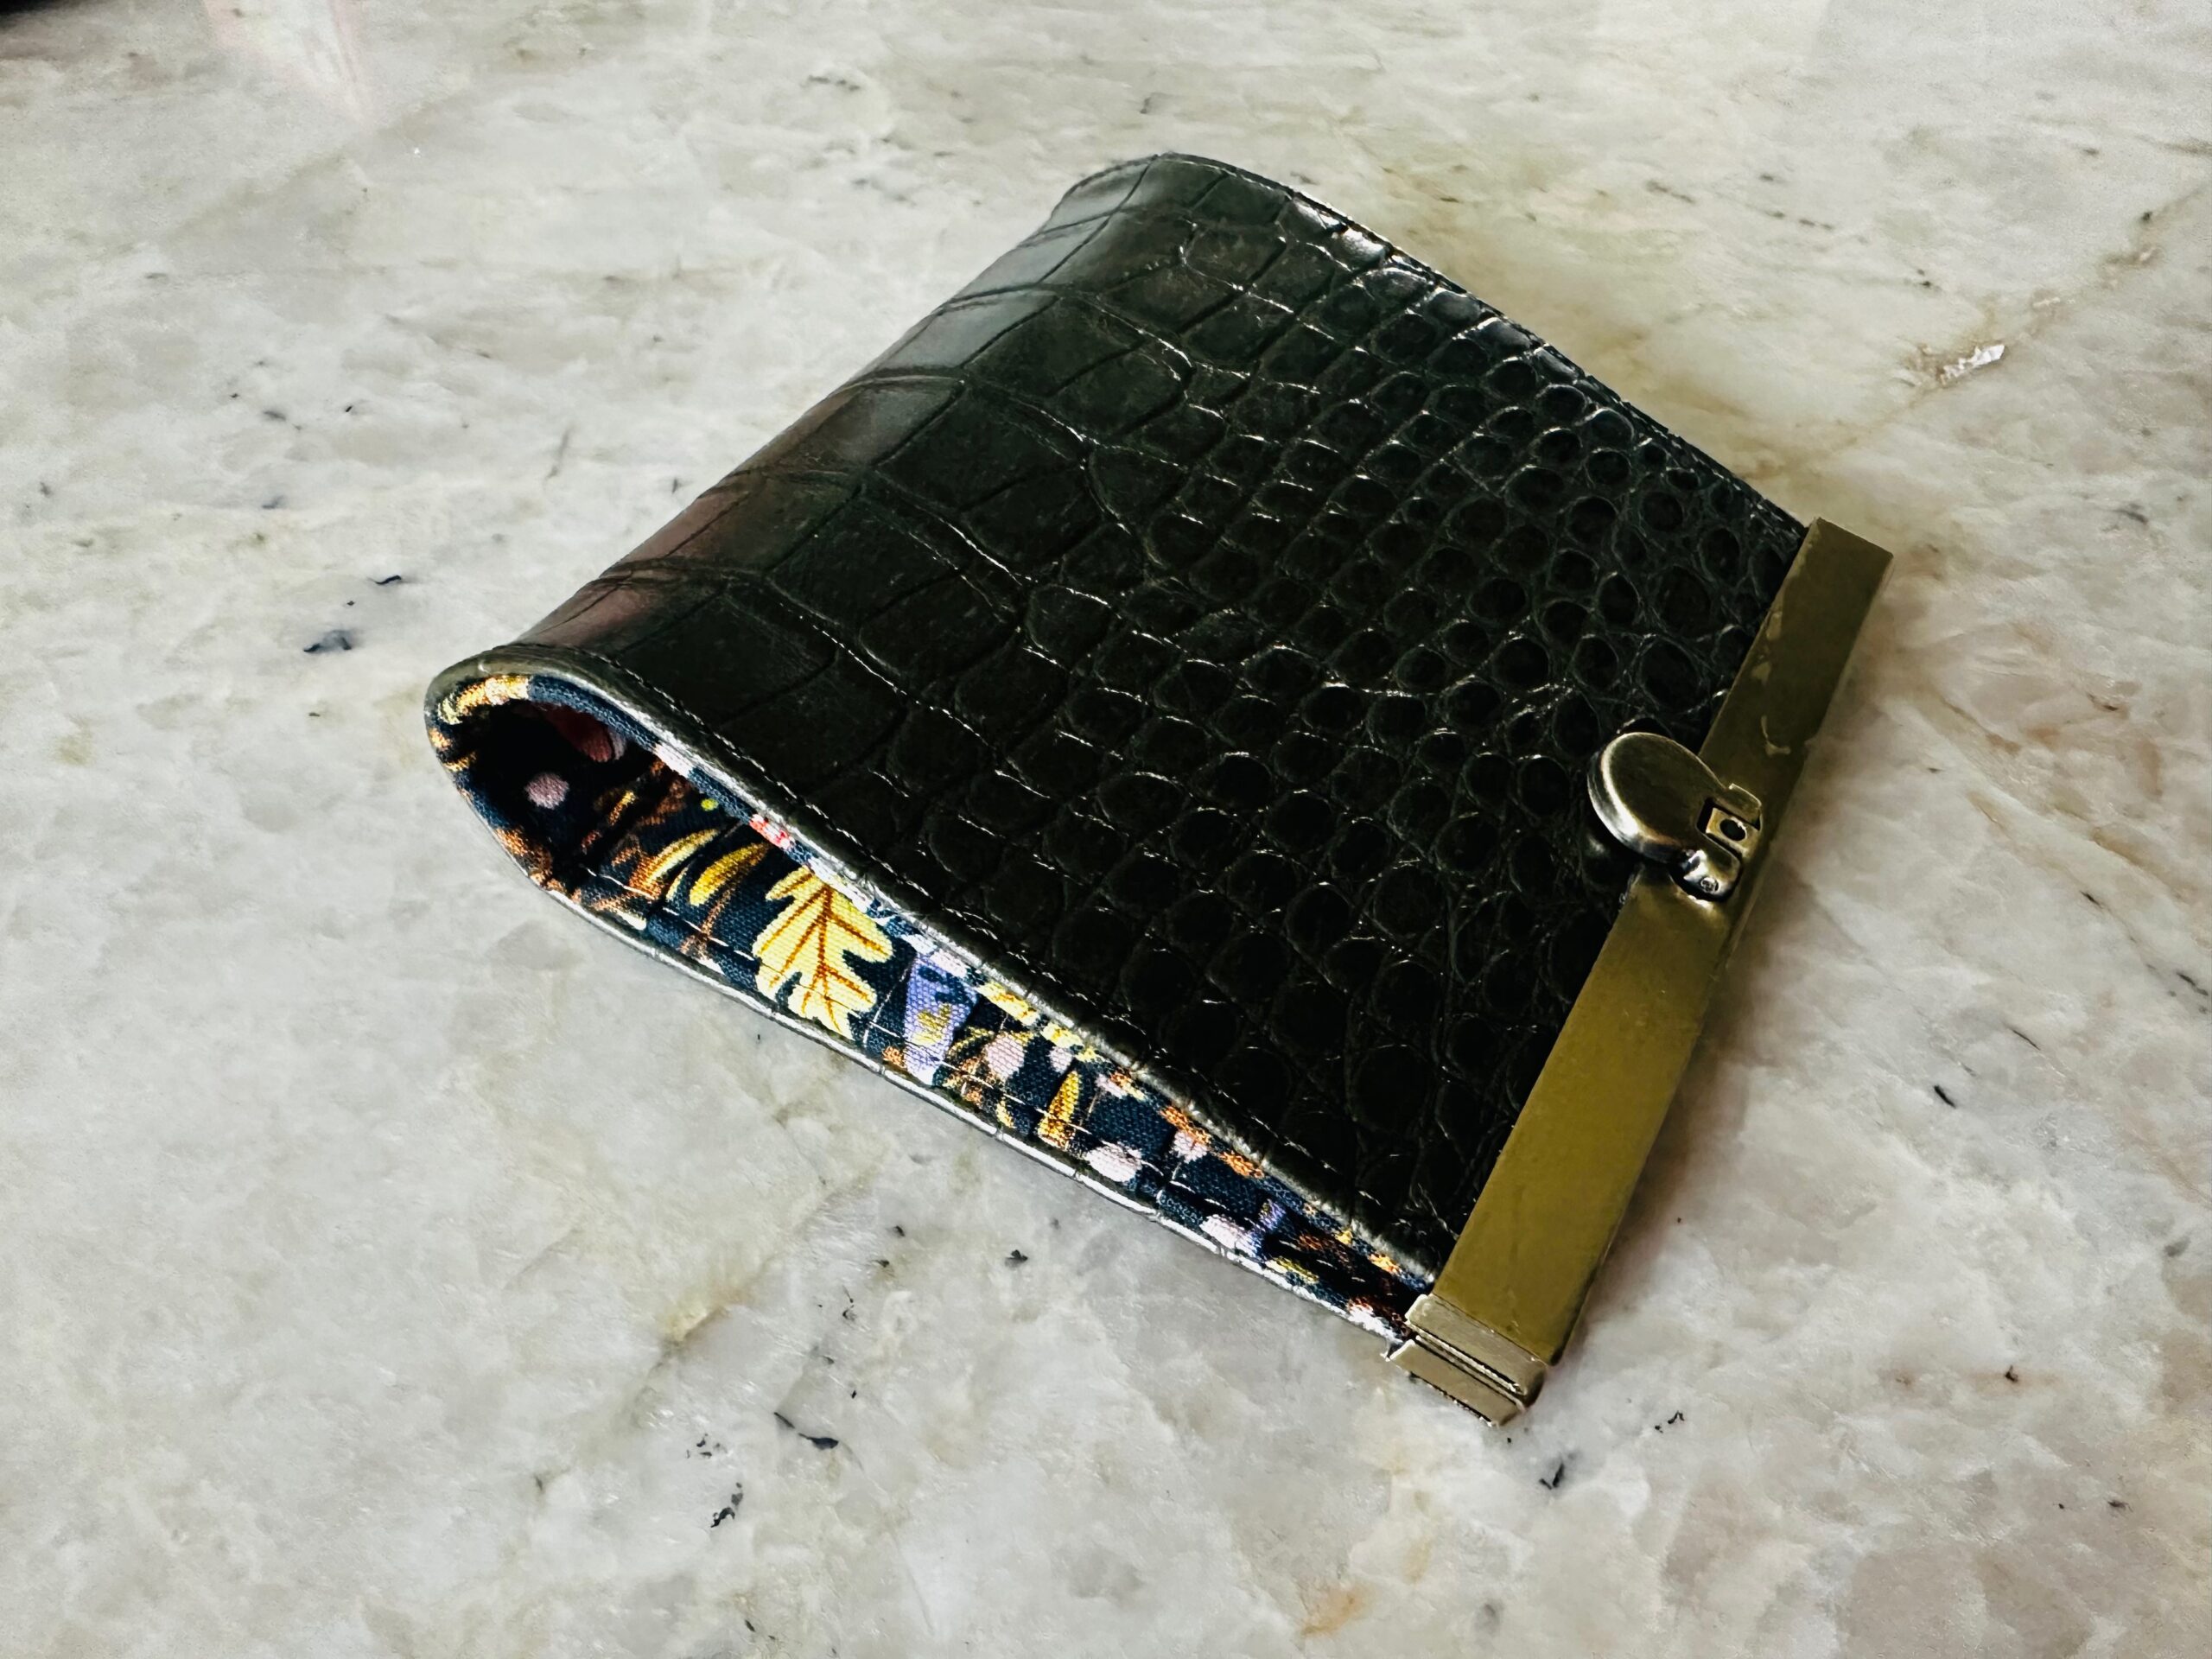
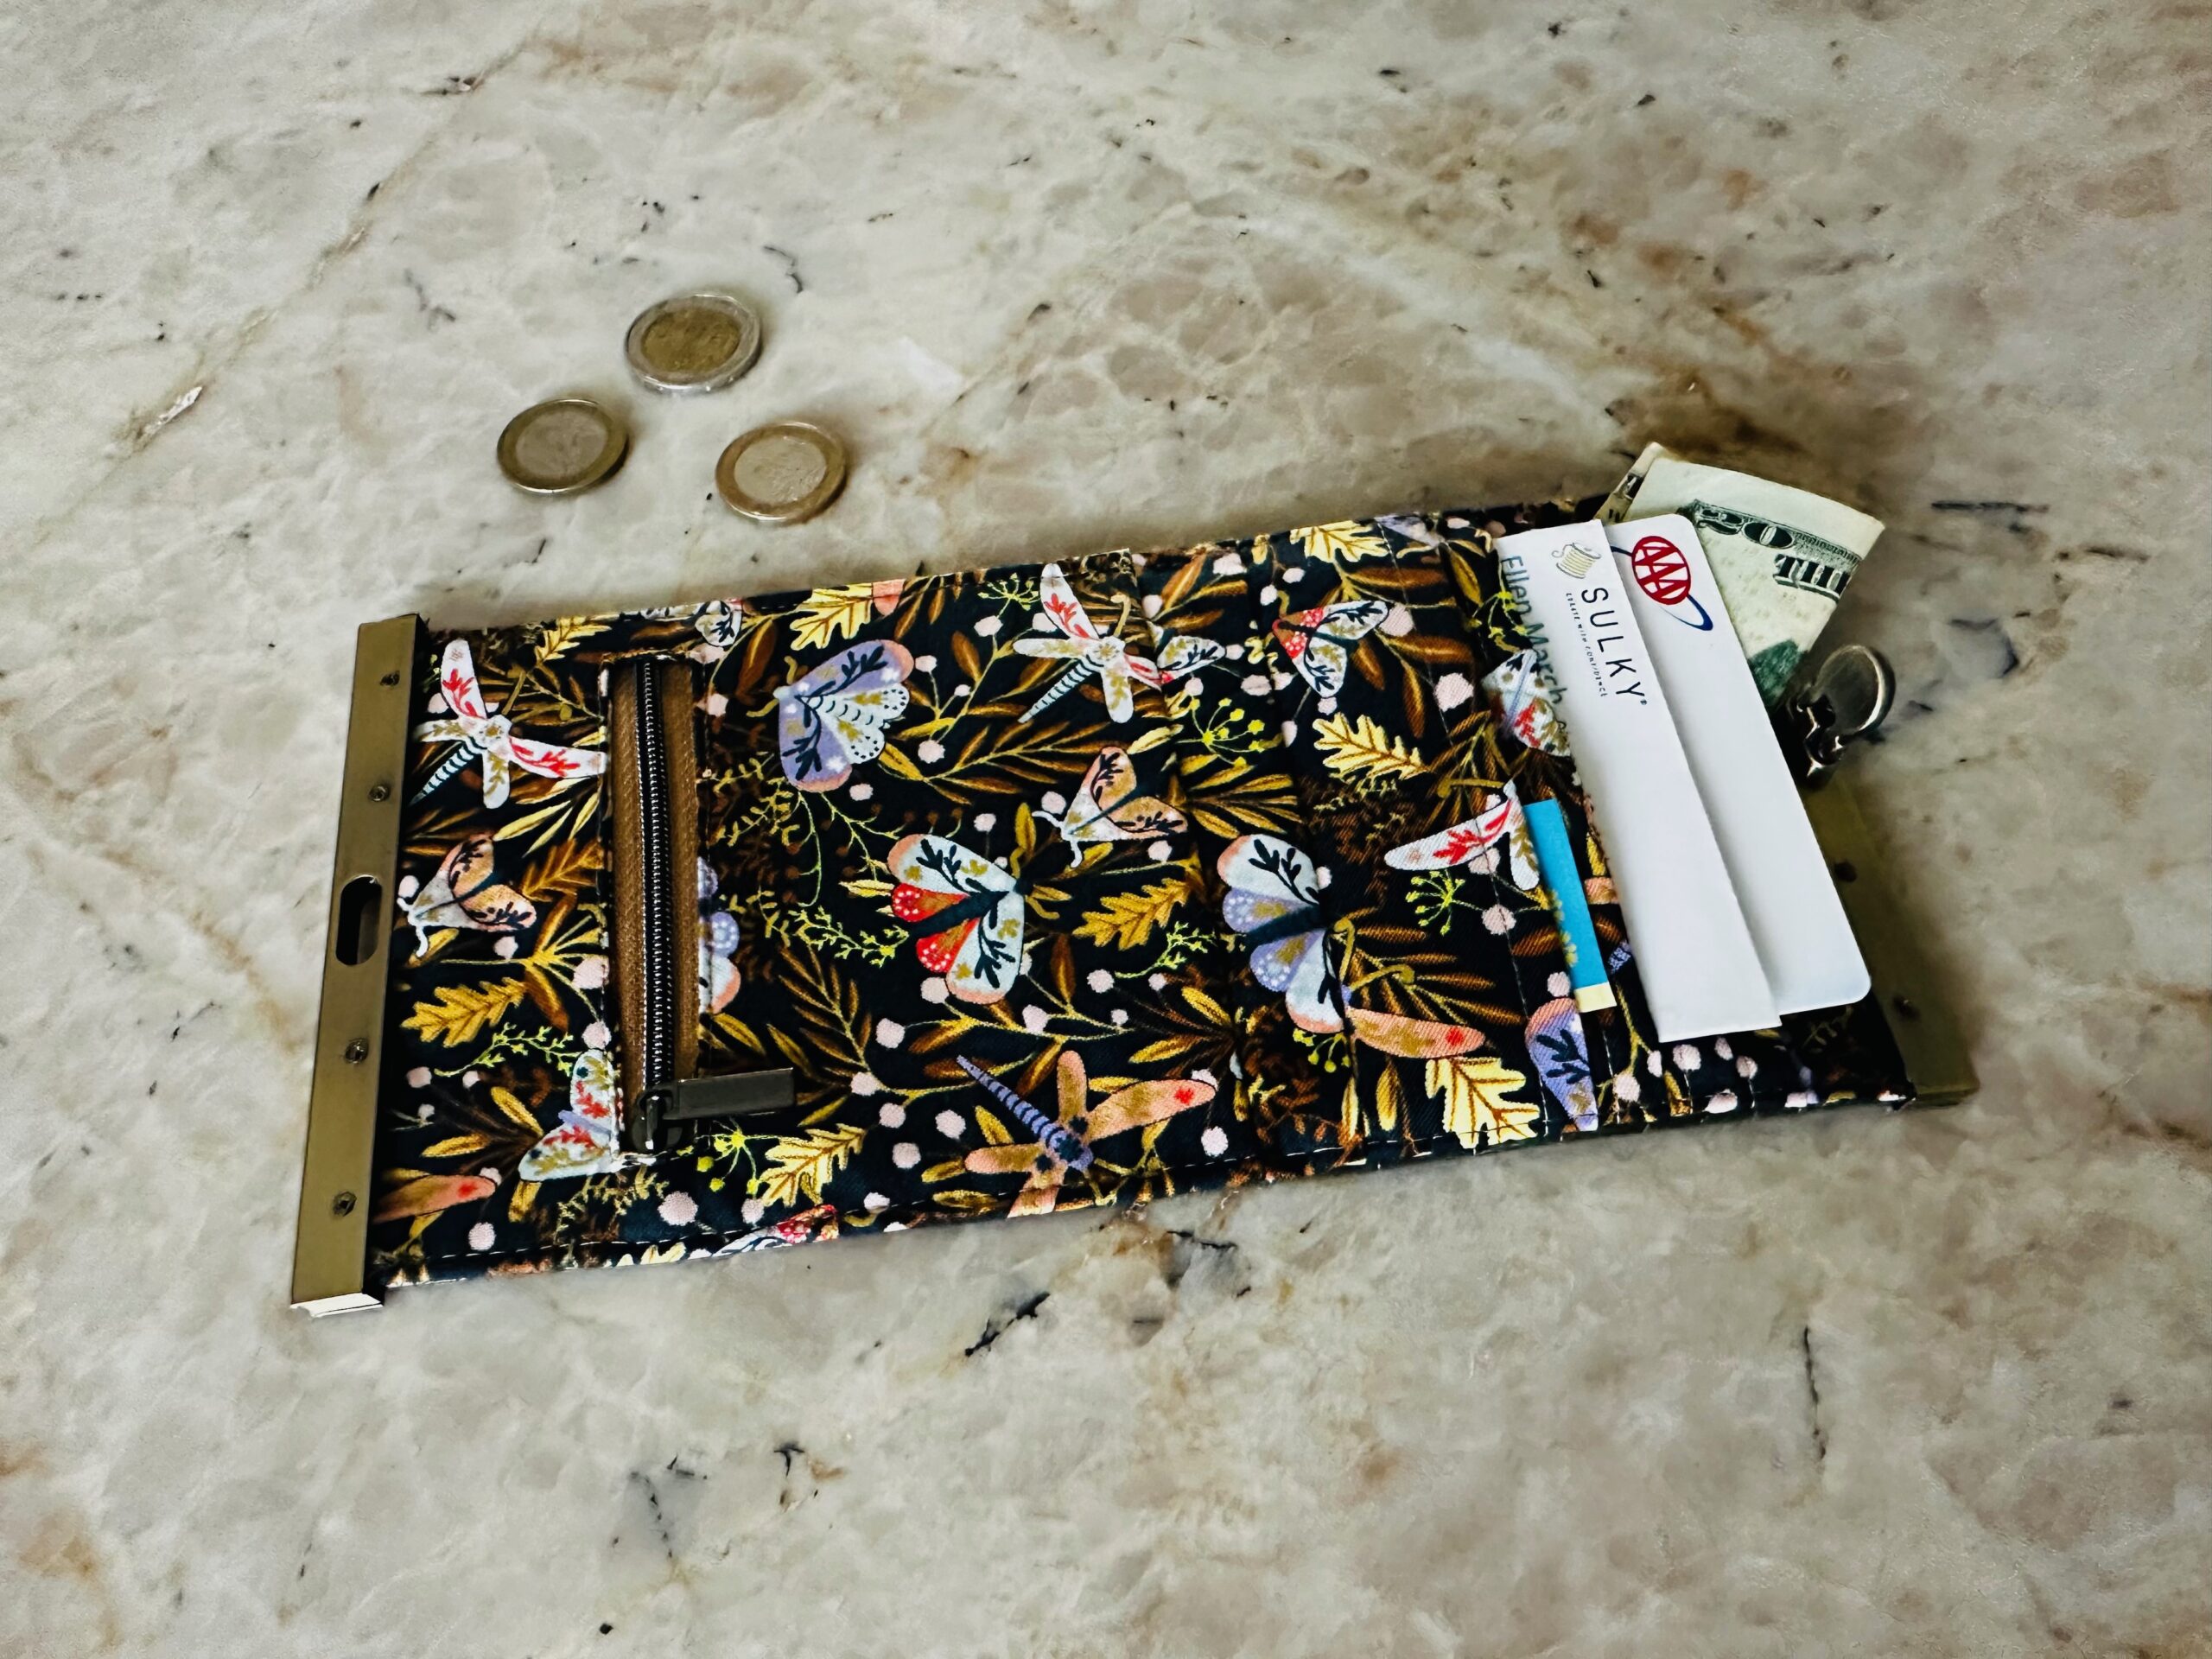
Frame Coin Purse
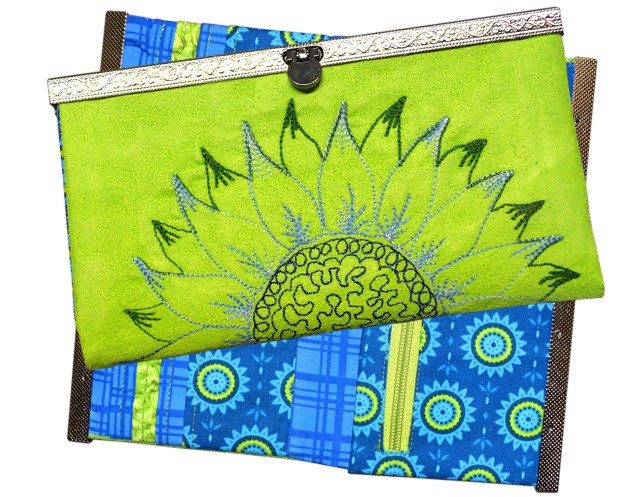
The inspiration for this Frame Coin Purse is from the Sulky Sunflower Wallet Webinar with Pam Damour. In this Sulky Legacy Event, she taught how to create a frame wallet, featuring a sunflower machine embroidery design. I’ve resized the dimensions for a 4½”-wide clasp and changed a few construction details to bring you this Frame Coin Purse. I suggest you watch the webinar, now available as a free recording, for Pam’s valuable tips as well! Plus, you’ll get a free Sunflower embroidery design just for registering.
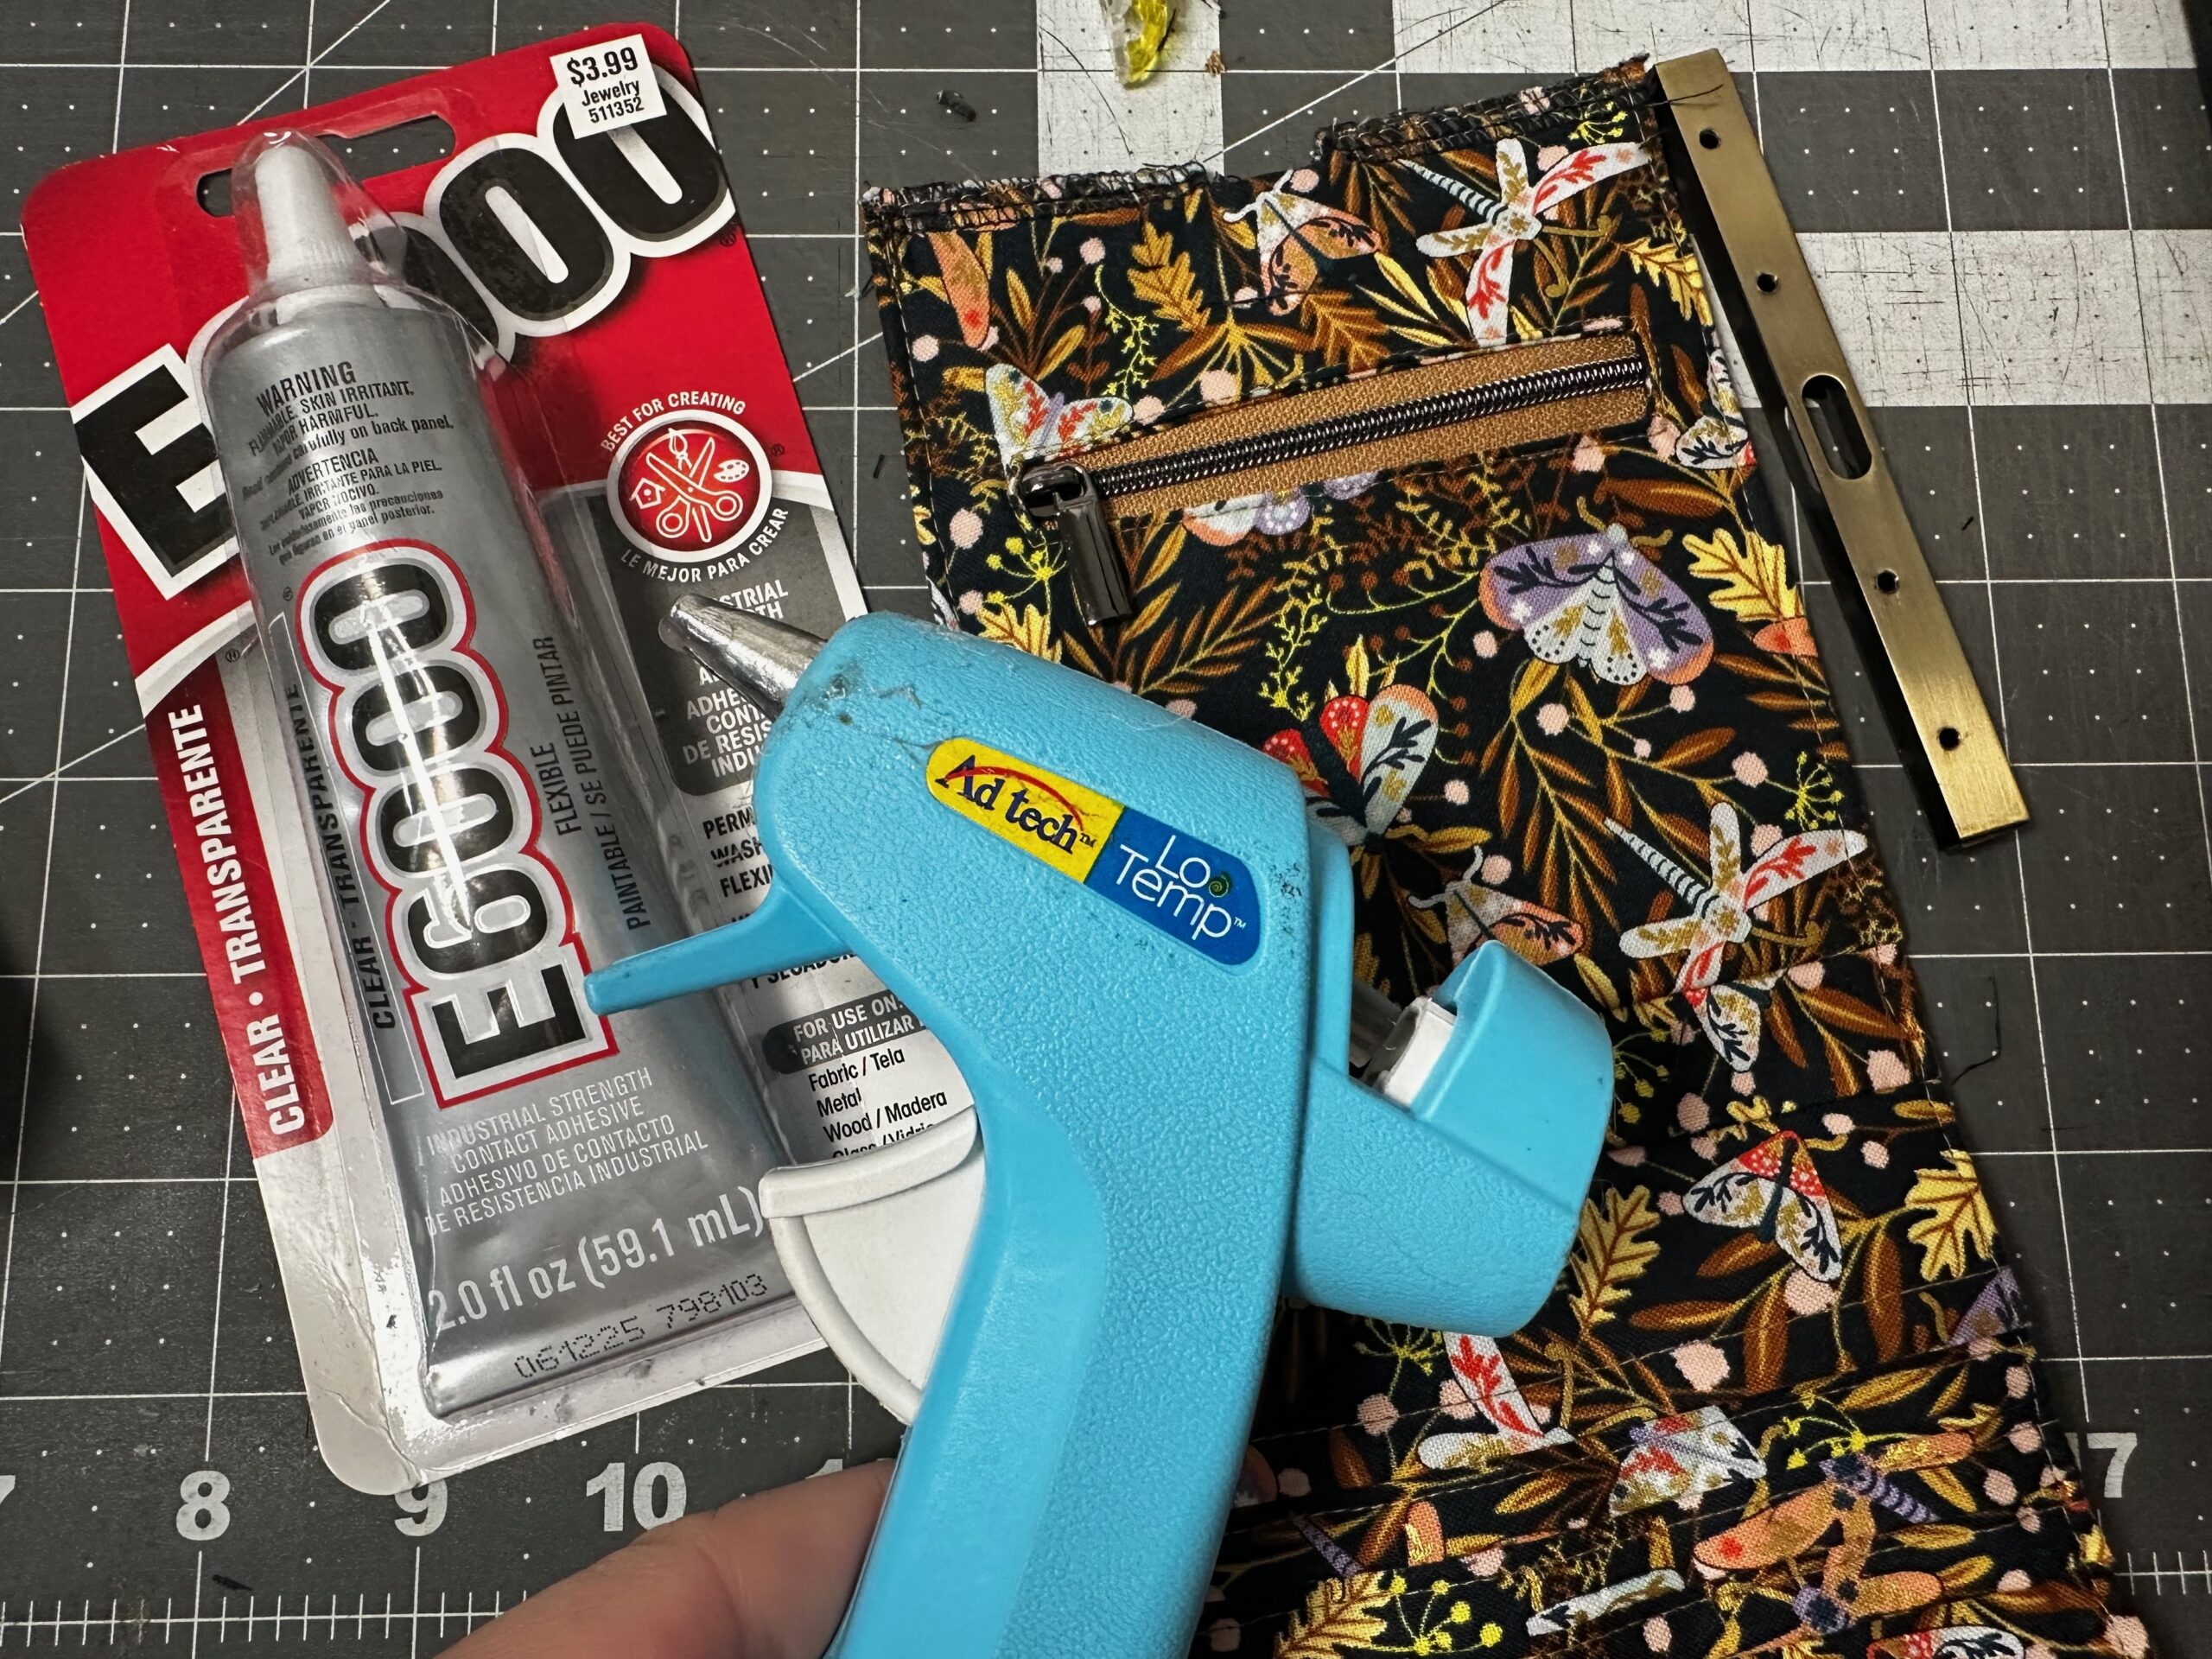
For this Frame Coin Purse, you need a specialty purse frame with a bar lock. You can find them in several sizes and several finishes. Choose a finish that matches the zipper finish for a coordinating look. Be sure to choose a nylon zipper (not metal), as you’ll sew over the ends during construction. You’ll also want some Double-Sided Basting Tape and either hot glue and a hot glue gun or strong craft glue. Clover Wonder Clips are also necessary, especially if working with cork or faux leather, as pins cannot be used. Sulky 40 wt. Poly Deco™ Thread is the best choice for this project, as it’s a mediumweight thread that’s strong and lustrous.
This project makes a great Mother’s Day or graduation gift. Change up the pocket sizes, if desired. Or grab a longer frame and use Pam’s instructions to obtain cutting dimensions for a 7 1/2′-wide frame clasp wallet.
COIN PURSE FABRIC & CUTTING
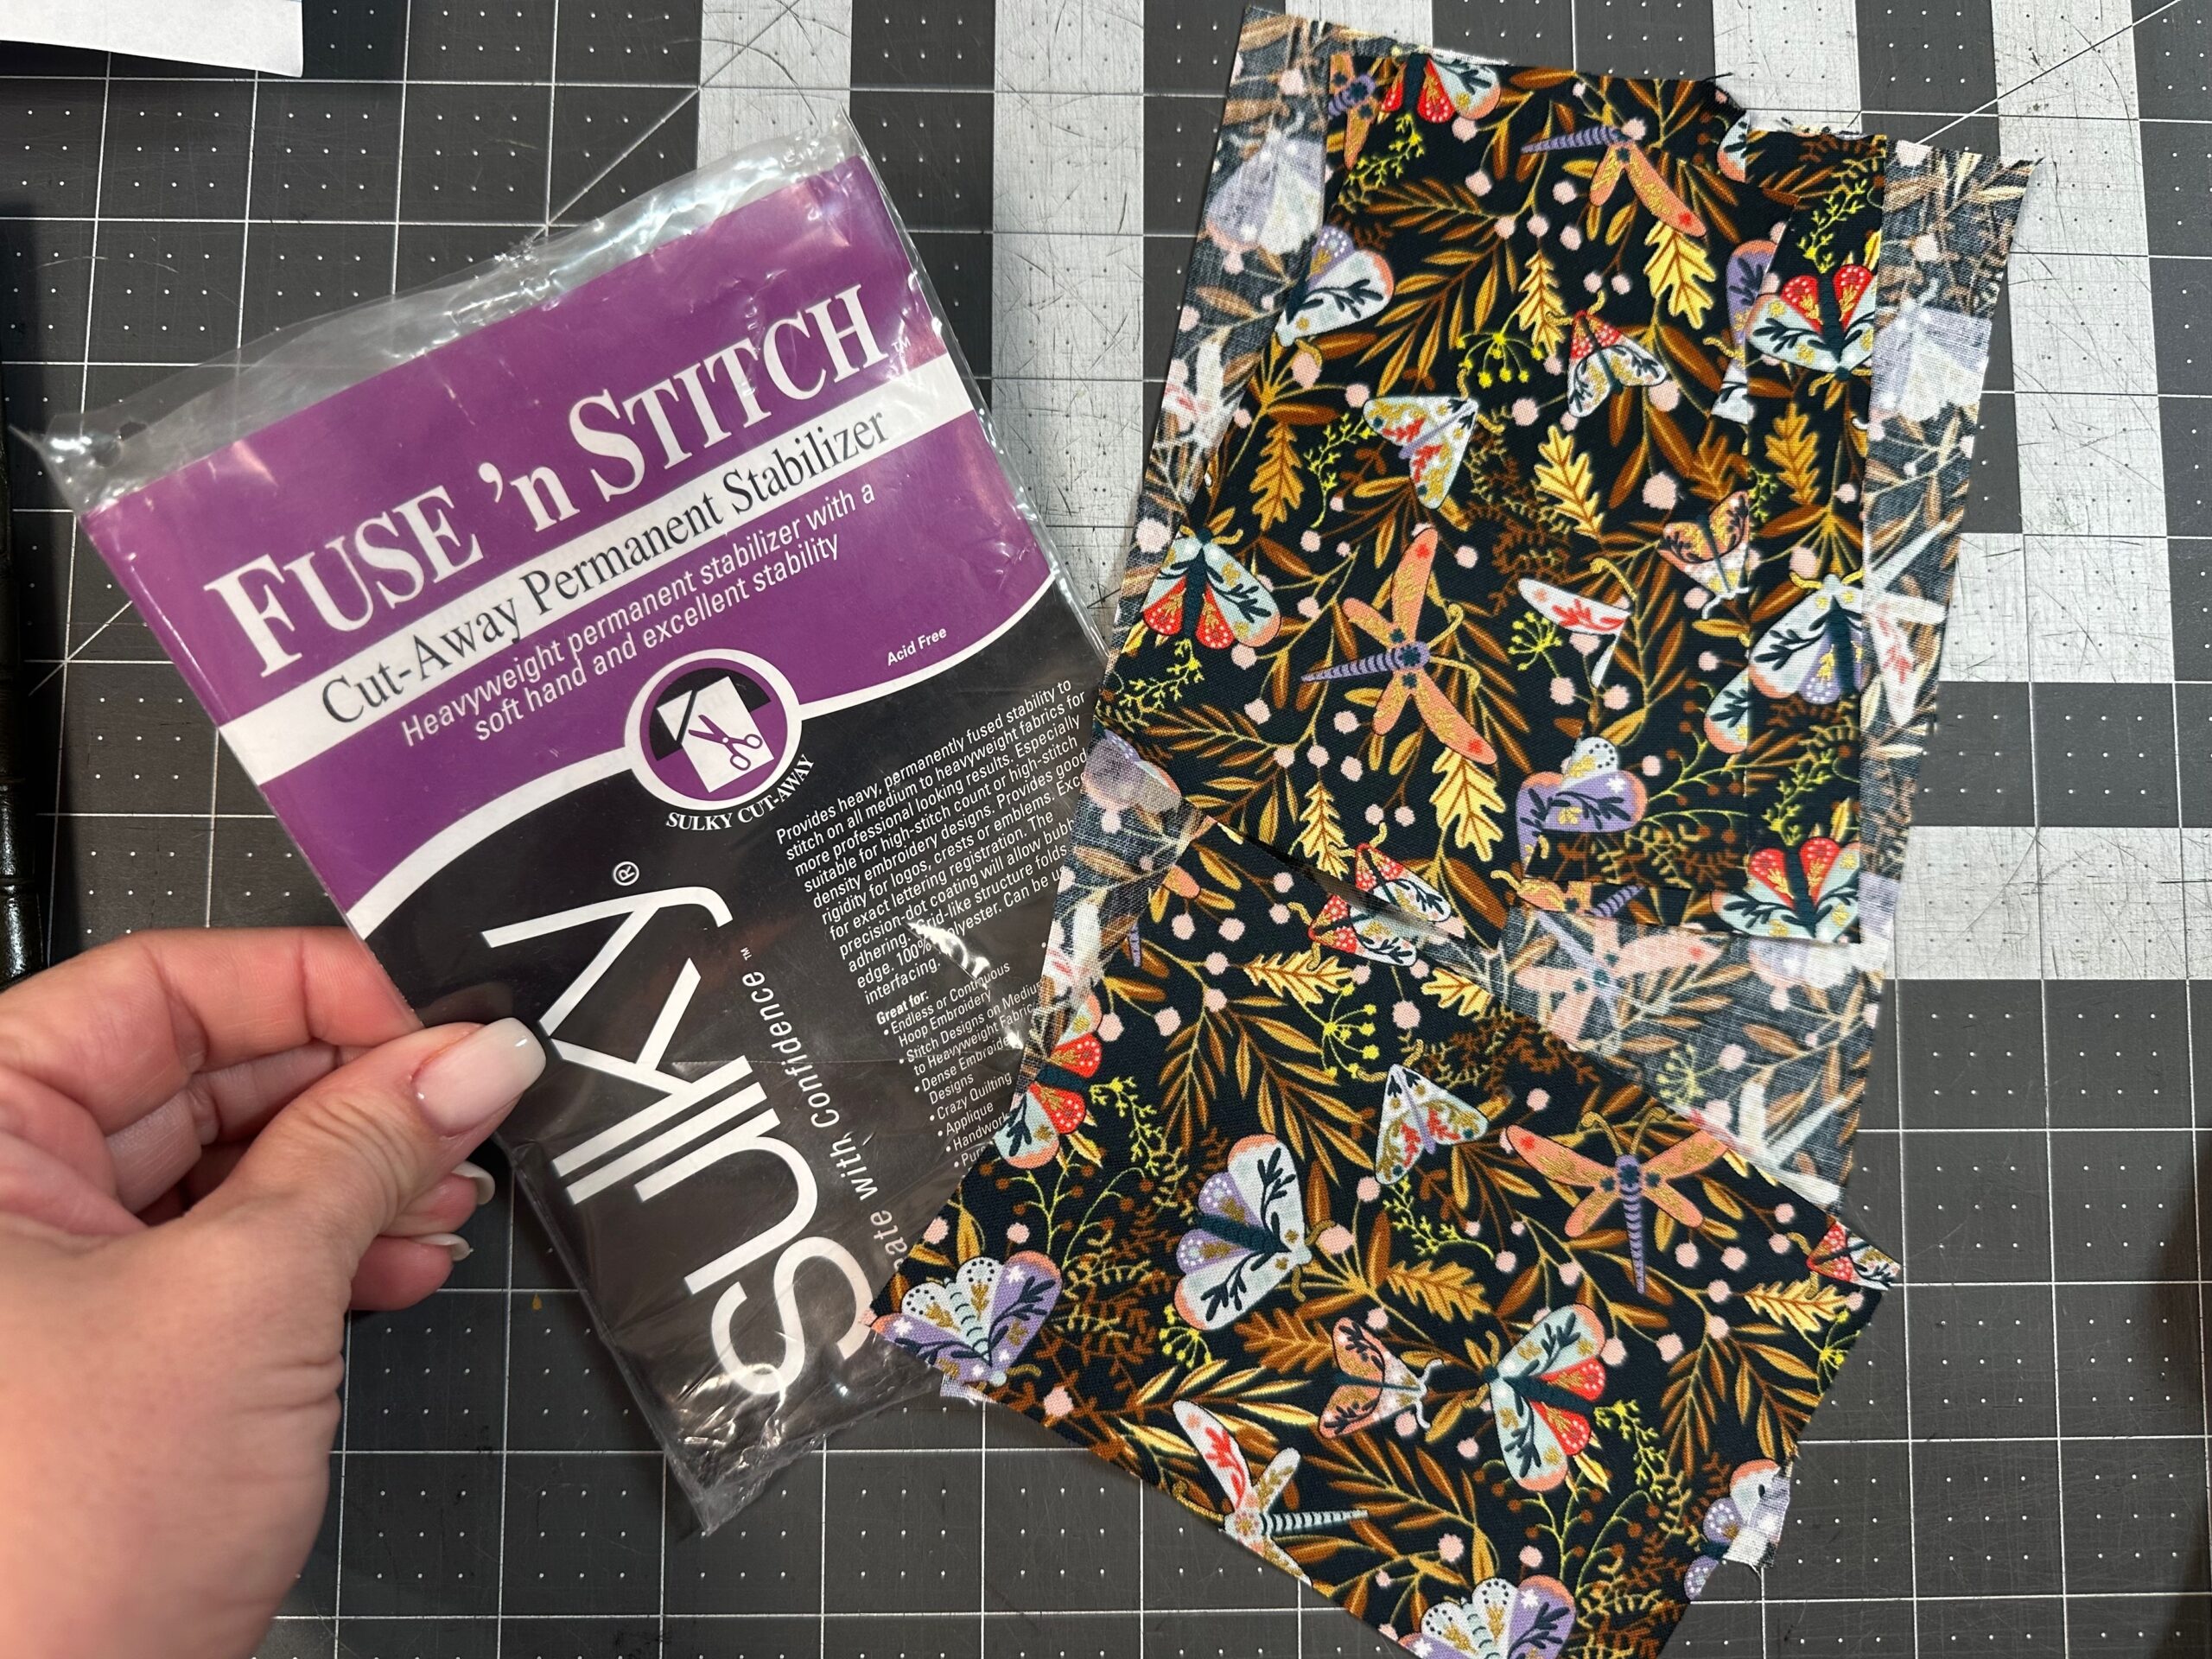
For the fabric, opt for a high-end cork or faux leather for the Frame Coin Purse exterior and a quilting cotton fabric for the interior. Apply Sulky Fuse ‘n Stitch™ Stabilizer to the wrong side of the quilting cotton pieces as indicated – not on each entire piece to reduce bulk.
From the exterior fabric, cut one 8¾” x 5½” rectangle.
Cut the following from the lining fabric:
- (3) 3″ x 5½” rectangles for the card pockets
- (2) 5¼” x 5½” rectangles for the zipper pocket
- (1) 5″ x 5½” rectangle for the top pocket
- (1) 9½” x 5½” rectangle for the interior lining
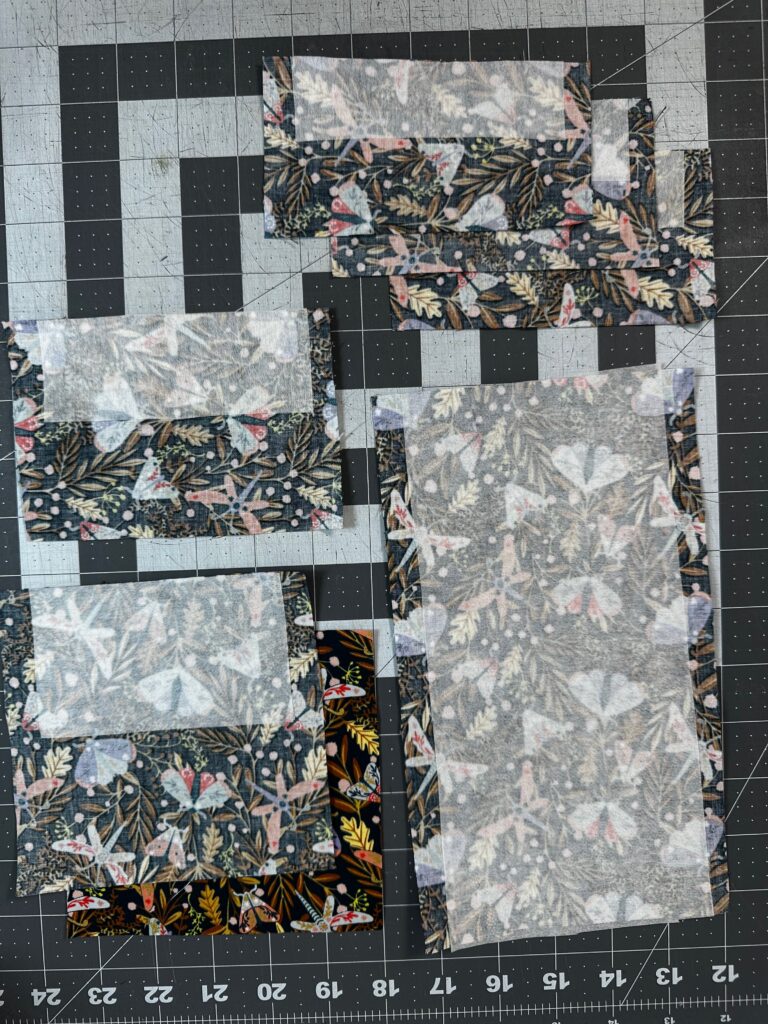
From the Fuse ‘n Stitch Stabilizer, cut the following rectangles:
(3) 1½” x 4½” for the card pockets
2½” x 4½” for the top pocket
2½” x 4½” for the zipper pocket
9½” x 4½” for the interior lining
POCKET PREP
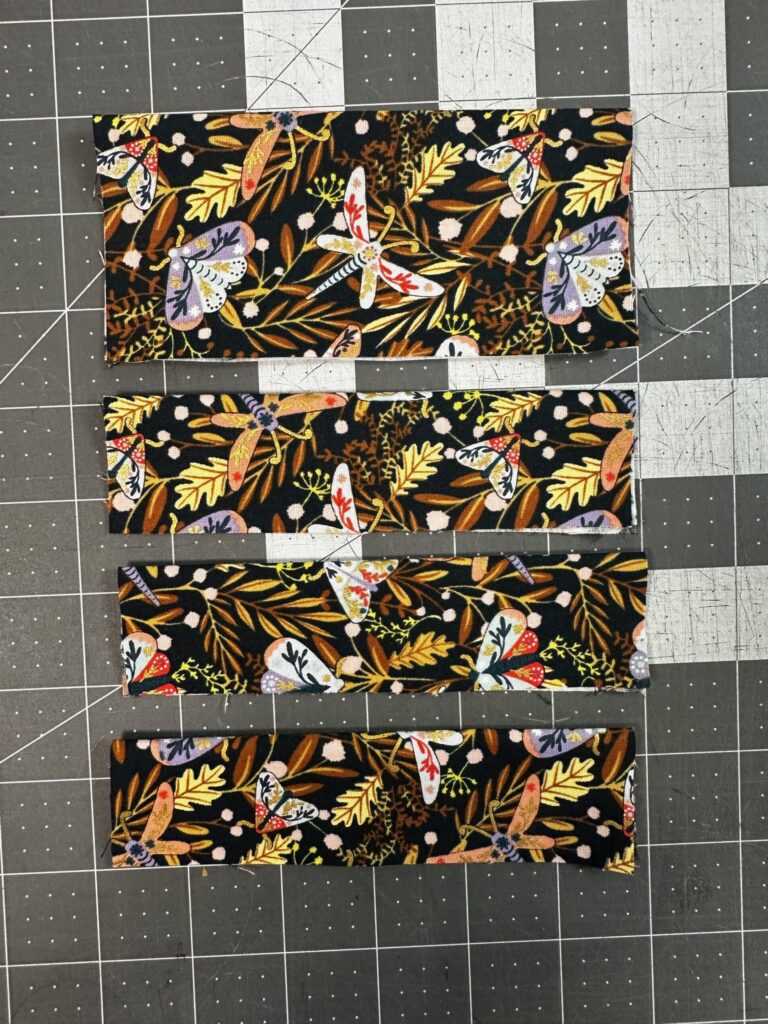
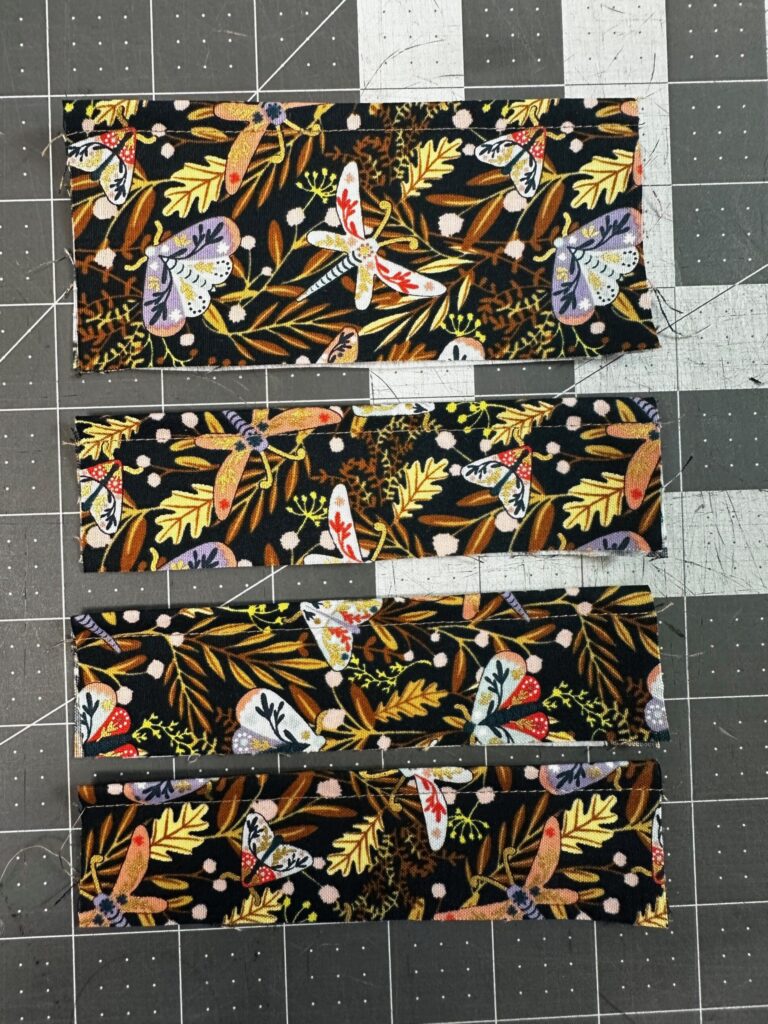
Fold each card pocket and the top pocket rectangle in half widthwise with wrong sides together; press, and then unfold. Fuse a corresponding stabilizer rectangle to half of one pocket wrong side, centering it along the width. Repeat to fuse stabilizer to each pocket. Then, refold each pocket along the first foldline. Topstitch 1/4″ from the pocket folded edges.
Fold one zipper pocket rectangle in half widthwise with wrong sides together; press, and then unfold. Fuse the zipper-pocket stabilizer to half of the pocket wrong side, centering it along the width. This is the zipper pocket lining.
Center the interior lining stabilizer along the interior lining; press to fuse in place.
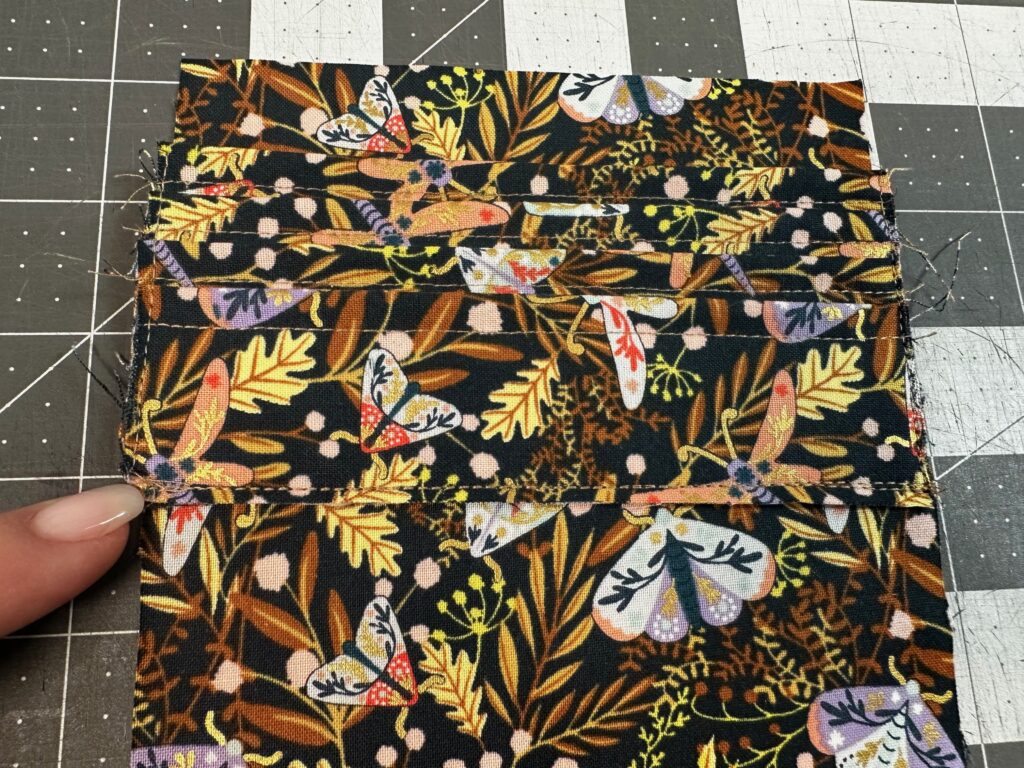
Place the top pocket on a flat work surface with the folded edge as the upper edge. Next, place one card pocket folded edge ⅜” below the top pocket upper edge. Clip in place. Then, stitch the card pocket lower edge to secure.
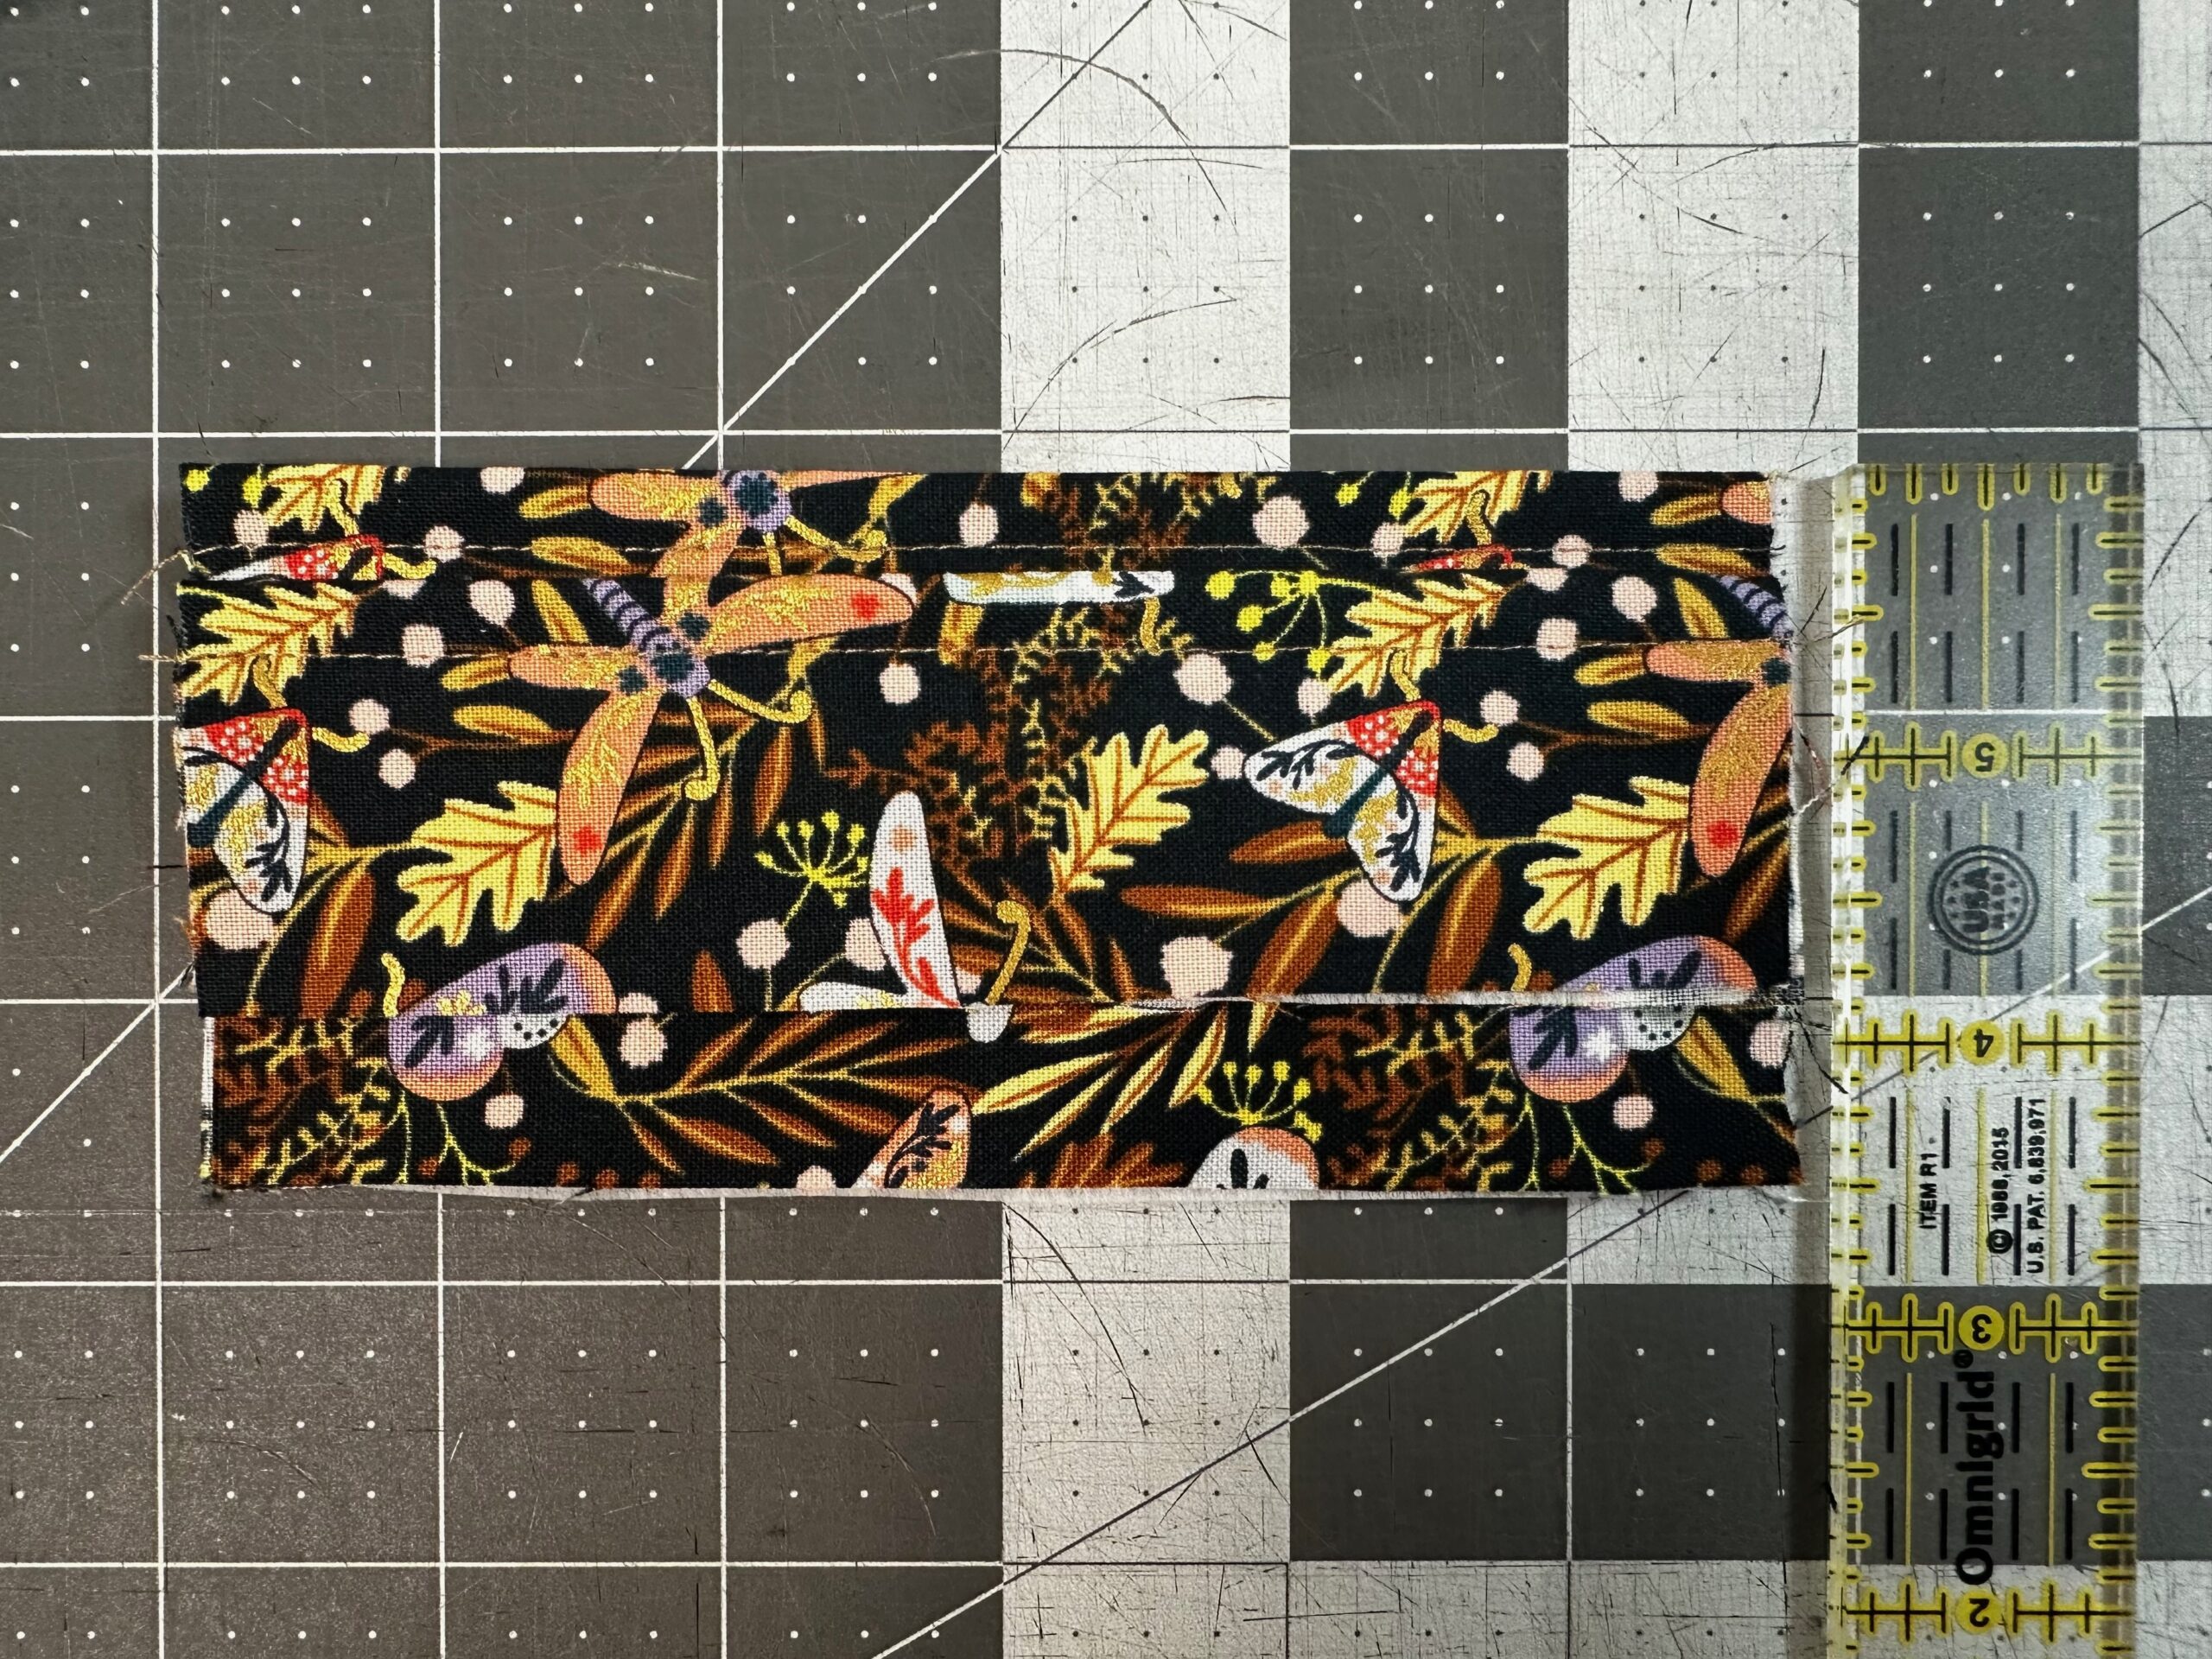
Place another card pocket folded edge ⅜” below the previous card pocket upper edge. Clip in place, and then stitch the lower edge.
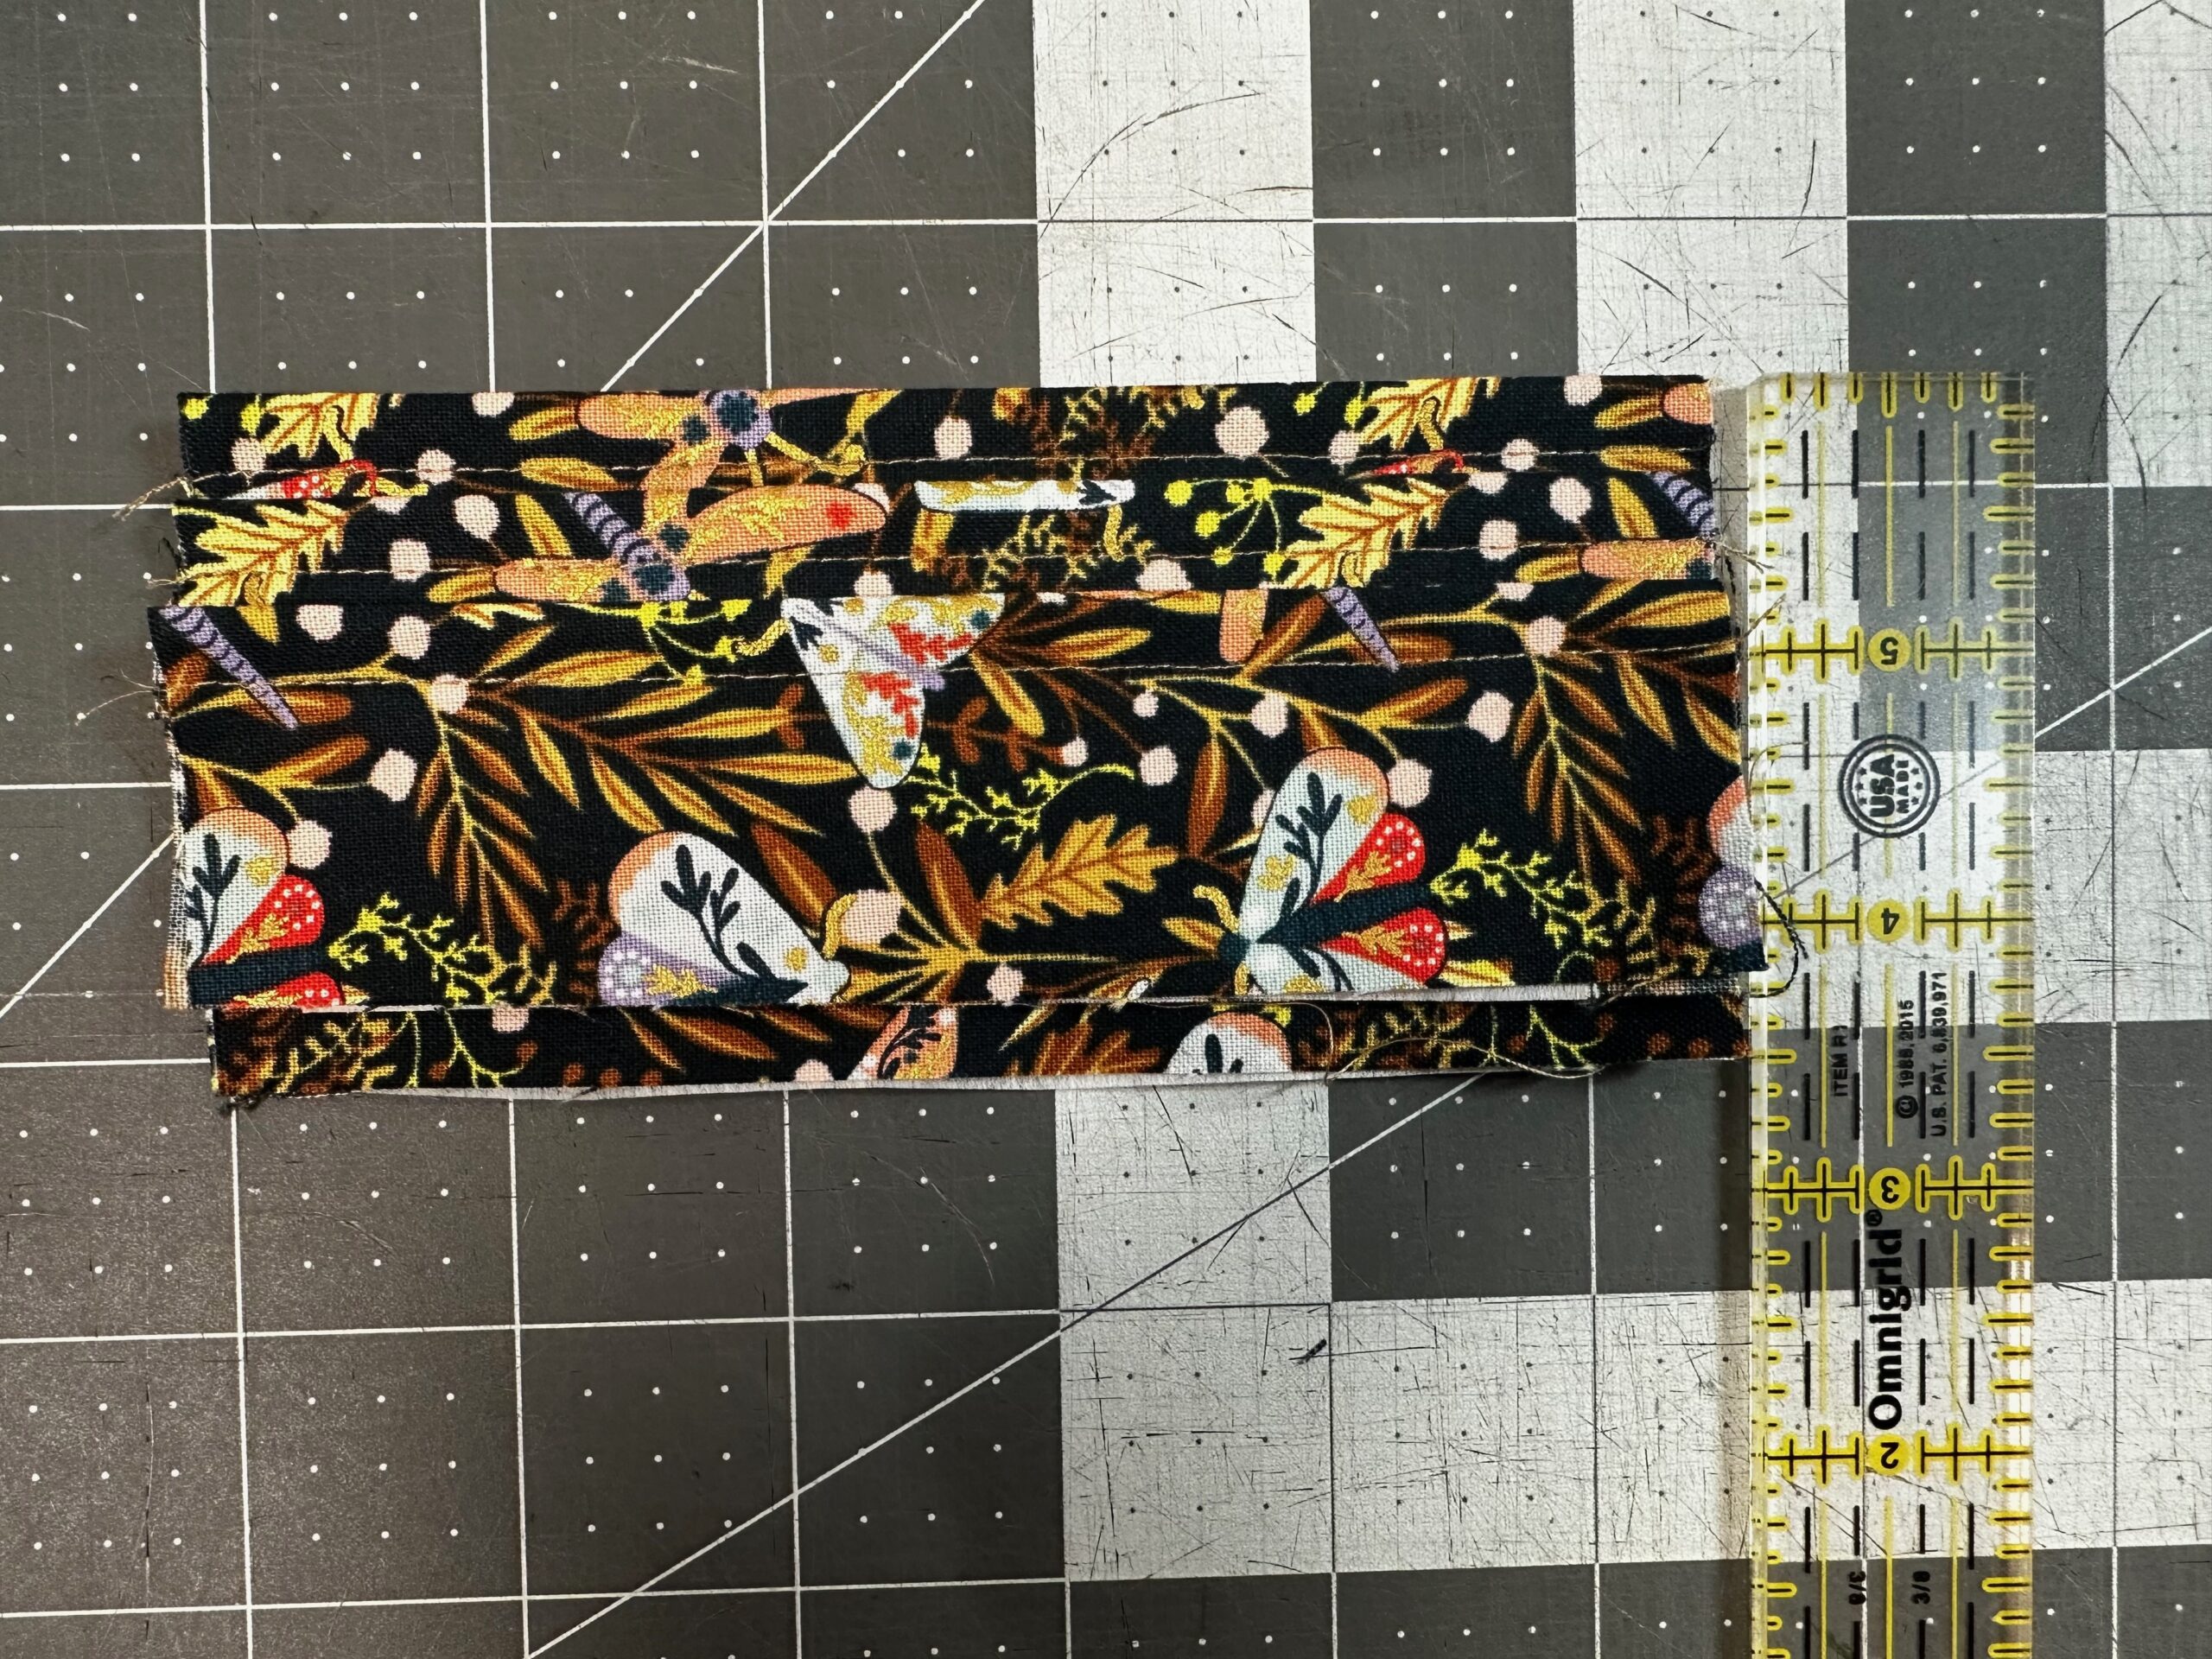
Place the last card pocket folded edge ⅜” below the previous card pocket upper edge. Clip in place, making sure the pocket lower edge has aligned with the top pocket lower edge. Then, stitch 1/8″ from the lower edge to secure the pocket assembly.
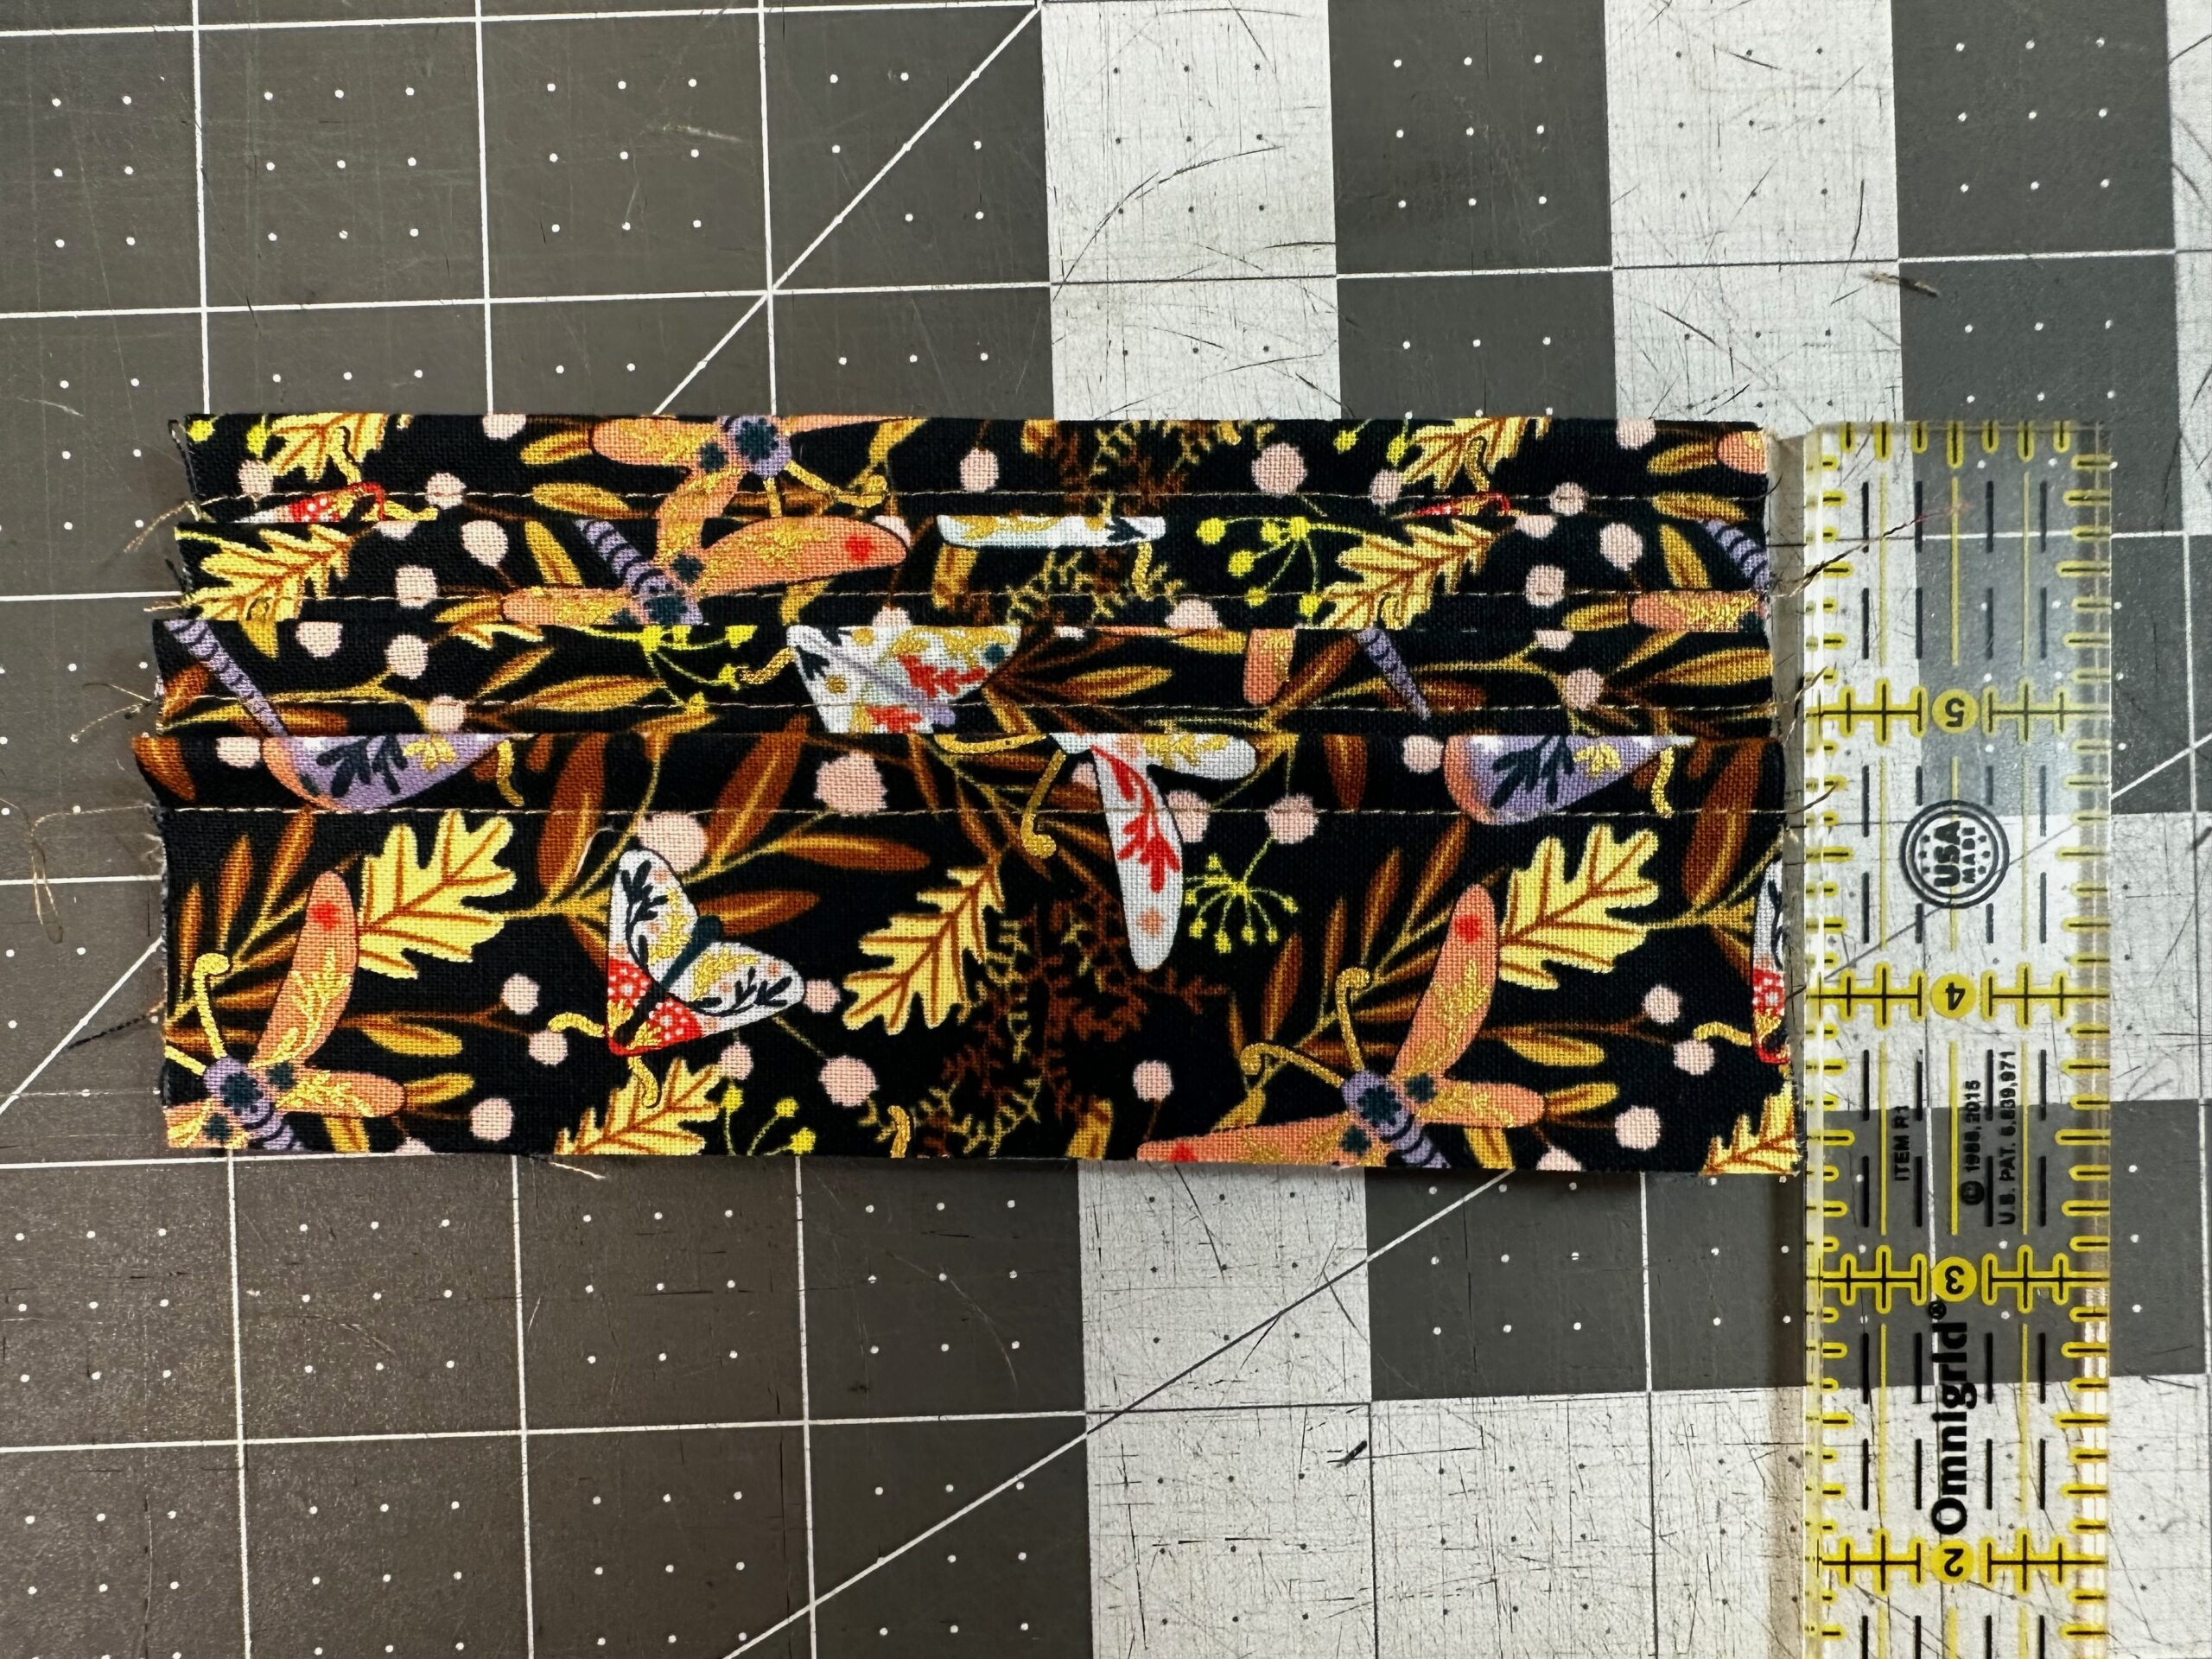
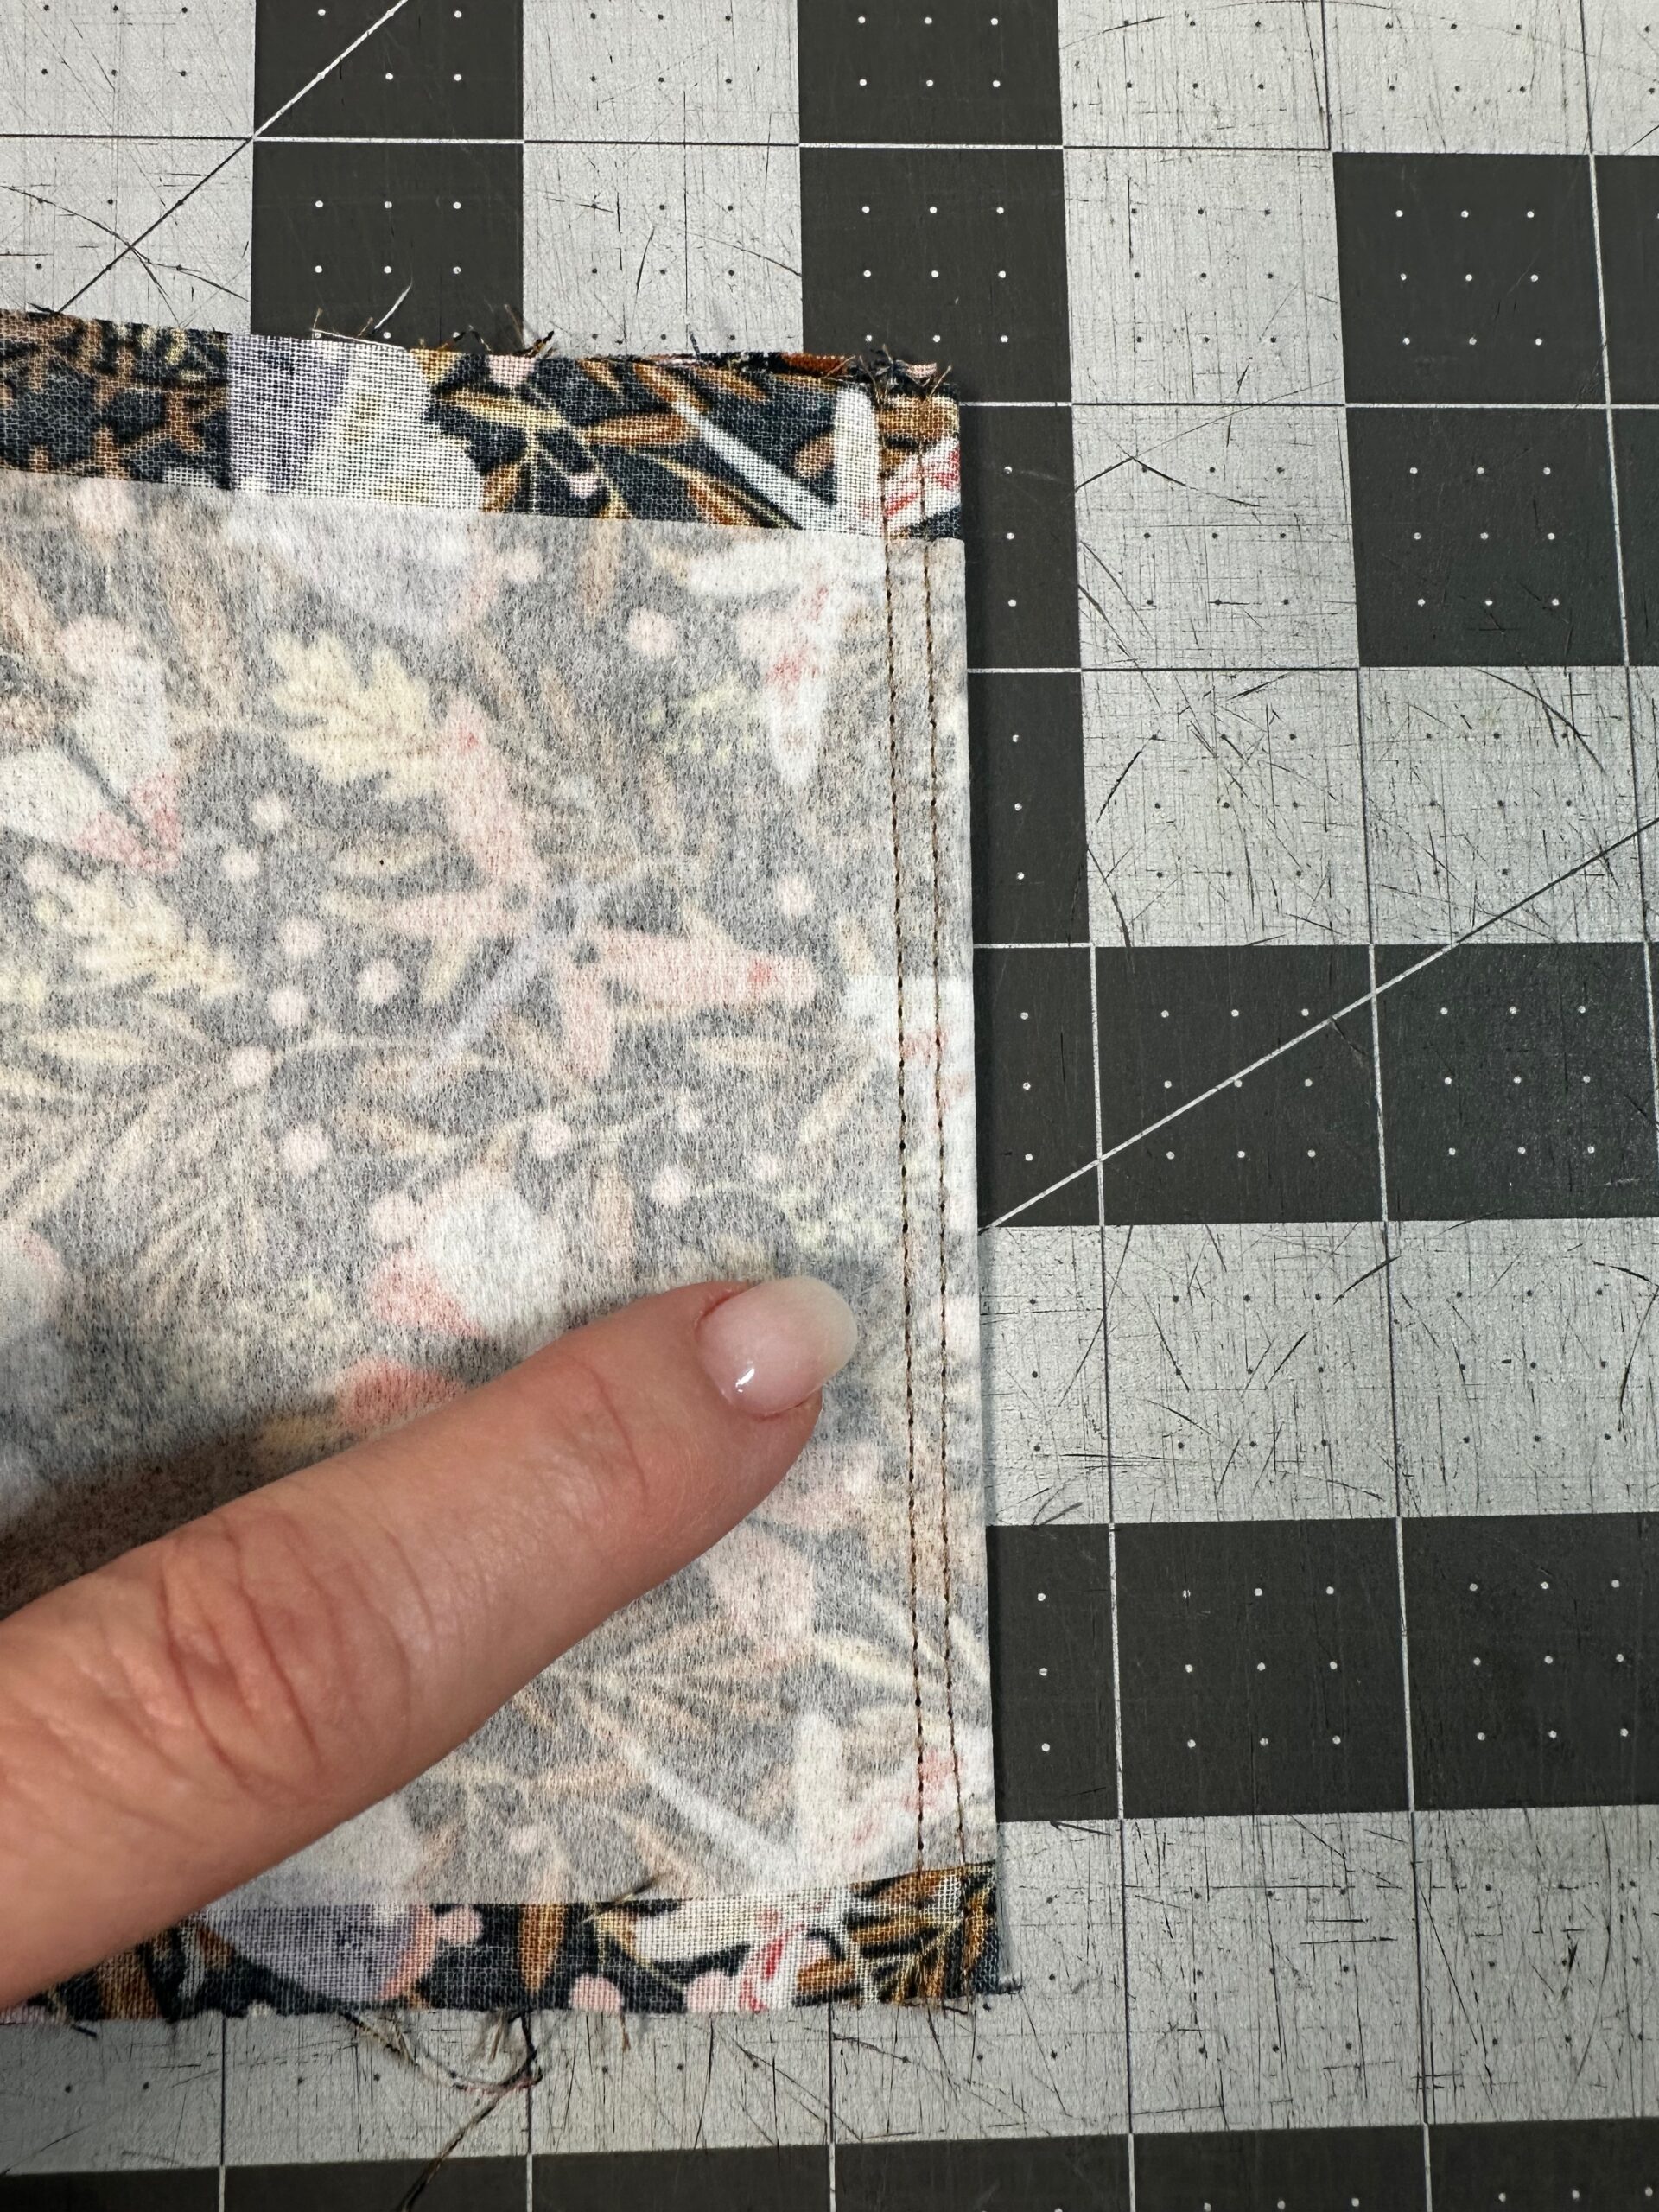
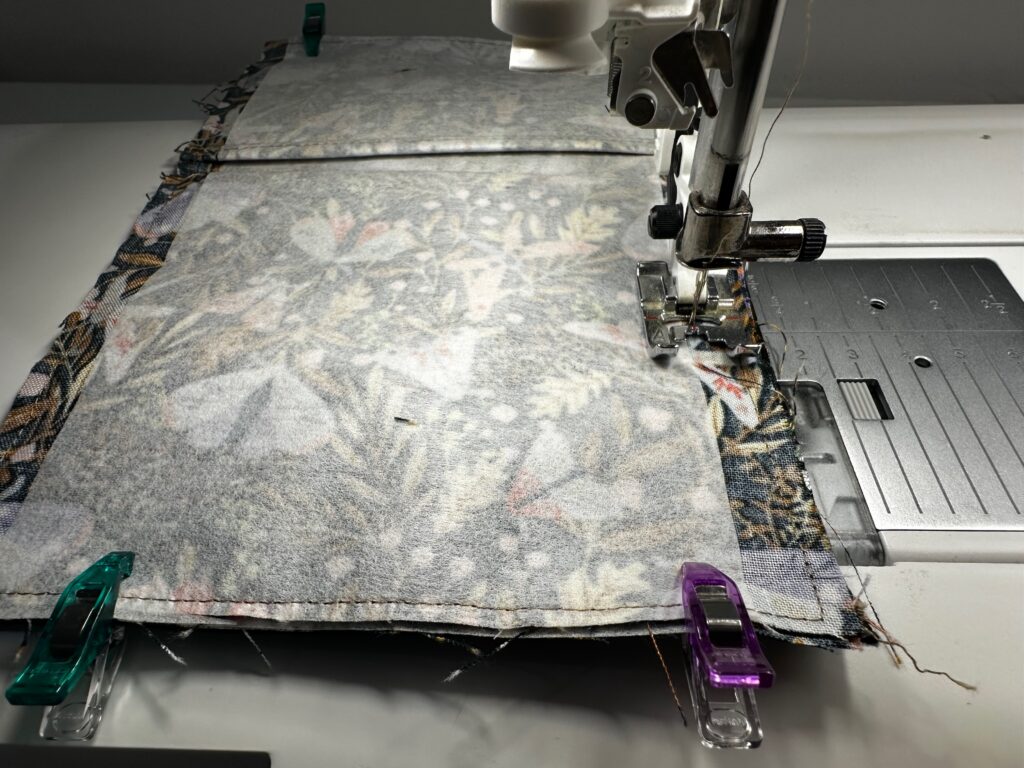
With both right sides facing up, place the pocket assembly ¾” from one interior lining short edge. Stitch the pocket lower edge, following the previous stitching line.
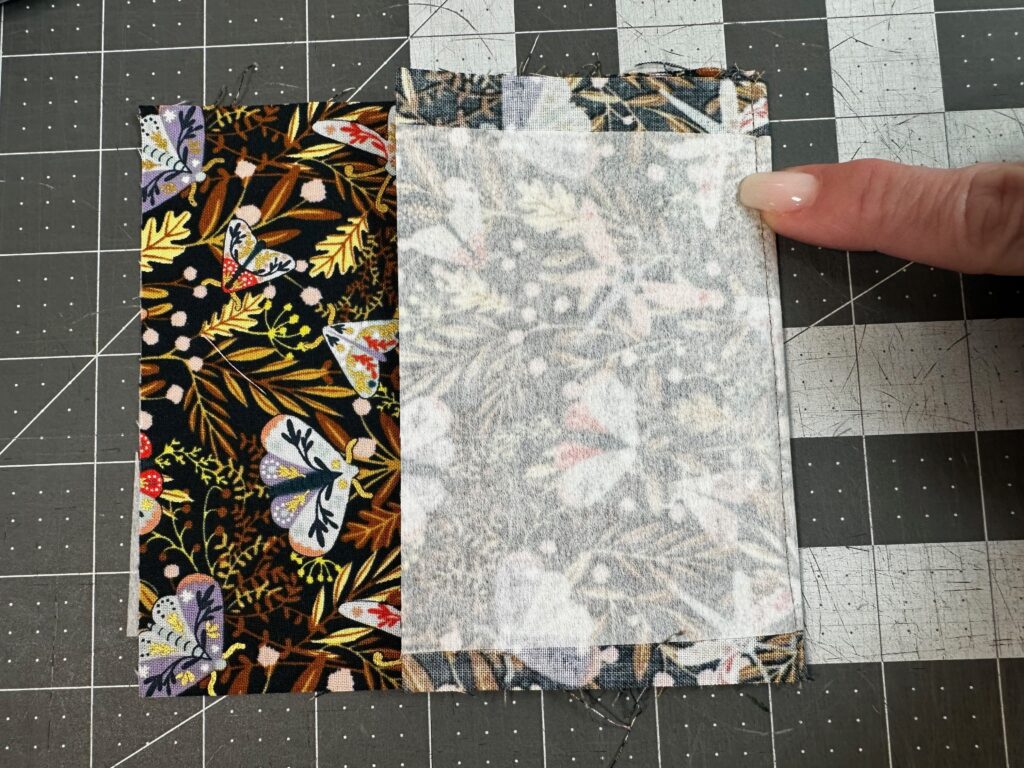
Then, fold the pocket so the wrong side is facing up and stitch 1/4″ from the previous seam. This French Seam technique encloses all the raw edges inside the seam.
ZIPPER POCKET
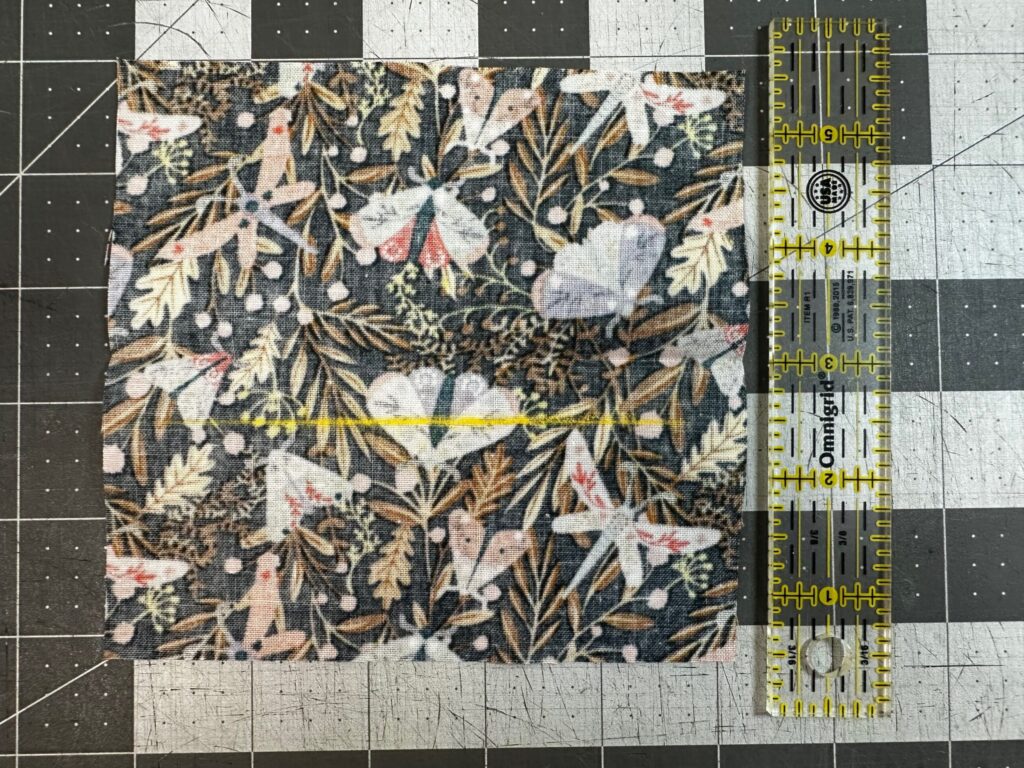
Fold the zipper pocket piece (without stabilizer attached) in half widthwise with wrong sides together; press, and then unfold.
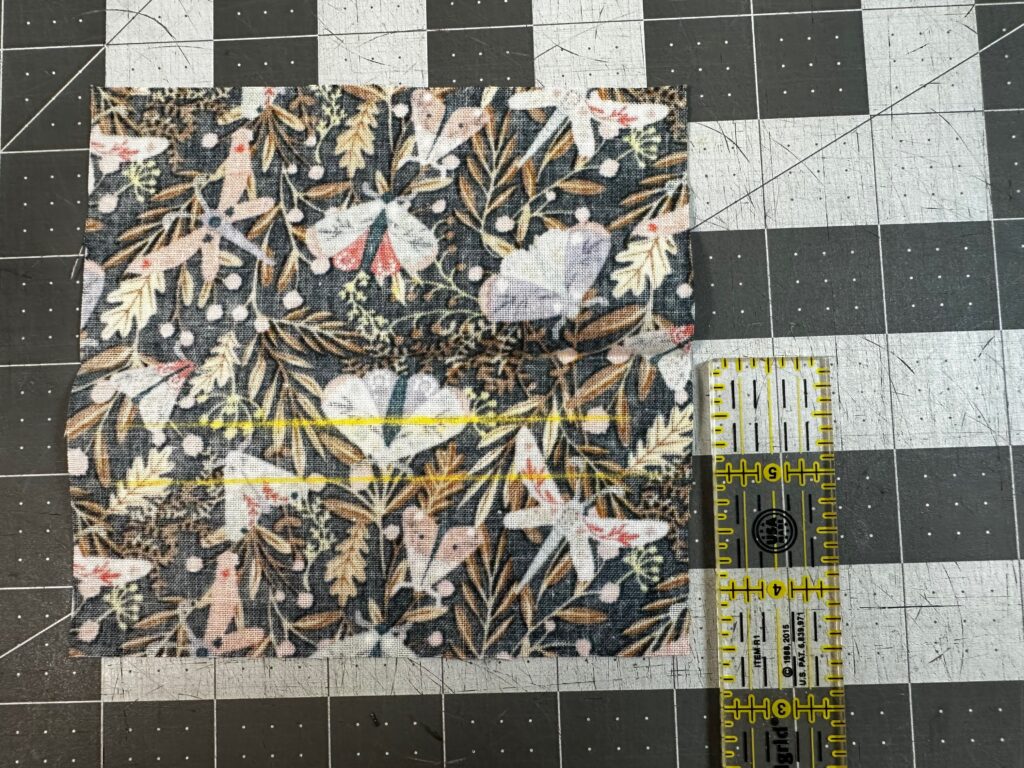
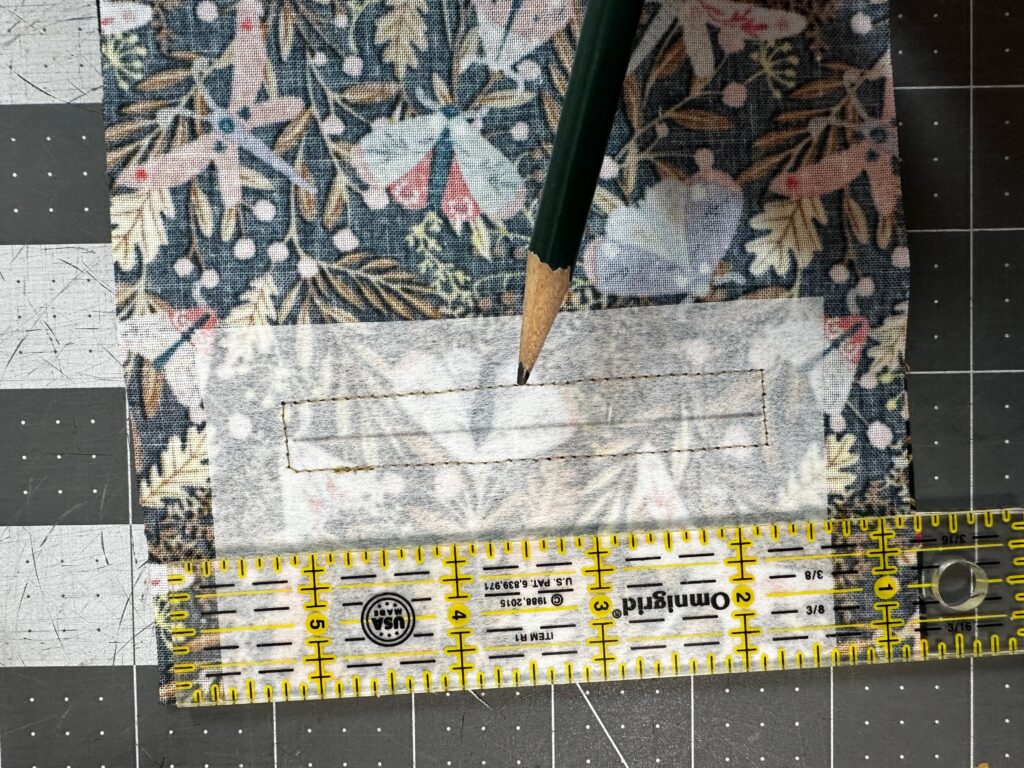
Draw a line ½” from the foldline. Then, draw a line 1″ from the foldline. Next, draw lines ½” from the ends of each of the previous marks to create a zipper placement box. The box should measure ½” x 3¼”.

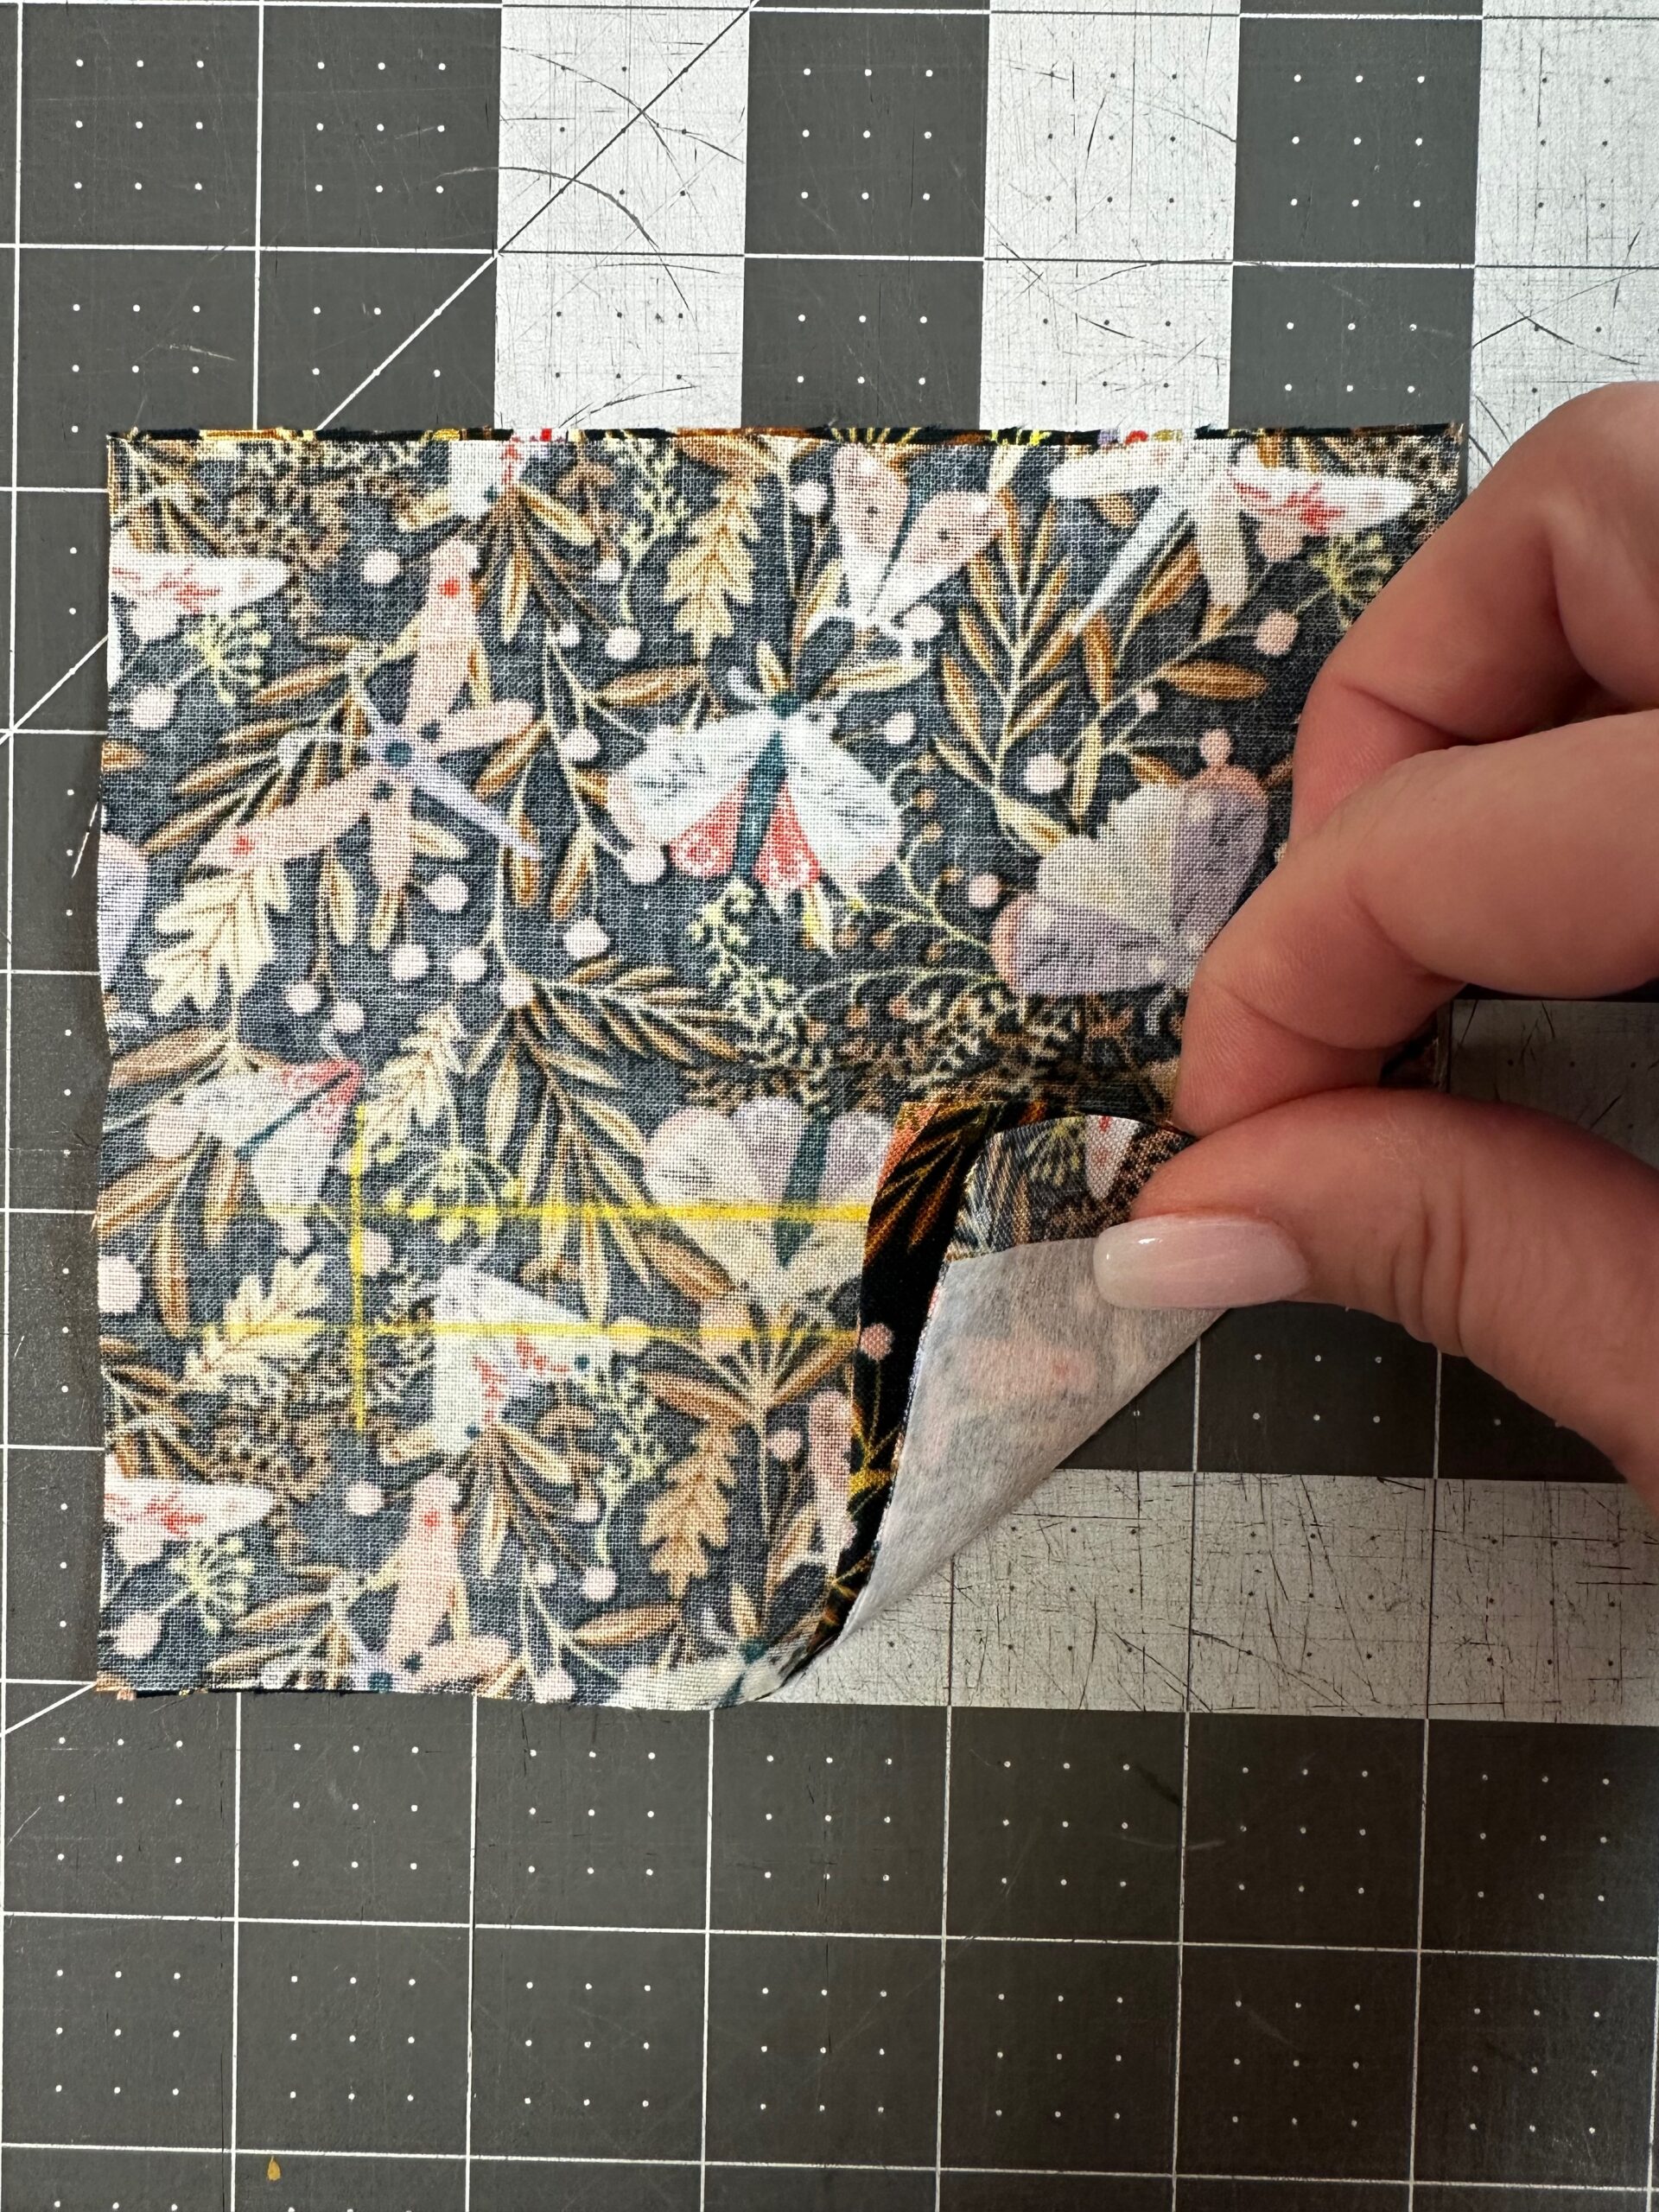
Place the zipper pocket lining and zipper pocket right sides together, with the stabilizer side against the marked zipper pocket placement box.
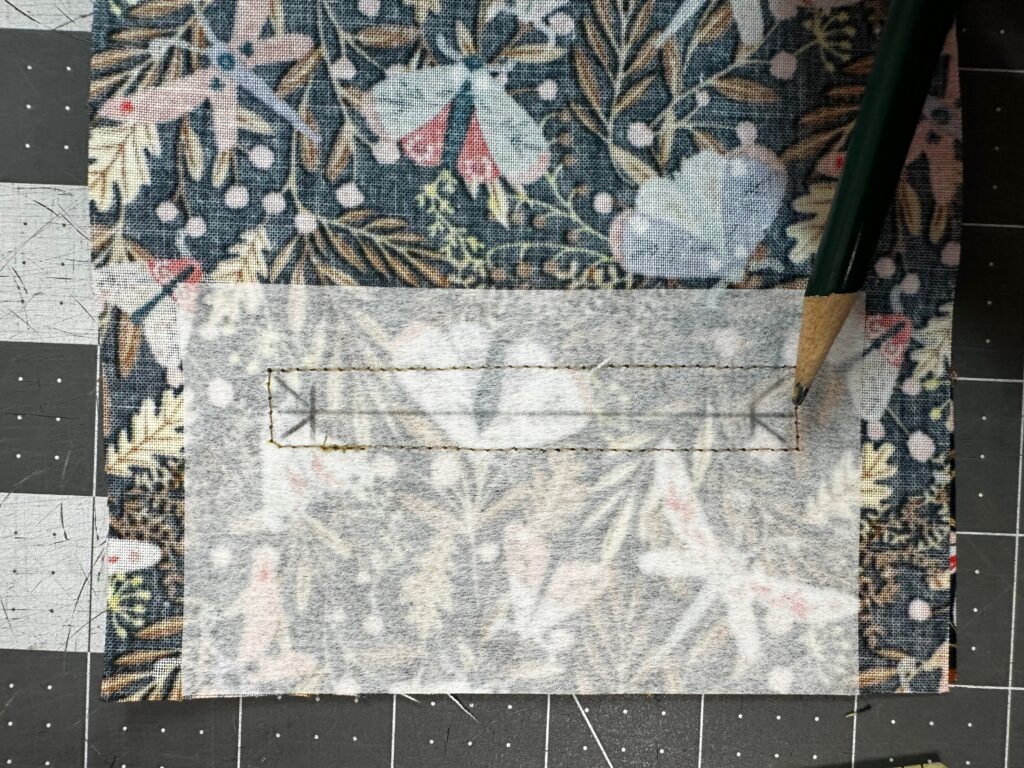
Set the machine for a 2mm stitch length, Stitch along the zipper box.
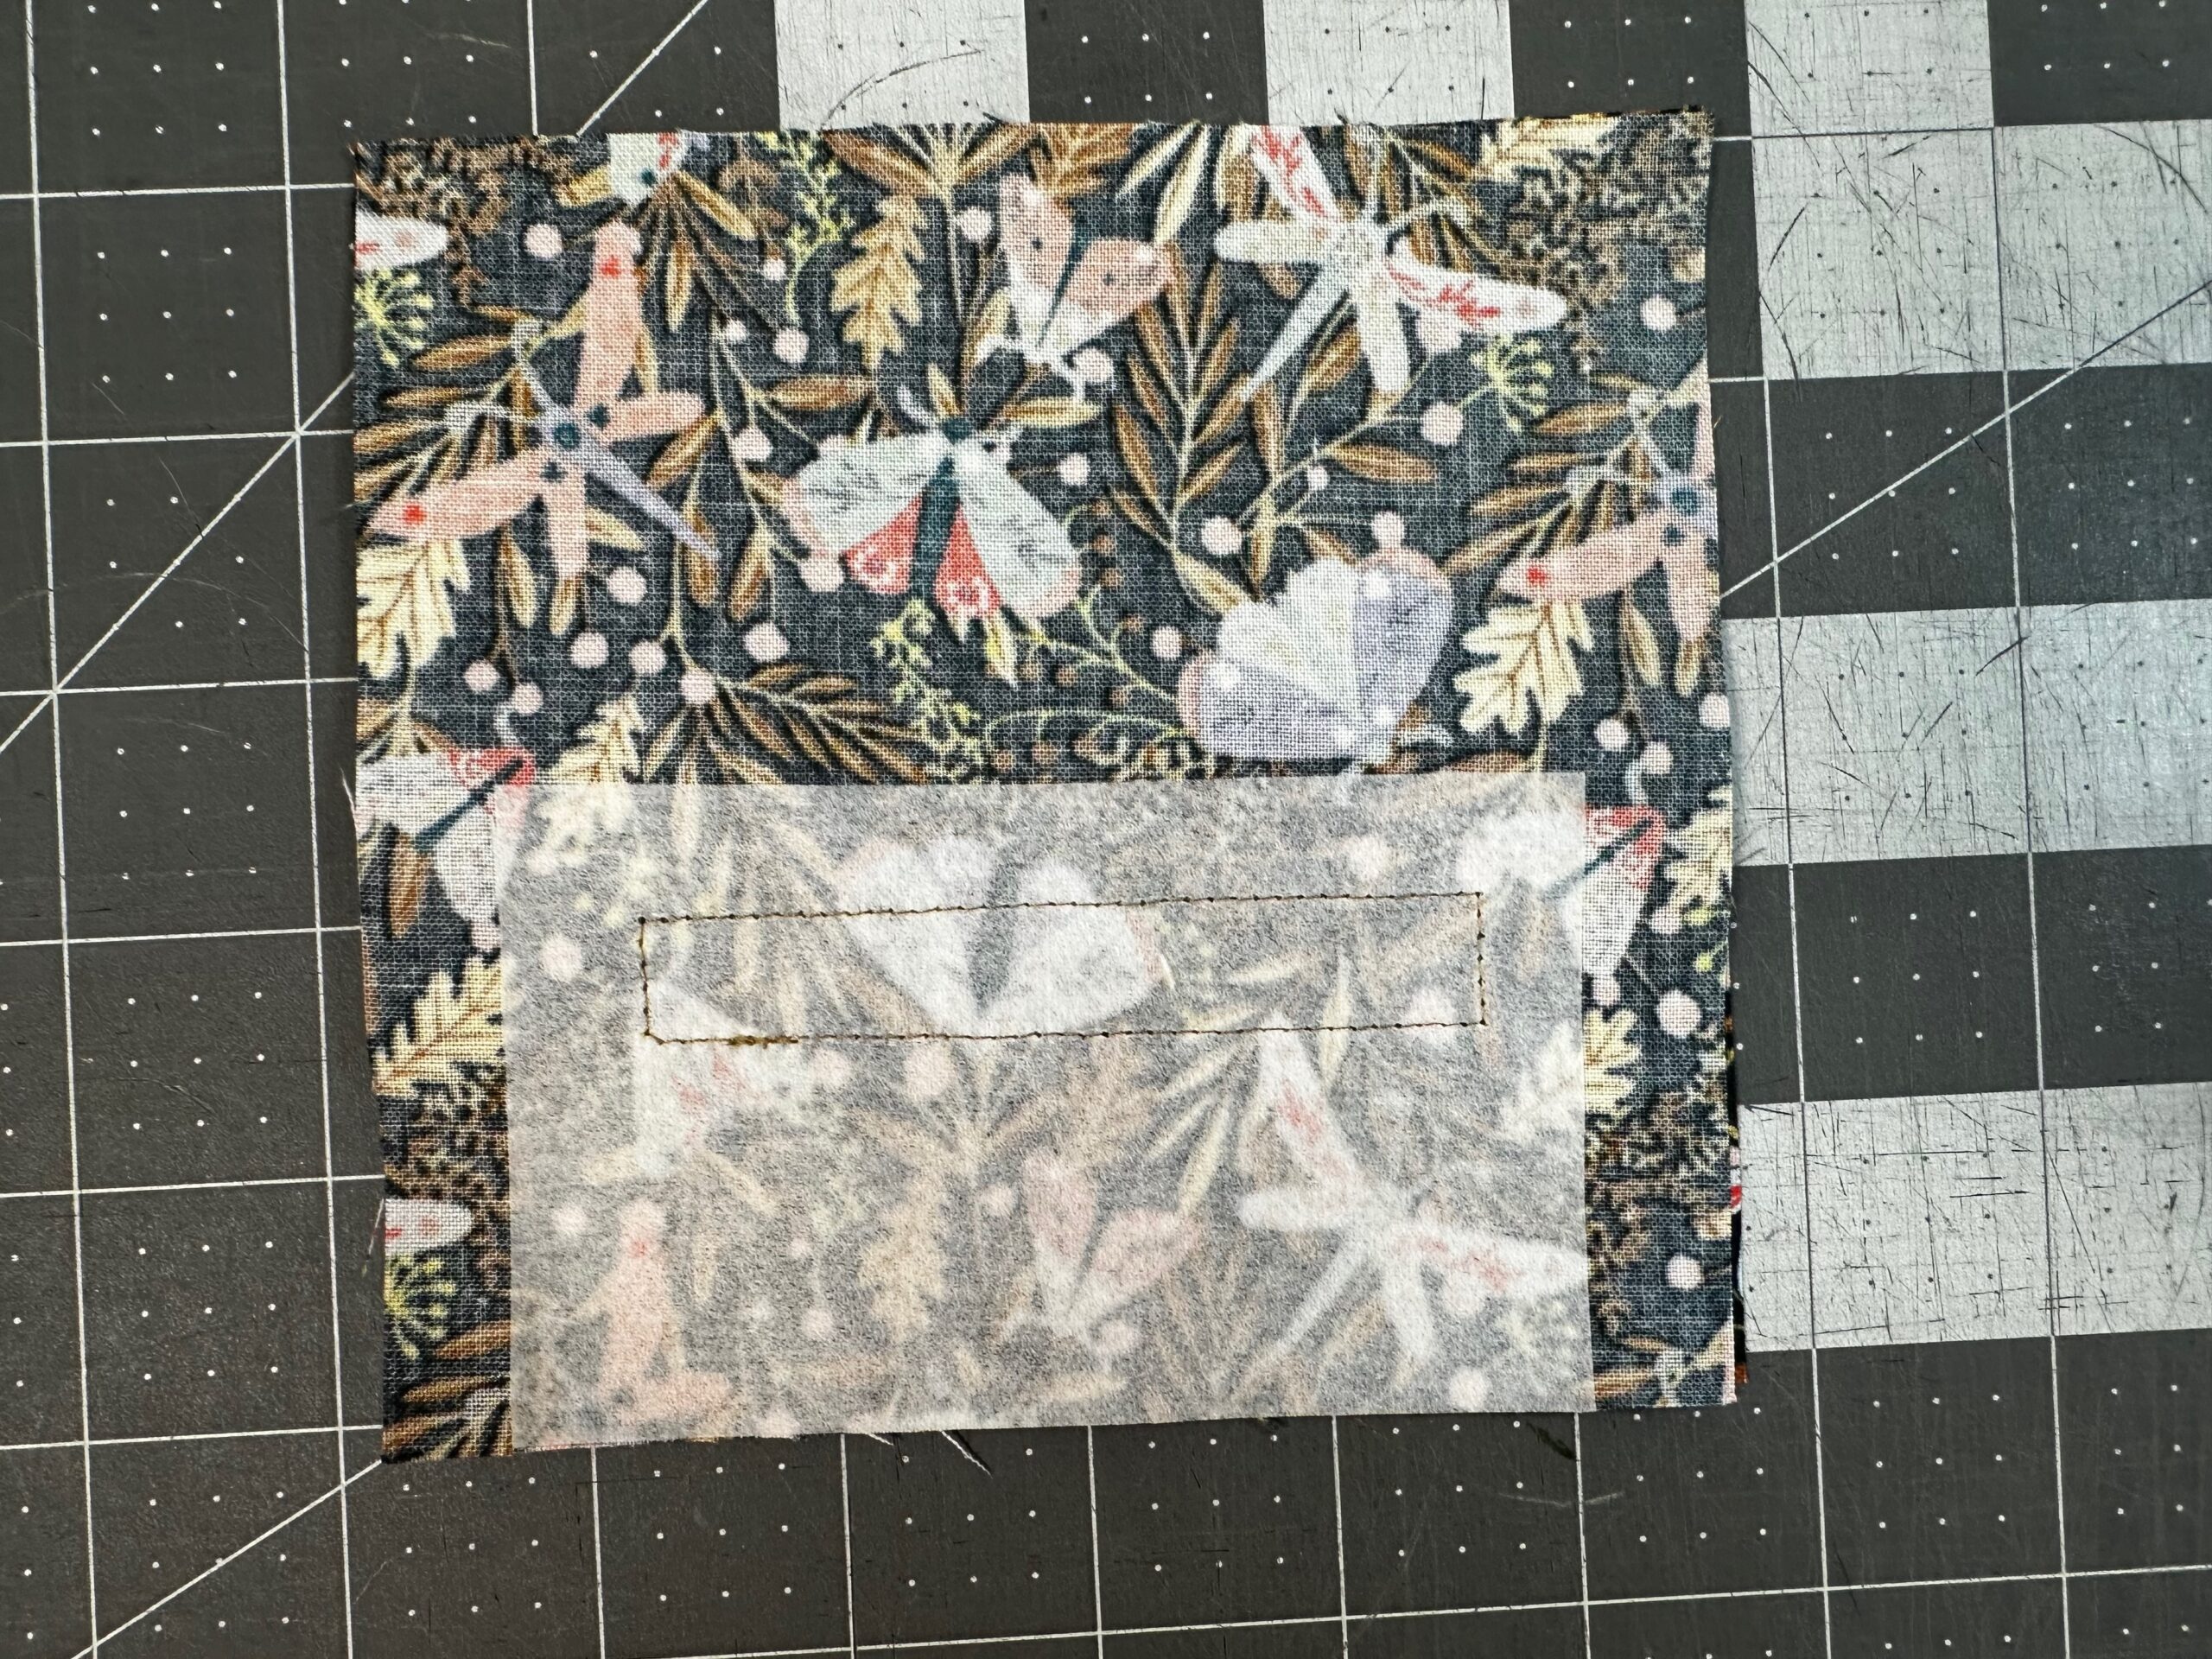
Next, draw a line down the center of the box. Then, draw a > and < with each point ¼” from each box short end. Cut along the line from point to point, Then, cut up to (but not through) the corners along the > and < lines.
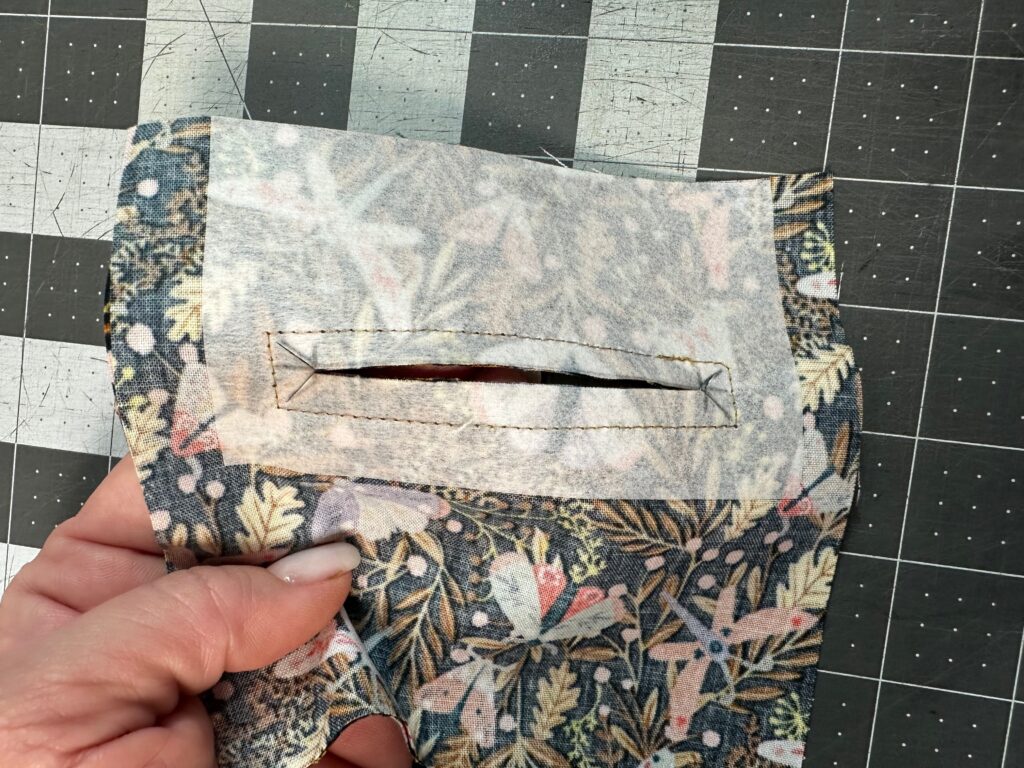
Turn the zipper pocket right side out through the zipper box.
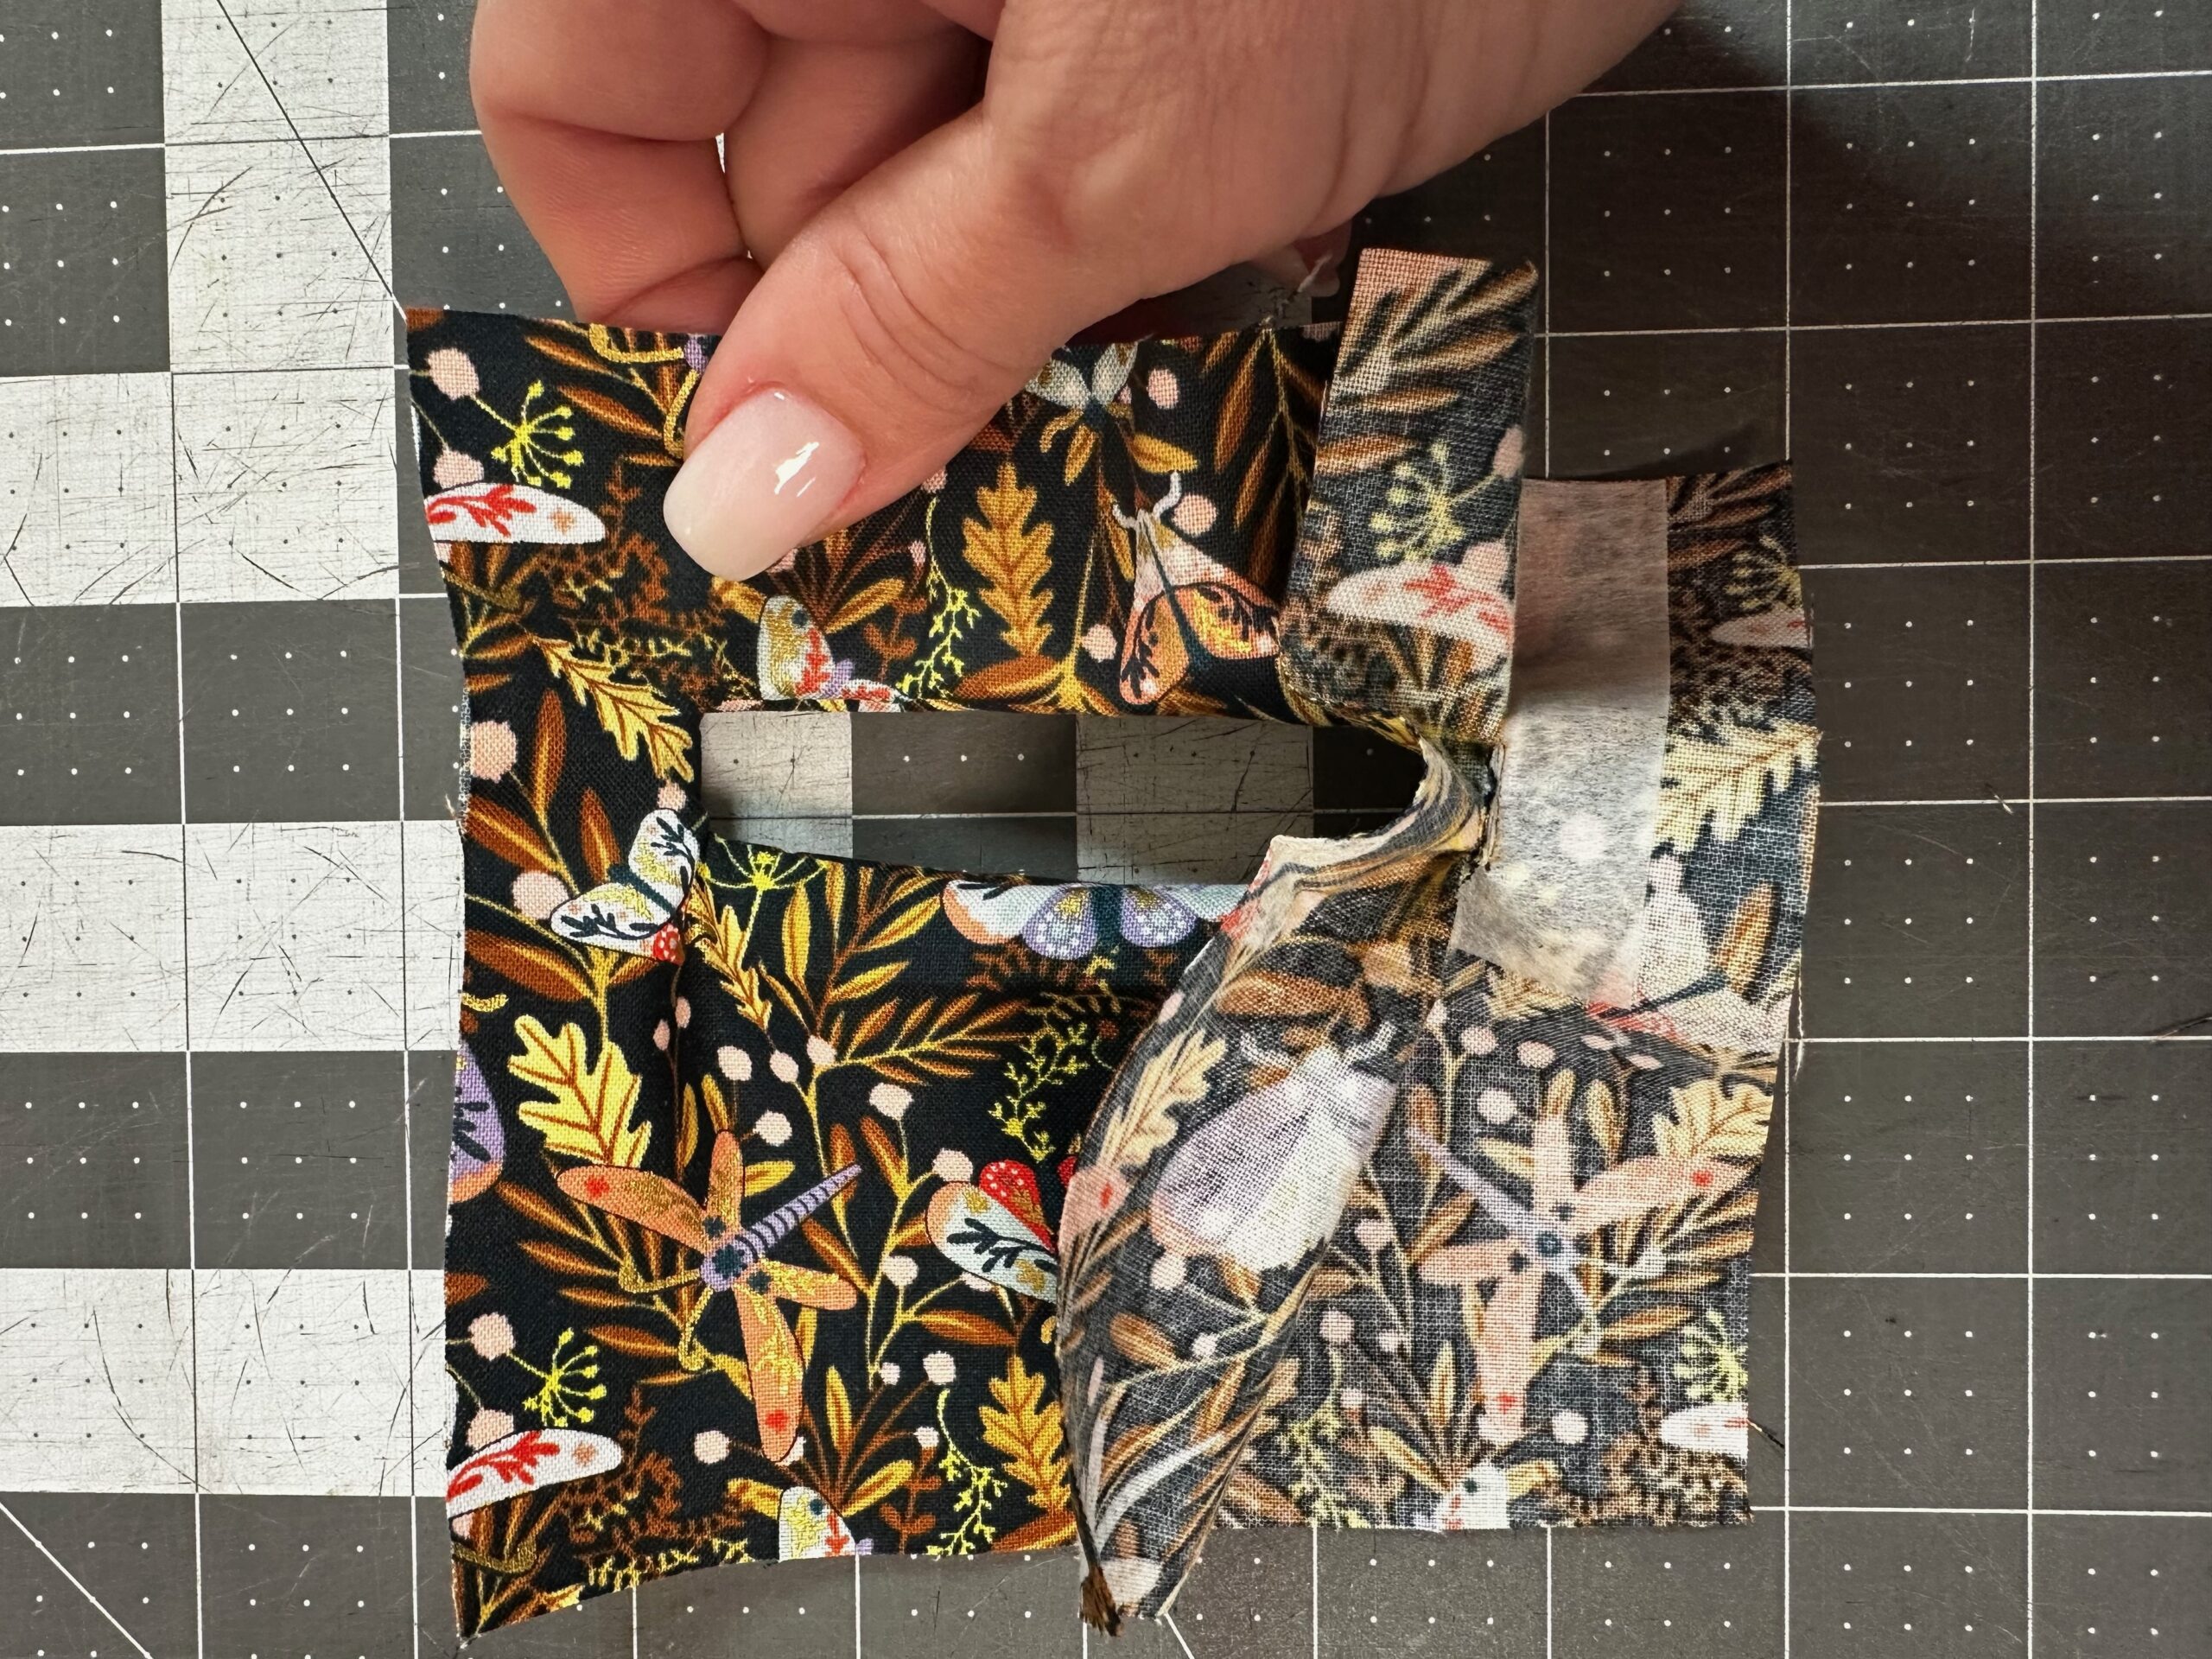
Press well.
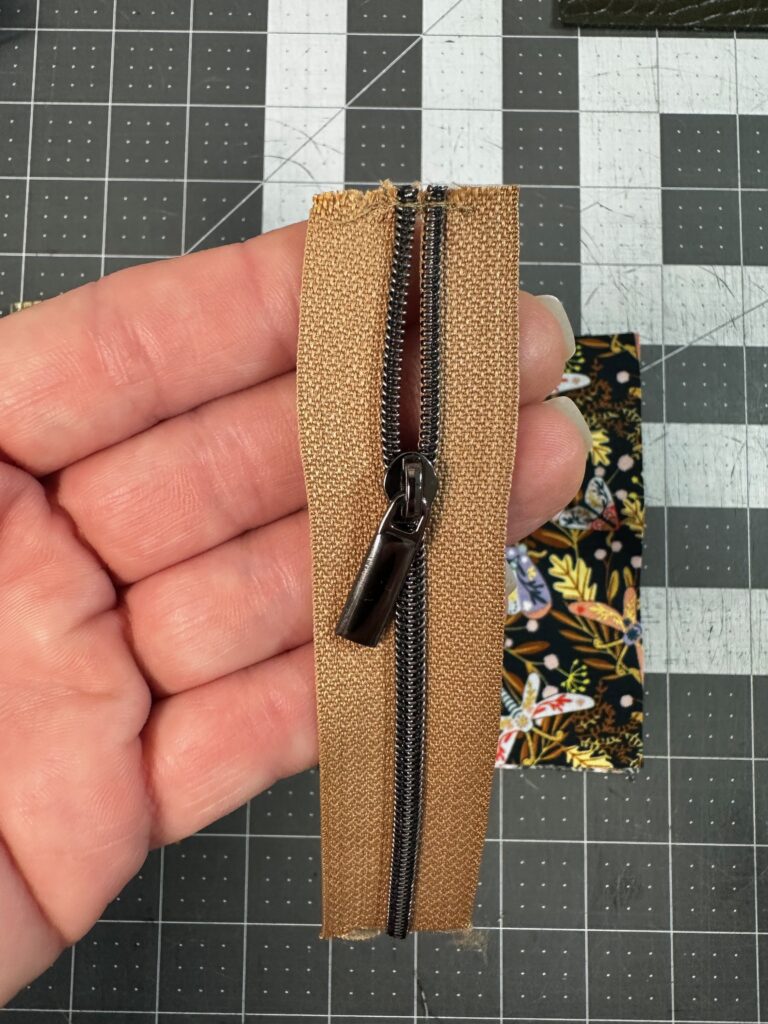
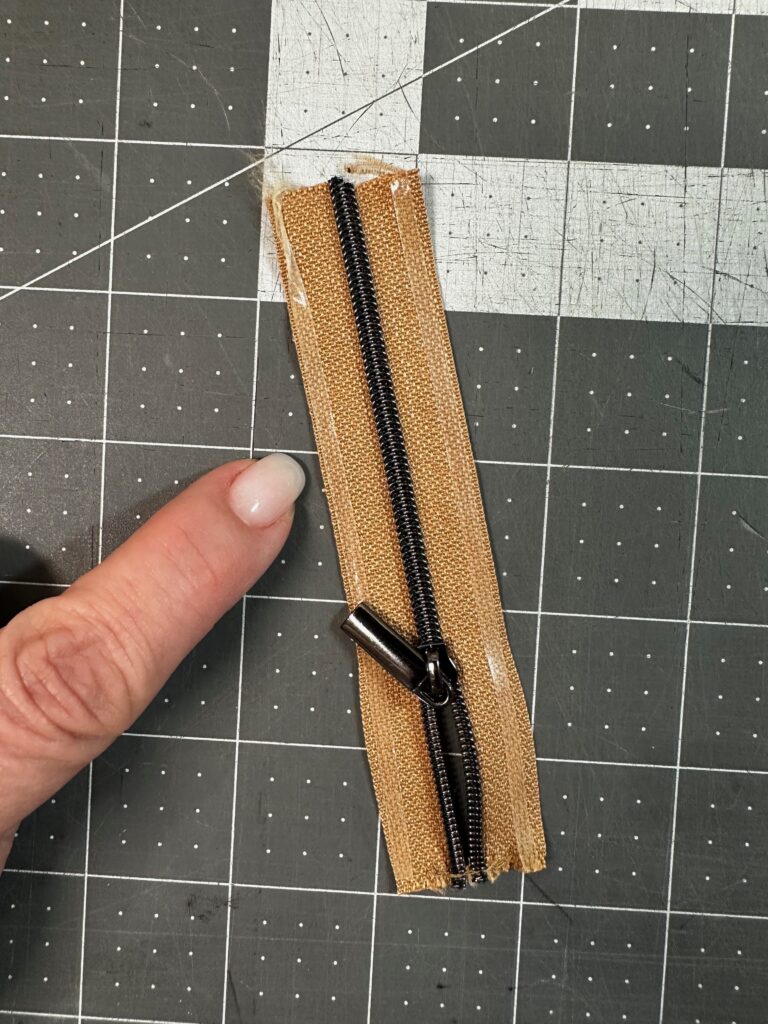
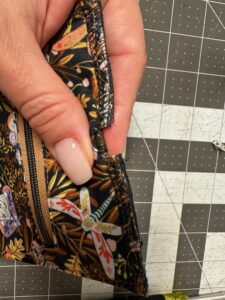
Cut off any stops from the zipper, trimming the zipper to 4½” long. Stitch the zipper end shut. Place Double-Sided Basting Tape along each zipper tape long edge. Then, center the zipper within the zipper box.
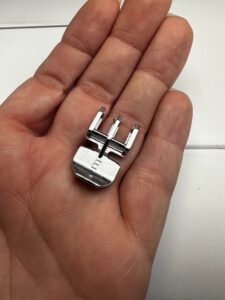
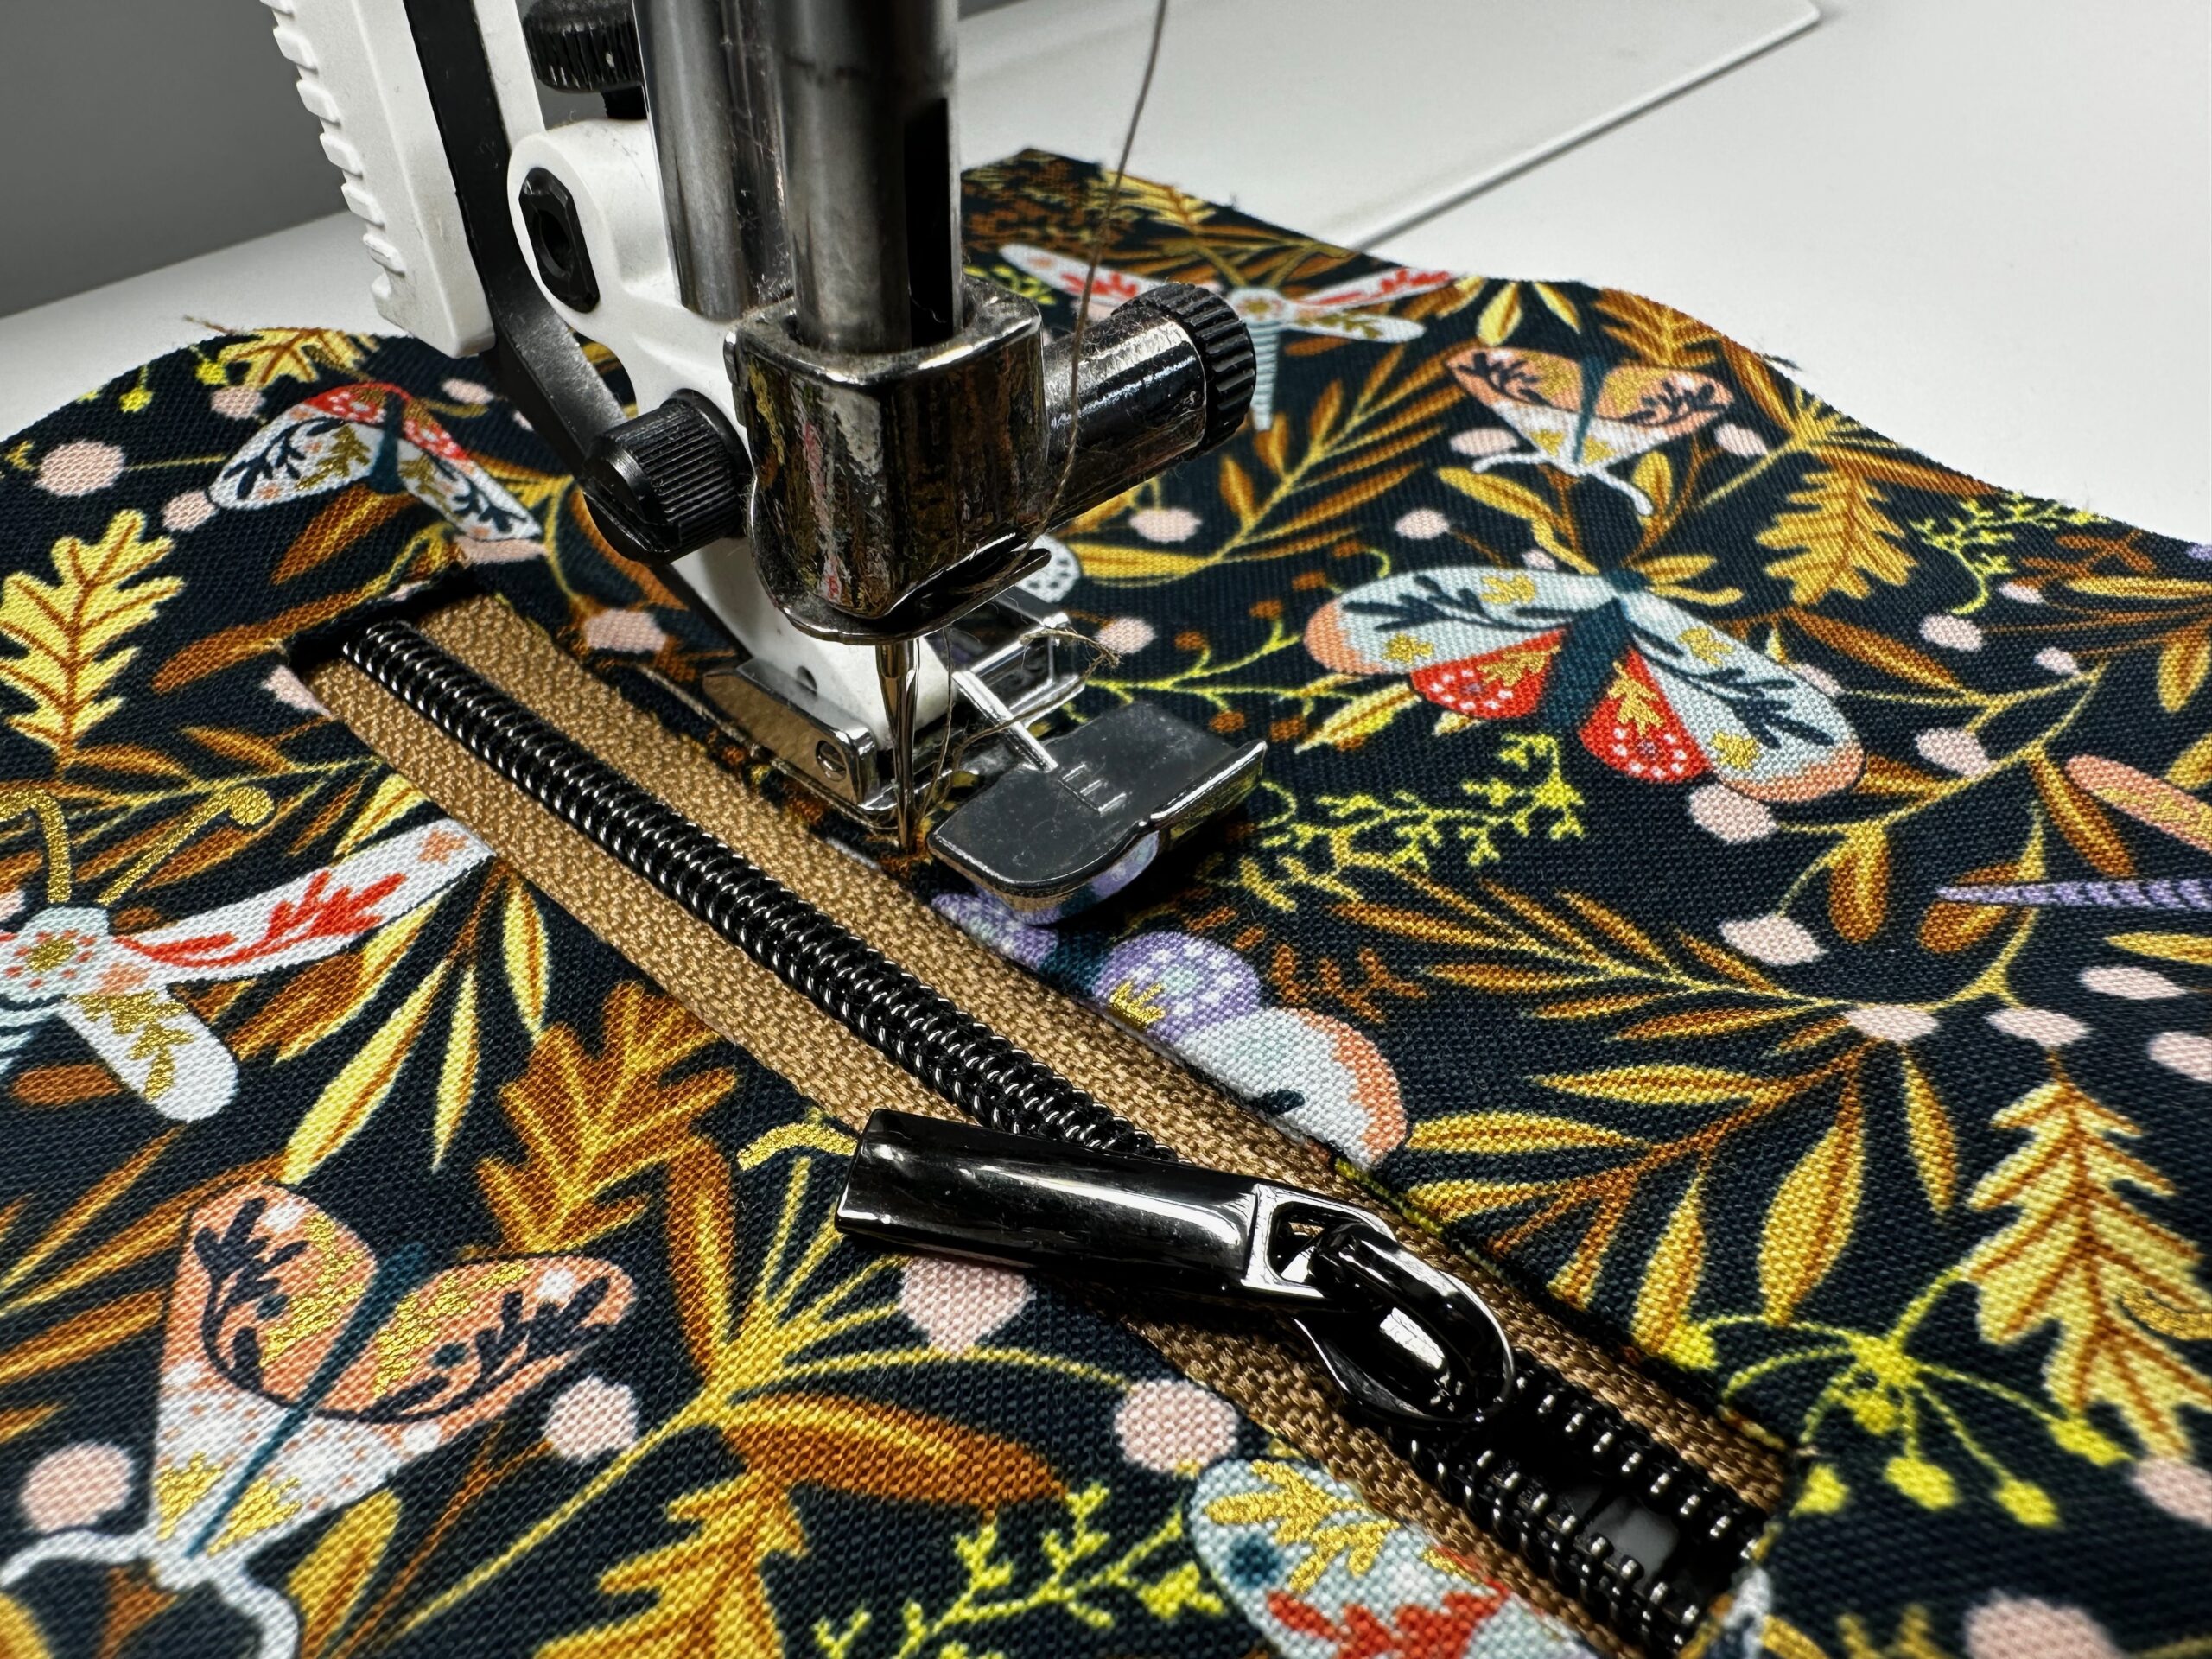
Install a zipper foot and move the needle all the way to the left.

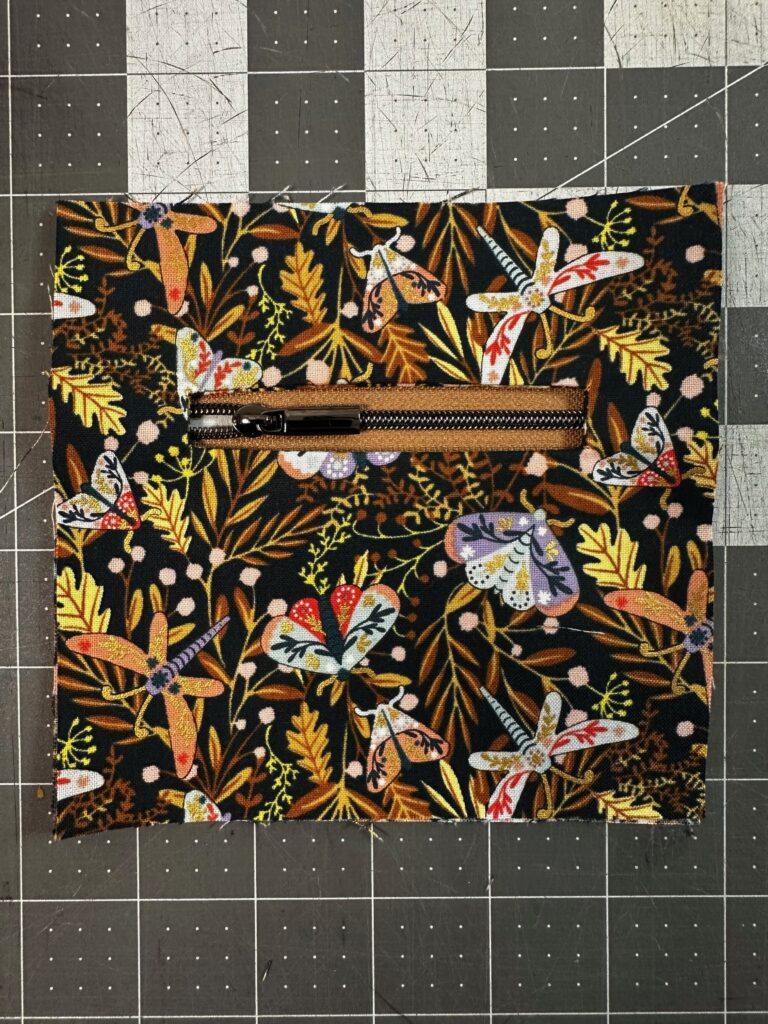
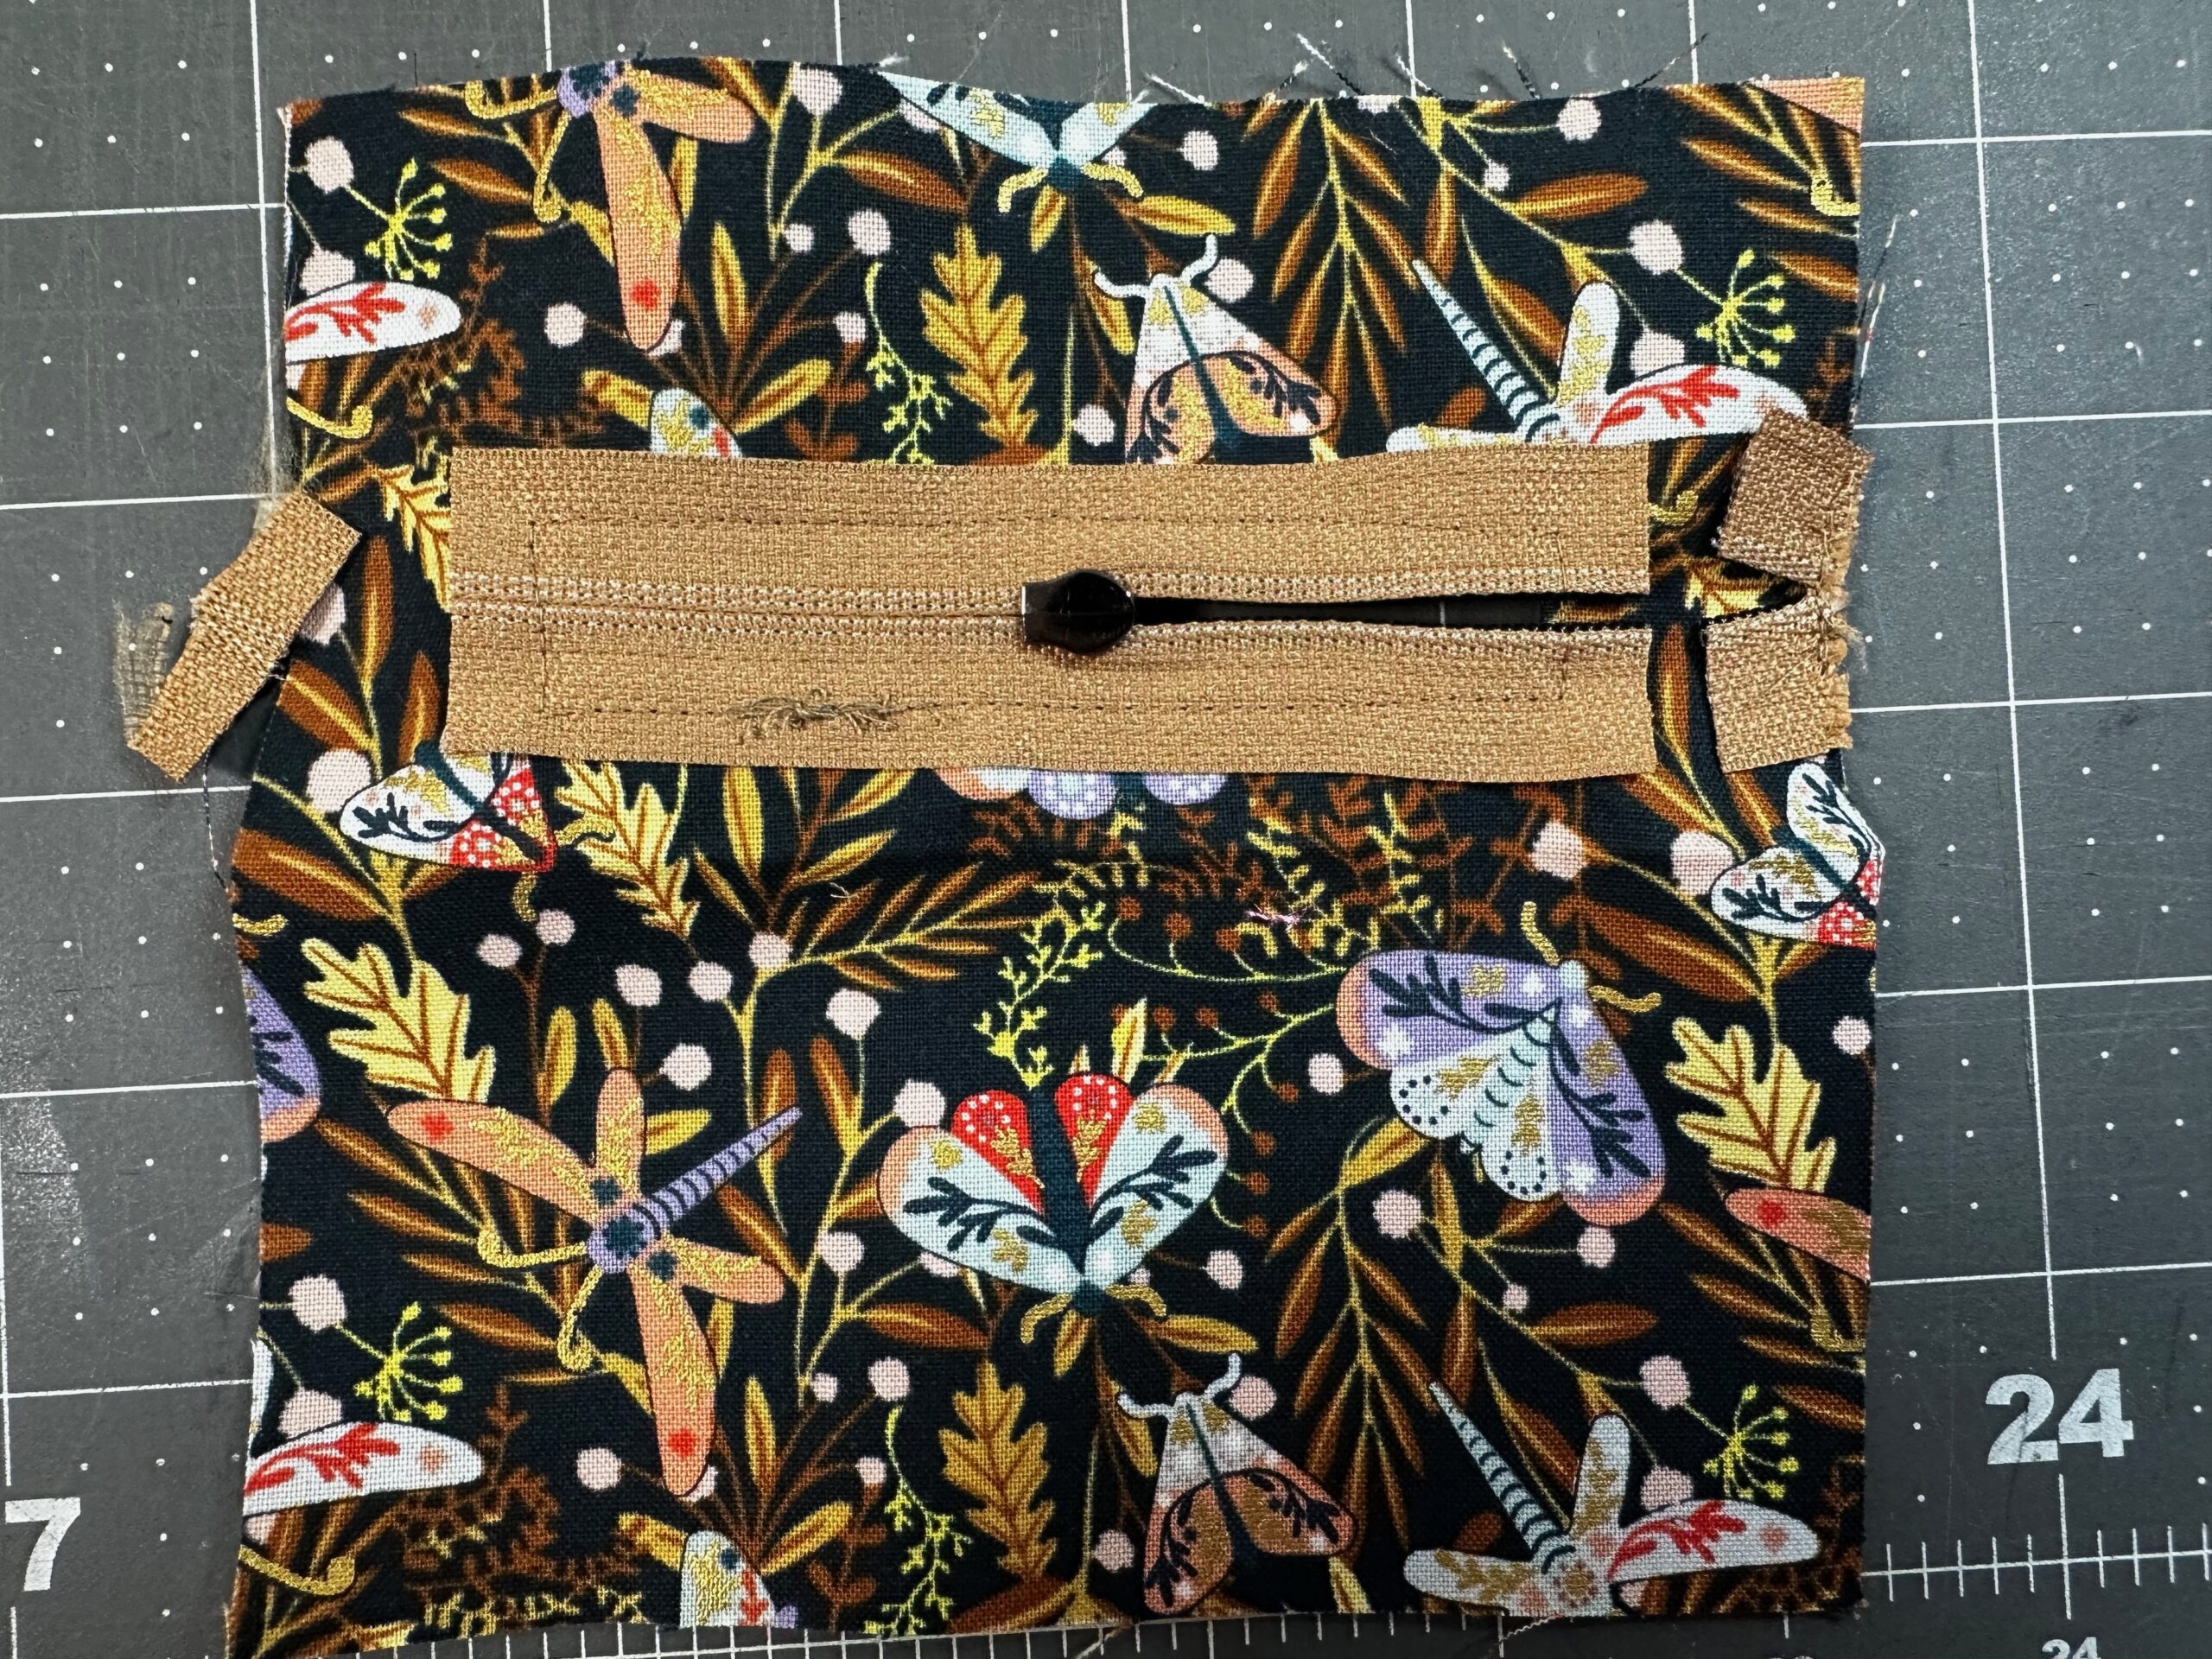
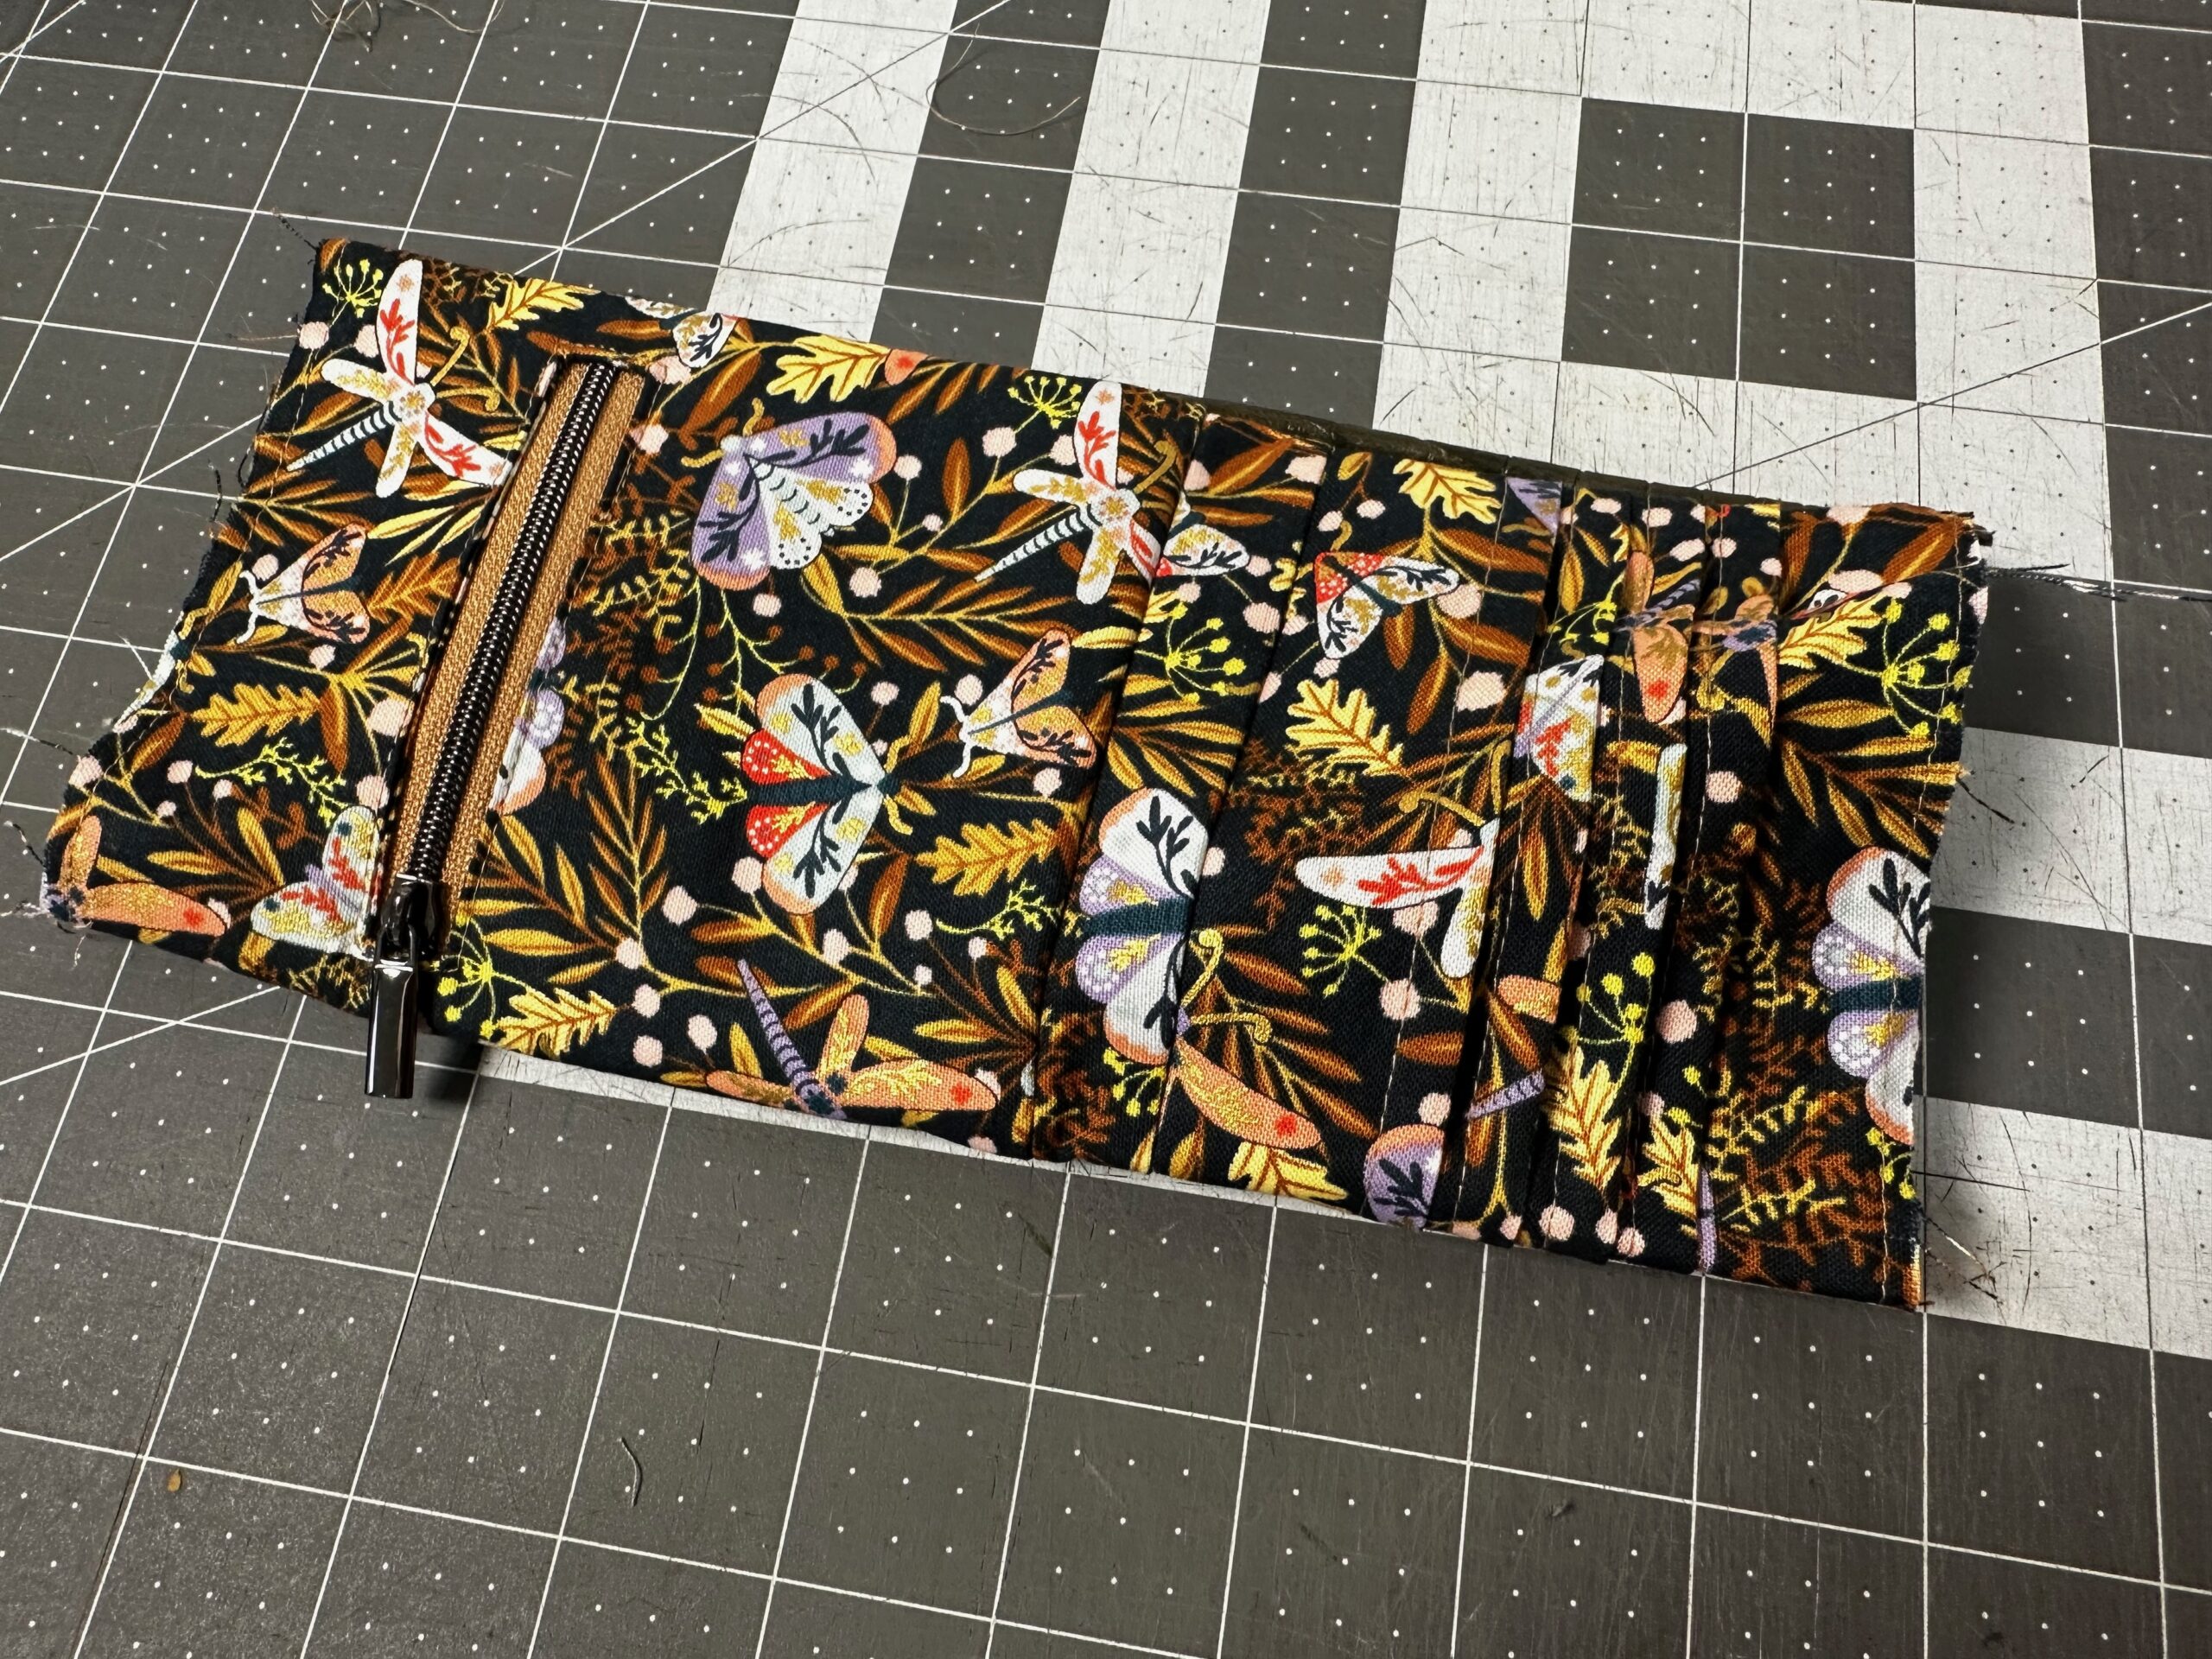
Topstitch ⅛” from the zipper box edge to secure the zipper.
Trim the zipper tape 1/2″ from the stitching on the wrong side.
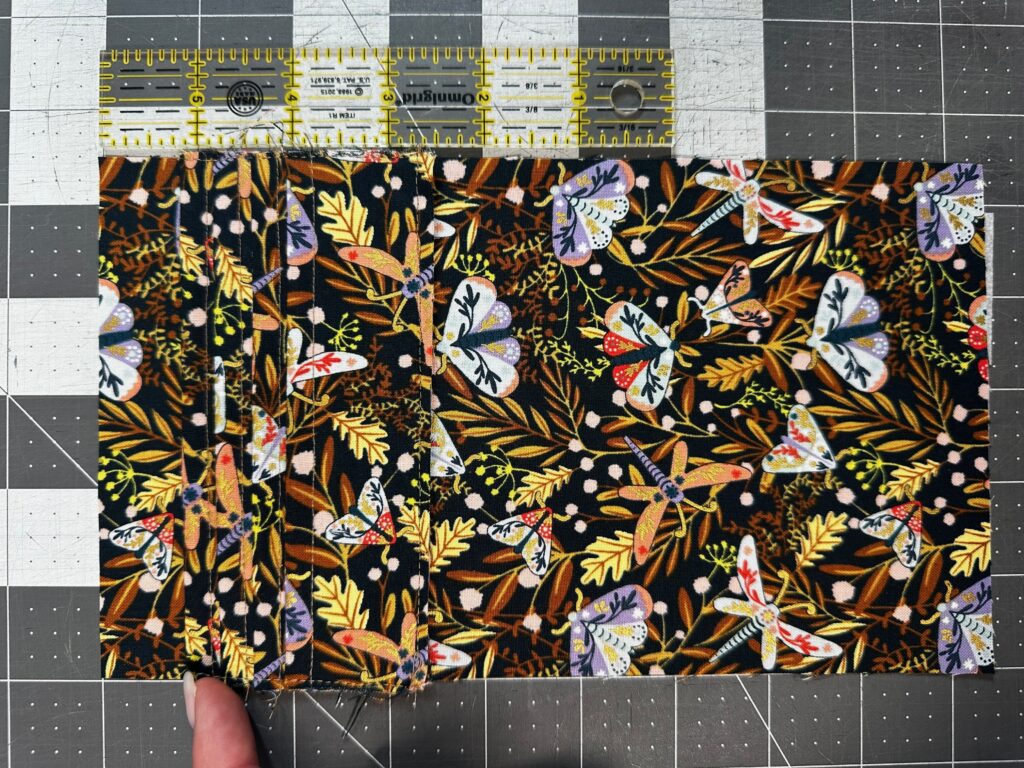
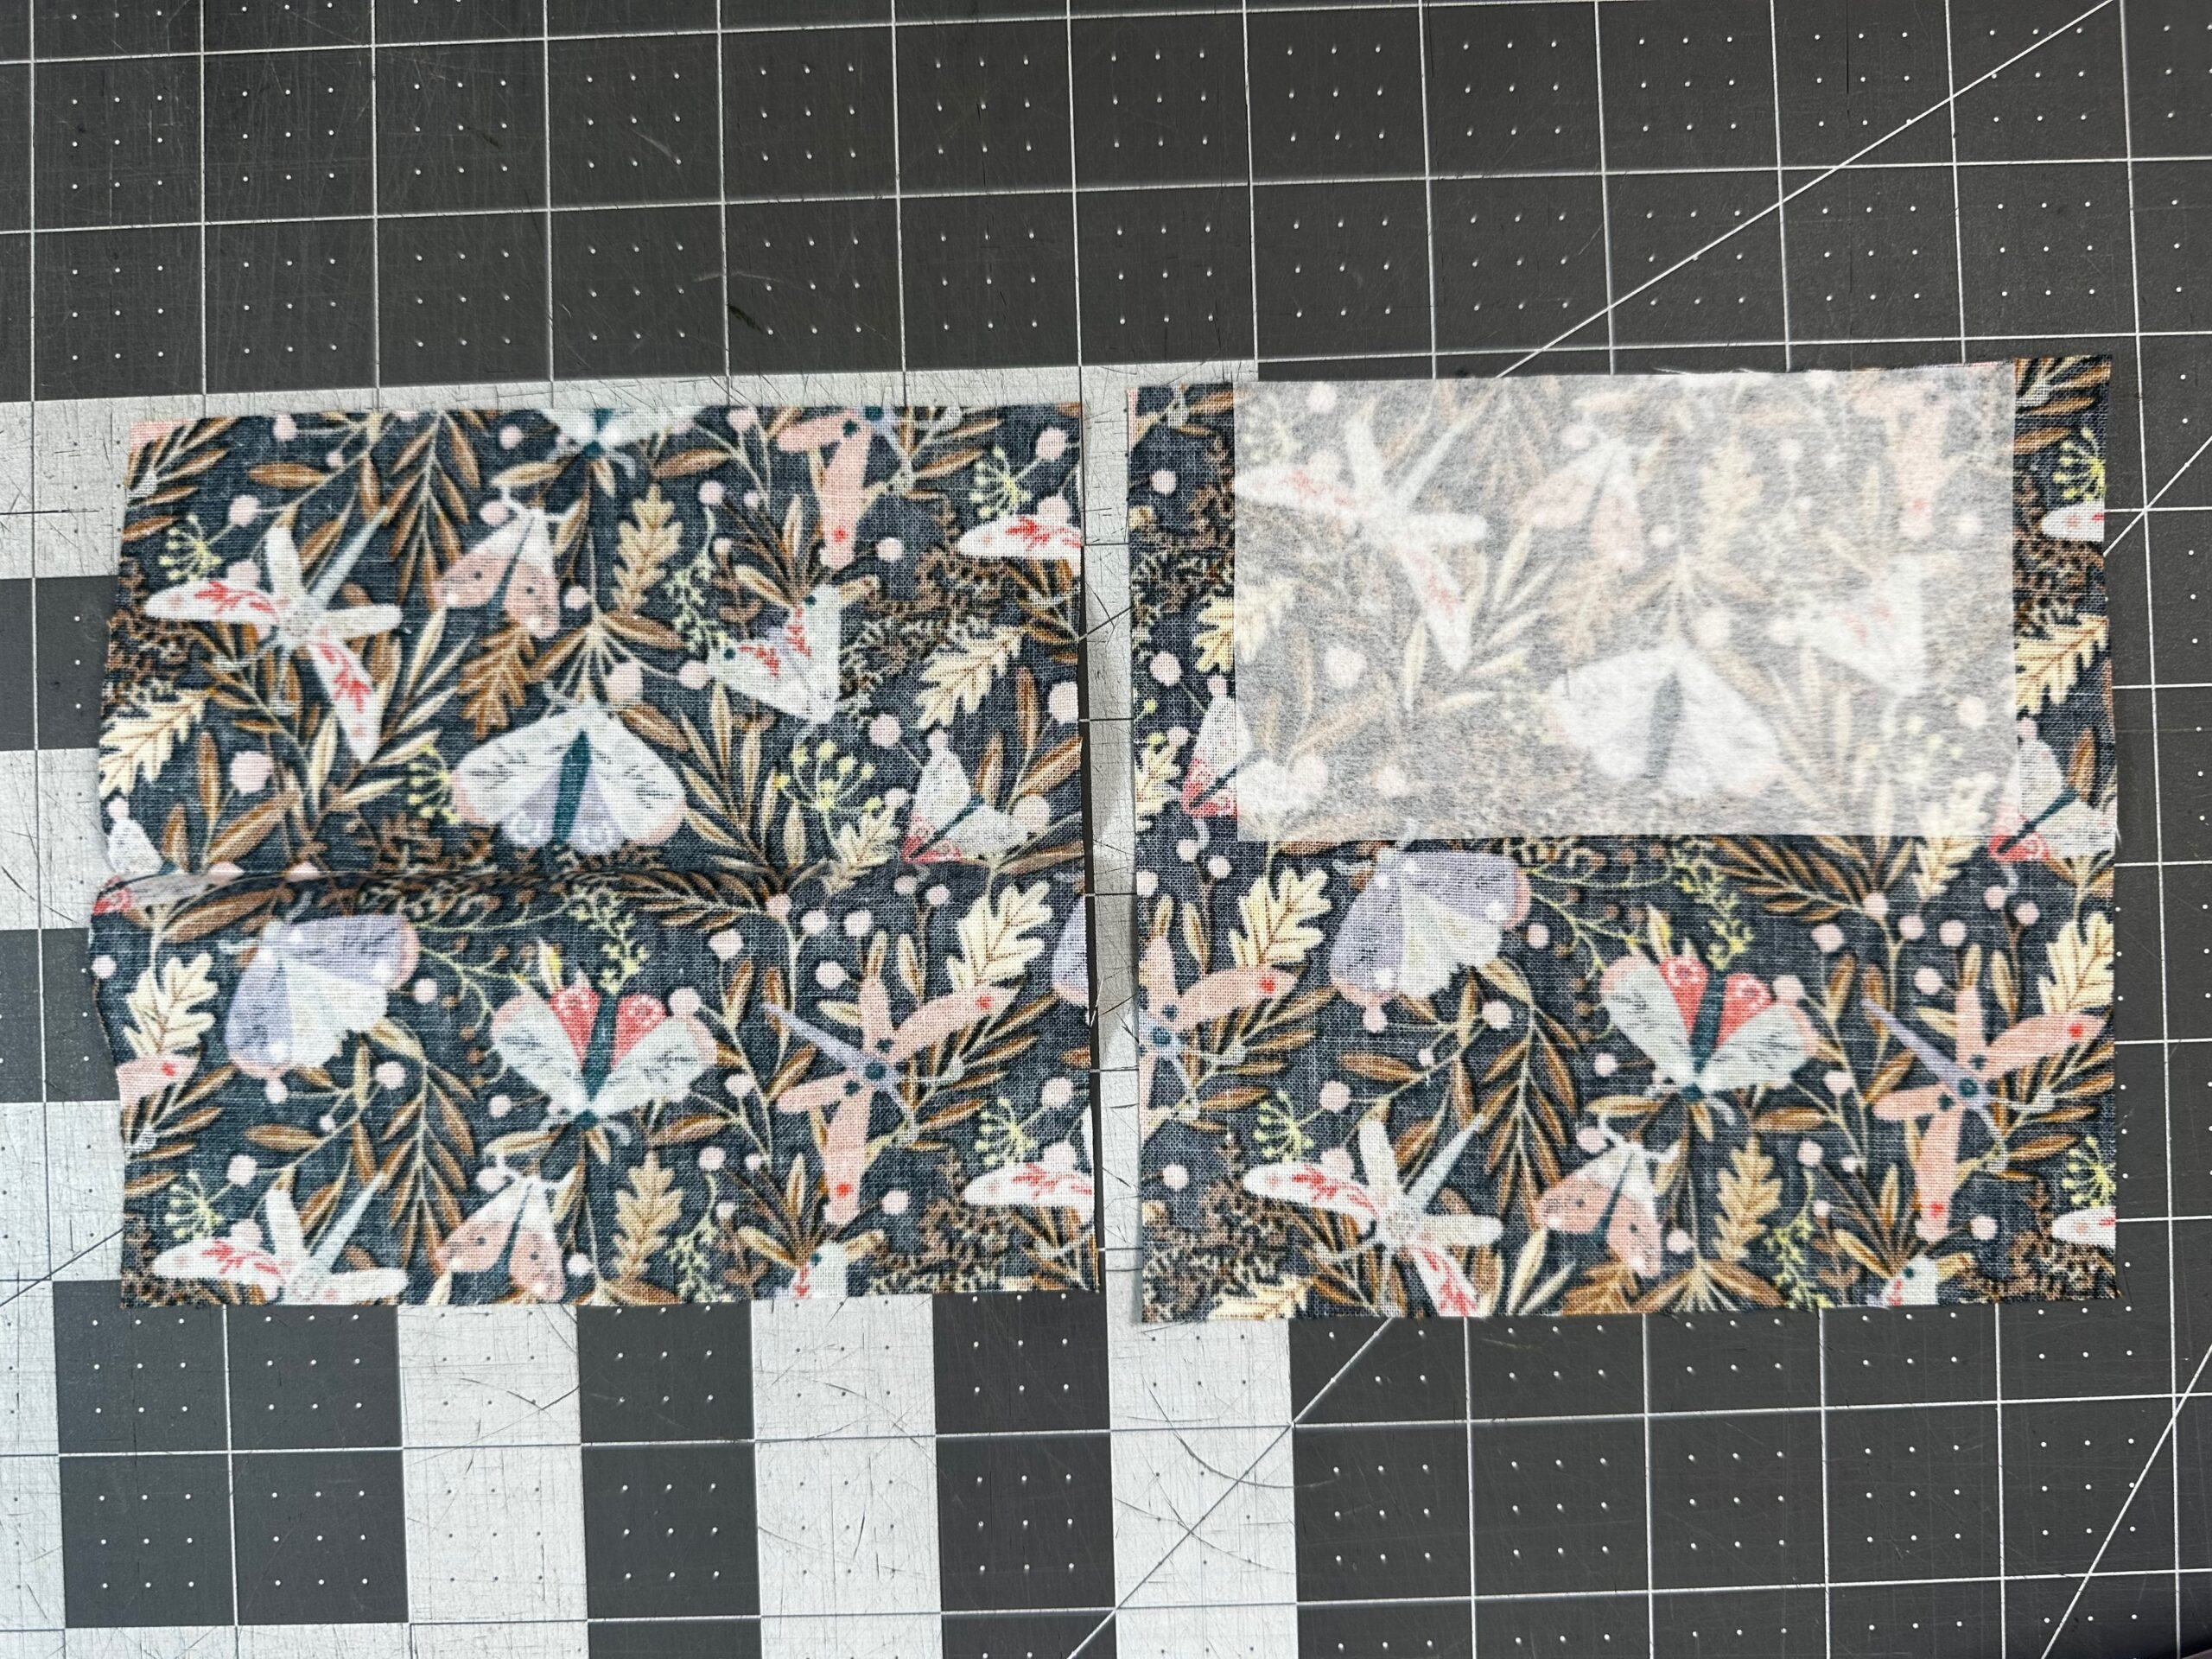
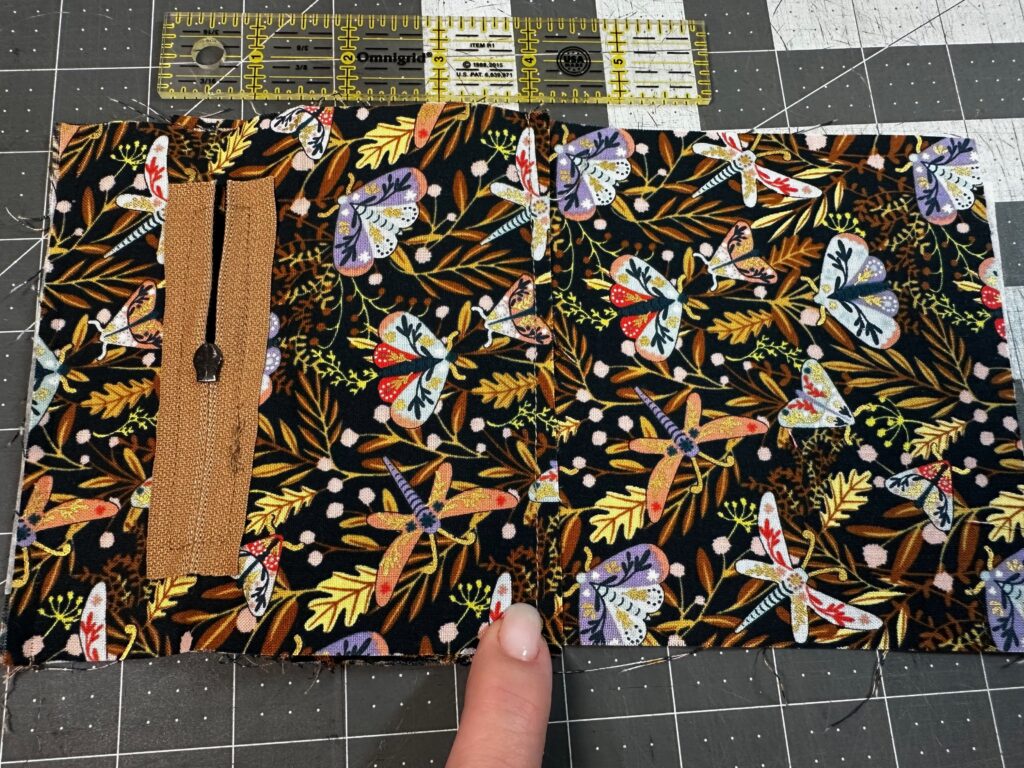
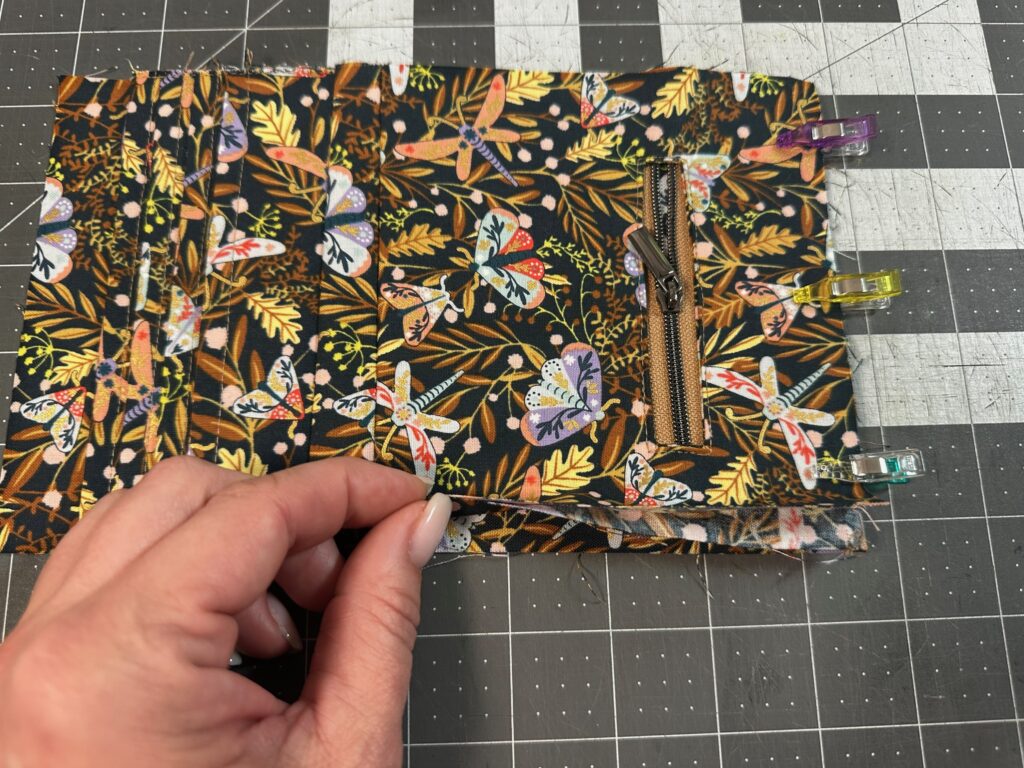
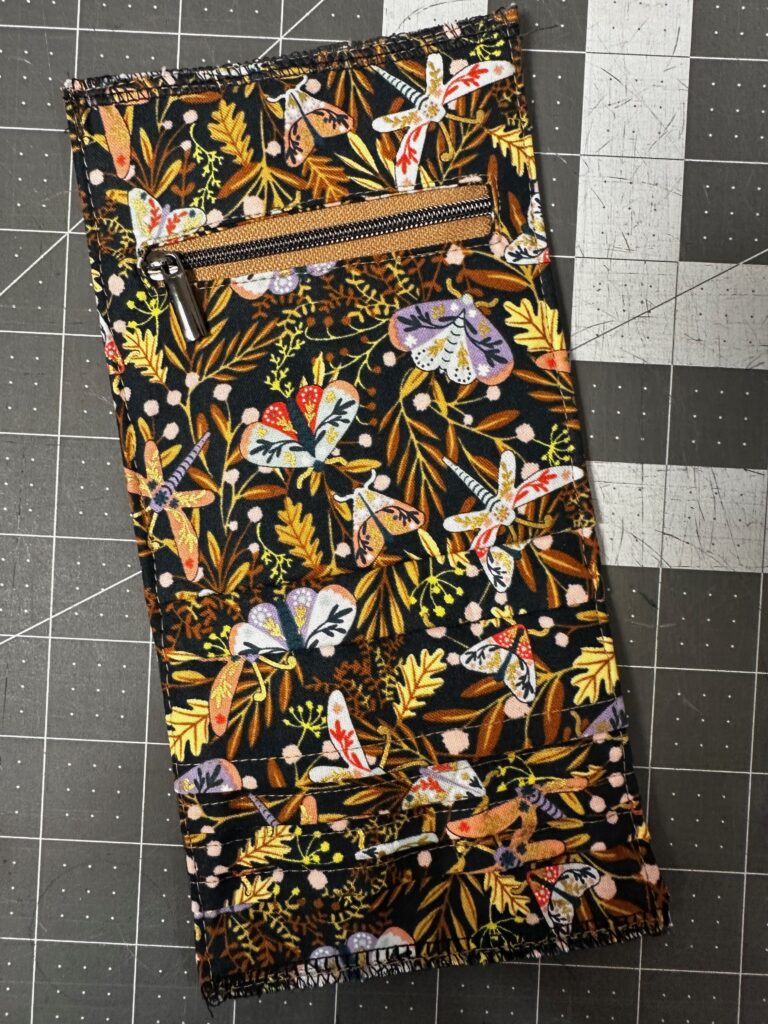
Place the zipper pocket lower edge 4″ from the pocket edge with right sides together. Sew the lower edge, and then flip the pocket to the right side. Then press the entire interior flat.
FRAME COIN PURSE FINISHING
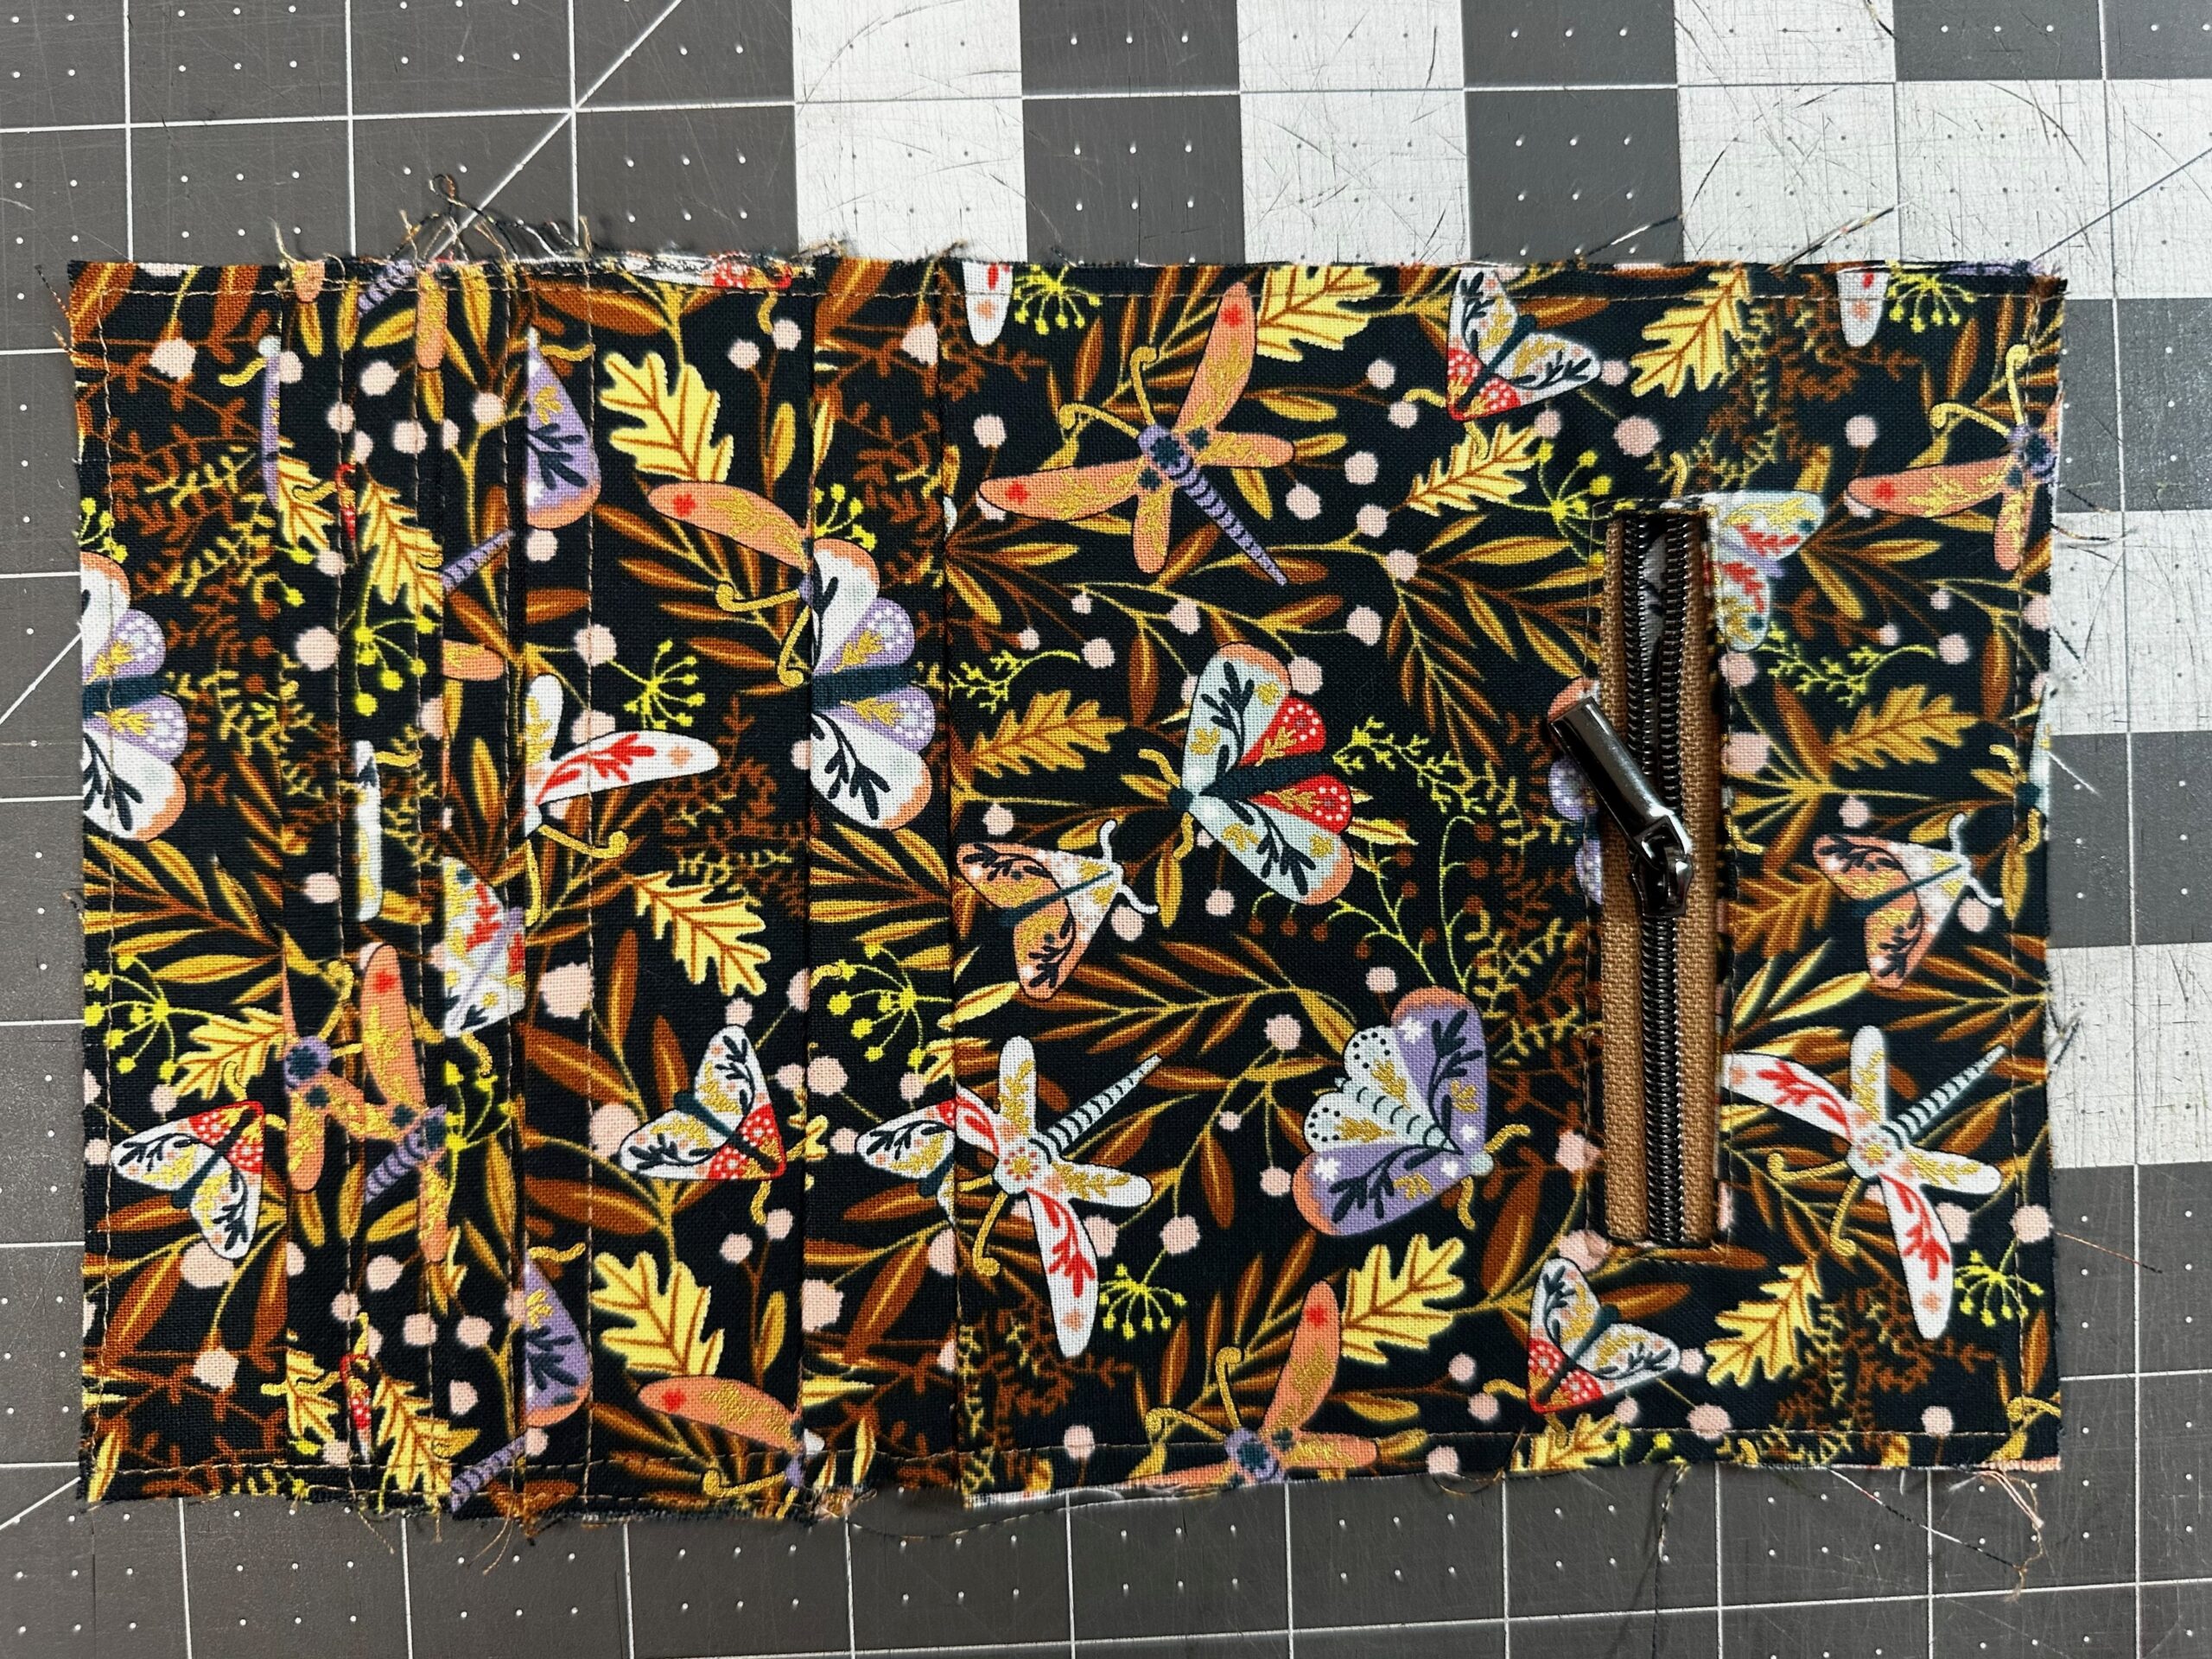
Trim the interior so it measures 8¾” x 5½”. Then, topstitch ⅛” from the interior perimeter.
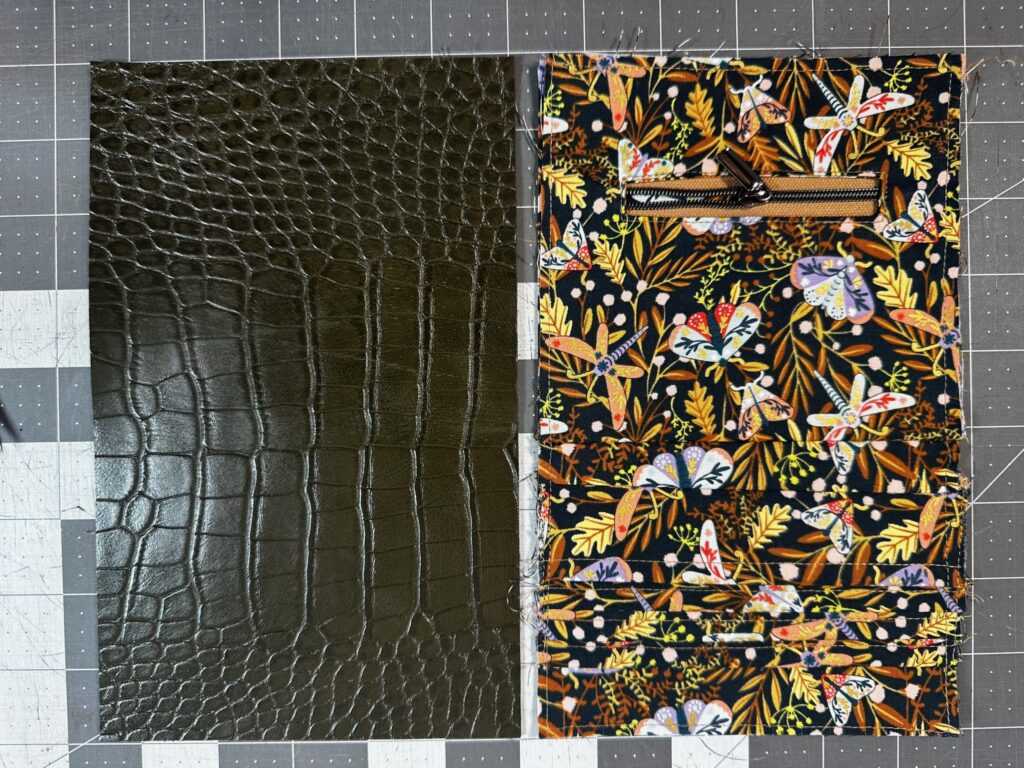
With right sides together, clip the exterior to the interior, matching all edges and corners.
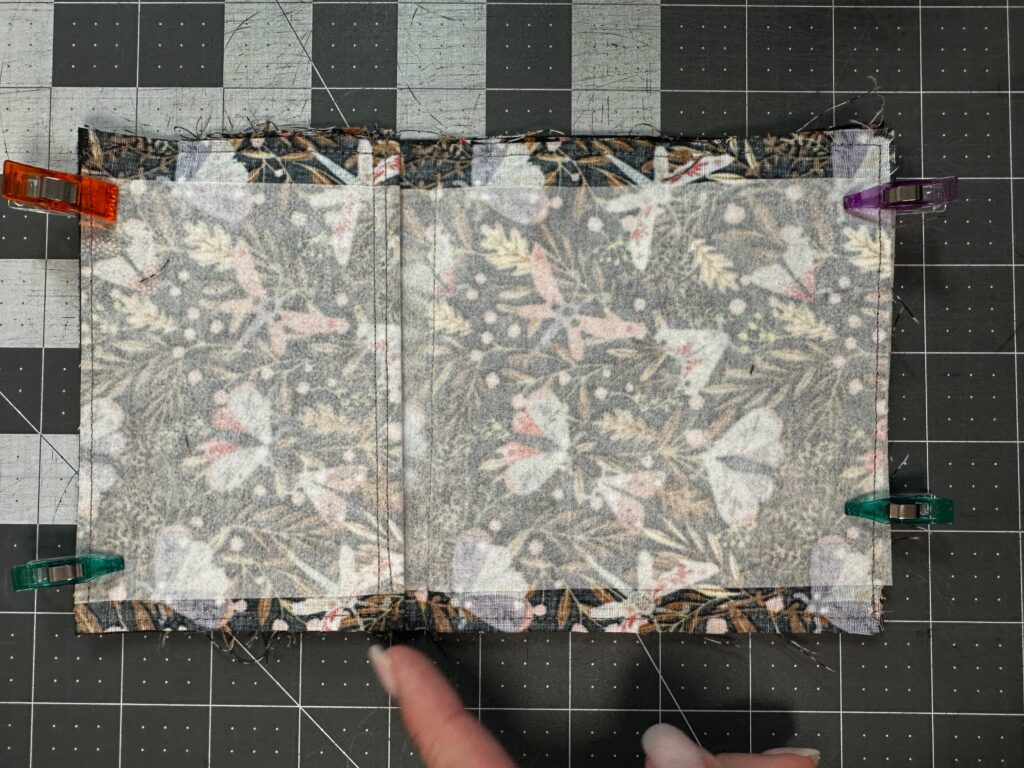
Stitch the long edges using a ½” seam allowance, backstitching at the beginning and end of each seam. Then, trim the seams to ⅛”.

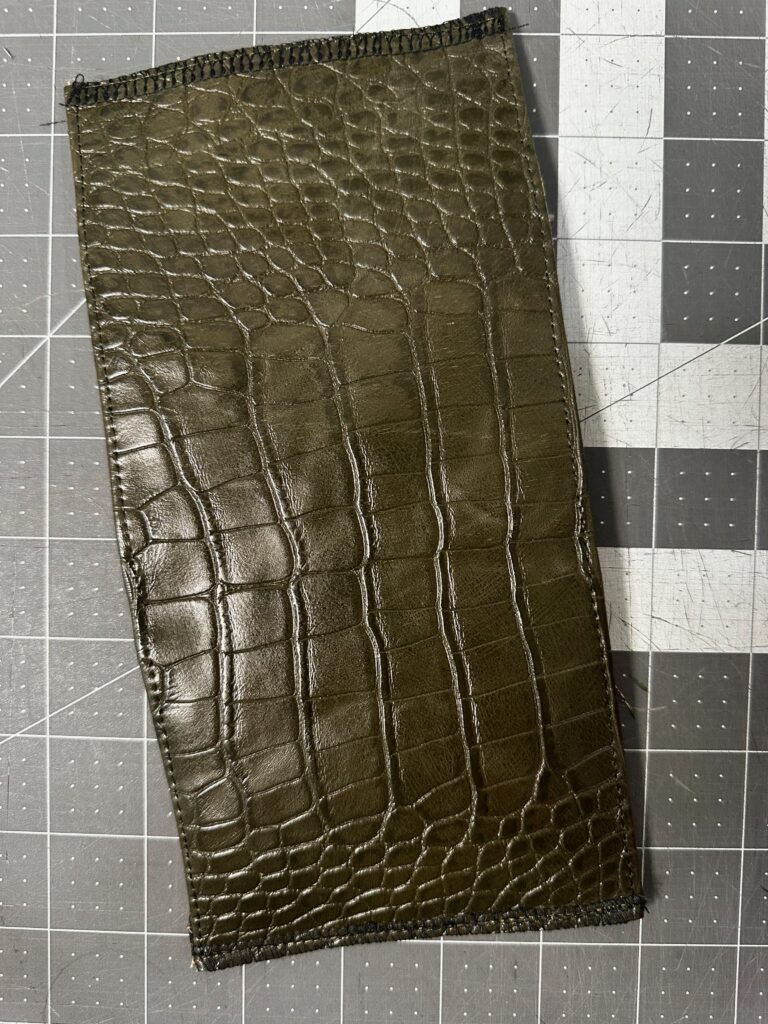
Turn the rectangle right side out and finger-press the seams, favoring the edges to the interior.
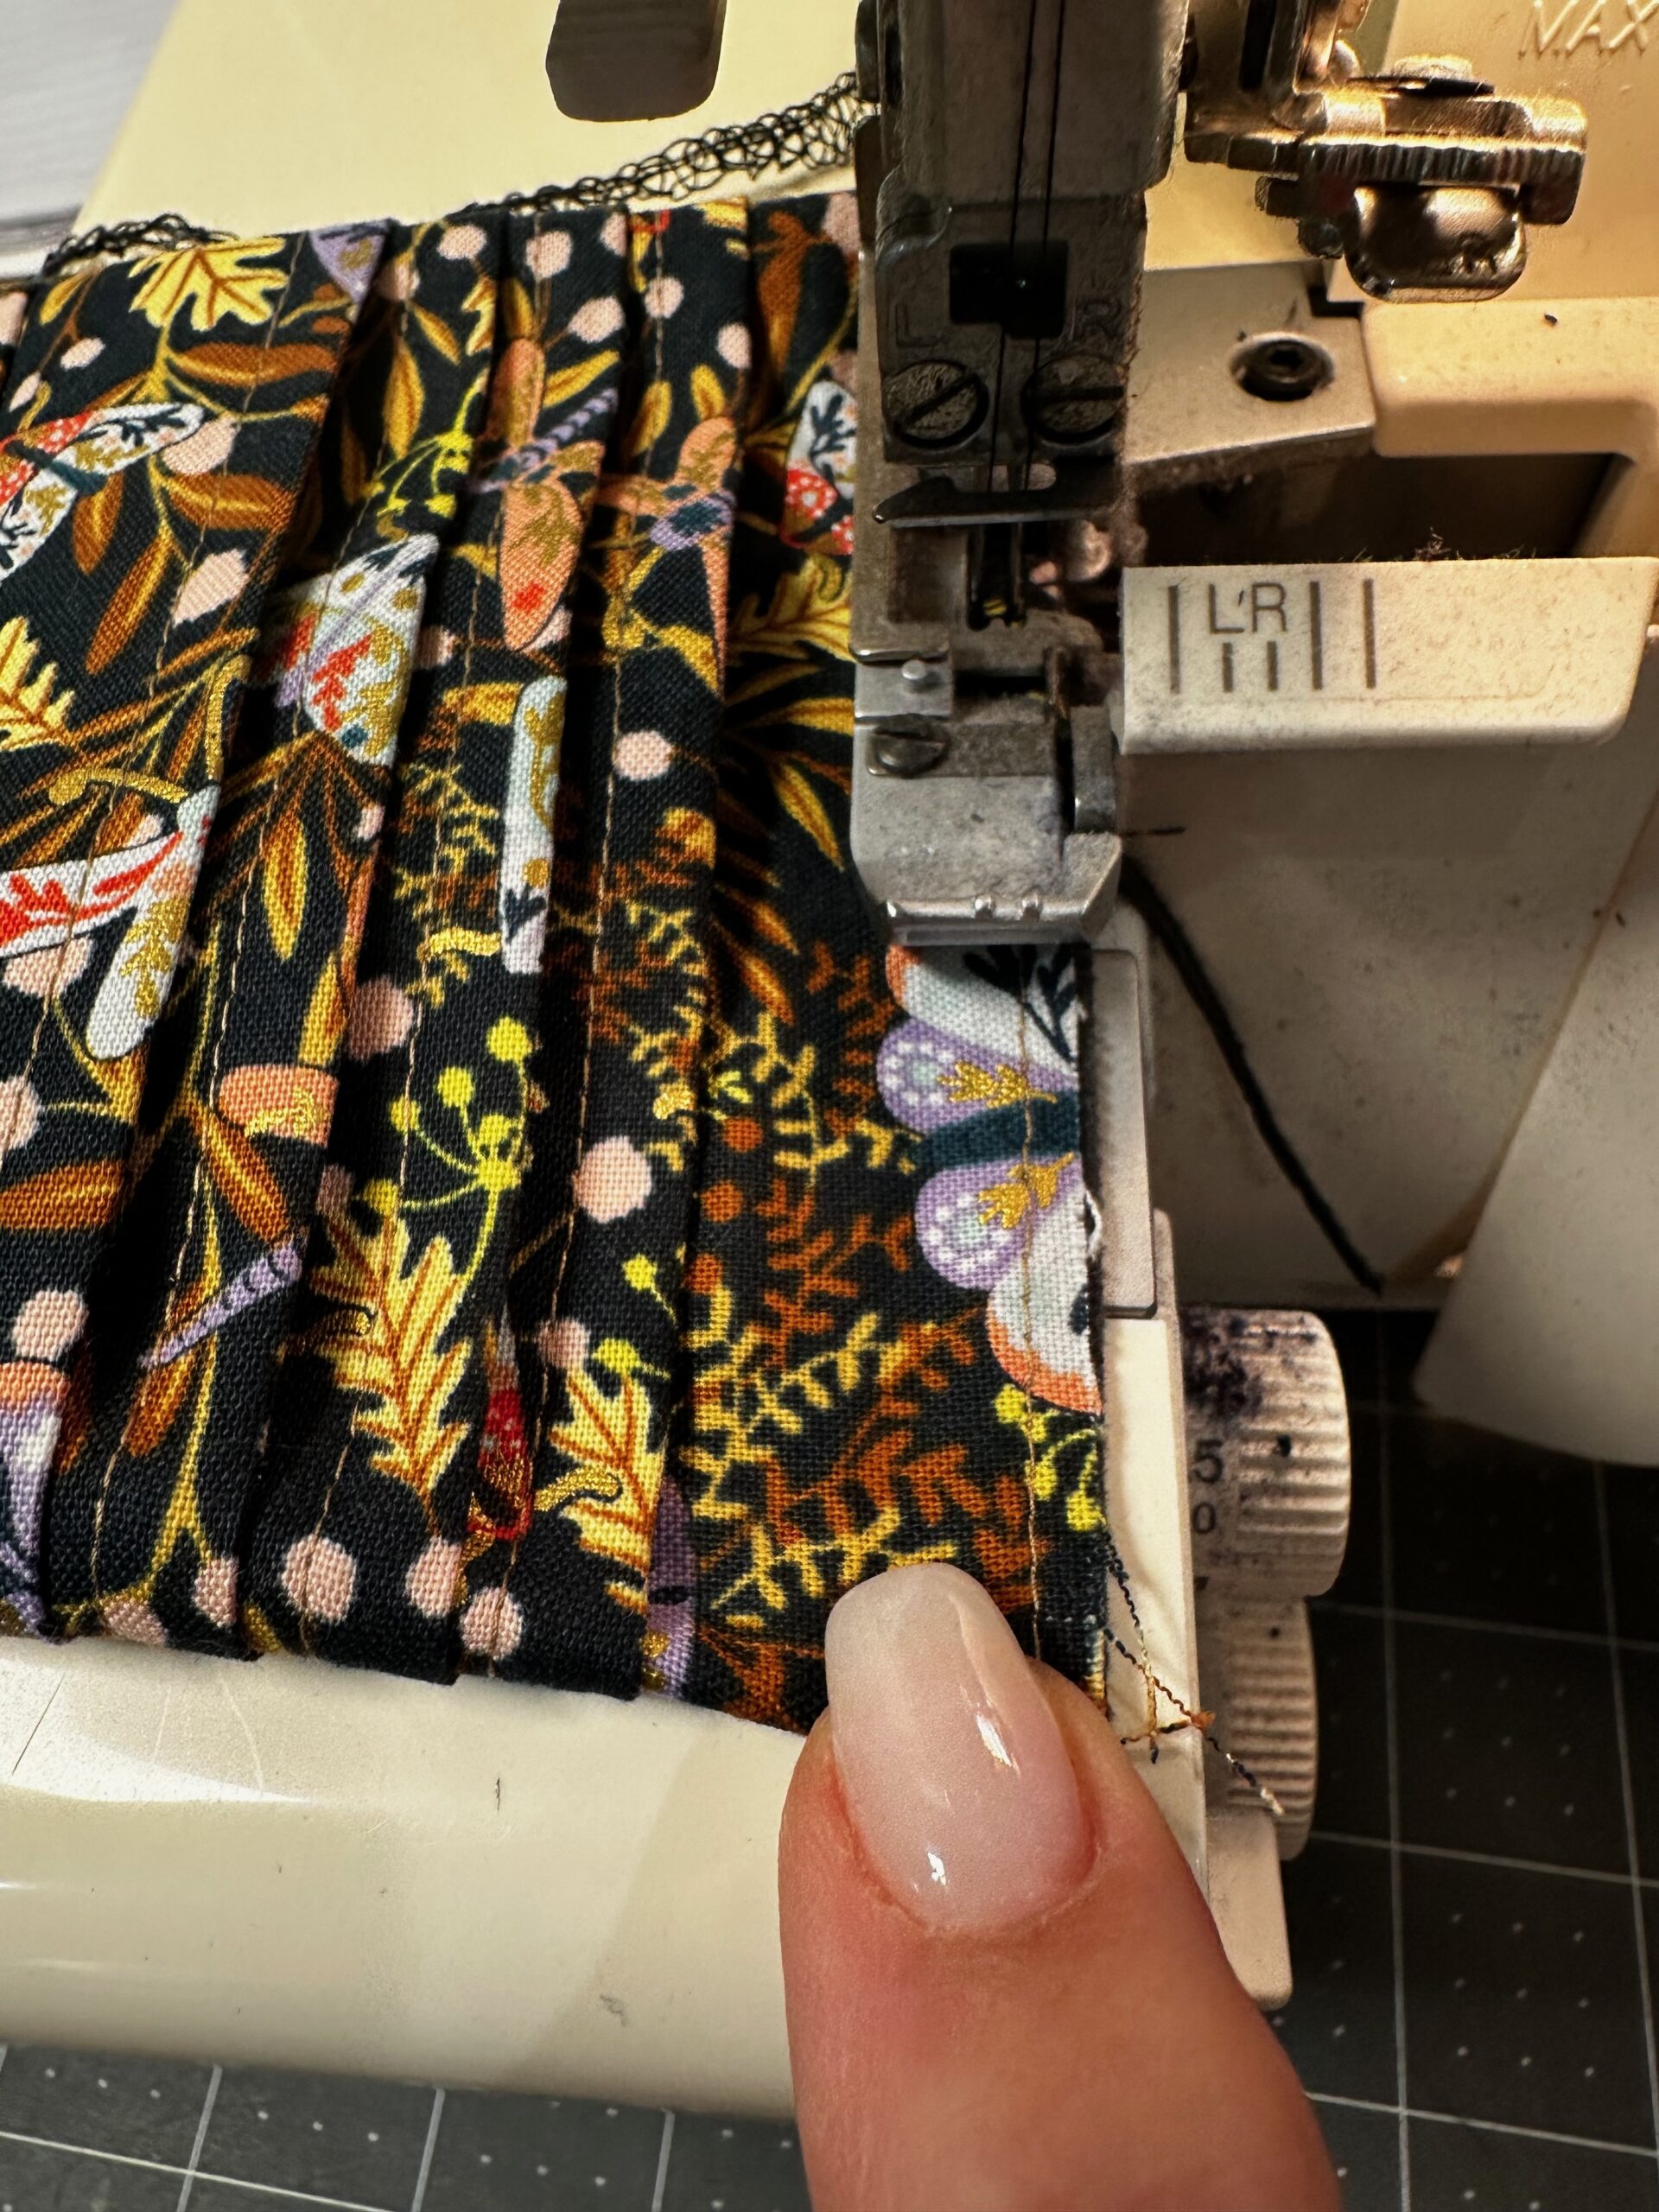
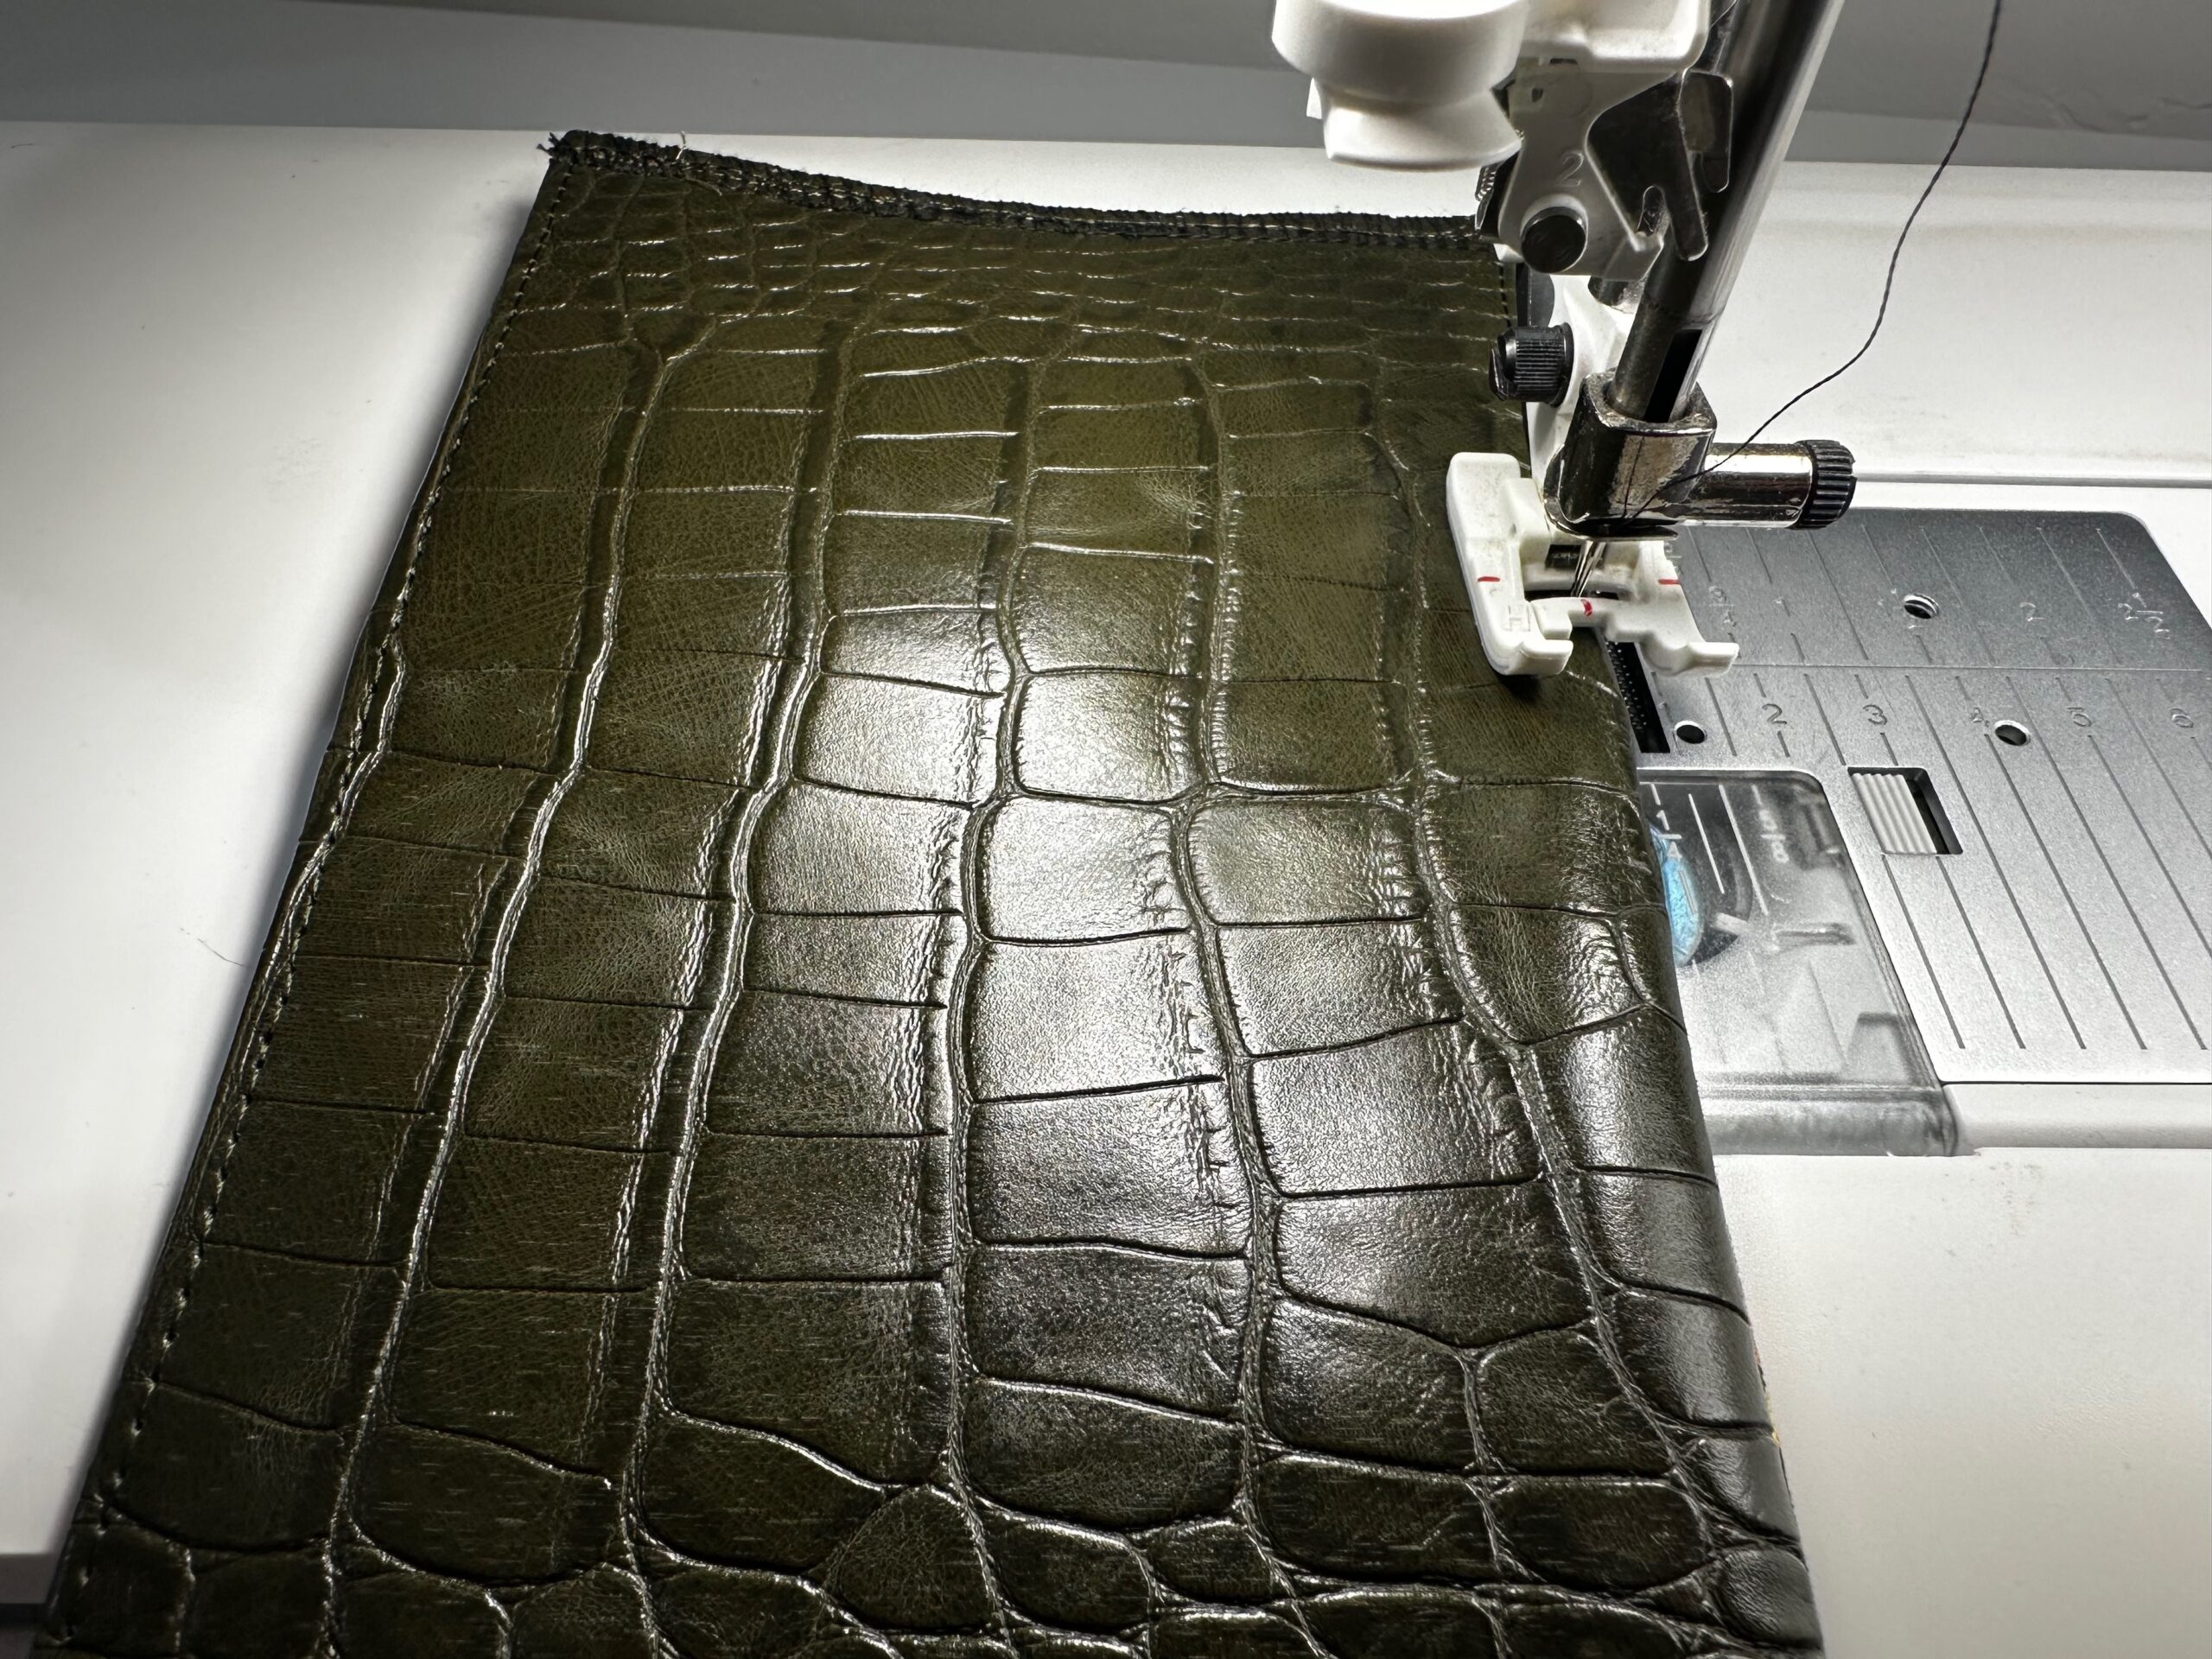
Serge (using a 3- or 4-thread overlock stitch) or zigzag-finish the short edges.
Topstitch the long edges.
INSTALL PURSE FRAME
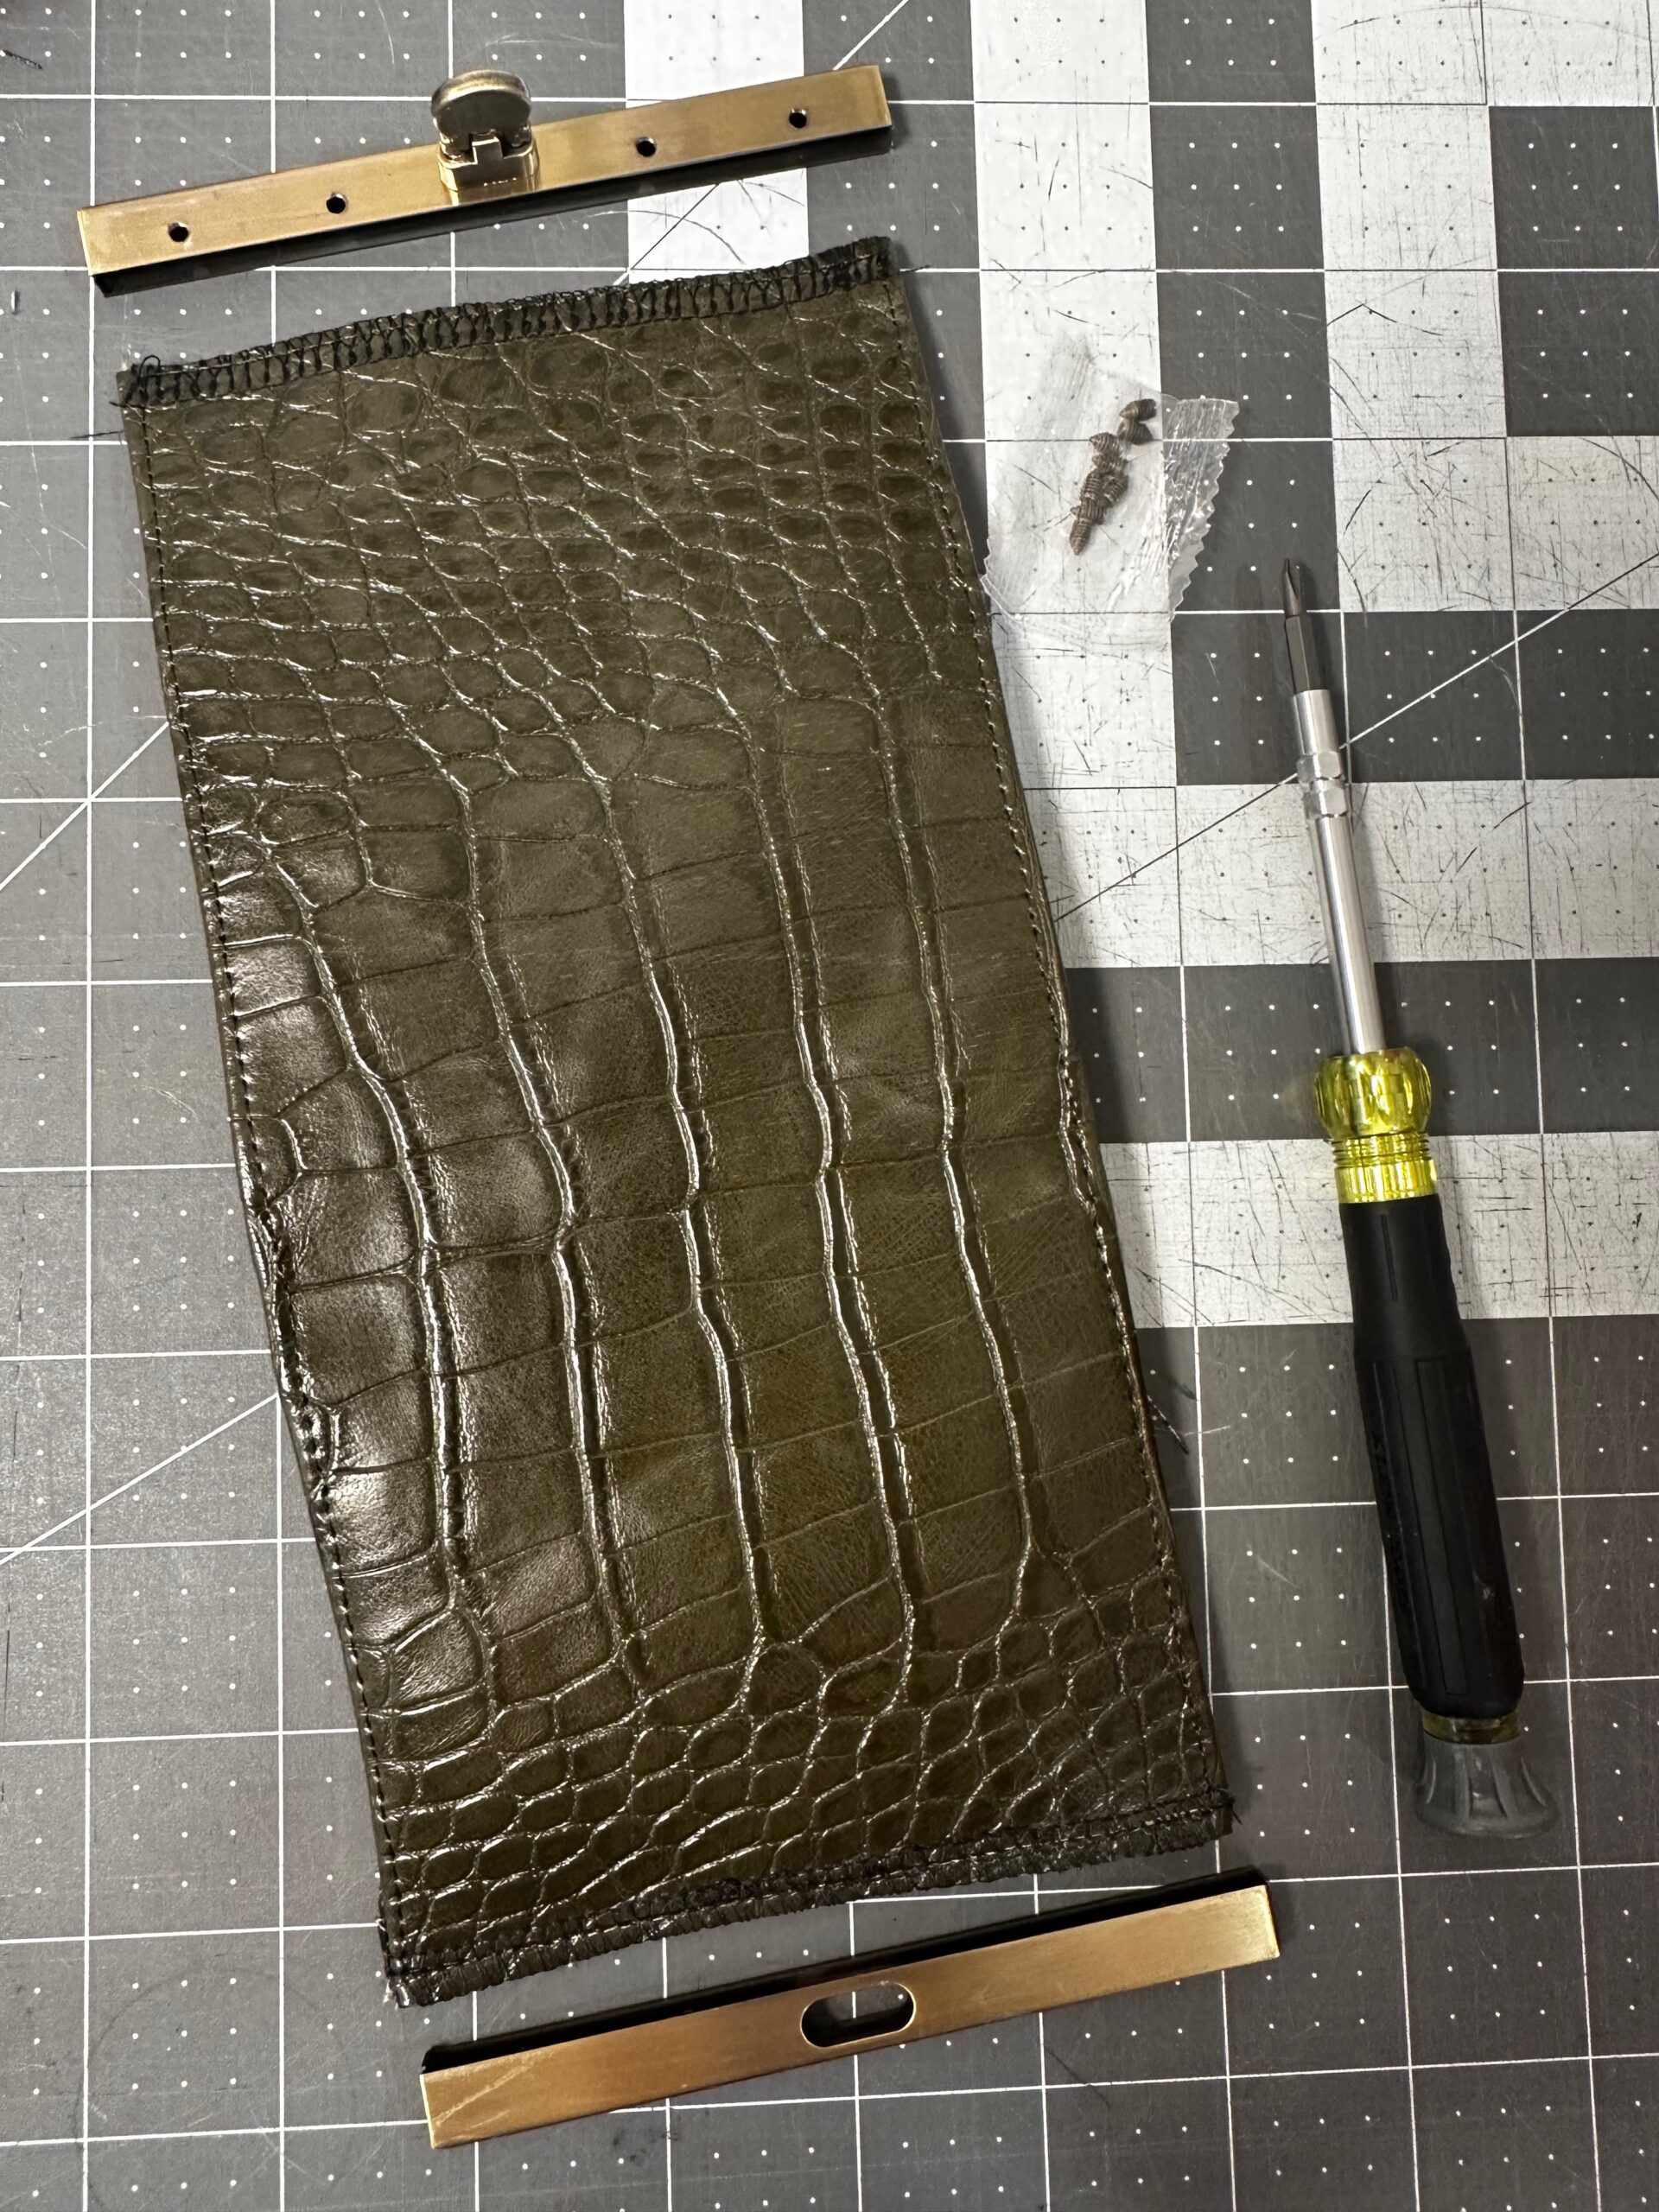
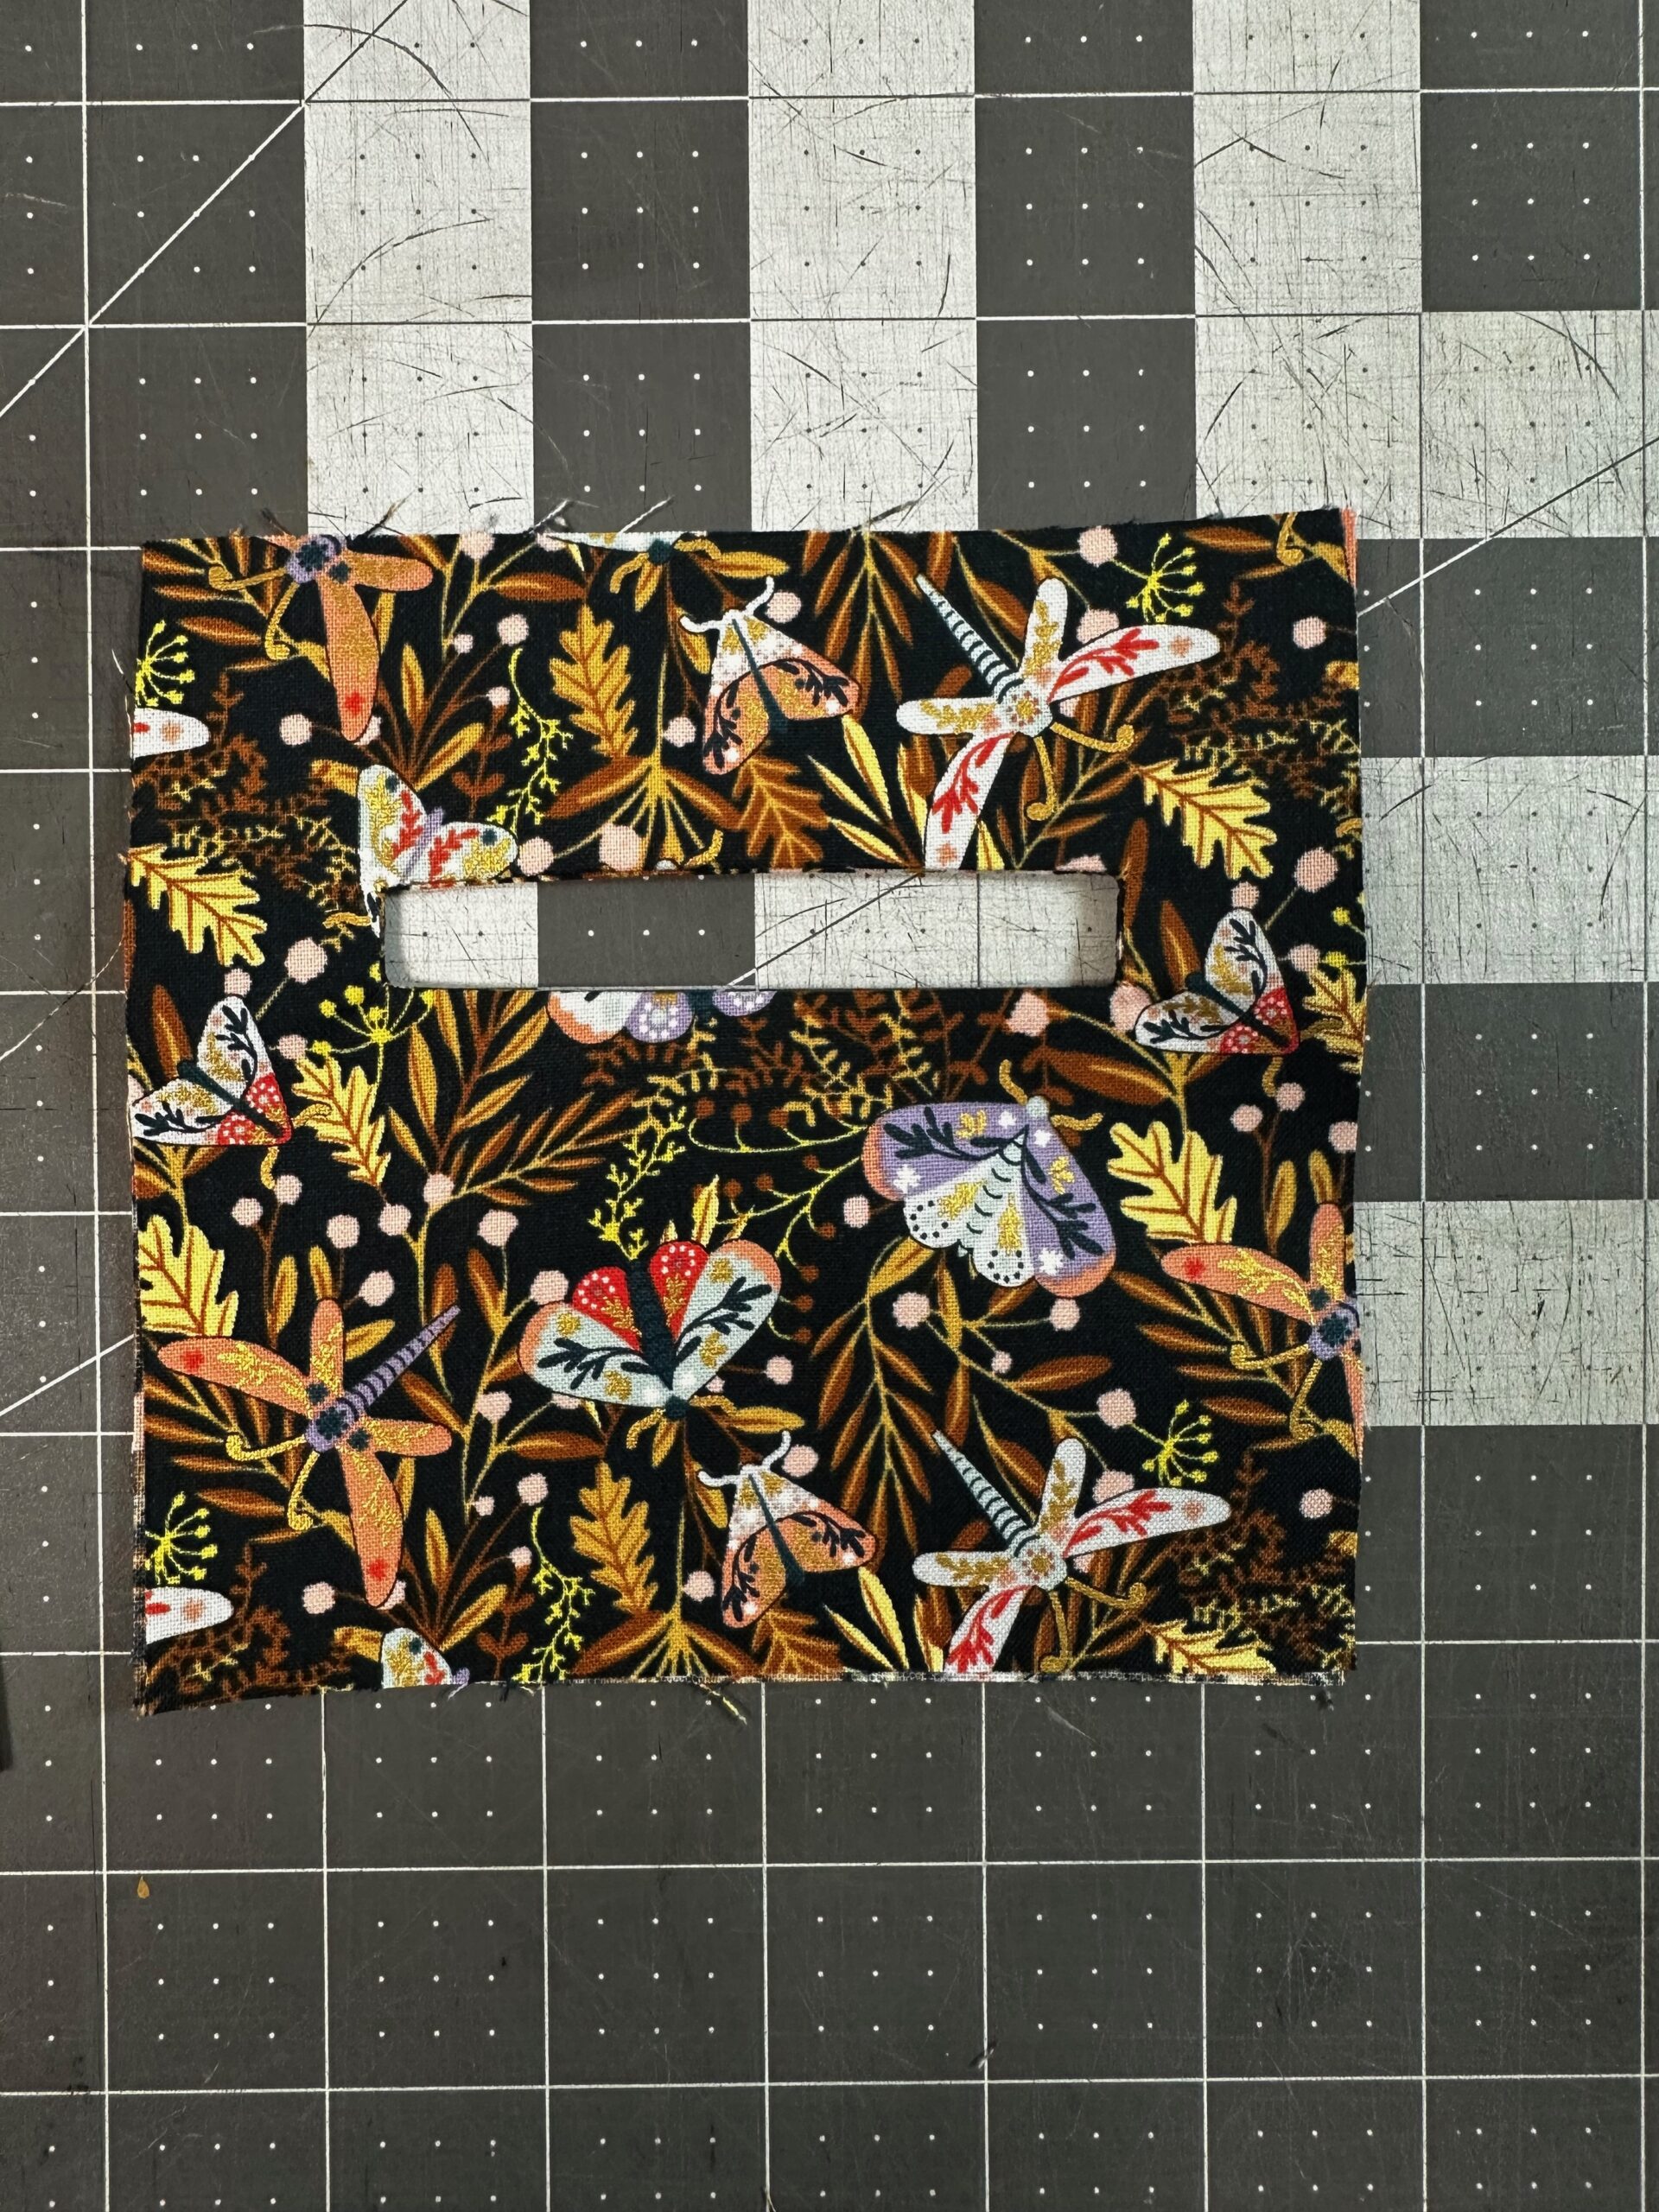
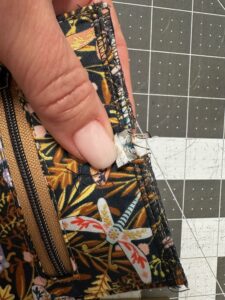
First, place the frame side with the open slot along the zipper pocket edge. Insert the fabric edge into the frame opening. Mark the slot oval onto the fabric. Then, remove the frame. Next, cut along the outer edge of the mark along the sides only.
Then, trim away the layers between the outer two fabrics. Fold the outer two fabrics in toward the wrong side to have a clean edge.
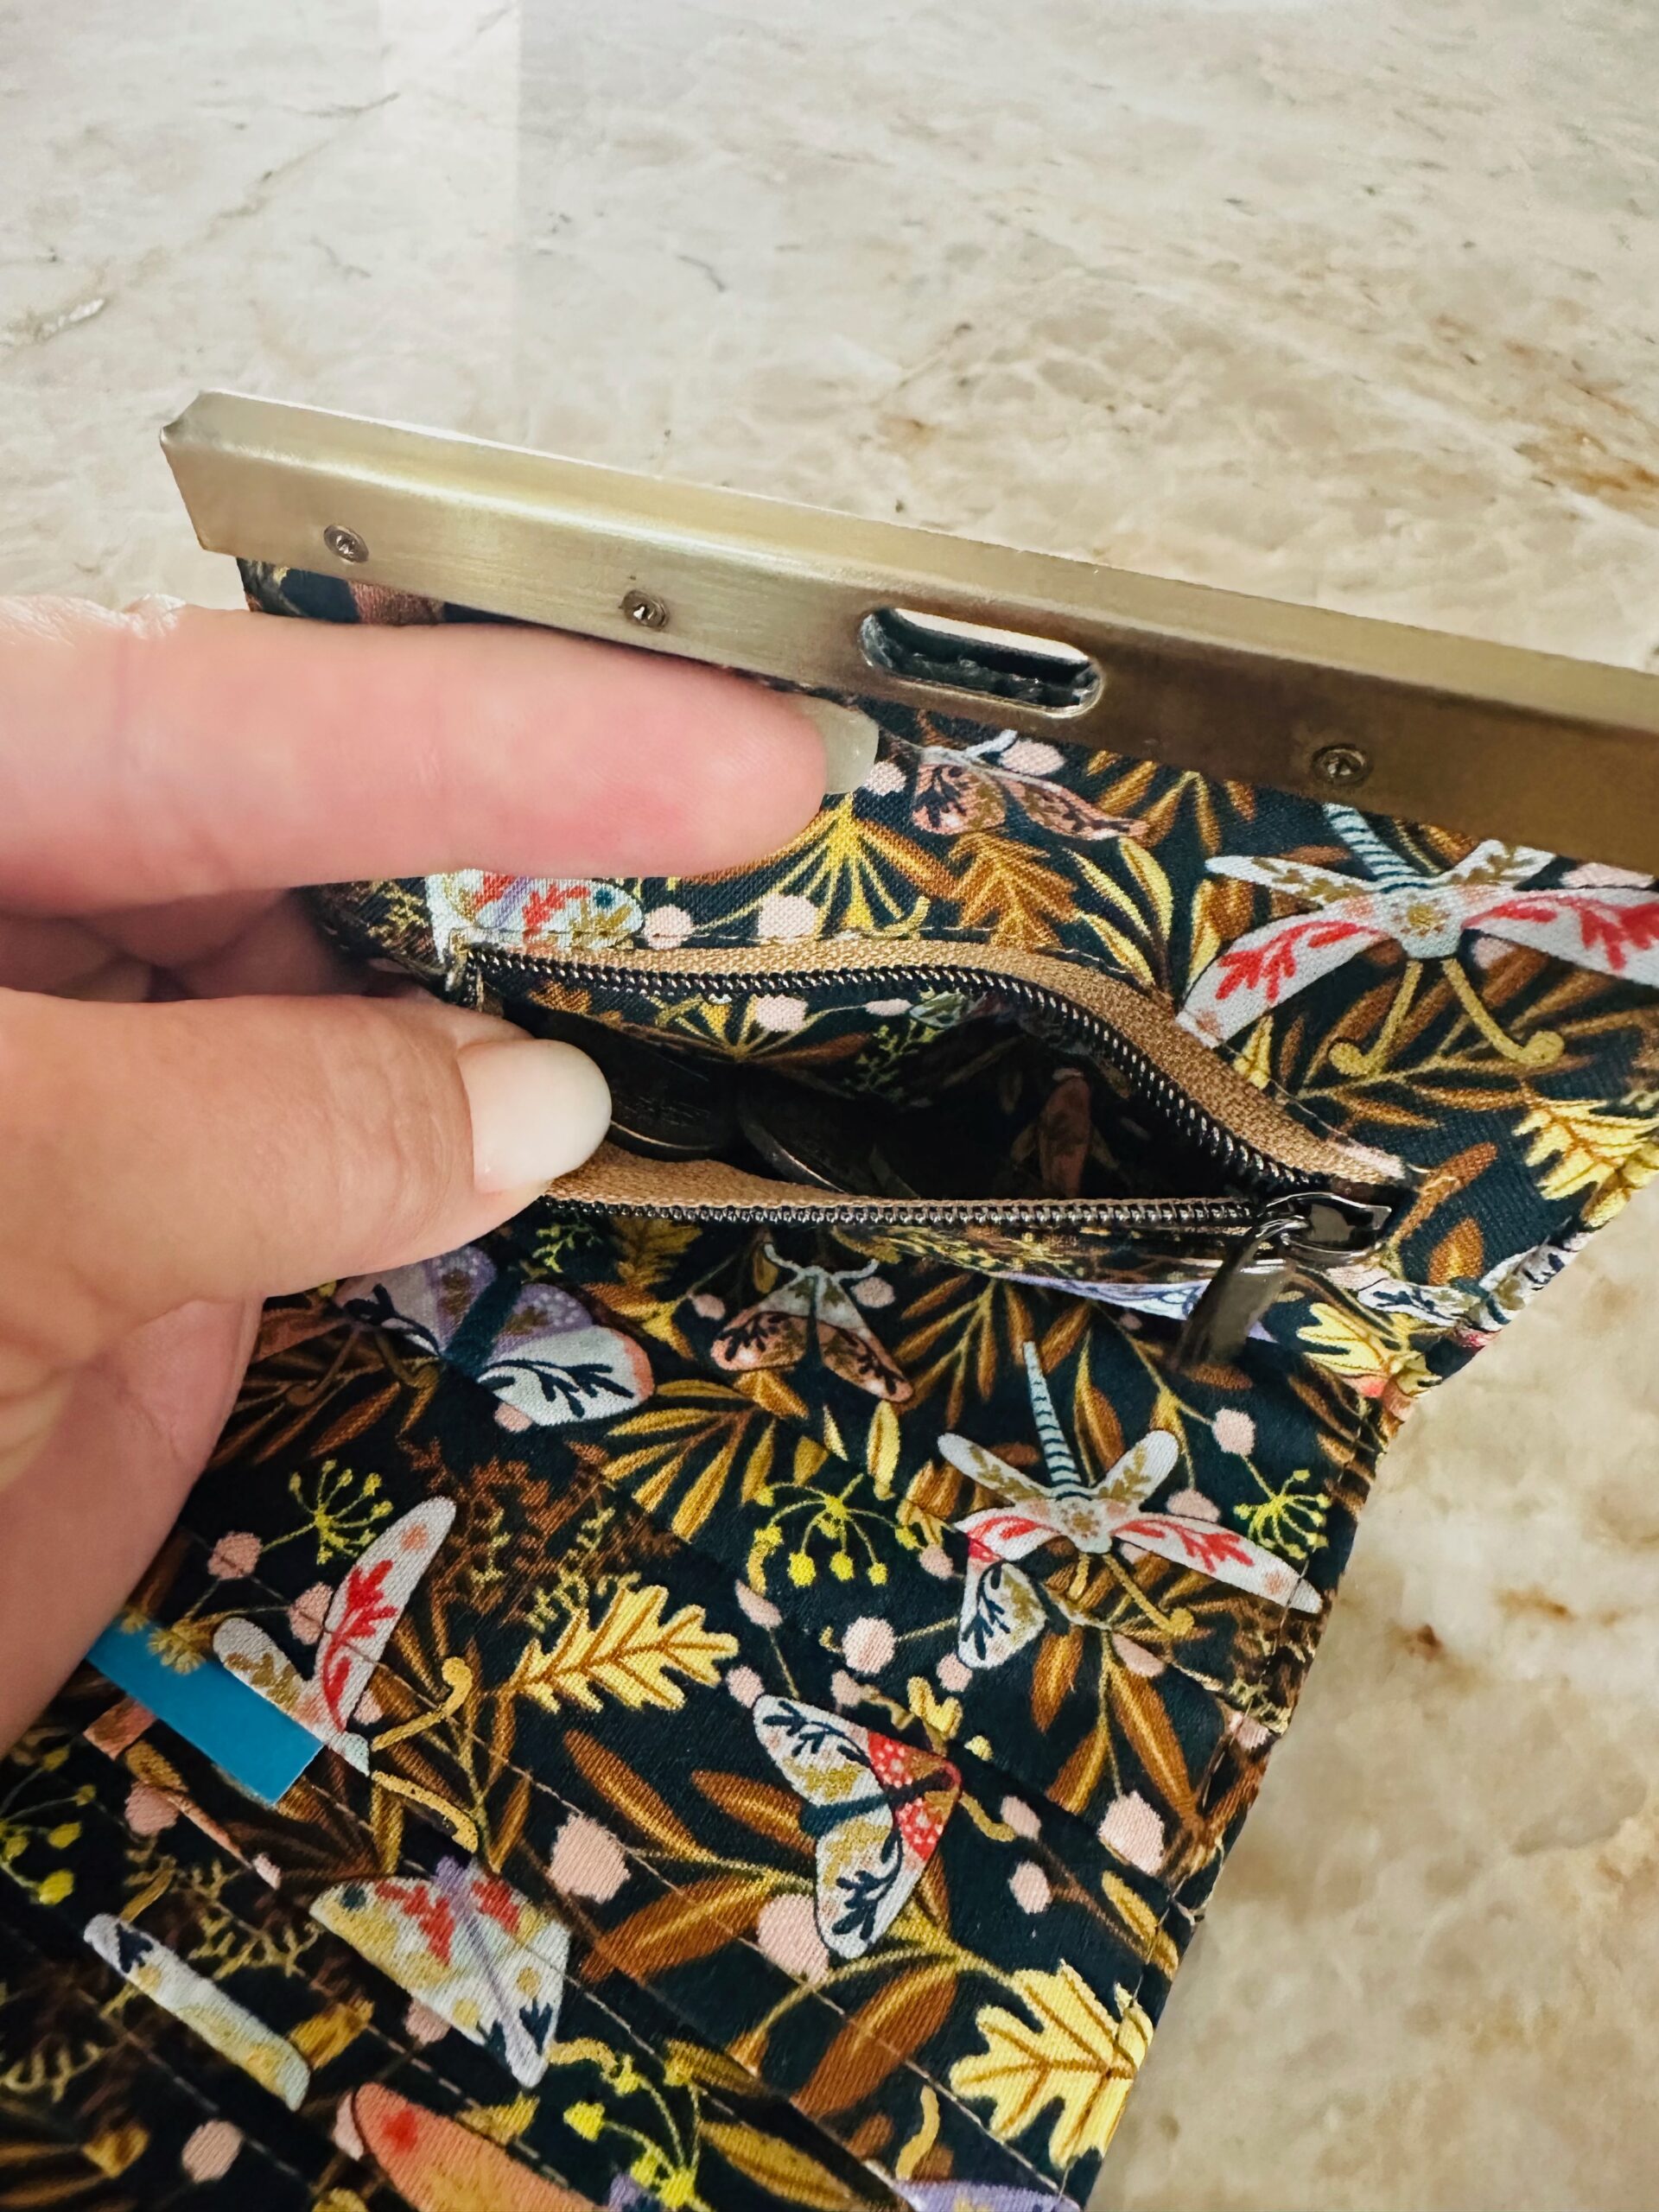
If needed, apply Fray Check® or a bit of hot glue/craft glue to conceal any frayed edges along the opening slot area. Place a small amount of hot glue/fabric glue into the frame opening. Insert the fabric edge into the slot, making sure the opening slot area is clean and free of thread and any frayed fabric. Further secure the frame with the included set screws. Warning: do not overtighten the screws. They are not intended to go through the fabric.
Next, place a small amount of hot glue/fabric glue into the remaining frame opening. Finally, insert the fabric edge into the slot. Then, secure with the included set screws.
TIP: Pam Damour includes a helpful video that shows how to install a purse frame in our Sulky Sunflower Wallet Webinar. Be sure to watch to see how it’s done!