🍋 How to Sew a Lemonade Stand Bunting
Stitch a cute bunting sign for your lemonade stand and attract all the buyers!
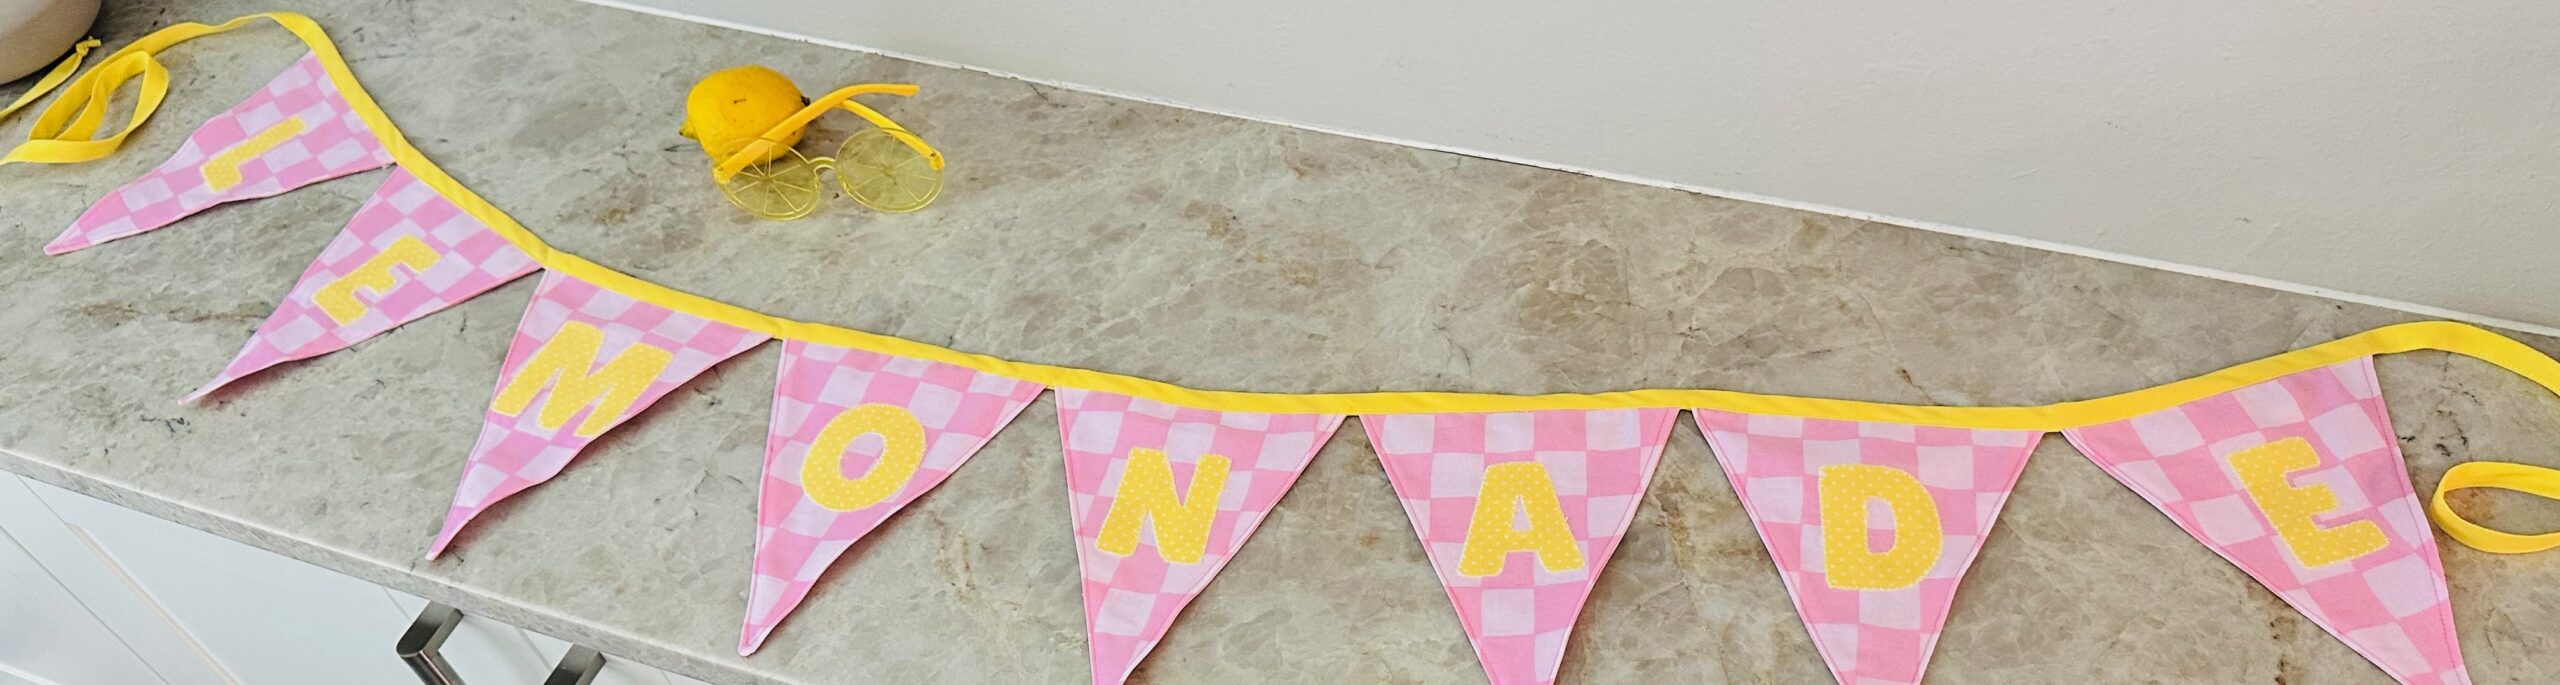
Nothing says “summer fun” quite like a classic lemonade stand—and what better way to draw in thirsty customers than with a handmade lemonade stand bunting sign? With just a few sewing supplies and a splash of creativity, you can create a festive banner that turns heads and boosts sales. Let’s get stitching!
🧵 Supplies You’ll Need:
- 1/2 yard of quilting cotton fabric (bunting flags)
- 1/4 yard of coordinating or contrasting quilting cotton fabric (appliqué letters)
- pre-made or self-made double-fold bias binding
- Sulky Perfect Appliqué™ Fusible Web
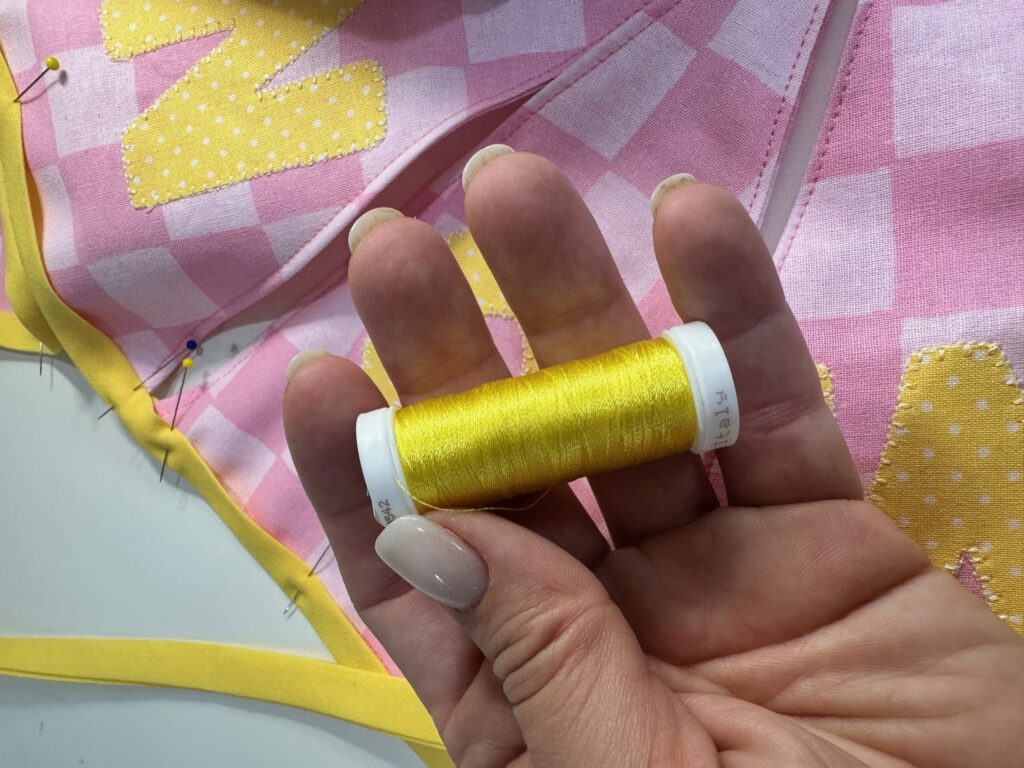
- Sulky 50 wt. Cotton Thread
- Sulky 30 wt. Cotton Blendables® Thread
✂️ Step-by-Step Instructions
1. Cut the Flags
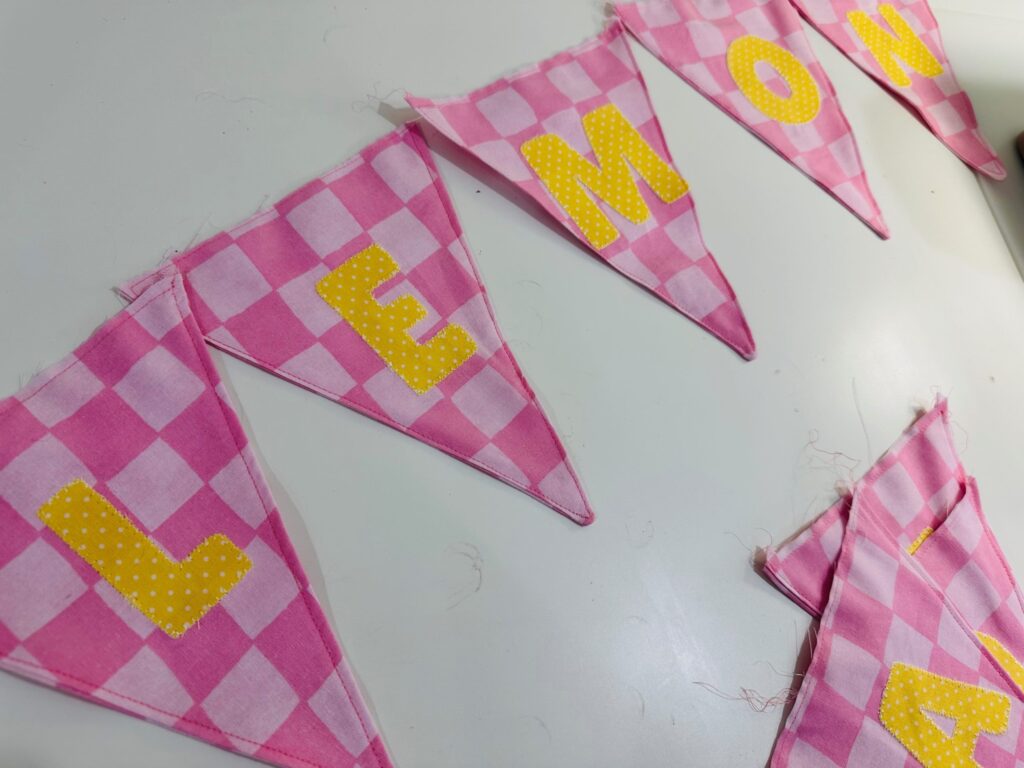
Decide on the number of flags you want for your bunting. A typical bunting for “LEMONADE” will need 8 flags, one for each letter. Cut each flag into a triangle (about 6″ wide at the top and 7″ to 9″ long) from the main fabric.
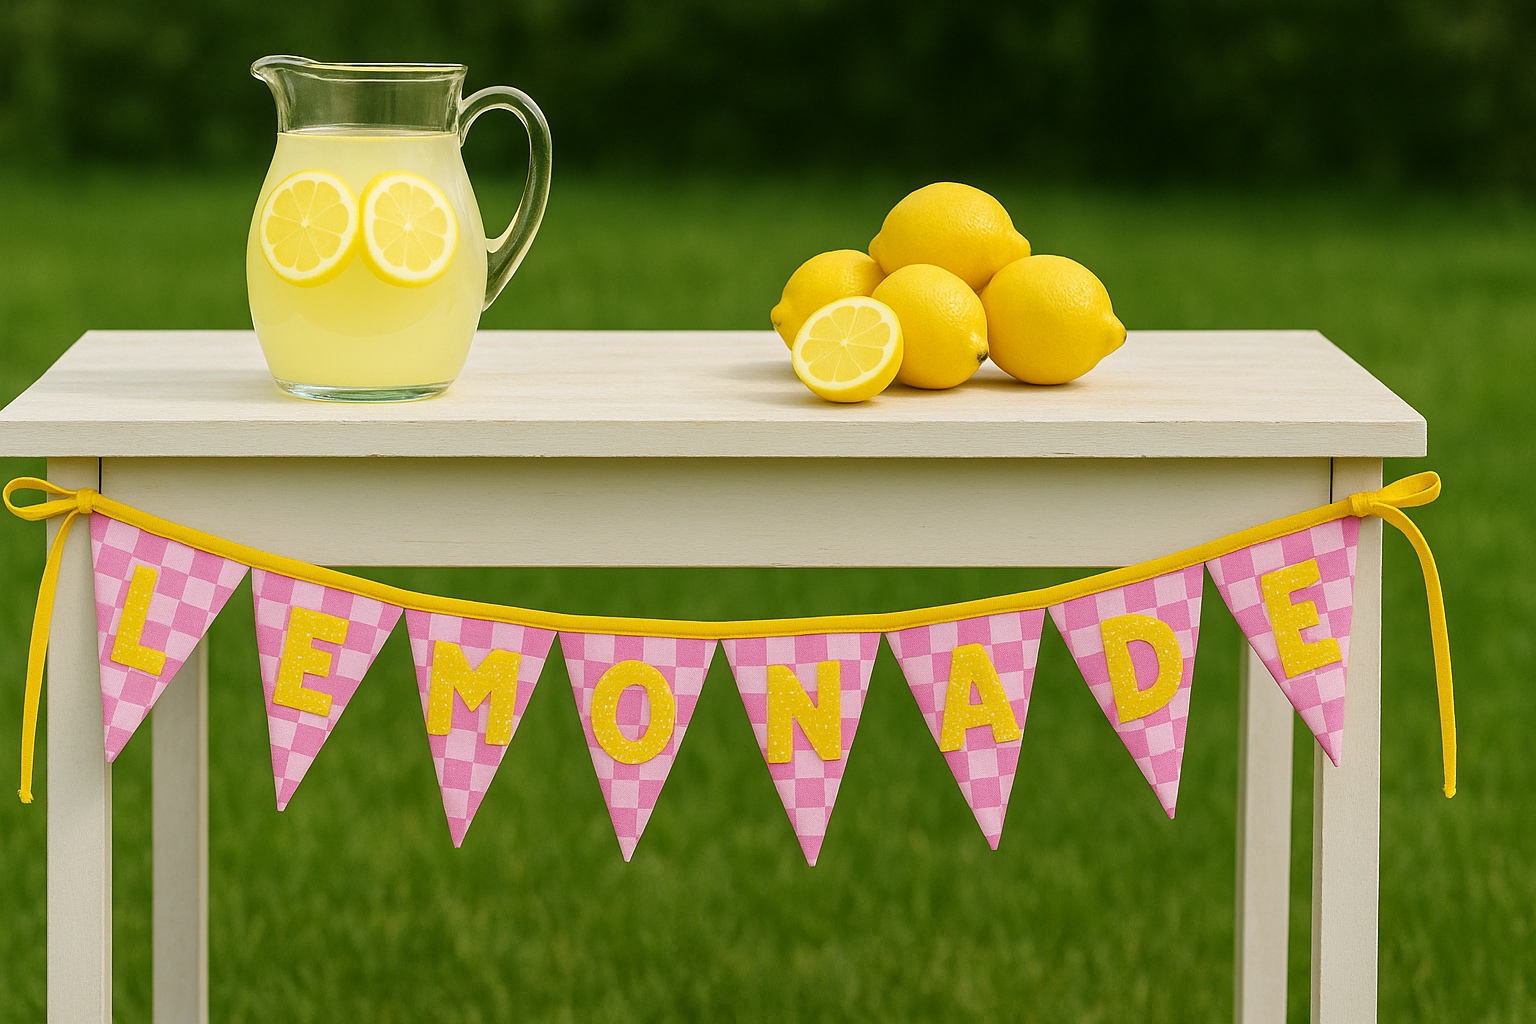
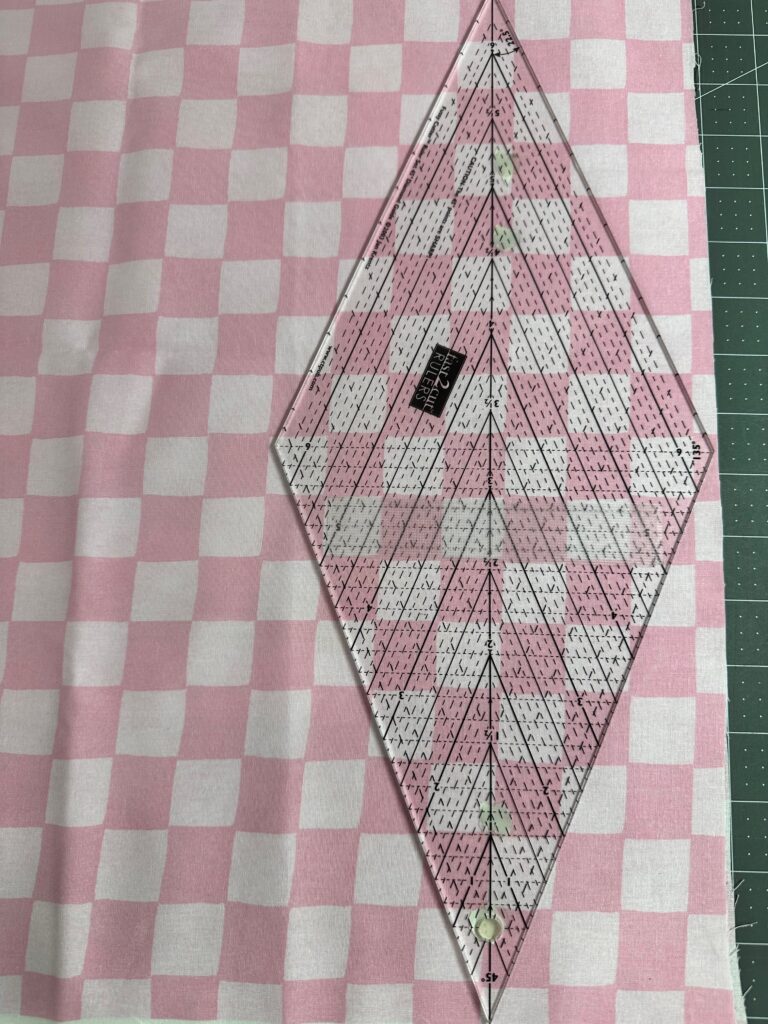
If possible, use a triangle or diamond quilting ruler to make things super simple. Or, download our triangle and “lemonade” letters templates HERE.
If using a diamond template, cut one diamond for each letter, and then cut along the centerline to have two triangles for each flag. If using a triangle template, cut two triangles for each letter to have a front and back.
2. Create Letter Templates
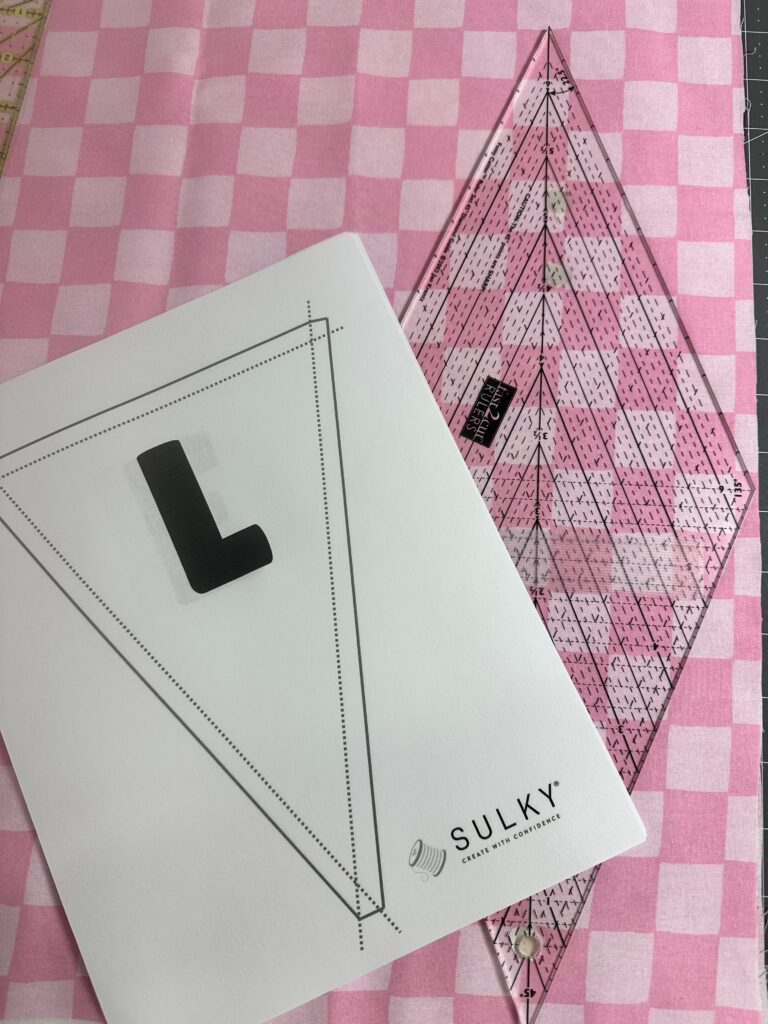
Using the coordinating fabric, trace or stencil the mirror image of the letters to spell “LEMONADE” onto the paper side of the Sulky Perfect Appliqué™ Fusible Web. You can print out our letter templates or hand-draw them for a personal touch. TIP: This is a great way to get the kids involved!
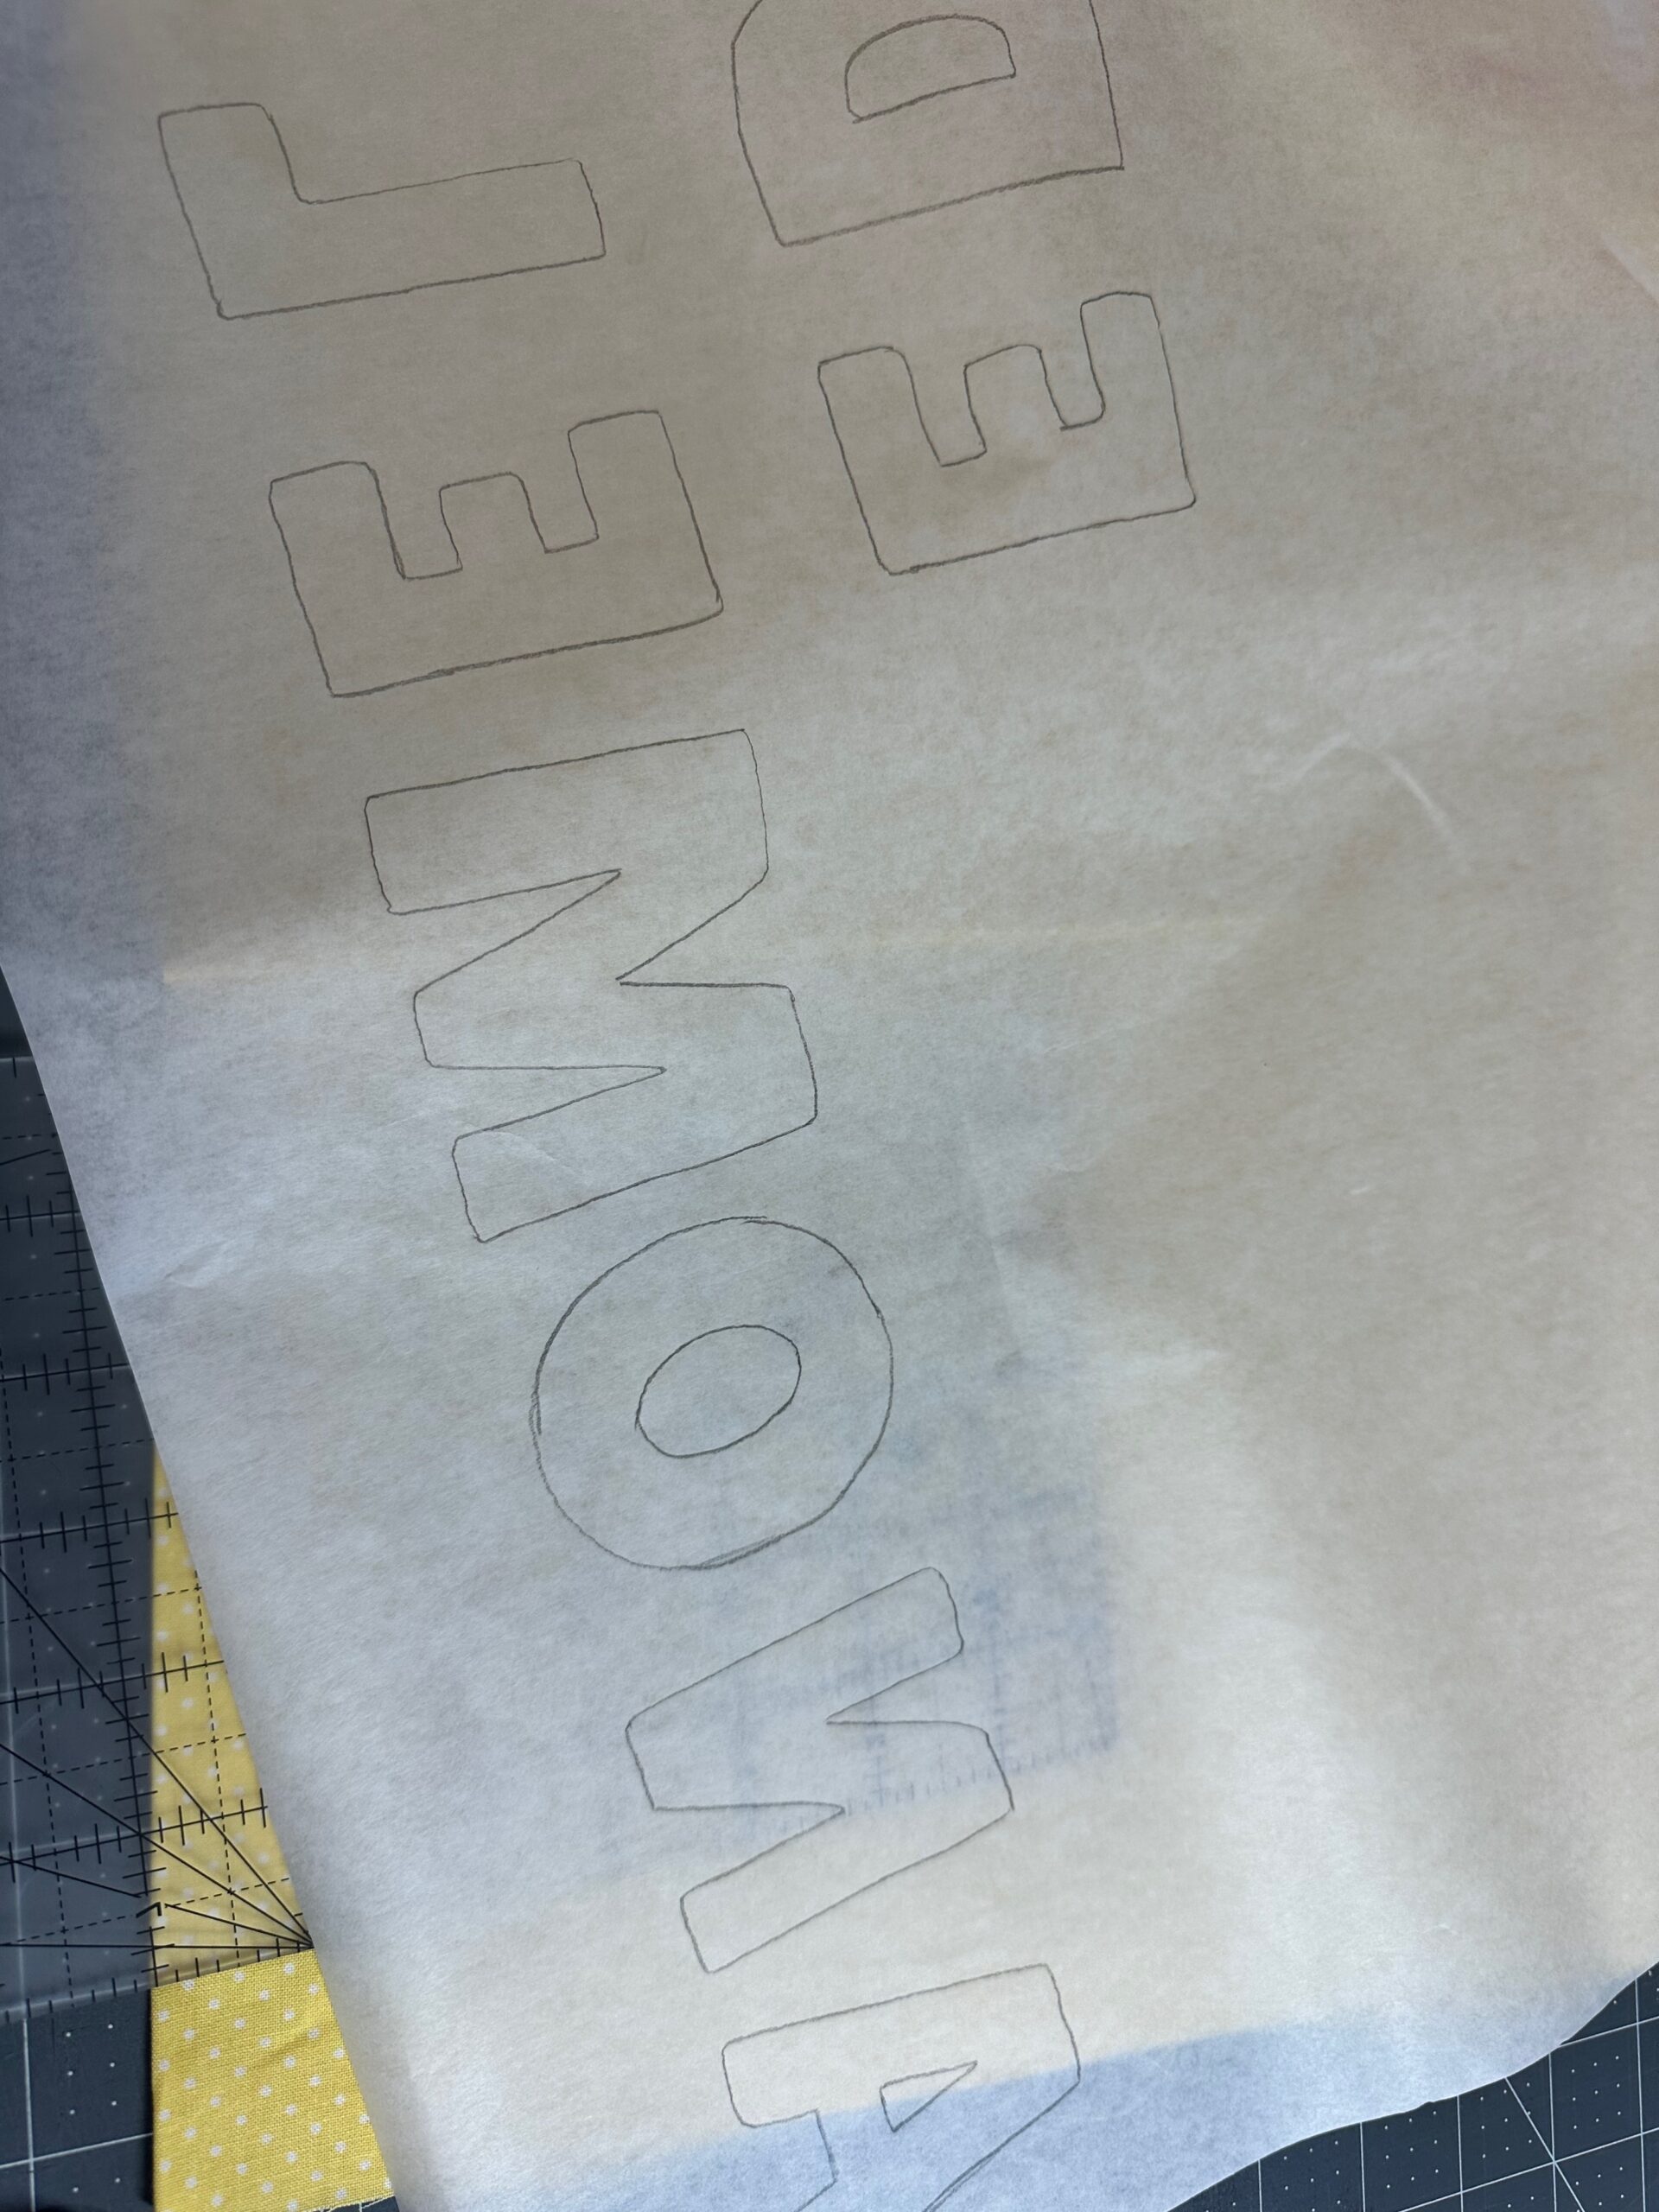
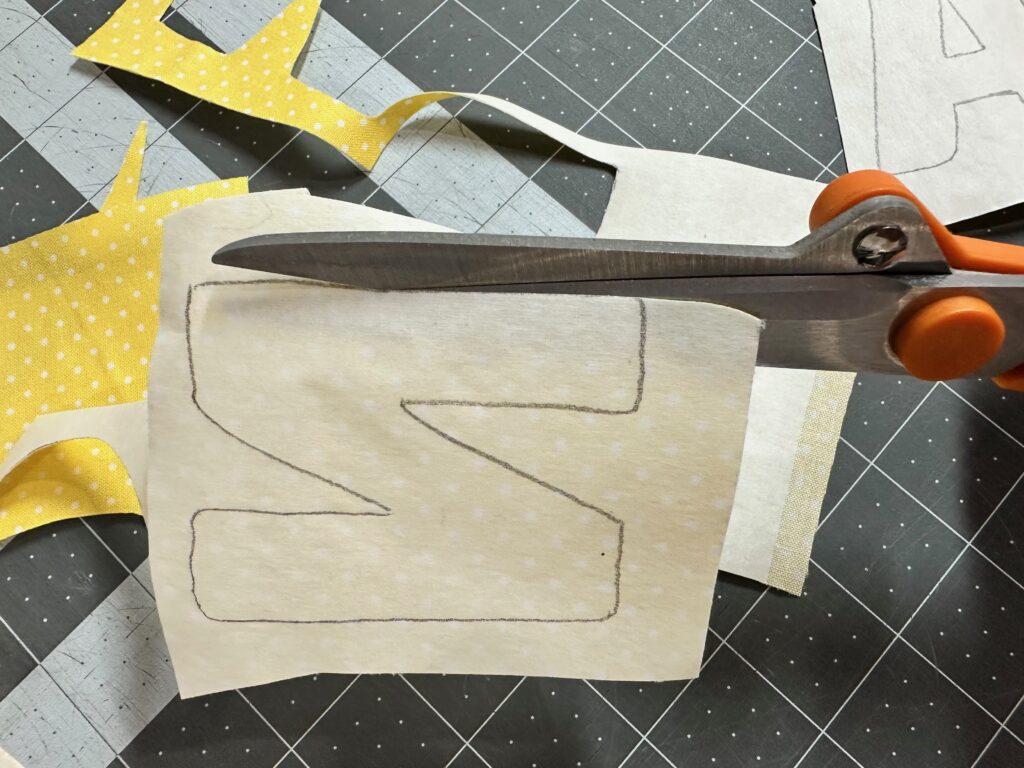
Apply the Sulky Perfect Appliqué™ Fusible Web to the back of the fabric, and then cut out each letter.
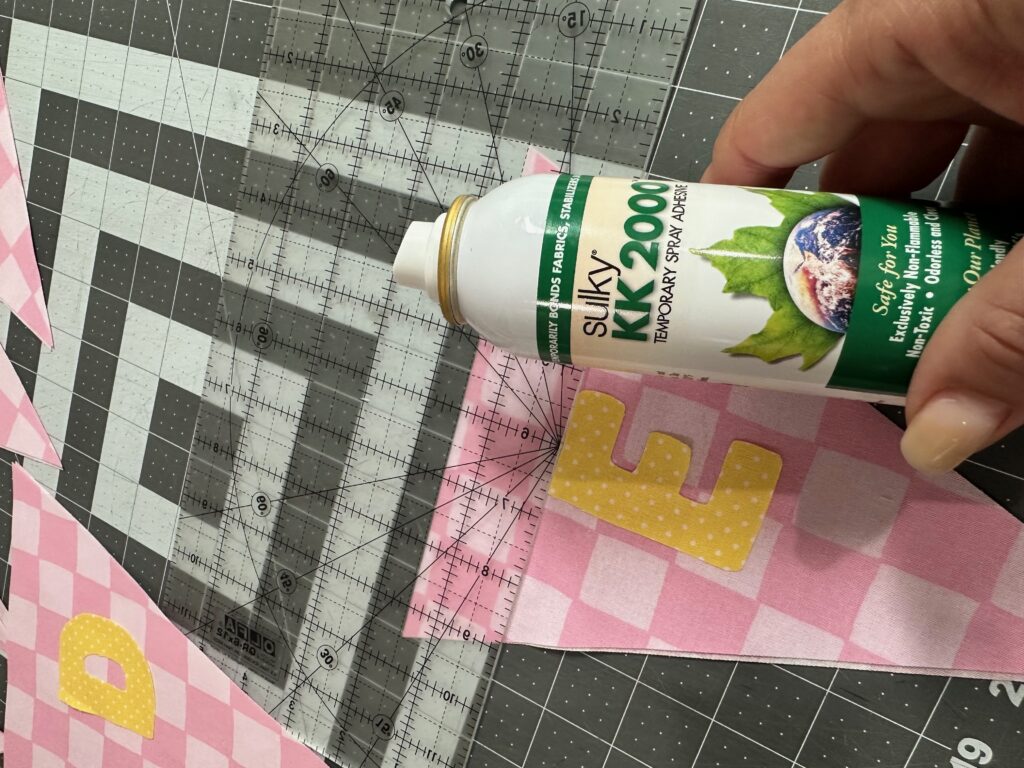
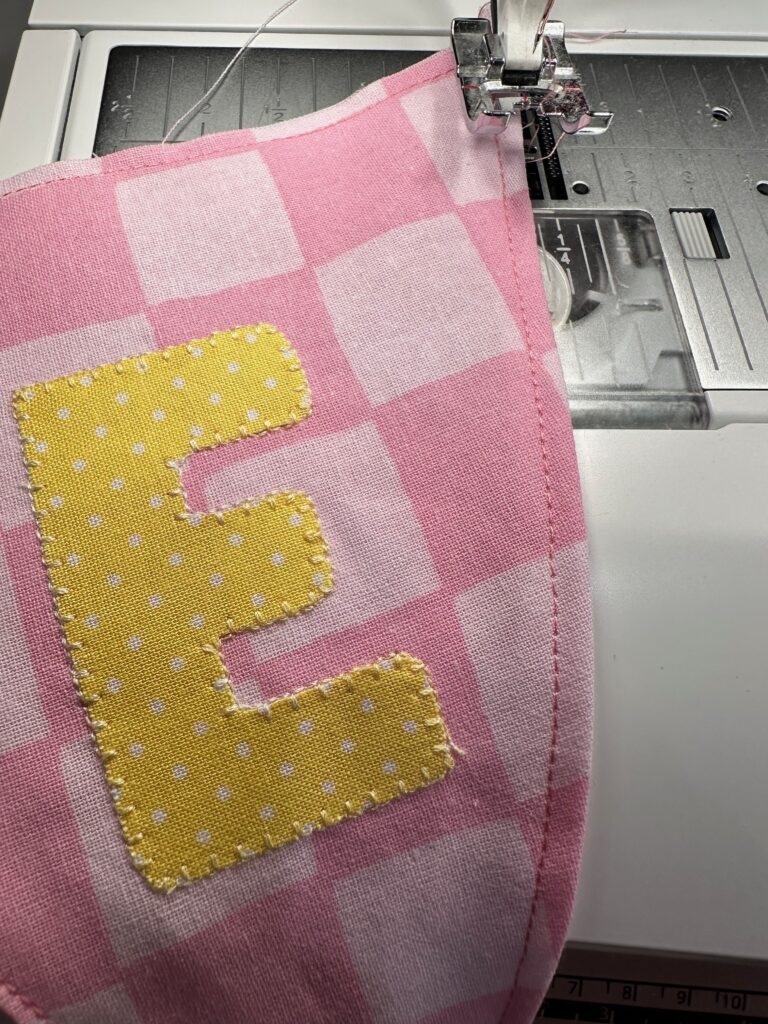
3. Appliqué the Letters
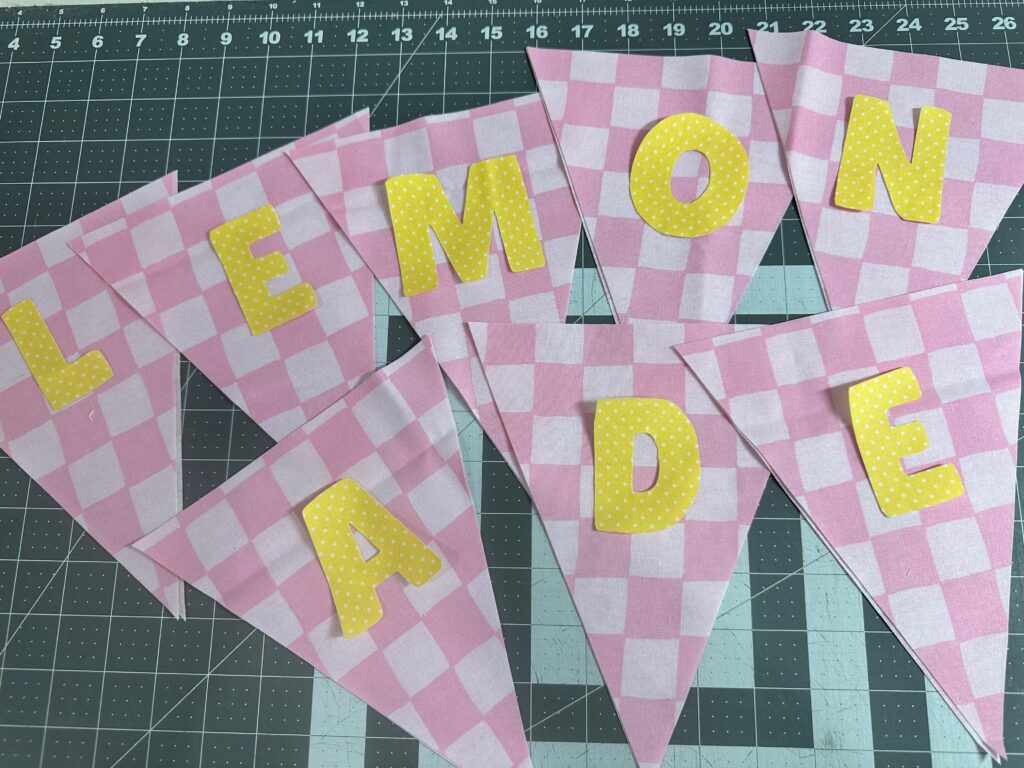
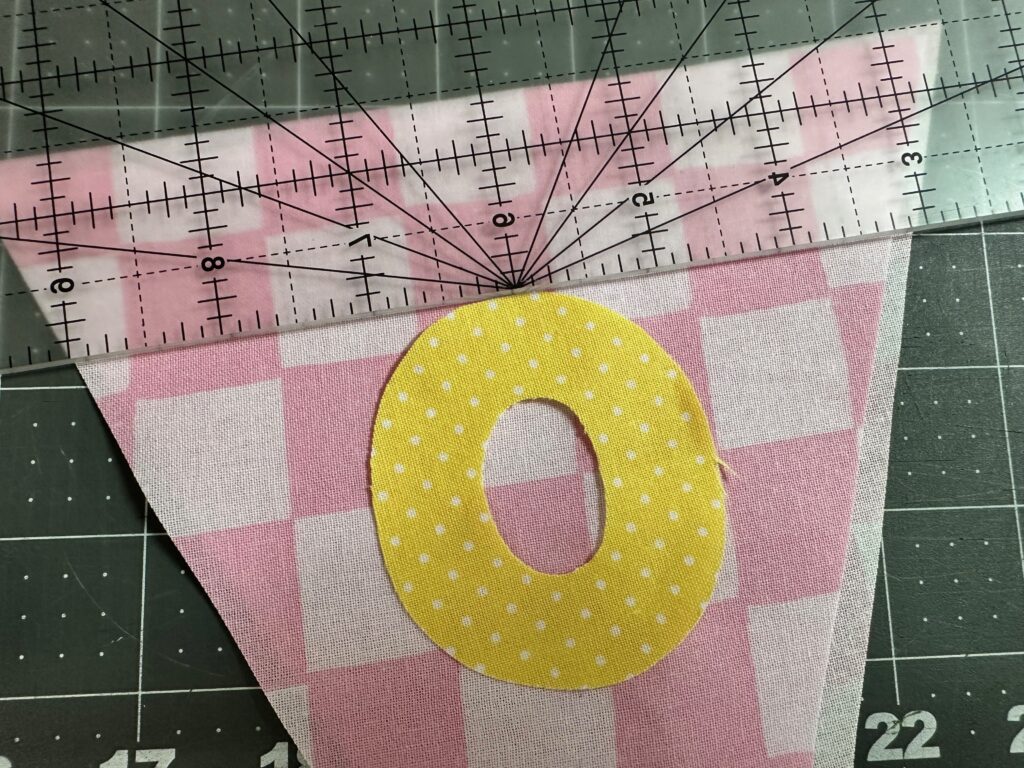
Center each letter on a triangle flag. Use SUlky KK2000 Temporary Spray Adhesive to stick each appliqué letter in place and check placements.
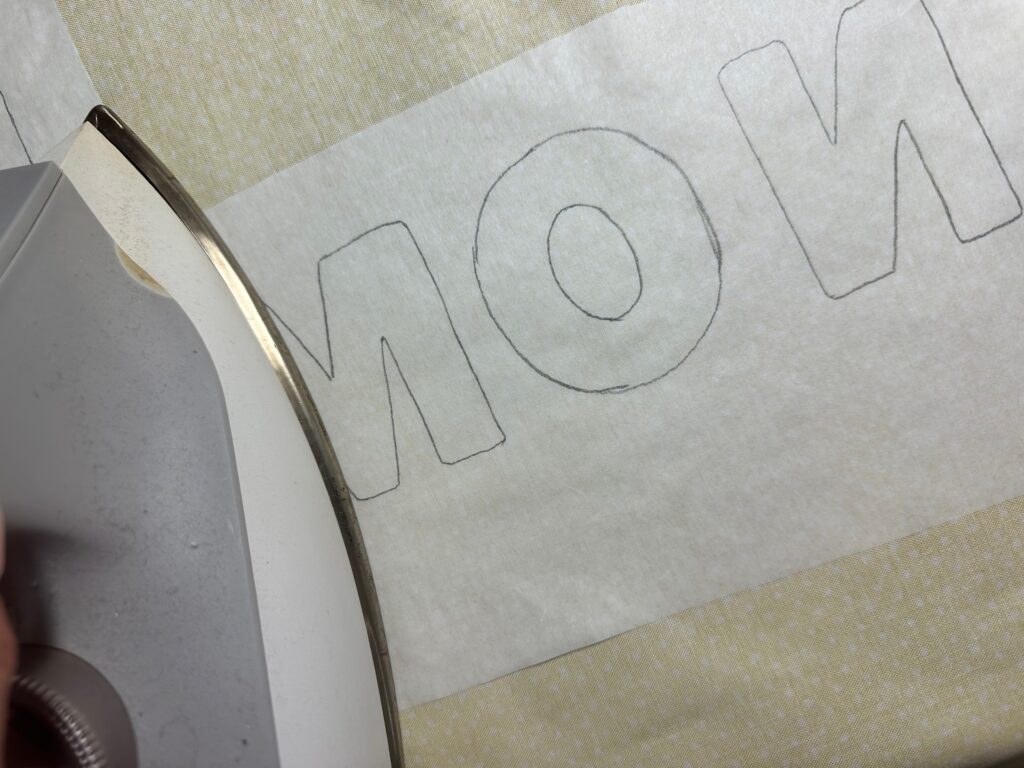
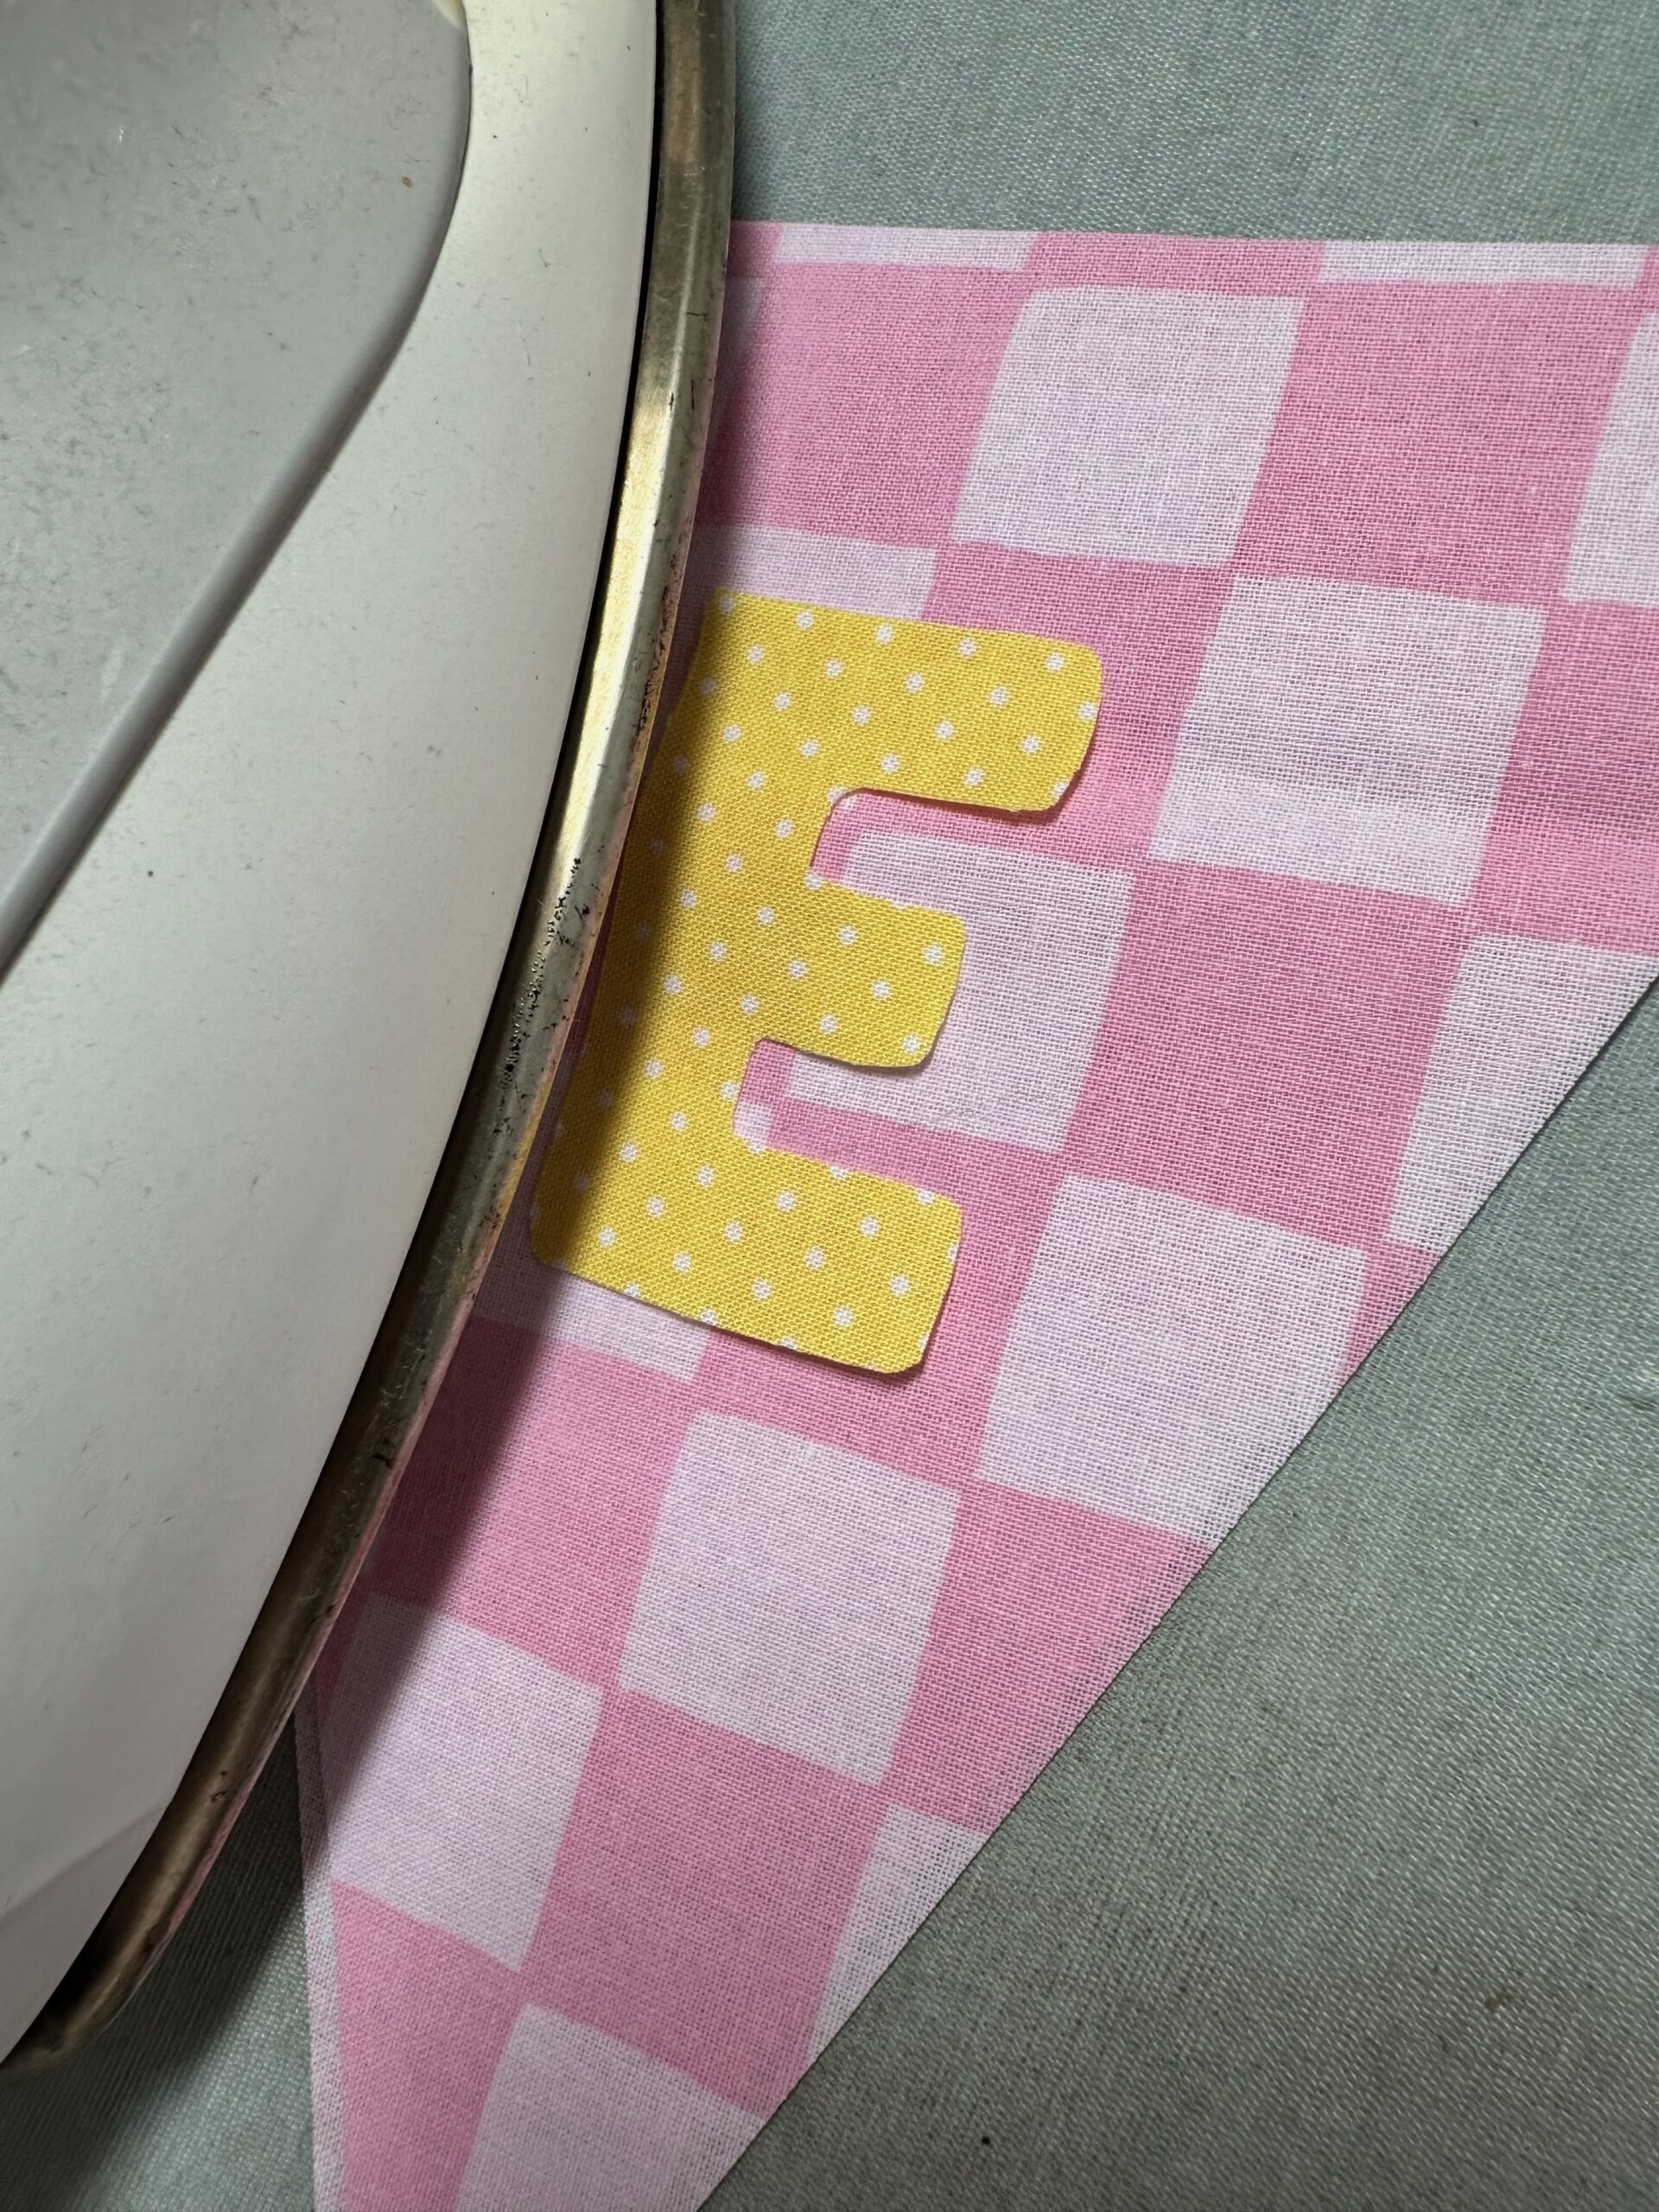
Then, fuse each letter to each bunting flag using a low- to medium-temp iron.
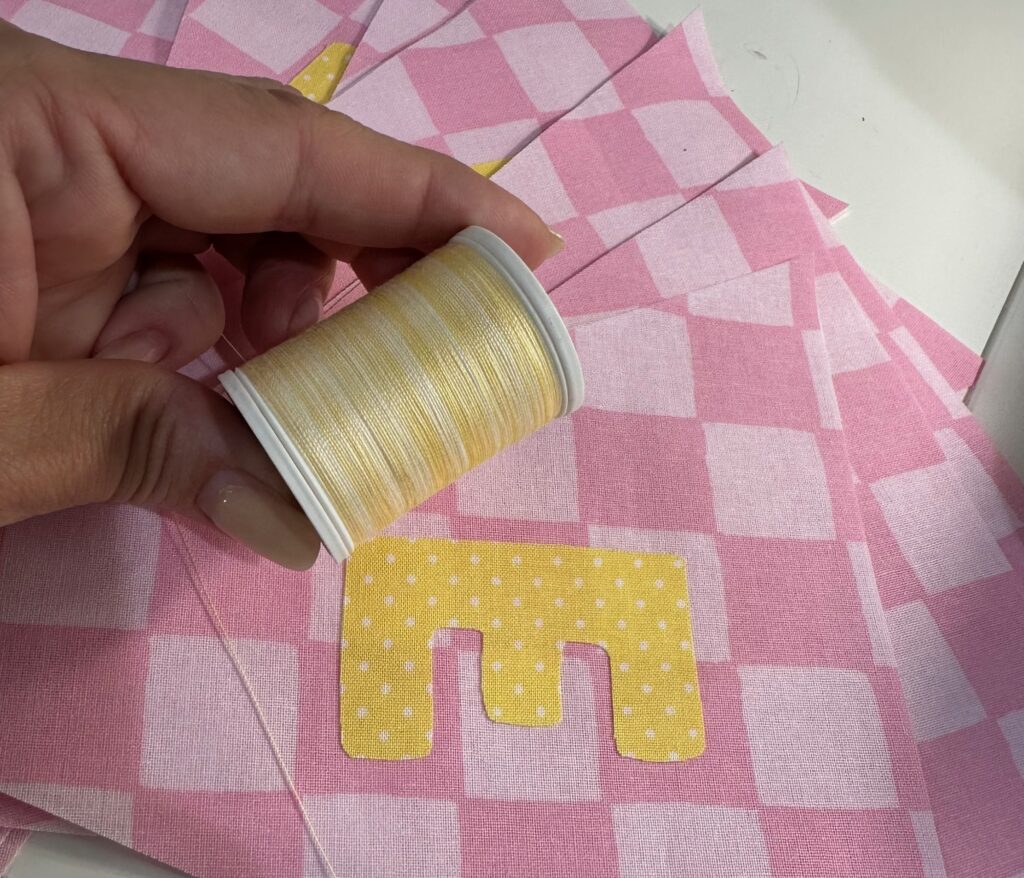
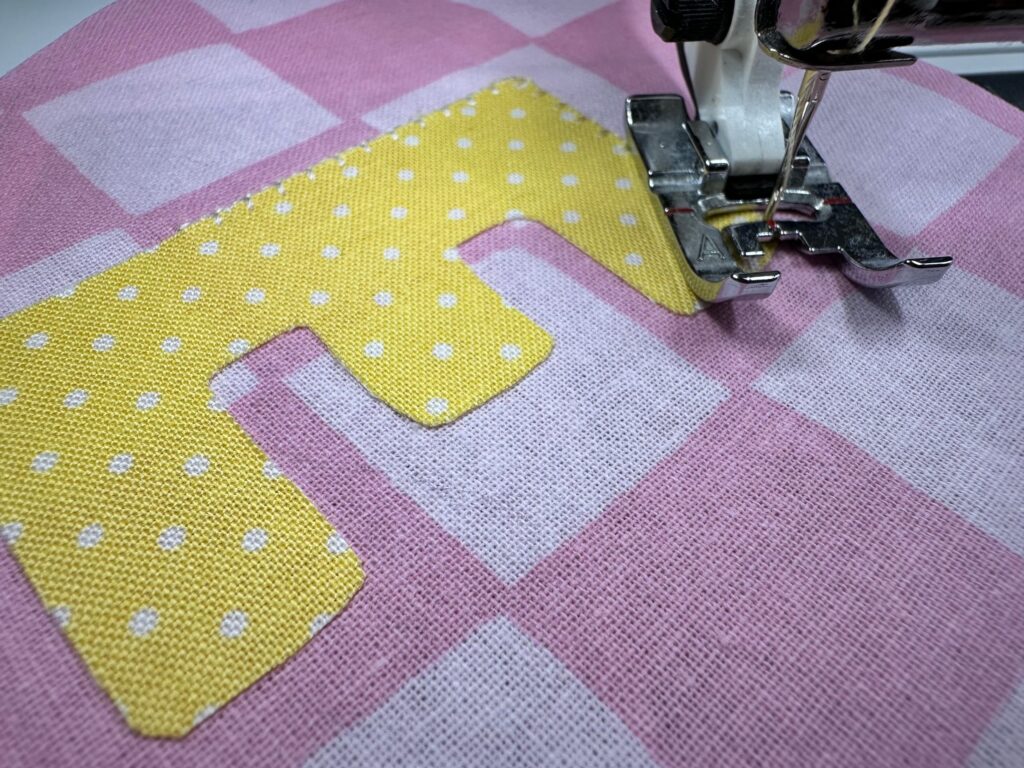
Use Sulky 30 wt. Cotton Blendables® Thread to stitch along the edges using a decorative stitch, such as a zigzag or blanket stitch.
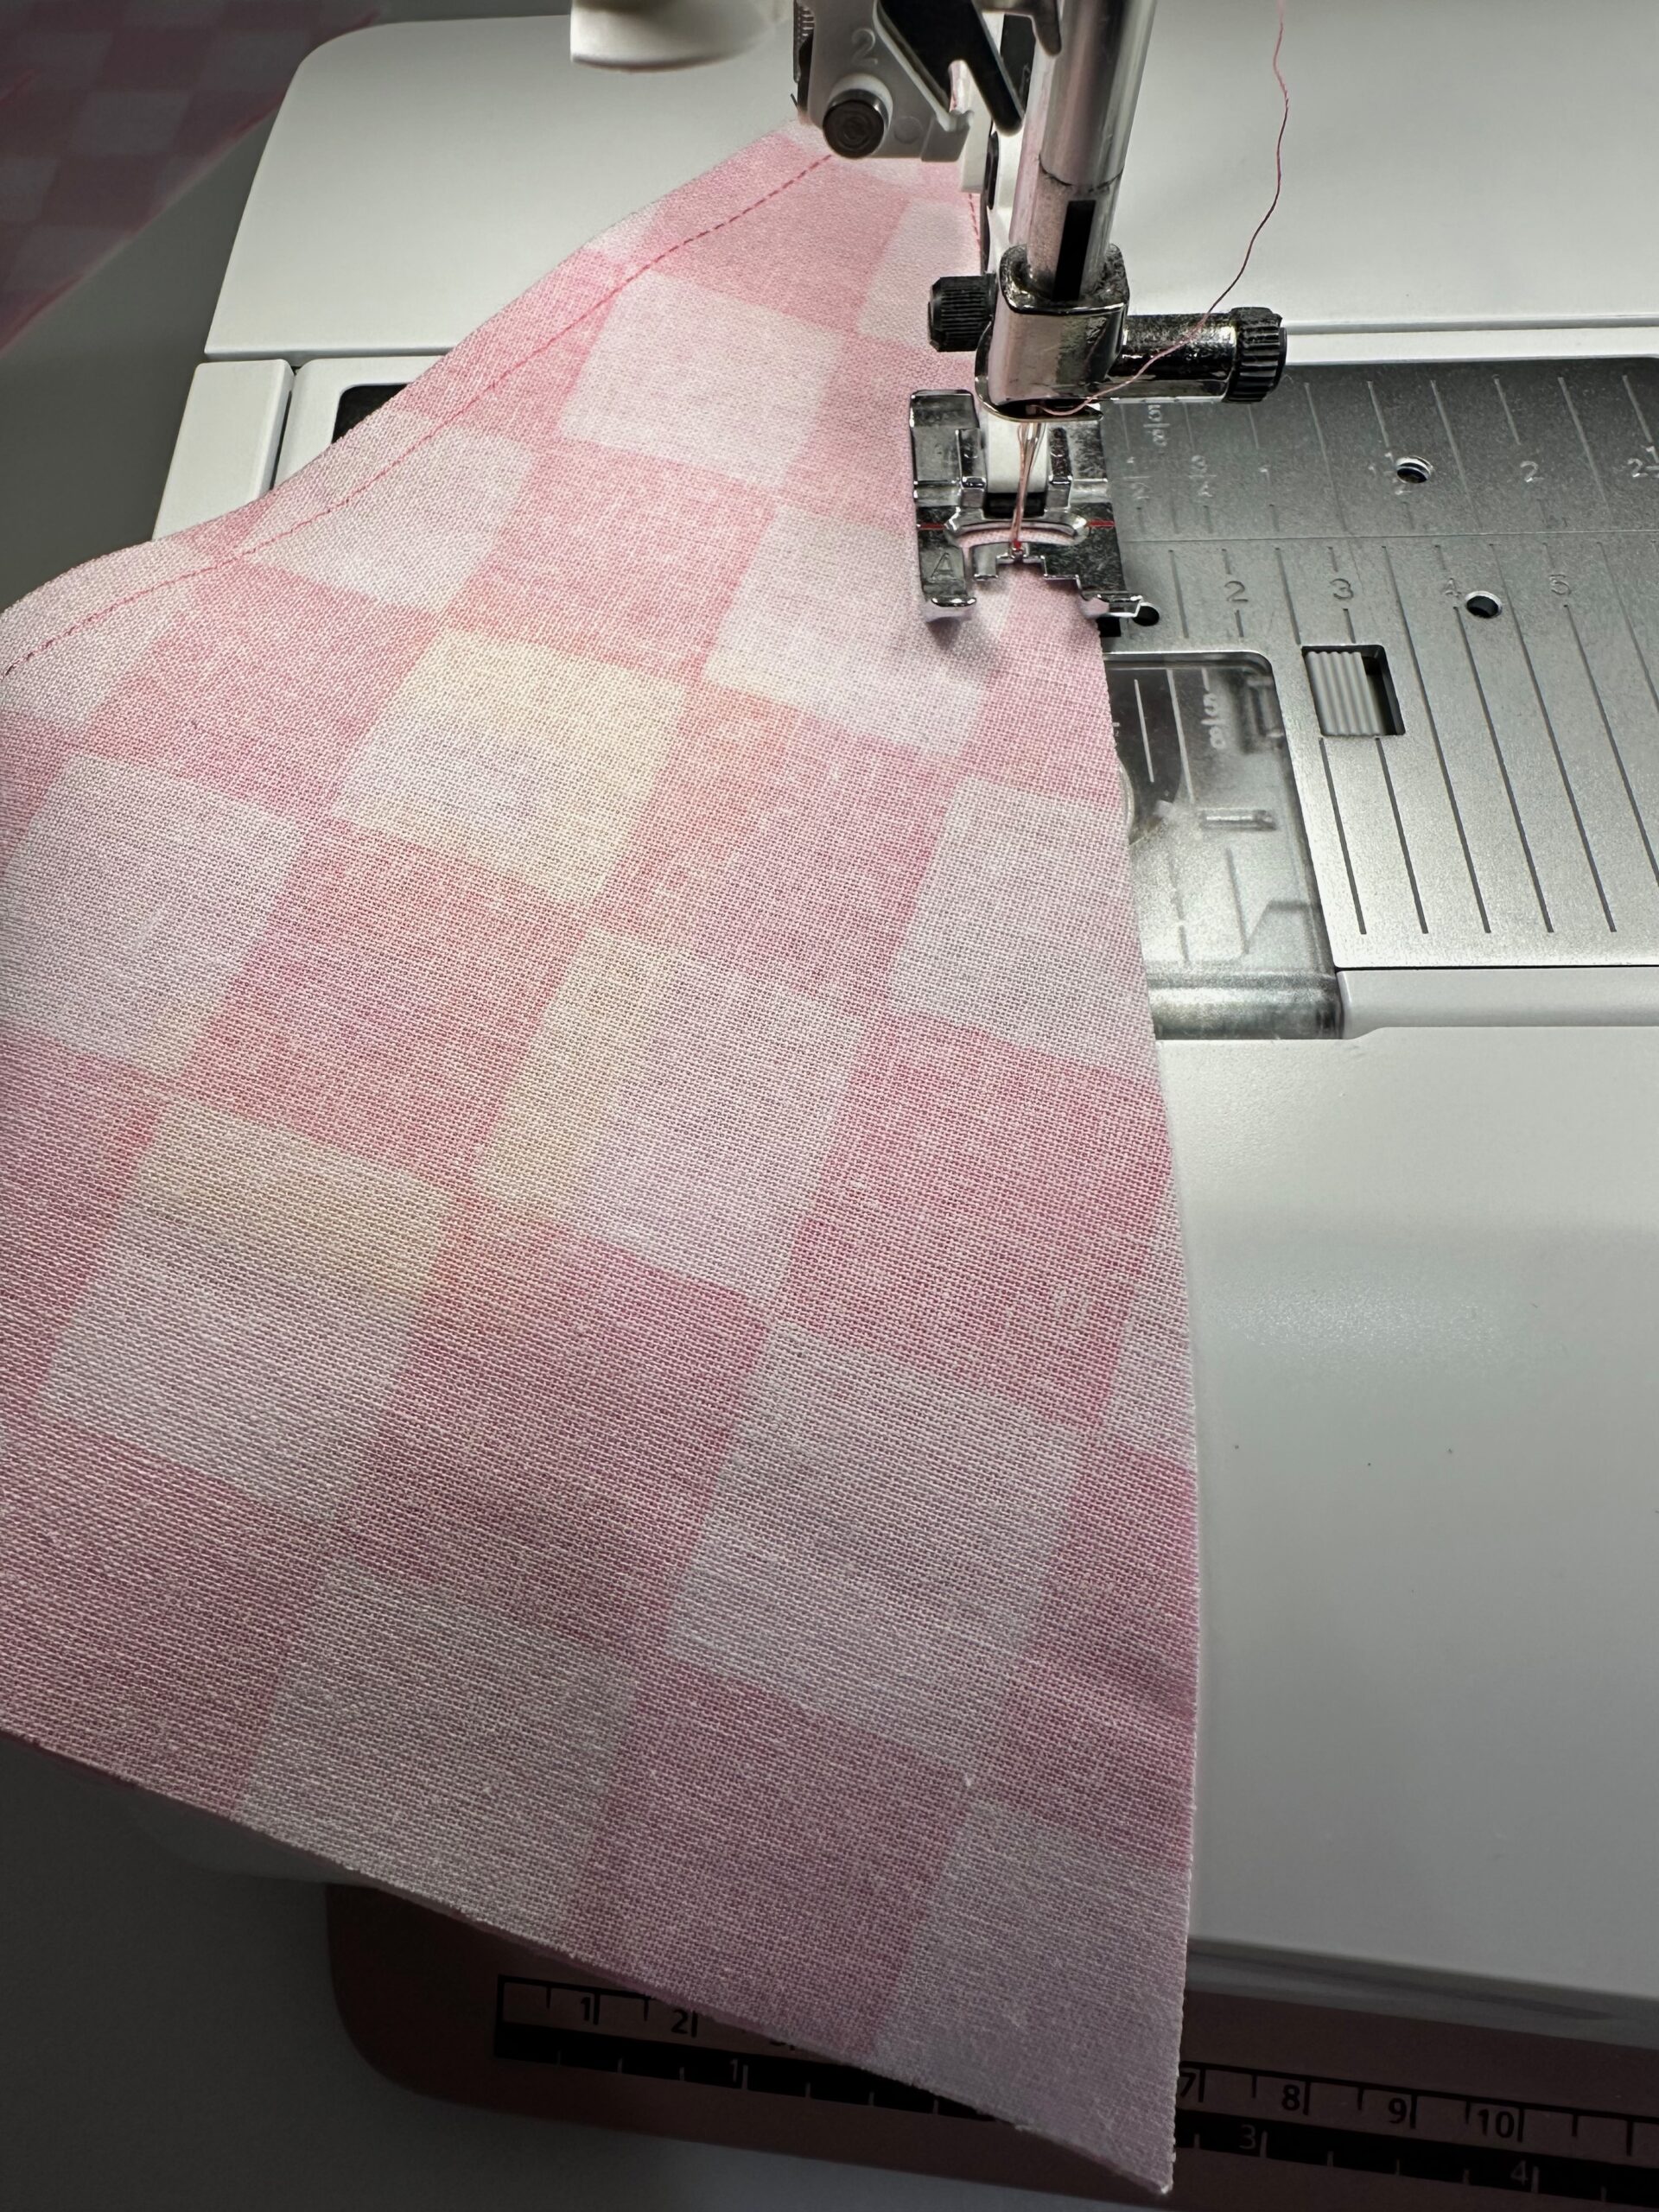
4. Assemble the Bunting
Place one letter flag and one blank flag on a flat work surface with right sides together. Stitch the diagonal sides.
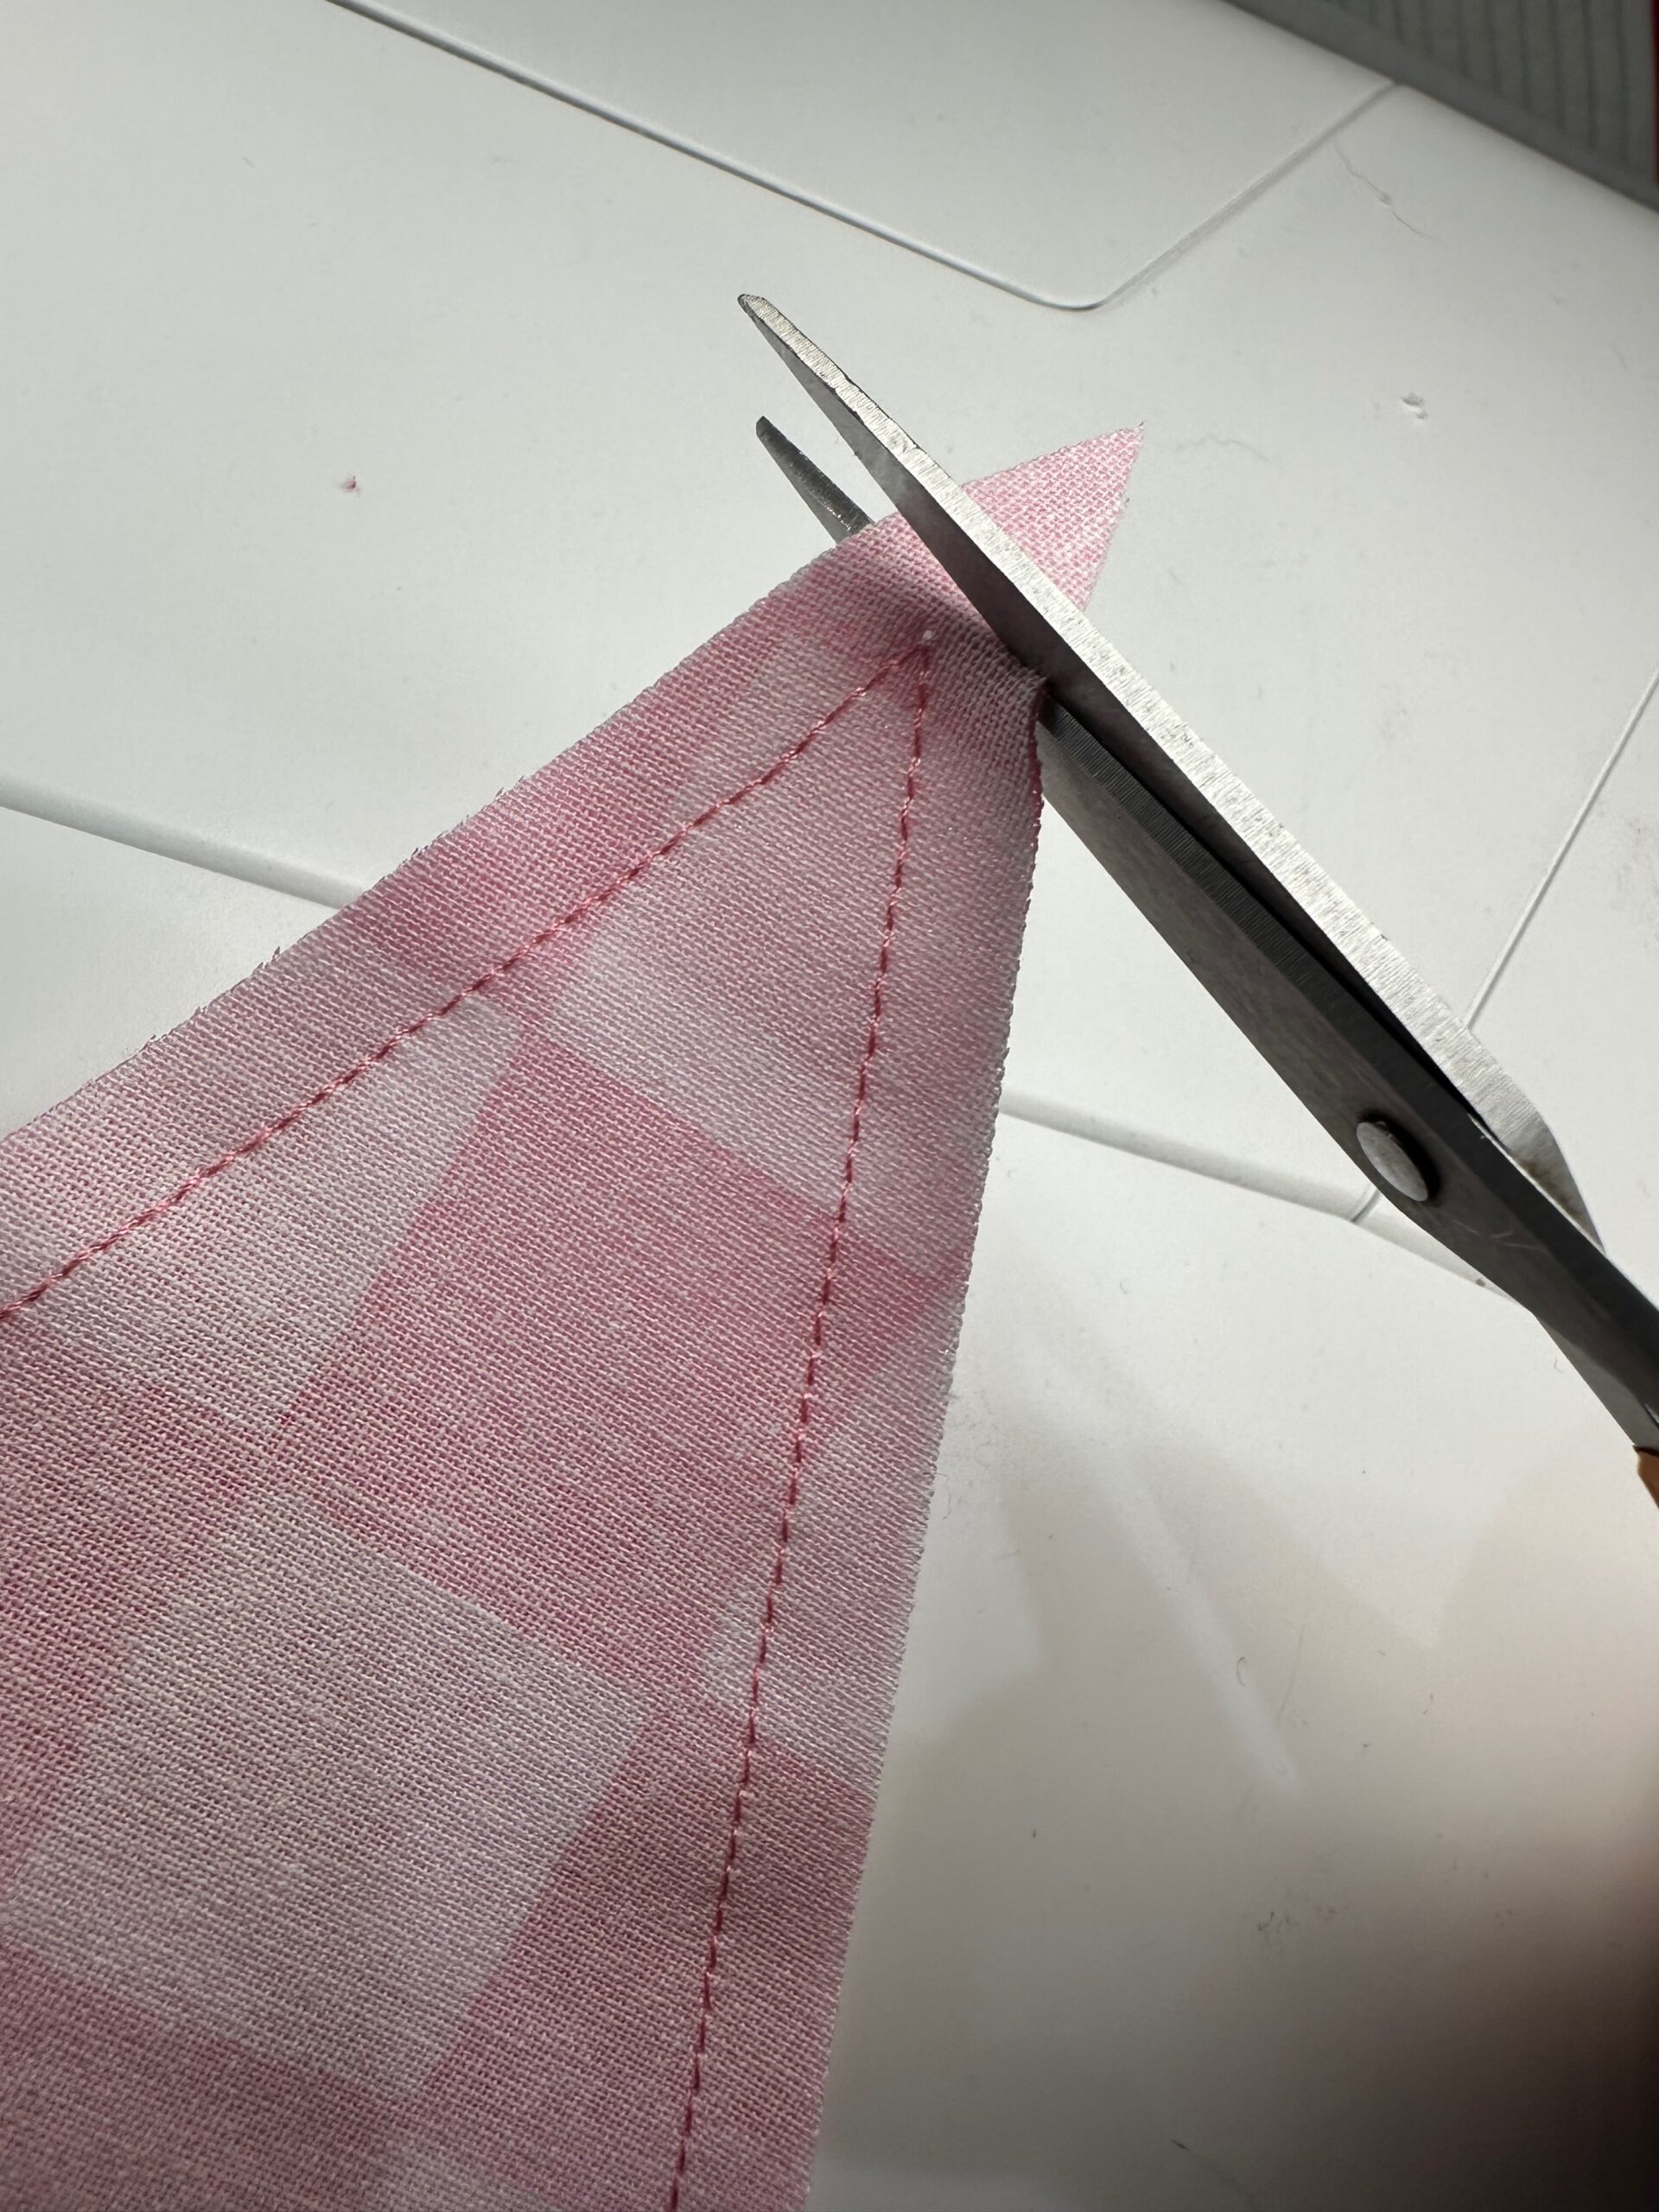
Then, clip the corner point up to, but not through, the stitching line.
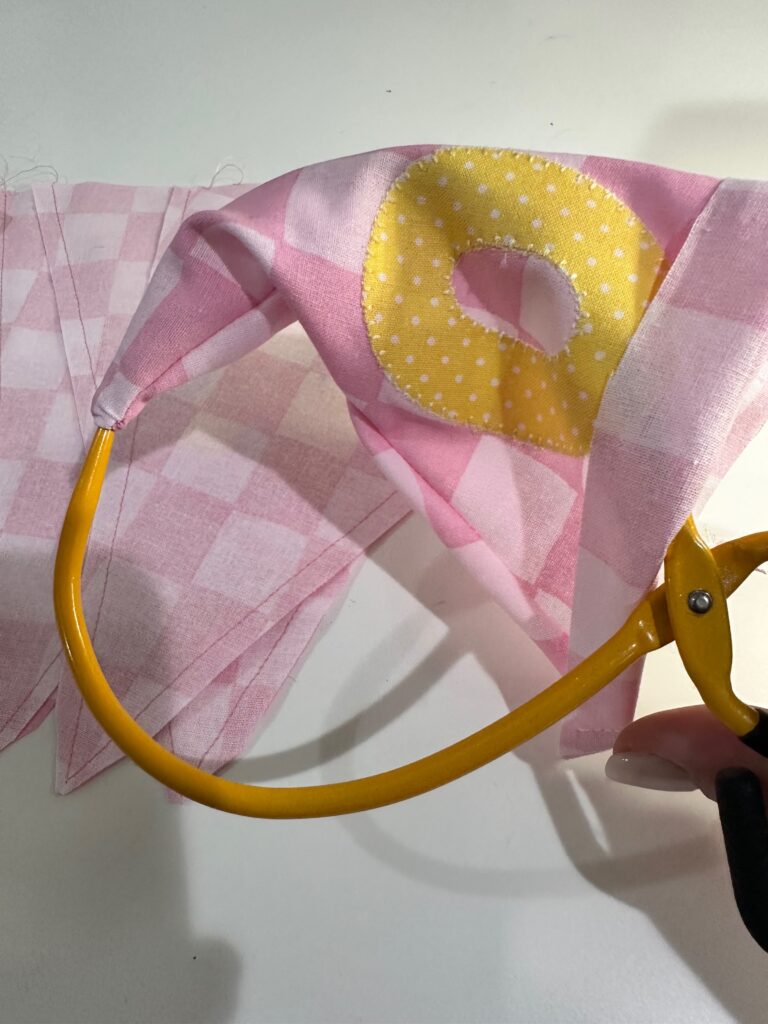
Turn the flag right side out through the upper-edge opening. TIP: Use an Easy Point Turner or Sulky Multipurpose Turning Tool to make turning the flags easier!
Press the flag flat. Then, topstitch the flag perimeter. Repeat to stitch each bunting flag.

Lay out the flags in order.
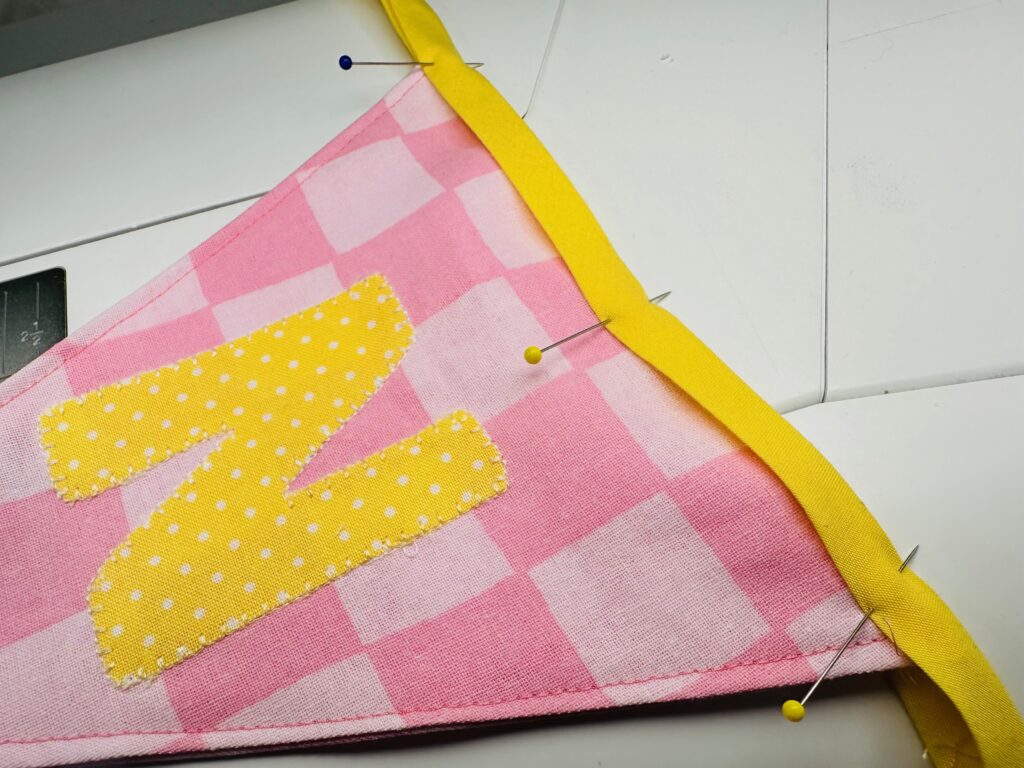
Cut a strip of pre-made or self-made bias tape, long enough to hold all the flags with a few extra inches on each end for tying.
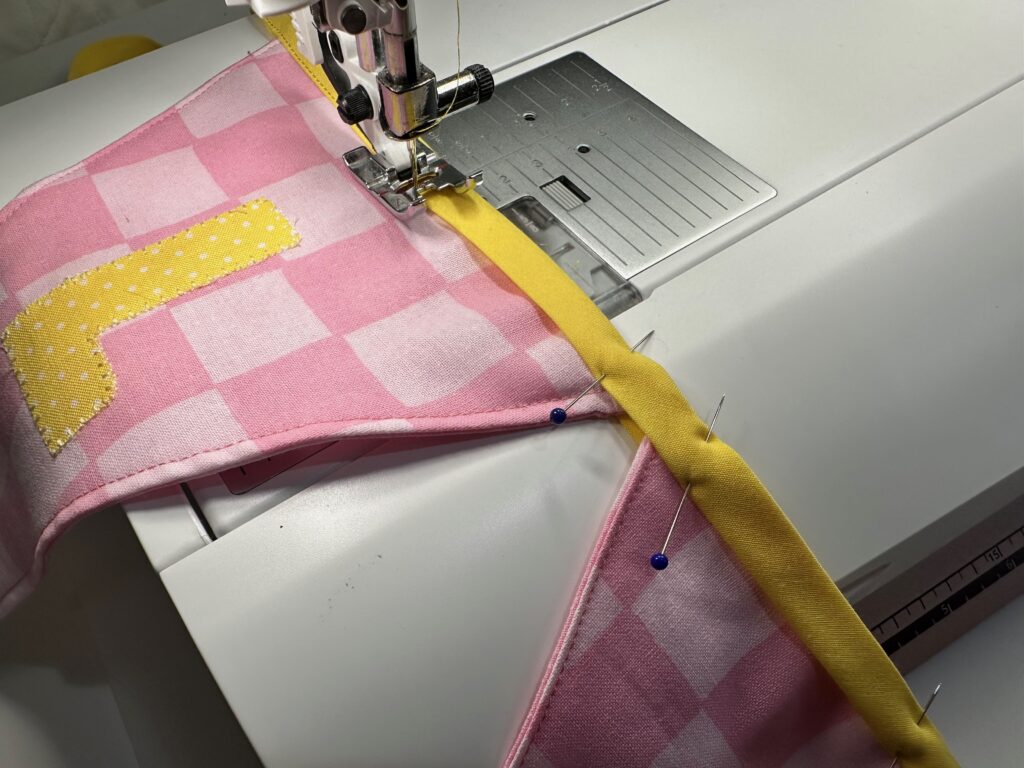
Insert the upper edge of each bunting flag into the bias-tape fold, spacing each flag evenly. Pin or use binding clips to secure each flag.
Stitch along the tape lower-edge folds using Sulky 50 wt. Cotton Thread or decorative Sulky 40 wt. Rayon or Poly Deco Thread in the needle and bobbin.
5. Finishing Touches
If desired, add more embellishments like buttons, mini pom-poms, or rick-rack trim for even more charm.
🎉 Set Up & Sell!
Hang the beautiful bunting above your lemonade stand and watch the magic happen. Whether it’s a backyard summer sale or a school fundraiser, this cute sign adds personality and sunshine to your setup.
Happy stitching and sweet selling! 🍋✂️
