Linen Apron with Machine Embroidery
A linen apron makes a great gift for Mother’s Day, Grandparent’s Day or any day of the year. Aprons are almost always one-size-fits-all, so they’re easy to gift to anyone of any size. However, the featured free apron pattern by Hey June Handmade is a multi-size apron that requires a couple of measurements to ensure a good fit.
Choose a linen fabric for this to elevate the gift and make it super comfy to wear. A medium- to heavyweight linen fabric is best to support the embroidery stitching and last through multiple washings and wearings. Linen is typically a rather open-weave fabric, so the right stabilizer is essential for a balanced, professional finish. Read on to learn how to make a linen apron with machine embroidery!
LINEN APRON SUPPLIES
- Apron Pattern, such as the Allspice Apron by Hey June Handmade
- Fabric & notions according to pattern (featured fabric is 1 1/2 yards of 8oz. heavyweight linen; pocket fabric & binding is quilting cotton)
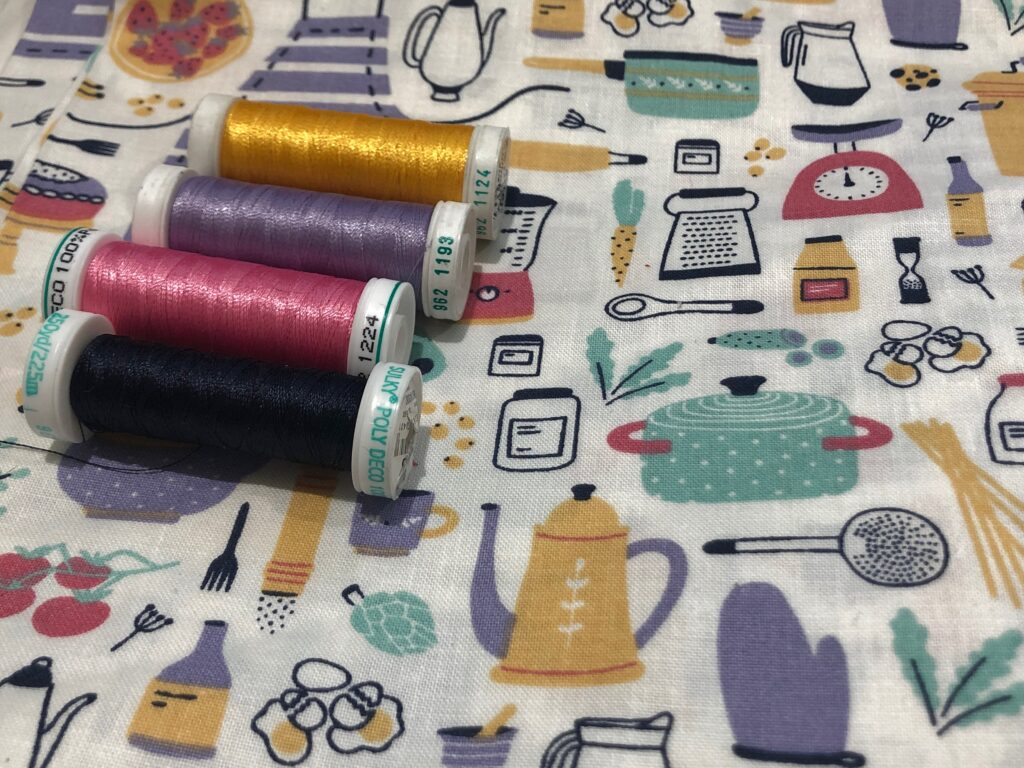
- Sulky Thread
- 40 wt. Poly Deco (embroidery & construction)
- 60 wt. Poly Lite or Bobbin Thread (machine embroidery bobbin)
- Sticky+ Stabilizer
- Sticky+ Slitting Pen
- Organ® 80/12 Microtex Needle
- Machine Embroidery Design (featured design is Grandmas are Mommies with Frosting from Scissortail Stitches, approximately 7″ square)
- Spray starch, such as Mary Ellen’s Best Press (optional)
*We may earn an affiliate commission from products purchased using the links above.
APRON PATTERN
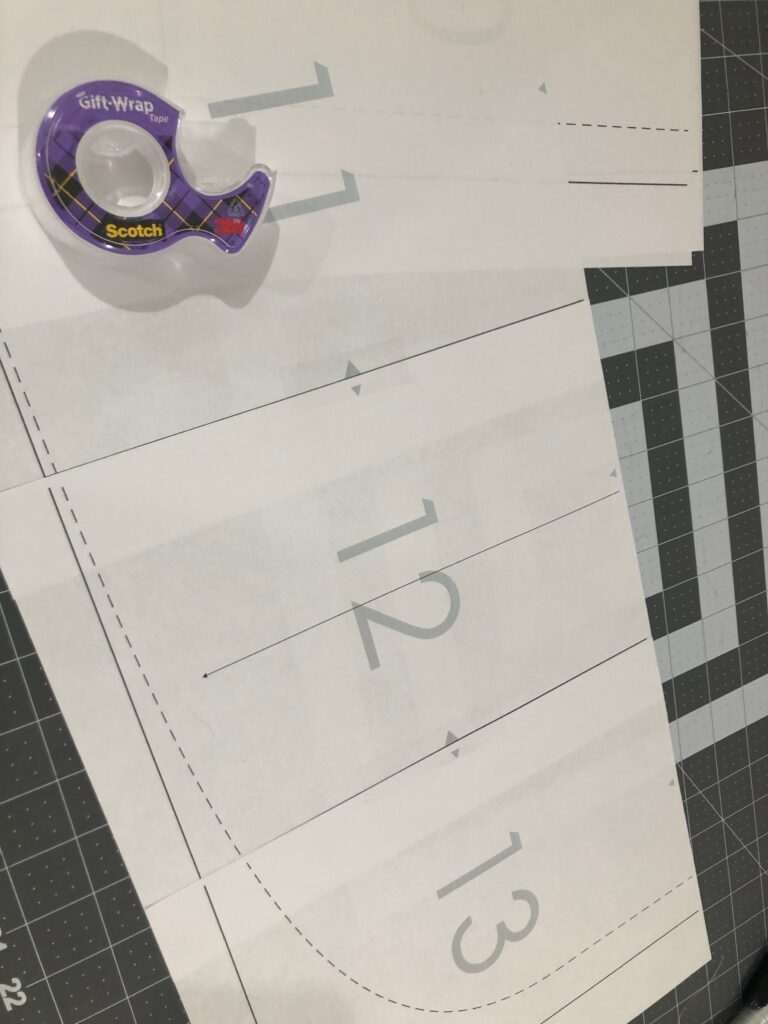
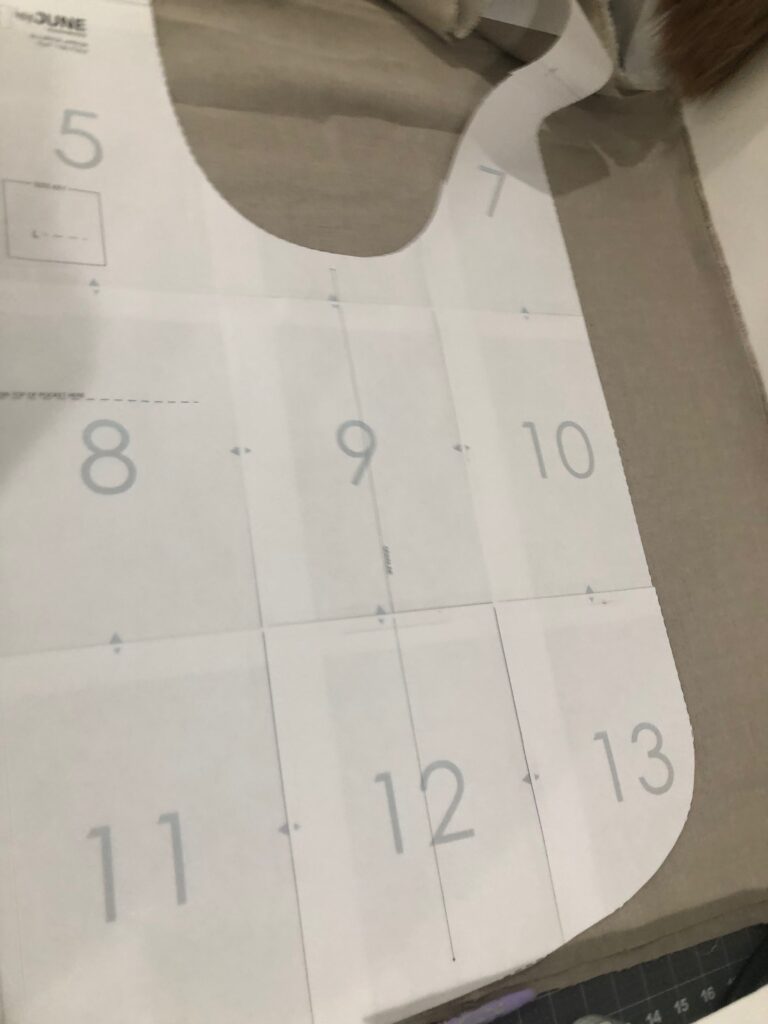
The featured apron pattern is the Allspice Apron by Hey June Handmade. It’s a free digital pattern, printable from your home printer. Follow the instructions to assemble and tape together the pattern pieces.
STABILIZER FOR LINEN FABRIC
Heavyweight linen (8 oz.) appears coarse because it displays uneven fiber thicknesses, often with ufts readily seen. However, it remains soft to the touch. Either Sulky Tear-Easy or Sticky+ is a good stabilizer choice. The sticky surface provides additional security for the looser weave, so this is what’s used for the featured linen apron.
For more info on stabilizing and hooping linen, particularly if your chosen linen fabric is lighter weight, look to this post written by Pamela Cox.
LINEN APRON DESIGN CHOICE
All sorts of machine embroidery designs work with linen fabrics. But, if a dense design is desired, with loads of fill stitching and pronounced satin outlines, extra stabilizer is probably a must. Float a second piece of stabilizer under the hoop once the hoop is on the machine and before beginning the design. Choose a lighter weight stabilizer, such as Sulky Tear-Easy, to float under the hoop, just to add thread count and give the needle something to grab onto when creating the stitches.
Open-work designs, such as outline designs, quilting motifs or sketchy lettering, are good choices for linen fabrics.
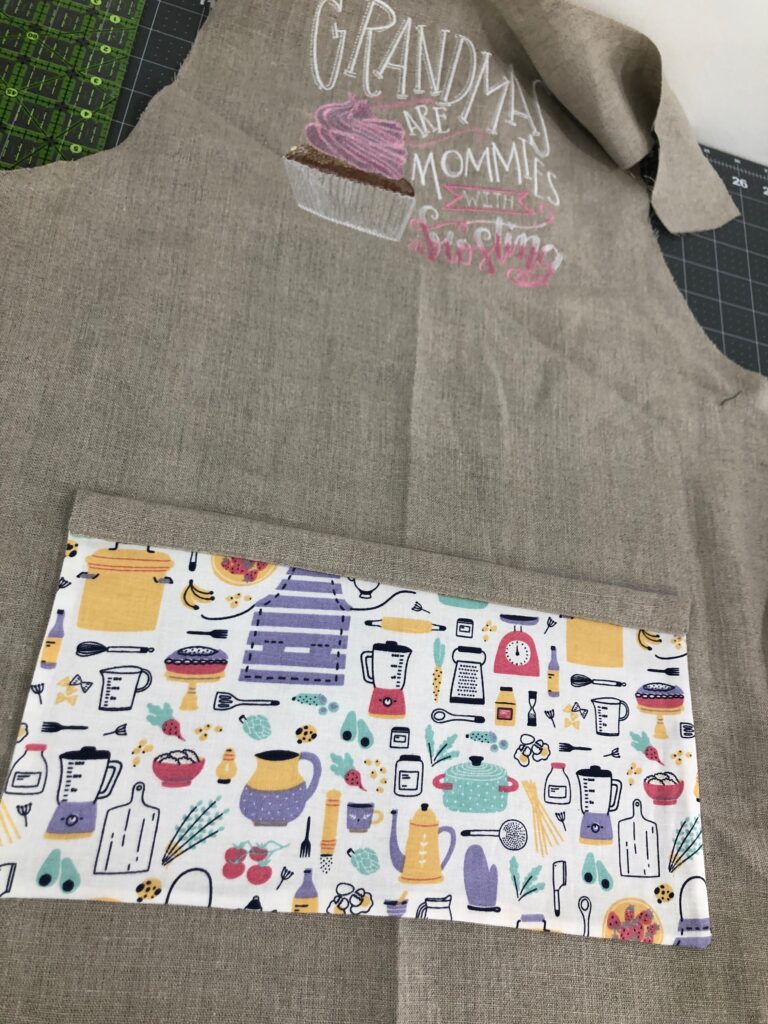
Choose a design that personalizes the linen apron to the recipient. The featured design, Grandmas are Mommies with Frosting from Scissortail Stitches, measures approximately 7″ square and fits along the featured apron front. You may require a smaller design to fit the apron pattern you’re using. Make sure to account for seam allowances so the design doesn’t get cut off during apron construction.
Load the chosen design onto the machine and line up the desired Poly Deco thread colors in order, per the color sequence chart. Or choose different colors, if desired, to match the fabric or binding. Either use PolyLite Thread for the bobbin or 60 wt. Bobbin Thread.
Install a size 80/12 Microtex Needle. Thread it with the first thread color in the design.
HOOPING LINEN APRON
Open-weave linen is not a good candidate for hooping. The fabric fibers are easily manipulated and warped when stretched by the hoop rings. Instead, use “hoopless” embroidery techniques to avoid puckering when the fabric is removed from the hoop.
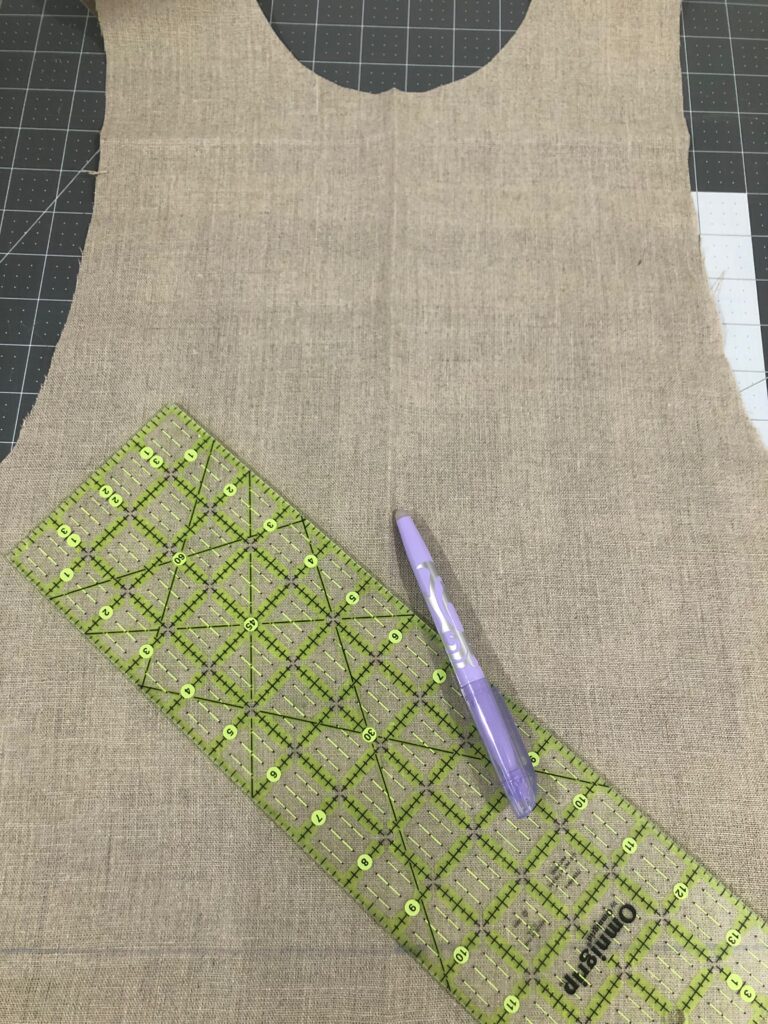
First, decide on the machine embroidery placement. Mark the design center cross-marks on the apron fabric right side. The chosen apron pattern piece was cut before embroidery to aid in perfect design placement. If preferred, embroider the fabric before cutting, and then center up the design to cut the pattern piece(s).
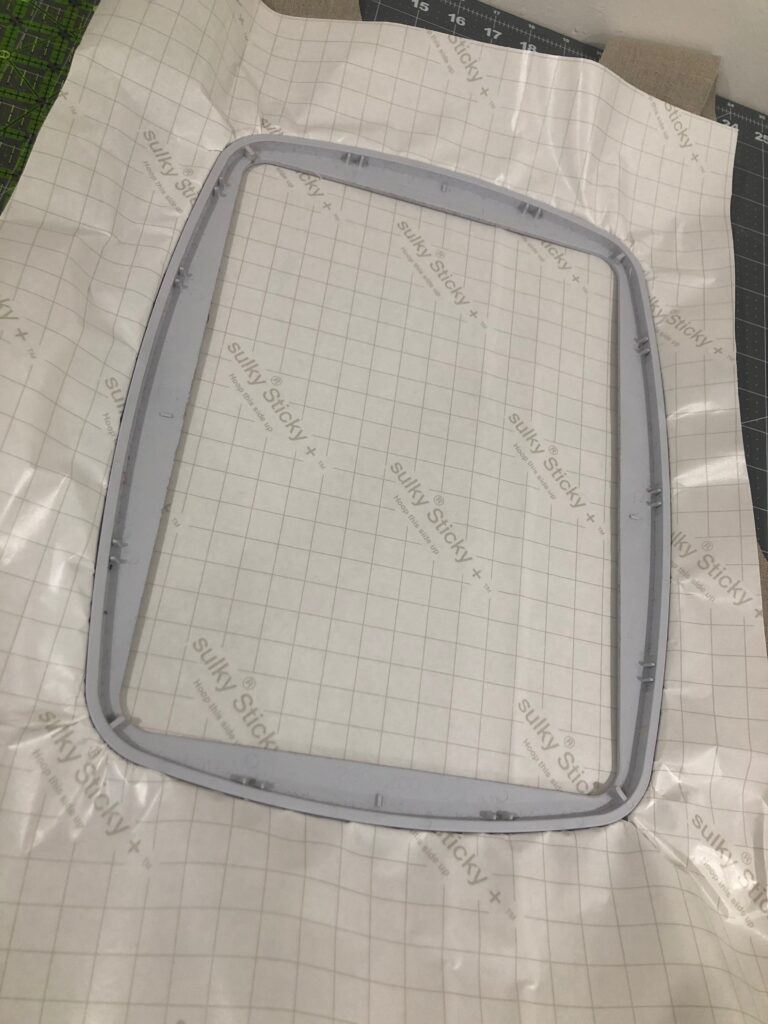
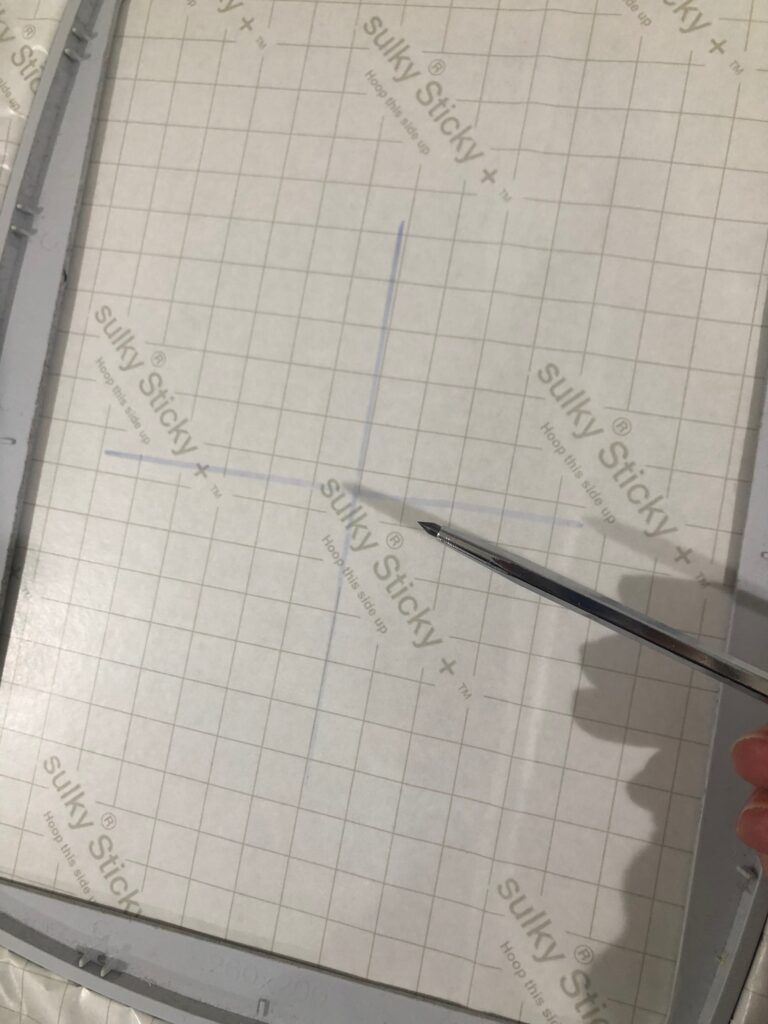
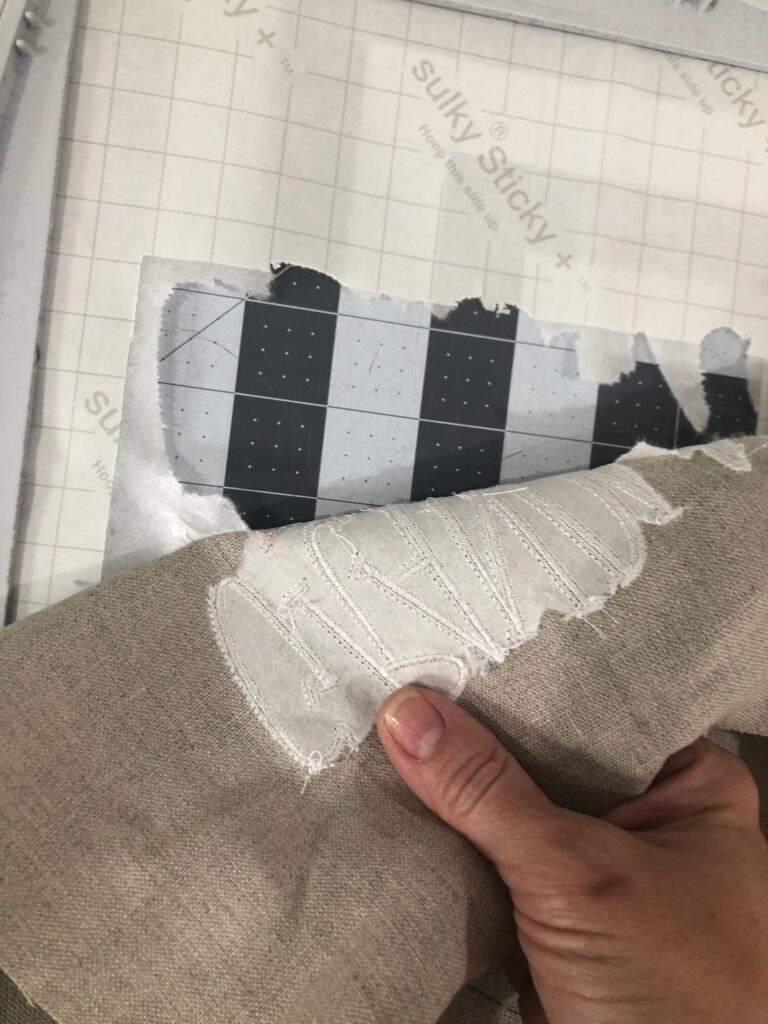
Hoop a piece of Sticky+ Stabilizer directly in the hoop, with the paper side facing up. Score the paper within the inner hoop ring using the Sticky+ Slitting Pen.
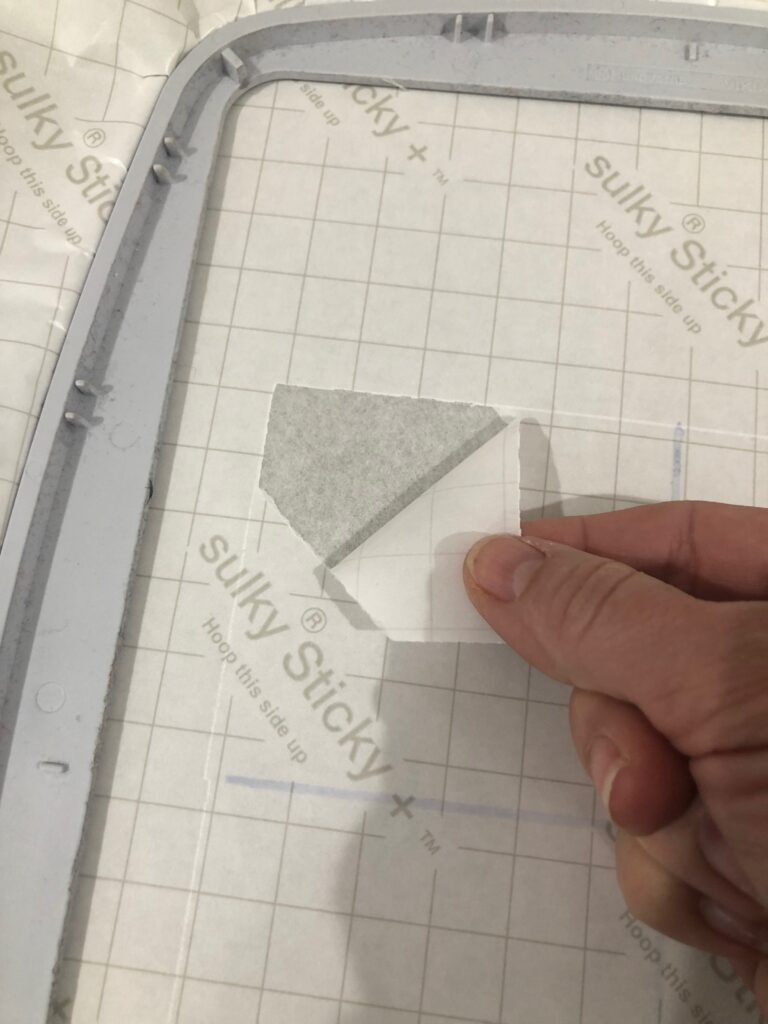
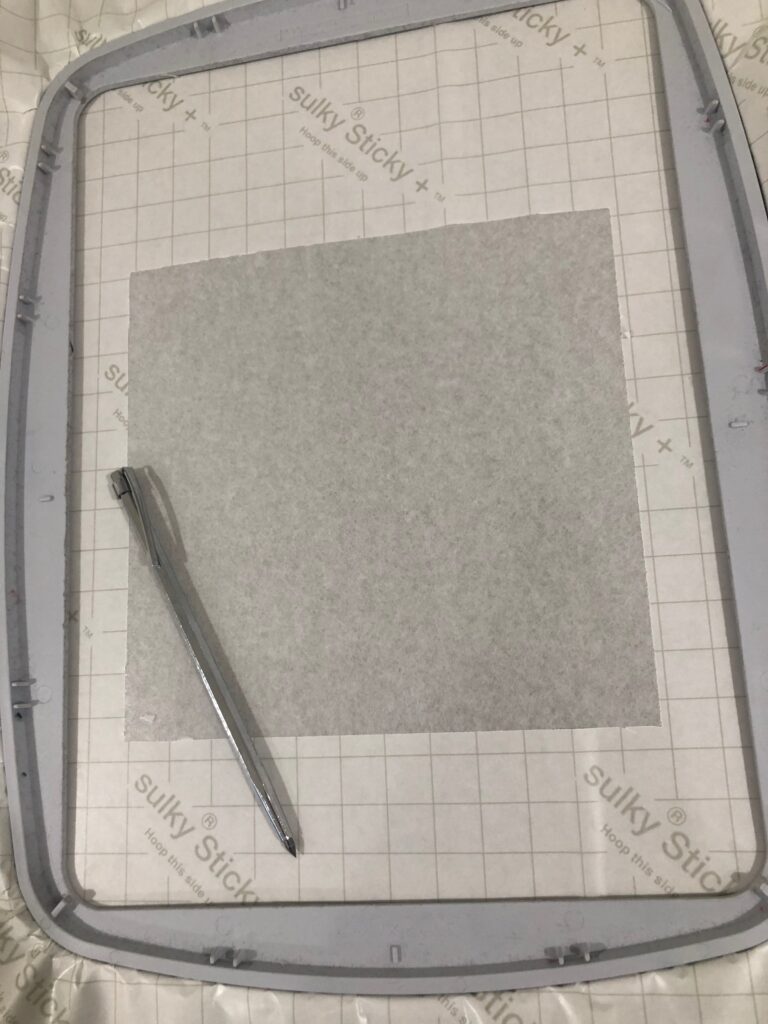
Carefully lift up the paper backing and tear it away to expose the sticky surface.
Center the apron front on the sticky stabilizer surface, using the marked cross marks as a placement guide. Once satisfied with the placement, use your hand to smooth the fabric to the sticky stabilizer.
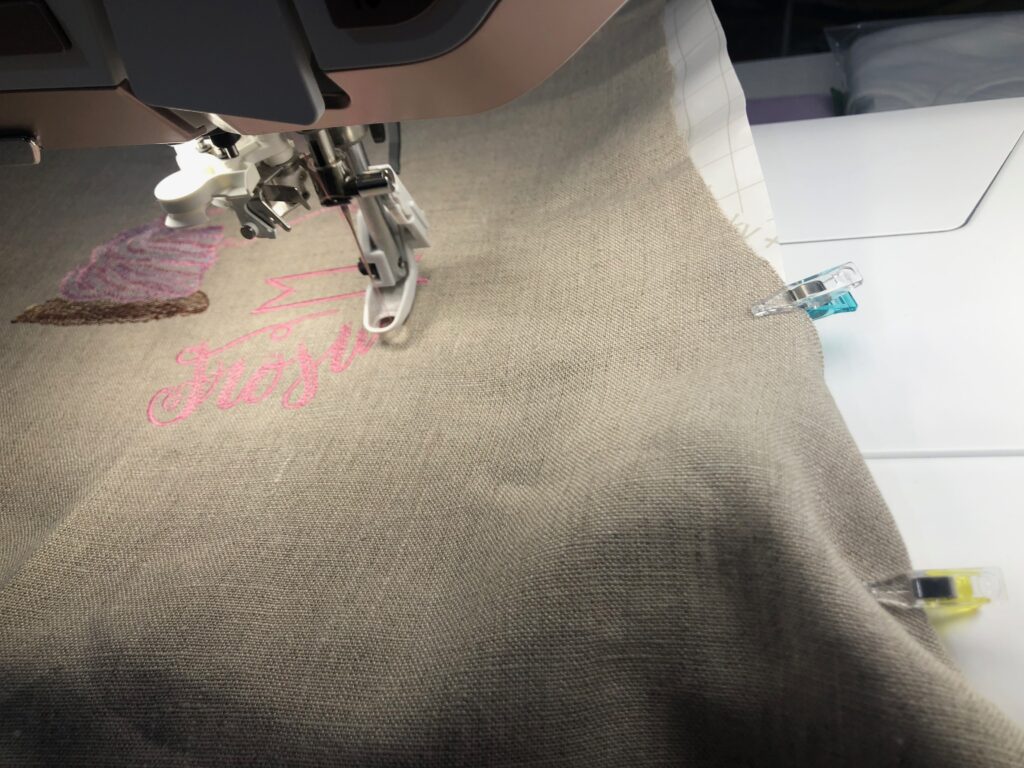
If the apron fabric is extending off the embroidery table, clip some of the excess to the stabilizer or hoop outer edge so it won’t stretch during the stitchout.
EMBROIDERING LINEN APRON
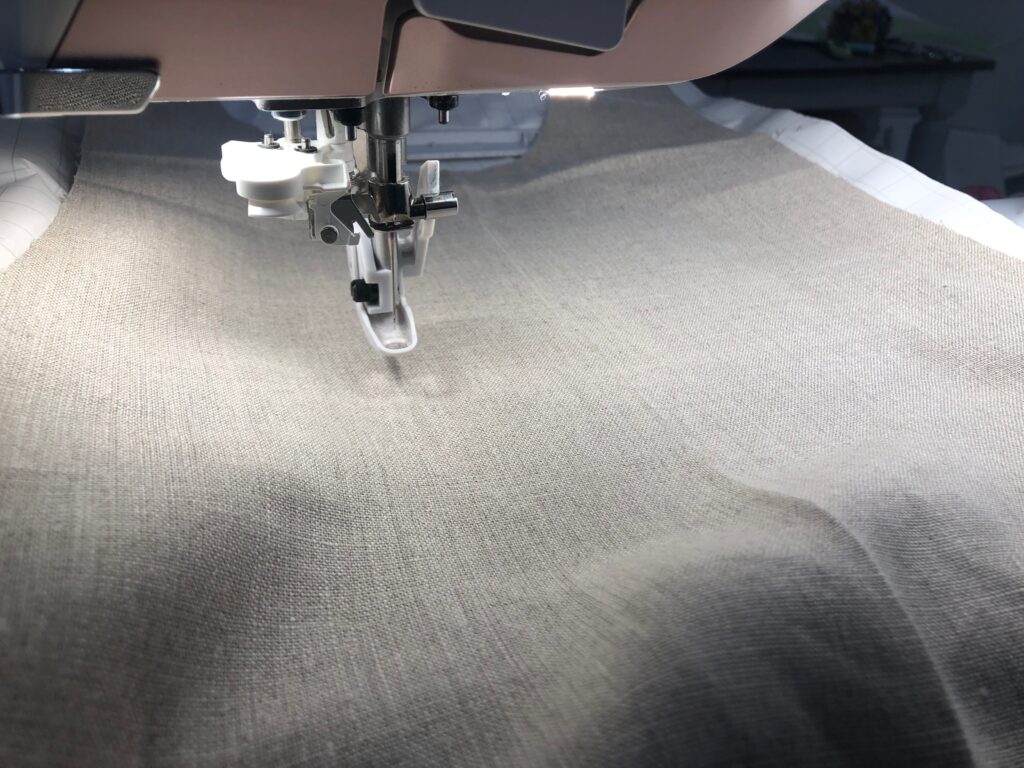
Place the hoop onto the machine.
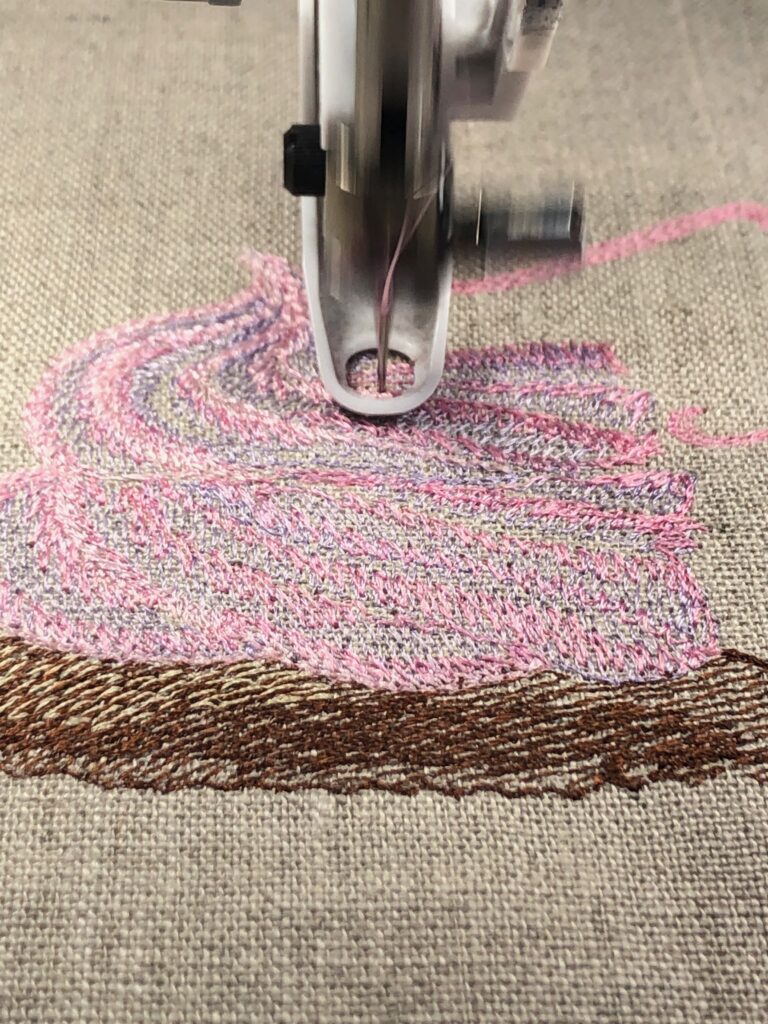
Embroider the design, clipping jump threads with each thread change.
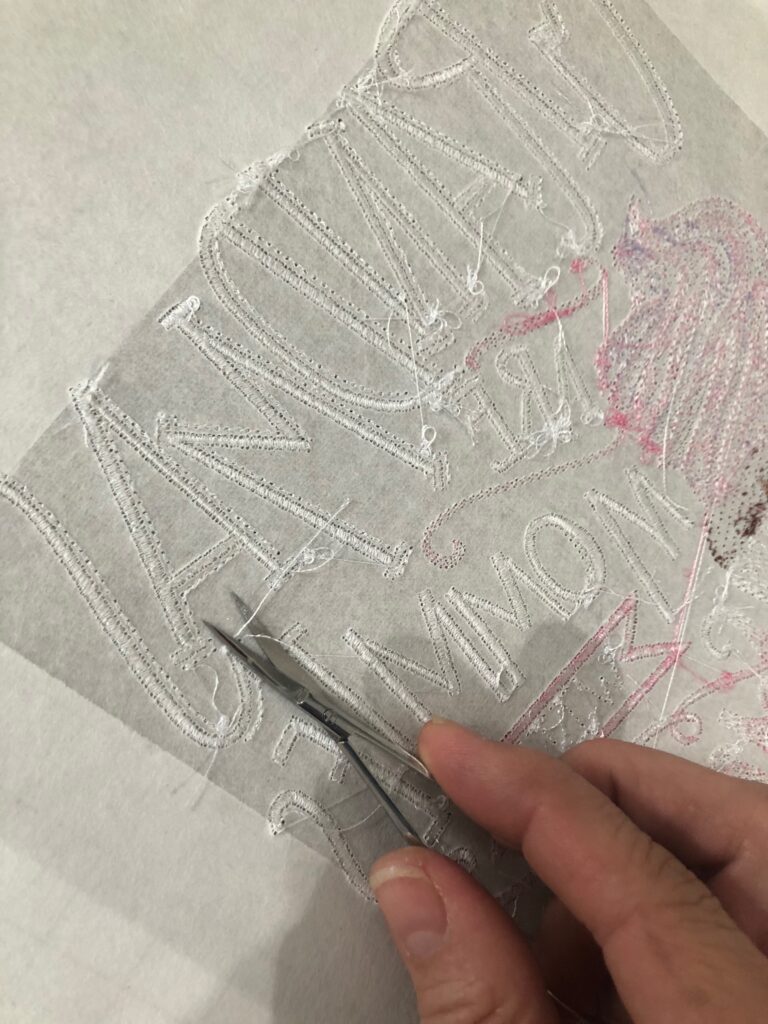
If there are a lot of thread changes, consider clipping the jump threads on the hoop wrong side with each thread change, too. This allows for easier stabilizer removal when the embroidery is complete.
When the embroidery is finished, remove the hoop from the machine. Remove the floating stabilizer, if using. Then, remove the stabilizer from the hoop.
Carefully remove the stabilizer beyond the design perimeter.
Then, press the fabric from the wrong side, keeping the iron away from the stitching if possible.
APRON POCKET MODIFICATION
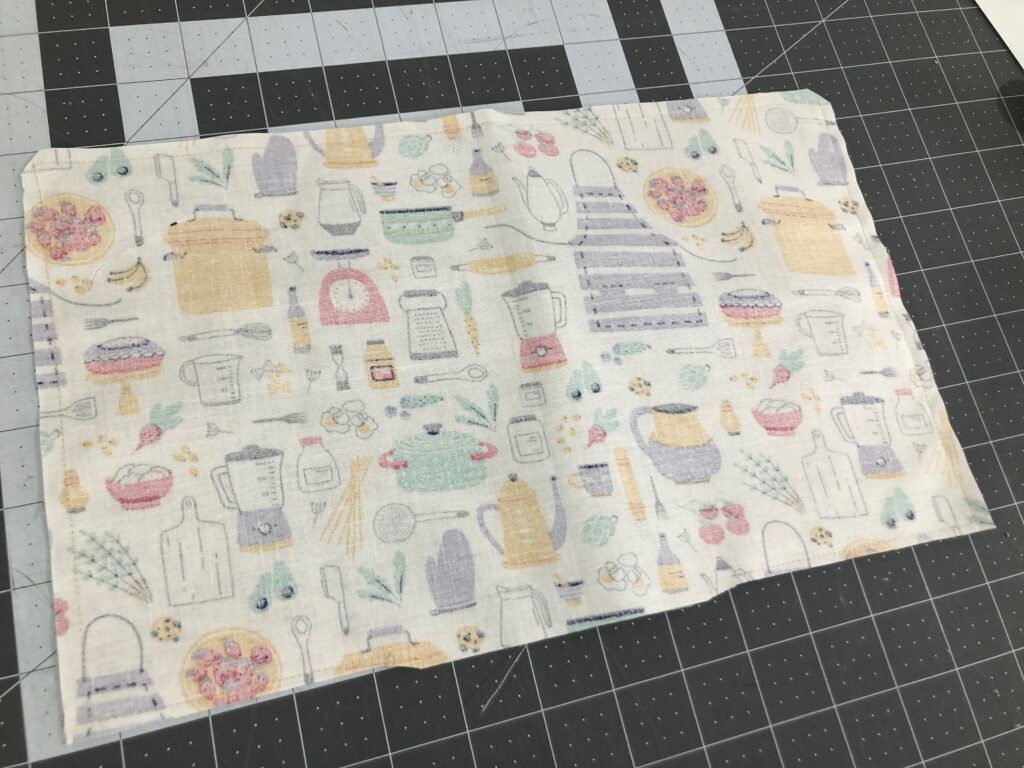
The pattern directs to cut one pocket on the fold, and then hem the four sides before topstitching it to the apron front. For the featured apron, cut two pockets: 1 from quilting cotton and one from the linen.
Place both pockets right sides together, and then stitch the perimeter using a 1/4″ seam allowance, leaving a 3″ opening for turning.
Clip the corners and trim the seam, leaving the opening seam allowance intact.
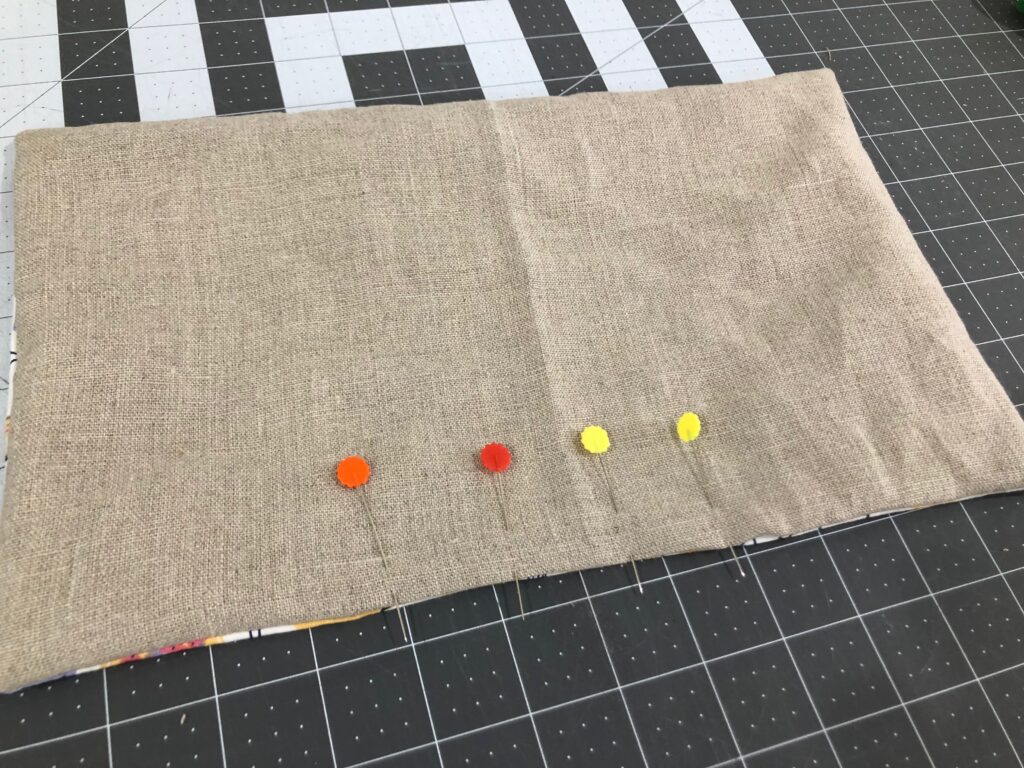
Turn the pocket right side out through the opening. Fold the opening allowances toward the wrong side, and then press and pin shut.
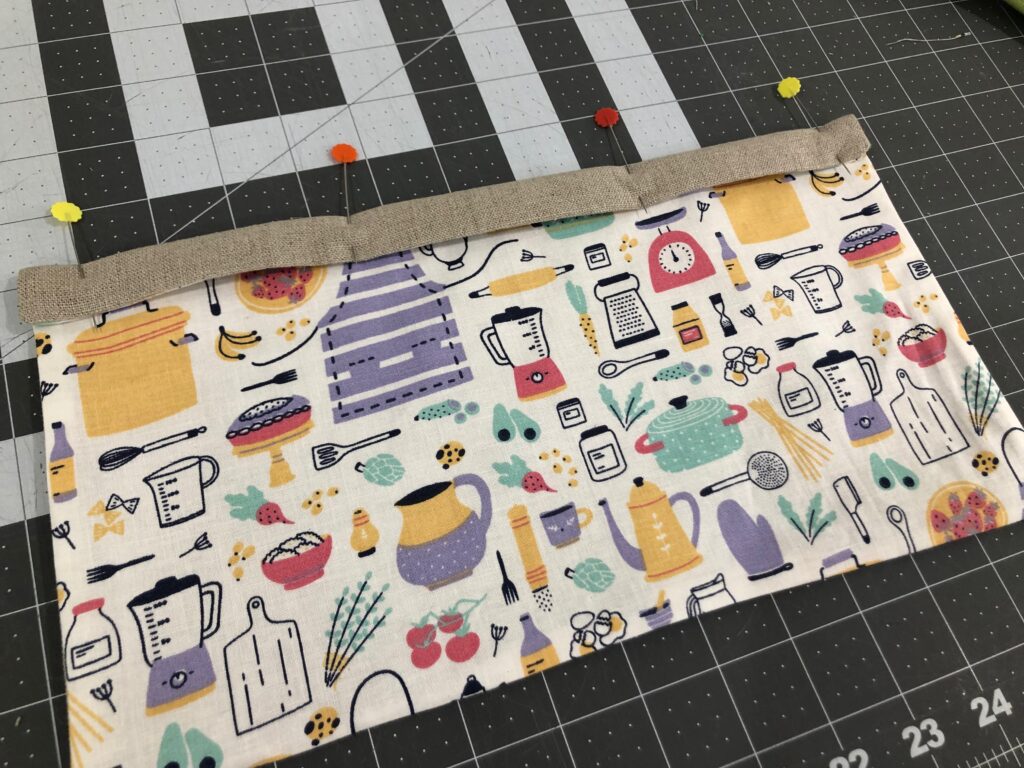
Fold the pocket upper edge 1″ toward the wrong side. Press, and then pin the upper edge in a few places.
Topstitch the pocket upper edge 3/4″ from the upper-edge fold.
Place the pocket on the apron front, per the pattern guidesheet. Topstitch the pockets sides and lower edge, backstitching at each upper-edge corner.
LINEN APRON FINISHING
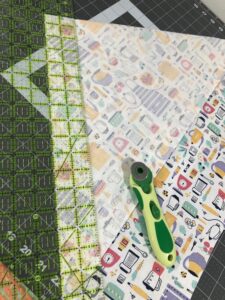
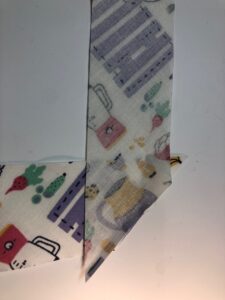
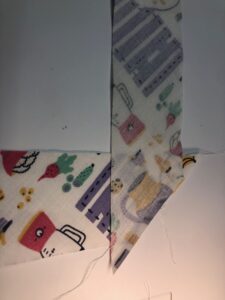
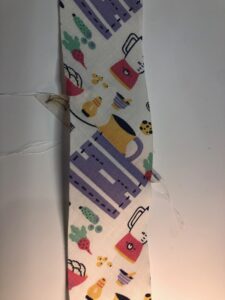
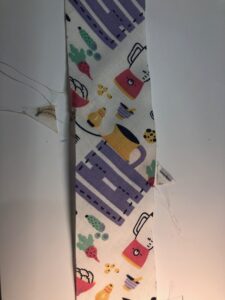
Finish constructing the apron per the pattern guidesheet. If desired, create your own bias binding using the same quilt cotton fabric used for the pocket, tying the design together.
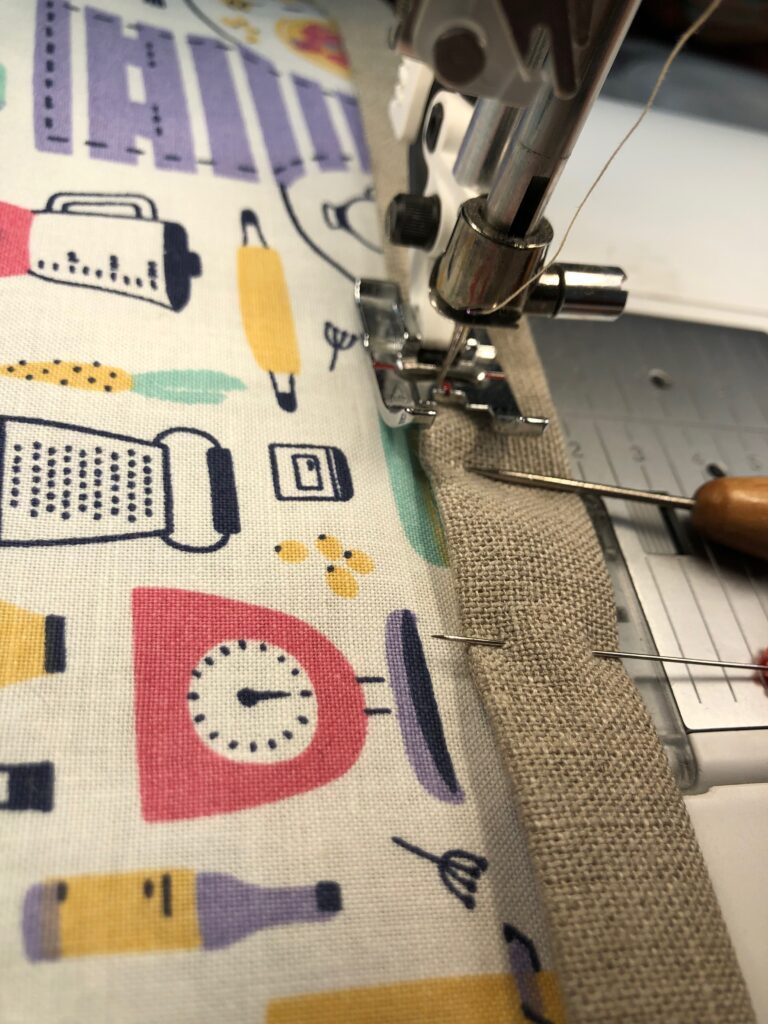
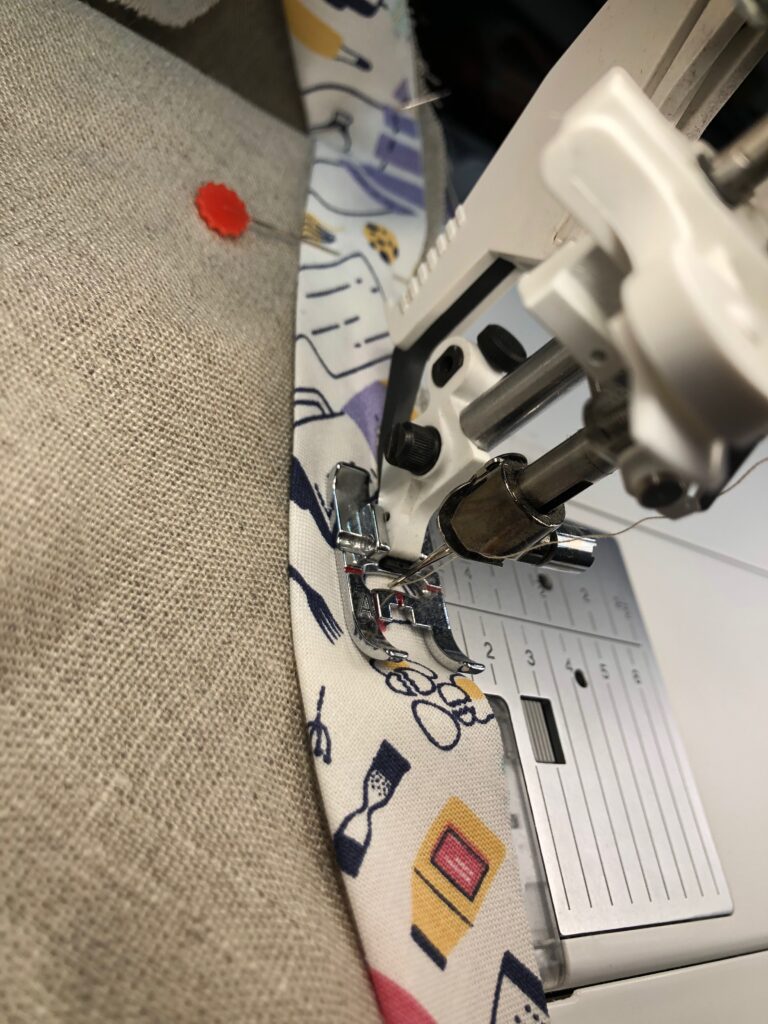
Stitch the binding long raw edge to the apron raw edge.
Then, wrap the binding to the apron back and hand stitch the folded binding edge in place.
Press the apron to remove any wrinkles. If desired, spray-starch the apron for a final crisp touch.
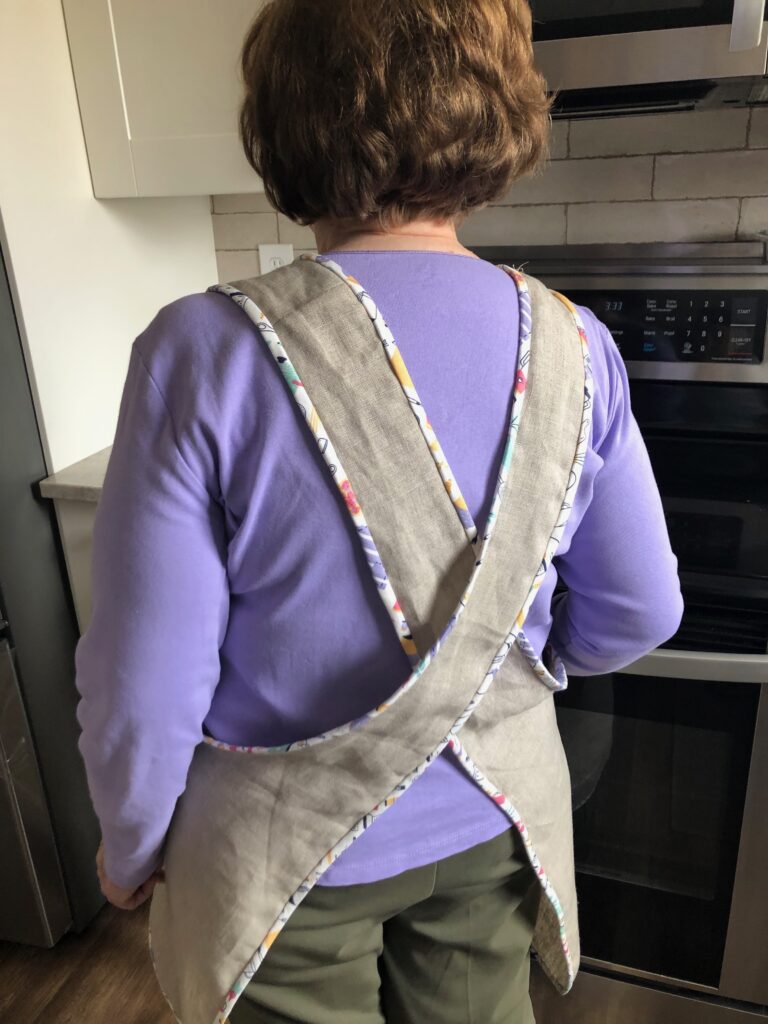
When wearing this apron, criss-cross the back straps.

