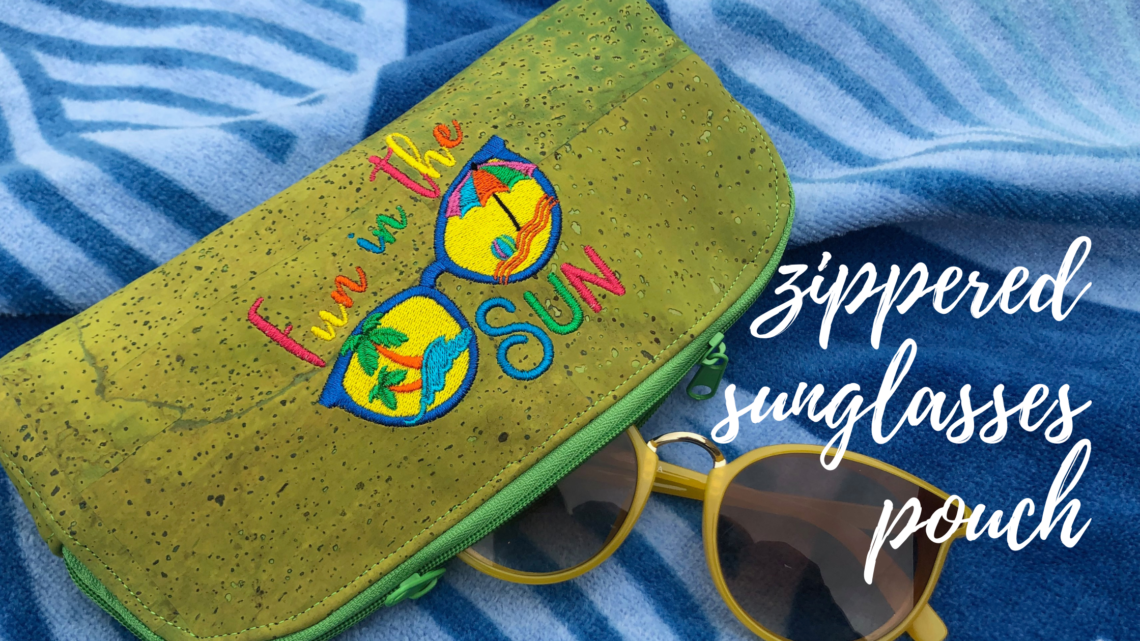
Sunglasses Pouch to Sew & Embroider
Sunglasses Pouch
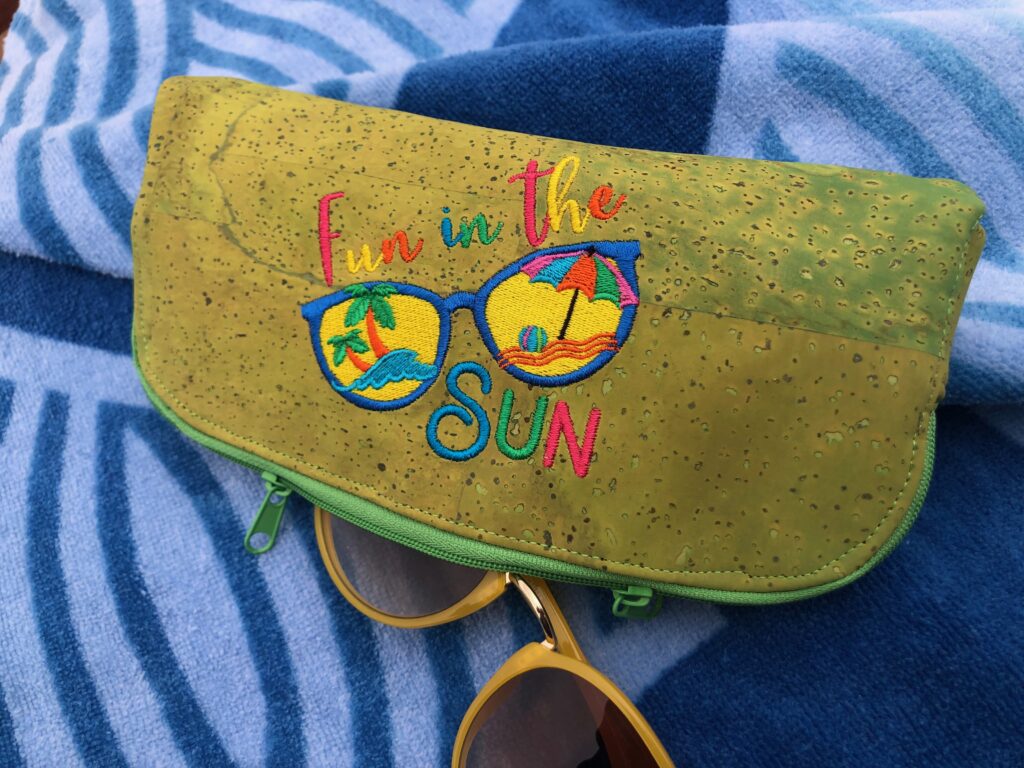
Embroider a small zipper pouch to hold sunglasses, chapstick and sunscreen for a day at the beach. This pattern is a freebie from SewCanShe.com, and the added embroidery gives the pouch a personal touch. Read on to learn tips for sewing and embroidering this pattern using cork fabric and a double-slide zipper.
SUNGLASSES POUCH SUPPLIES
- Long Zipper Pouch Pattern by SewCanShe
- Fabric & notions according to pattern
- Sallie Tomato Cork fabric was used for the outer pouch
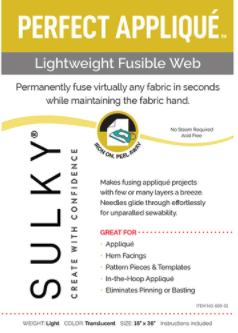
- Perfect Appliqué™ Fusible Web was used for the featured pouch
- Poly Deco™ Thread was used for construction
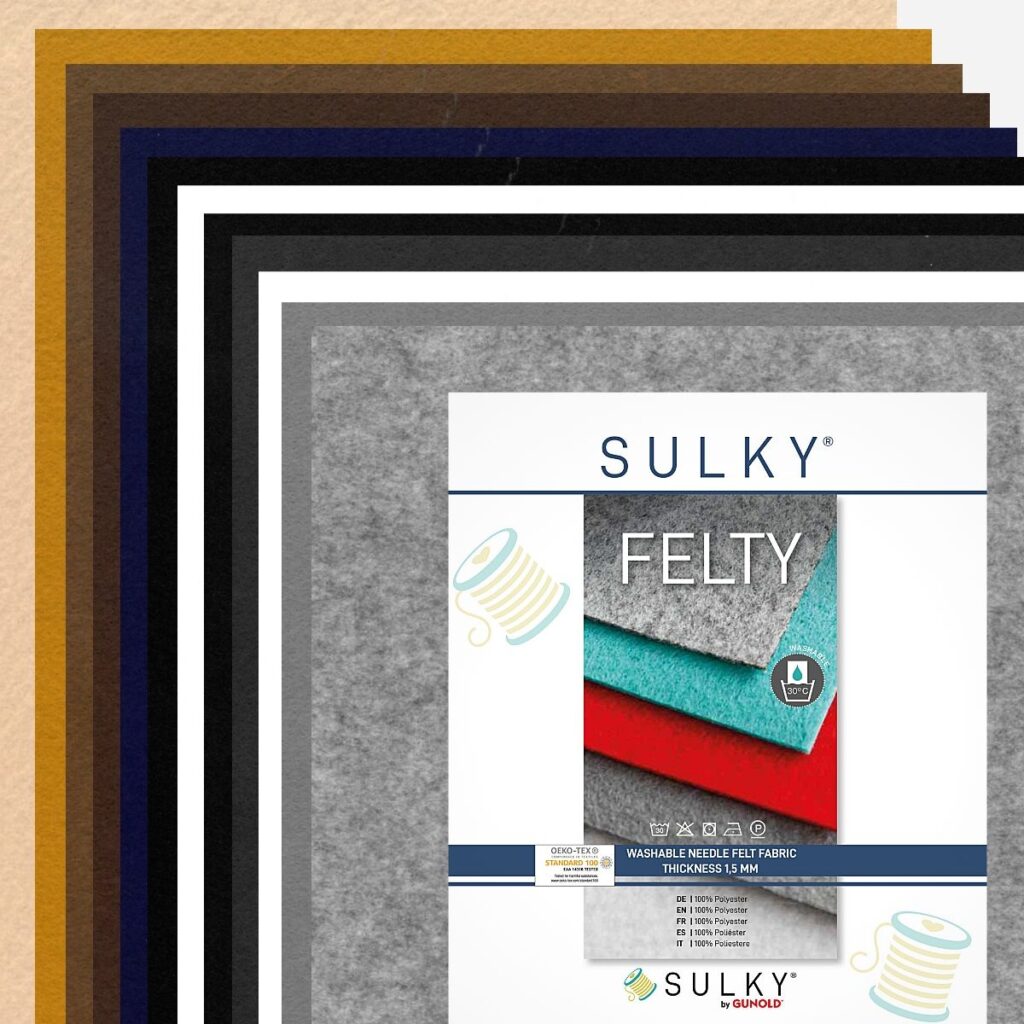
- Felty™ was used instead of a sheet of craft felt
- A double-slide zipper was used instead of a single-slide zipper
- Sulky Sticky+™ Stabilizer
- Sticky+ Slitting Pen
- Hello Summer Machine Embroidery Palette (includes 10 spools of Sulky Rayon Thread and 6 machine embroidery designs in 3 sizes)
- Sulky Bobbin Thread
- Organ® size 80/12 Microtex Needles
- Curved Tip Squeezers
- Clover Wonder Clips
PATTERN & FABRIC PREP
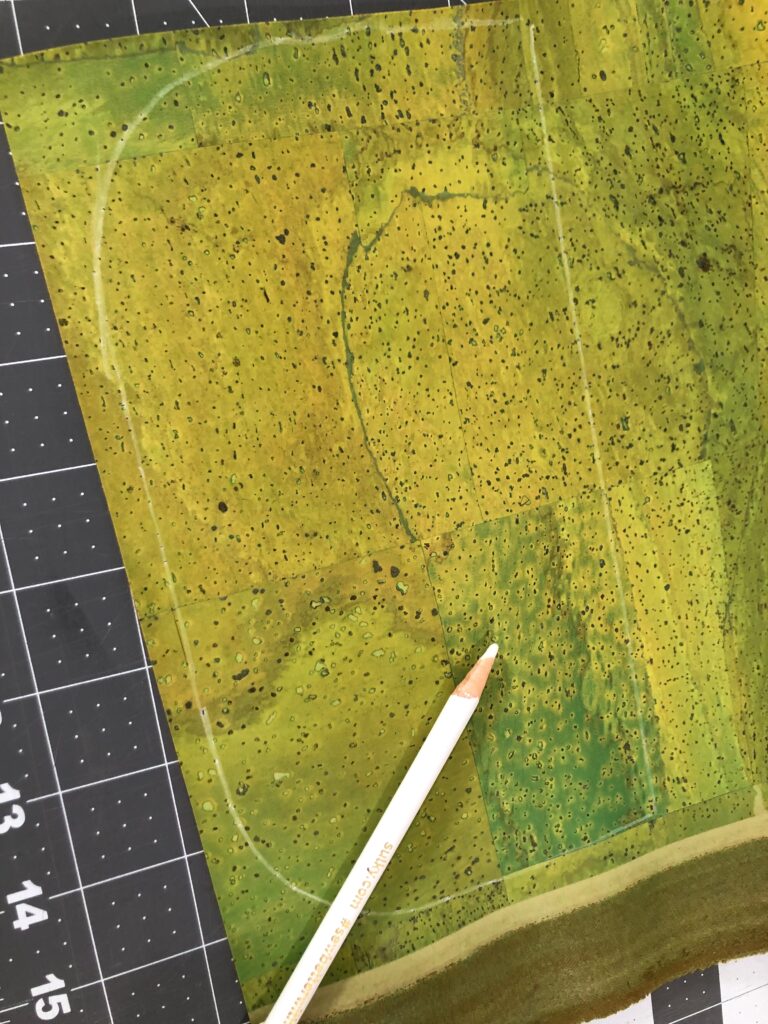
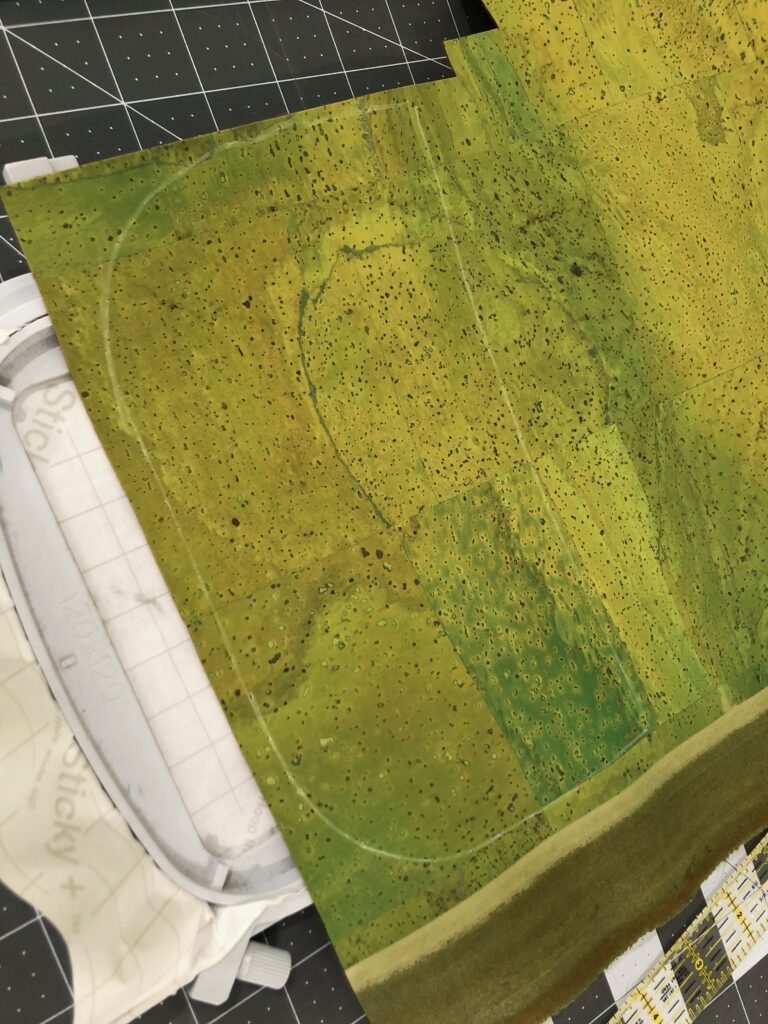
Follow the pattern directions for cutting out the pattern pieces. However, do NOT cut the two pouch pieces from the cork fabric. Instead, trace the pattern piece onto the right side of the cork fabric using a removable fabric marker. Make sure, when tracing, to leave enough room for the other pieces needed for the pouch.
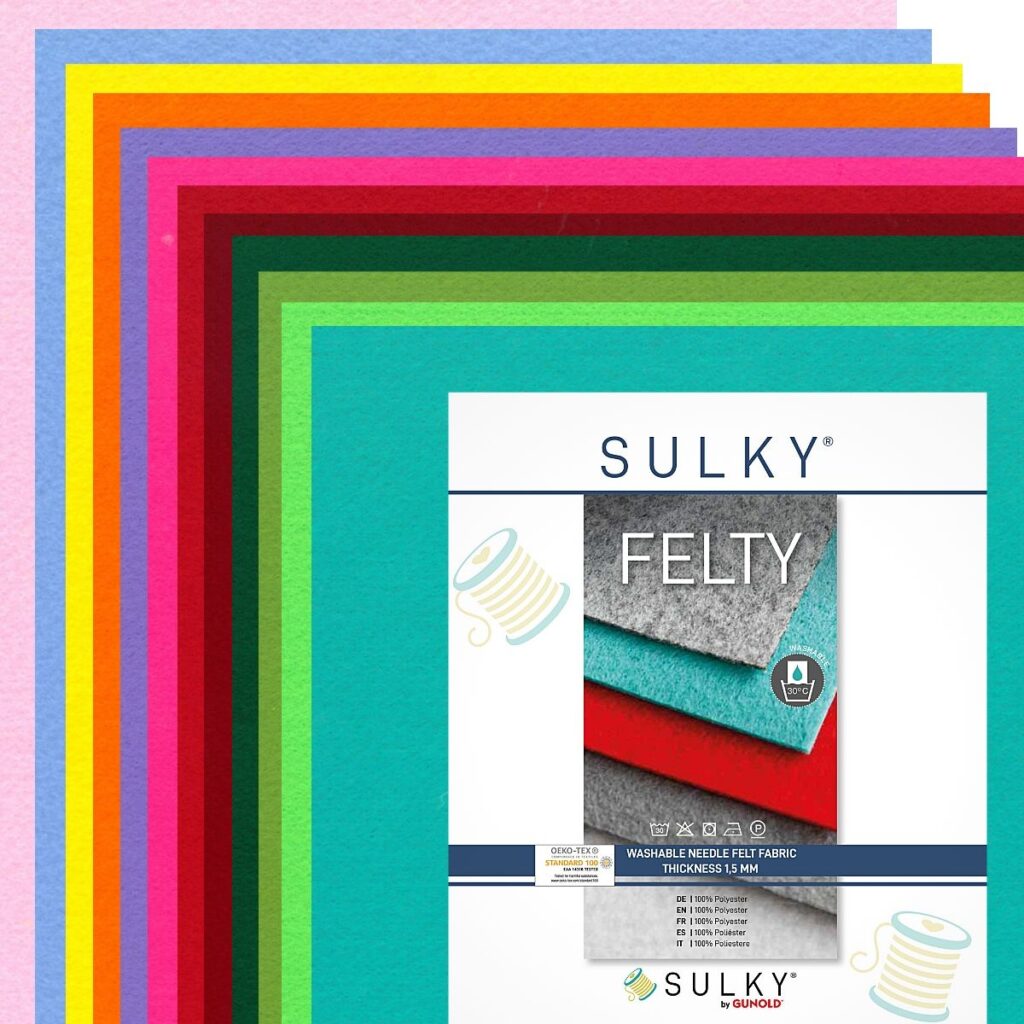
For the felt interlining, Sulky Felty was used. This felt is 100% polyester and provides a nice cushion for the sunglasses stored inside. It’s a much easier felt weight to work with, especially when paired with heavyweight cork fabric.
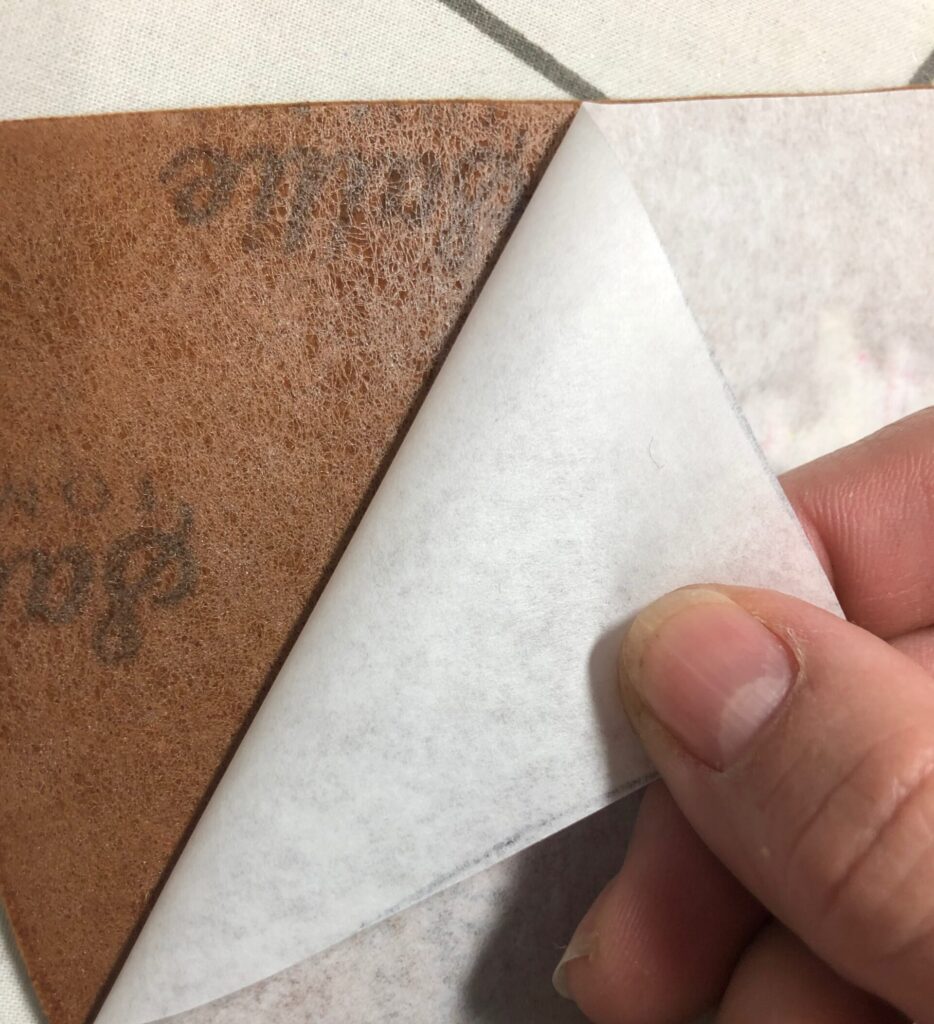
Don’t fuse the Felty to the cork fabric until after embroidery is complete. When fusing, apply Sulky Perfect Appliqué Fusible Web first to the cork wrong side, and then apply the Felty, fusing from the cork side.
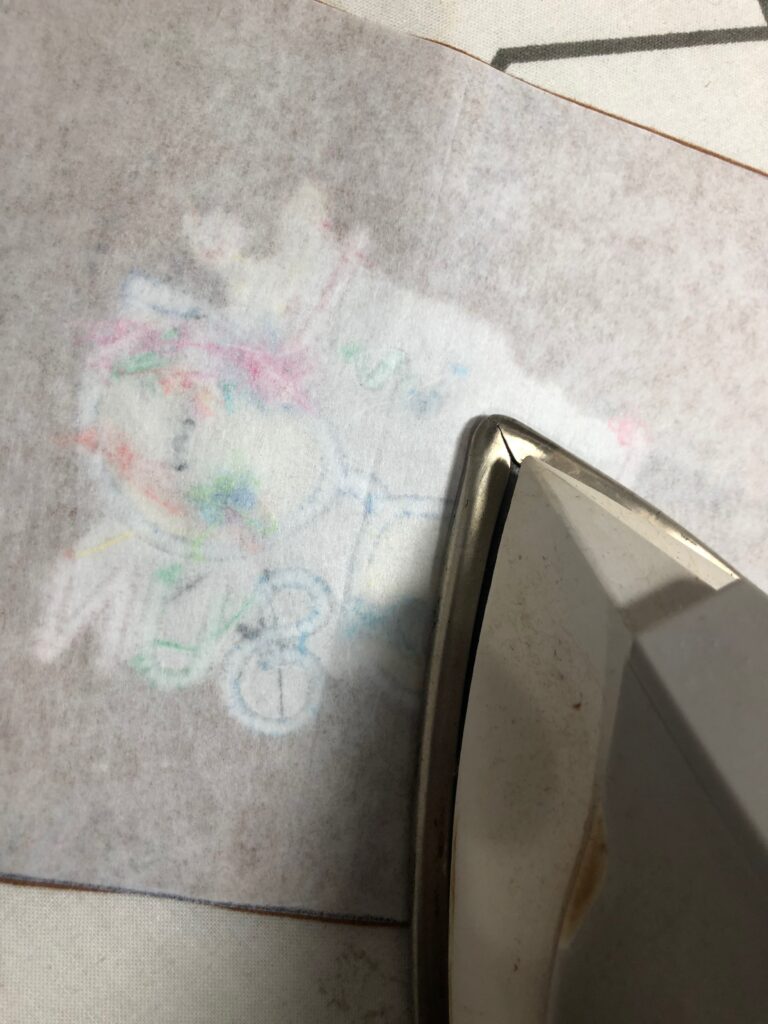
You MUST use a low to moderate heat setting on the cork fabric, first making sure the cork can withstand the heat from the iron. So do a test-fuse to ensure the proper settings.
CORK FABRIC EMBROIDERY
Choose the desired embroidery design from the Hello Summer Machine Embroidery Palette. The design must measure 3″ square or smaller to fit on the pouch front.
The featured pouch showcases the Hello Summer: Sunglasses design, and the smallest design size was reduced 10% using the embroidery machine on-screen functions.
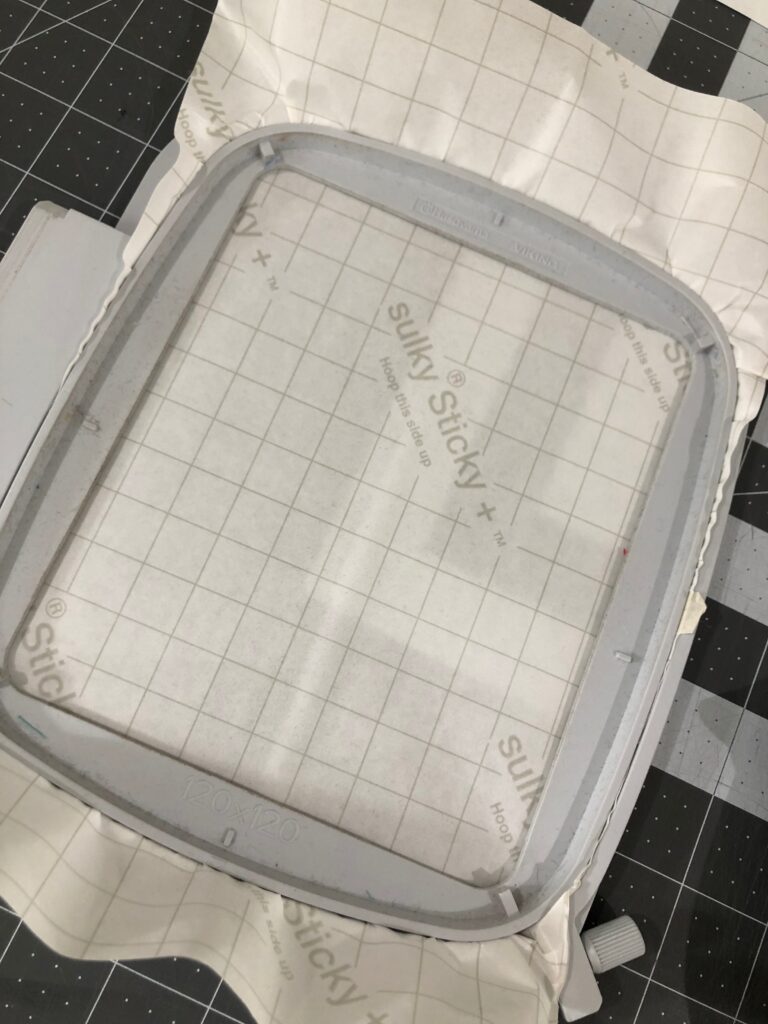
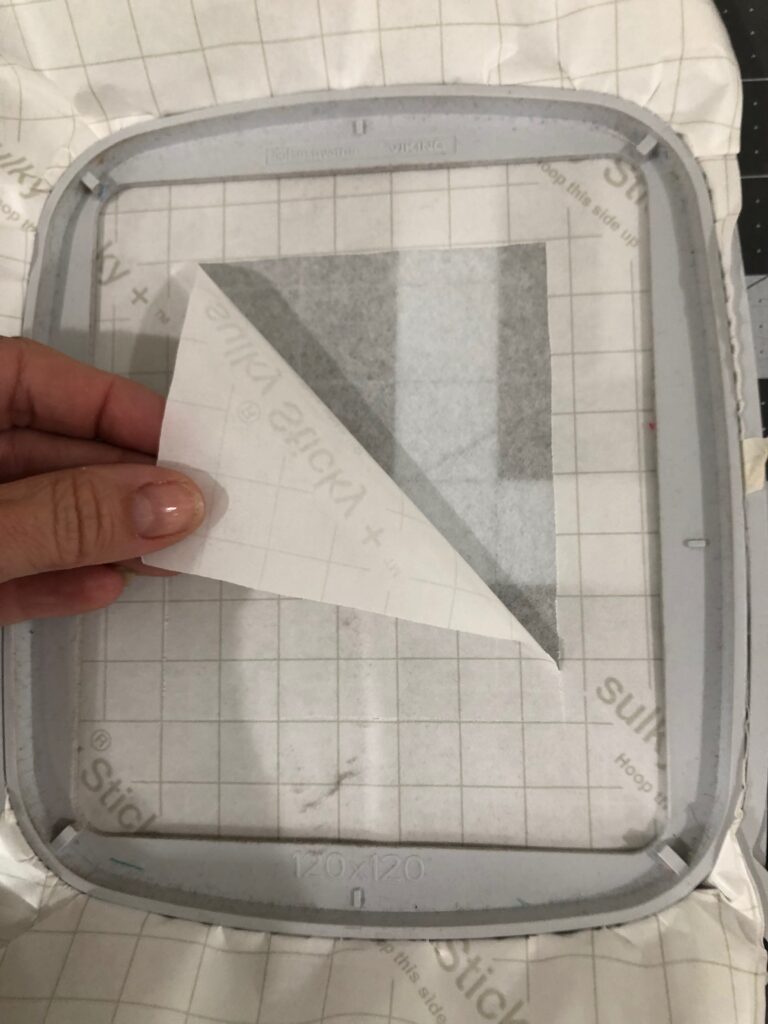
Hoop a piece of Sulky Sticky+ Stabilizer with the paper side facing up.
Score the paper within the inner hoop rig using the Sticky+ Slitting Pen. Then, peel away the paper backing to reveal the adhesive.
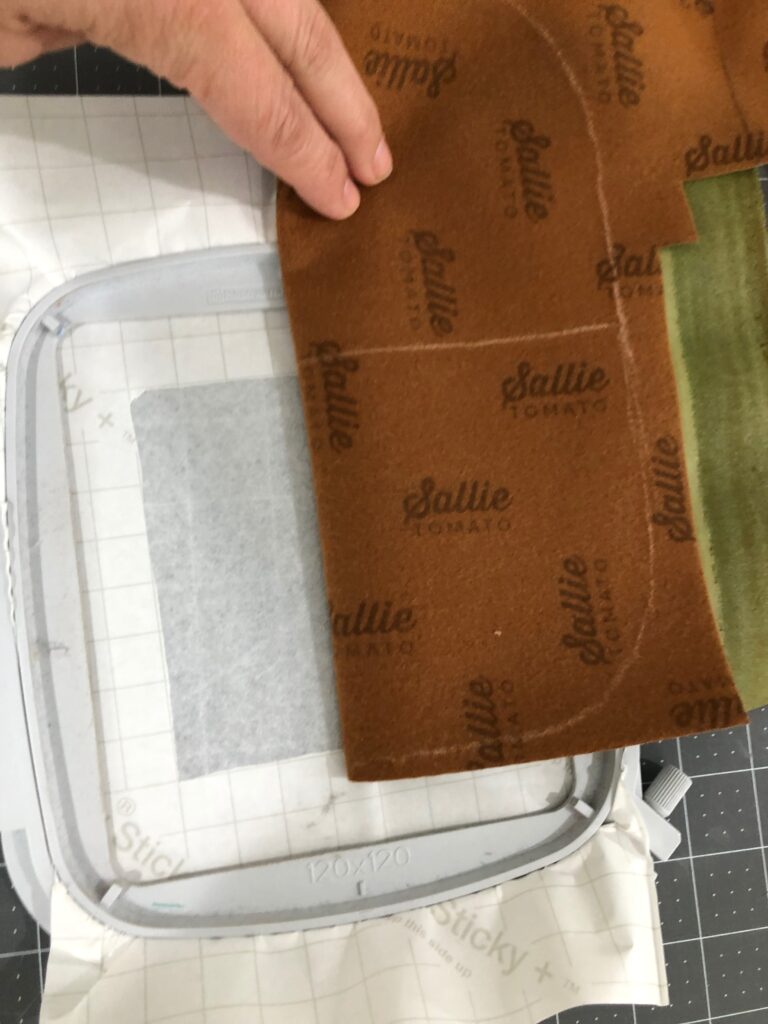
Fold the cork fabric loosely in half widthwise with right sides together. Center the foldline inside the inner hoop ring, using the hoop marks as a guide.
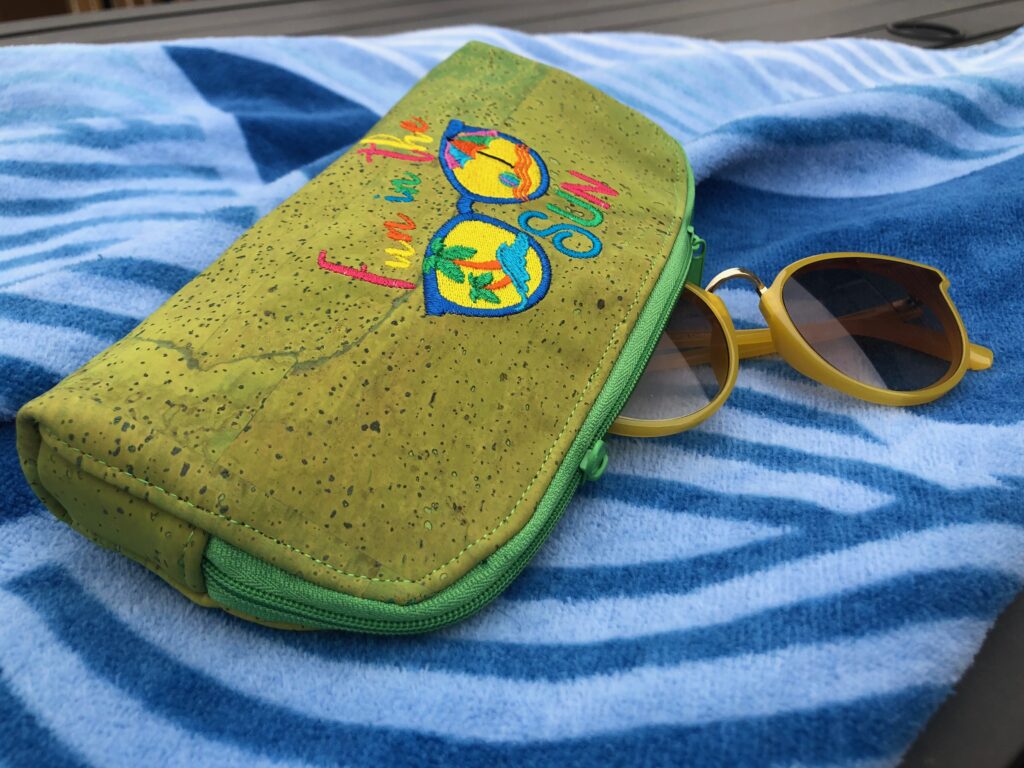
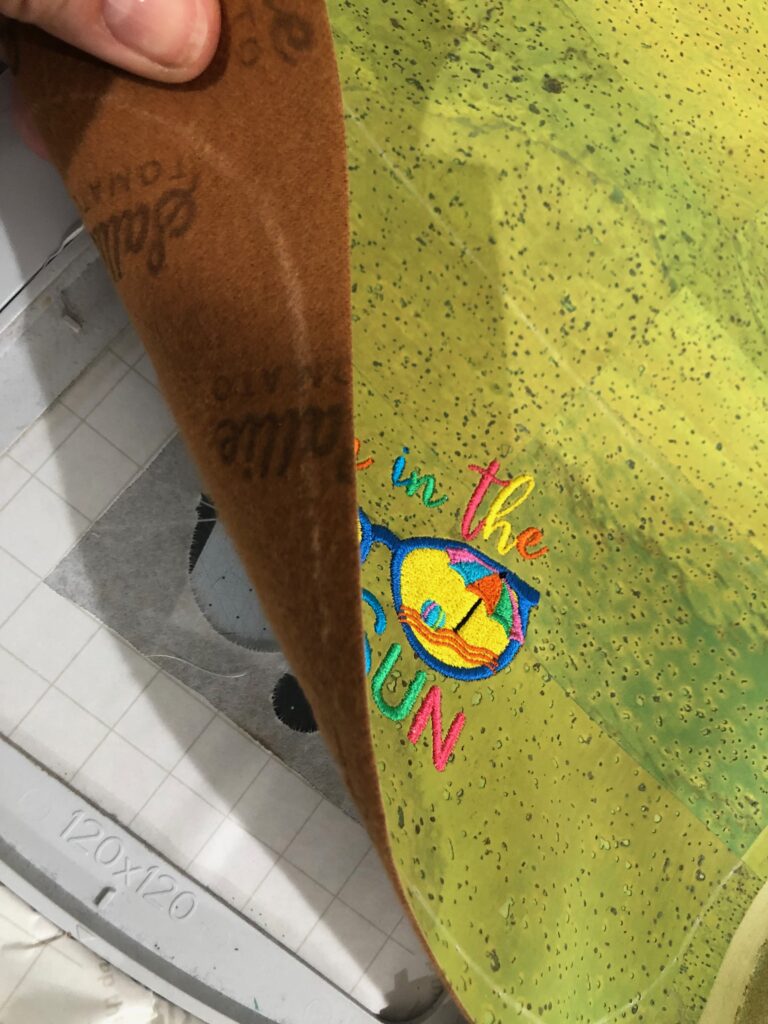
You may now notice the mistake made when embroidering the pouch front. The pattern piece is upside down! The maker (ahem, me) didn’t realize until turning the pouch right side out at the very end of the sewing process! So, please be sure to orient your cork fabric so the curved edge is the upper edge, and then place the cork onto the sticky stabilizer.
Place the hoop onto the machine.
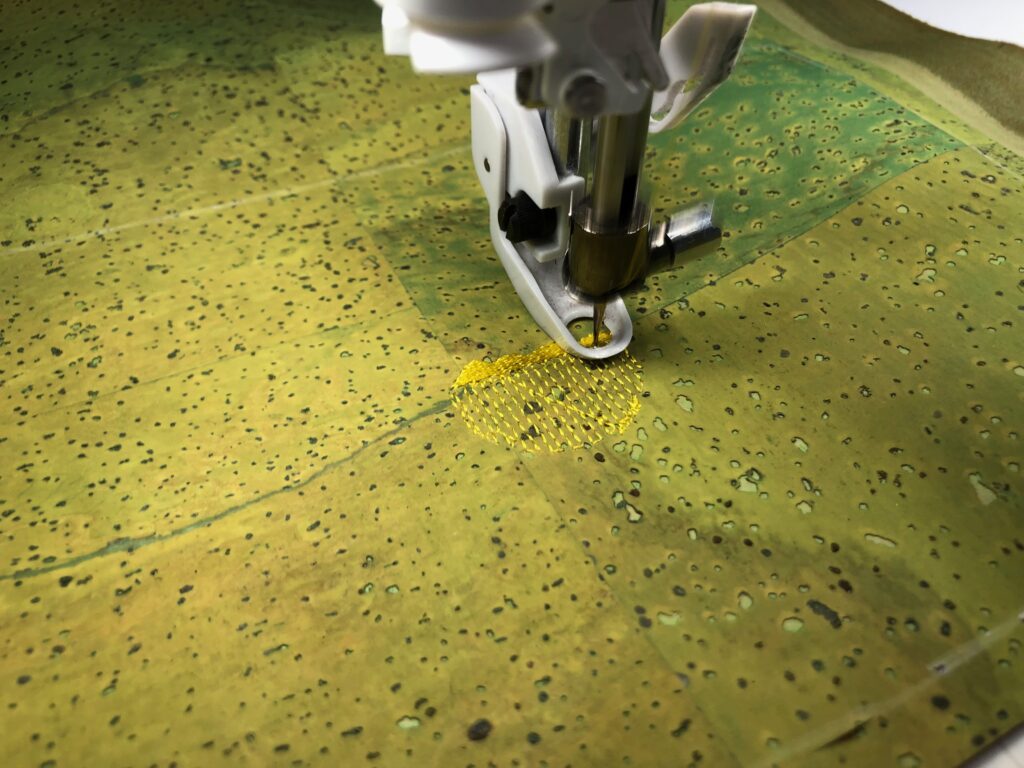
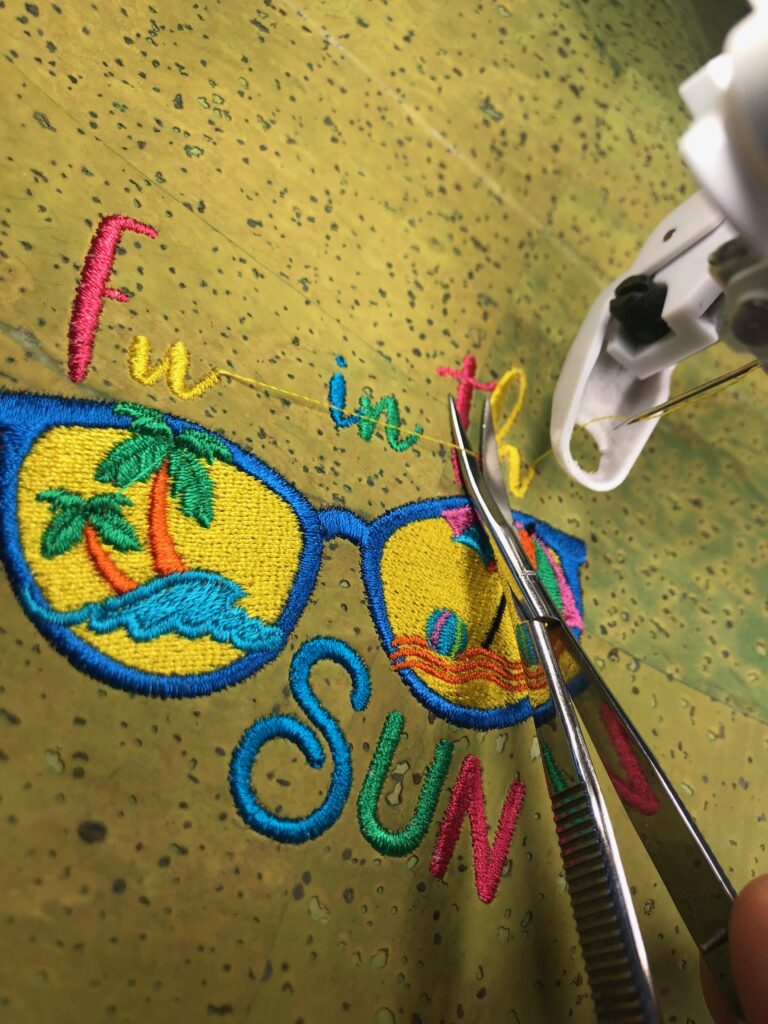
Embroider the design, using a Microtex needle, Sulky Bobbin Thread and the Sulky Rayon Thread according to the design color chart. CLip jump threads with each color change, using Curved Tip Squeezers.
When embroidery is complete, remove the hoop from the machine. Then, remove the cork fabric from the stabilizer by gently lifting it up.
POUCH CONSTRUCTION TIPS
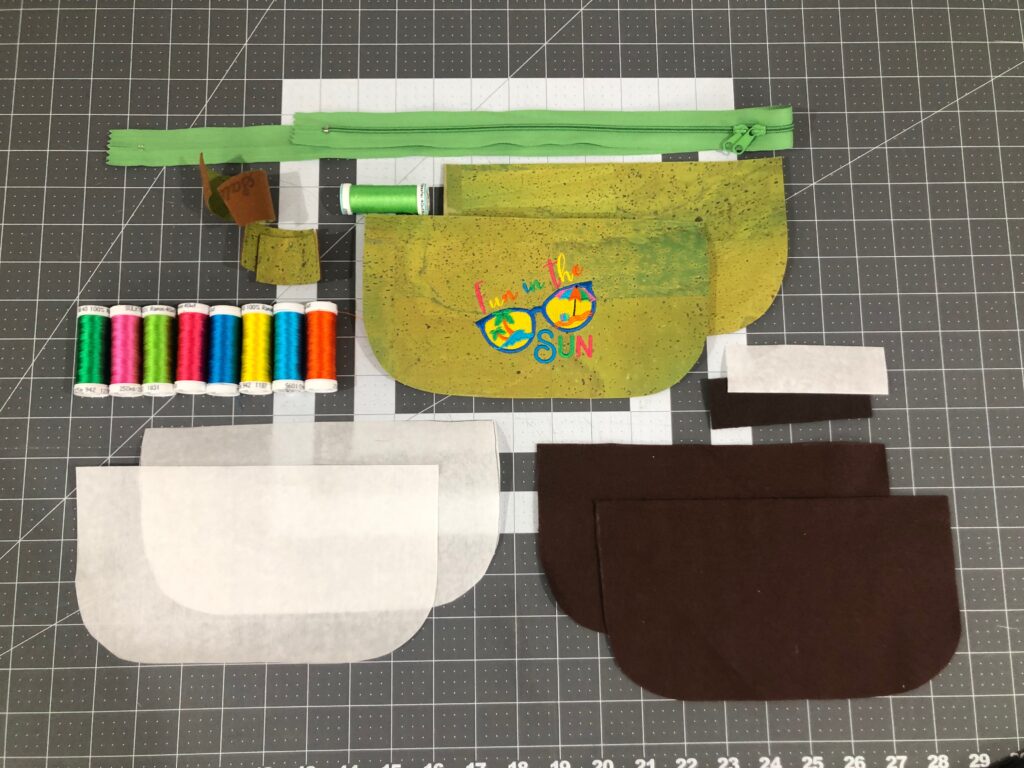
Assemble all the pieces needed for the sunglasses pouch. (The pattern piece UPPER edge is the curve; NOT the straight edge. My mistake keeps rearing its ugly head!)
Follow the pattern directions to construct the pouch. First, fuse the Perfect Appliqué to the embroidered piece wrong side. Then, continue to fuse the remaining pieces.
To substitute a double-slide zipper, nothing additional is needed. Simply use a zipper with two pulls instead of one!
Sew the pouch together, using Wonder Clips instead of pins to avoid creating holes in the cork fabric.
If your pouch is embroidered correctly (meaning not upside down!) your pouch can stand on its own, due to the boxed corners at the lower edges. It’s the perfect size for a pair (or two) of sunglasses and other beach essentials.



7 Comments
Kp
What a great, and timely, project! I’ll try making a few for myself and some friends.
Joan Shriver
I think that the design is not sewn up-side down…Laying on the beach towel on the beach, if you are standing, it’s right side up!
Karen E Tucker
I love your honesty! And the sunglass pouch is adorable.
Margaret Bouchey
Ellen Love your classes. I am excited to make your latest Sun glass pouch I have ordered the supplies I need however I have not been able to find the construction of the pouch I have also looked on the sew can she but still unable to find it I hope you can point me in the right direction Thanks for your help
Ellen March
Thank you Margaret. The pattern can be found here: https://sewcanshe.com/cute-long-pencil-pouch-free-sewing-tutorial
Nilsa Nilson
Would love to make the sunglasses but I can not find a pattern for it does anyone have one. THANKS
Ellen March
Hi Nilsa,
The pattern used for this post is found here: https://sewcanshe.com/cute-long-pencil-pouch-free-sewing-tutorial