Using Lucky Penny Wallet Dies with Kraft-tex & Sulky Threads
Create assembly-line gifts that look boutique-ready with the Sallie Tomato Lucky Penny Wallet Pattern Dies, AccuQuilt GO! Fabric Cutter, Kraft-tex and Sulky Poly Deco Threads. Plus, learn a clever binding modification for a polished finish.
QUICK, GIFTABLE & GORGEOUS
When it comes to handmade holiday gifting, small-yet-useful projects are the perfect balance of thoughtful and achievable. The Lucky Penny Wallet from Sallie Tomato is just that—simple to sew, endlessly customizable and surprisingly elegant when made with Kraft-tex fabric-like paper. With the AccuQuilt GO! Fabric Cutter and Sallie Tomato Lucky Penny Wallet Pattern Dies, you can cut multiple wallets in minutes, making it easy to create an assembly line of beautiful, professional-quality gifts.
Let’s walk through how to make them, plus a fun pattern hack—adding narrow binding to the wallet edges for a crisp, finished look that doesn’t interfere with card storage.
LUCKY PENNY WALLET SUPPLIES
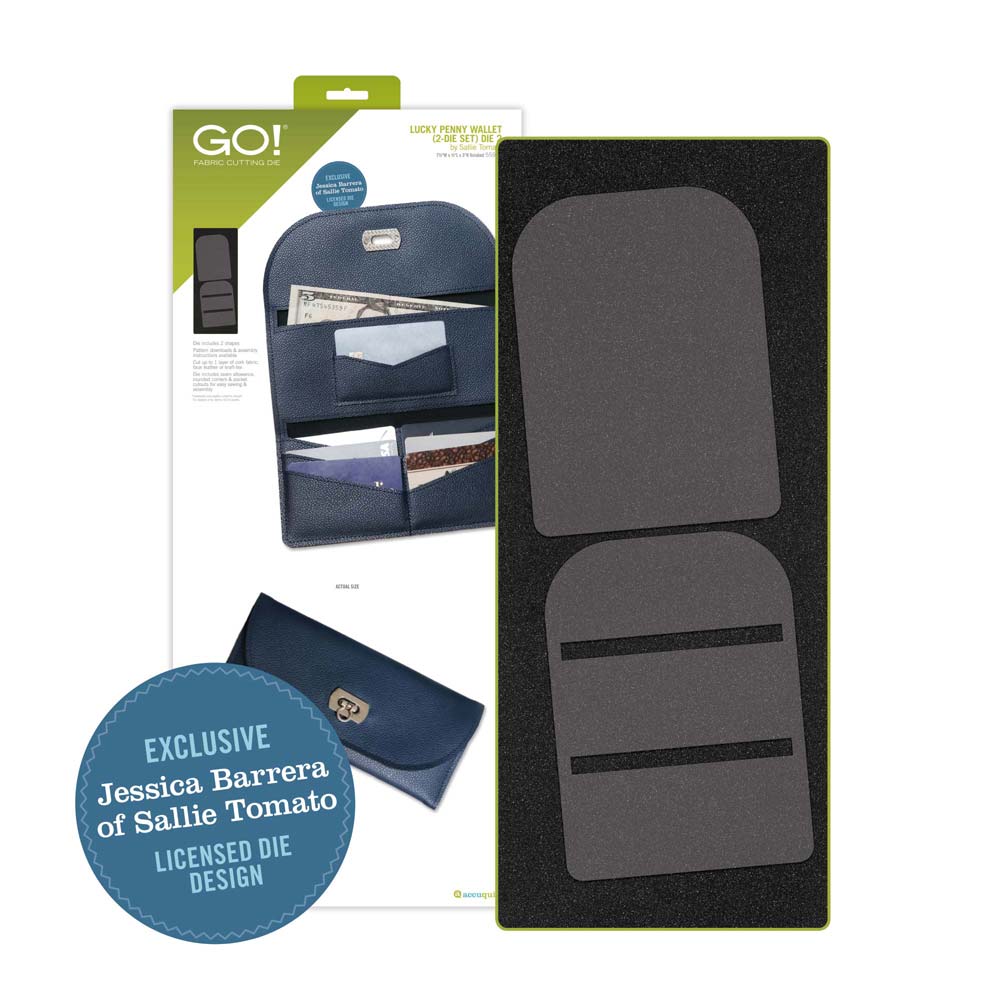
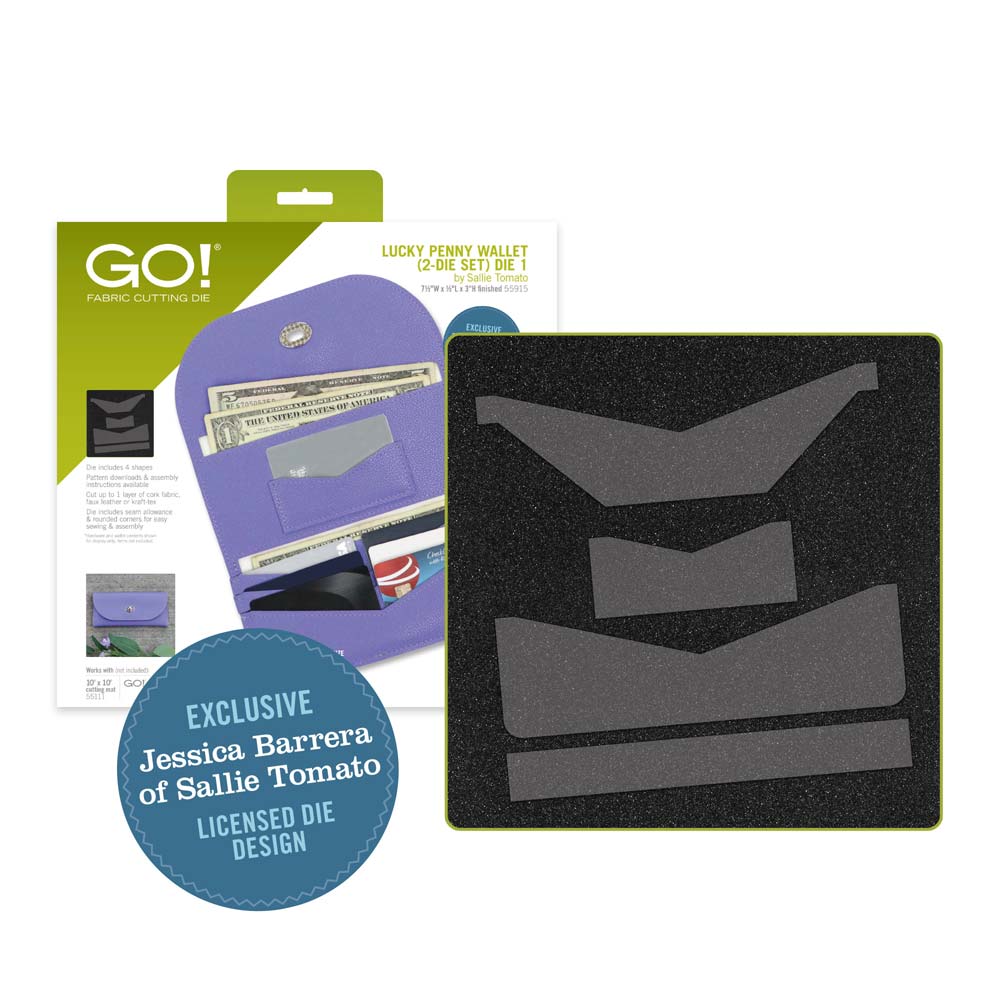
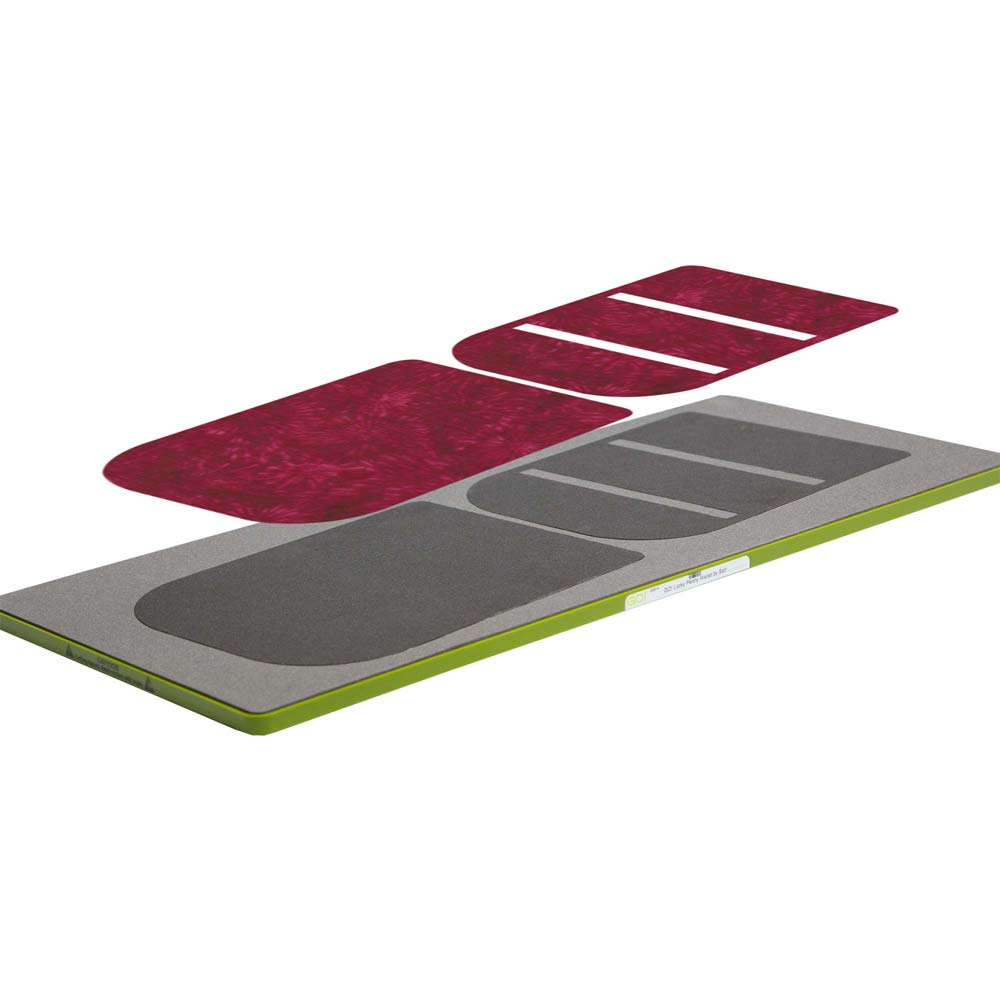
- Sallie Tomato Lucky Penny Wallet Pattern Dies by AccuQuilt
- Sallie Tomato Lucky Penny Wallet Pattern
- AccuQuilt GO! Fabric Cutter
- Kraft-tex by C+T Publishing – choose from original natural tones or vibrant colors
- Sulky Poly Deco Thread – choose coordinating or contrasting shades for topstitching and binding
- Organ size 80/12 Microtex Needle
- Narrow double-fold bias binding
- Wonder Clips (pins leave holes in Kraft-tex)
- Optional: Magnetic Snap
USING DIES TO CUT WALLET PIECES
Accurately cutting Kraft-tex by hand can be tough on both scissors and patience, which is why the AccuQuilt GO! is a total game-changer here. Kraft-tex comes in a variety of colors, and you can cut multiple layers during one pass of the cutter – the perfect assembly-line style gift making! There are two Dies for the Lucky Penny Wallet and you need to cut two Piece C Card Pocket A pieces (so layer two pieces over that section of the Die).
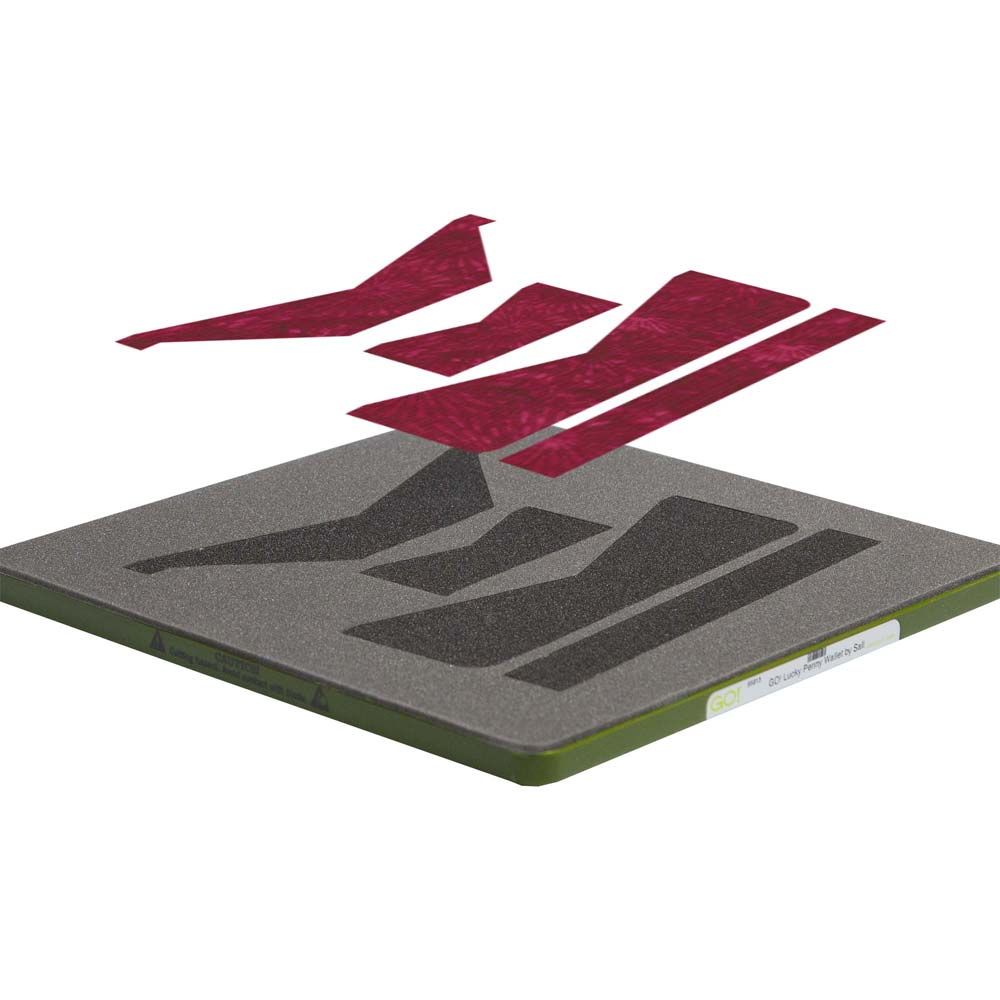
First, cut Kraft-tex pieces to fit the die board.
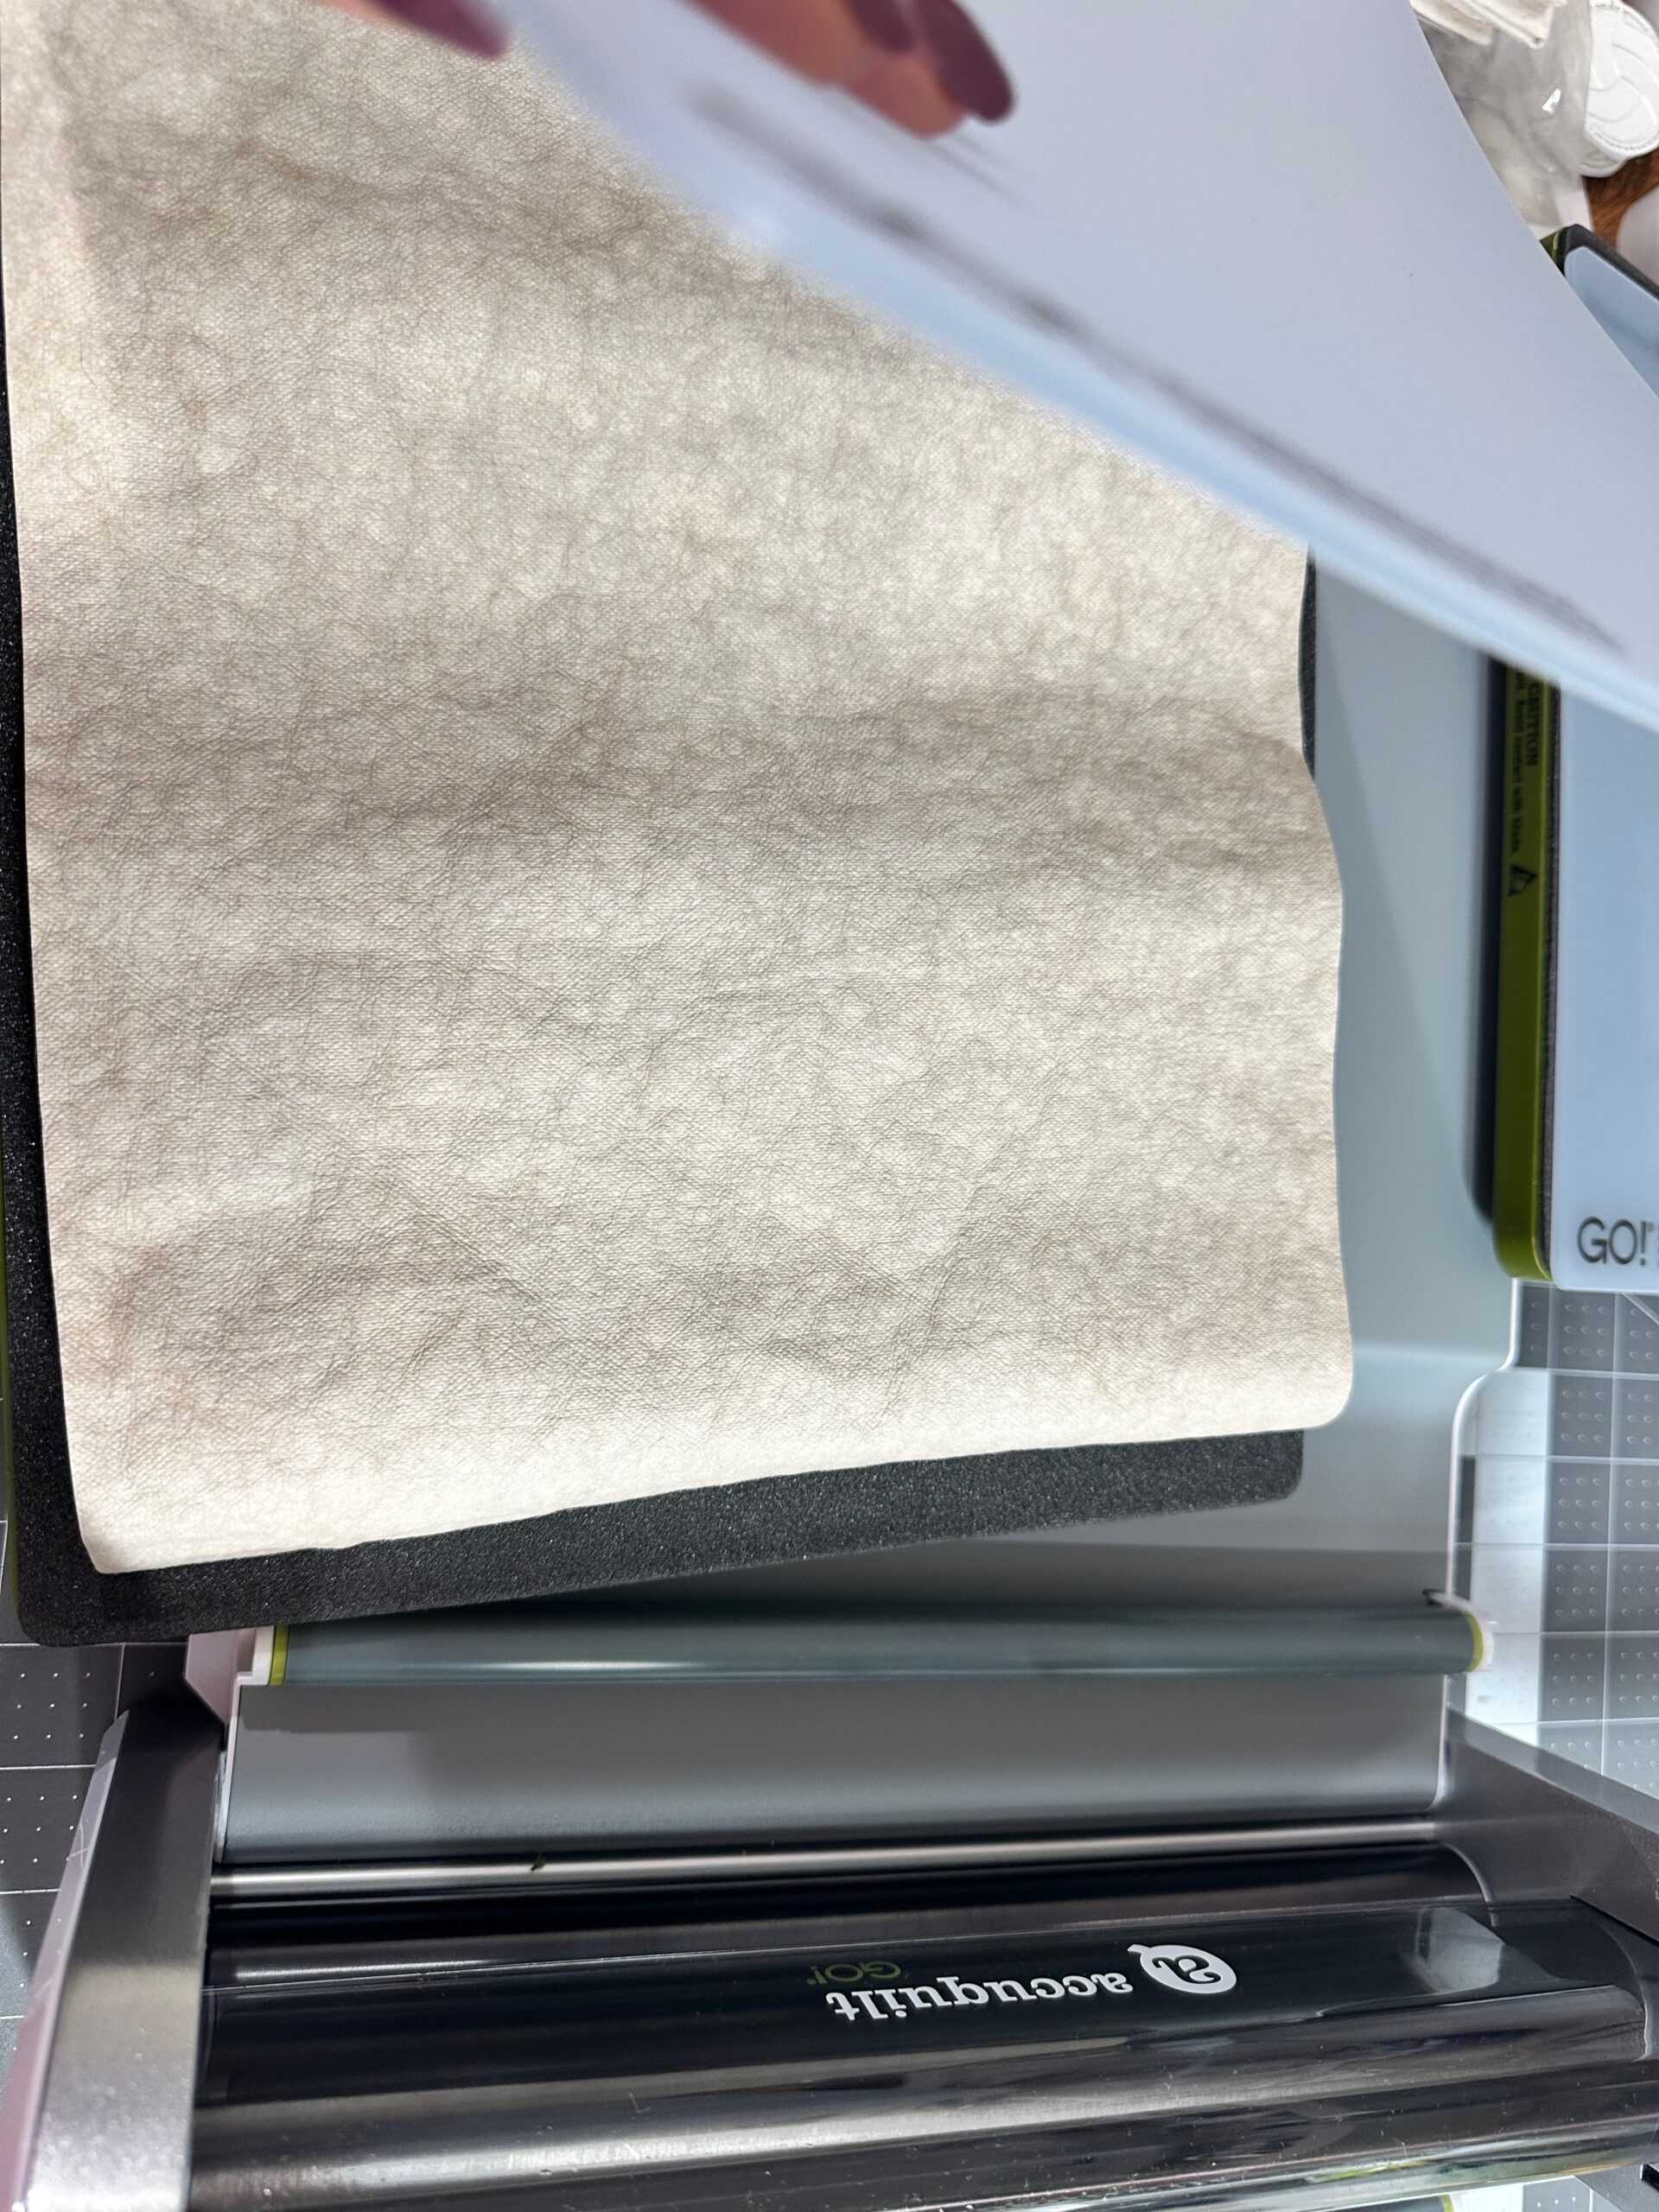
Layer up to three sheets of Kraft-tex at once (depending on thickness). Place the cutting mat over the Kraft-tex and Die.
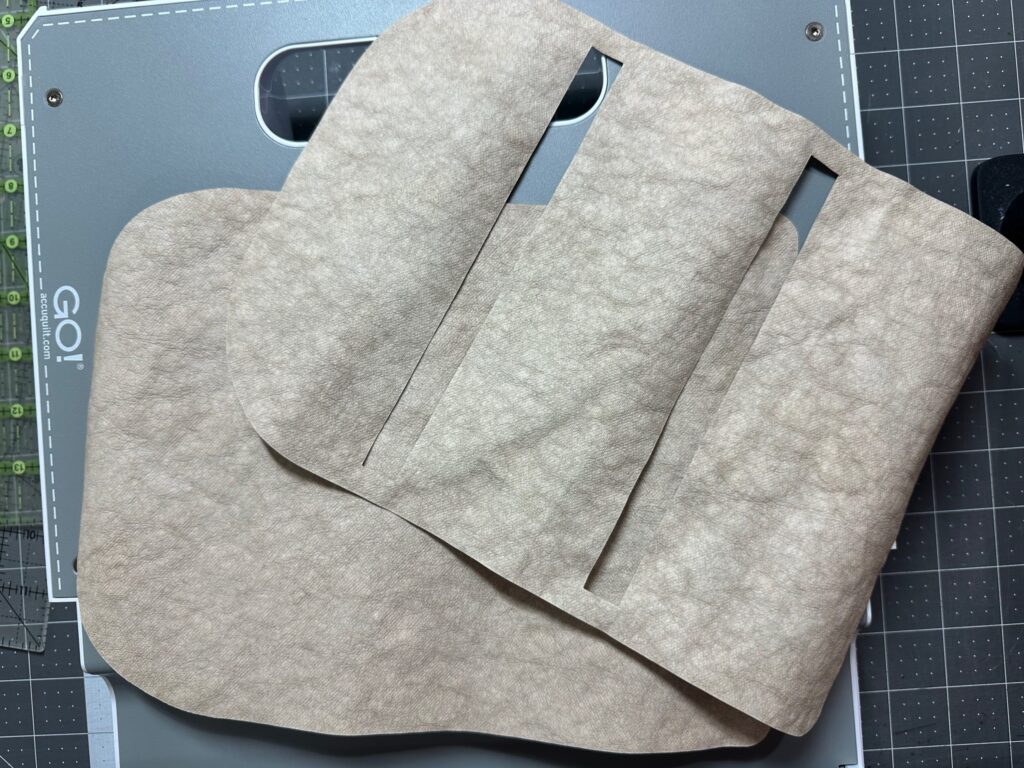
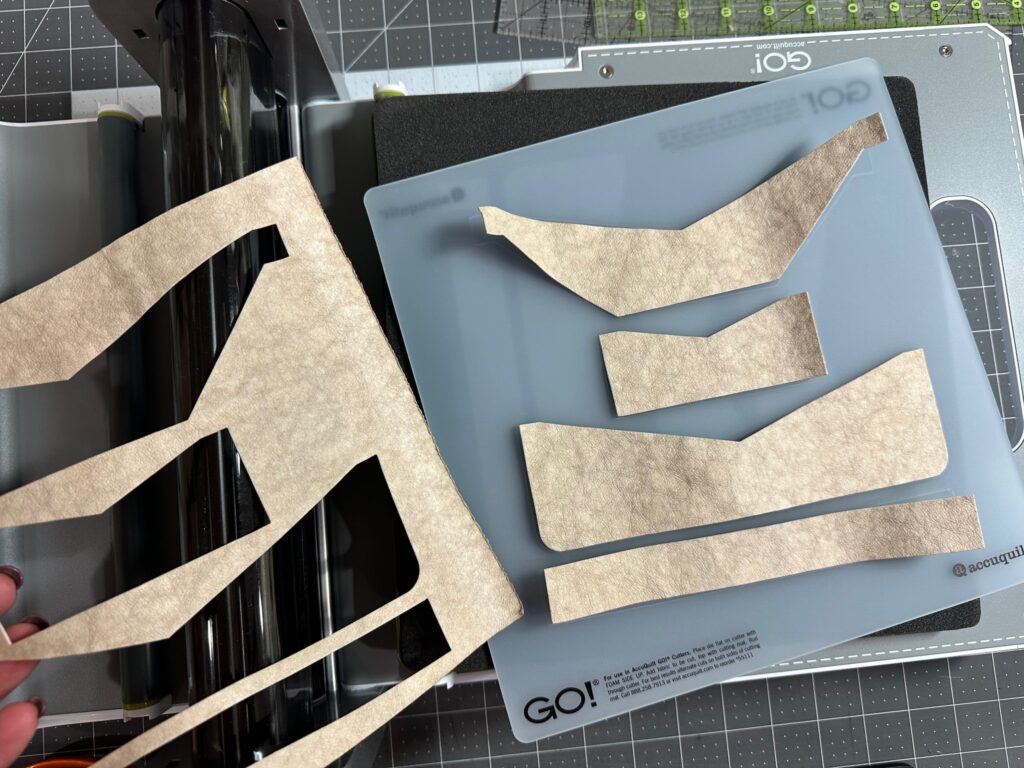
Run the Die through the GO! cutter to cut perfect shapes every time—no measuring, no trimming, no wasted material.

Repeat to cut as many wallets as you plan to make. It’s fast and incredibly efficient for batch sewing!
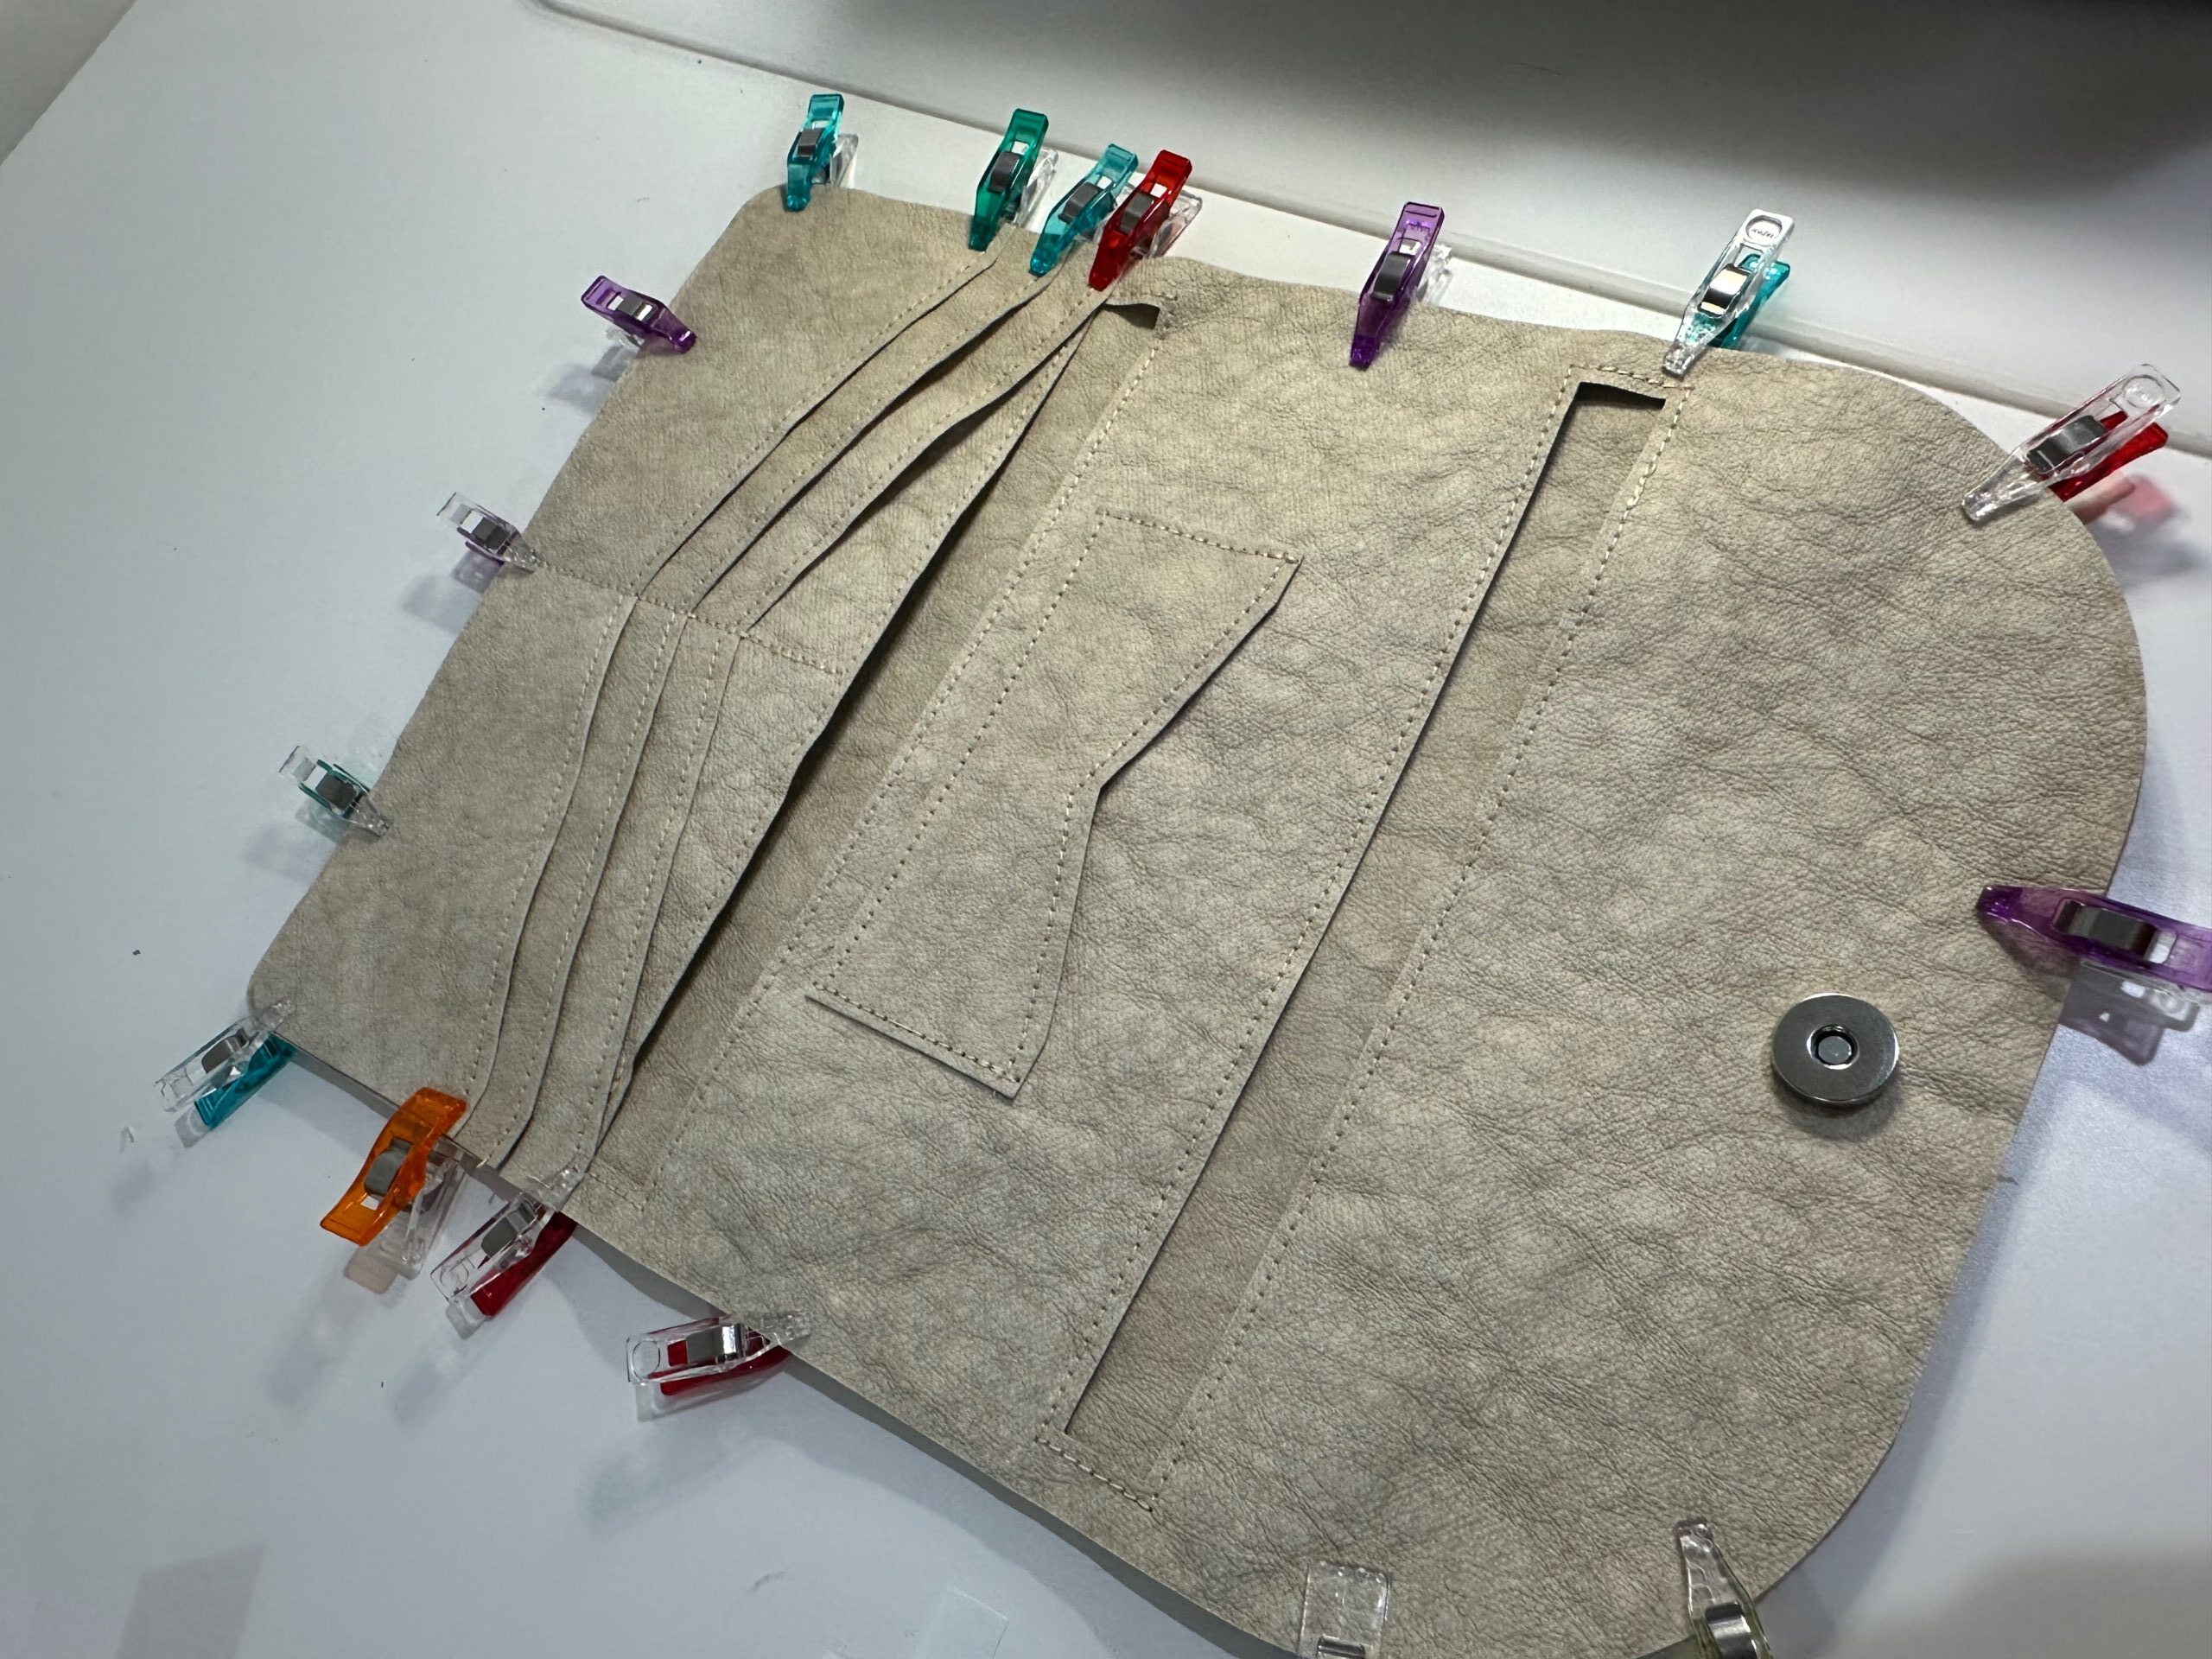
CONSTRUCTION TIPS
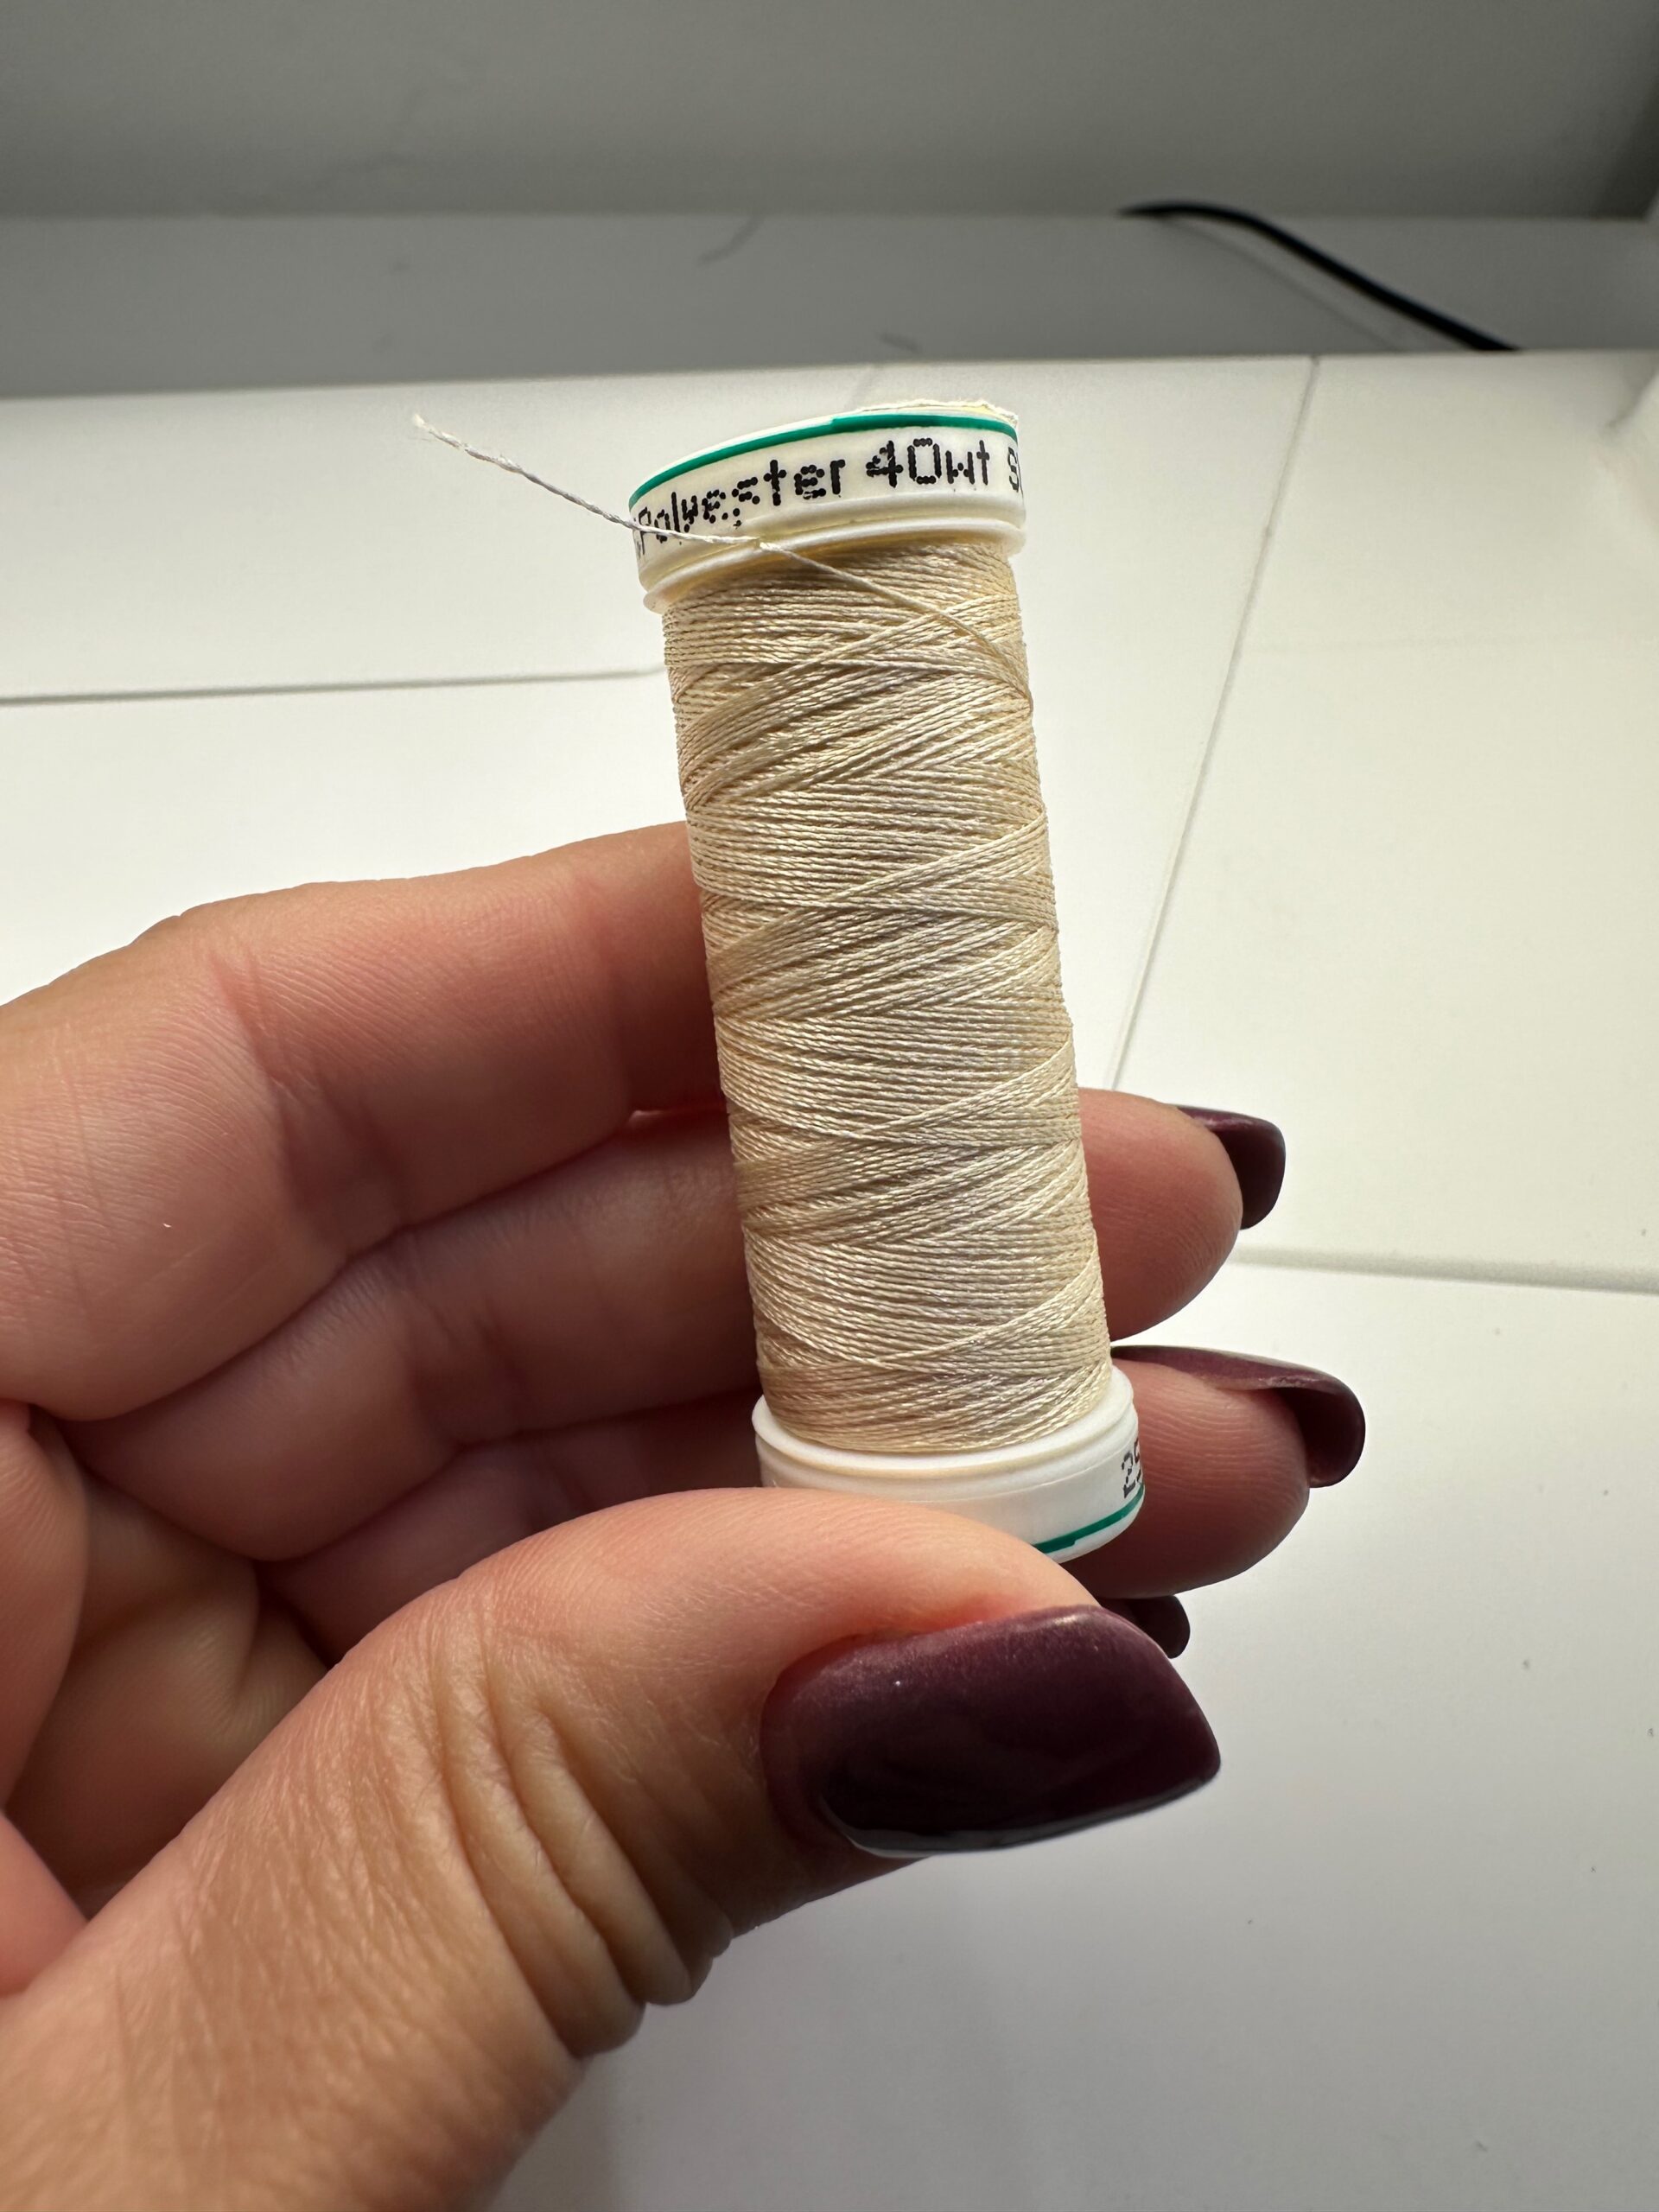
Use Sulky 40 wt. Poly Deco Thread to construct the wallet. This thread is nice and strong and gives a subtle shine to the project. Choose a thread color that matches the Kraft-tex for assembly and a thread color that matches the binding for finishing.
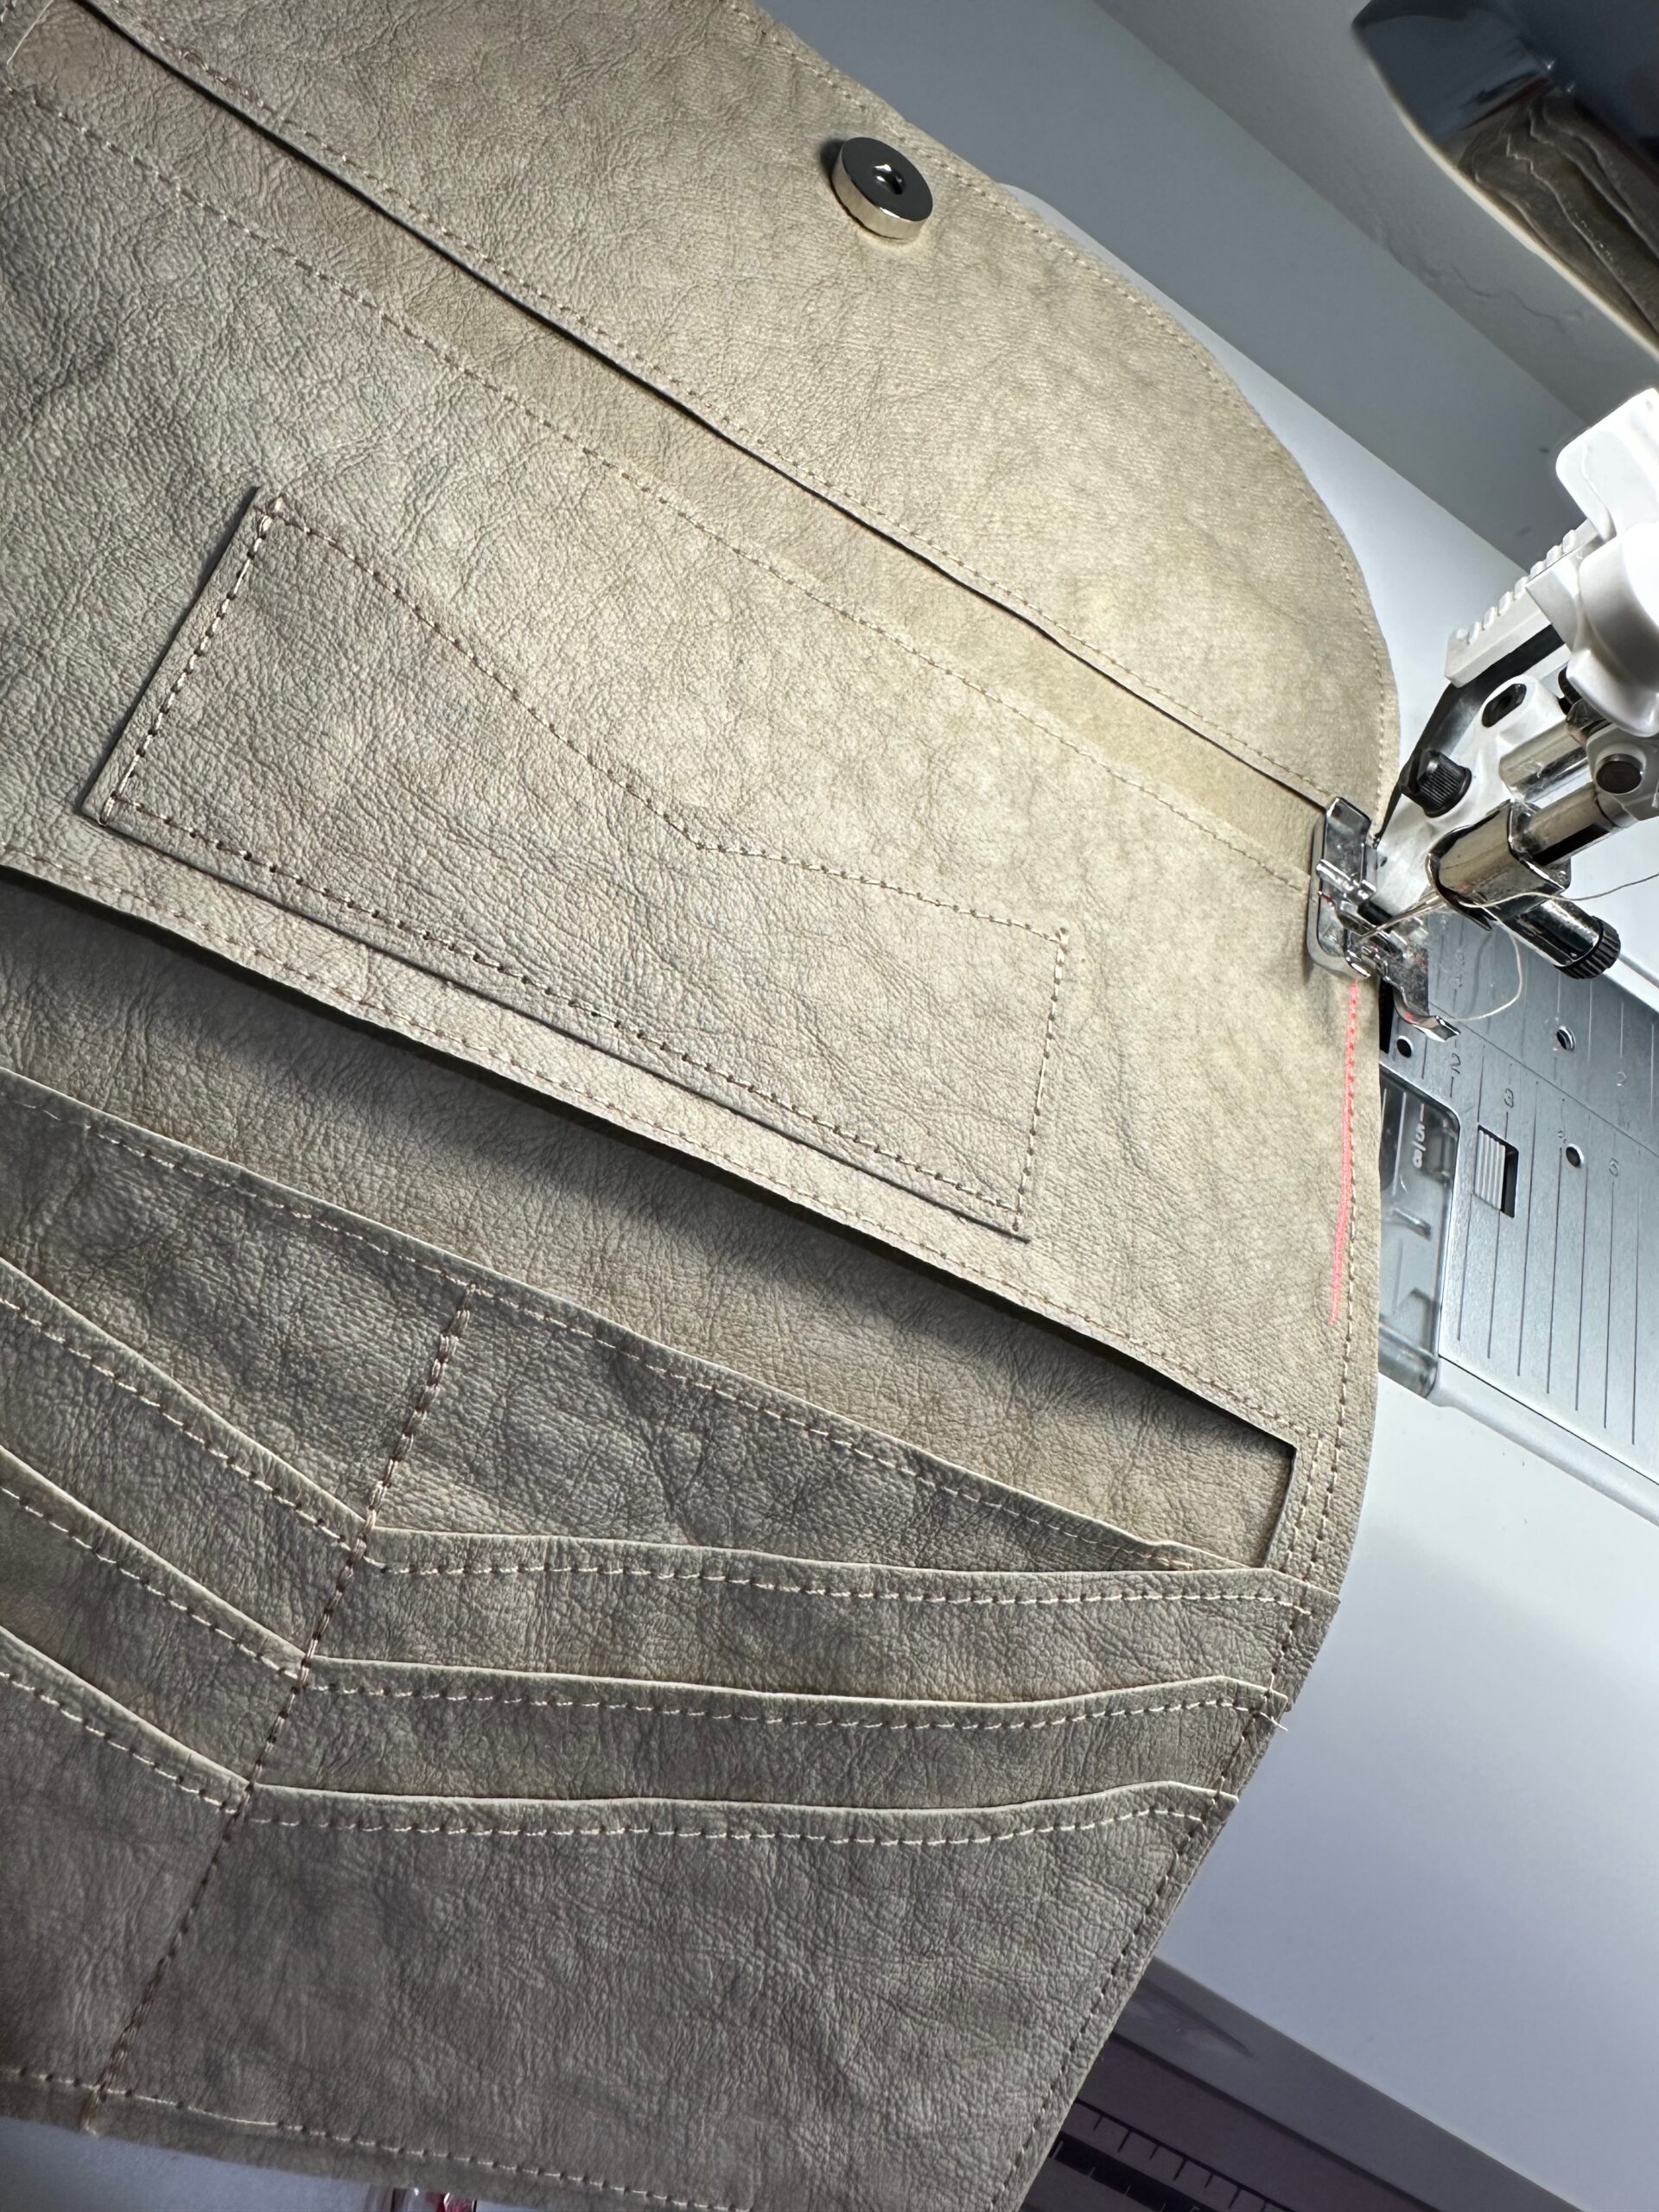
Any needle holes will be permanent on Kraft-tex, so stitch carefully and methodically to ensure accuracy.
If adding a magnetic snap, rather than the included strap piece for closing, install a zipper or narrow-edge foot for topstitching the wallet perimeter.
Even if you plan to add binding, be sure to topstitch the wallet perimeter to ensure the layers don’t shift when finishing.
Optionally add zippers inside the lower rectangle cutout that holds cash and/or a checkbook. A zipper will make the openings slightly smaller but will provide extra security for your stored items.
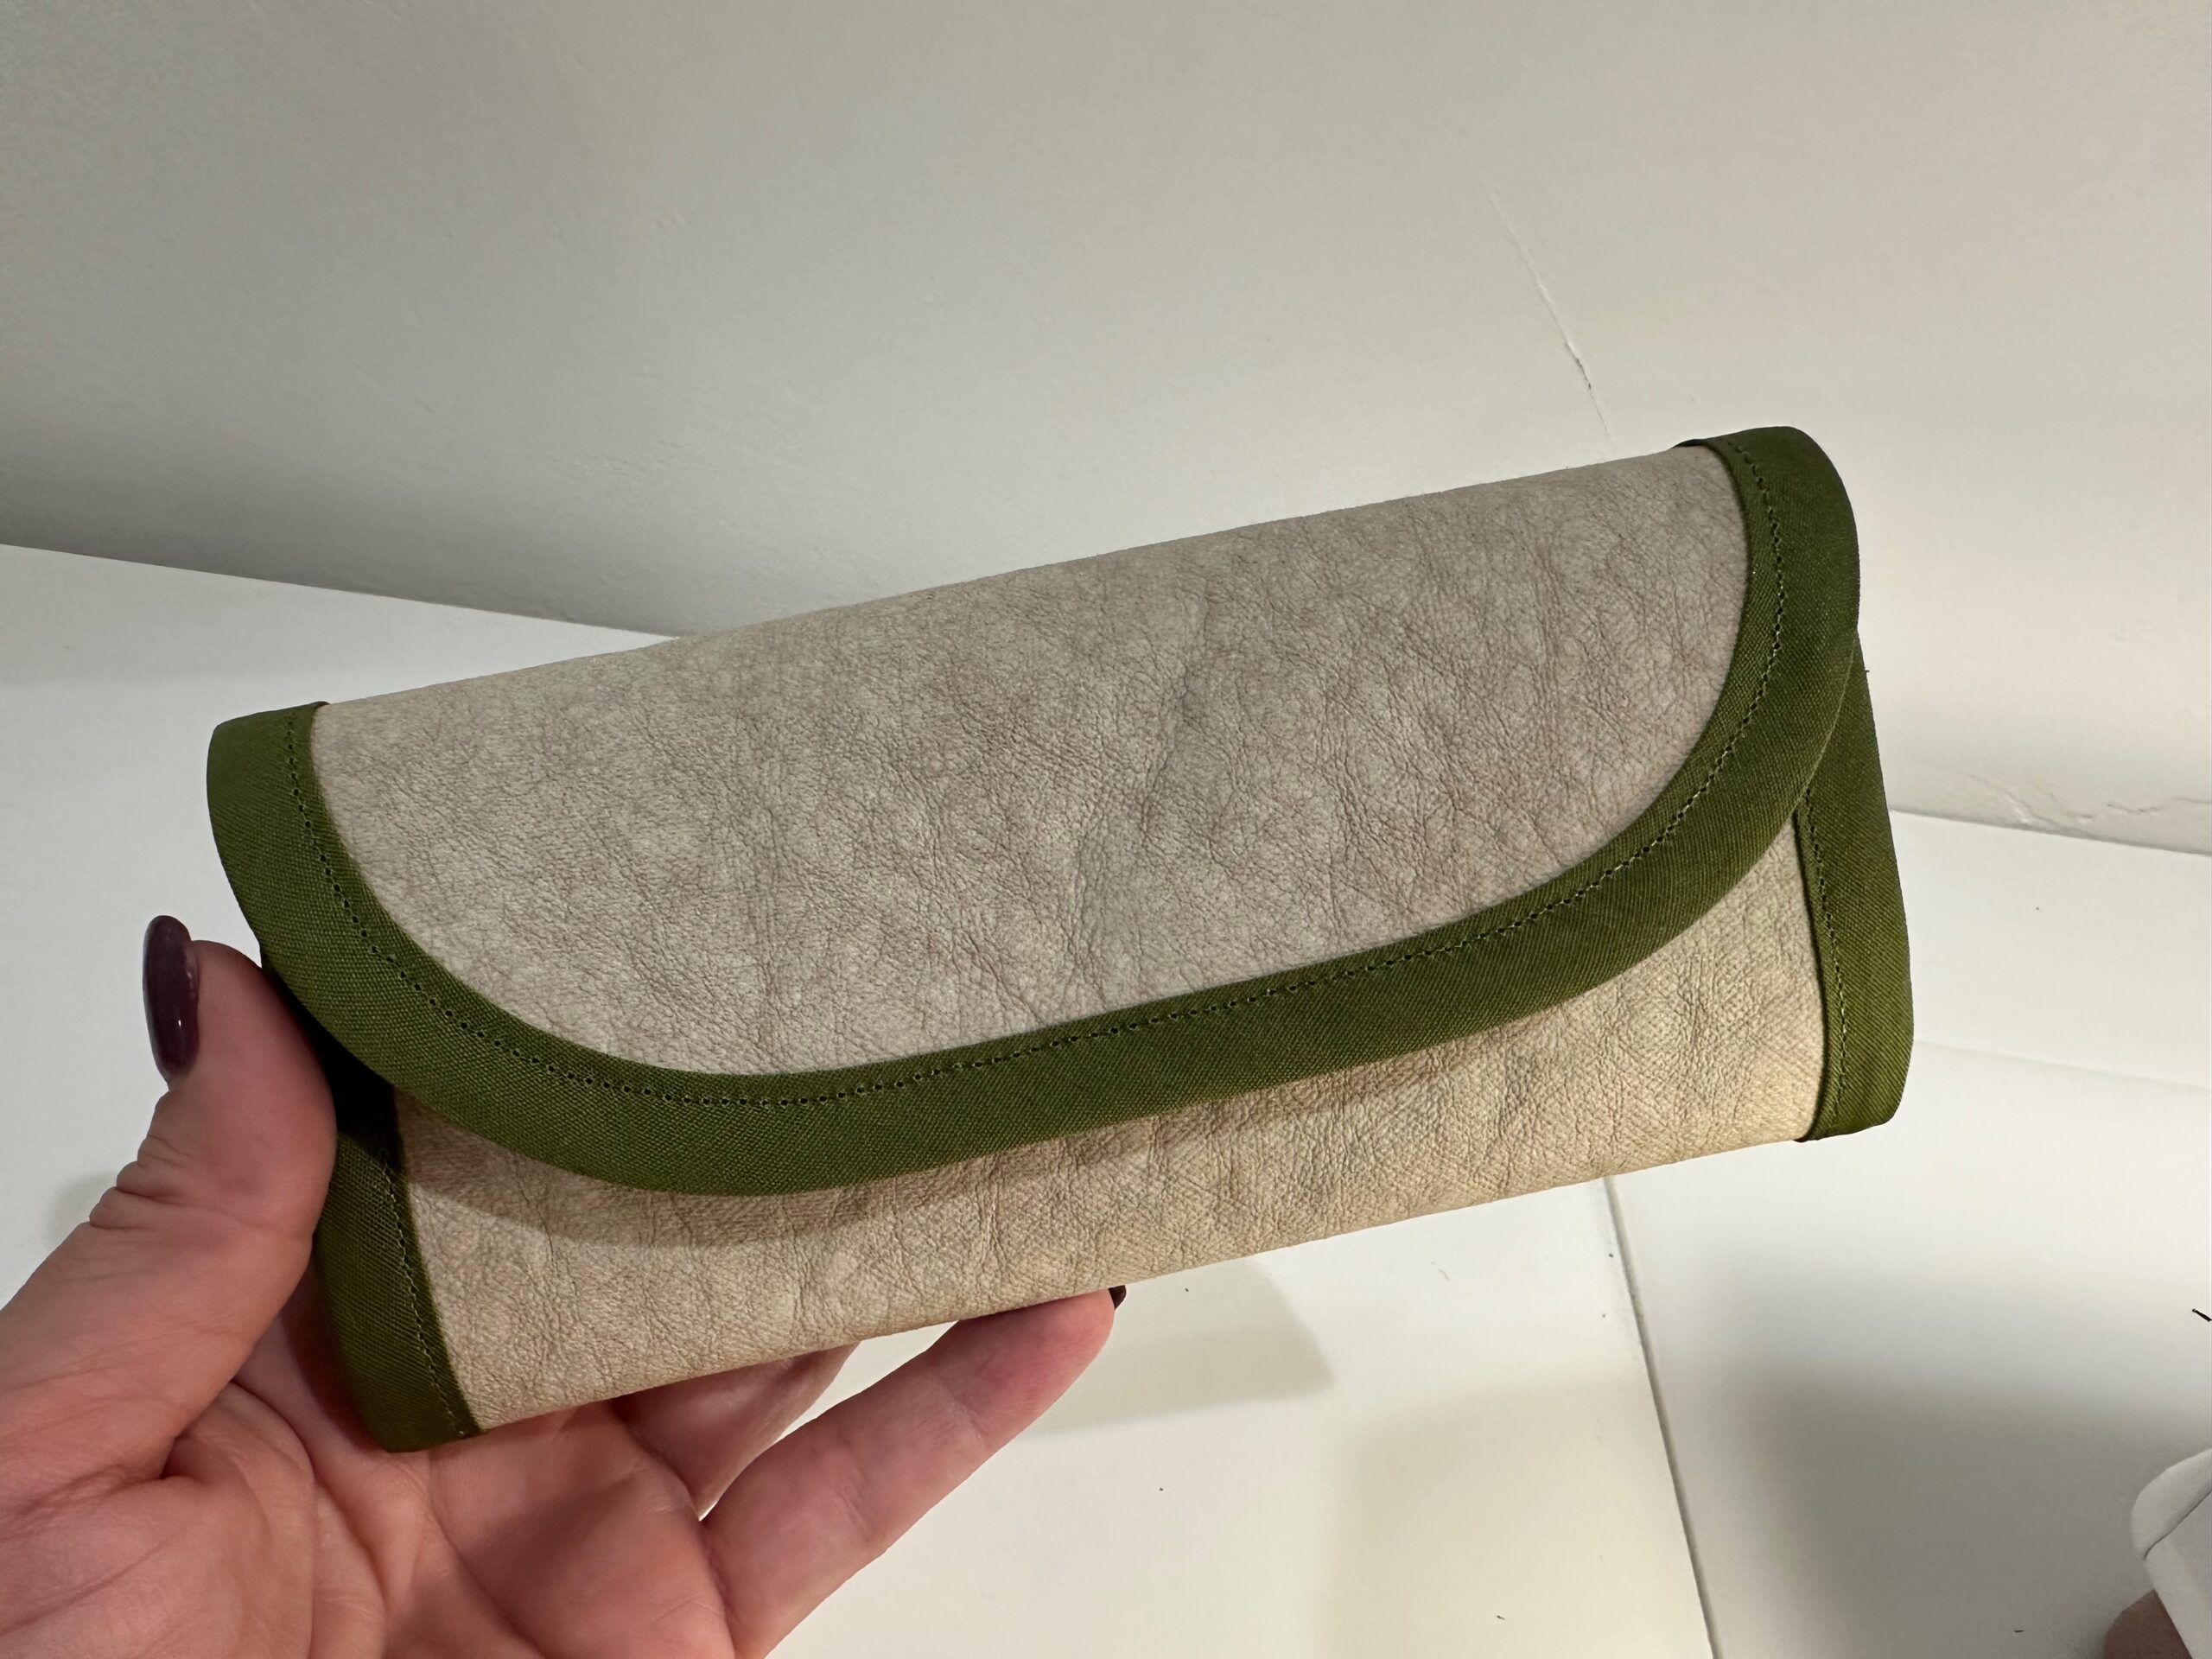
ADD BINDING
The original Lucky Penny Wallet is raw-edged, but we’re taking it up a notch with narrow binding. This gives the wallet a sleek, finished edge—especially nice for gifting.
Use narrow premade bias binding or create your own from a coordinating fabric (don’t use Kraft-tex here, as you need the binding to have a slight stretch to fit around the curves nicely.)
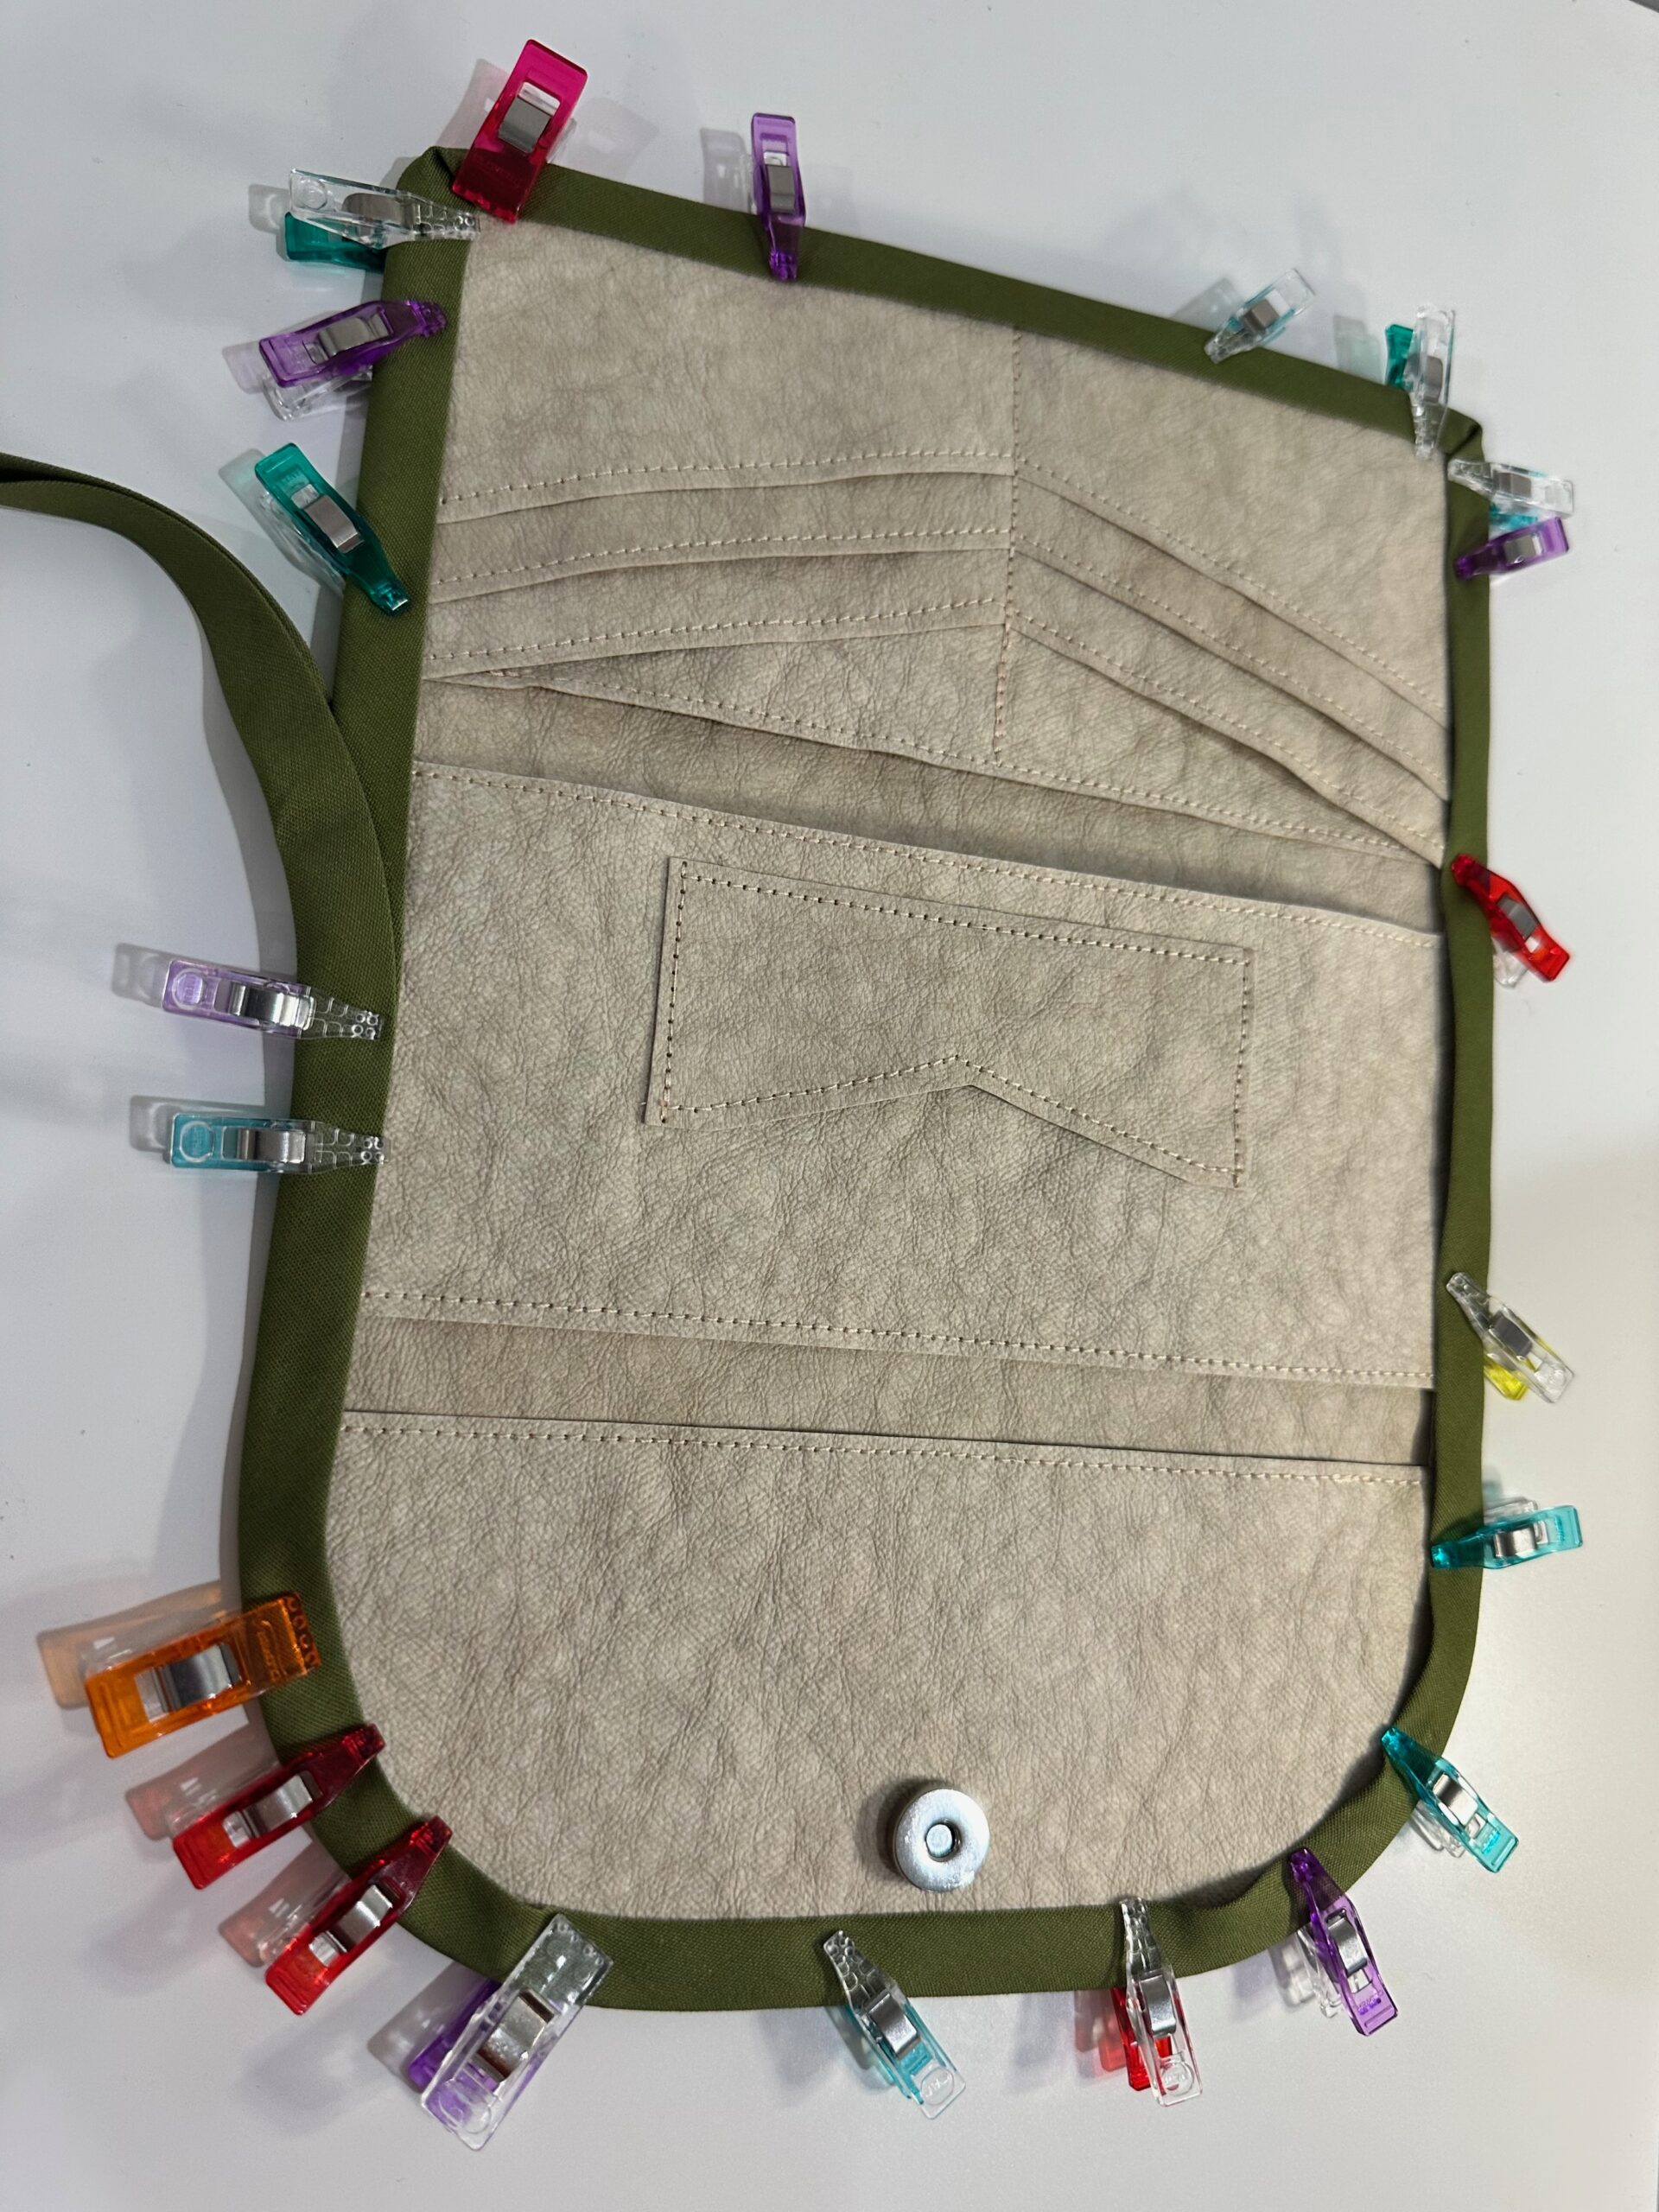
Clip the binding in place, sandwiching it around the wallet raw edge after assembly. Miter the corners and join the beginning and ending of the binding.
Tip: Test the binding width before sewing! You want it narrow enough (approx. 1/4″ finished) so the inside card pockets remain roomy.
Stitch the binding folded edges through all layers to finish the Lucky Penny Wallet.
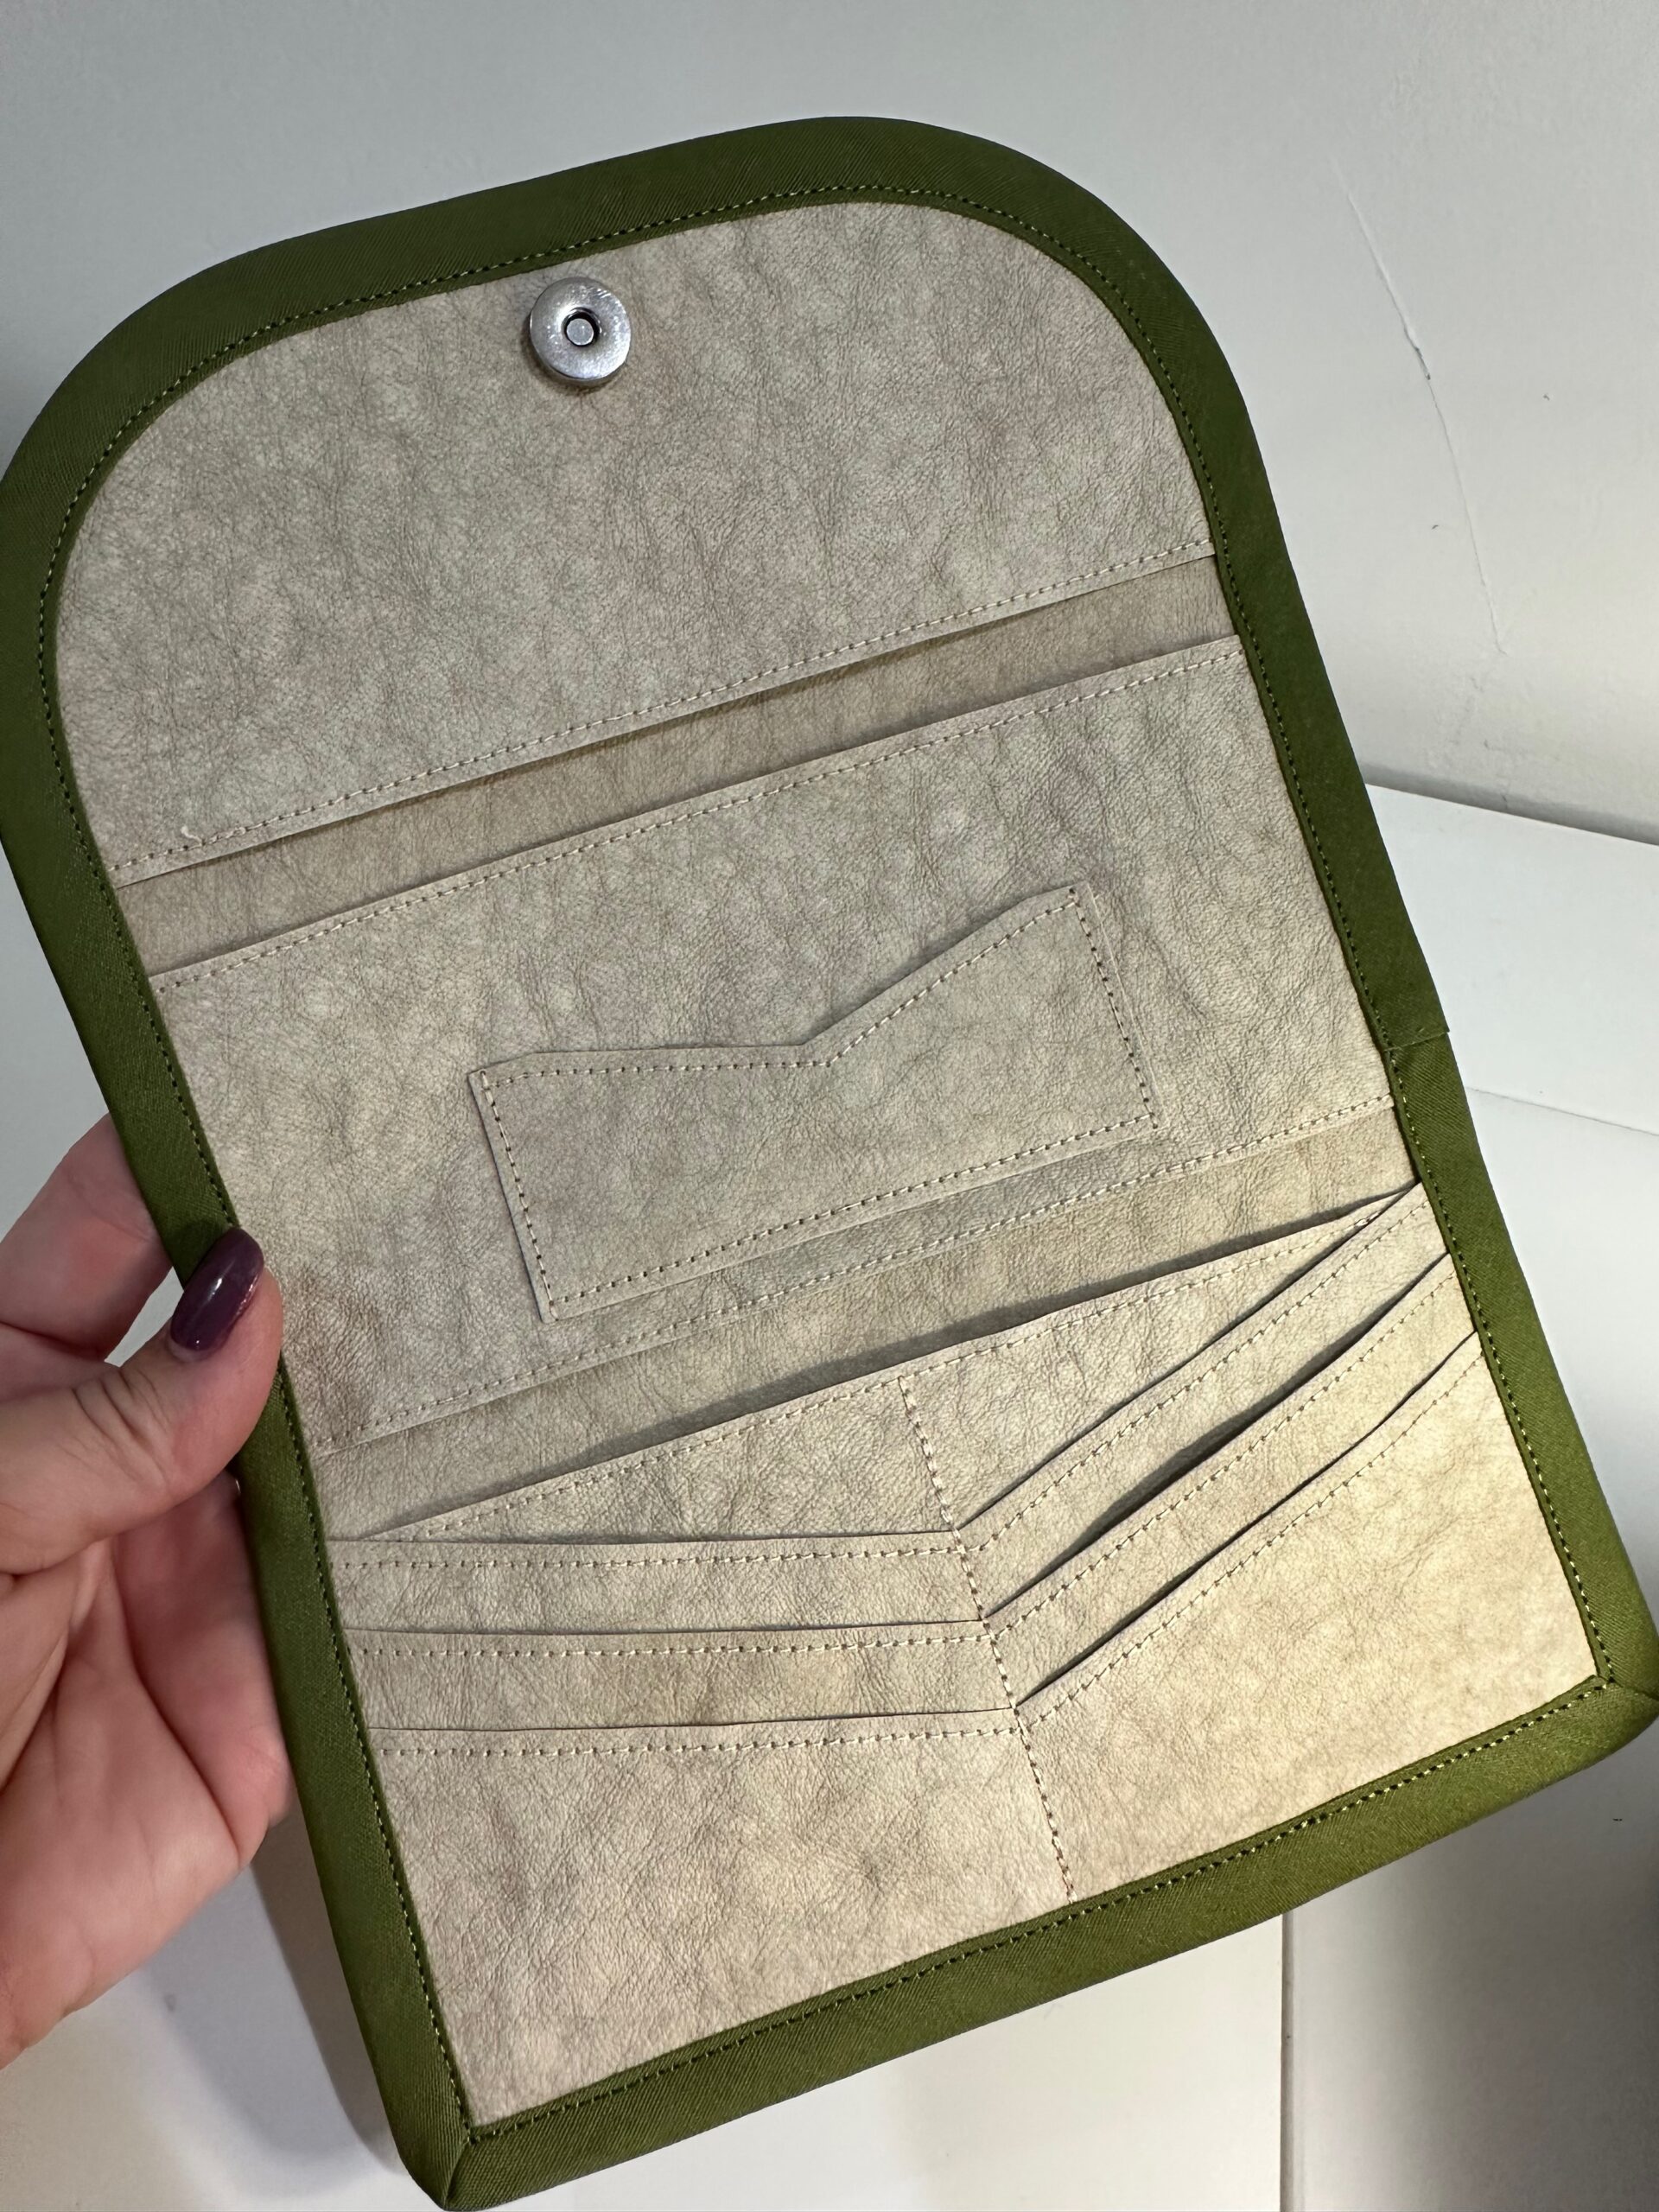
This detail instantly upgrades the project, hiding raw edges and giving the wallet a finished, boutique quality.
ASSEMBLY-LINE WALLET SEWING
To make multiple wallets quickly:
-
Cut all wallet pieces first.
-
Prepare all bindings (if using).
-
Stitch wallets in batches—one step at a time across all pieces.
-
Mix and match thread colors to personalize each gift.
Get into a rhythm and stitch multiples when you have chunks of time so everyone on your list gets a handmade gift this holiday season!
These wallets make perfect stocking stuffers, teacher gifts or gift card holders. Slip a little something inside—a coffee card, fabric gift card or a personal note. Then, your handmade gift becomes truly memorable.
MAKE IT YOUR OWN
For a subtle finishing flourish, personalize each wallet with machine embroidery or a small label before assembly. The Kraft-tex surface stitches beautifully and holds color vibrantly when using Sulky Poly Deco Threads.
Whether you make one or a dozen, the Lucky Penny Wallet is a project that delivers instant satisfaction and endless gift potential. With the power of the AccuQuilt GO! Cutter, the durability of Kraft-tex and the shine of Sulky threads, you’ll have a collection of polished, handmade wallets ready for holiday giving in no time.

I just love the looks of this wallet. Can’t wait to try to make it.