Lucky Sweatshirt to Embroider for St. Patrick’s Day
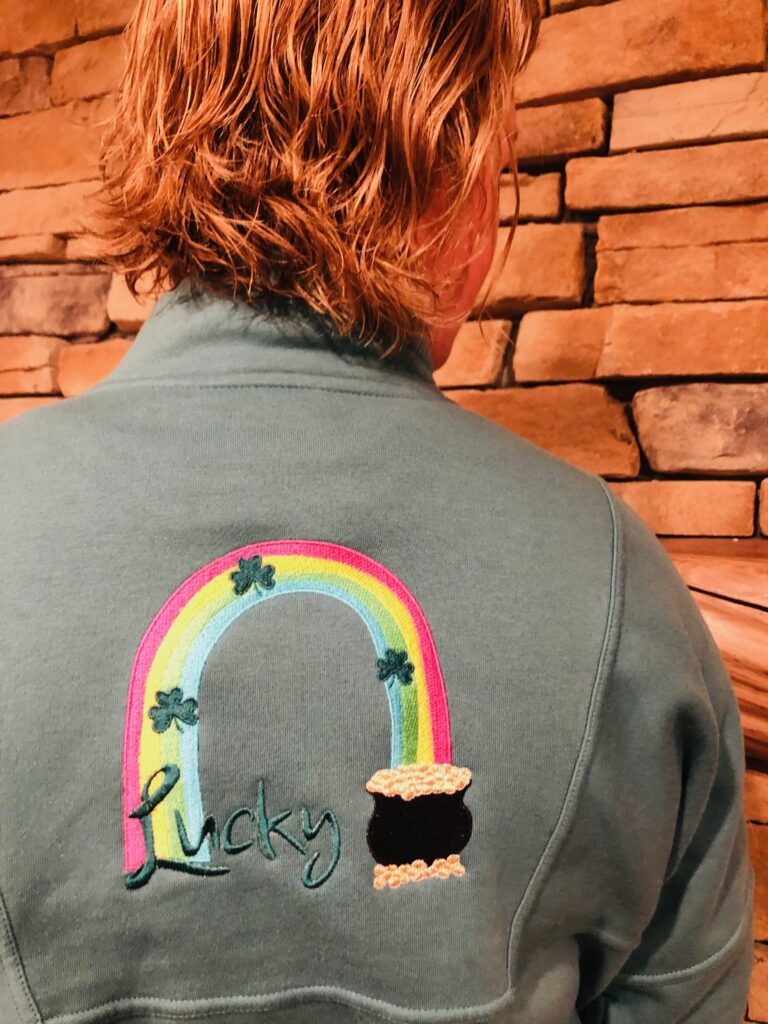
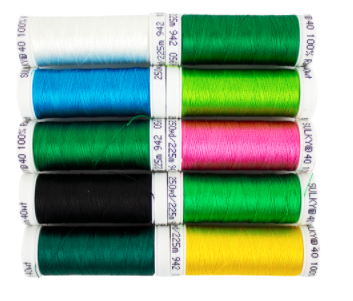
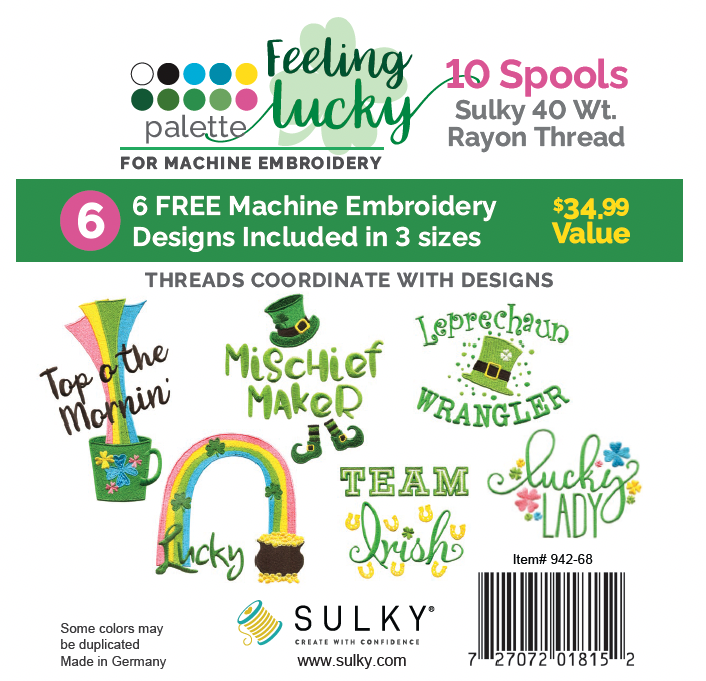
Embroider a Lucky Sweatshirt to show your love of all things St. Patrick’s Day! This tutorial is helpful for embroidering any type of stable sweatshirt knit, with a fleece or fuzzy interior. Grab the Feeling Lucky Machine Embroidery Palette to have all 10 threads featured in this design at the ready, along with the entire design collection – included with purchase!
LUCKY SWEATSHIRT SUPPLIES
- Zip-front sweatshirt
- Feeling Lucky Machine Embroidery Palette (includes 10 thread spools & entire Feeling Lucky Machine Embroidery Collection)
- Sulky 30 wt. Poly Sparkle™ Thread (Gold with Gold Sparkle – optional; for gold coin embroidery)
- 60 wt. Sulky Bobbin Thread
- Stabilizers: Sulky Stiffy™ & Sulky Solvy®
- Size 90/14 Organ® Embroidery Needle
- Sulky KK 2000™ Temporary Spray Adhesive
- Curved-Tip Squeezers
STABILIZER SELECTION TOOL
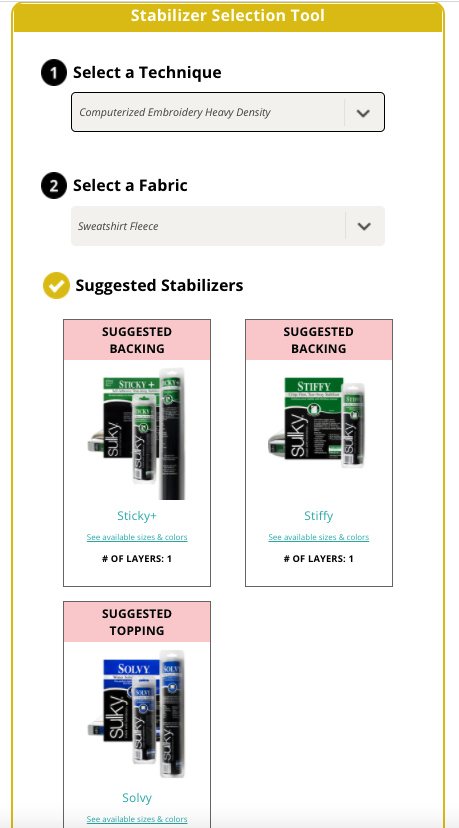
To decipher the stabilizer needed for your particular sweatshirt, first look at the fiber content of the fabric. Then, head over to sulky.com, click on Resources and Inspiration, and then click on Resources. There you will find our Stabilizer Selector Tool, where you can plug in the technique and fabric you’re using and get a recommended stabilizer!
For the featured sweatshirt, two stabilizers are recommended for the sweatshirt backing. I chose Stiffy, as the Sticky+ would not have performed well with the sweatshirt fleece wrong side. Note that when the Selection Tool recommends Sticky+, it’s a good indication that the fabric you’re using should not be hooped. Rather, hoop the stabilizer only, and then stick the item onto the sticky stabilizer.
The following tutorial shows this method, but using Sulky Stiffy combined with Sulky KK 2000 to provide the sticky surface for the sweatshirt to adhere for embroidery.
FEELING LUCKY DESIGN SPECS
The chosen design, Lucky, is part of the Sulky Feeling Lucky Machine Embroidery Design Collection.
This design comes in three sizes: for a 4×4, 5×7 or 9×10 (or larger) hoop. For the chosen design, the 5×7 size was used and enlarged 20% on the machine screen to best fir the sweatshirt embroidery area. The featured sweatshirt is a size Large. If working with a smaller sweatshirt or kids’ size sweatshirt, you may want to choose the 4×4 design or the 5×7 design without enlarging it.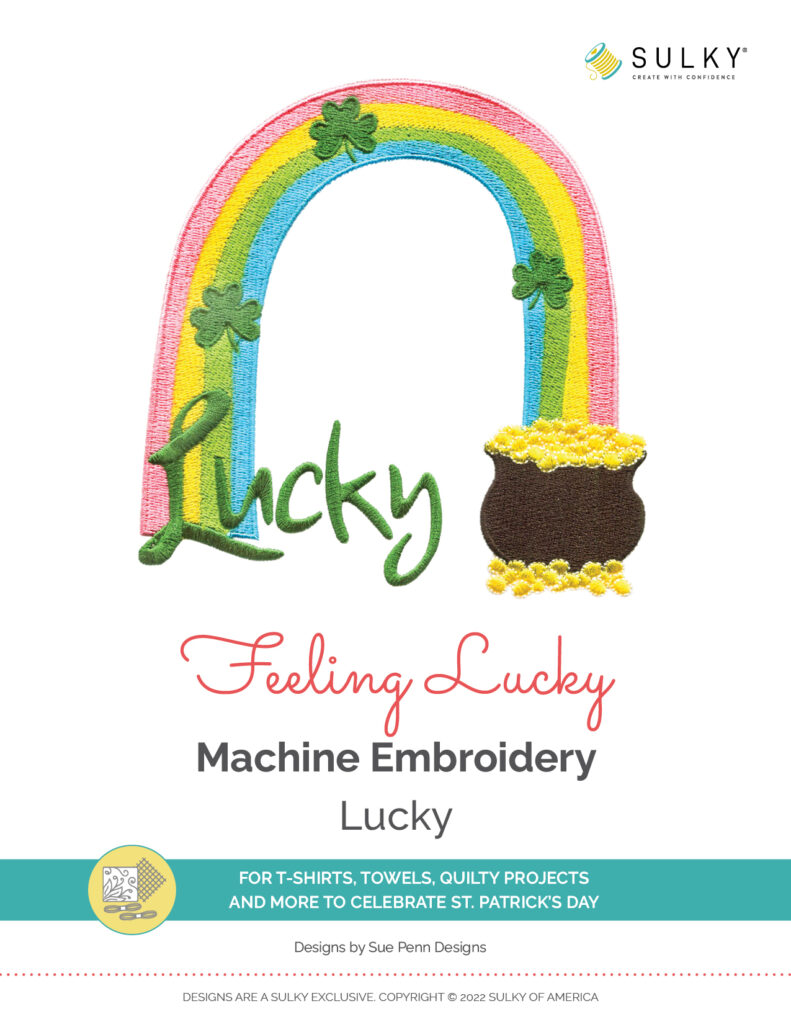
Print a template of the chosen design and audition it on the sweatshirt where desired. The center back of the lucky sweatshirt is a great place to showcase a large-scale design!
LUCKY DESIGN PLACEMENT
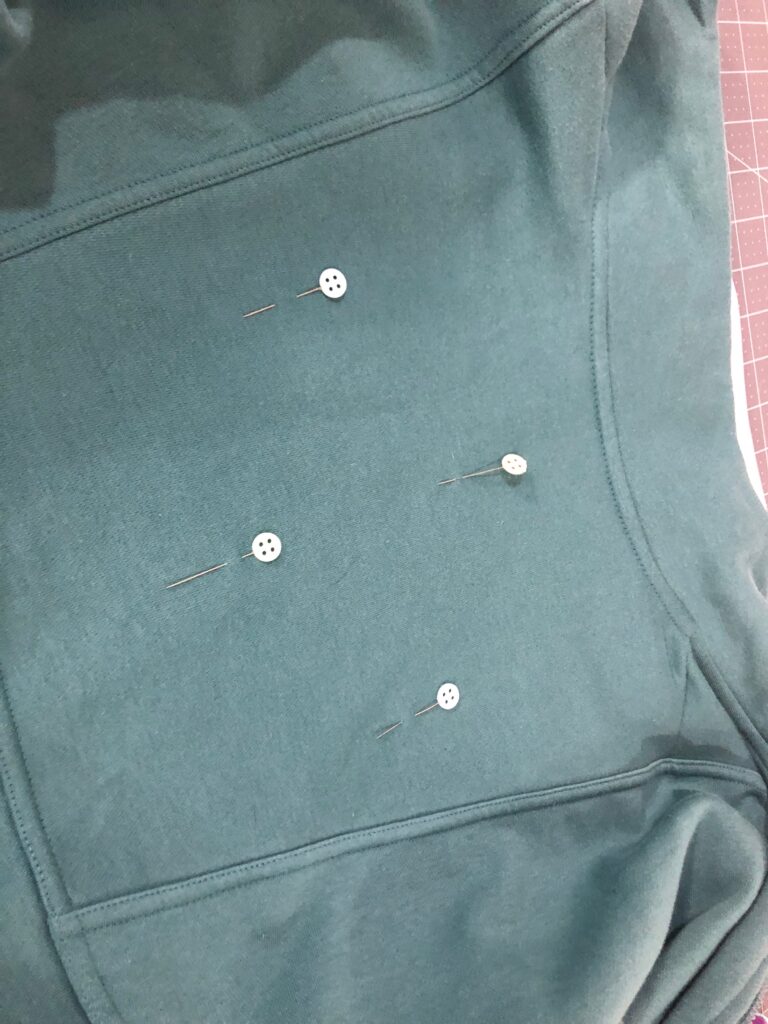
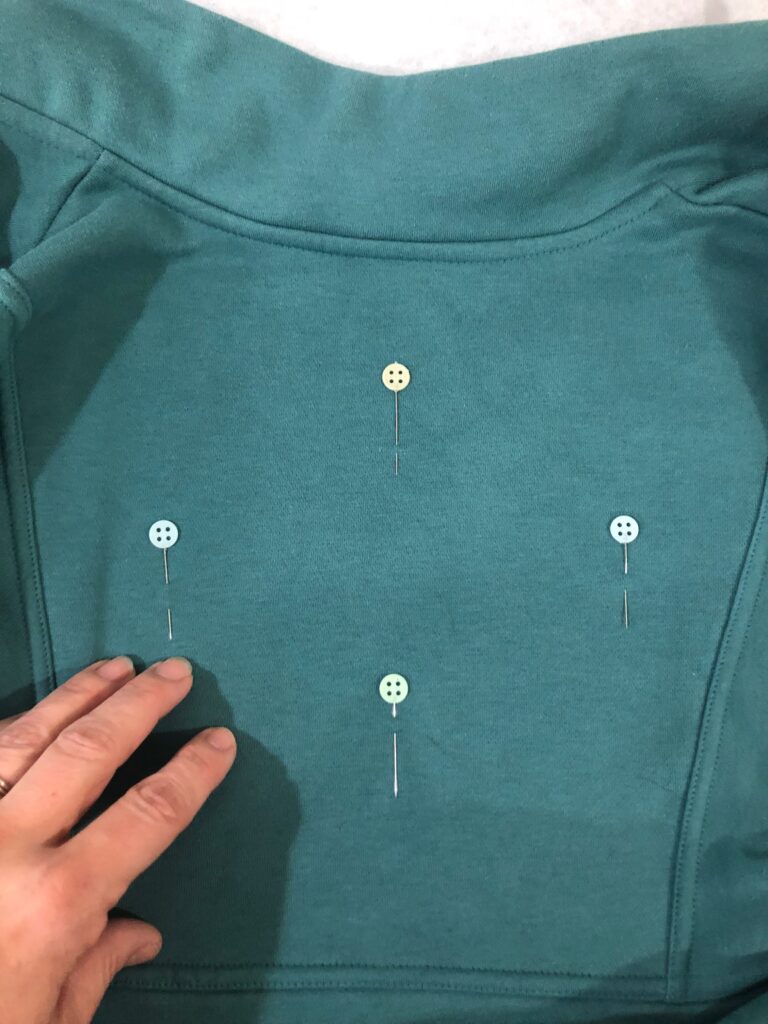
Use pins or the design template or the placement tool of your choice to mark the center cross marks of the design on the sweatshirt right side where desired.
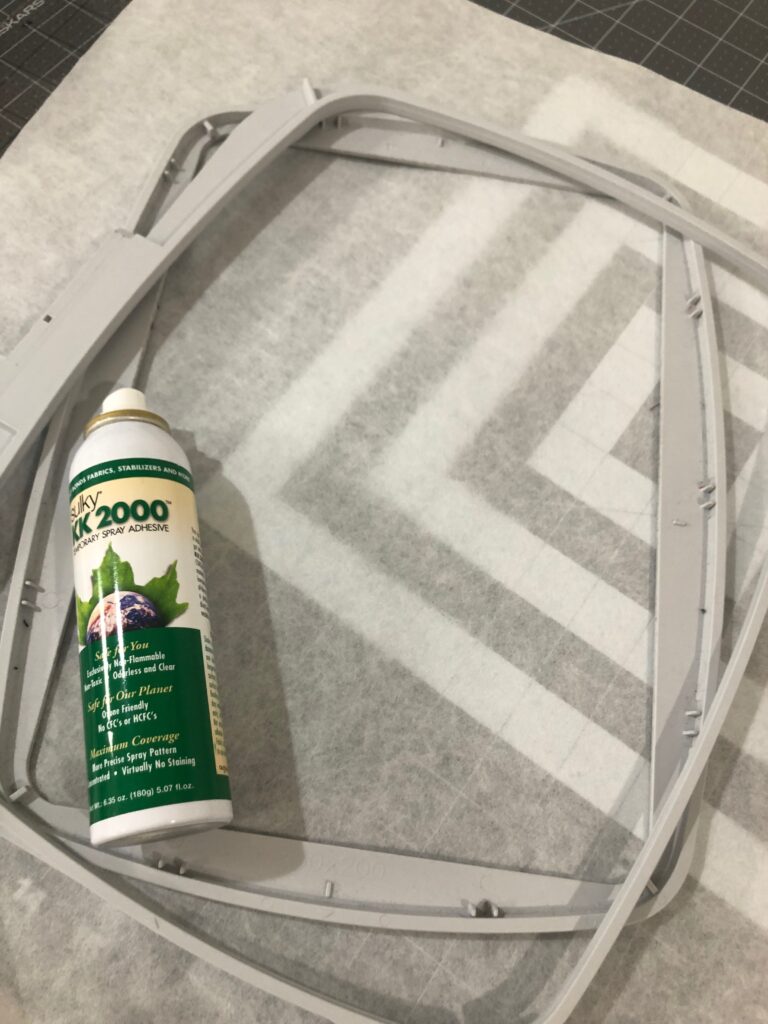
Hoop the Stiffy stabilizer only in the hoop.
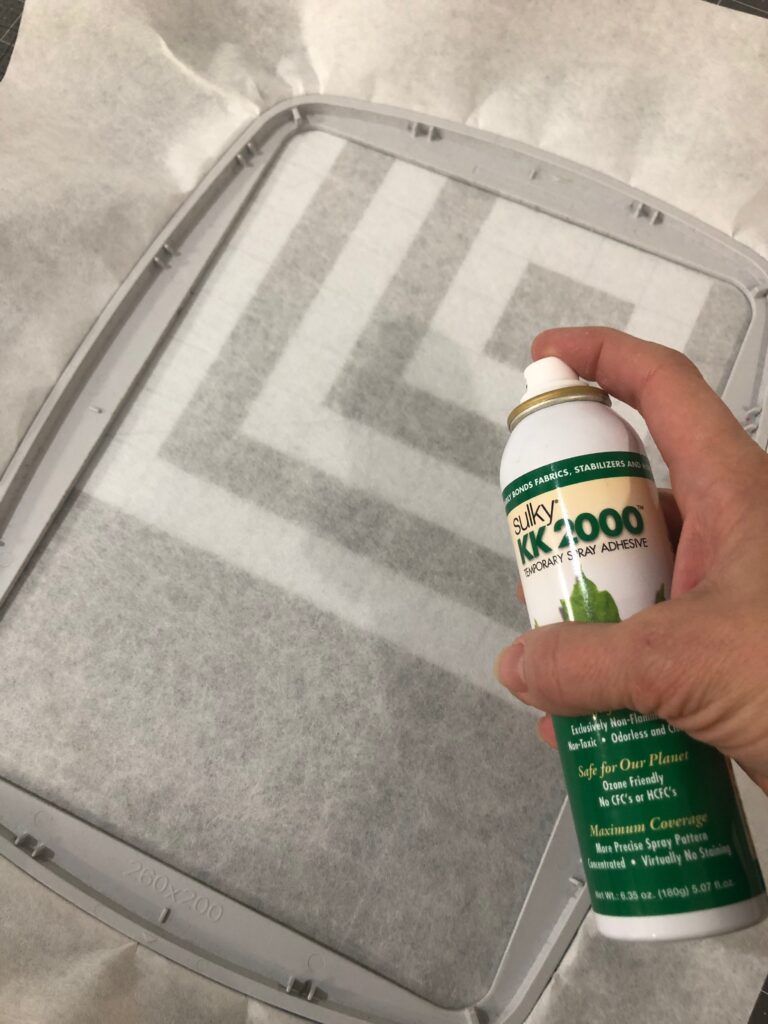
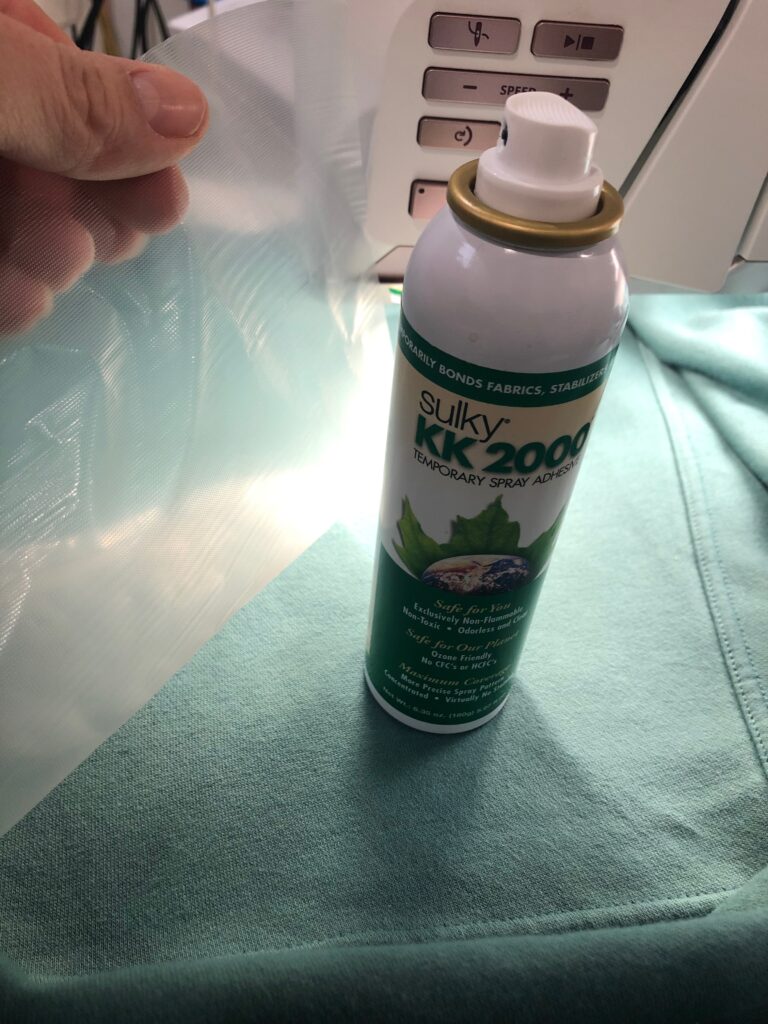
Then, spray the stabilizer and sweatshirt wrong side with KK 2000 Temporary Spray Adhesive.
Next, stick the sweatshirt to the stabilizer, centering the design markings.
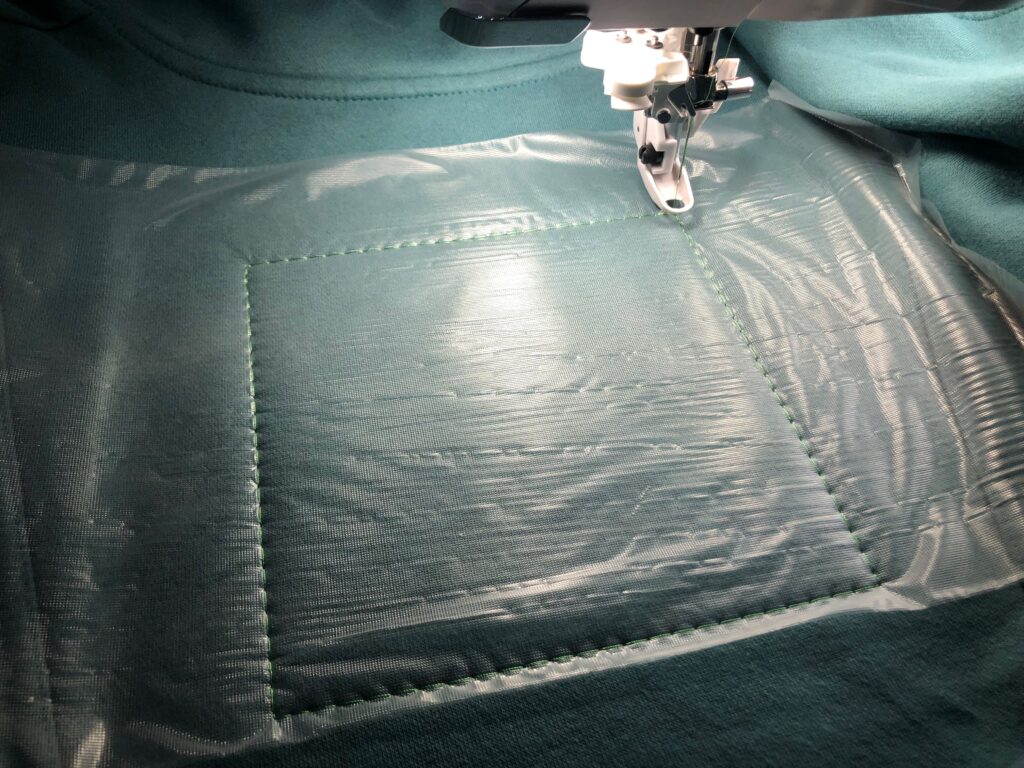
Place the hoop onto the machine. Cut a piece of Sulky Solvy larger than the design perimeter. Spray the Solvy with KK 2000, and then place it over the sweatshirt on the hoop.
When loading the design onto the machine, tell it to perform a “design perimeter baste” function, if applicable for your machine brand. This further secures the topper in the hoop, and also allows for double-checking the design placement.
EMBROIDER THE LUCKY DESIGN
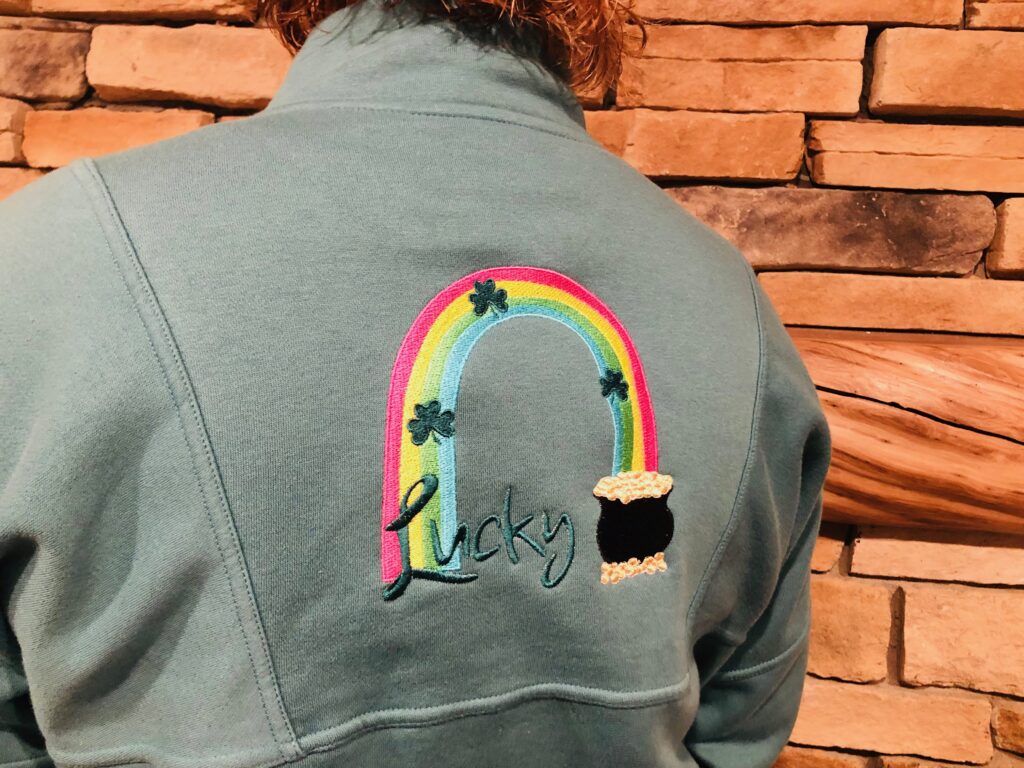
Embroider the design, using Sulky 60 wt. Bobbin Thread, the Rayon Thread per the design color chart, and the size 90/14 Embroidery Needle. Note that for the gold coins, 30 wt. Poly Sparkle was used for added glitz.
Watch this video to see the design and how to complete the sweatshirt in almost real time.
Wear your Lucky Sweatshirt on St. Patrick’s Day or any day you need a little bit of luck!


stiffy
I love the squeezers,,, I use them for applique too