This series is written by guest blogger, Pamela Cox. Pamela is an expert embroiderer, designer, digitizer and all around wonderful girl! We are so happy to have her contributing to the Sulky Blog!
In my previous Sulky® Blog post, you discovered that machine-embroidered Appliqué Designs stitch up quickly and are fun to create, combining different textures and prints of fabrics.
The only “rules” cited for this process was to follow the digitizer’s directions:
- Understand what each color stop represents
- Follow the digitizer’s stitching order
- Do not color-sort/combine threads colors
However, sometimes being a bit naughty and “coloring outside of the lines” produces a new twist to a design.
Appliqués use fabric as fill stitches, but any appliqué design can be stitched as a normal embroidery, omitting the steps of adding fabrics. However, some designs present better as simple machine embroidery.
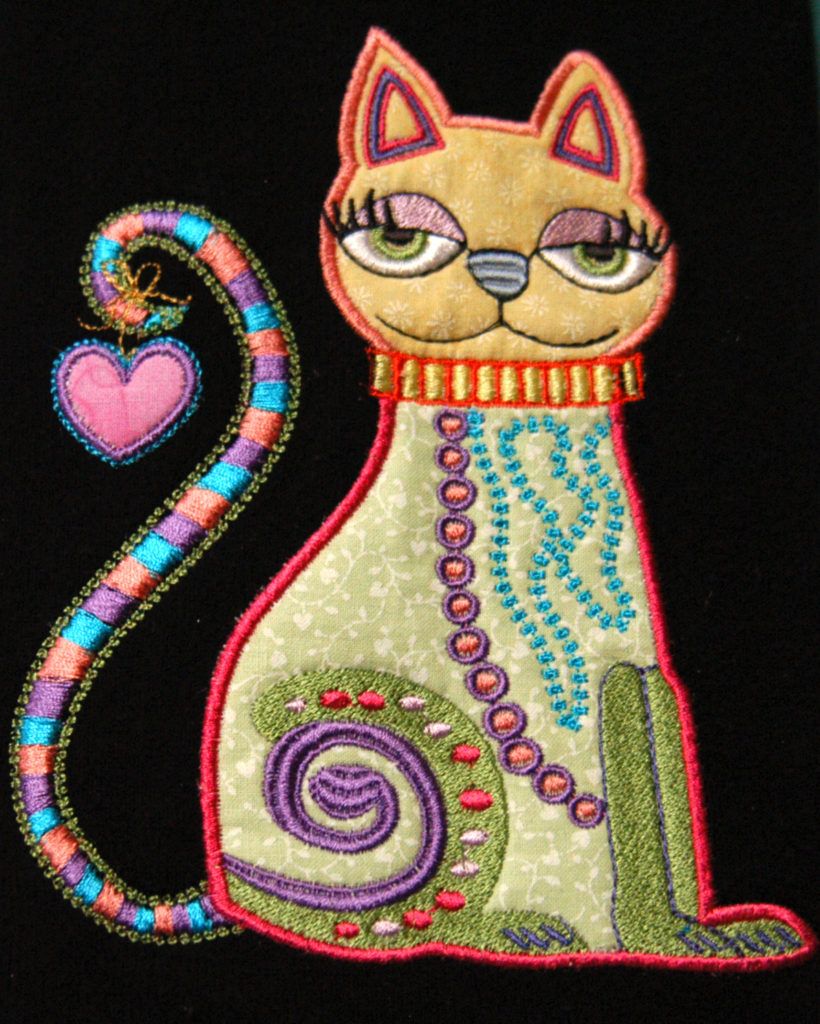
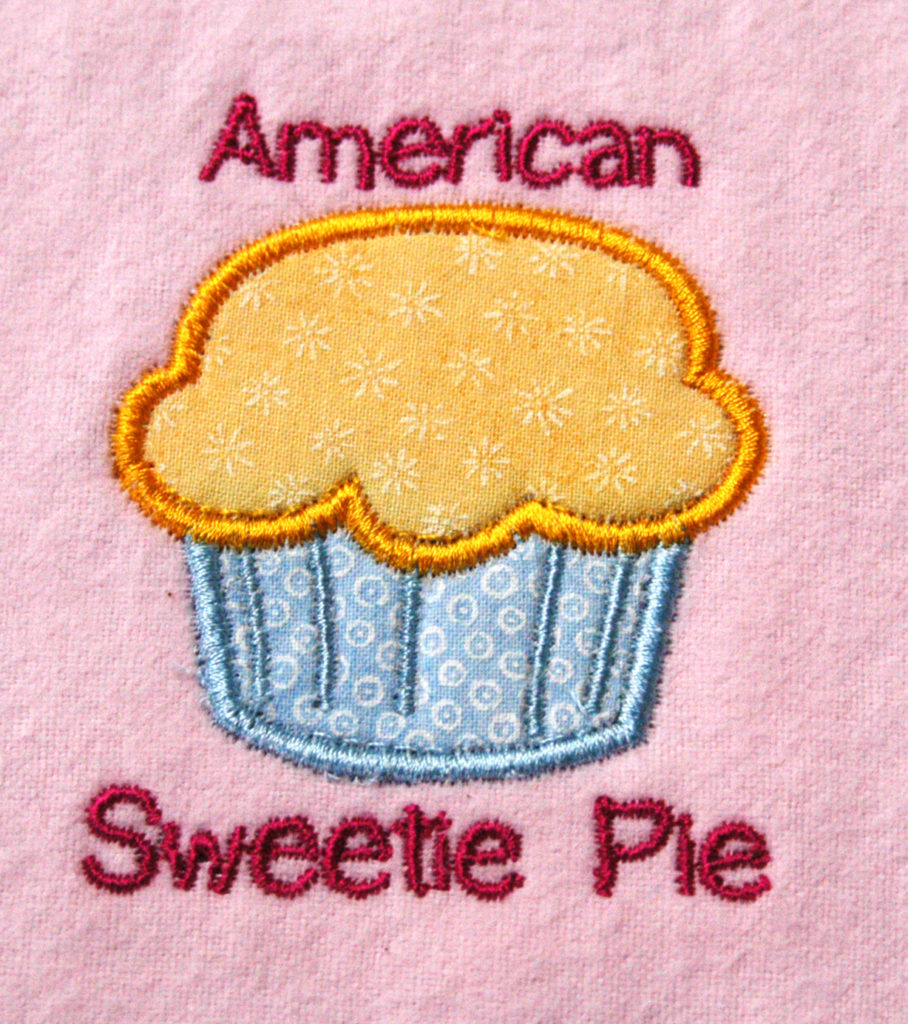
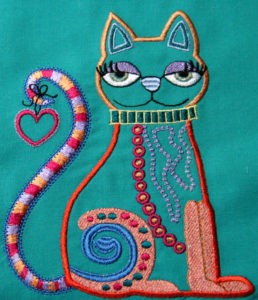
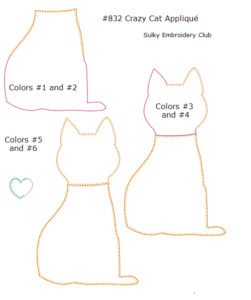
Compare Sulky Embroidery Club’s #832 Crazy Cat Appliqué to their #762 American Sweetie Pie Cupcake design. Notice how many accent stitches enhance the fabric appliqué pieces of the cat, while the cupcake relies solely on the print of the fabric?
Therefore, it’s not surprising that the cat will still look adorable stitched as an ordinary embroidery…
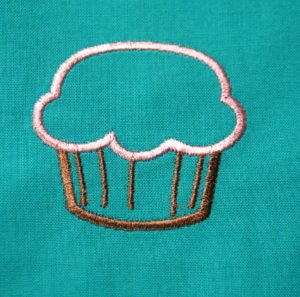
while the cupcake will look rather plain.
Does the stitching order matter if the design is to be used as a regular embroidery? Sometimes yes, and sometimes no.
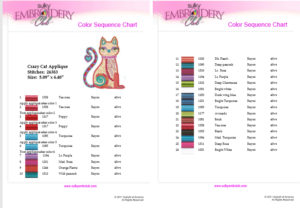
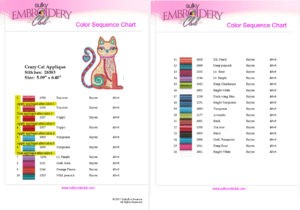
Cat design colors #1-#6 outline and place the fabric pieces while #7-#26 stitch all the accents, including edging stitches on the appliqué pieces. The first six colors will be hidden by the additional steps, so the design presents the option of stitching as-is, or simply starting with color #7.
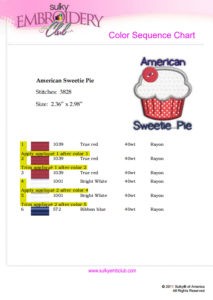
After reading the cupcake’s directions…
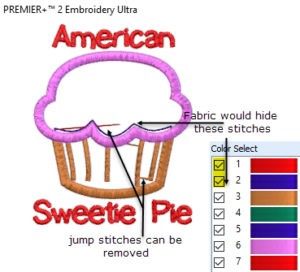
and reviewing the design in an editing program (or directly on the embroidery machine)…
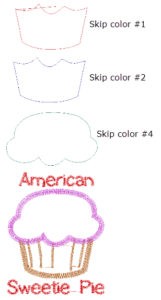
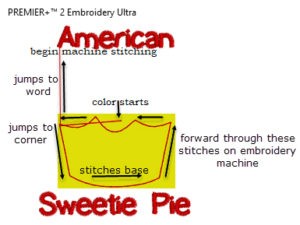
it’s apparent that some outline/placement stitches would be covered if the icing fabric is appliquéd, but would show if the design is simply embroidered. The solution is to skip over those color stops.
Color-stops that show placement or tack-down of appliqué pieces can be skipped over without losing the integrity of a design. However, if a color-stop shows placement of an appliqué piece, and then goes on to stitch a detail of the design (colors 1 and 7 were combined for demonstration purposes), forward through the placement stitches within the color-stop and begin stitching the details.
Now that we realize the importance in understanding what each color stop is intended for, we can manipulate this information to our advantage.
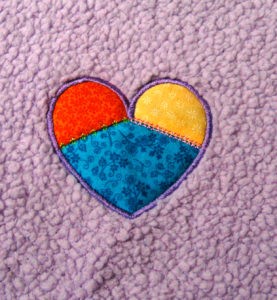
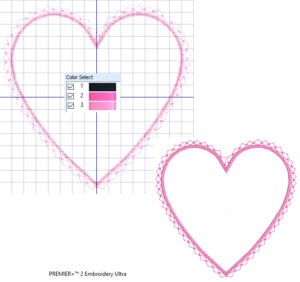
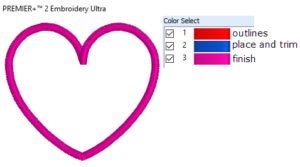
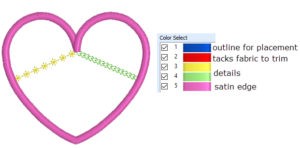
Not every appliqué designer offers a fabric placement step. Some, like this design above, only have a few color stops. Since one is the satin stitch and the other a decorative edging to the heart, that leaves one stop for trimming the fabric, but no indication of fabric placement.
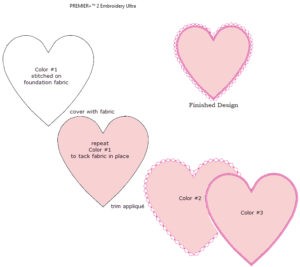
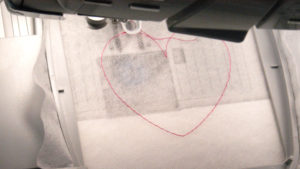
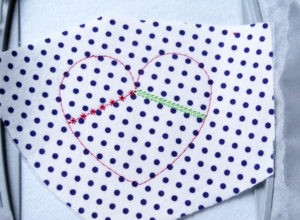
When you feel the need to know where the appliqué piece is to be placed, or even how big to cut the appliquéd piece (always cut larger than the intended shape), stitch the tacking stop on the foundation fabric, cover with the appliqué fabric, and repeat this same color stop (which in this case is #1).
Repeating color stops is a good trick to know, because another fun technique with appliqués is to make them “pop” even more by adding a layer of batting behind the appliquéd pieces. Batting and fabric layers should be applied and cut separately. Even if the design has a placement stop as well as a fabric/trim stop, one repeat is necessary to make it all happen.
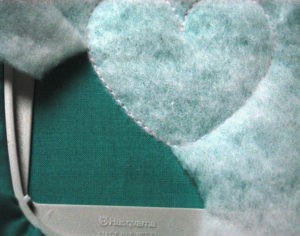
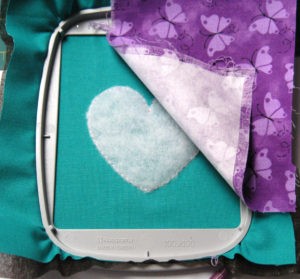
Color stop #1 was stitched directly on the foundation fabric and covered with batting. Color #2 anchors batting and allows for it to be trimmed.
Notice that the batting is trimmed as close to the stitching as possible. Even if a stitch or two is clipped, the covering fabric will continue to anchor batting edges.
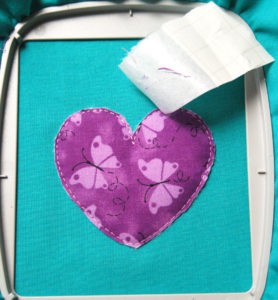
The batting is covered with the appliqué fabric. Color #2 is stitched once again to anchor the appliqué, and to allow for trimming just outside the stitches.
Helpful Hint: Save scrap pieces of Sulky Sticky+™ Stabilizer and use them as “lint brushes” for all embroidery projects, picking up loose threads and lint, keeping the stitching surface clean.
Color #3 can then stitch the decorative satin edging.
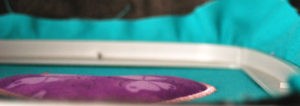
Notice the height of the purple fabric in relationship to the satin stitches and foundation fabric. Polyester batting gives the most “lift”. However, natural cotton batting can be used as well as another layer of fabric, especially flannel.
Stabilizers
Before we continue, let’s review the quality Sulky Stabilizers to use with appliqué designs:
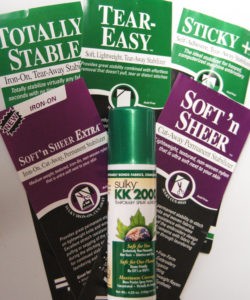
Sulky offers several quality choices when embroidering appliqués. A foundation stabilizer is needed – one that can be securely hooped, and will provide additional support to the foundation fabric – which will be the base for layers of fabric and stitches. Soft ’n Sheer™, Tear-Easy™, and Sticky+ Stabilizers are all great choices.
It is advisable to fuse a backing to the appliqué pieces to prevent fraying. Sulky Soft ’n Sheer Extra™ or Totally Stable® are equal to the task.
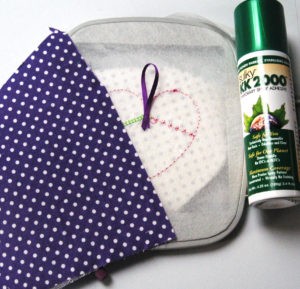
KK 2000™ Temporary Spray Adhesive (ozone friendly, non-flammable, and odorless!) is extremely helpful in securely holding appliqué pieces in position during the tacking process by lightly spraying the wrong side of each appliqué piece.
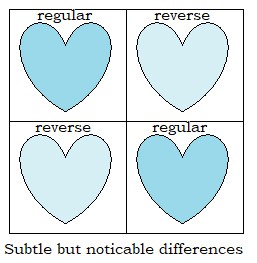
Now that we are reminded of the importance of stabilizing, let’s back up. We just learned that an appliqué can be raised well above the foundation plane, but did you know that appliqués can also “sink” below the foundation fabric? Photographs will not do this process justice, but trust me, it does give the same design a new dimension.
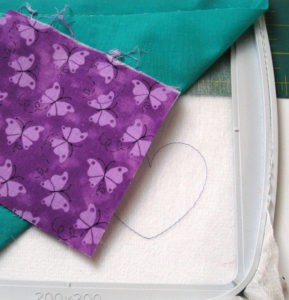
To “reverse” an appliqué, stitch the outline color stop directly onto the stabilizer.
The applique fabric is placed face up on top of the stabilizer. Make sure it is larger than stitched area, and fully covers the appliqué shape. This piece of fabric should be reinforced with one of the fusible Sulky products, and lightly sprayed with Sulky KK 2000 to hold it in place. Cover with the foundation fabric and stitch the second color, outlining the shape on the foundation fabric.
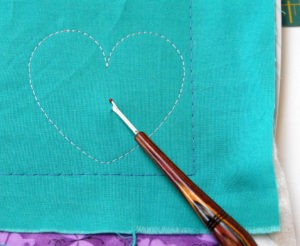
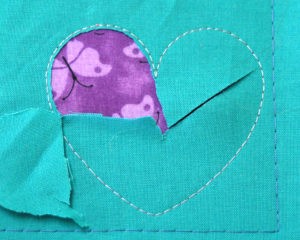
For a reverse applique, the foundation fabric is cut away inside the stitching line, exposing the appliqué piece underneath. A seam ripper comes in handy to gently lift and slice just the top fabric layer…
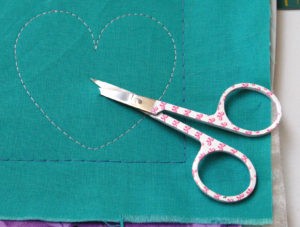
allowing a pair of scissors to be inserted…
and cutting the shape slightly away from inside the stitching line.
This technique is especially effective when displayed side by side in table runners, throw pillows, or tote bags.
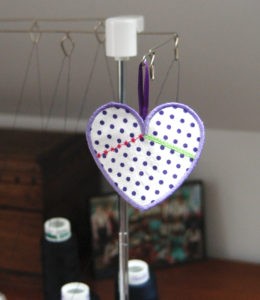
Many appliques lend themselves to be made into tags!
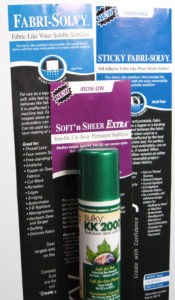
First, our stabilizers change a bit. To ensure clean margins around the edges of the finished project, the foundation stabilizer changes to Sulky Fabri-Solvy™ or Sulky Sticky Fabri-Solvy™, which can easily and completely be removed by rinsing in tepid water.
The need still remains to prevent fabric fraying plus temporarily holding fabric pieces, so Sulky Soft ’n Sheer Extra or Totally Stable and KK 2000 Temporary Spray Adhesive will remain on hand.
Once again, it all begins with understanding the stitching order and then we can own it!
Securely hoop the stabilizer, and stitch fabric outline – color-stop #1- directly onto stabilizer.
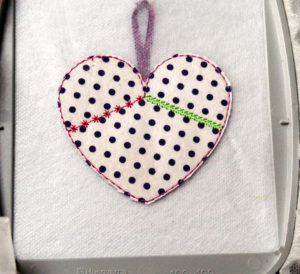
Cover with the foundation fabric, and anchor by stitching color #2. This piece can be trimmed at this point or all accent color stops, #3 & #4, can be added, as well as the backing, which is what the example shows.
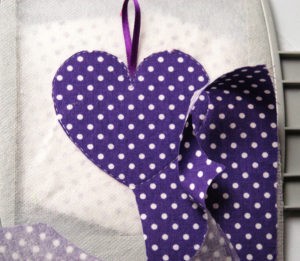
Before stitching the final satin edging stitches, color #5, remove the hoop from the machine and turn it over. Depending on the tag’s intended use, add a “hanger” – such as ribbon, jute cord, embroidery floss, etc., by spraying the ends of the hanger with KK 2000, and pressing it in place to hold it securely for stitching. (Omit this process if a hanging cord is not needed.)
Cover the back with the backing fabric (which has been protected with Soft ‘n Sheer Extra or Totally Stable), and lightly sprayed with KK 2000. Stabilizer surfaces face each other leaving the right side of the fabric facing up.
Repeat color stop #2 tacking the back fabric in place.
Remove the embroidery hoop from the machine, but leave everything securely hooped. Trim the back fabric making sure not to cut through hanger.
Turn over and trim front fabric.
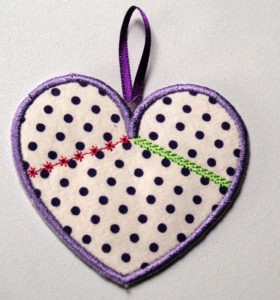
Helpful Hint: Hold hanger in its straight-up position with a pin to prevent it from getting caught as the hoop moves around. Return to it to the machine and stitch the final color, which is the satin stitch edging.
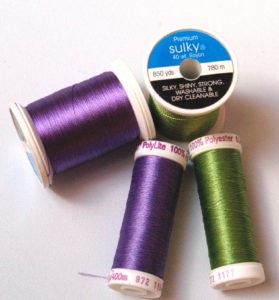
Helpful Hint: To keep the back of the tag looking as nice as the front, change the bobbin thread to match the color of the top thread. Sulky PolyLite™ 60 wt. Thread is the perfect weight for this application, and it is available in a vast array of colors.
Trim the excess stabilizer away. Although it is extremely hard to see any stabilizer after trimming, rinsing will completely remove any residue. Or, take a damp washcloth and just gently rub it along the edge.
Tags are perfect for school backpacks or lunch boxes, additional identification on luggage, mobiles, or party decorations.
Just remember, all appliqués are not created equally! Stitching order will vary, especially if accents are incorporated in the overall design. While one appliqué might work as a regular embroidery, it may not be a good fit for becoming a tag. One might be good as a reverse embroidery, but too plain to stand on its own as an embroidered design.
Read the digitizer’s directions, and then try “breaking a few rules” to create an “original appliqué”. Experiment with materials, such as using a sheer fabric or adding Mylar for a bit of shine. Leave a bit of water soluble stabilizer in the fabric to shape your 3D item.
Have fun!
Credits:
- Sulky Stabilizers are available at www.sulky.com
- Sulky cat and cupcake designs are available at www.sulkyembclub.com
- 3D Flowers: Fancy Flowers Collection by My Fair Lady available at www.myfairladydesigns.com



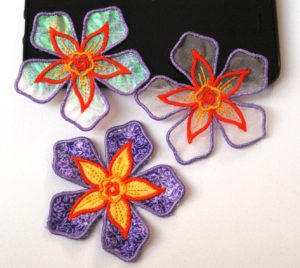

Looks like some fun things to make with my embroidery machine…..
…..