Machine Embroidery on Sequin Fabric + A Super Easy Sequin Skirt Tutorial
Sequin fabric is all the rage! It’s seen on everything from jackets to dresses to shoes. There’s no better fabric for a New Year’s Eve bash, and we’ve accepted the challenge to combine sequin fabric with machine embroidery for a party-worthy look for any occasion.
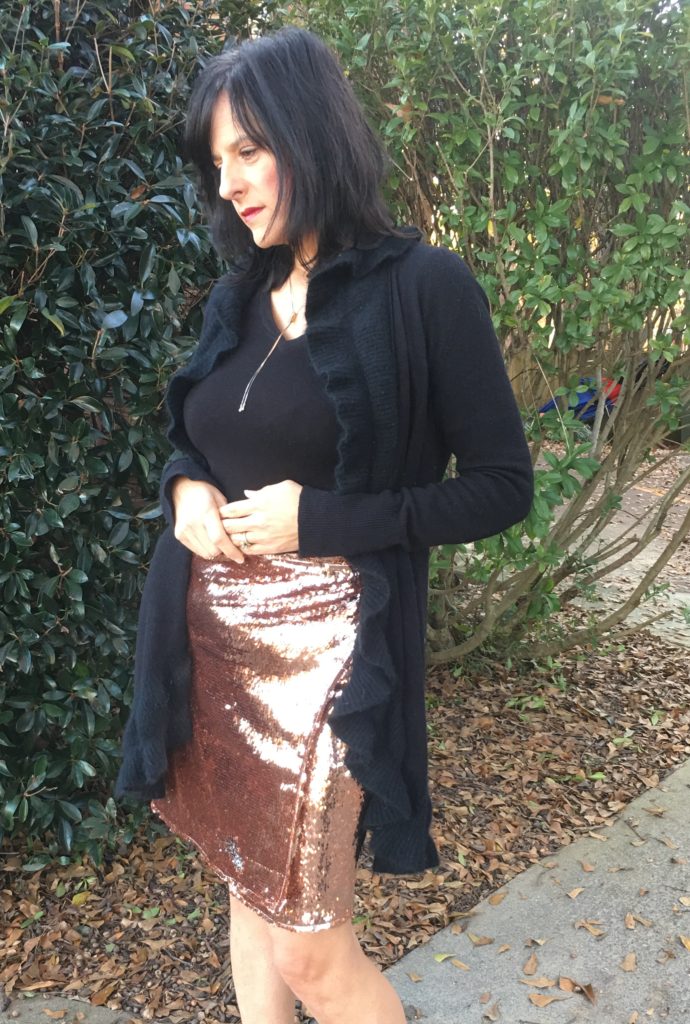
This amazing rose-gold sequin fabric will transform into a skirt with machine embroidery for the New Year’s Ever party I am attending this year.
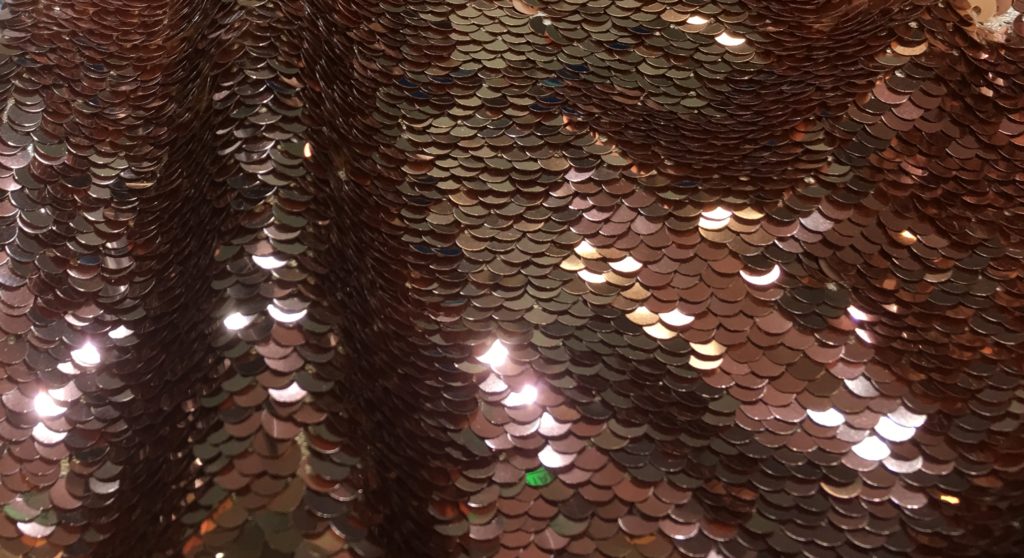
Machine Embroidery on Sequin Fabric
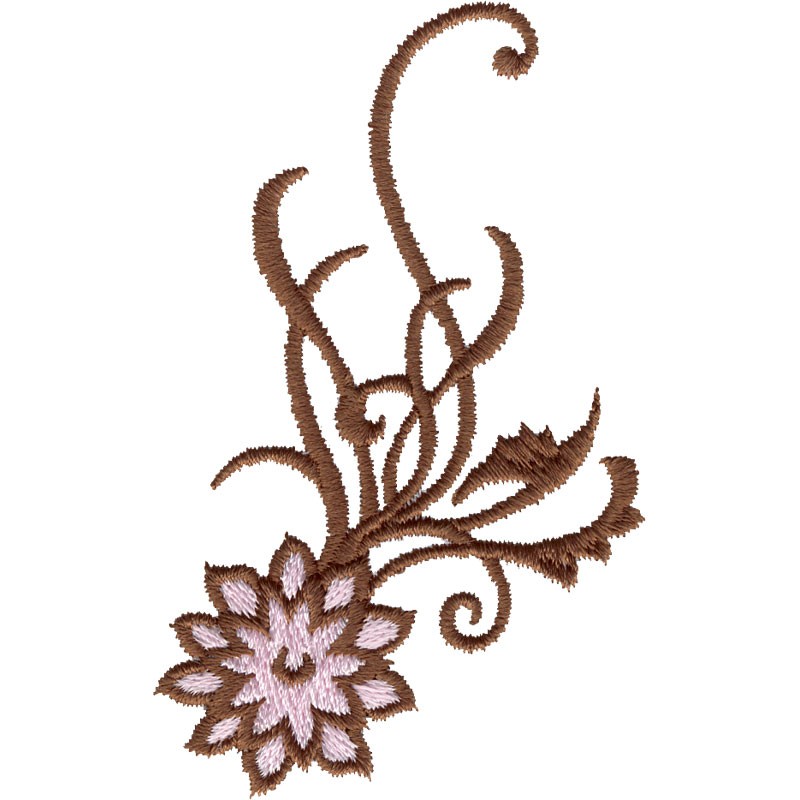
After checking out Embroidery Online, I decided I also wanted to add this machine embroidery element to the sequin fabric skirt.
Doing machine embroidery on sequin fabric was a bit intimidating, but with the right formula, it can be as easy as doing machine embroidery on any fabric! Here are my tips for success:
The Stabilizers
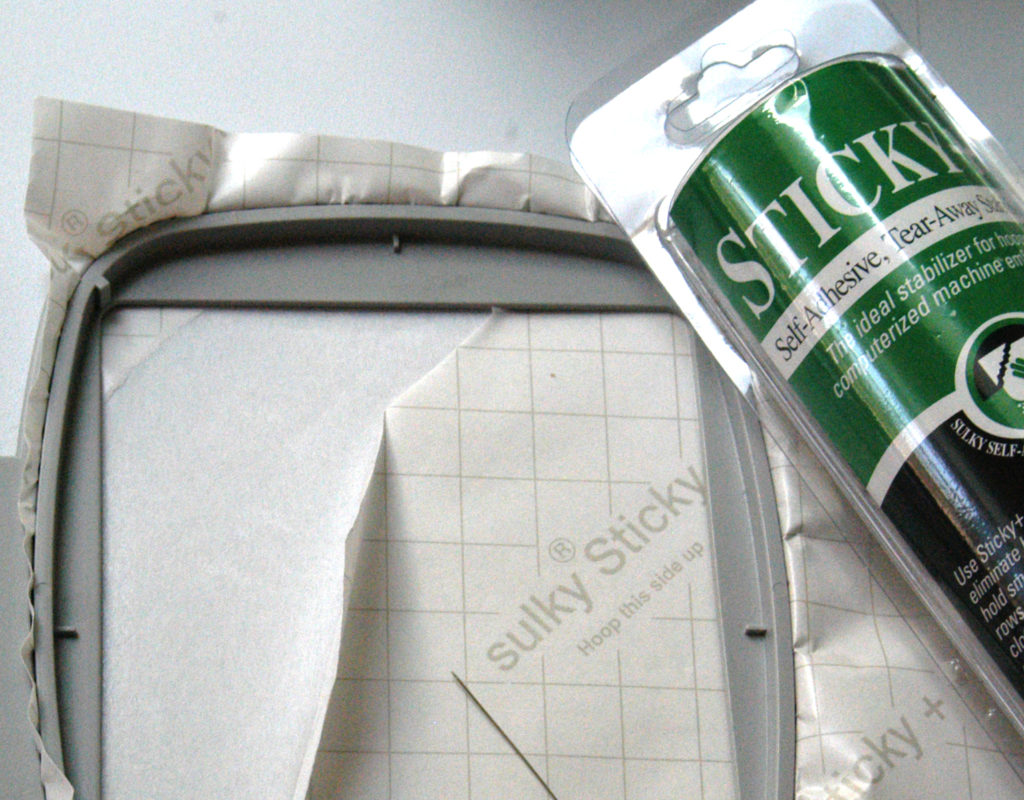
I hooped Sulky Sticky+™ Stabilizer into Naomi the Janome (that is what I named my Janome Quiltmaker Memory Craft 15000). Hoop with the release sheet side up. Score the release sheet with a pin and peel away to expose the sticky side of the stabilizer. Firmly press the sequin fabric to the stabilizer.
HINT: If the sequins are directional, brush them in the direction you want them to go.
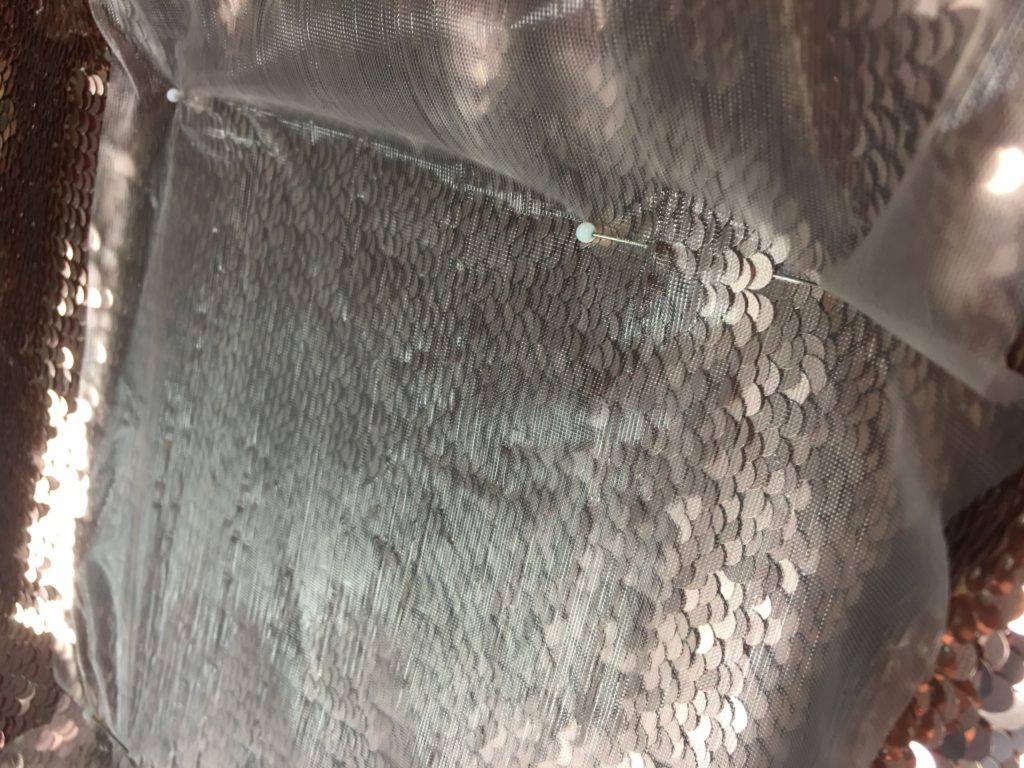
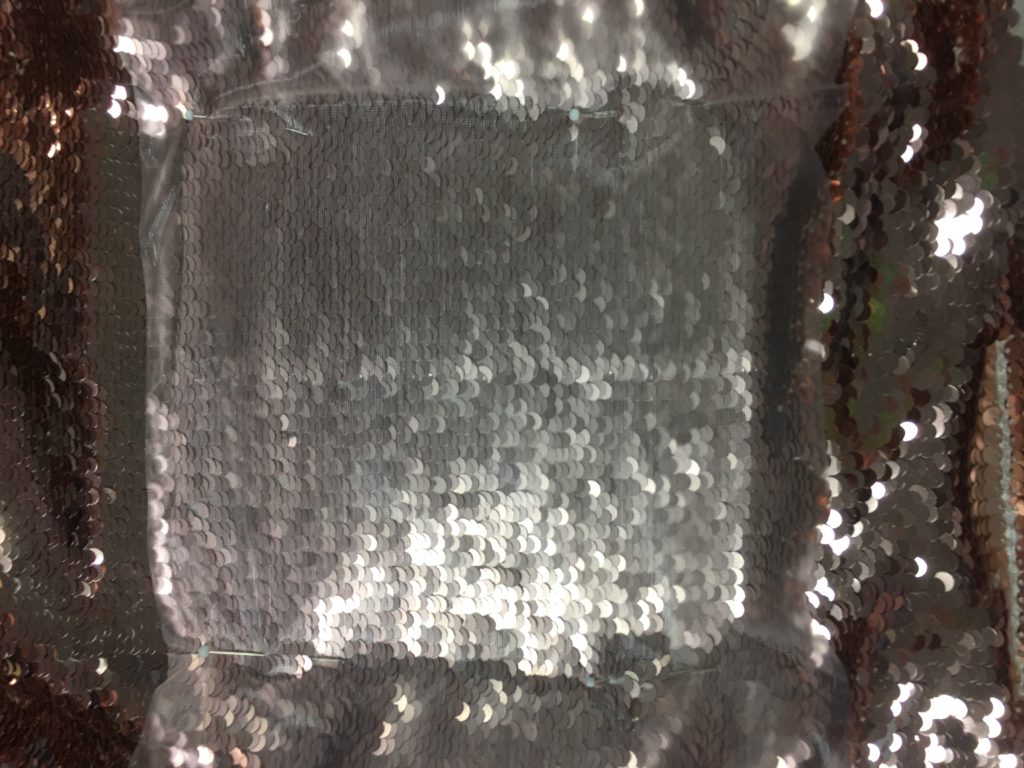
Using dressmaker pins, I pinned Sulky Solvy® Stabilizer to the top of the sequin fabric.
The Thread
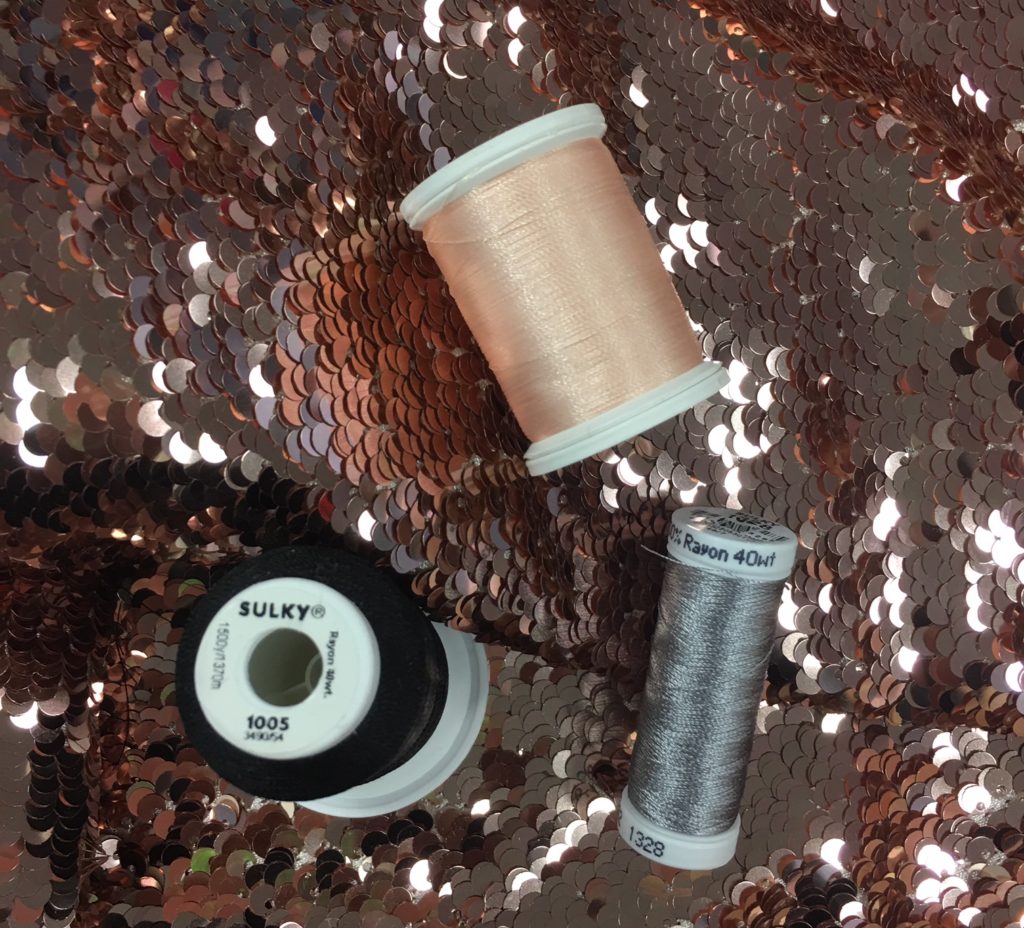 I used Sulky 40 wt. Rayon in Black (944-1005) and Nickel Gray (942-1328) for the design and a gray prewound bobbin.
For the skirt construction, I used Sulky 40 wt. Poly Deco™ in Pastel Peach (962-1017).
The Needle
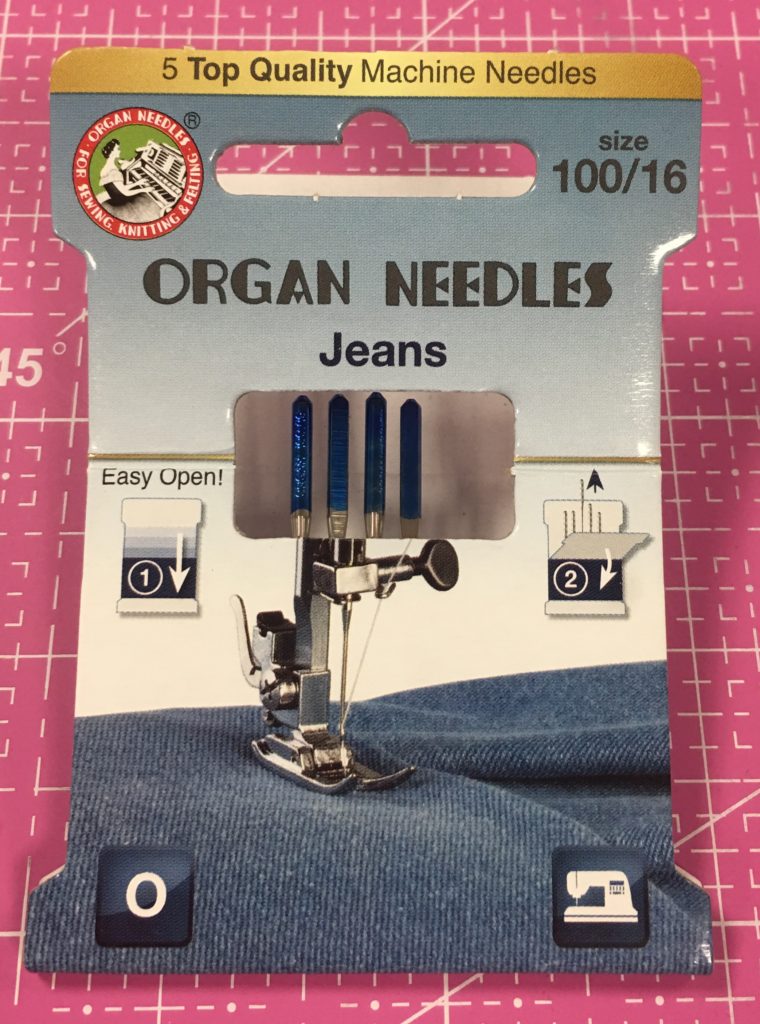 I used an Organ® Jeans Needle size 100/16. I used this for the embroidery and constructing the skirt, and it worked great! Having the right needle for the job can make all the difference.
I also used a dot of Sewer’s Aid™ right at the eye of the needle to ensure that things run smoothly.
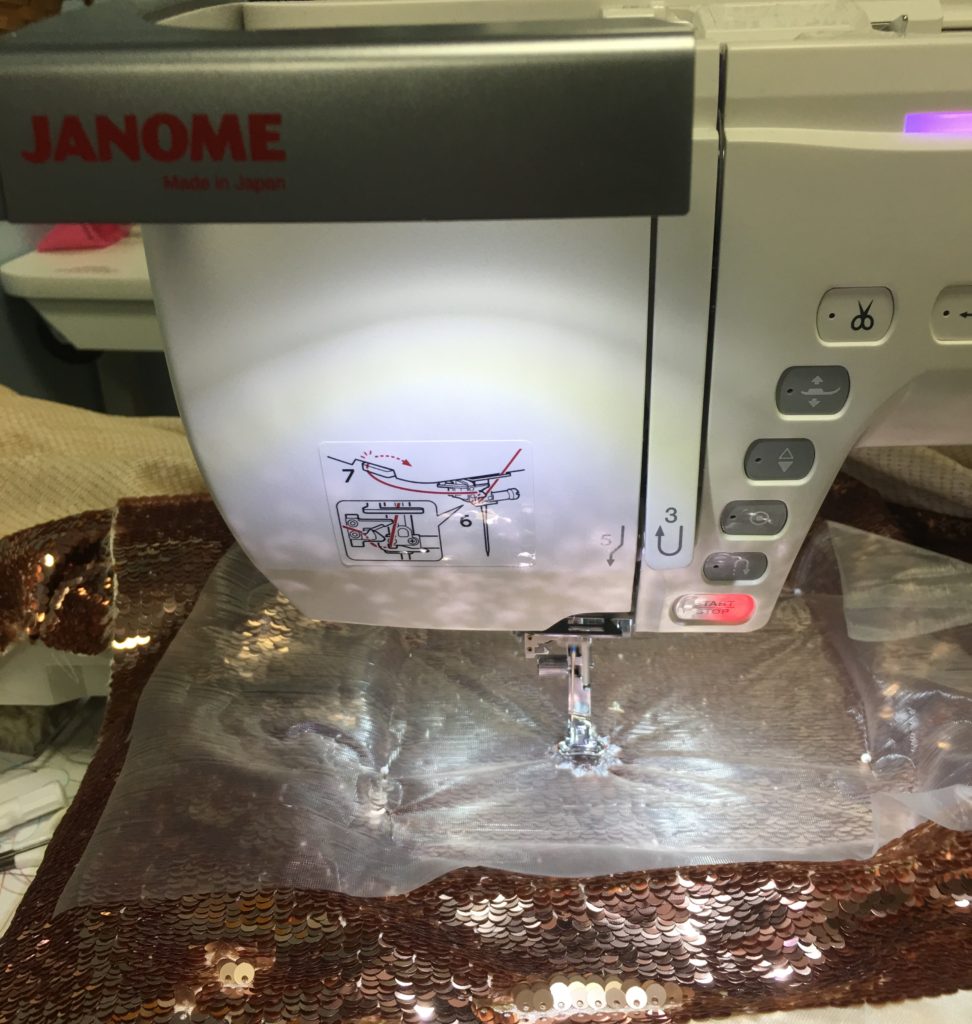 And they did run smoothly! This design stitched out without a hitch or thread break.
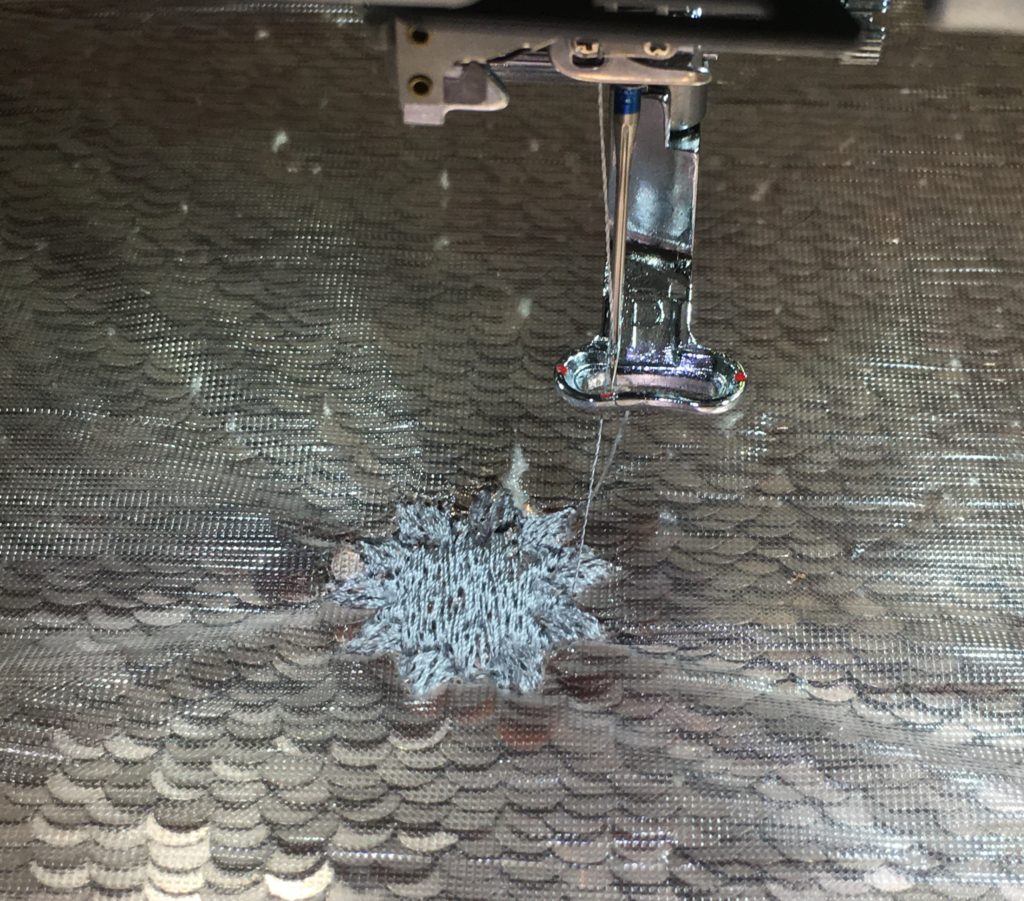
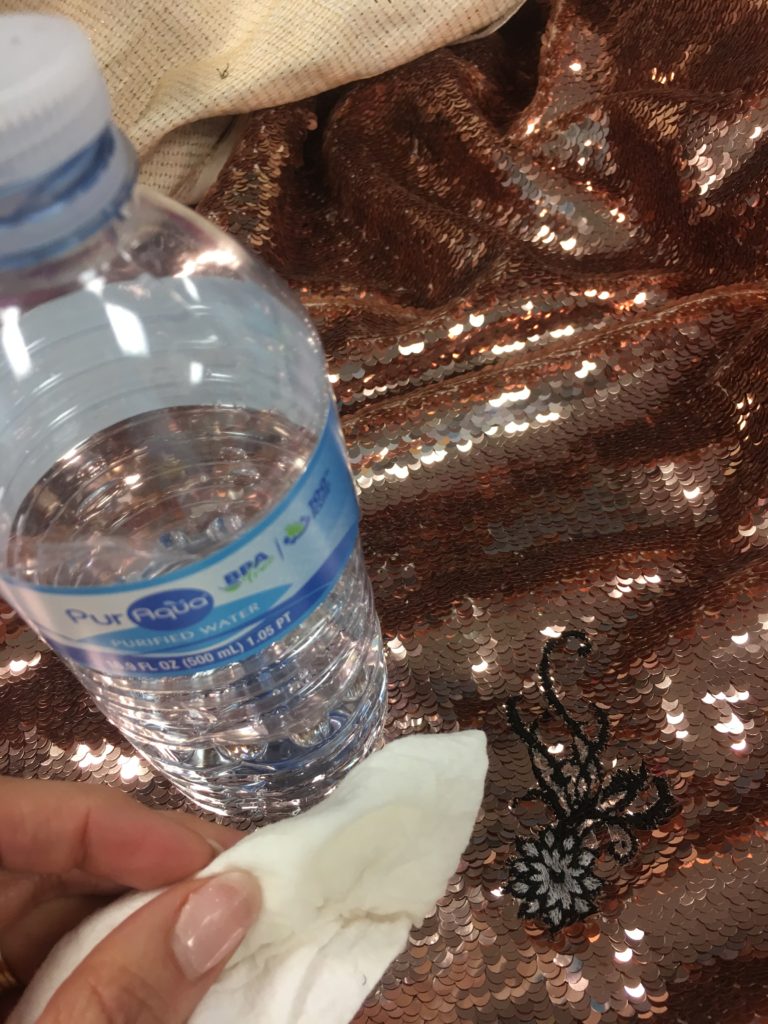 Remove the pins, tear away as much of the Sulky Solvy as possible and then use a damp paper towel to dissolve the rest. Now it’s time to make the skirt!
The Super Easy Skirt Tutorial
Because I was short on time to make this skirt, I decided to make a simple wrap skirt with no lining.
Using a tape measure, I measured my waist at the spot where I wanted the top of the skirt to sit, plus how much I wanted it to wrap. I added 2″ for seam allowance.
Then I measured down from that top edge to the length I wanted and added 2″ for seam allowance.
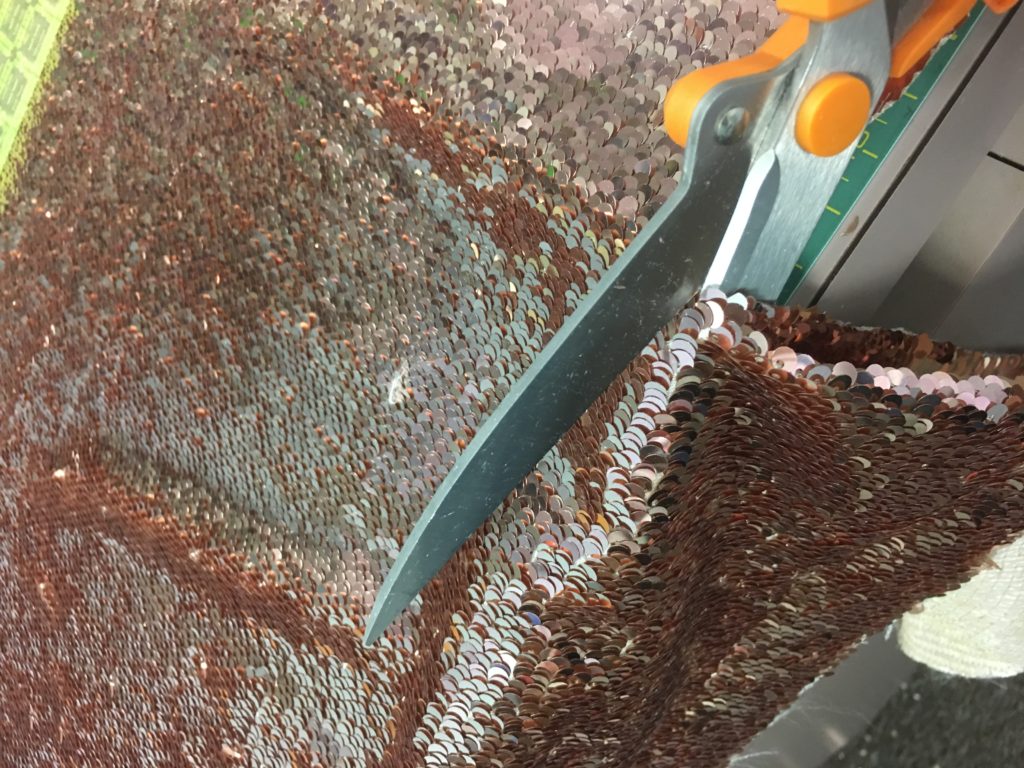
I cut this rectangle out of the fabric. Mine measures 46″ x 21-1/2″
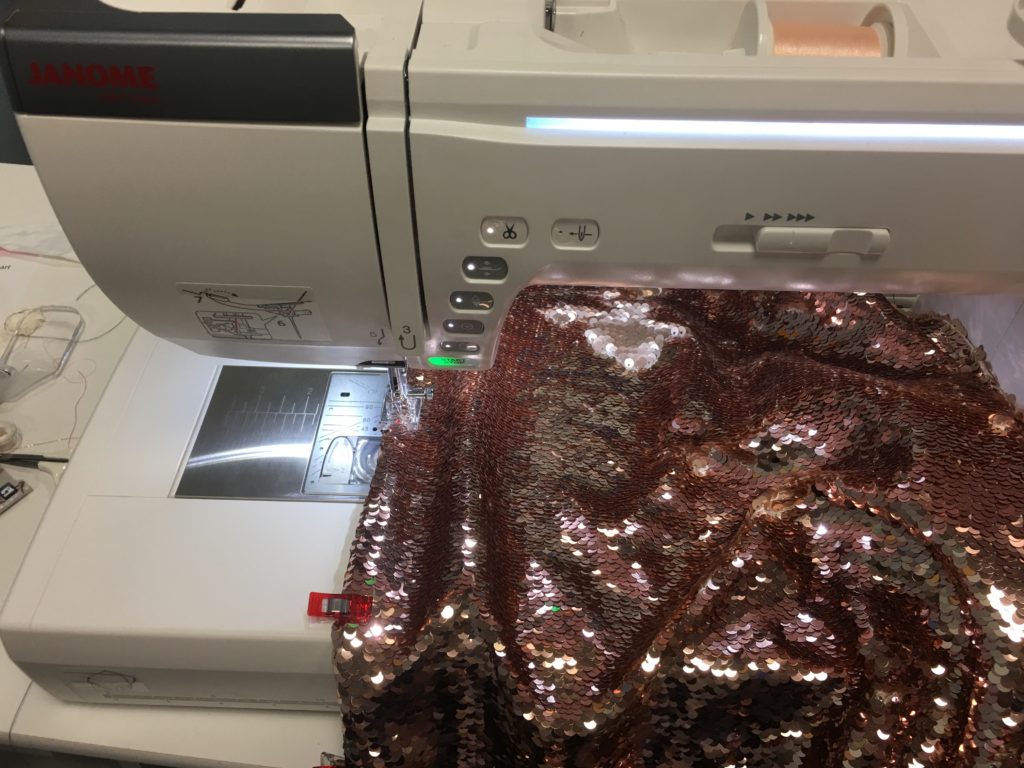 Starting on the shorter sides, fold in 1/2″ and then 1/2″ again. Use Clover® Wonder Clips™ to hold the seam, and stitch with Sulky 40 wt. Poly Deco in the top and bobbin.
 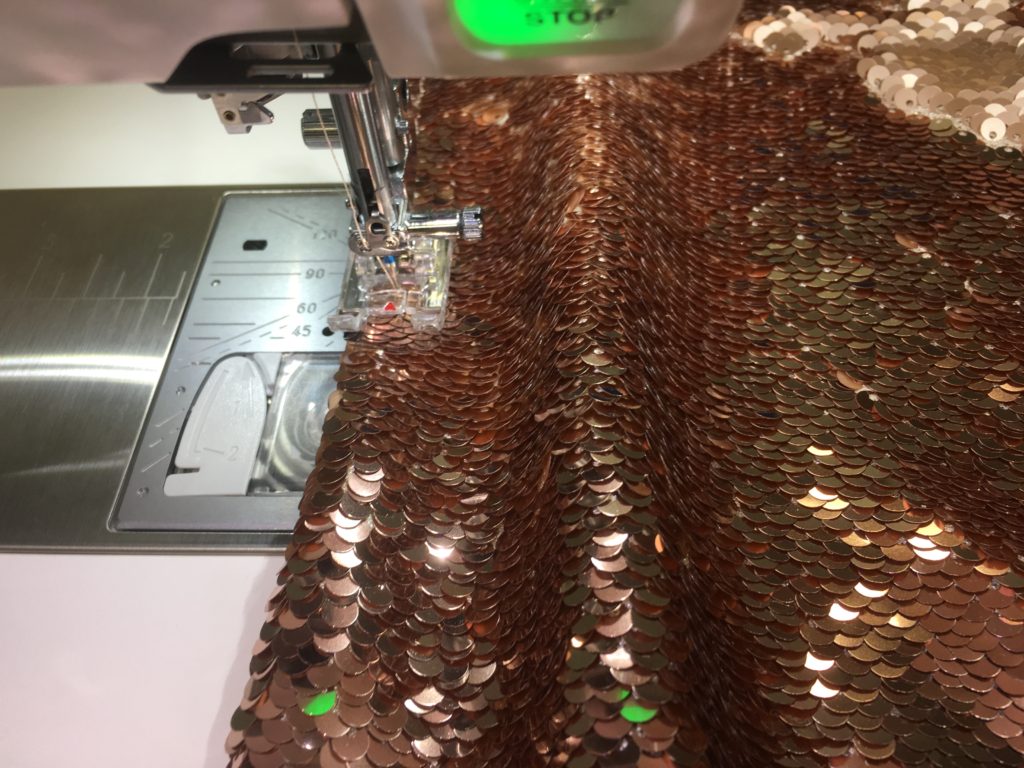 Be sure to brush the sequins in the direction you want them to go, and sew with the direction of the sequins.
Now do the same on the long edges.
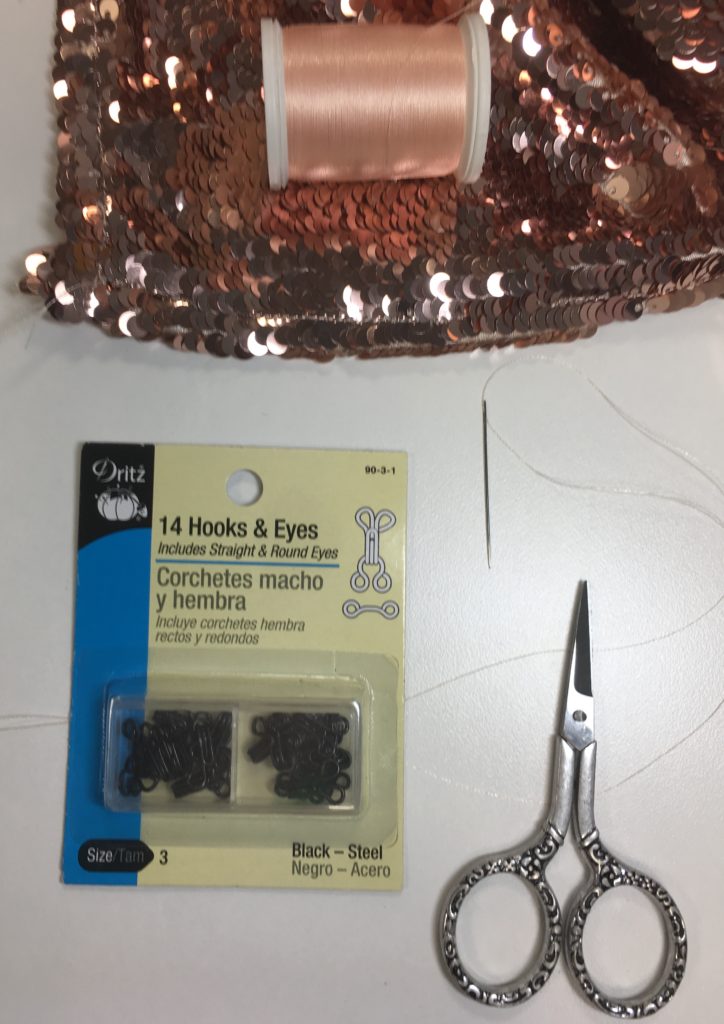 I hand sewed on hooks to finish off the skirt. I did this for two reasons:
- It was easy.
- This allows me to adjust the size of the skirt if I gain or lose a few pounds :). I am planning to wear this skirt right after the holidays for the first time, but next time I wear it, I will hopefully have lost that extra Santa cookie weight!
I used the Clover Wonder Clips to mark the placement of the hooks and loops and sewed them on with Sulky 40 wt. Poly Deco thread.
Tada!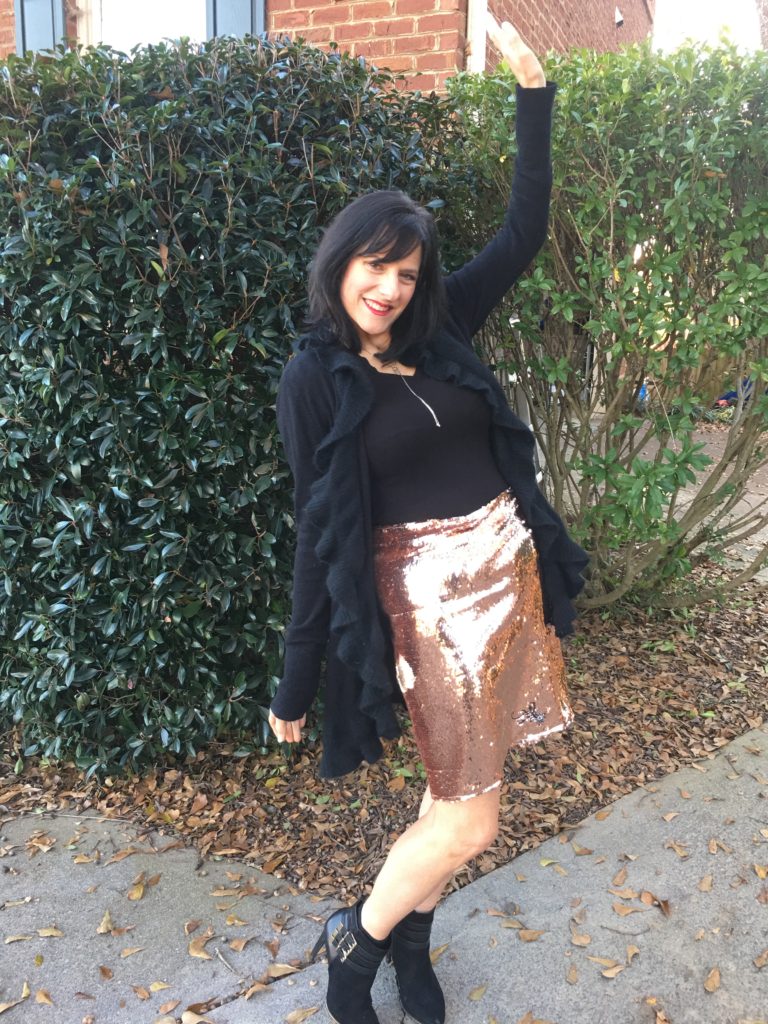
I am ready for the party!
