Machine Embroidery Top Tips with Sue Hausmann, sewing expert & host of America Sews

The following machine embroidery top tips answer a lot of questions we get at Sulky, whether asked during one of our virtual events, via email or on our Ask the Experts page. These have been answered by Sue Hausmann, one of the most knowledgeable people in the embroidery industry. To celebrate National Embroidery Month, Sue is here with her expert advice! If you missed Sue’s first installment, Machine Embroidery FAQs, read that here.
ABOUT SUE HAUSMANN

Sue Hausmann has been sewing since her first 4-H project at the age of 10 and she has been inspired and mentored by neighbors, friends and work colleagues all her life. Her proficiency in this art resulted naturally from a lifetime of sewing for herself, and her home, her four children, and now ten grandchildren and nine great-grandchildren. Her enthusiasm for sharing the life-skill of sewing and quilting with others is her passion, and for more than 50 years her profession focused on sewing education.
Now “retired,” Sue and her husband Herb occasionally present programs and share their expertise at Edutainment and Teaching and she presents programs for her local ASG and Quilt Guild. Her focus is to “give the gift of sewing” with handmade quilts, clothing and more for those she loves, teaching others to sew and creating things for herself and her home.
Sue received the 2002 American Sewing Guild “Sewing Hall of Fame Award”, the 2007 “Master CSE award from the Sewing Education Alliance” and was inducted into the Sewing Machine Hall of Fame in 2012. She has taped classes for Sulky and Craftsy and enjoys working with preschoolers at Grace Church, Sahuarita and having more time to sew for family and to teach others to sew. Sue attributes much of her success to the encouragement and support of her husband, Herb, and is thrilled he joins her in the mission of sharing the joy of sewing and quilting and the joy of life!
TOP TIP 1: STABILIZING WOVEN FABRICS
Sue’s Top Tip: My preference is to place two layers of lightweight Sulky Tear-Easy™ Stabilizer or one layer of a medium tear-away, Sulky Stiffy™ Stabilizer, under woven fabrics for all decorative stitching, couching, free-motion and hoop embroidery. These stabilizers tear away cleanly after stitching is complete.
When the design is very dense, hoop one or two pieces of stabilizer with the fabric and “float” a piece of Tear-Easy or one Stiffy under the hoop to support the dense embroidery as it stitches.
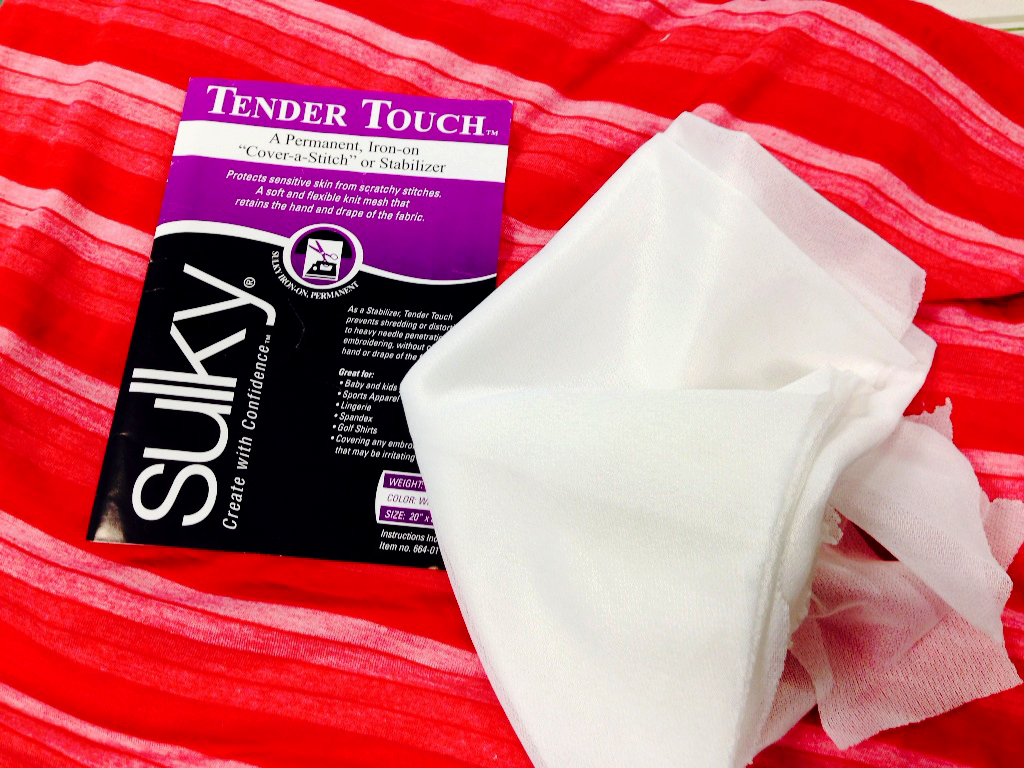
TOP TIP 2: STABILIZING MEDIUM TO HEAVY KNITS & WOVENS WITH STRETCH
Sue’s Top Tip: When embellishing sweaters, stable T-shirts and woven fabrics with a stretch factor (Lycra), use my favorite, Sulky Tender Touch™. Place this lightweight cut-away stabilizer on the wrong side of the garment first.
To begin, cut a piece larger than the design. Then, place on the wrong side of garment (fusible side down), with the maximum stretch direction going up and down on the garment. Use a steam iron to “blast” the fusible tricot with steam before fusing it in place. (This eliminates any shrinkage.)
When pressing it in place, ensure the garment is on a flat pressing surface or completely on the ironing board—not hanging off, which stretches the garment. The garment must be in a “relaxed” state as you fuse the stabilizer in place. When fusing, do not “iron” moving the iron back and forth; instead, use an up and down motion with the iron. I also really like Fusible Sulky Soft ’n Sheer Extra™ because it is so lightweight, but slightly heavier than Tender Touch.
Now that the “stretchy” fabric is stable, hoop a piece of Tear-Easy or water soluble Fabri-Solvy™ Stabilizer and place the hoop on the machine. Place the garment onto the hooped stabilizer and baste it to the stabilizer. When the embroidery or embellishment is finished, lift the excess fusible stabilizer from around the edges of the design and carefully trim it away.
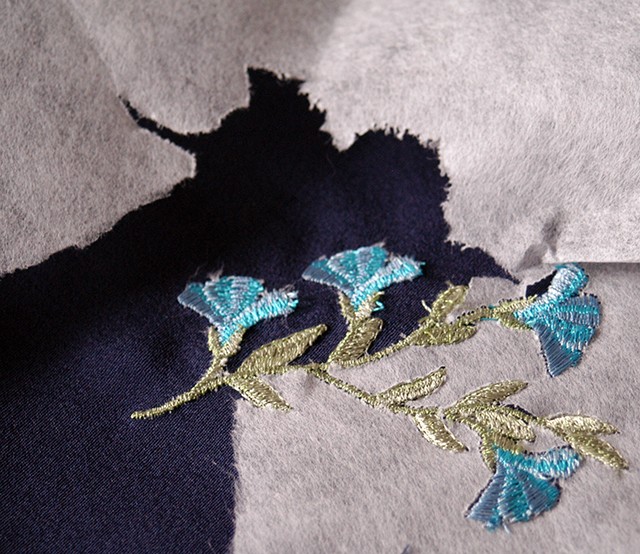
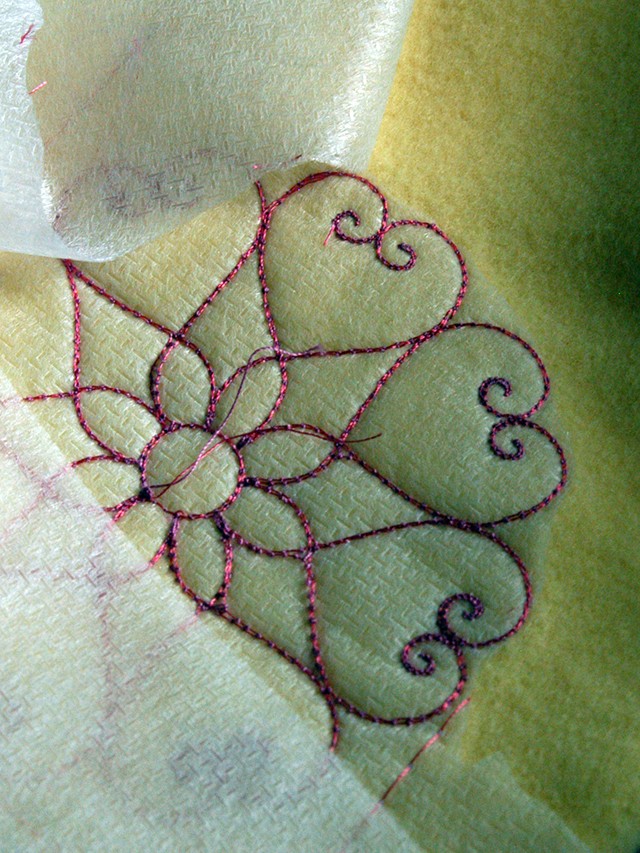
TOP TIP 3: VERY LIGHTWEIGHT & TRANSPARENT KNITS & WOVENS
Sue’s Top Tip: Fusible tricot and cut-away have tiny fusible dots on one side. So, they’re not suitable for sheer or lightweight specialty fabrics, such as silk. You may see the stabilizer or the dots of fusible from the right side after embroidering/embellishing, especially after laundering and pressing. So, test first or choose a less dense (low stitch count) design for these fabrics.
Use a water-soluble stabilizer if the fabric alone will support the embroidery or embellishment after the stabilizer is washed out. If the embroidery is dense and will not be supported by the lightweight fabric, select the lightest non-fusible cutaway stabilizer. I prefer Sulky Soft ’n Sheer™ (1 yard weighs only 1 ounce) for very lightweight knits, silks and see-through-type fabrics. These need the support of a cut-away after embroidering. Trim the excess stabilizer close to stitching after removing from the hoop.
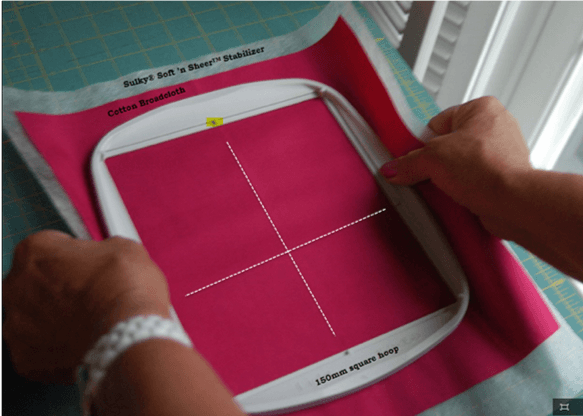
TOP TIP 4: THE ART OF HOOPING
Sue’s Top Tip: The key to professional embroidery is in stabilizing and hooping the fabric. I was taught to embroider and monogram free-hand before embroidery machines were available to the home sewer. In the early days, we were taught to put the fabric between the inner and outer hoop. Then, tighten the hoop screw, then pull on the fabric from every direction to make it as taut as possible in the hoop.
The embroidery machine has changed my life. I love to embroider. But in the beginning, I used the same hooping techniques I was taught for free-motion embroidery. Many of my embroideries came out puckered and did not look good.
Then I learned how to hoop. Because I was pulling the fabric so taut in the hoop, I was pulling it off grain and stretching it out. Then, embroidering on this distorted fabric. When I “let it out of the hoop,” it could not go back to the original look. The embroidery stitches had distorted and stretched out the fabric.
This was a real eye-opener for me! I realized the fabric needed to be in a relaxed state to be embroidered. Only the stabilizer needed to be taut! Once I stopped pulling at my fabric in the hoop and using the best stabilizer for the fabric and technique, the finished embroidery was beautiful.
However, there are fabrics that will be “hoop burned” such as velvet, leather, faux leathers, and more. And, there are many fabrics that are easily stretched out while hooping. Also, when embroidering baby clothes, cuffs, ribbons, towels, stuffed animals and much more, they are very difficult to hoop.
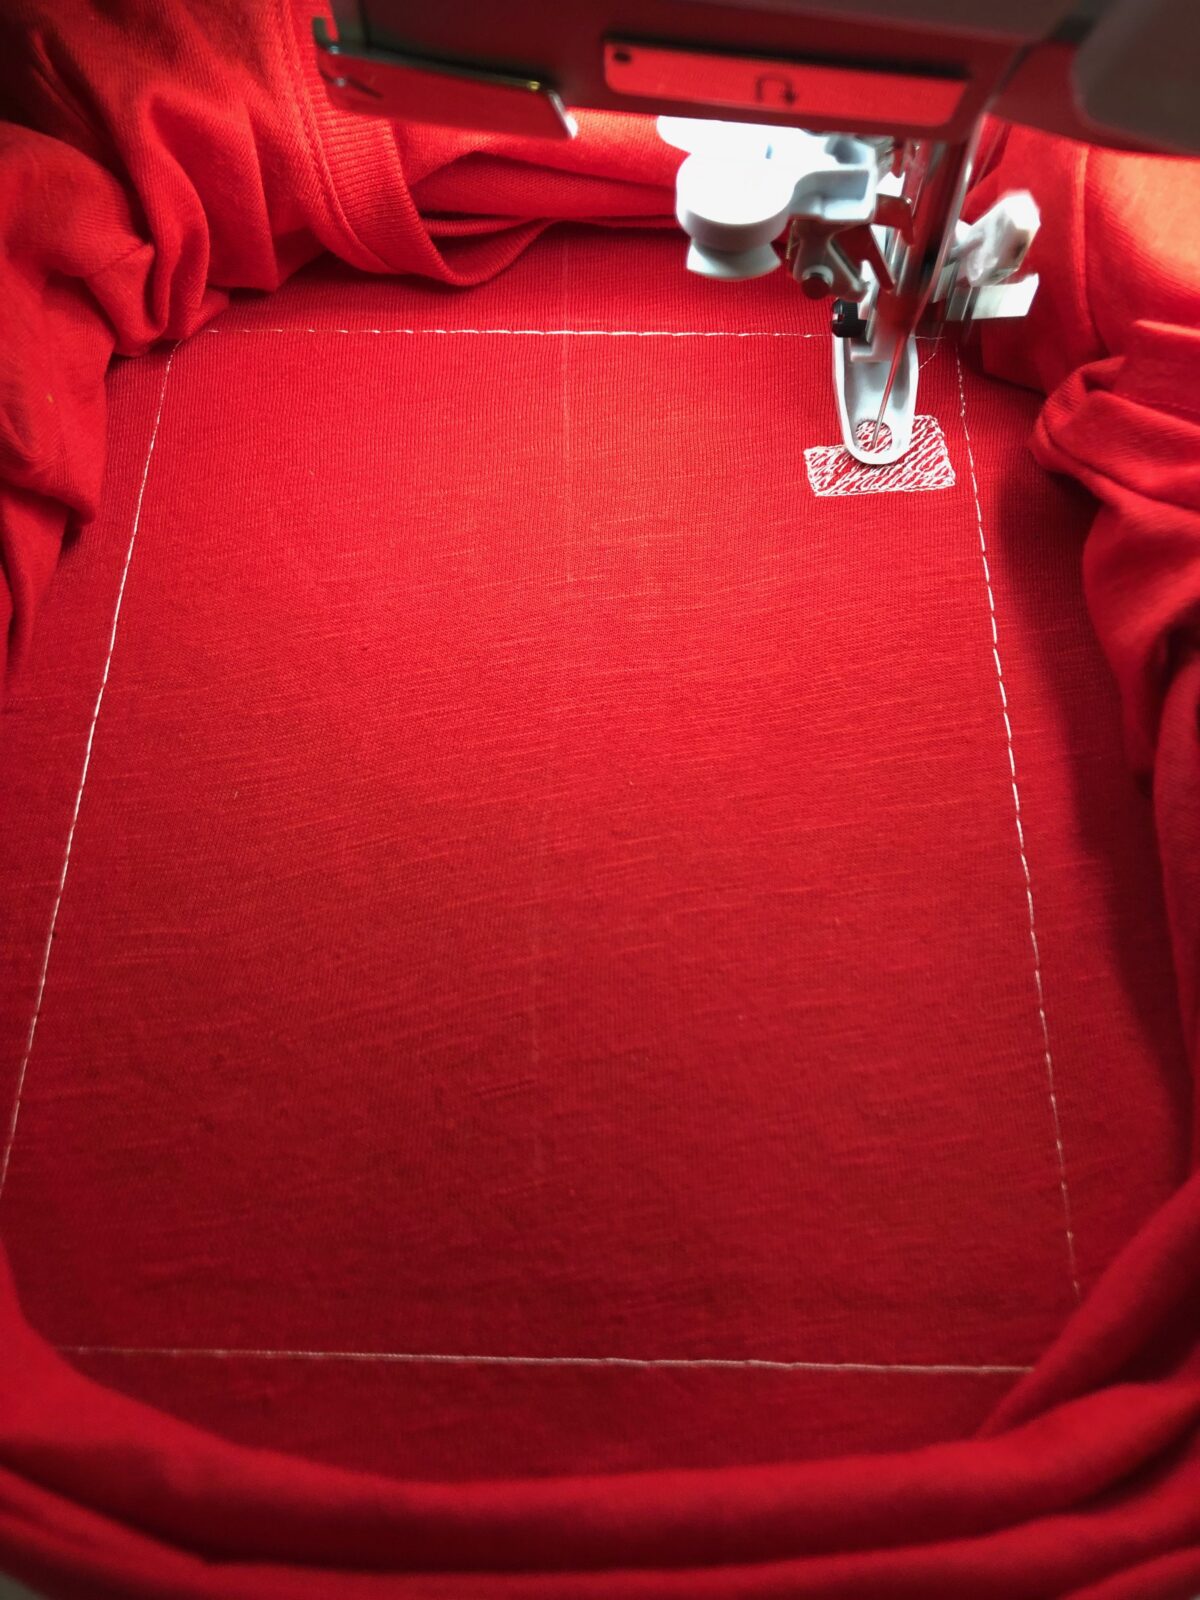
TOP TIP 5: TO HOOP OR NOT TO HOOP
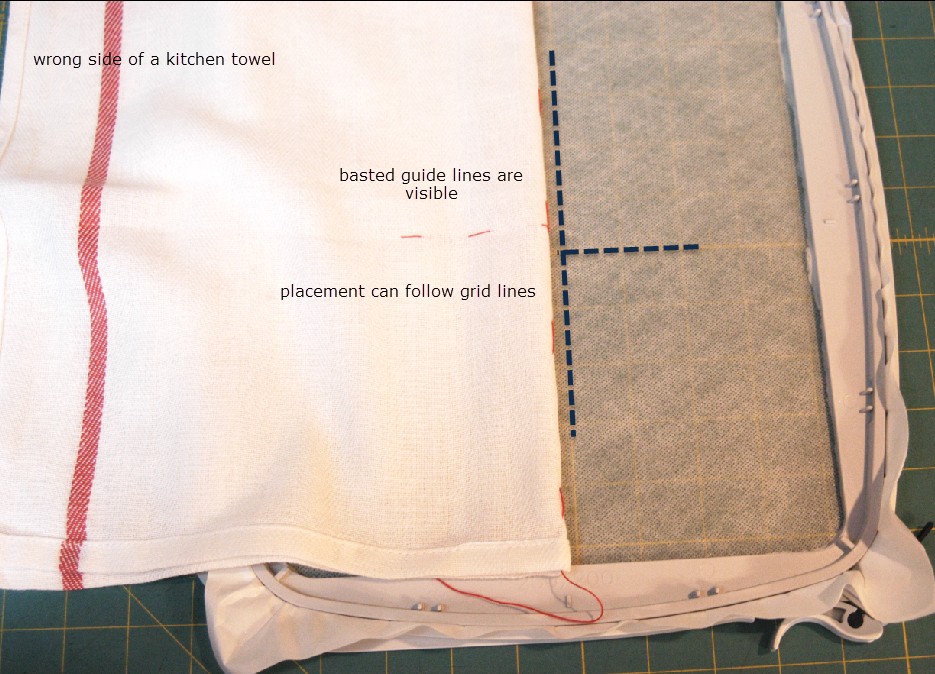
The more I embroidered, especially ready-to-wear garments, I realized that in many cases only the stabilizer needs hooping. Lay the garment or fabric on the tautly hooped stabilizer and spray baste with Sulky KK 2000™. Then, use the baste in the hoop feature on your machine for embroidering. This hooping method is the way I embroider many items. It works especially well on items that are too small for the hoop and fabrics with stretch. Turn them wrong side out, move the excess out of the way, and place the fabric/item right side up on hooped stabilizer.
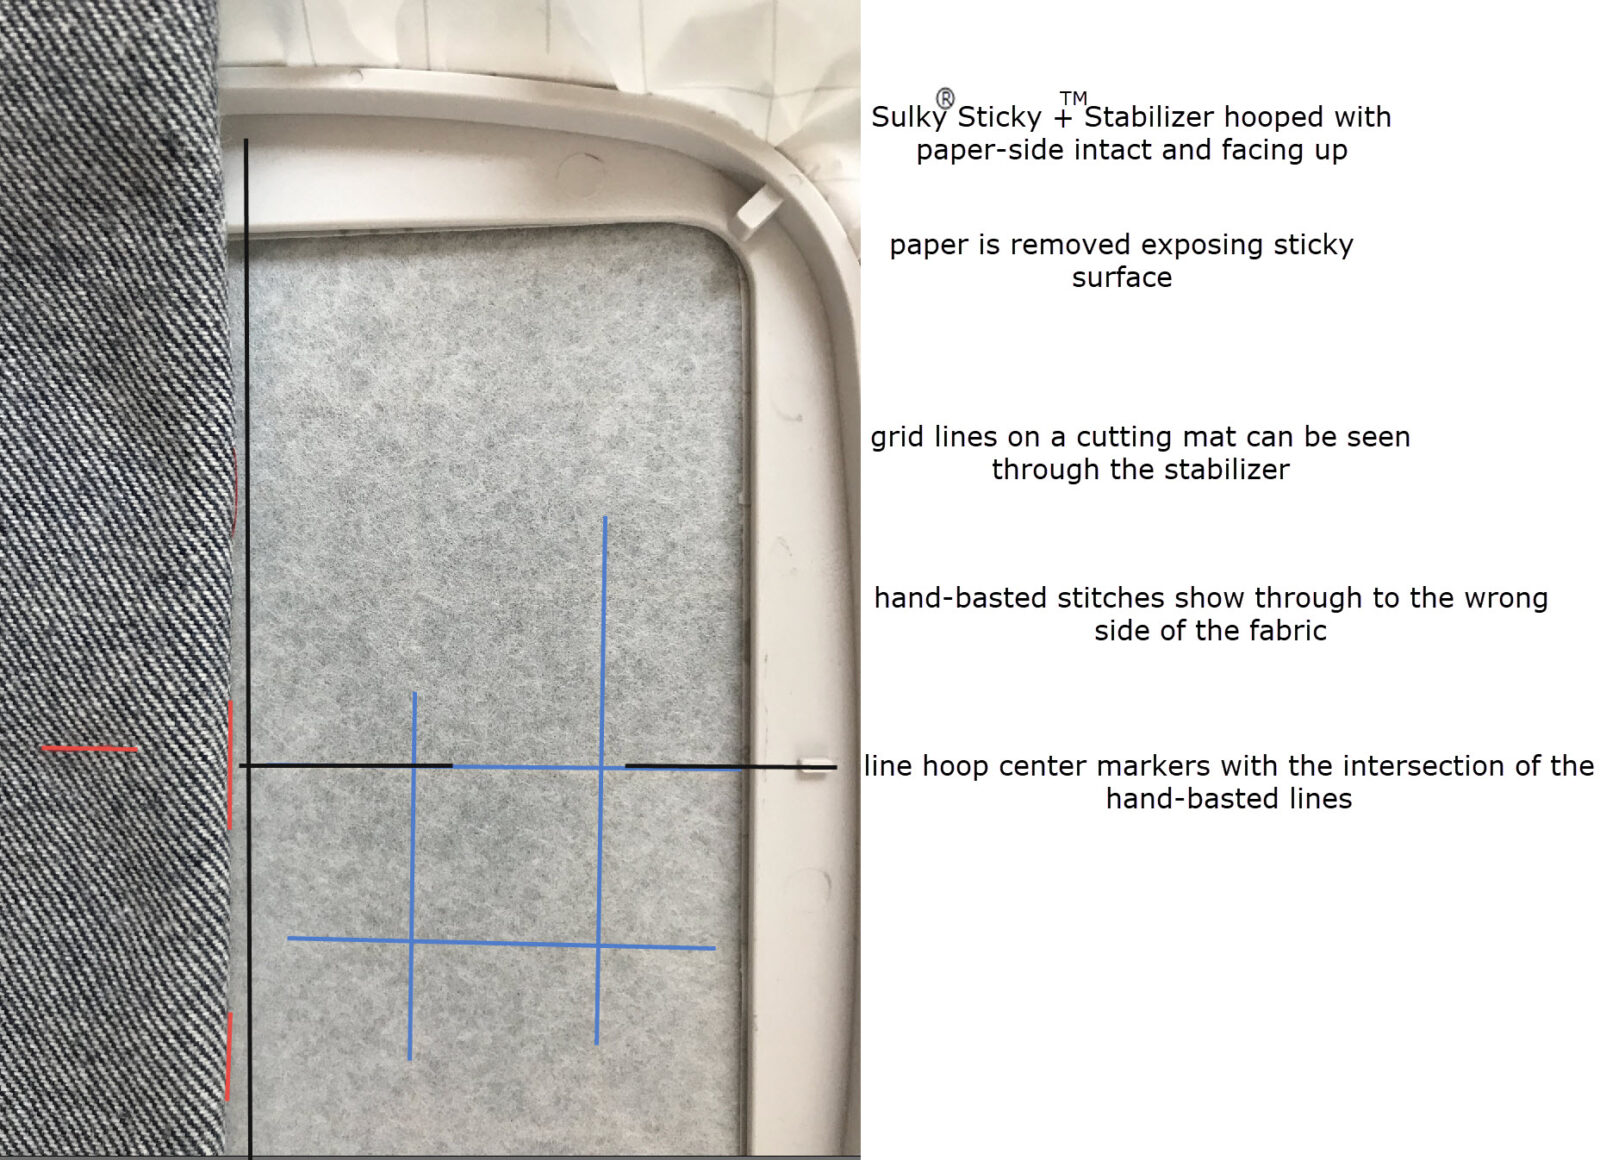
Sue’s Top Tip: My favorite way to embroider most items today is not to hoop them. I hoop one layer of Sulky Sticky Fabri-Solvy™ with the paper side up. Score the paper and remove it. Now slide the hoop onto the machine. I then “baste in the hoop” to mark the location of the embroidery on the Sticky Fabri-Solvy. Next place your garment, fabric, etc., to be embroidered on top of the Sticky Fabri-Solvy and finger press in place. (This garment or fabric can have additional cut-a-way stabilizer and topper as needed.) You can also use Sulky Sticky+™ (a tear-away) stabilizer this same way.
If you do all sorts of machine embroidery, consider grabbing up a stabilizer bundle to save a few bucks. This way, you have different stabilizers to use for different projects. Then you can create any time the mood strikes.
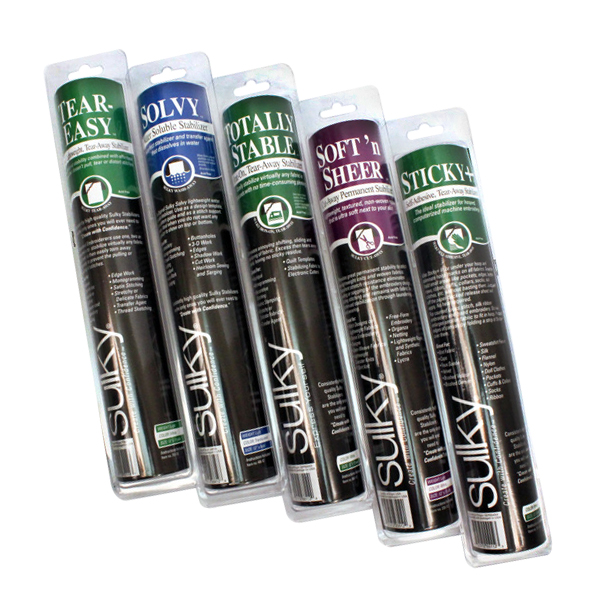
SHOP ALL OF THESE STABILIZER AND MORE AT SULKY.COM! Confused as to which stabilizer to use for what fabric and design technique? Consult our Stabilizer Selection Tool. (Bookmark that page to find it easily!)

Thank you for a very informative and useful lesson in machine embroidery. I learned so much more, especially about applying and using stabilizers. I’m now refreshed in returning to my embroidery projects.