Christmas Coasters
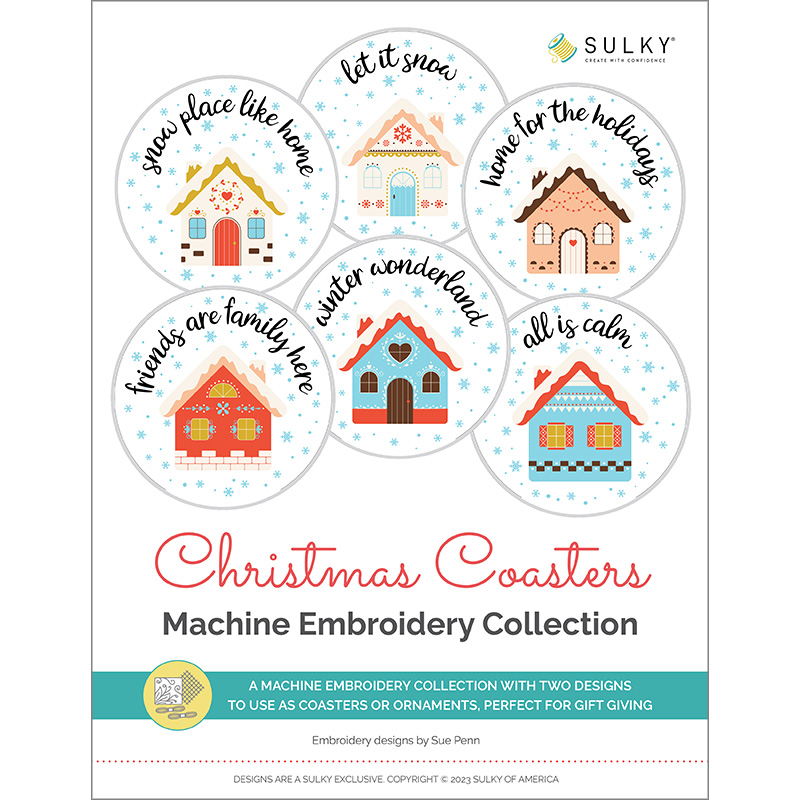
This in-the-hoop Christmas Coaster set is a multi-step project done in the hoop of your embroidery machine! Included in the collection are six coaster designs in two sizes with cute winter-themed sayings, snow-trimmed houses and snowflakes. A full-color instructional PDF is included with the designs and color chart, to guide you while making the project(s). These make great holiday gifts and décor for the winter season. Add an optional hanging loop to make ornaments, rather than coasters, if desired.
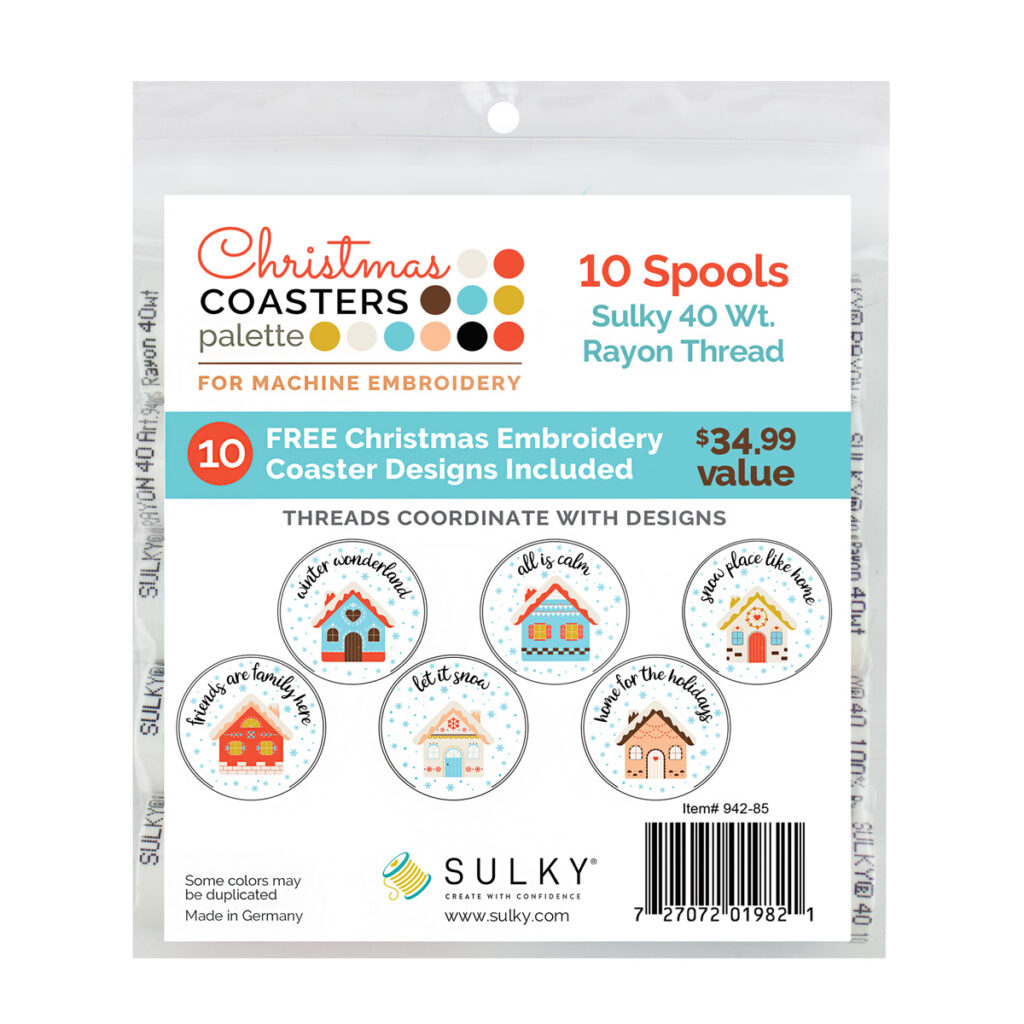
The Christmas Coaster designs come in 4×4 and 6×10 hoop sizes included to make 3.9″-diameter and 5.8″-diameter coasters or ornaments. Purchase the designs individually or as part of the collection. Or grab the Palette, which comes with both sizes of all designs and the ten spools of thread needed to make them. You’ll get nine spools of Sulky Rayon and one spool of Sulky Poly Sparkle, for a hint of shimmer that’s perfect for Christmas.
COASTER DESIGNS INCLUDED
Snow Place Like Home Coaster
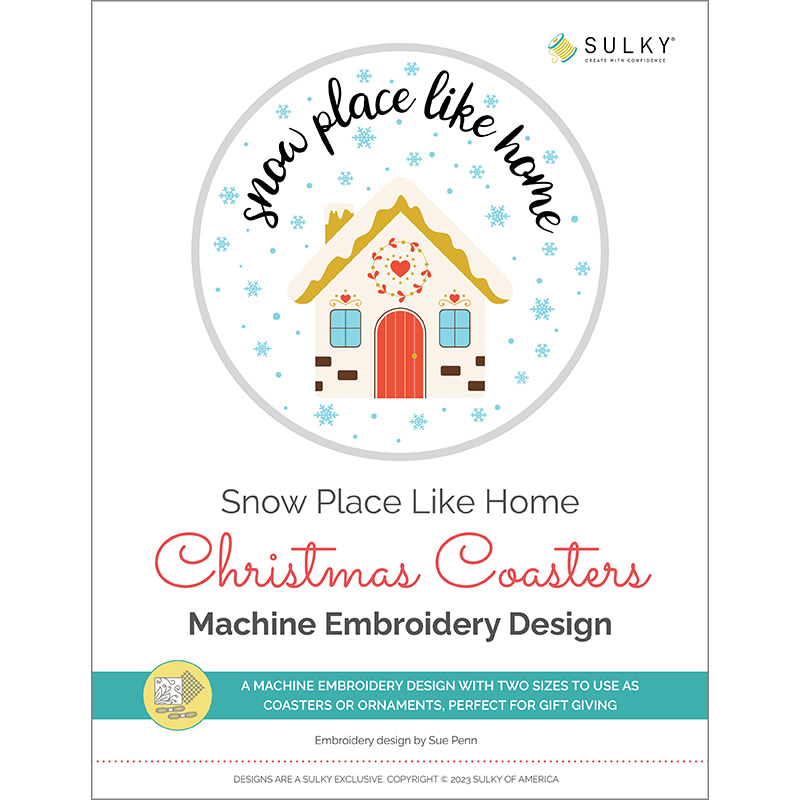
All is Calm Coaster
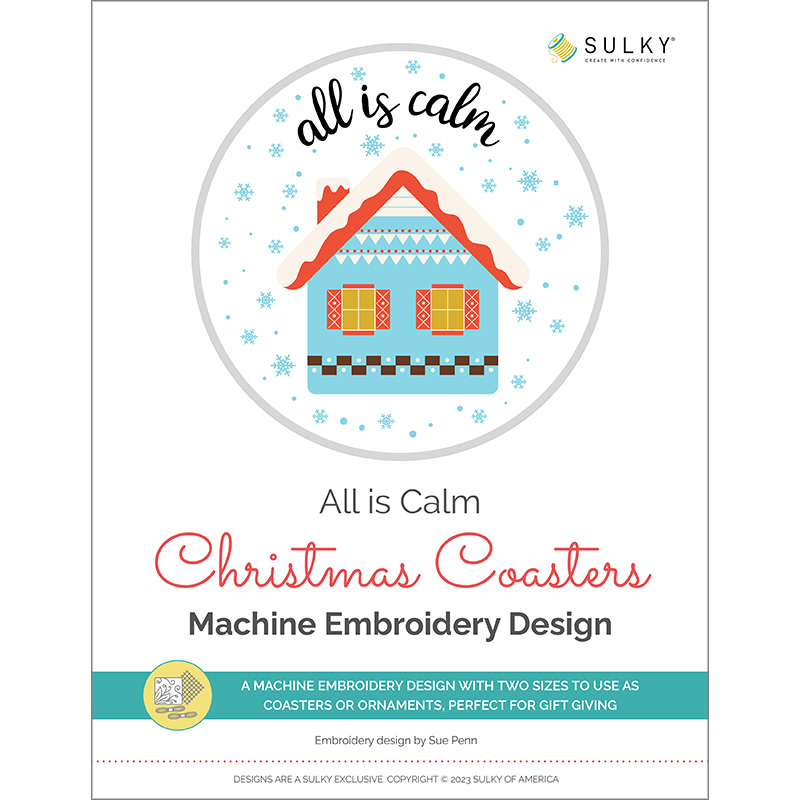
Winter Wonderland Coaster
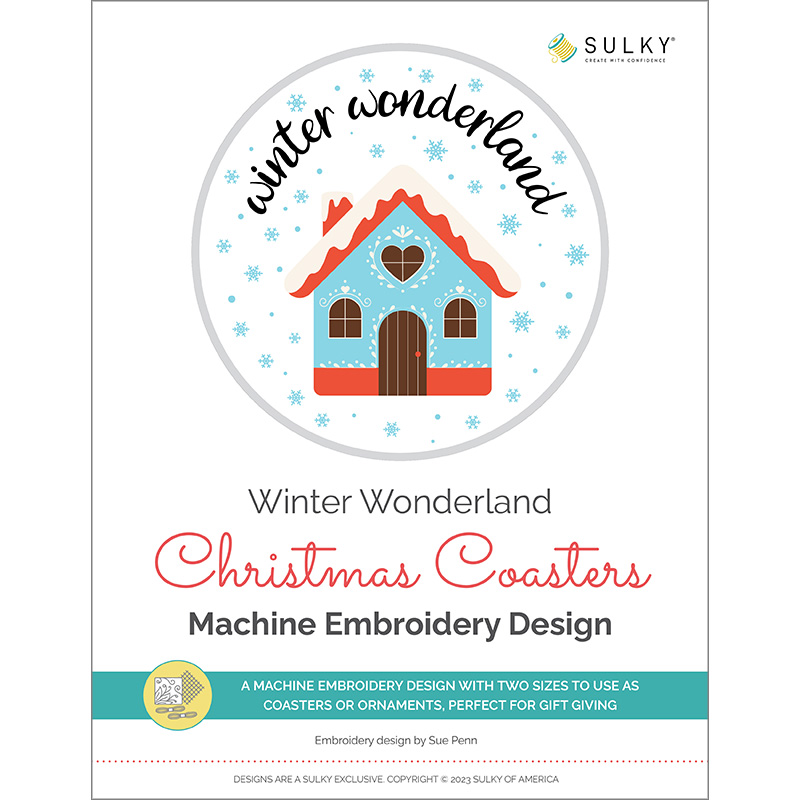
Friends are Family Here Coaster
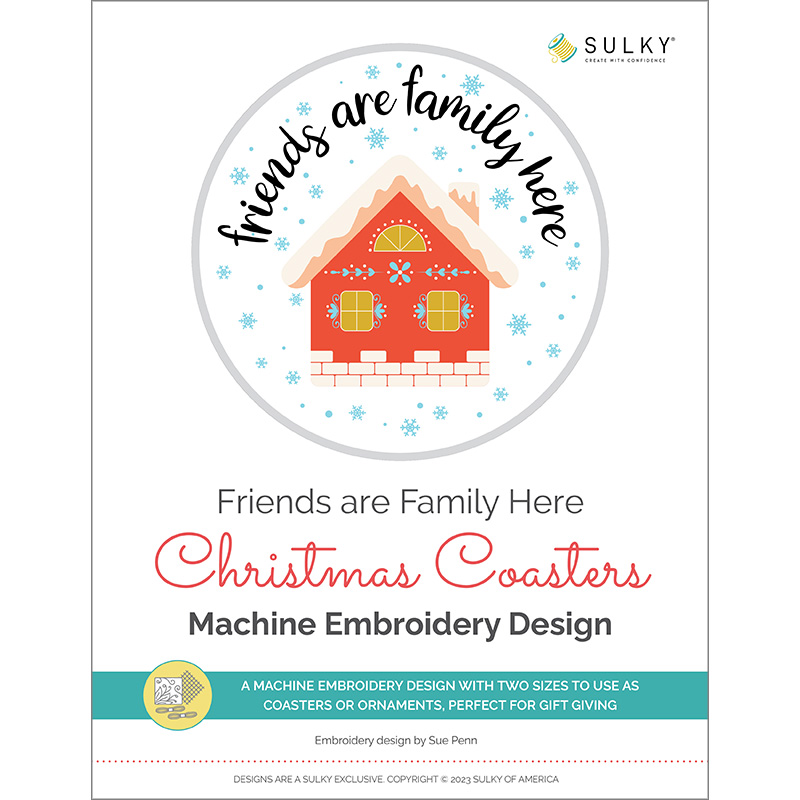
Home for the Holidays Coaster
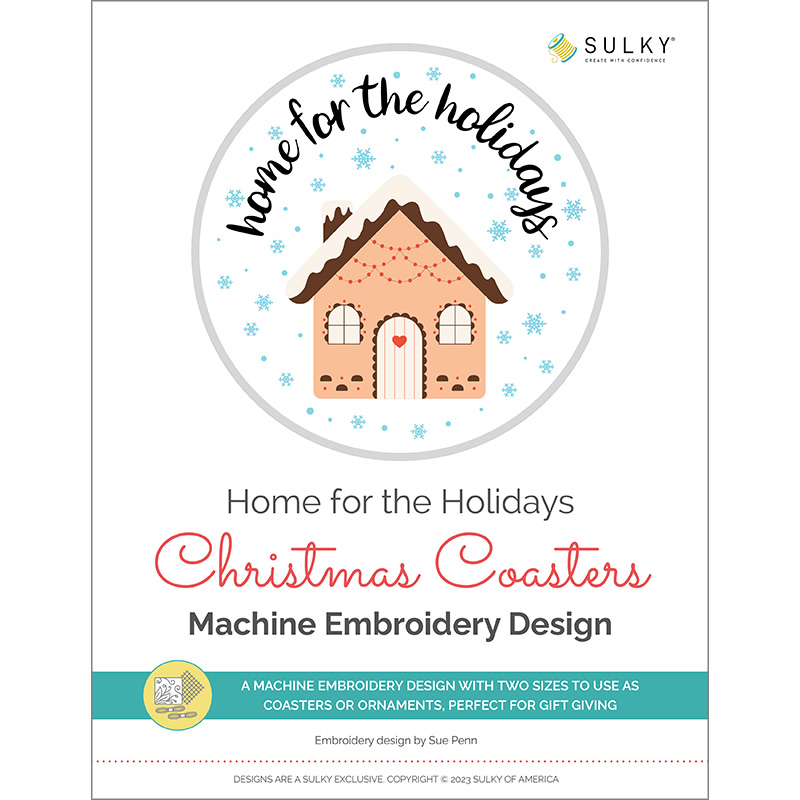
Let it Snow Coaster
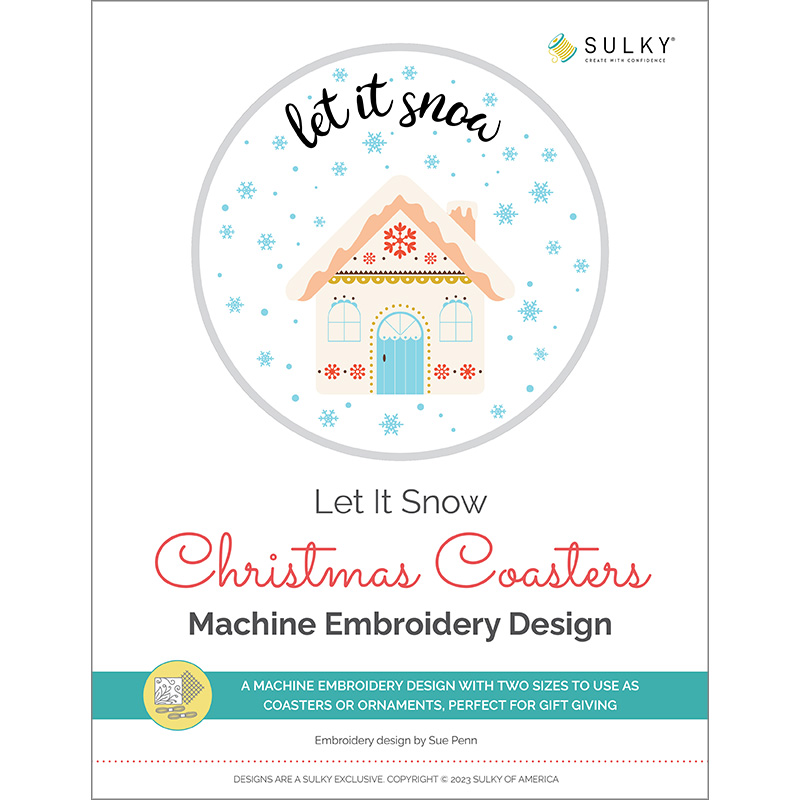
COASTER DESIGN DETAILS
The Christmas Coasters have a layer of batting between the fabric layers to provide body and “cushioning” for your favorite mug.
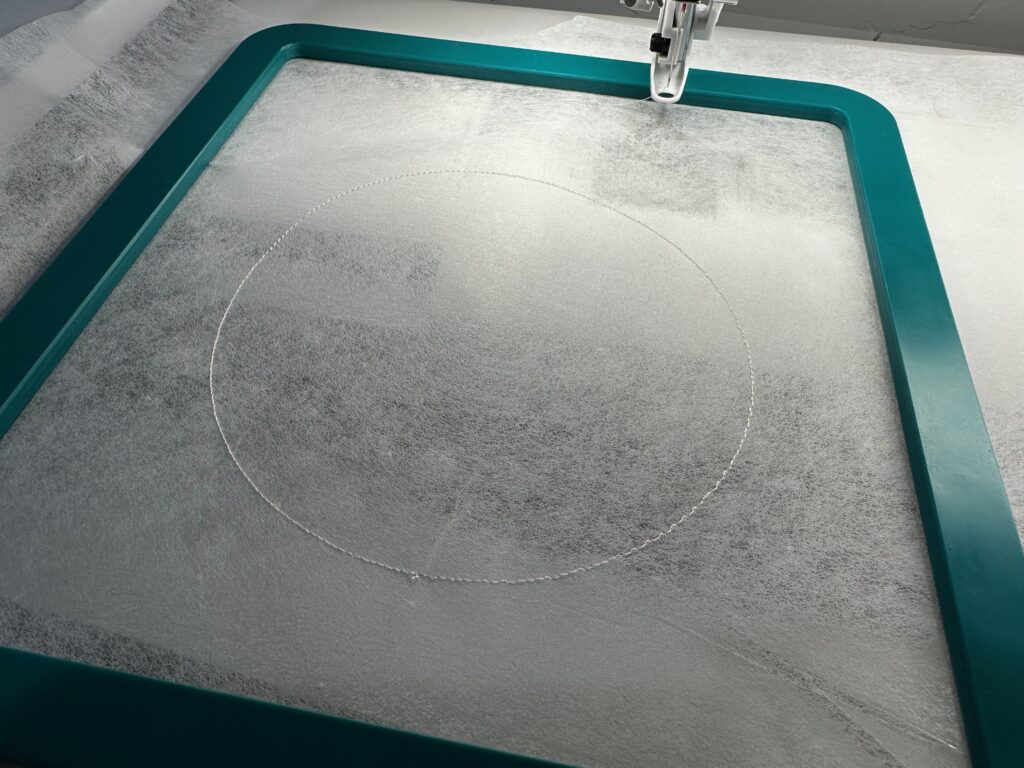
These multi-step designs are completed in one hooping. First, Sulky Soft ‘n Sheer Stabilizer is hooped. A magnetic hoop is shown below, but a standard hoop can be used. Then, stitch Color Stop 1, which is the placement line for the background fabric and batting.
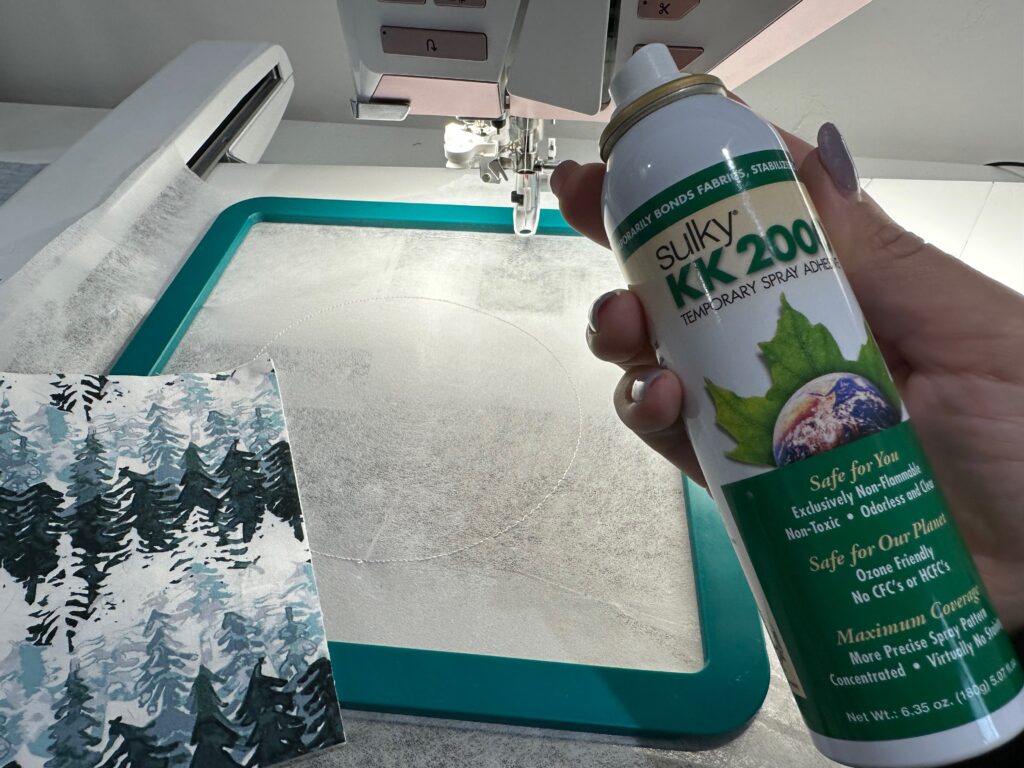
When adding the background fabric to the stabilizer, use Sulky KK 2000™ Temporary Spray Adhesive and Sulky Clear Embroidery Tape to secure.
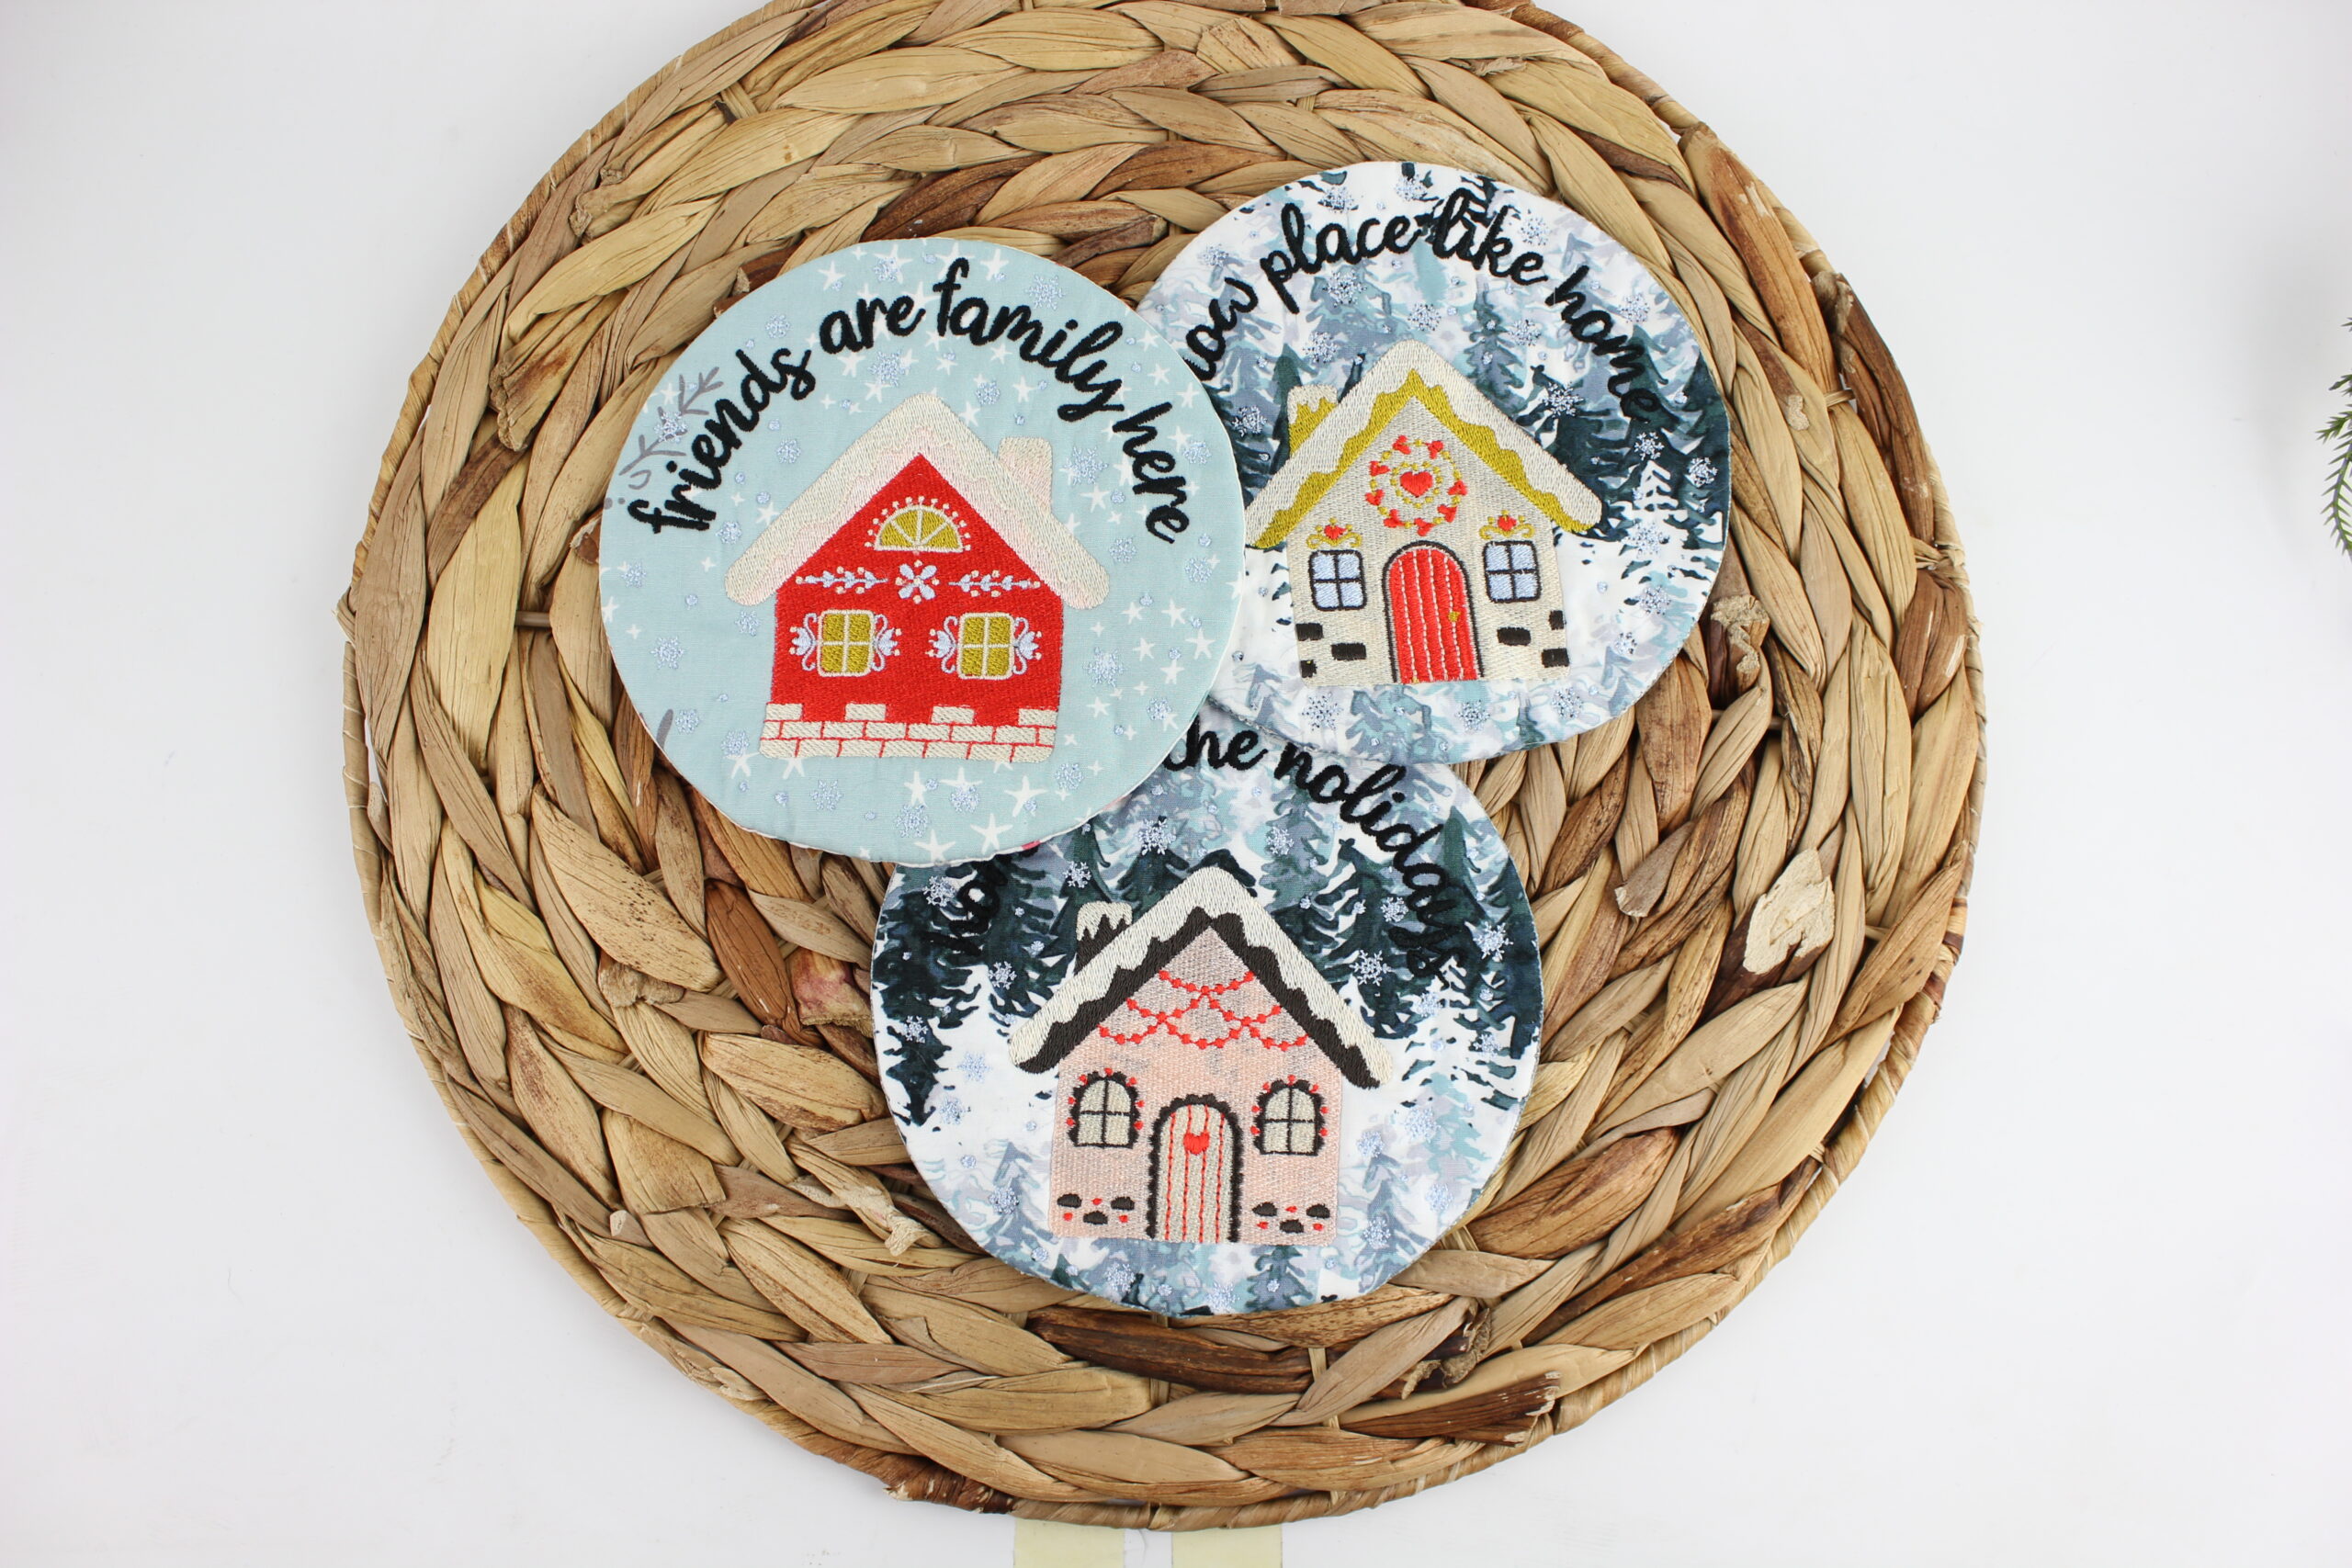
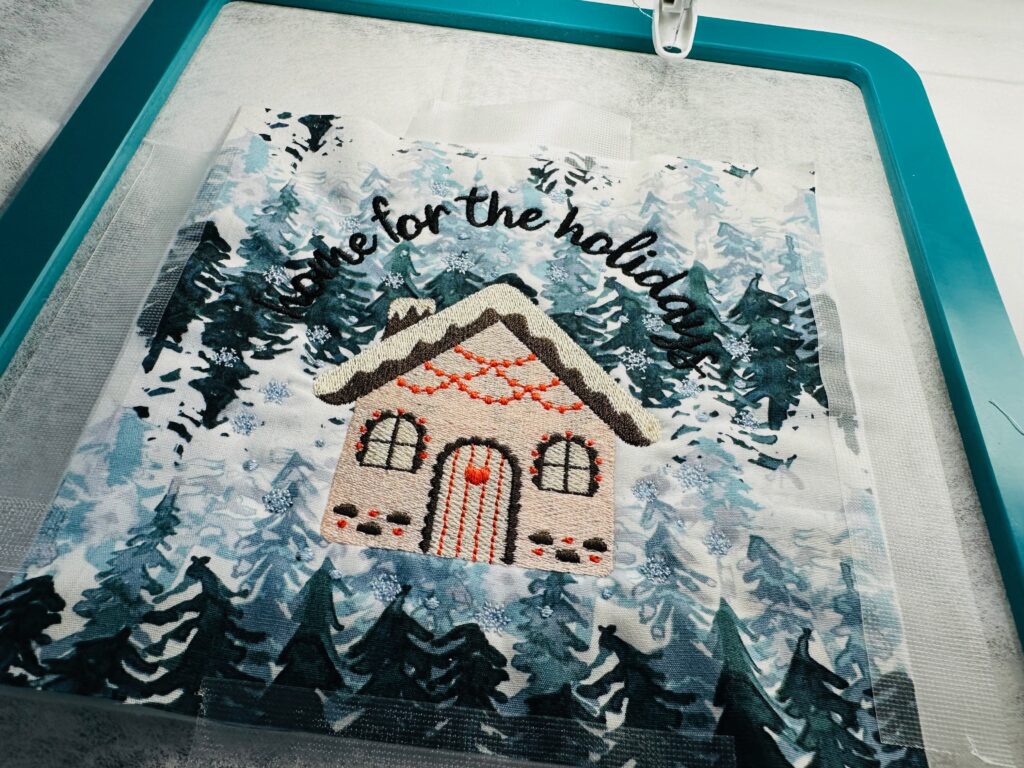
Choose a fabric that’s either a solid or a minimal print. The featured coaster, below, was sewn on a print fabric that proved to be too busy for the threadwork to be easily seen. Sometimes a cute fabric just ends up competing with the overall design!
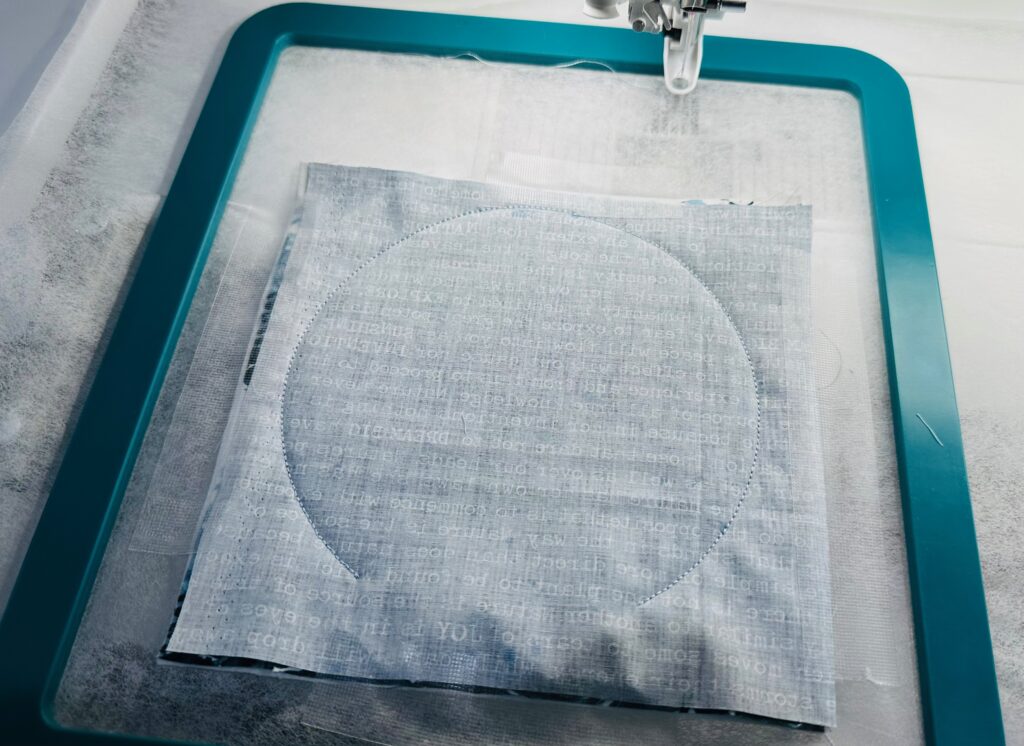
The last step of the ITH Christmas Coaster design is adding the background fabric and stitching the outline. The outline stitching also has an opening for turning the coaster right side out.
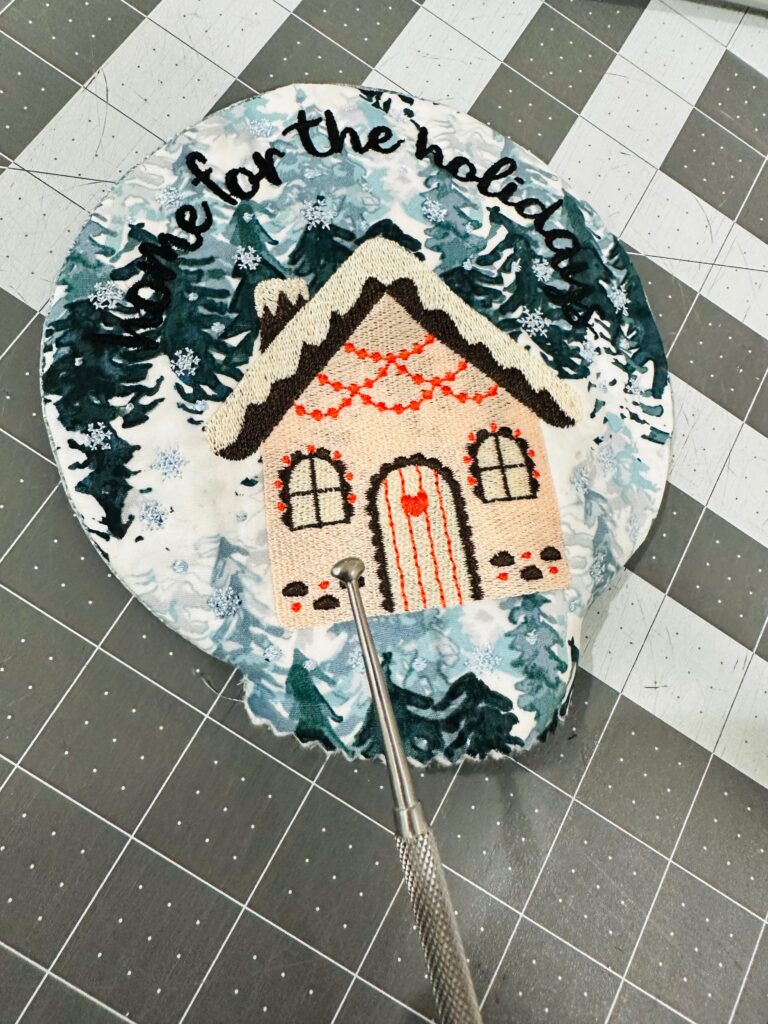
After turning right side out, be sure to push a turning tool along the inner seam allowance so the circle is nicely shaped.
Only a bit of hand sewing is needed to finish the Christmas Coasters. Follow the curve of the inner placement stitches to finish the circle.
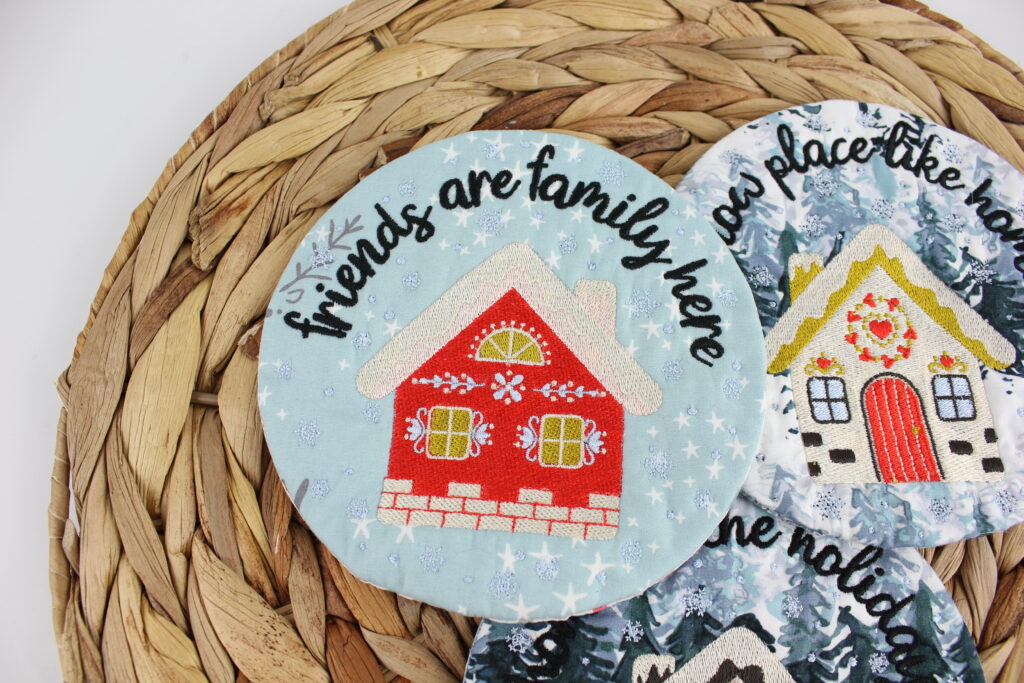
Grab the set and make several to gift to friends this holiday season.

