Mini Donut Stuffie

In celebration of National Donut Day on June 5, we’re taking a sweet spin on the free donut pattern from kullaloo! In this tutorial, learn how to modify the original design to create an adorable mini stuffie instead of a pillow by shrinking the pattern to 70% and eliminating raw outer edges for a polished finish. We’ll use Sulky Felty for soft structure and add bold, decorative sprinkle stitching with Sulky 30 wt. Cotton Thread. Along the way, you’ll master a fun “sandwiching” technique using Sulky Tear-Easy and Solvy for crisp, accurate deco stitching without puckering or bunching, plus discover an easy “burrito” turning method to finish the project beautifully right side out. There are SO many fun techniques packed into this deliciously creative Donut Stuffie tutorial!
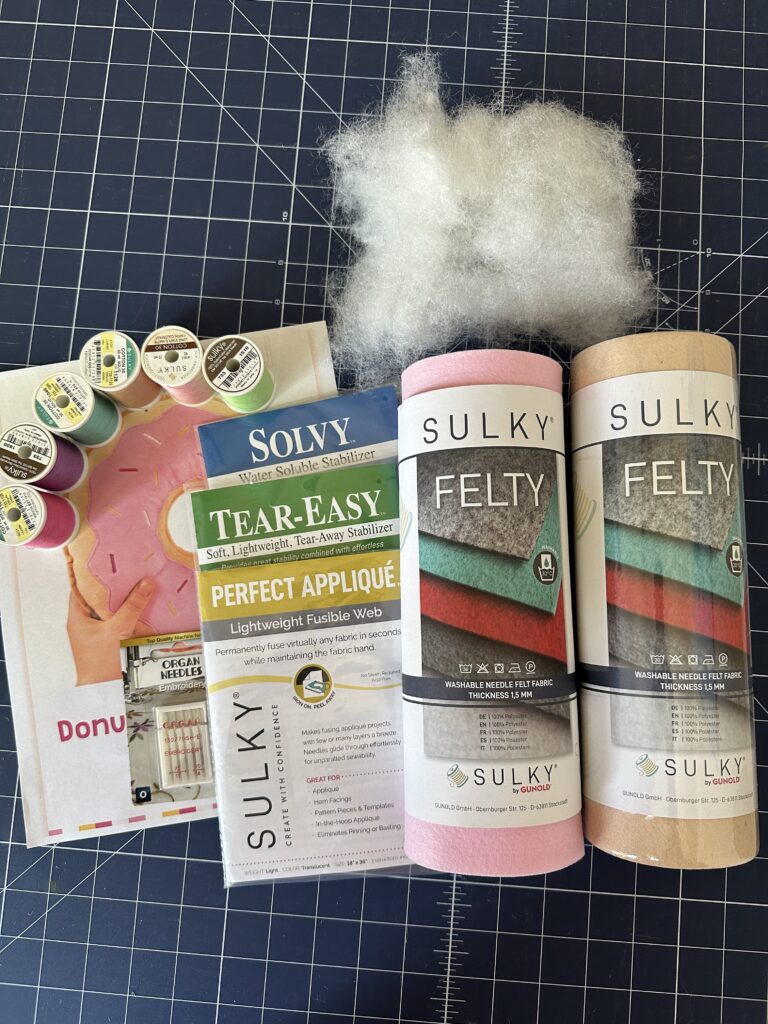
DONUT STUFFIE SUPPLIES
- Free Donut Pillow Pattern (modified)
- Sulky Felty
- Perfect Appliqué Fusible Web
- Stabilizers
- Sulky 30 wt. Cotton Thread
- Organ size 90/14 Universal Needles
DONUT STUFFIE – PREPARATION
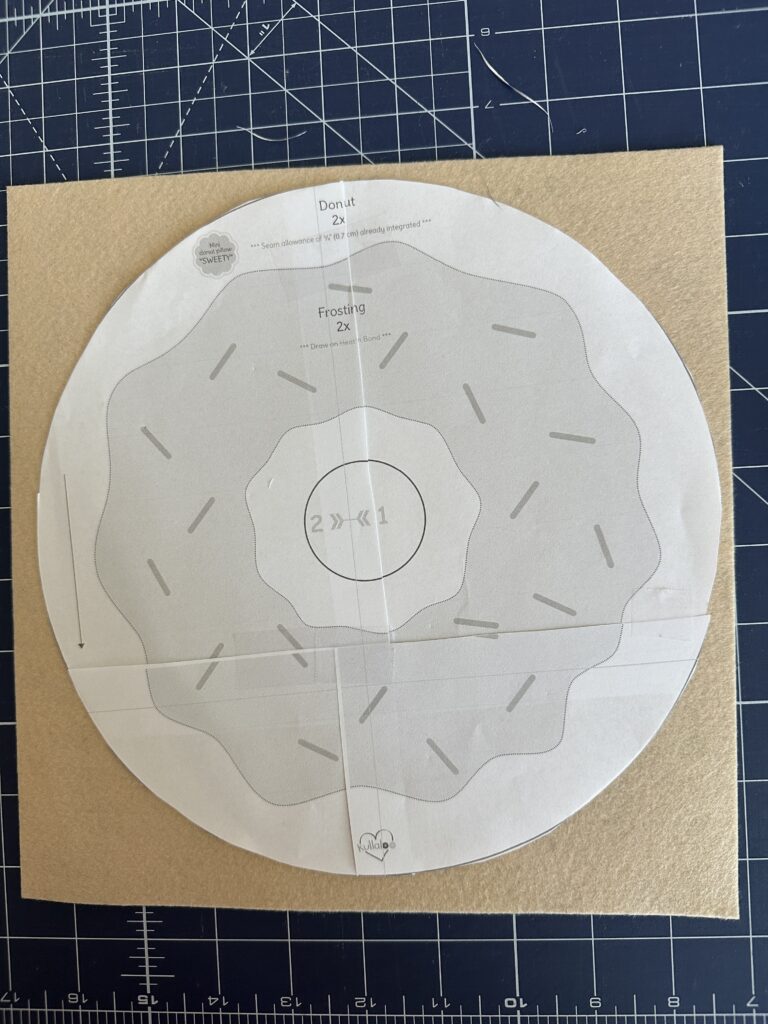
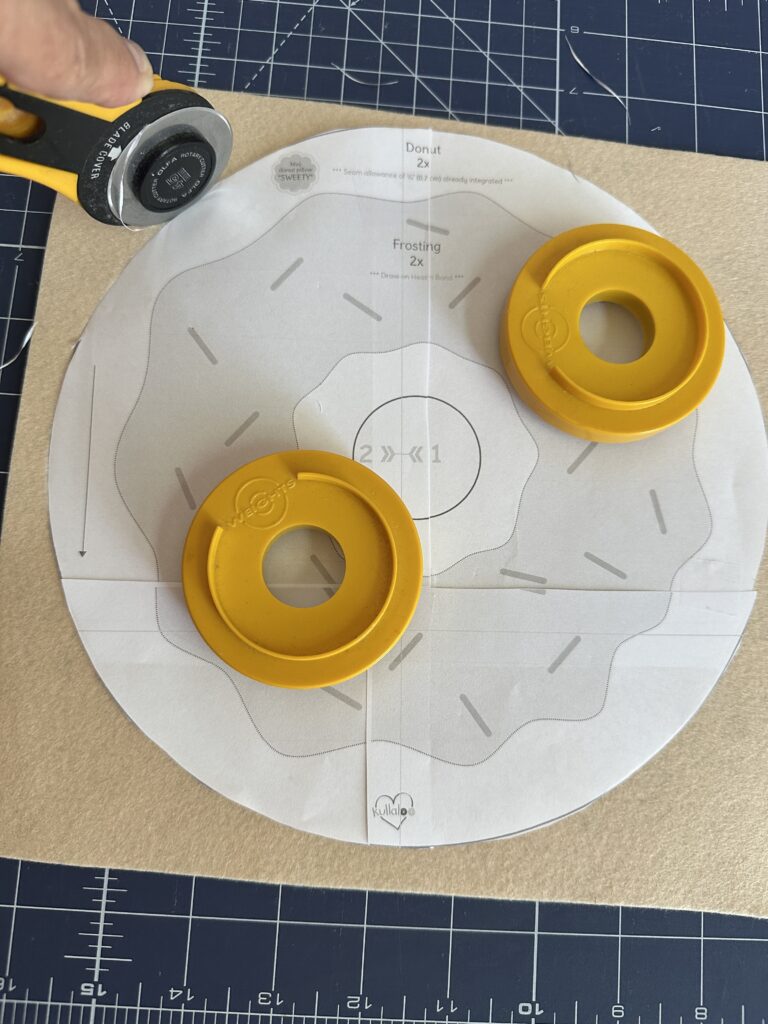
Grab the free “Donut Pillow” pattern from kullaloo. Print the four pattern pages at 70%. Then, tile and tape the pattern pieces together around outer edge.
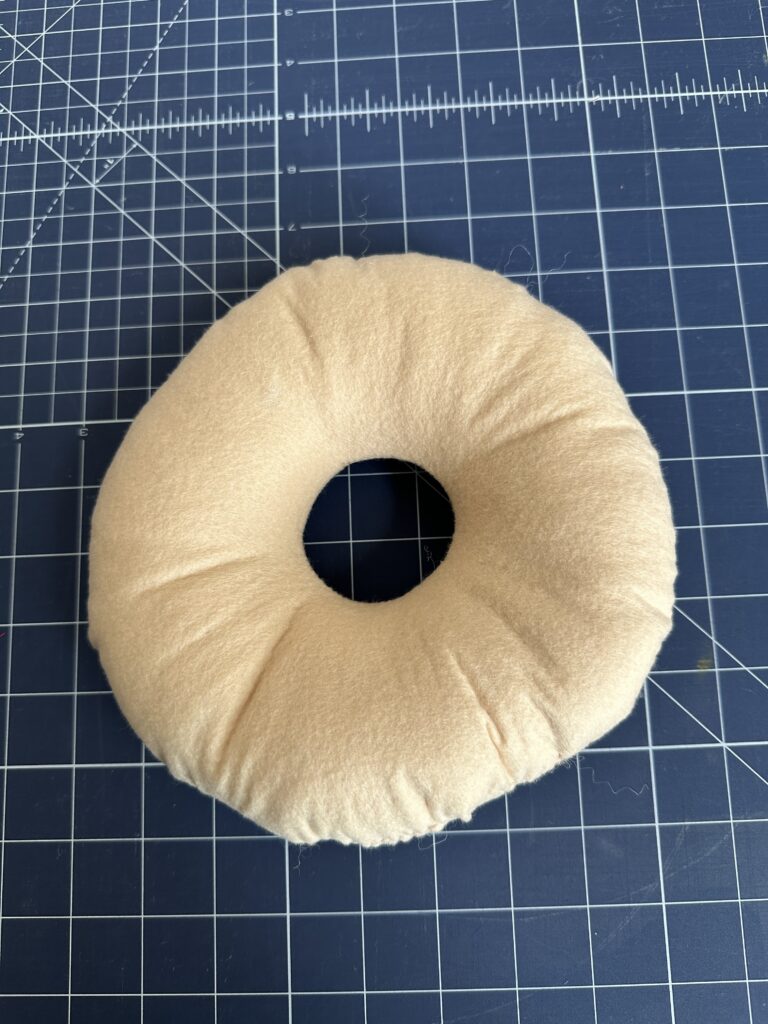
Cut two of the donut pieces from Beige Felty.
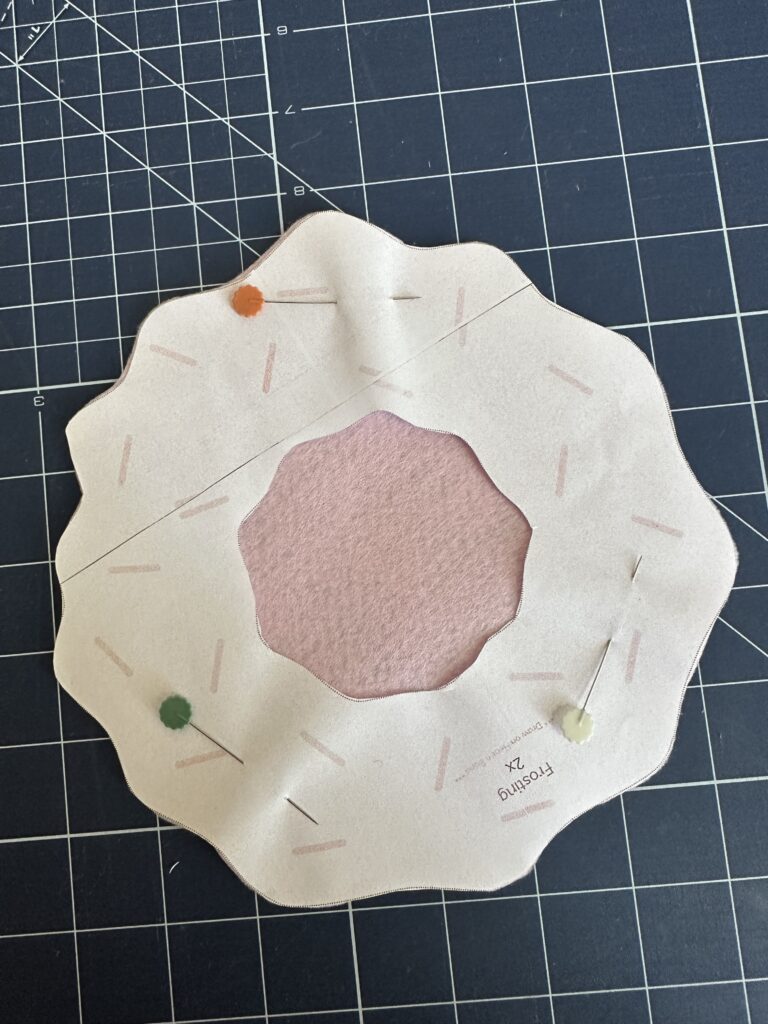
Fold each Felty circle in half and trim a small “v” into the fold on the outside edge. Refold, matching the “v’s”. Then, cut “v’s” on the new fold. Make sure the “v” snips are within the 1/2″ seam. Then, set the Beige Felty circles aside.
ICING PREP
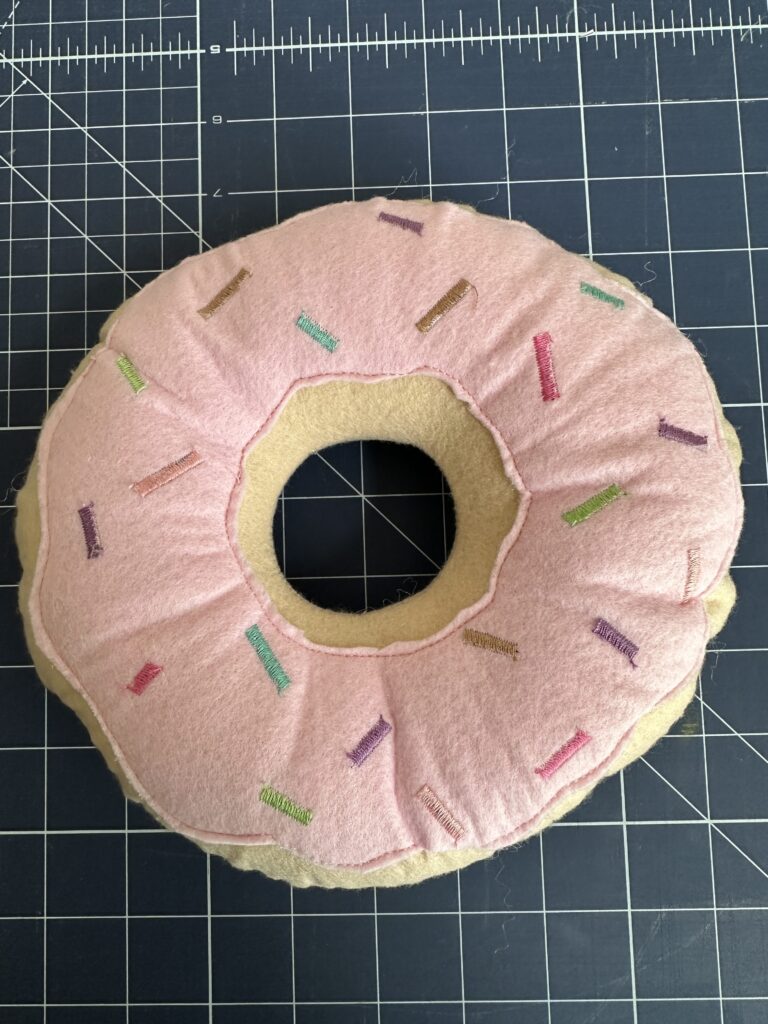
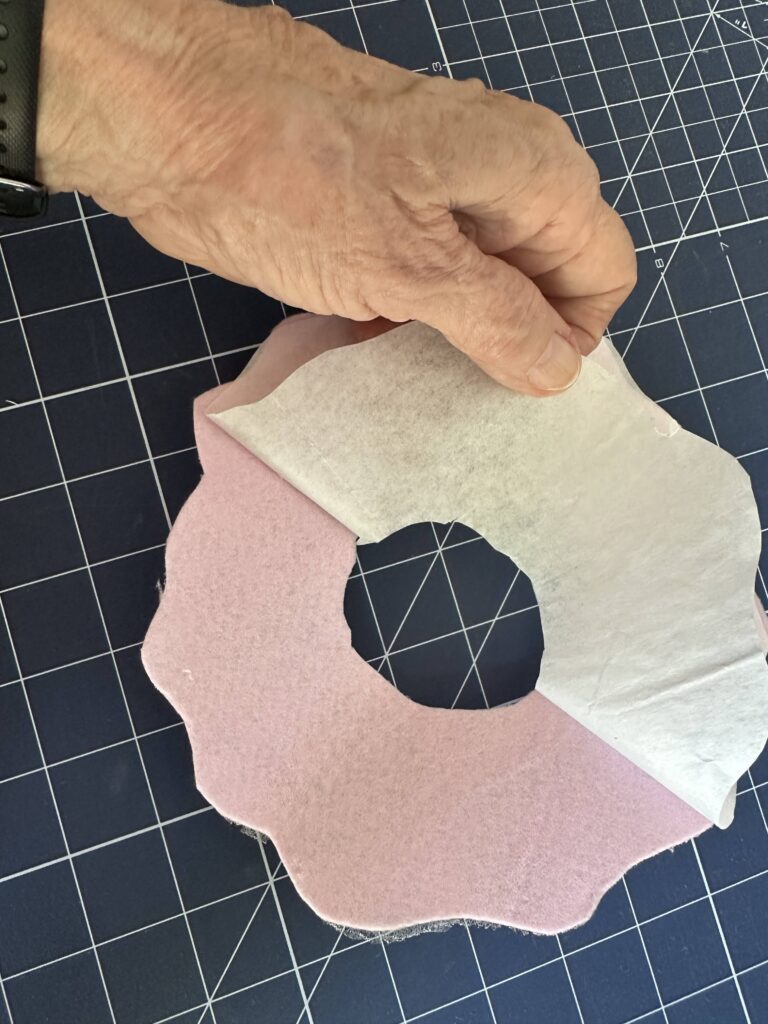
Fuse a piece of Sulky Perfect Appliqué Fusible Web to the wrong side of a sheet of Pink Felty.
Cut out the icing template from the pattern. Next, cut one icing piece from Pink Felty.
Remove the paper backing from the Perfect Appliqué.
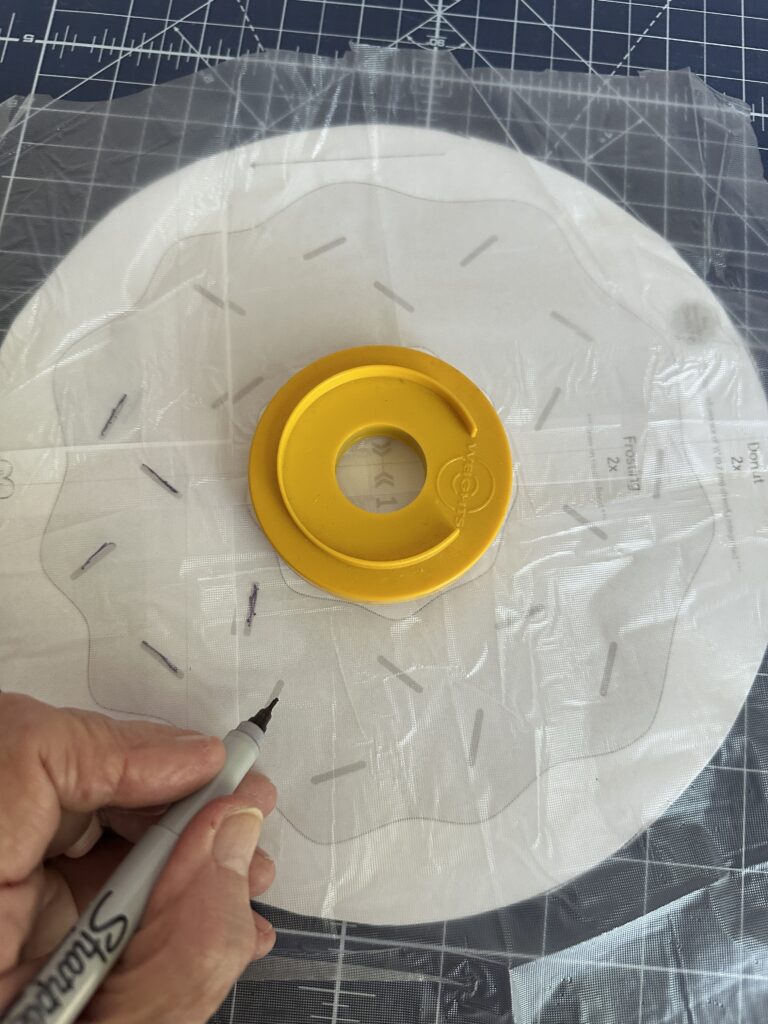
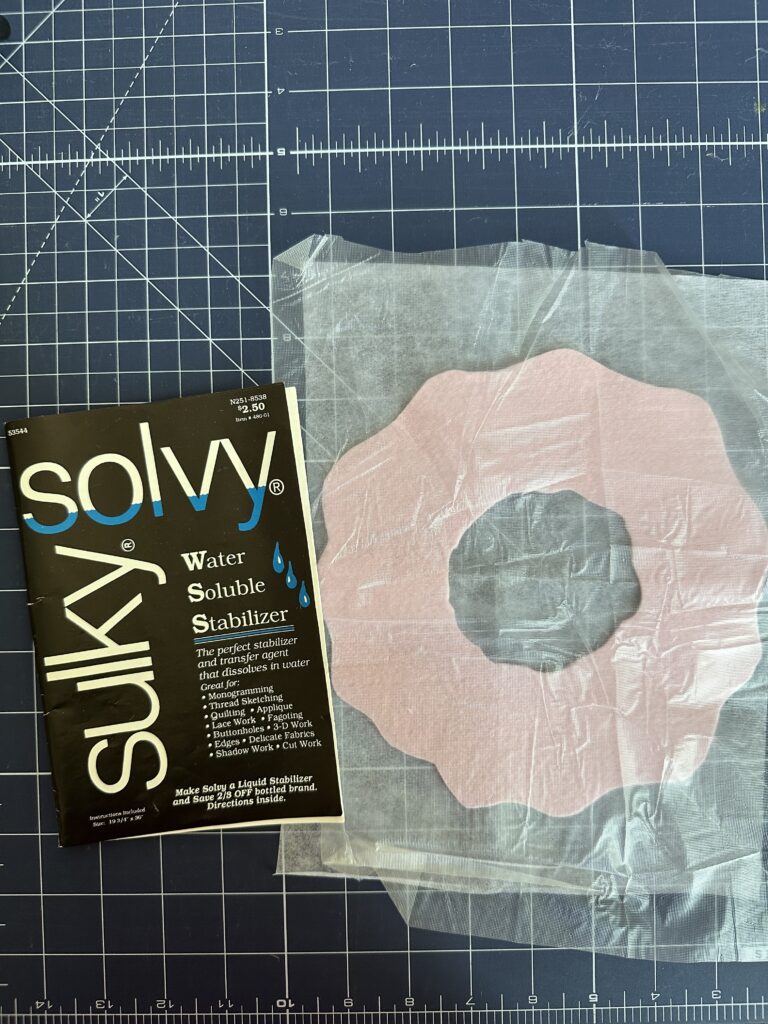
To mark the sprinkles, first place the icing pattern piece under a piece of Sulky Solvy. Use a Sharpie to mark the sprinkles with a straight line on the Solvy.
Place a piece of Sulky Tear-Easy on a flat work surface. Then, place the pink icing piece right side up over the stabilizer.
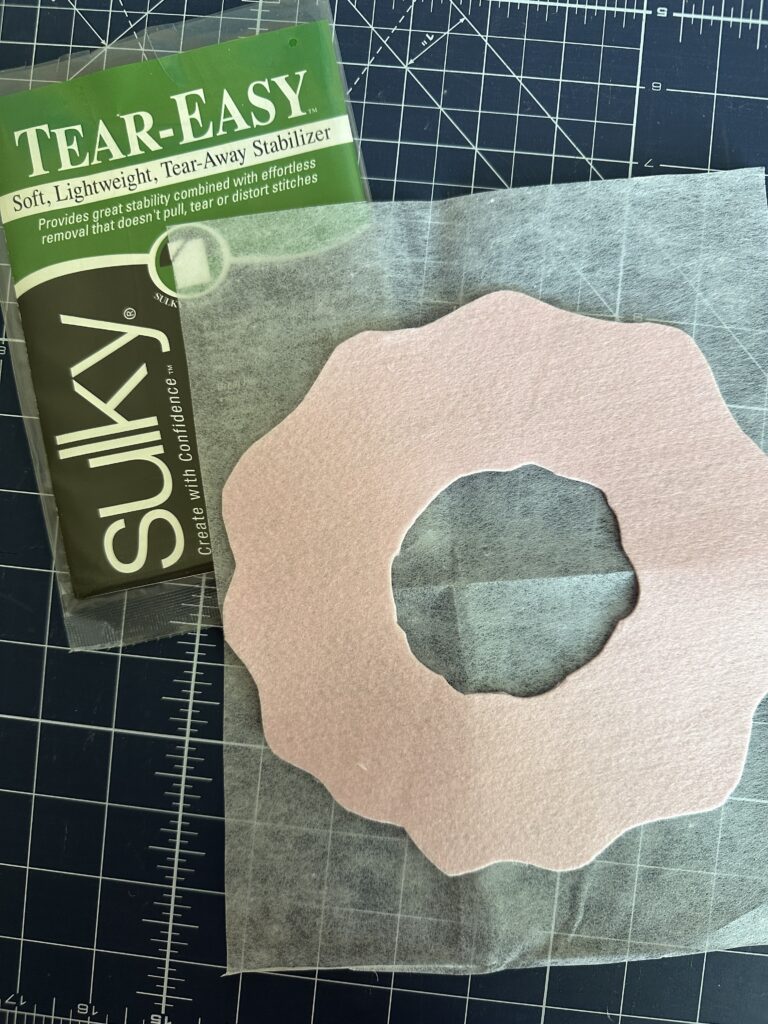
Position the marked Solvy piece over the icing, creating a “sandwich,” with the Felty between the layers.
Place a few pins to secure the “sandwich.”
SPRINKLES STITCHING
Set the sewing machine for a wide satin/zigzag stitch. Install a size 90/14 Universal Needle and thread the needle with Sulky 30 wt. Cotton Thread. Use a 50 wt. Cotton or 60 wt. Polylite Thread in the bobbin.
Stitch each sprinkle, following the marked lines for the sprinkles. Swap thread colors as desired for a rainbow effect. Or keep the sprinkles one color, depending on preference.
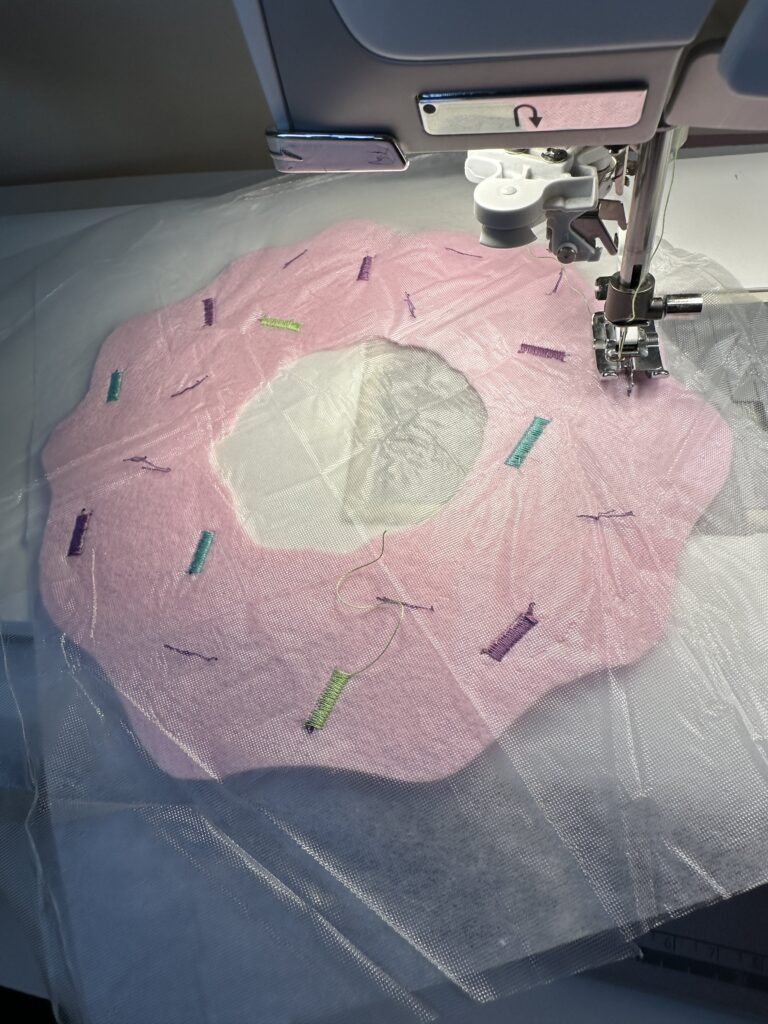
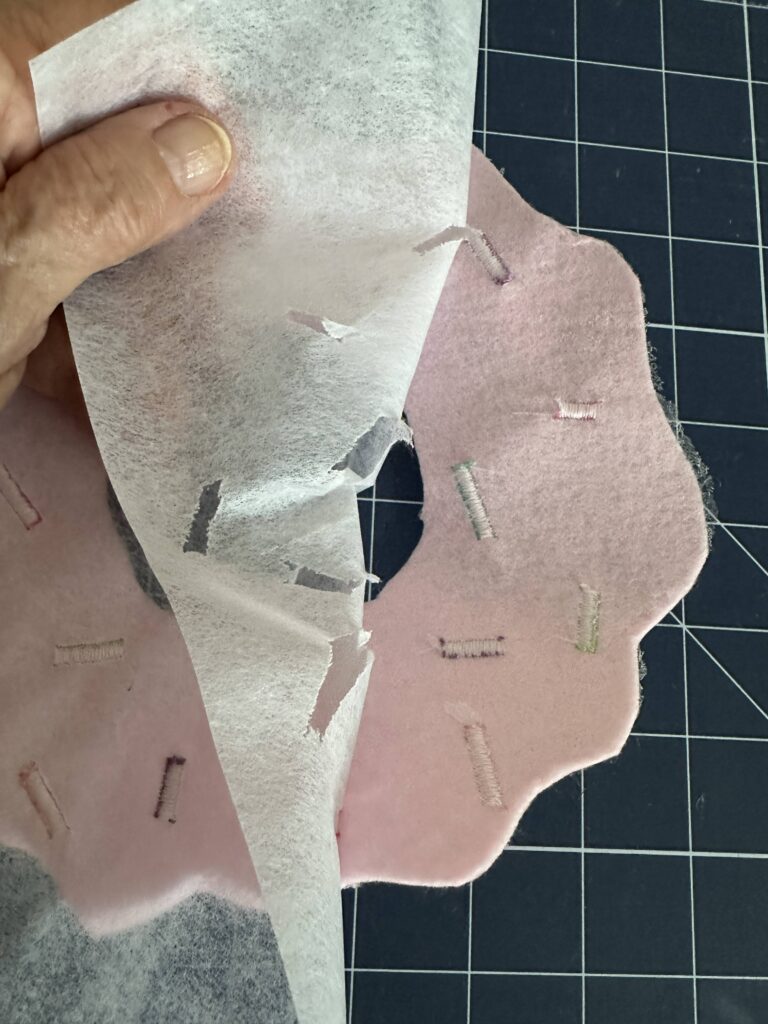
When the stitching is complete, first tear away the remaining Solvy from the icing right side.
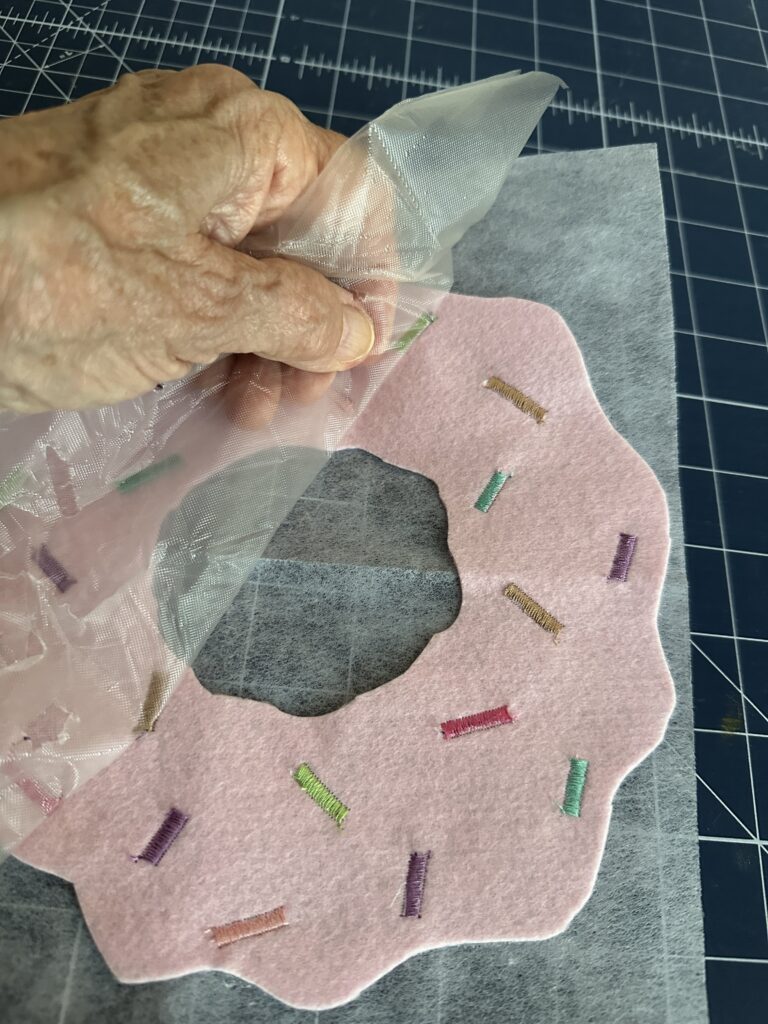
Any remaining Solvy is easily removed with a wet cotton swab after the donut stuffie is completed.
Then, remove the Tear-Easy stabilizer by gently tearing it away from the stitching on the donut icing wrong side.
DONUT CONSTRUCTION
Note: These instructions differ from the pattern instructions to result in no raw edges along the donut stuffie perimeter.
Center the icing onto one of the Beige donut Felty pieces. Fuse the icing in place, carefully avoiding the sprinkles stitching, if possible.
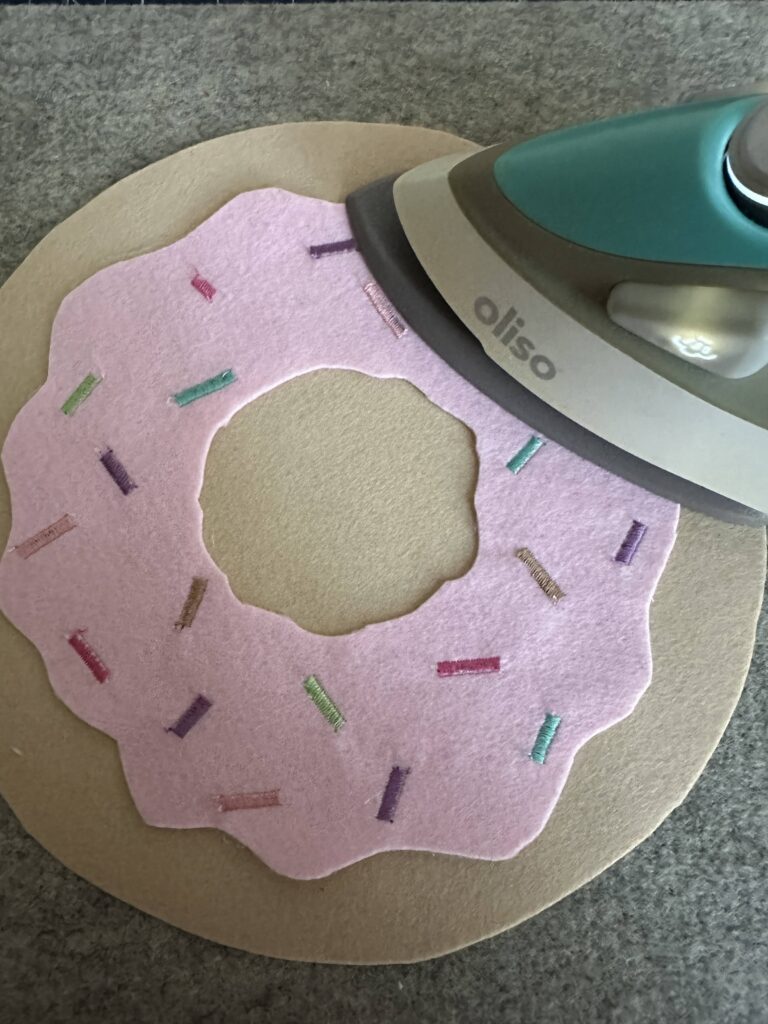
Straight stitch or zigzag around the raw edges of the icing, using matching 30 wt. Cotton Thread.
Next, trim away the center hole in the Beige donut pieces.
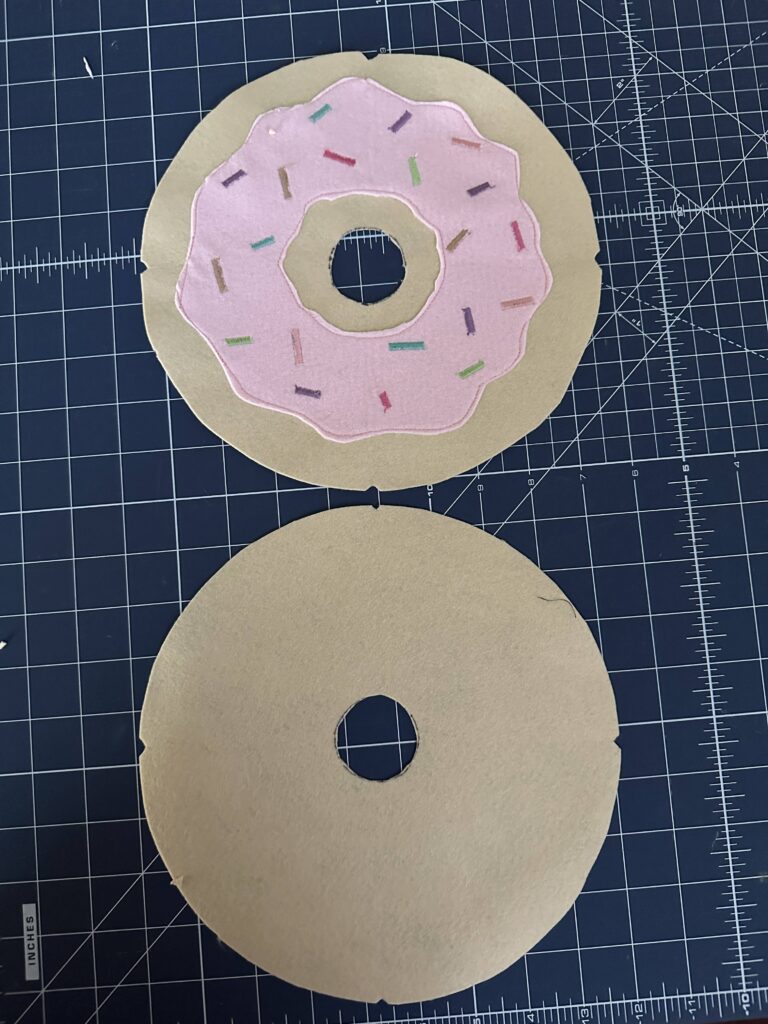
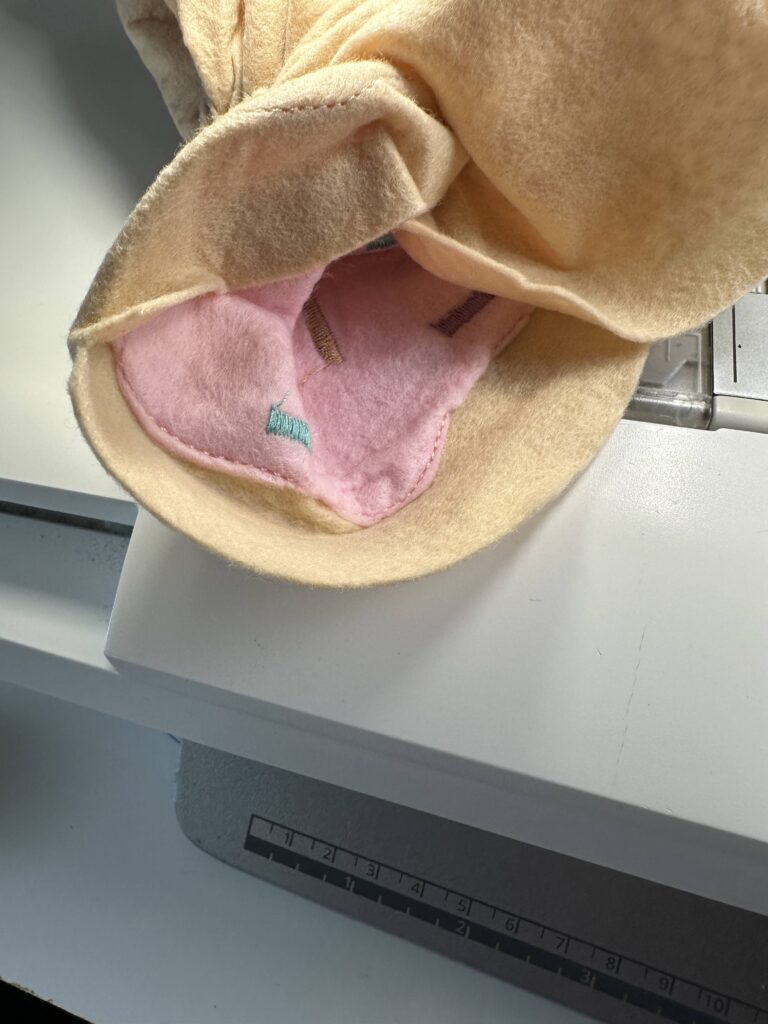
Place the donut pieces wrong sides together, matching the “v’s.” Then, stitch ½” from the edge around the center hole using matching 30 wt. Cotton Thread.
Turn the donut so the right side is out.
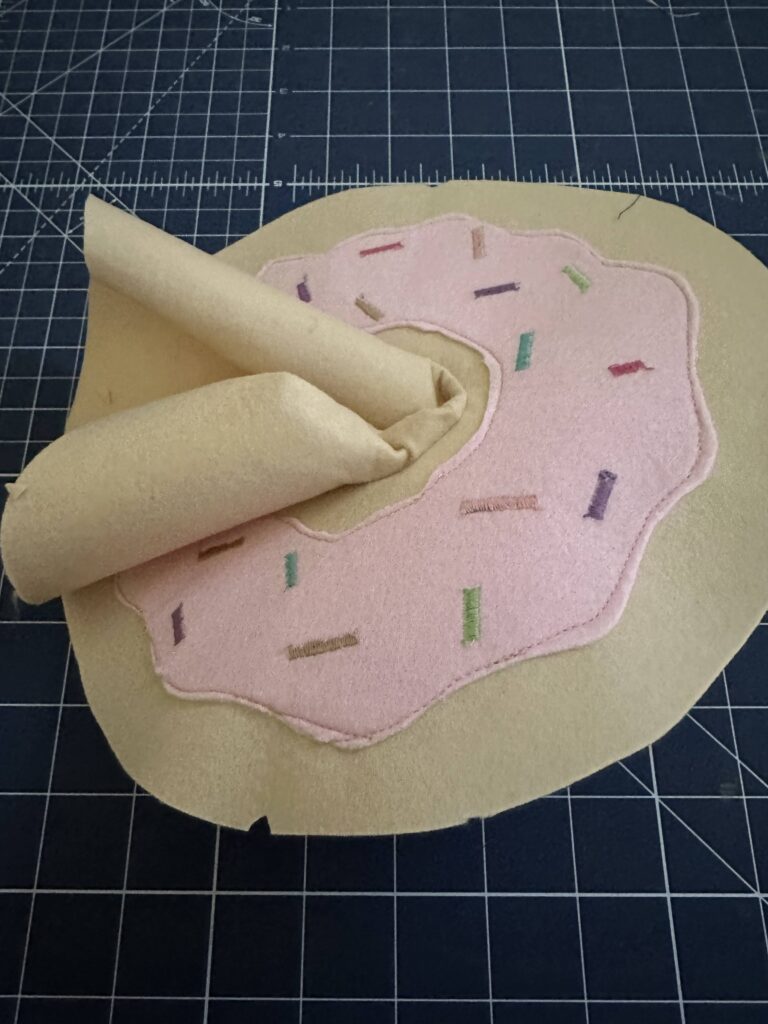
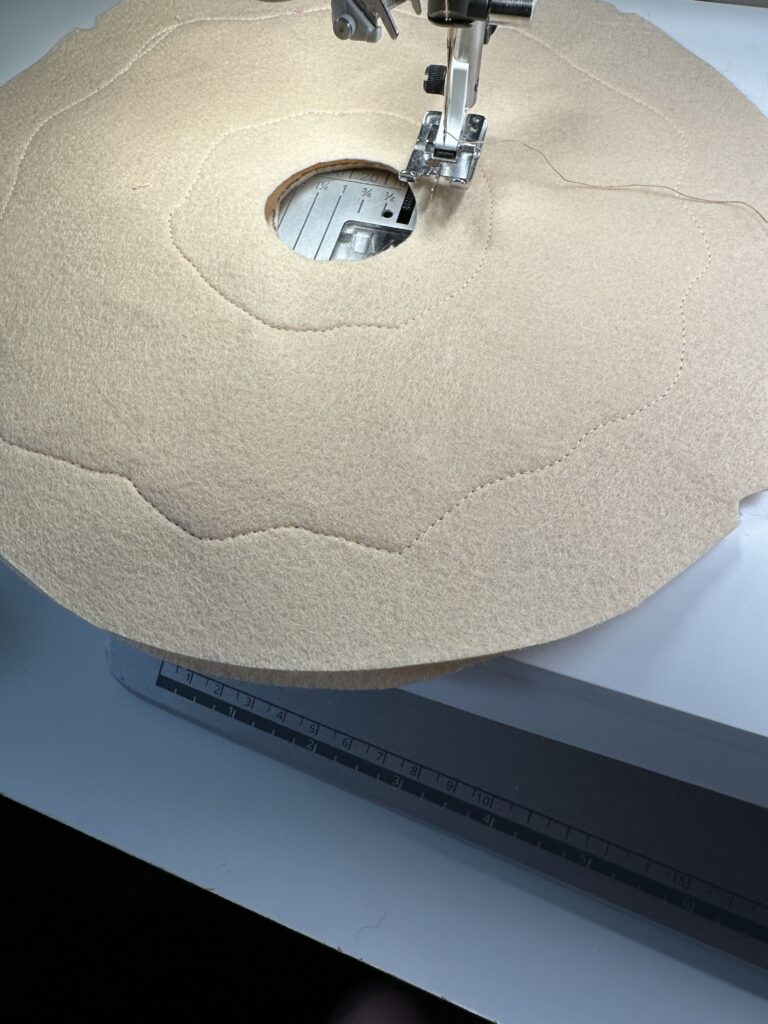
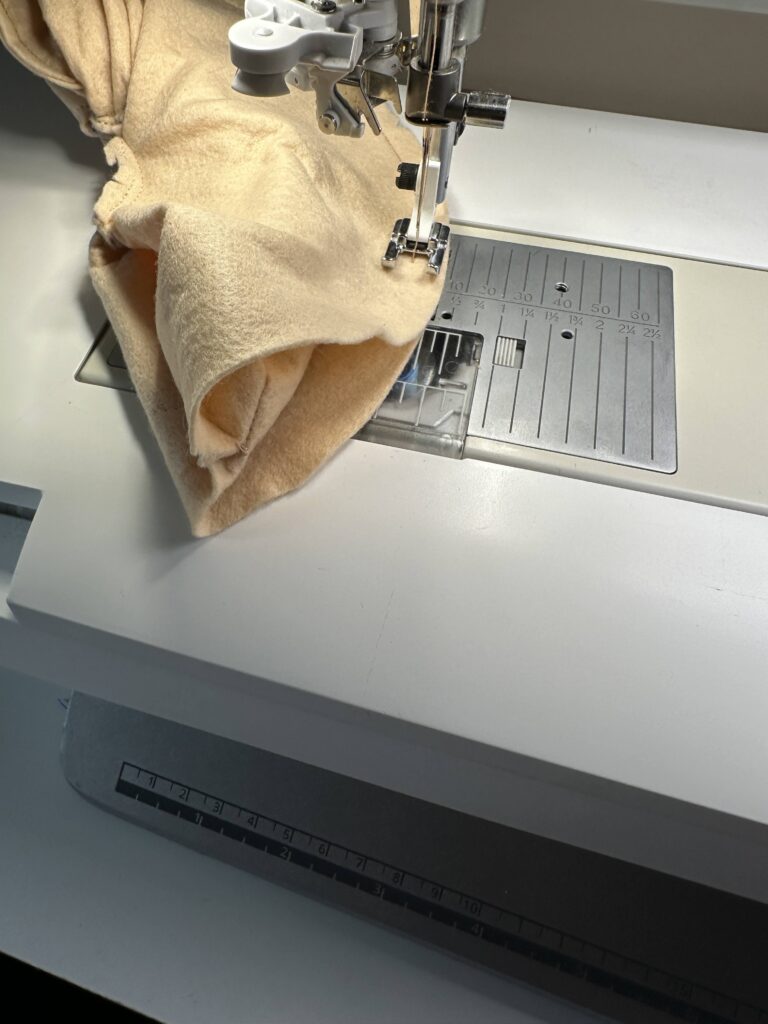
With the icing facing up, roll the donut up a little over halfway.
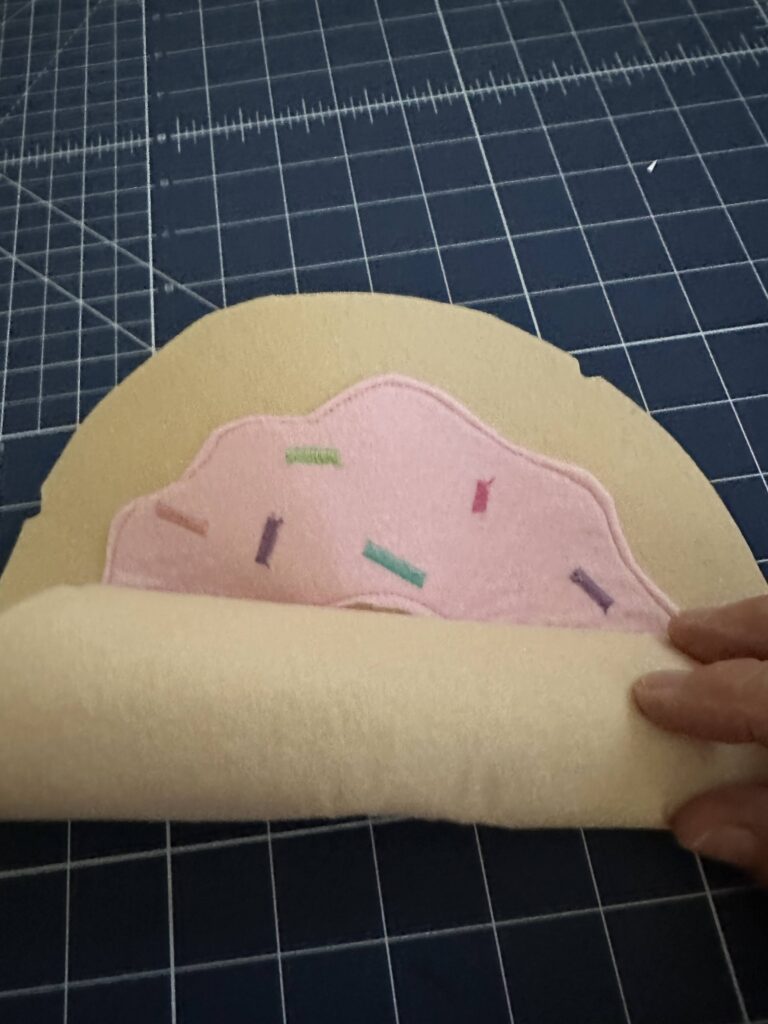
Pull the right side of the back of the donut over the top of the rolled donut and match the notches to the right side of the donut.
Stitch ½” from the edge, from one notch to the next one.
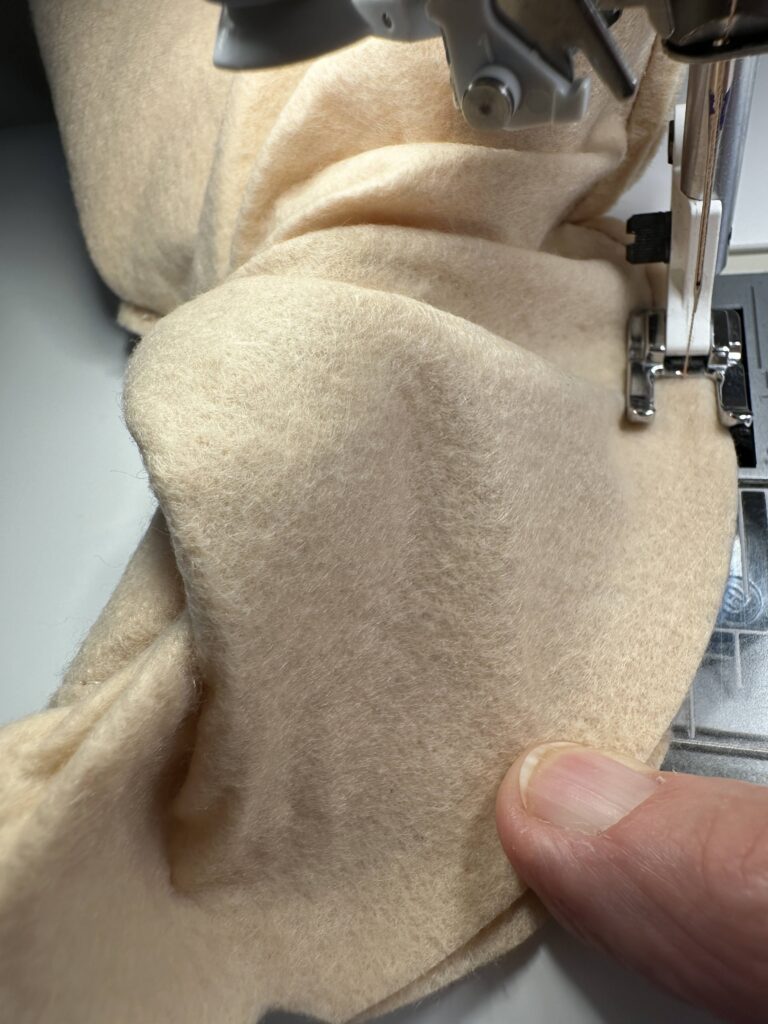
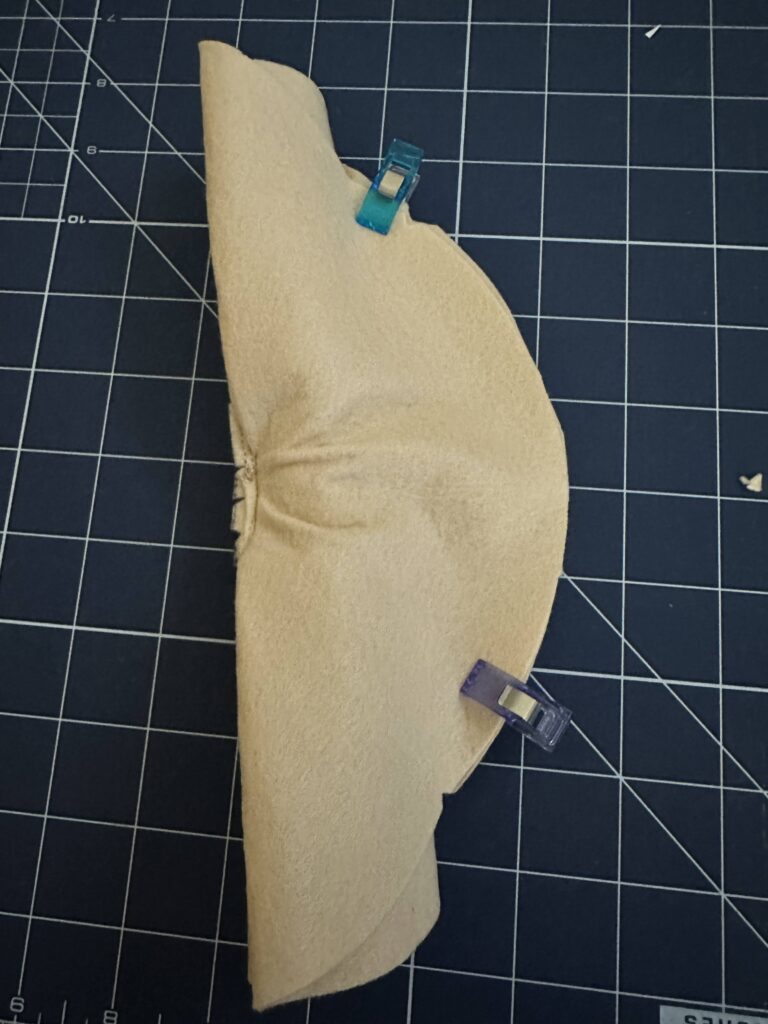
Pull on the edges of the donut as you go to pull more of the donut fabric out of the roll as you continue to stitch along the edges, matching the notches. It will take a bit of effort to continue pulling the fabric out of the roll as you go.

Match the notches and stitch until you have pulled most of the fabric through. Leave a 4″ opening for turning. Be sure to backstitch to secure the end.
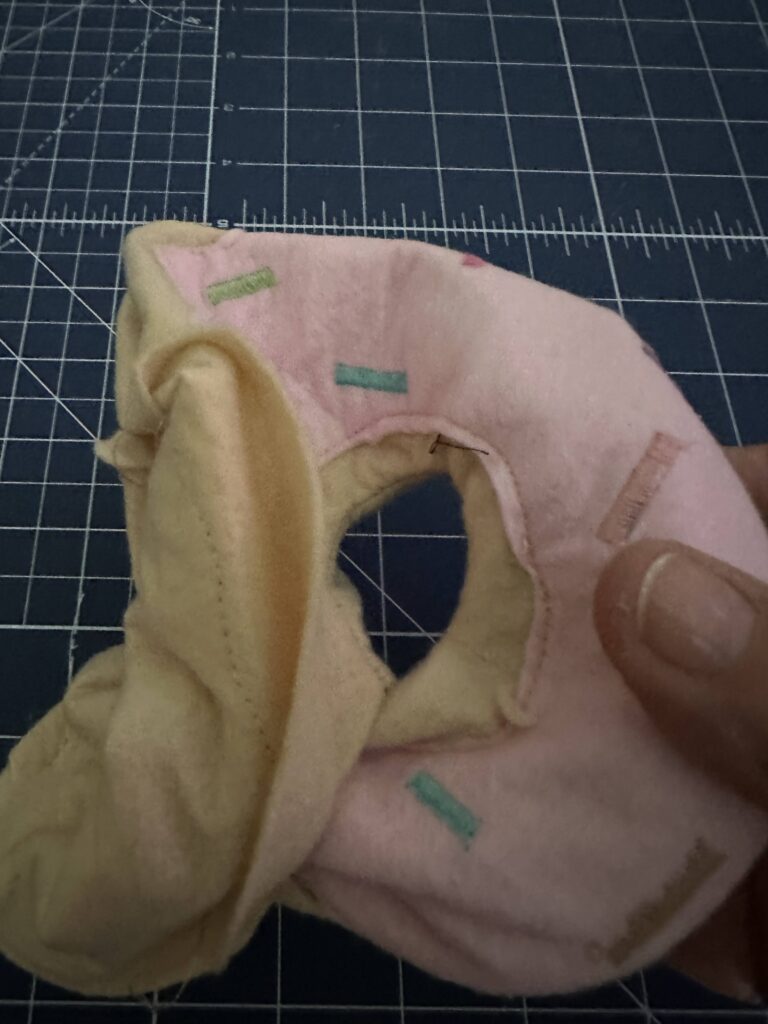
Turn the donut through the opening to the right side.
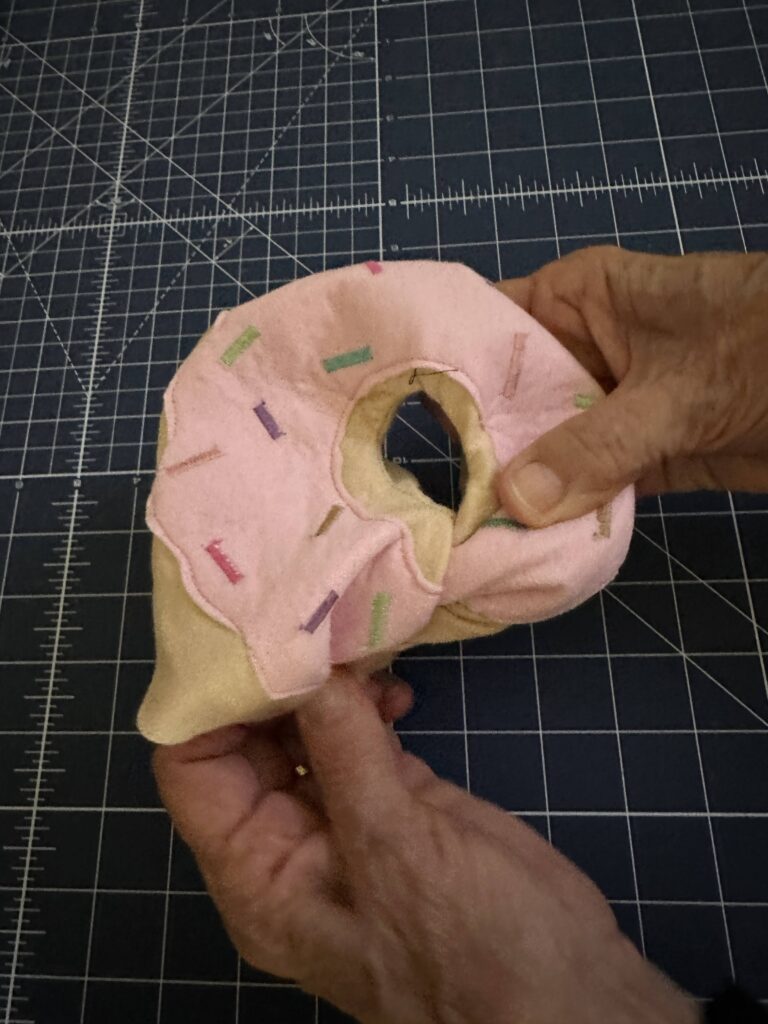
Roll the seams between your fingers to smooth them.

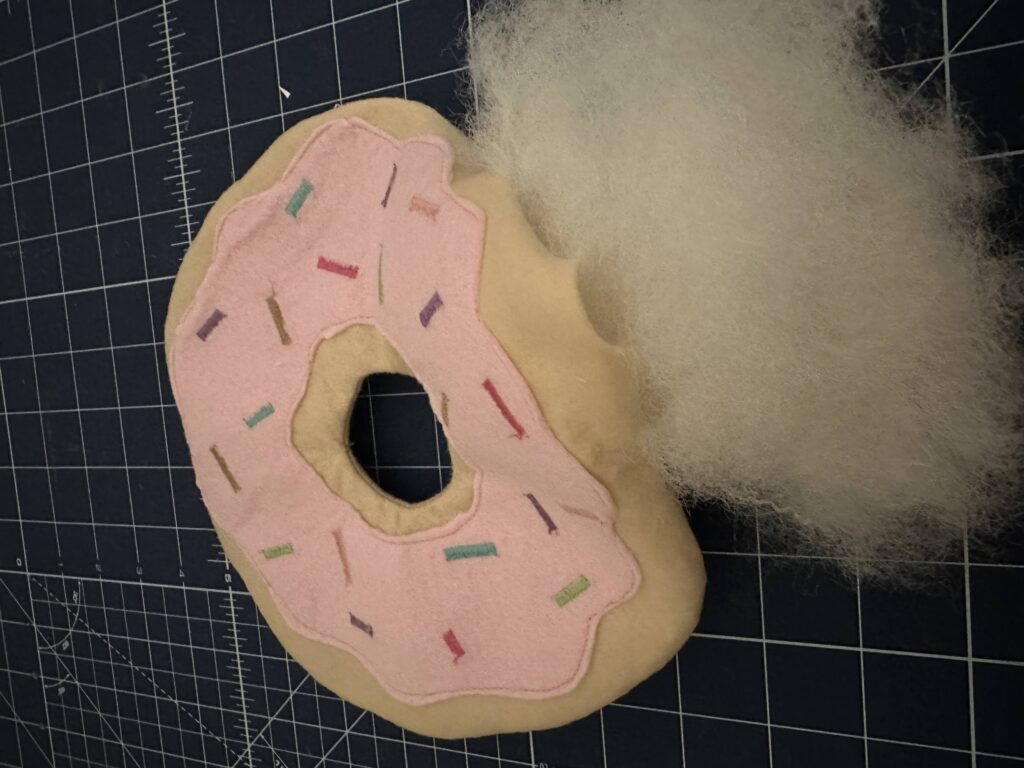
Stuff the donut with fiberfill until the desired plumpness is achieved.
Lastly, hand stitch the opening closed.