MUFFIN APPLIQUÉ PLACEMAT
Designed by Renate Bieber
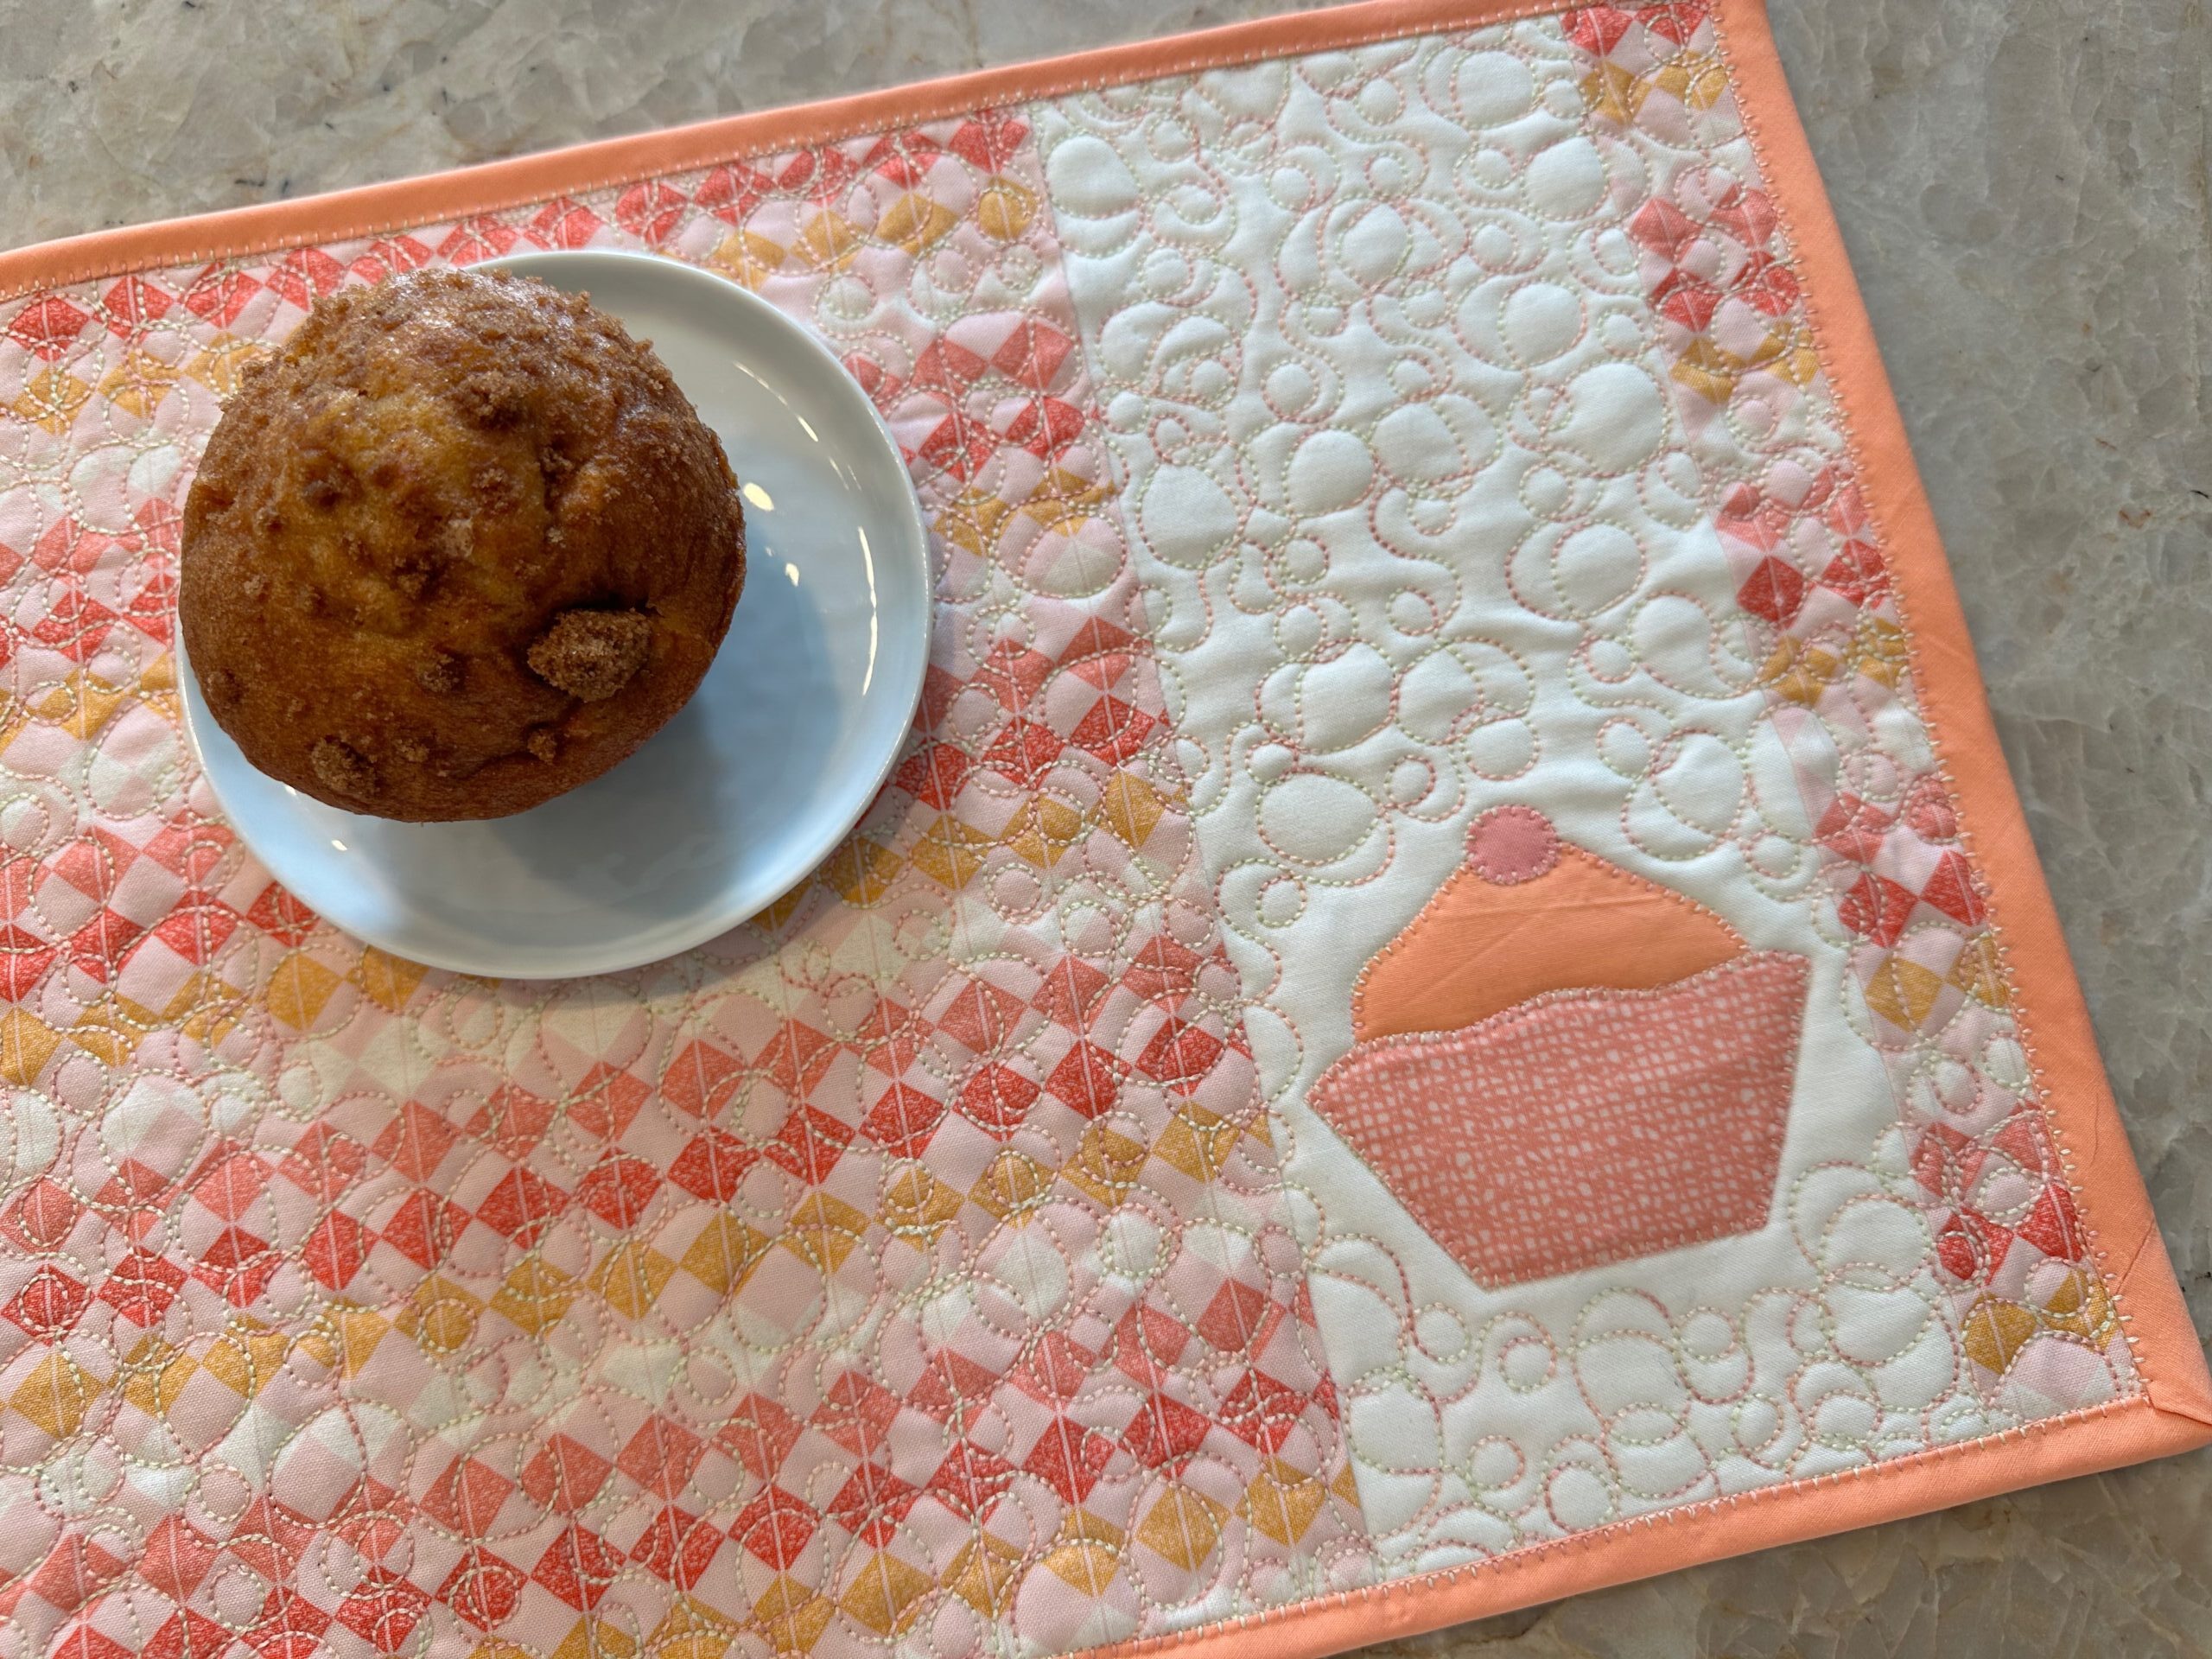
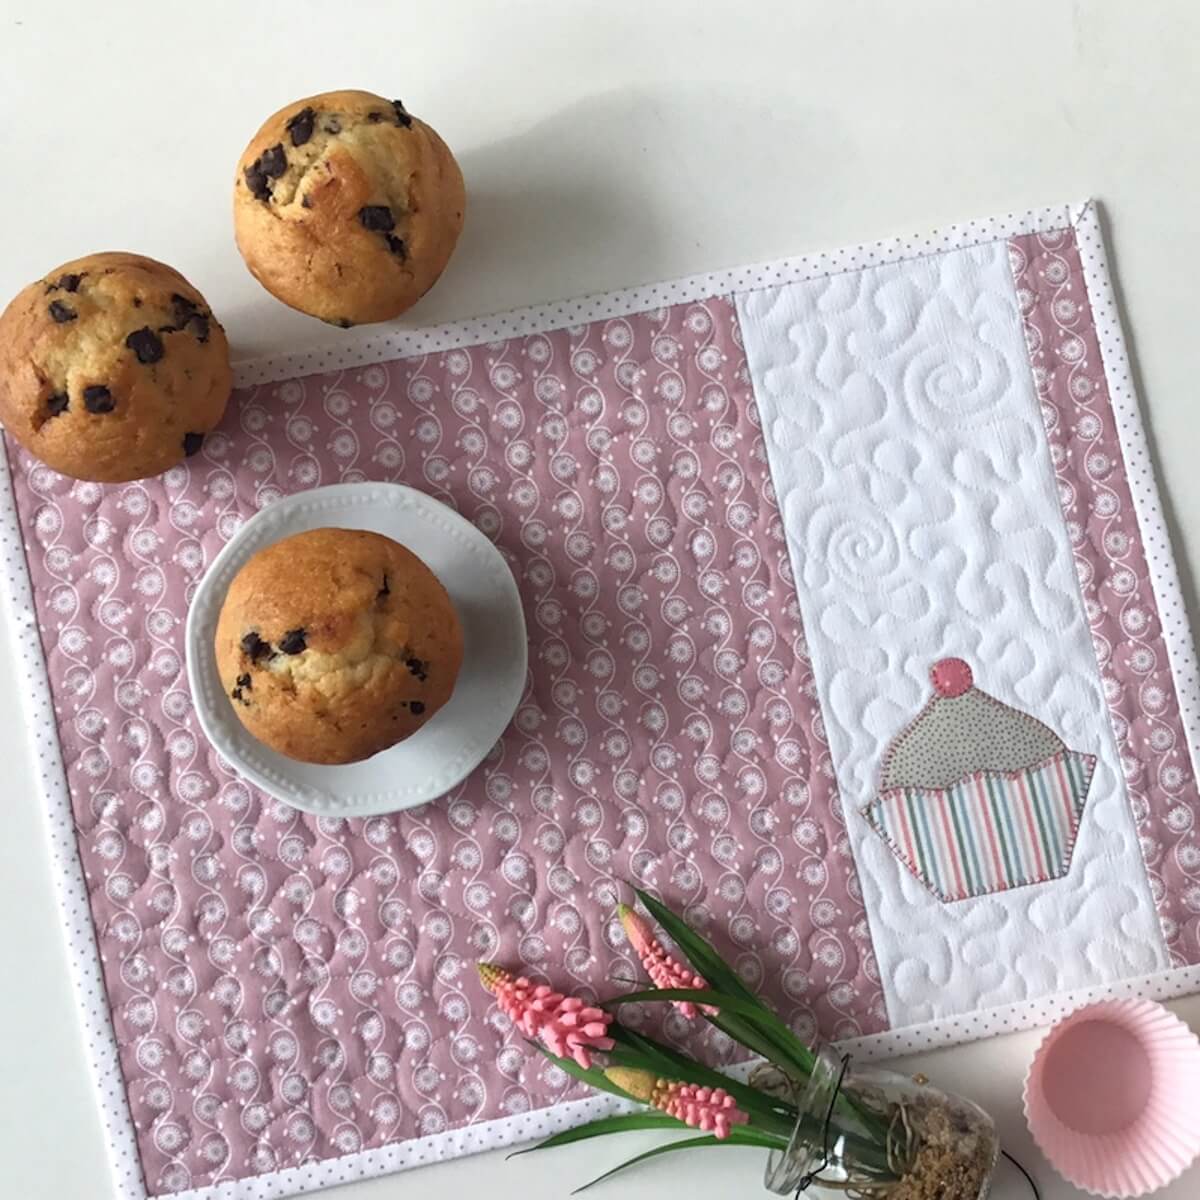
Create a pieced muffin appliqué placemat with or without a cherry on top. This placemat makes a great addition to a Mother’s Day brunch, birthday soiree and more!
Finished size: 11 ½” x 16 ½”
MUFFIN PLACEMAT SUPPLIES
- Muffin Appliqué Templates
- Sulky 50 wt. Cotton Thread (appliqué & construction)
- Sulky 30 wt. Cotton Thread (quilting)
- Sulky Perfect Appliqué™ Fusible Web
- Organ® size 80/12 & 90/14 Universal Needles
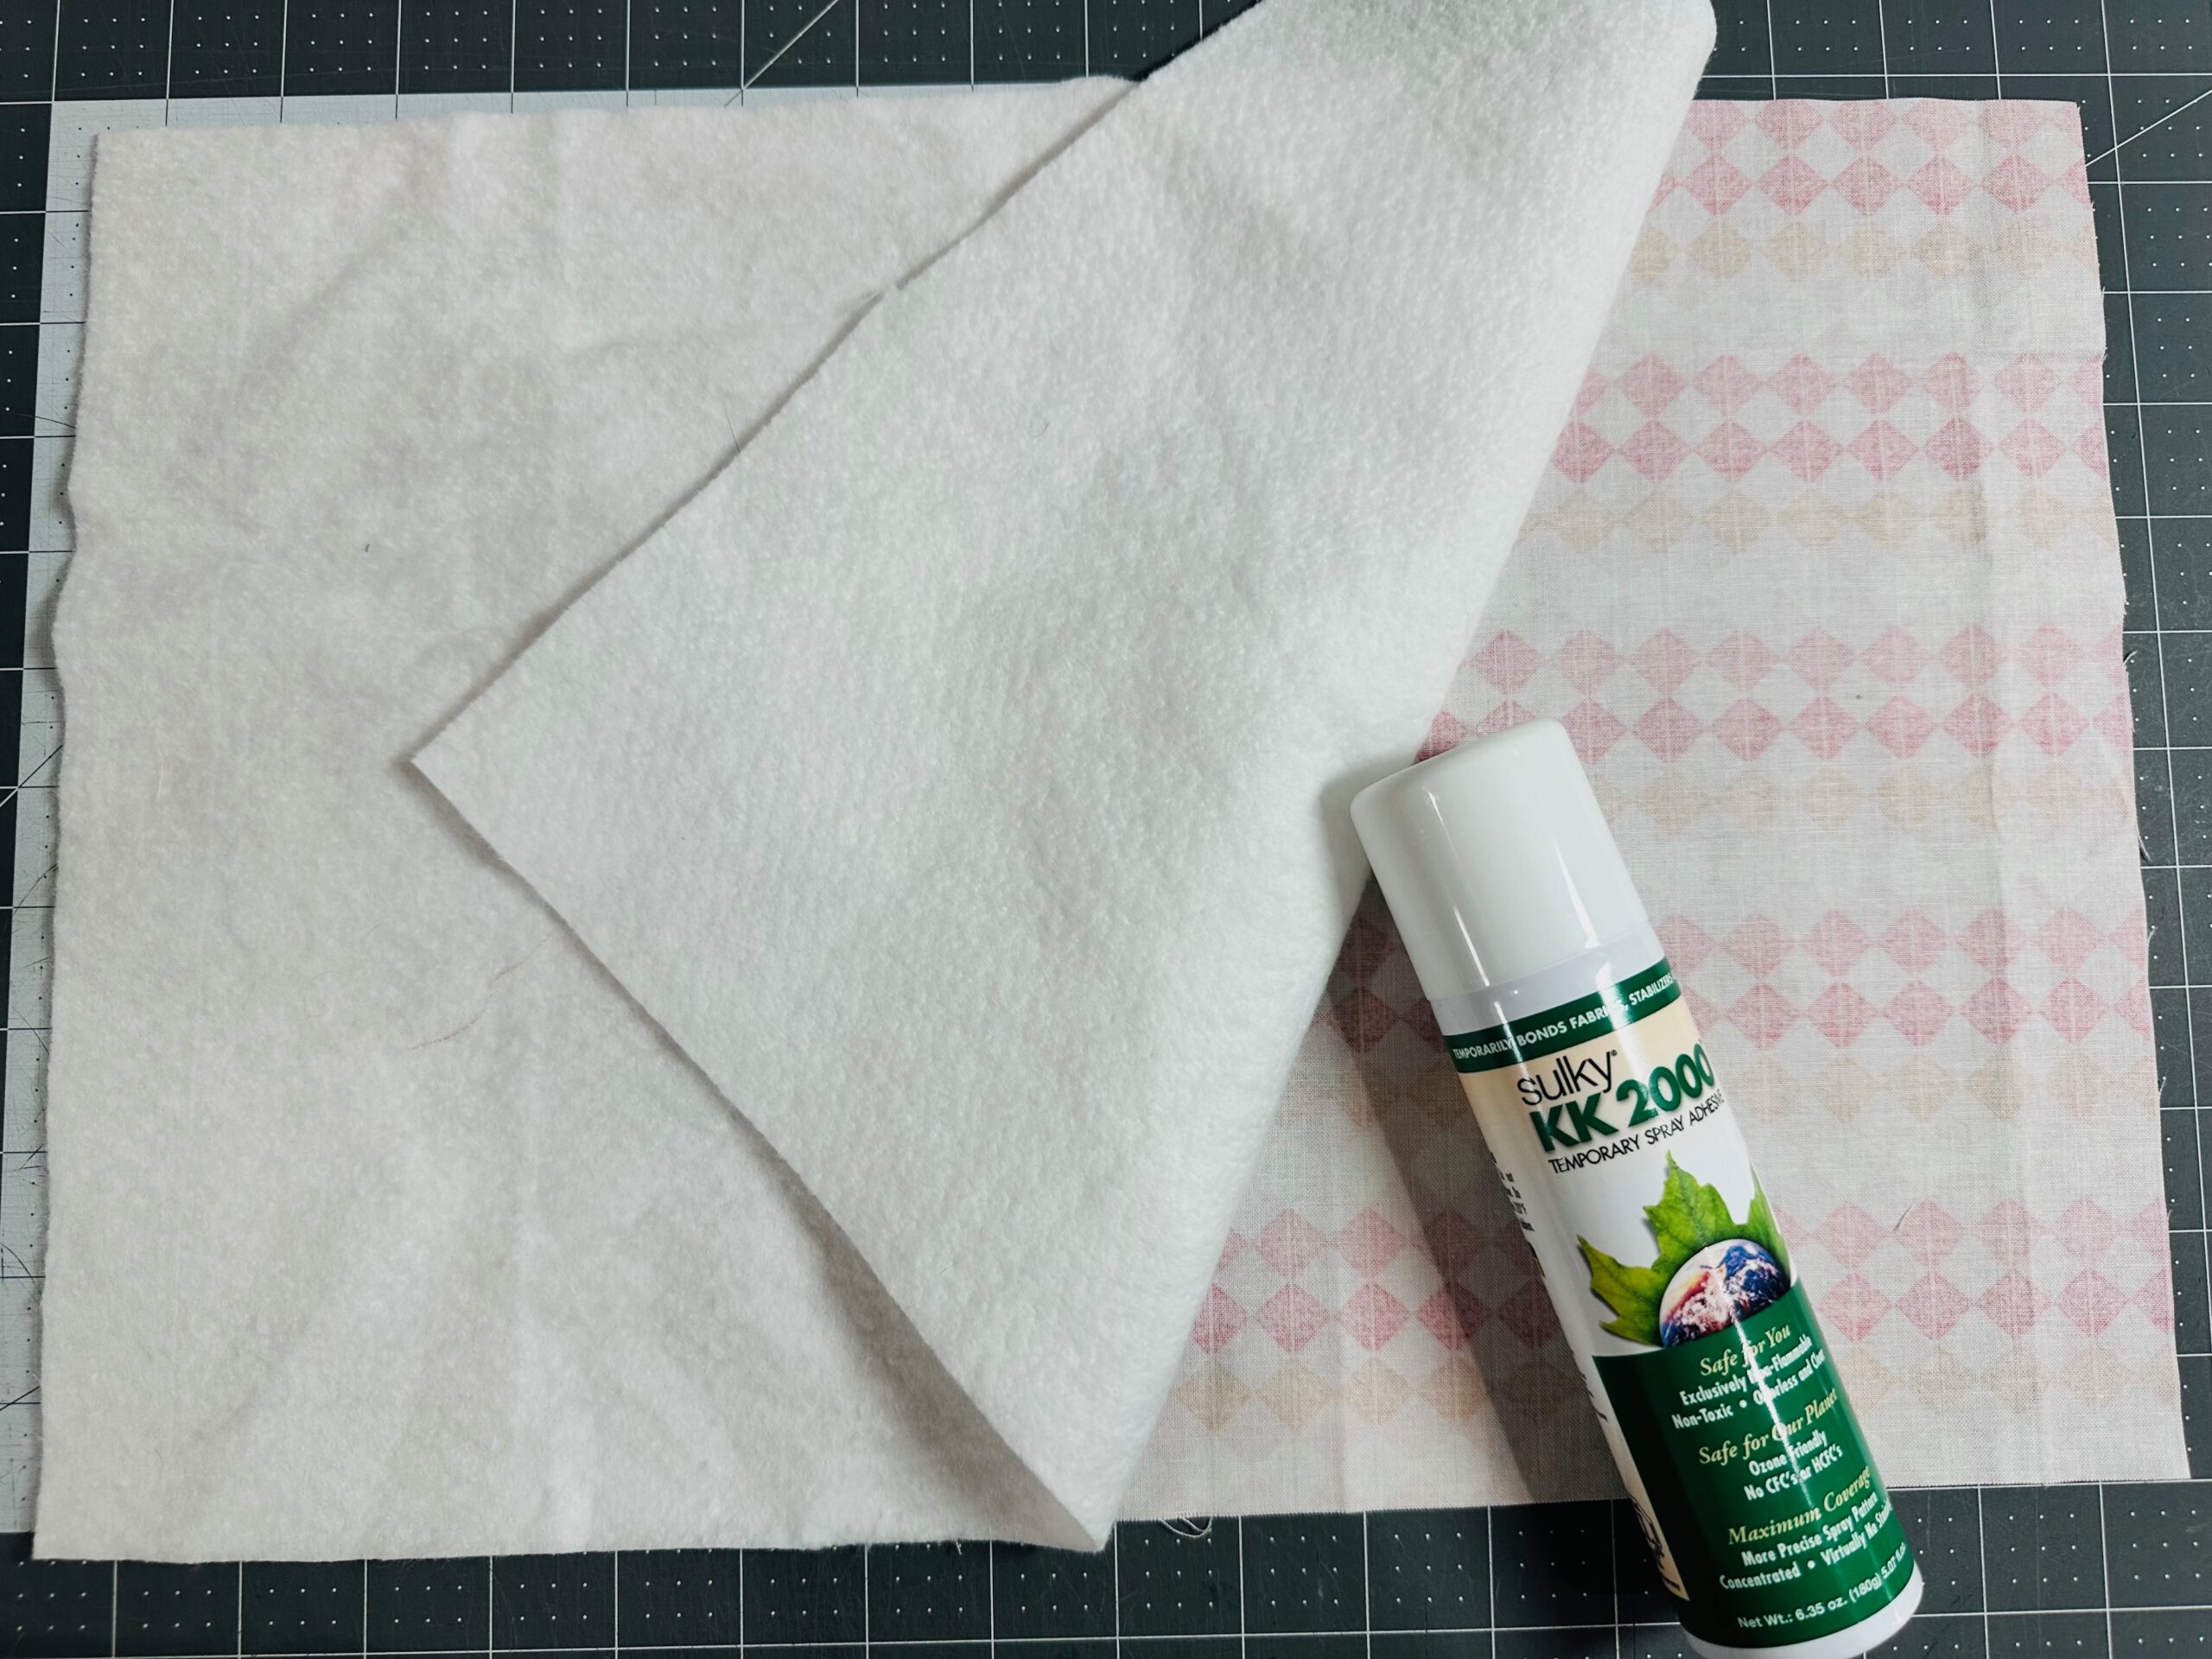
- Sulky KK2000™ Temporary Spray Adhesive
- Low-loft batting
- Fabrics
- 1/3 yard each of three coordinating fabrics (fabric 1, 2 & 3)
- (2) coordinating fabric remnants (muffin appliqué)
CUTTING & PREP
Fabric 1 (white): cut one 4 ¾” x 11 ¾” rectangle for the front accent strip.
From fabric 2 (pink), cut one 11 ¾” square and one 1 ¾” x 11 ¾” rectangle for the front.
From fabric 3, cut one 11 ¾” x 17” rectangle for the backing.
Cut one 11 ¾” x 17” rectangle for the backing.
From fabric 4, cut two 2 1/4” x WOF strips for the binding.
MUFFIN PLACEMAT PIECING
Install a size 80/12 Universal Needle. Thread the needle with Sulky 50 wt. Cotton Thread. Use the same thread in the bobbin.
Stitch the left Fabric 1 rectangle long edge to the large right Fabric 2 rectangle right edge, with right sides together.

Then, with right sides together, stitch the right edge of the Fabric 1 rectangle to the small Fabric 2 rectangle left edge.

Press the seam allowances away from Fabric 1.
TIP: If working with lightweight or very light-colored fabric for Fabric 1, apply a lightweight fusible interfacing to the fabric wrong side before stitching.
MUFFIN PLACEMAT APPLIQUÉ
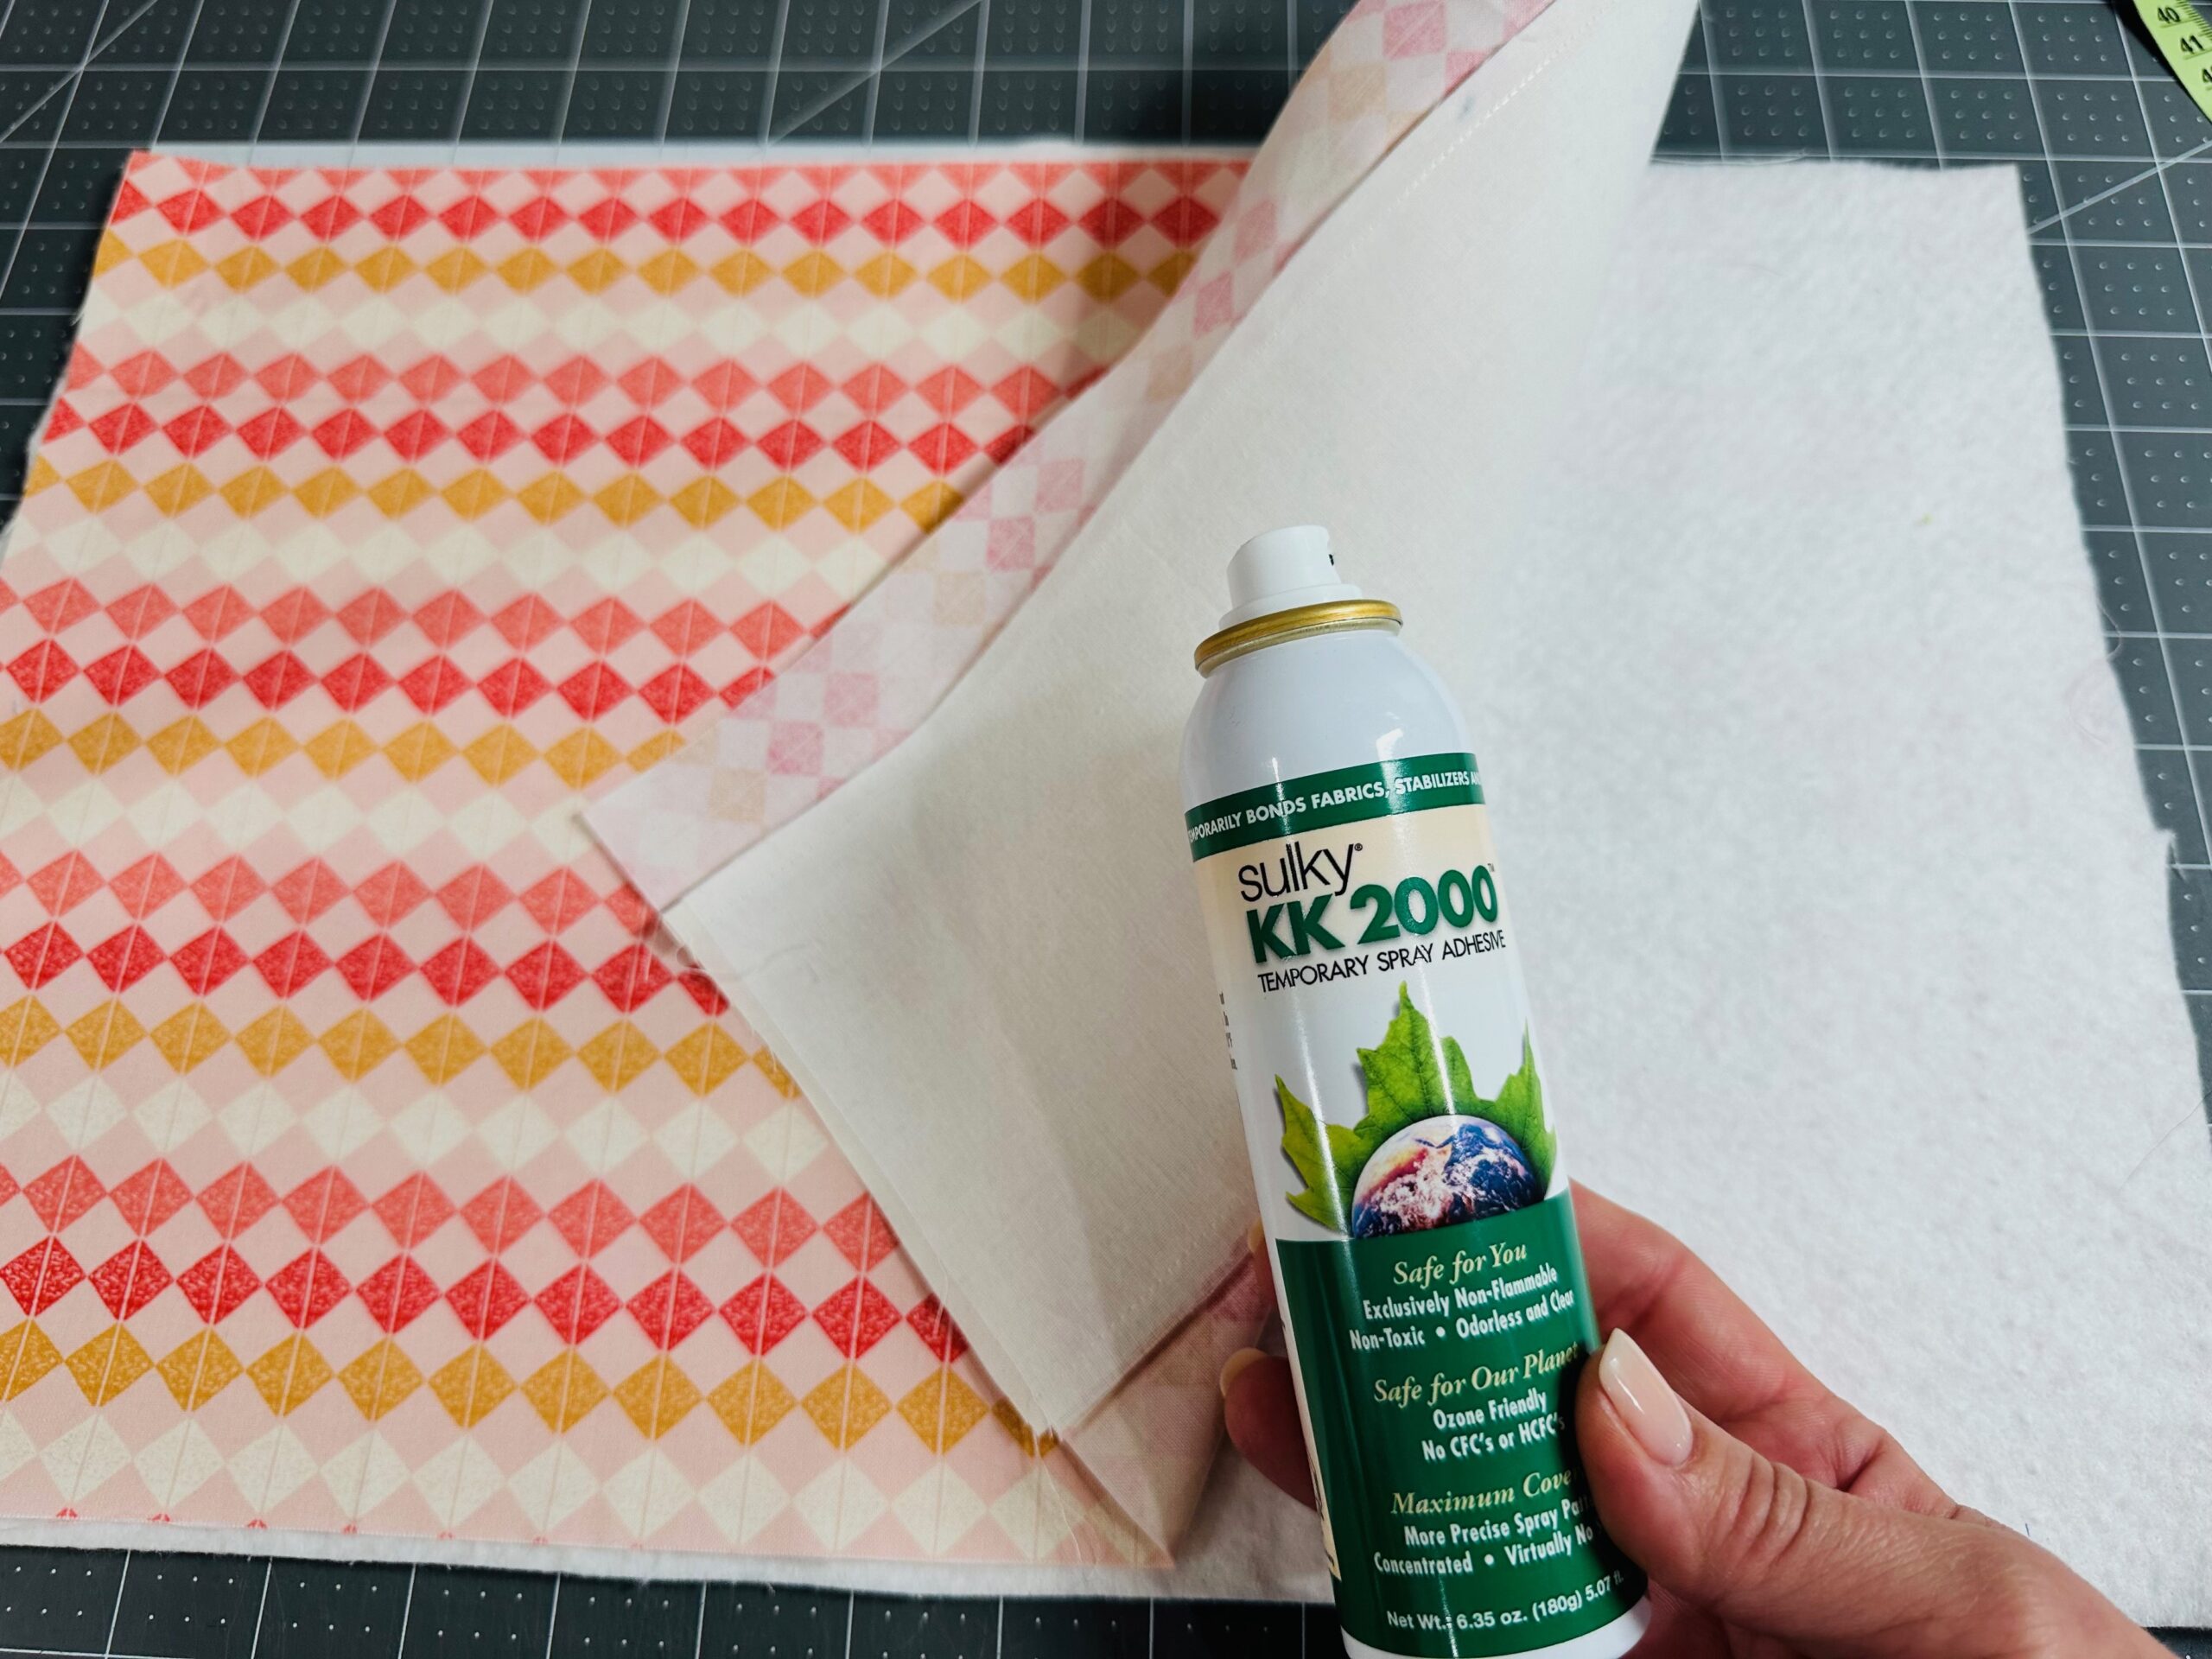
Place the backing fabric wrong side up on a flat work surface. Spray the wrong side with Sulky KK2000 Temporary Spray Adhesive.
Center the batting rectangle over the backing, smoothing to adhere.
Then, place the placemat front over the batting with the right side facing up. Use more KK2000 to adhere.
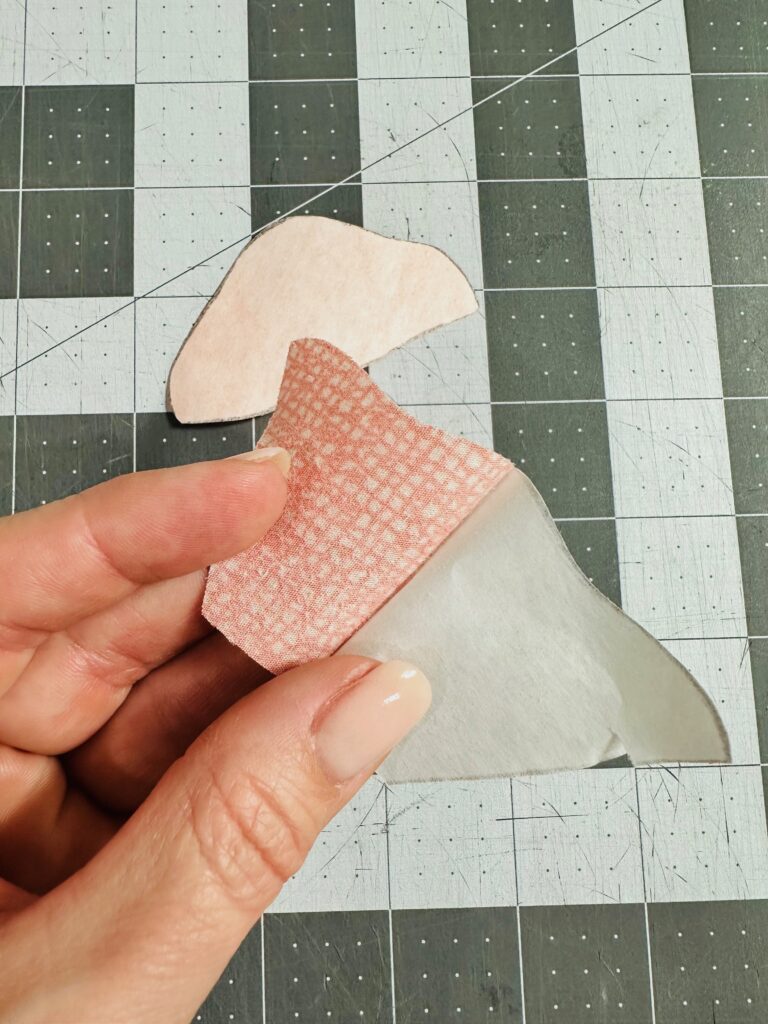
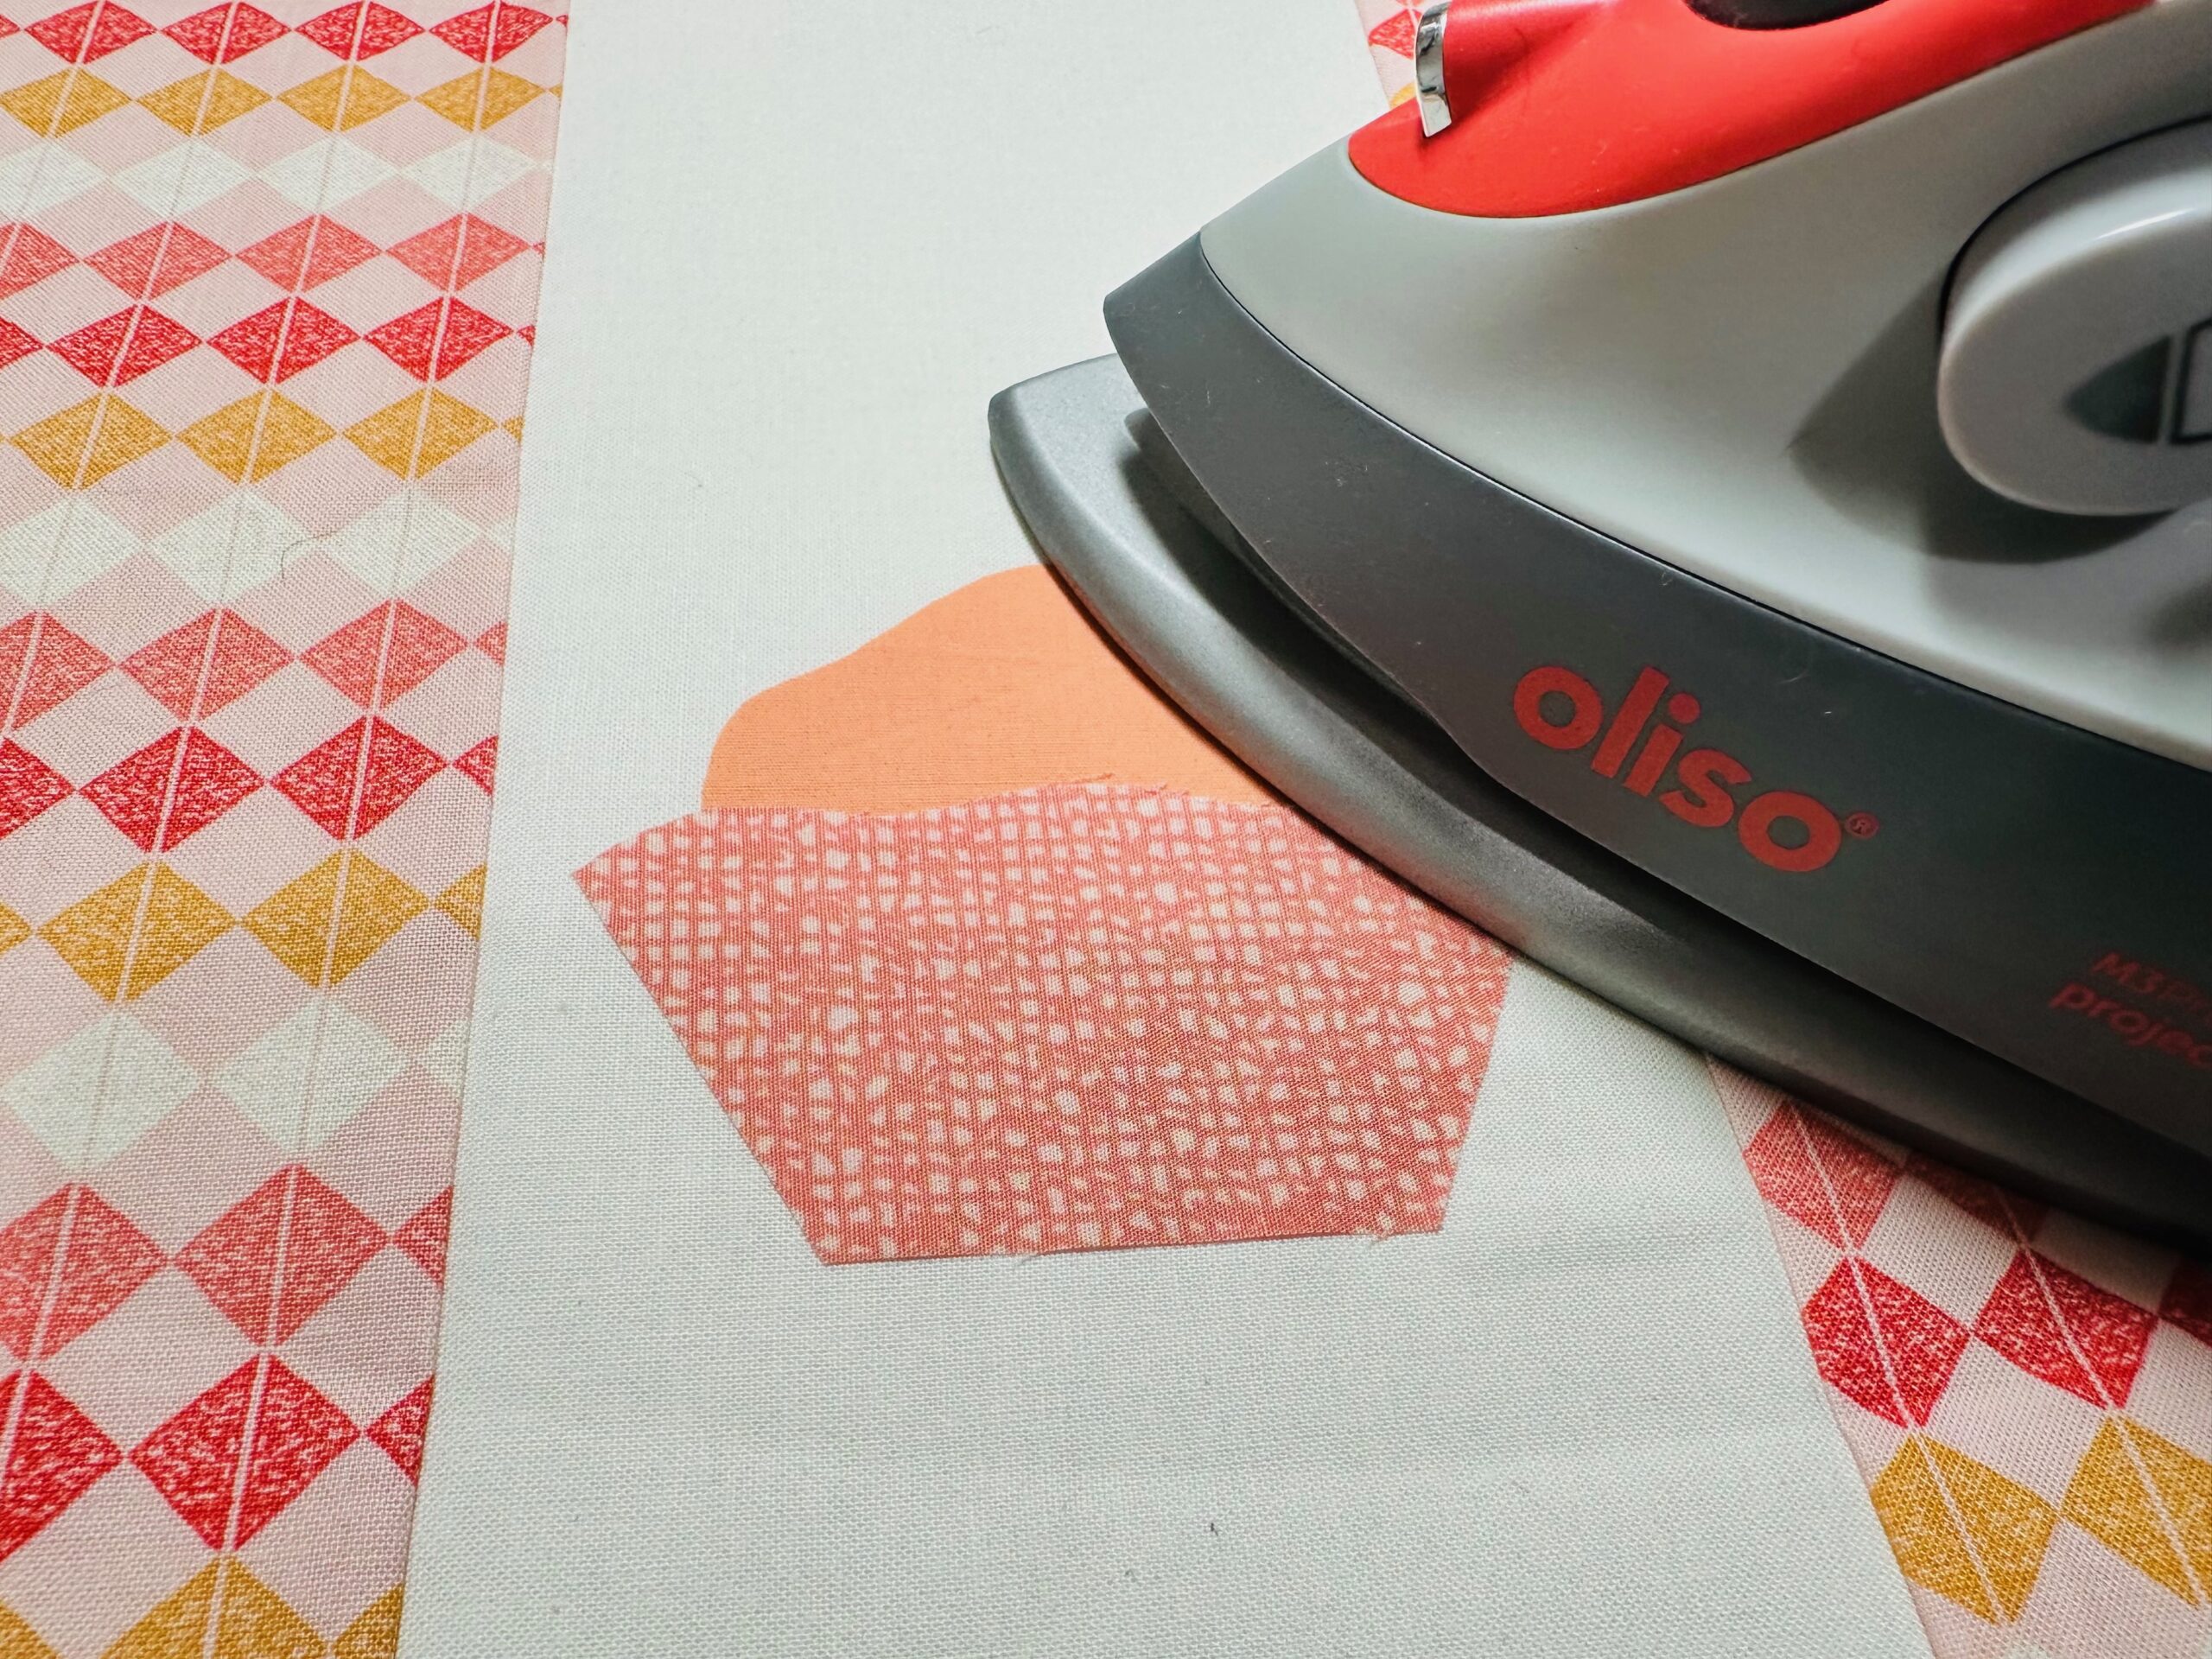
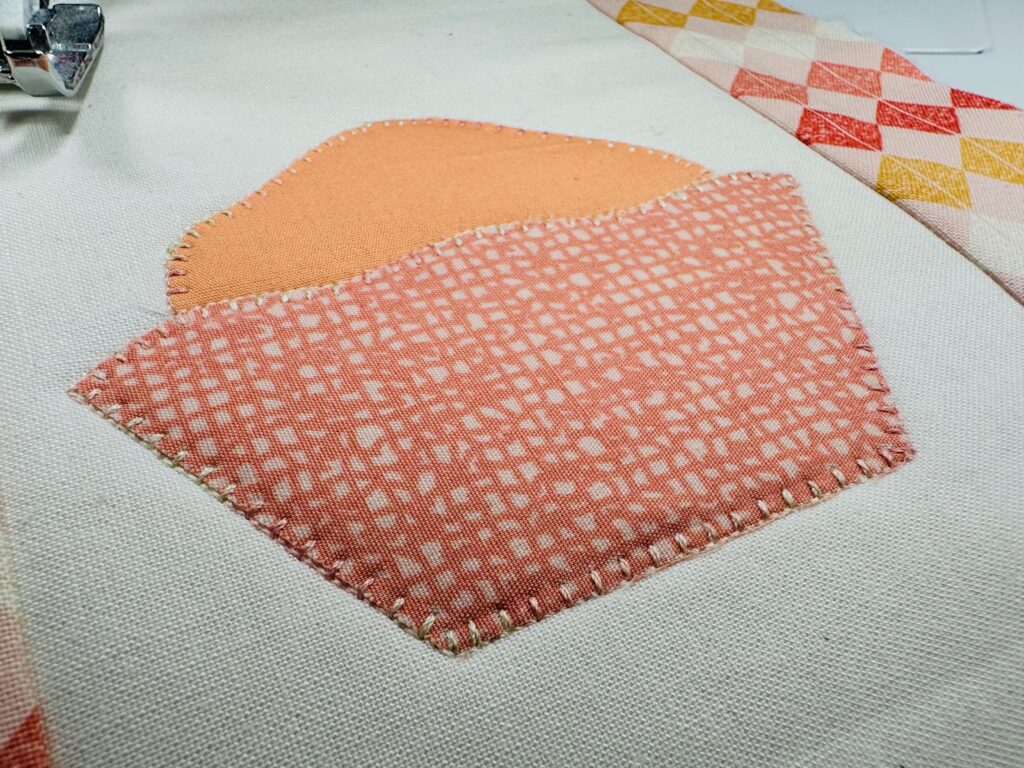
Transfer the muffin cup, muffin and optional cherry appliqué templates onto the paper side of Sulky Perfect Appliqué Fusible Web. Roughly cut out each piece, and then fuse each to the wrong side of coordinating fabrics.
Next, cut out each appliqué. Then, remove the fusible web paper backing.

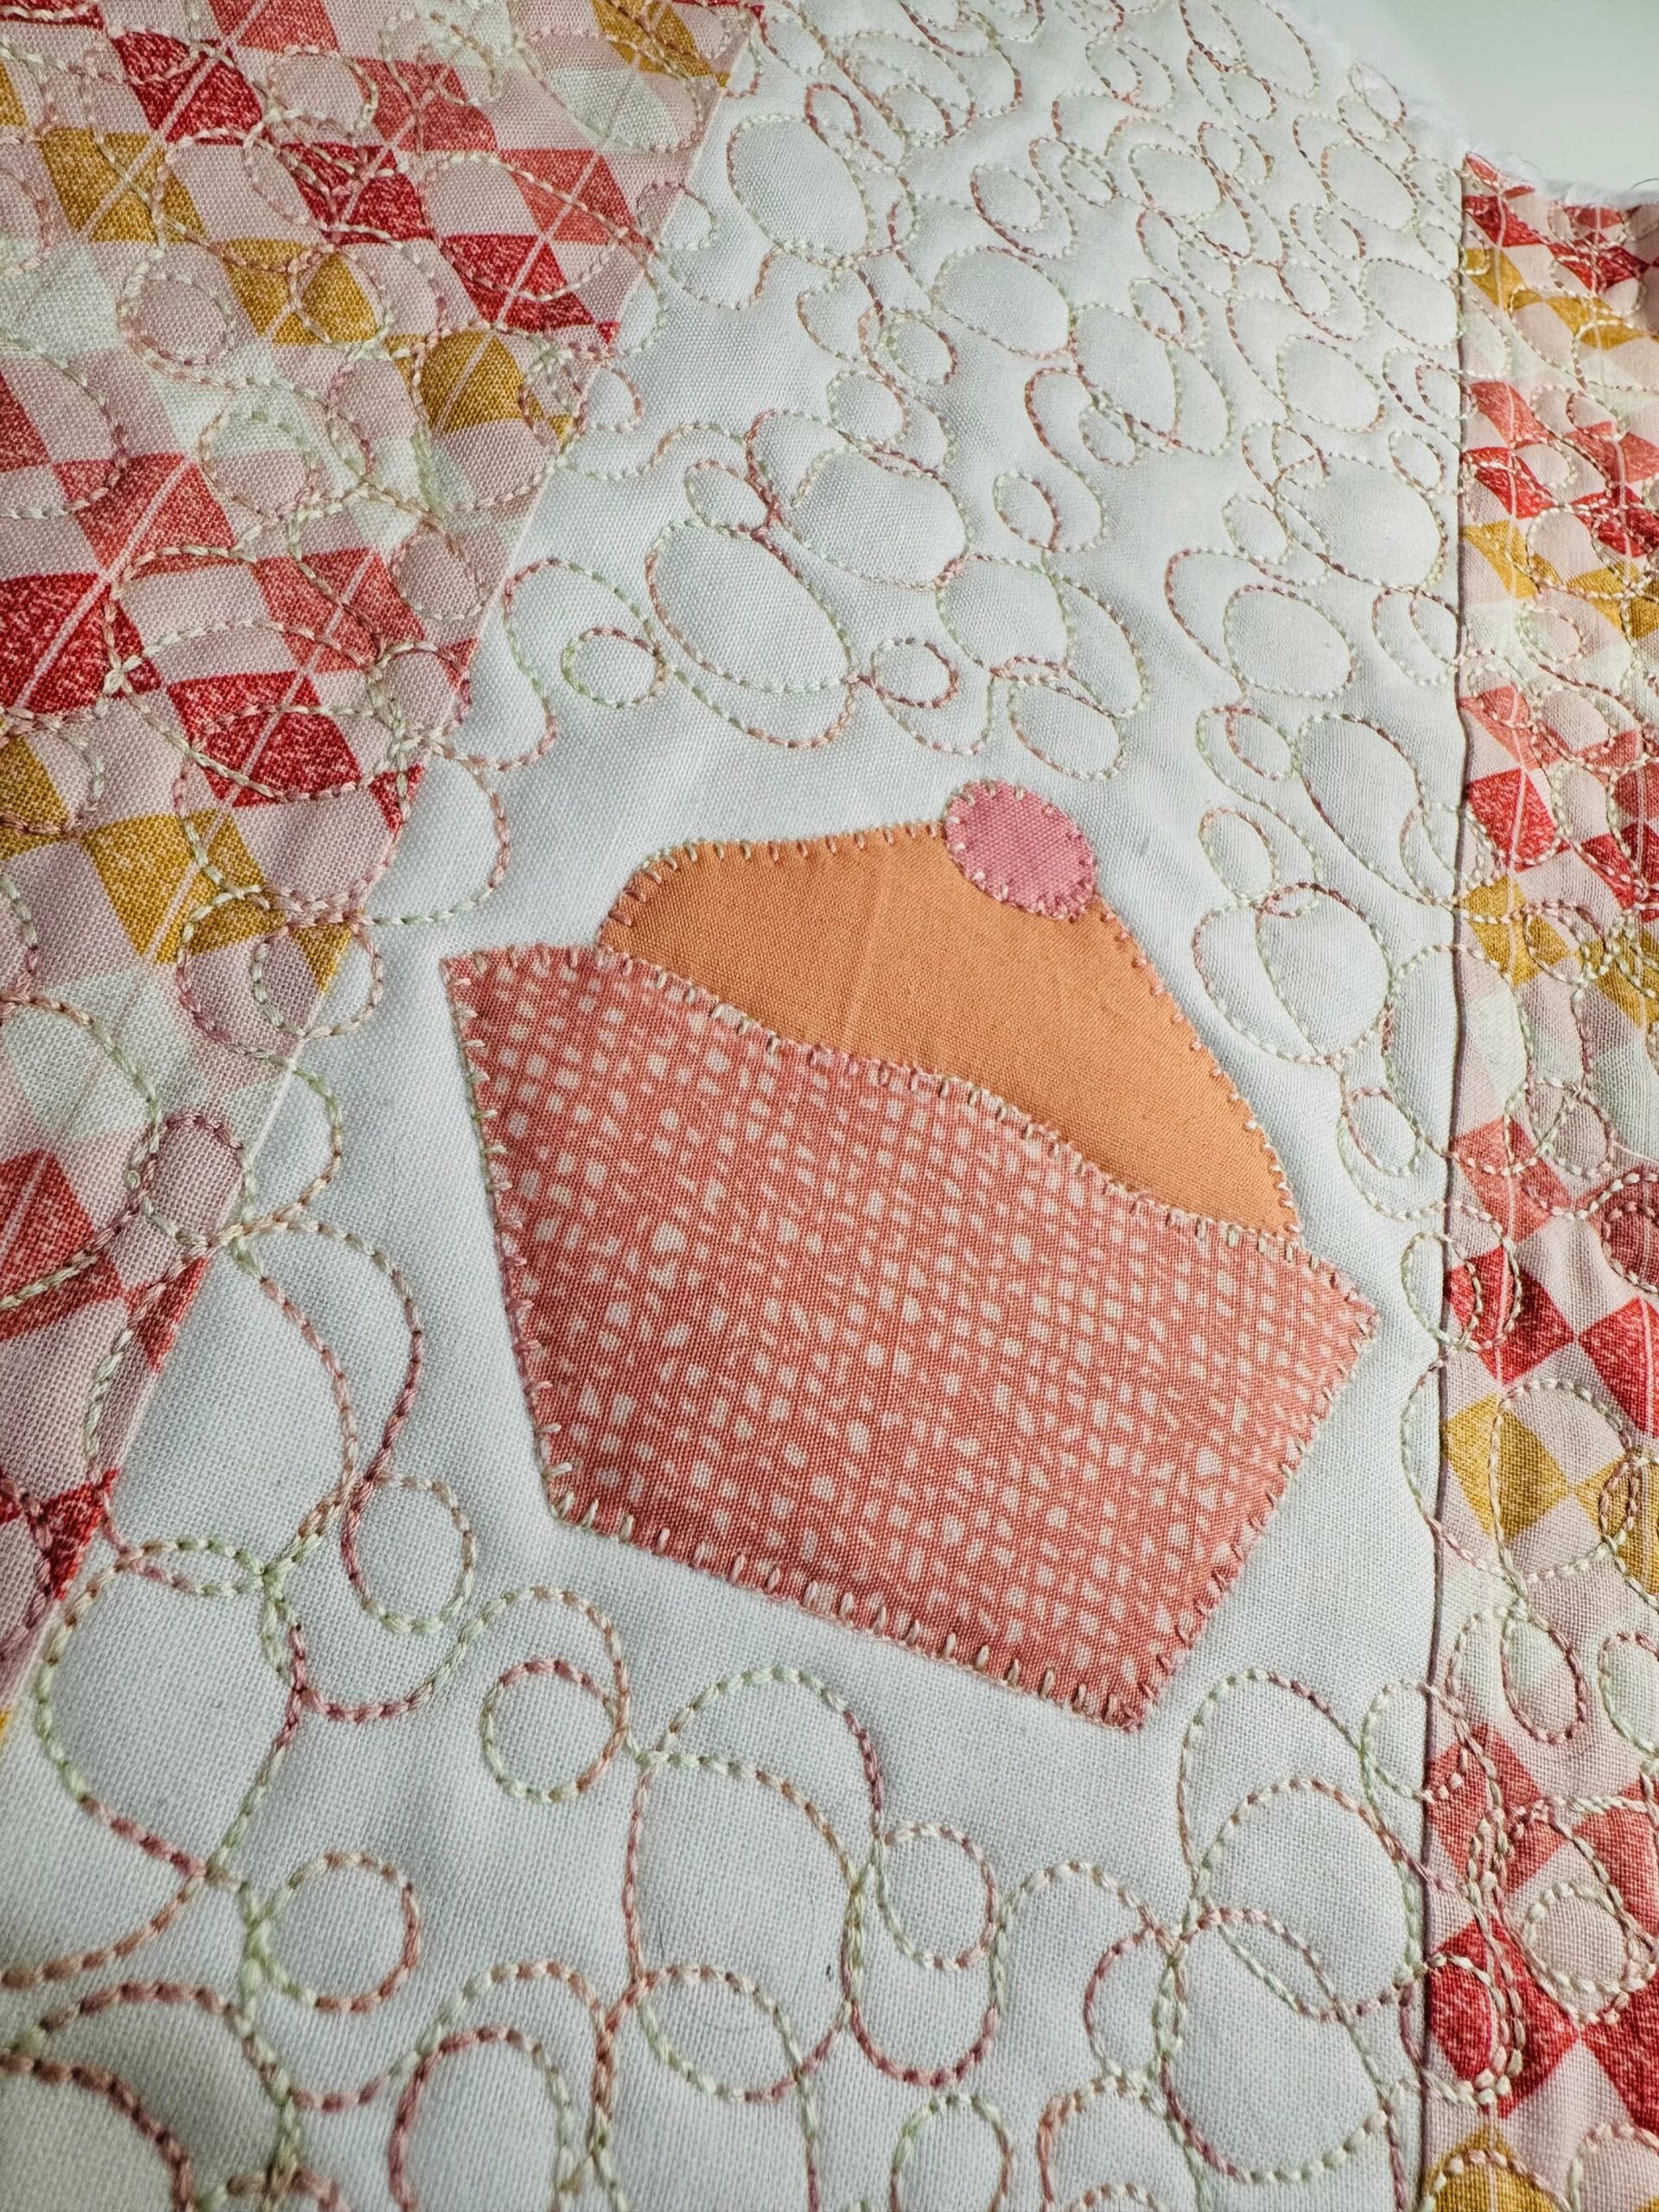
Determine the muffin appliqué placement on Fabric 1. For the featured placemat, the muffin cup lower edge is approximately 2” up from the Fabric 1 lower edge.
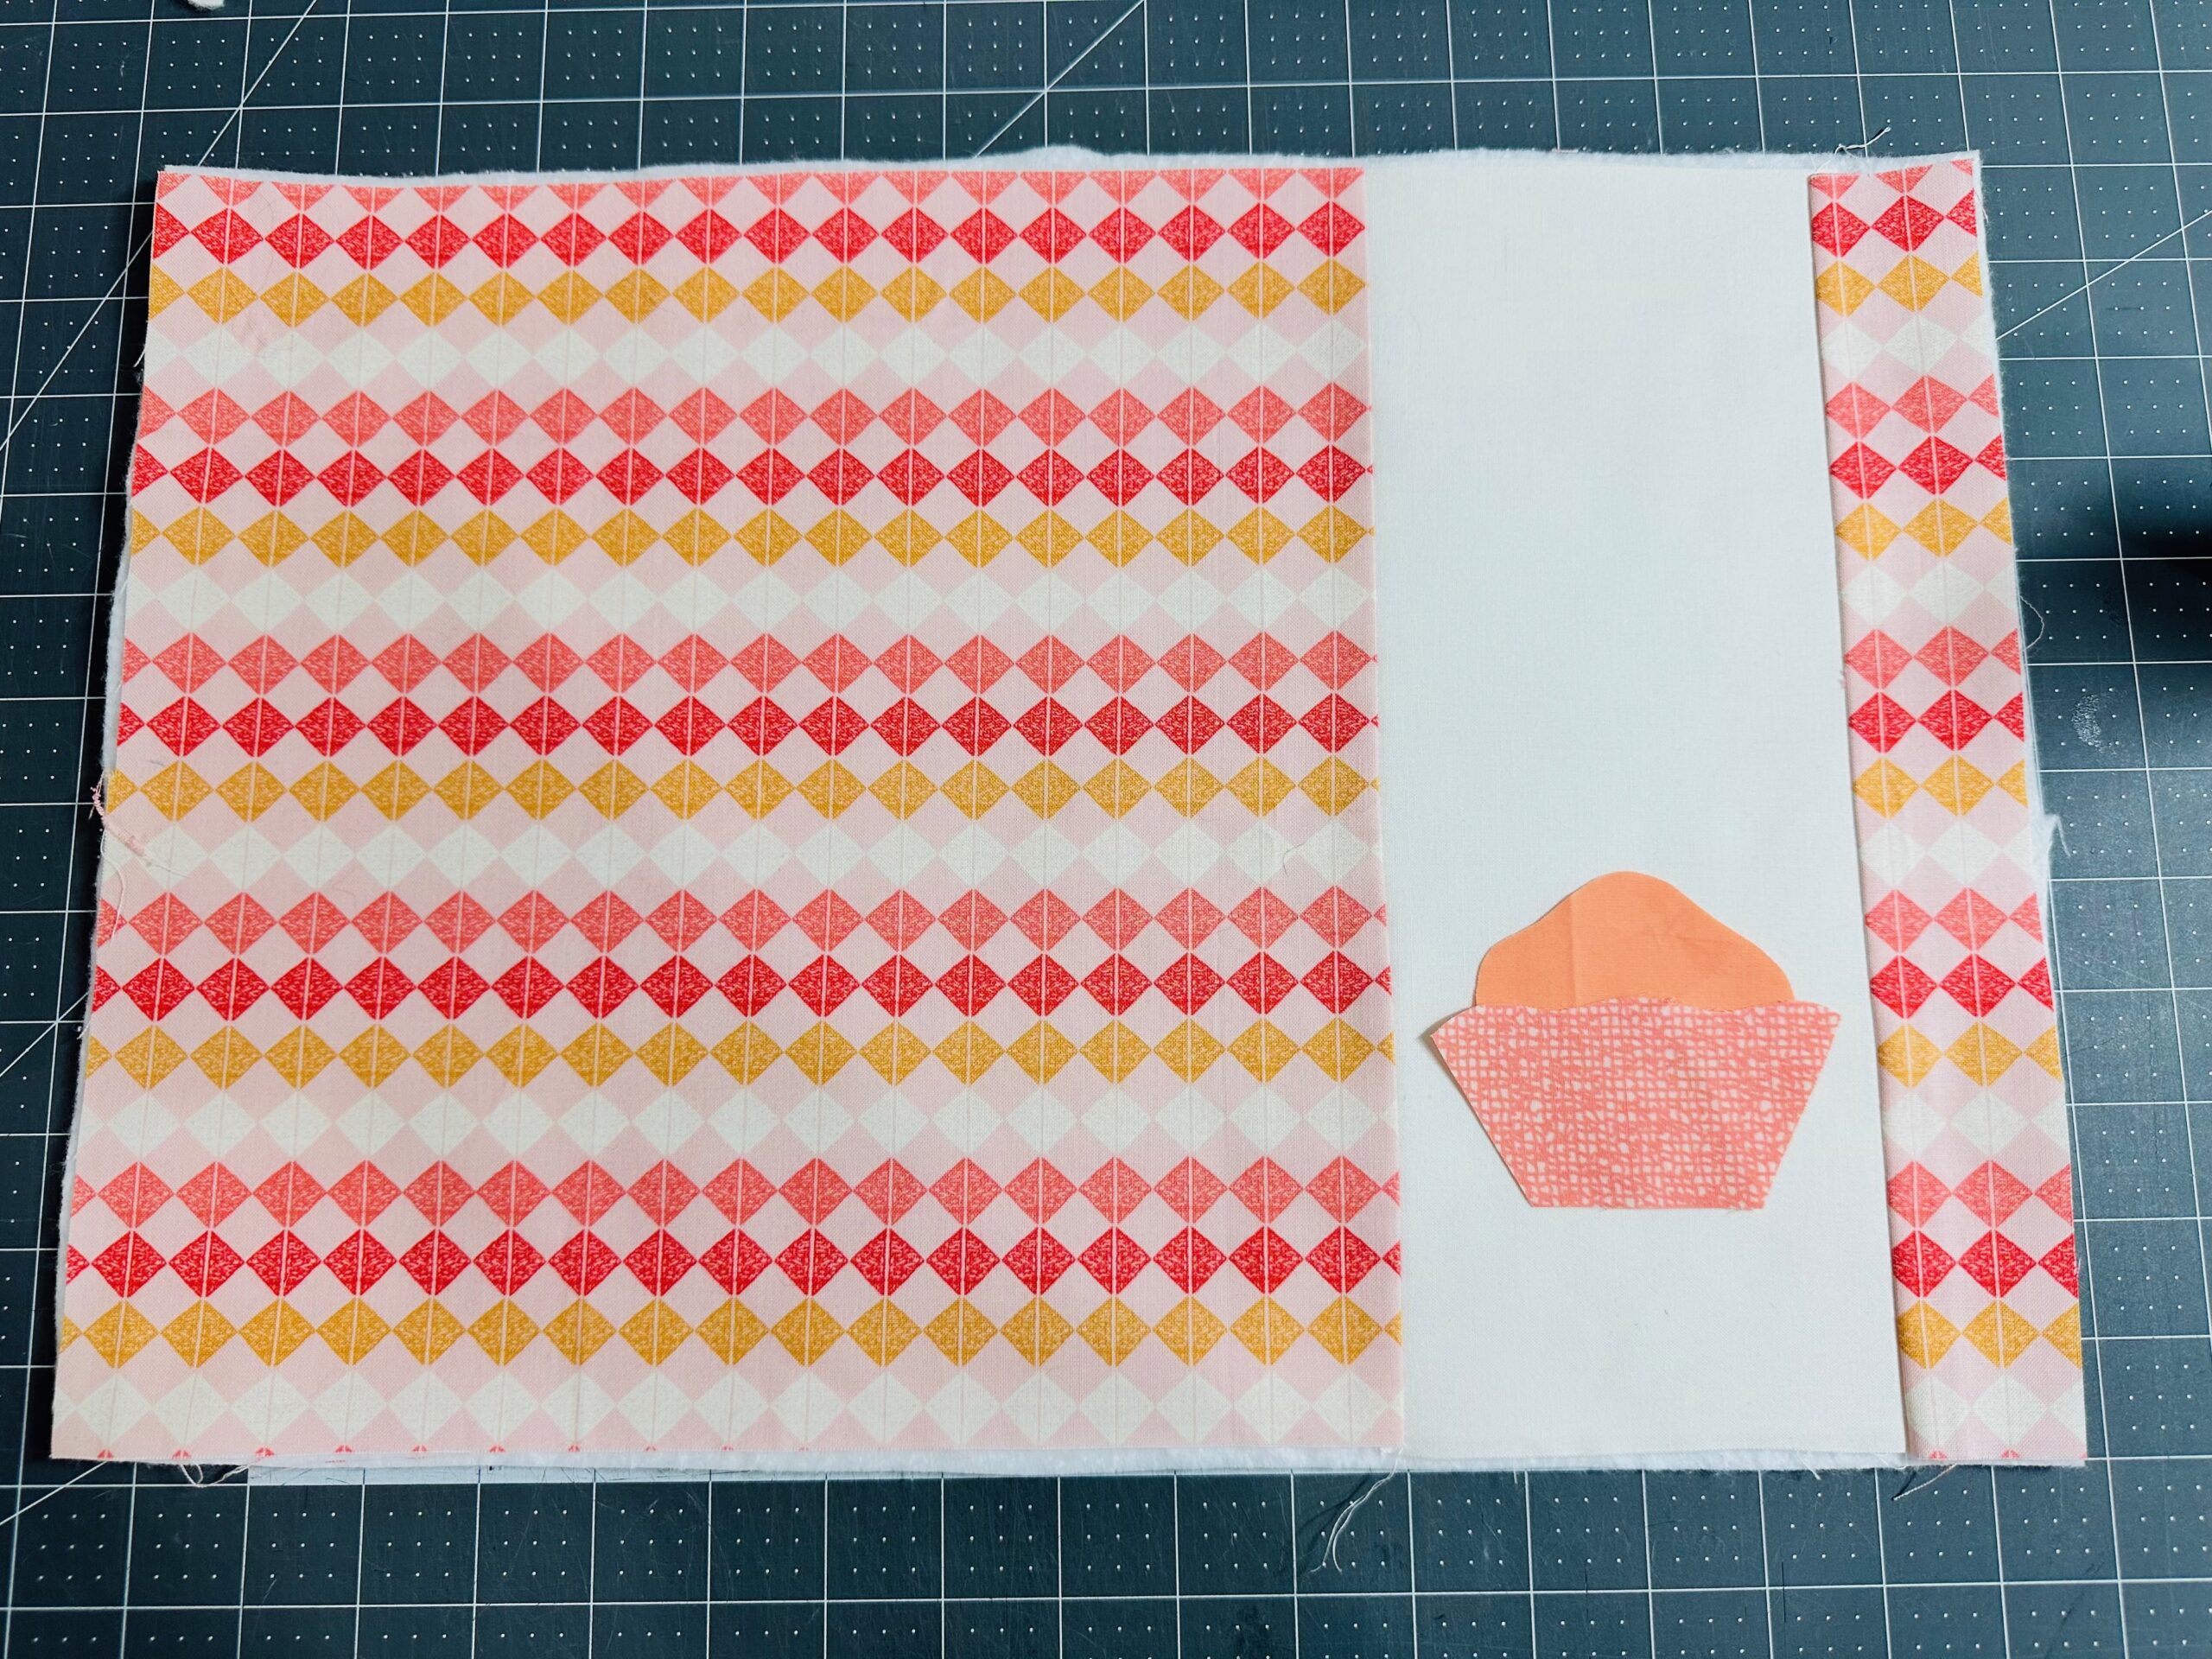
After determining the placement, fuse the appliqués in place. Make sure the muffin lower edge is tucked inside the muffin cup upper edge. And, make sure the cherry (if using) overlaps the muffin upper corner.
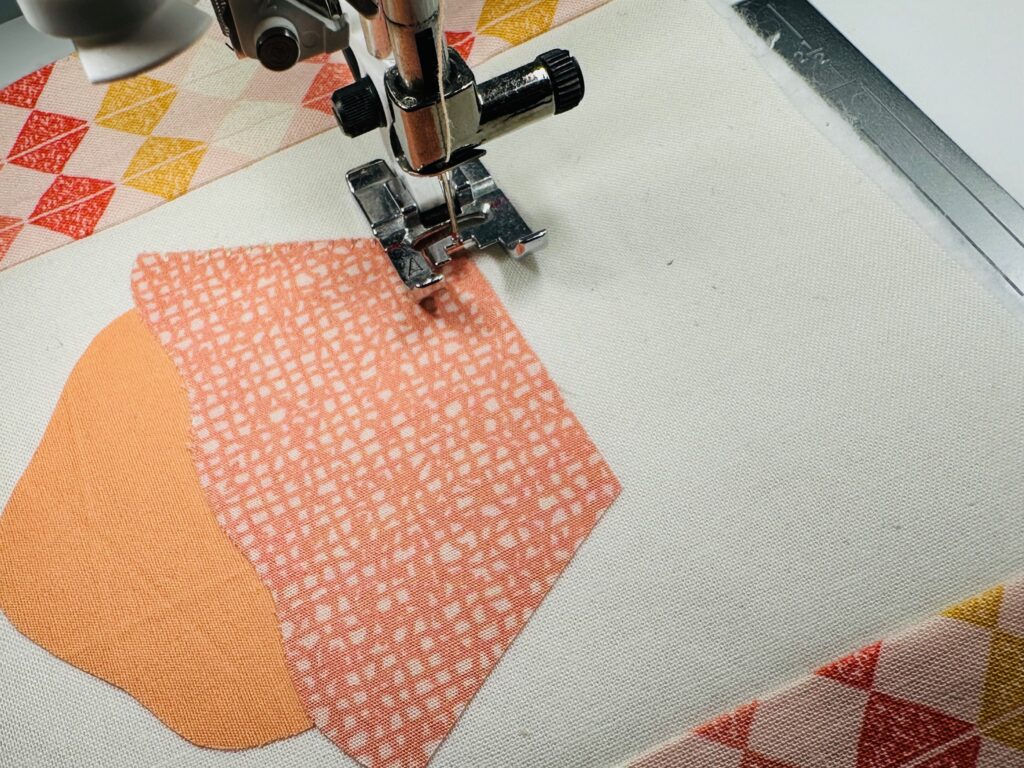
Once fusing is complete, select a decorative stitch on your sewing machine.
Thread a size 90/14 Needle with 30 wt. Cotton Thread. Keep the 50 wt. Cotton Thread in the bobbin.
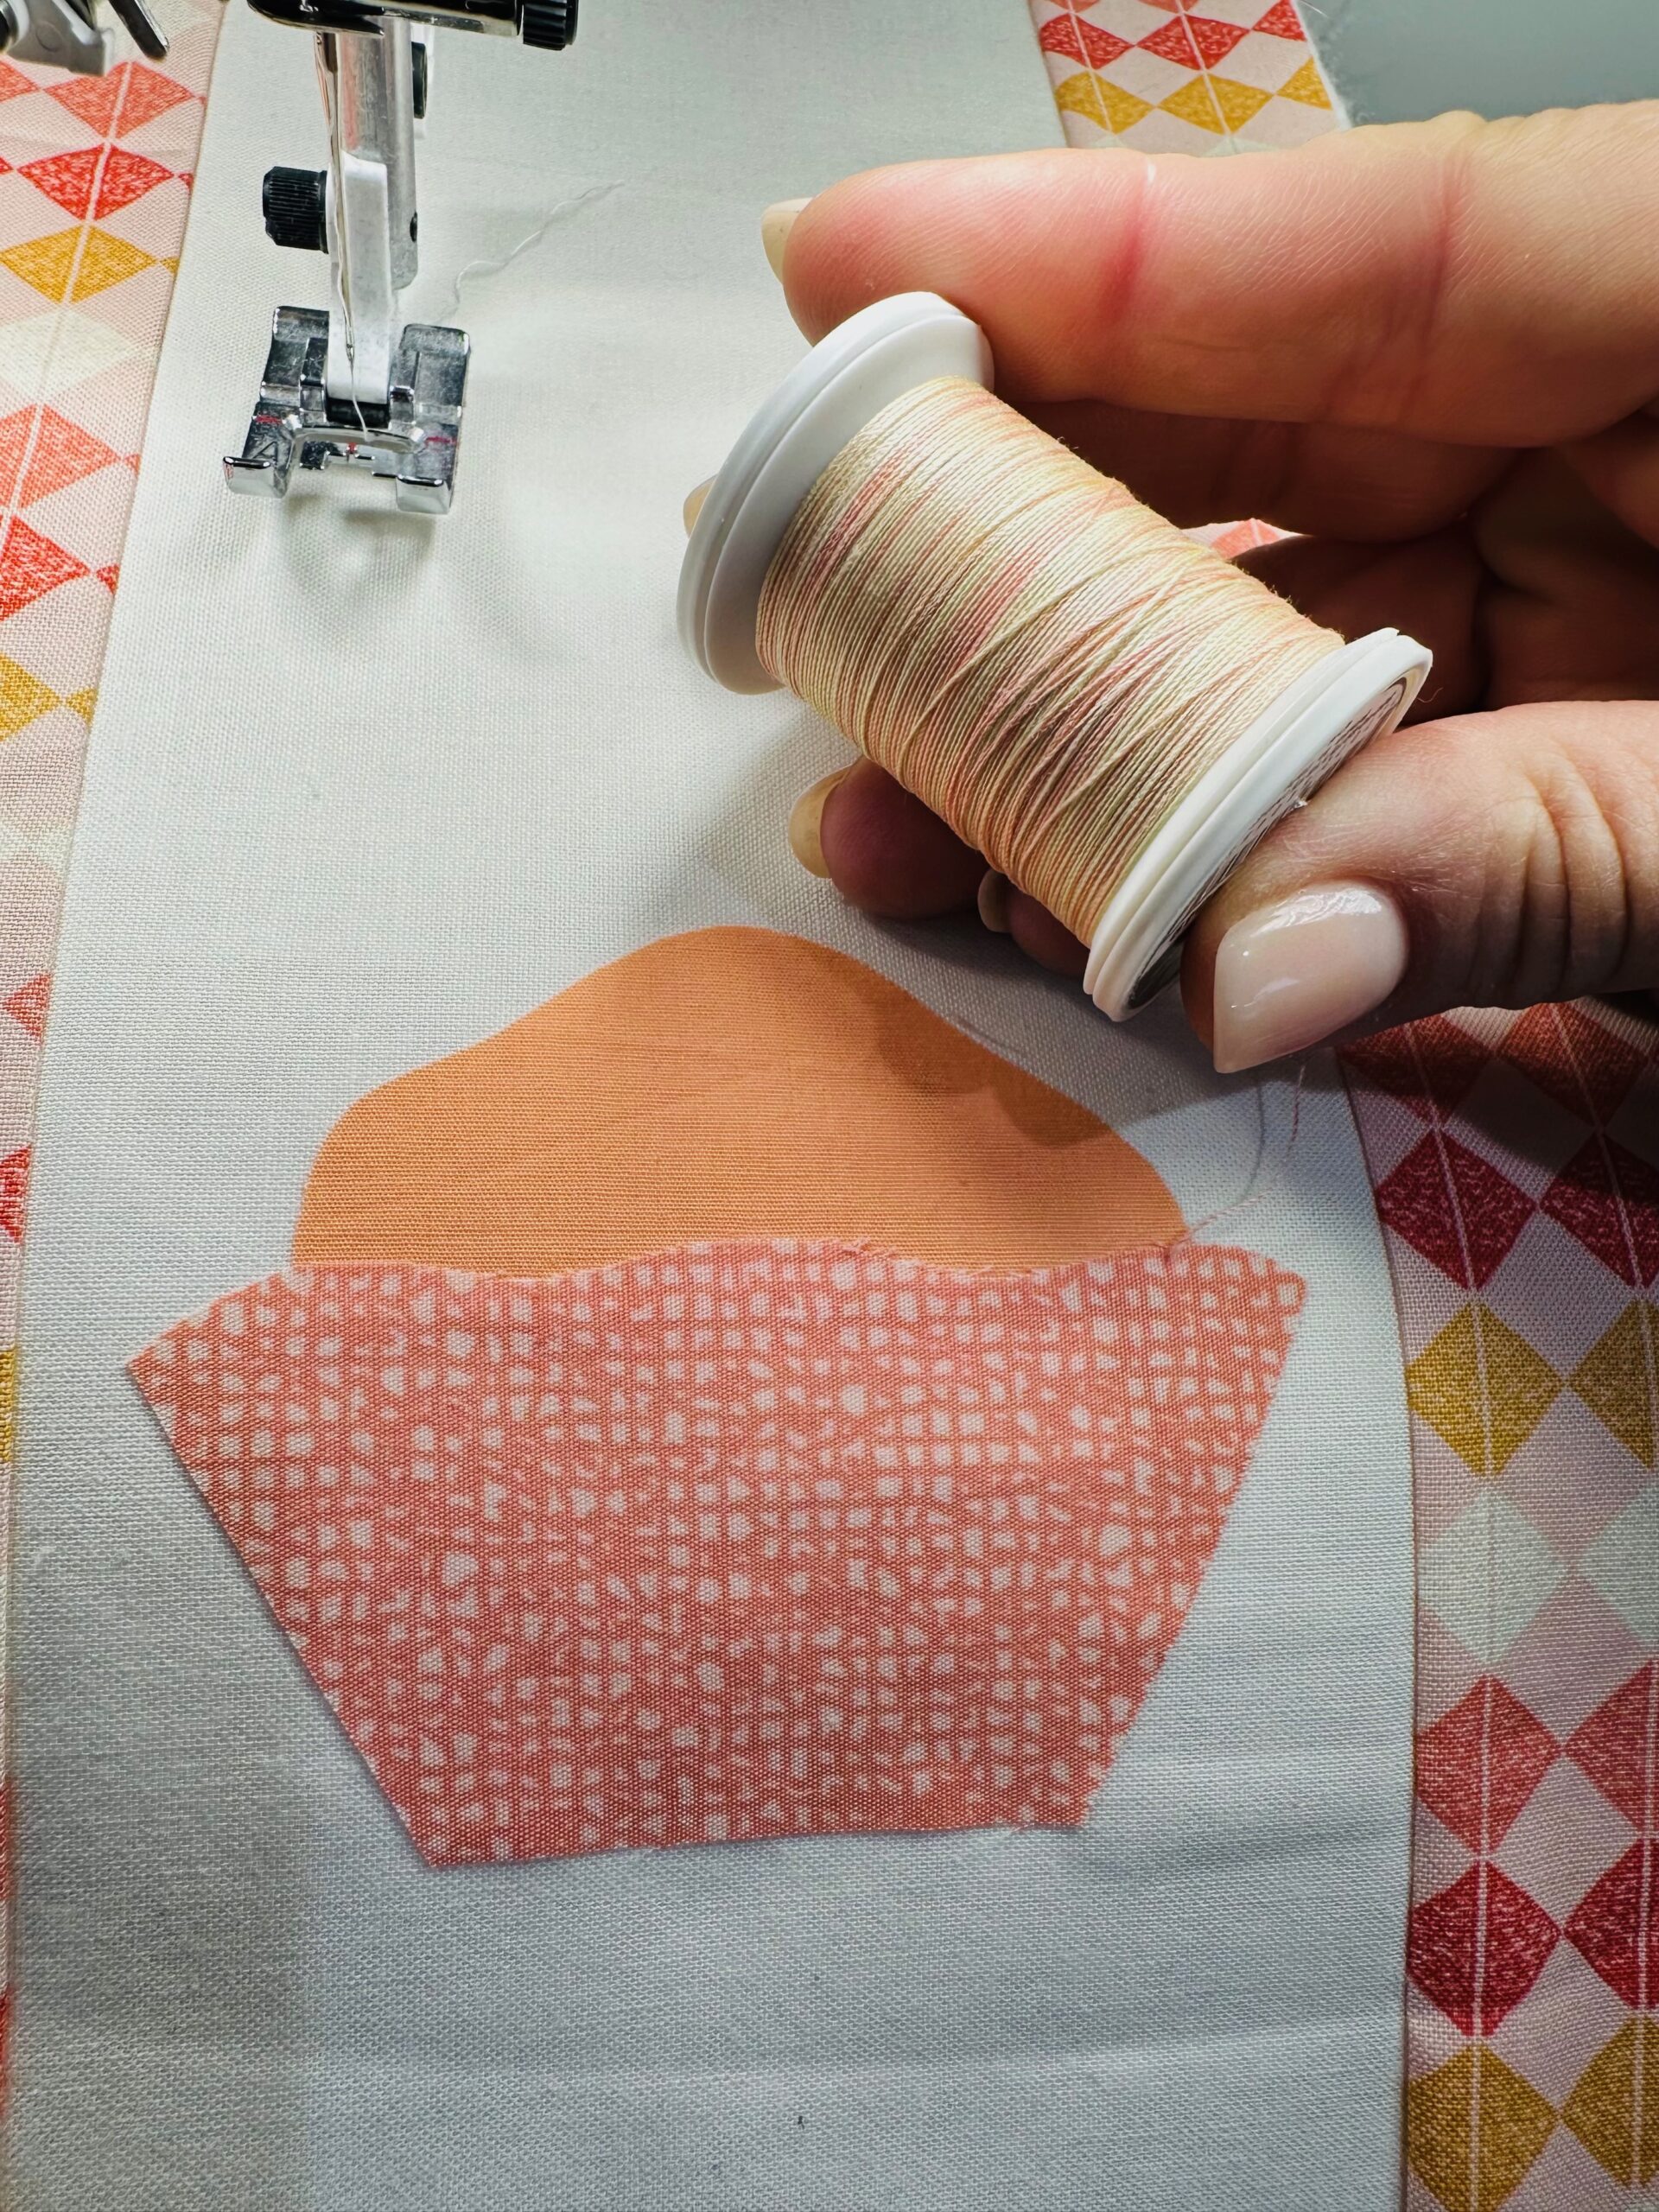
Stitch the appliqué edges to secure them to the placemat front.
FREE-MOTION QUILTING
Drop the sewing machine feed dogs. Attach a free-motion, darning or embroidery foot. Free-motion quilt the placemat.
TIP: If you’re new to free-motion quilting, consult our Free-Motion for Beginners Quilting Session!
MUFFIN PLACEMAT FINISHING
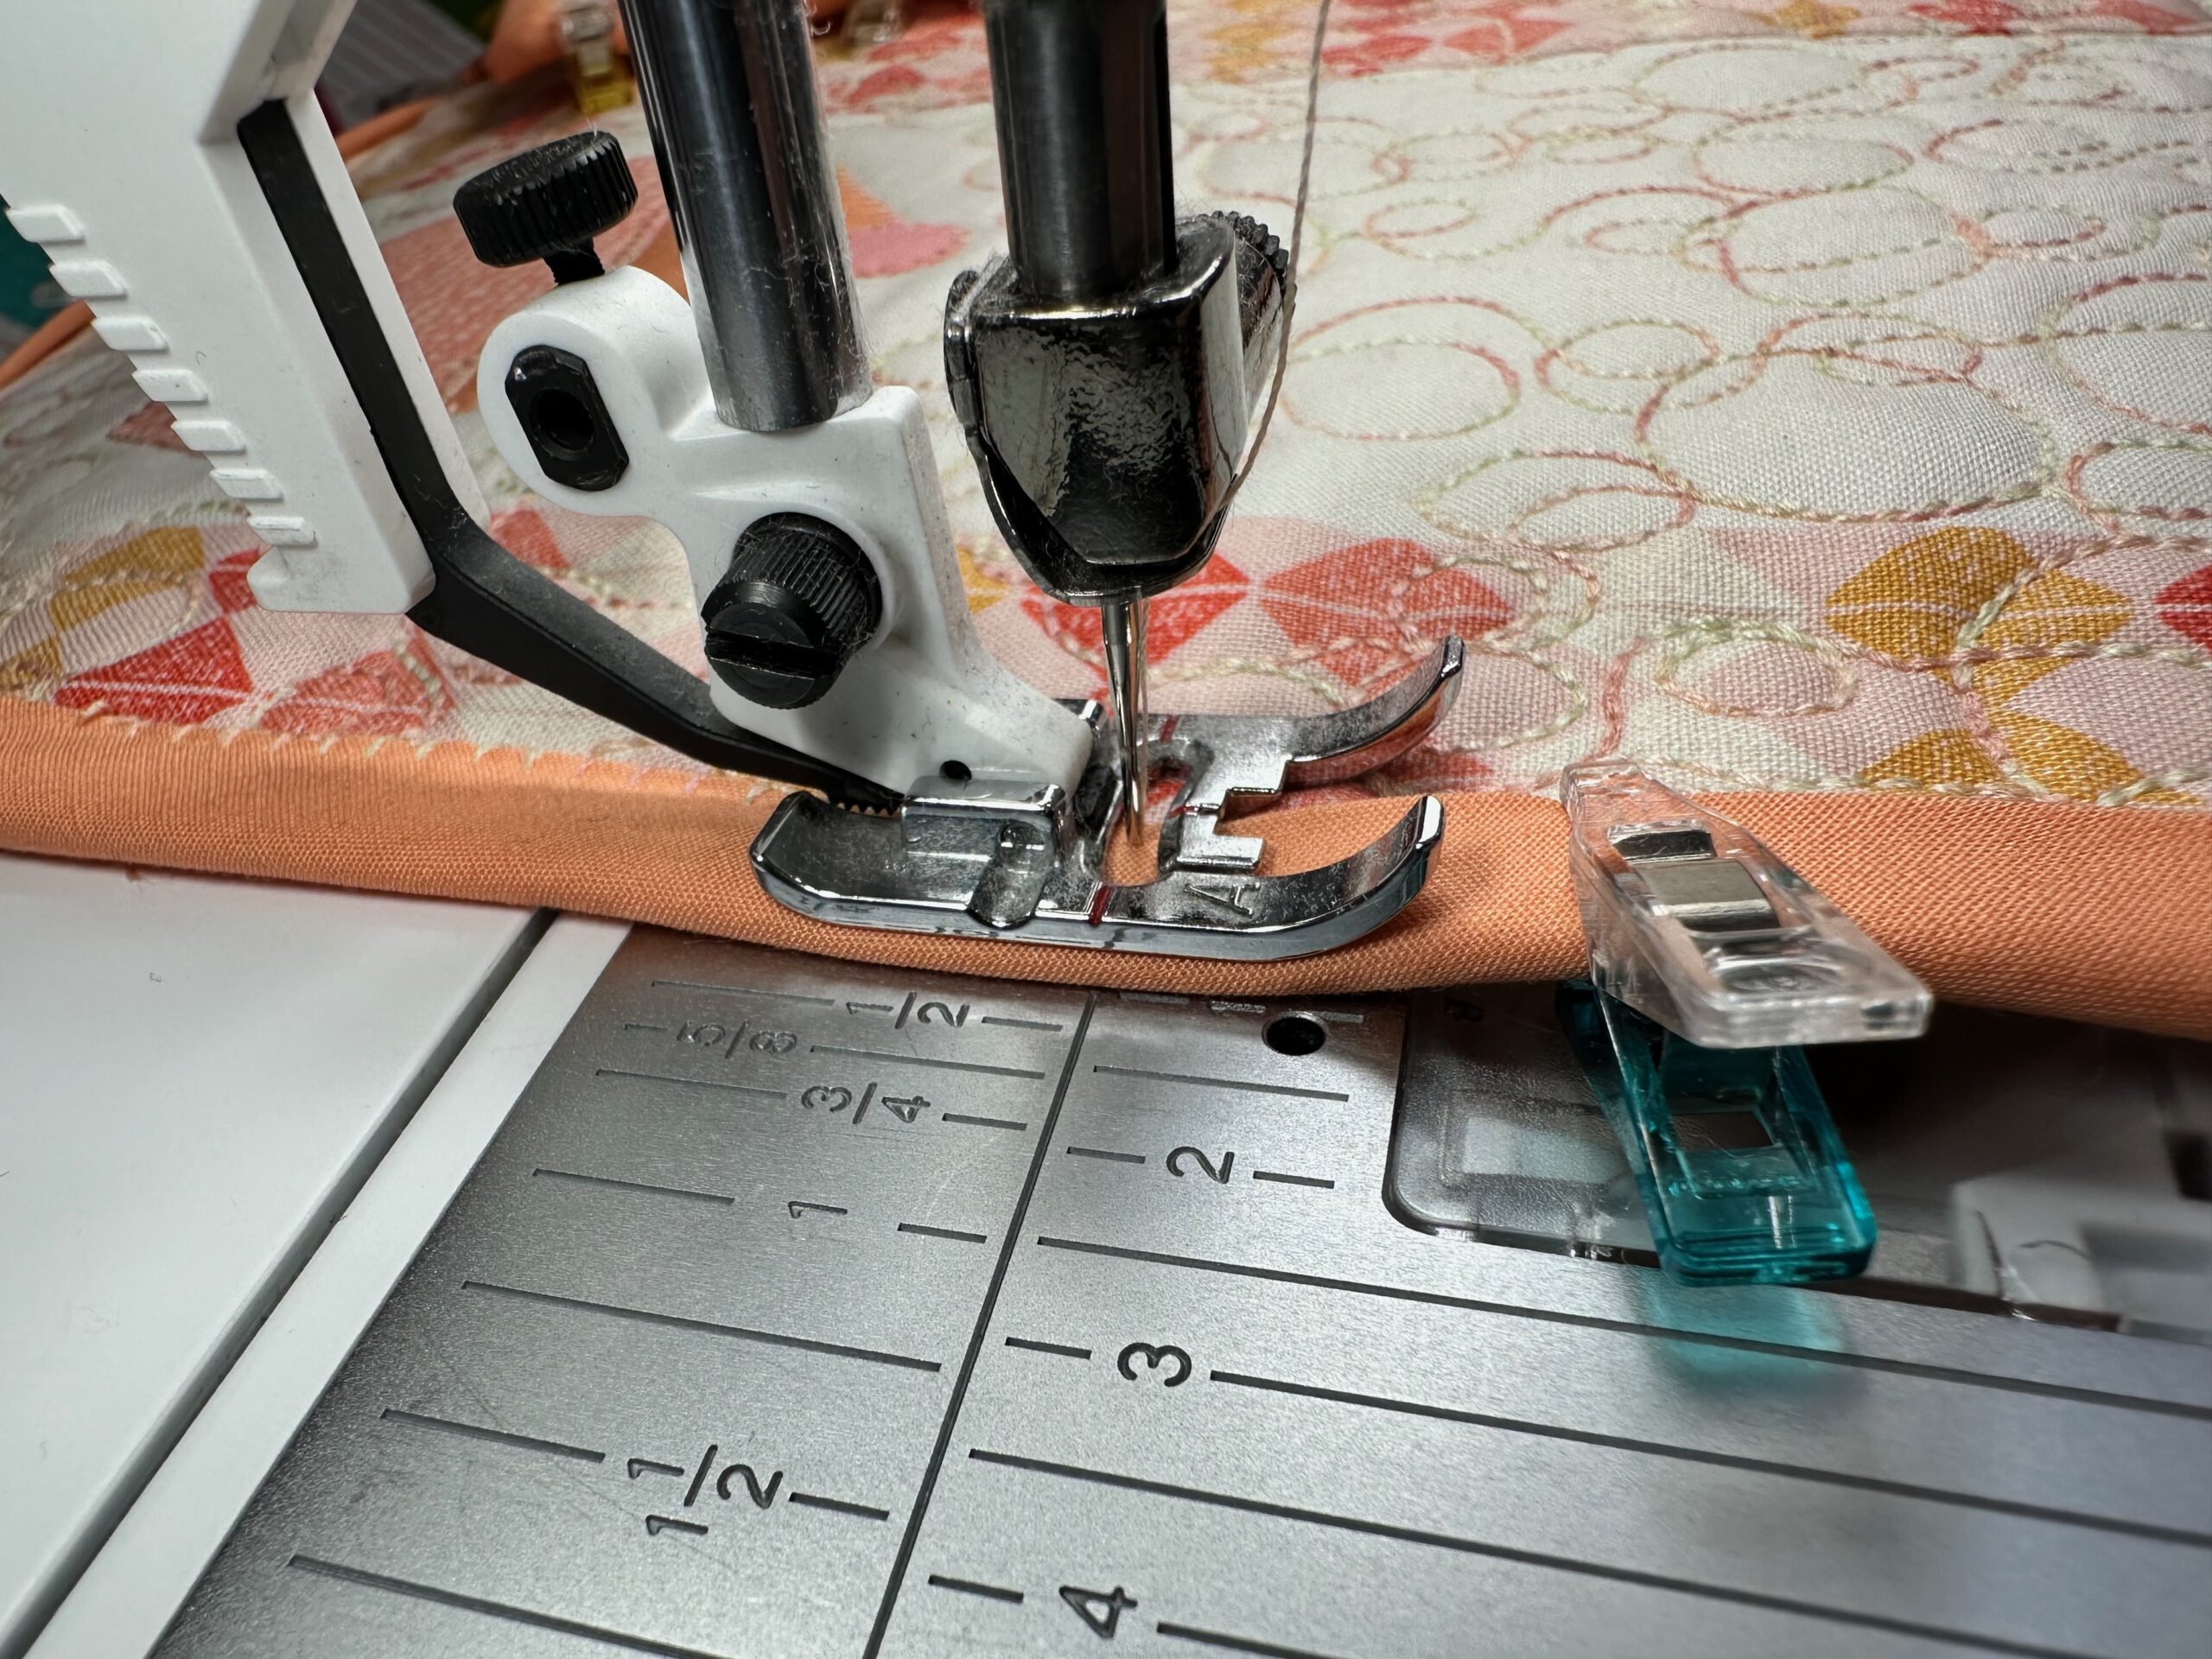
After the quilting is complete, trim the placemat edges so they’re even.
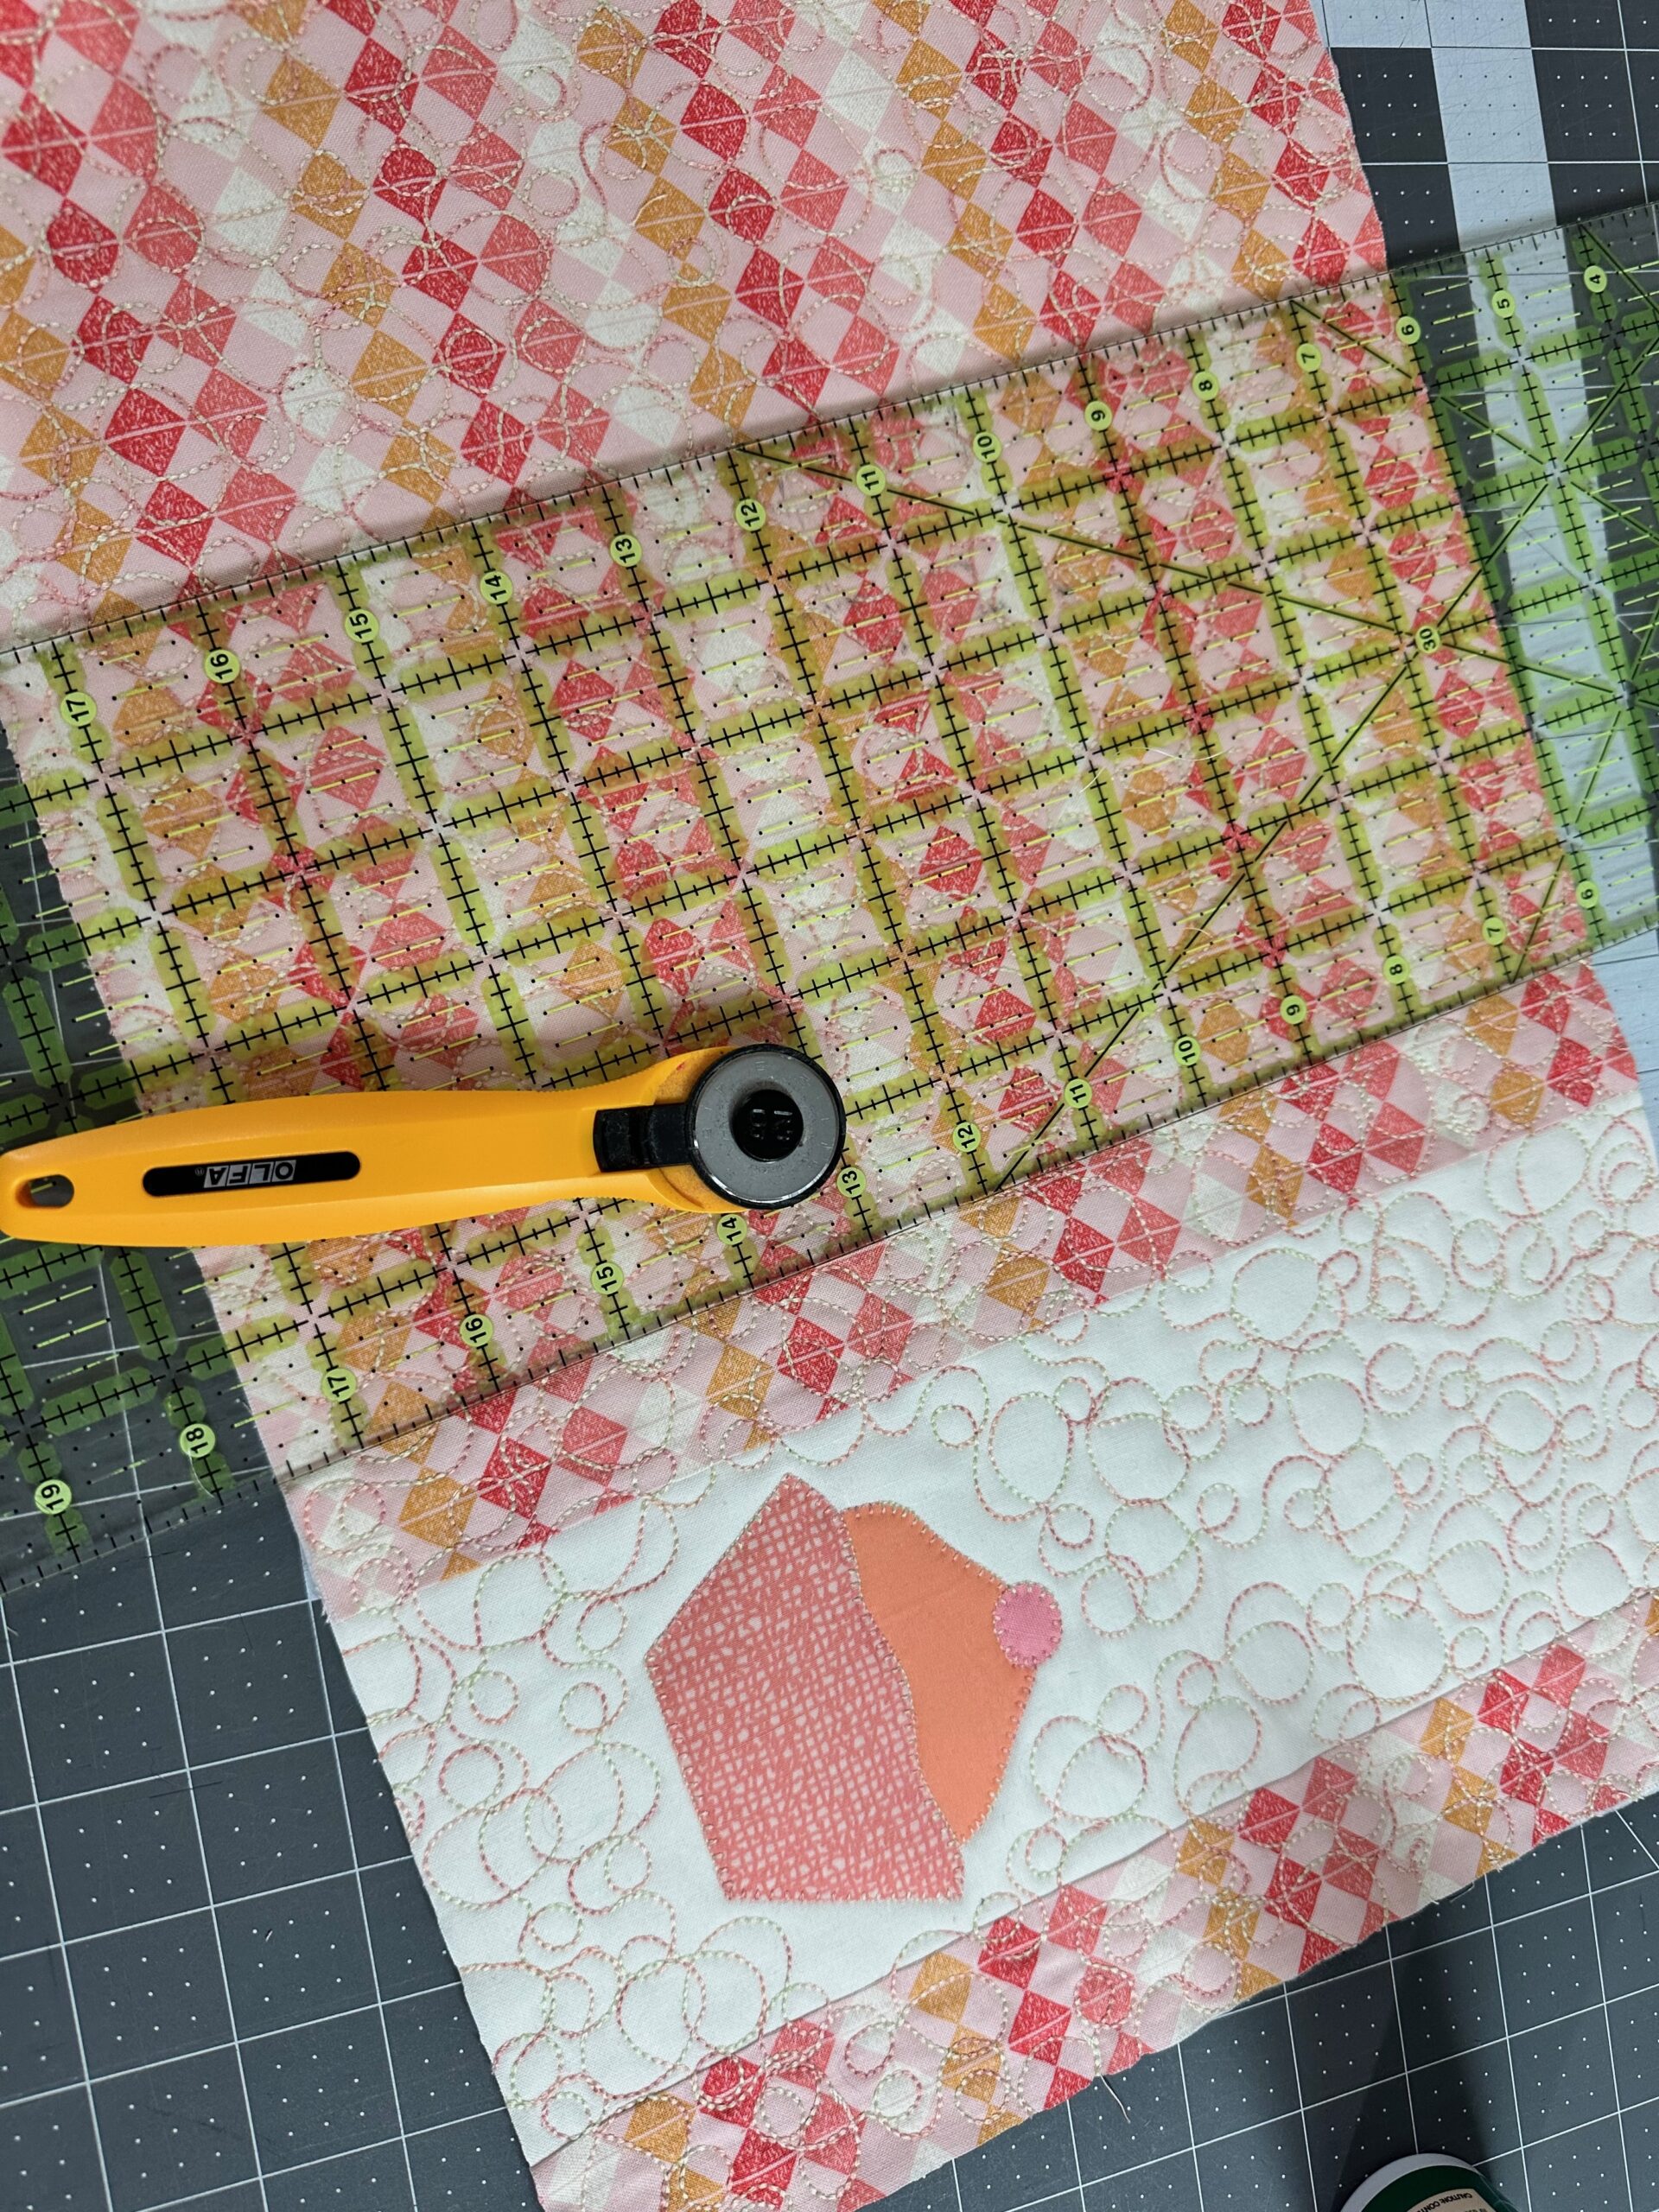
Bind the placemat in the method of your choice, using Fabric 4.
Repeat to create as many muffin placemats as desired for your springy table! Package a set with some homemade muffins for a thoughtful gift.

Really cute placemat. Perhaps a print with brown or blue spots to represent chocolate chips or blueberries.
I love this. It’s simple, yet colorful. Definitely will try this. Thank you!!
Where is the link for the templates for the muffin components?
Hi Gayle,
They are linked in the Supplies area. Click on that and the PDF will pop up in a window so you can print from there.
This might be a crazy question, where is the supplies list? I did find supplies but it just goes to supplies (items to purchase).
The templates, supplies and fabric requirements are all at the top under the Supplies header.