Multipurpose Bag
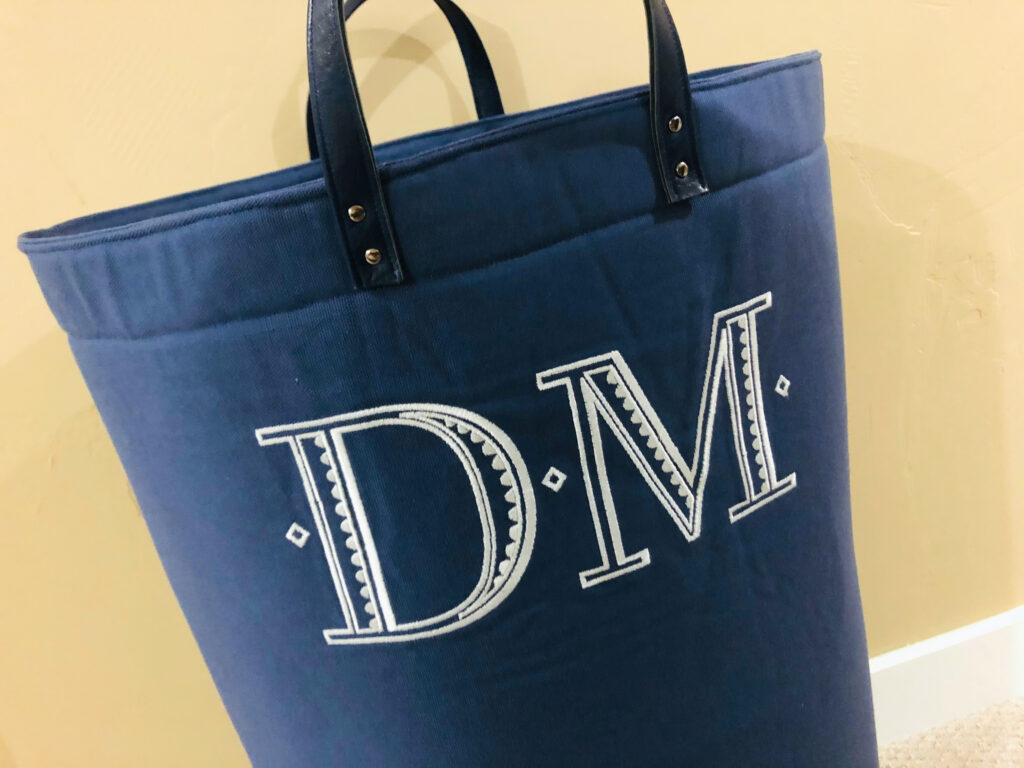
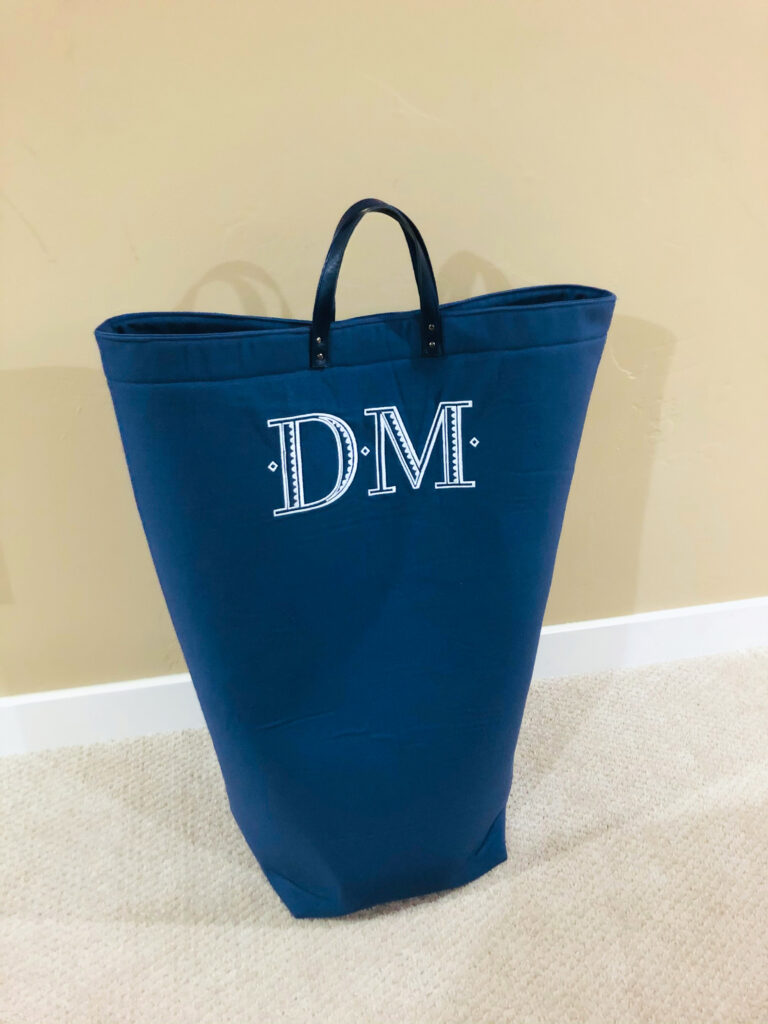
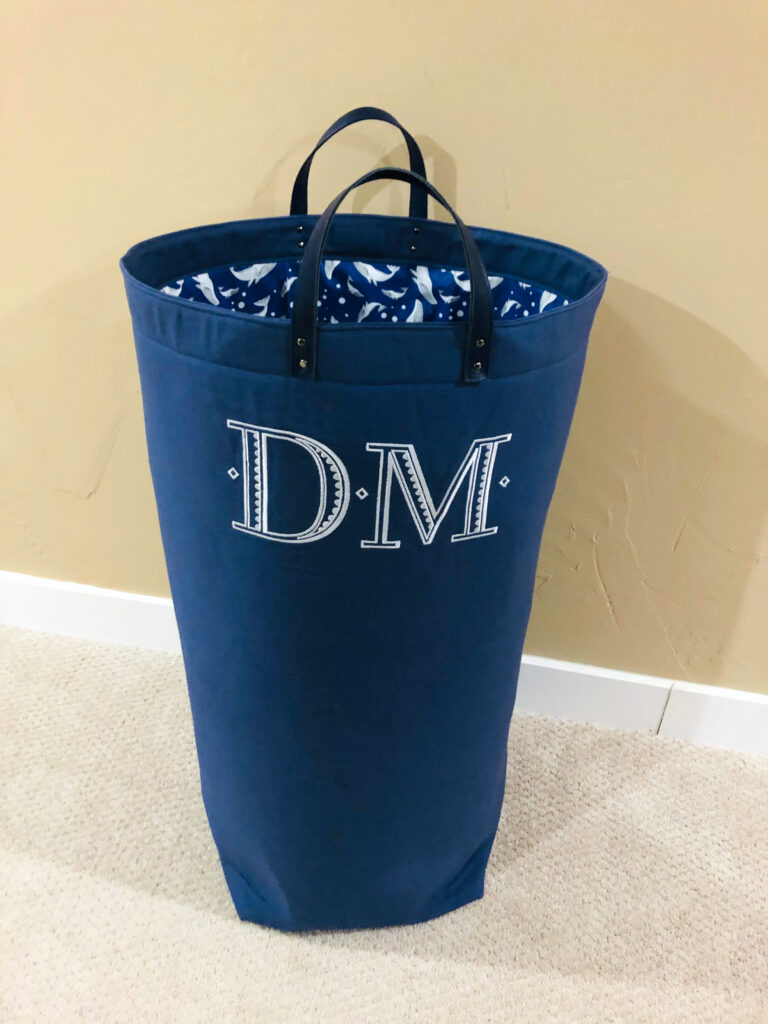
Create a large multipurpose bag that’s great for corralling laundry or sports equipment in a stylish, personalized way. This bag is lined with laminated cotton, making it easily cleanable is damp items get thrown in by mistake. Plus, it’s embroidered with a personalized monogram, making it a great gift for a Grad, Lad or Lady in your life.
BAG SUPPLIES
- Sulky Poly Deco™ Bright Navy (construction & topstitching) & coordinating colors (embroidery)
- Sulky PolyLite™ (embroidery bobbin thread)
- Organ Needles Top Stitch 80/12 (for construction & embroidery)
- Sulky Stiffy™ (embroidery)
- KK 2000™ Temporary Spray Adhesive
- Removable fabric marker, such as Sulky Chalk Pencil
- Wonder Clips
- 48” of 44”-wide Slate Blue Canvas
- 1 yard of 56”-wide Spout Laminated Cotton
- (8) 6mm Gunmetal Rivets
- Rivet Tool
- Sew-In bar Magnetic Snap
- 1 1/2” x 25” strip of Navy Legacy Faux Leather
- (2) 24” x 36” rectangles of Single-Sided Fusible Foam
- Double-sided basting tape (optional)
- Embroidery design: monogram (such as the Carrington Monogram from Designs by Juju) or name using built-in font or alphabet collection (design measuring at least 4”x4” but not larger than 4” x 12”)
PATTERN DETAILS
Grab the free pattern to have all the how-tos for this multipurpose bag. It closes by using the convenient magnetic bar placed inside the facing, keeping the contents safe for transport. If you have a grad headed to college, this closing feature is important when schlepping unmentionables to and from the laundromat.
Fusible foam gives this tote needed structure so it stands up by itself without sagging. And the addition of faux leather handles, attached with rivets, give an upscale edge to the bag.
The finished bag measures 12” deep, 28” tall & 23 ½” wide at the upper edge. If you’d like a smaller bag with the same features, cut the fabric rectangles to 20″ x 24″ instead of 24″ x 36″ and change the fabric requirements to suit the new dimensions.
BAG EMBROIDERY
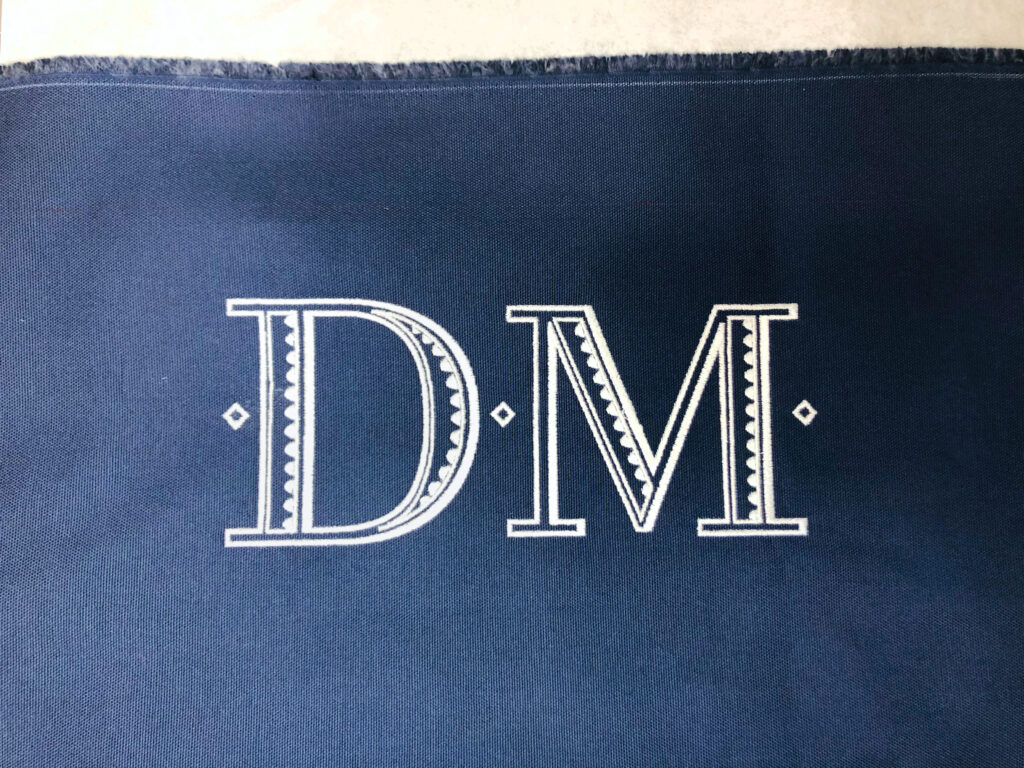
When embroidering a monogram, choose two letters (first and last name) or three letters (first, last, middle). Depending on the font, some letters may appear smaller than others or spaced unequally. Use your best judgement to space and size the letters to they’re pleasing to the eye, rather than depending on the spacing featured on your machine screen.
The recipient’s middle name begins with a “J” and the J looked too small when placed to the right of the other two letters. Instead, two letters were used for the monogram in order to use this regal font and keep it pleasing to the eye.
The featured monogram is from the Carrington Monogram from Designs by Juju. The center diamond is on either side of each letter, when using the “center” monogram size. Both center letters were added to the machine screen, overlapping the center diamond. When the machine indicated to stitch the diamond twice, the second set of stitching was ignored. This way, the diamond was used as a design placement feature but not stitched twice in the final embroidery. Alternatively, import the designs into software and delete the center diamond of one letter prior to stitching.
FAUX LEATHER
If you’ve never sewn faux leather, this is a good project to try it for the first time. Only 1 1/2″ x WOF is used, so it’s an inexpensive “treat” to the project that adds an expensive feel.
Pair faux leather with Sulky Poly Deco Thread for a strong seam, in a color that matches. The thread gives a shine that complements the finish of the faux leather, too.
If you find that the presser foot is sticking to the faux leather during sewing, install a Teflon® foot or place carefully trimmed pieces of clear tape to the presser foot base.


