How to Embroider an Ornament that Commemorates Your Travels
Embroider an ornament using the city, state or country you last visited. This simple project makes a great gift for travel buddies, family reunion attendees and more. Plus, an ornament blank makes a great gift tag, place holder and garland, too!
TRAVEL ORNAMENT SUPPLIES
- Ornament Blank (such as this or one that is meant to hold a photo)
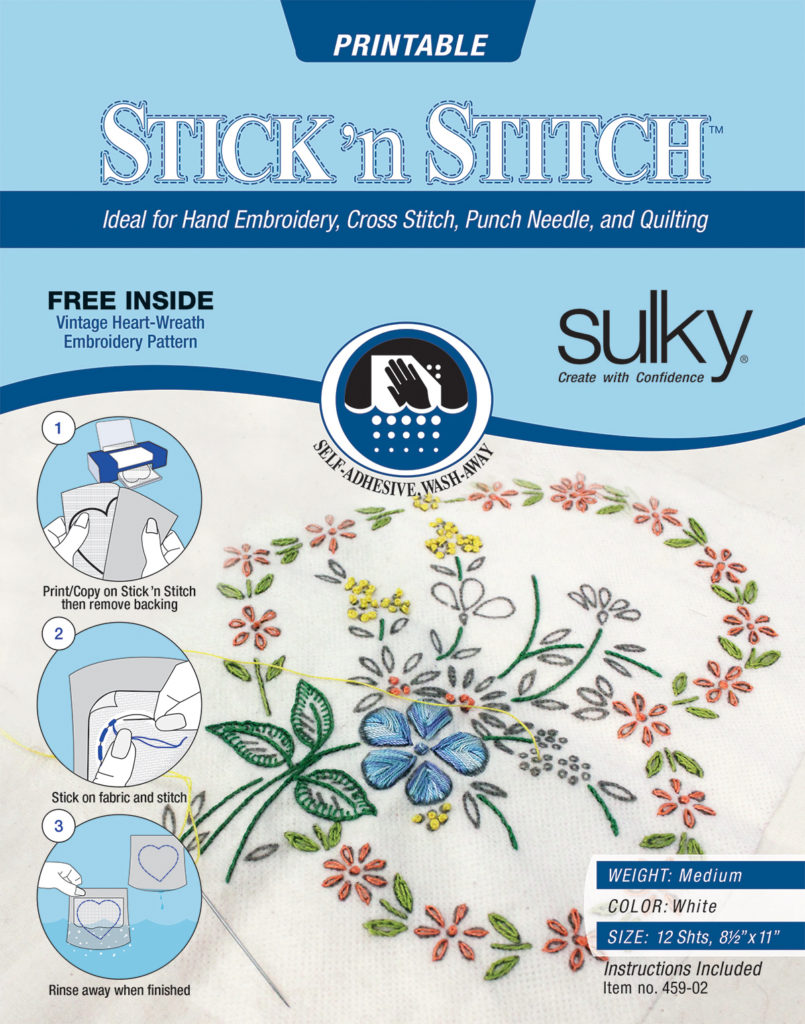
- Sulky Stick ‘n Stitchâ„¢ Stabilizer
- 5″ square of cotton fabric
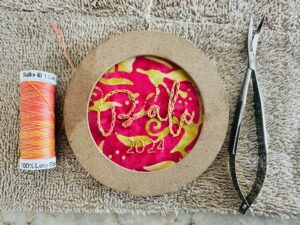
- Sulky 12 wt. Cotton Blendables® Thread
ORNAMENT INSPIRATION
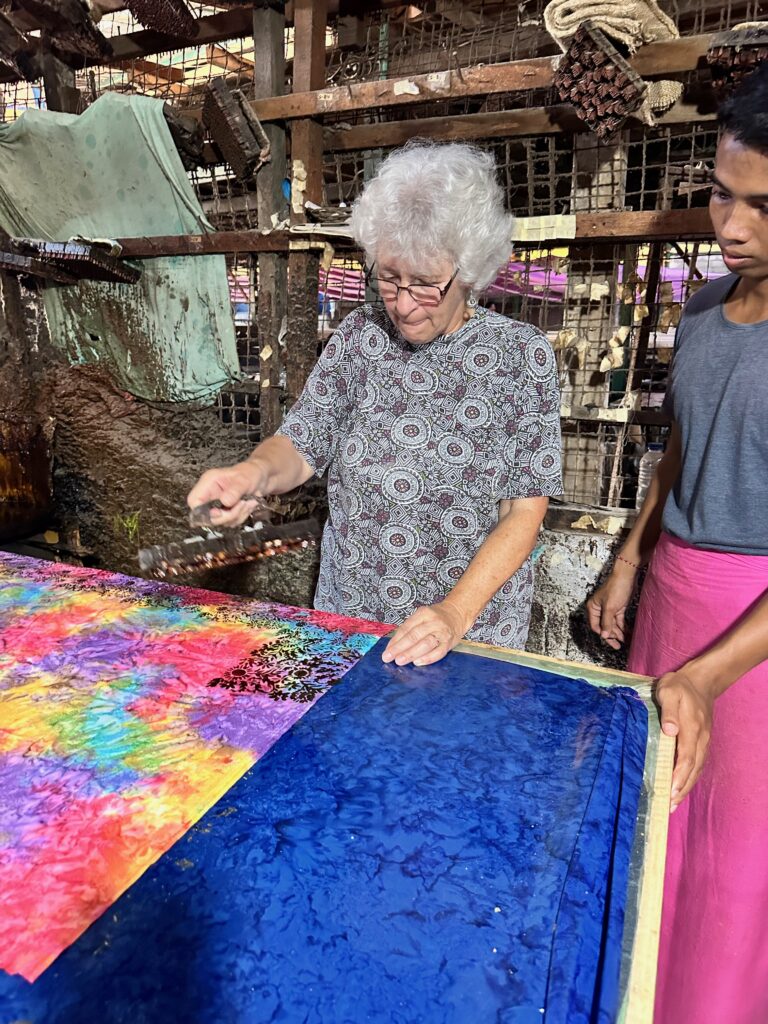
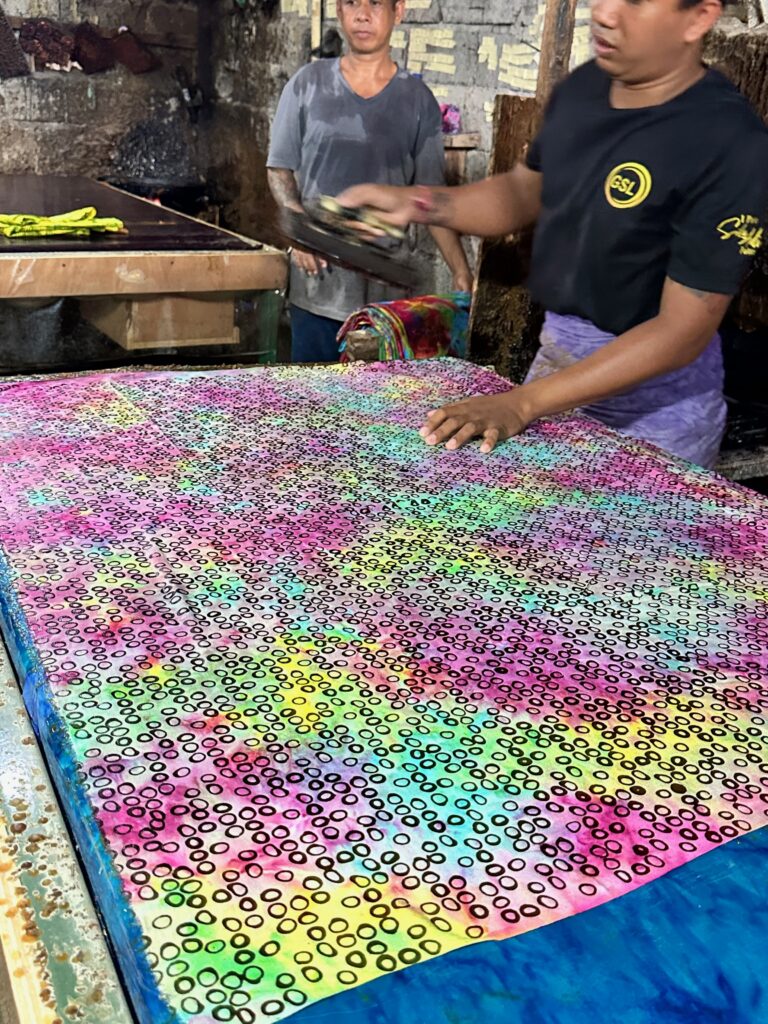
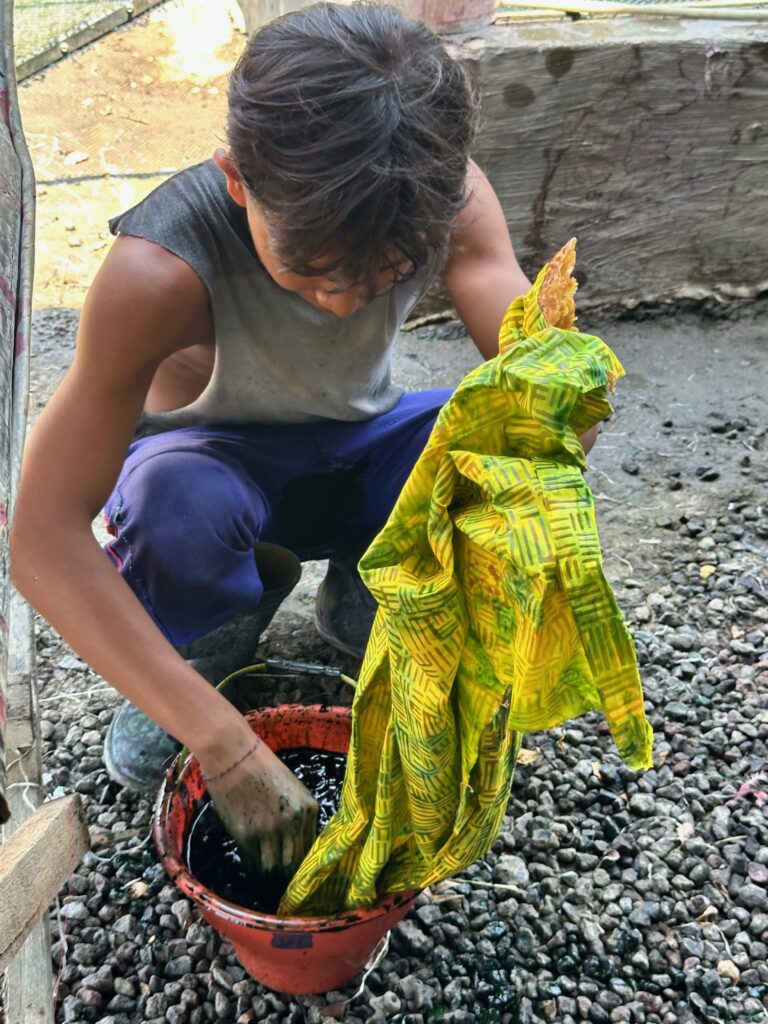
This ornament design was inspired by our Sulky Bali trip with Craftours. Since we had an entire day devoted to making our own batik fabric, using this textile was the perfect way to commemorate our travels to this amazing country.
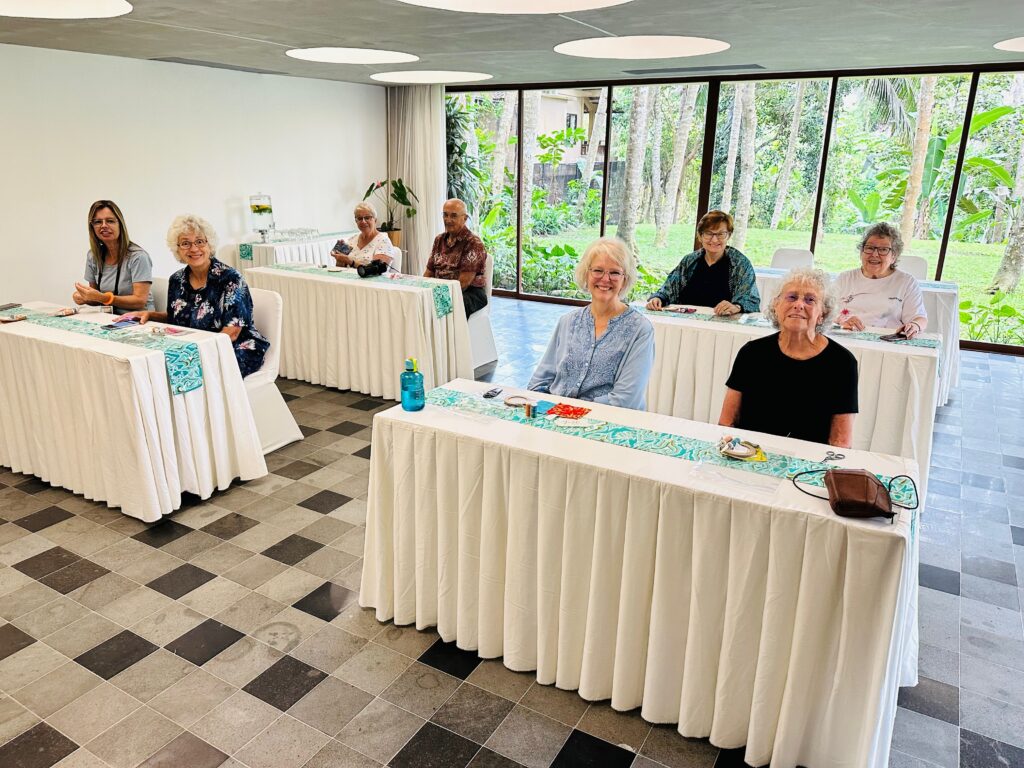
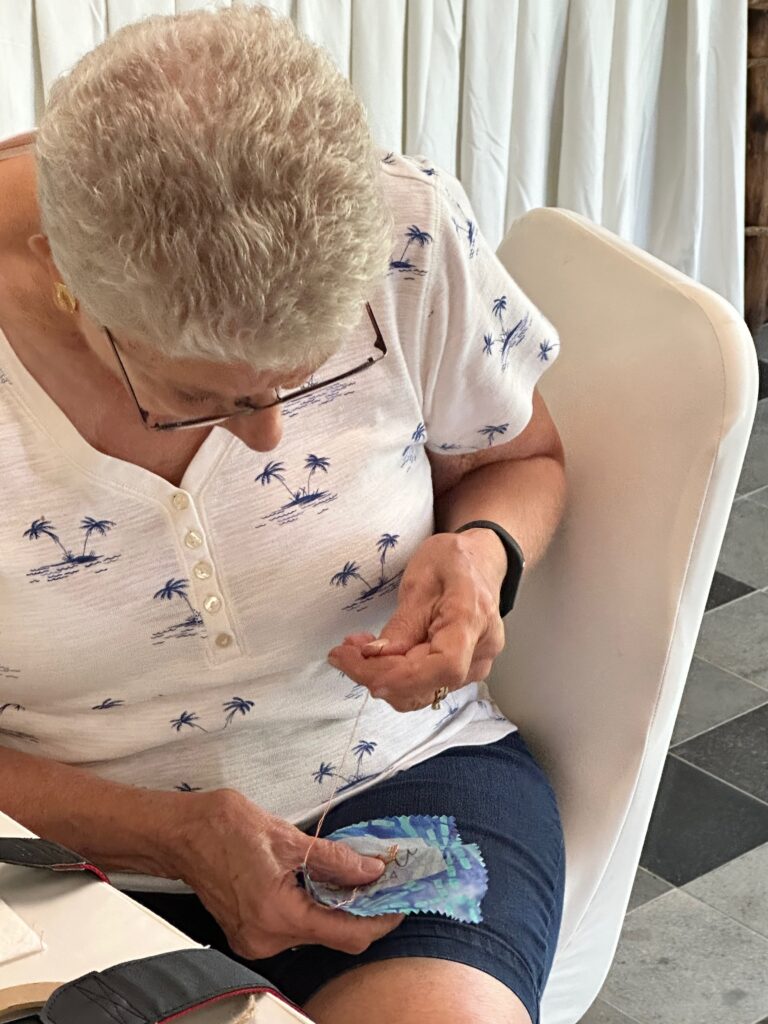
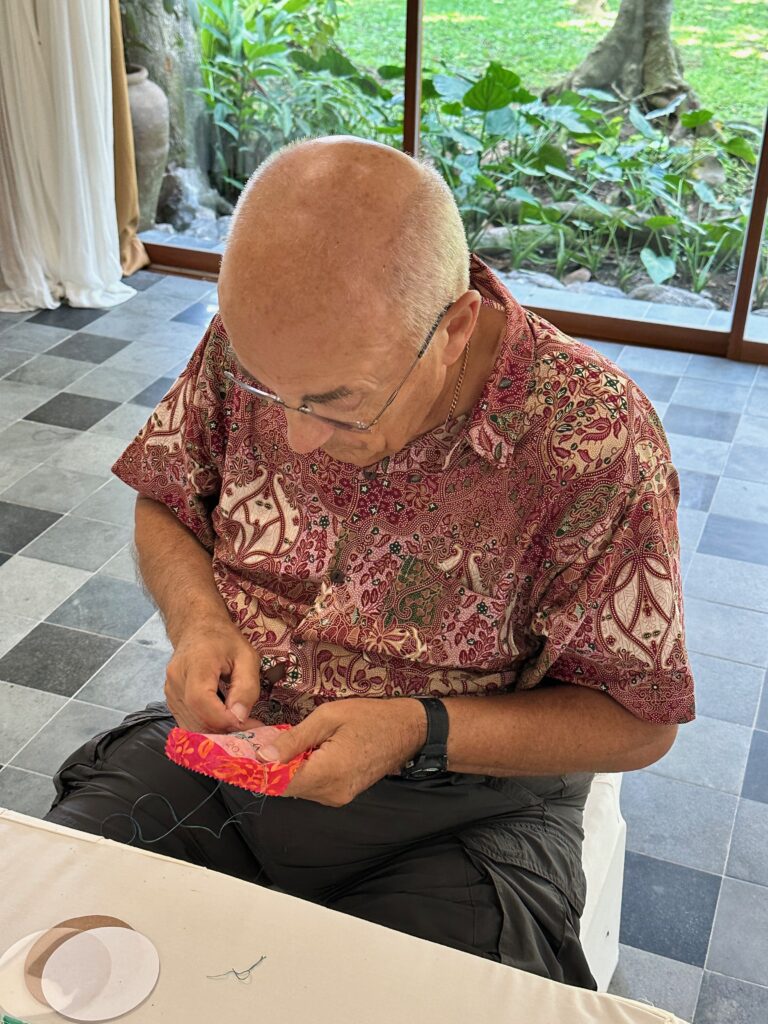
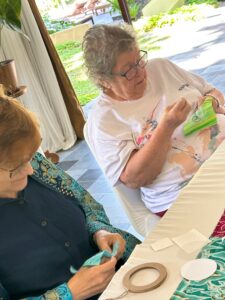
Here are some of our tourmates waiting for class to start. (Pretty amazing view outside!)
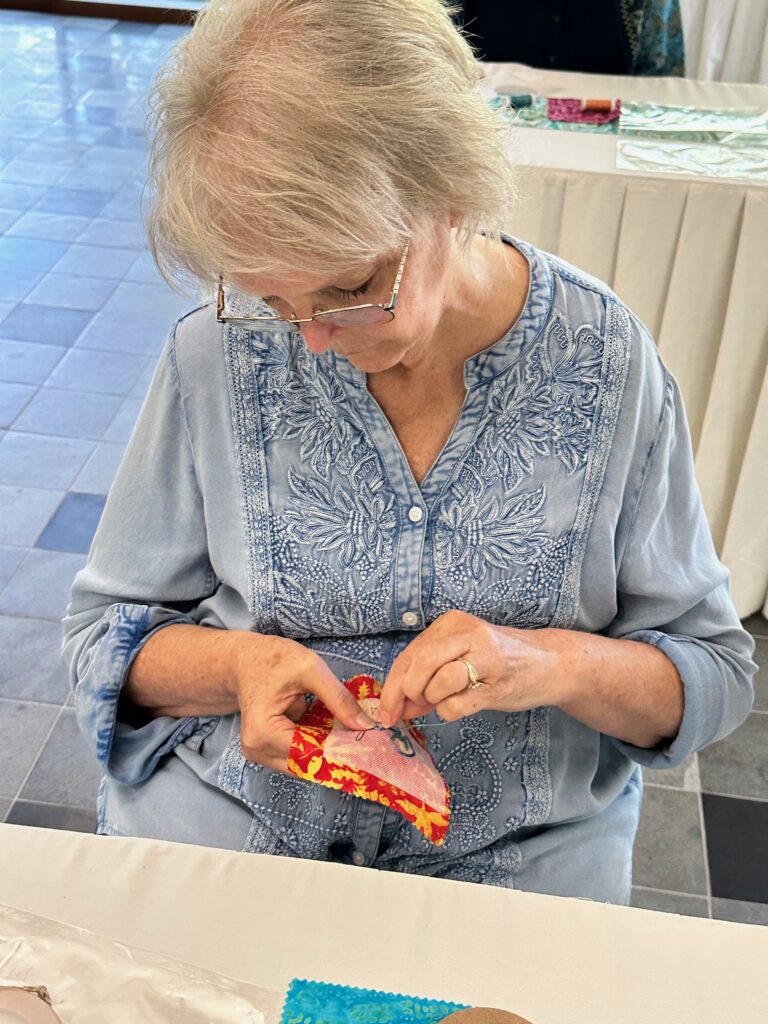
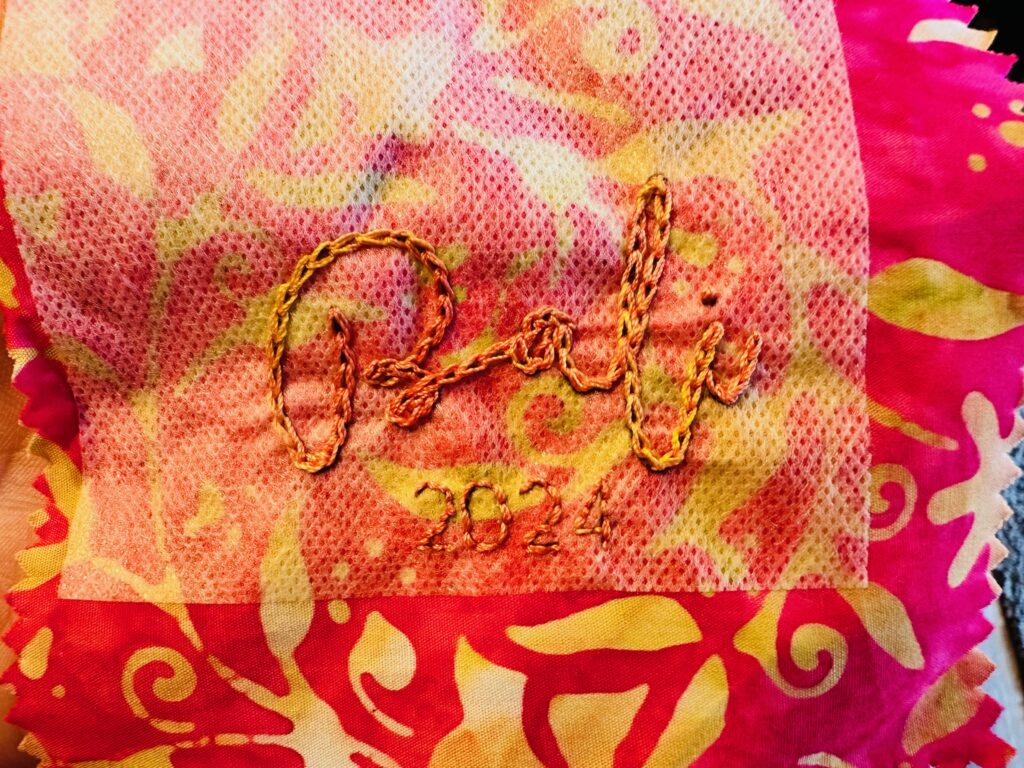
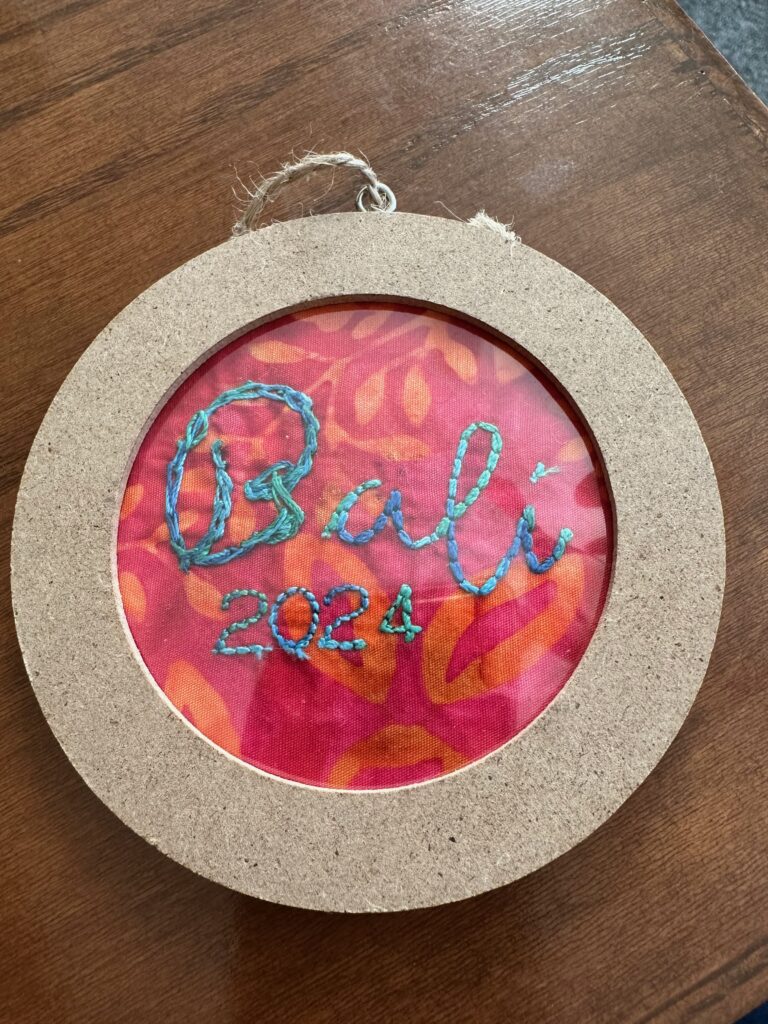
We hand stitched “Bali 2024” onto batik fabric during our hands-on class. The date and place on the ornament is easily customizable to your travels. Choose a fabric print that speaks to the destination you want to celebrate.
ORNAMENT DESIGN & PREP
Open a new document in a word processing program. Write the city/state/country of your choice. Duplicate it several times so you can audition different fonts until you decide on one you like. Make sure the result fits into the ornament blank, leaving room for a frame or seam allowance, as needed.
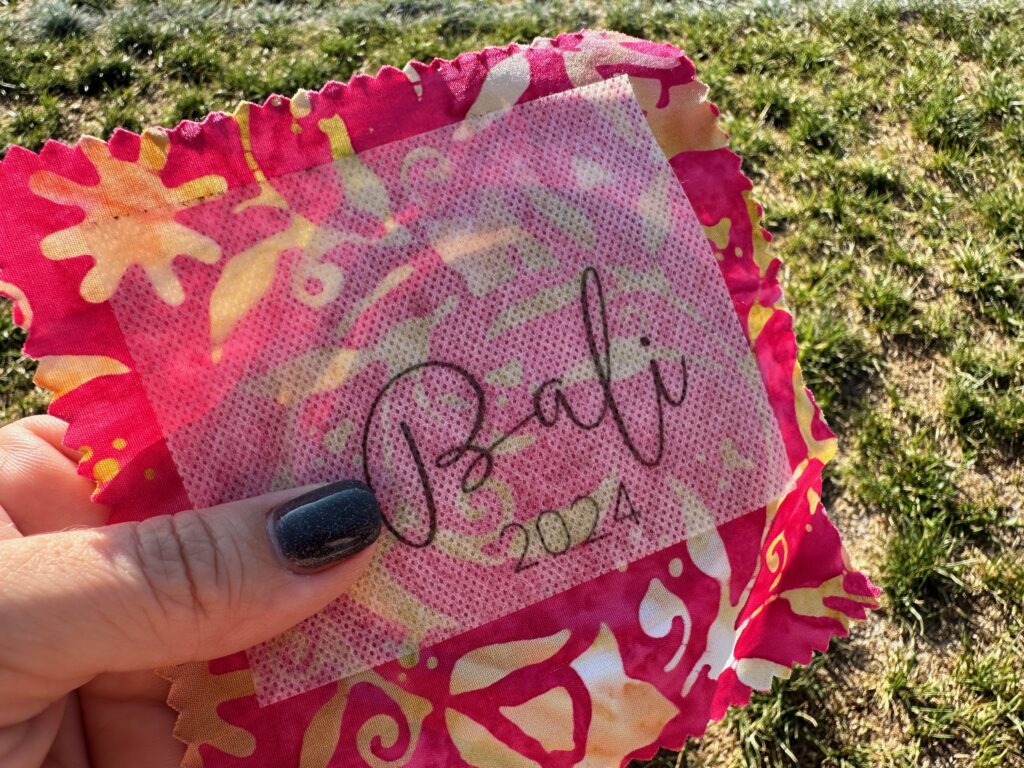
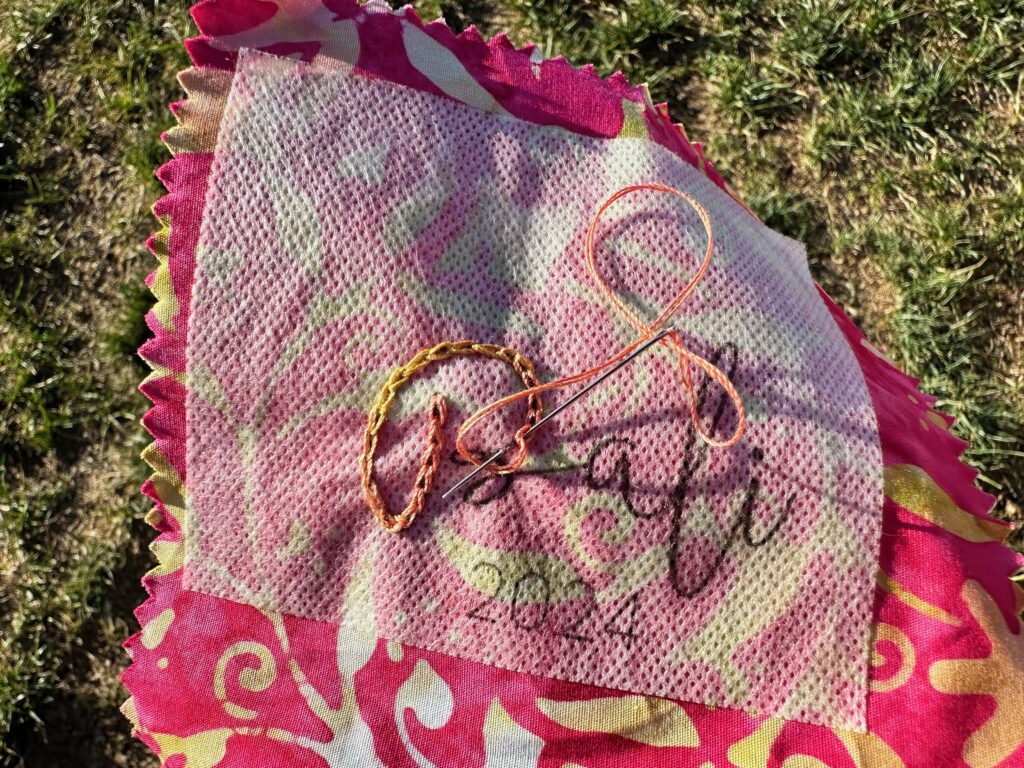
Once satisfied with the chosen font and design, print the design onto a sheet of Sulky Stick ‘n Stitch. This is a water-soluble, printable stabilizer that acts as a sticker design transfer once printed. The sticker is completely removed using water after embroidery is complete, leaving no trace. There’s no need for a transfer pen, chalk or other marking tool, which might mar the sweatshirt or become permanent by inadvertent heat.
The sheets are 8 1/2″ x 11″ to fit perfectly in your printer. Set the printer to its lowest ink setting, or “drafts,” if possible. If that’s not possible, be sure to let the sheet “dry” a bit after printing so the ink sets into the product before applying to the garment/fabric.
Cut out the “sticker,” leaving a bit of a border.
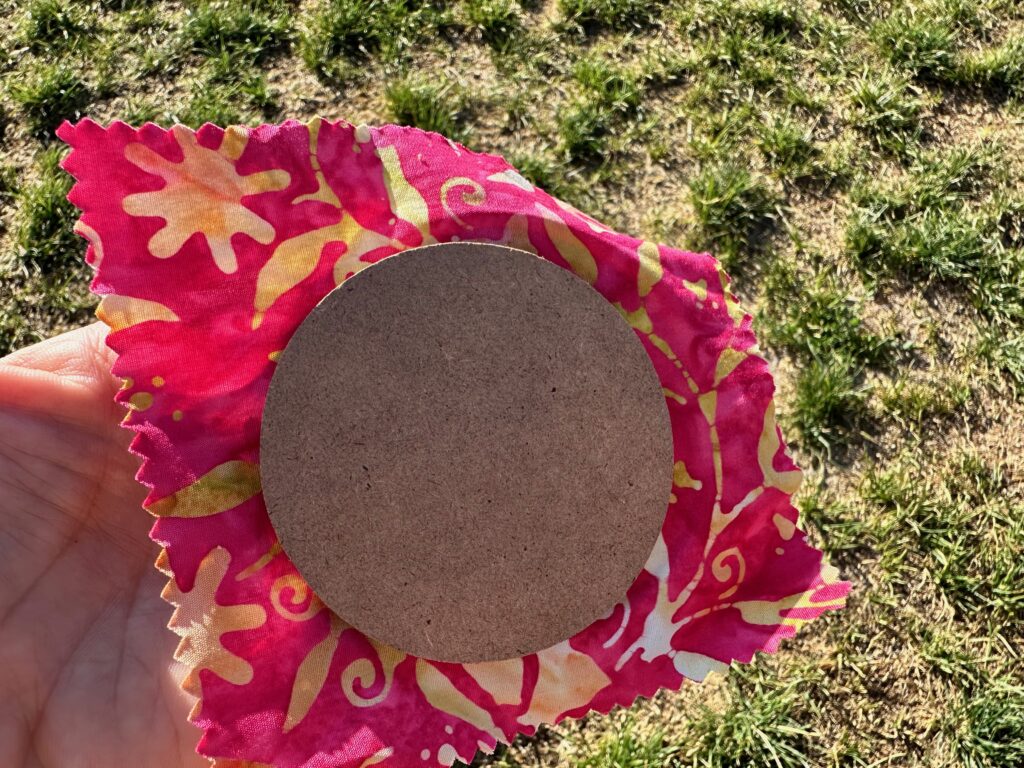
Ideally, use the back of the ornament to mark or eyeball the ornament size, and then place the design sticker on the fabric right side. For the featured ornament blank, a 5″ fabric square was perfect.
ORNAMENT STITCHING
Use the hand embroidery stitches you prefer to stitch over the printed lettering. Grab this Hand Embroidery Stitch Guide for a printable reference of some basic stitches.
For the word “Bali,” we used a chainstitch. To stitch the year “2024,” we used a backstitch.
For this batik fabric, we used a 12 wt. Cotton Petites Blendables Thread, which has a watercolor effect to it. The thread is randomly dyed every 2 1/2″ to 5″, resulting in randomized color changes across the thread length. One strand of thread is equal to two strands of traditional embroidery floss, so yu get great coverage with one strand. But, you can also use two strands for an even thicker appearance. Choose a thread color that matches or contrasts the fabric, depending on the desired finished look.
For the Bali class, participants were given two spools of thread to choose from, so they could make their own choice of thread based on the fabric they liked best. They were also given two fabric squares in different colors and different batik patterns.
The other great thing about using Stick ‘n Stitch for the embroidery transfer is that it truly is a stabilizer! So you can stitch in hand without the need of a hoop.
TRAVEL ORNAMENT FINISHING
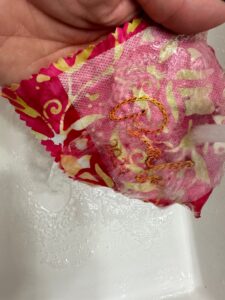
After the embroidery is complete, rinse away the stabilizer under warm running water. Make sure the water runs off the project, rather than pooling on top of it. You don’t want to risk having the printed design transfer to another part of the fabric, which can happen with submerging/pooling water on the product.
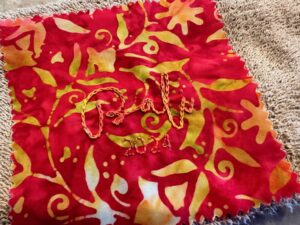
When the stabilizer is dissolved, place the fabric on an absorbent towel. Roll the towel and gently push on it with your hands to remove excess moisture. Then, let the fabric dry flat.
Place the fabric into the ornament blank, in place of a photo.
Trim the excess fabric just beyond the ornament insert on the back. Use double-sided basting tape or a fabric glue stick to secure the fabric edges to the ornament back. If desired, cover the back with a piece of Sulky Feltyâ„¢, cut to the ornament dimension. Glue the Felty in place using hot glue or craft glue.
RESULTS
Judy and Denny Briley worked together on their Bali Travel Ornament project in Bali. Denny embroidered the “B” in Bali, and then Judy digitized the design once she got home to finish it off by machine. (Judy made her own hand embroidered version during the class, too. A true over-achiever near and dear to our hearts!)
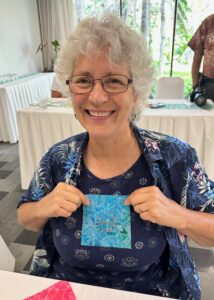
Jann and Judy chose bright greens and soft blues for their ornaments, and were quite impressive with their hand embroidery skills.
TRAVEL WITH US
If you have a travel bucket list, join us on one of our future Craftours experiences! Check out our offerings and save your spot today! https://www.craftours.com/tourcat/sulky

