Quilted Leaves Table Runner
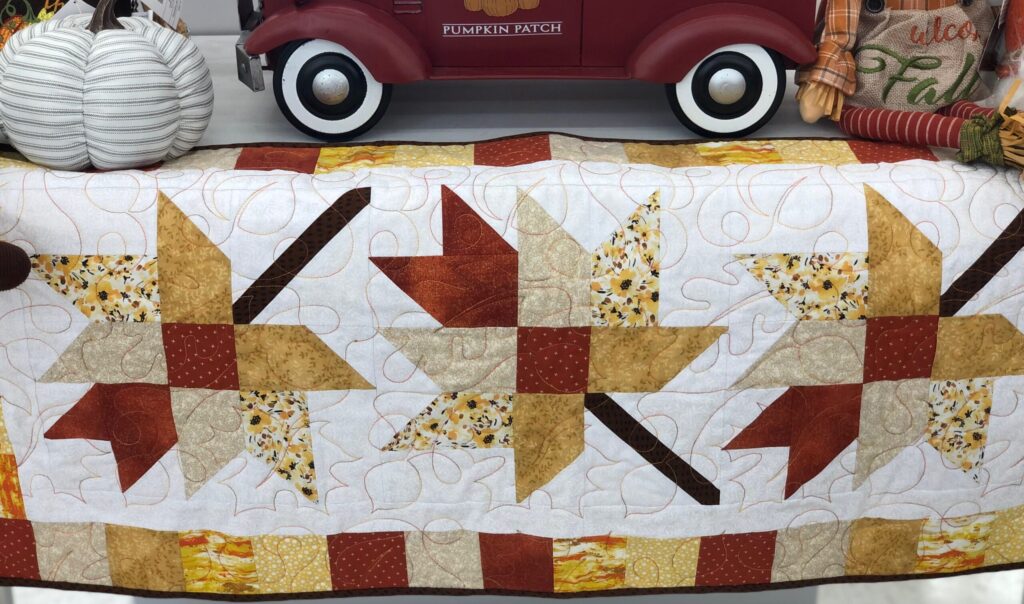
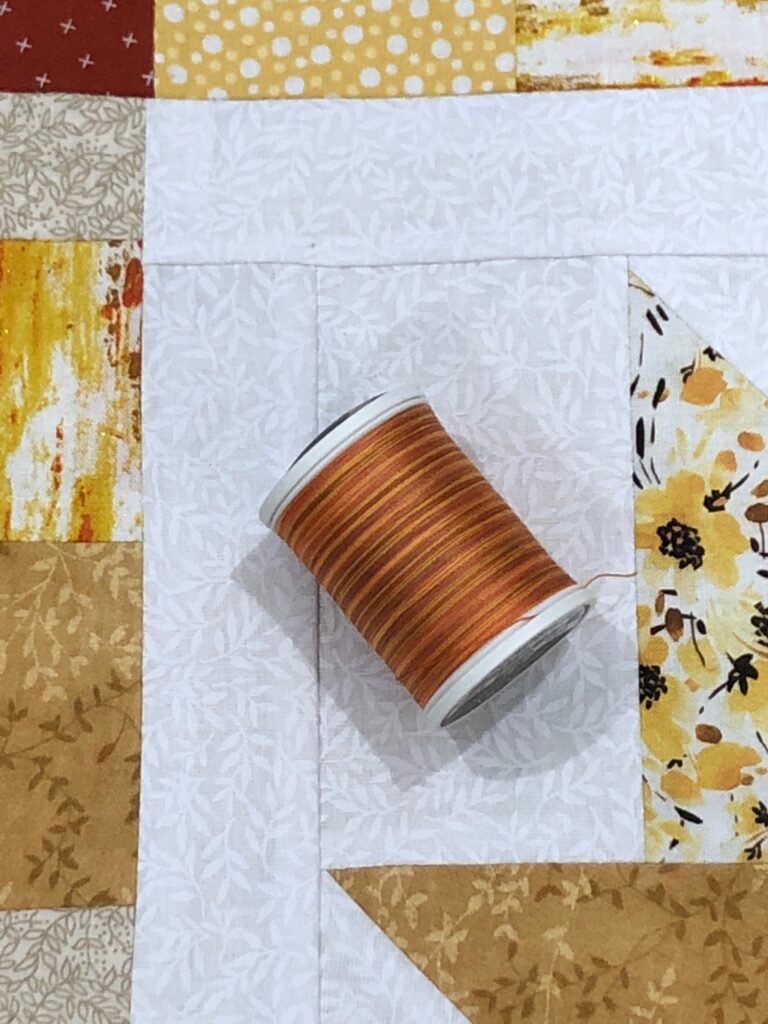
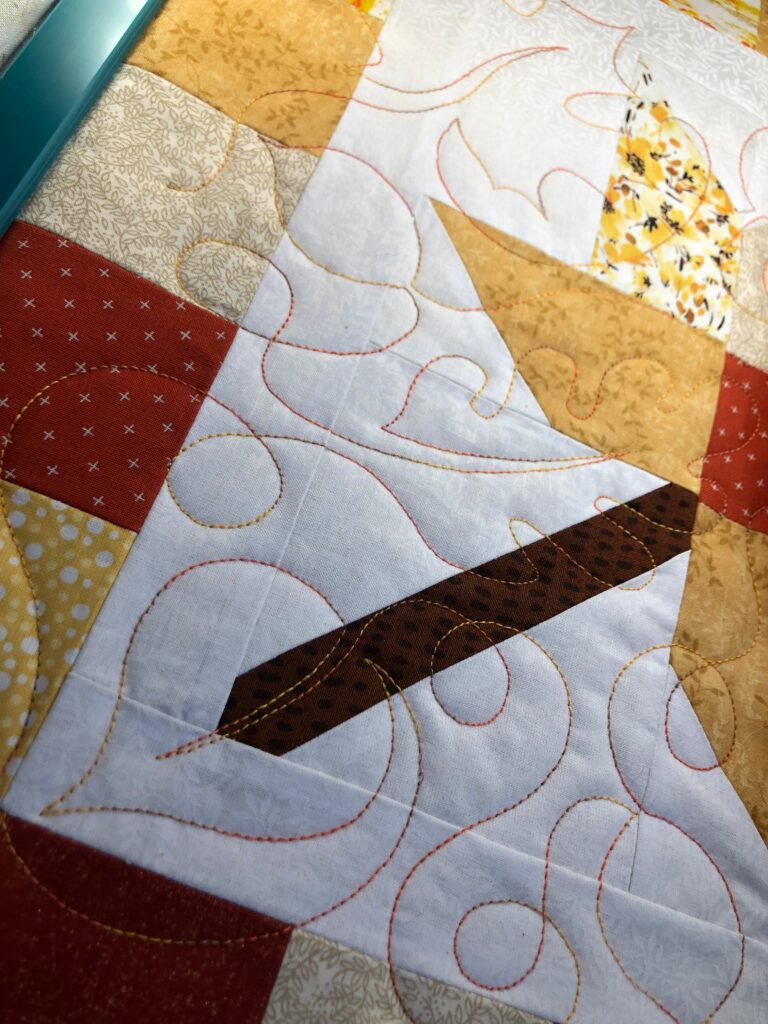
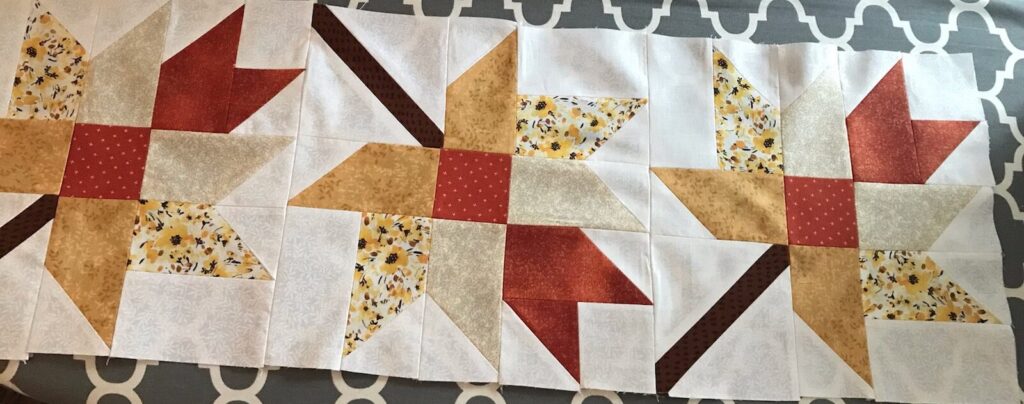
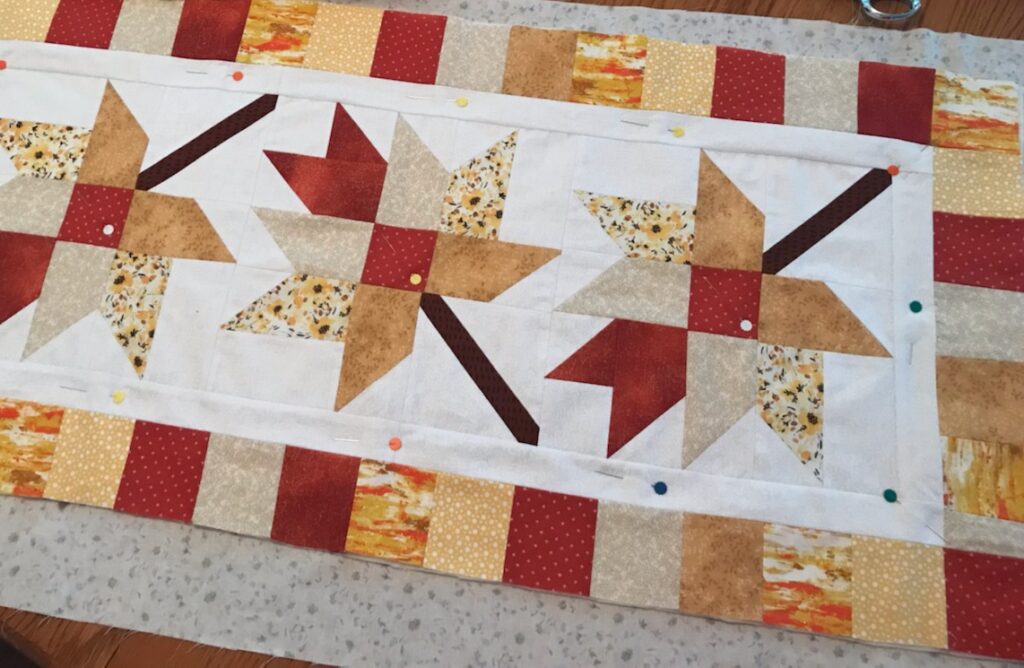
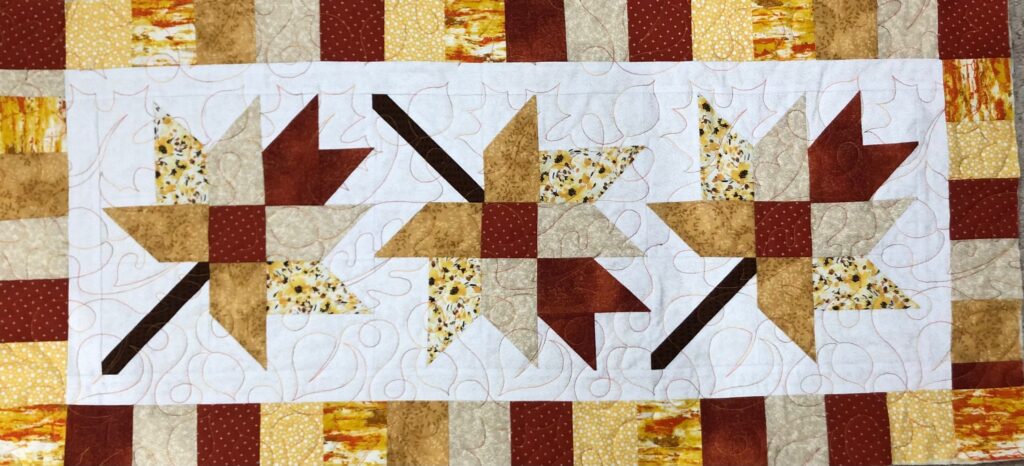
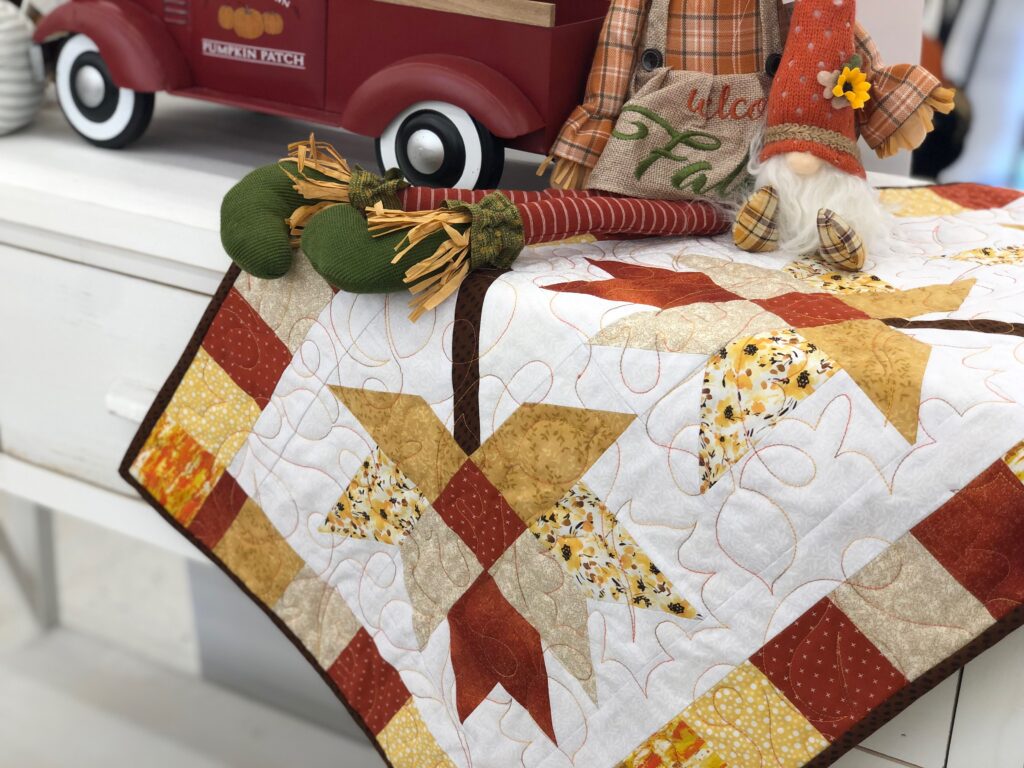
Create a quilted leaves table runner to bring the changing autumn leaves into your harvest décor rotation. The leaves are pieced using coordinating fabrics in yellows, browns and taupes, with orange blenders mixed in. Use this featured table runner pattern or a pattern of your choice and quilt it yourself with an embroidery machine. Learn how to use end-to-end™ quilting designs, or edge-to-edge as they’re sometimes called, with the help of magnetic hoops. Use Sulky 30 wt. Cotton Blendables® Thread to showcase more color throughout the quilt without changing thread spools.
Finished size of featured pattern: 18″ x 38″
QUILTED LEAVES TABLE RUNNER SUPPLIES
- Featured Pattern: Fall Into Autumn, Designed by Lindsey Weight of Primrose Cottage Quilts
- Fabric & notions according to chosen pattern
- Sulky Thread: 30 wt. Cotton Blendables™ (featured color: 733-4004 Golden Flame) & 50 wt. Cotton (featured color: 755-1002 Soft White)
- Organ® Needles Quilting Assortment
- Sulky KK 2000™ Temporary Spray Adhesive
- Sulky Tear-Easy™ Stabilizer
- Quilting Pins
- Featured Quilting Design: Autumn Leaves 2 End to End Embroidery Design from Designs by Juju
- Clover Wonder Clips
QUILTED LEAVES
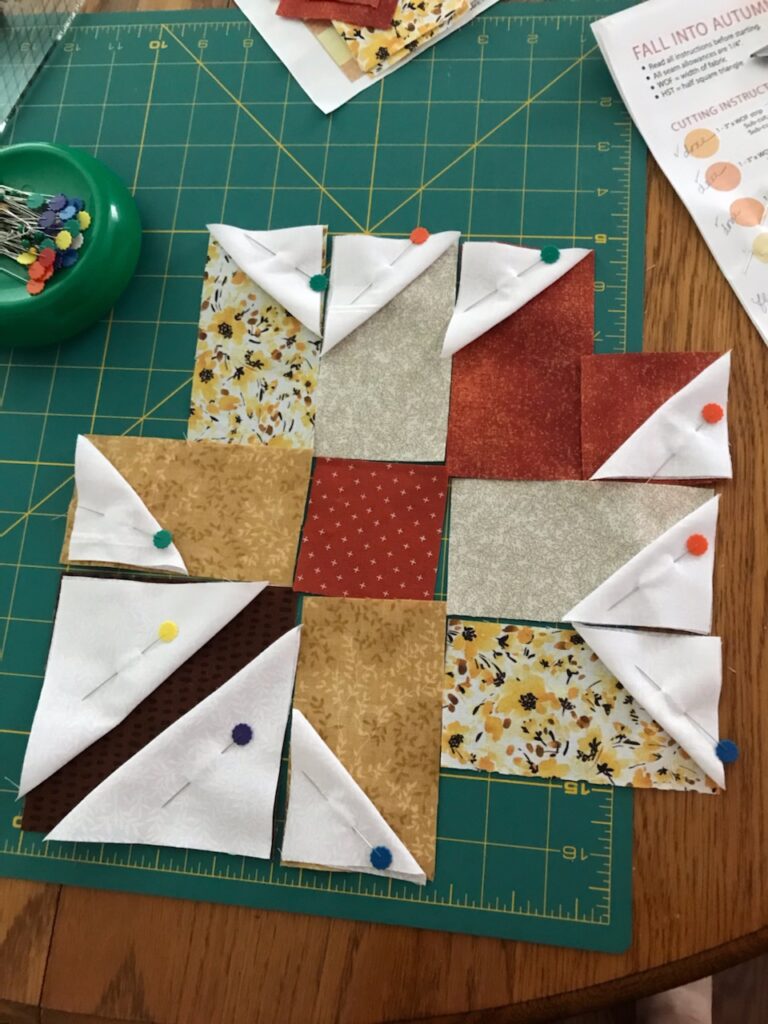
Follow the pattern to assemble the pieced quilted leaves. Choose the fabric colors you desire for each portion of the leaf until a pleasing arrangement is achieved. Audition the pieces before stitching to ensure everything is to your liking.
Install a size 70/10 Quilting Needle and thread the needle and wind a bobbin with 50 wt. Cotton Thread. Piece the leaves, following the pattern instructions.
Be sure to press the finished quilted leaves blocks once assembled to ensure the seams are flat and accurate for the quilting process.
If desired, rotate the leaf blocks to deviate from the pattern and create your own design!
After adding the pieced borders, layer the backing fabric, batting and quilted leaves table runner top on a flat work surface. Use Sulky KK 2000™ Temporary Spray Adhesive to secure the layers. Add a few quilting pins to ensure the layers don’t shift over time, as KK 2000 dissipates into the air after about 24-48 hours.
QUILTED LEAVES USING END-TO-END DESIGNS
Quilting the table runner using your embroidery machine is a fun time saver that provides super professional results. Sometimes these designs are called “edge-to-edge” designs, but Designs by Juju calls them “end-to-end” designs. Designs by Juju has great, comprehensive tutorials on her site for working with the designs. Watch the videos with Becky Thompson, of Power Tools with Thread, as she has great tips to share.
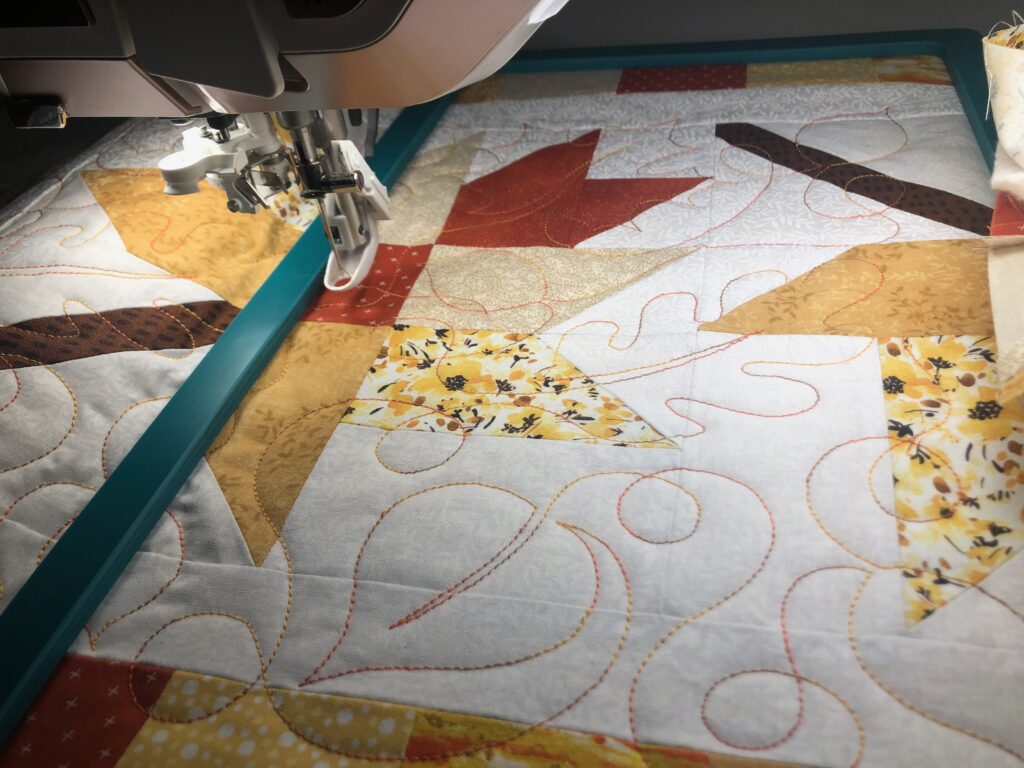
Install a size 90/14 Quilting Needle and thread it and wind a bobbin with 30 wt. Cotton Blendables Thread. Slow the machine speed by half. Test-stitch the design (or a portion of the design) to ensure the tension settings are desired.
MAGNETIC HOOPS
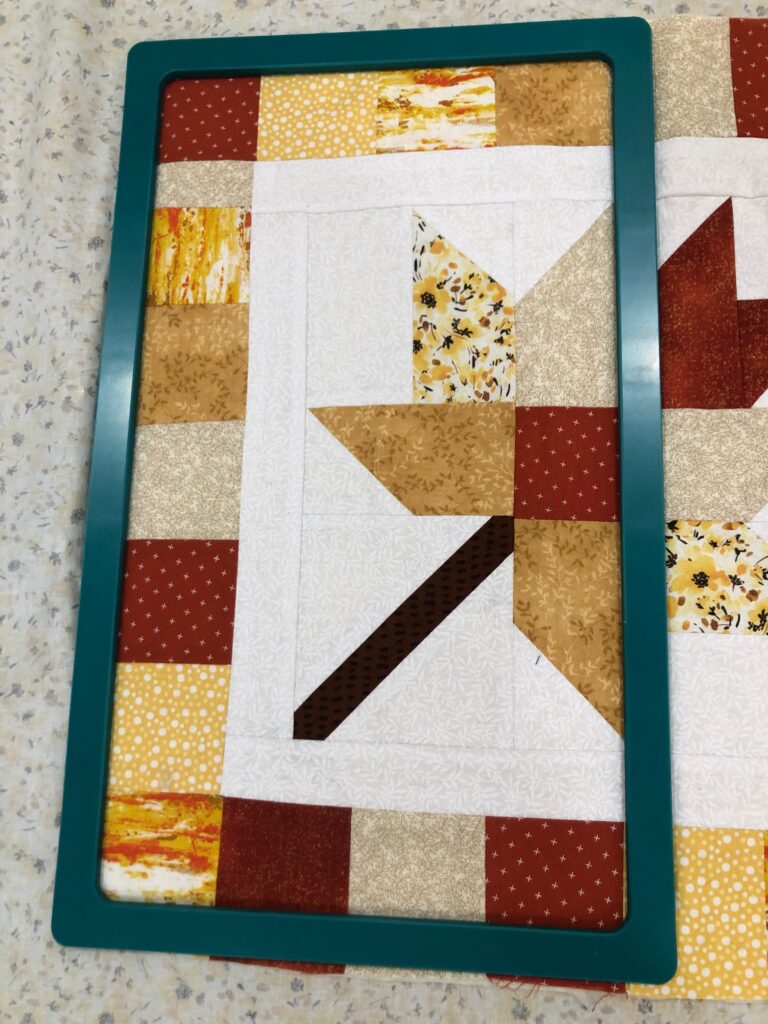
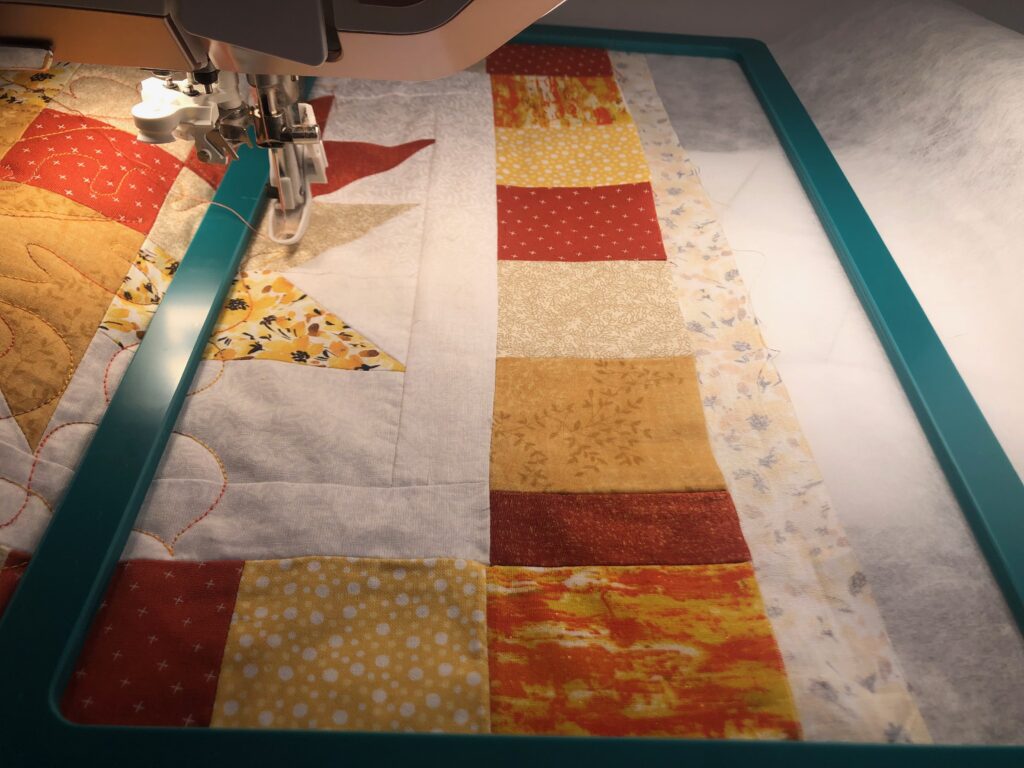
Magnetic hoops make even quicker work of the end-to-end quilting process, creating beautiful quilted leaves that are easily matched along the table runner length.
If you don’t have a magnetic hoop, Becky suggests to hoop the entire quilt sandwich without stabilizer. Utilize the placement aids you have with your machine to match the end and beginning of each design as you embroidery across the table runner length.
The end-to-end designs come in a variety of sizes – 13 are included with purchase. Use the size the closely corresponds to the table runner width. For the featured table runner, the 9×14 hoop size was used, which produces a design measuring 8 1/2″ x 13 1/2″. This size requires additional quilting of partial designs to fit the table runner length and width.
A magnetic hoop makes it easy to stitch partial designs, filling in along the side edges where the “main” designs along the center of the table runner don’t reach. Place a piece of Sulky Tear-Easy Stabilizer in the hoop, and then match the end-to-end beginning and ending stitches where needed. The design will stitch off the table runner edge onto the stabilizer, which is then torn away and trimmed after the quilting is complete.
You can also achieve this using traditional embroidery hoops, by using Sulky KK 2000 to secure the table runner to the hooped stabilizer.
Follow suit to quilt the table runner upper and lower edges, using partial designs and rotating the runner to avoid repeating patterns (orient it upside down, then right side up in the hoop to vary the pattern).
TABLE RUNNER FINISHING
Once the quilting is complete, remove any stabilizer, if needed. Then, trim the fabrics so the edges are even.
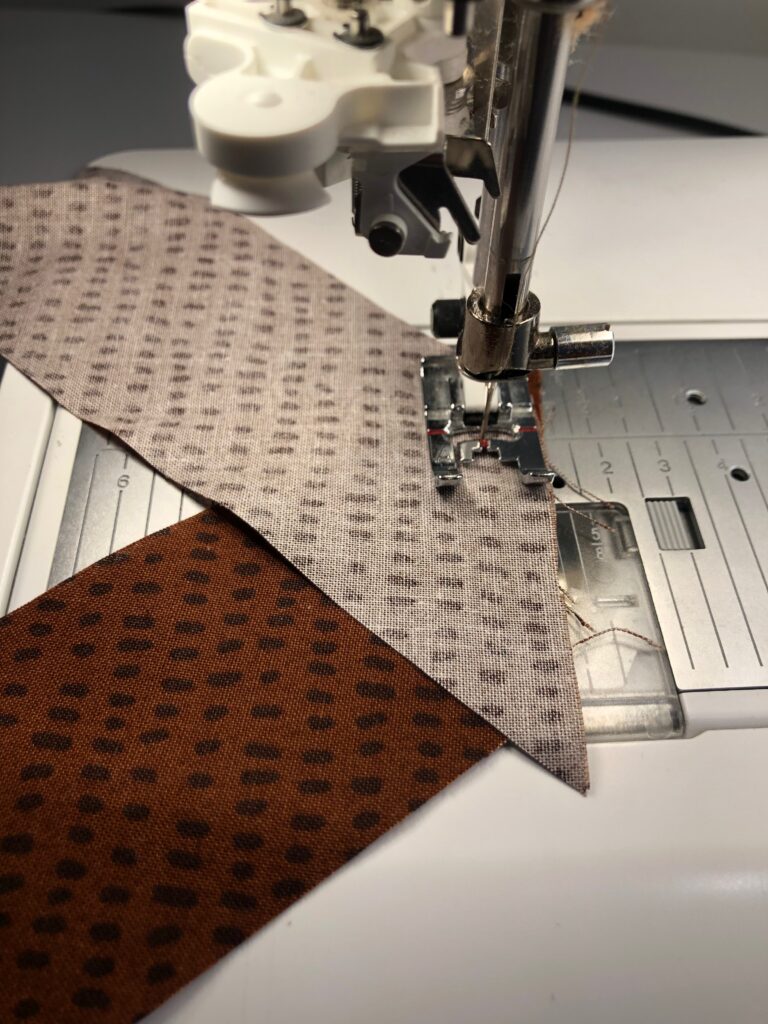
Create your own binding by piecing together bias-cut fabric strips measuring 2 1/4″ wide.
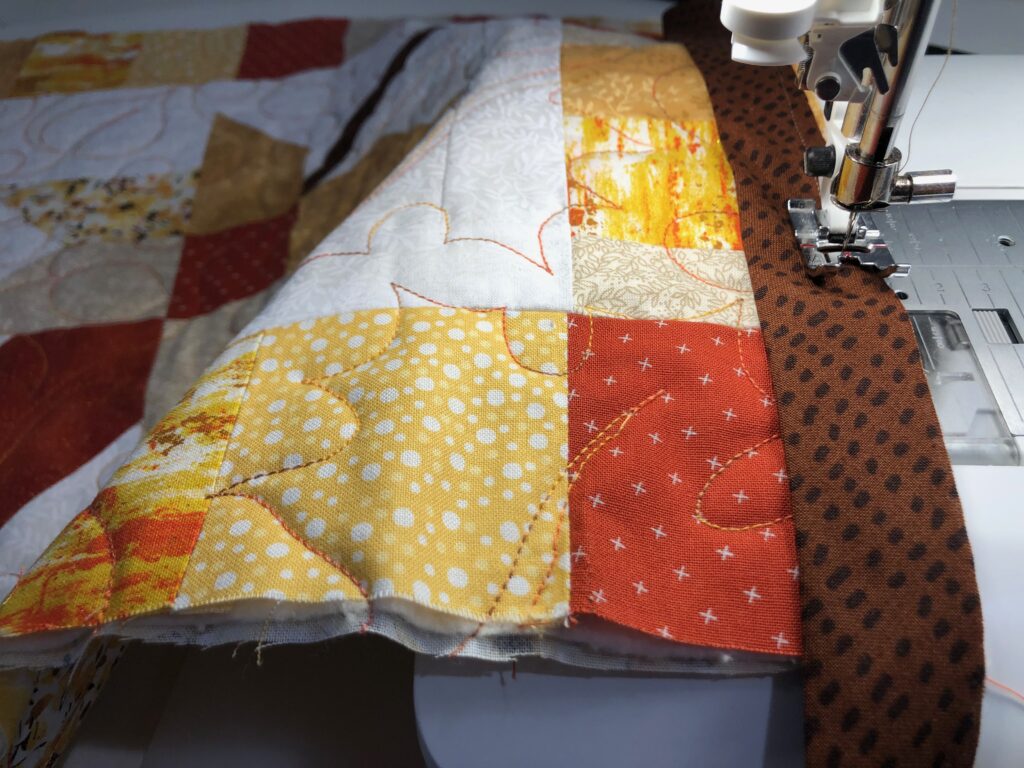
After piecing the binding strips, press open all the seams and trim the corner points. Then, fold the strip in half lengthwise with wrong sides together; press. Stitch the binding raw edge to the table runner from the top side, mitering the corners as you reach them. Here’s a time-lapse video showing how to apply self-made binding.
Wrap the binding around the table runner edge, and then pin or use Wonder Clips to secure. Hand sew the binding fold to the table runner backing.
Have fun displaying your quilted leaves table runner this fall!


Hello, I am wondering why there is no cutting instructions???? You have a diagram but how do I know what sizes to cut each piece?? I would like to do this project, but it is lacking some of the instructions. Sad Viewer Deborah
Hi Deborah,
The pattern is by Lindsey Weight of Primrose Cottage Quilts. The link to purchase her pattern is a hyperlink in the supply list (and here for easy retreival: https://www.anniescatalog.com/detail.html?prod_id=160862&cat_id=1644). I used her pattern to illustrate how to also use end-to-end quilting designs and how to work with Sulky 30 wt. Blendables thread for beautiful quilting results. I would never want to give away her instructions, as she worked hard to create this pattern and it is her property. I apologize that you feel mislead. It is a beautiful design and, I think, offered at a fair and affordable price. I hope you give it a try!
Ellen, can you please to me where I can find more information on magnetic hoops? Is there one you prefer and should you purchase more than one size?
Hi Erin,
Here is where I began my research: https://www.shop.dzgns.com/collections/designs-in-machine-embroidery-snap-hoop-hooping-systems
I recommend getting the sizes you use most often – perhaps a small and a very large to give you lots of capabilities.