Rag Quilt Tutorial for Beginner Quilters
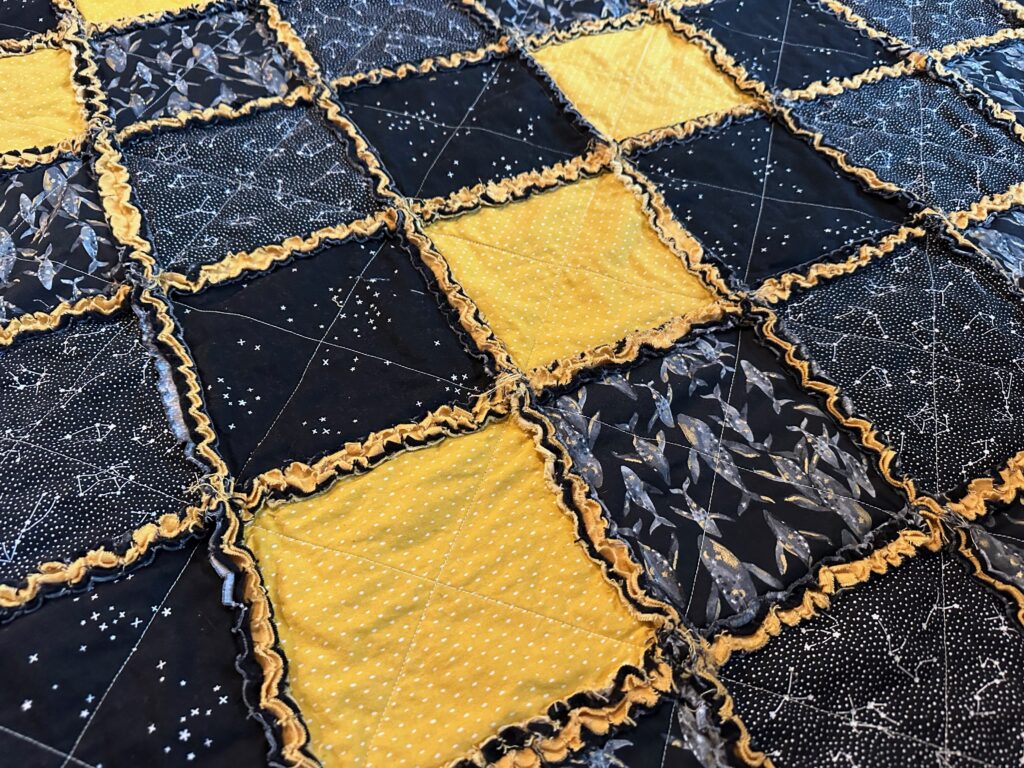
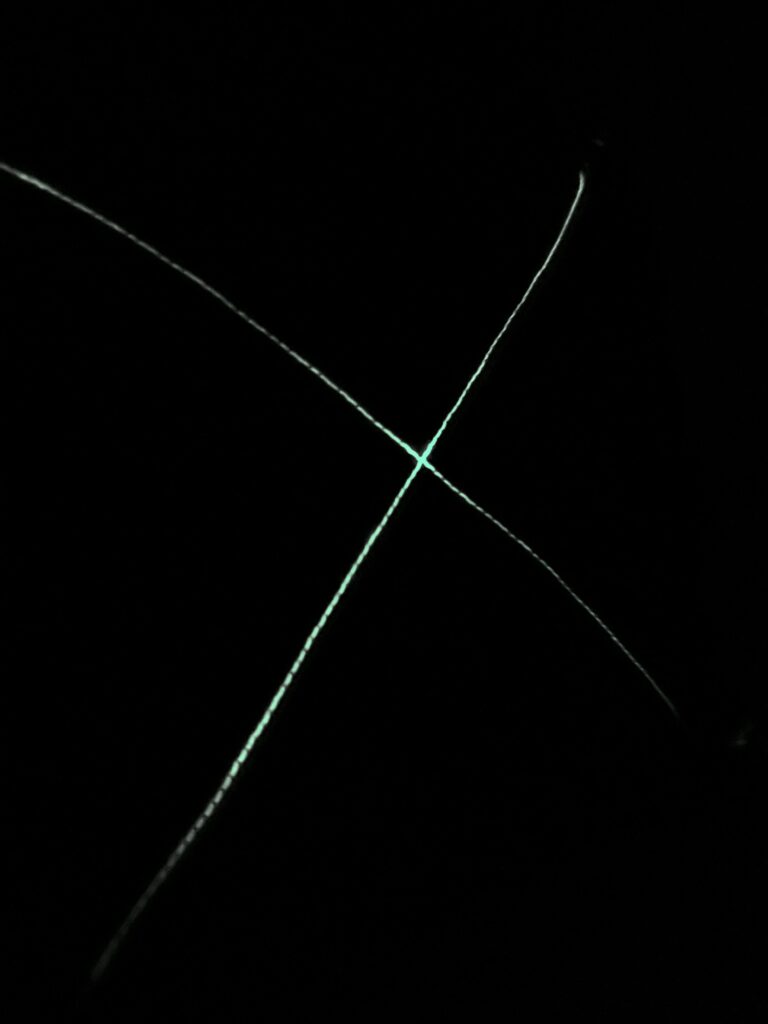
A Rag Quilt is named as such due to its ragged, or frayed, edges visible on the quilt top. Each block is assembled with the top, middle and backing fabrics quilted prior to construction. Then, the pieces are sewn with wrong sides together so the seam allowances are exposed and showing from the front. This creates a vintage-style look with extra comfy and plush textures. This featured Rag Quilt is quilted with Sulky Glowy Thread, so it glows in the dark once charged by a light source. This is a fun addition for a kid’s quilt or outdoor camping throw. For National Quilting Day, try something new and make a Rag Quilt that glows in the dark!
RAG QUILT SUPPLIES
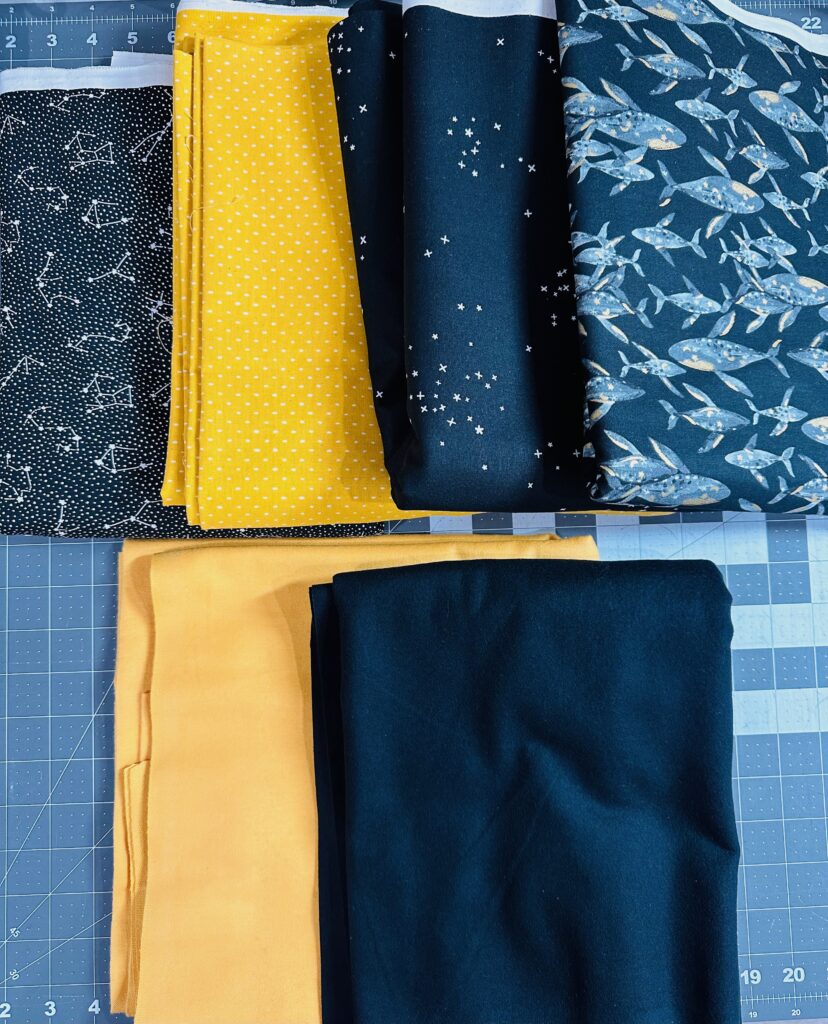
The supplies listed are enough to create a 46″ x 60″ throw-size quilt, perfect for a new baby gift.
- (4) 1-yard cuts of quilting cotton fabric (featured fabric from Cotton + Steel)
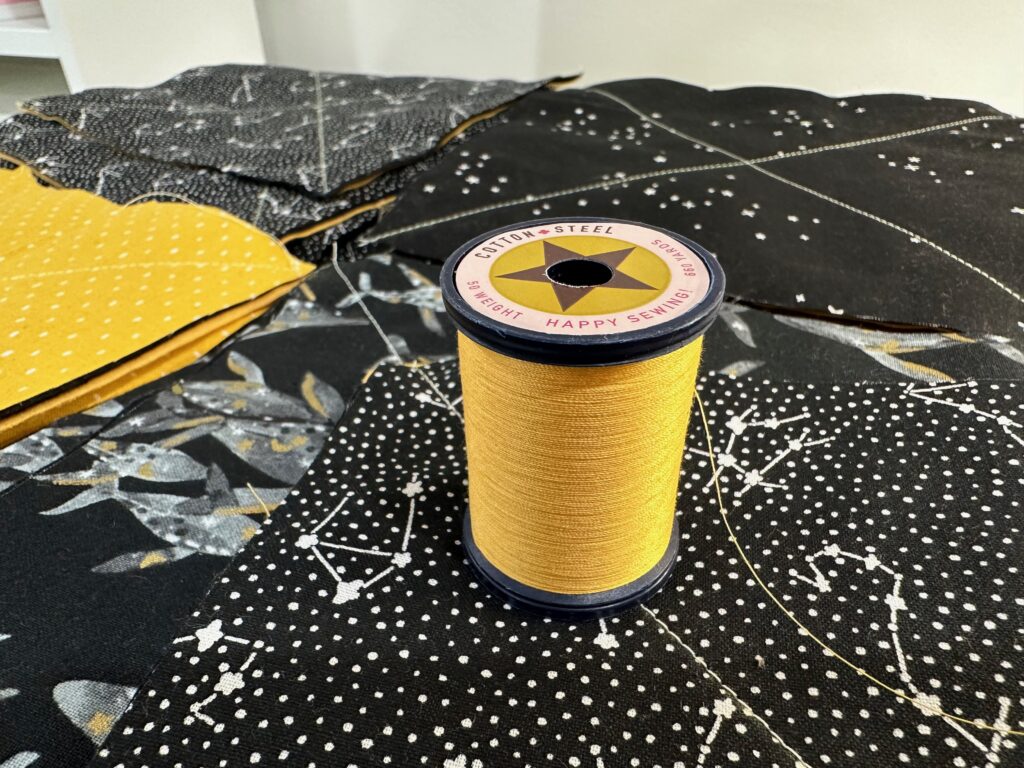
- Matching Cotton + Steel Thread by Sulky (construction)
- 3 5/8 yards each of two coordinating solid flannel fabrics (one for the middle layer; one for the backing layer)
- Sulky Glowy Thread (quilting)
- Organ® Needles: size 90/14 (quilting), size 70/10 Universal (construction)
- Sulky KK 2000™ Temporary Spray Adhesive
- Removable fabric marker or chalk
- Wonder Clips or pins
CUTTING & PREP
This Rag Quilt is made up of 63 blocks, consisting of the upper fabric, middle fabric and backing fabric. The blocks are arranged as nine rows of seven. Adjust the quilt size, block size and arrangement as desired to create a custom quilt for your needs.
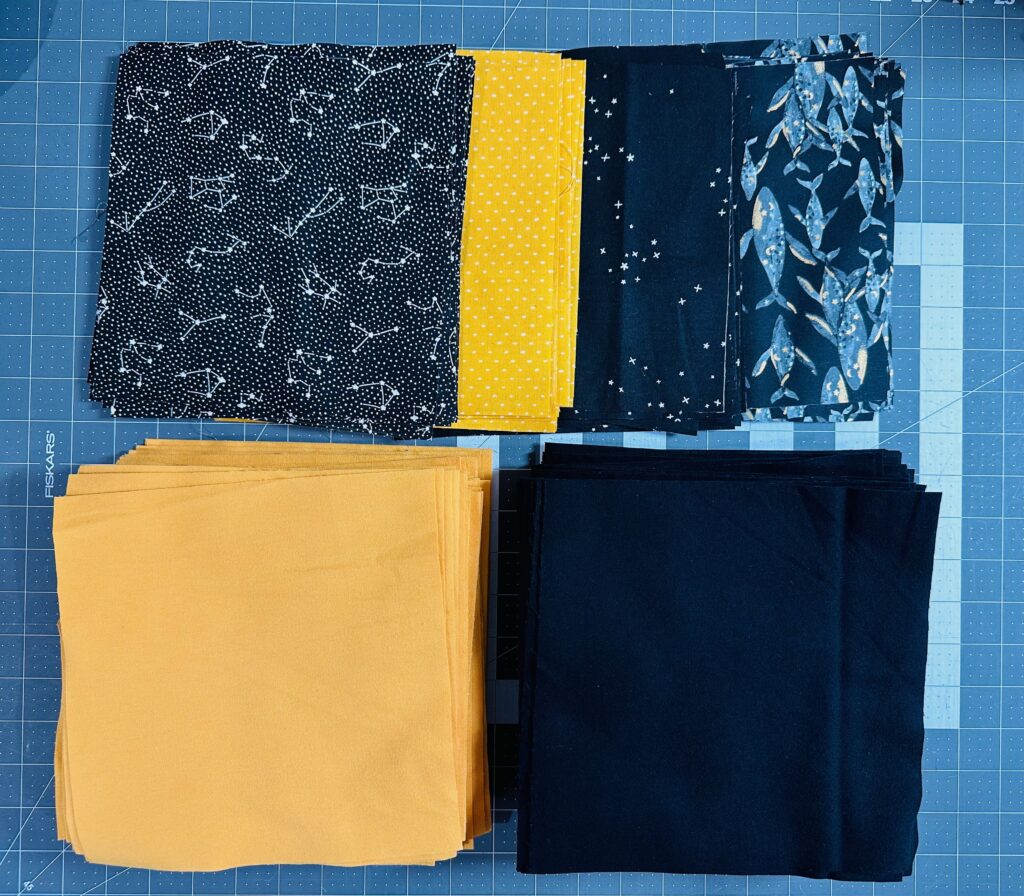
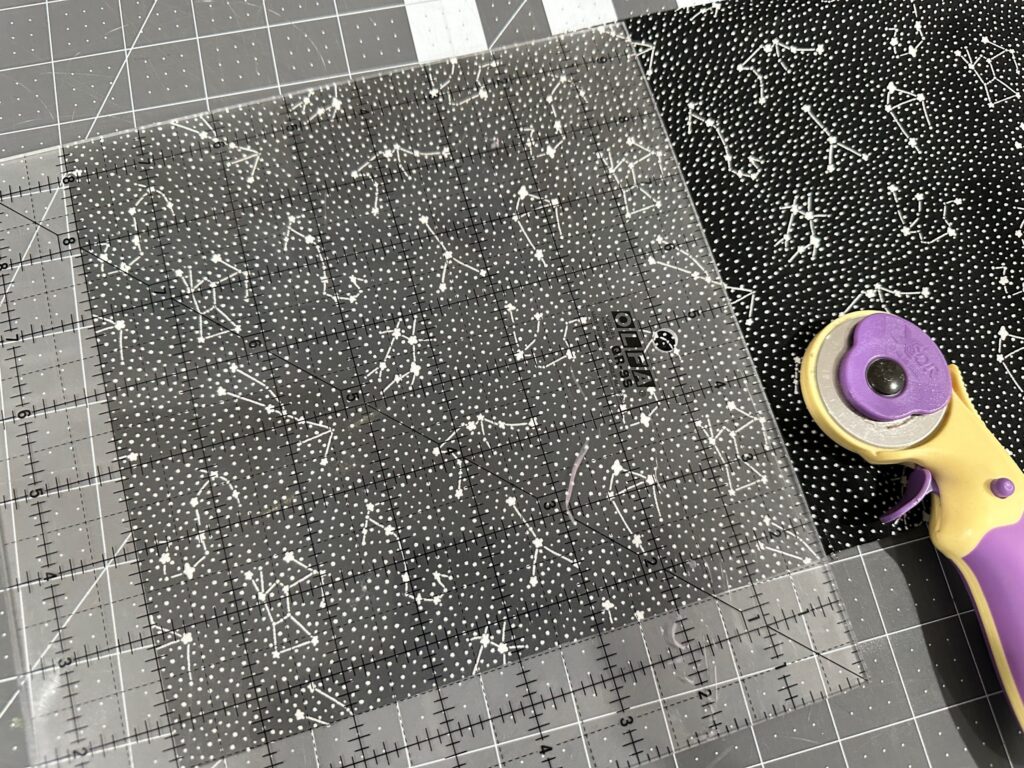
From each of the flannel fabrics, cut sixty three 8″ squares.
From each of the quilting cotton fabrics, cut sixteen 8″ squares. You will have a few leftover.
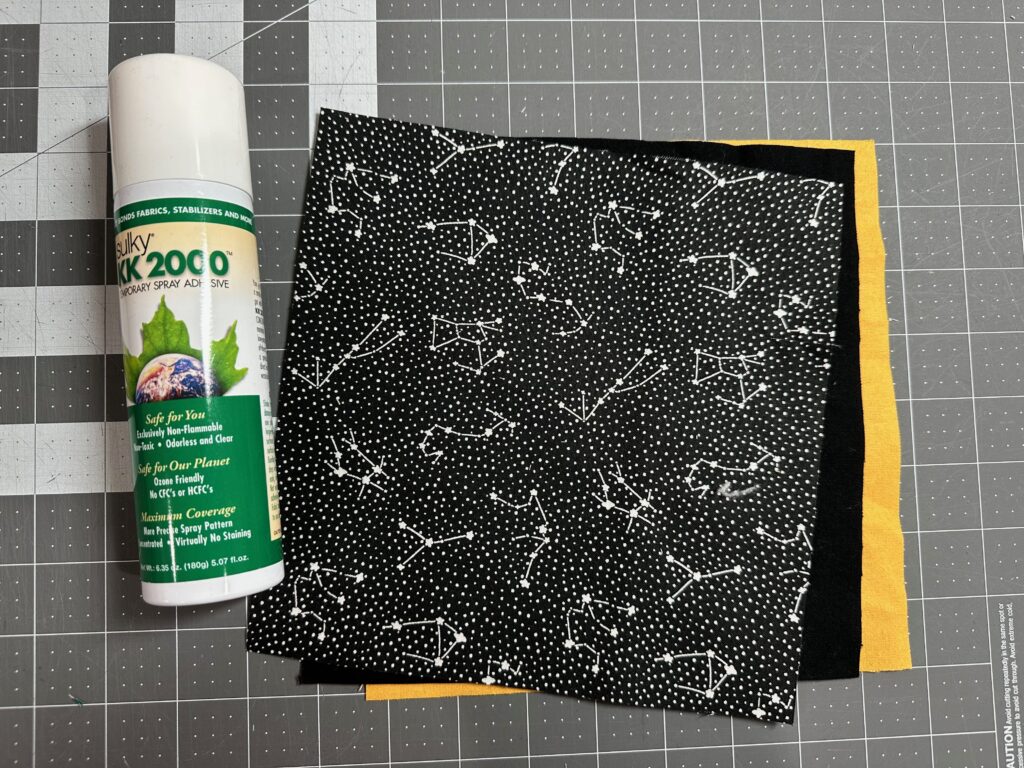
Place one backing square wrong side up on a flat work surface. Spray it lightly with Sulky KK 2000 Temporary Spray Adhesive.
Center a middle flannel square over the backing square, making sure all edges and corners are even. Then, place one cotton square over the middle square with the right side facing up. Use more KK 2000 to secure.
Repeat to create sixty three 8″ square quilt sandwiches.
QUILTING
Thread the needle with Sulky Glowy Thread. Glowy comes in several shades: white, yellow, pink, orange, blue and green. Choose the color that best coordinated with the fabric. When the thread glows, it will glow a greenish color regardless of the thread color used.
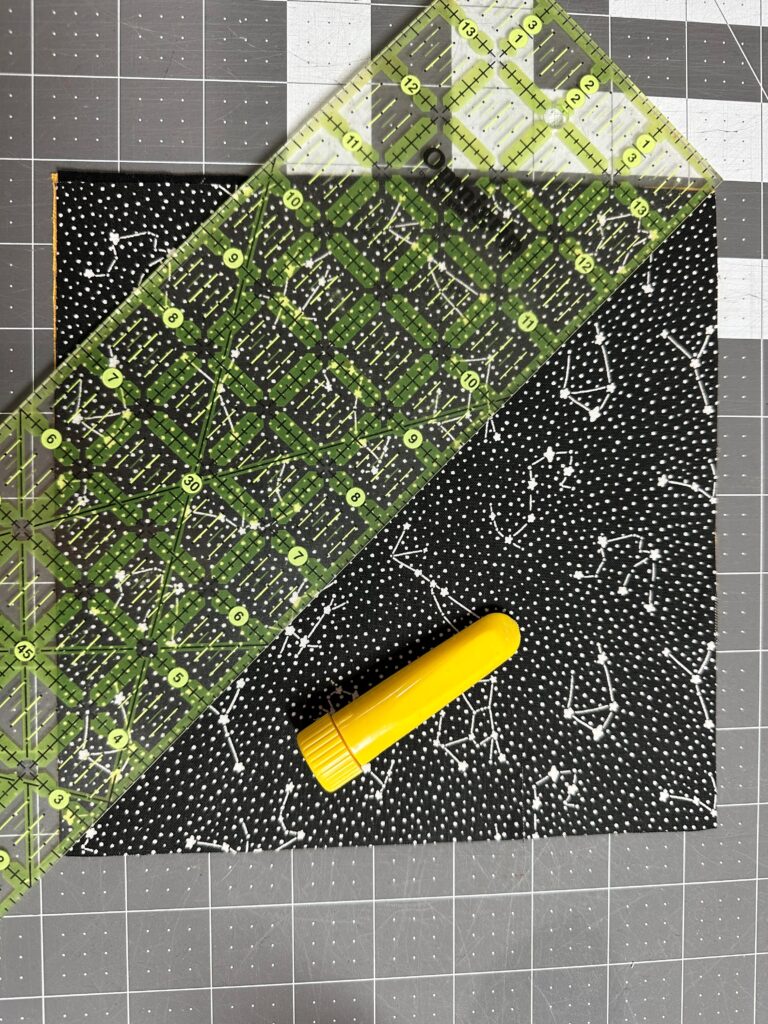
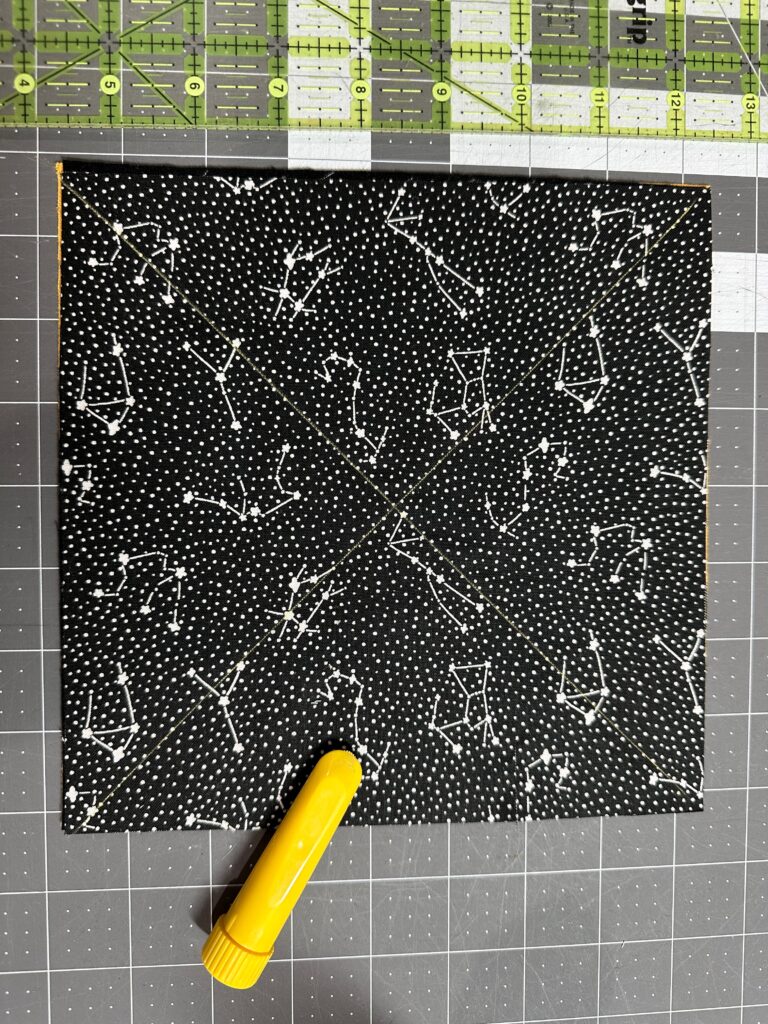
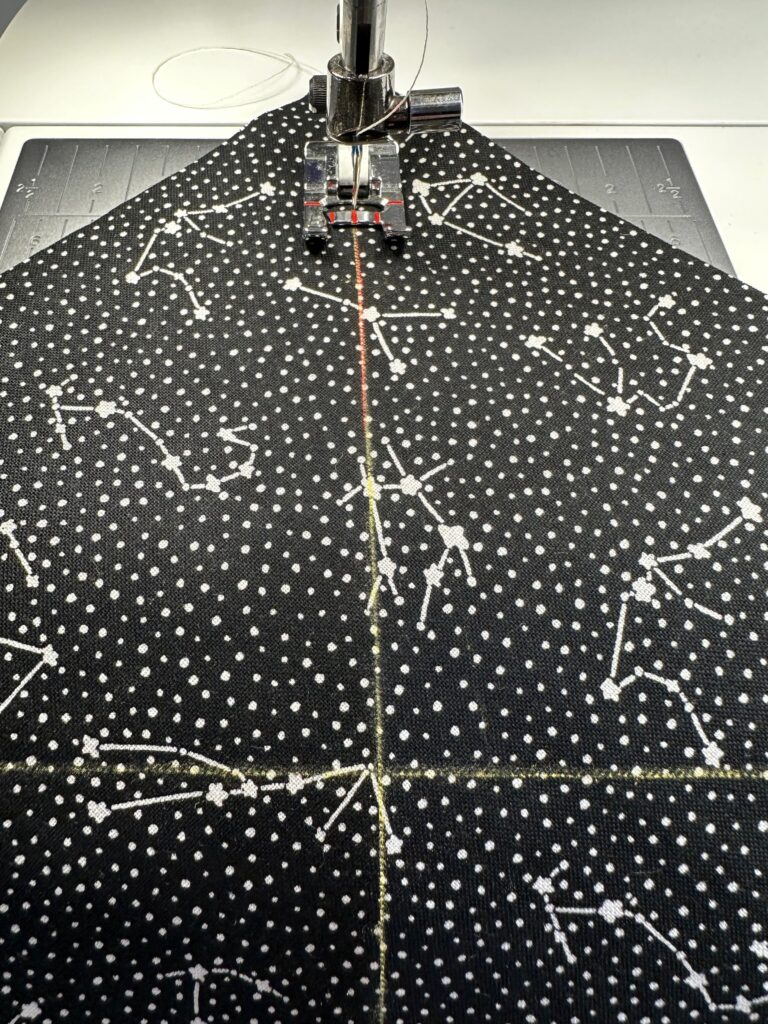
Using a removable fabric marker or chalk, mark each quilt sandwich from corner to corner, creating an “X”.
Then, stitch along the lines on each square.
After the quilting is complete, thread the needle with 50 wt. Cotton Thread.
QUILT ASSEMBLY
Place the quilt squares on a flat work surface (or floor) to plan the layout, with seven blocks across by nine blocks.
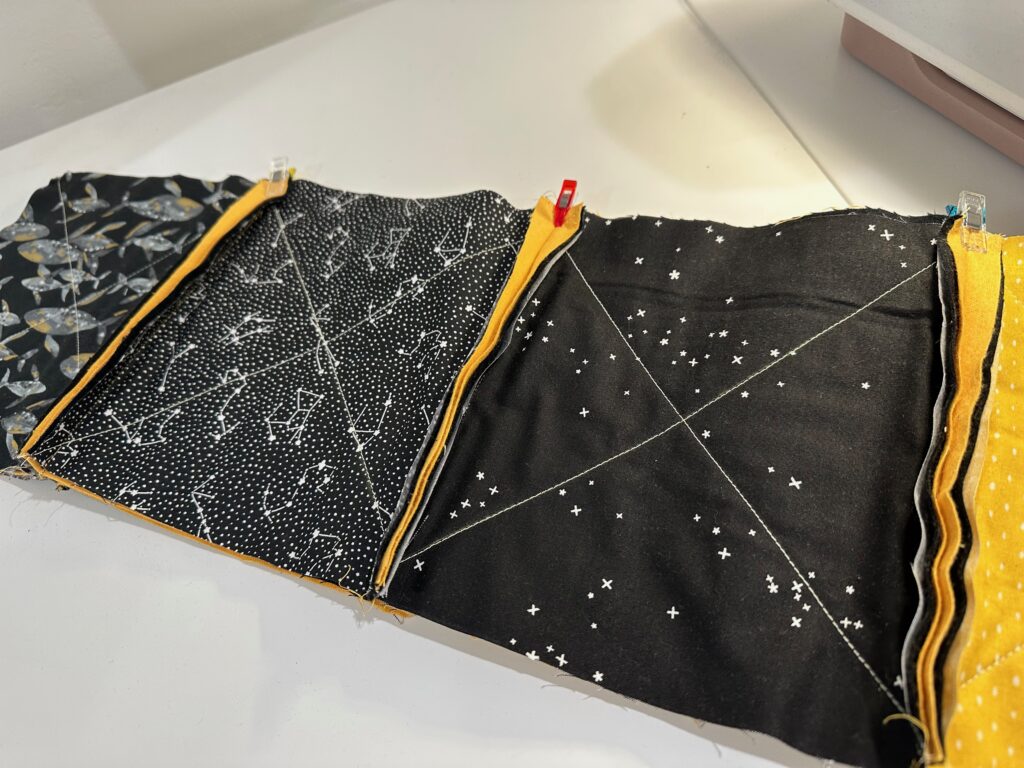
Place each block right sides together along their adjacent edge. Stitch at a 1/2″ seam allowance.
Then, place the rows together with wrong sides together, Finger-press open the seam allowances and match them; use Wonder Clips or pins to secure.
RAG QUILT FINISHING
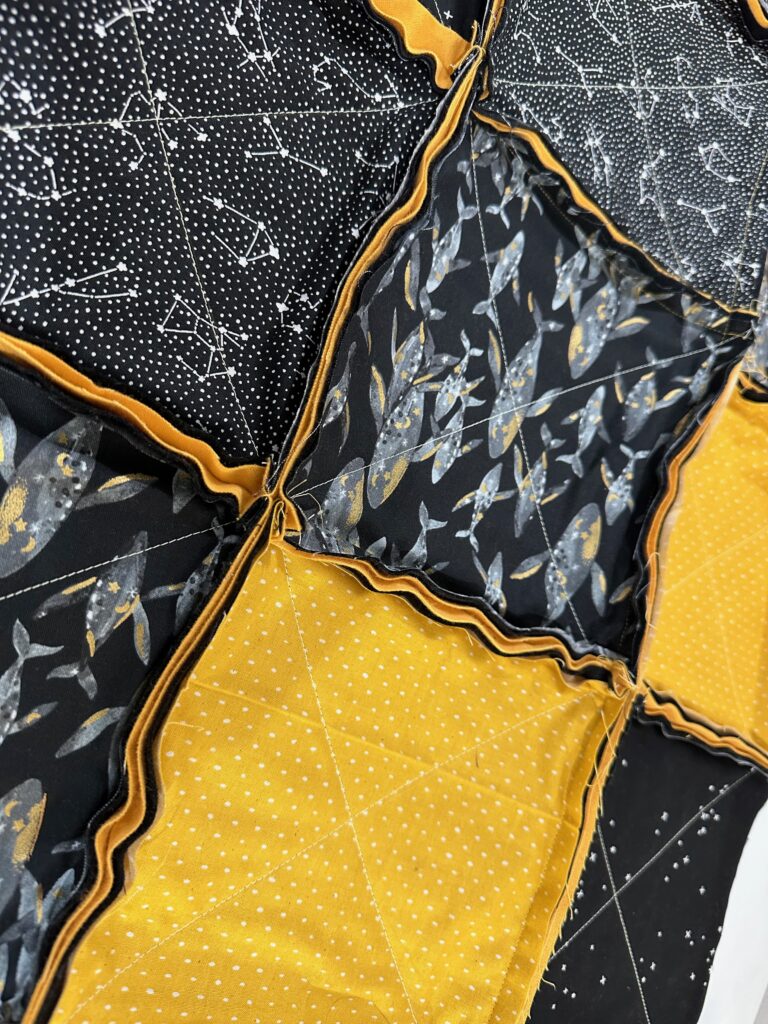
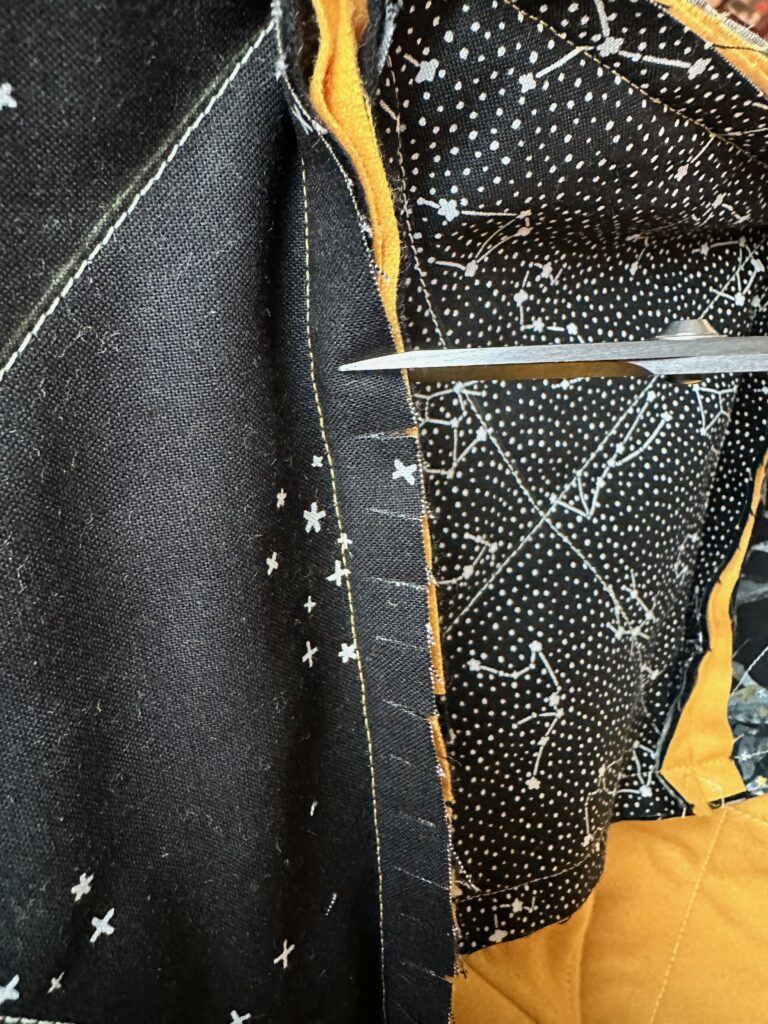
Clip into the seam allowances every 1/4″ to 1/2″, being careful to not snip into the stitching.
Then, wash the quilt so the clipped edges fray. The quilt will fray more and more as it’s washed, becoming softer and softer as it’s used.
“Charge” the Glowy Thread under a light source and then turn out the lights to watch it glow!


thank you
Thanks for this post! I’ve quilted for awhile but have never made one of these before. Now I have an embroidery machine and I think I’ll make one of these incorporating embroidery for each of my grandchildren and 3 baby girls to be born this year!
I’m glad you enjoy it! Thanks for reading.