Rainbow Bright Mug Pillow
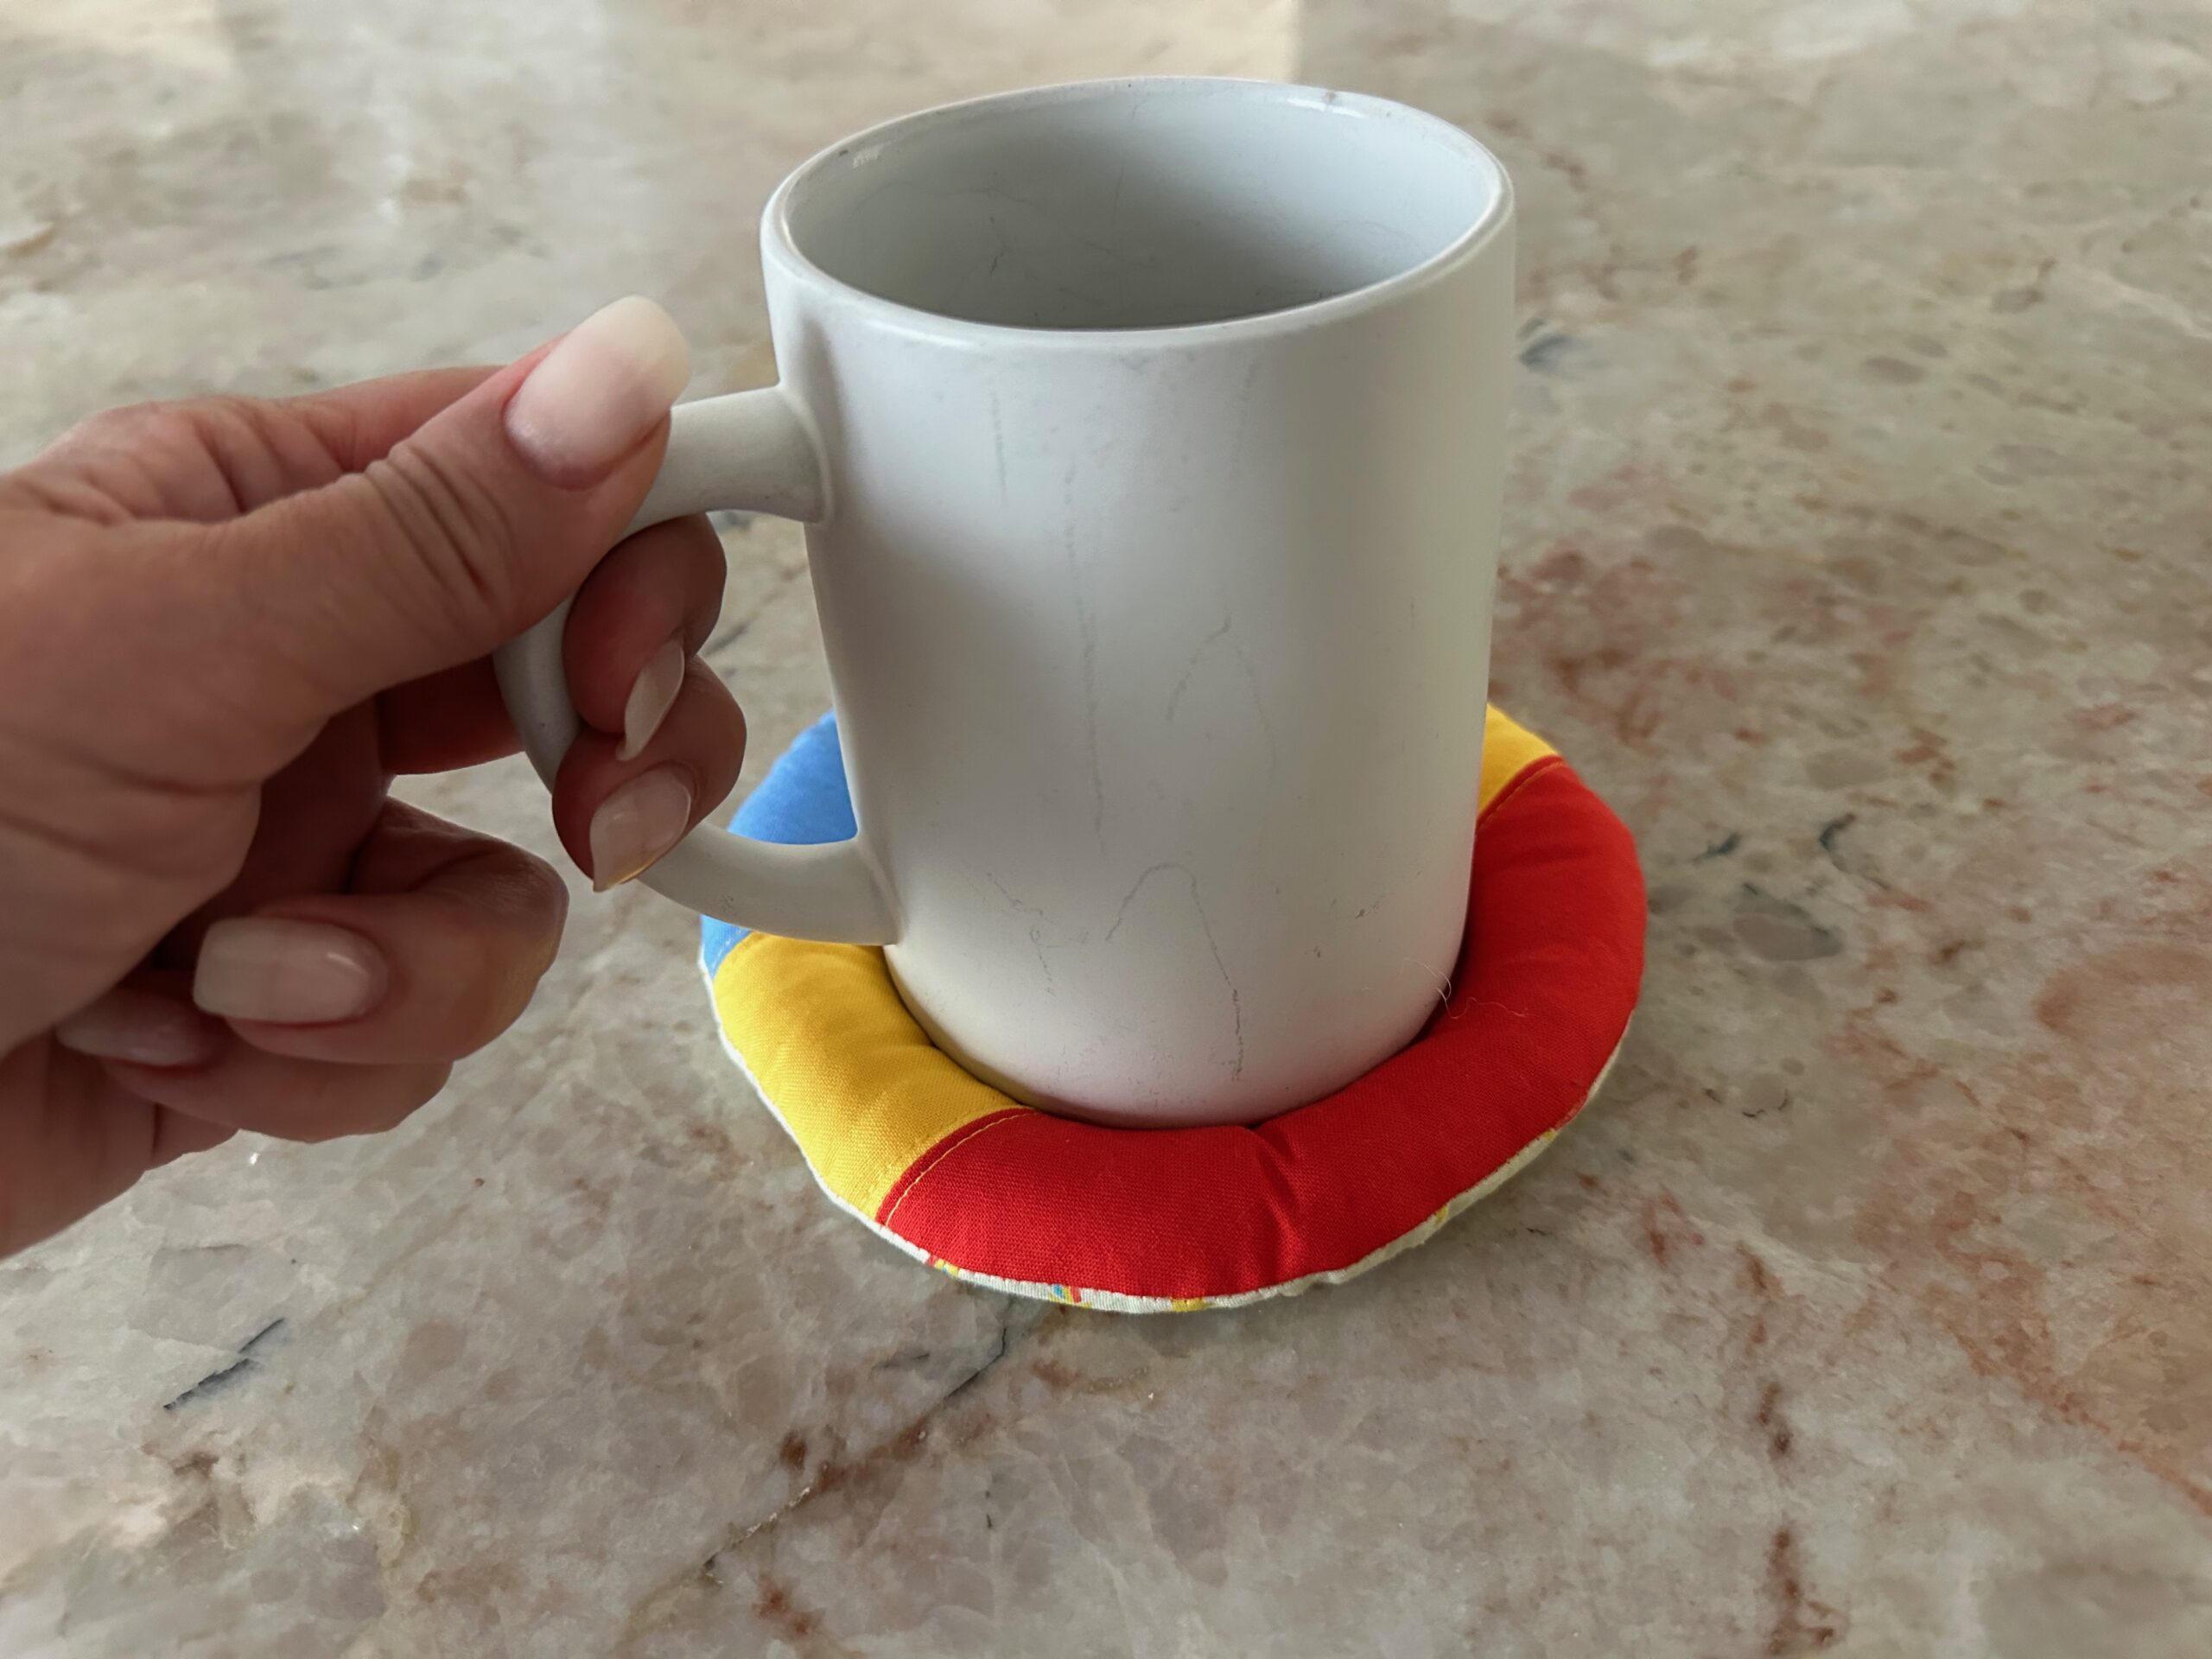
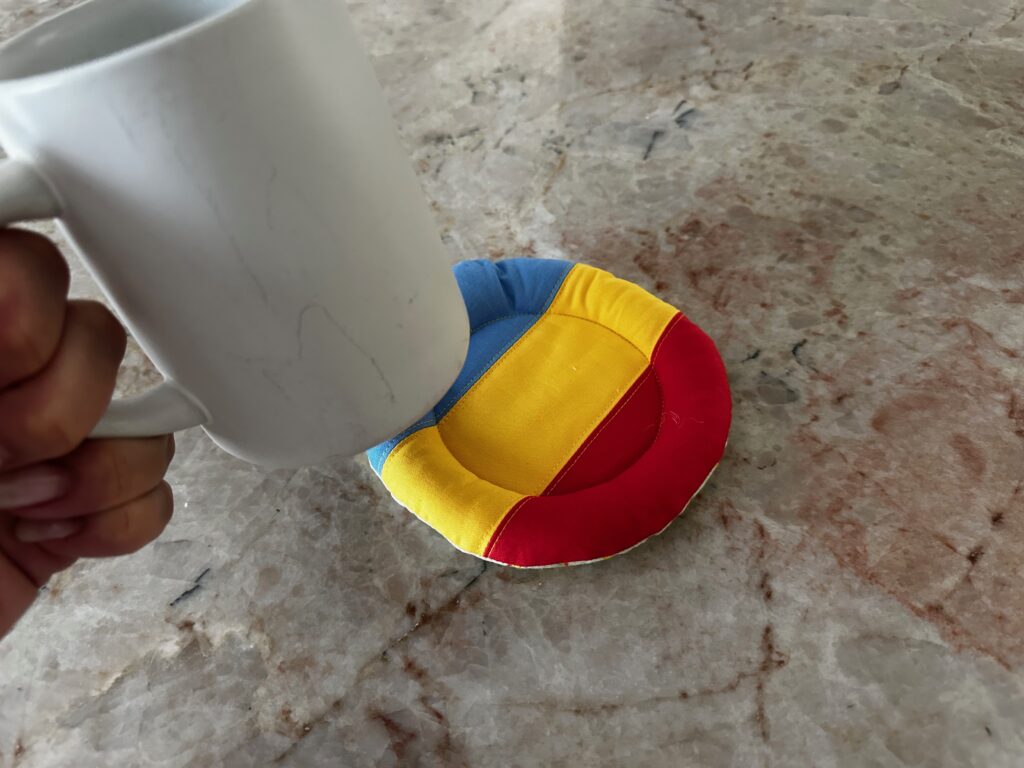
I came across a Mug Pillow (that’s what I’m calling it) video and had to figure out how to make it. (It looks a bit like a life raft, too.) The great thing about this Mug Pillow is that your mug nestles inside the outer edge, preventing spills. Plus, it’s insulated for hot beverages.
I changed up some things from the inspiration to suit what I had in my scrap bin and added the threads and interlinings I felt were suitable. This project makes a great end-of-year teacher gift. And it works any time of year to give to any tea or coffee lover. All credit goes to Art Gallery Fabrics, one of my favorite fabric companies, for posting the video that inspired it all! I encourage you to give them a follow, as they post beautiful, thoughtful videos like this quite often and they always get my creative juices flowing. because there were no instructions with the video, I decided to give it a whirl and share my findings with you!
I’m calling this the Rainbow Bright Mug Pillow because my print cotton fabric and color palette reminds me of the character Rainbow Brite, and I’m using Insul-bright batting to ensure the heat from my coffee mug doesn’t transfer to my table surface when the Mug Hug is in use. See what I did there?
Mug Pillow Supplies
- Sulky 50 wt. Cotton Thread (featured: Rainbows & Unicorns Palette)
- Various coordinating fabric strips
- 7″ square of backing fabric
- Low-loft cotton batting
- Insulated batting (such as Insul-bright™)
- Polyester fiberfill
- KK2000 Temporary Spray Adhesive
- Clover® Wonder Clips
Create the Mug Pillow Pattern
Grab a favorite mug and use it to make the pattern.
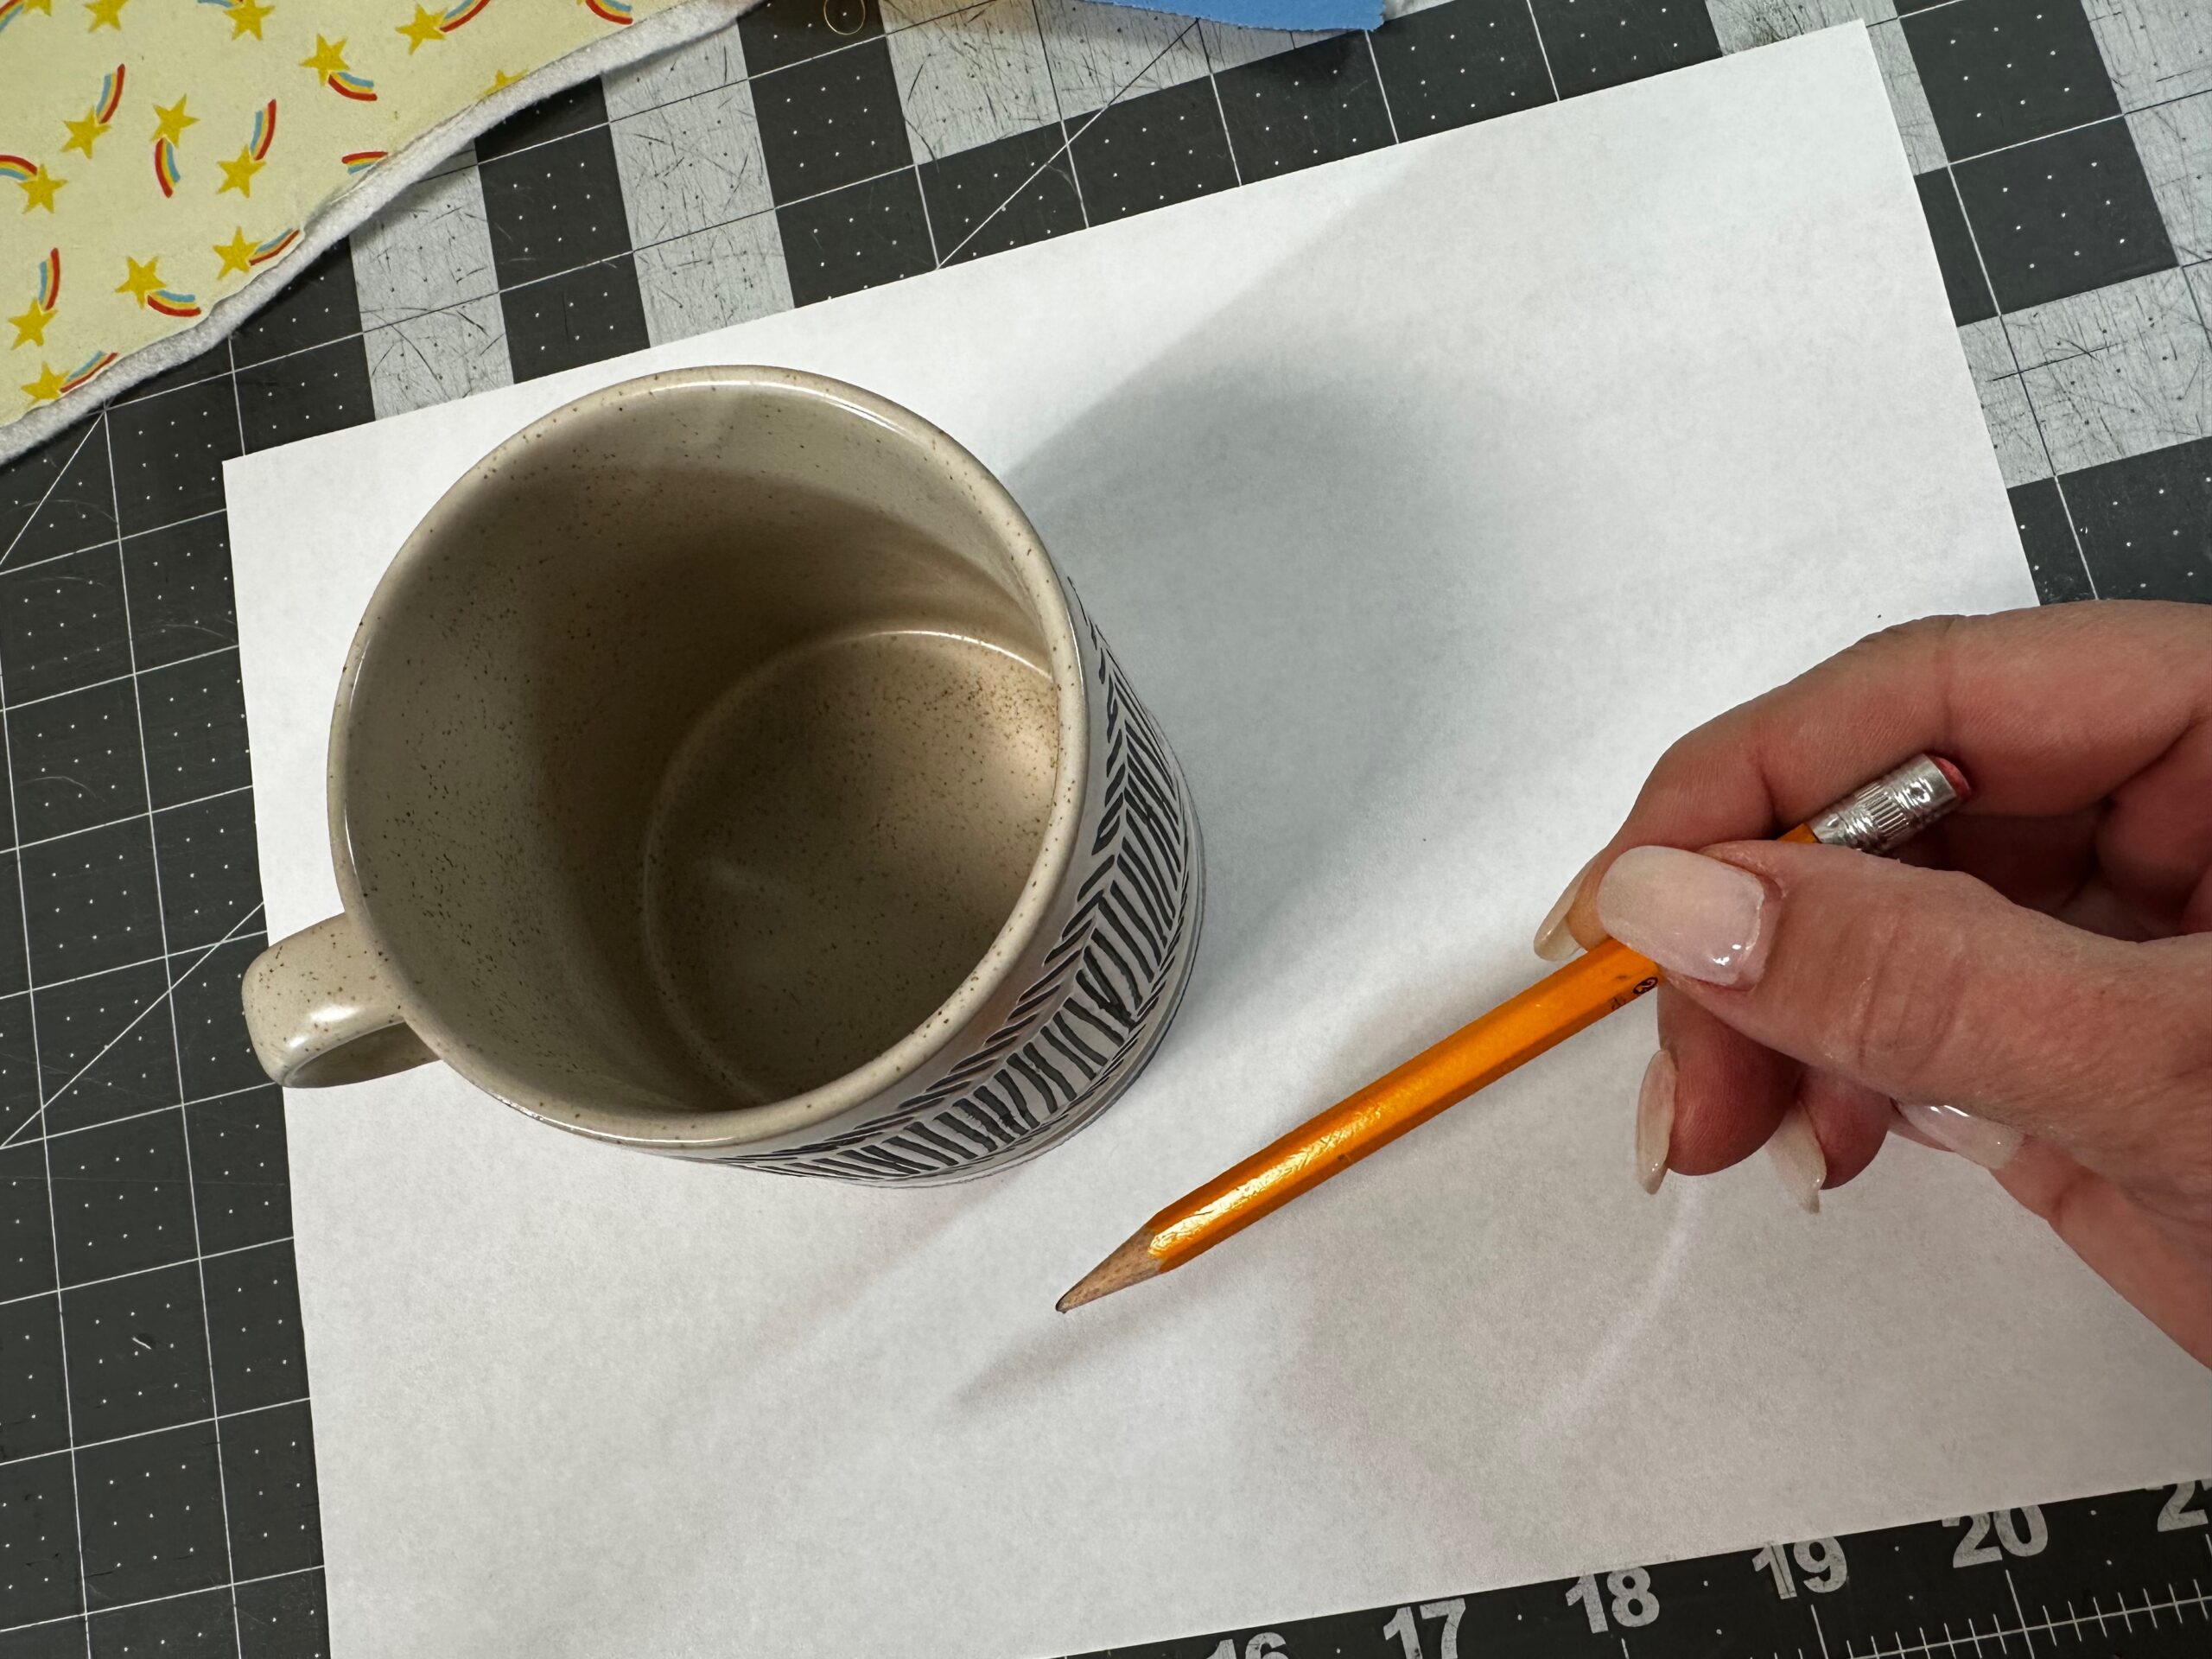
Outline the base shape onto a piece of paper.
Then, draw a line 1 1/2″ away from the outline.
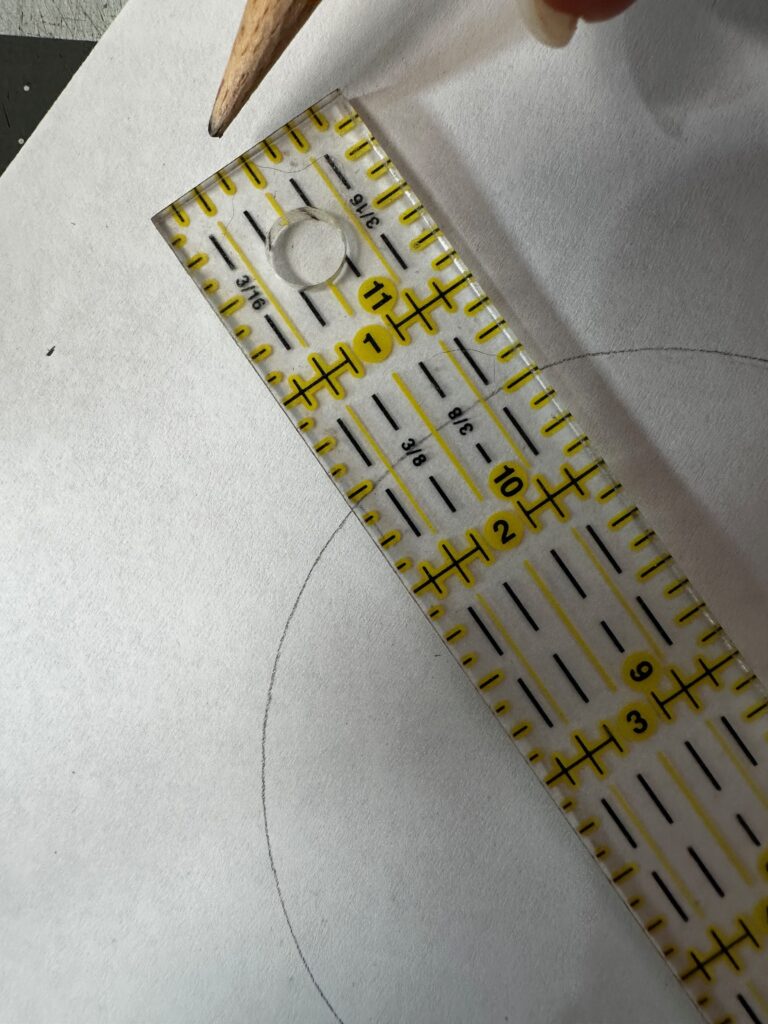

Cut the pattern out along the outermost line.
Mug Pillow Top
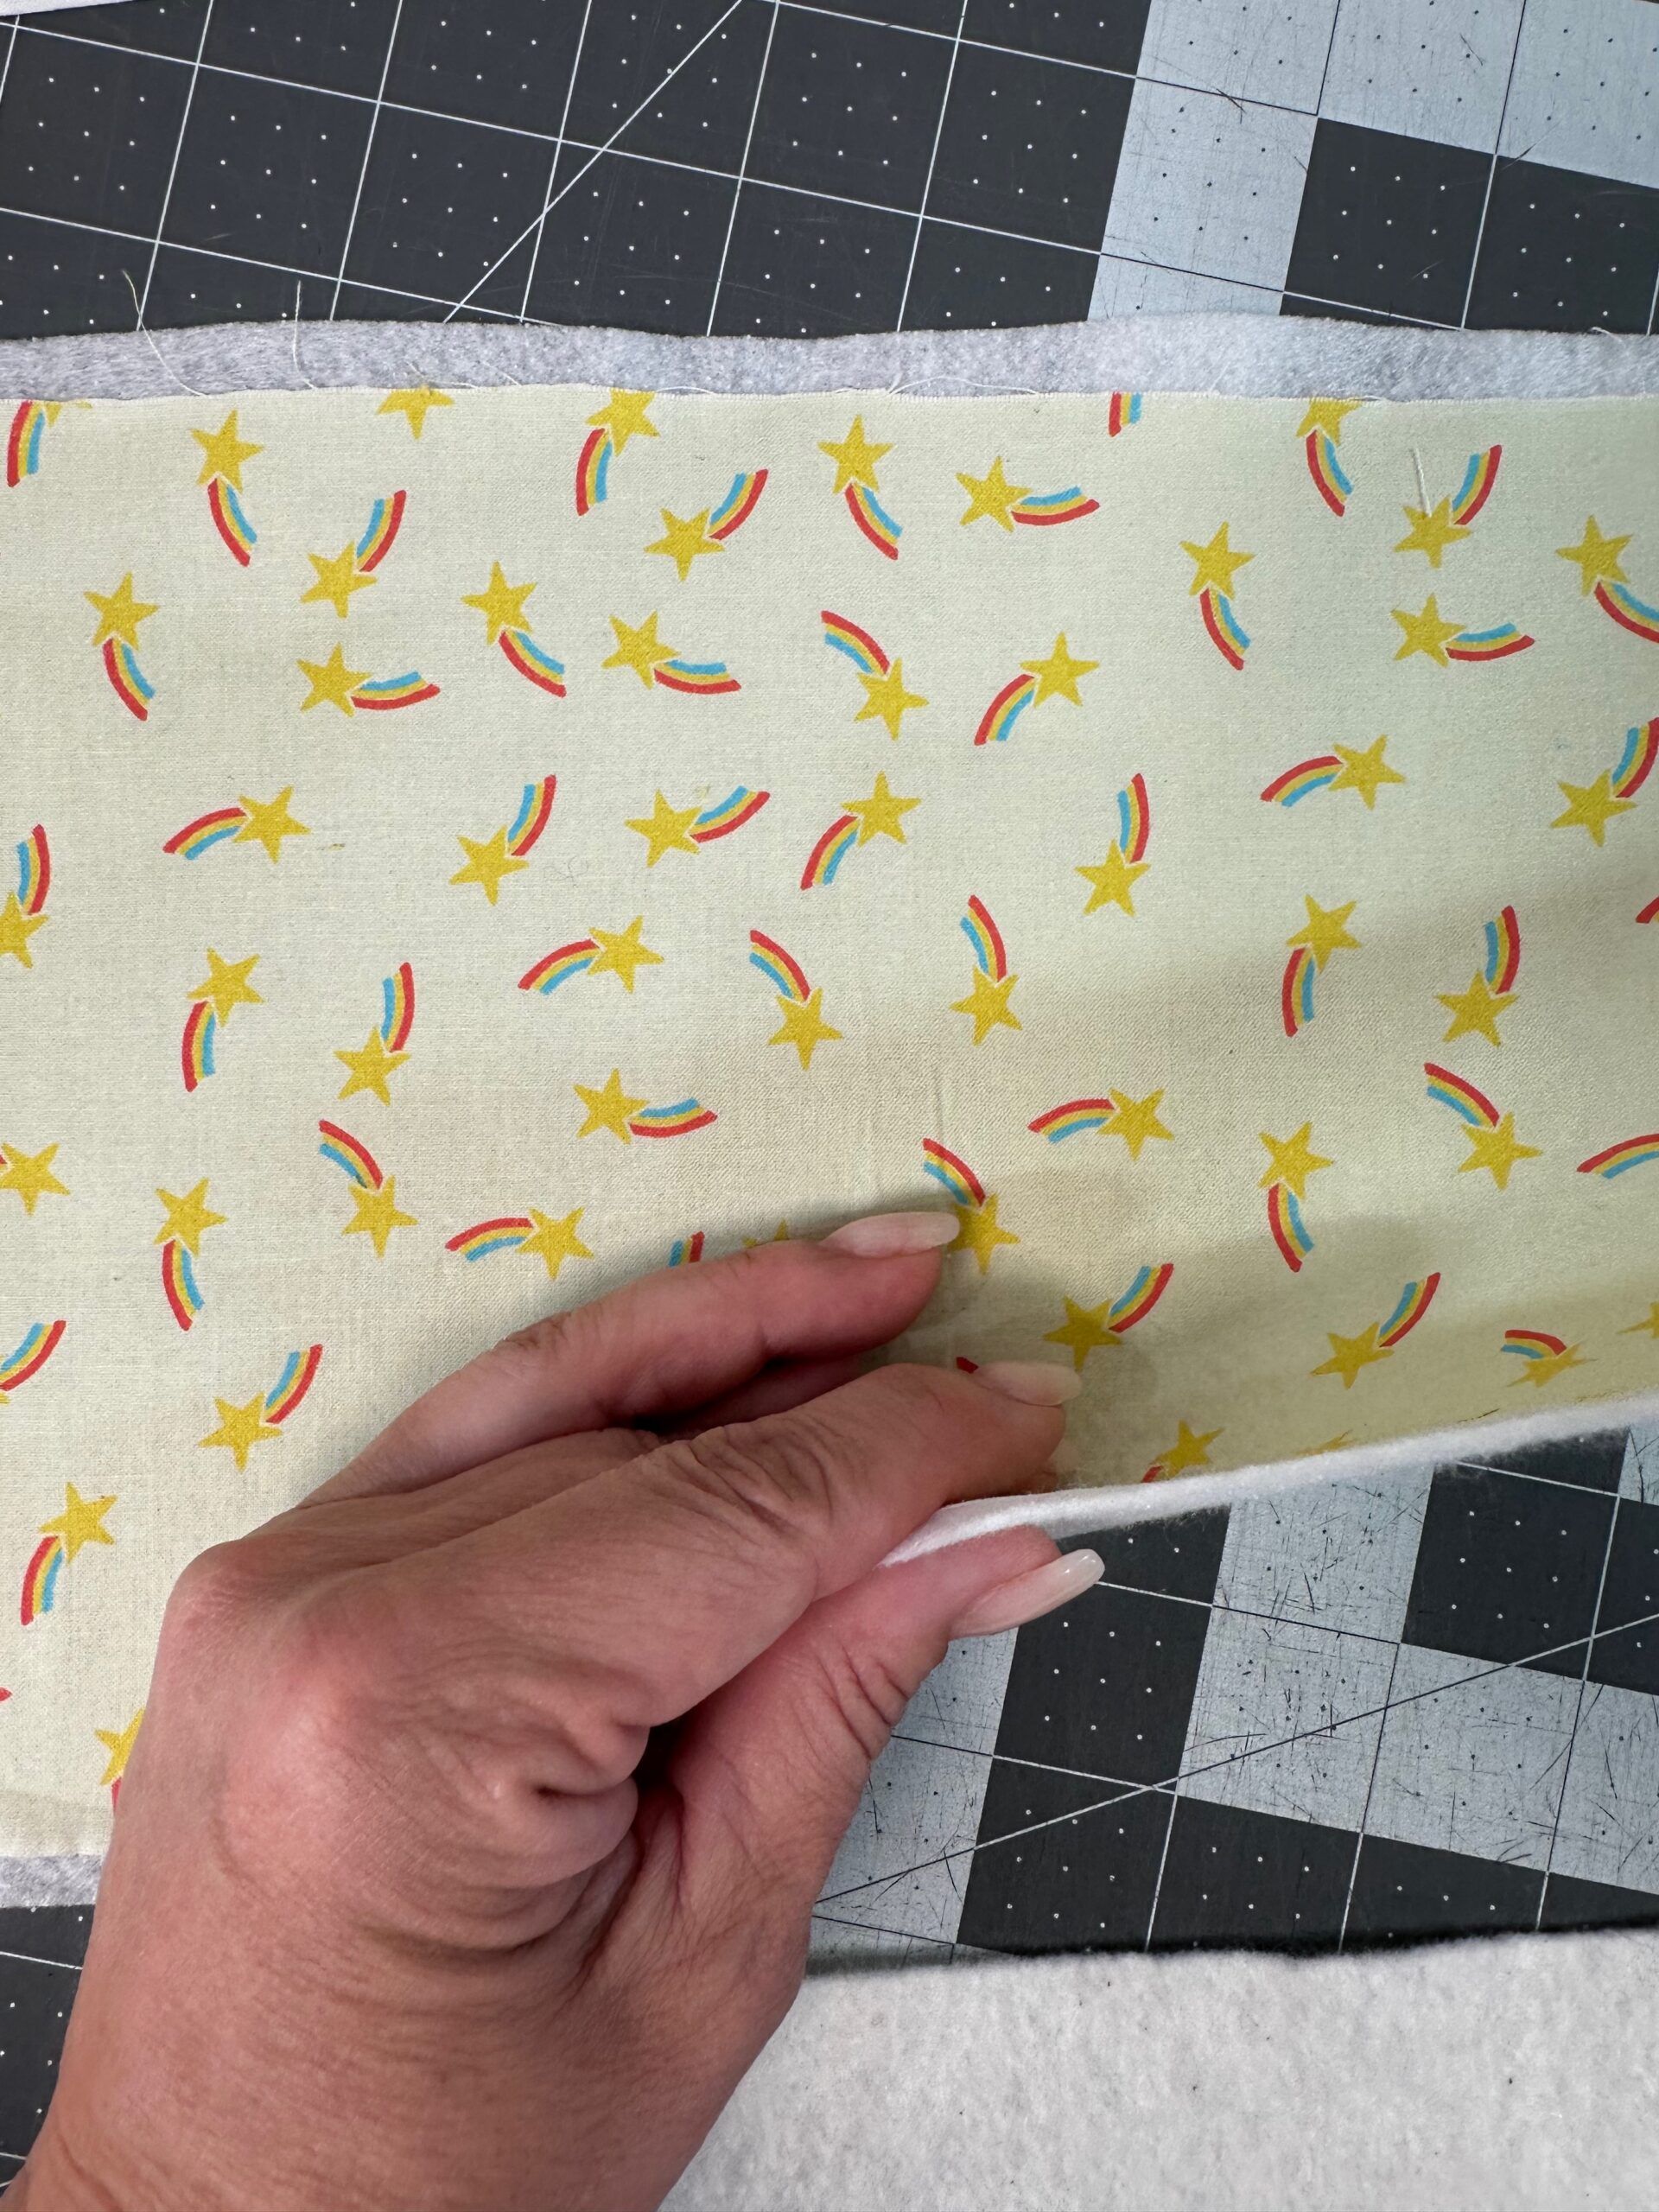
For the Mug Pillow top, piece together fabric strips of any width until you have a square/rectangle that is larger than the circle pattern (approximately 7″ square). I used leftover 2 1/2″-wide fabric strips from a jelly roll. But the Art Gallery video post suggests using 1 1/2″ x 7″ strips. (You could also use one fabric for the top and cut a 7″ square.)
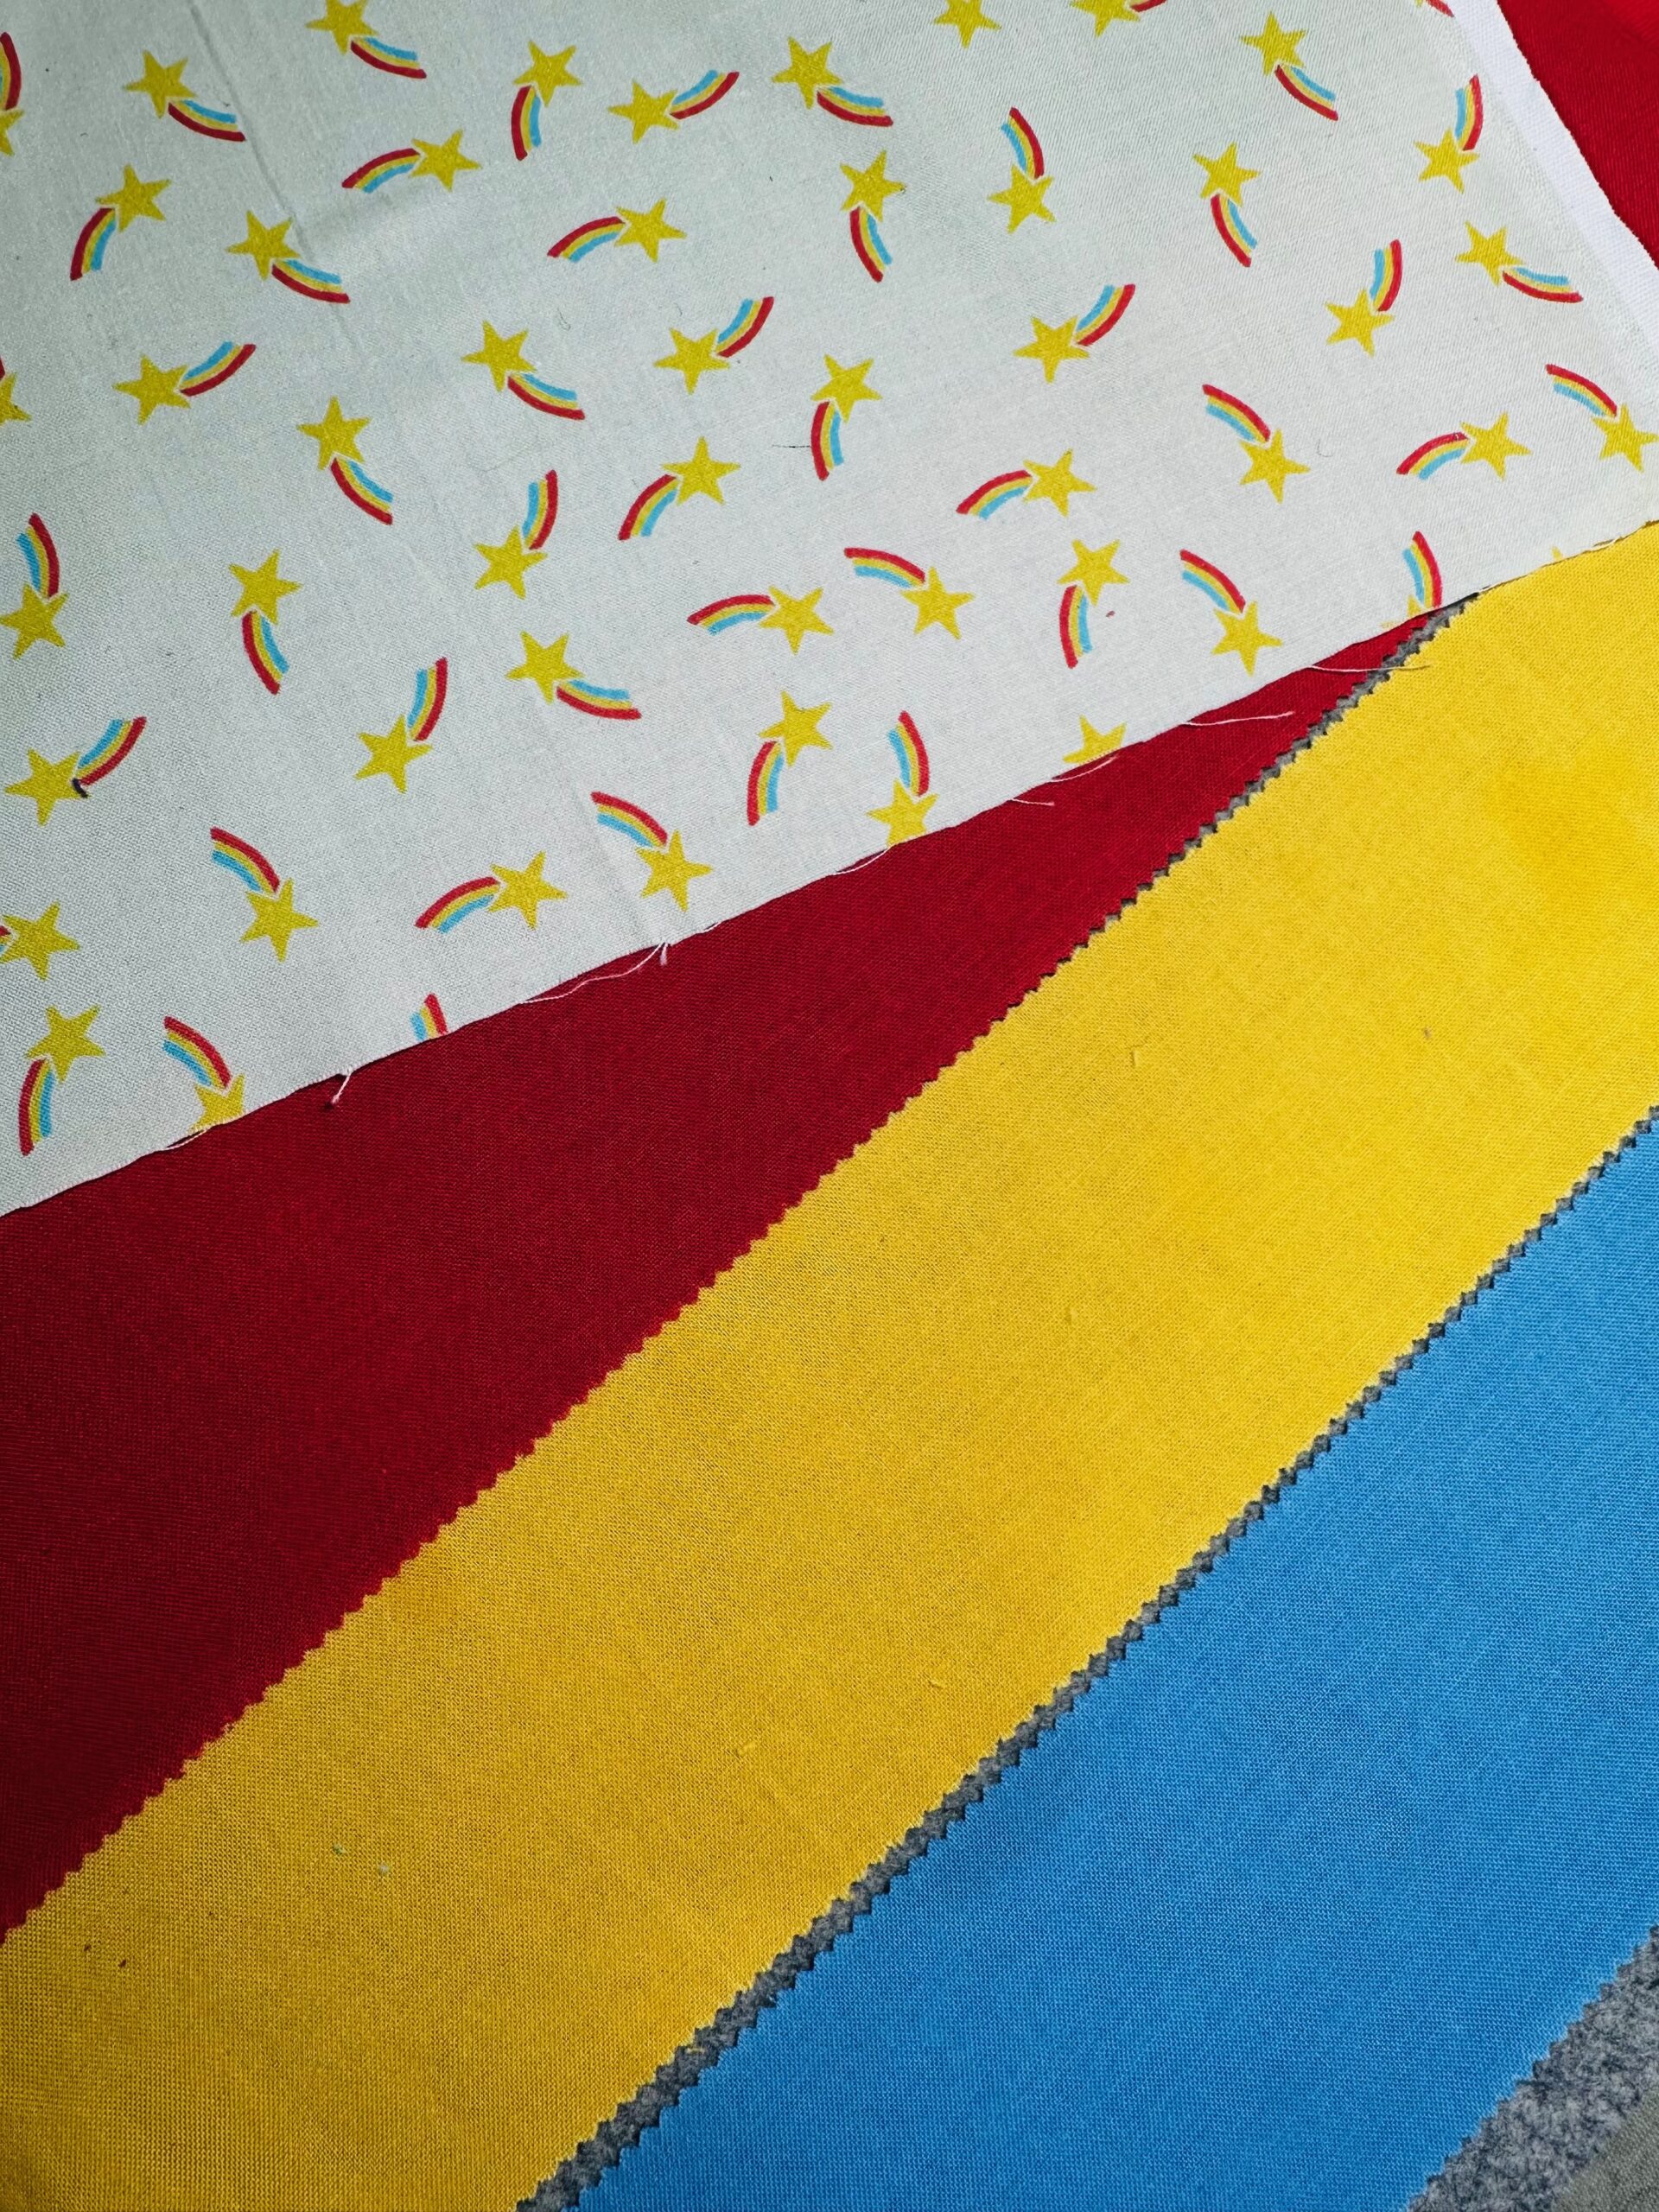
Press the seams open or toward the darker fabric.
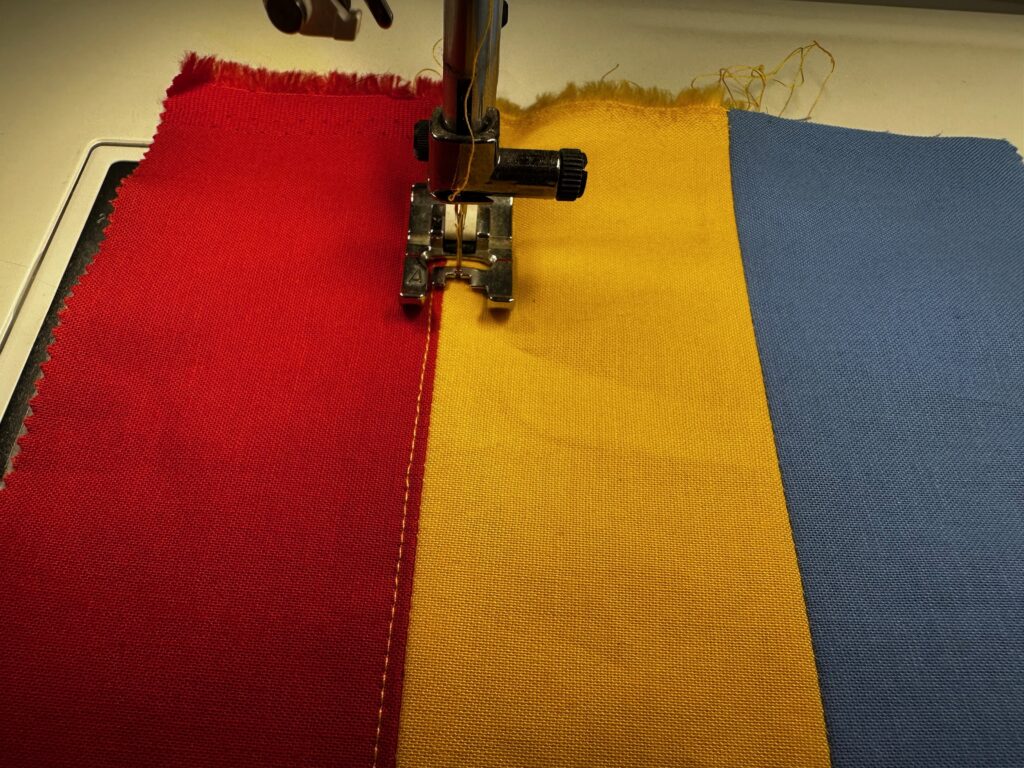
Next, layer the Mug Pillow top over a piece of cotton batting. Use Sulky KK2000 Temporary Spray Adhesive to adhere the layers. Then, quilt the top in the manner of your choice. Note: the inspiration video did not include quilting, but I think it adds a nice touch!
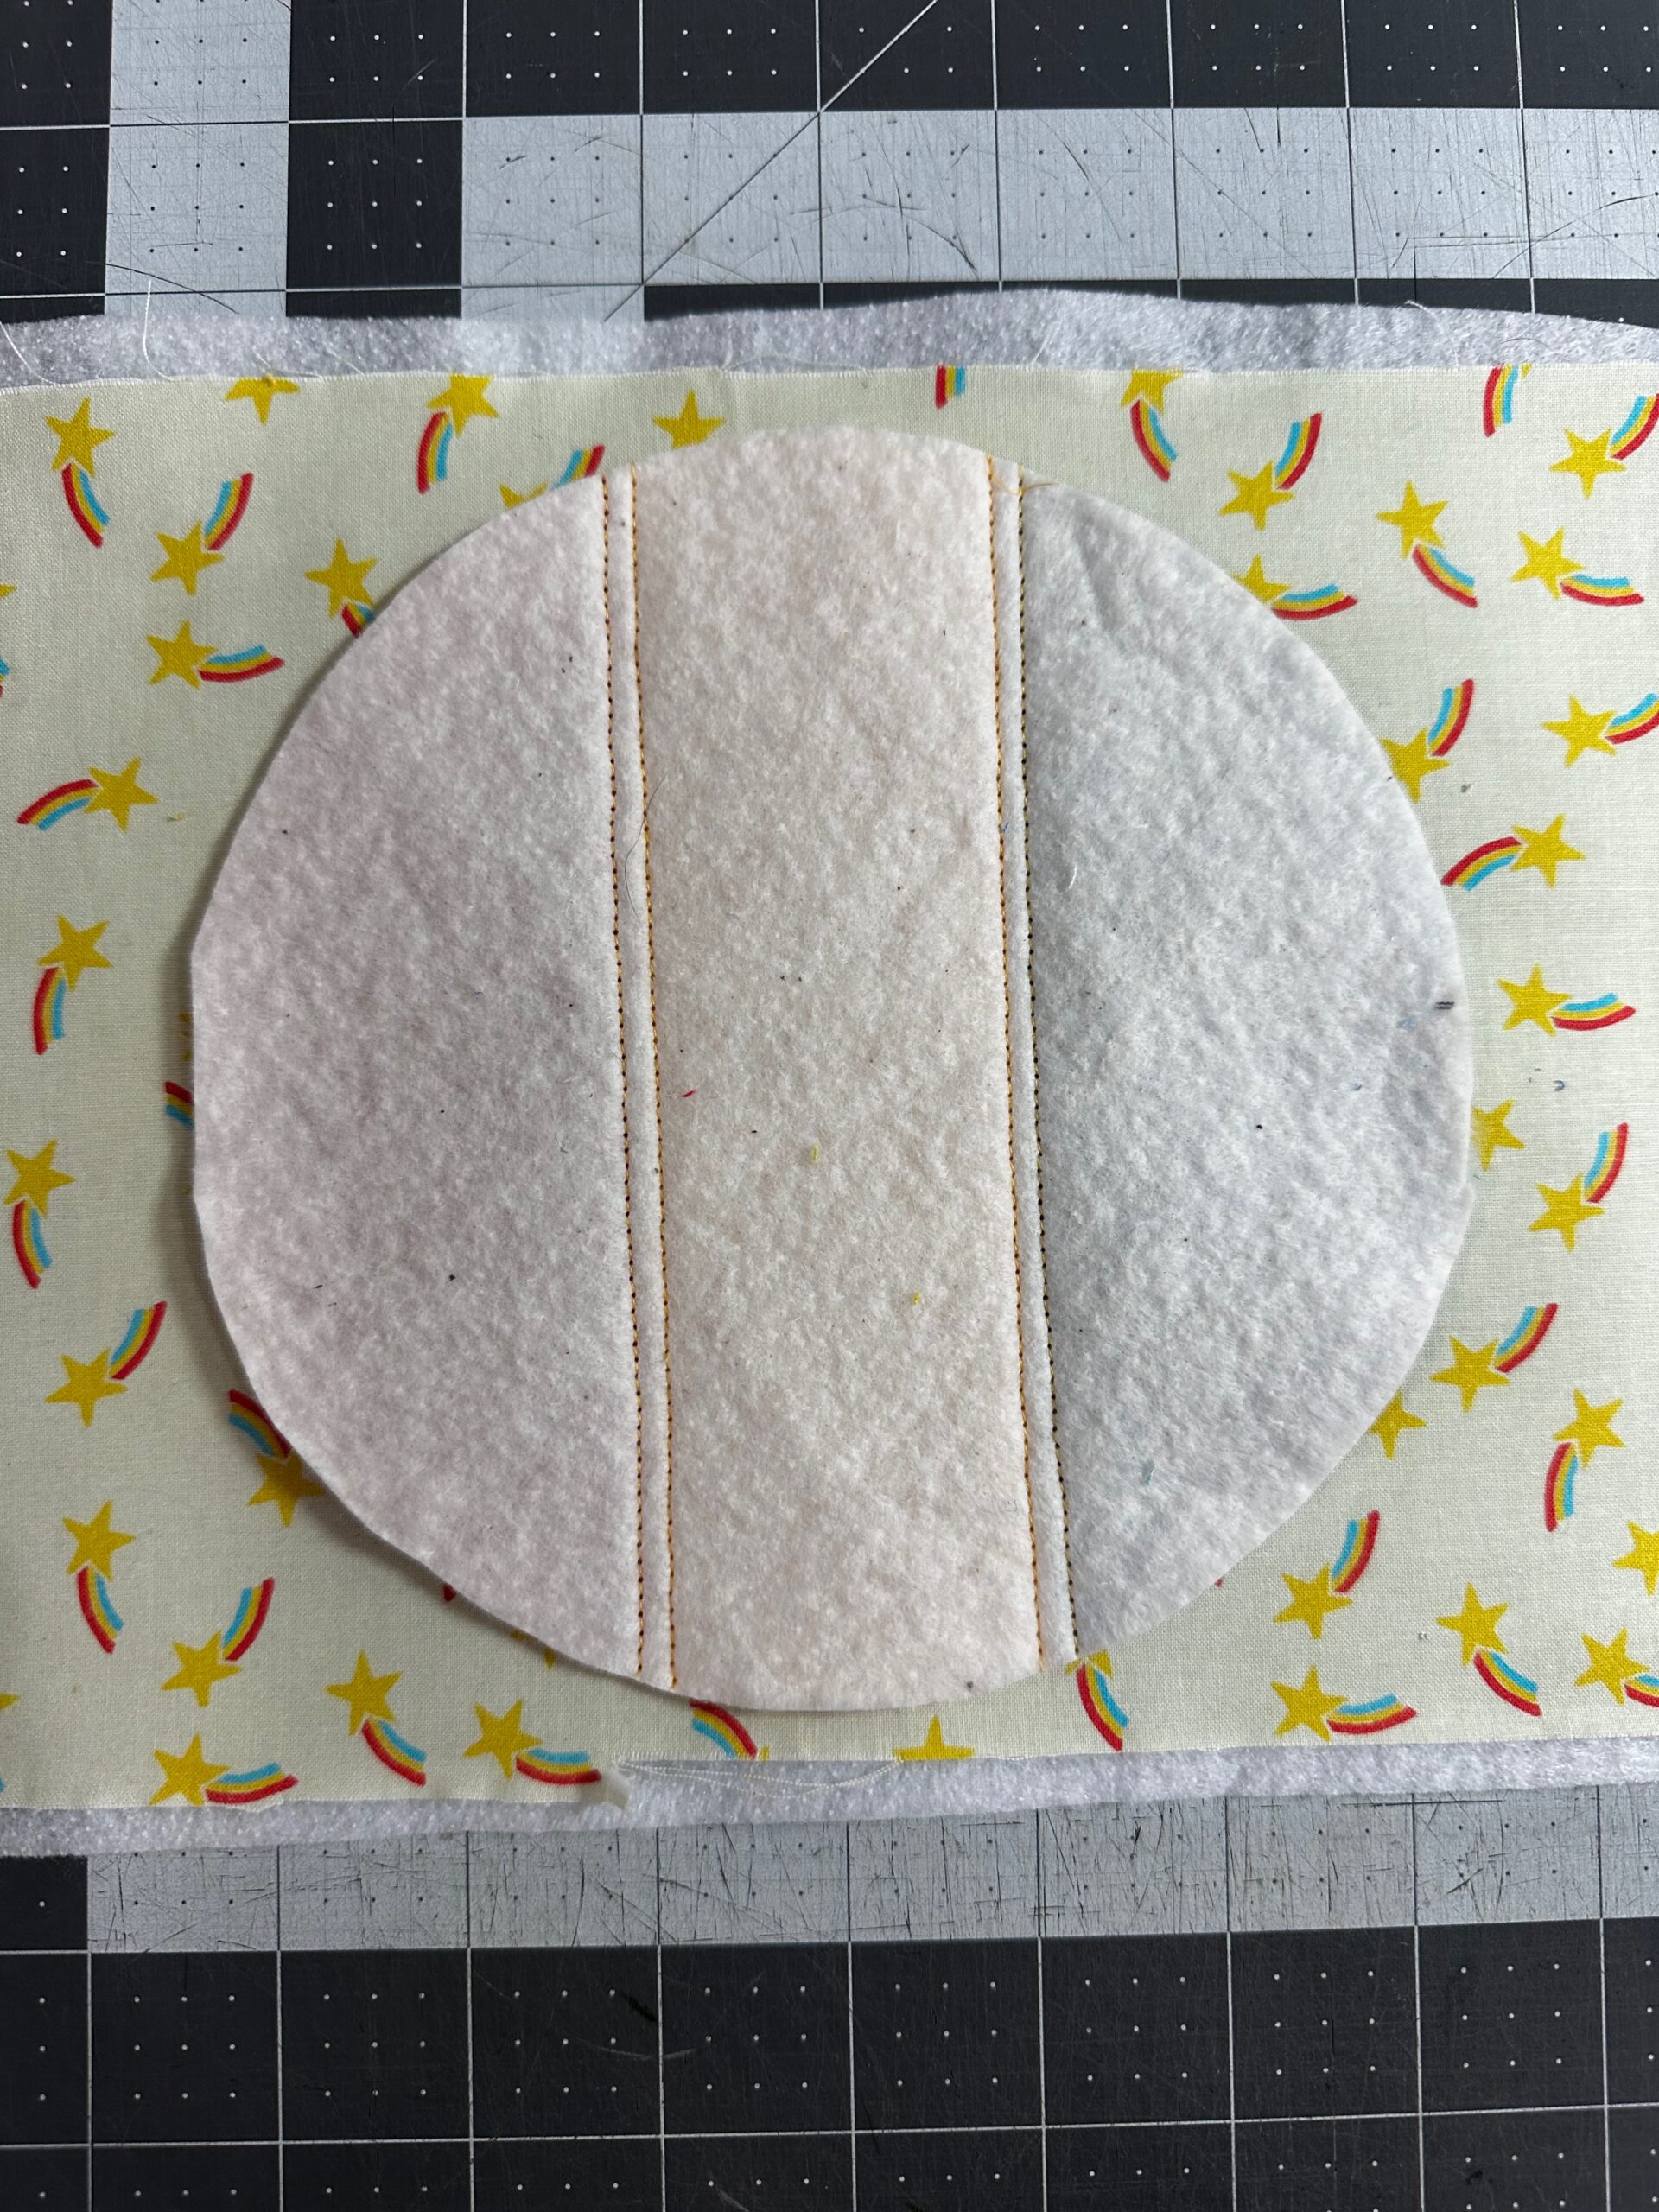
Using the pattern, cut out the Mug Pillow Top.
Mug Pillow Construction
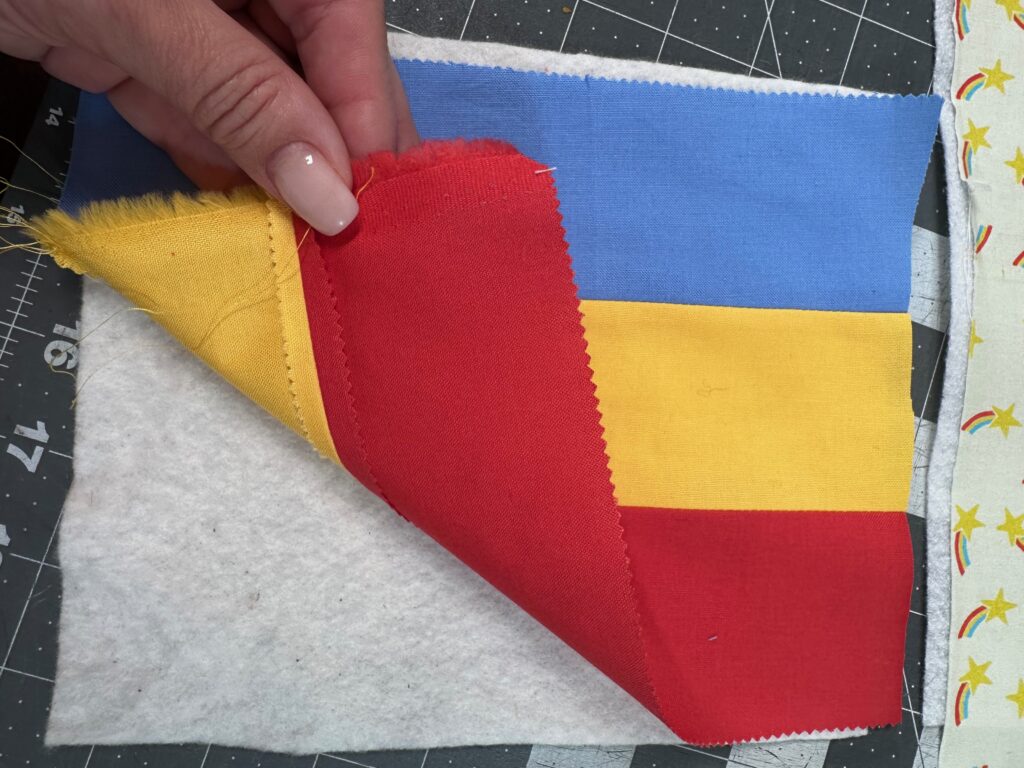
Place the backing square wrong side up, and then place the insulated batting shiny side up over the backing. Use KK2000 Temporary Spray Adhesive to secure.
Place the top and backing right sides together. Do not cut the backing yet.
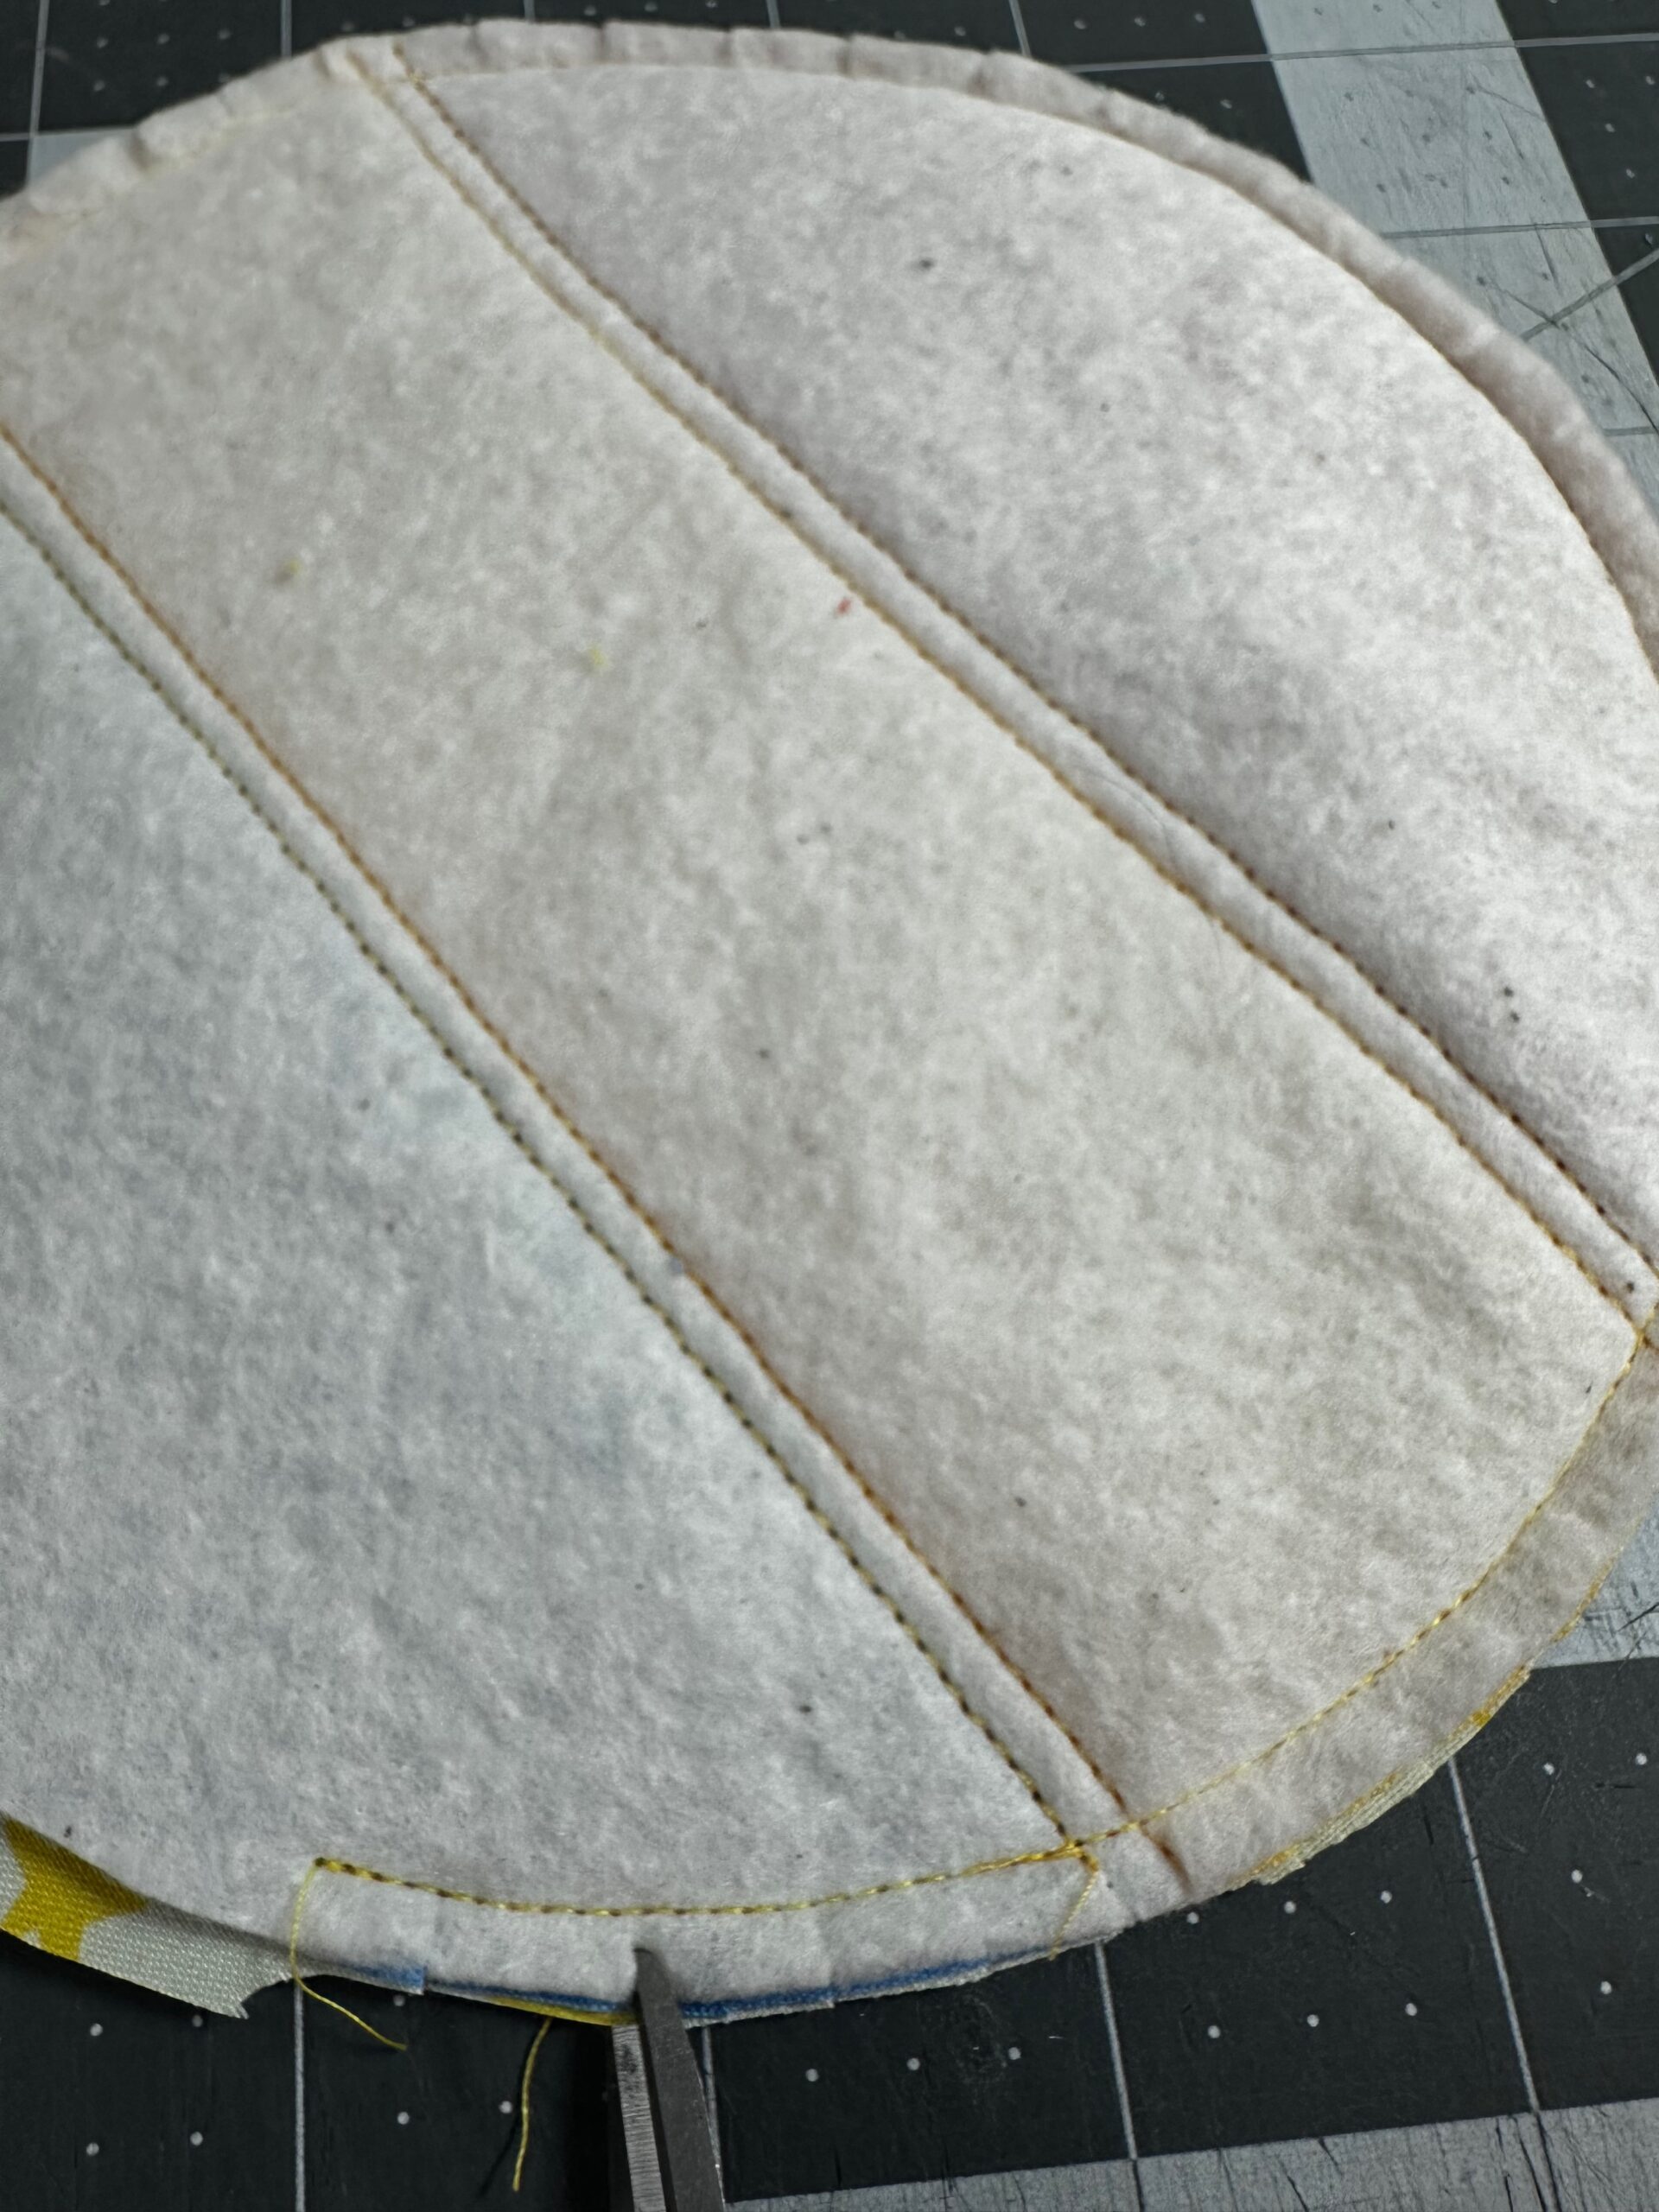
Stitch the perimeter using a 1/4″ seam allowance. Then, trim the backing/insulated batting layer, cutting the opening seam allowance slightly larger.
Leave a 2″ opening for turning.
Clip into the seam allowance every 1/4″ or so.
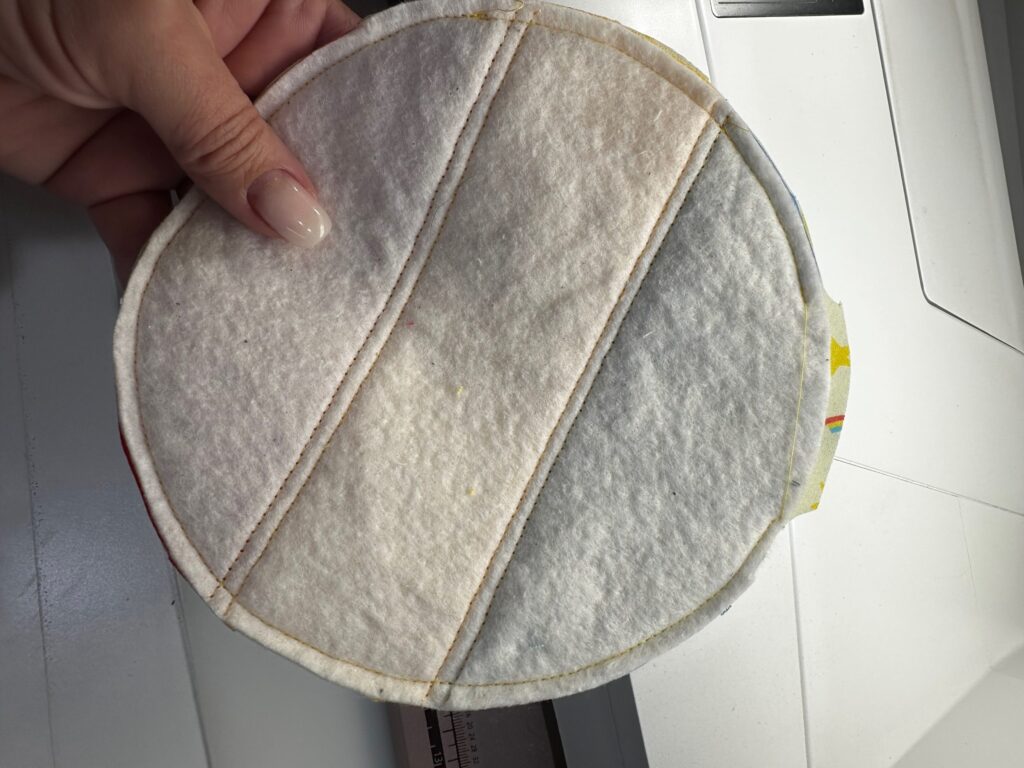
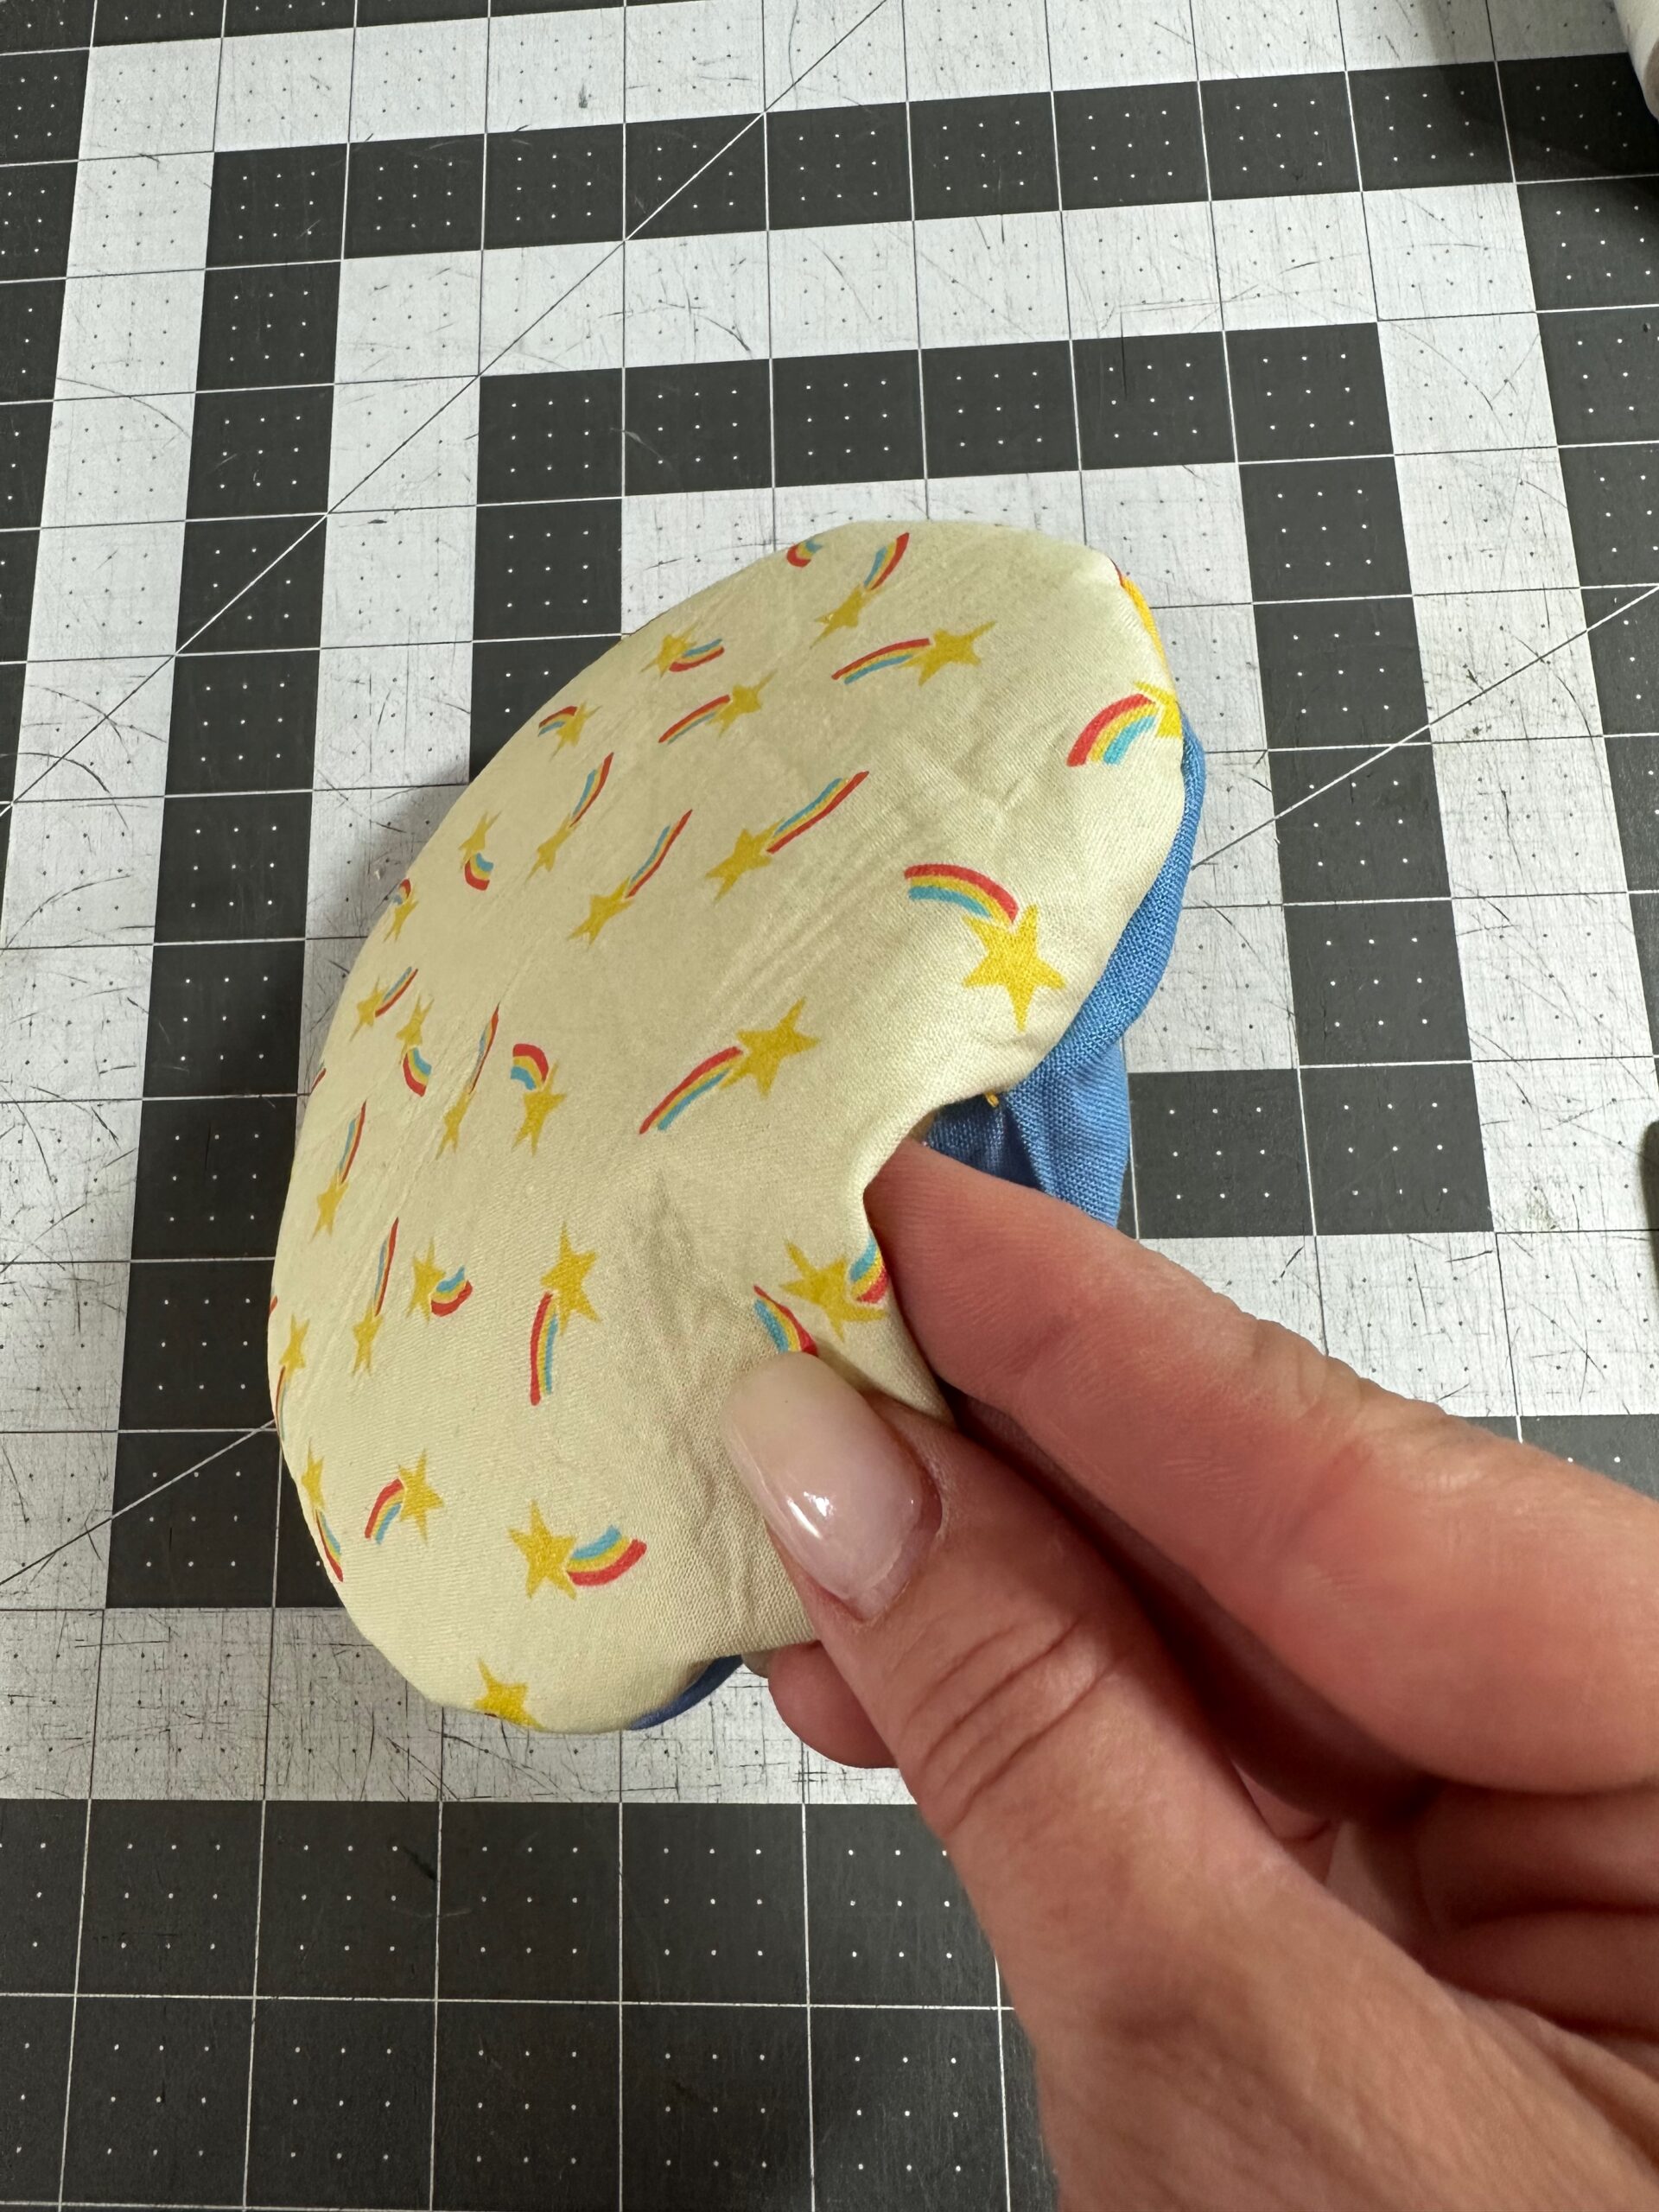
Then, turn the Mug Pillow right side out. Press, turning the opening seam allowances toward the wrong side.
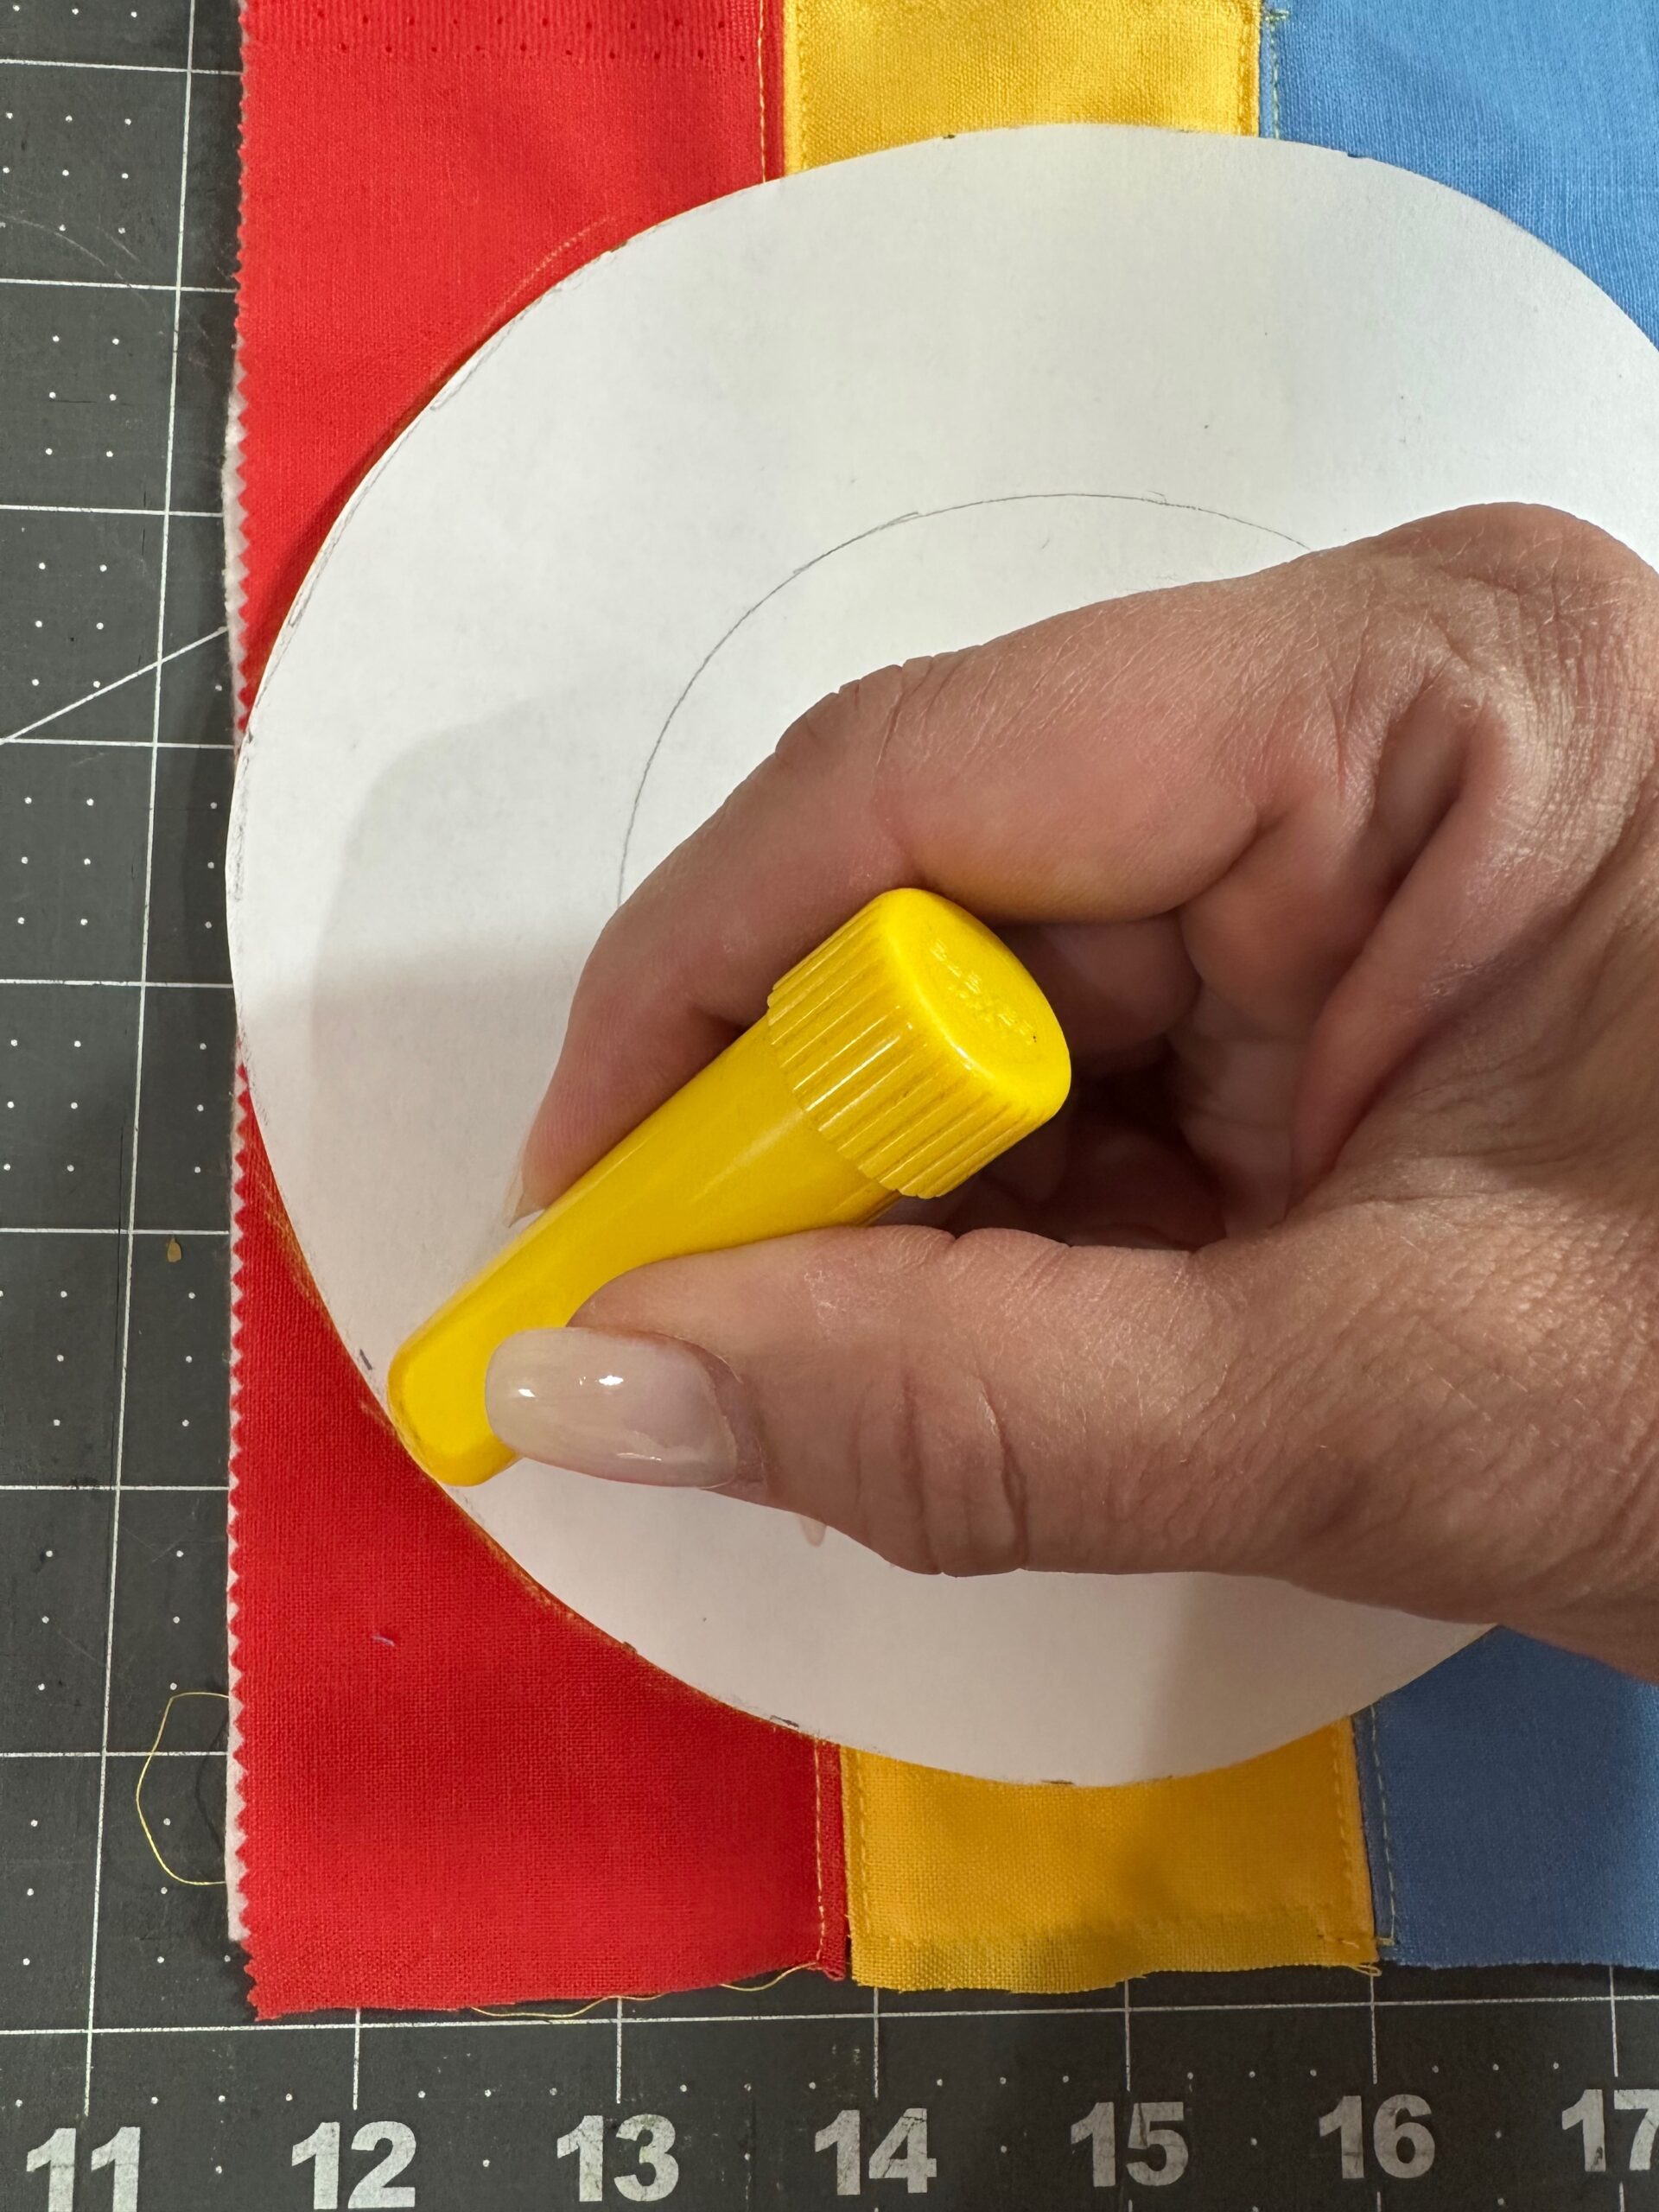
Using the pattern, transfer the inner circle to the Mug Pillow right side with a removable fabric marker or chalk. Or pin the center circle template to the Mug Pillow and plan to stitch around it.
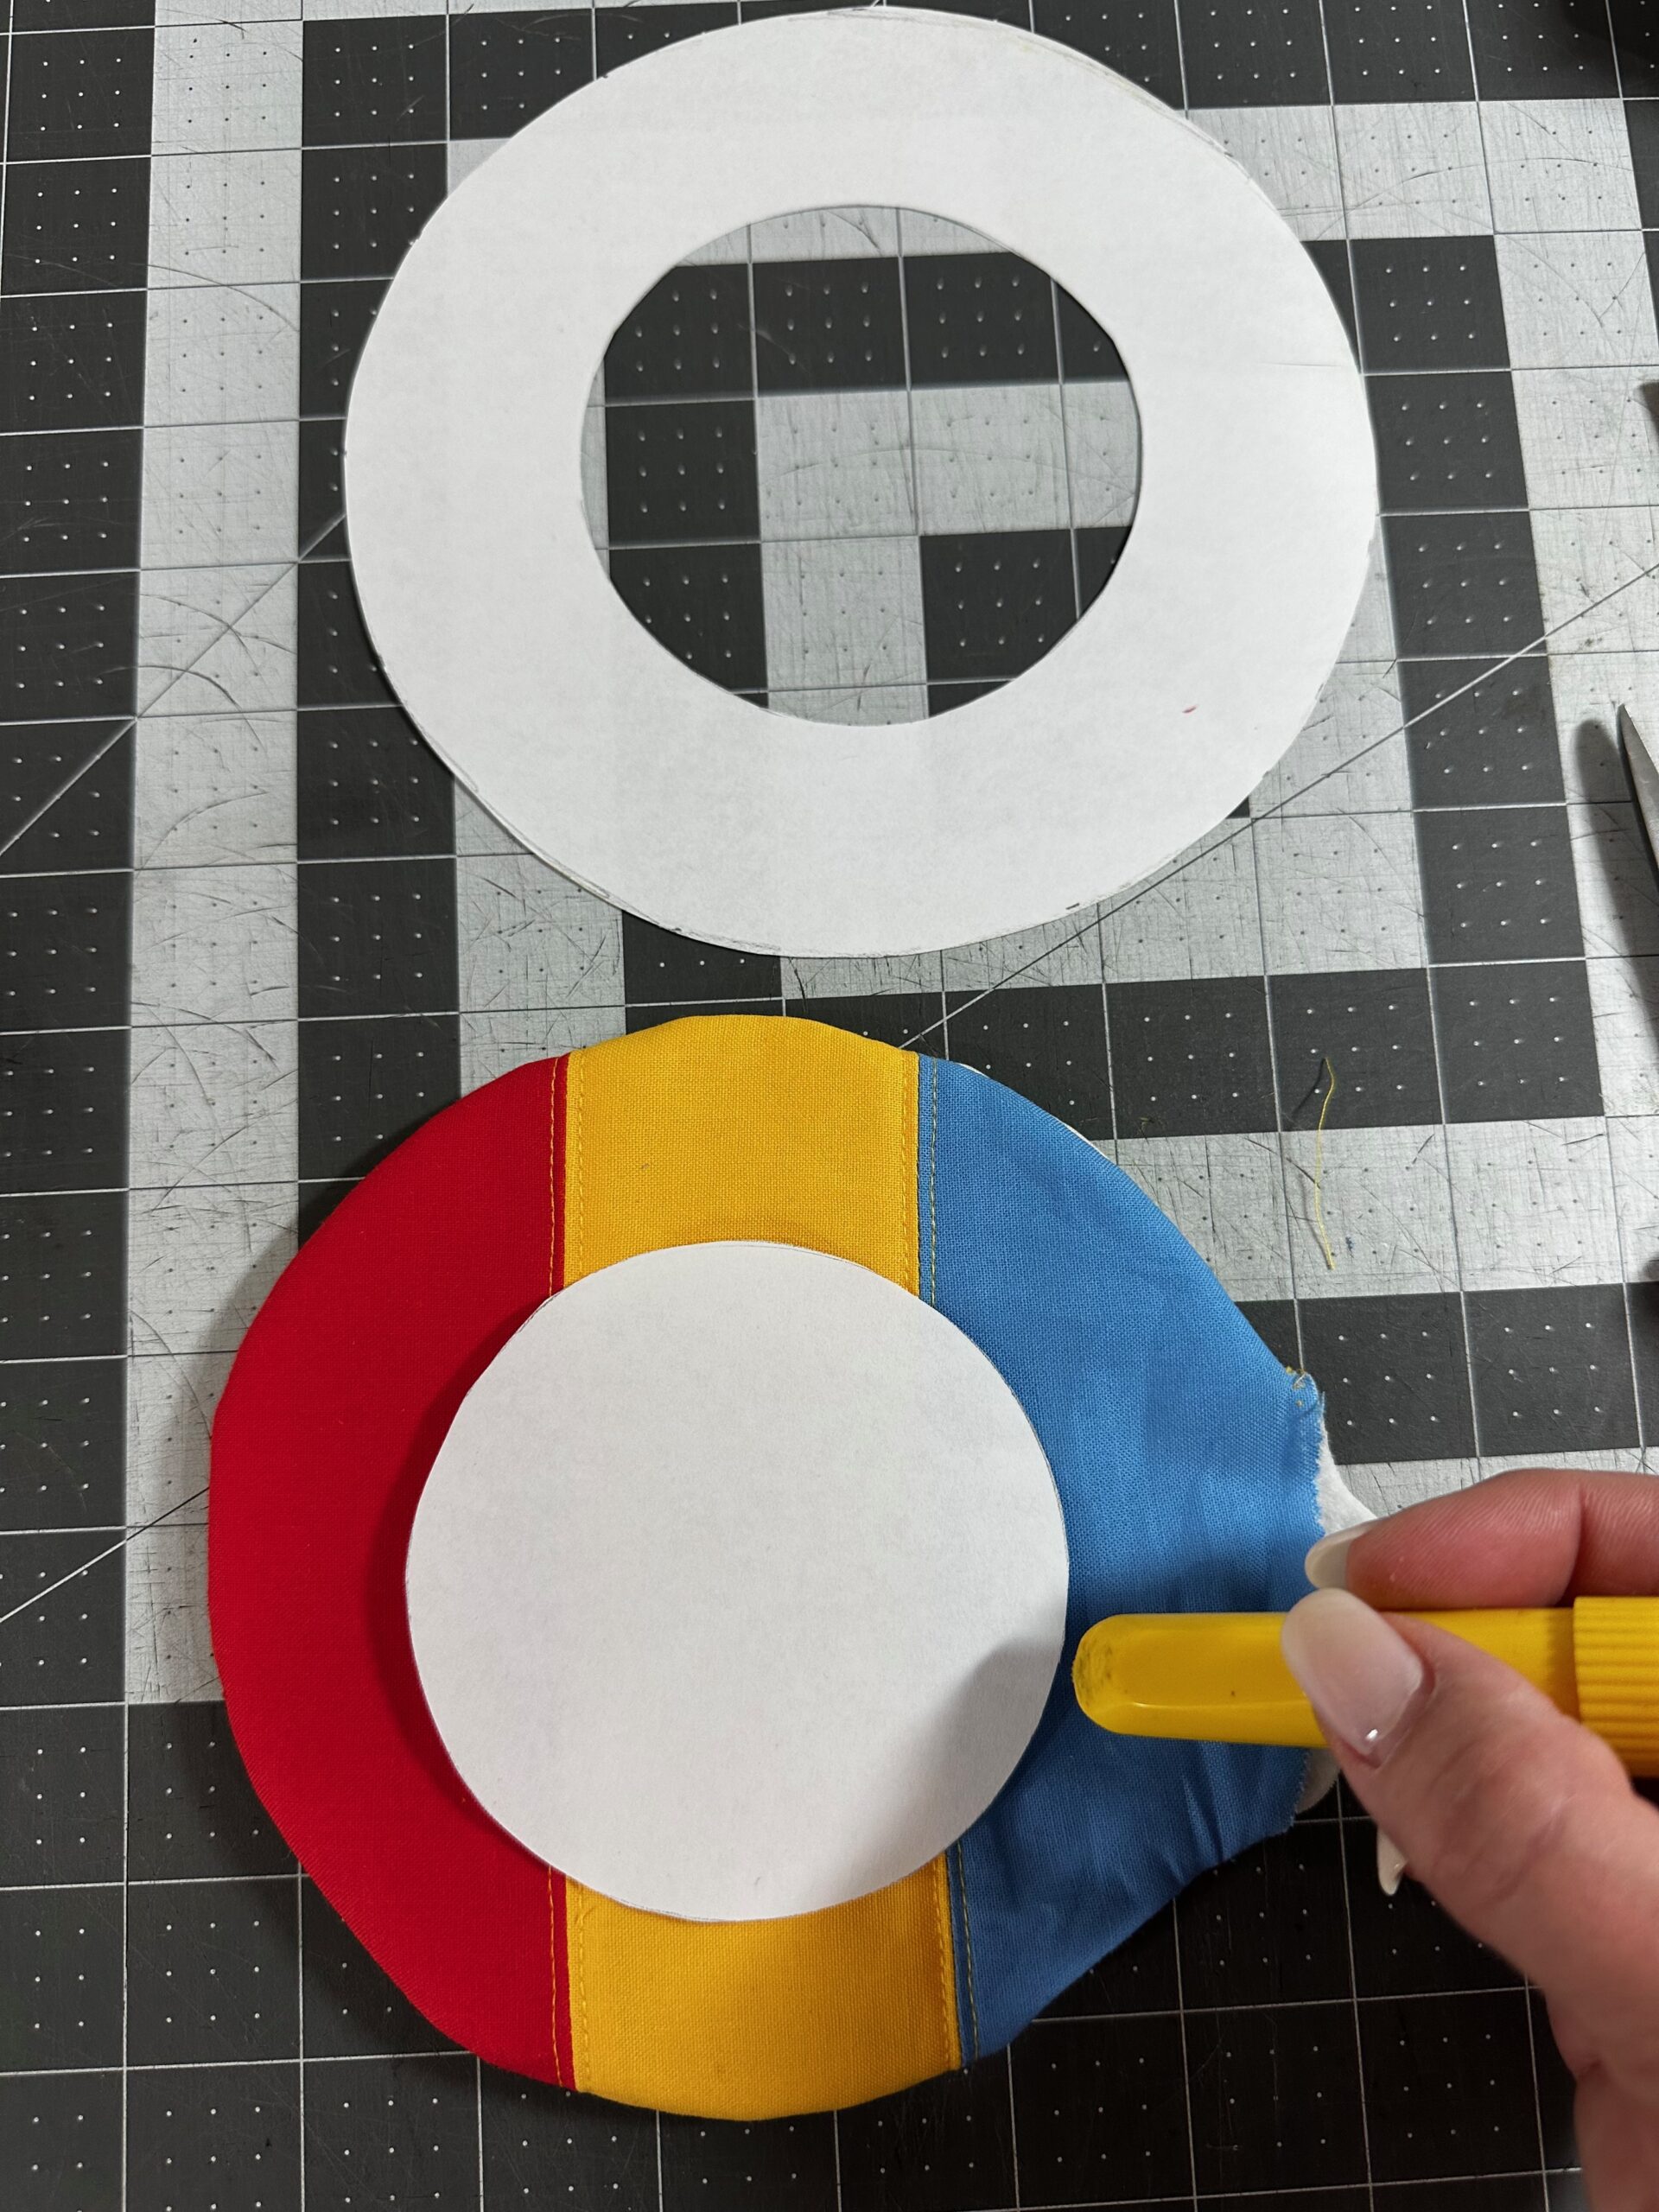
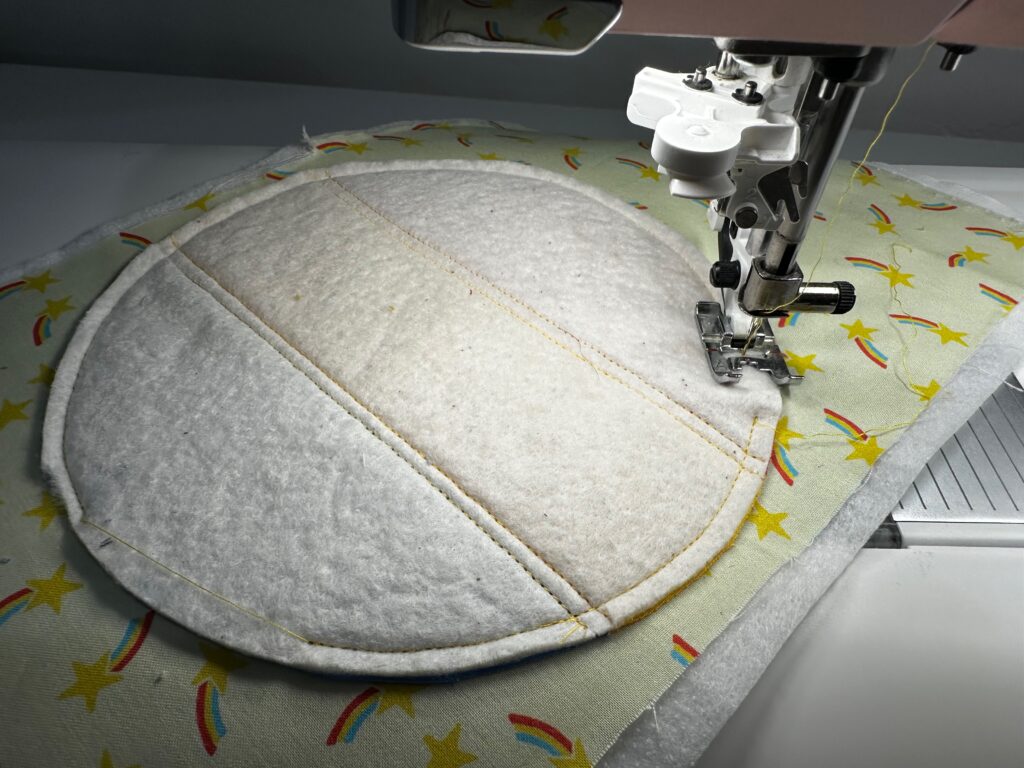
Stitch the inner circle perimeter, backstitching securely at the beginning and end.

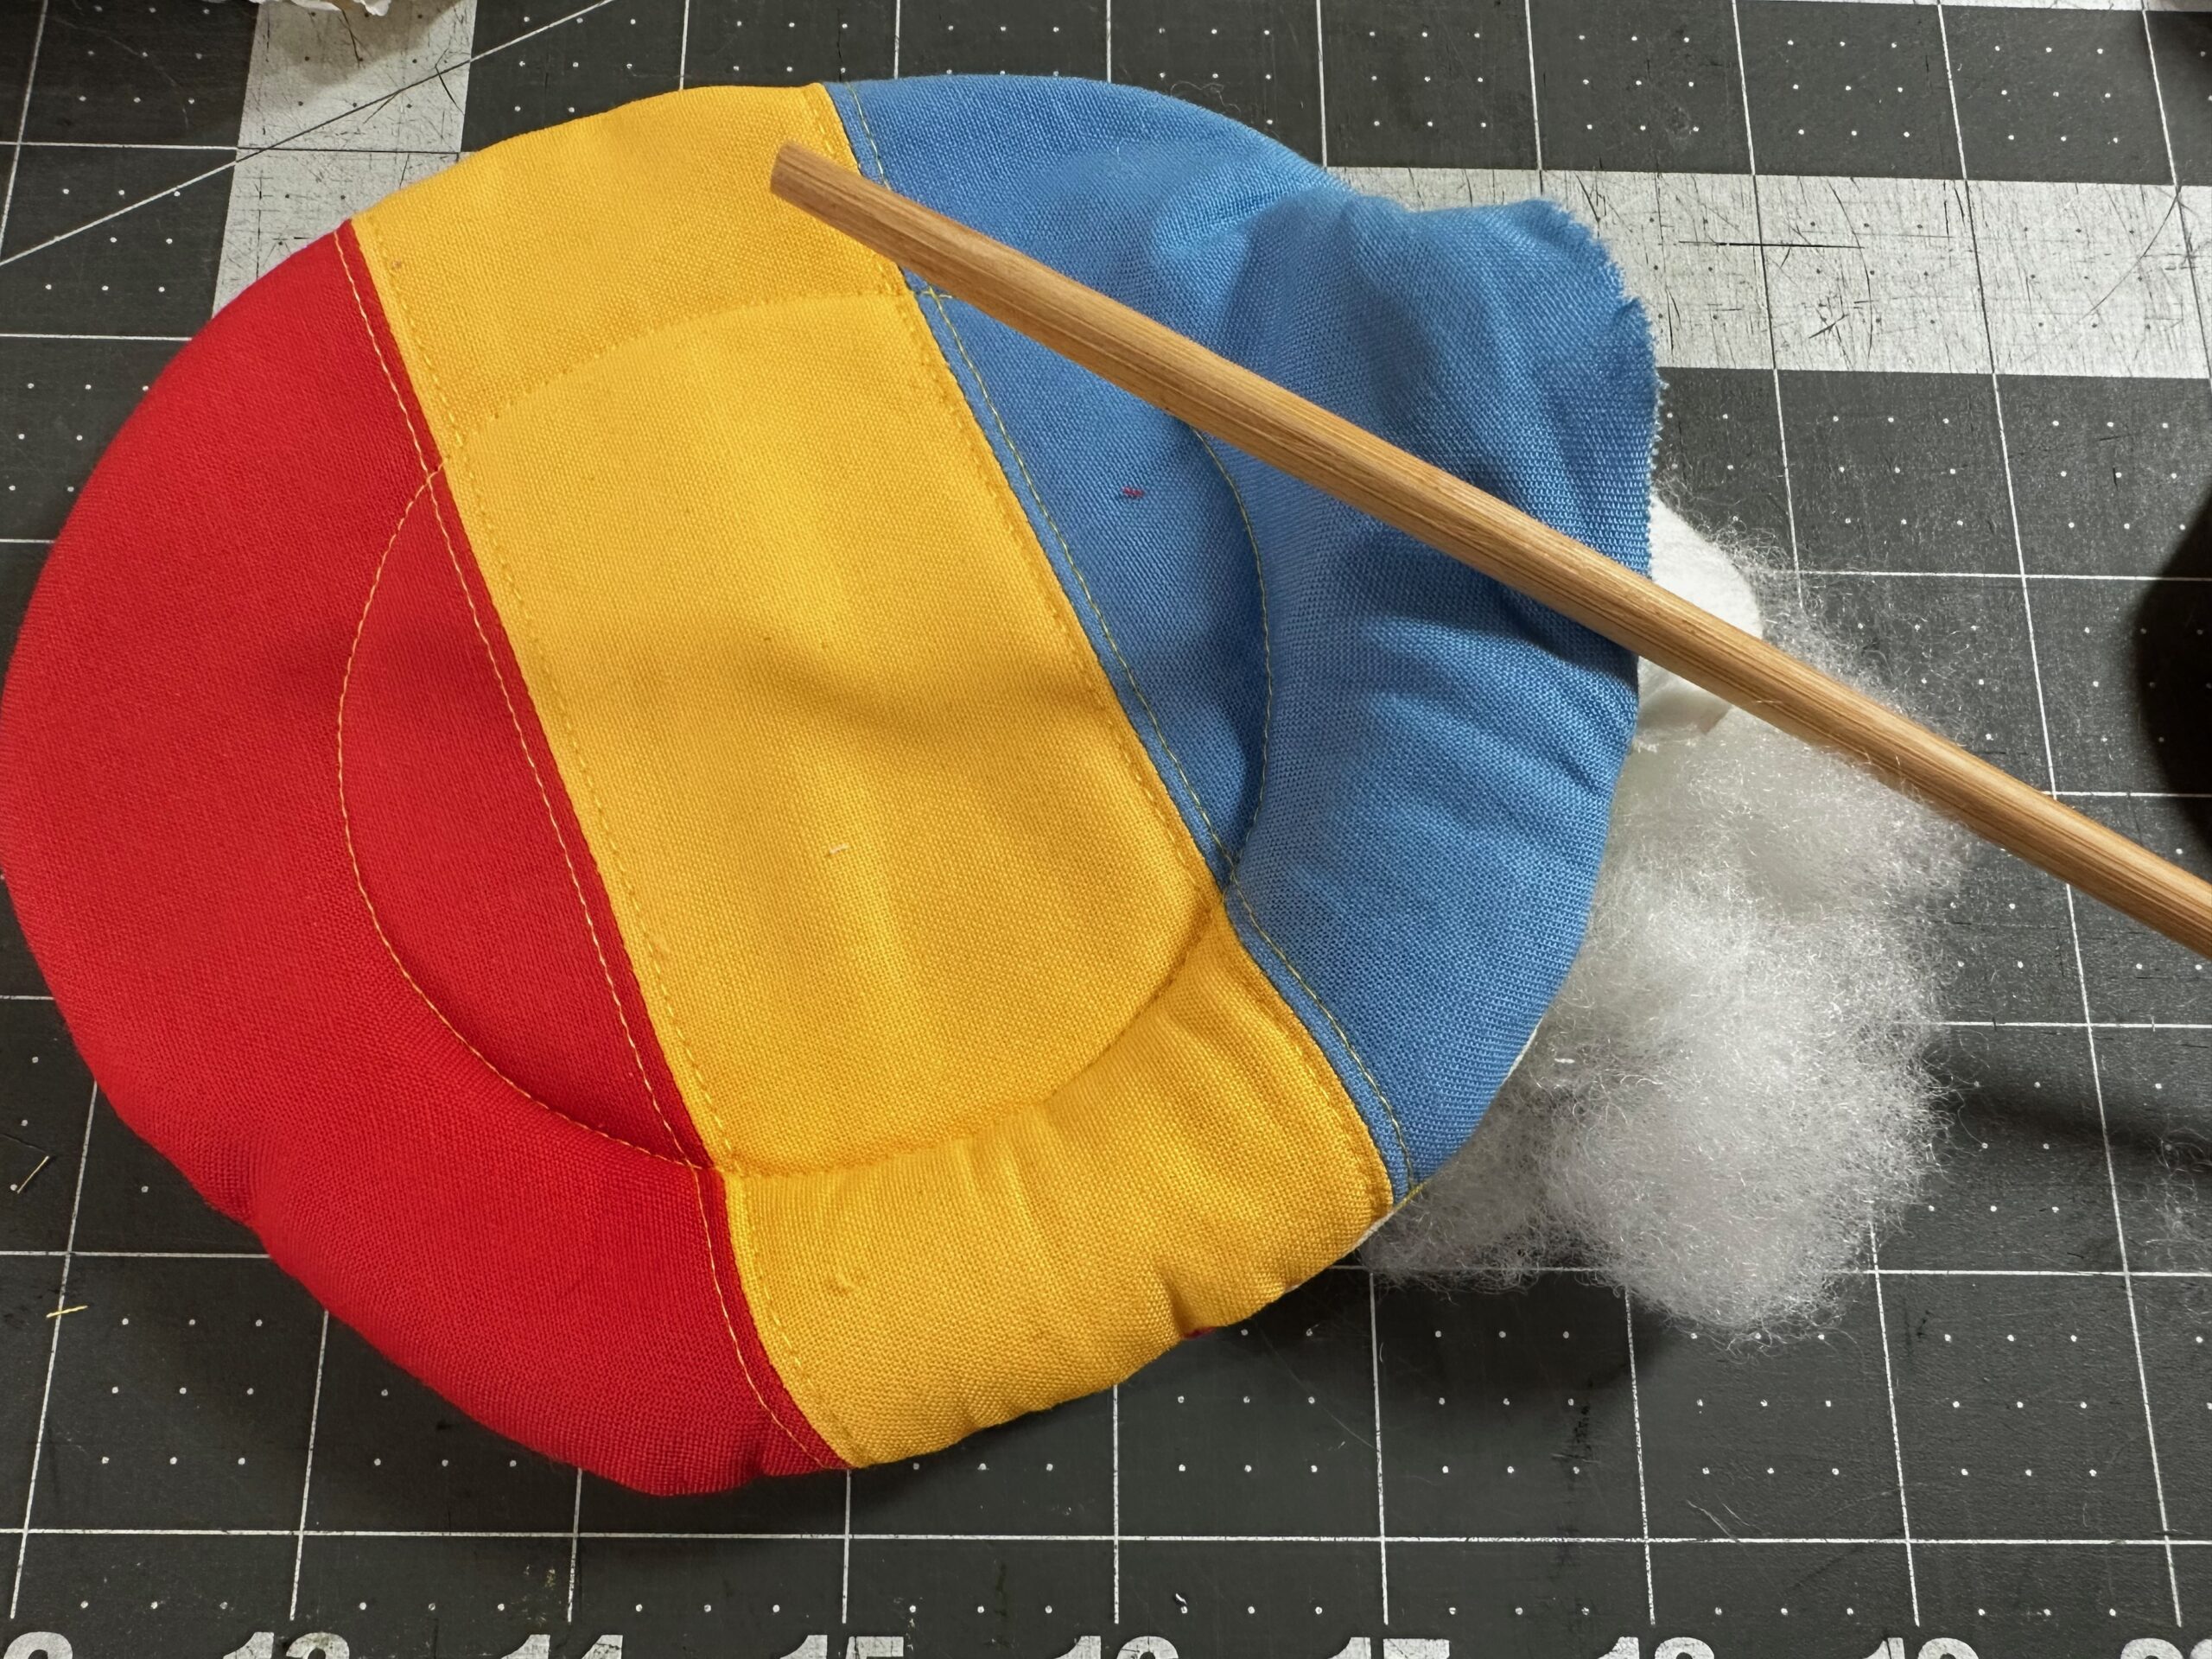
Stuff the outer “pillow” with fiberfill until plump.
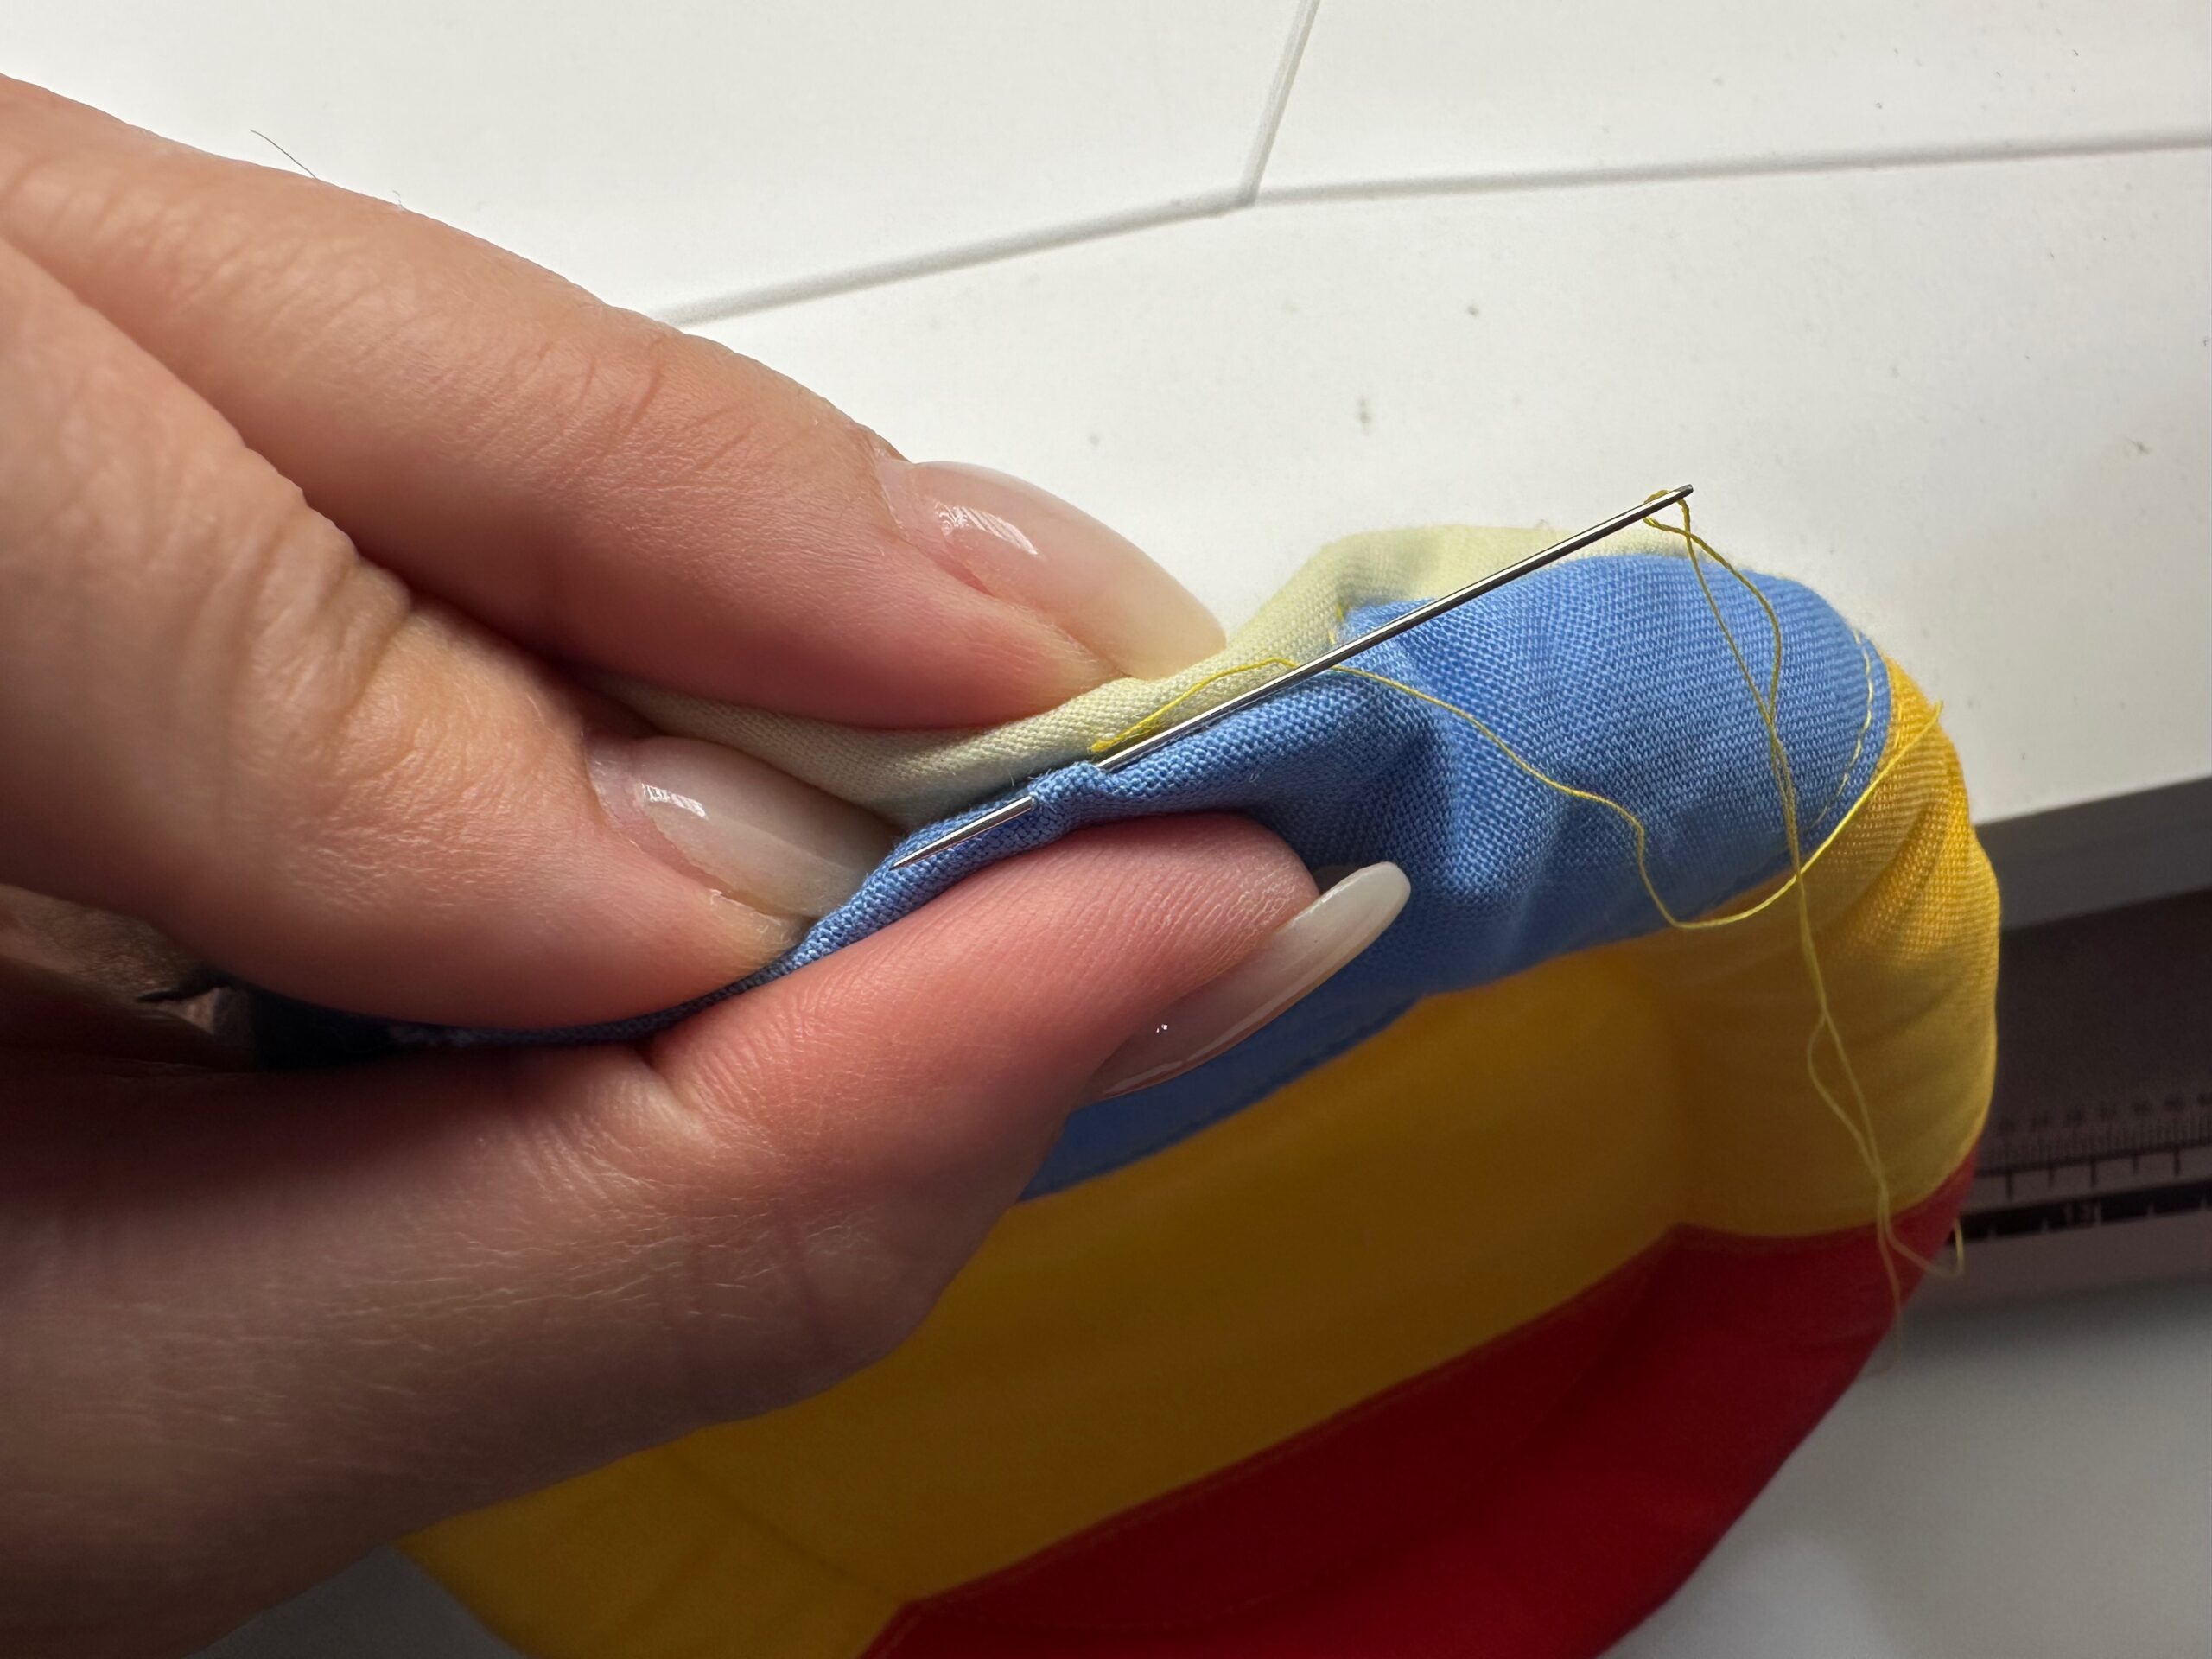
Then, hand stitch the opening shut.
Place your mug in the center of the pillow and enjoy!