Ribbon Flag
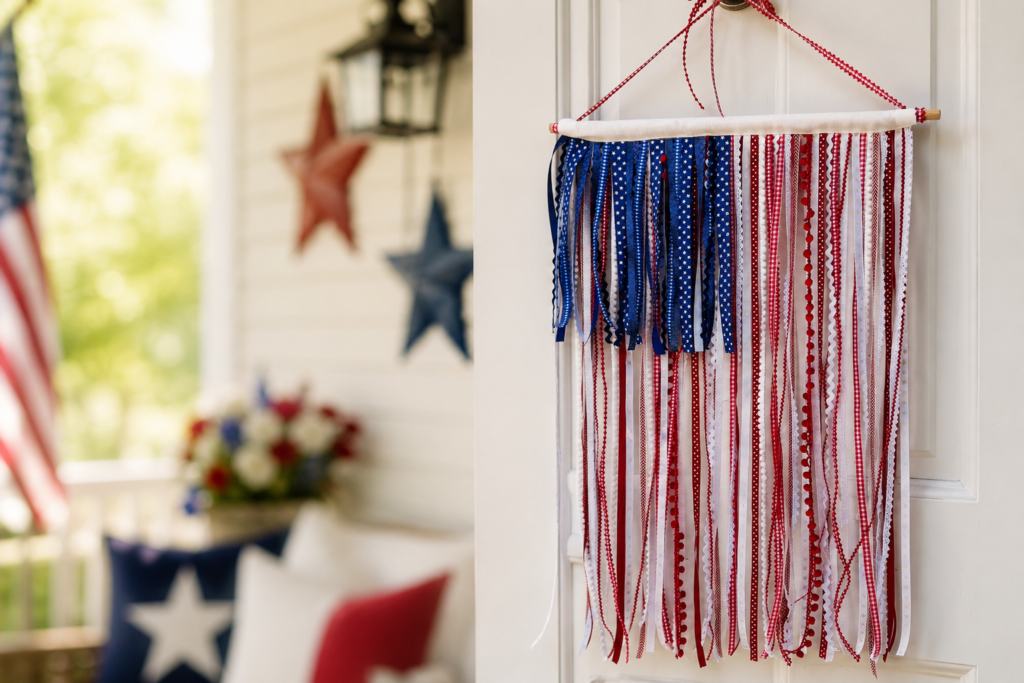
Create a quick, fun Ribbon Flag using ribbons in your stash. Or grab up spools of ribbon in reds, whites and blues while they’re on sale for the upcoming holiday! This project is a stunning and different way to display Old Glory, whether you hang it on your front door or inside while celebrating America’s 250th borthday.
finished dimensions: 20″ W x 29″ H
Cutting
Cut several coordinating blue ribbons into 11 1/2″ lengths. These will make up the Canton (or Union).
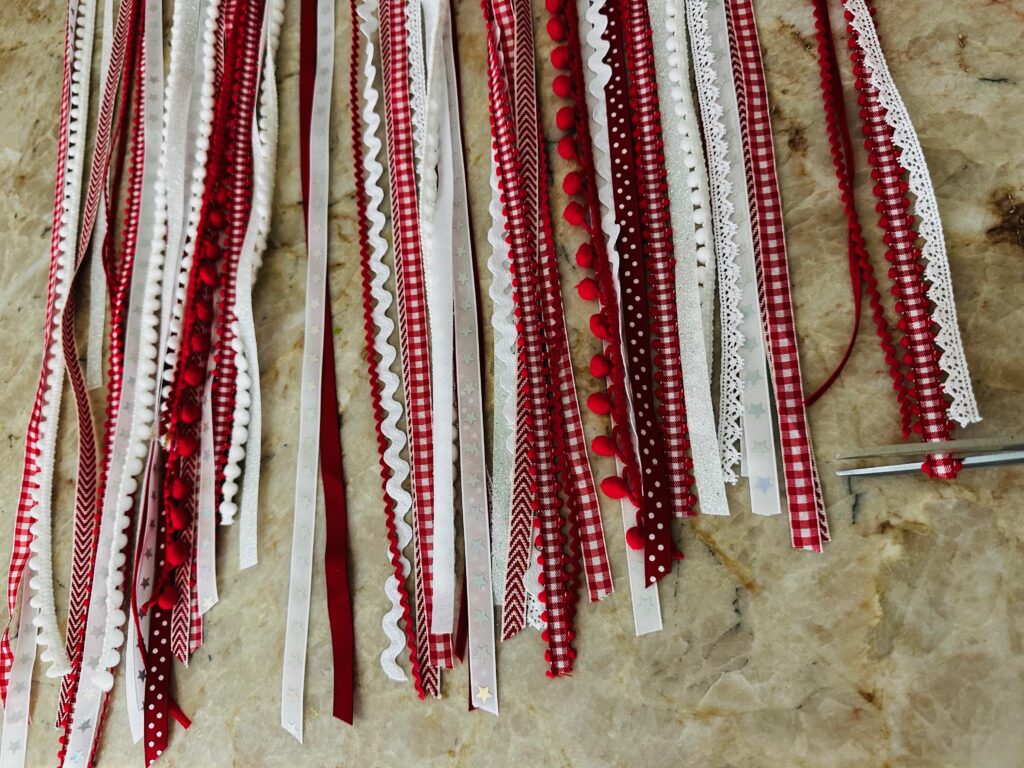
Next, cut several red and white coordinating ribbons and trims into 29″ lengths. These will make up the Fly/Field. (I used 52 lengths of ribbon and trim in varying widths, from 1/8″-wide to 1/4″-wide.)
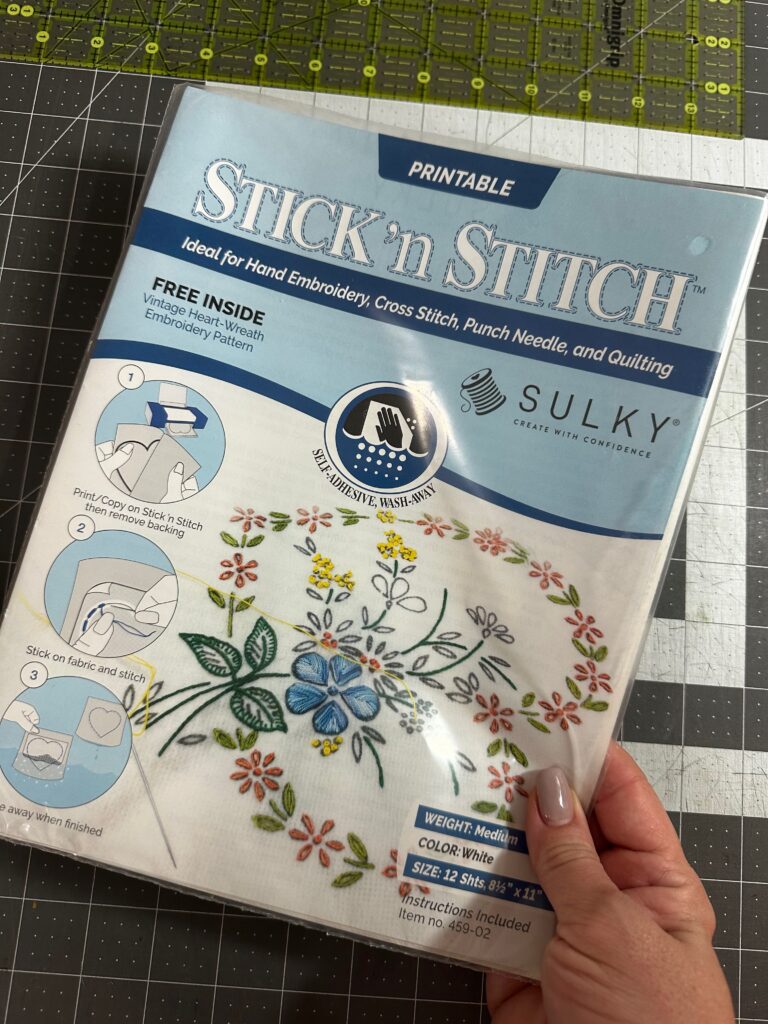
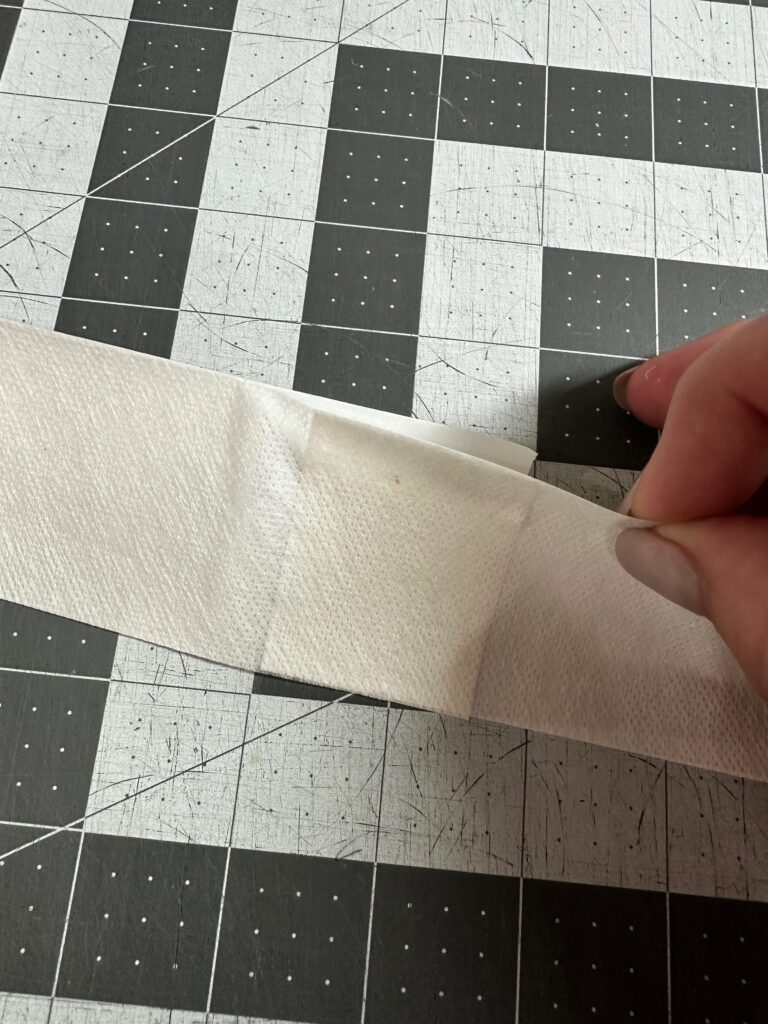
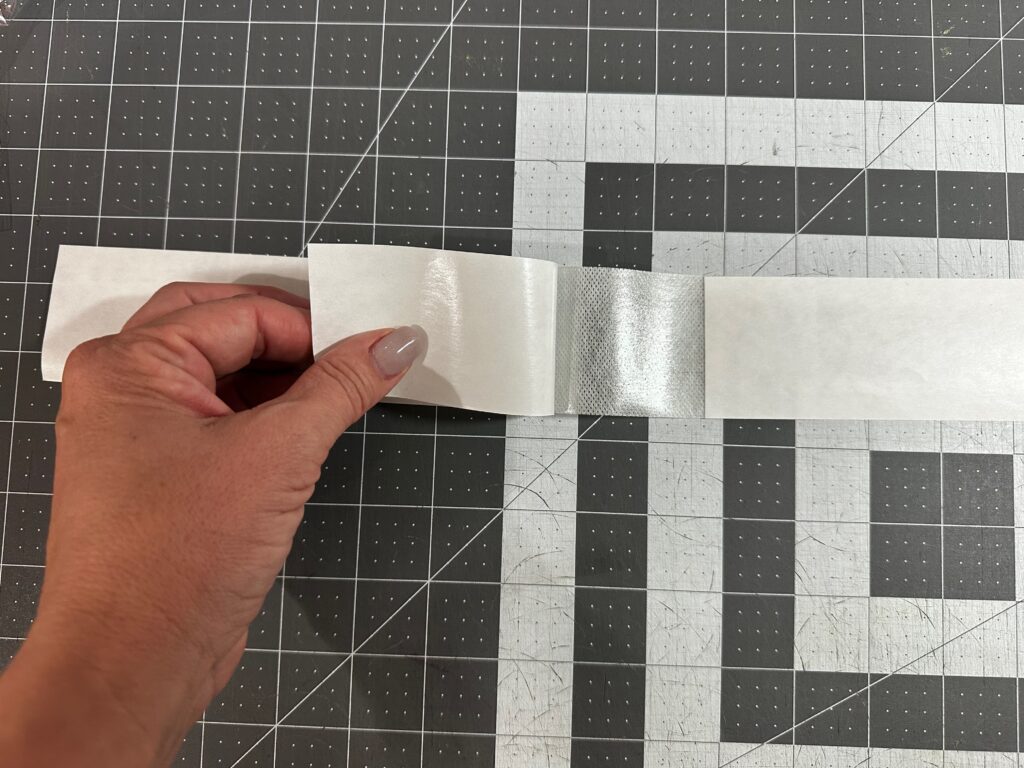
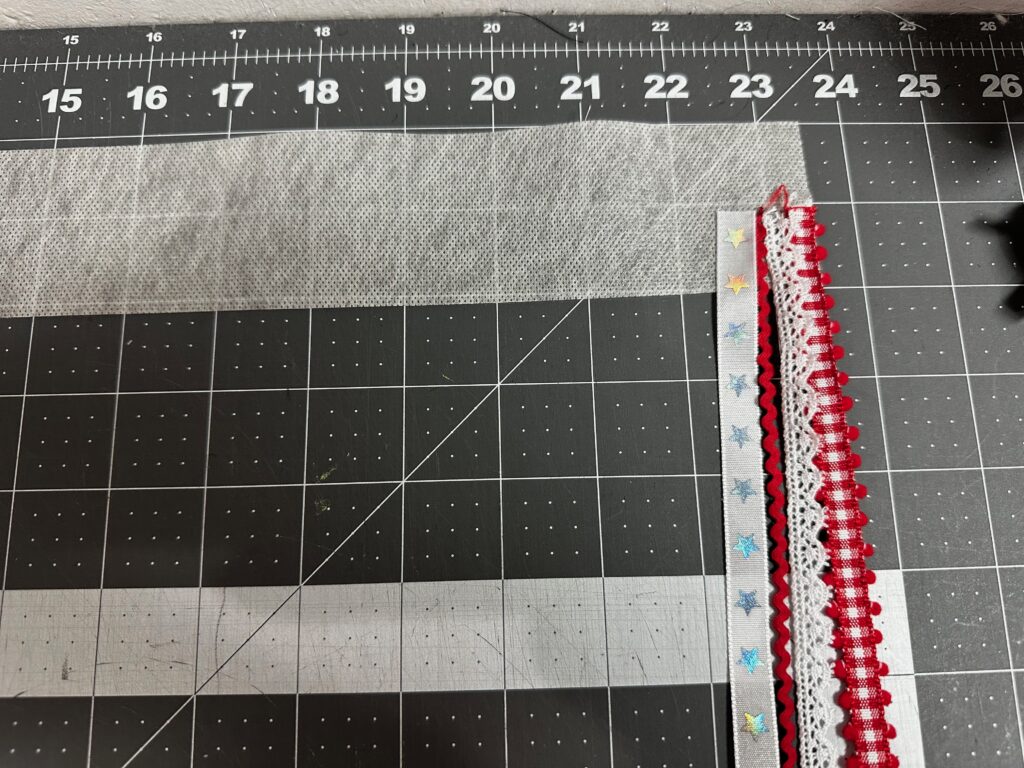
Then, cut two 2″-wide rectangles of Sulky Stick ‘n Stitch across the length. Then, overlap one short end to stick the rectangles together. Next, trim the strip so it’s 20″ long.
From the white fabric, cut one 3″ x 22″ rectangle for the upper casing.
Arranging Ribbons
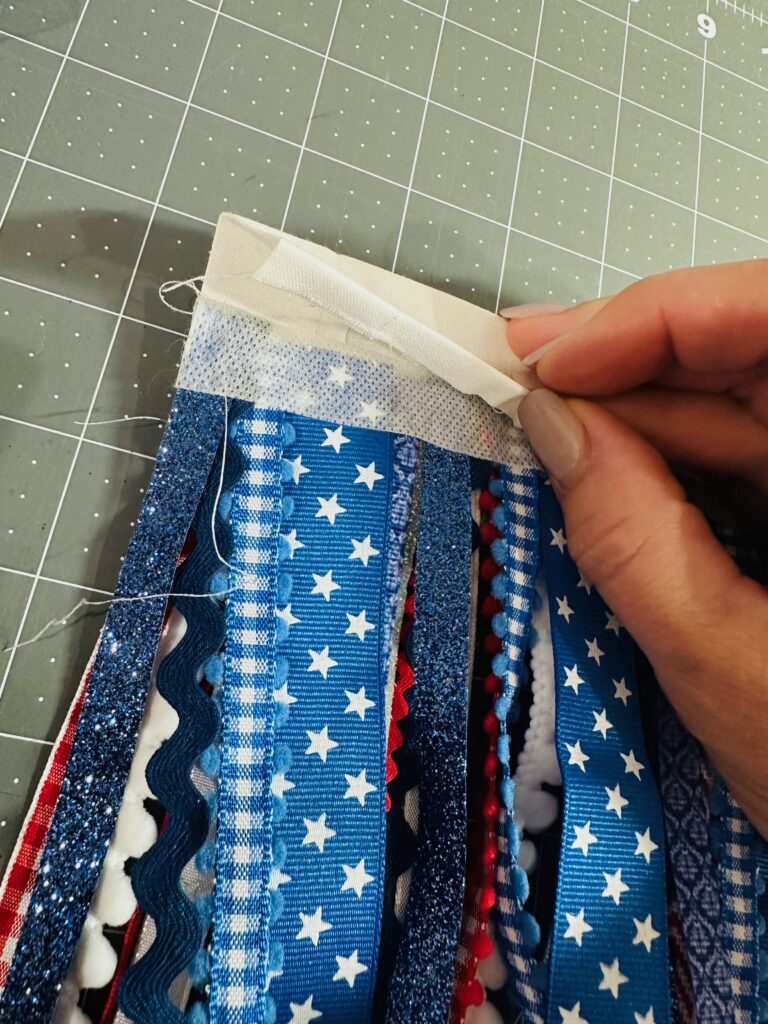
First, remove the paper backing from the sticky strip.
Begin placing red and white coordinating ribbon lengths along the sticky strip, placing each ribbon end along the middle of the strip width. The strip will get folded in half to enclose the ribbon ends and “stick” them together for sewing.

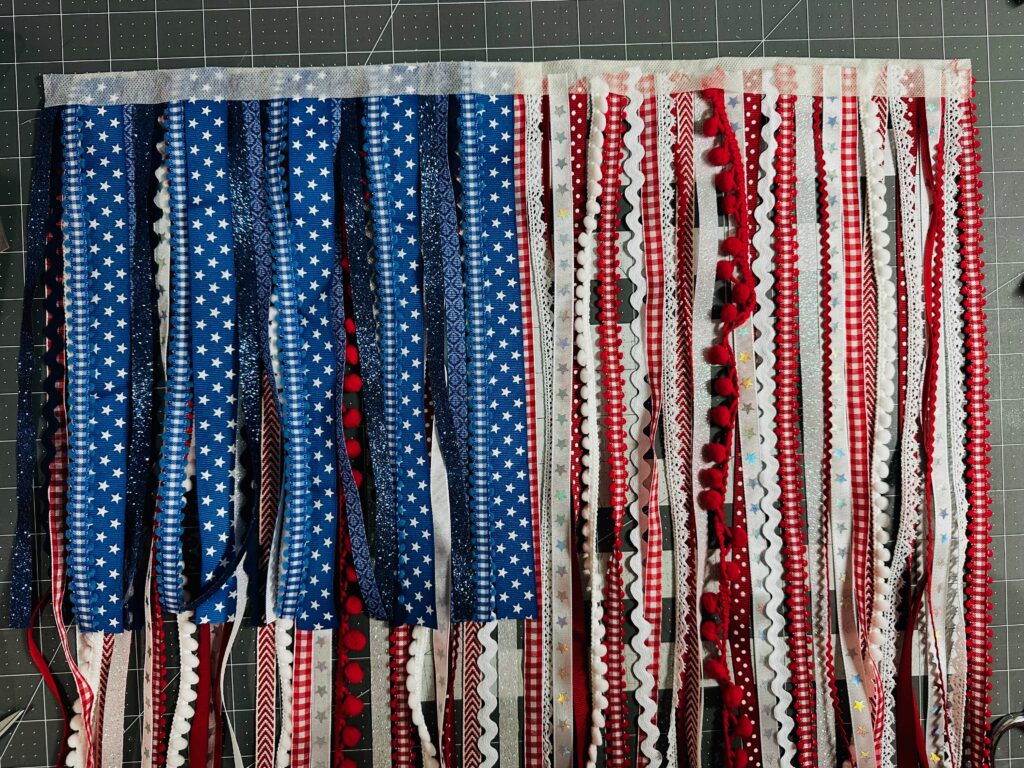
Feel free to overlap the ribbon long ends to create a very full “flag.”
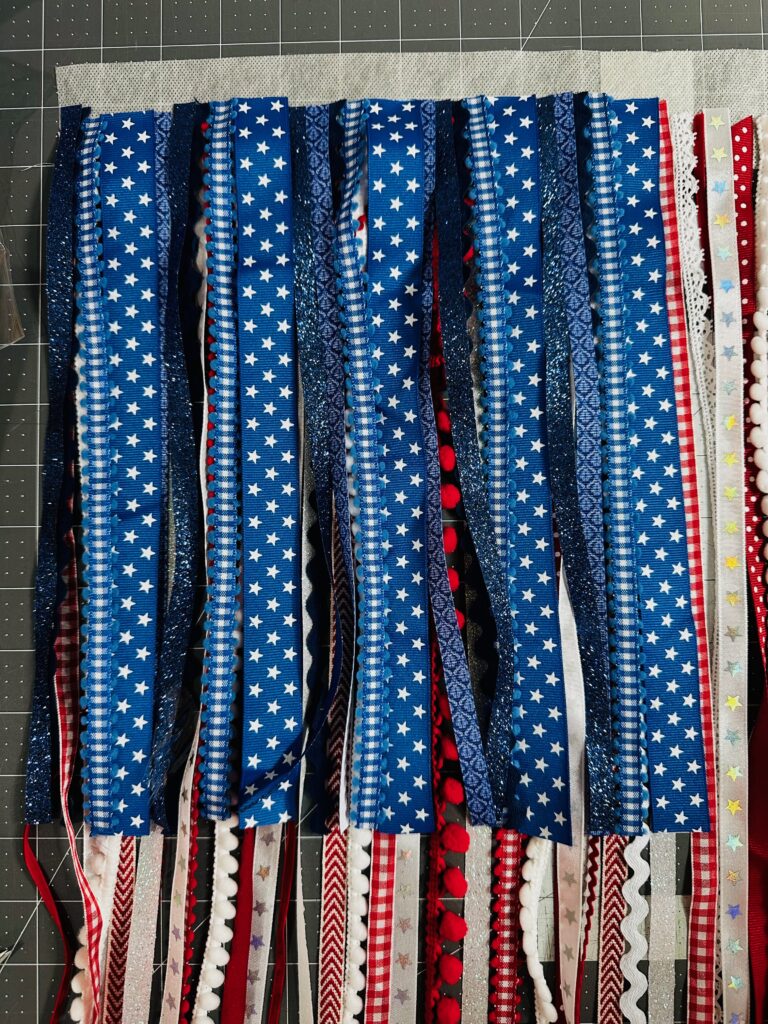
Along the upper left area, just short of half of the Fly/Field ribbons, place the coordinating blue ribbons to create the Canton area of the flag. These will overlap the red and white ribbons underneath, so place as many blue ribbons as needed to try and cover the red and white ribbons beneath as best as possible.
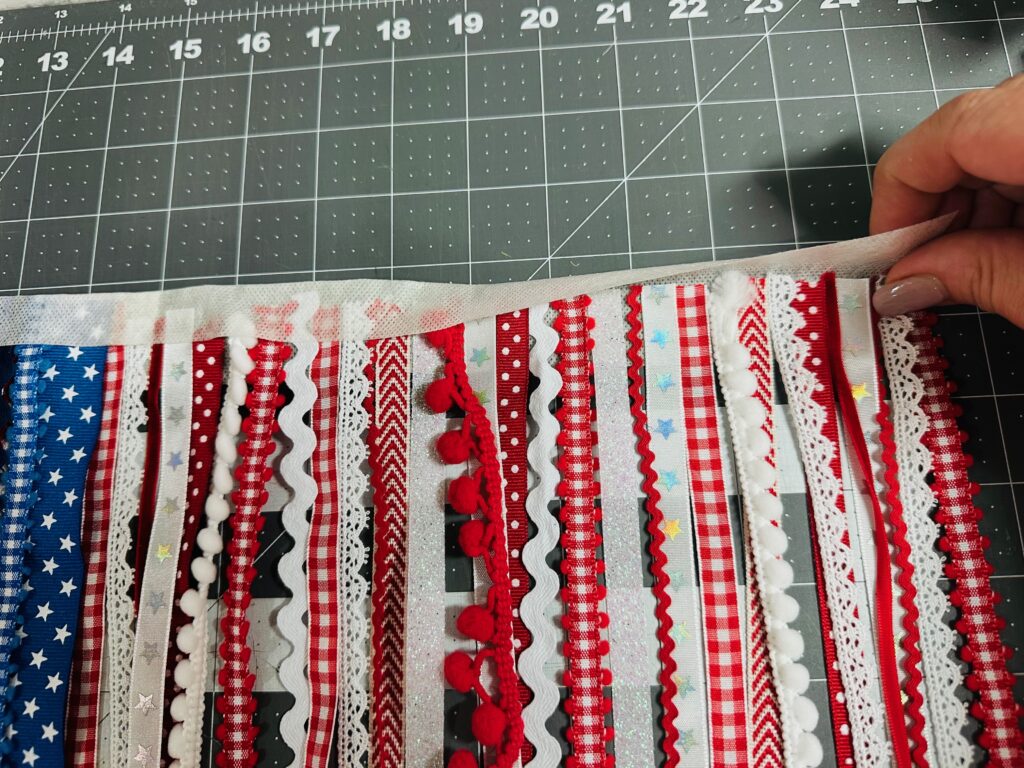
Once all the ribbons are stuck to the Stick ‘n Stitch header, wrap the Stick ‘n Stitch around the ribbon upper edges. It’s ok if the Stick ‘n Stitch sticks out from one end or the other, depending on where and how you positioned the ribbon ends. It will all wash away when the project is complete.
Upper-Edge Flag Casing
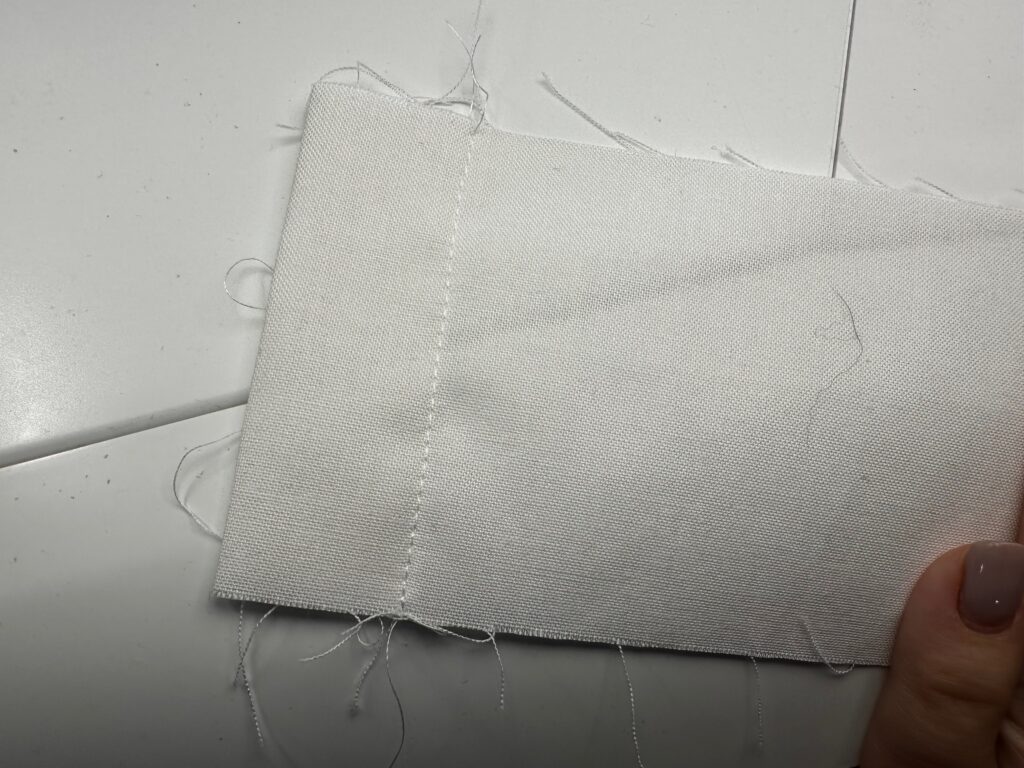
To create the flag casing and conceal the ribbon upper ends, first fold each short white-fabric rectangle end 1″ toward the wrong side; press. Stitch near the raw ends to secure each casing hem. The rectangle (with hemmed ends) should now measure 20″ long.
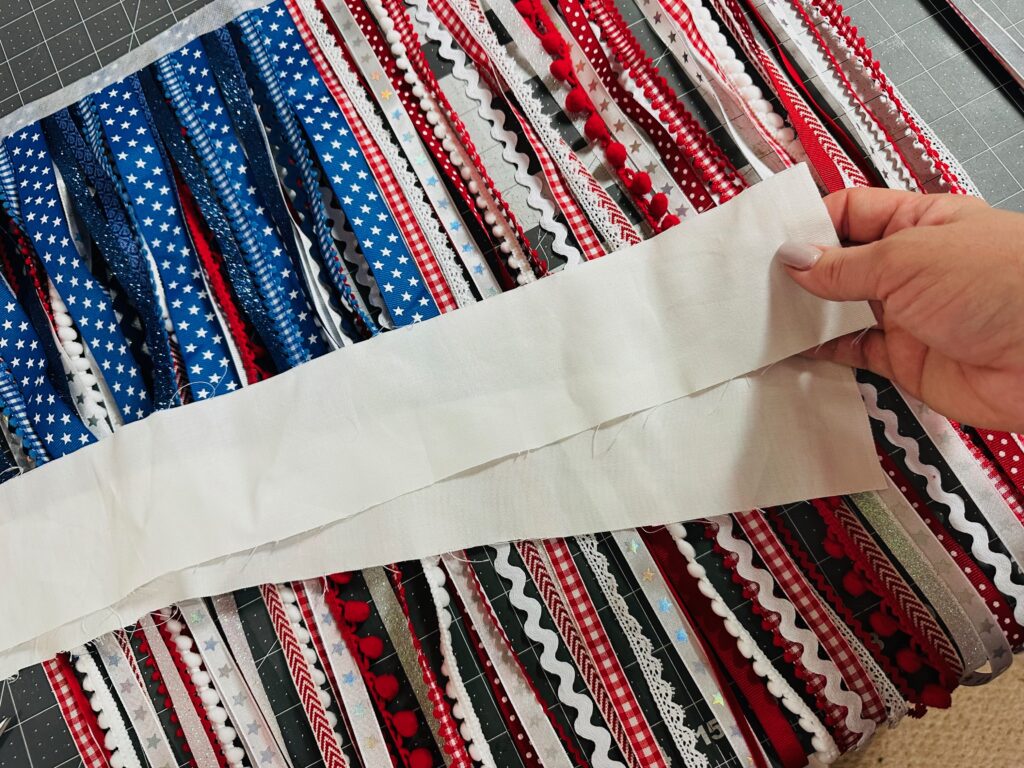
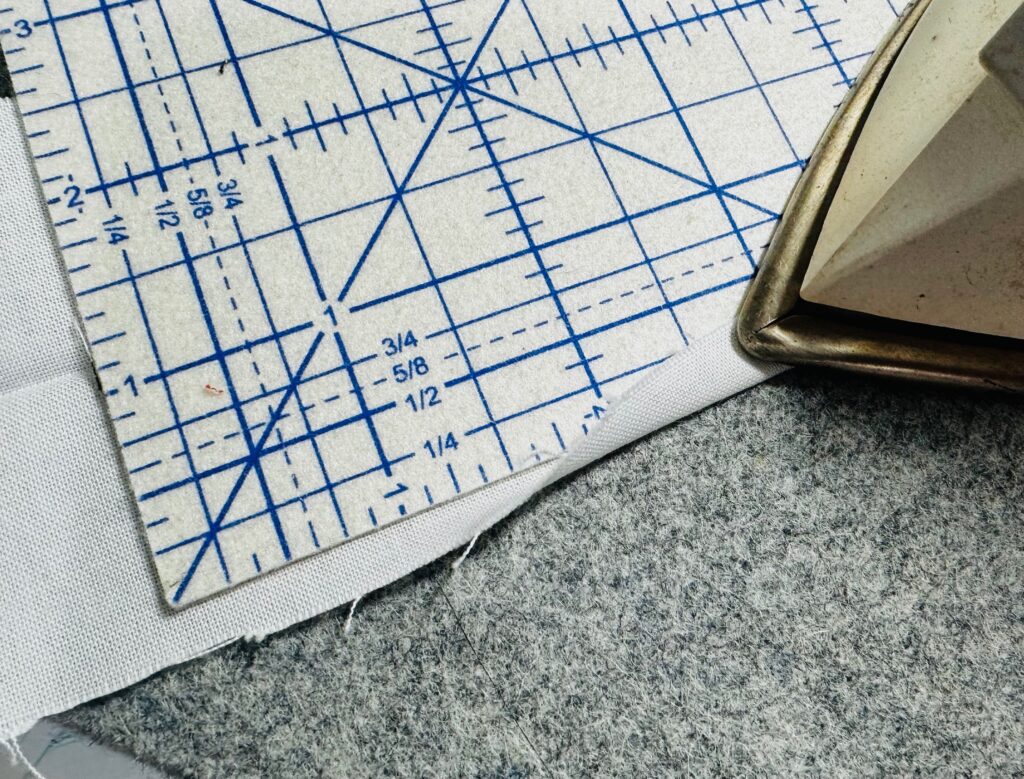
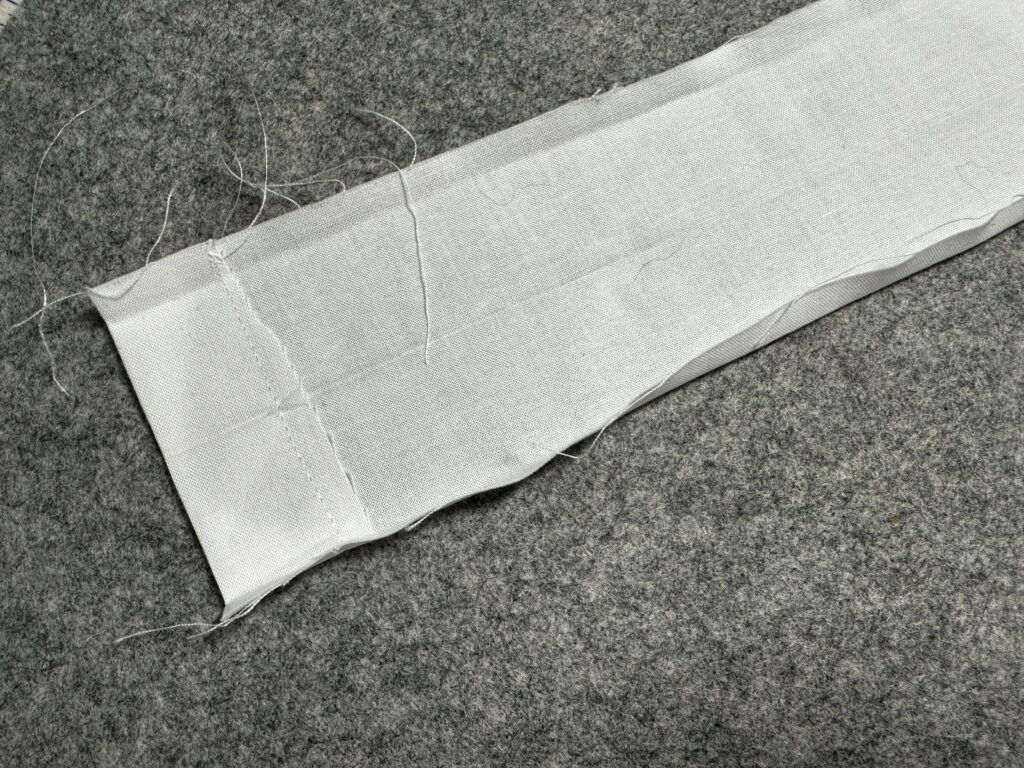
Next, fold the white fabric rectangle in half lengthwise; press. Then, unfold the rectangle. Next, fold each long raw edge 1/4″ toward the wrong side; press. Ref-fold the rectangle along the first foldline.
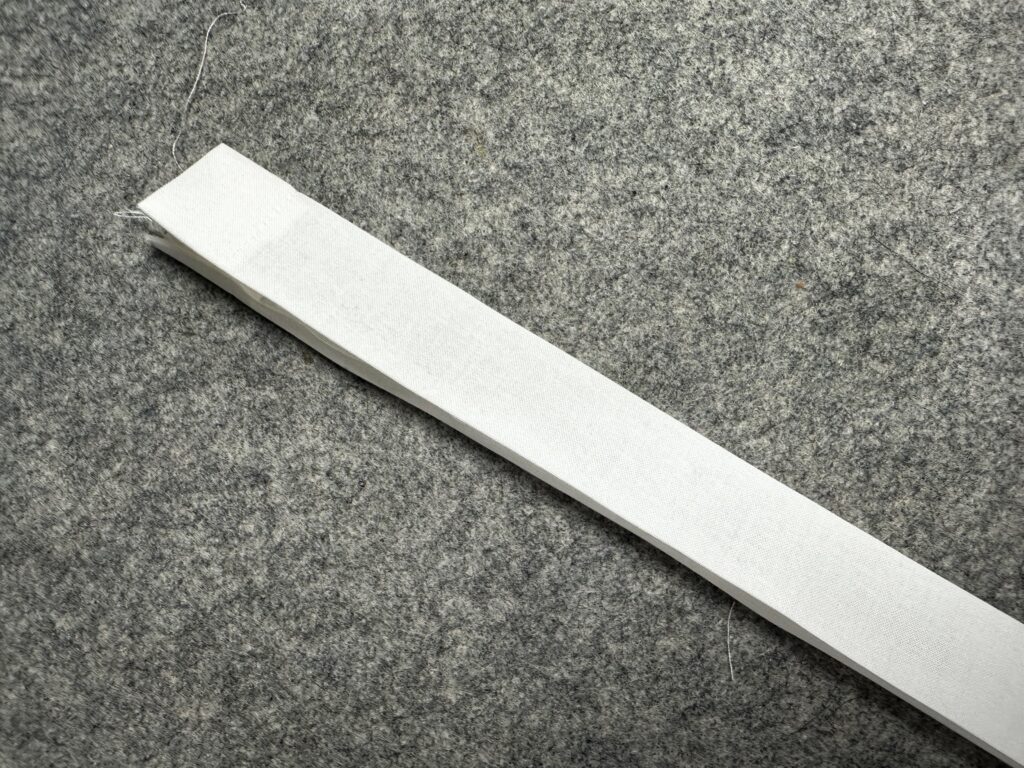
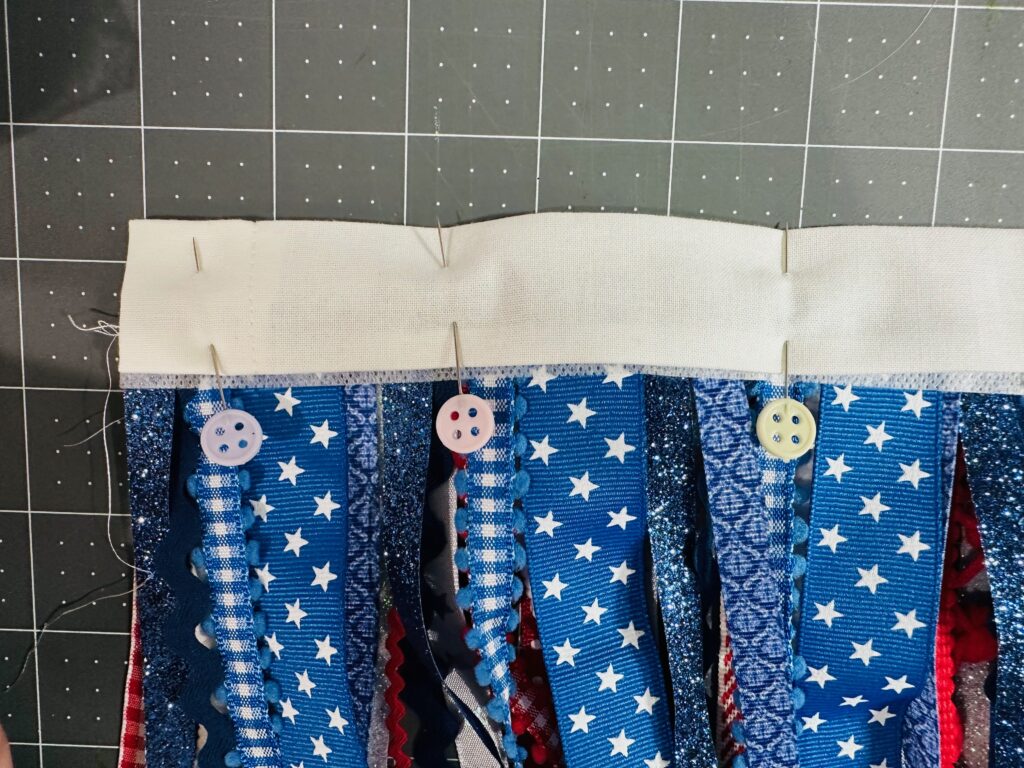
Wrap the flag upper edge “sticker” with the white fabric casing. The casing lower edge folds should meet around the ribbon ends, with approximately a scant 1/4″ of ribbon inside the foldlines.
Clip or pin the fabric generously.
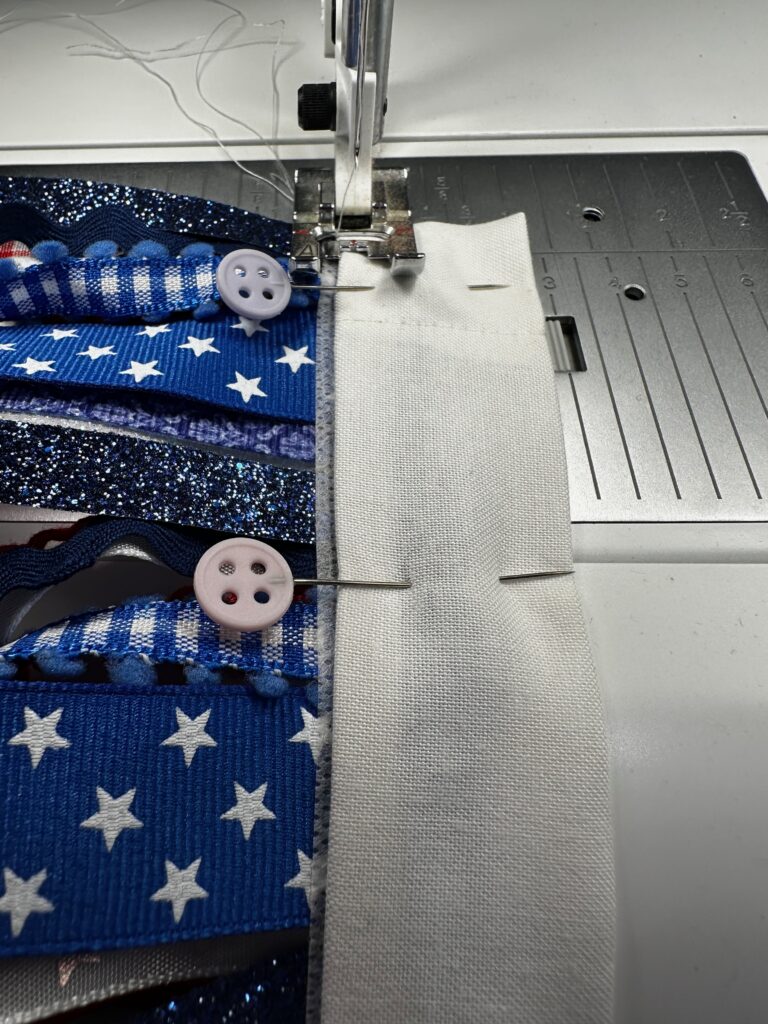
Next, stitch the casing lower edge, securing the ribbon ends.
Ribbon Flag Finishing
To finish the Ribbon Flag, remove the stabilizer. Dip the upper-edge casing into warm, running water until the Stick ‘n Stitch dissolves fully. Then, let the fabric dry flat on an absorbent towel.
Place the dried Ribbon Flag on a flat work surface. Make sure the ribbon lower edges are relatively straight. If desired, trim the ends so they’re even. (I needed to trim mine quite a bit.)
To hang the Ribbon Flag, insert a dowel into the upper-edge casing. Tie leftover ribbon to each dowel end at the desired length and hang. If desired, tie a bunch of ribbons to the dowel ends for additional embellishment.
Happy Flag Day!
