School Spirit Sweatshirt
Embellish a school spirit sweatshirt using Sulky Stick ‘n Stitch Stabilizer and 12 wt. Cotton Threads. Customize the school and mascot and head to the Friday night lights in style!
SCHOOL SPIRIT SWEATSHIRT SUPPLIES
- Sweatshirt of choice
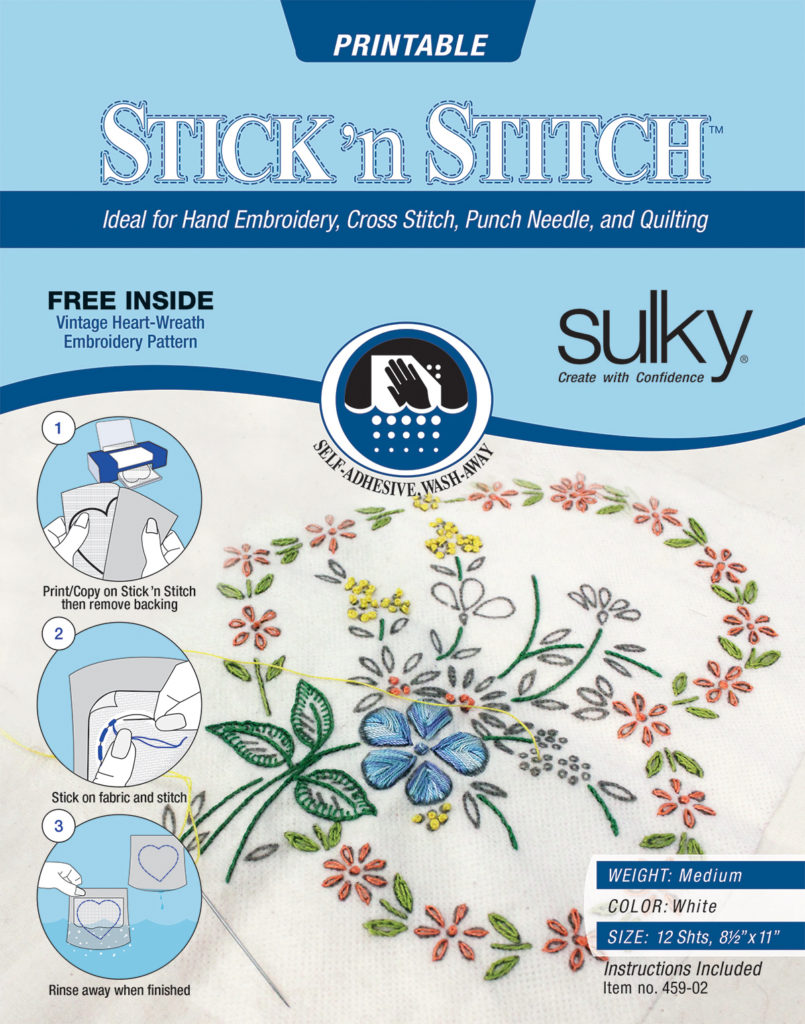
- Sulky Stick ‘n Stitch™ Stabilizer
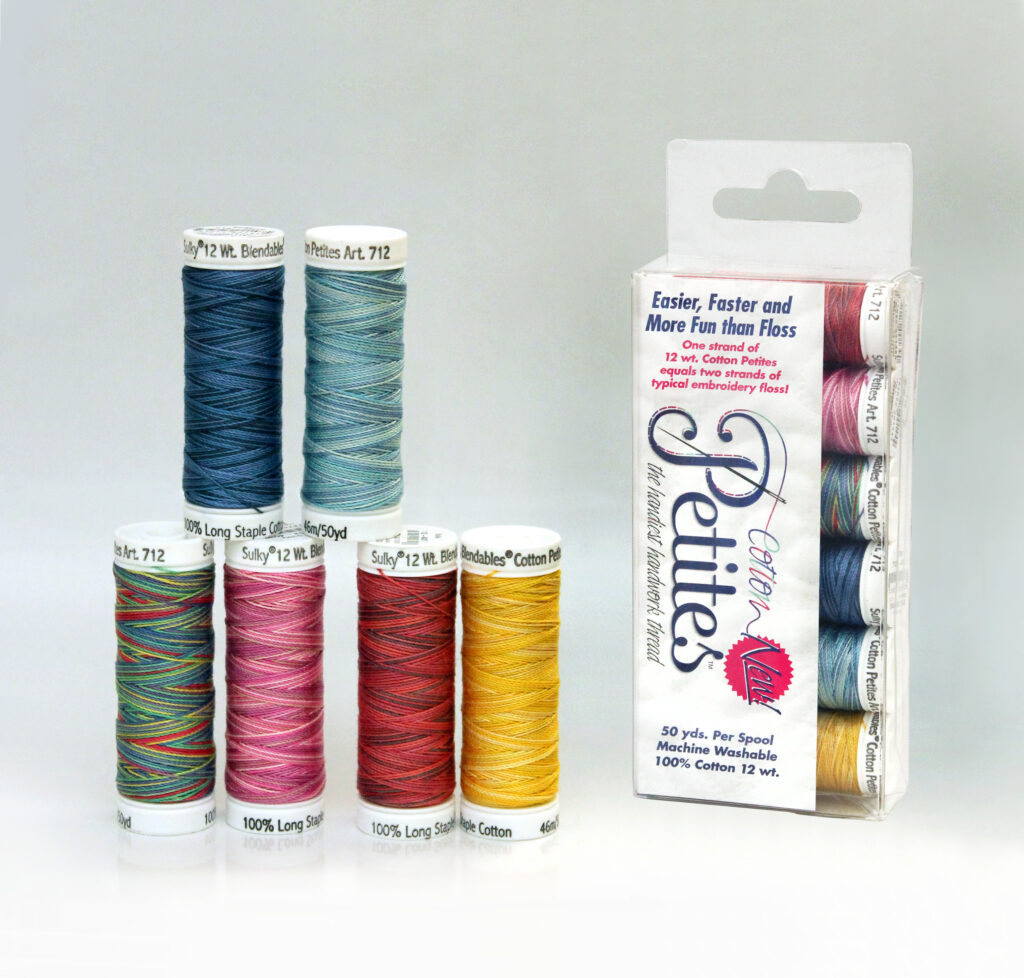
- 12 wt. Cotton Petites™ Thread (in school colors)
- Hand embroidery or chenille needle
SWEATSHIRT TIPS
School spirit gear often comes with a hefty price tag. But, you can achieve your own school spirit style with a handcrafted sweatshirt (or tee or tote) that’s personalized with your school name and mascot for much less dough. If your school has a particular phrase (such as “Fight On!” or “Go Dawgs!”), add that to further personalize the project, too. (Think outside the “school box” and create sweatshirts for your favorite professional sports teams, too!)
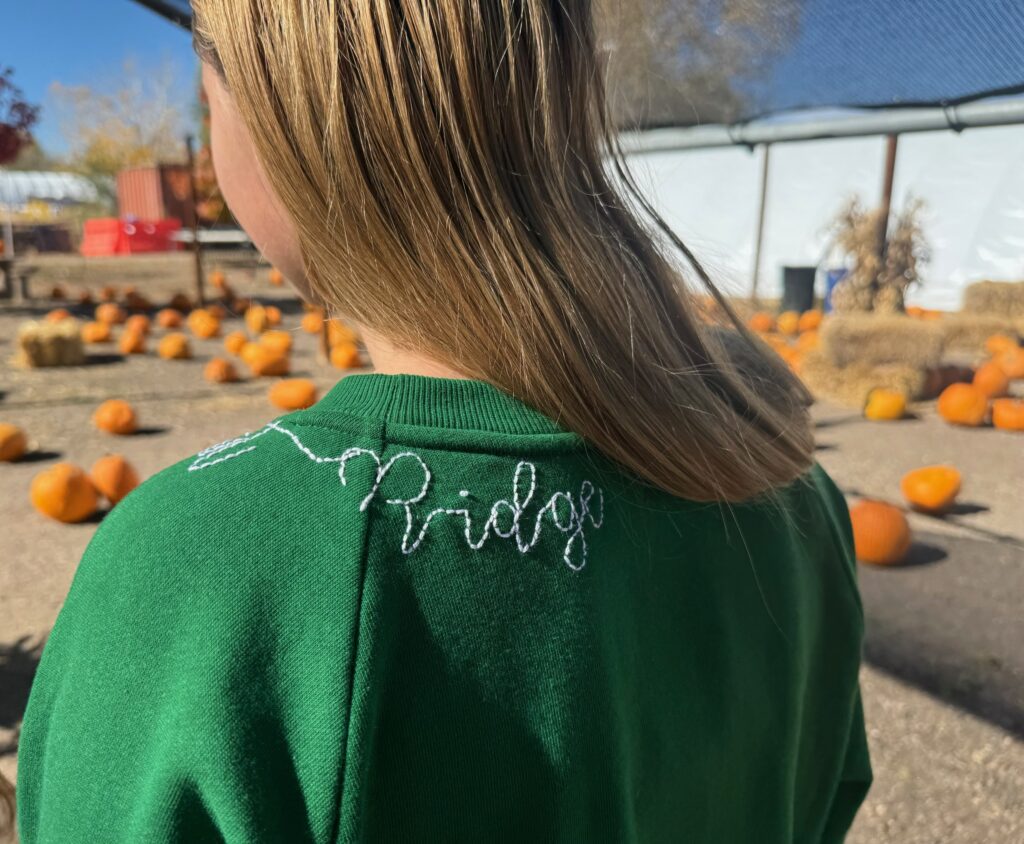
When choosing a sweatshirt, opt for a crew neck so a hood doesn’t interfere with the added embroidery. Or incorporate the design onto a hood instead of the shoulder/neckline area (as shown). The fit and length are up to the wearer, but oversize is certainly trending!
Wash and dry the sweatshirt prior to embellishing to remove any sizing/account for shrinkage. Make sure after drying that the sweatshirt is wrinkle-free.
Choose Sulky 12 wt. Cotton Thread over embroidery floss. The thread is on a spool, which makes for tidy organization and eliminates twists and knots during use. Plus, one strand of 12 wt. Cotton Petites Thread equals two strands of traditional floss. So you get great coverage with only one strand, which is easier to sew through the garment bulk. If a heavier stitch is desired, use two or even three strands, and use longer stitch lengths to account for the thread thickness. Choose a Blendables® Thread variety to incorporate mroe school colors into the design. Or opt for one color that coordinates or contrasts with the sweatshirt color, making sure the school/team colors are represented by one or the other!
SWEATSHIRT STITCH PLAN & PREP
For this sweatshirt project, you’ll need at least one sheet of Sulky Stitch ‘n Stitch Stabilizer. This is a water-soluble, printable stabilizer that acts as a sticker design transfer once printed. The sticker is completely removed using water after embroidery is complete, leaving no trace. There’s no need for a transfer pen, chalk or other marking tool, which might mar the sweatshirt or become permanent by inadvertent heat.
The sheets are 8 1/2″ x 11″ to fit perfectly in your printer. Set the printer to its lowest ink setting, or “drafts,” if possible. If that’s not possible, be sure to let the sheet “dry” a bit after printing so the ink sets into the product before applying to the garment/fabric.
Open a new document in a word processing program and type the school/team name, mascot, phrase desired. The lettering should be about 2″ to 3″ tall, depending on the desired finished look and how long the words are. Choose a few fonts you like and play around until you find one you love for the sweatshirt(s). It’s easier to embroider a script font that has all letters connecting. This choice eliminates the need to tie off threads after each letter is stitched. If needed, play around with the spacing of each letter for more or less room/connection between them.
You may be able to creatively combine several mascots, names and/or phrases onto one page if making multiple sweatshirts and/or using multiple words. However, keep in mind that you want ample room to have a bit of a border around each one. So, depending on the word length and number of words, you may need to create multiple pages for printing.
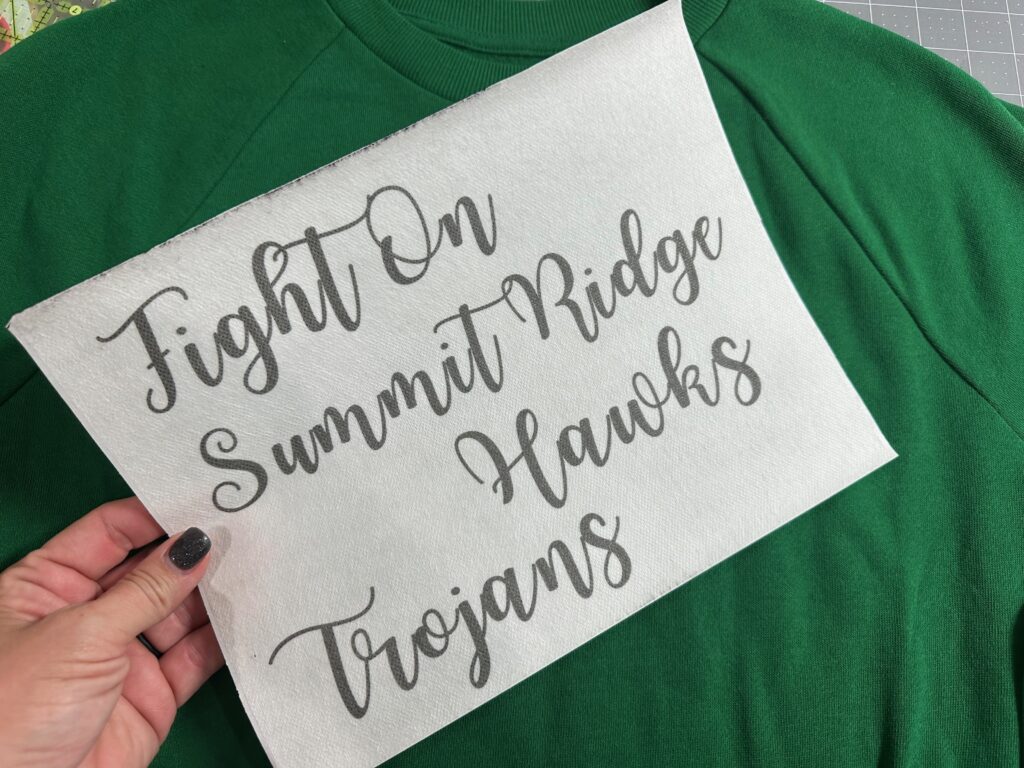
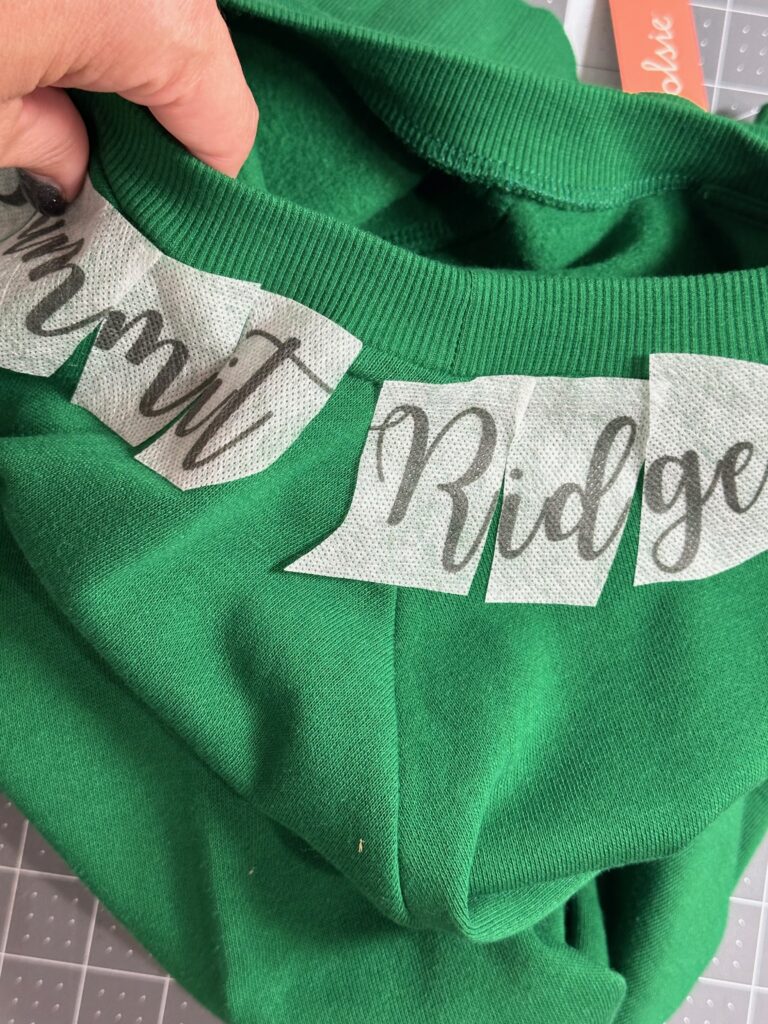
Once satisfied with the words/lettering, print the page(s) onto the Stick ‘n Stitch Stabilizer sheet(s). The photo below shows two sets of designs for two sweatshirts: Summit Ridge Hawks” for one, and “Fight On Trojans” for another.
Cut out each word (not each letter).
SCHOOL SPIRIT SWEATSHIRT EMBROIDERY
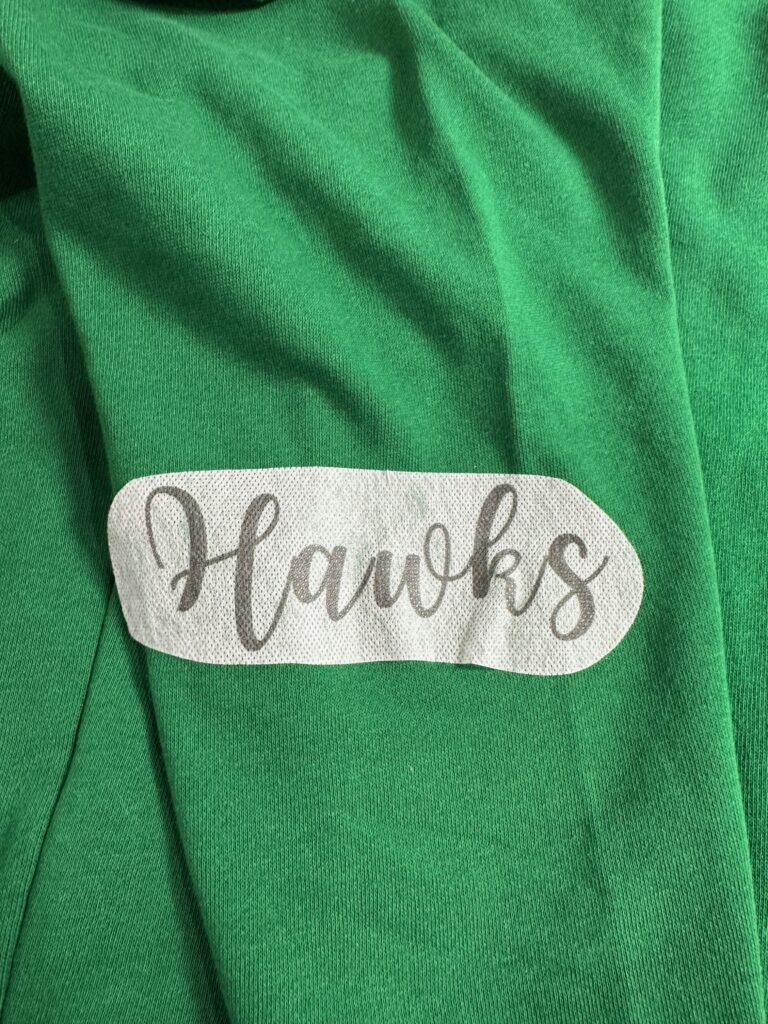
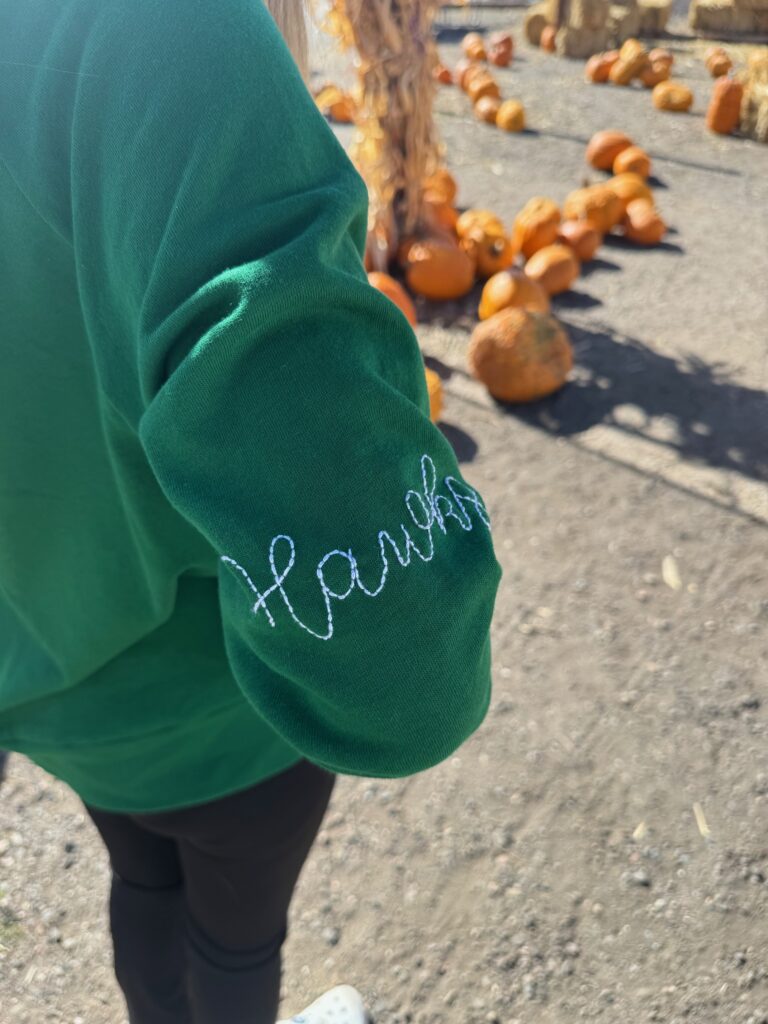
Place the design “stickers” on the sweatshirt right side where desired. The mascot or small phrase works well just above the elbow. Be sure to try on the sweatshirt and mark the desired placement. The Stick ‘n Stitch sticker is re-positionable, so you can also try on the garment after placing the sticker and double-check before embroidering.
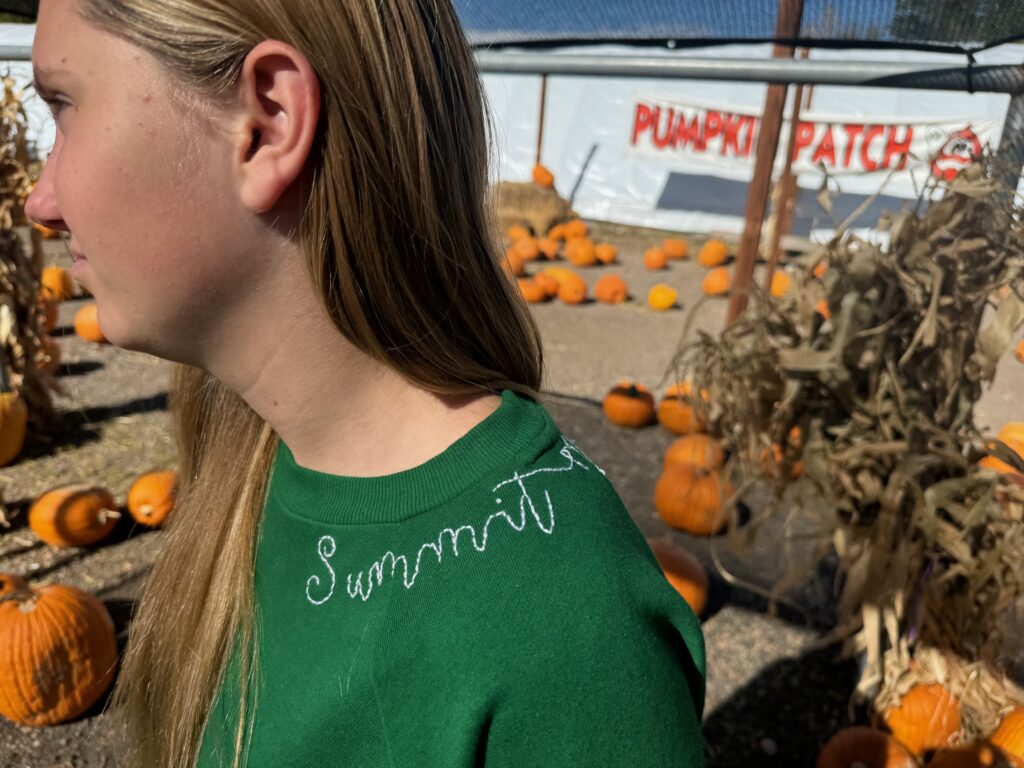
Place the school or team name along the neckline, under the neckband seam. To follow the neckband curve, either cut the letters apart or slit the sticker lower edge to move the letters as needed.
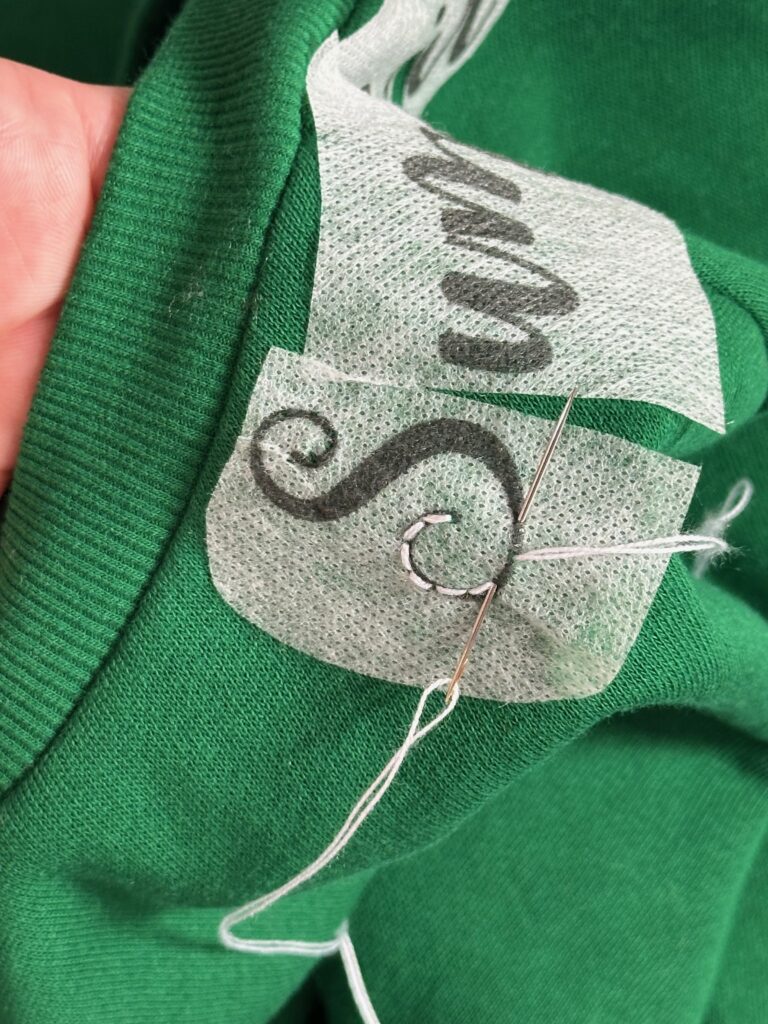
When the transfer stickers are places as desired, thread a hand sewing needle with one or two strands of 12 wt. Cotton Petites Thread in the chosen color.
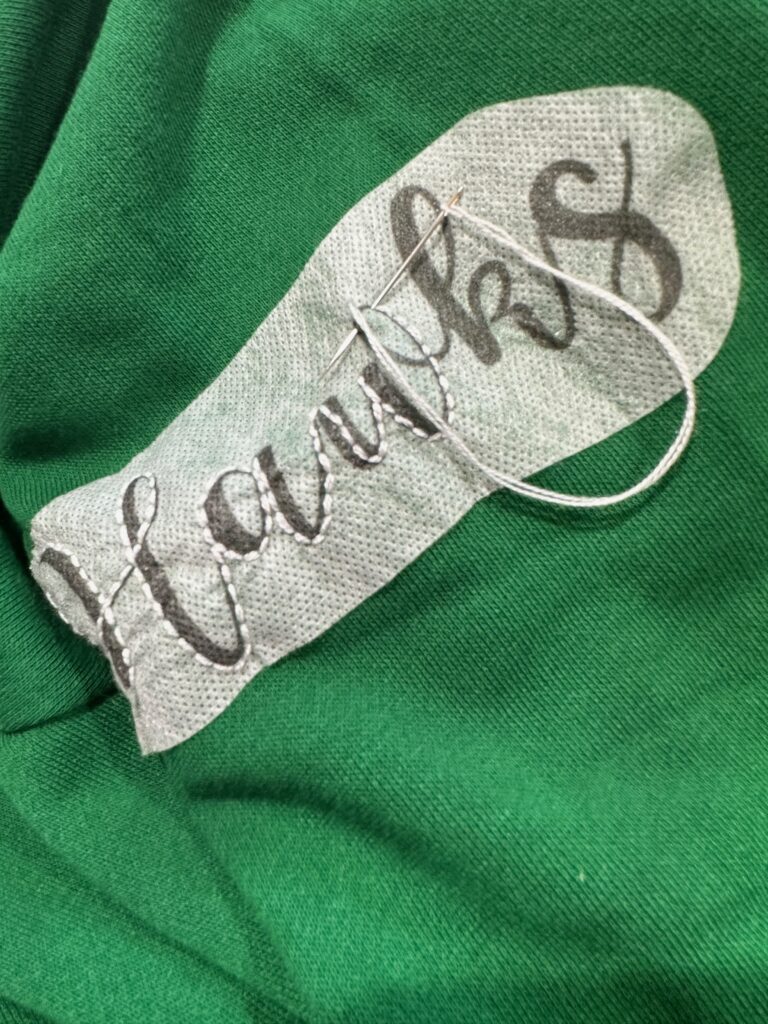
Stitch along the printed lines, using a straight running stitch, backstitch (as shown), stem stitch or satin stitch. Note: If using a font with thick and thin areas, it’s ok to just stitch along one side of the letter or right in the middle. You don’t need to fill all the areas of ink with stitching to make an impact!
Continue stitching each design.
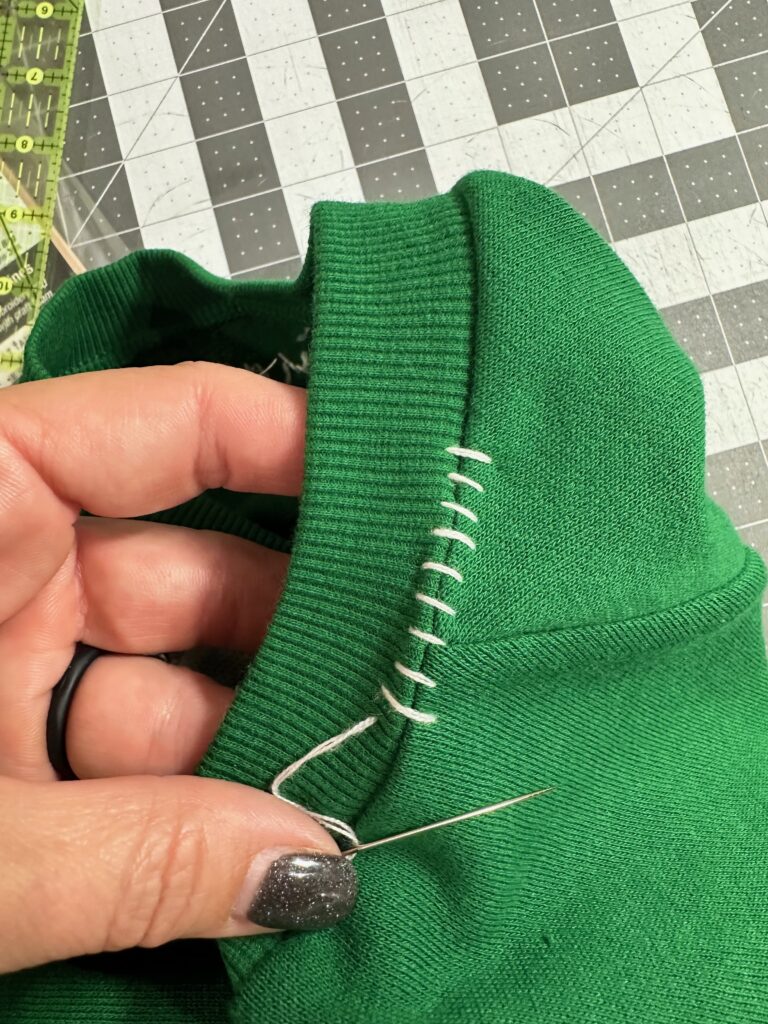
When the embroidery is complete, consider adding more hand embroidery elements to other areas of the school spirit sweatshirt. Stitch French Knots, starbursts, straight stitching to minic football laces (as shown) or motifs that complement the school mascot or motto. Either print these motifs onto a new sheet of Stick ‘n Stitch or freehand embroider them as desired.
SWEATSHIRT FINISHING
When the embroideries are complete, weave the thread ends back through the stitching on the sweatshirt wrong side. make sure all thread ends are secured so nothing unravels during wear or washing.
To remove the stabilizer, choose one of two methods.
- Rinse away the stabilizer under warm, running water. It’s very important that the water is running off the project, especially if using darker threads (such as deep reds and black) to avoid any excess dye bleeding onto the sweatshirt fabric. This can happen during the drying process, too, if the item is too wet after removal.
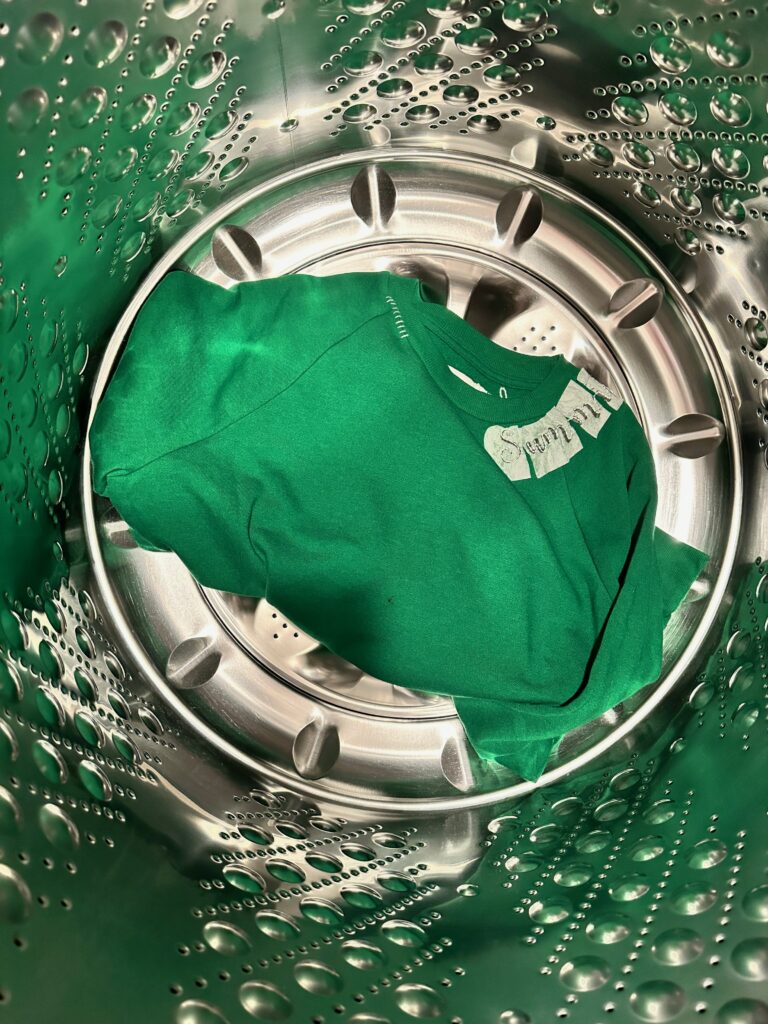
- Place the sweatshirt into the washing machine and run a “rinse and spin” cycle to remove the stabilizer and spin the sweatshirt dry.
After the stabilizer is removed, place the sweatshirt flat on an absorbent towel until fully dry. If the sweatshirt is very wet, make sure to roll it in the towel and press to remove excess moisture before drying flat.
Wear the sweatshirt on school spirit day, to the Friday night game or the pumpkin patch!

