Charger Cord Pouch + Ear Bud Holder
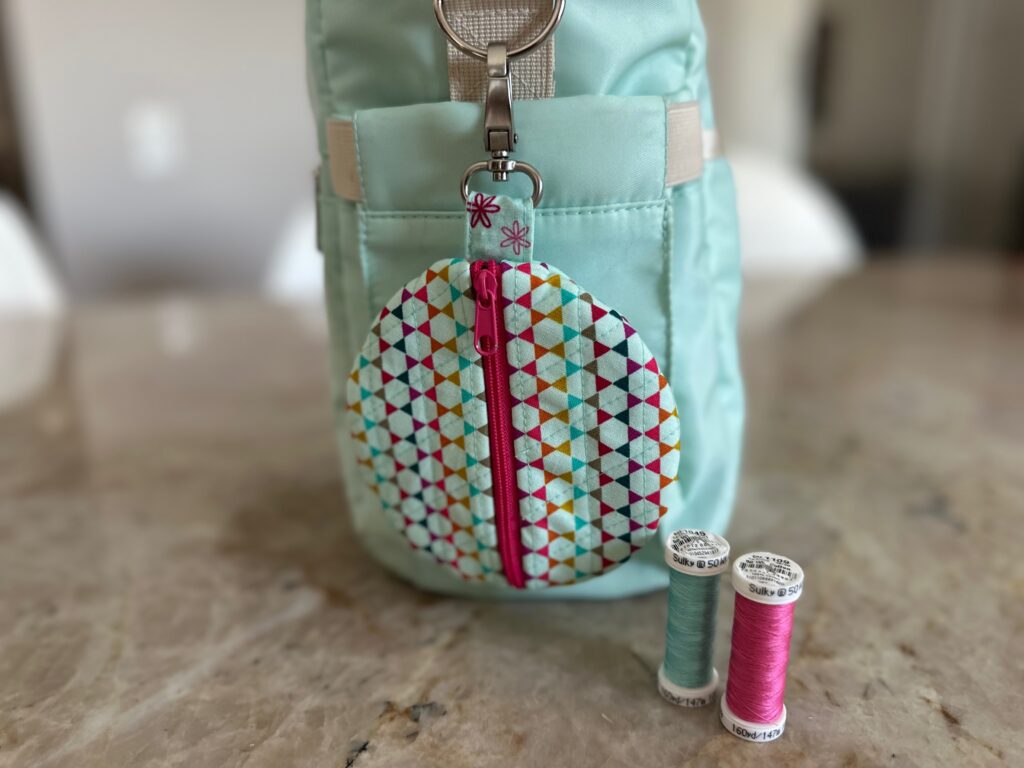
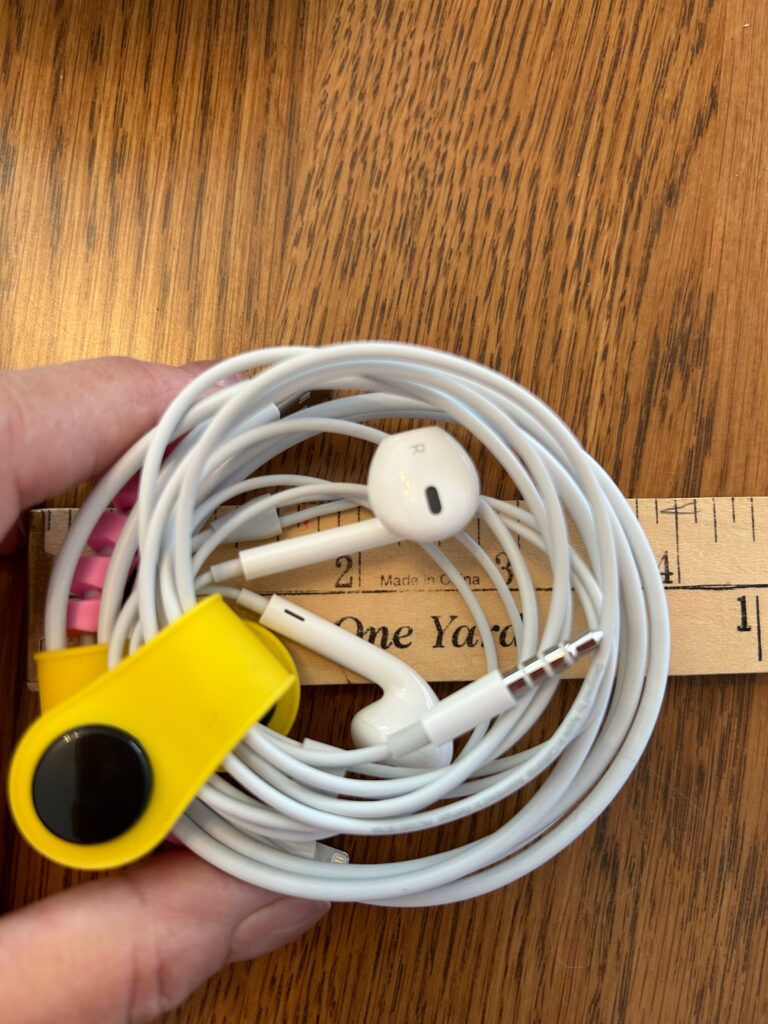
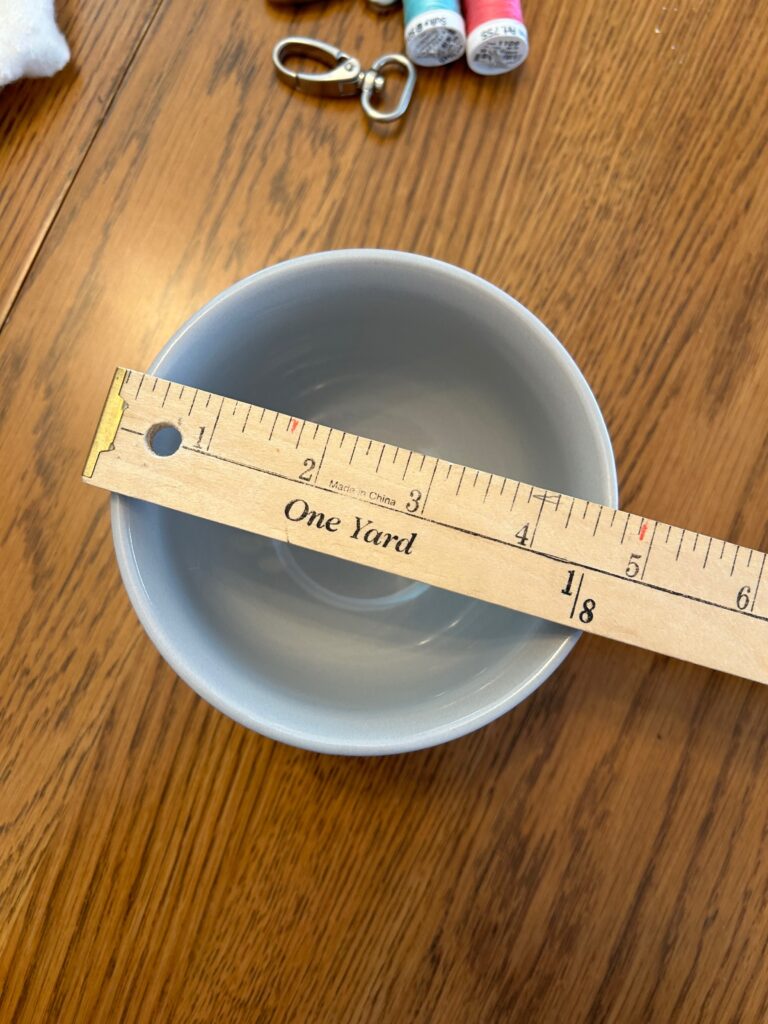
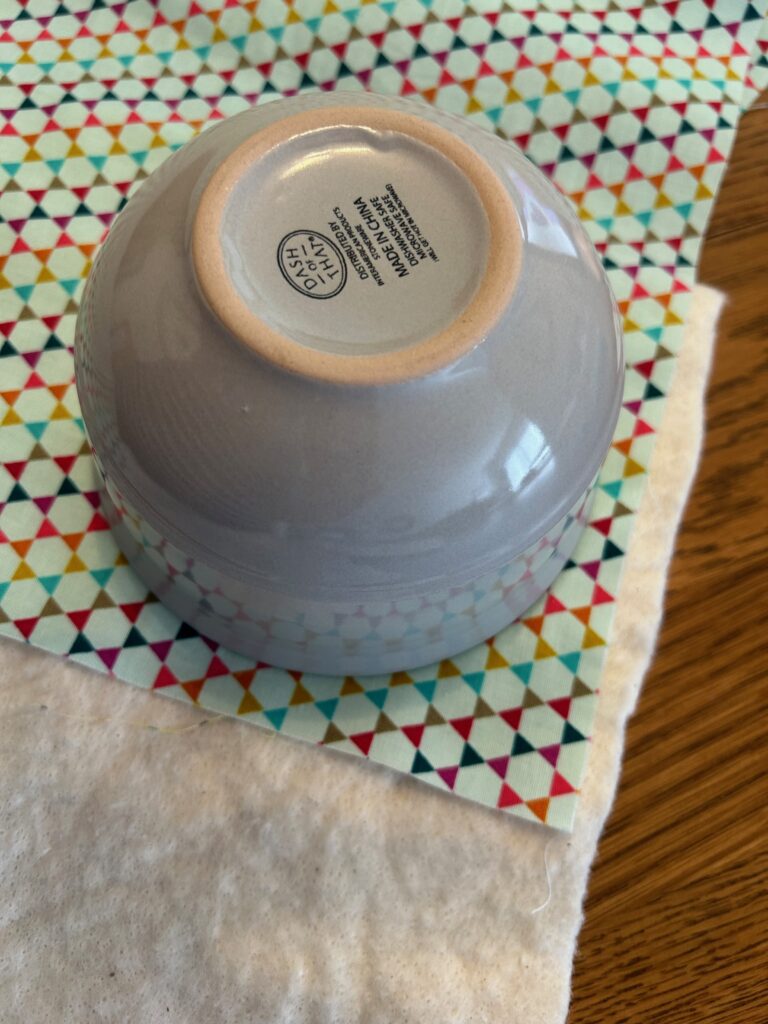
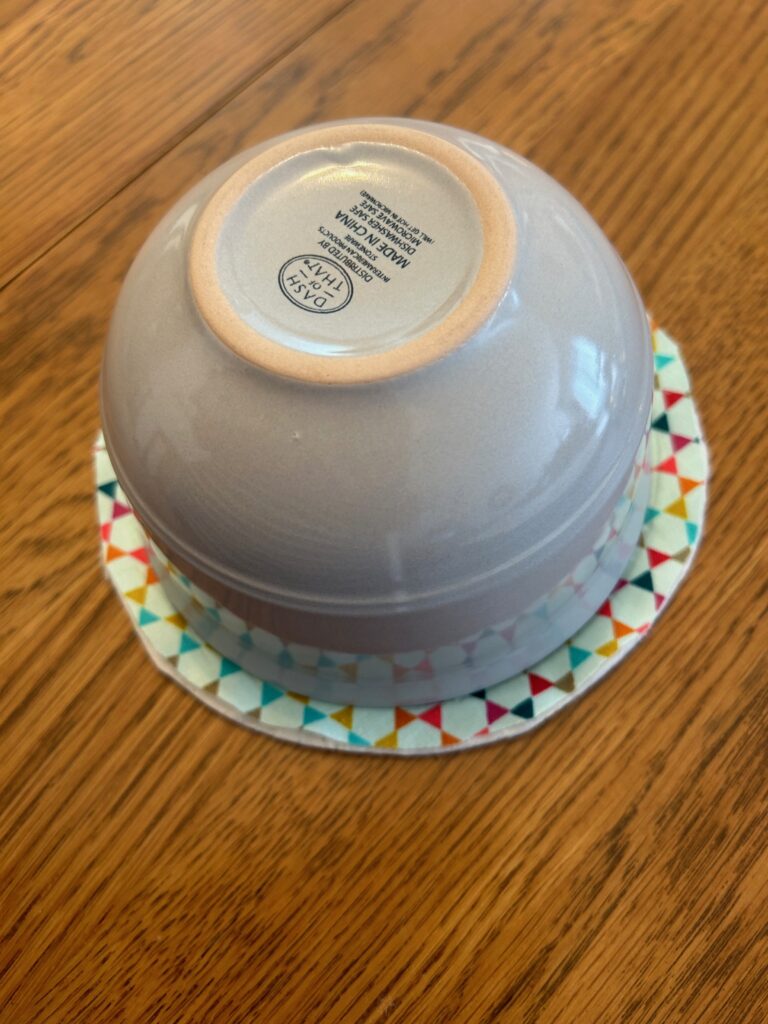
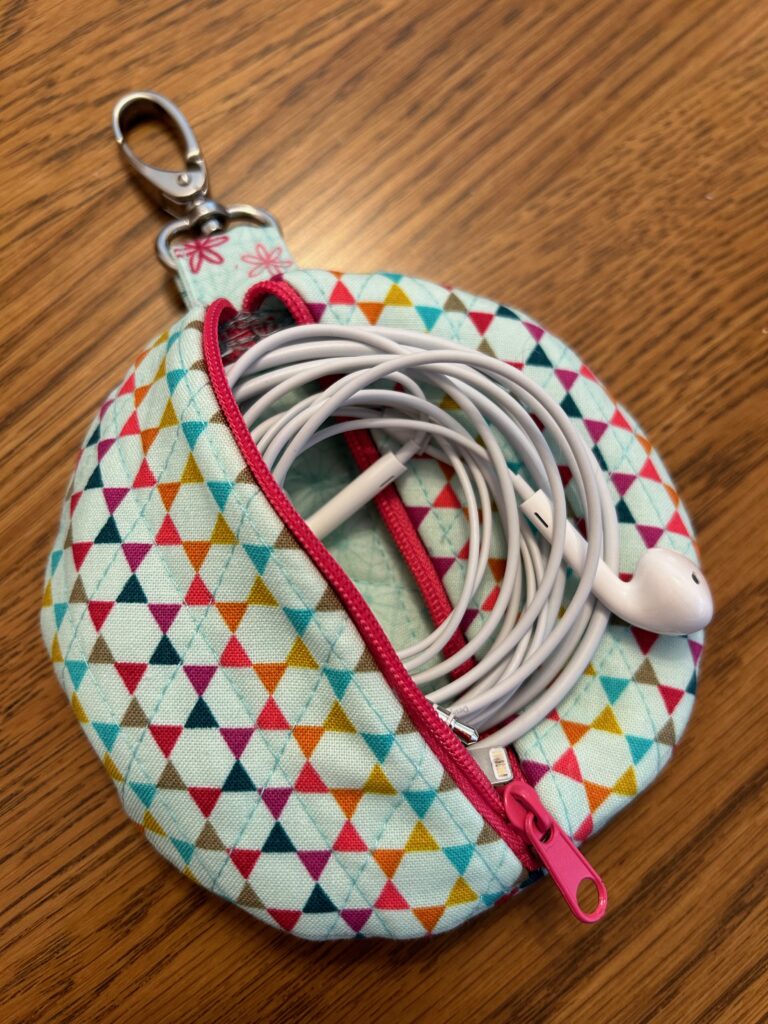
Sew a charger cord pouch + ear bud holder to store these accessories safely in a backpack for travel or heading back to school. A swivel clip allows you to attach the pouch to a zipper pull or backpack loop for convenient transport. Determine the pouch size needed by wrapping the cord(s) you intend to store and tracing the outline. Then, find a bowl or other round object that’s similar in size and trace the circle, adding 1/4″ beyond the drawn line to create the pattern.
CHARGER CORD POUCH + EAR BUD HOLDER SUPPLIES
- Quilting cotton fabric: 2 circles each (outer & backing) & one 2 1/2″ x 2” strip (tab)
- Sulky Felty™: 2 circles (lining)
- Zipper (at least 1″ to 2″ longer than circle diameter)
- Sulky 50 wt. Cotton Thread
- Size 70/10 Universal Needle
- Sulky KK2000™ Temporary Spray Adhesive
POUCH QUILTING
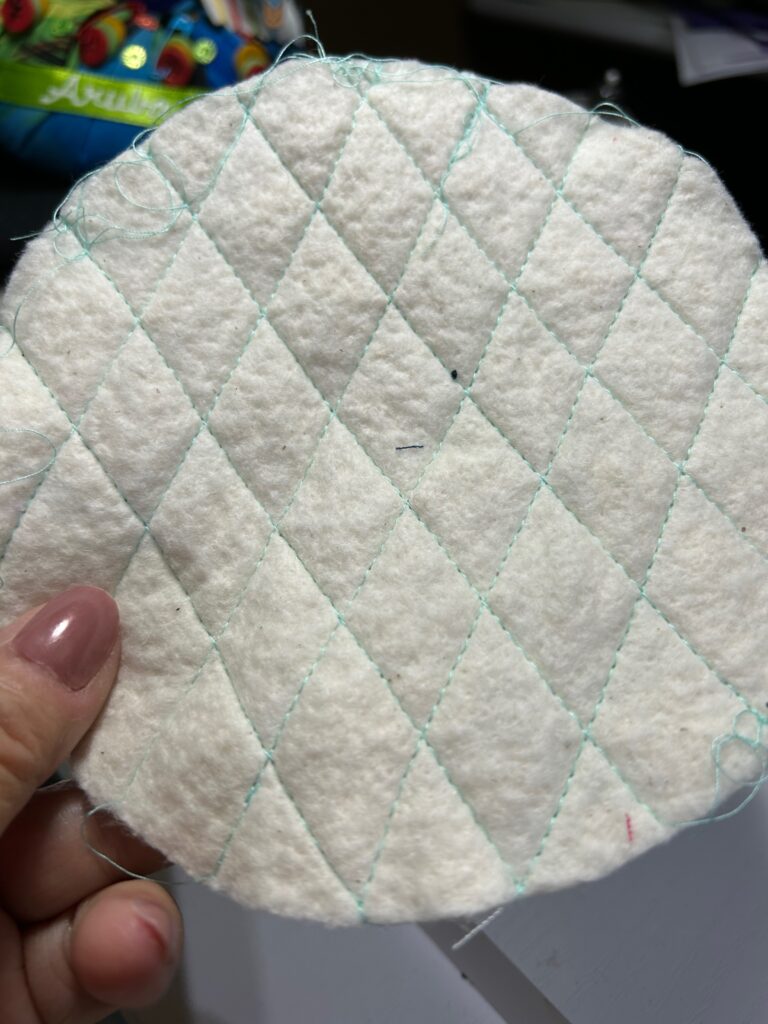
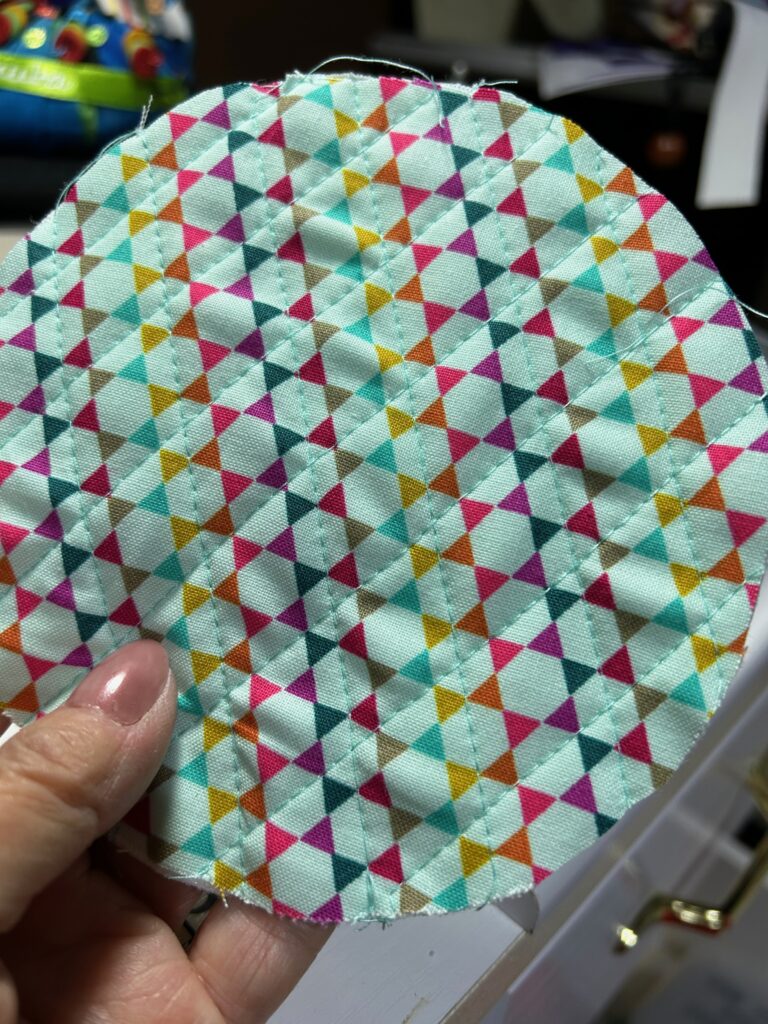
For the charger cord pouch, place one outer circle right side up over one Felty circle. Then, use Sulky KK2000 to secure the layers.
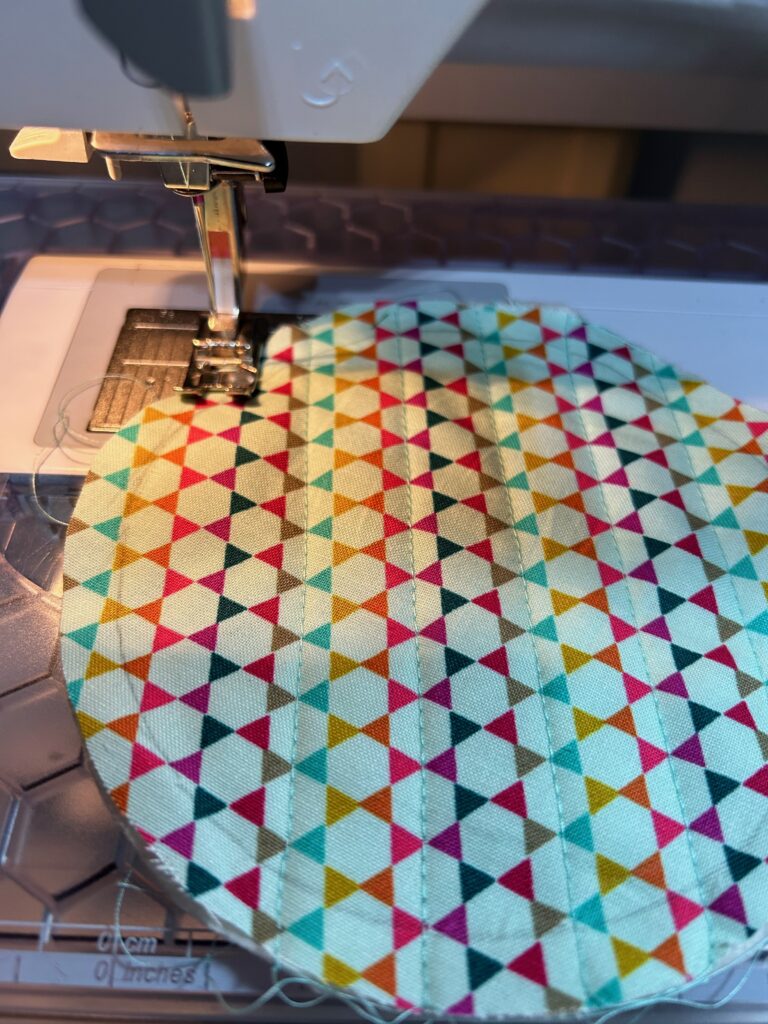
Insert a size 70/10 Universal Needle into the machine and thread it with 50 wt. Cotton Thread. Use the same thread in the bobbin.
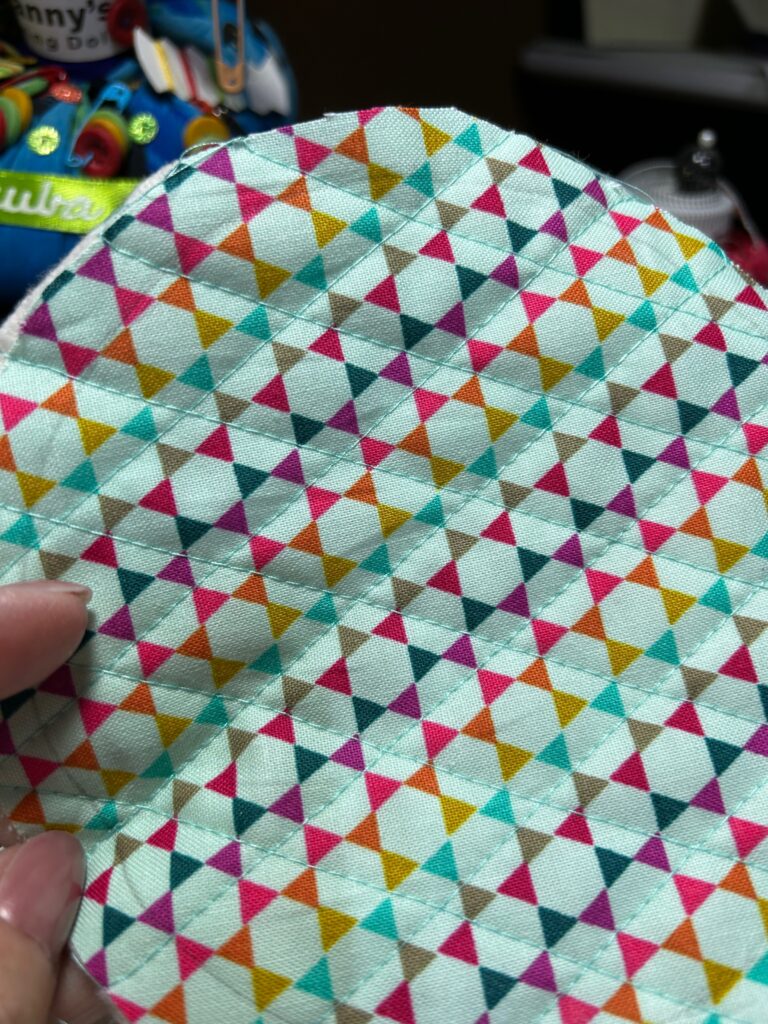
Plot the quilting lines onto the fabric right side using a removable fabric marker or chalk. Or, follow lines printed on the fabric (if applicable). Quilt through all layers, using a straight stitch or decorative stitch, such as a serpentine or zigzag stitch.
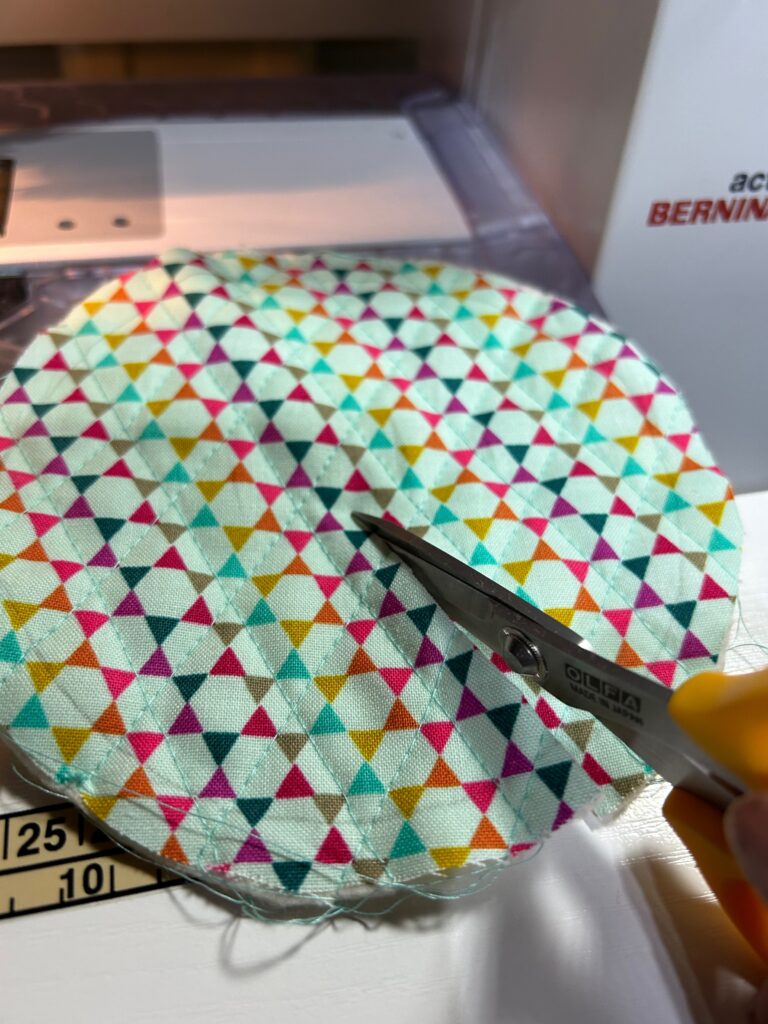
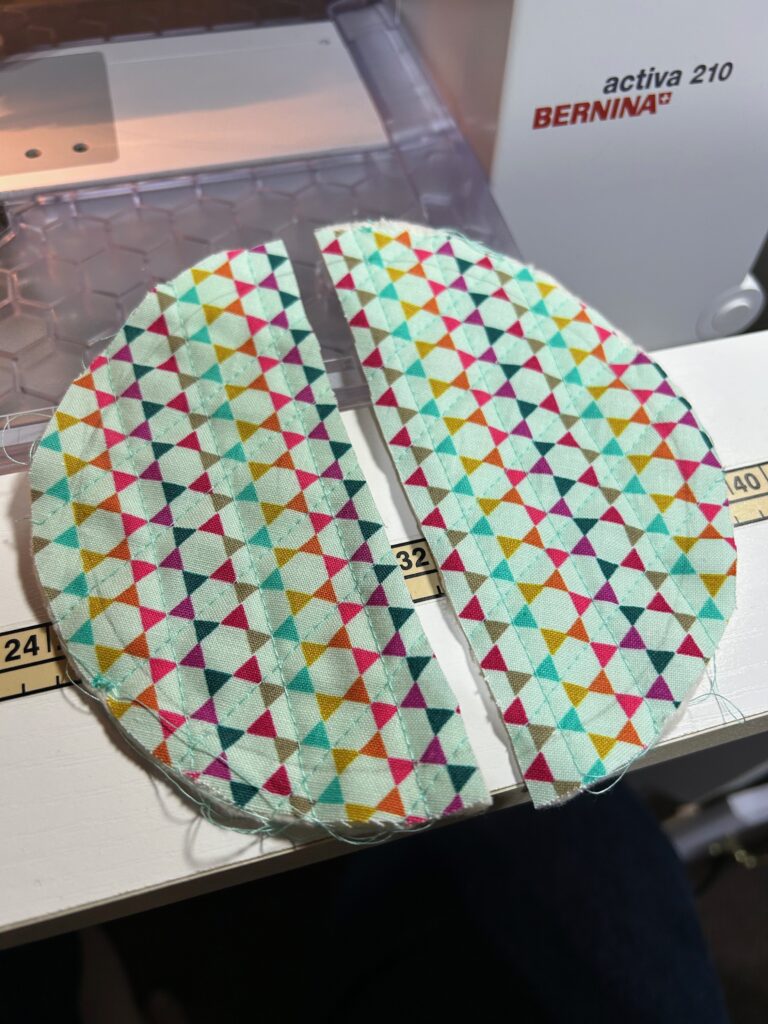
After the quilting is complete, cut the circle in half to have two equal half circles.
ZIPPER INSERTION
Cut one charger cord pouch lining circle in half to have two equal half circles.
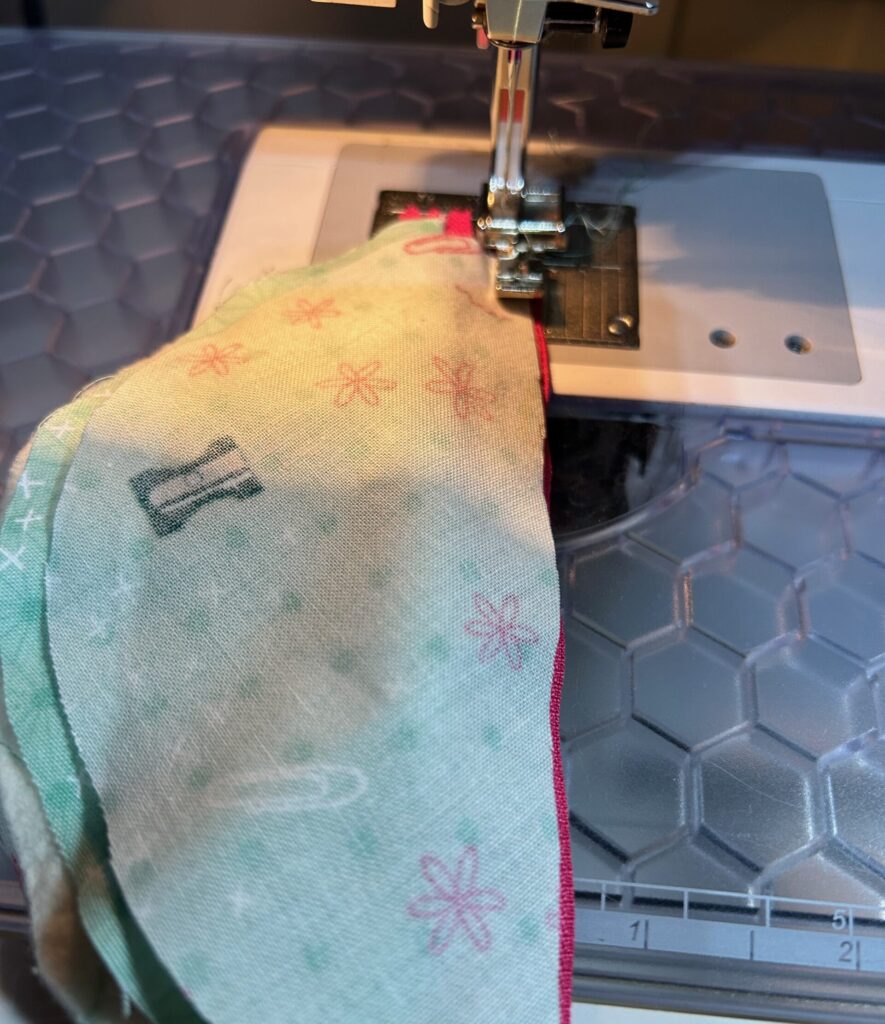
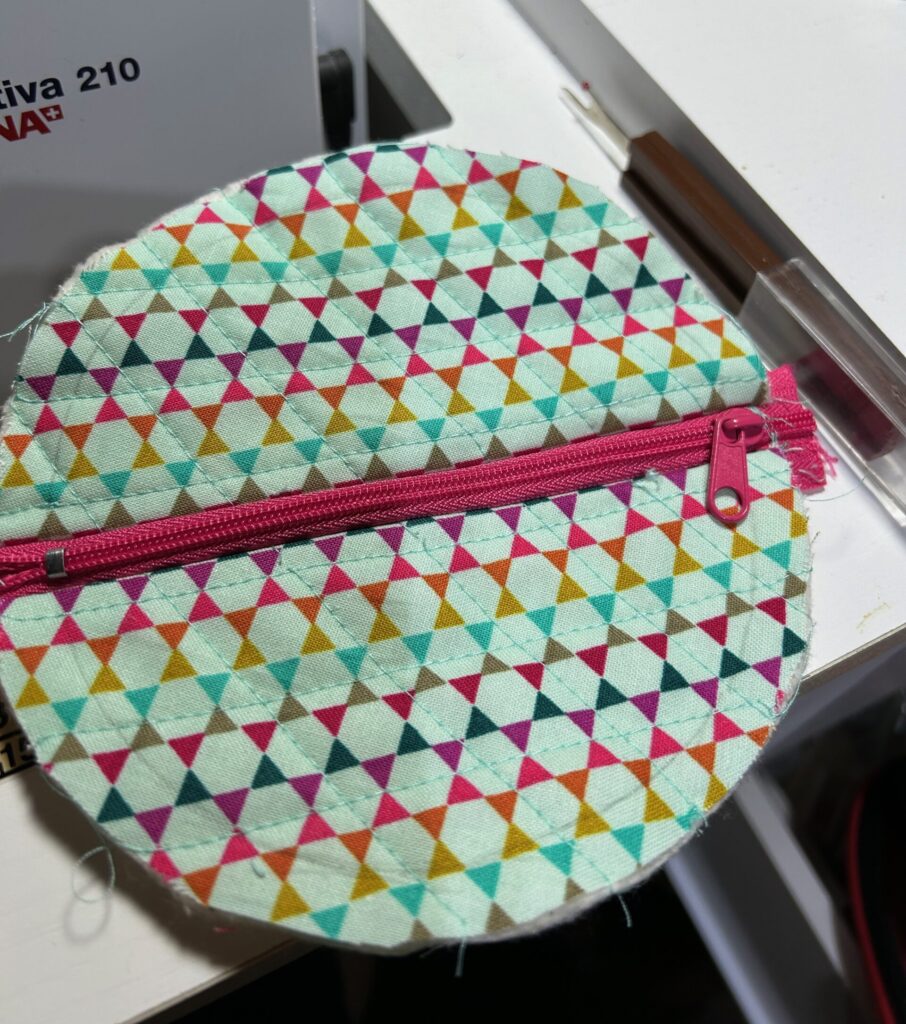
Place one circle half right side up on a flat work surface. Place the zipper wrong side up with one tape edge aligned with the cut circle edge. Next, place one lining half circle wrong side up over the zipper; pin. Then, stitch the edge using a zipper foot and 1/4″ seam allowance.
Repeat to stitch the opposite zipper tape edge to the remaining outer and lining half circles.
TAB INSERTION
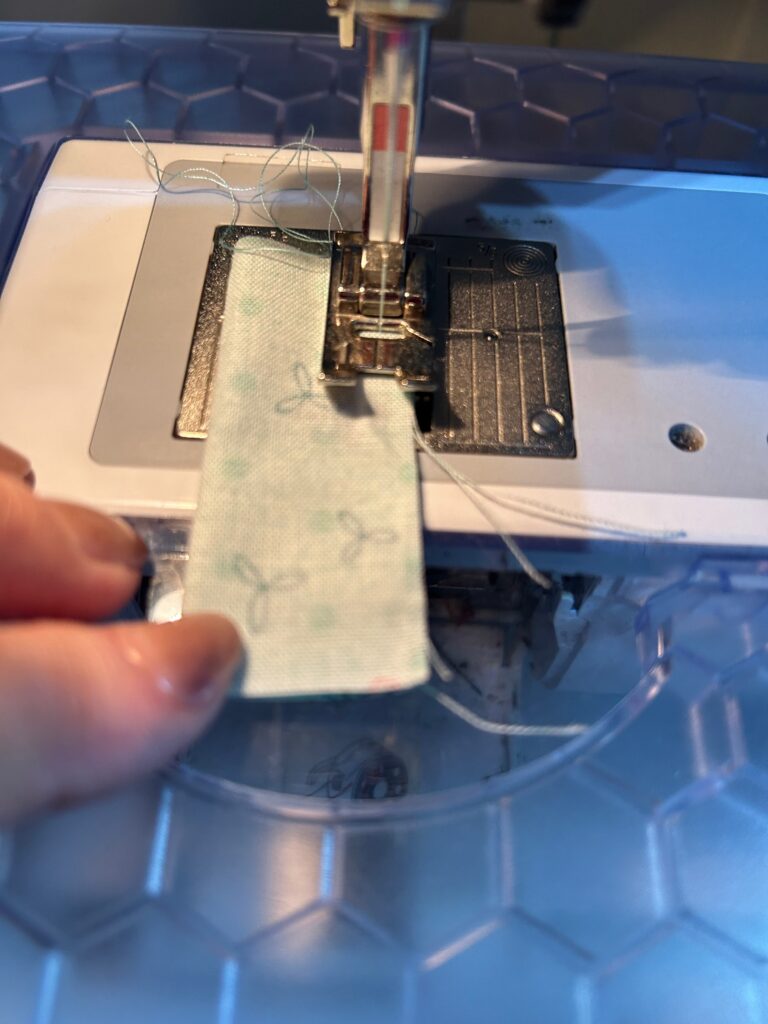
Fold the tab strip in half lengthwise with right sides together. Stitch the long edge using a 1/8” seam allowance.
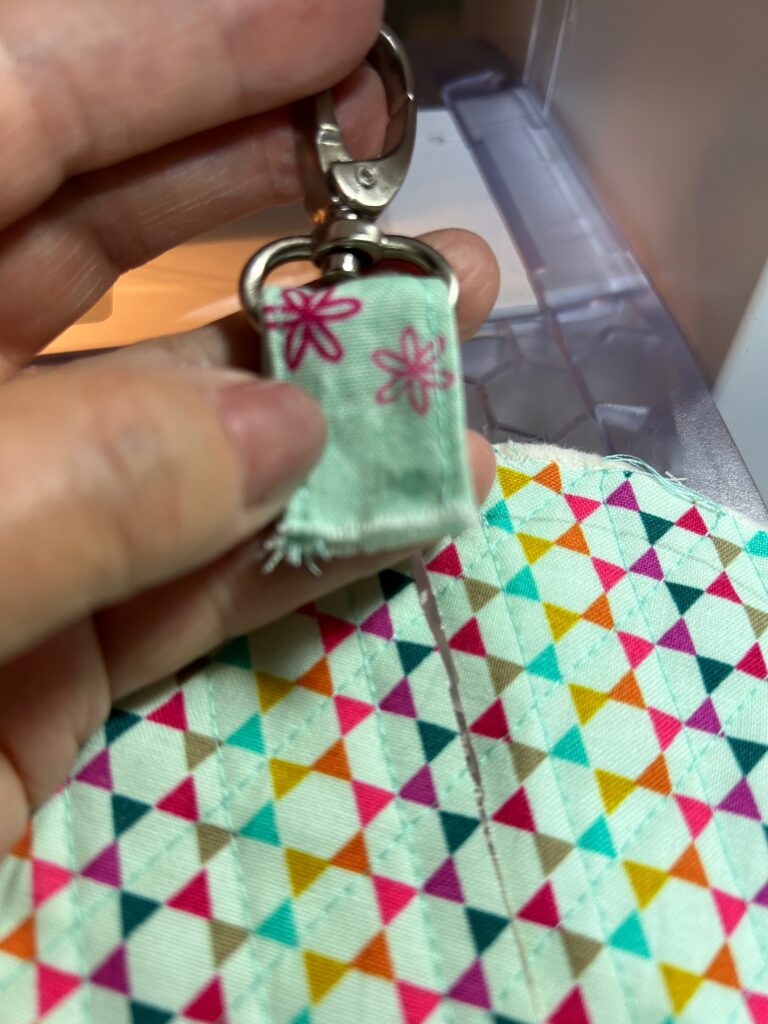
Next, turn the tab strip right side out and press flat. Then, topstitch both long edges.
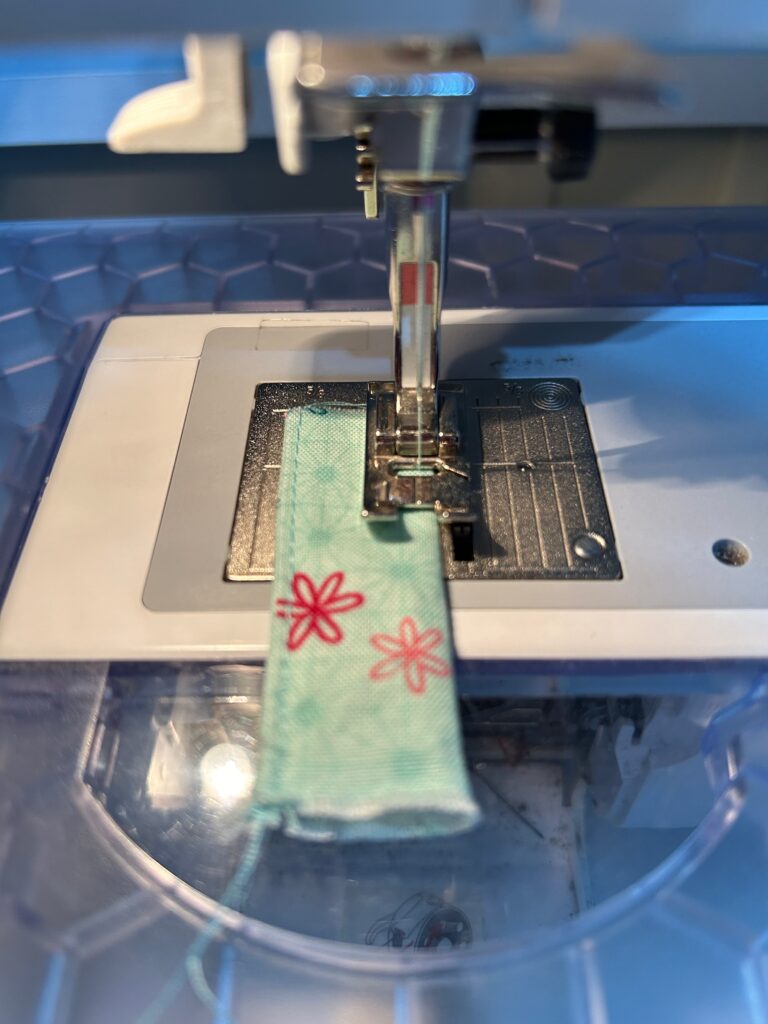
Insert the tab through the swivel clip and fold the strip in half widthwise.
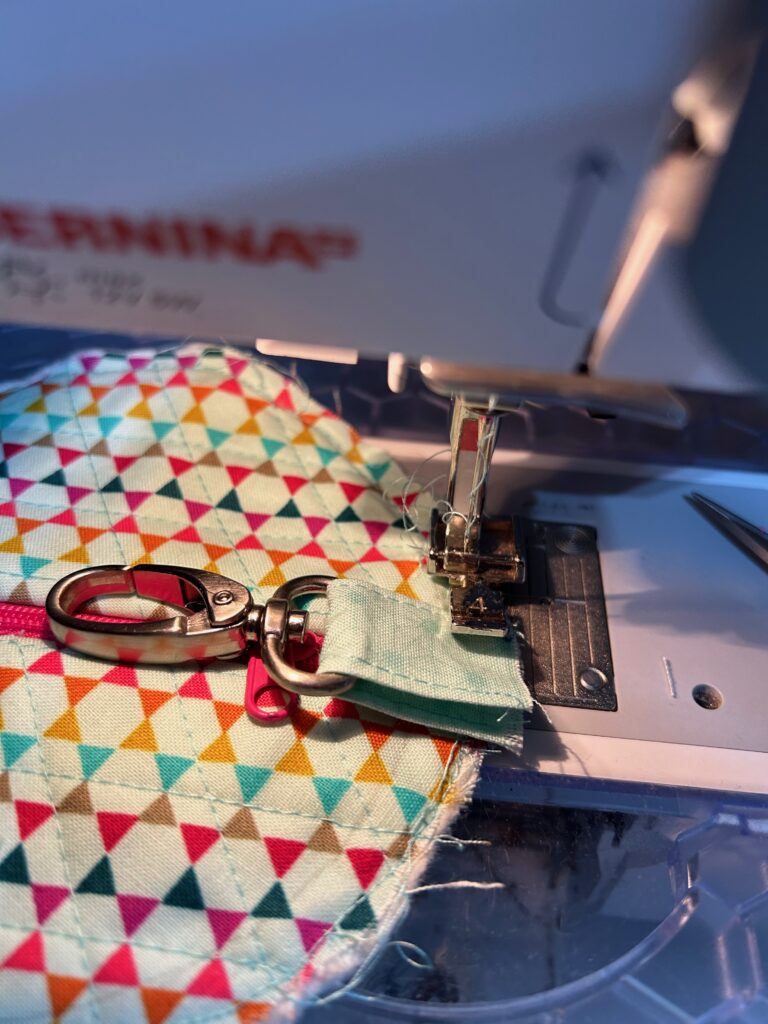
Stitch close to the clip using a zipper foot to secure. Place the tab short ends at the upper-edge center of the outer pouch (against the zipper end that has the pull). Baste the tab ends in place.
POUCH FINISHING
Place the charger cord pouch backing circle right side up with a Felty circle over the top; use KK2000 to secure the layers. Quilt the layers per the outer circle.
Position the outer circle wrong side down over the backing circle right side. Stitch the perimeter using a ¼” seam allowance. Stitch this seam twice for extra security, backstitching at the beginning and ending of the tab area. If desired, serge-finish the seam allowance.
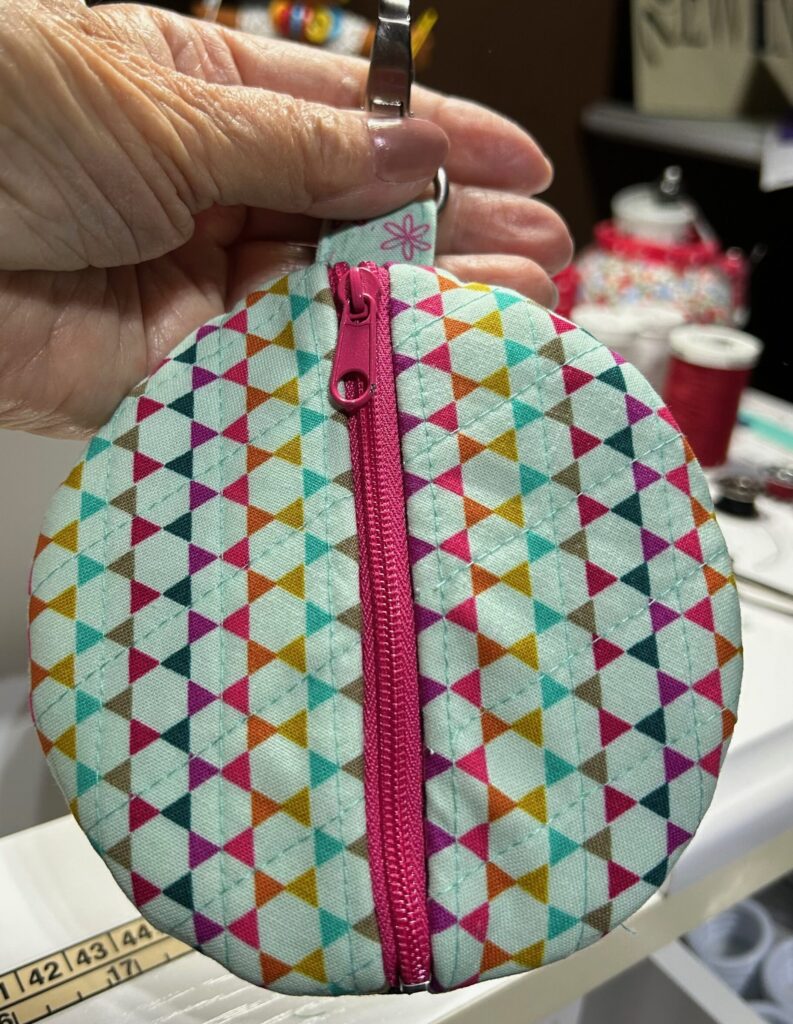
Next, trim the zipper ends even with the pouch edges. Then, open the zipper and turn the pouch right side out.
TIP: Trim some of the Felty within the outer seam allowance before turning right side out to reduce bulk.
Insert the charging cord and/or ear buds into the pouch and zip to close. Clip the swivel clip to a keyring, backpack handle or larger zipper pull.


Cute idea!