Sew a Pie Carrier with Insulated Batting & Adjustable Straps
Sew an insulated casserole and/or pie carrier to take to summer gatherings. Include a recipe pocket on the inside, too. Place a homemade pie or casserole dish in the center, complete with the recipe used to make it, and gift the carrier to someone special.
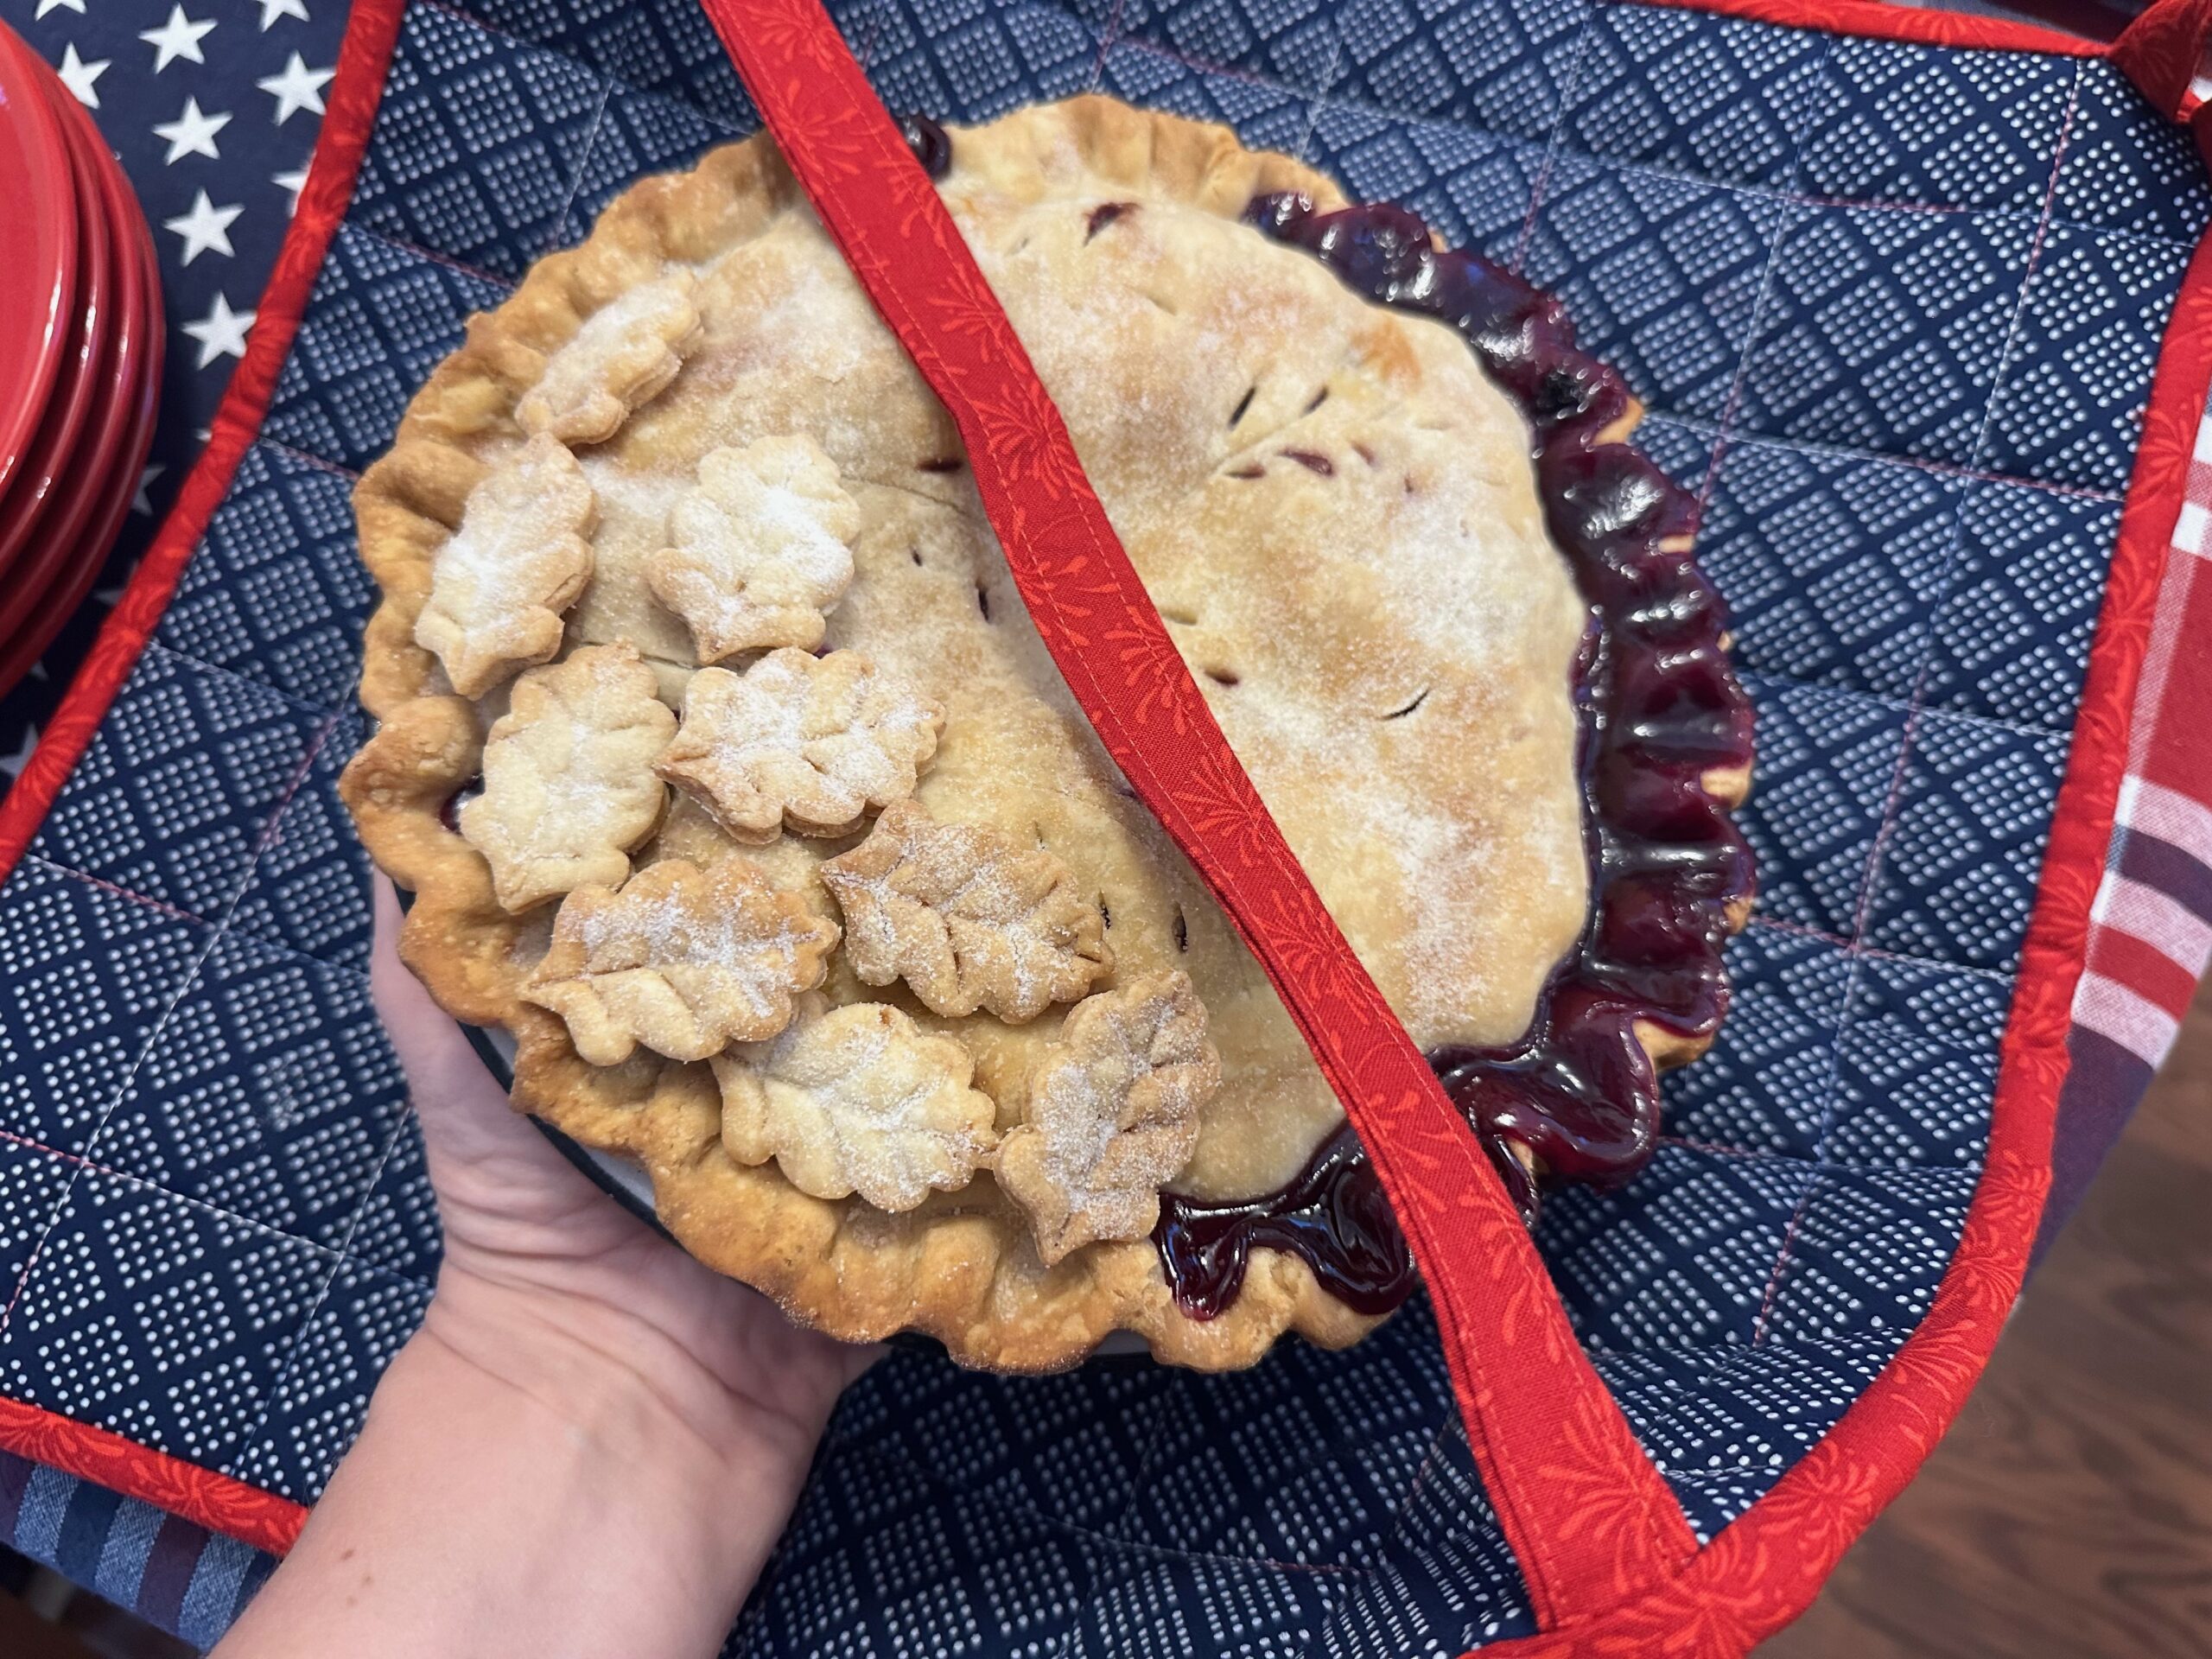
This Carrier is shown with a pie tin that’s 9” in diameter at the widest part (upper edge). To use a larger pie tin or deep-dish glass pan, size up by at least 2”, depending on the vessel you plan to transport.
PIE CARRIER SUPPLIES
- (1) 18” cotton fabric square (exterior)
- 18” square & 5 1/2” x 14 1/2” rectangle of coordinating cotton fabric (lining)
- 3”-wide coordinating bias-cut fabric strip (binding, handle & loops; cut enough strips on the bias to equal 92” long when pieced)
- (1) 18” square of cotton batting
- (1) 18” square of insulated batting
- Sulky KK 2000™ Temporary Spray Adhesive
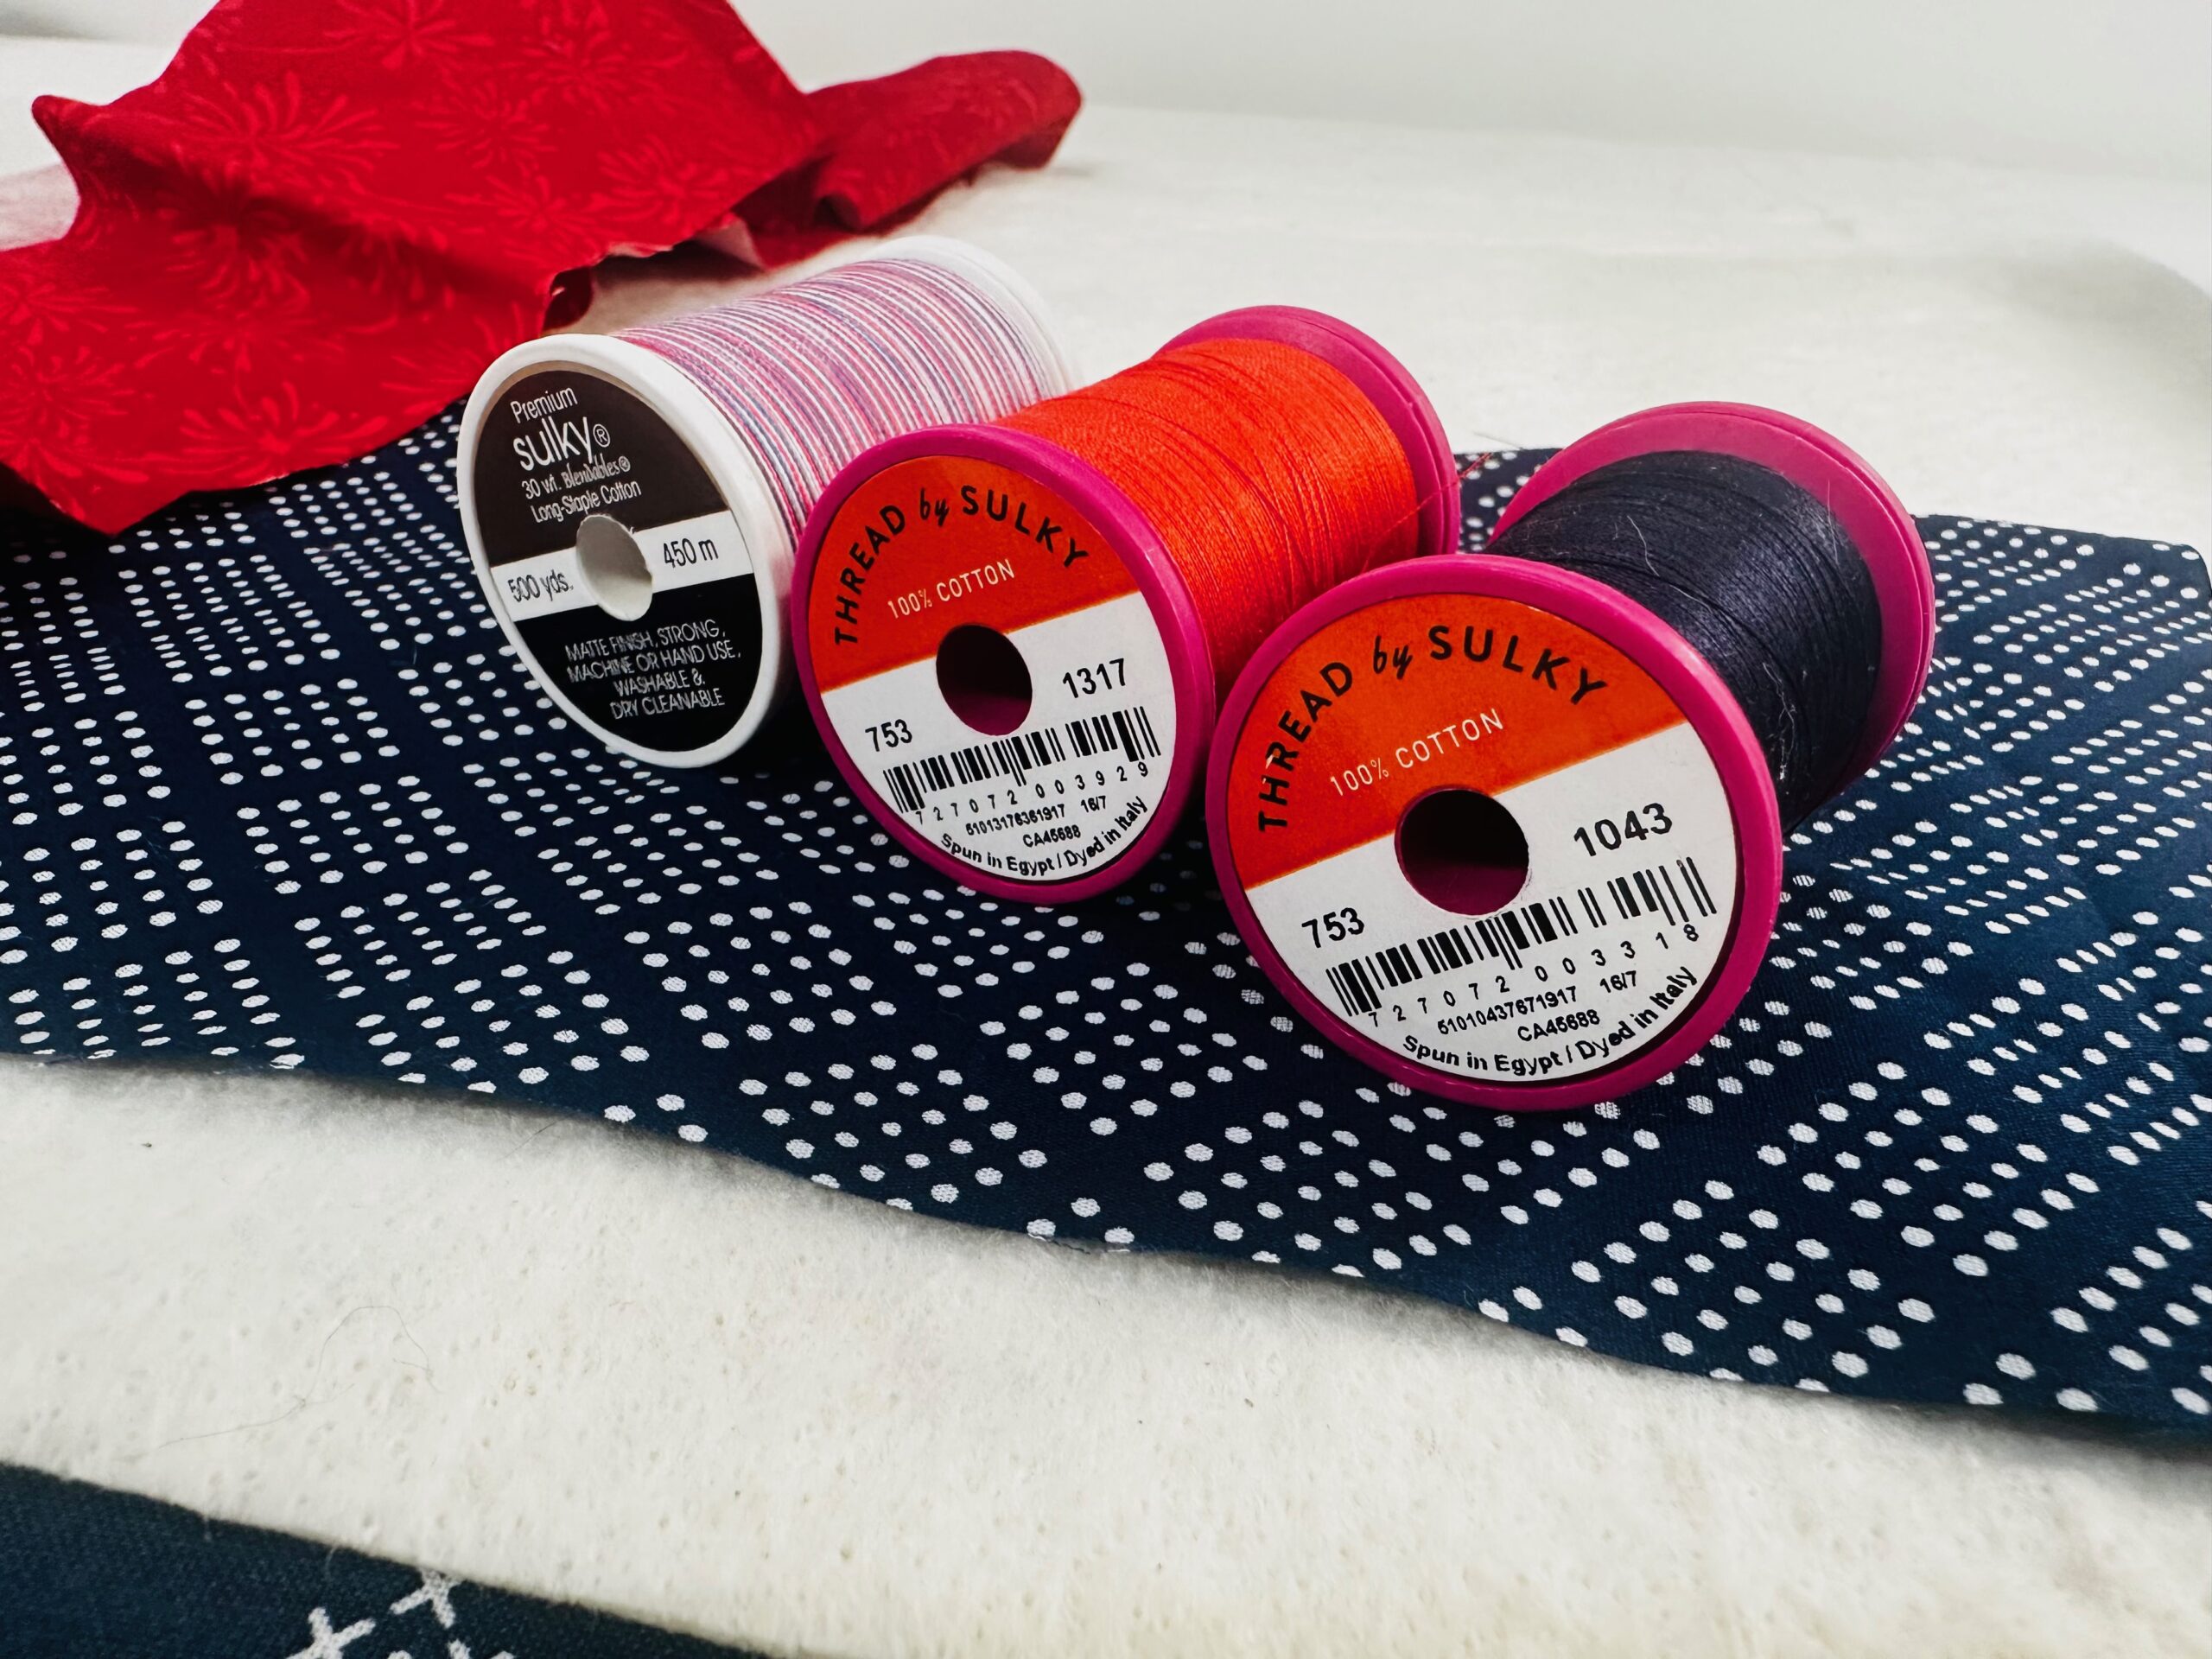
- Matching or contrasting Sulky 50 wt. Cotton Thread
- Sulky 30 wt. Blendables® Thread (733-4105)
- Organ® Needles: size 80/12 Universal & size 90/14 Quilting
- Removable fabric marker or chalk
- Sulky Multipurpose Turning Tool
- Clover® Wonder Clips
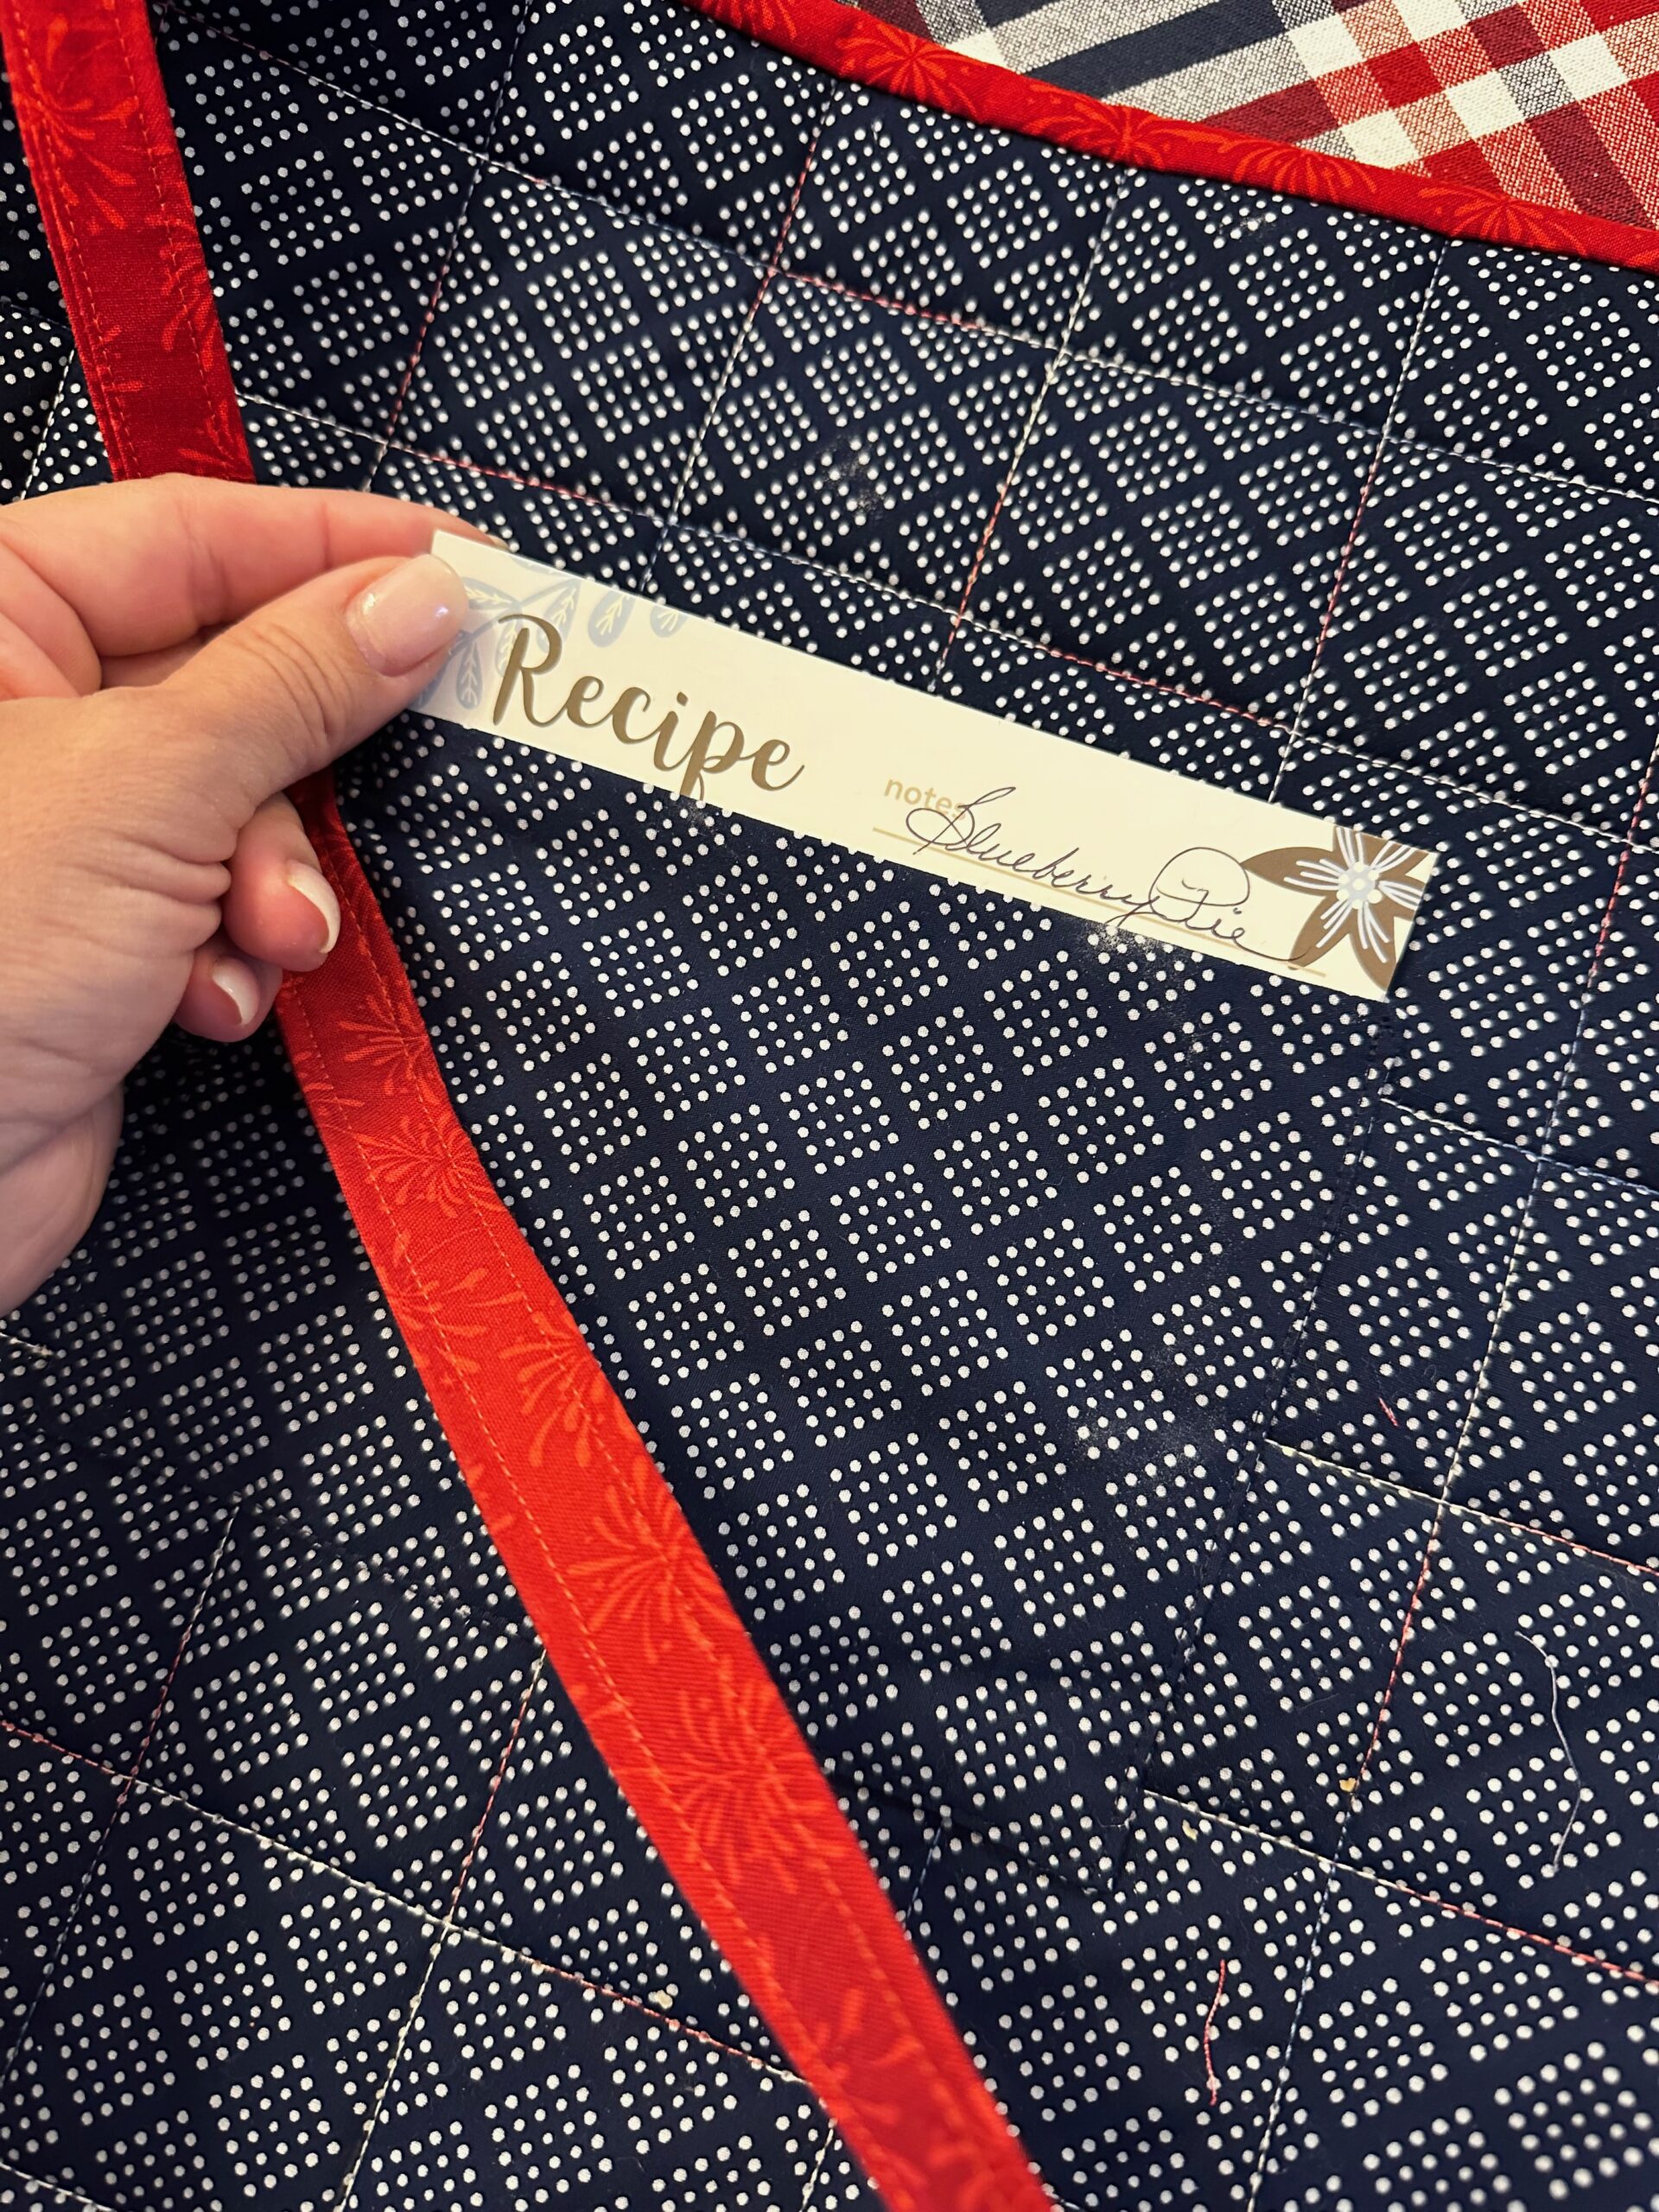
SEW THE POCKET
Install a size 80/12 Universal Needle into the machine.
Thread the needle and wind a bobbin with Sulky 50 wt. Cotton Thread.
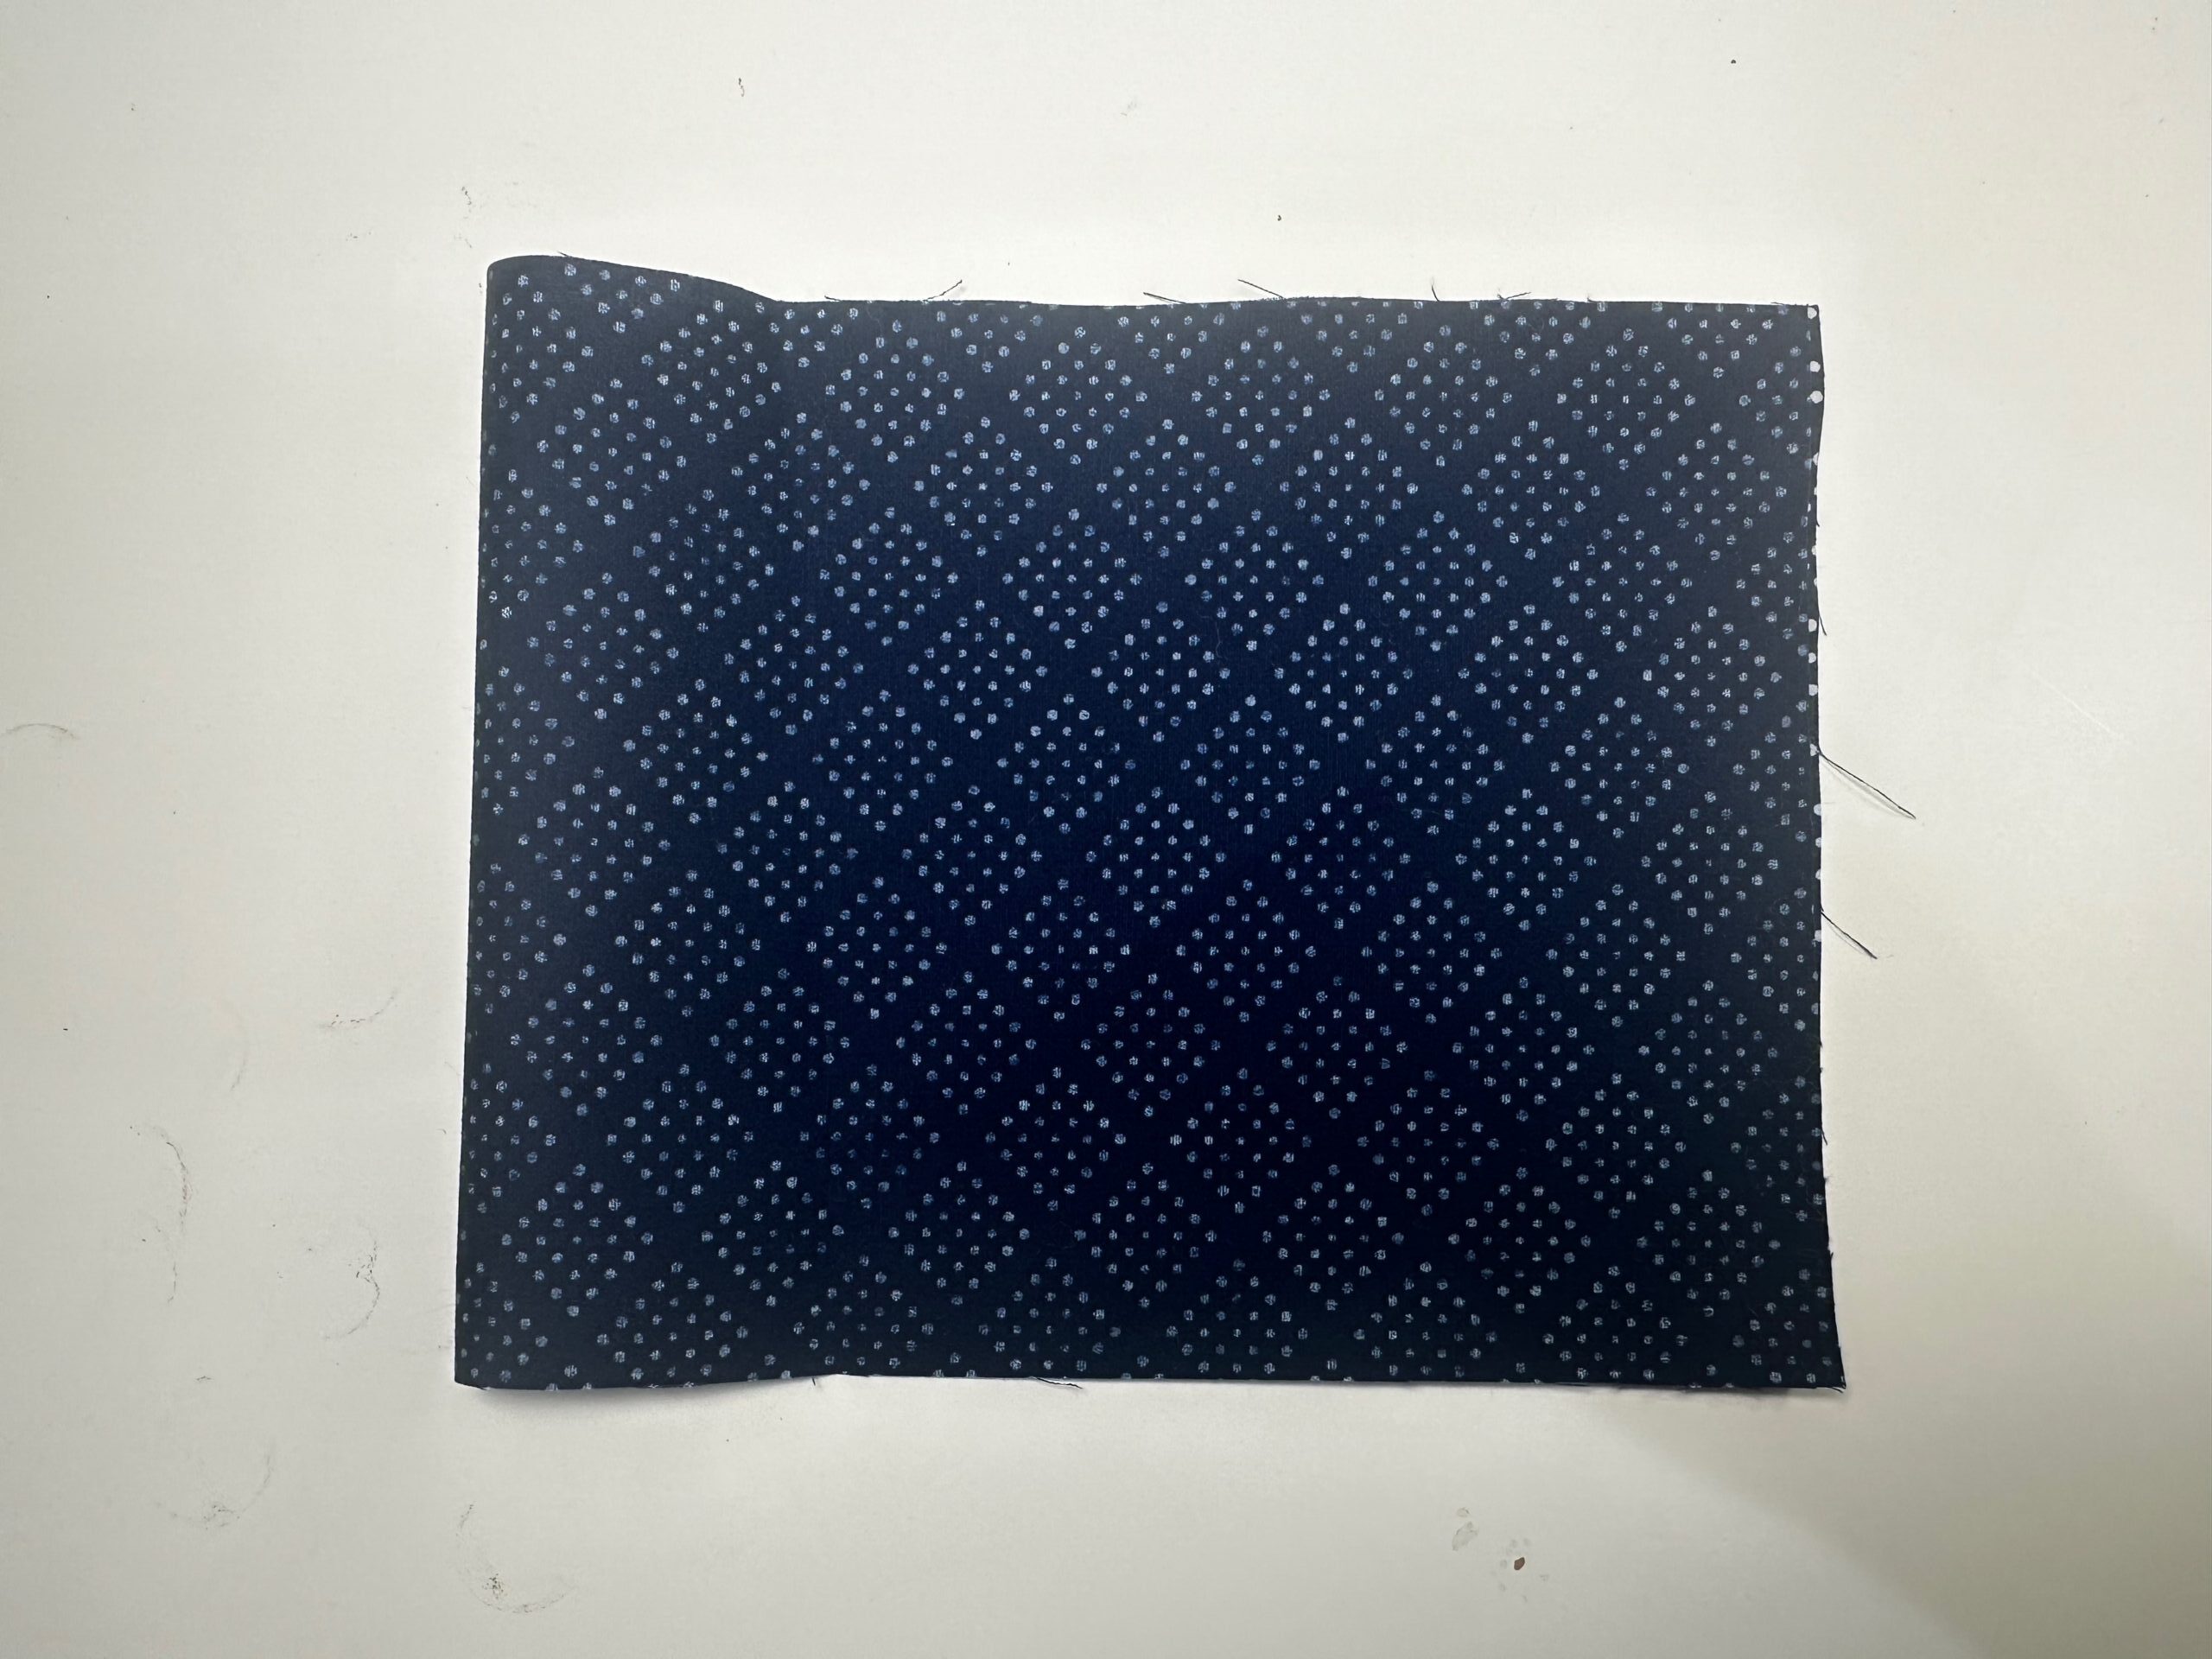
Fold the small fabric rectangle in half with right sides together so it measures 5 1/2” x 7 1/2”; press.
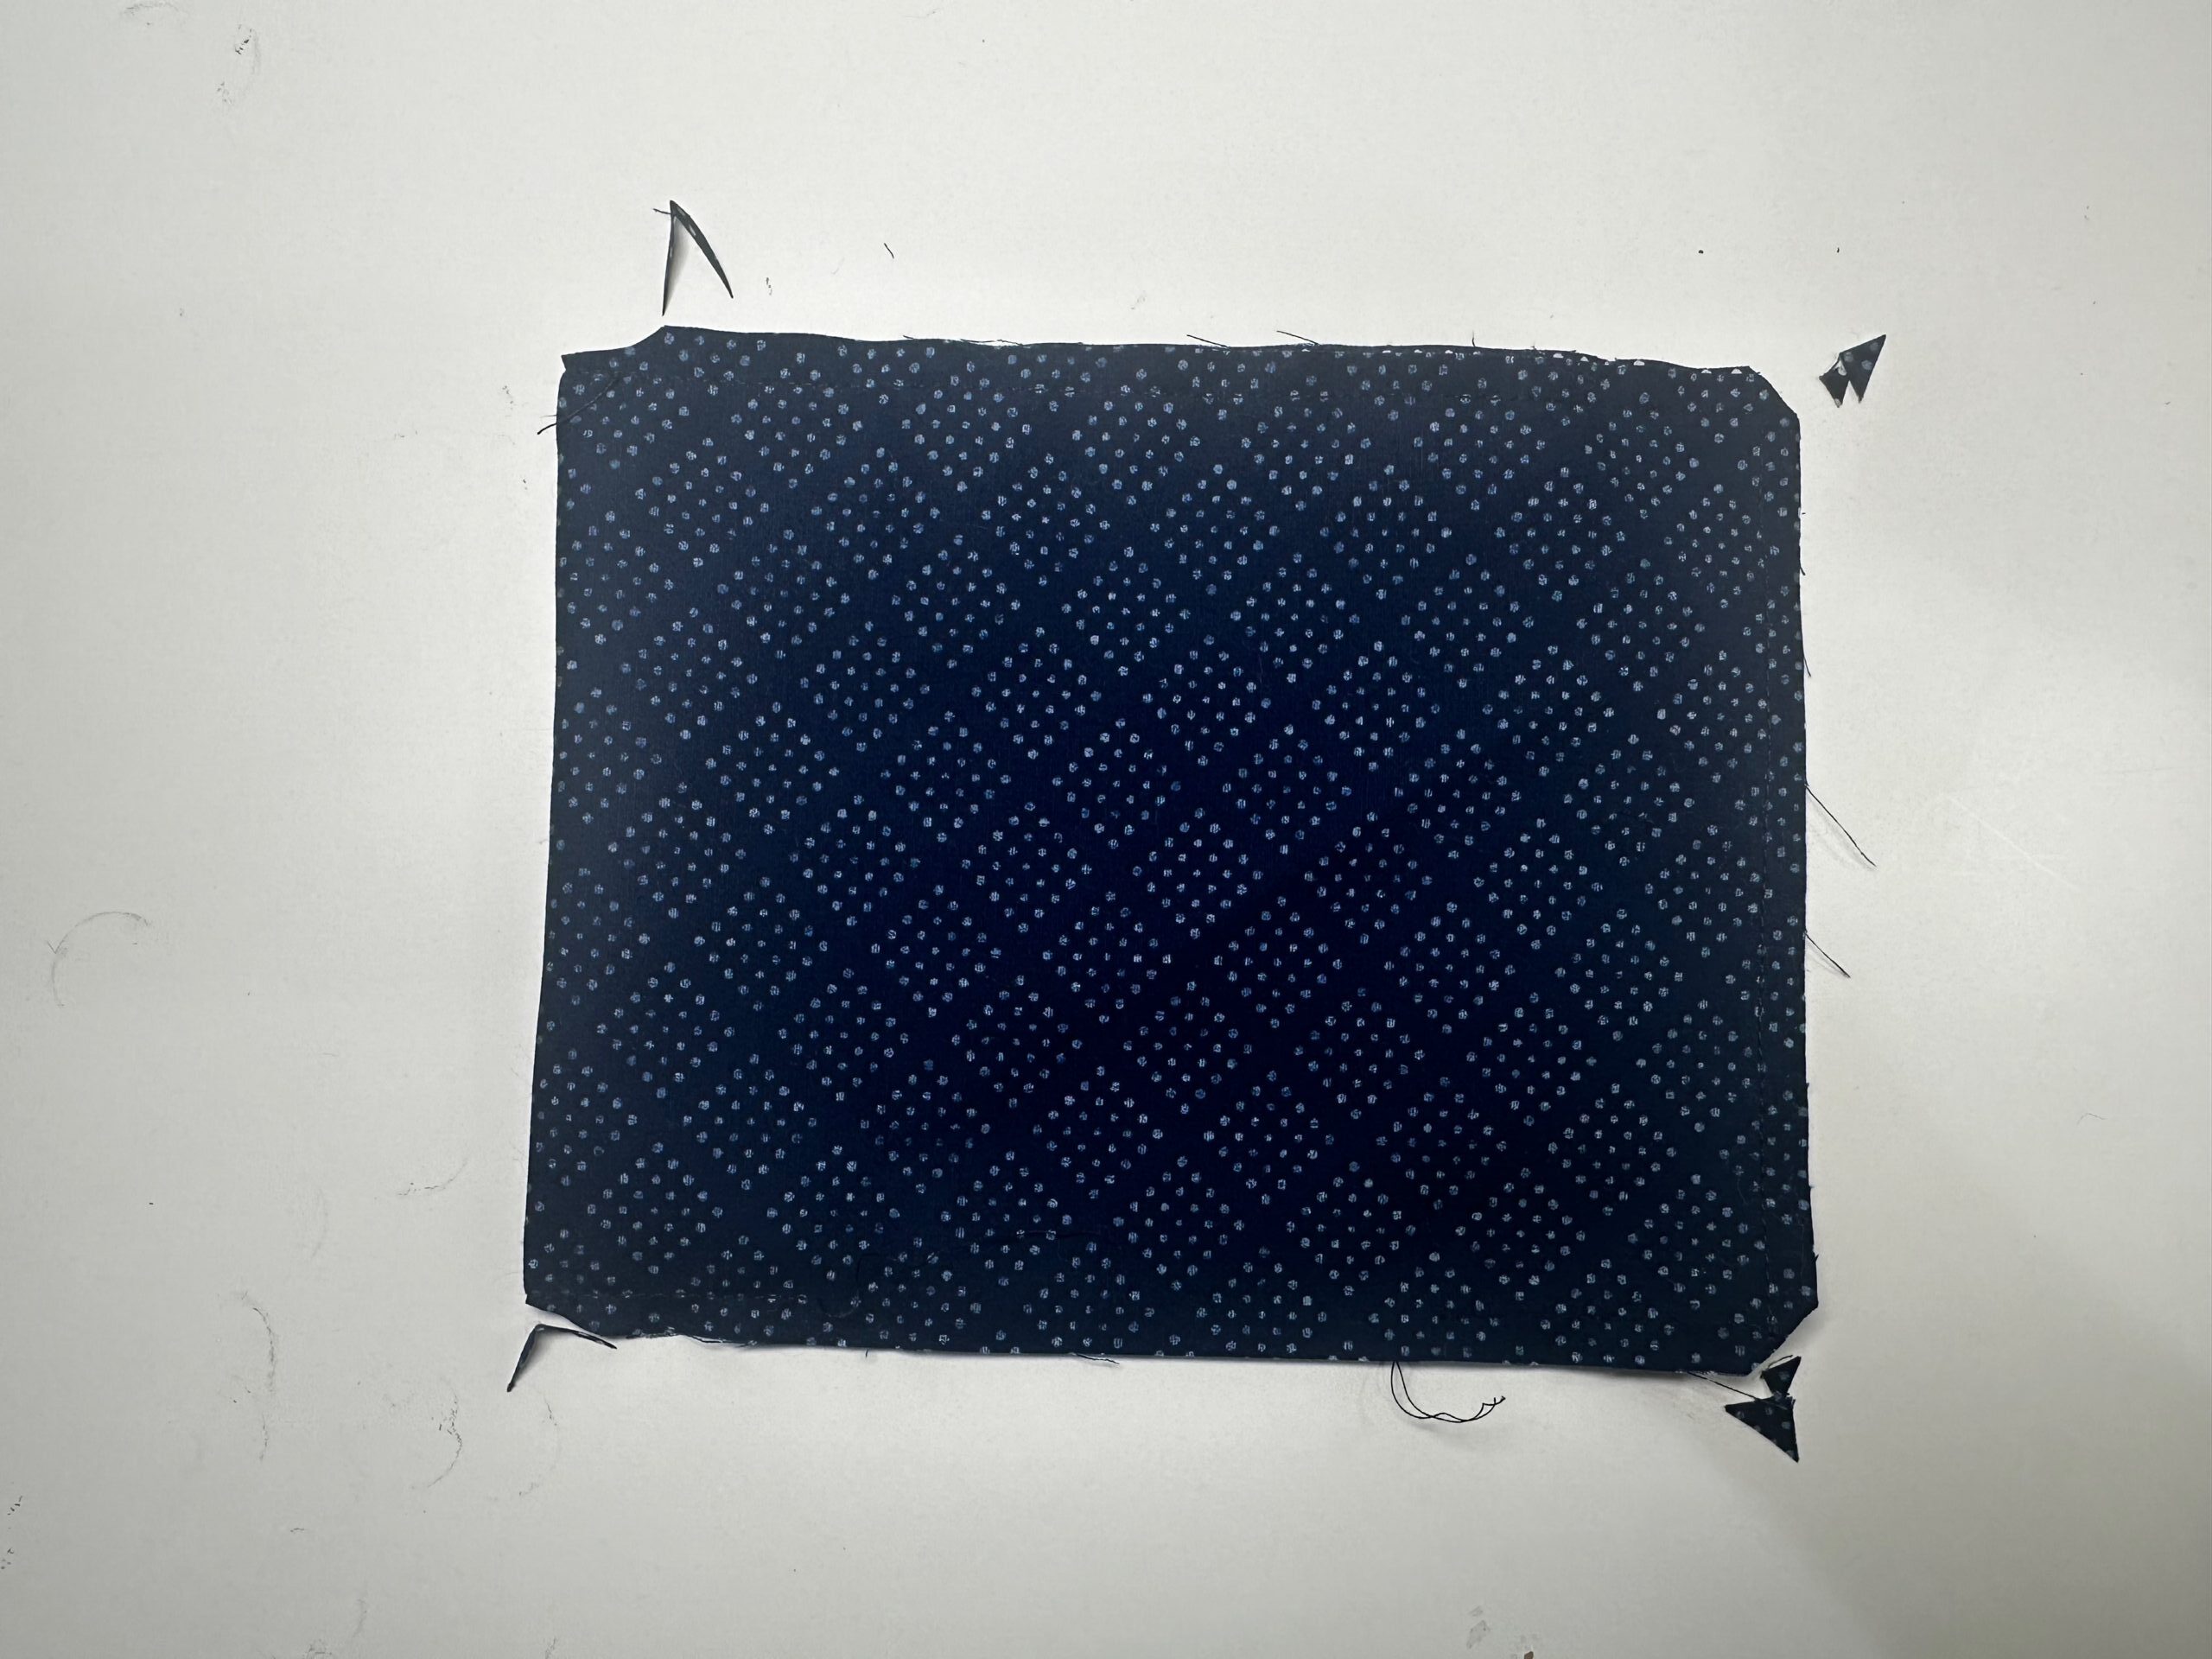
Stitch the raw sides edges, using a ¼” seam allowance. Leave a 3” opening along the lower edge for turning.
Clip the corners.
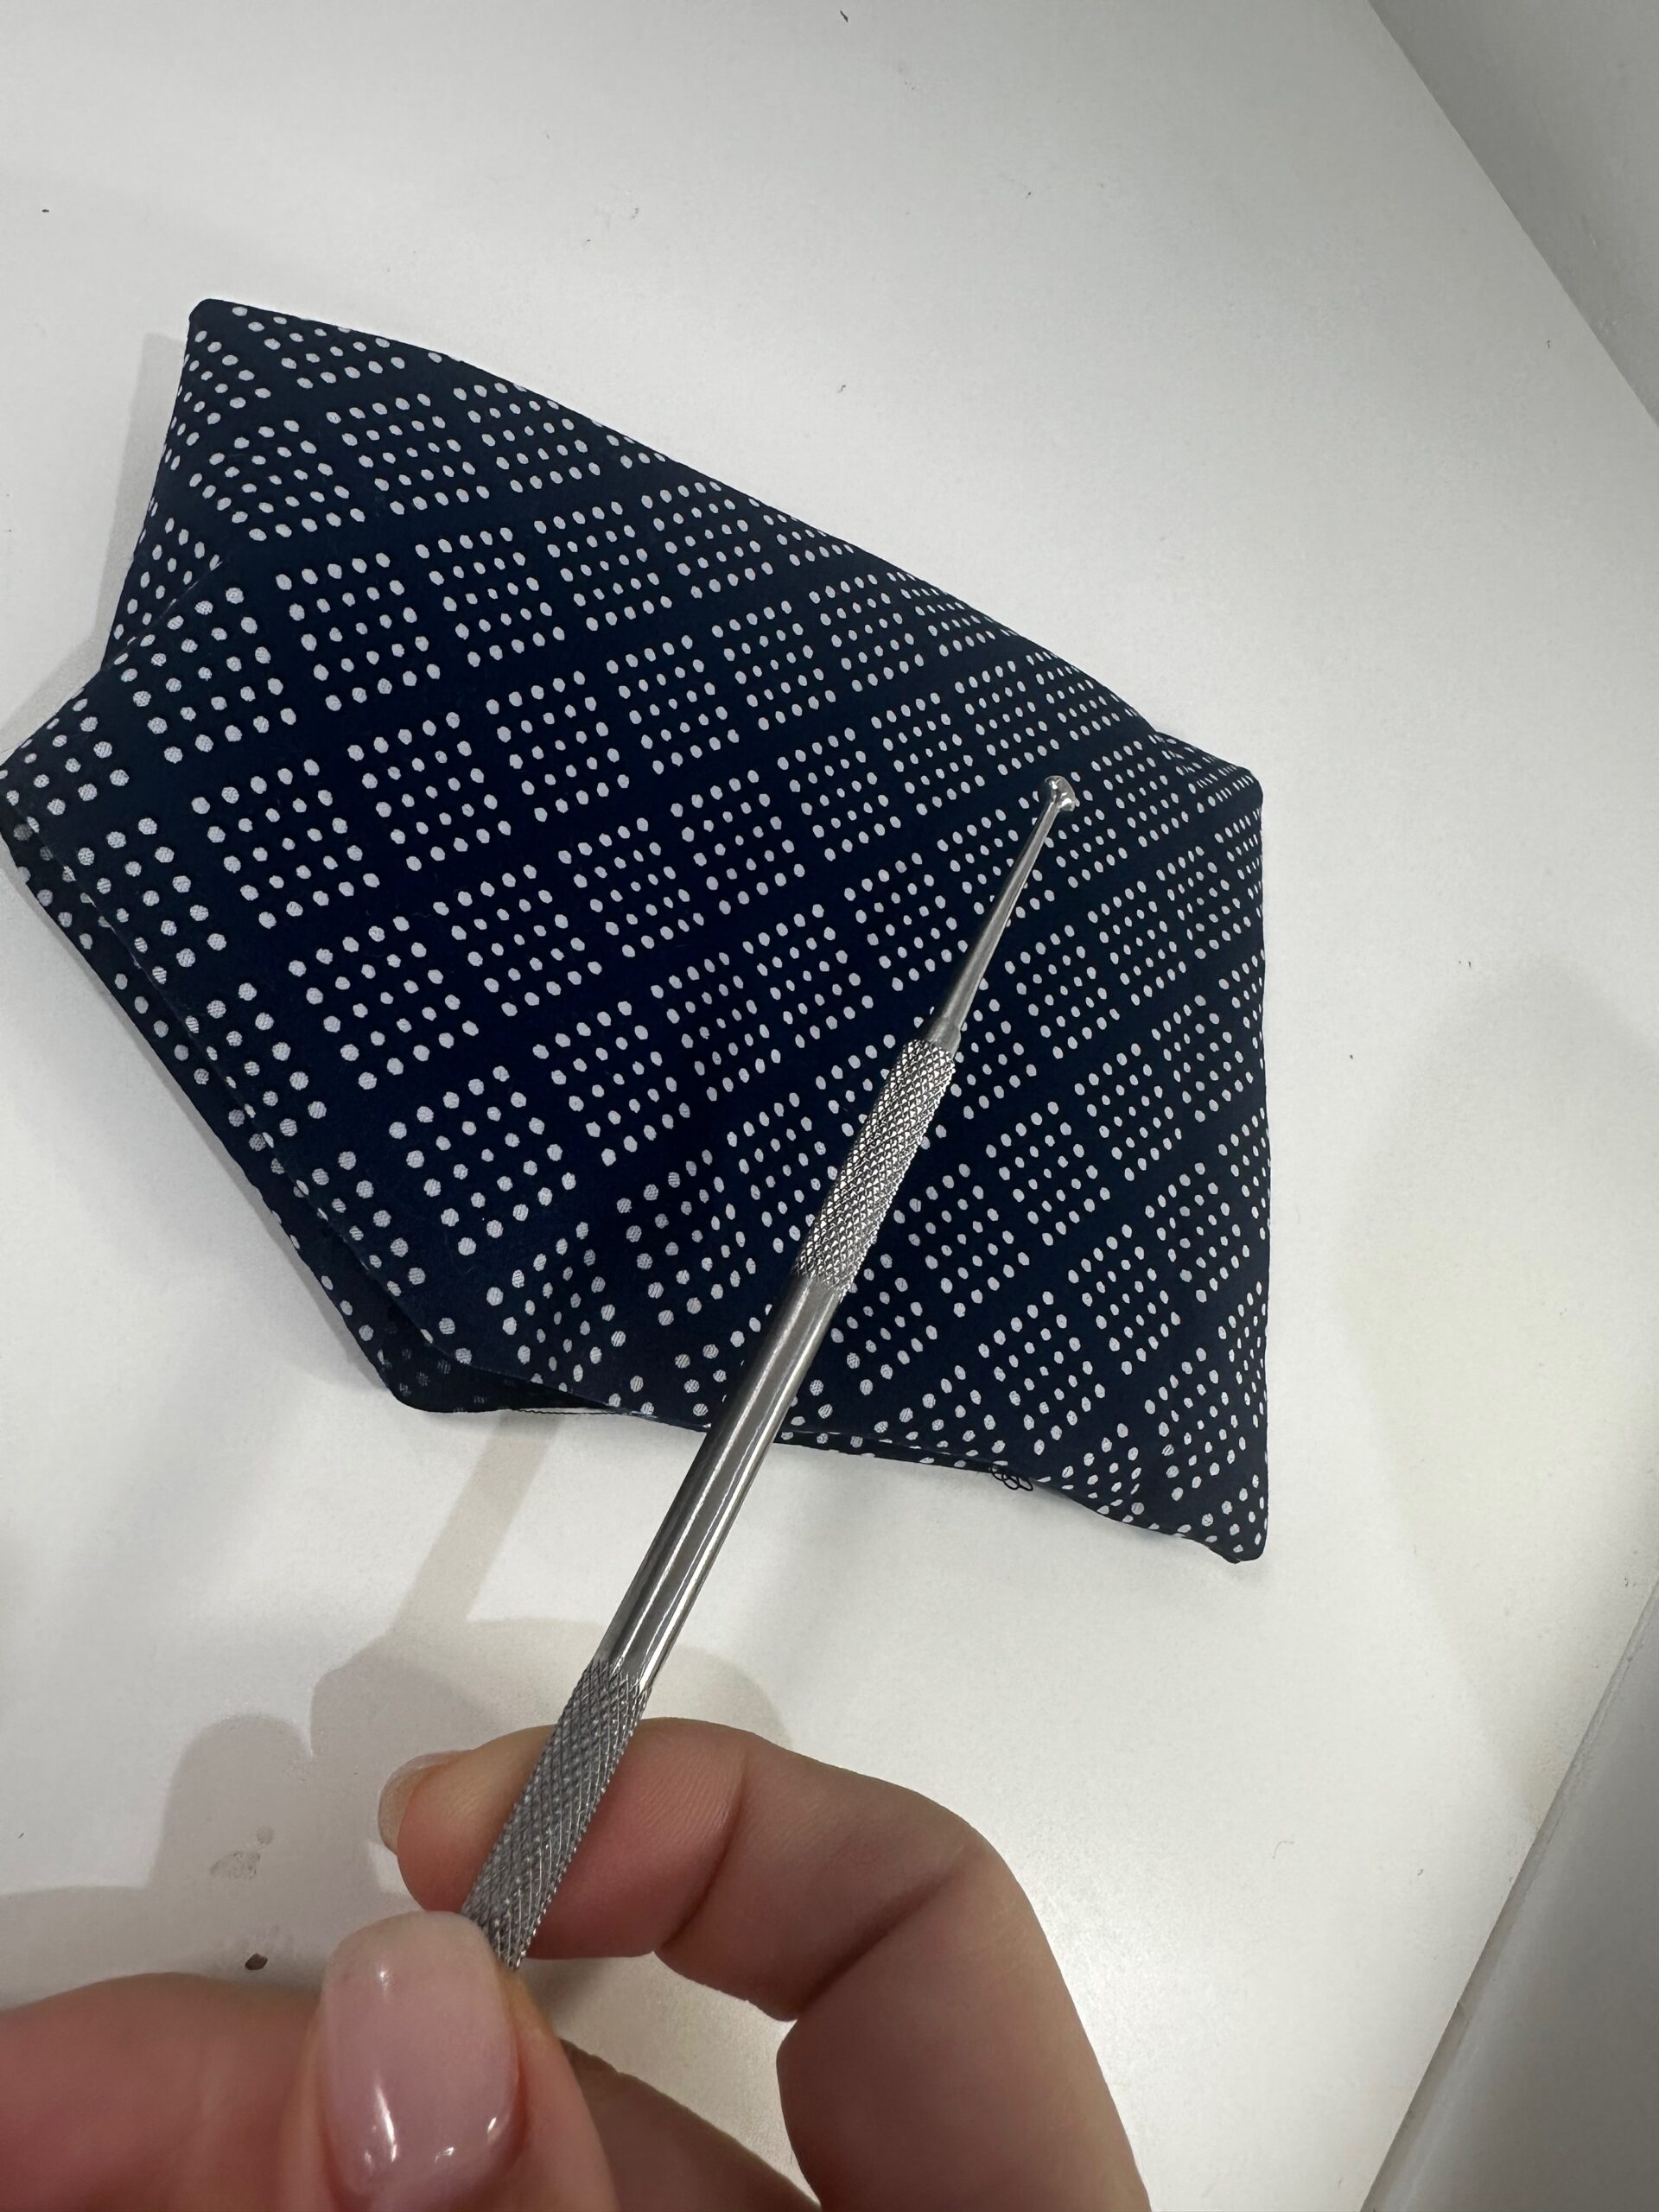
Next, turn the pocket right side out through the opening using a Sulky Multipurpose Turning Tool; press the opening seam allowance toward the wrong side.
Center the pocket on the lining fabric square with both right sides facing up. Use KK 2000 to secure the pocket. Additionally, place a few pins, if desired.
Topstitch along the pocket sides and lower edge, 1/8” from the pocket edges (make sure the opening is along the lower edge).
If needed, press the lining fabric flat.
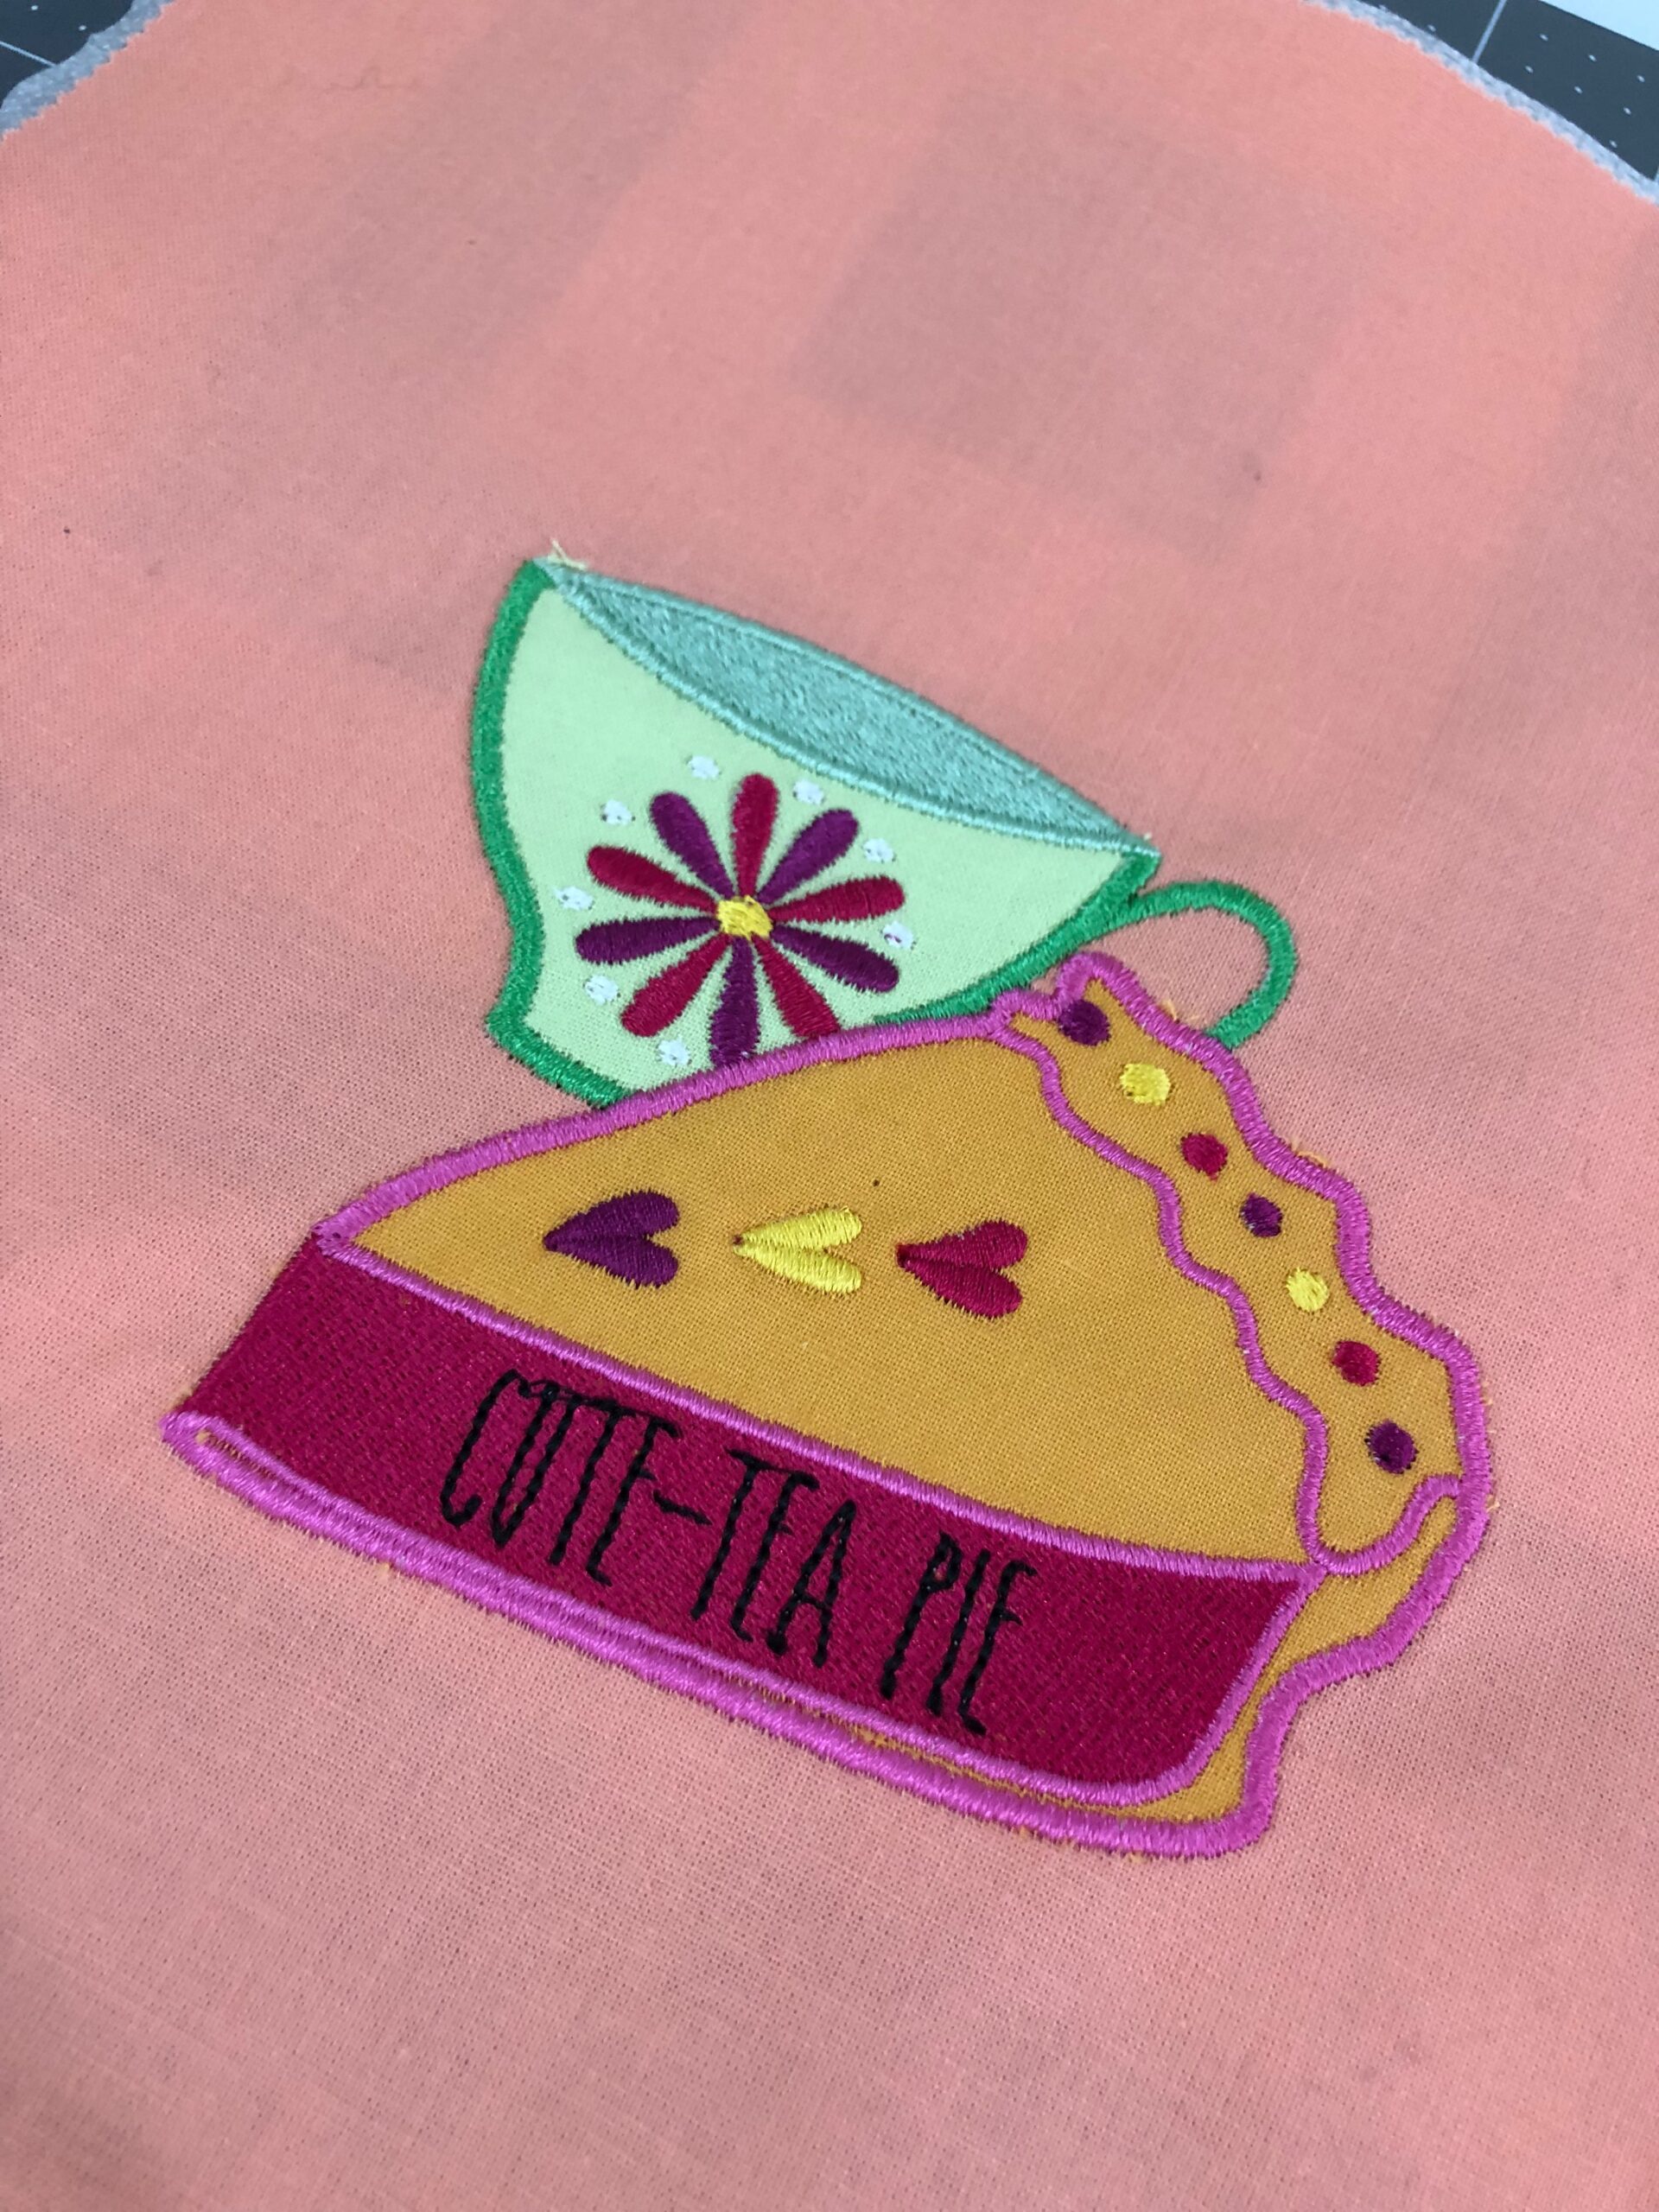
(TIP: Add embroidery to the recipe card pocket for an extra special touch. Try “American Sweetie Pie” or “Cute-Tea Pie.” Both are in-the-hoop appliqué designs!)

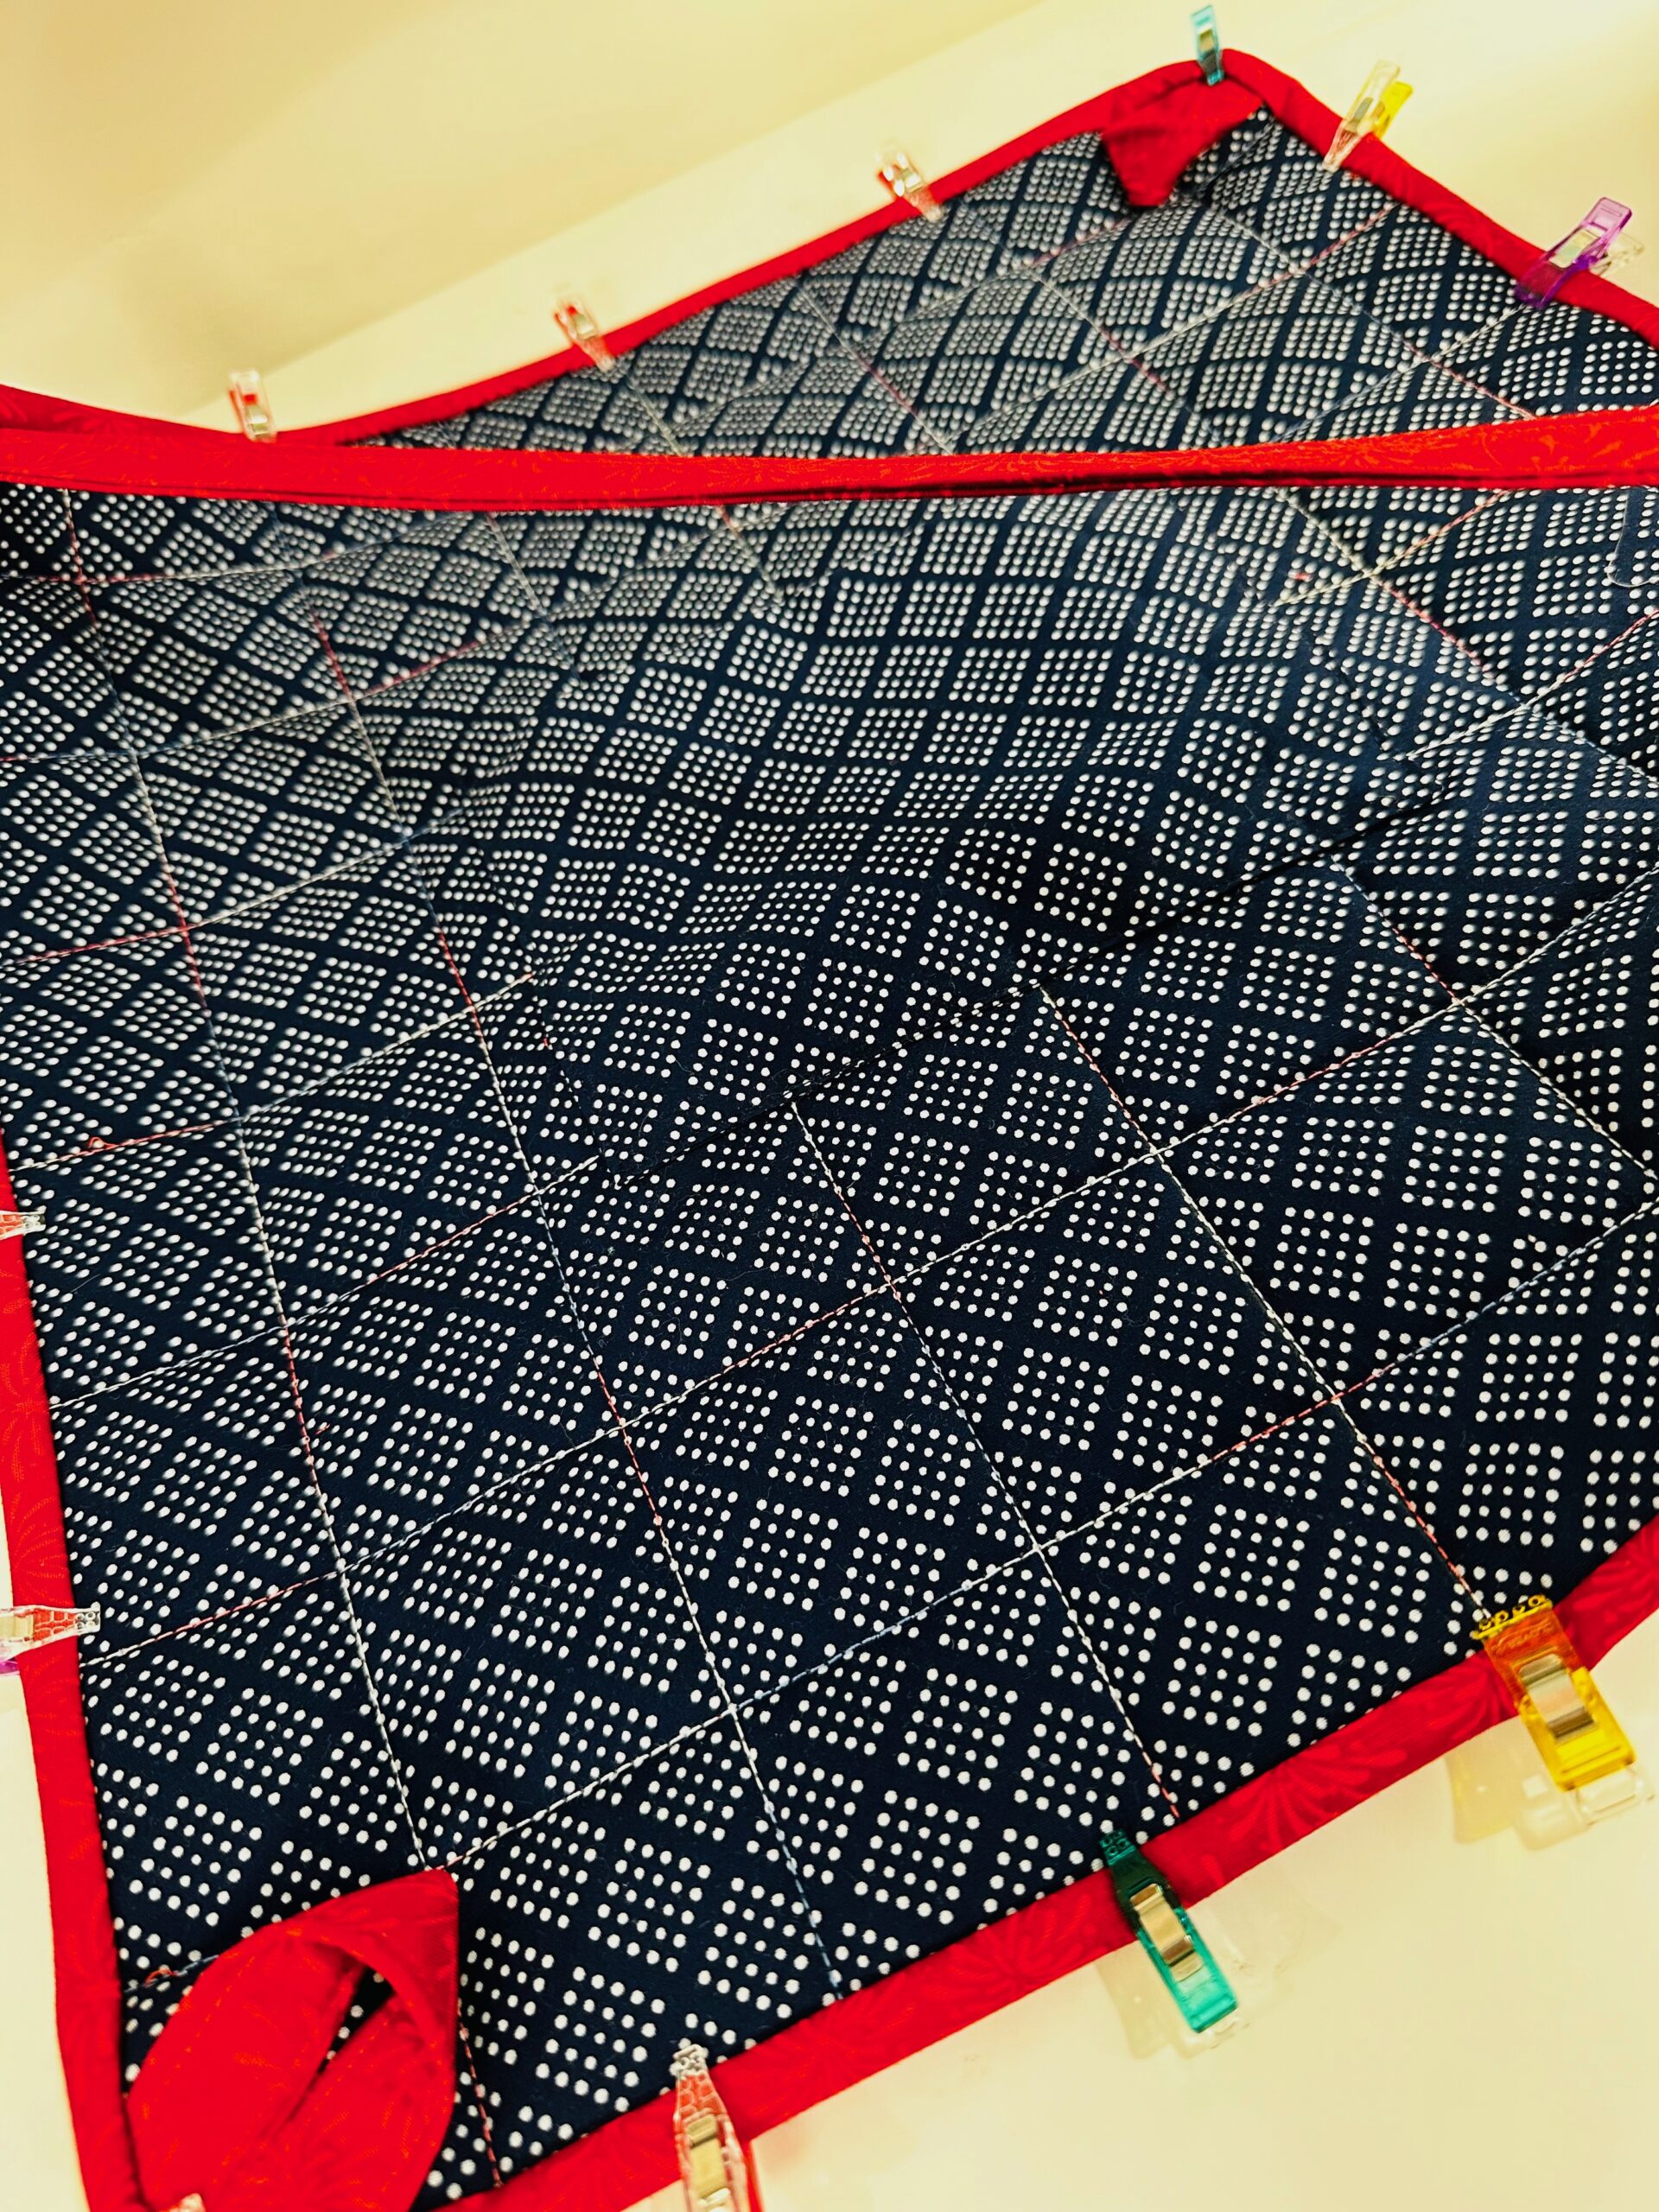
QUILTING
Install a size 90/14 Quilting Needle into the machine.
Thread the needle and wind a bobbin with 30 wt. Cotton Blendables Thread.
Place the exterior fabric wrong side up on a flat work surface.
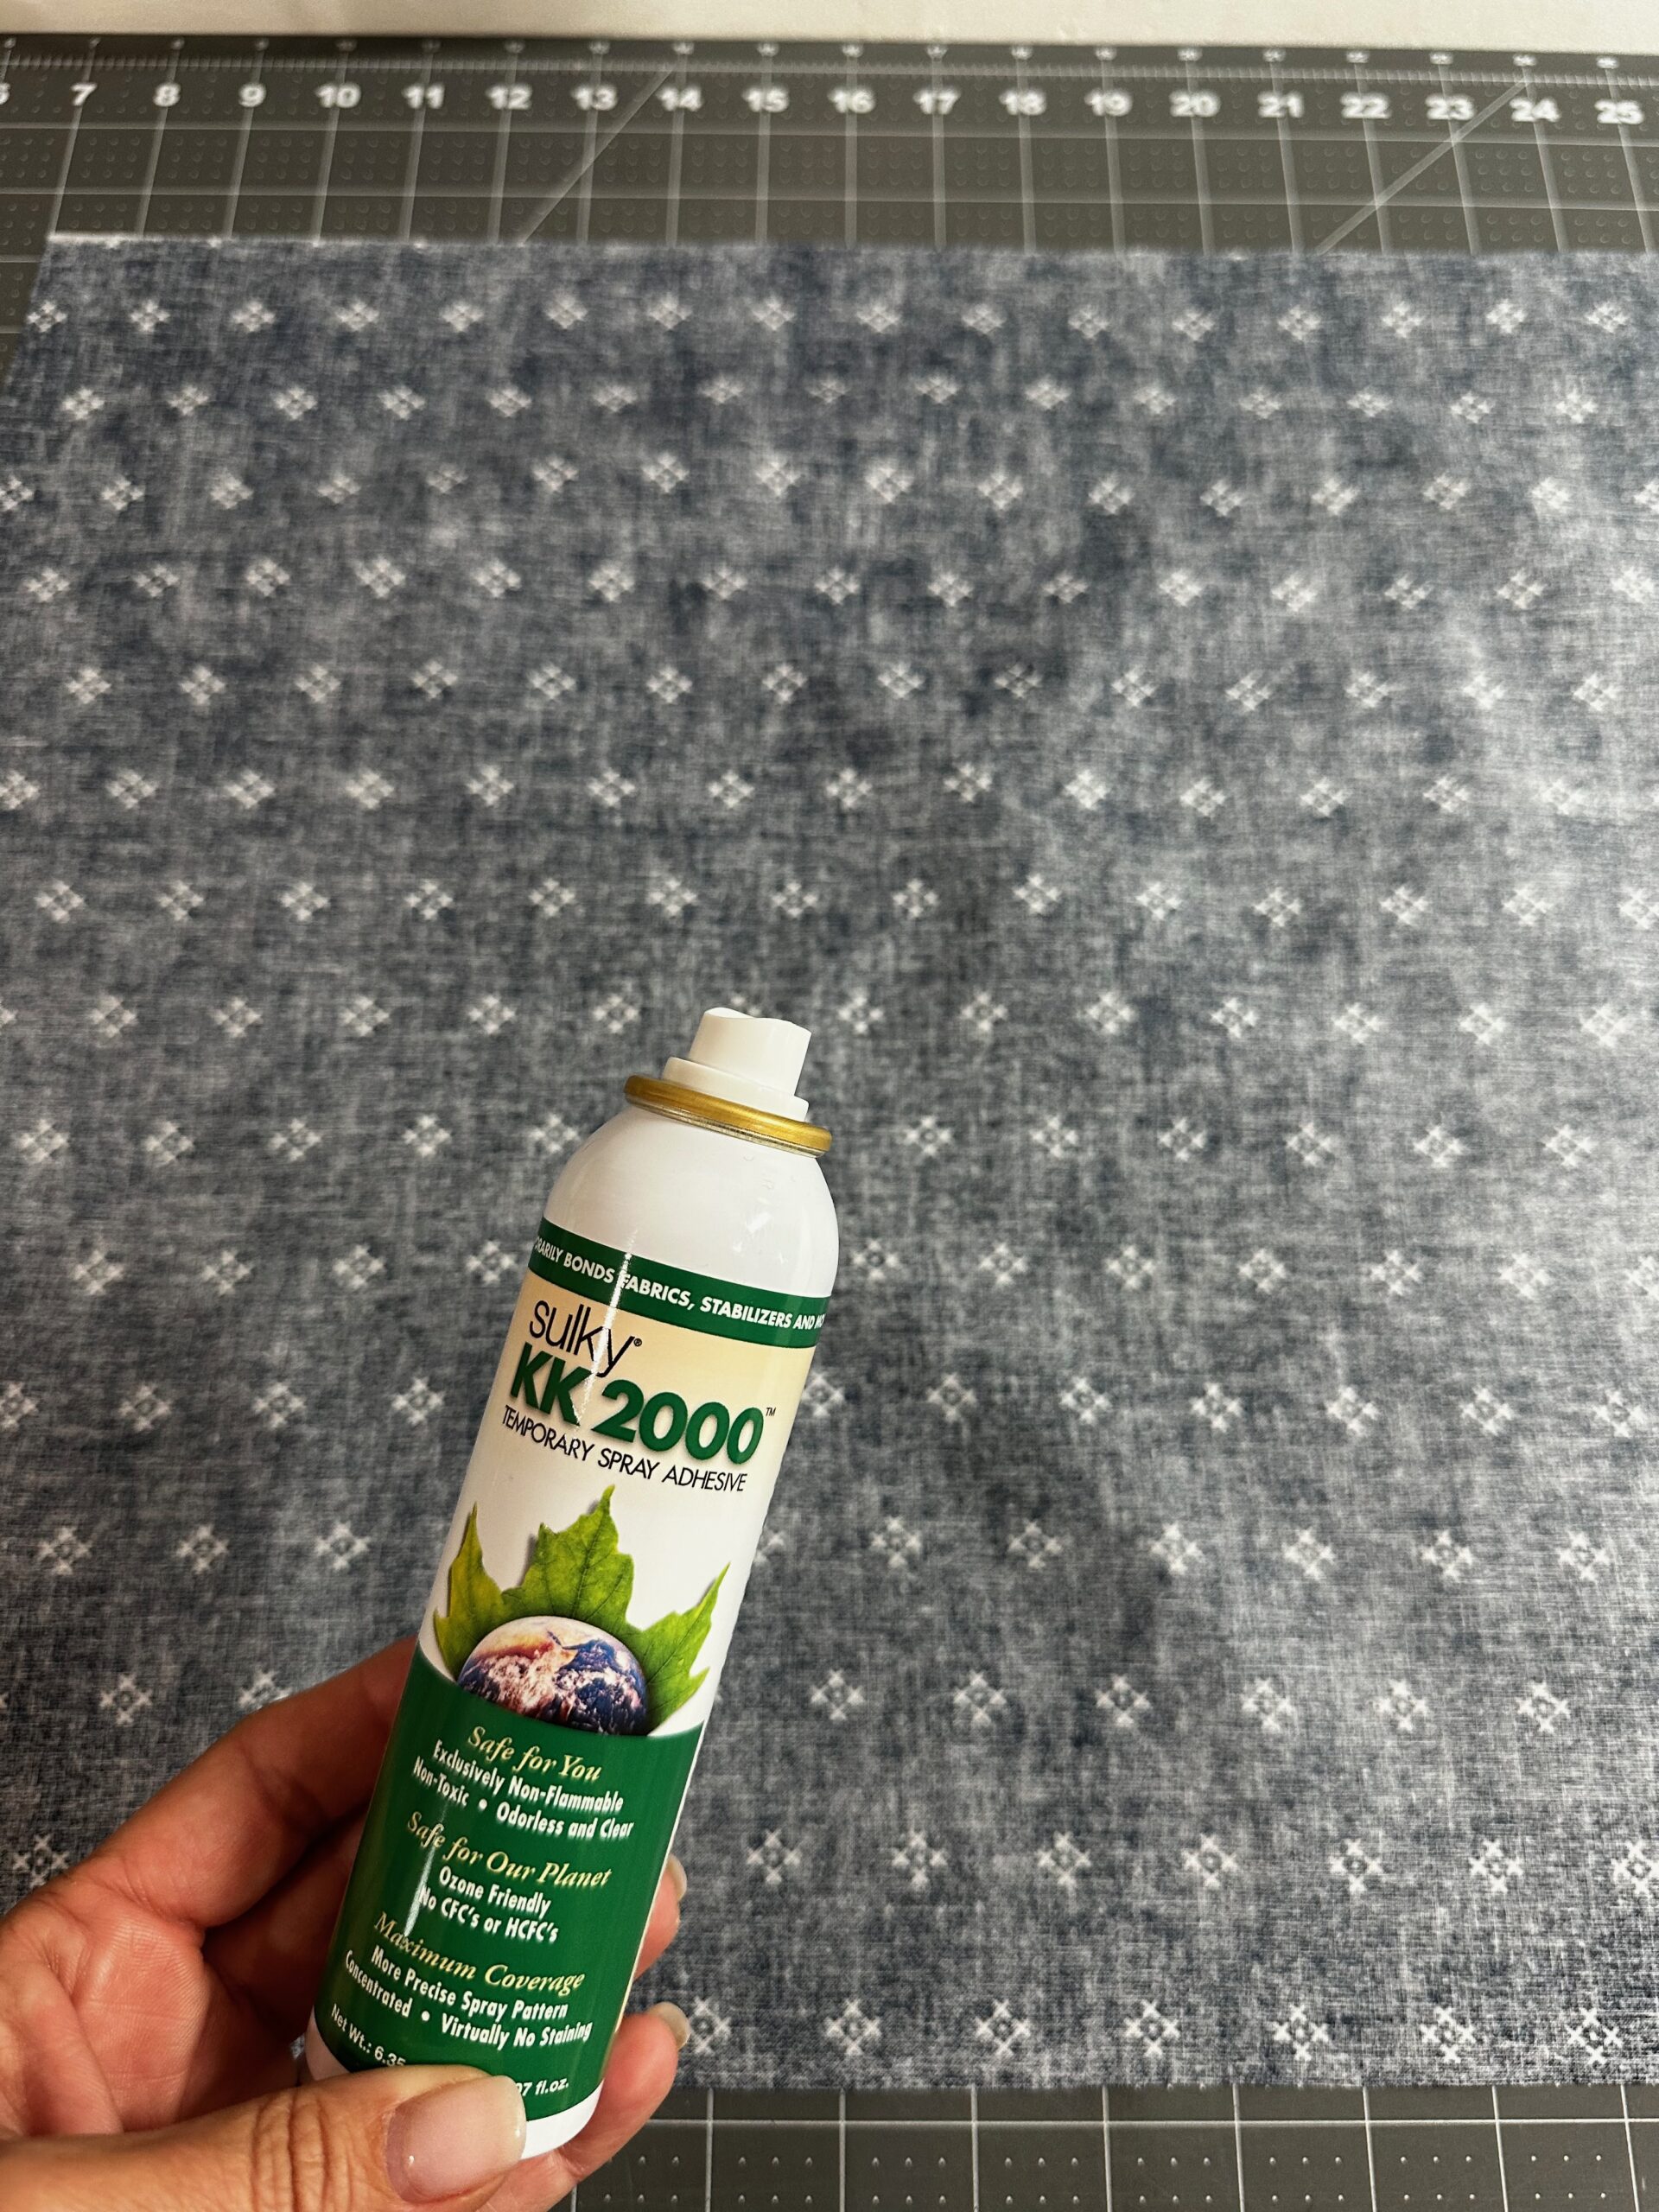
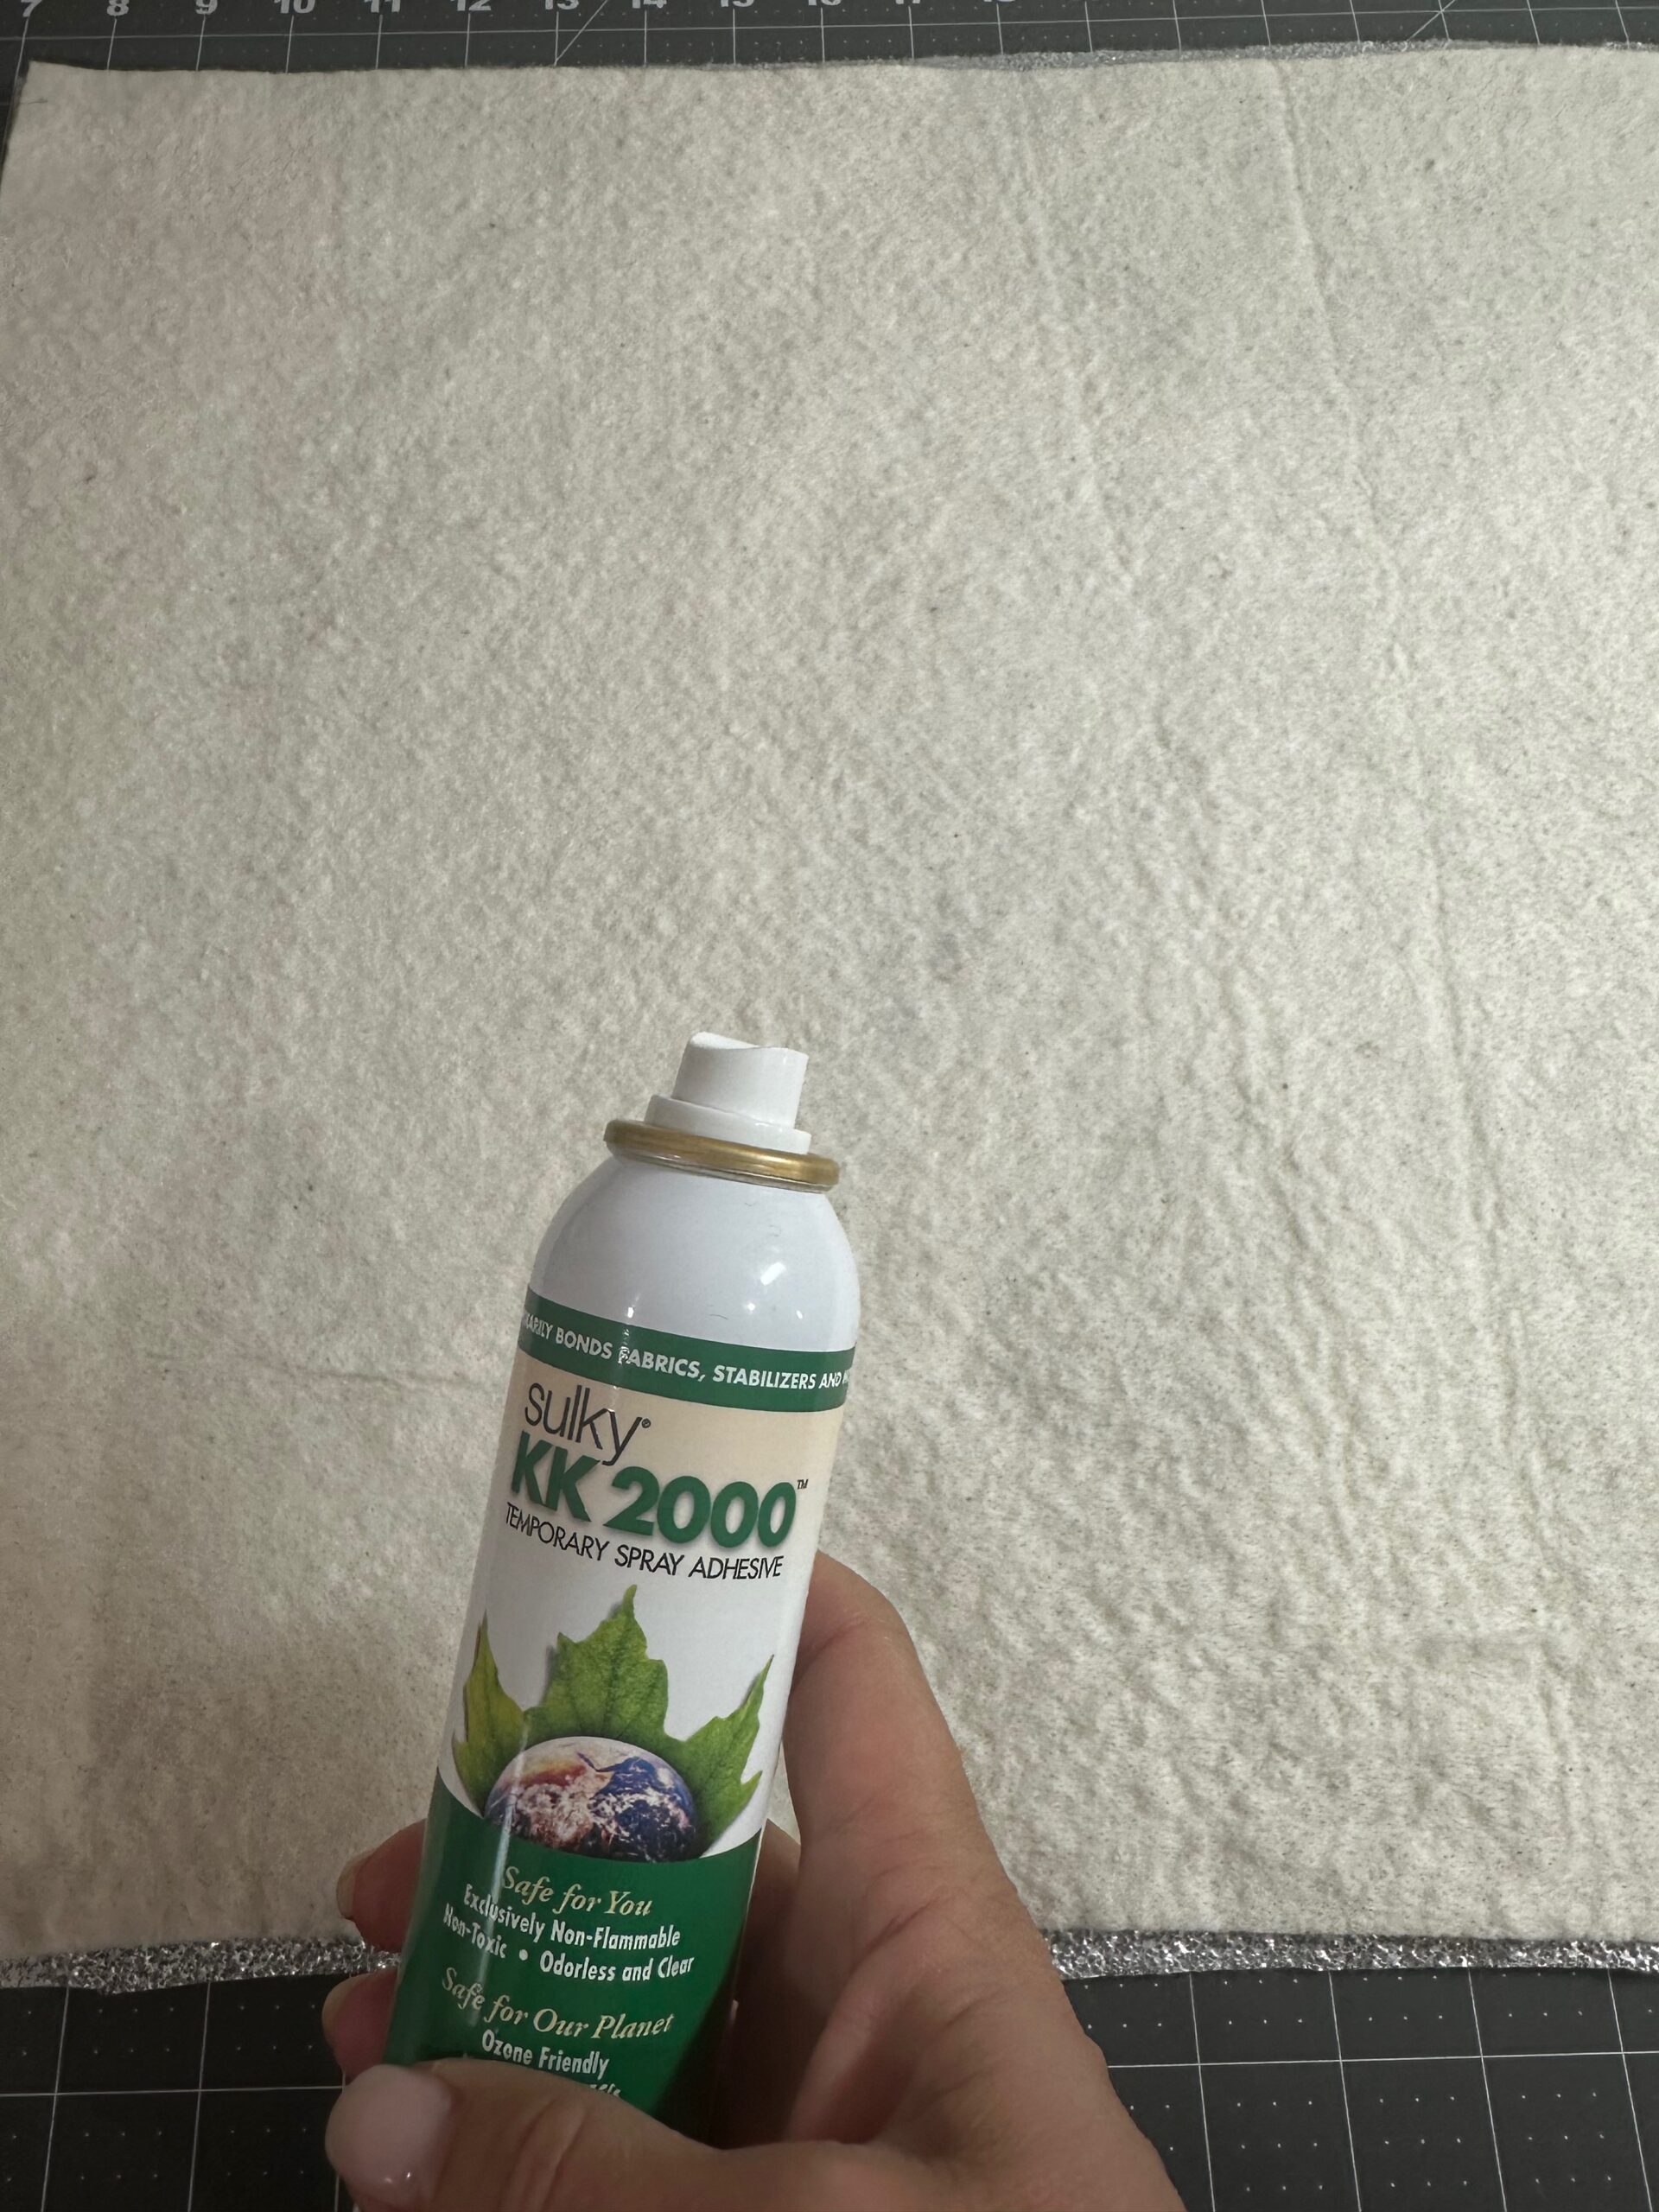
Then, center the insulated batting with the shiny/gray side facing up over the exterior fabric. Use KK 2000 Temporary Spray Adhesive to secure.

Center the cotton batting over the insulated batting; use KK 2000 to secure.
Then, place the lining fabric (with pocket centered) over the cotton batting; again, use KK 2000 to secure.

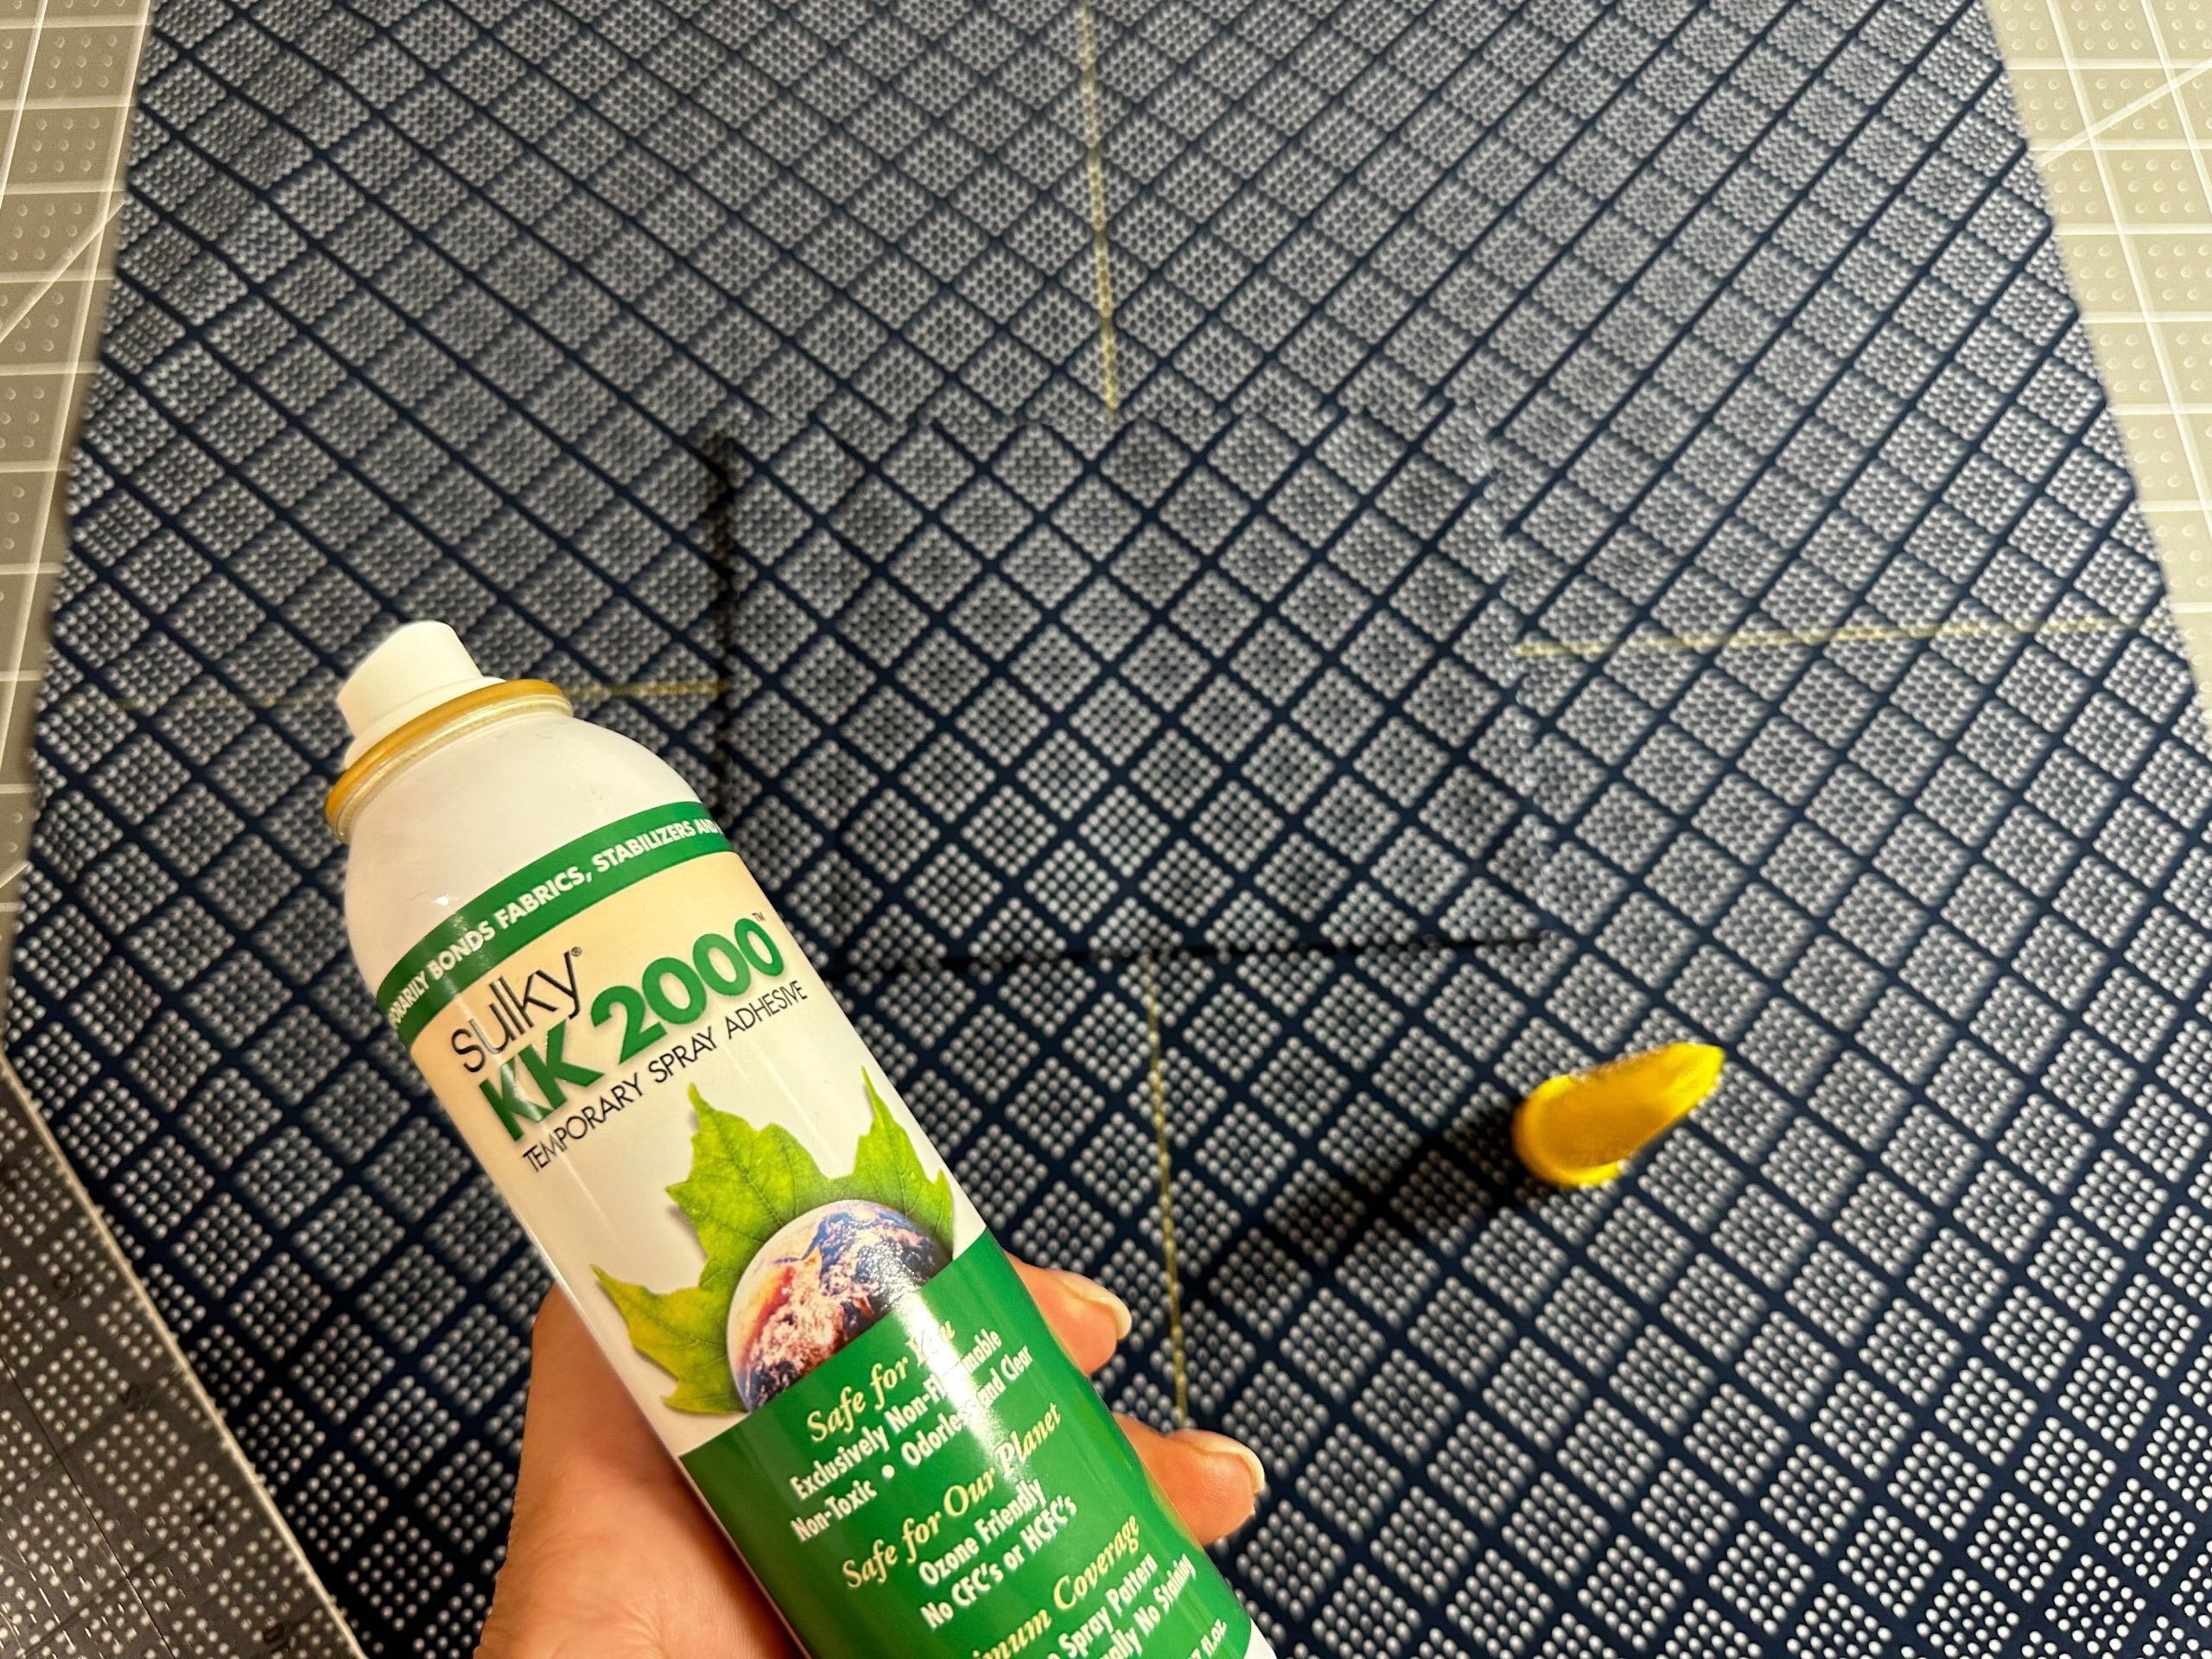
Plot the desired quilting lines onto the lining fabric, using a removable fabric marker or chalk. Do not add any quilting lines around the pocket. (You may want to outline the pocket to remember to avoid it.) Choose from a crosshatch design, equidistant straight lines across the length or width or a fairly open edge-to-edge quilting design. Keep the quilting lines approximately 2” apart.
Tip: If your machine has a quilting guide, install it. Place the guide at the 2” mark on the machine soleplate, and then use the guide for precision stitching.
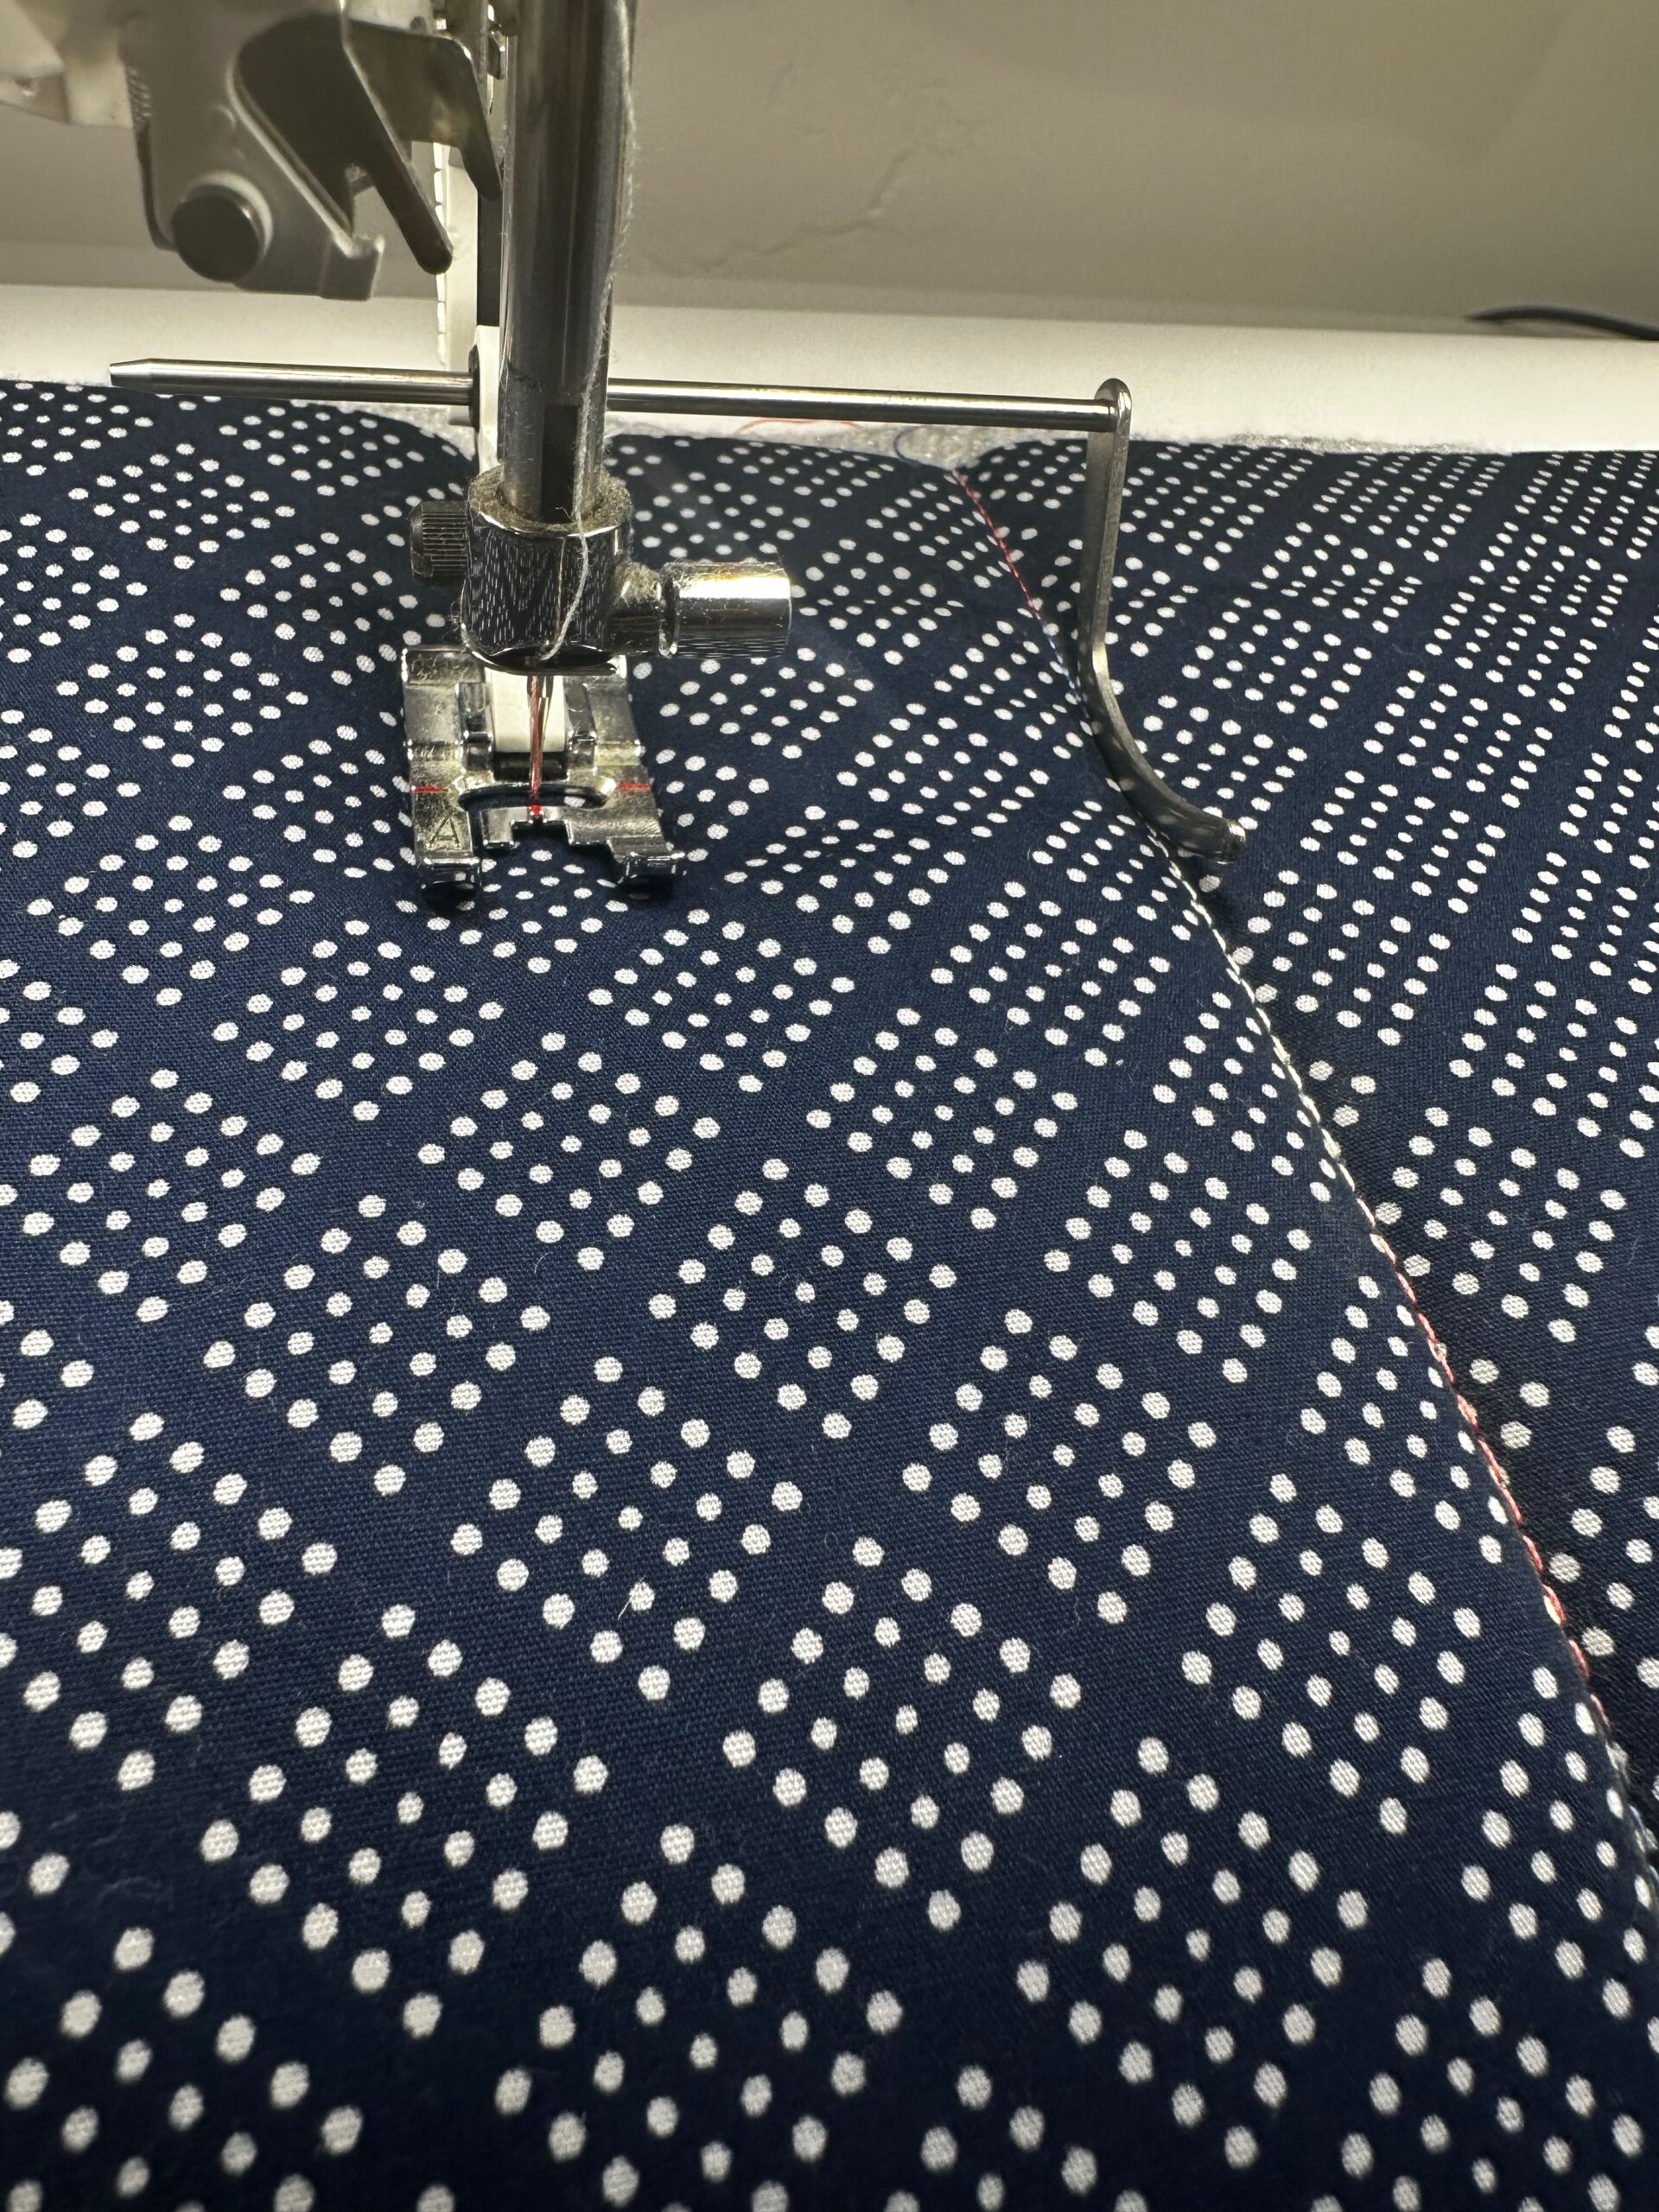
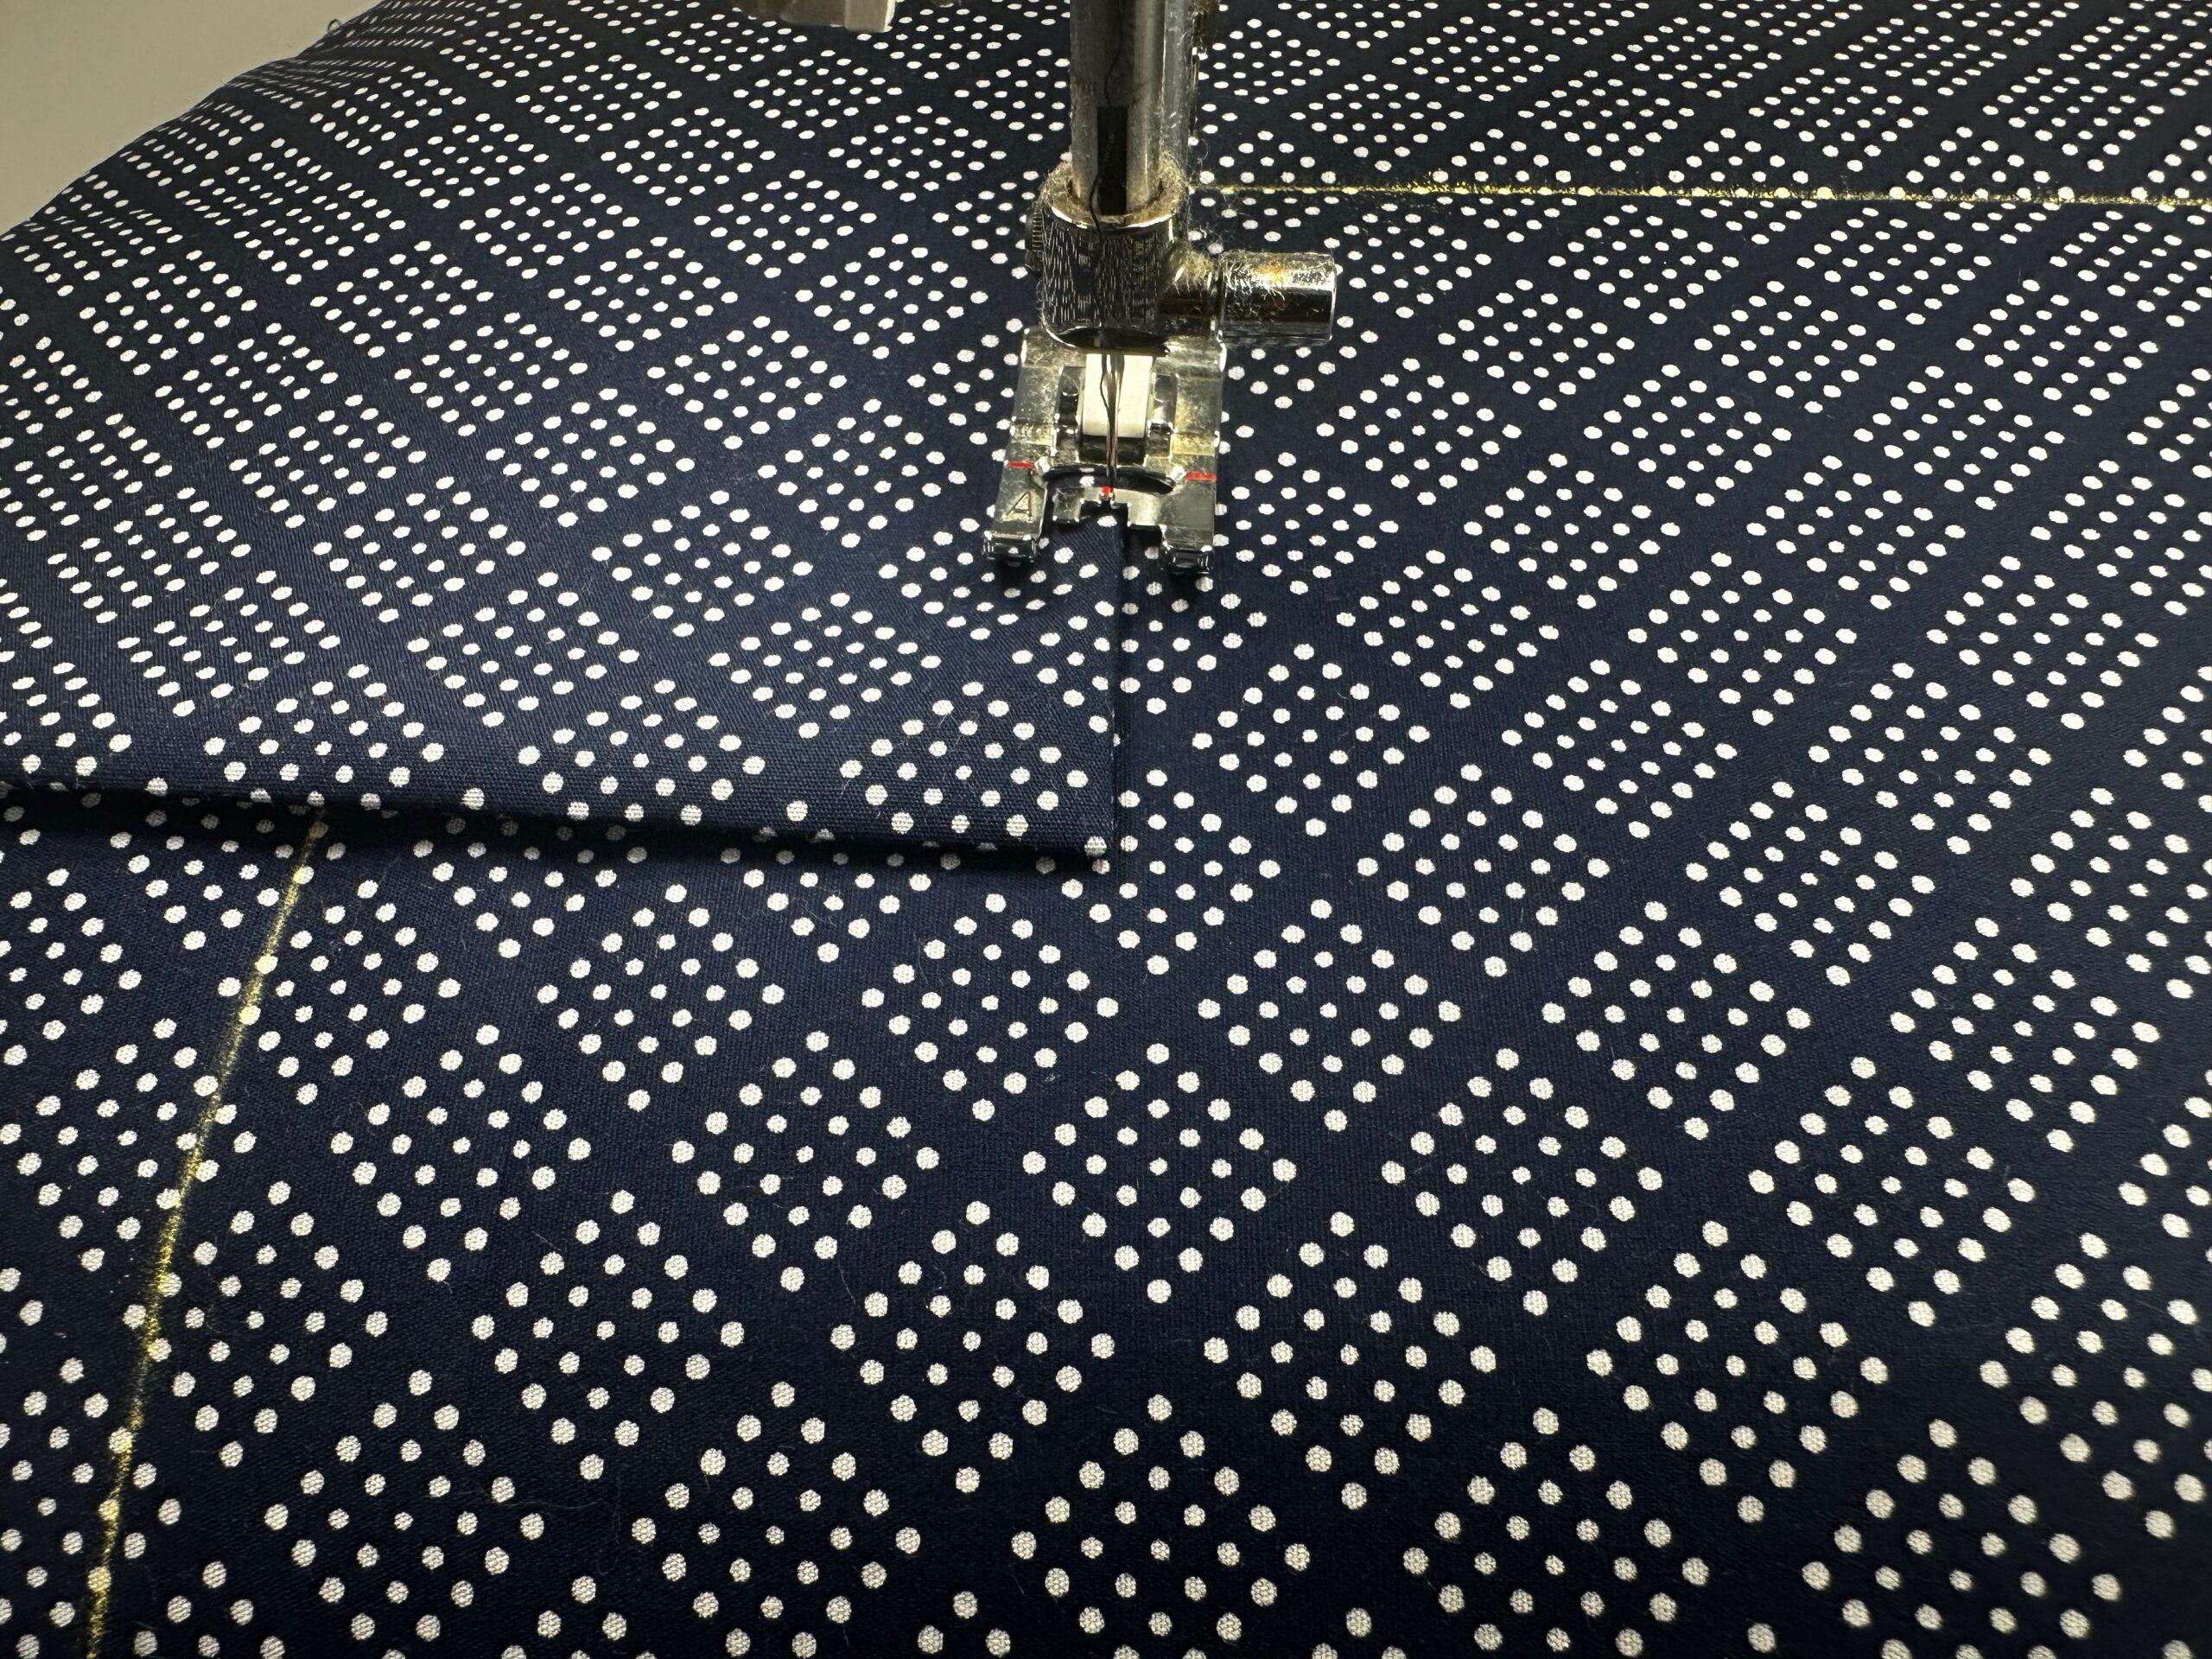
Set the stitch length to 3.0mm. Stitch along the plotted lines, if applicable, to quilt the layers together.
Begin quilting along the center and work outward, stitching in the same direction for each row.
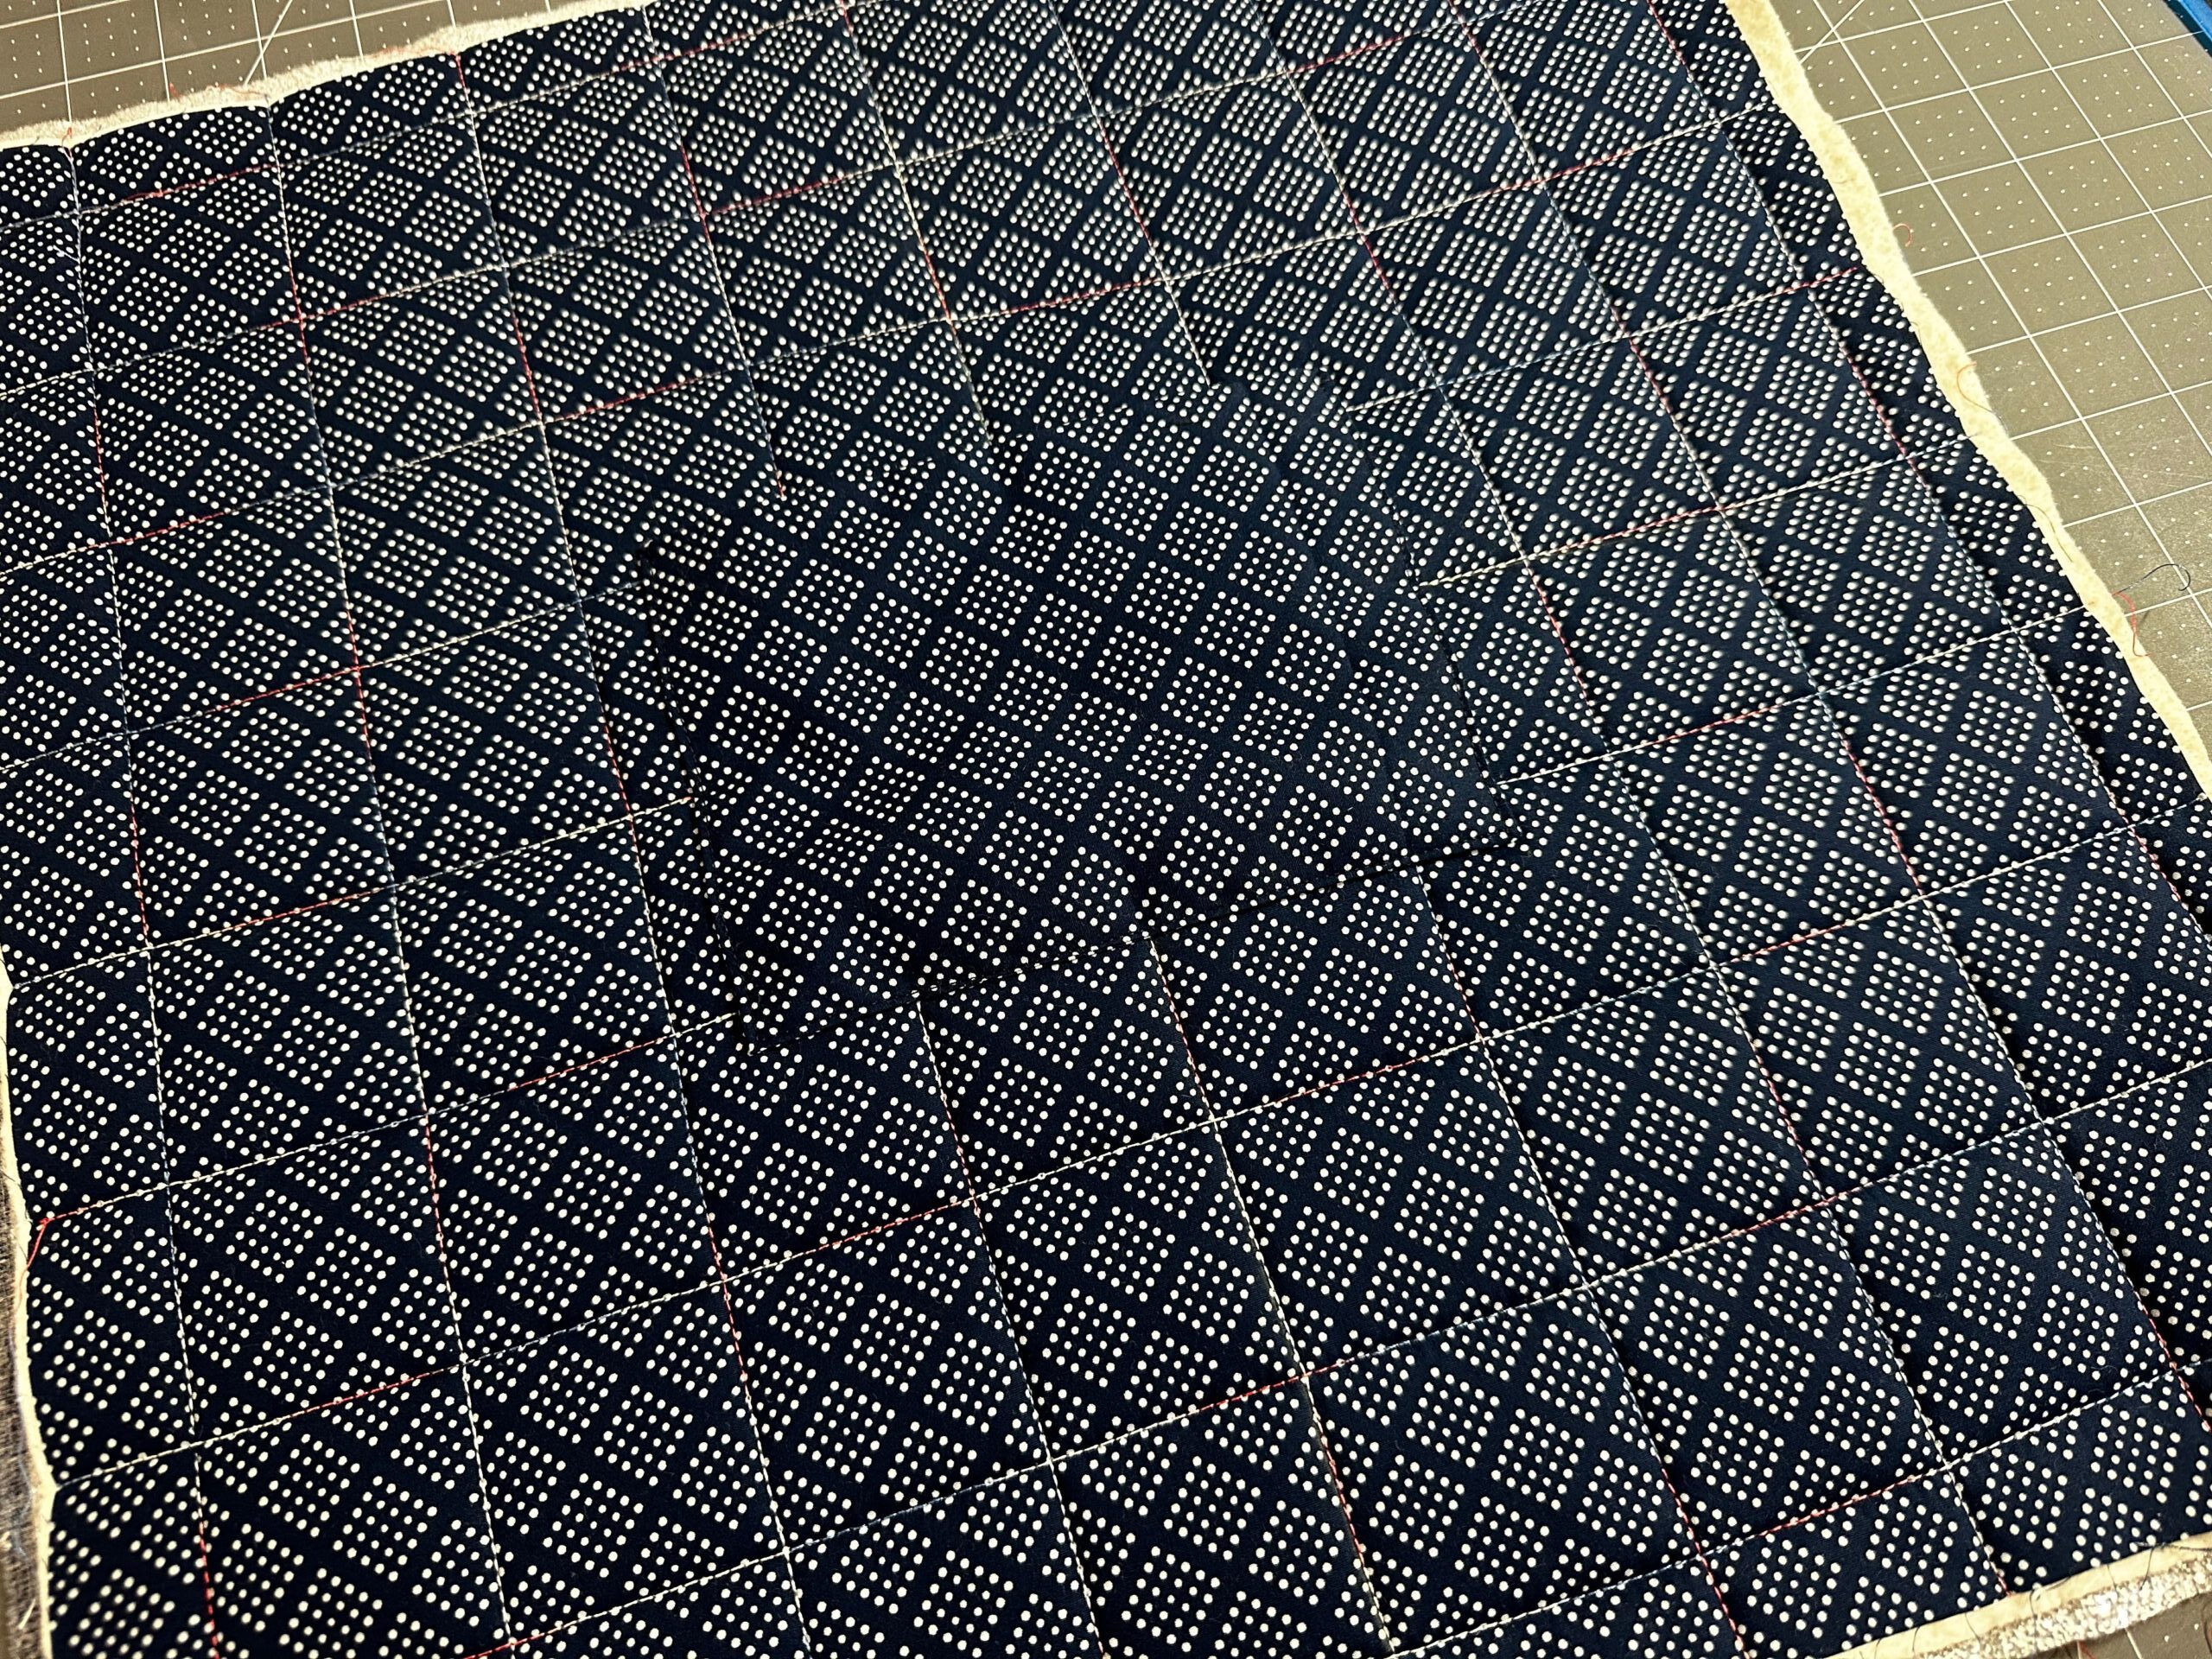
When the quilting is complete, trim the quilted fabric to 16” square.
Then, baste 1/8” from the perimeter.
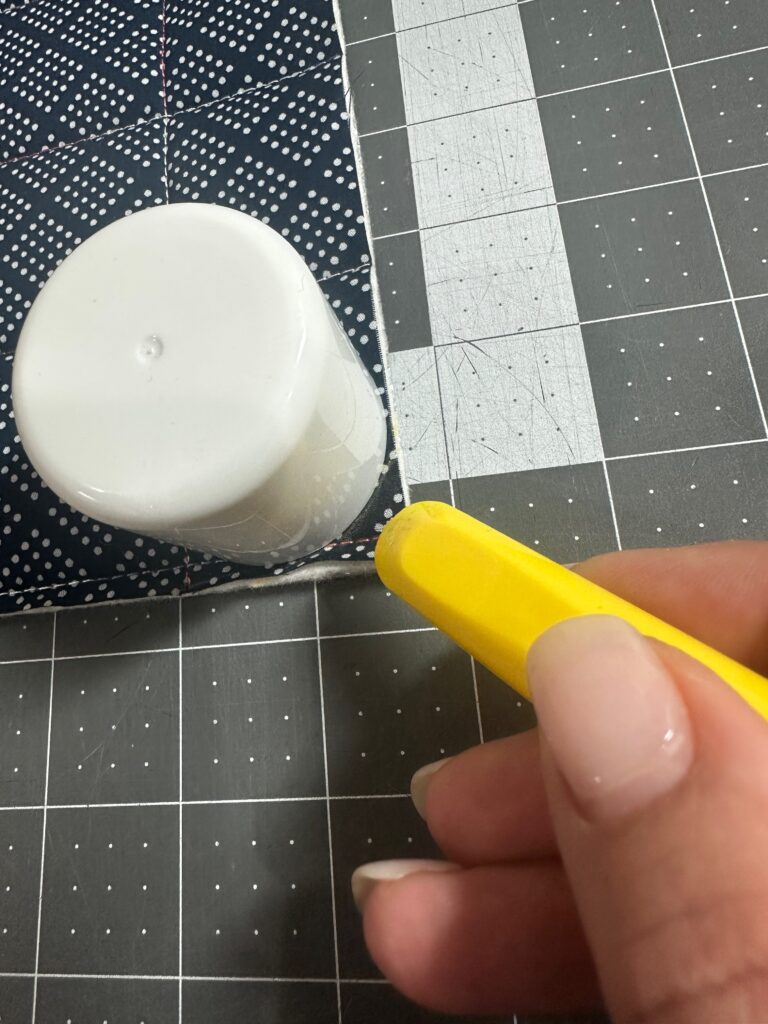
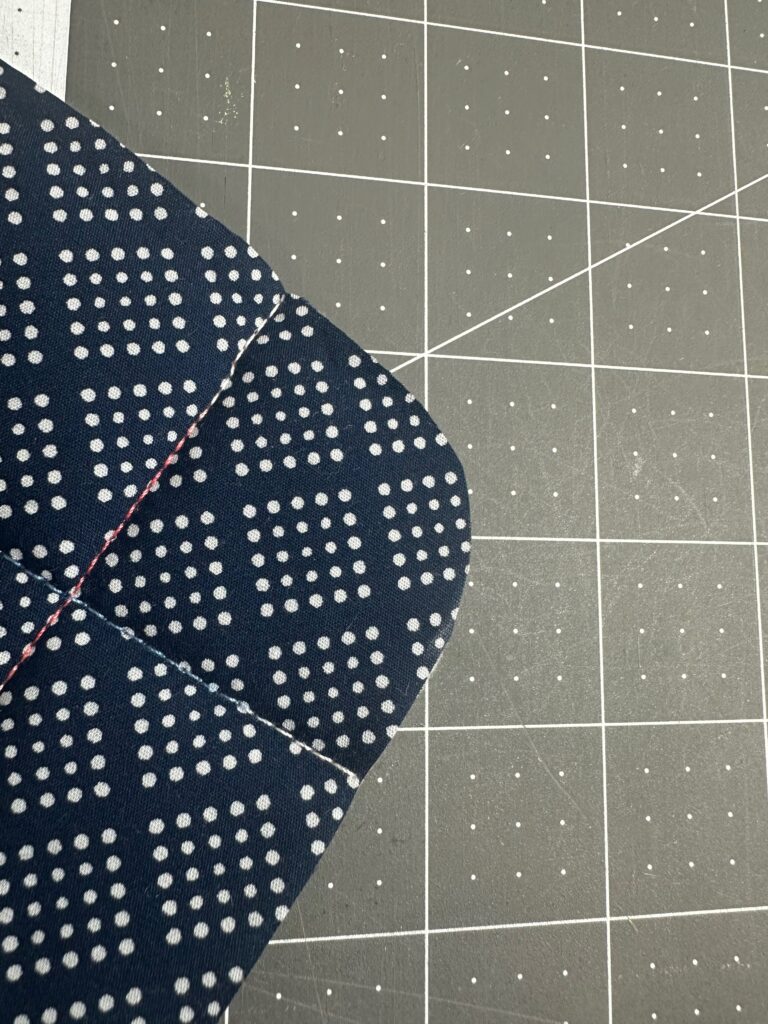
Place a round object, such as a small plate or ribbon spool, at each corner of the project and trace the rounded edge. Then, trim along the traced line. Set aside.
SEWING LOOPS & HANDLES
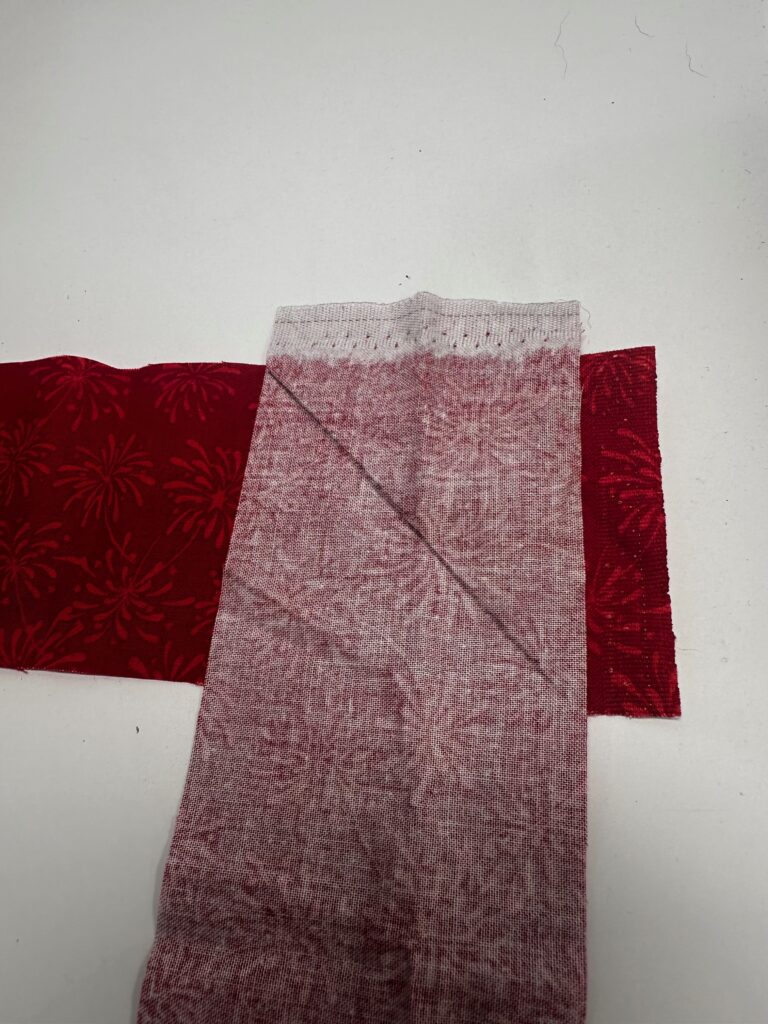
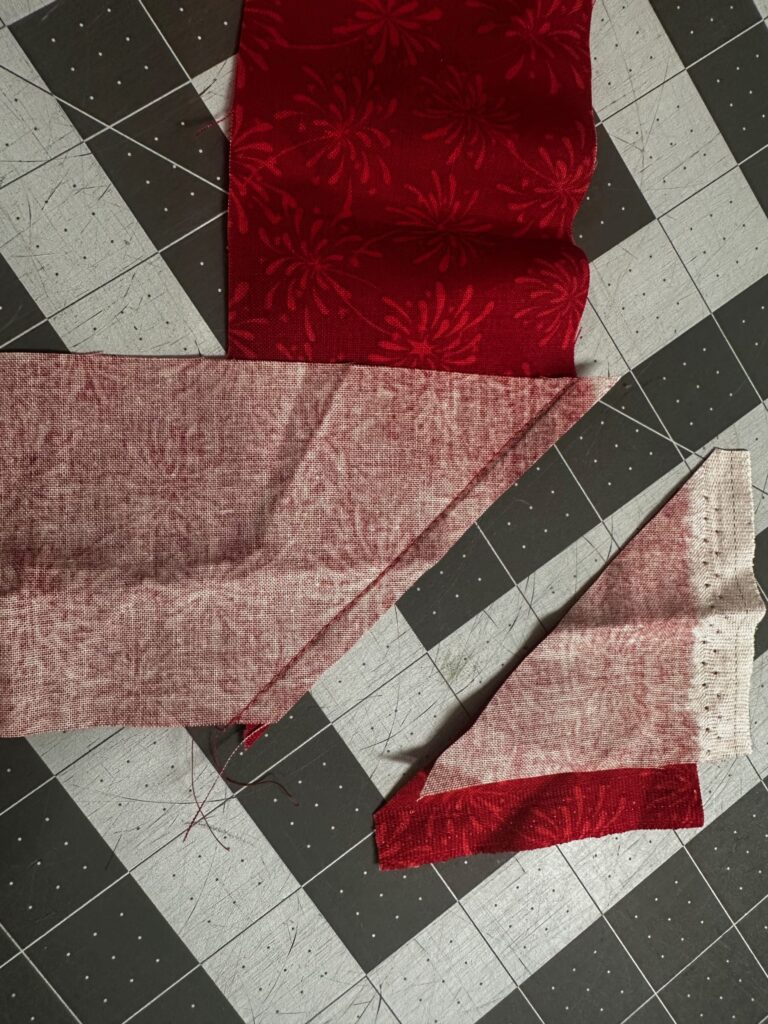
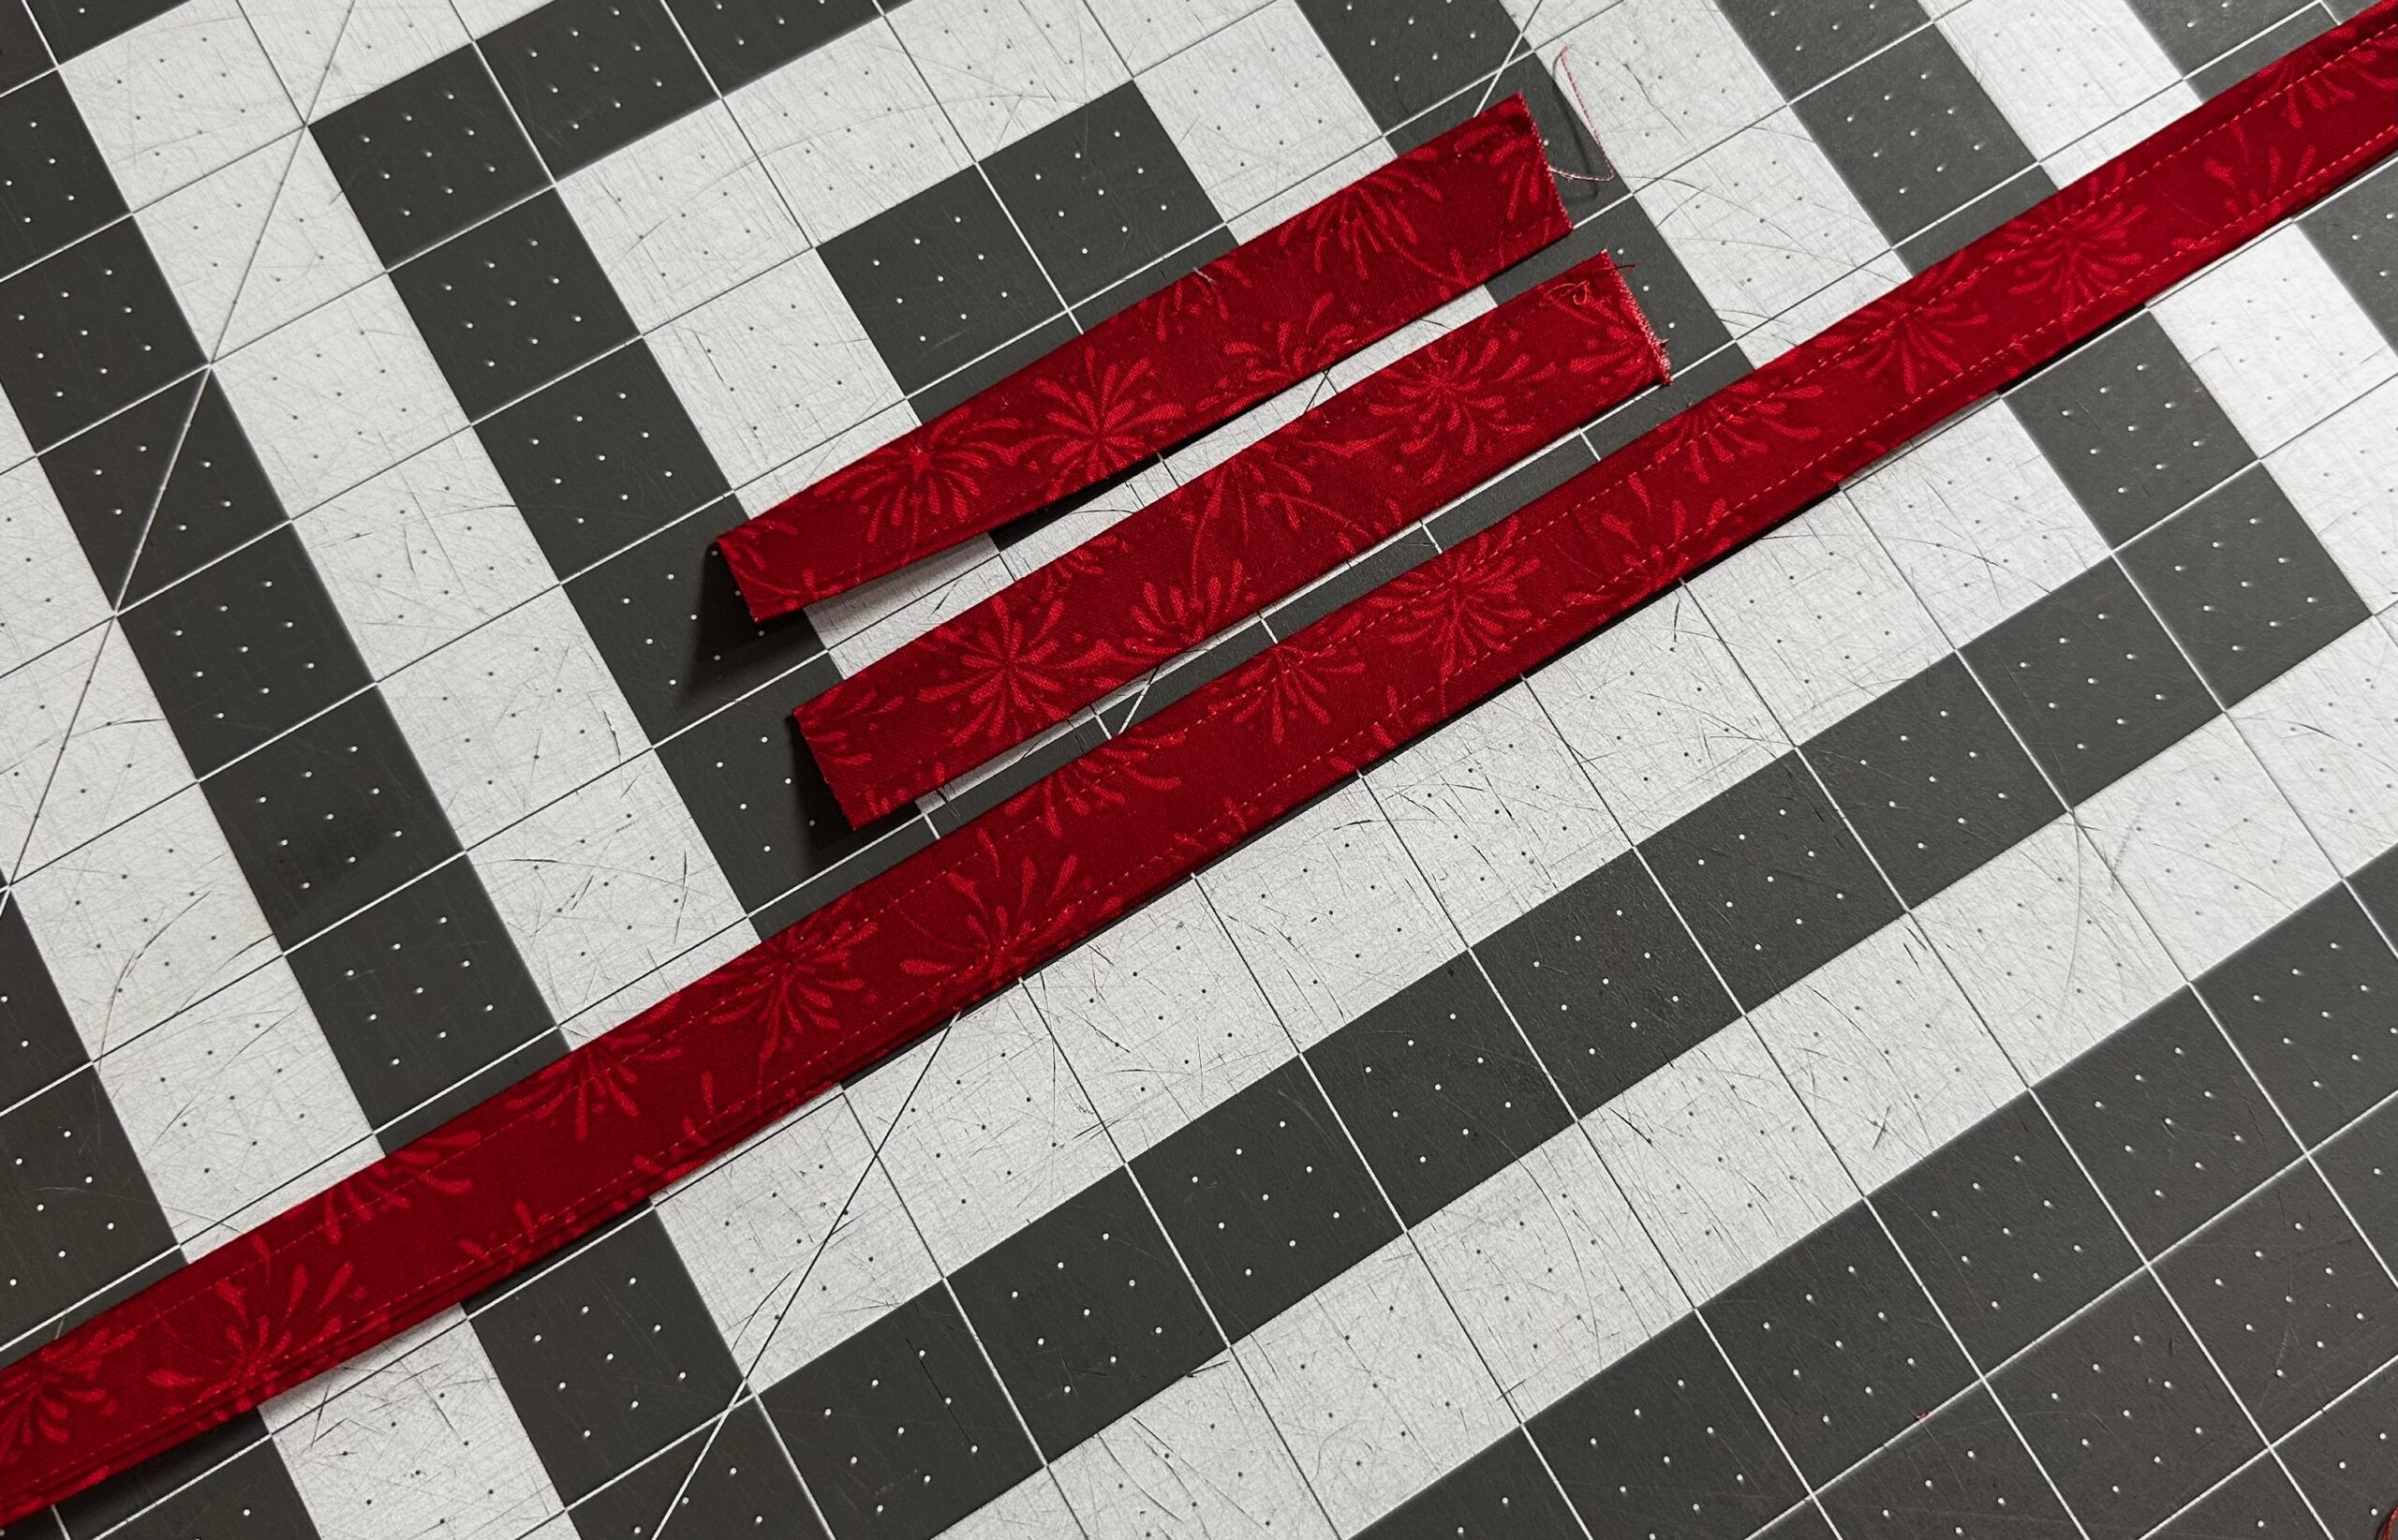
Piece together the 3”-wide fabric strips with right sides together, placing the ends at a 90° angle and offsetting them by ¼”. Trim the seam allowance to ¼”, and then press open.
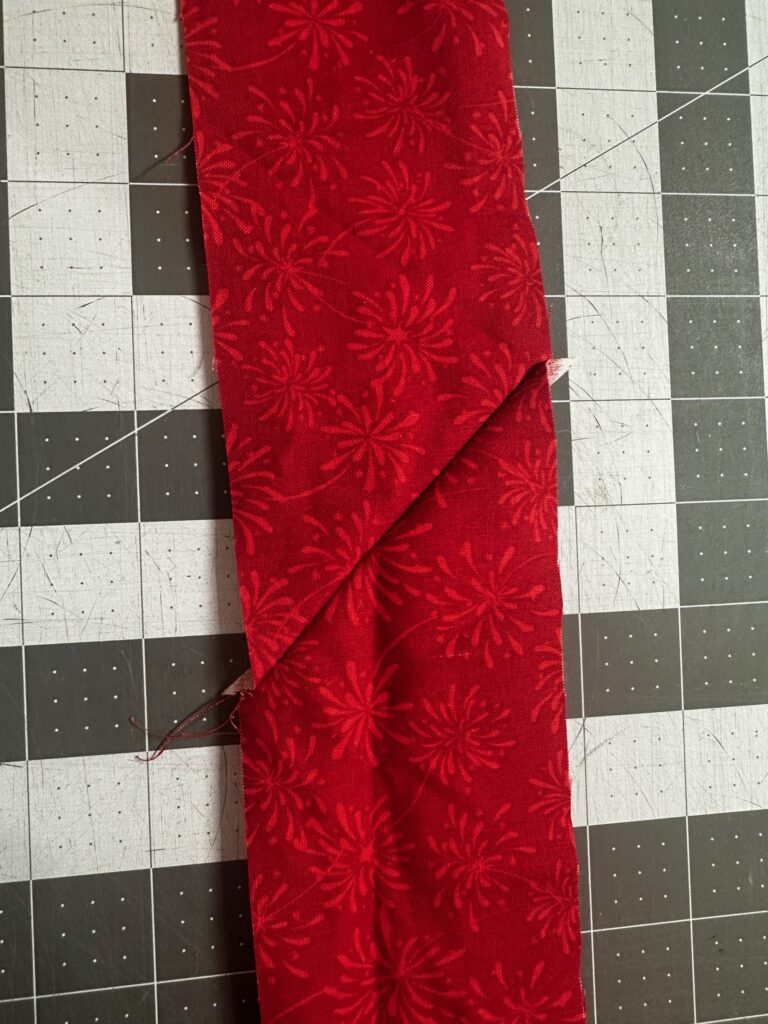
Fold the fabric strip in half lengthwise with wrong sides together; press.
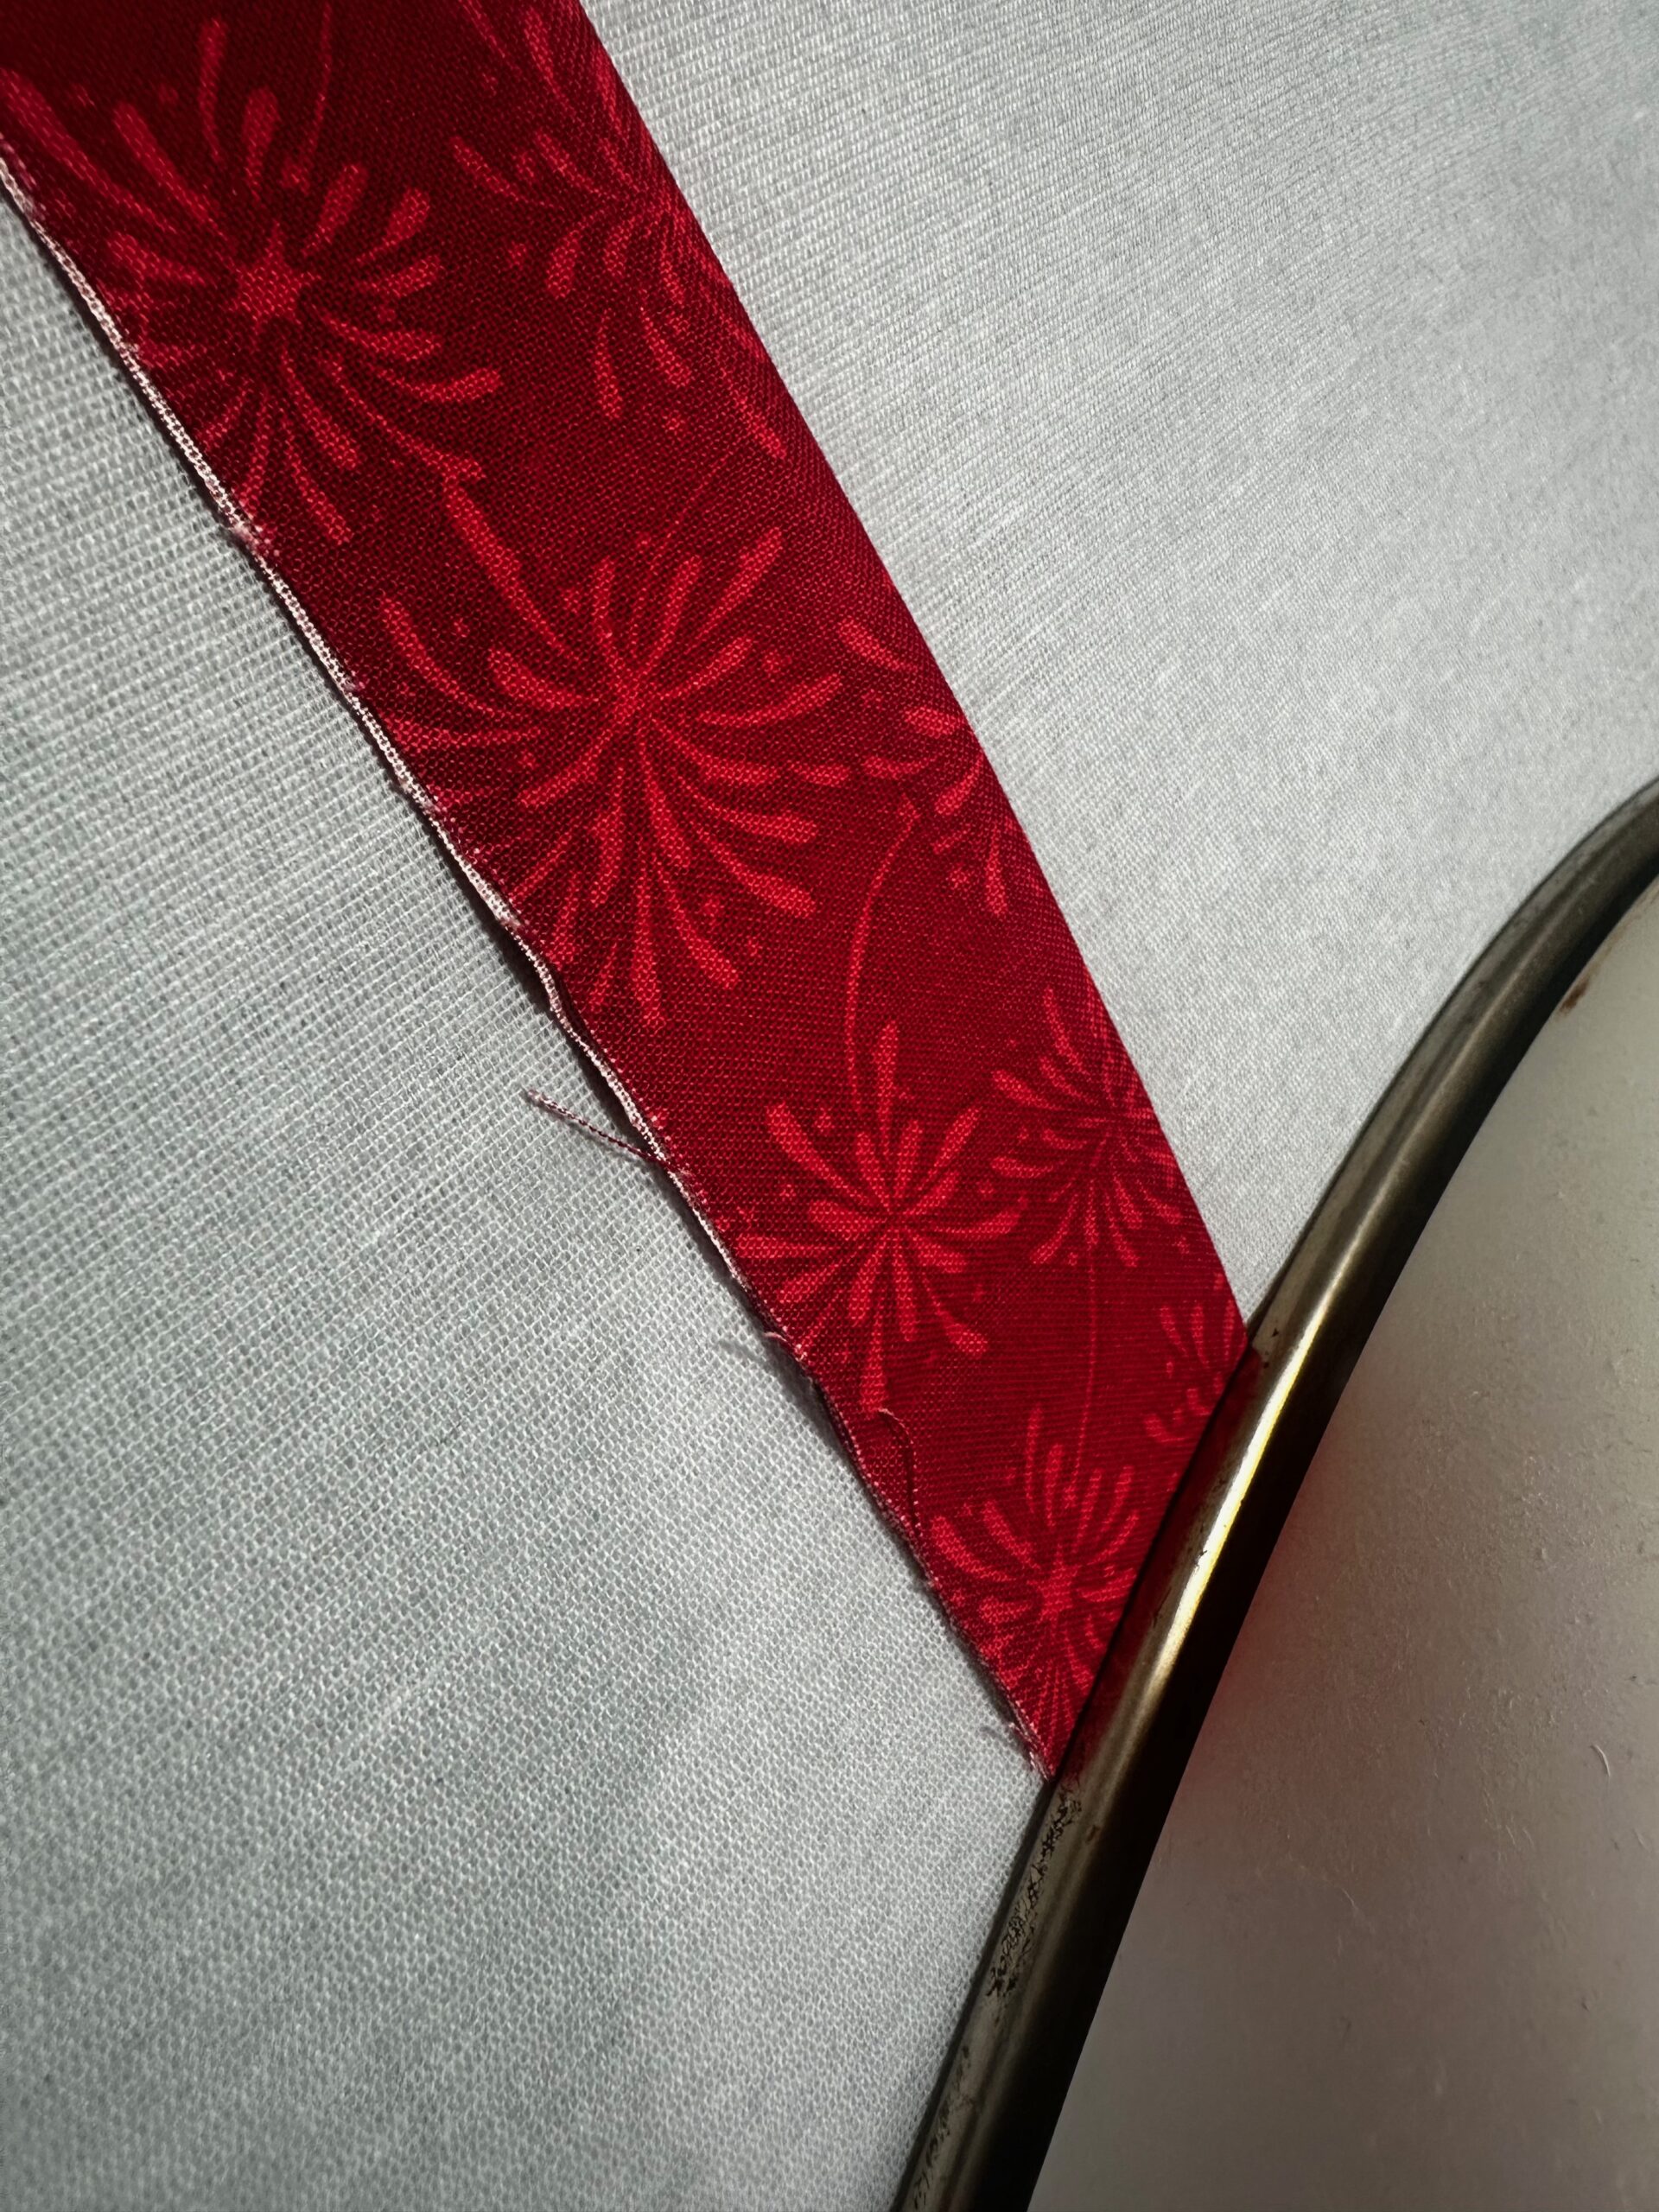
Cut a 26” length from the strip (the remaining length is the binding).
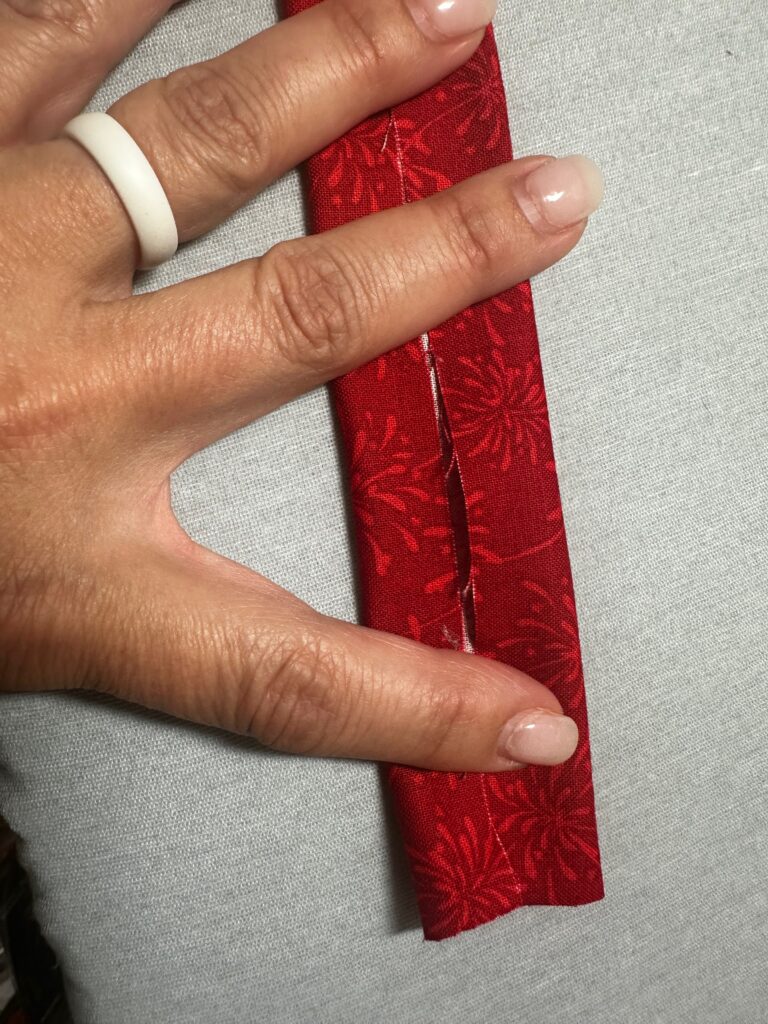
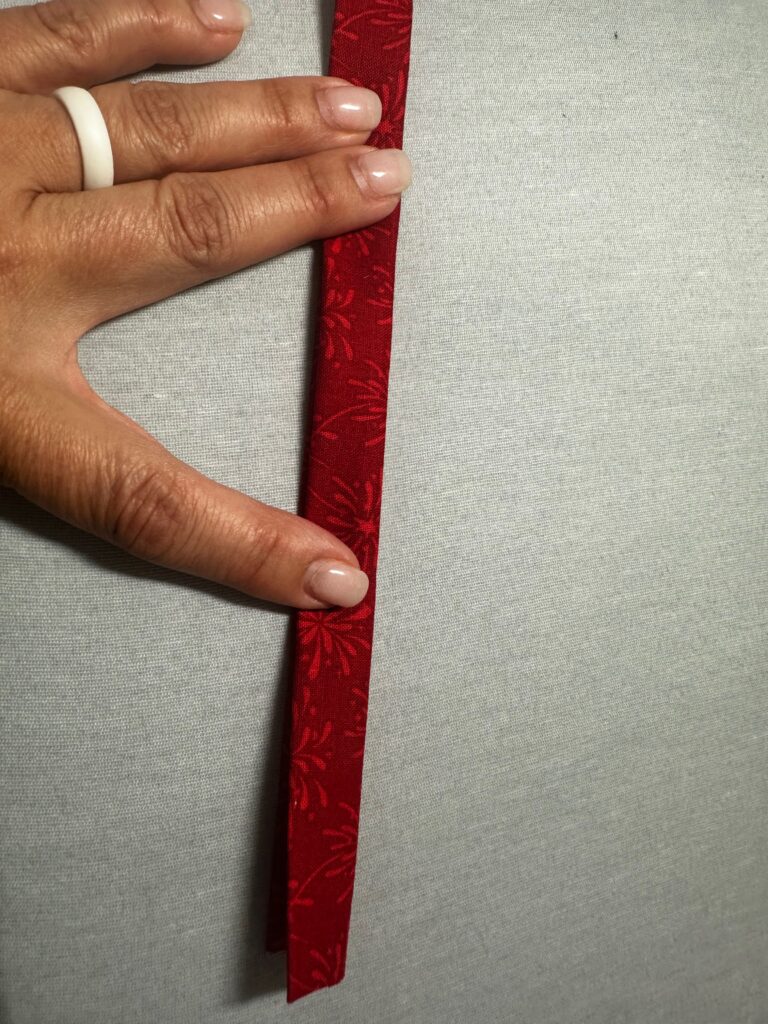
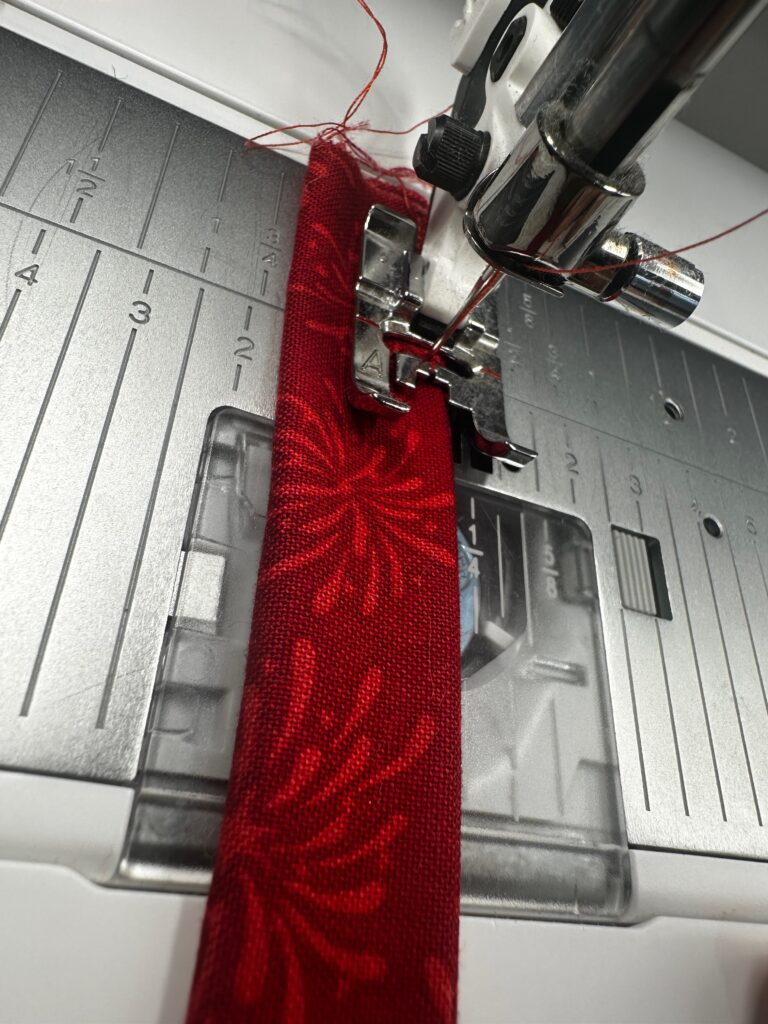
Unfold the short strip, and then fold each long raw edge to meet along the center foldline; press. Then, fold the strip in half along the first foldline to encase the raw edges; press. Stitch along both long edges.
Then, cut two 5” lengths from the strip for the loops and reserve the remaining 16” length for the handle.
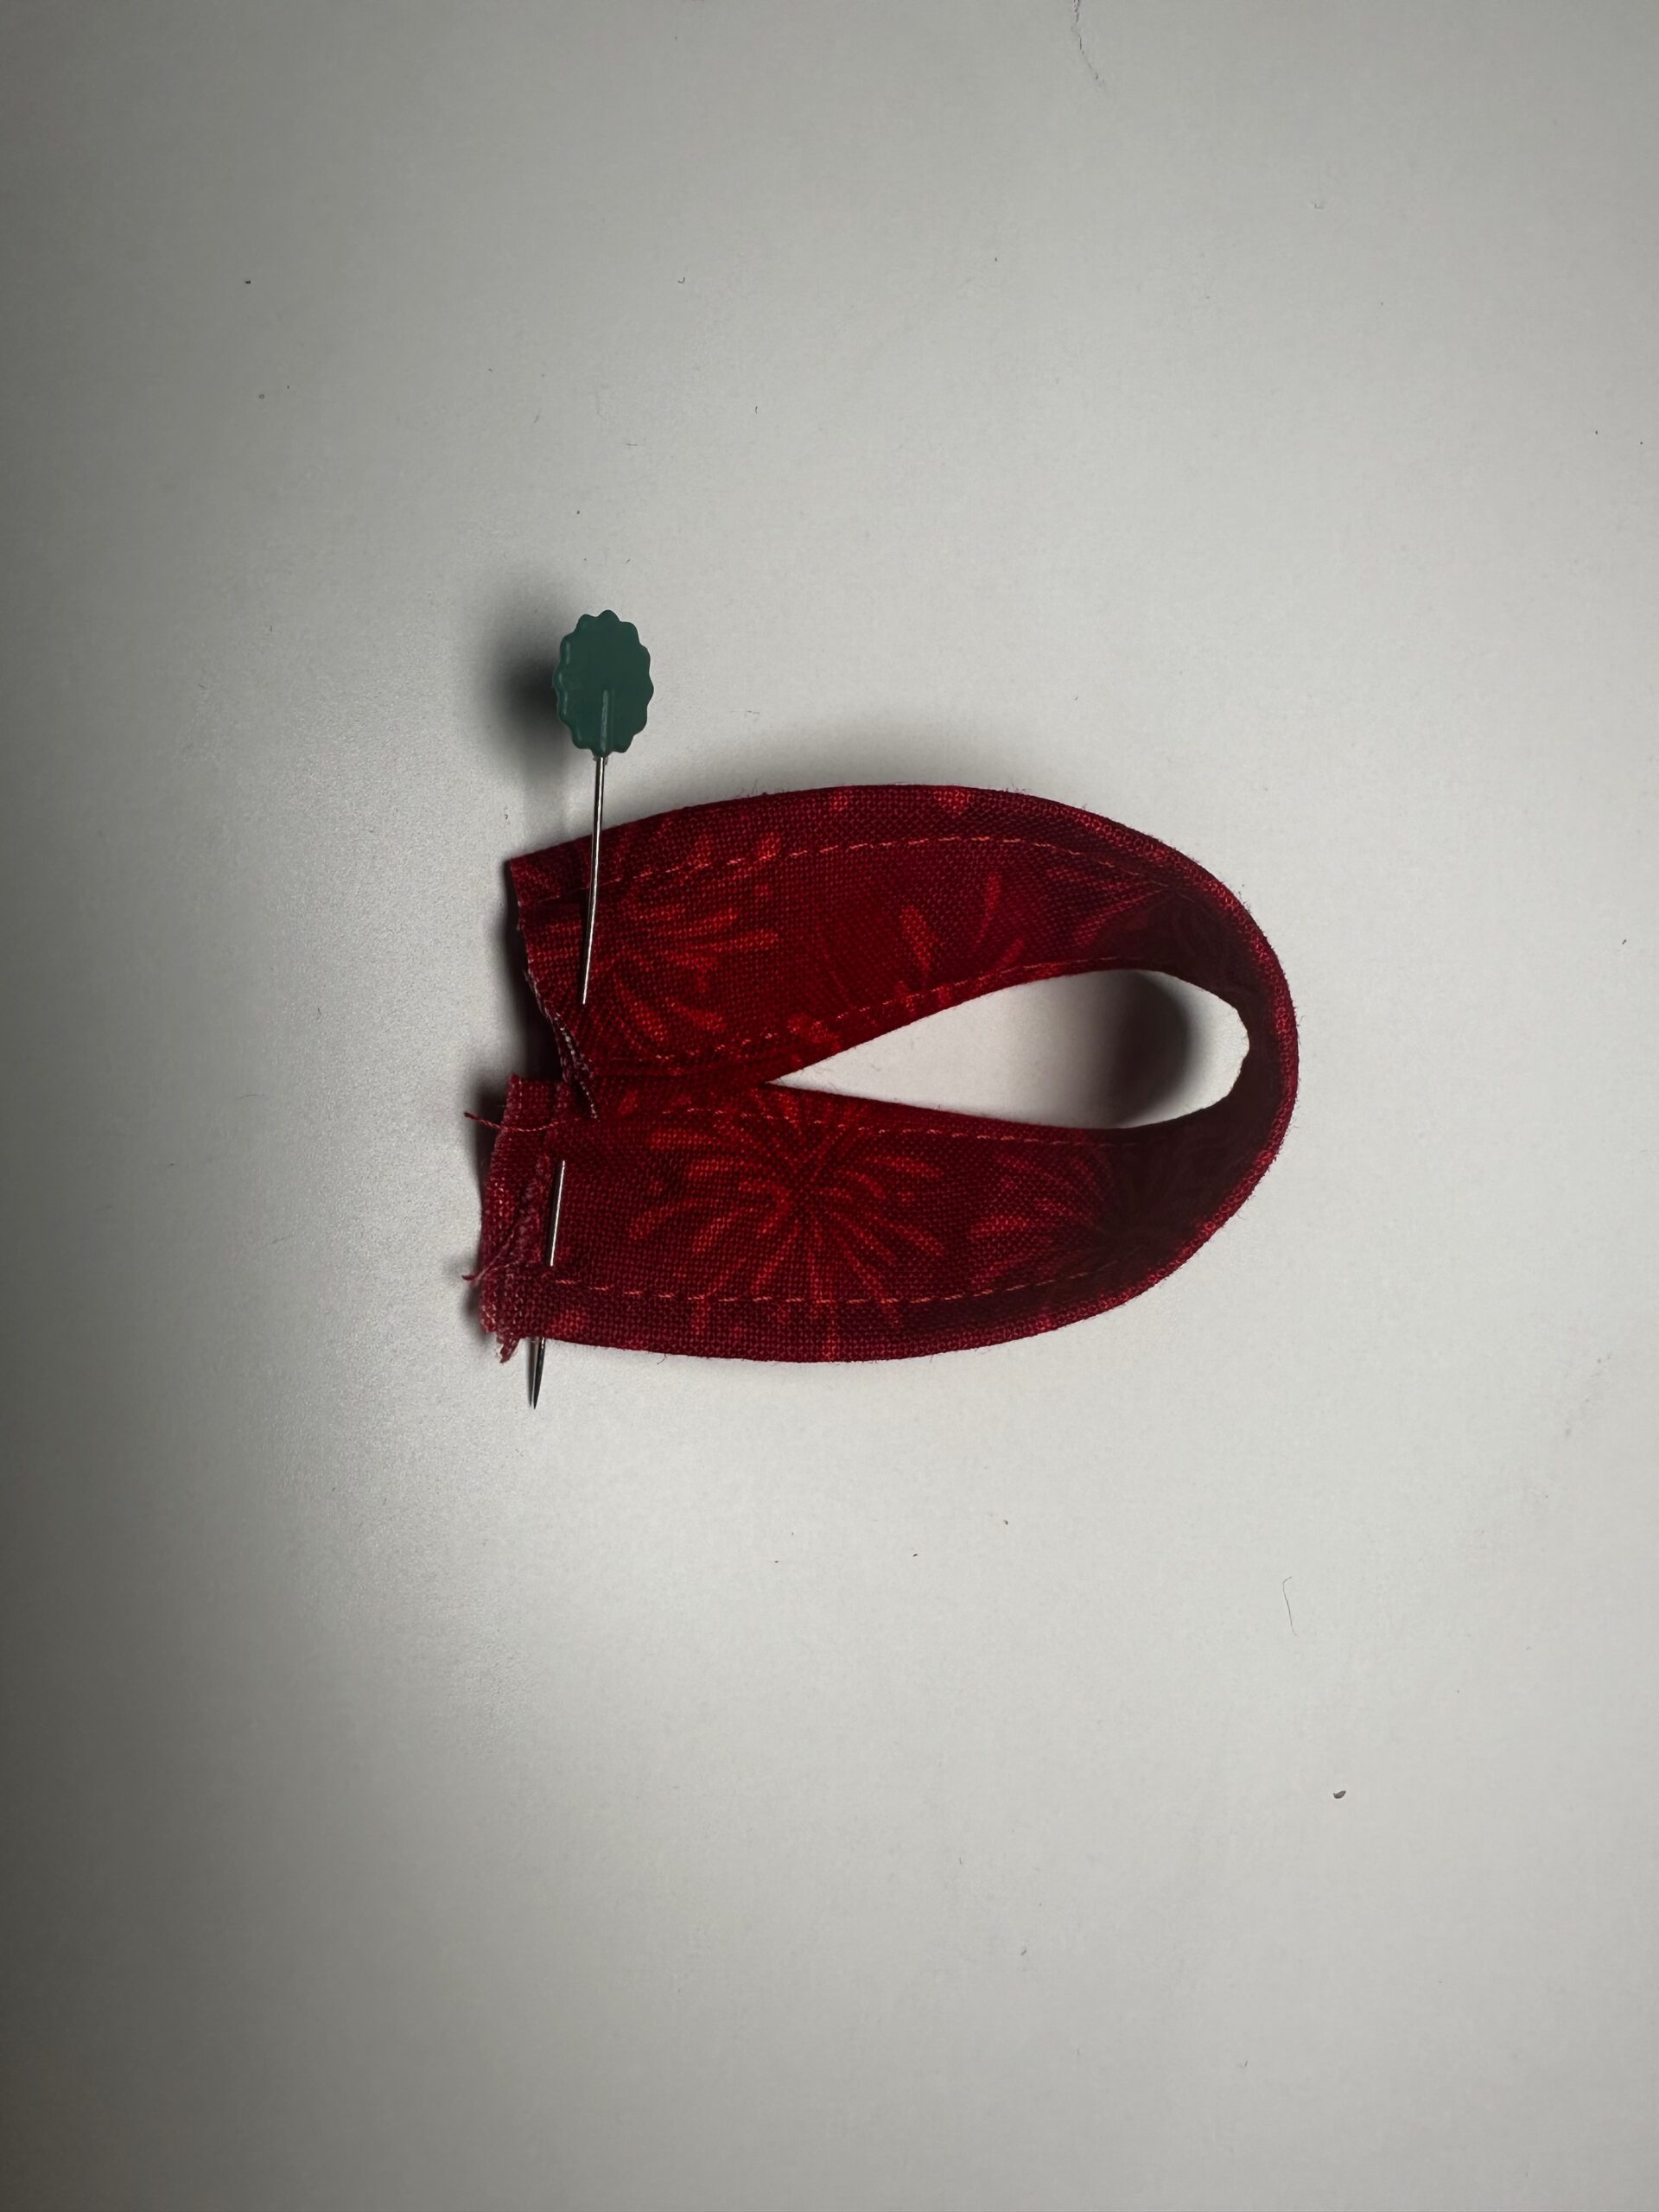
Fold each loop into a “U” shape, matching the short raw ends; pin.
Center one loop end along one quilted fabric corner with the loop facing toward the fabric center, pin or clip in place. Place the remaining handle along the opposite fabric corner.
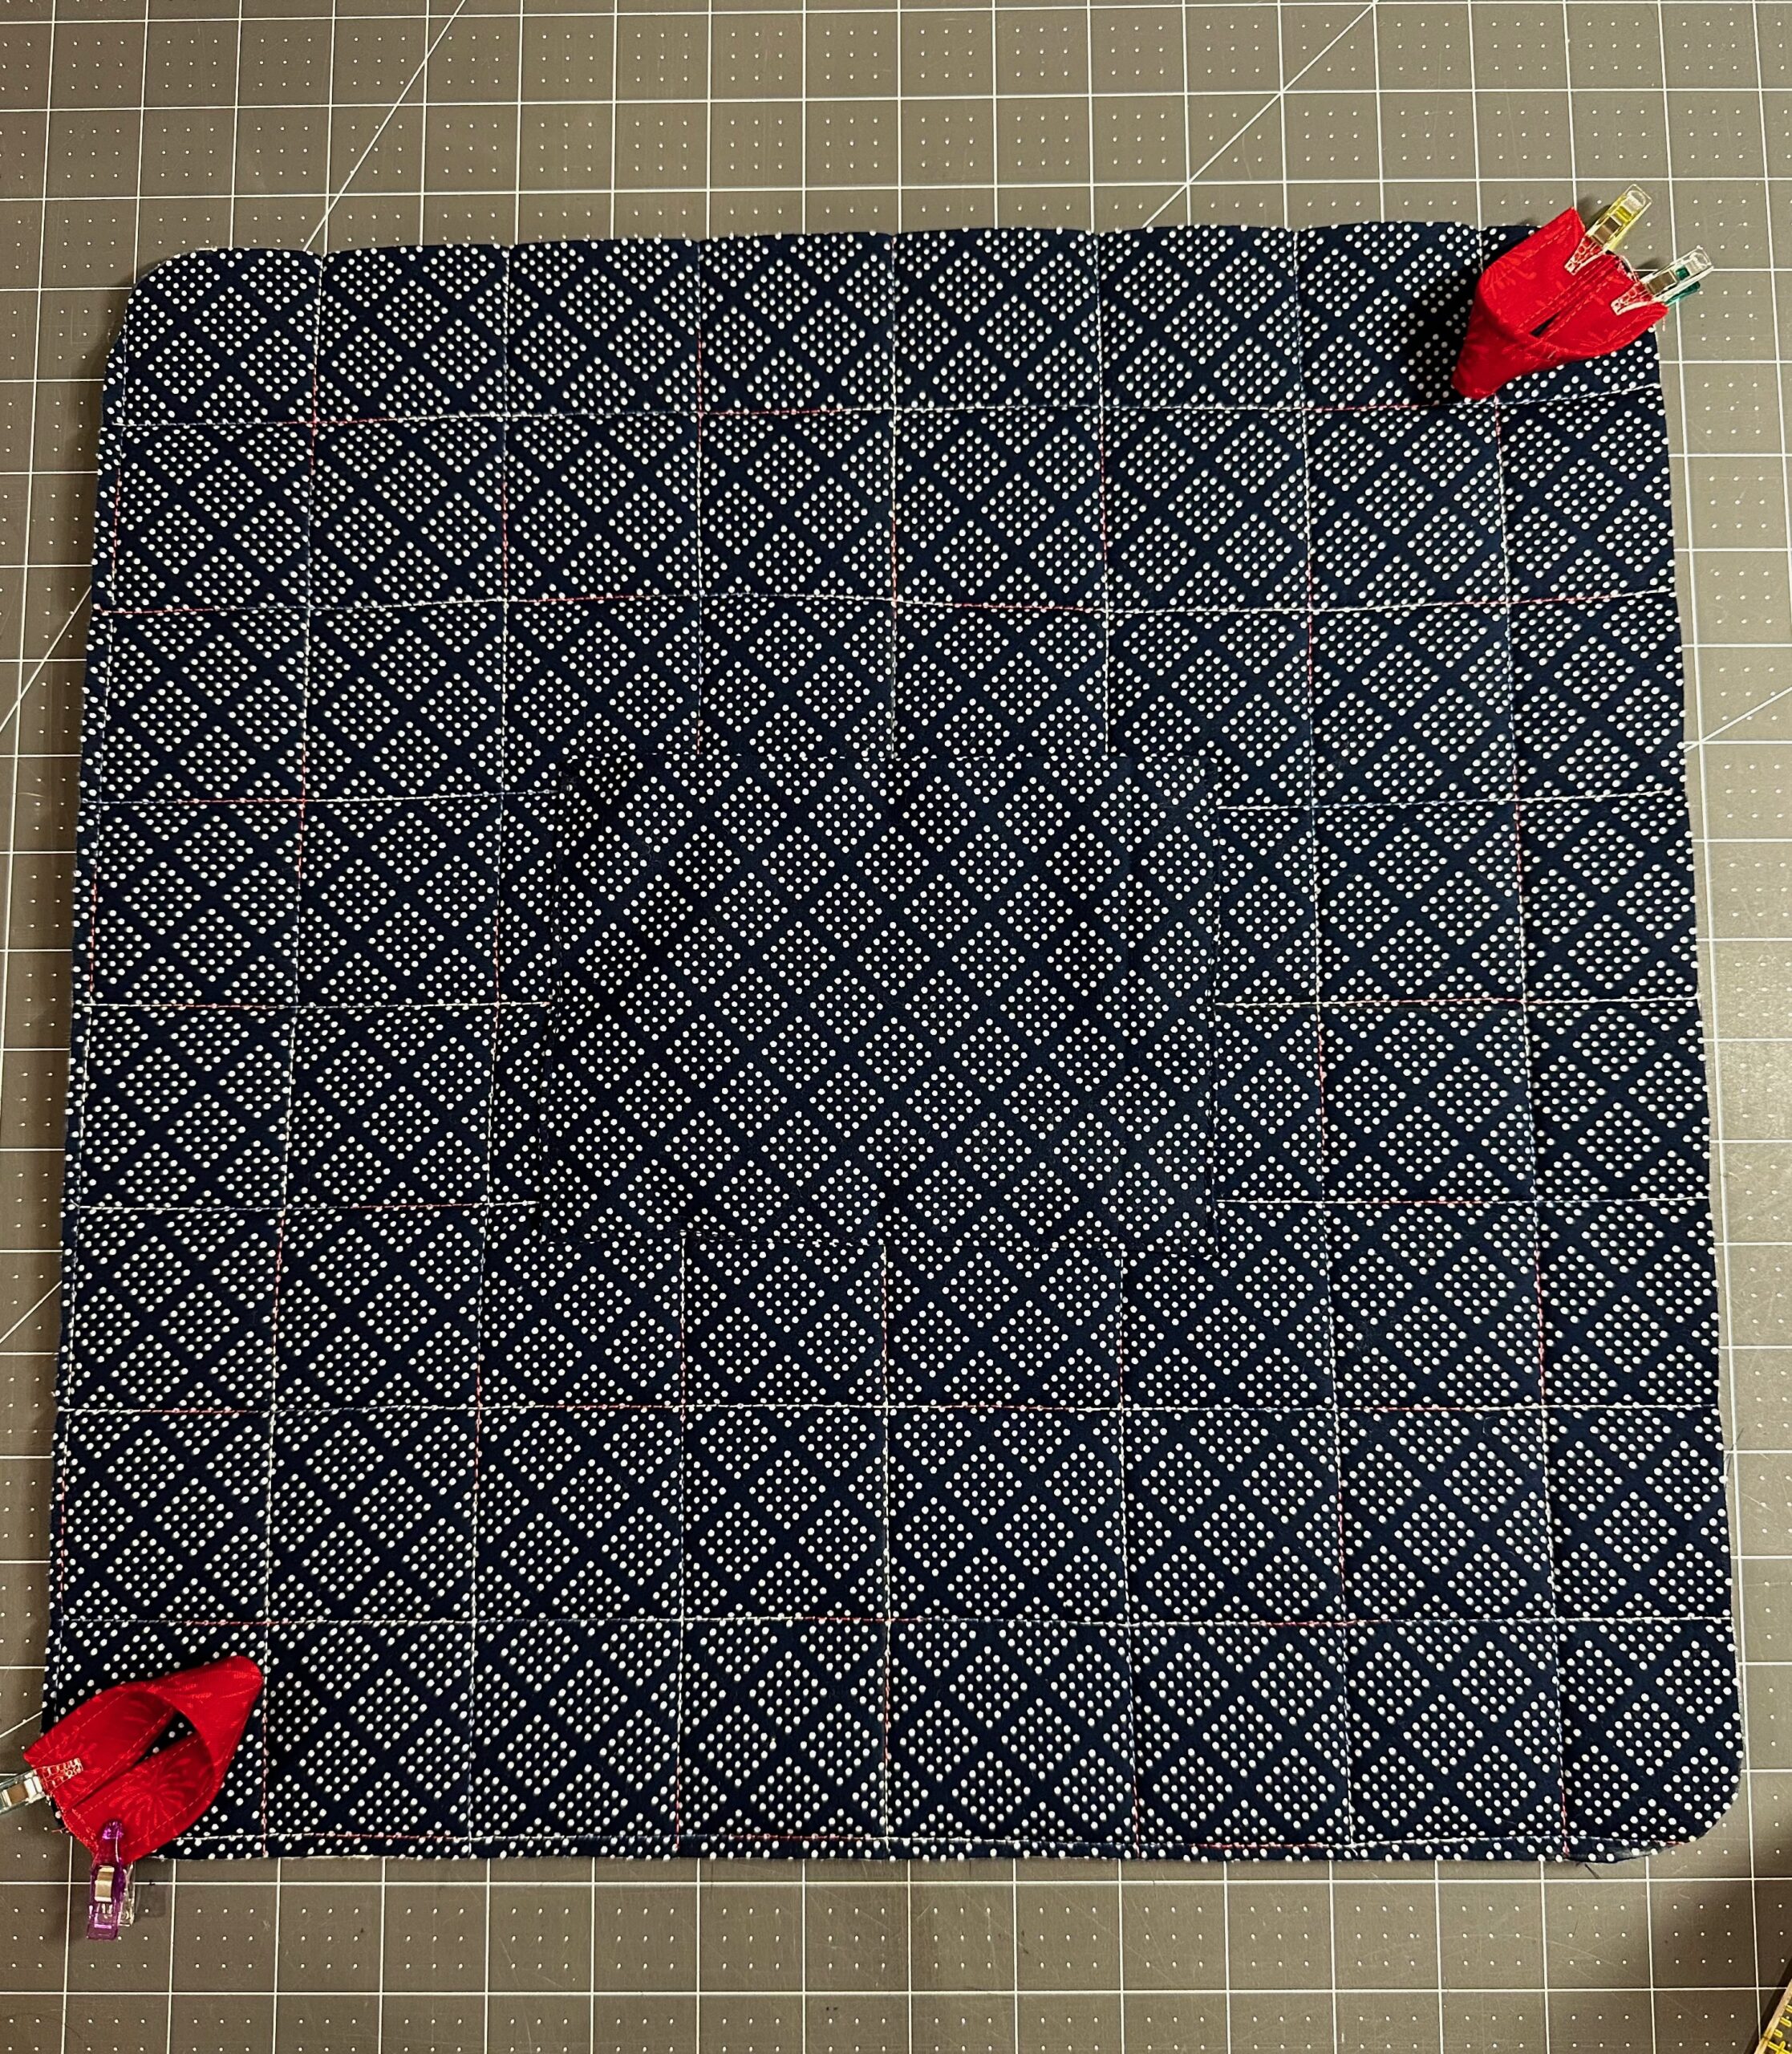
Place one handle end at each free corner, making sure the handle isn’t twisted. Pin or clip in place.
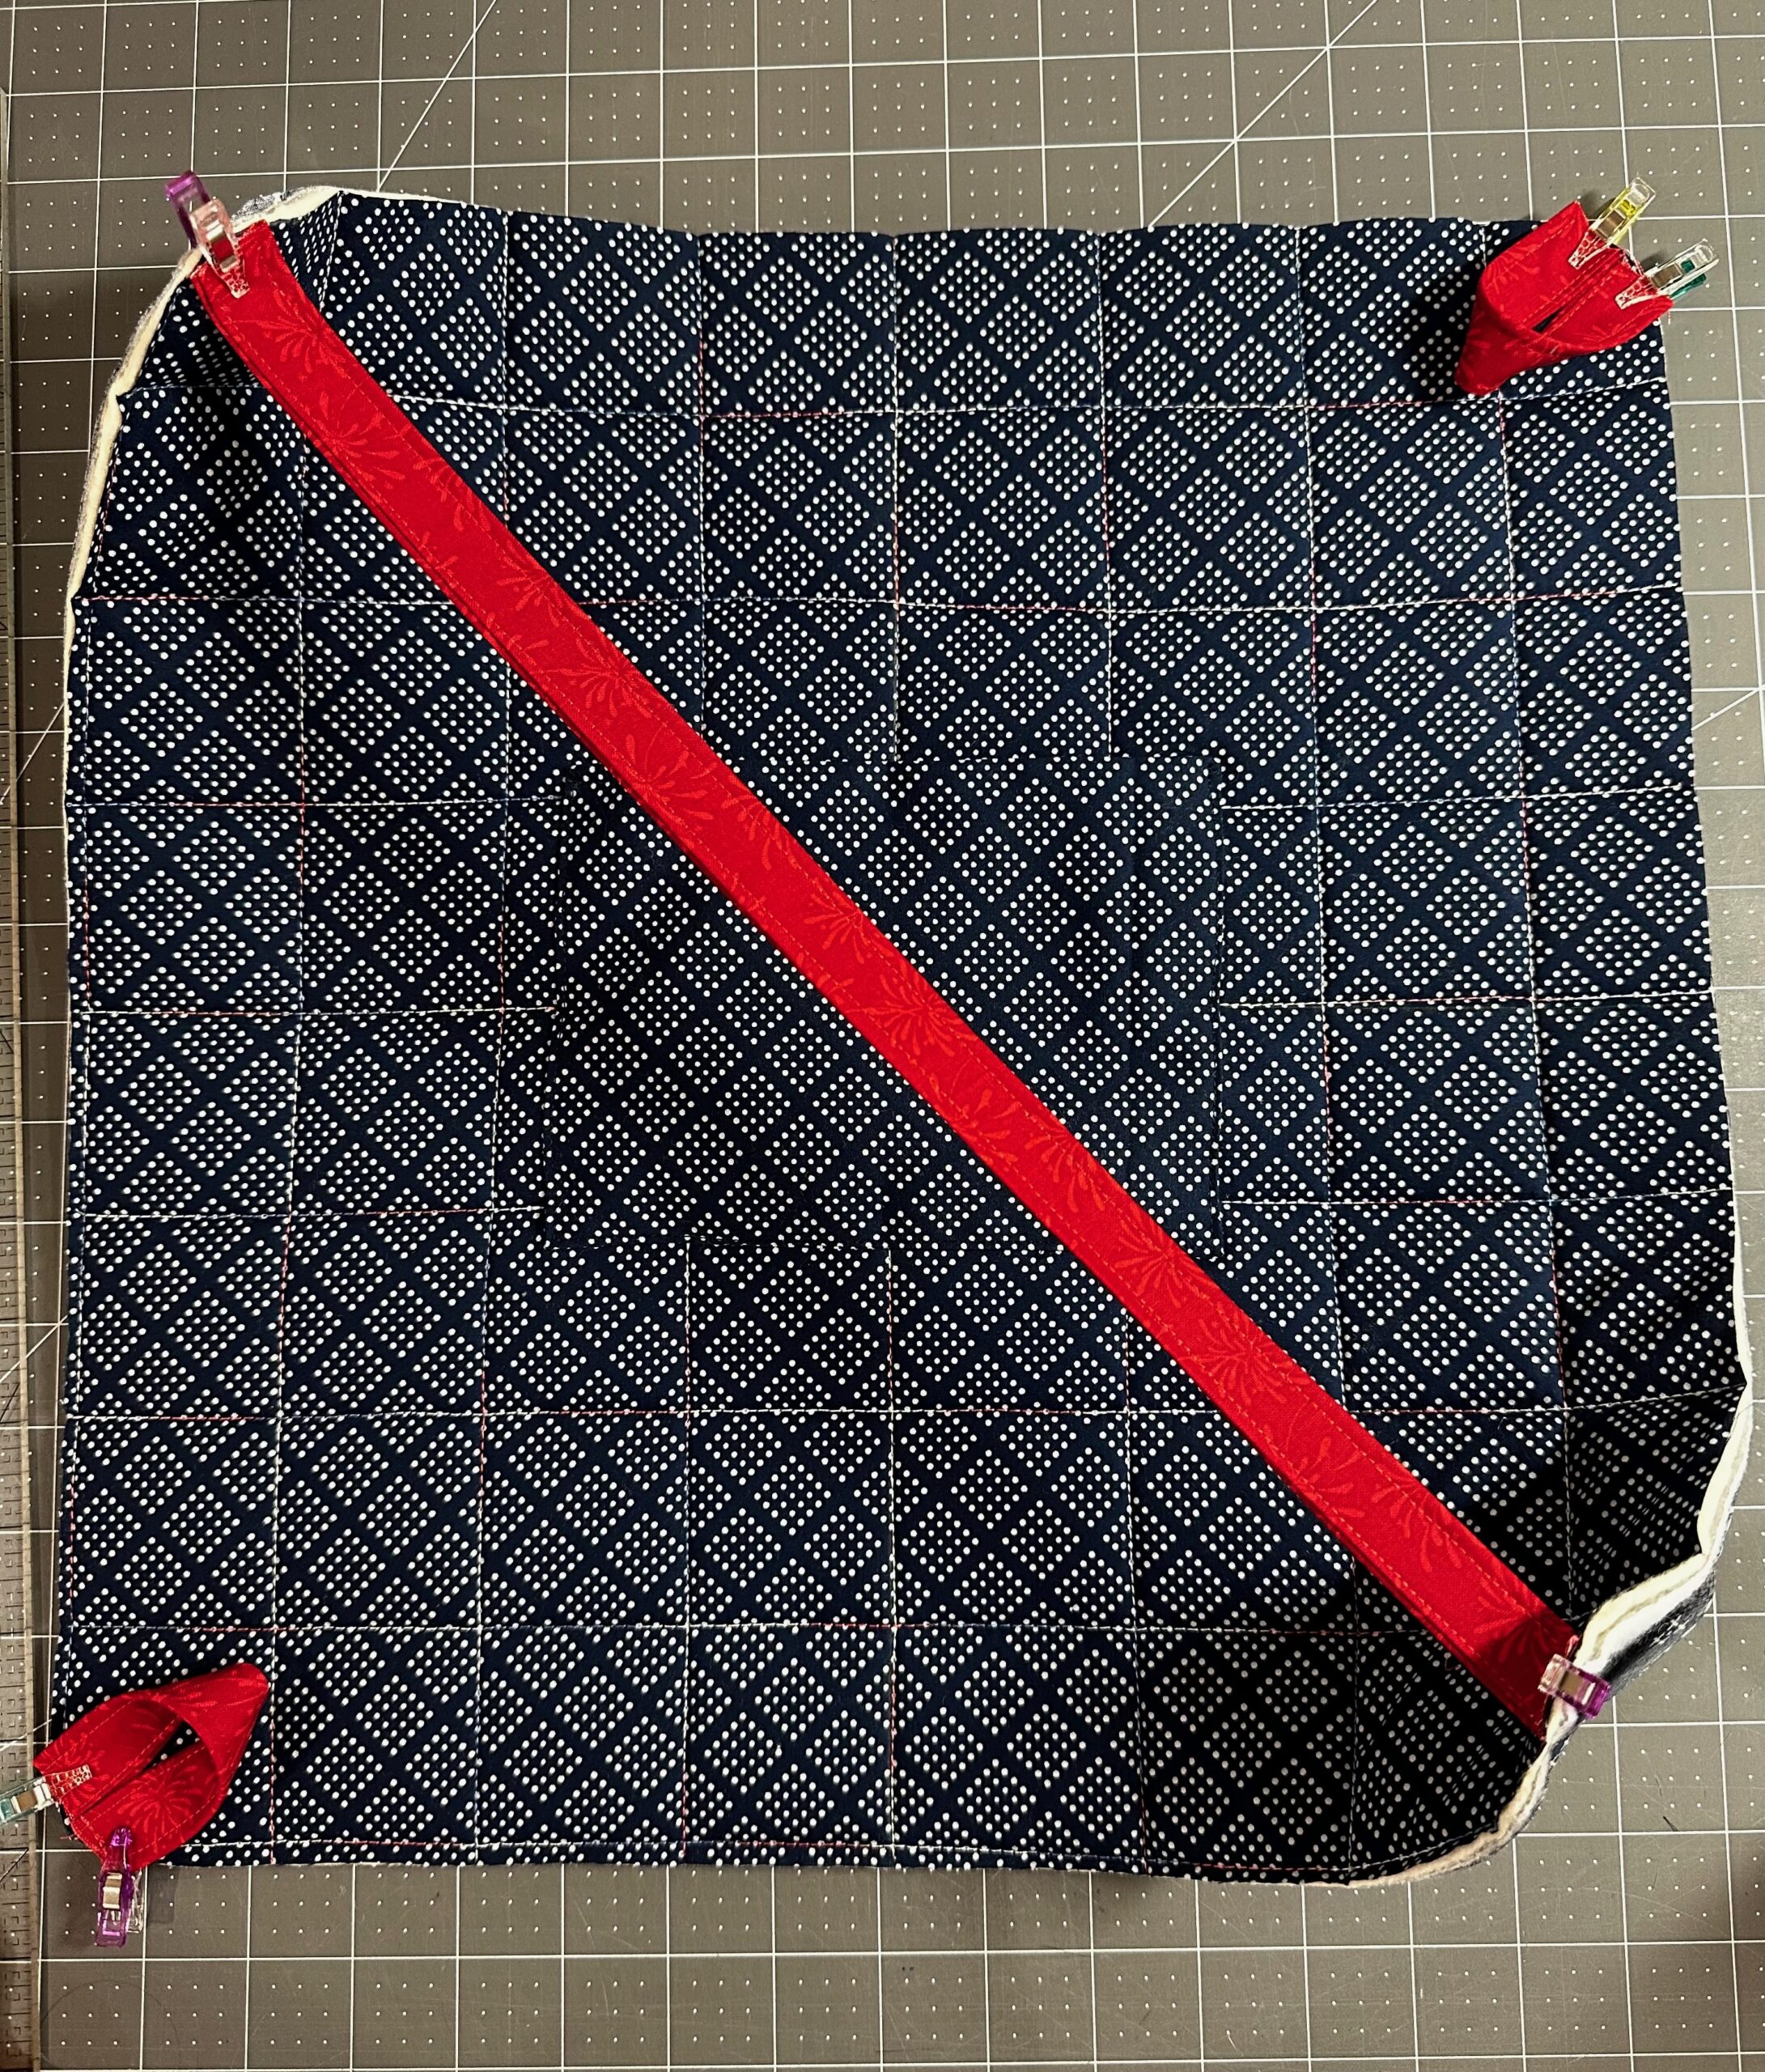
Baste the handle and loop ends to secure.
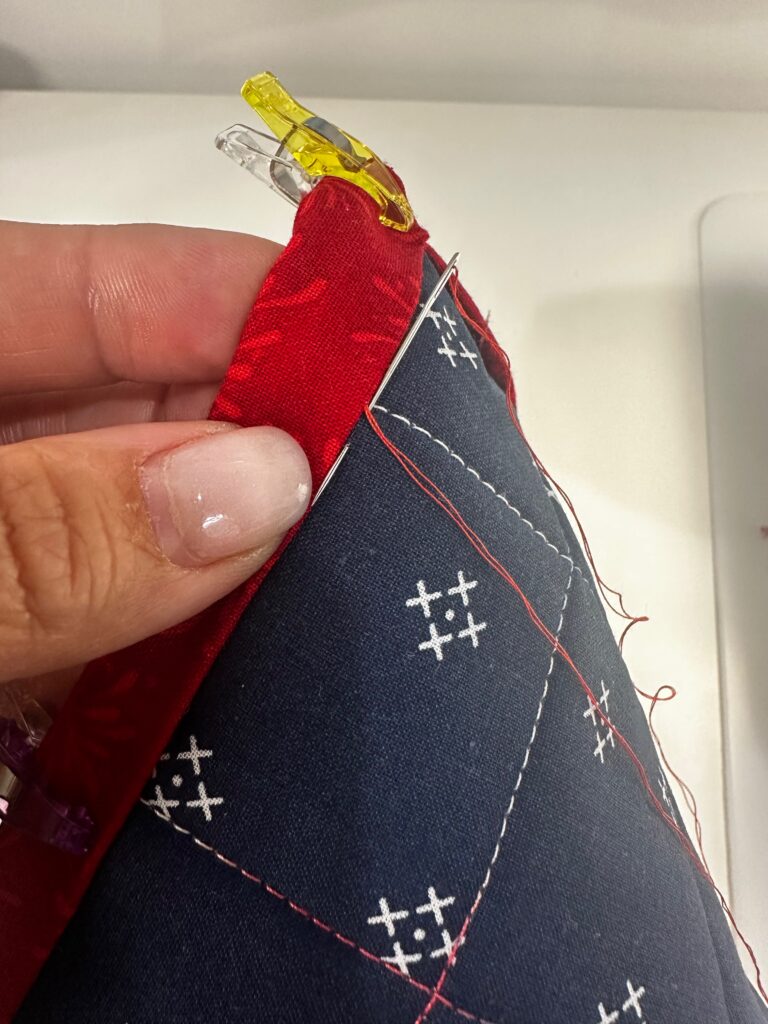
BINDING
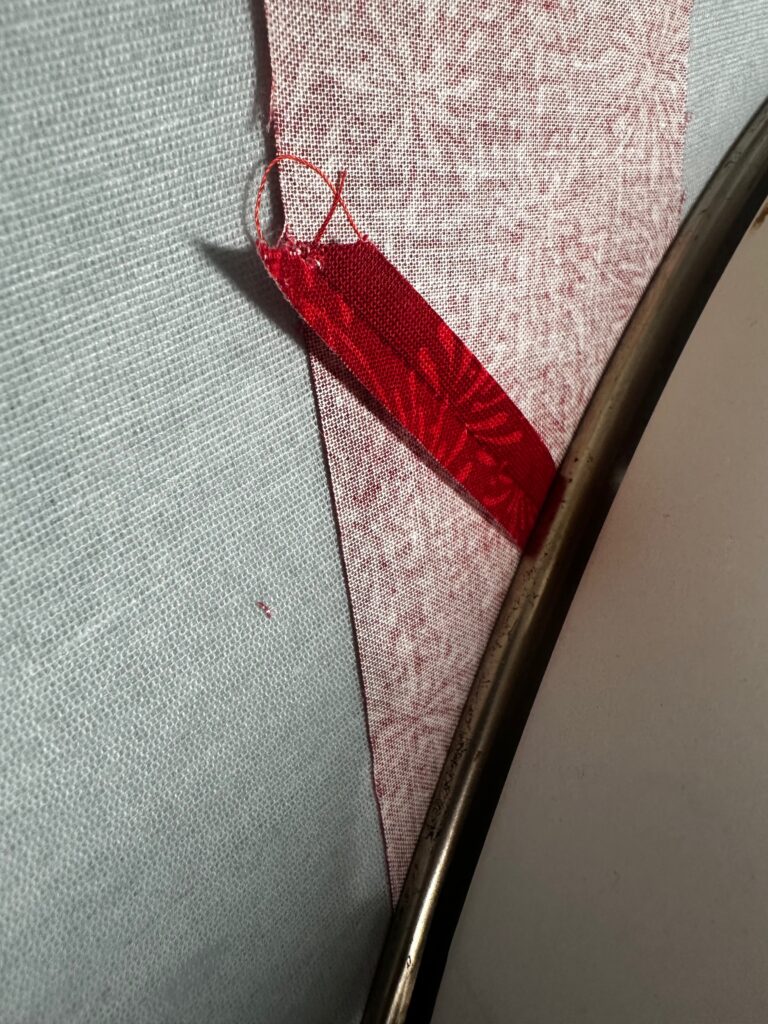
Fold one long binding end at a 45° angle toward the wrong side; press.
Center the folded end along one quilted fabric edge; clip in place. Begin stitching the binding long raw edge to the quilted fabric square, using a 2.5mm stitch length, starting the stitching about 4” from the beginning fold. Gently ease the fabric strip along the rounded corners as you reach them.
End sewing about 4” from the beginning fold. Either “railroad” the binding ends or piece them together. Then, finish sewing the binding.
Wrap the binding long folded edge around to the fabric right side. Stitch the binding by hand or machine to finish, making sure the loops are extending beyond the curved corners and the handle ends are flat.
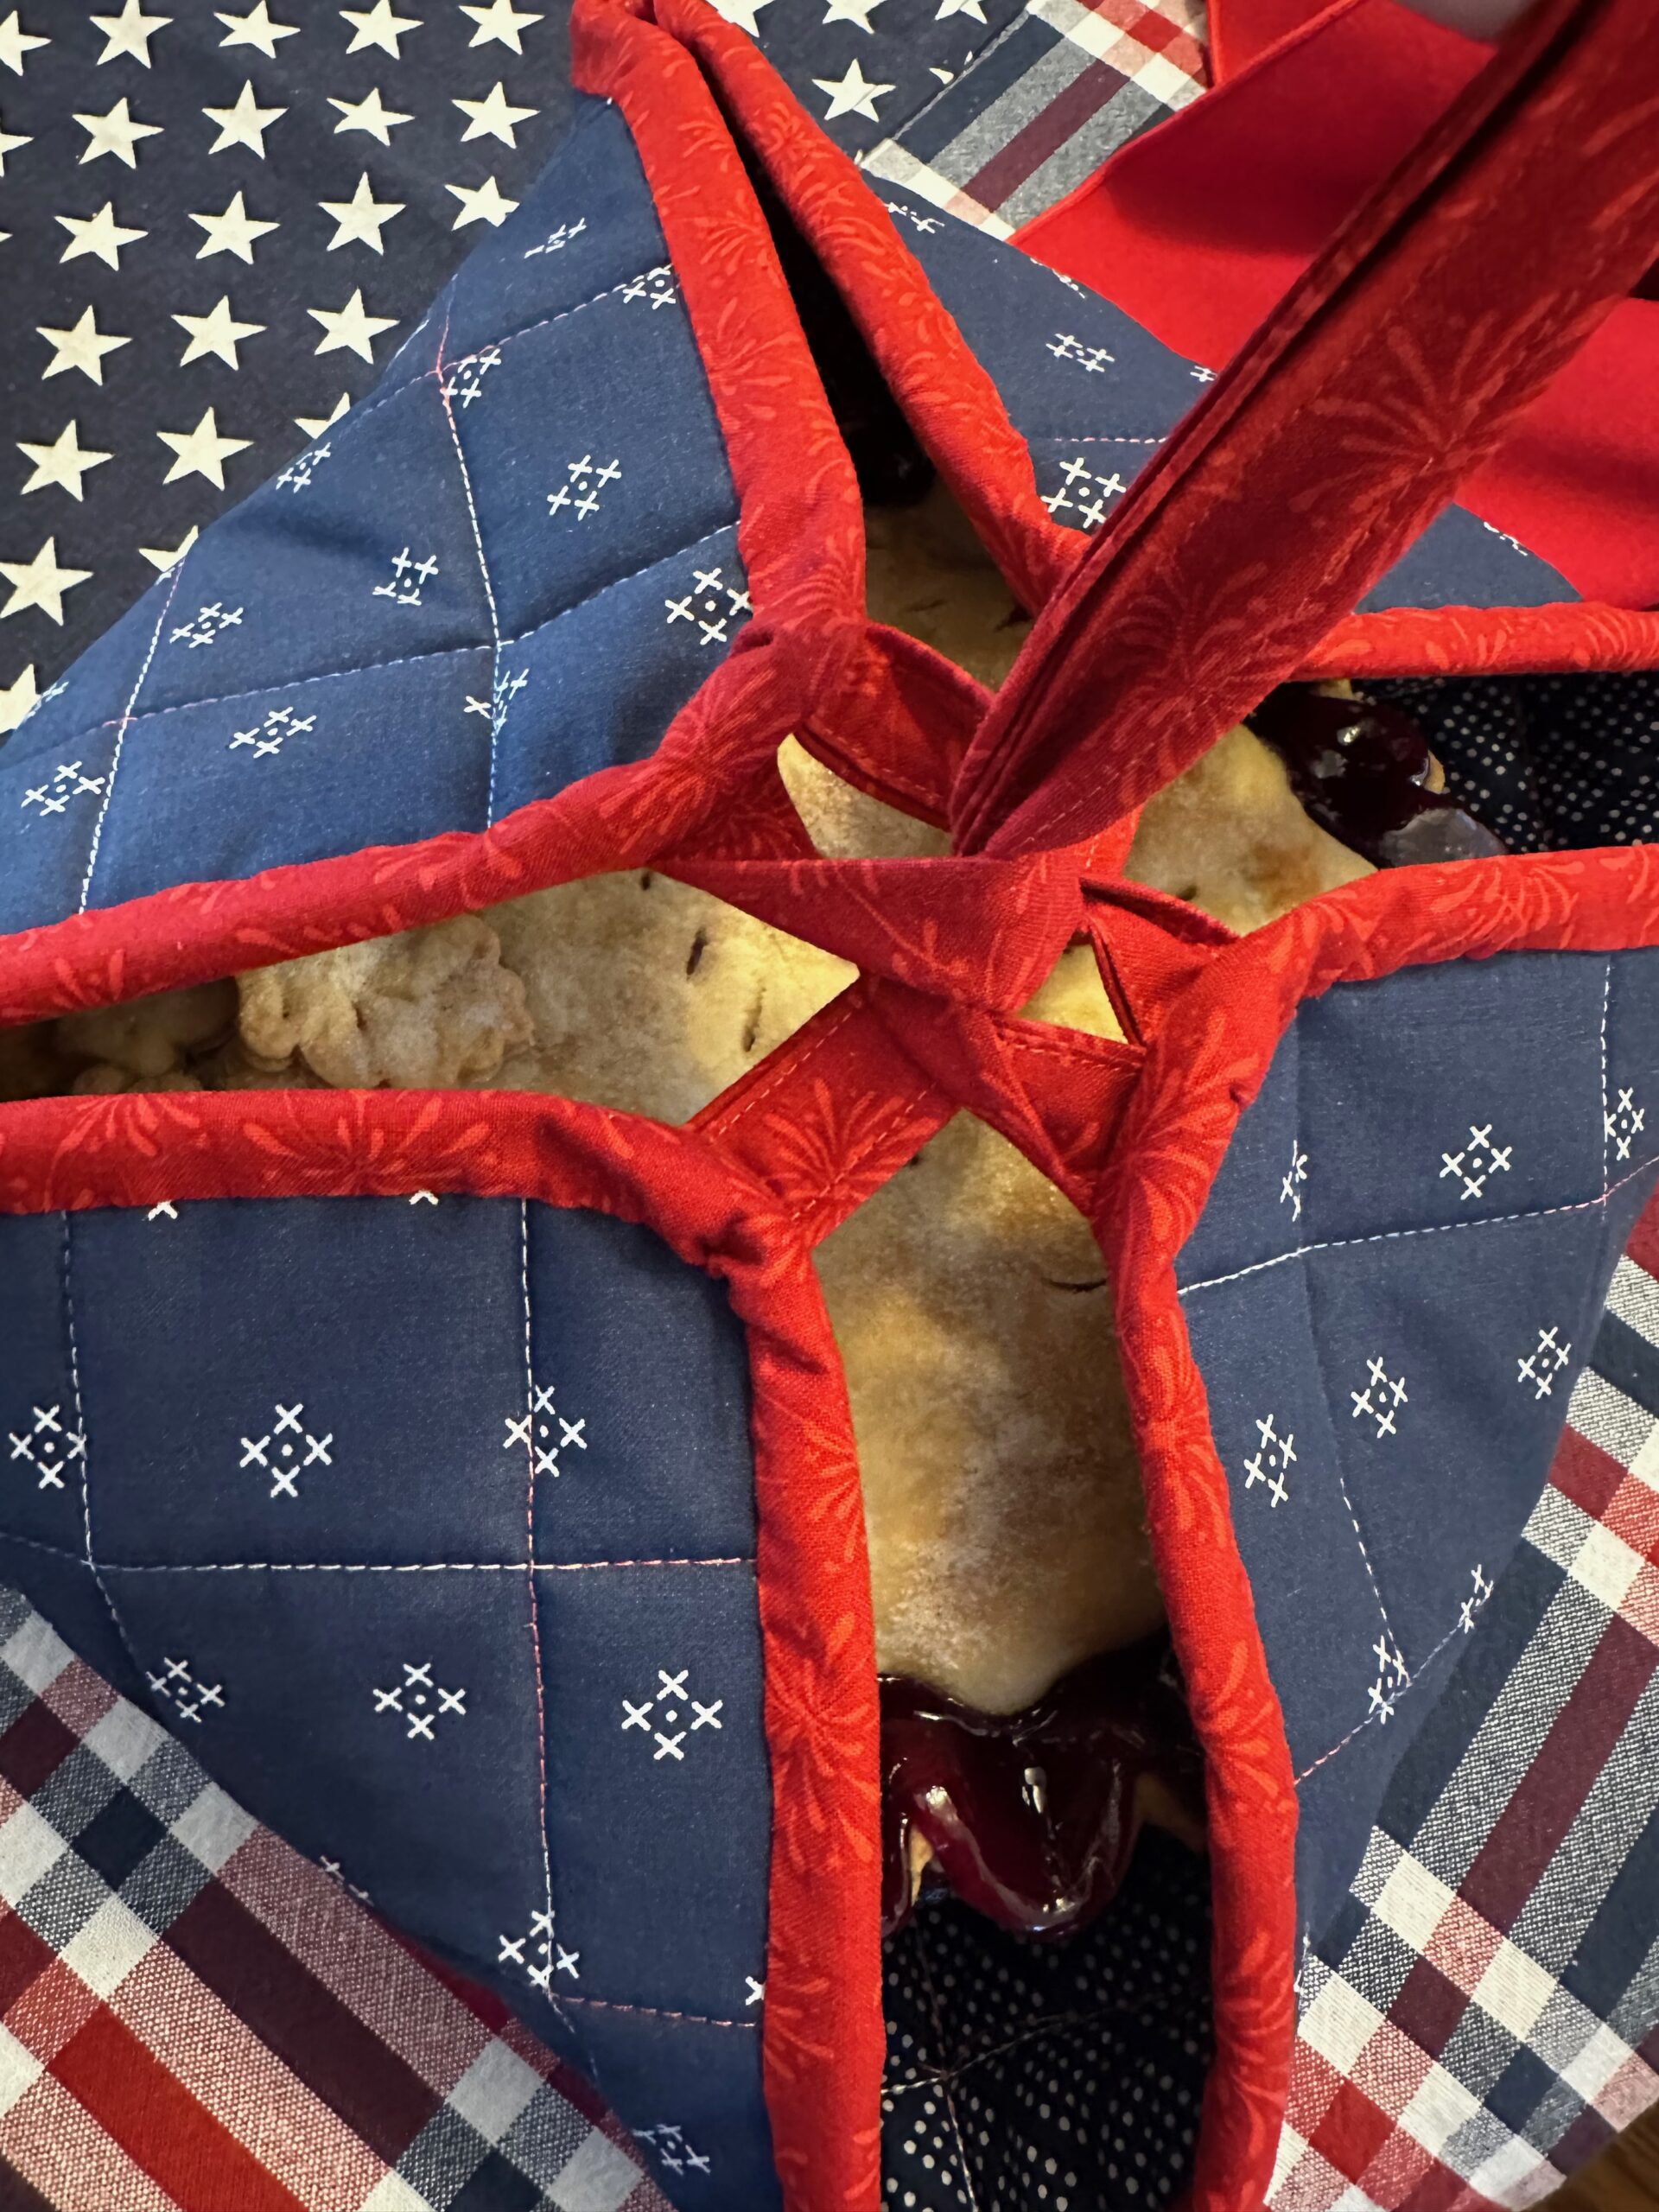
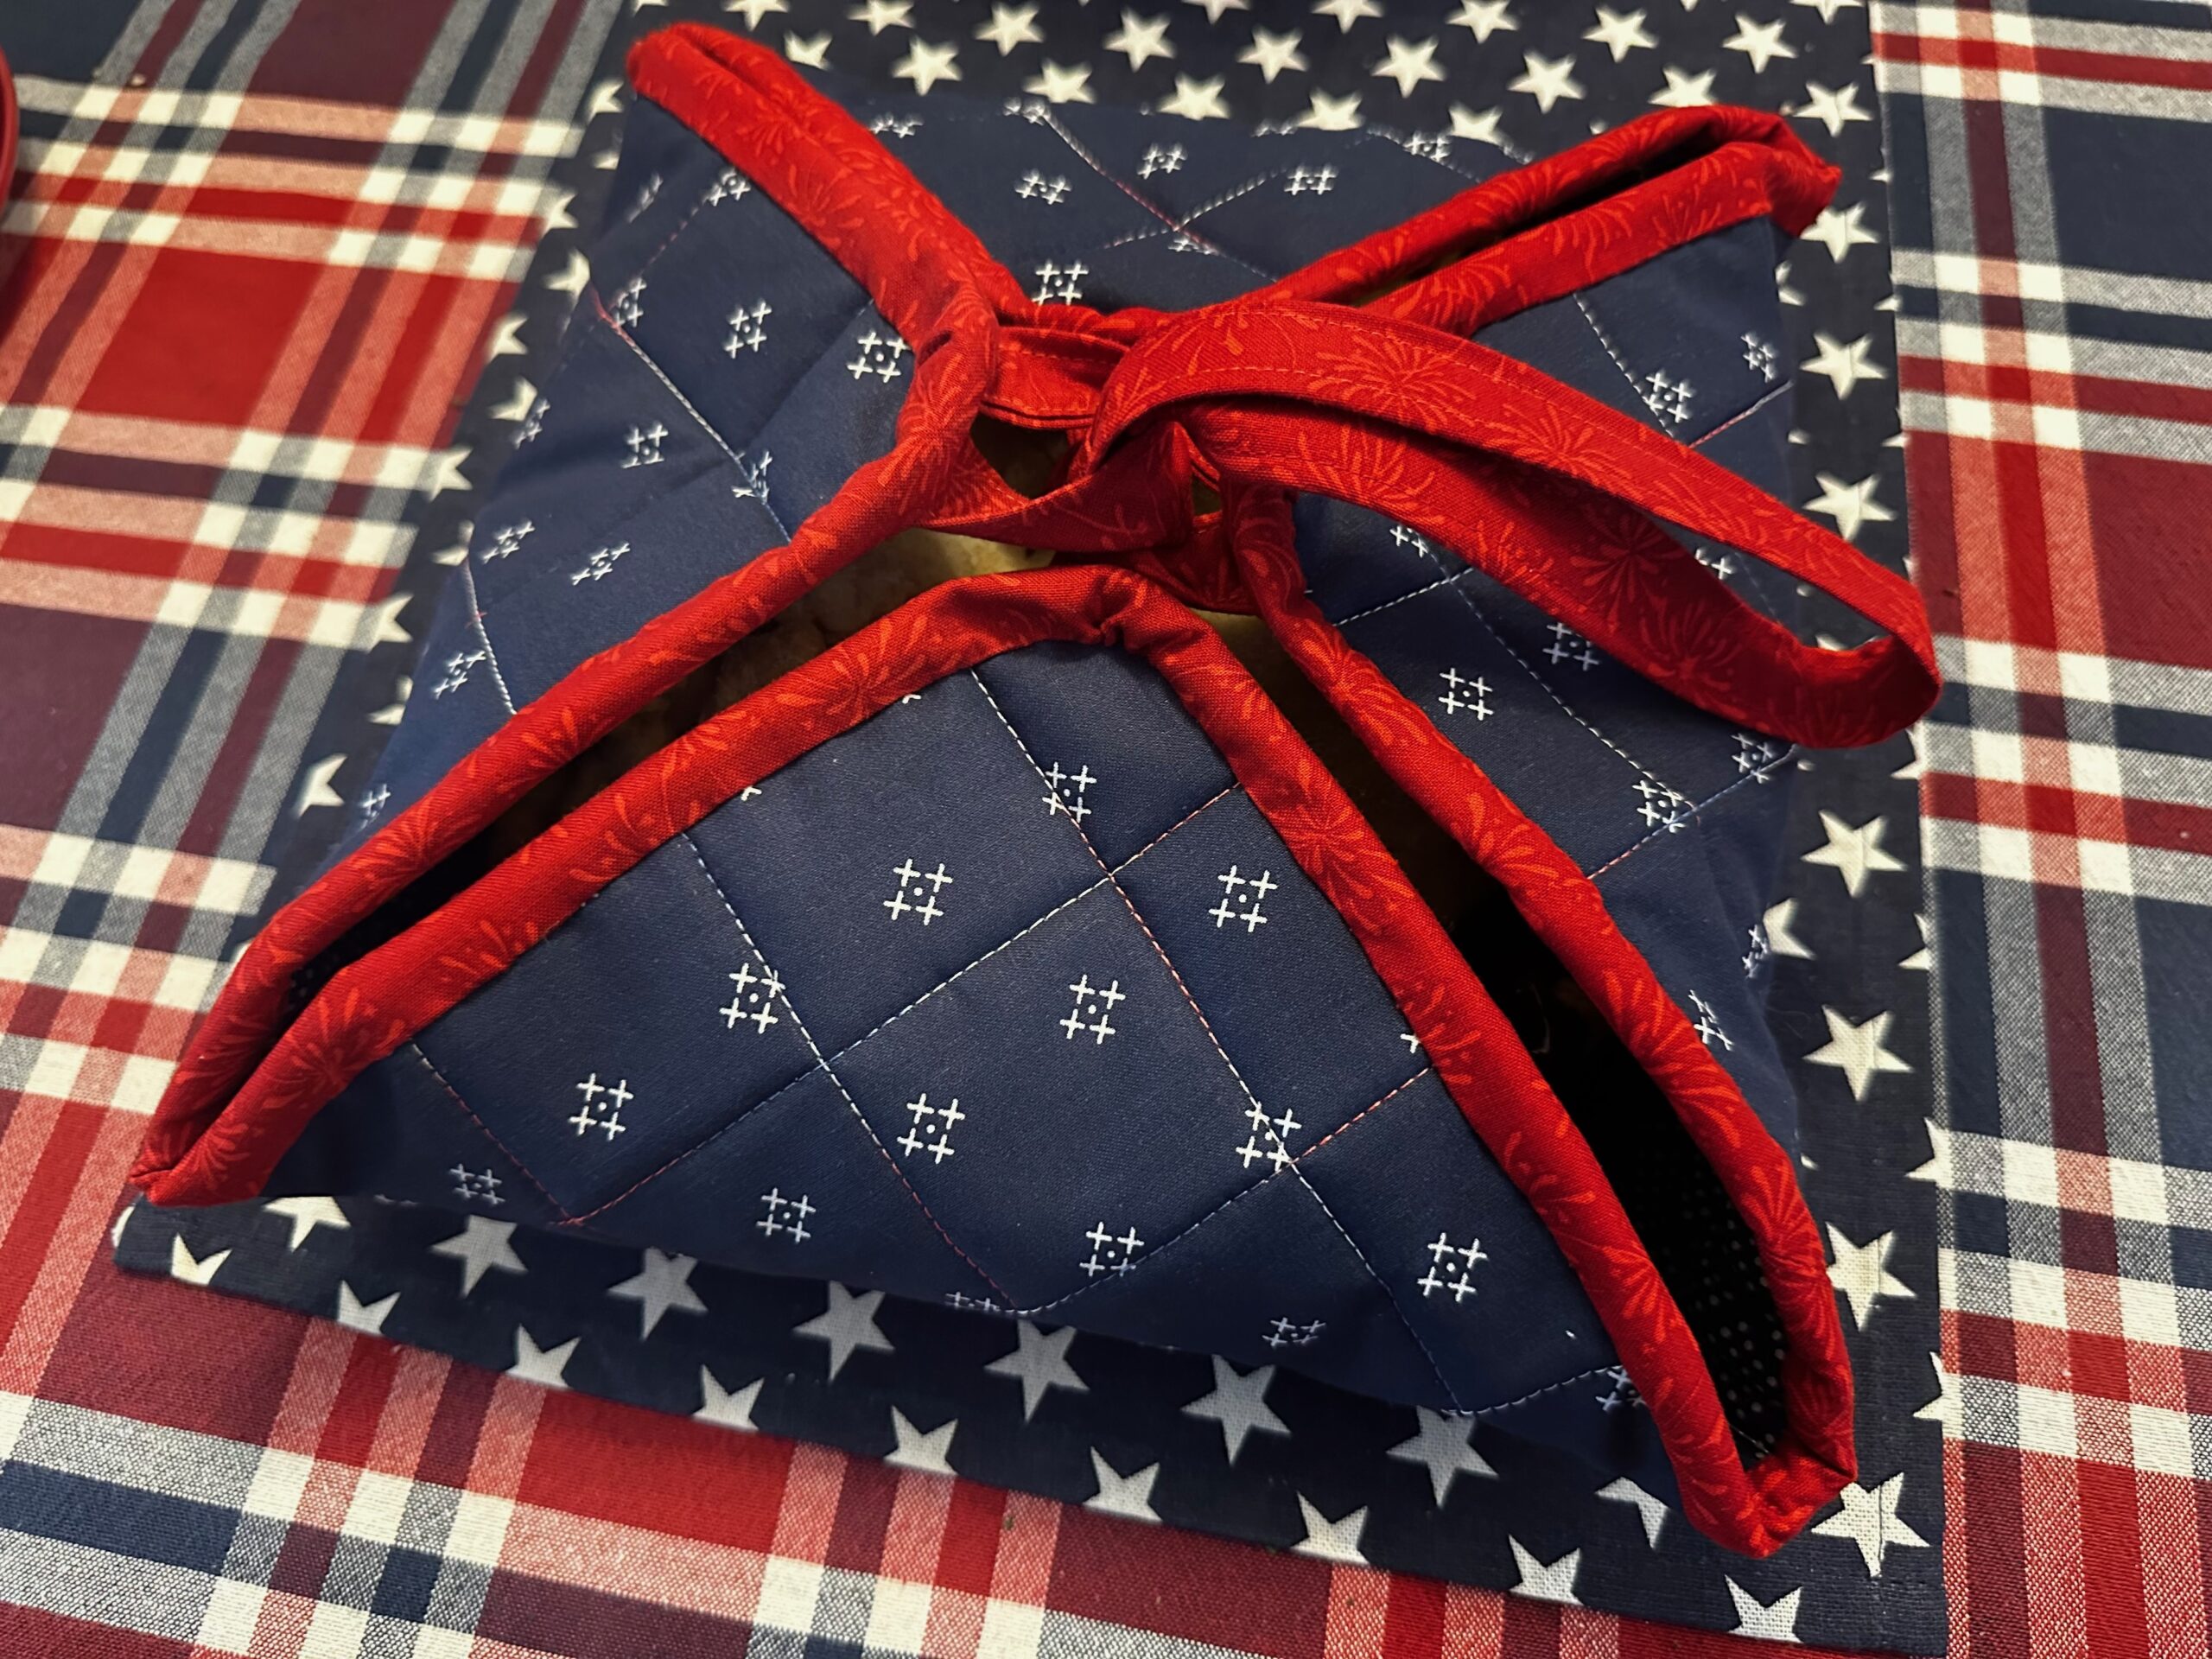
 HOW TO USE THE CASSEROLE/PIE CARRIER

Insert the recipe card for the dish into the pocket.
Place the dish (6”- to 10”-diameter) in the center of the Casserole/Pie Carrier.
Lift the handle in the center so both handle-end corners raise up over the dish.
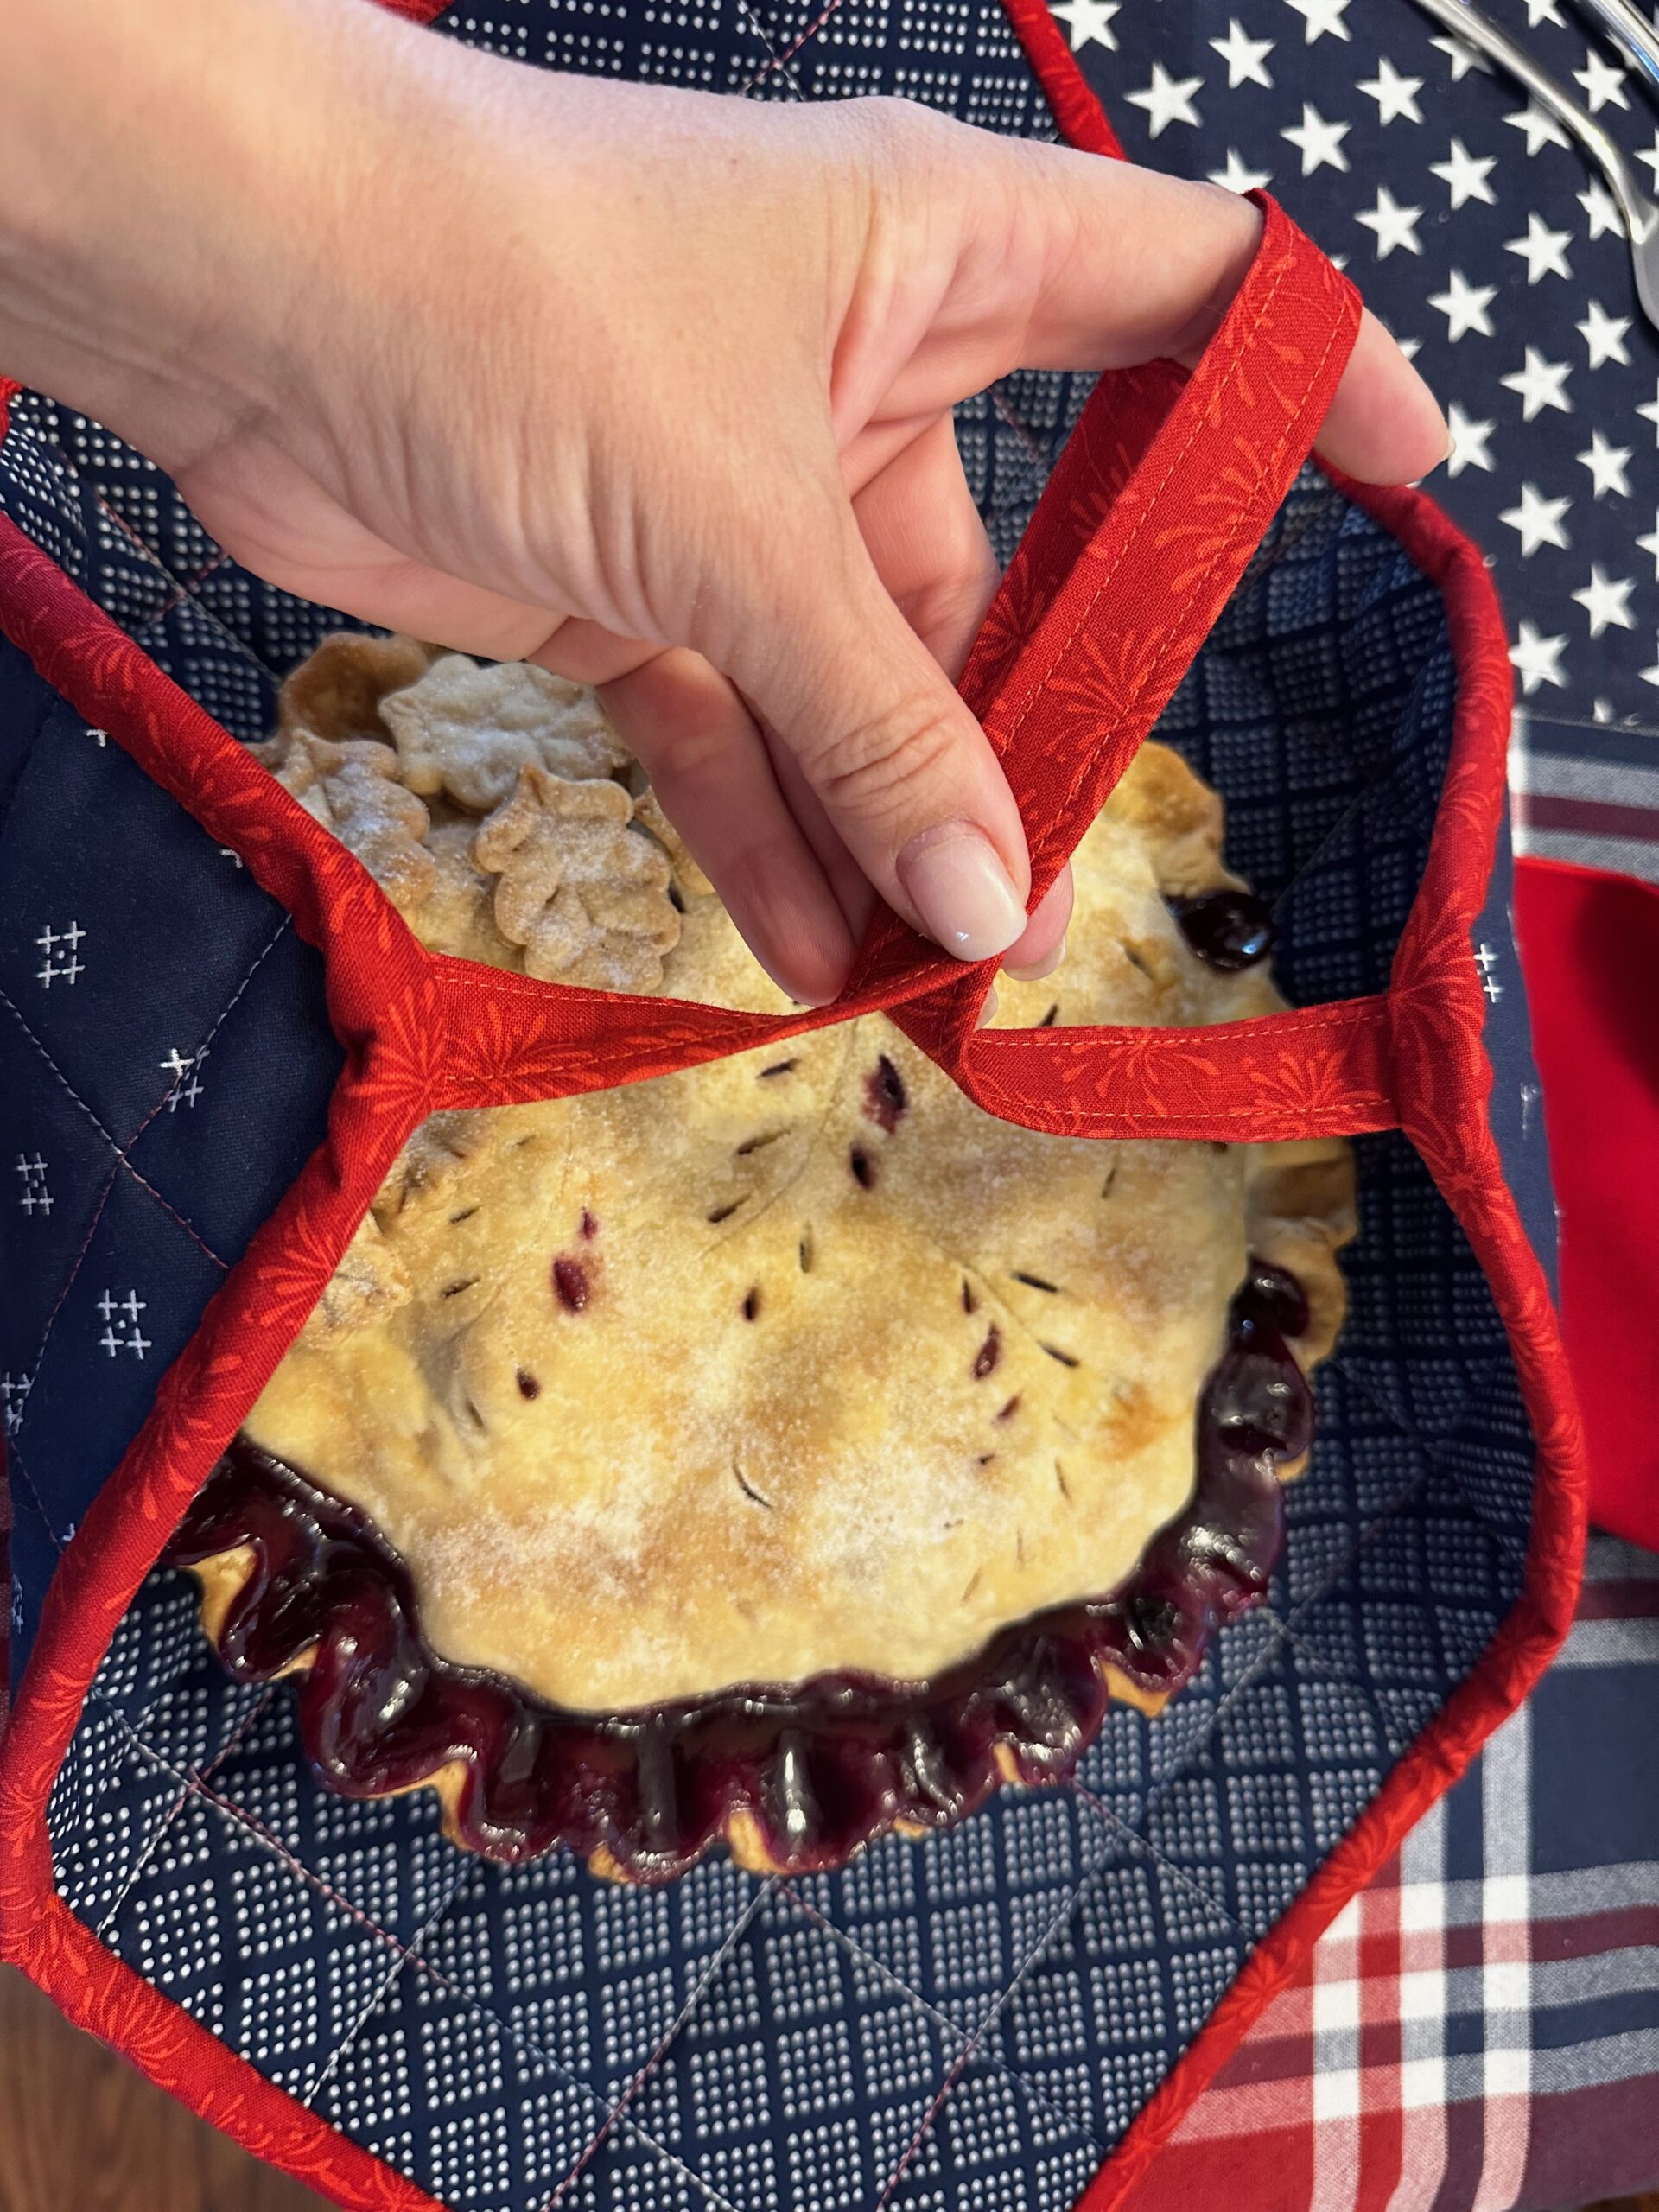
Bring one loop corner to meet the handle center, and then insert the handle into the loop.
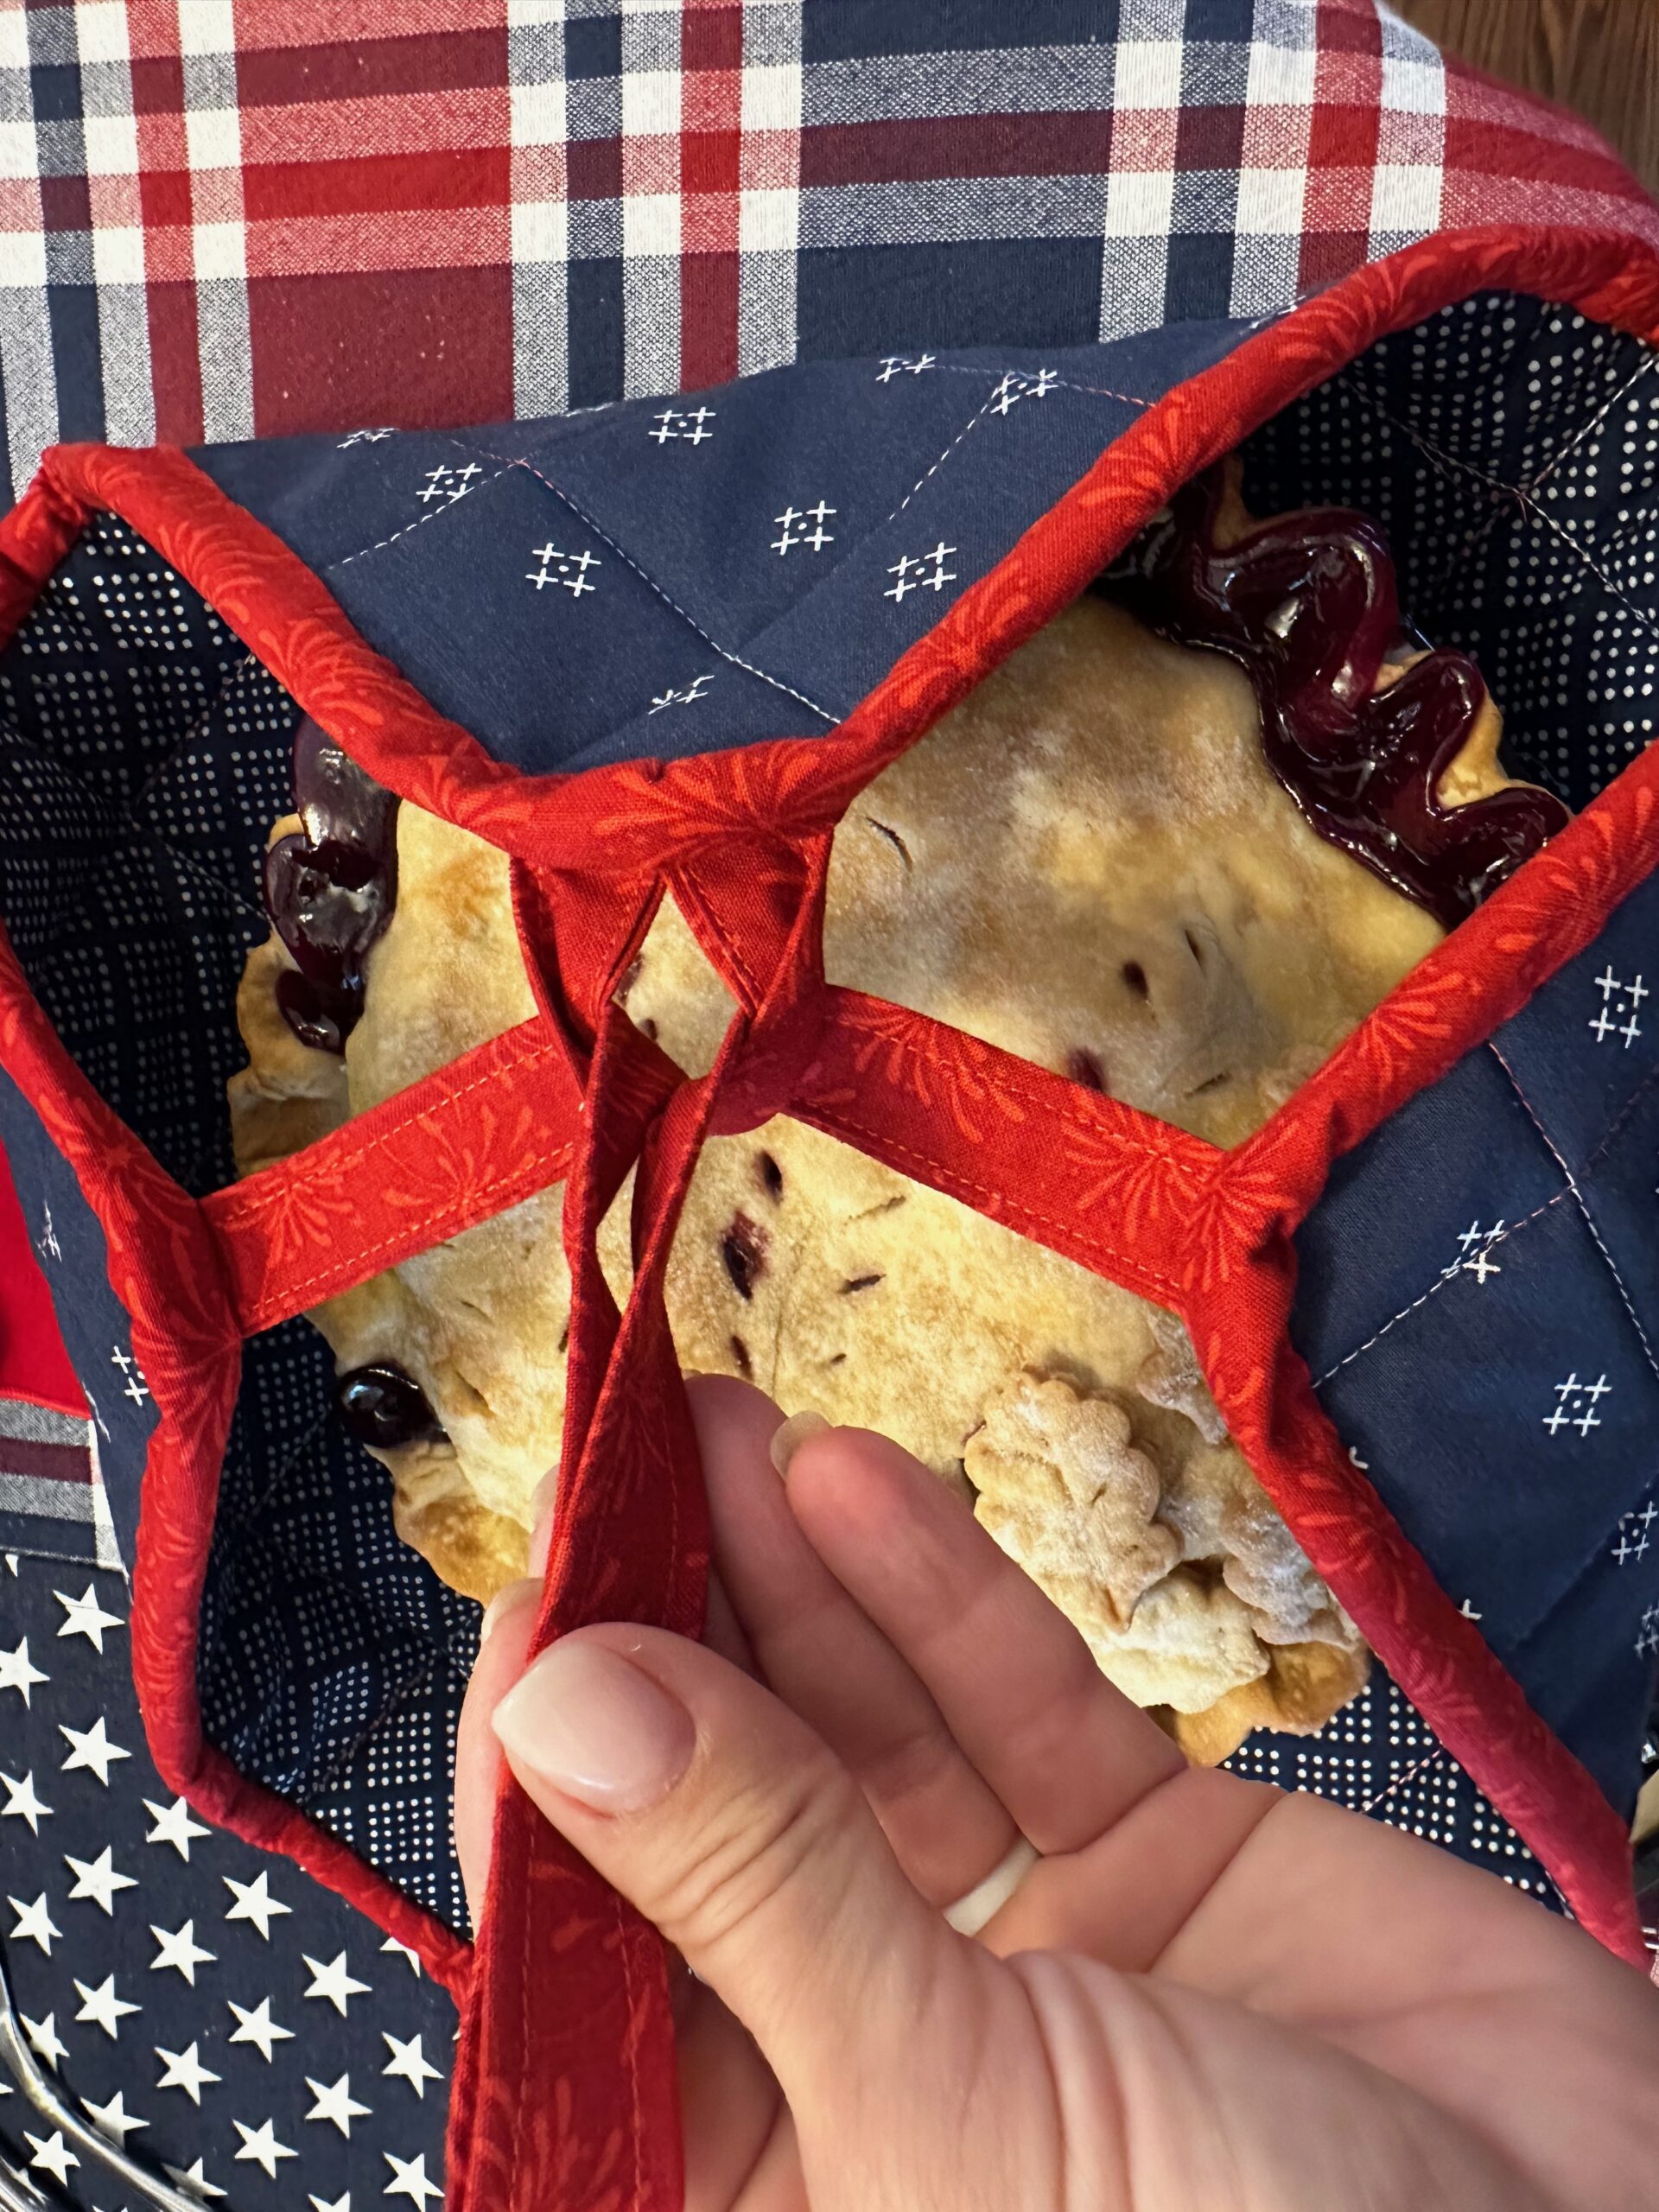
Repeat to bring the remaining loop corner to meet the handle center, and then insert the handle into that loop.

Pull the handle to tighten the corners around the dish. Carry the Carrier by the handle to transport the dish and gift it, if desired.