
Spooky and Sweet
Halloween Embroidery
Halloween is even more fun when there are little ghosts and goblins around, and dressing them for the season doesn’t always have to mean making an elaborate costume from scratch. With Spooky by Little Hooligans Stick ’n Stitch™ Hand Embroidery Transfers + Thread, you can turn everyday kids’ clothing, accessories and baby basics into one-of-a-kind Halloween makes with just a few hand stitches.
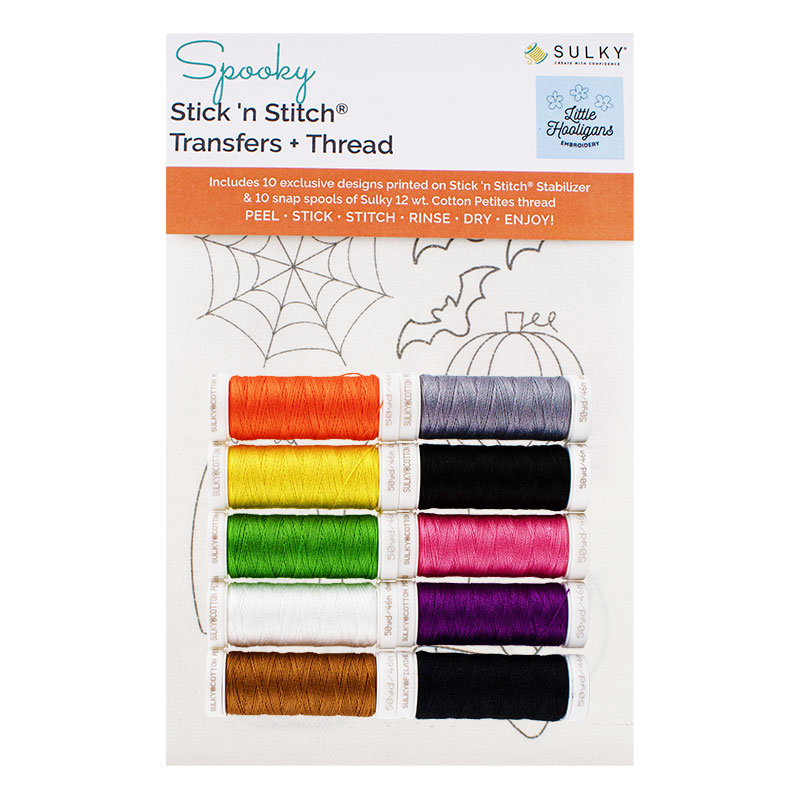
The Spooky (and Sweet) collection features playful Halloween artwork from Little Hooligans already printed on Sulky Stick ’n Stitch®, plus 10 coordinating spools of Sulky 12 wt. Cotton Petites® Thread. Simply choose a design, stick it to your project and start stitching. Best of all, these projects are small enough to finish quickly. It’s perfect for adding a handmade touch to Halloween without adding another major project to your fall sewing list.
START WITH THE BASICS
One of the easiest ways to use the Spooky designs is to start with something you already have. Or start with something inexpensive you can pick up almost anywhere.
Think:
- Baby bodysuits
- Toddler and kids’ T-shirts
- Sweatshirts and hoodies
- Denim jackets
- Bibs
- Beanies
- Canvas shoes
- Trick-or-treat totes
- Backpacks
- Hooded Towels
Look for relatively smooth fabric areas that are easy to access from both the front and back. Then let the Little Hooligans artwork do the rest!
BABY’S FIRST HALLOWEEN
Is there anything cuter than baby’s first Halloween?
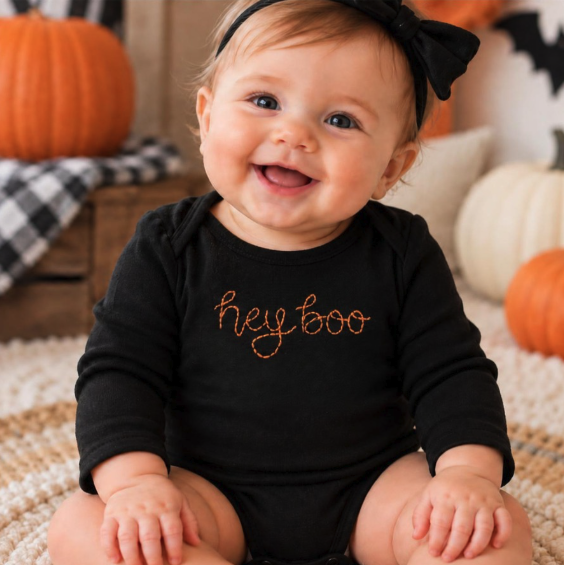
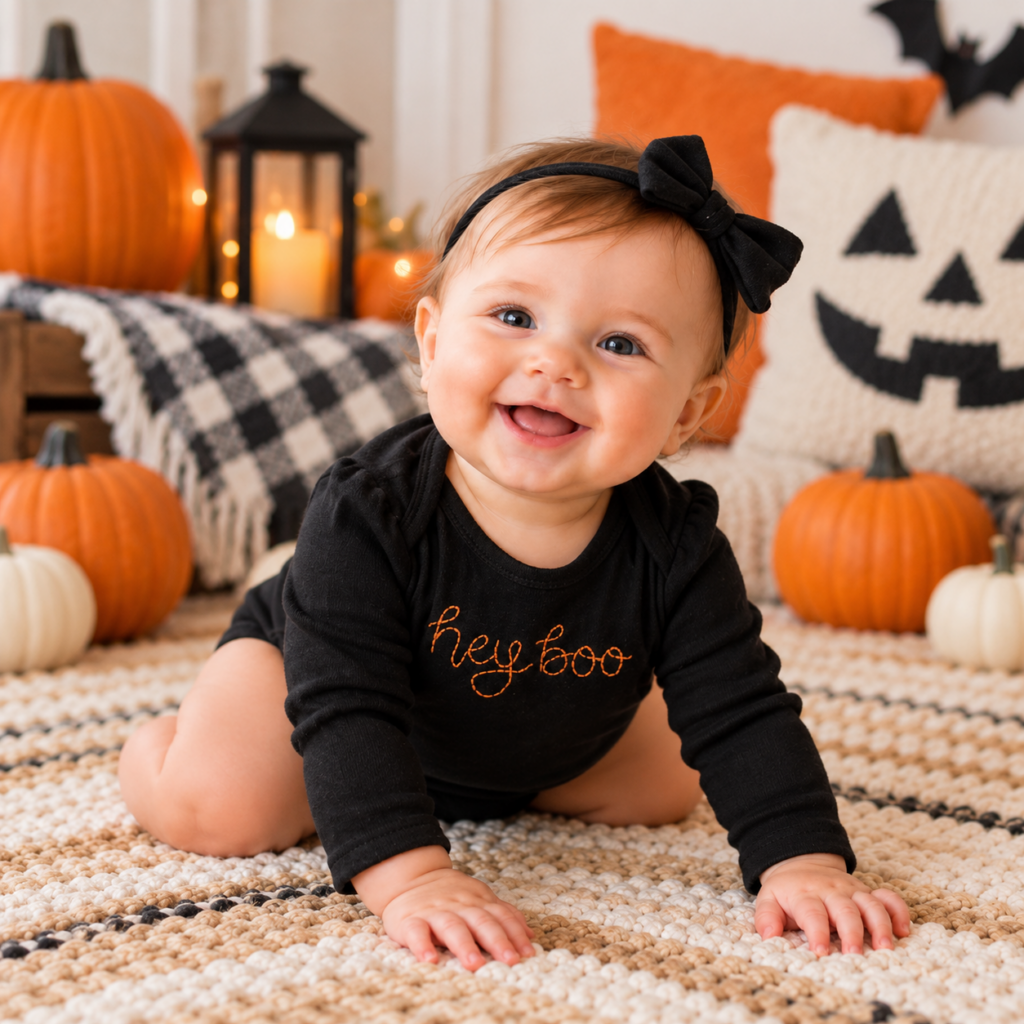
Start with a basic bodysuit, romper or bib and add one of the smaller Spooky motifs to create a keepsake-worthy outfit.
Position a design over the chest, near the hip or on a bib for a little pop of Halloween personality. You don’t necessarily need to stitch every detail, either. Pick out your favorite elements of a design or simplify the stitching for an even faster project.
Once the embroidery is finished and the Stick ’n Stitch is rinsed away, consider covering the wrong side of the embroidery with Sulky Tender Touch™. This lightweight fusible backing helps cover the stitches on the fabric wrong side so they aren’t directly against baby’s sensitive skin.
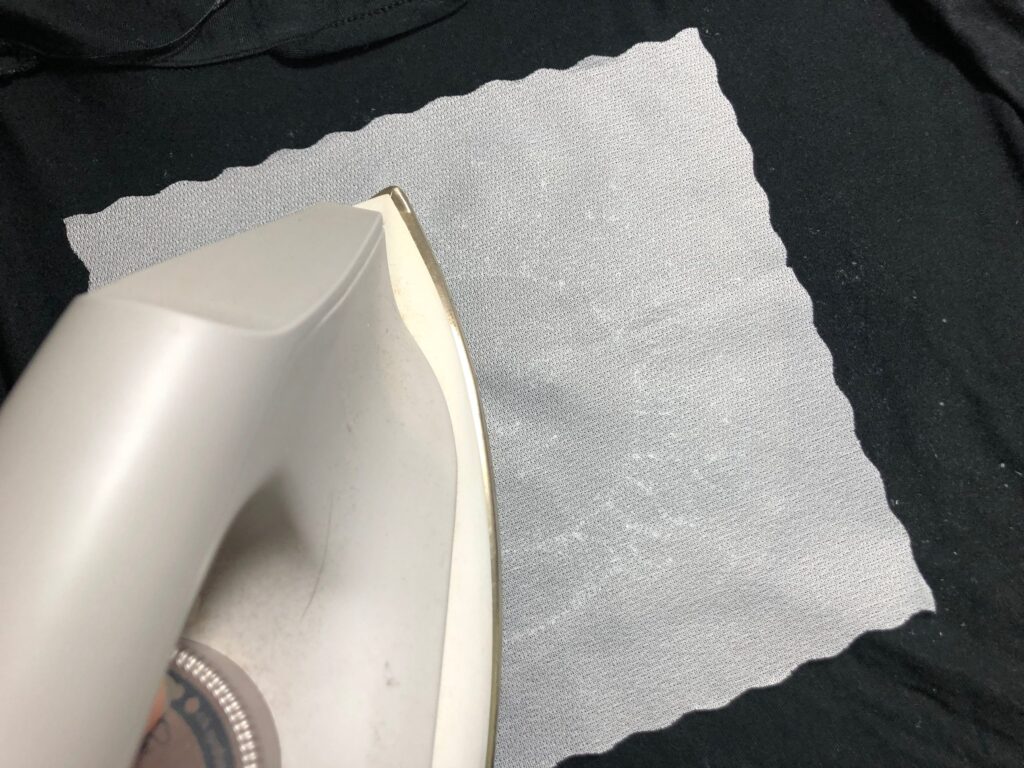
It’s a small finishing step that can make a big difference when you’re embroidering clothing for little ones.
SAFETY NOTE: For baby and toddler projects, skip beads, buttons and other small dimensional embellishments that could become choking hazards. Let colorful thread provide all the embellishment you need.
SPOOKY SWEATSHIRTS
A basic sweatshirt is practically a blank canvas for Halloween stitching.
Place one larger motif front and center, or create a scattered arrangement of smaller Spooky designs across the chest. You could also stitch a tiny motif near the cuff, add a surprise design at the hem or embroider something on the pocket of a hoodie.
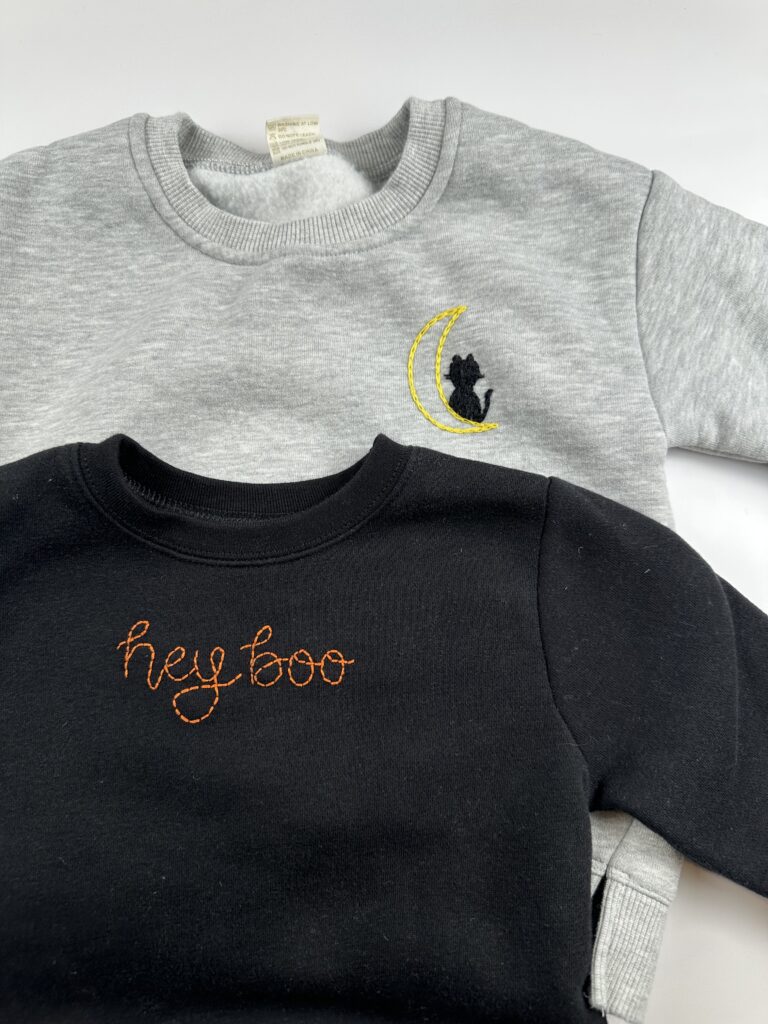
And here’s where you can have fun with color. The Spooky set includes 10 colors of Sulky 12 wt. Cotton Petites, selected to coordinate with the Halloween designs. But there’s no rule saying a ghost has to be white or a pumpkin has to be orange. Let your little one choose the colors and suddenly the project becomes theirs, too.
GIVE DENIM A HALLOWEEN MAKEOVER
Have a denim jacket, pair of jeans or overalls your child already loves? Make them Halloween-ready!
Denim is a great canvas for colorful hand embroidery because the stitches really stand out against the fabric. Try a small motif on a front jacket pocket or scatter several designs across the back yoke. Add a tiny spooky surprise to the pocket of a pair of jeans, or stitch several motifs down one leg. For overalls, embroider the bib or pockets.
The result feels festive without looking like a costume, which means kids can wear their spooky stitches throughout the entire fall season.
MAKE THE CUTEST TRICK-OR-TREAT BAG
A simple canvas tote becomes a custom trick-or-treat bag with a little hand embroidery. This is also a great project for beginning stitchers because you aren’t dealing with garment fit or stretchy fabric.
Choose one Spooky motif as the focal point or combine several designs to create your own Halloween scene. Want to personalize it even more? Add the child’s name using a simple backstitch.
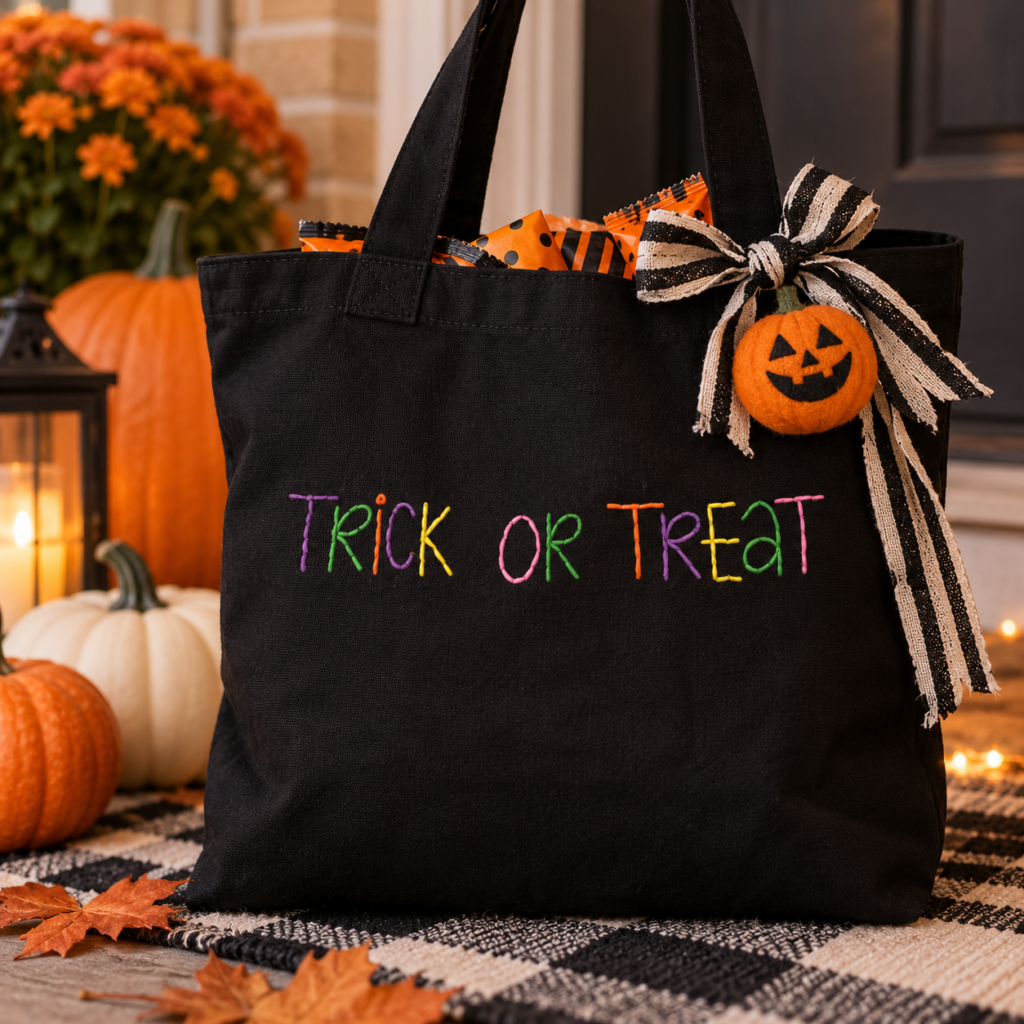
And because the artwork is printed directly onto the Stick ’n Stitch, there’s no need to trace or transfer the designs yourself. Trim around the selected design, remove the paper backing and place the transfer directly onto the fabric.
LITTLE DETAILS, BIG PERSONALITY
Not every project needs to be covered in embroidery. Sometimes one tiny design is all you need.
Add a little spooky motif to the cuff of a beanie.
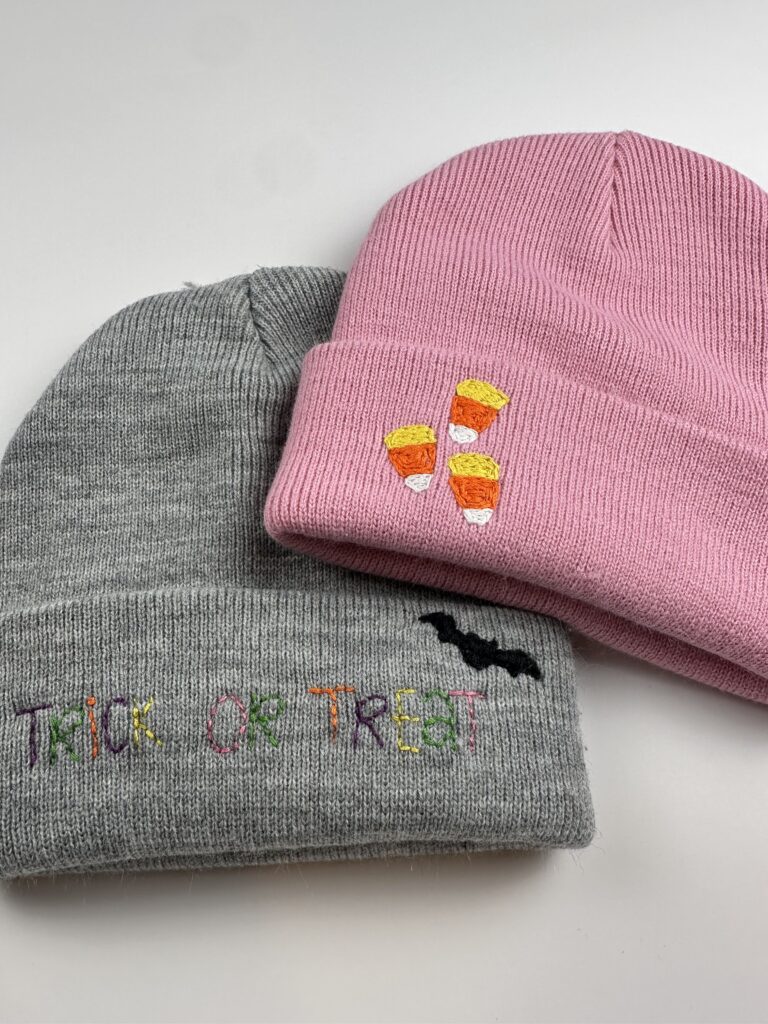
Add a tiny ghost to a backpack pocket or embroider a Halloween surprise onto a pair of canvas shoes.
You could even create matching pieces for siblings without making them identical. Give one child a sweatshirt with their favorite design and another a denim jacket featuring a different motif, using the same thread palette to tie the looks together.
LET KIDS GET IN ON THE STITCHING
These projects don’t have to be just for kids. They can be made with kids, too. For an older child who’s ready to try hand embroidery, choose a simple design and place it on an easy-to-handle piece of cotton fabric.
Stick ’n Stitch takes one of the intimidating parts of learning embroidery, getting the design onto the fabric, completely out of the equation. The design is already there, giving young stitchers a clear path to follow.
And Sulky 12 wt. Cotton Petites are particularly convenient for hand embroidery because there’s no need to separate strands. One strand is approximately equivalent to two strands of traditional embroidery floss, and the thread comes on easy-to-use snap spools rather than skeins. Let kids choose their own thread colors and don’t worry about making every stitch perfect. This is Halloween! Things are allowed to get a little wild!
STICK. STITCH. RINSE.
The process couldn’t be much easier.
1. CUT
Choose your Spooky design and trim around the transfer.
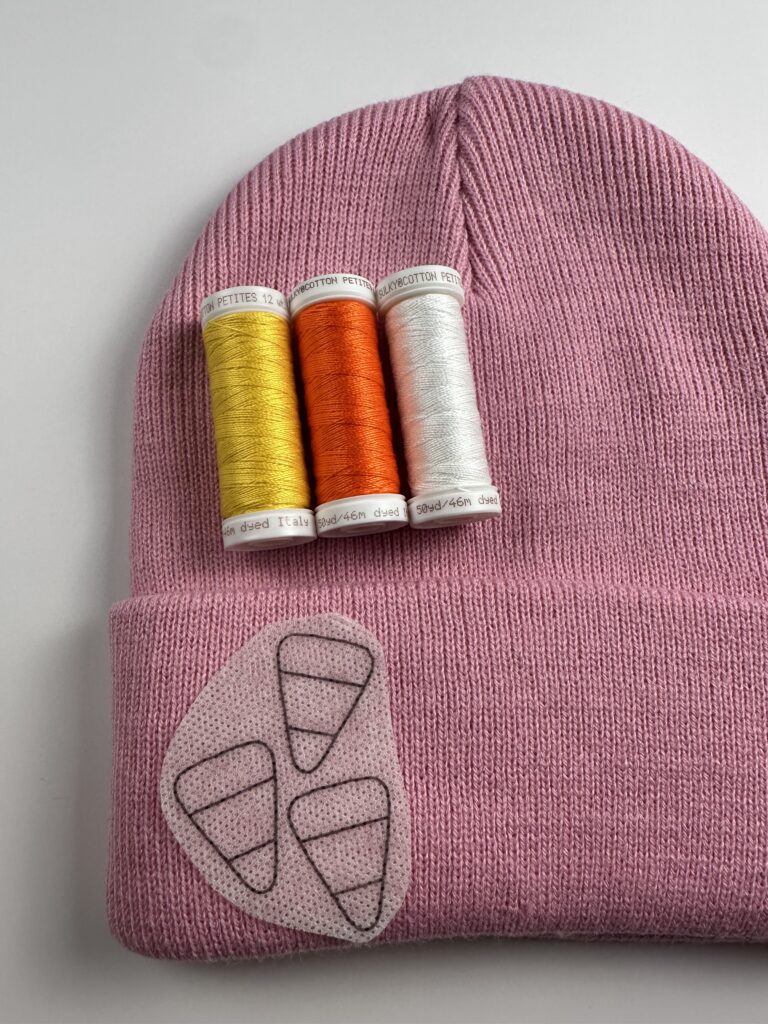
2. PEEL
Remove the paper backing to expose the adhesive.
3. STICK
Position the design on the fabric and smooth it securely into place.
4. STITCH
Stitch directly through the Stick ’n Stitch and fabric, following the printed lines.
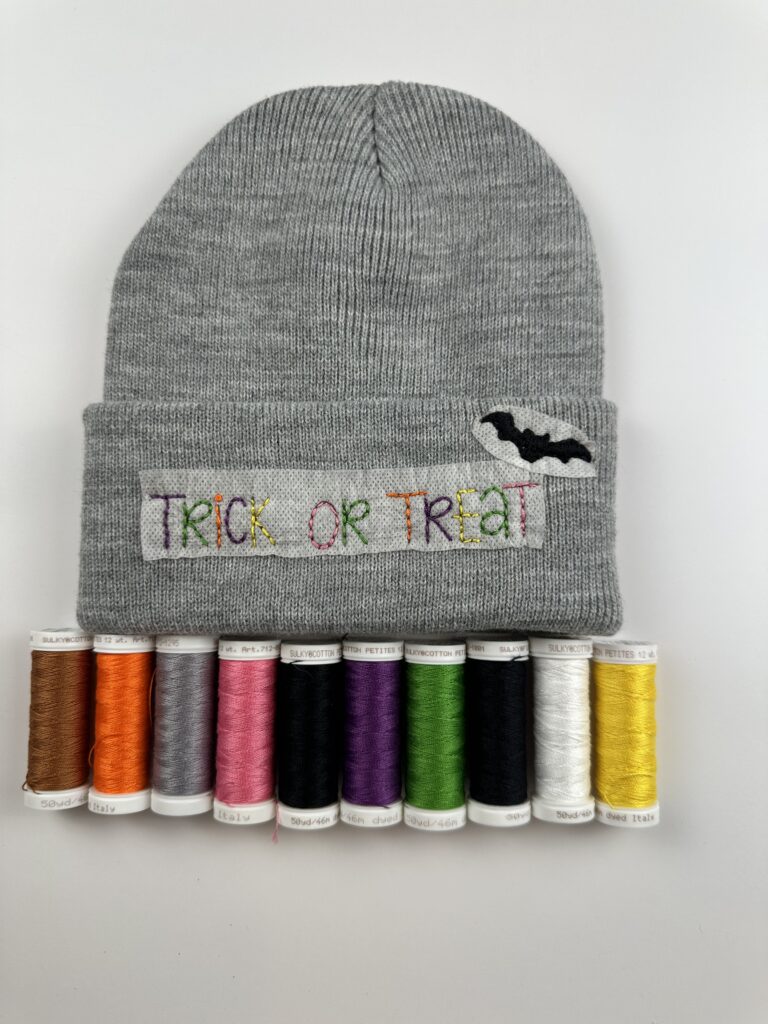
5. RINSE
When the embroidery is complete, rinse the project in warm water to dissolve the Stick ’n Stitch. Let the project dry and your embroidery is ready to show off!
MAKE HALLOWEEN HANDMADE
One of the best things about Halloween sewing is that it doesn’t have to be complicated. A tiny ghost stitched onto a sweatshirt cuff, a spooky design peeking out from a pair of overalls or a hand-embroidered trick-or-treat bag can turn something ordinary into something they’ll remember.
And because the Spooky by Little Hooligans Stick ’n Stitch Hand Embroidery Transfers + Thread set gives you the designs and a coordinated palette of 10 Sulky 12 wt. Cotton Petites Threads, you can spend less time gathering supplies and more time stitching.
Make one project for Halloween night, stitch up a whole spooky wardrobe or get the kids involved and turn it into a family stitching session. Because when Halloween is this cute, it’s worth adding a few handmade stitches.
SHOP SPOOKY BY LITTLE HOOLIGANS STICK ’N STITCH HAND EMBROIDERY TRANSFERS + THREAD>
