
How to Create Special Thread Effects with Holoshimmer & Sliver Metallics
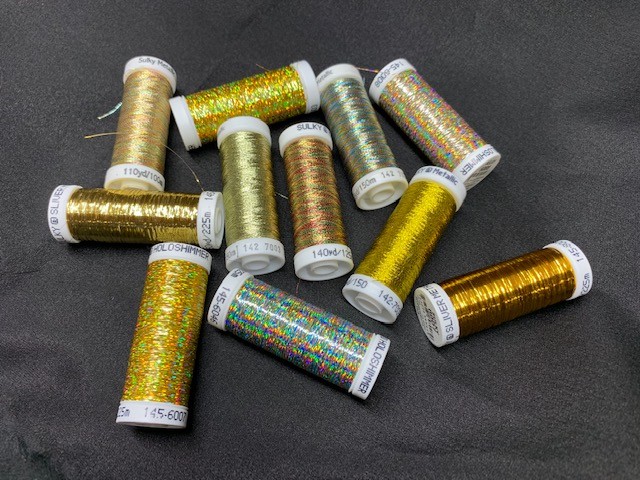
September is National Sewing Month, and what better way to celebrate than by getting a little more playful with our thread? This month, we’re introducing Thread Effects, a new series dedicated to exploring the creative possibilities of some of our favorite Sulky specialty threads. These threads aren’t just there to hold your stitches together. They can completely change the look, feel and personality of your project.
Throughout September, we’ll experiment with a different thread effect in each installment, showing you what these threads can do, how to get the best results from your sewing machine, and where they can take your creativity.
We’ll be exploring:
- Holoshimmer™ & Sliver™ Metallics — brilliant metallic effects with eye-catching shine
- Poly Sparkle™ — colorful sparkle with the strength and versatility of polyester
- Filaine™ — a soft, wool-like thread perfect for adding dimension and texture
- Glowy™ — a thread that adds an unexpected glow to your projects
- Blendables® — beautifully blended color that creates subtle variation as you stitch
- Neon — vibrant, electric color that refuses to blend into the background
And we’re kicking things off with one of the easiest ways to add instant glamour to your sewing room: metallic thread.
Thread Effects: Holoshimmer & Sliver Metallics
There’s something irresistible about metallic thread. A simple line of stitching suddenly catches the light. An embroidered motif looks more dimensional. Quilting takes on a subtle shimmer. Even a basic topstitched seam becomes a design element.
Sulky Holoshimmer and Sliver Metallics make it easy to add that special something to your projects. But metallic threads do have their own personalities. The key to success is understanding how they behave and making a few simple adjustments to your machine setup.
The good news? Once you know a few tricks, metallic thread can be surprisingly easy to sew.
Holoshimmer vs. Sliver: What’s the Difference?
Both Holoshimmer and Sliver are metallic-effect threads designed to give your stitching a beautiful reflective finish, but each creates a slightly different look.
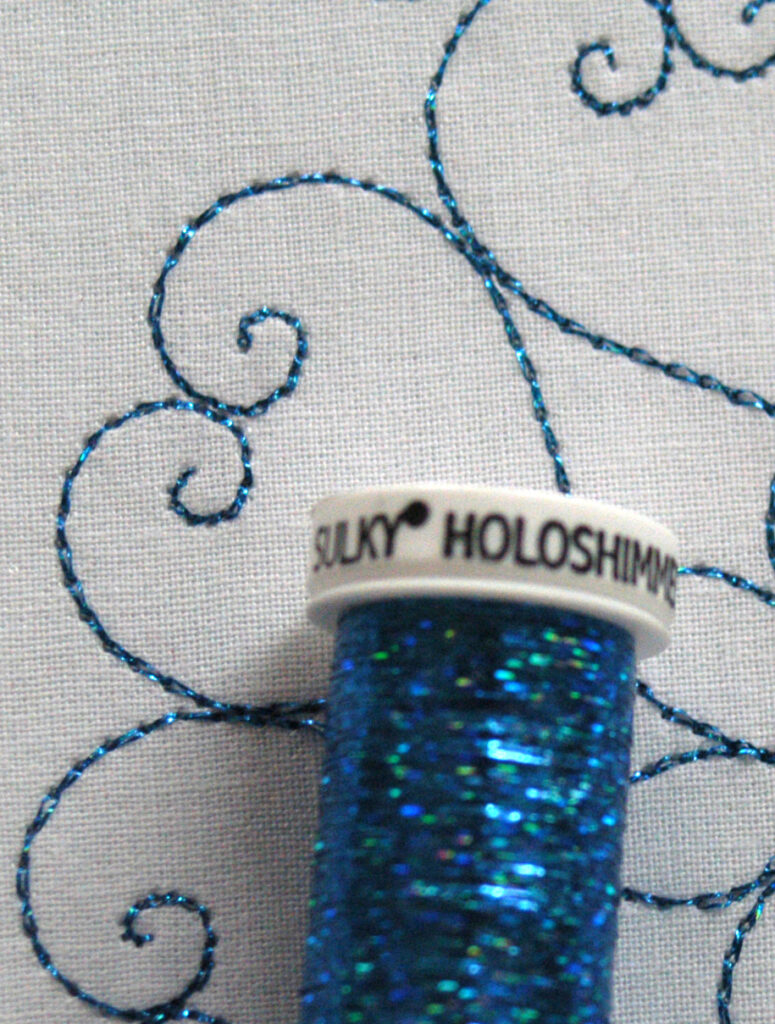
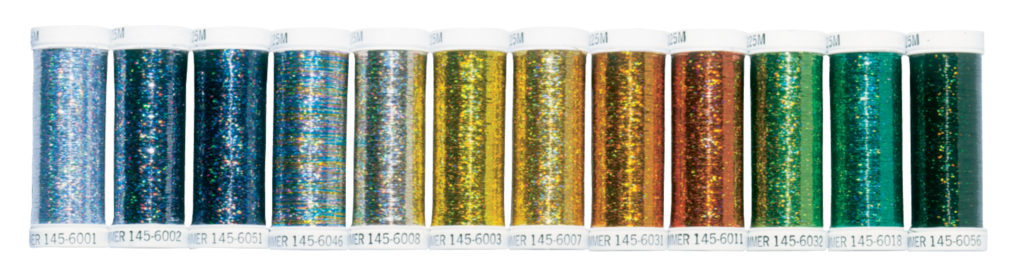
Holoshimmer has an iridescent, holographic appearance that reflects light with flashes of color. It’s especially striking on embroidery designs, decorative stitching and quilting where you want the thread to really catch the eye.
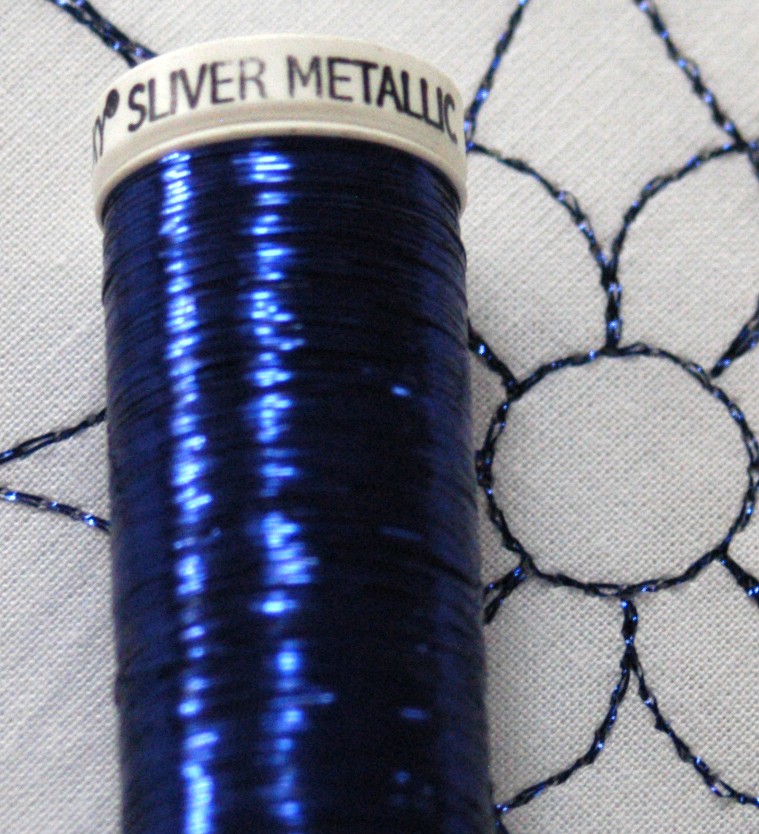
Sliver Metallic creates a classic metallic effect with a smooth, reflective appearance. It’s an excellent choice when you want the look of precious metal without overwhelming the design. Think silver, gold, copper and other rich metallic shades.
Both are fantastic for adding highlights, outlining shapes, embellishing quilted motifs or simply making an everyday project feel a little more special.
But before you start stitching, let’s talk about your machine.
Setting Up Your Machine
Metallic thread often gets a reputation for being difficult, but many problems come down to one simple issue: the thread is being asked to move through the machine too quickly or under too much tension.
A few adjustments can make a dramatic difference.
Start with a Fresh Needle
One of the easiest ways to improve your results is to start with a new needle.
A slightly worn, damaged or dull needle can cause metallic thread to fray, shred or break. For general sewing and decorative stitching, a 90/14 needle is a good place to start. Depending on your machine, project and thread combination, you may also find success with a metallic, embroidery or topstitch needle.
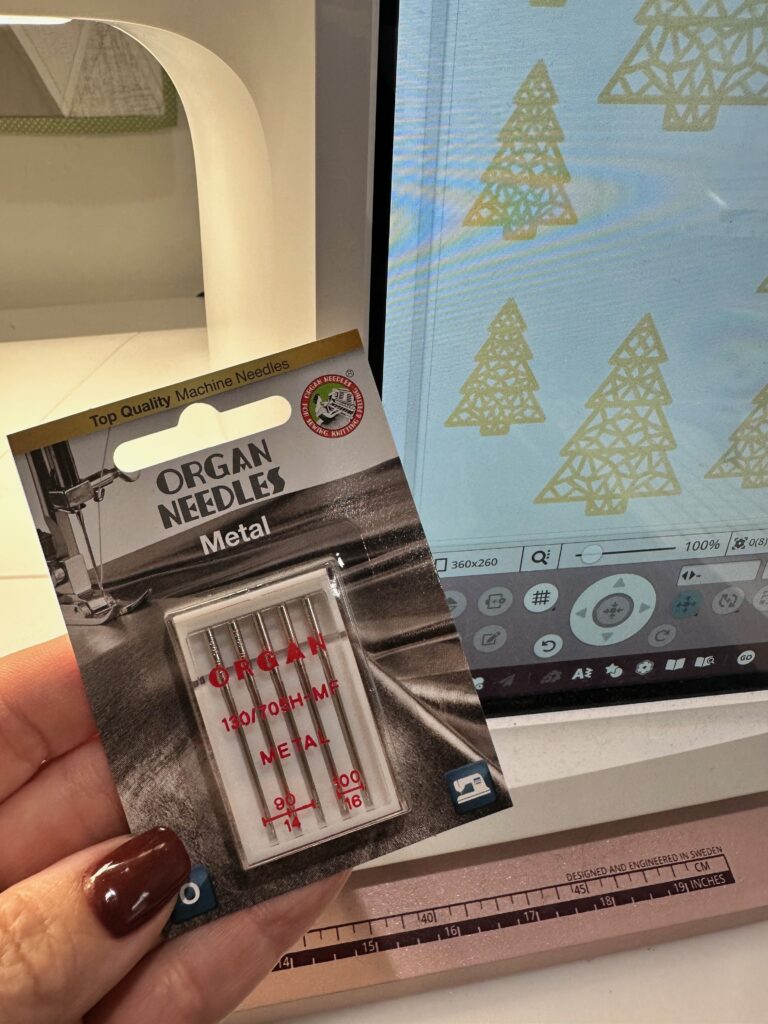
The important thing is that the needle has an eye large enough to accommodate the thread without creating unnecessary friction.
If your metallic thread is shredding, don’t immediately assume the thread is the problem. Change the needle first.
Slow Things Down
Metallic thread loves a slower pace.
If you’re machine embroidering, consider reducing your embroidery speed if your machine allows it. For free-motion quilting, slow down your stitching speed and maintain a steady rhythm. When decorative topstitching, use a slower sewing speed than you might with standard sewing thread.
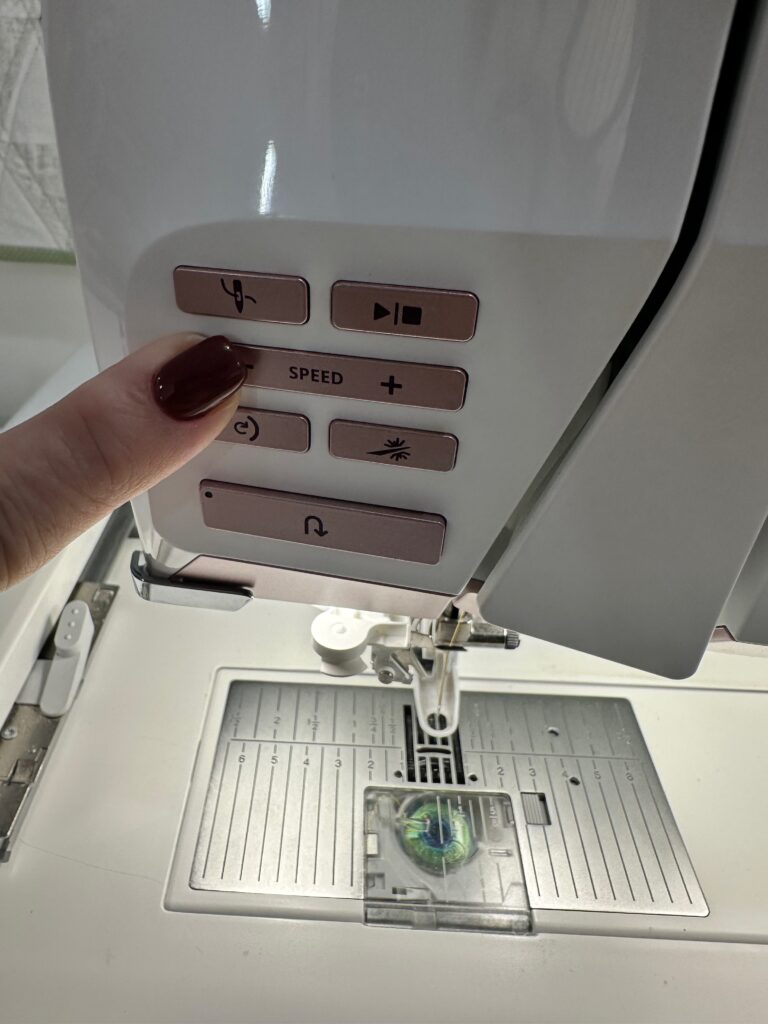
Slowing down gives the thread more time to move smoothly through the thread path, needle and fabric.
It also helps reduce heat and friction, which are two things metallic threads aren’t particularly fond of.
Reduce the Upper Thread Tension
Metallic thread generally performs best with less upper thread tension than you would use with a standard 40 wt. polyester or cotton thread.
If your machine is set to a high tension, the metallic thread can be pulled too tightly through the thread path. This can lead to breakage, shredding, looping or uneven stitching.
Start by lowering the upper thread tension slightly, then test stitch.
Don’t make a dramatic adjustment all at once. Small changes are usually enough.
And remember: every machine is different. Your goal isn’t to find a magic tension number, it’s to find the setting where the thread flows smoothly and the stitches look balanced.
Metallic Thread for Machine Embroidery
Metallic thread and machine embroidery are a match made in heaven.
Whether you’re adding a metallic border, highlighting lettering, stitching stars and snowflakes or embellishing an intricate motif, metallic thread can make an embroidery design look dramatically different.
But embroidery puts a unique set of demands on your thread. The needle moves rapidly, the thread travels through the machine many times, and dense designs can create significant friction.
Here are a few ways to set yourself up for success.
Choose the Right Design
Metallic thread looks especially beautiful in designs that allow the thread to shine.
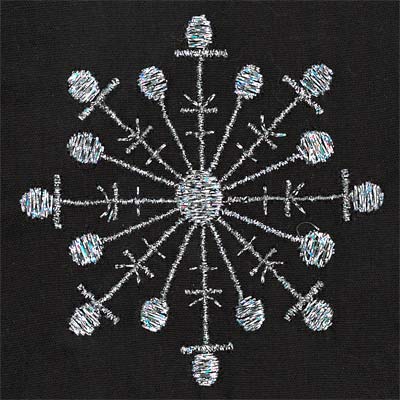
Open, well-spaced designs, outlines, satin stitches and decorative motifs can showcase metallic thread beautifully. Extremely dense designs may create more friction and buildup, so consider using metallic thread strategically rather than stitching an entire dense design with it.
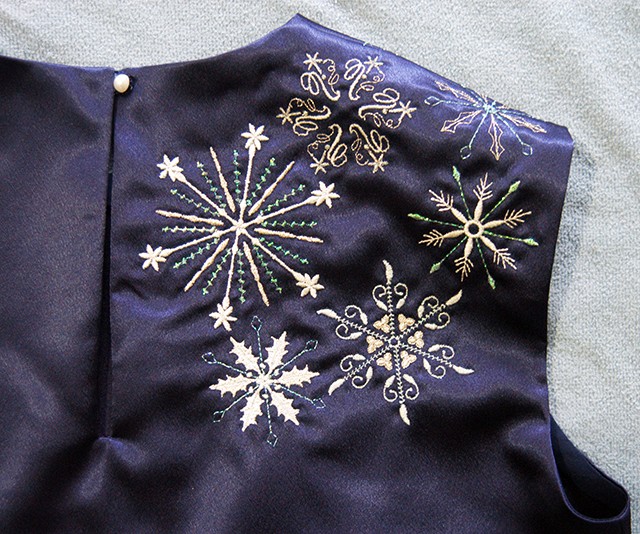
One of our favorite approaches is to use a traditional embroidery thread for the main design and metallic thread for the details and highlights.
A little shimmer can go a long way.
Use a Metallic (or “Metal”) Needle
A needle with a larger eye can help reduce friction on the thread. A metallic or topstitch needle is often a good choice, particularly when using heavier decorative threads.
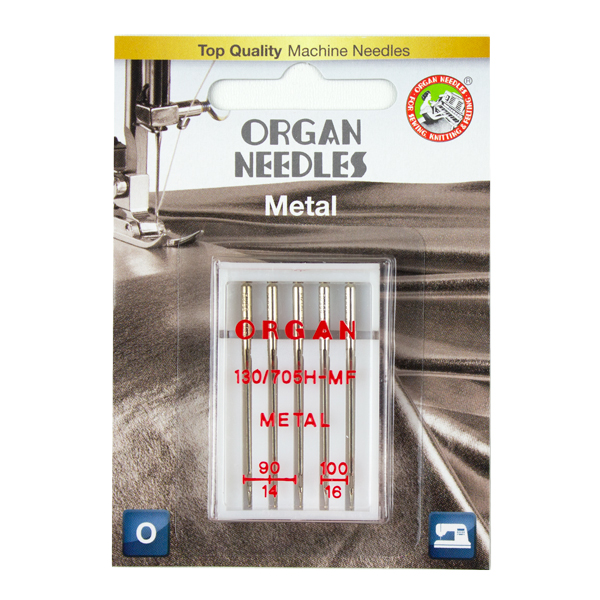
As always, test your combination of needle, thread, stabilizer and design before stitching the final project.
Stabilize Well
Good stabilization is important for any machine embroidery, but it becomes especially important when you’re using a specialty thread.
A properly stabilized project helps prevent puckering and distortion, allowing the metallic stitches to sit beautifully on the surface.
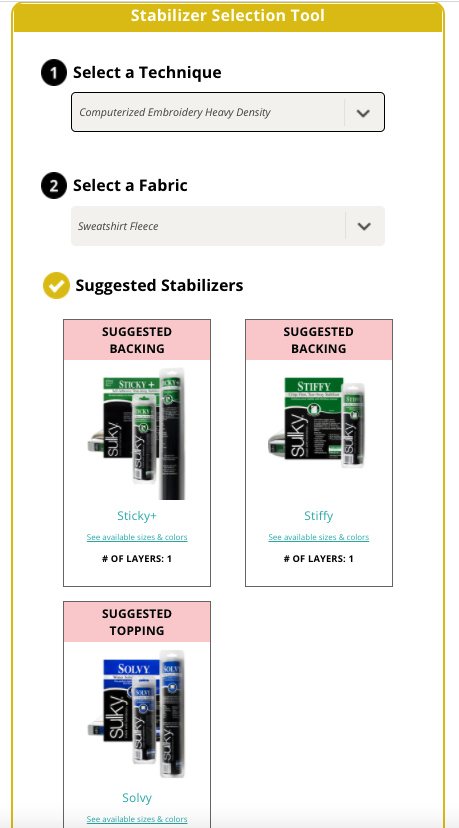
Choose your stabilizer based on the fabric and embroidery design, not simply on the thread you’re using. Not sure which stabilizer to use? Consult our Stabilizer Selection Tool!
Let the Thread Do the Talking
When using metallic thread in embroidery, think about placement.
Instead of automatically using metallic thread for every stitch, consider where a little shine will have the biggest impact.
A metallic outline around lettering can make it pop.
A few metallic snowflakes can transform a winter design.
Metallic accents on leaves, flowers or small geometric motifs can add dimension without overpowering the rest of the embroidery.
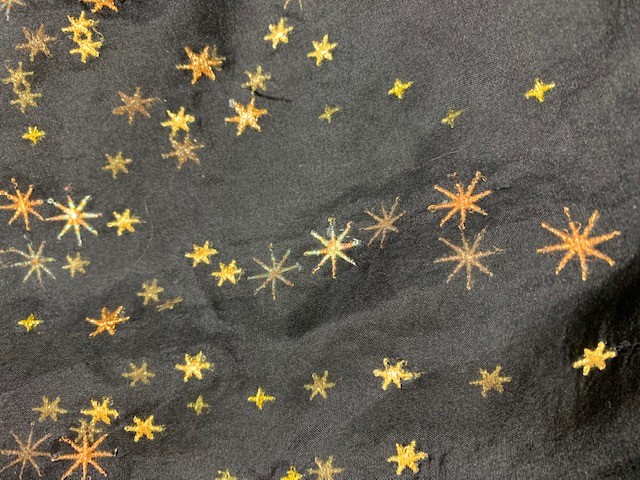
Think of metallic thread as an accent color, but one that also reflects light.
Metallic Thread for Quilting
Quilters have endless opportunities to play with metallic thread.
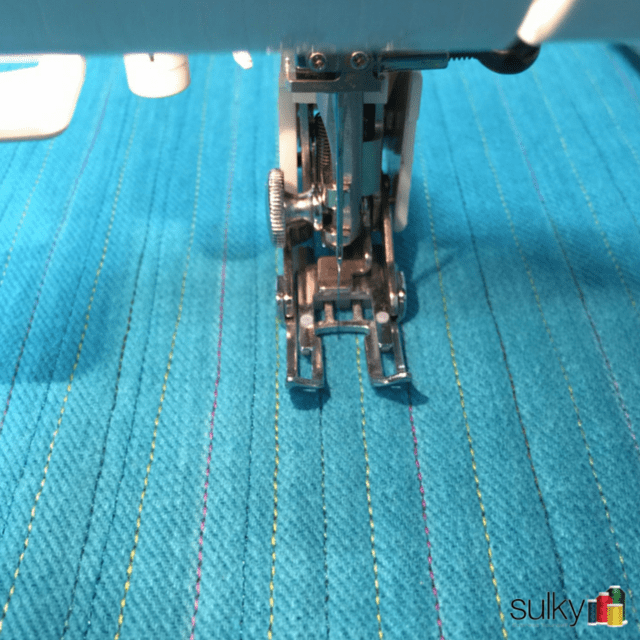
Use it for free-motion quilting, decorative quilting motifs, borders, appliqué embellishment or even as an unexpected accent in an otherwise traditional quilt.
Metallic quilting thread is especially beautiful when the finished quilt will be viewed in different types of light. As the light moves across the quilt, the stitching catches it and creates subtle flashes of sparkle.
For Machine Quilting
If you’re quilting with a domestic sewing machine, start by lowering your speed and using a fresh needle.
Make sure your quilt sandwich is properly basted or otherwise secured so the layers move together smoothly.
If you’re doing free-motion quilting, practice your design with a standard thread first. Once you’re comfortable with the movement, switch to metallic thread.
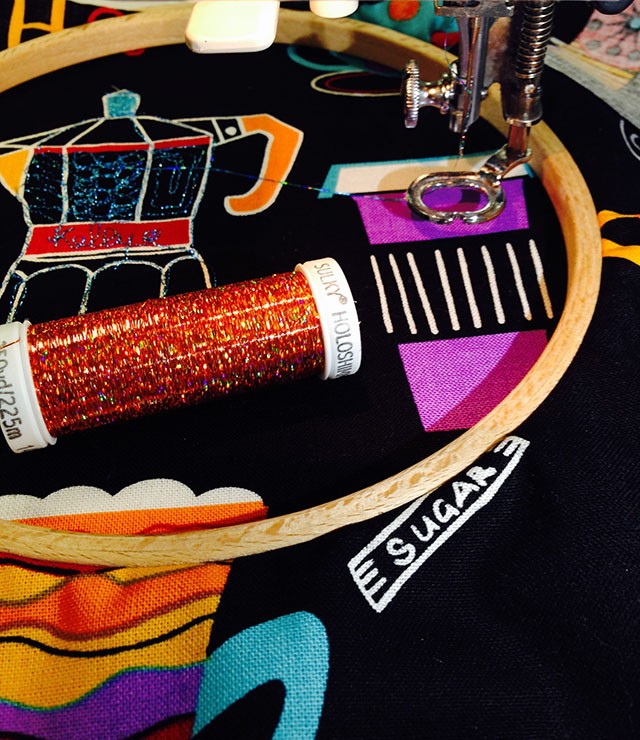
This lets you focus on the thread behavior rather than learning a new quilting motif and troubleshooting your thread at the same time.
Try Metallic Thread in the Bobbin
Want a particularly dramatic effect?
Try using metallic thread in the bobbin as well.
This can create a beautiful reversible effect, but it requires additional testing because bobbin tension and thread delivery become even more important.
For many projects, using metallic thread on top with a standard bobbin thread is the easiest approach. The metallic thread remains the star of the show while the bobbin thread provides a stable foundation.
But don’t be afraid to experiment. That’s what Thread Effects is all about!
Metallic Thread for Decorative Topstitching
You don’t need an embroidery machine—or even a quilting project—to use metallic thread.
One of the simplest ways to incorporate Holoshimmer or Sliver into your sewing is through decorative topstitching.
Think denim jackets, bags, quilted coats, home décor, accessories and garments.
A single line of metallic stitching can turn an ordinary seam into a design detail.
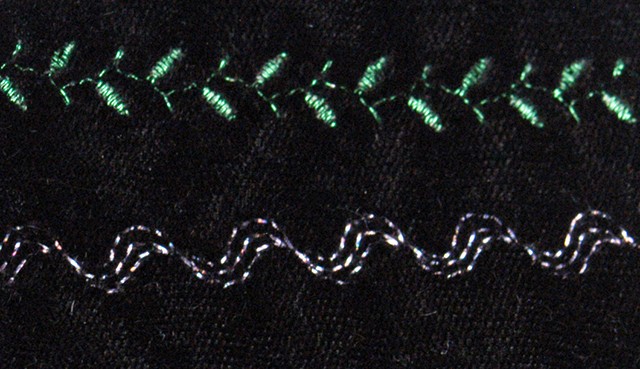
Keep Your Stitching Simple
Metallic thread doesn’t need an elaborate stitch to make an impact.
Try a straight stitch with a slightly longer stitch length. Decorative stitches can also be beautiful, particularly when the stitch pattern gives the metallic thread room to reflect the light.
Before stitching your actual project, test your stitch on a scrap of the same fabric and interfacing.
Pay attention to:
- Stitch length
- Thread tension
- Needle size
- Stitch pattern
- Sewing speed
- How the thread looks against the fabric
Sometimes the most beautiful combination is surprisingly simple.
Use a Longer Stitch Length
For straight-line decorative topstitching, a slightly longer stitch length can help showcase the metallic thread and reduce the number of times the thread passes through the fabric.
It also gives the finished stitching a more intentional, decorative appearance.
Try several stitch lengths on a scrap and compare them before deciding which one works best for your project.
The Thread Path Matters
If you’re experiencing metallic thread breakage, take a close look at how the thread is traveling through your machine.
Metallic thread can be sensitive to friction. Make sure the thread is feeding smoothly from the spool and that it isn’t catching on the spool cap, thread stand or another part of the machine.
If your machine has multiple thread guides, don’t automatically assume that the standard threading path is the best one for specialty thread.
Sometimes a thread stand positioned behind the machine can help create a smoother path from the spool to the first thread guide.
The goal is simple:
Let the thread move.
You don’t want it fighting its way through the machine.
Don’t Forget the Spool
How your thread is positioned can make a surprising difference.
If you’re using a spool of metallic thread, make sure it can unwind freely without snagging or catching. Depending on the spool style and your machine, a vertical or horizontal spool position may work better.
If you notice the thread twisting excessively as it comes off the spool, try changing the way the spool is positioned or use a separate thread stand.
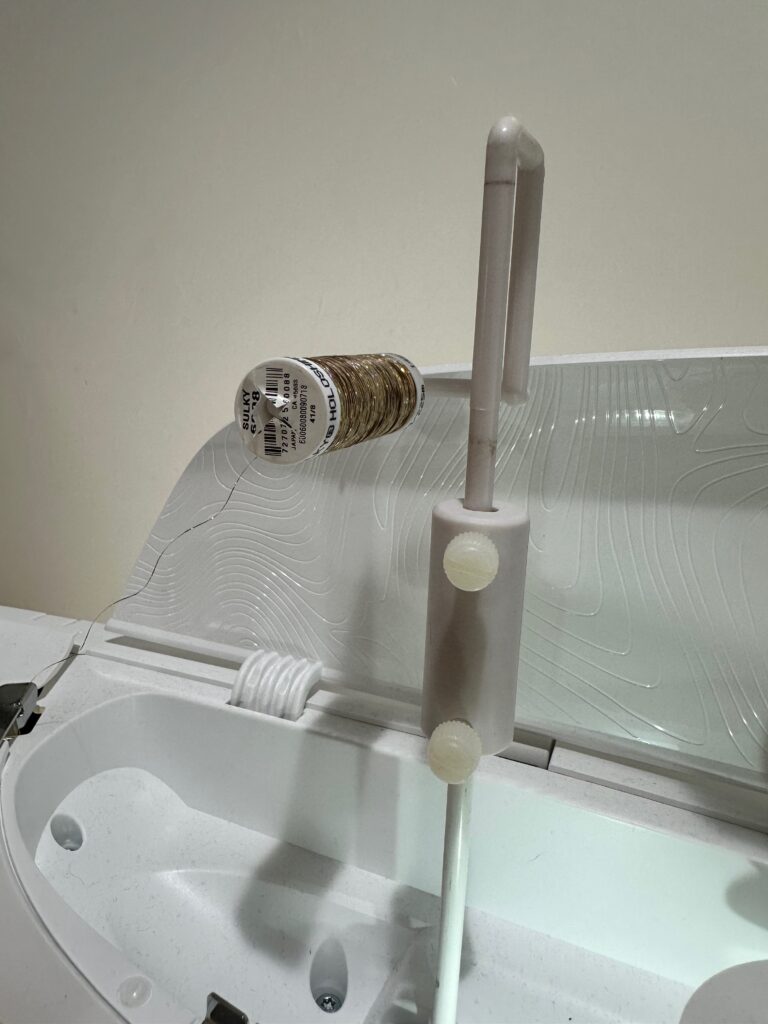
Sometimes a small change at the very beginning of the thread path solves a problem that otherwise looks like a tension issue.
Test Before You Commit
Here’s perhaps the most important metallic-thread tip of all:
Test first.
Before you put metallic thread on your favorite quilt, garment or embroidery project, make a sample.
Use the same:
- Fabric
- Stabilizer or batting
- Needle
- Thread
- Bobbin thread
- Stitch or embroidery design
Then test your settings.
If the thread breaks, adjust one thing at a time.
Try a new needle.
Lower the tension.
Slow down.
Check the thread path.
Change the spool position.
Testing lets you troubleshoot without the pressure of potentially ruining your finished project.
And once you’ve found the sweet spot, write those settings down!
Your future self will thank you.
When Metallic Thread Isn’t Behaving
Even with the perfect setup, specialty thread can occasionally be temperamental. If you’re having trouble, work through this quick checklist:
Thread shredding?
Try a fresh needle with a larger eye and check for rough spots along the thread path.
Thread breaking?
Slow down, reduce upper thread tension and make sure the spool is feeding freely.
Loops on the back?
Check your threading and tension. Re-thread the machine completely with the presser foot raised.
Uneven stitches?
Check that the thread is feeding consistently and that your fabric is properly stabilized.
Thread seems to twist or coil?
Look at how the spool is positioned and consider using a thread stand.
Most importantly, change one variable at a time. That way, you’ll know exactly what solved the problem.
Let There Be Shine
Specialty thread is one of the easiest ways to completely change the personality of a sewing project.
The same embroidery design stitched in a traditional polyester thread can feel classic and understated. Stitch it in Holoshimmer and suddenly it has movement, sparkle and light.
The same quilted motif can go from subtle to spectacular with a metallic accent.
And a basic topstitched seam can become an intentional design element simply by changing the thread.
That’s the magic of Thread Effects.
Throughout September, we’ll be experimenting with different Sulky threads and exploring not just what they are, but what they can do.
So grab some fabric scraps, thread up your machine and get ready to experiment.
Because this National Sewing Month, we’re not just celebrating sewing.
We’re celebrating what happens when you add a little thread effect.
Coming Up in the Thread Effects Series
Next, we’ll turn up the sparkle with Sulky Poly Sparkle, followed by the soft texture of Filaine, the unexpected magic of Glowy, the beautifully shifting colors of Blendables, and finally the bold, energetic color of Neon.
Each thread has its own personality—and we’re going to show you how to make the most of it.
