Swivel Clip Lanyard Tutorial
A swivel clip lanyard is easy to make and customizable, too, depending on the desired finished use. A lanyard or badge clip makes a great end-of year or back-to-school gift for a teacher or health professional. And, it’s a great project for anyone who attends trade shows. As we prepare for attending the h+h (handcraft and hobby) trade show in a few weeks, I thought it was high time I made myself a lanyard to hold my credentials. It’s a sewing and craft show, after all, so I should represent and sew my own, right?
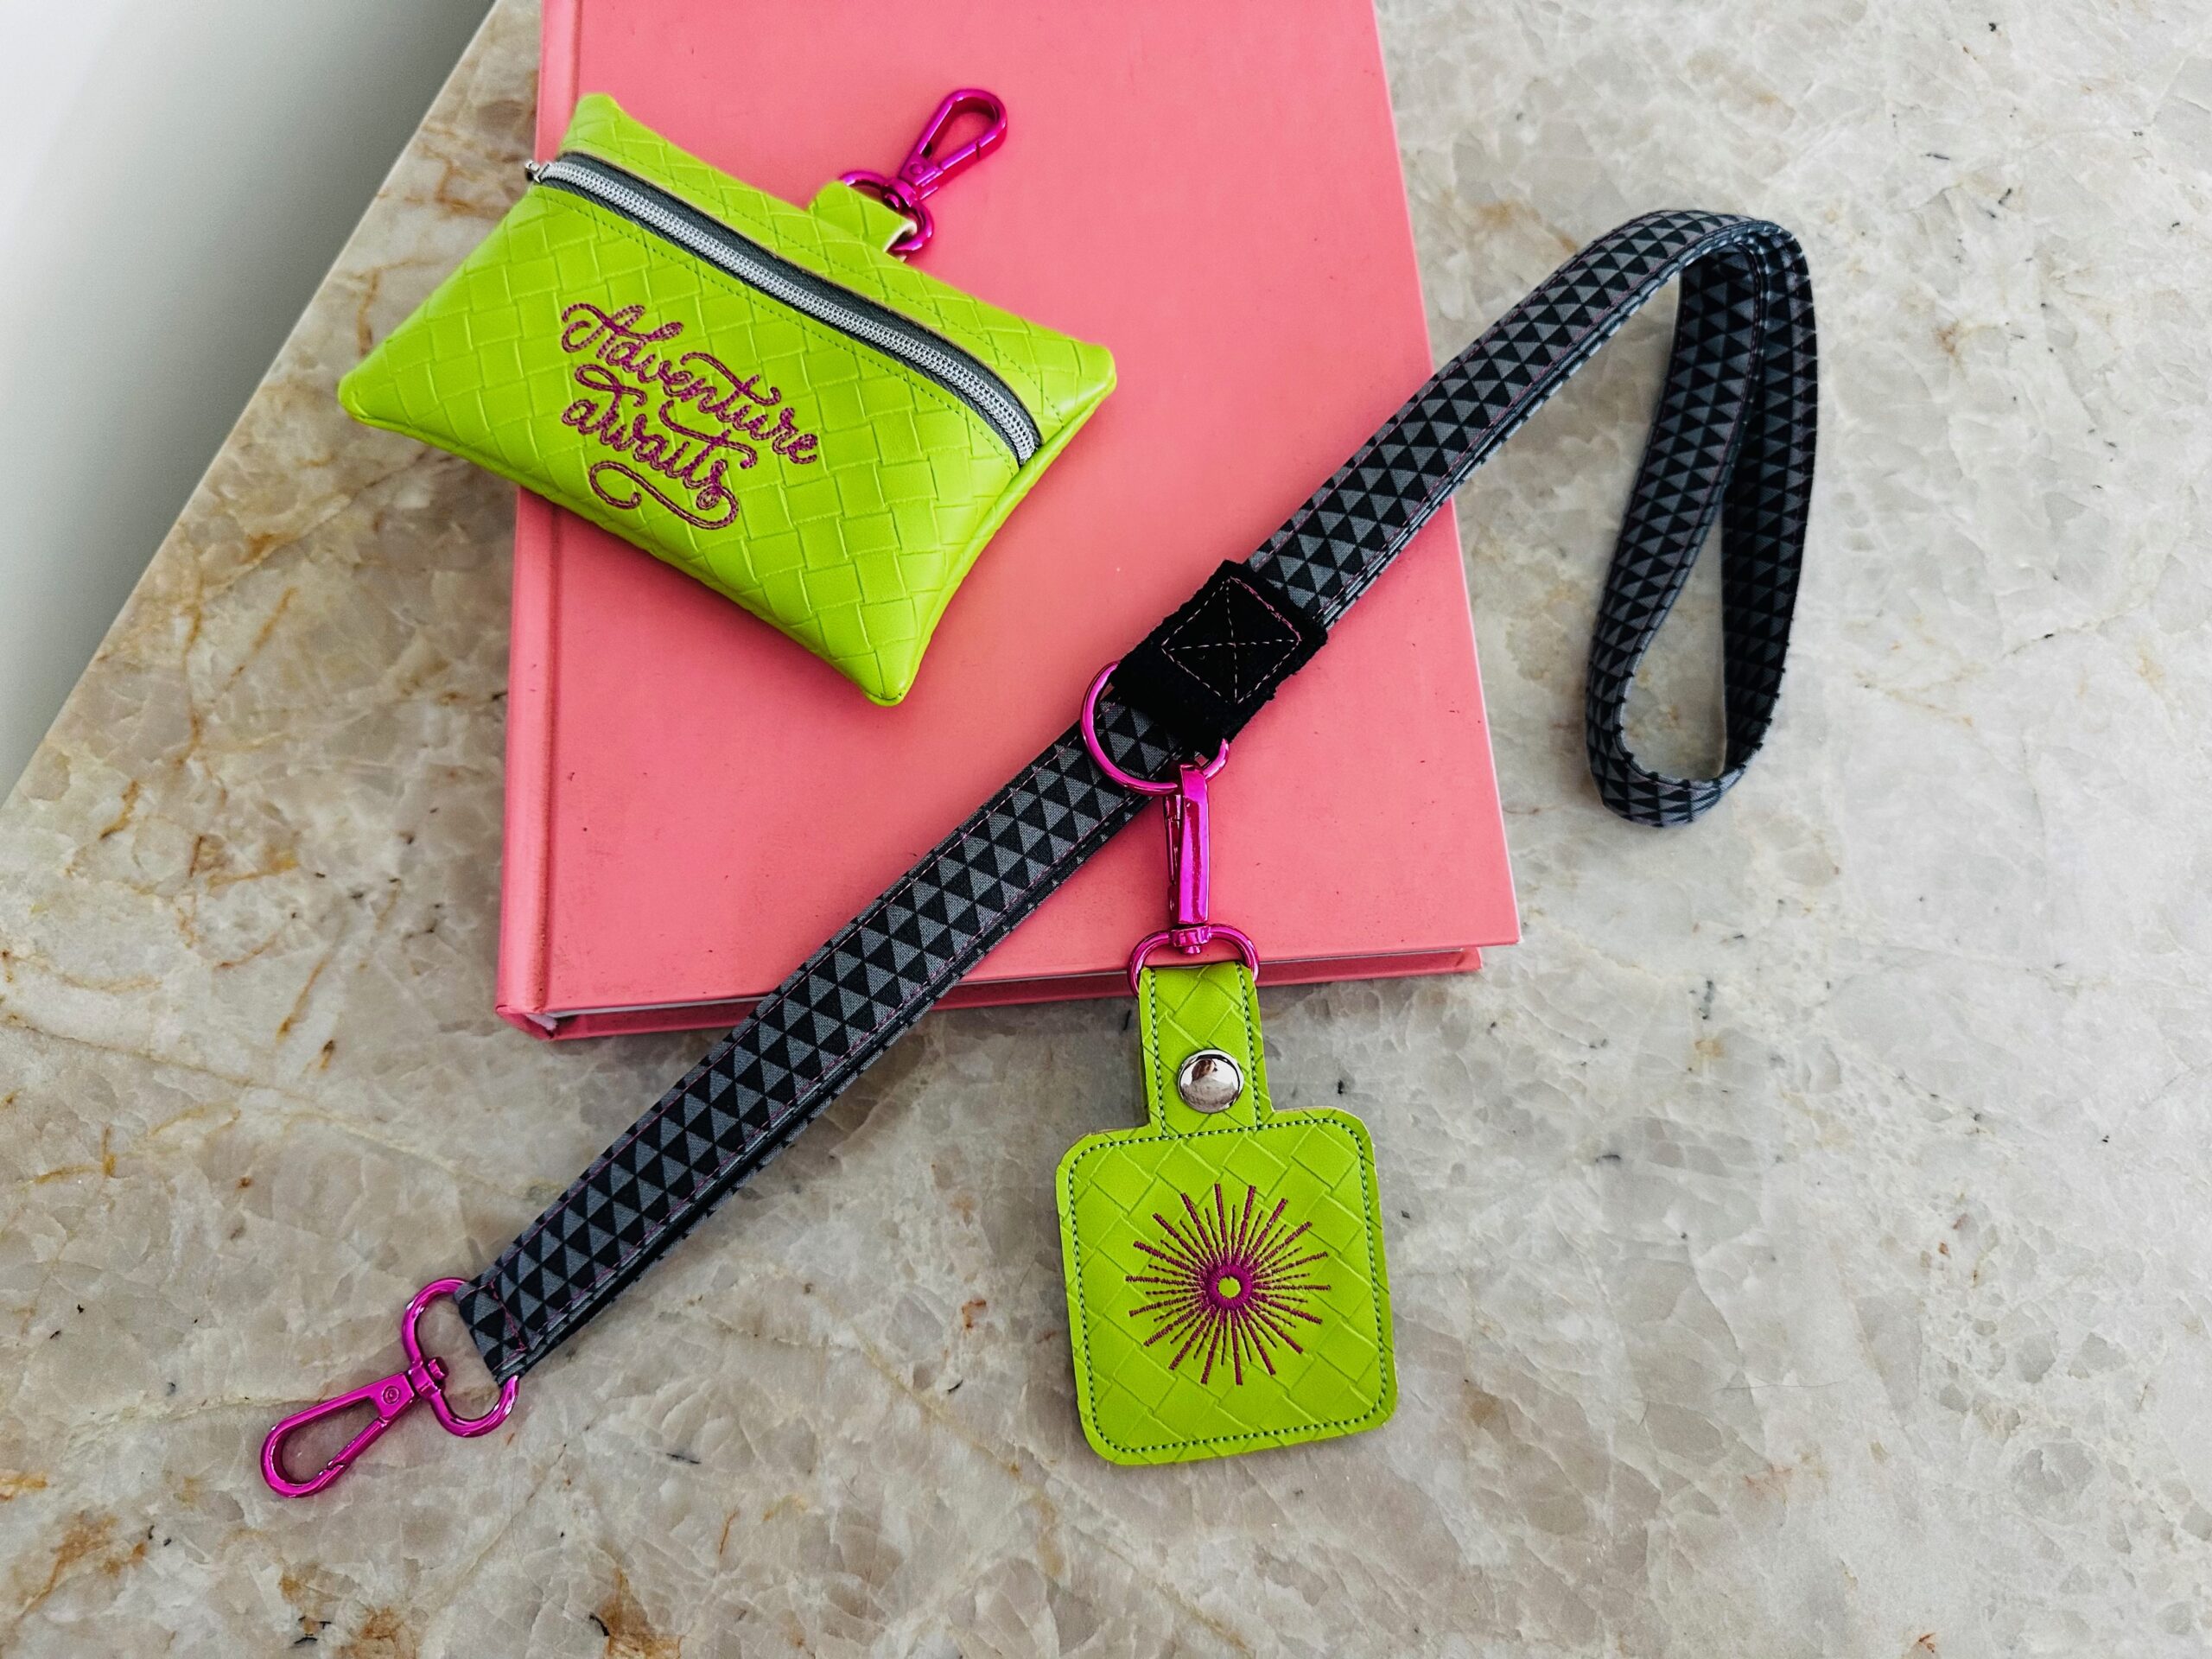
Here’s how to make a lanyard using leftover bits of quilting cotton fabric, webbing castoffs, a bit of batting or fusible fleece, and a D-Ring swivel clip. By adding some webbing loops, you can also add more D-rings to clip things to, such as a key fob or mini zip pouch. The featured Accessory Duo is from our 2025 New Year’s Eve Sew-Along. So if you’re interested in this duo (made in the hoop of your embroidery machine), head over to our education site and add this event to your Library. You’ll get the Accessory Duo files and the Lamont Bag pattern, designed by Sallie Tomato, with your registration fee.

SWIVEL CLIP LANYARD SUPPLIES
- Sulky 40 wt. Poly Deco™ Thread
- 3″ x 42″ rectangle of quilting cotton fabric
- 3/4″ x 33″ rectangle of batting or fusible fleece
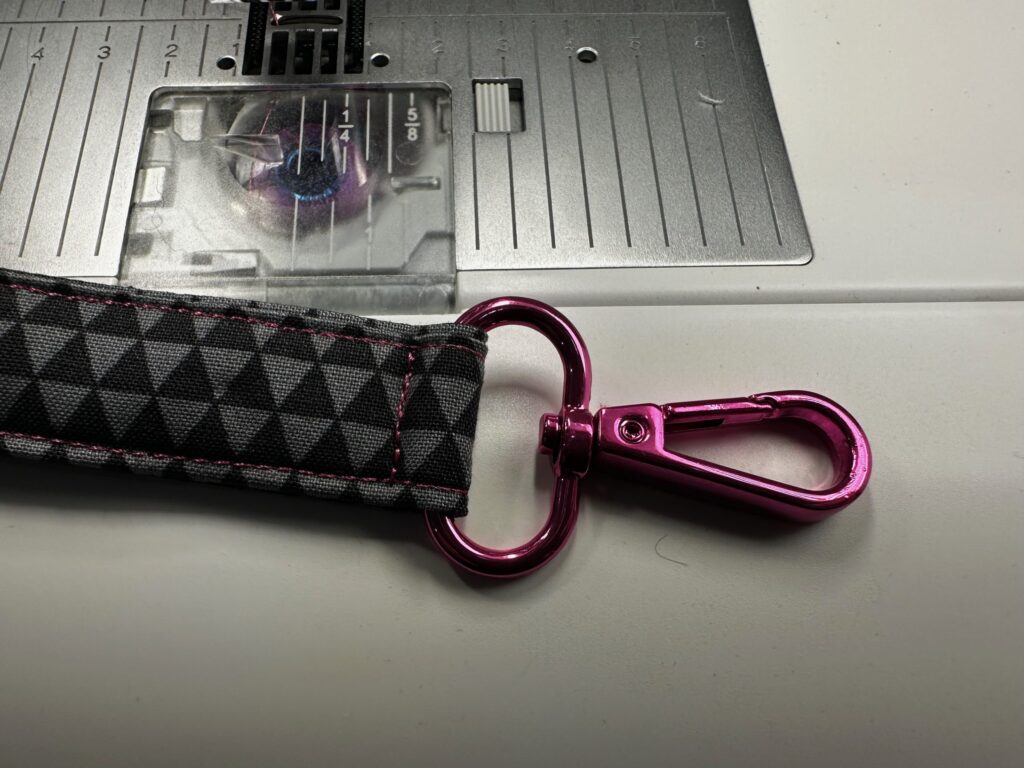
- 1″-wide D-Ring Swivel Clip
- scrap(s) of 1″-wide webbing (at least 3″ long for each additional D-Ring tab)
- 1″-wide D-Ring (quantity determined by how many additional tabs you plan to add)
- Sulky KK2000 Temporary Spray Adhesive
- Lamont Accessory Duo Machine Embroidery Collection
LANYARD PREP & SEWING
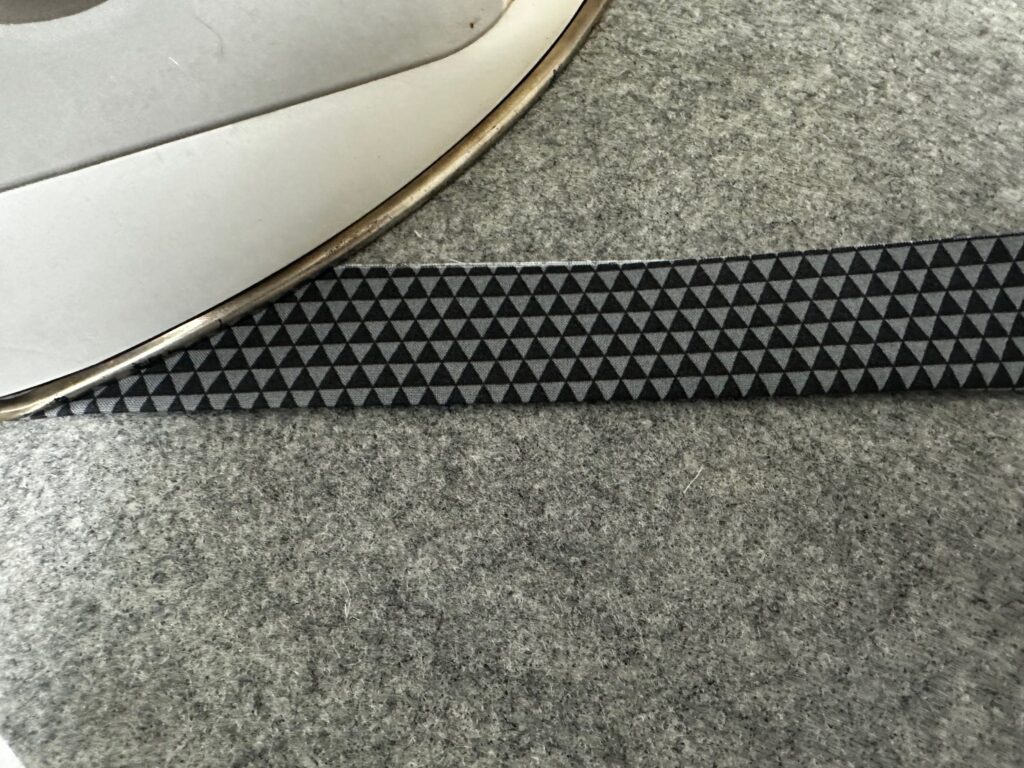
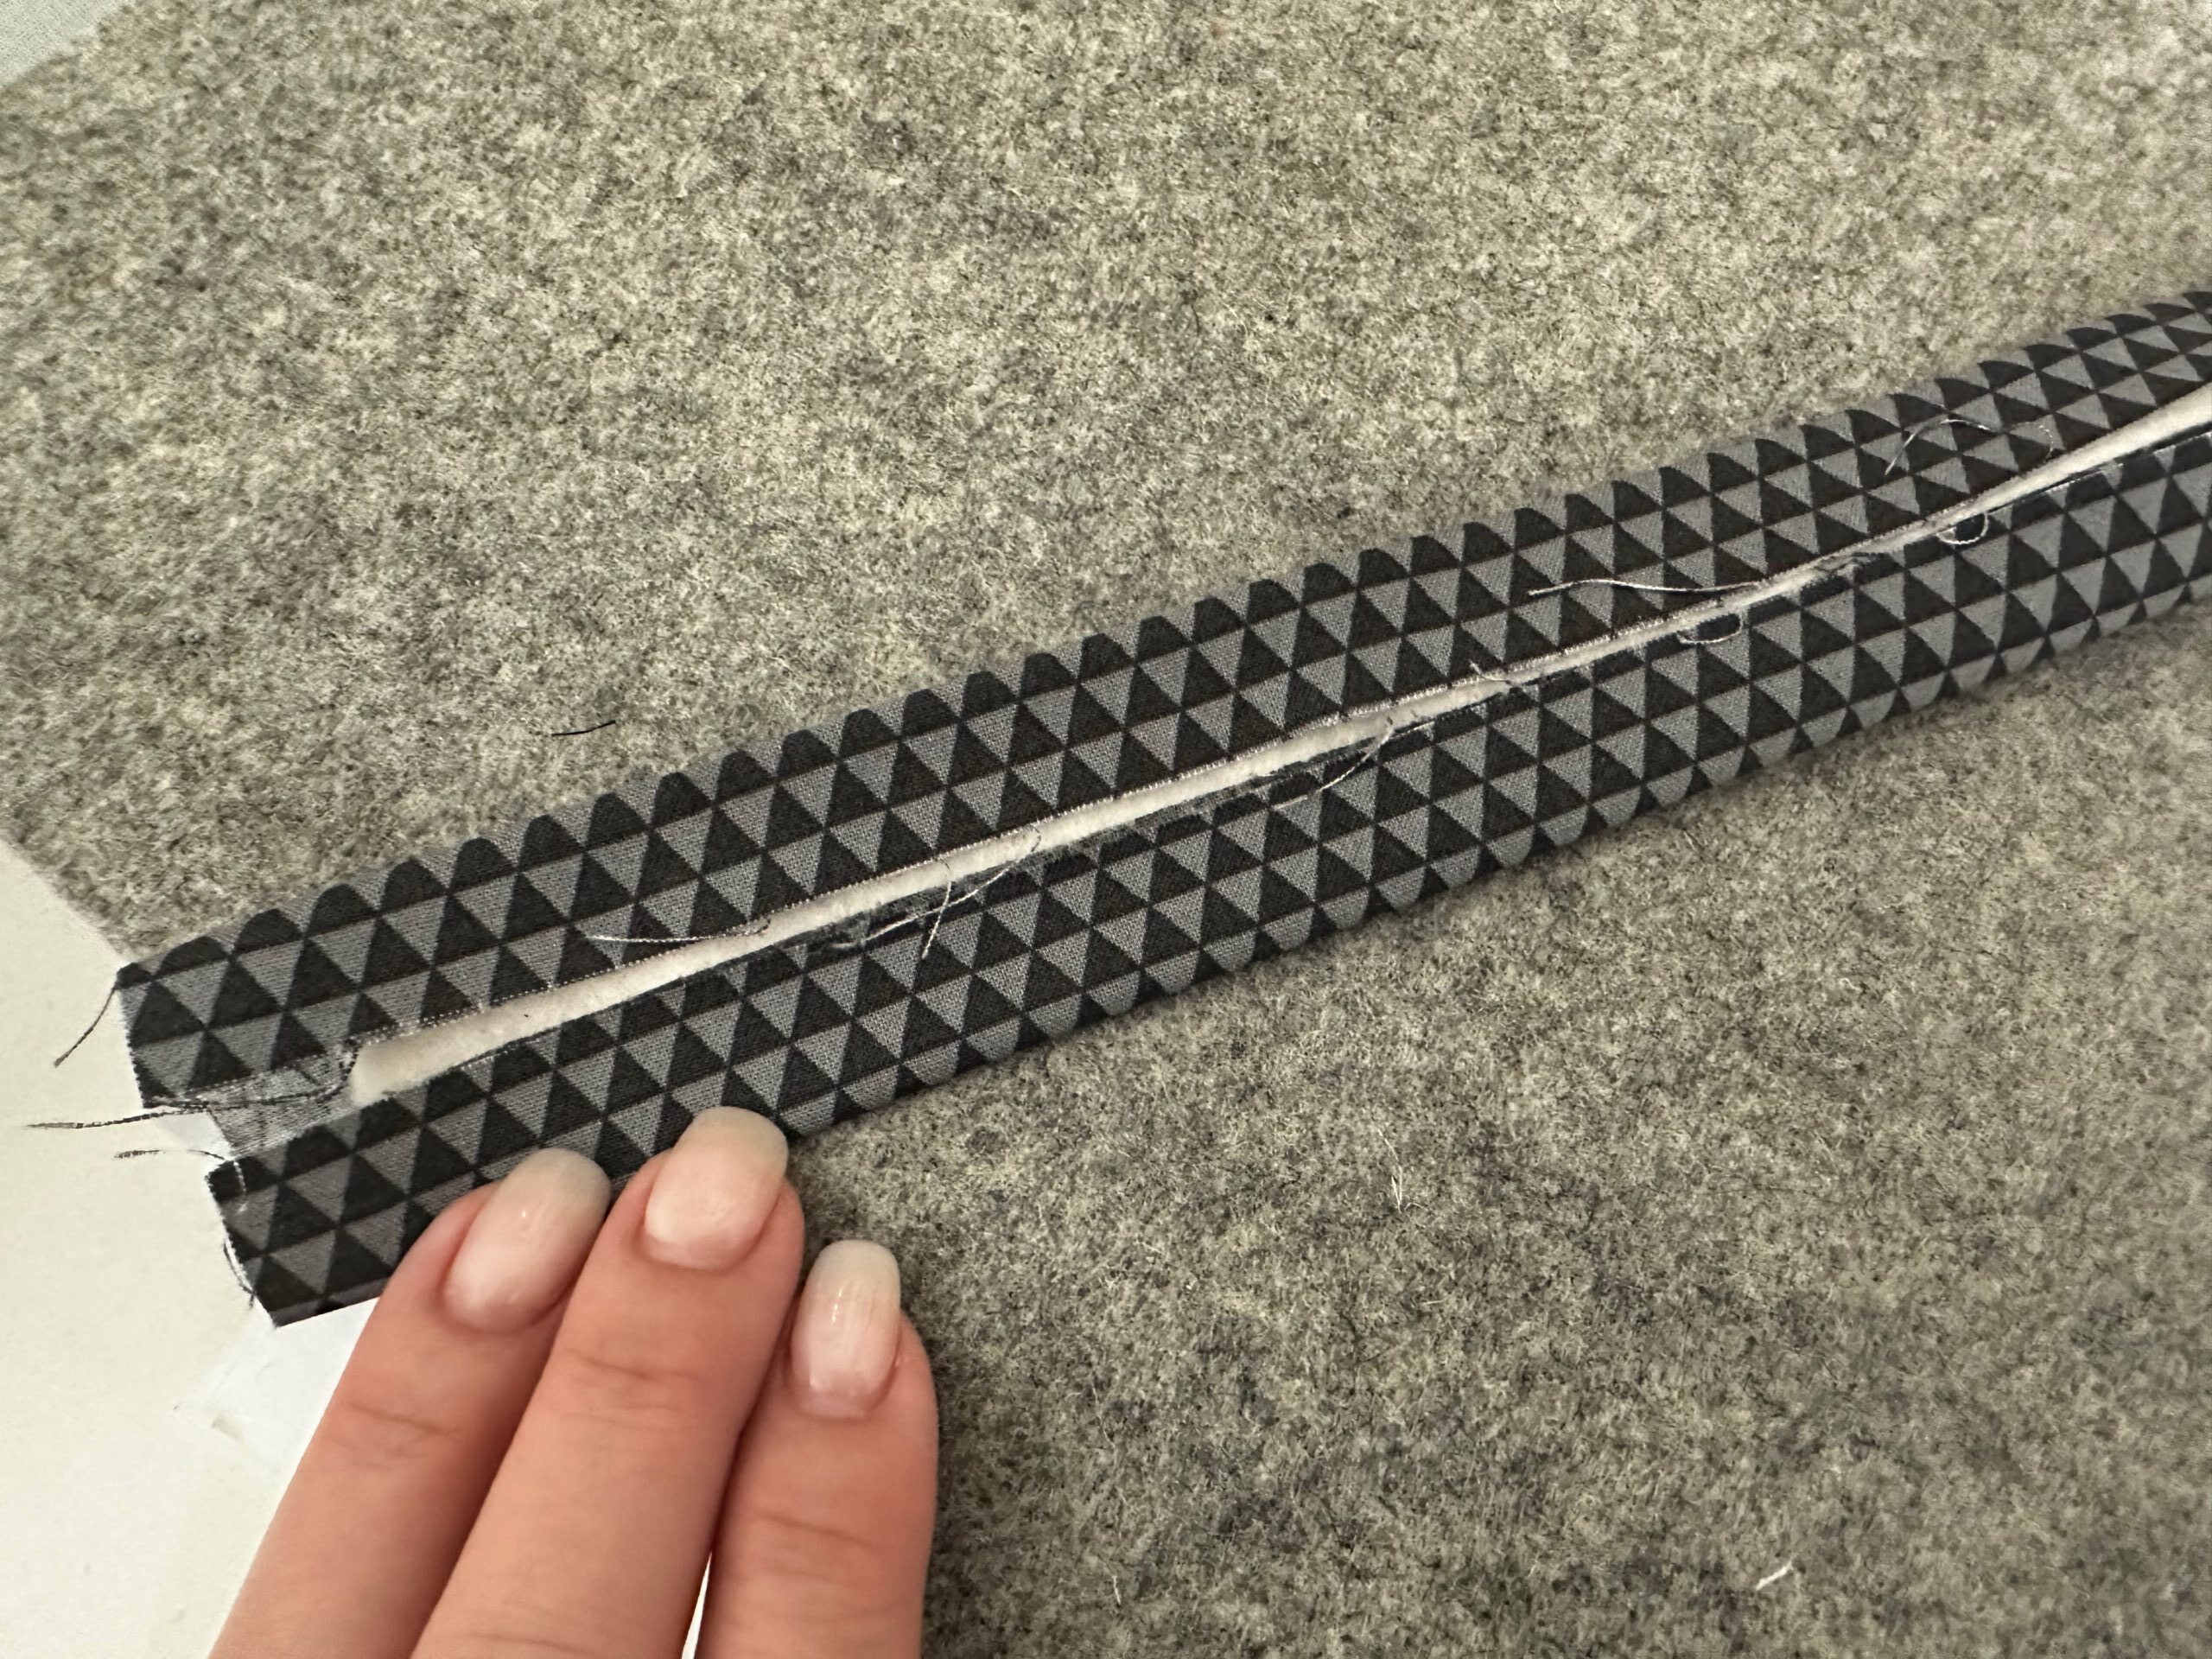
First, fold the long fabric rectangle in half lengthwise with wrong sides together; press. Then, unfold the rectangle. Fold one long edge to meet at the center foldline; press.

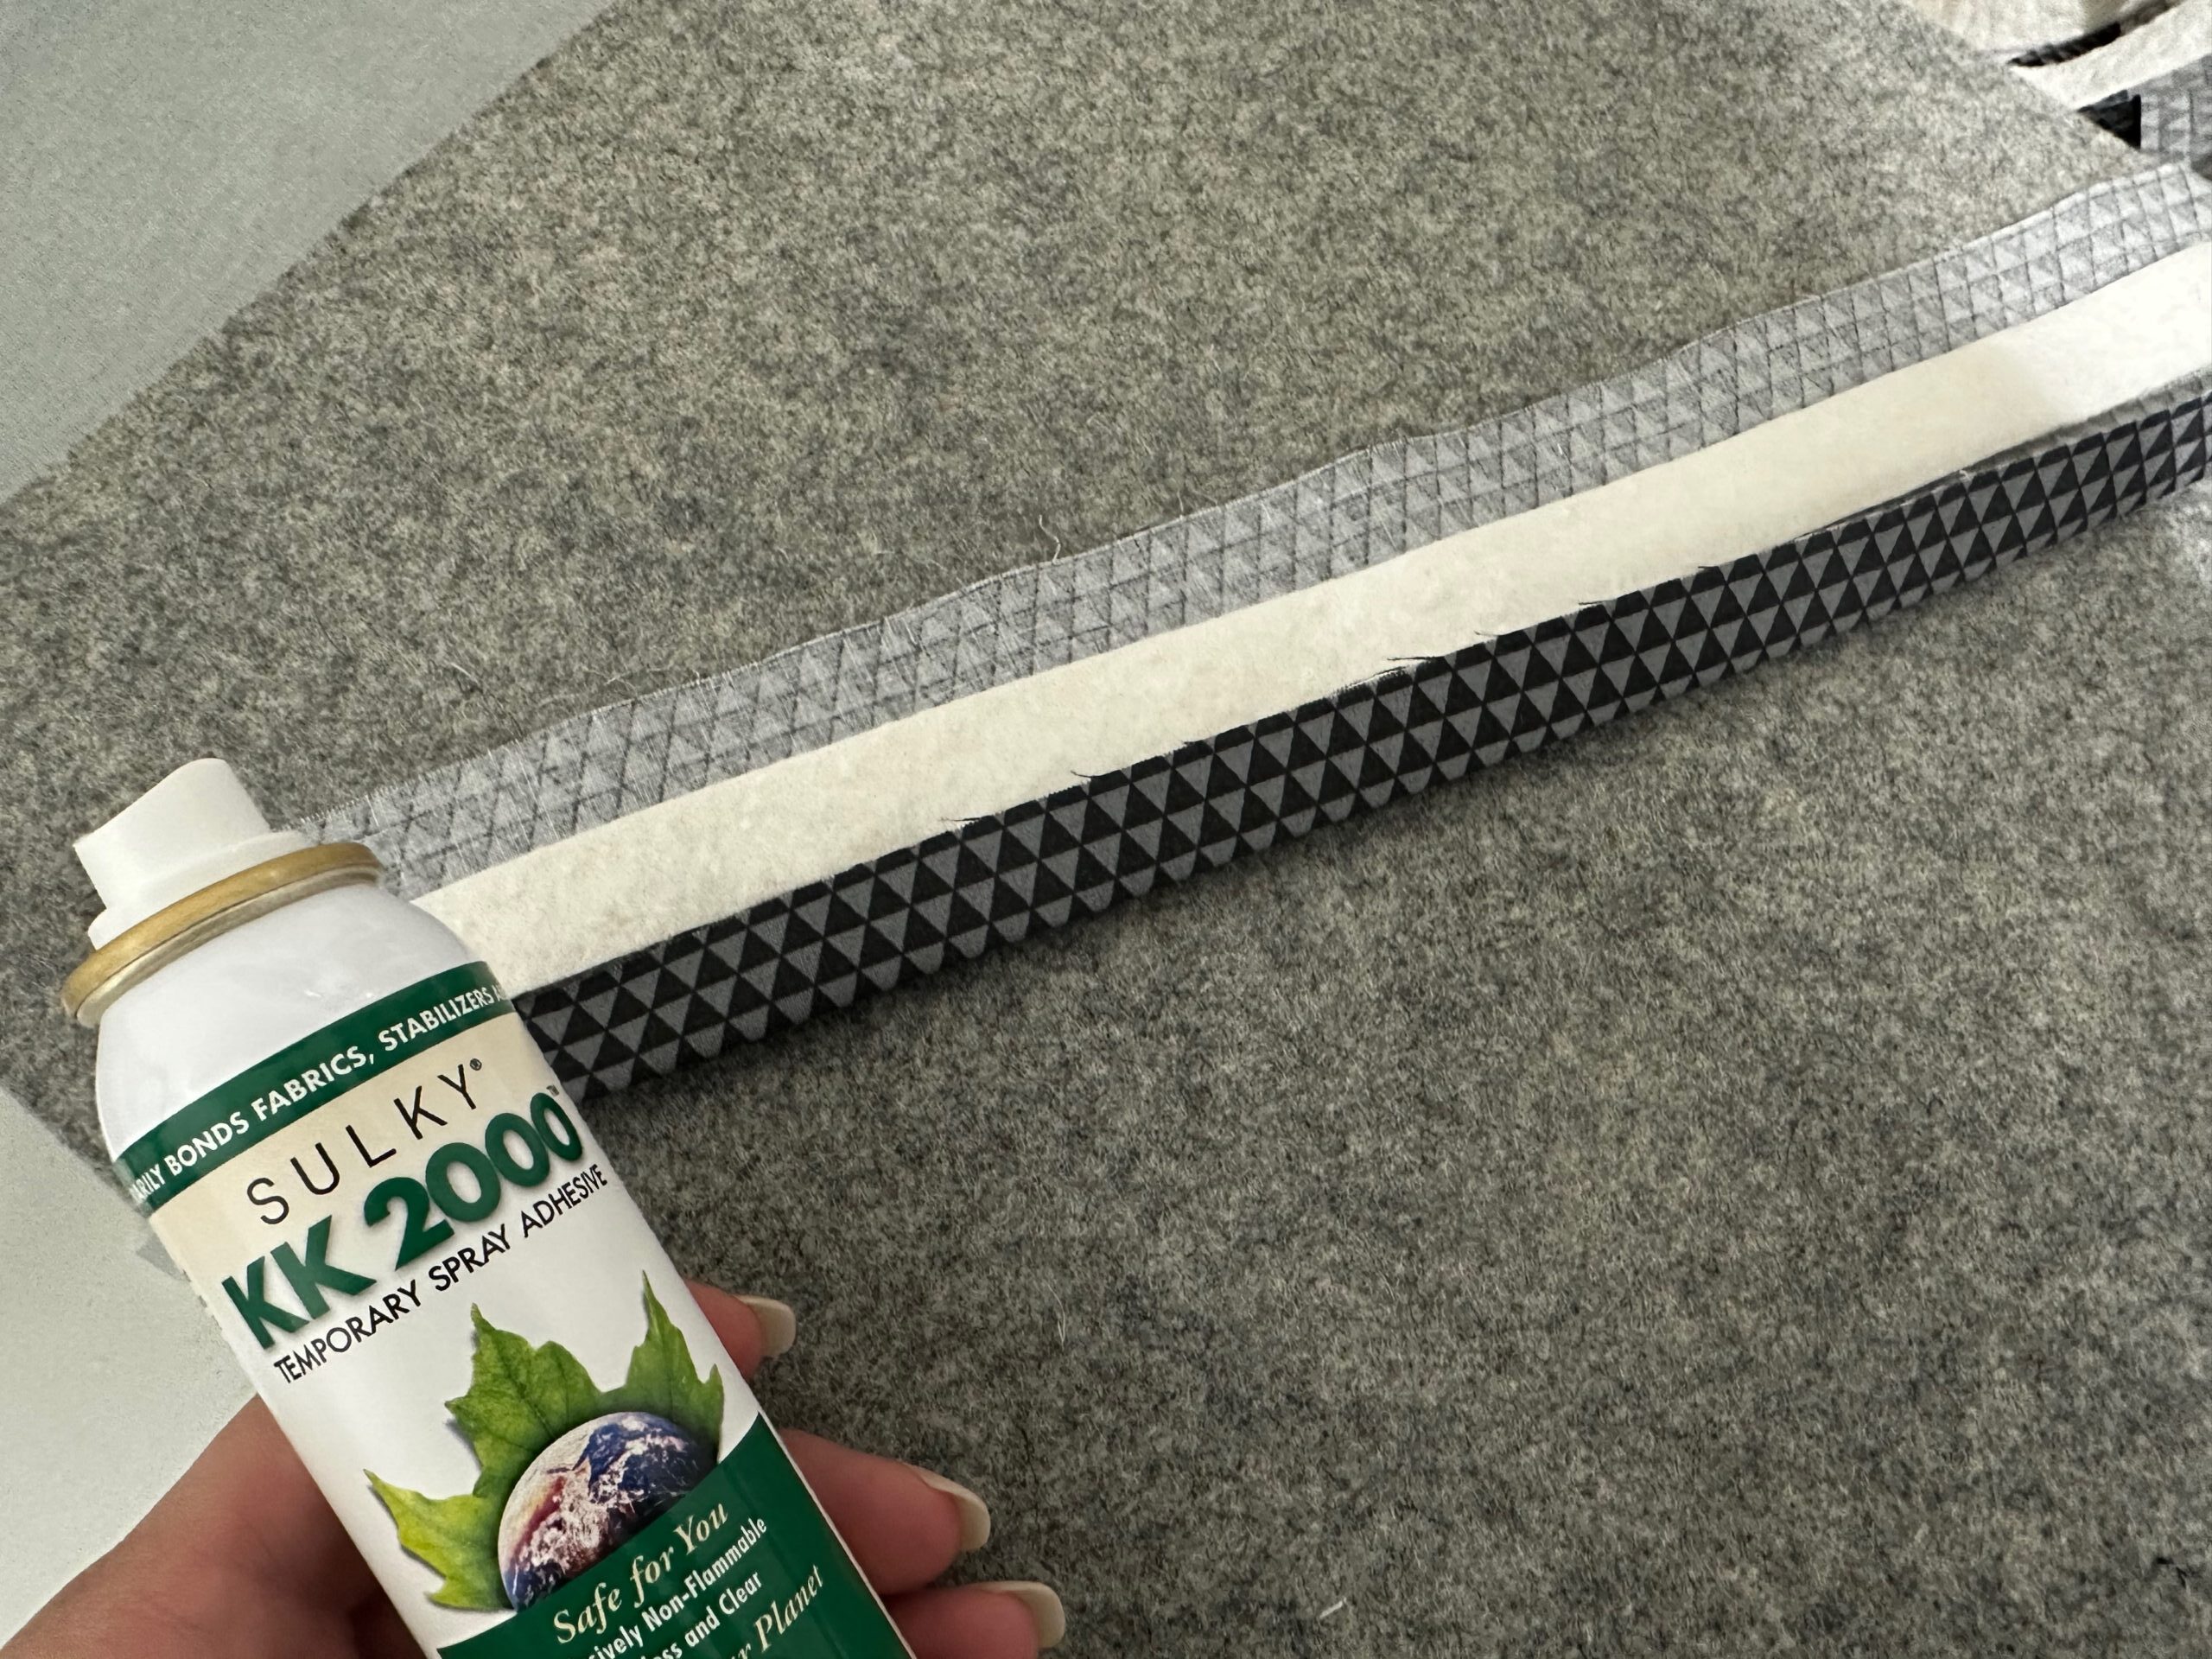
Place the batting or fleece rectangle opposite the folded edge on the rectangle wrong side, abutting one batting long edge with the creased foldline. Spray-baste the batting to secure, using Sulky KK2000 Temporary Spray Adhesive. Note that the batting should be 1/2″ from both fabric ends.
Fold the rectangle long edge around the batting; press. Then, place the folded edge over the batting edge, abutting the folds. Clip generously.
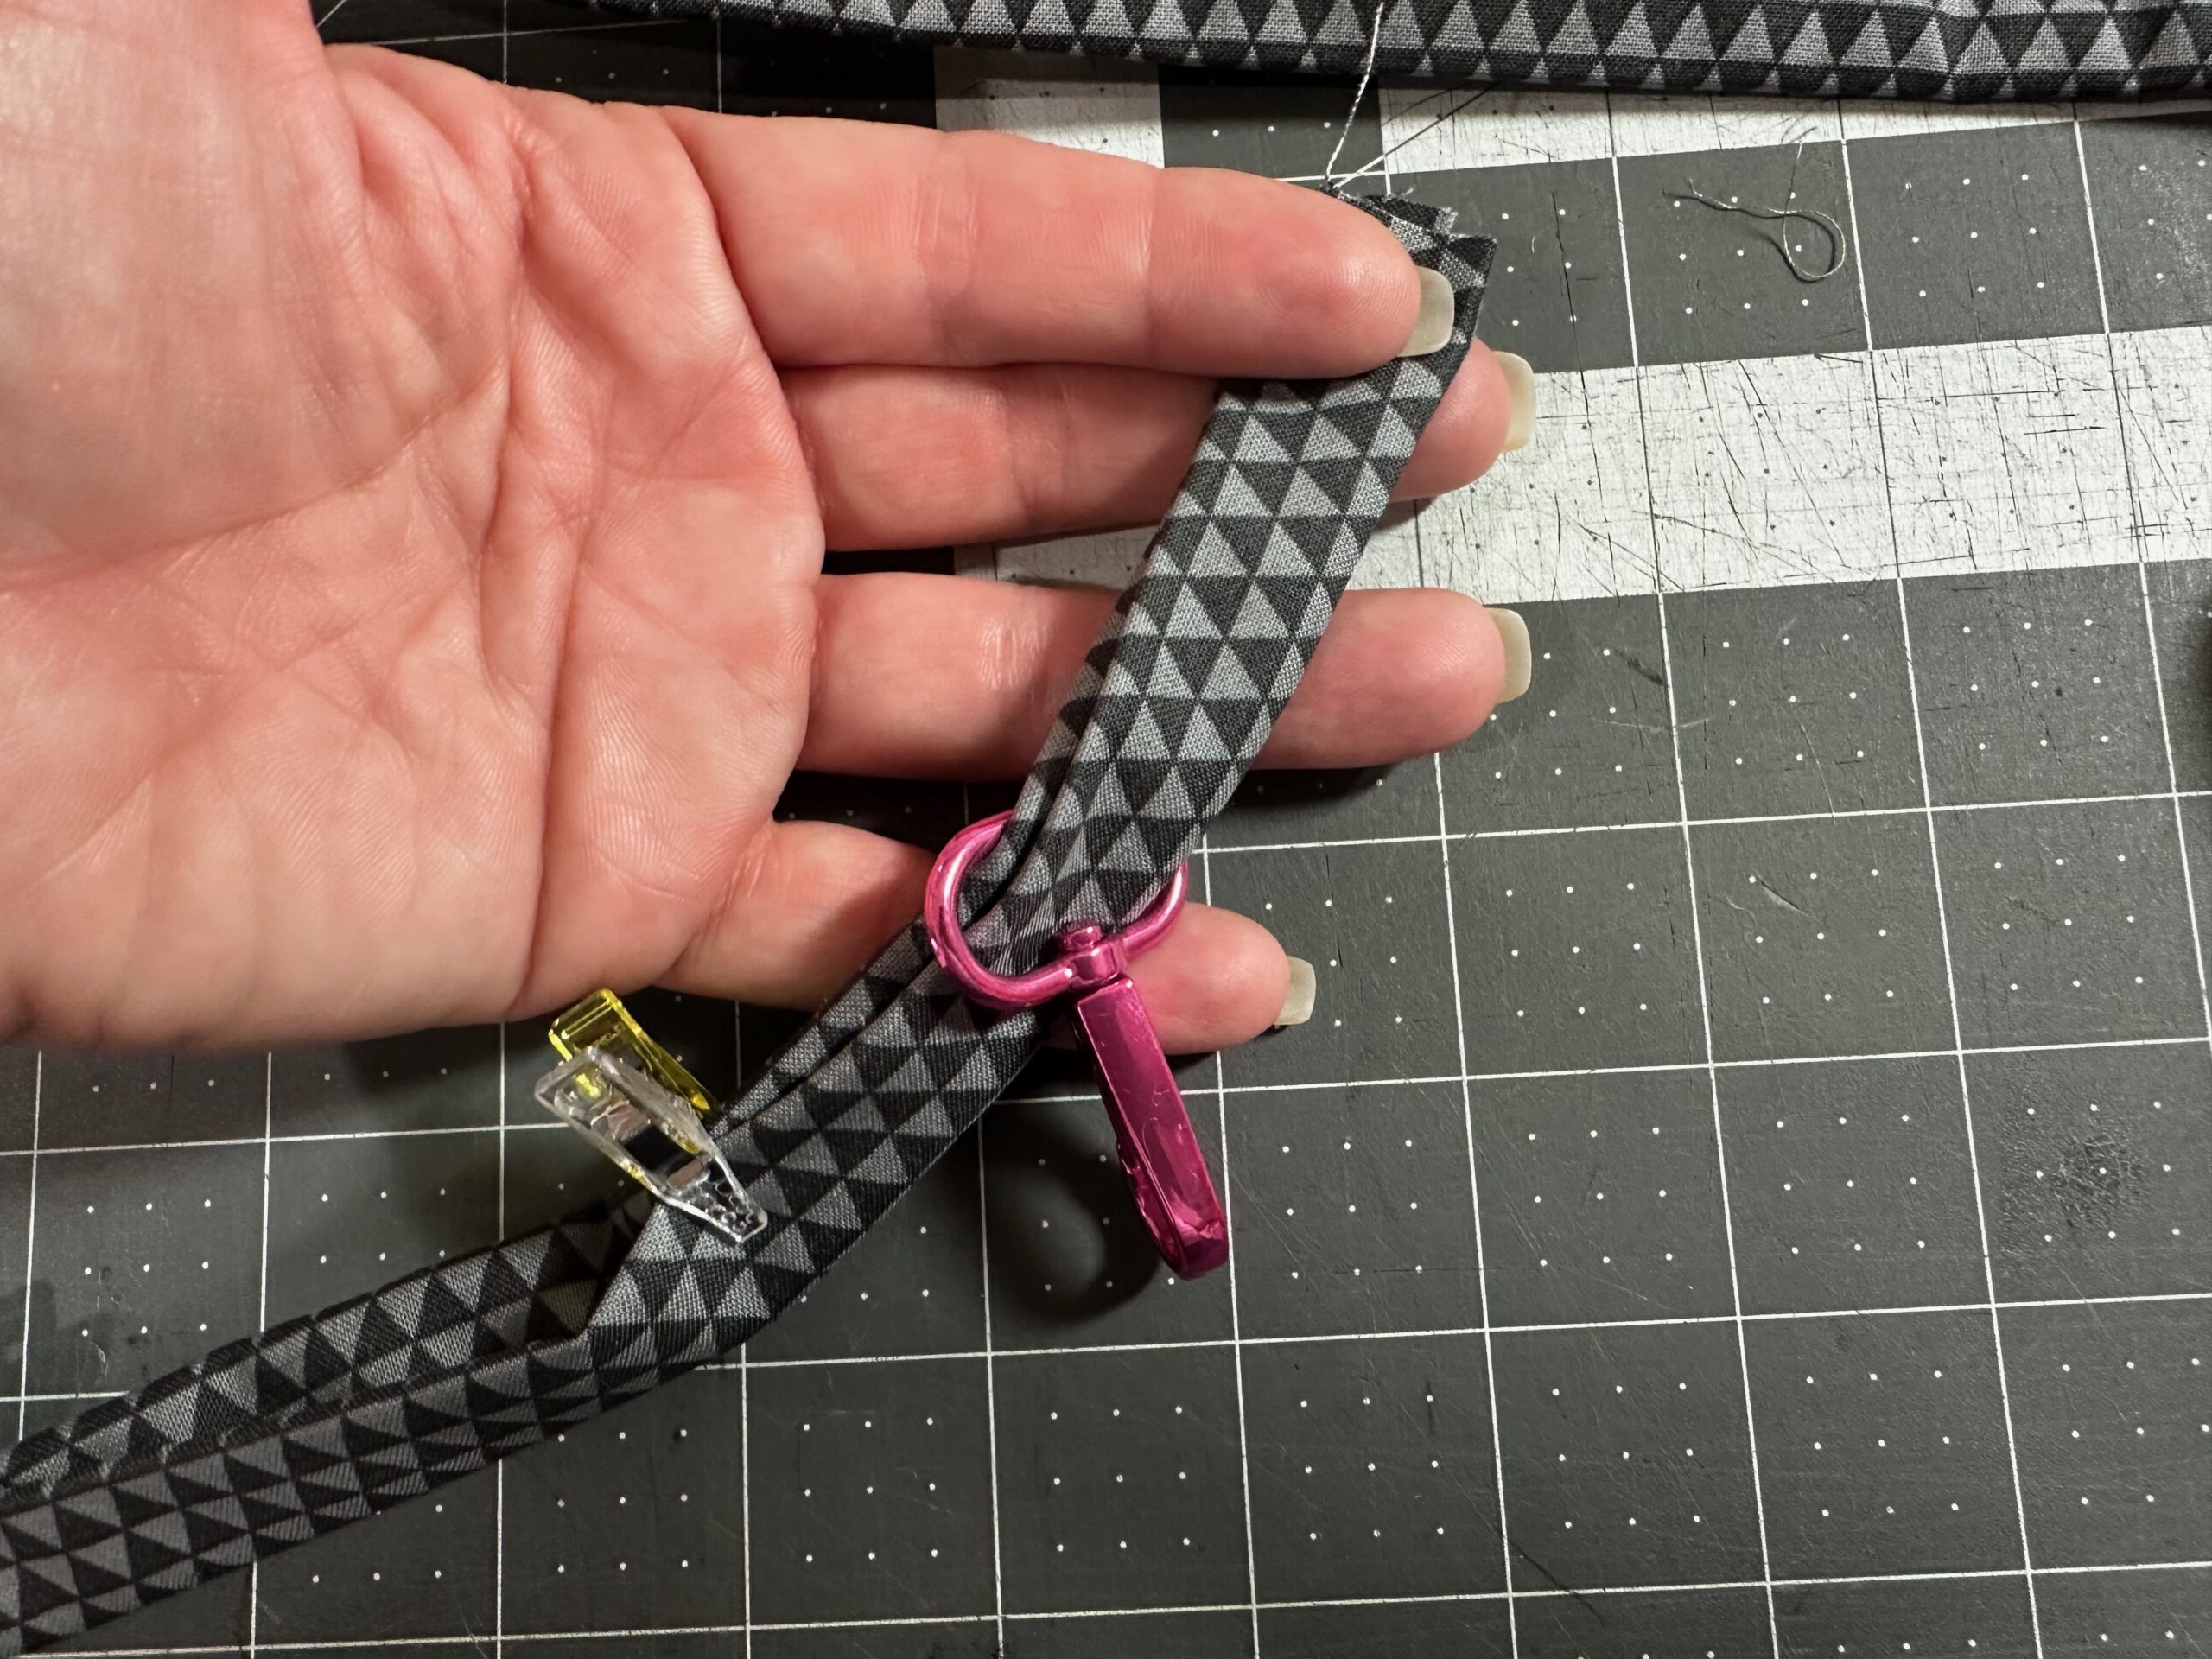
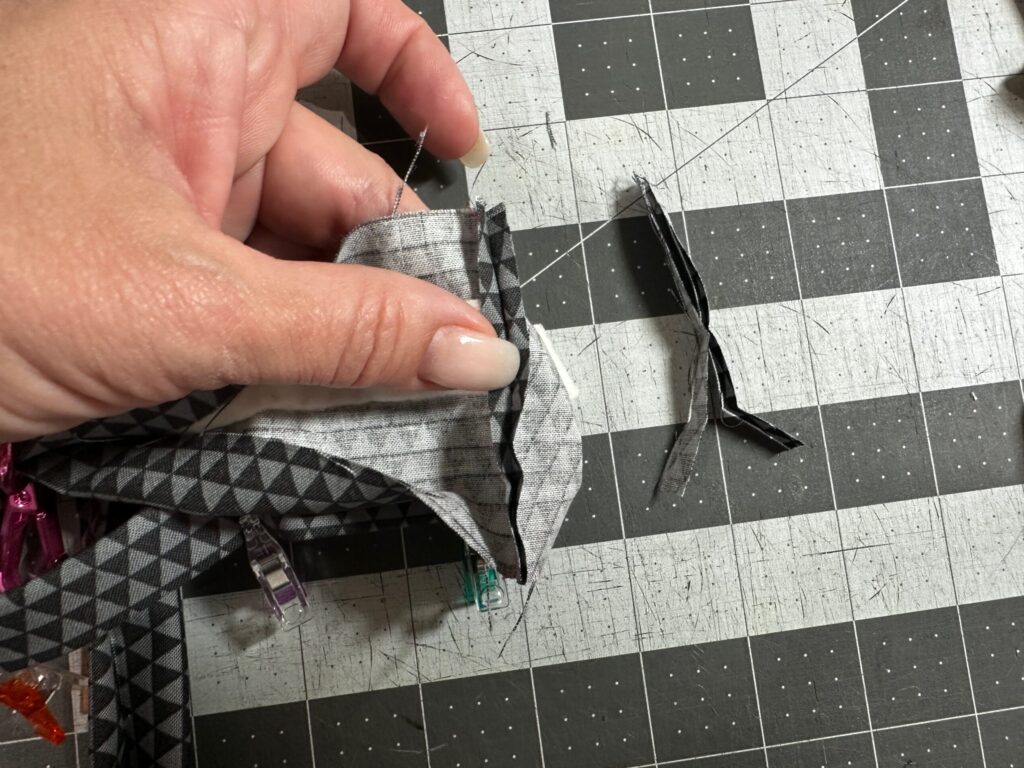
Insert one rectangle end through the D-Ring Swivel Clip.
Next, open both rectangle folded ends and match them with right sides together. Make sure the rectangle isn’t twisted. Next, stitch the ends using a 1/2″ seam allowance.
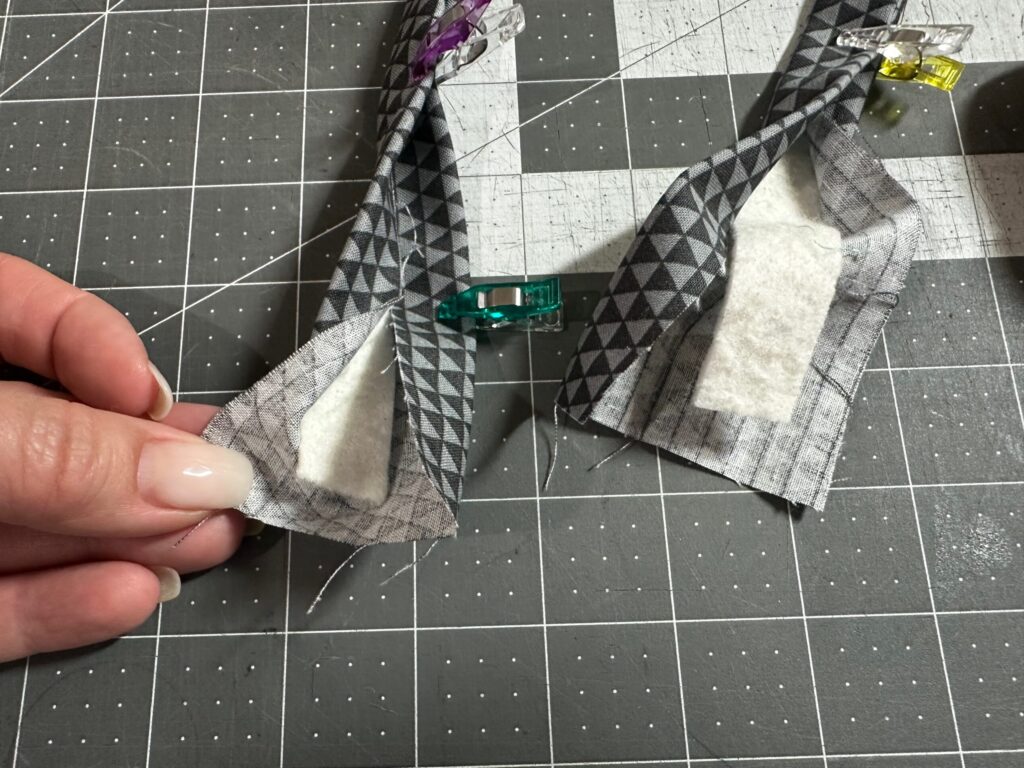

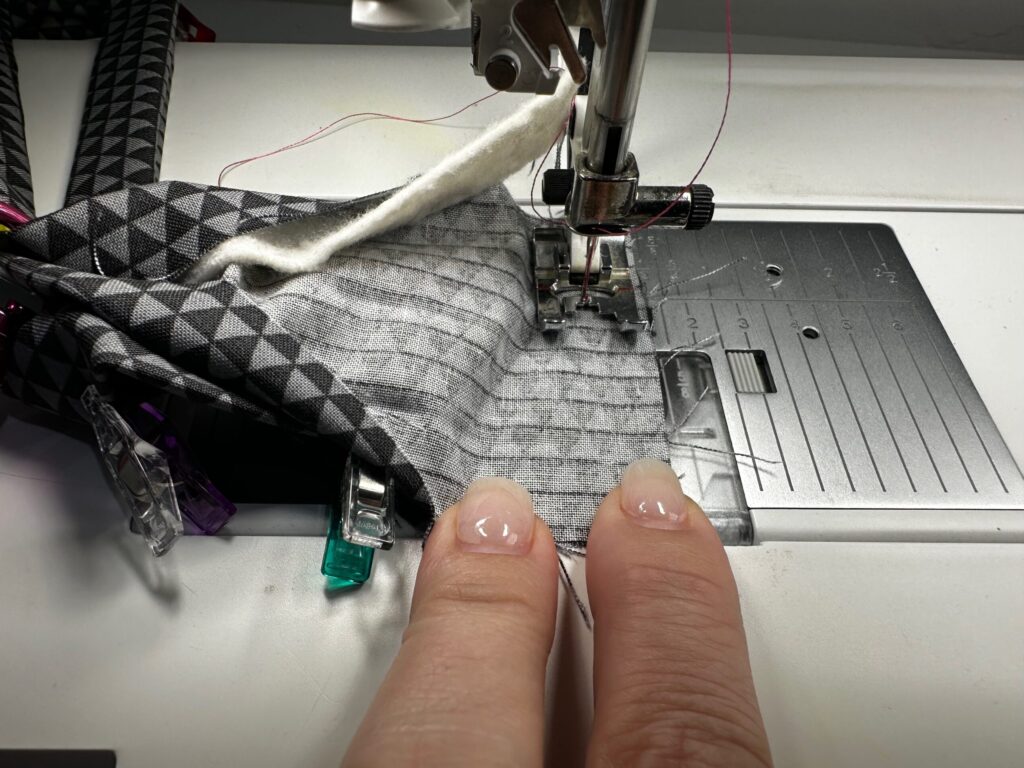
Then, trim the seam allowance to 1/4″. Press open the seam. Re-fold the long edges, abutting the batting ends inside the folds.
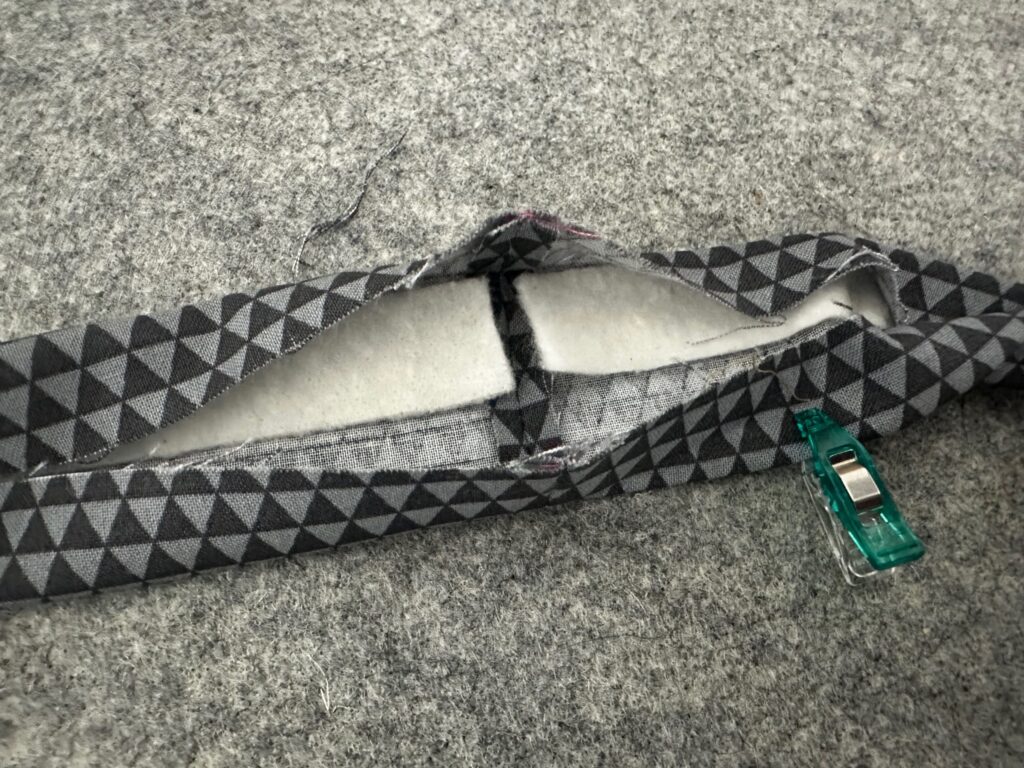
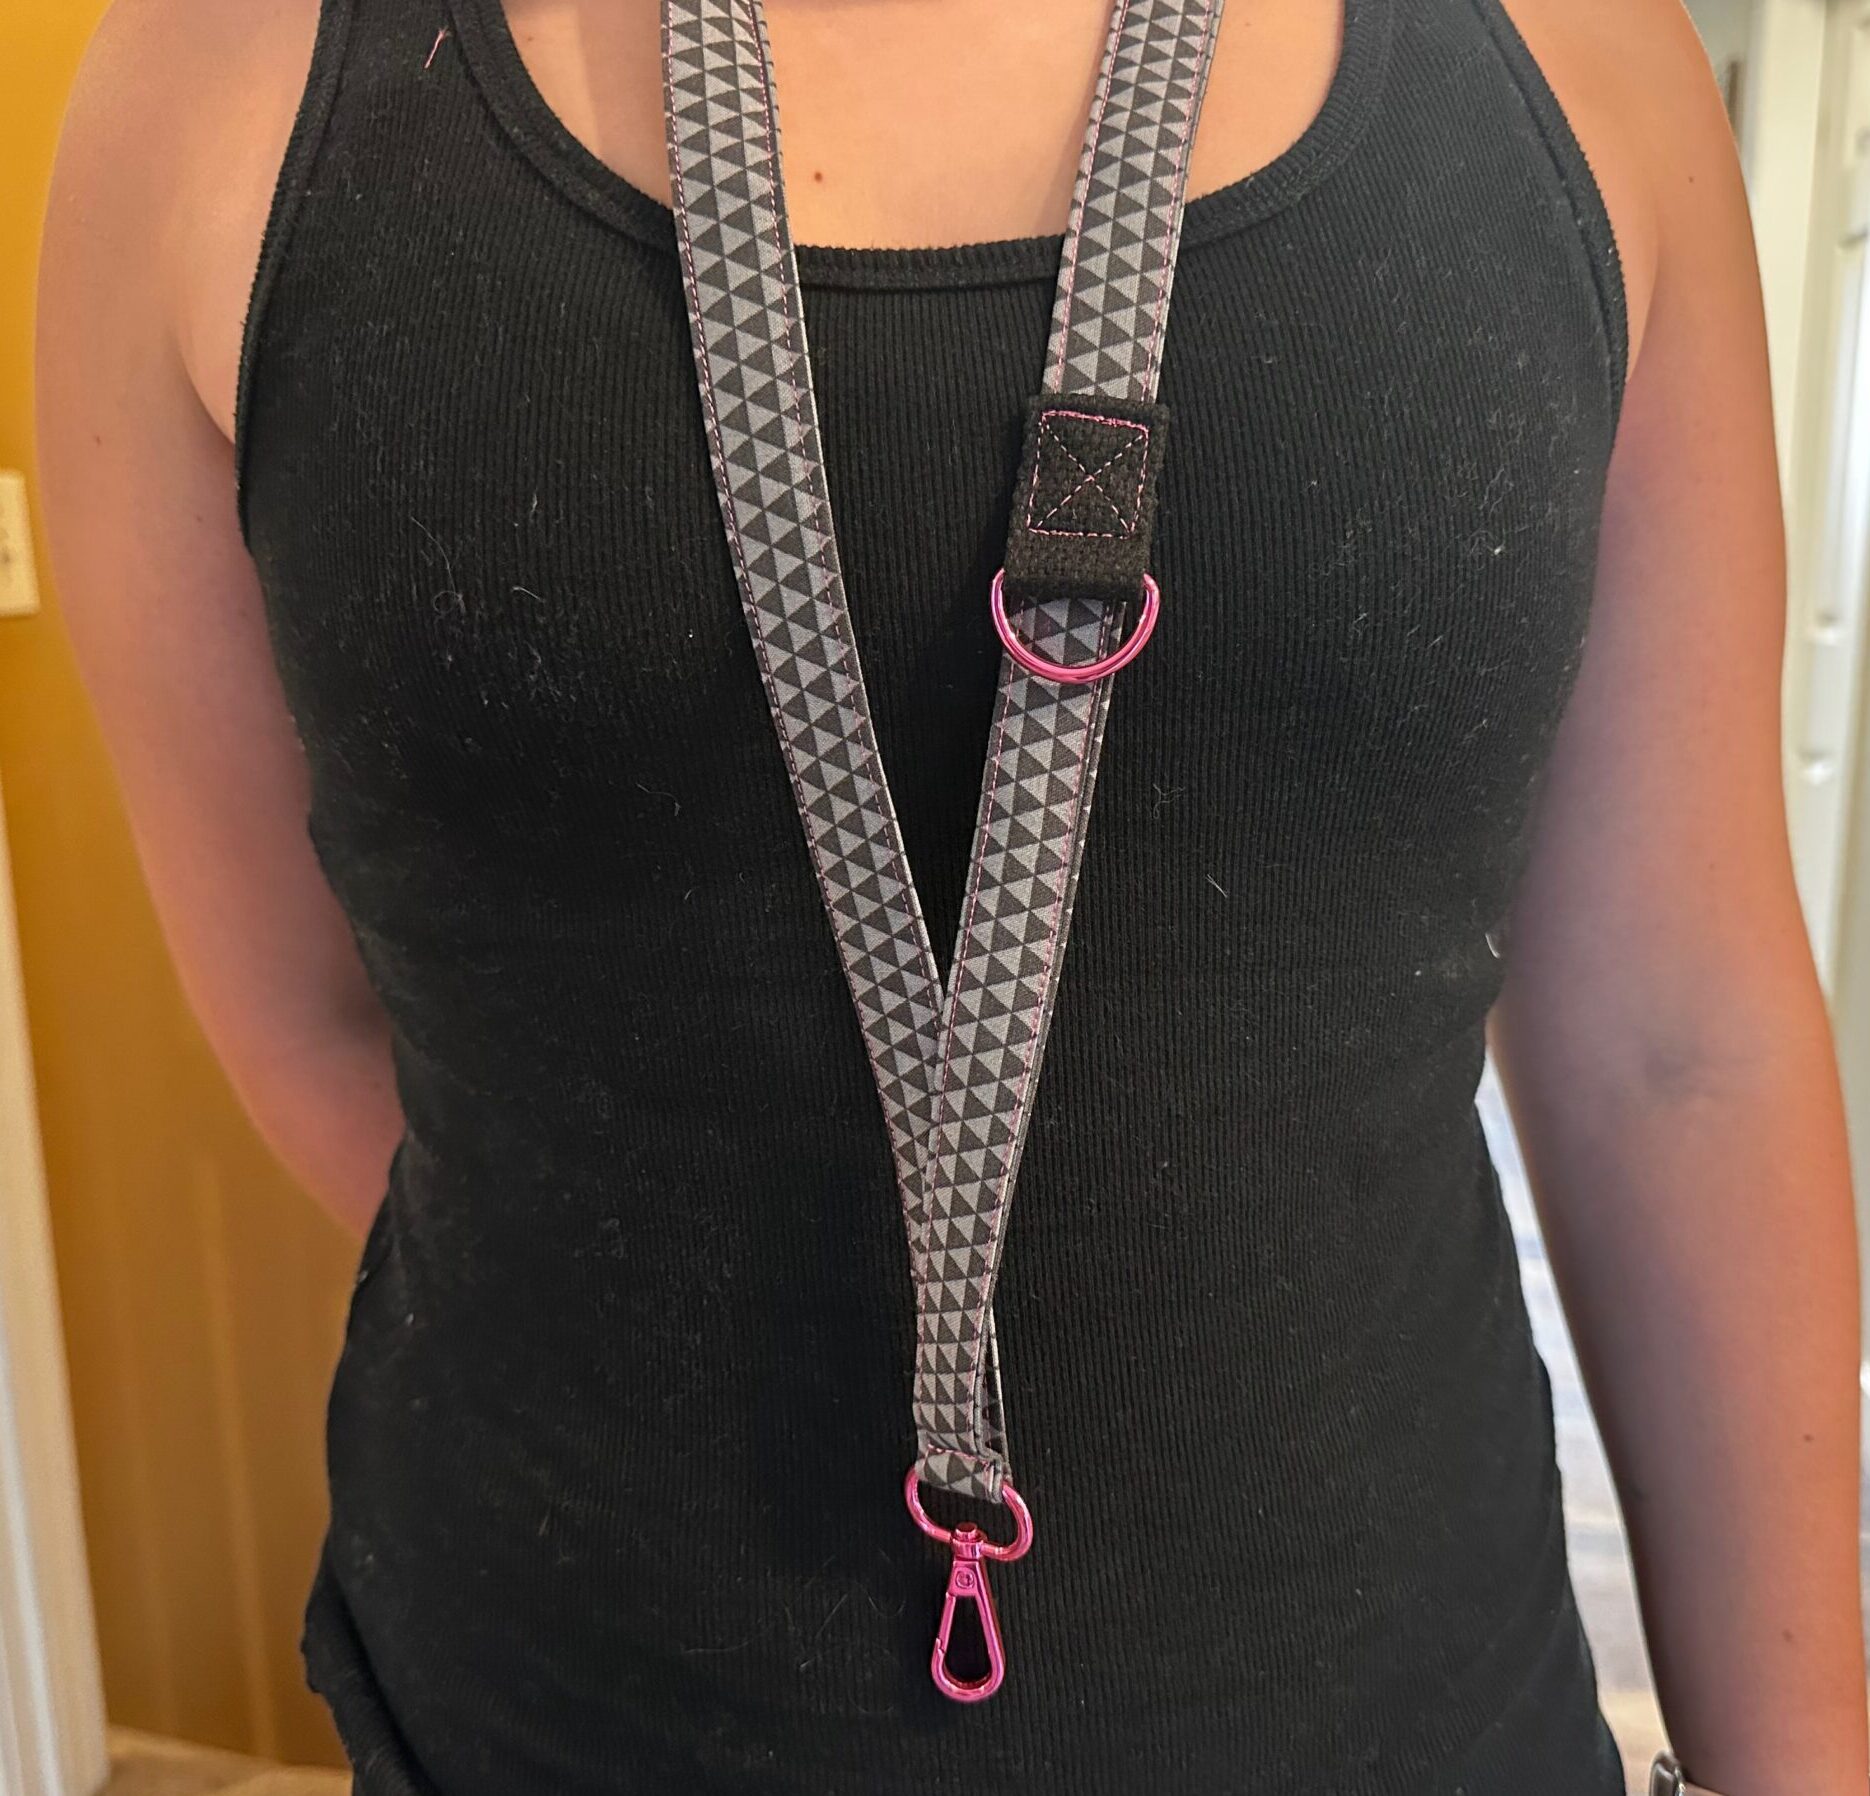
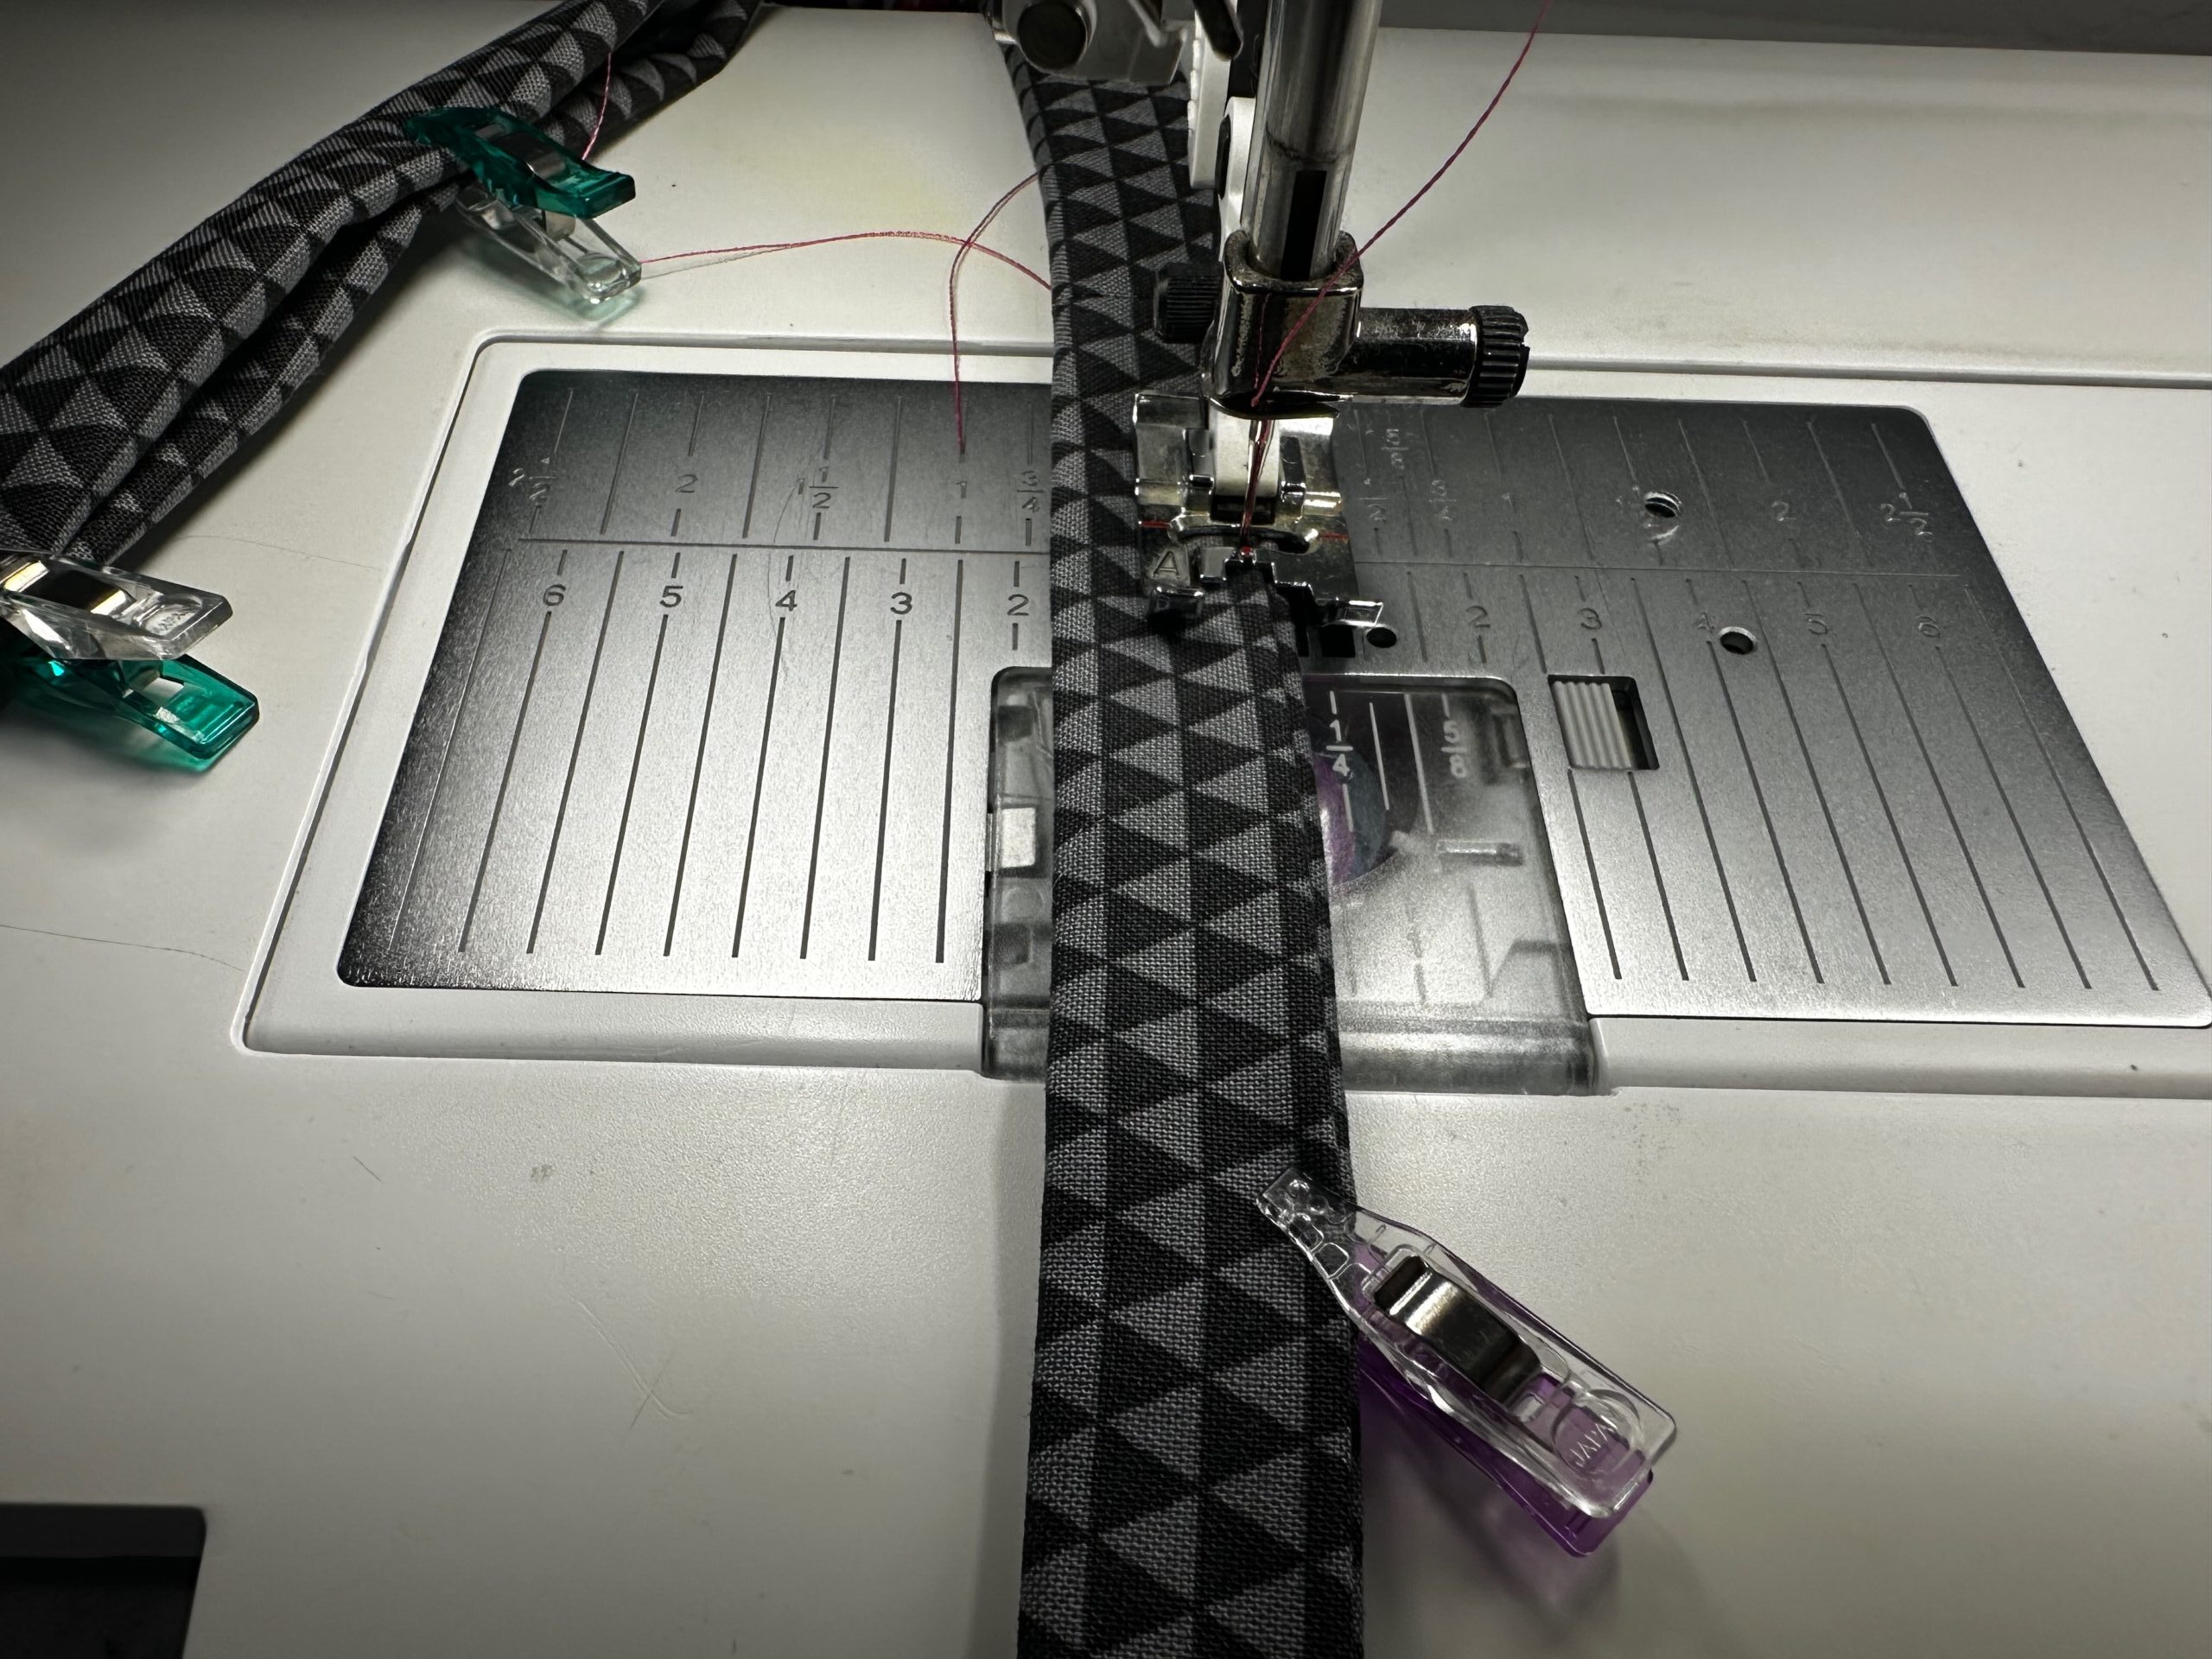
Topstitch both long edges, backstitching at the stitching beginning and end and moving the D-Ring Swivel Clip out of the way of the stitching as you reach it.
TIP: If desired, quilt through all layers to add more embellishment to the lanyard. Be sure to navigate around the hardware as needed.
Stitch across the lanyard near the D-Ring Swivel Clip through all layers to anchor it.
ADDITIONAL D-RING TABS
To add functionality to the lanyard, sew webbing loops with D-Rings attached. You may only want one extra D-Ring or one on each side for a more balanced look.
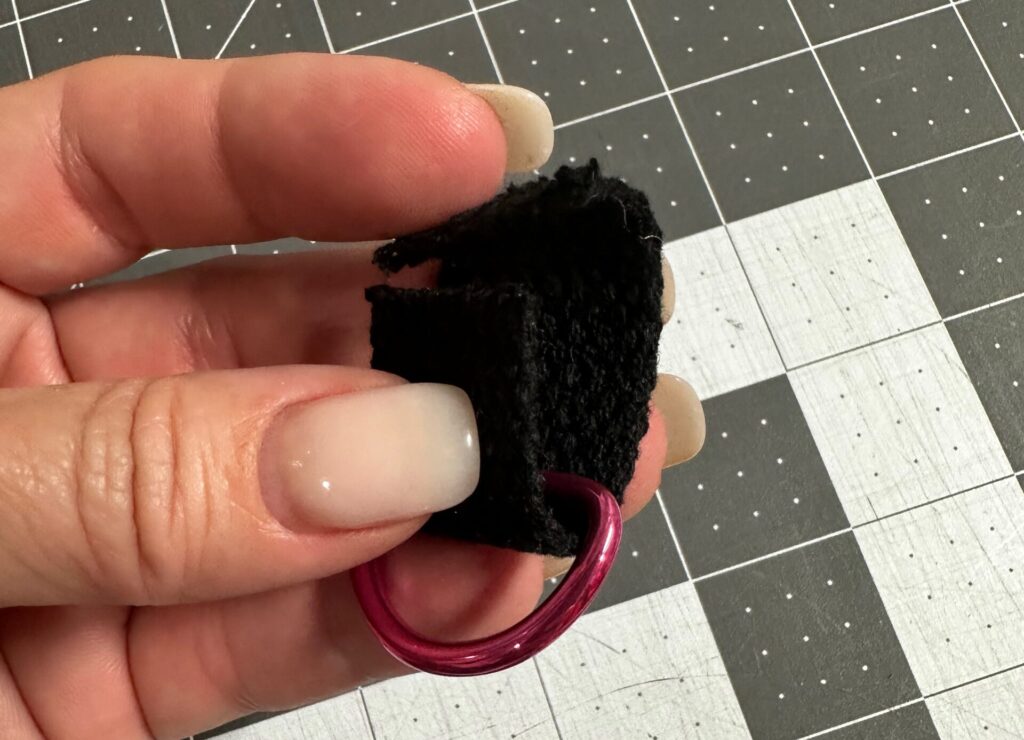
Cut a 3″ length of 3/4″-wide webbing. Using a flame from a candle or match, carefully singe the end of the webbing (only if it’s nylon or polyester – do not put a flame to cotton webbing).
Place the webbing through a D-Ring. Fold one webbing end 1/2″ to the wrong side, and then match the opposite webbing end to it.
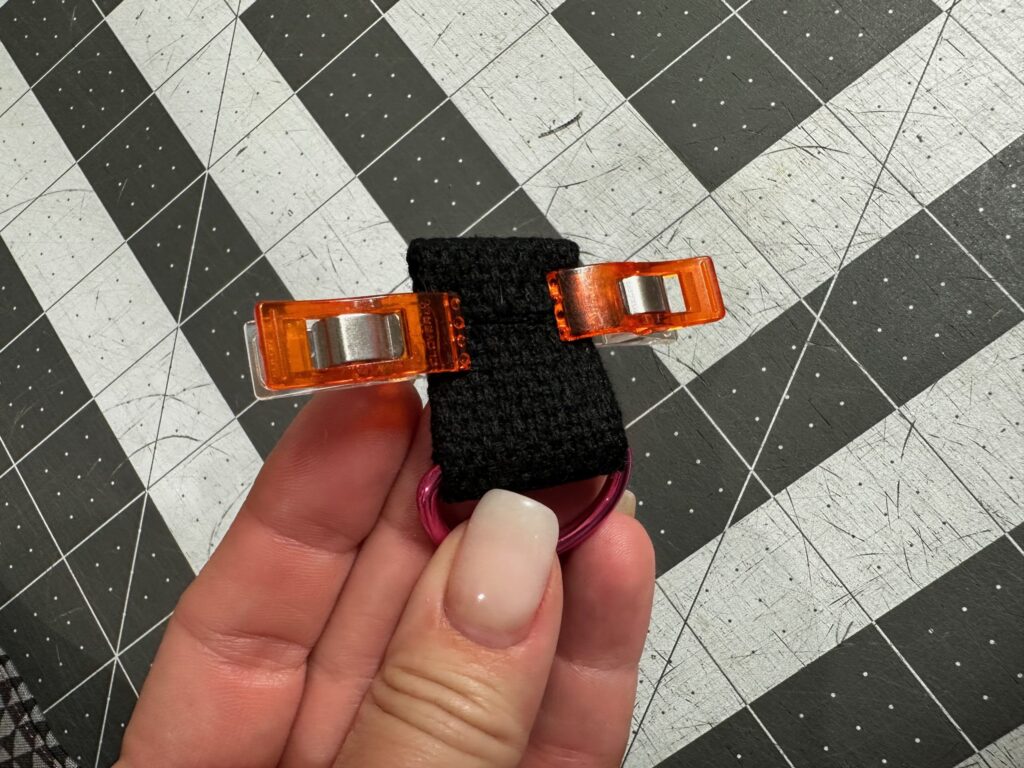
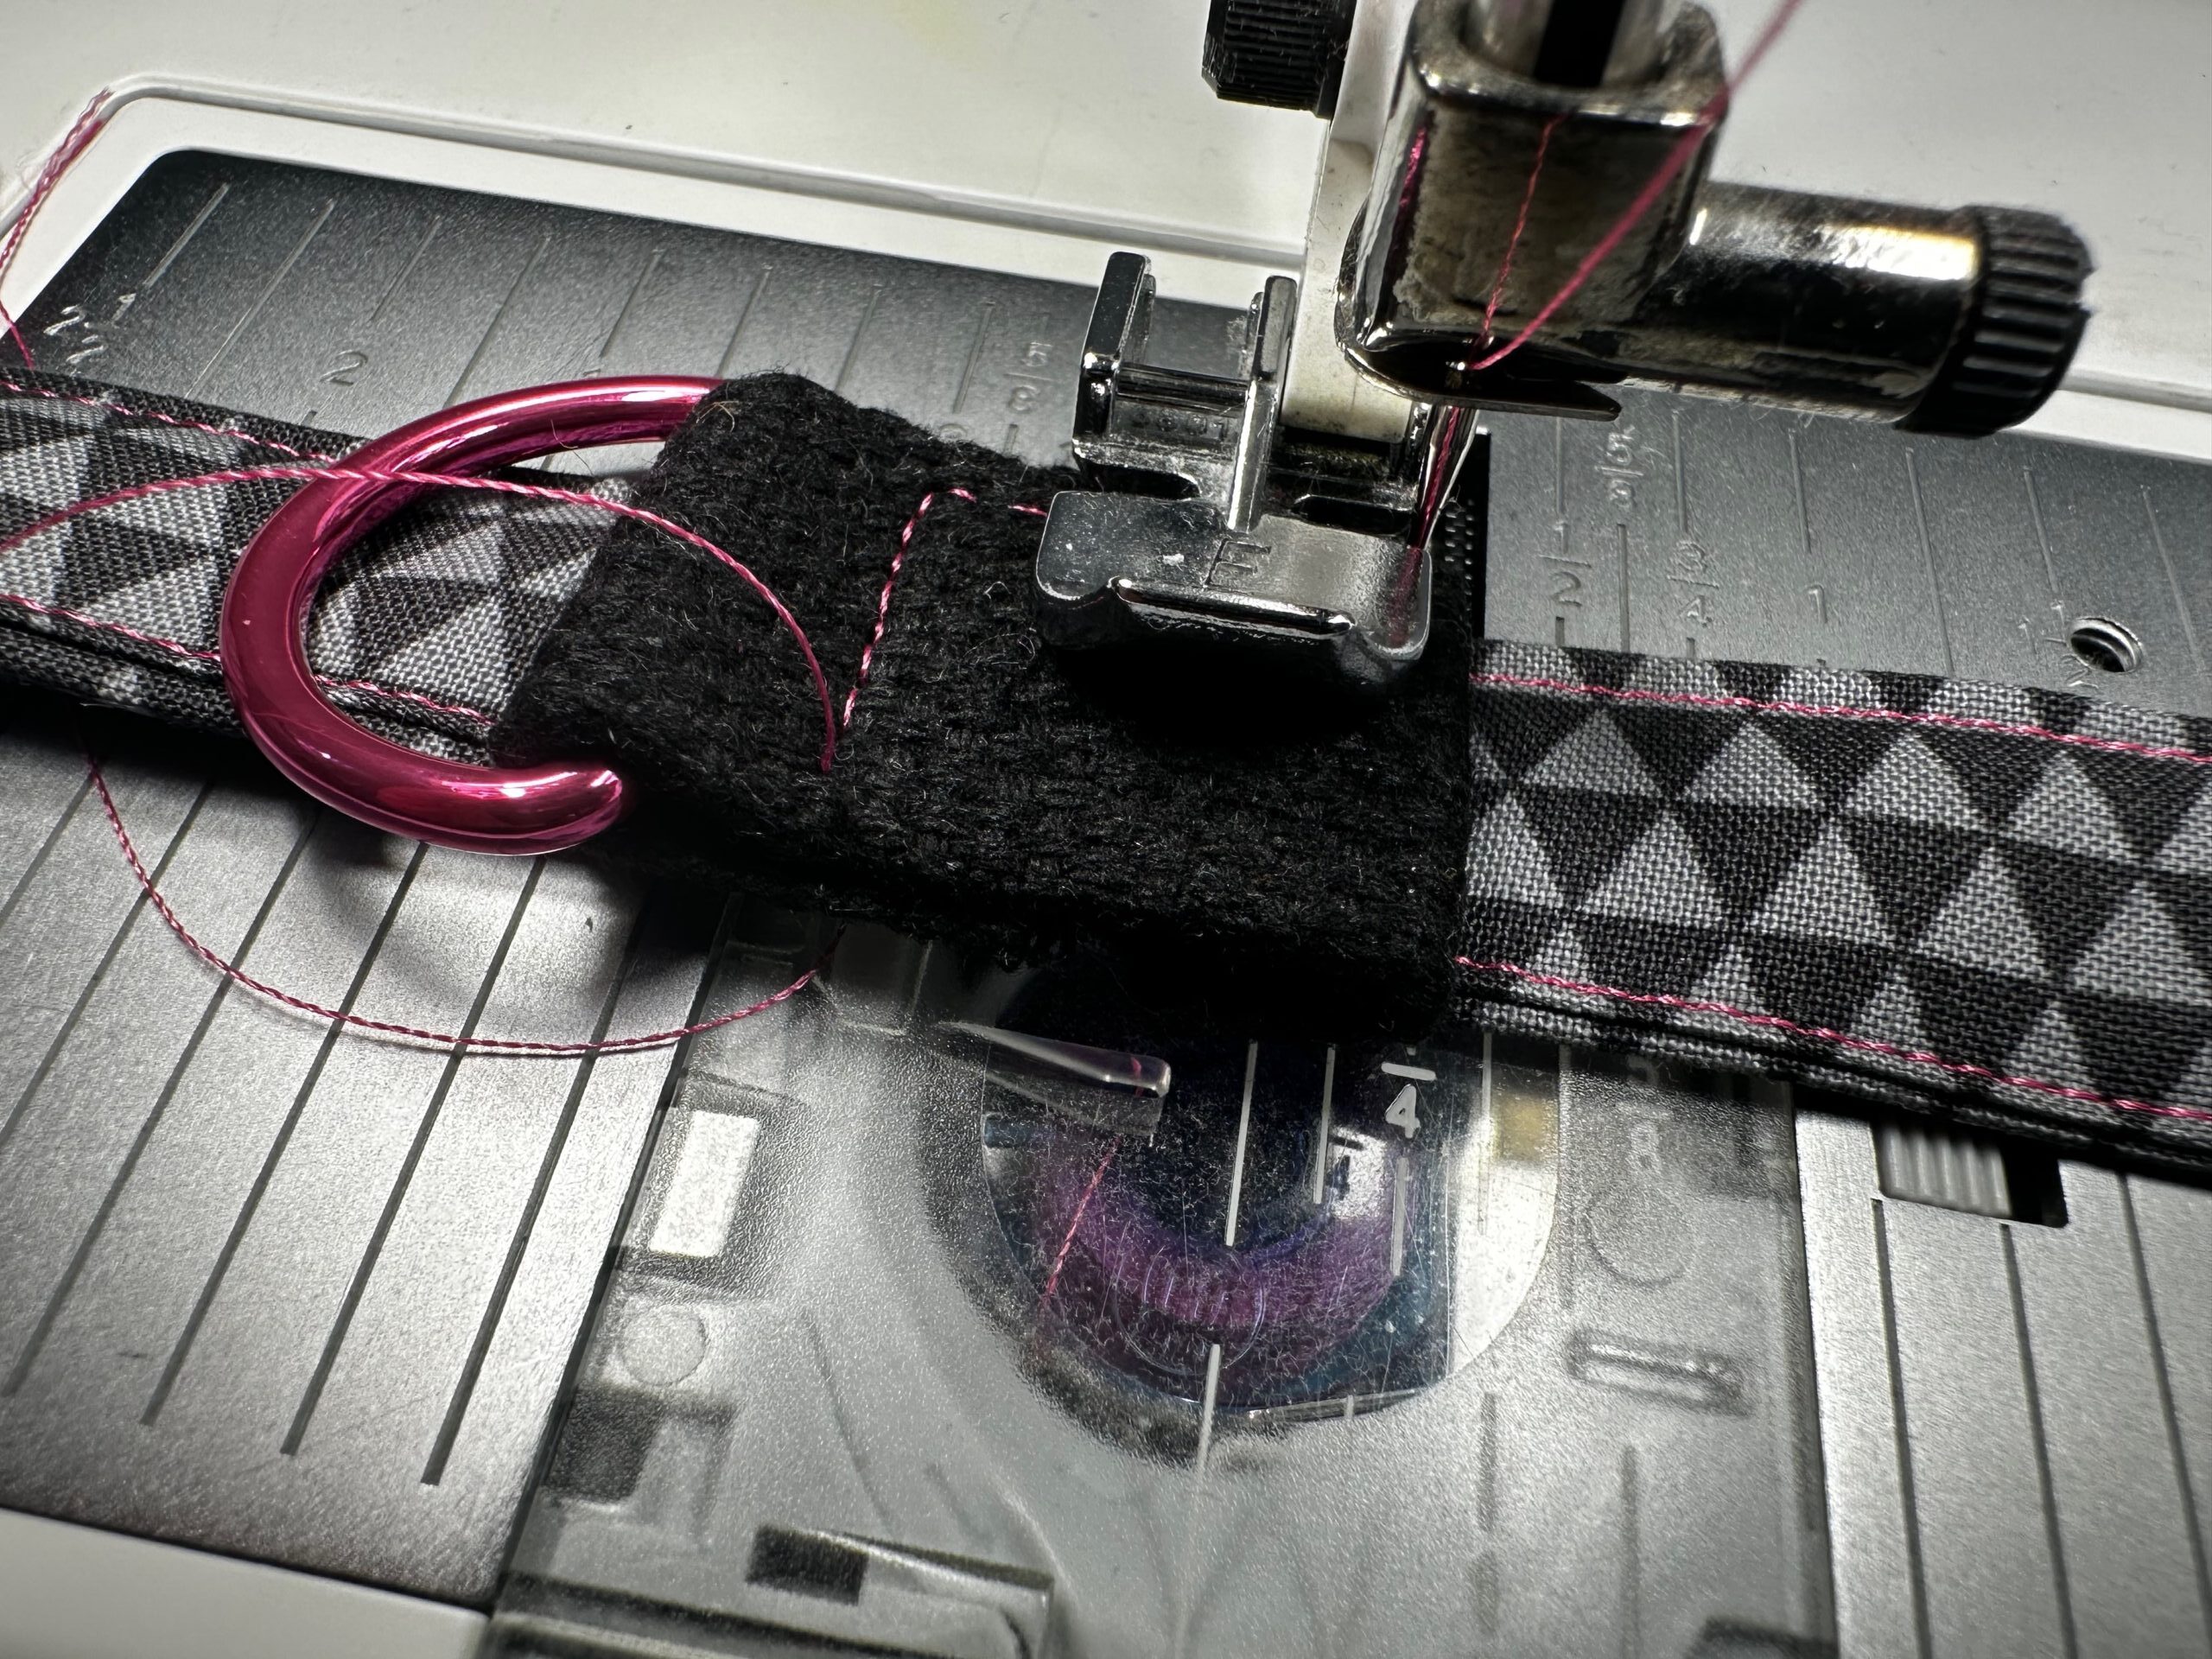
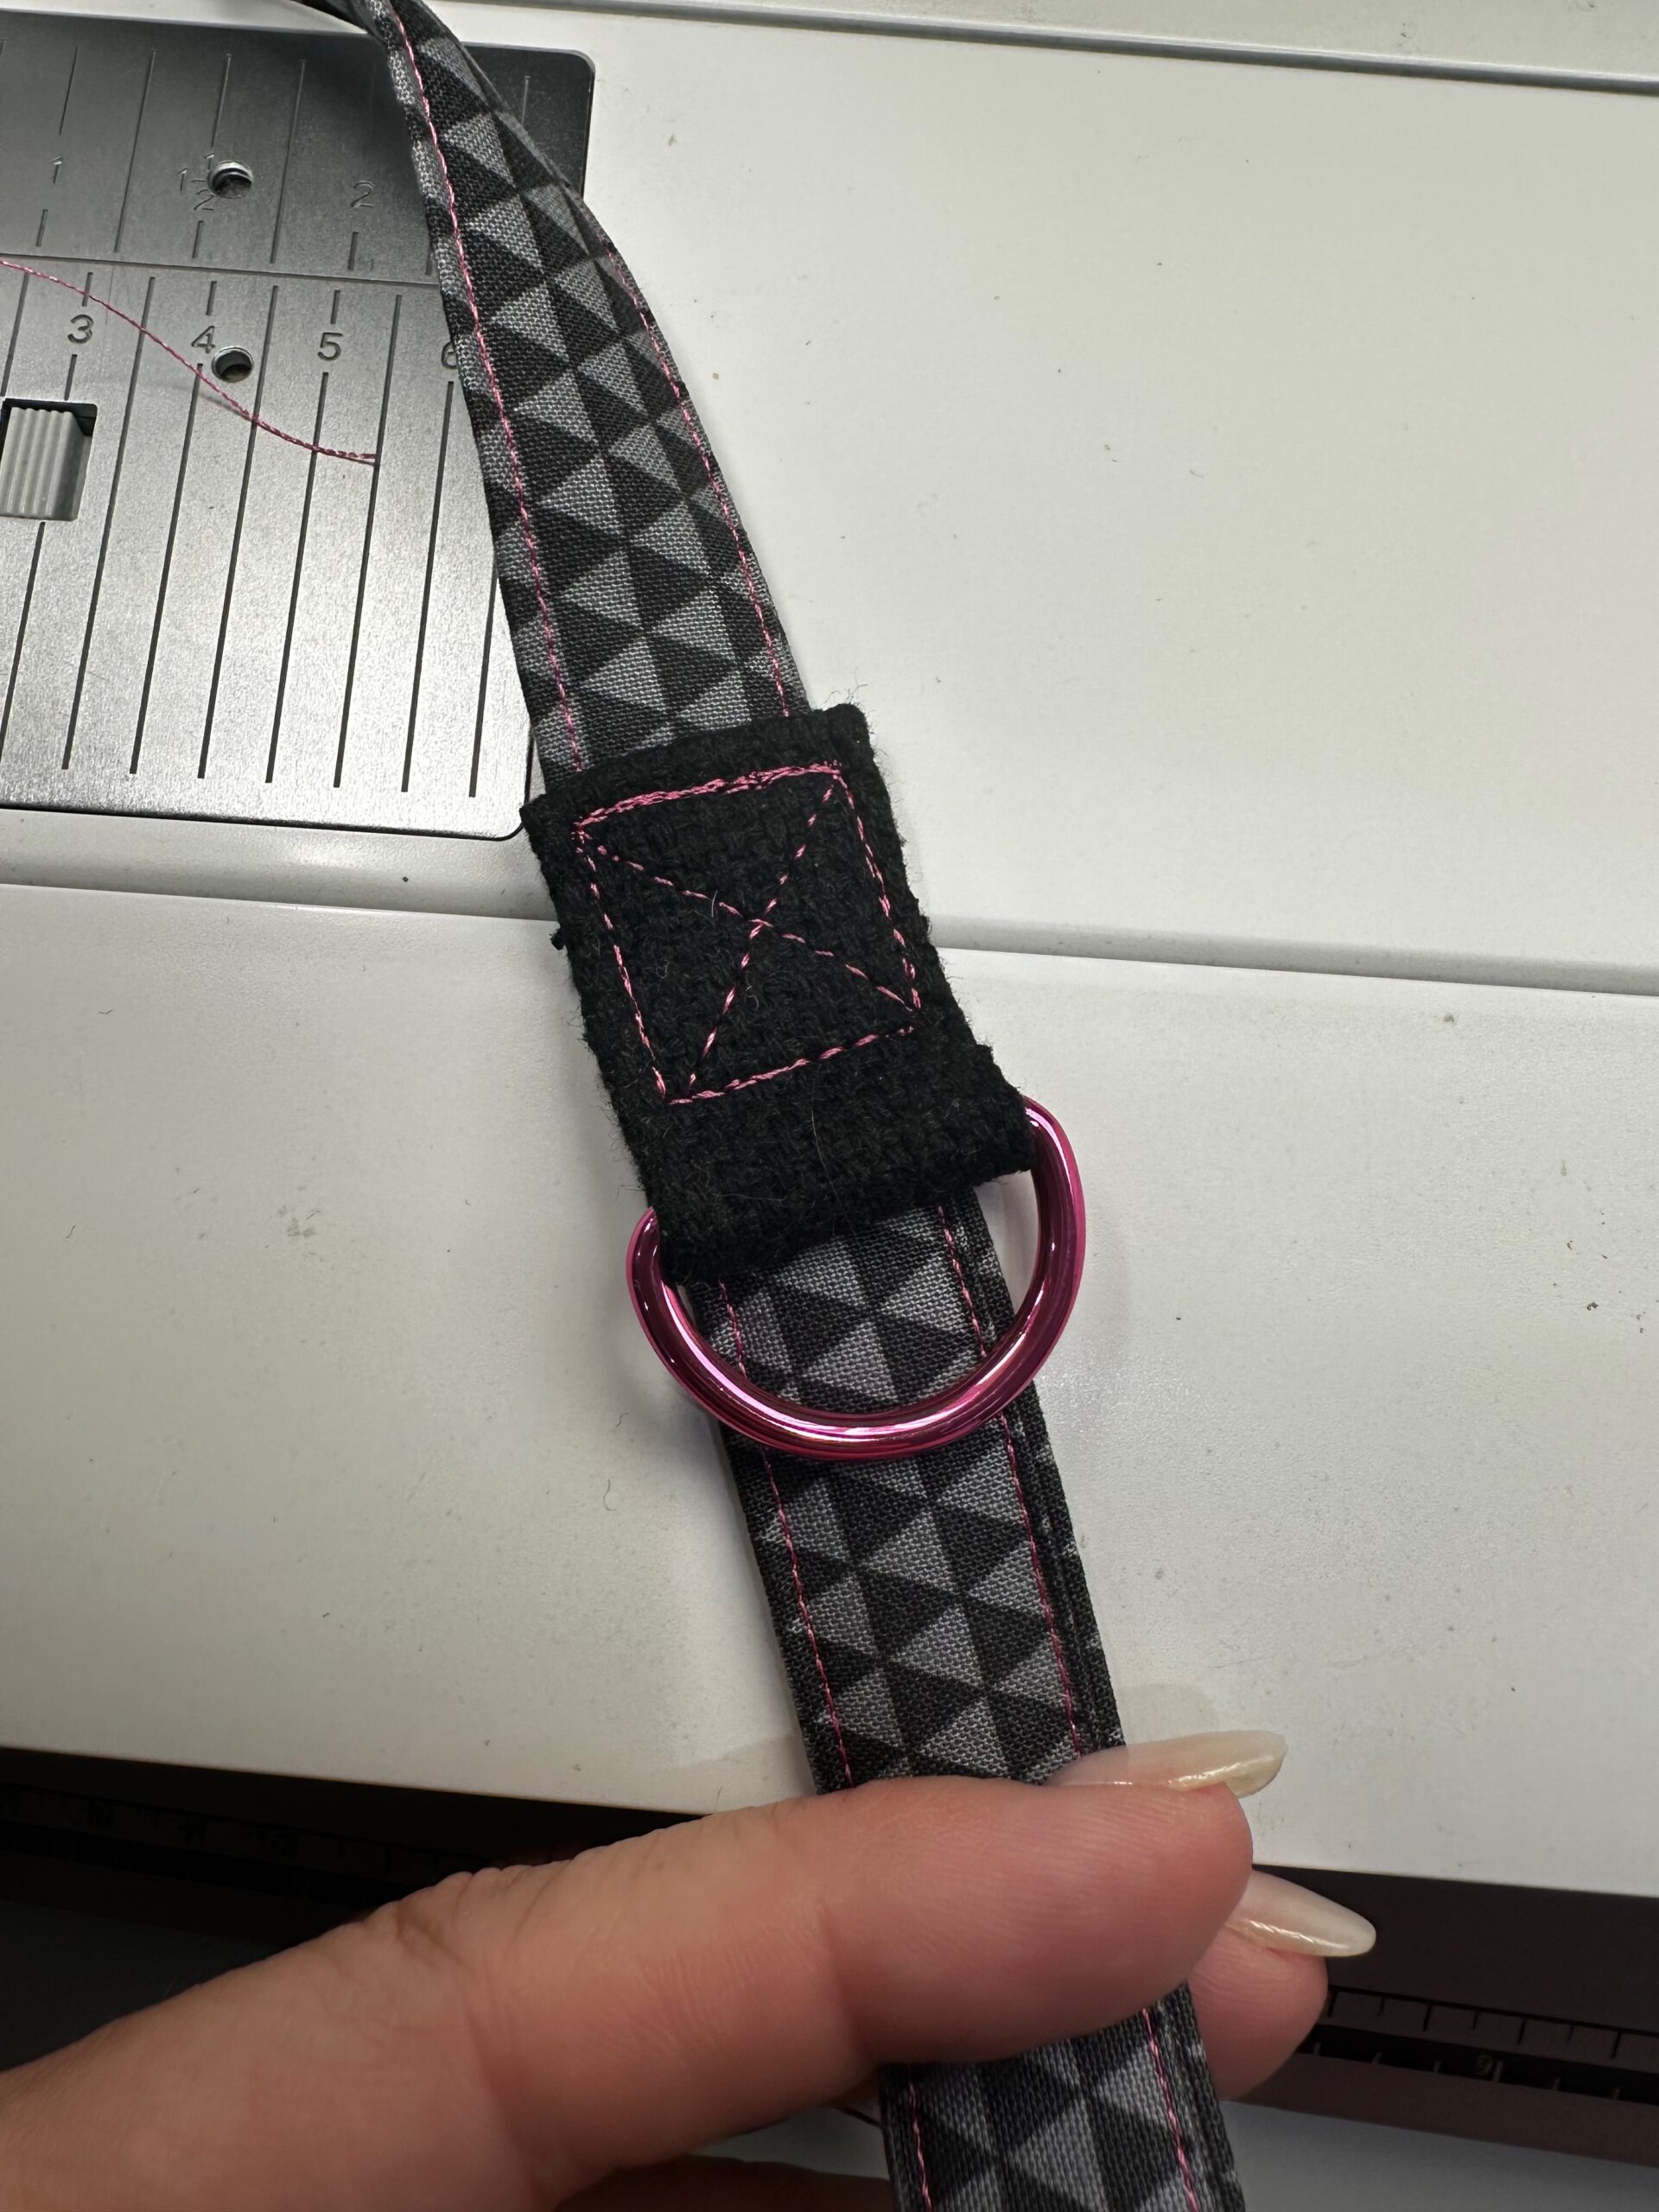
Place the webbing tab where desired on the lanyard right side. When satisfied with the placement, clip the webbing in place so the ends are concealed
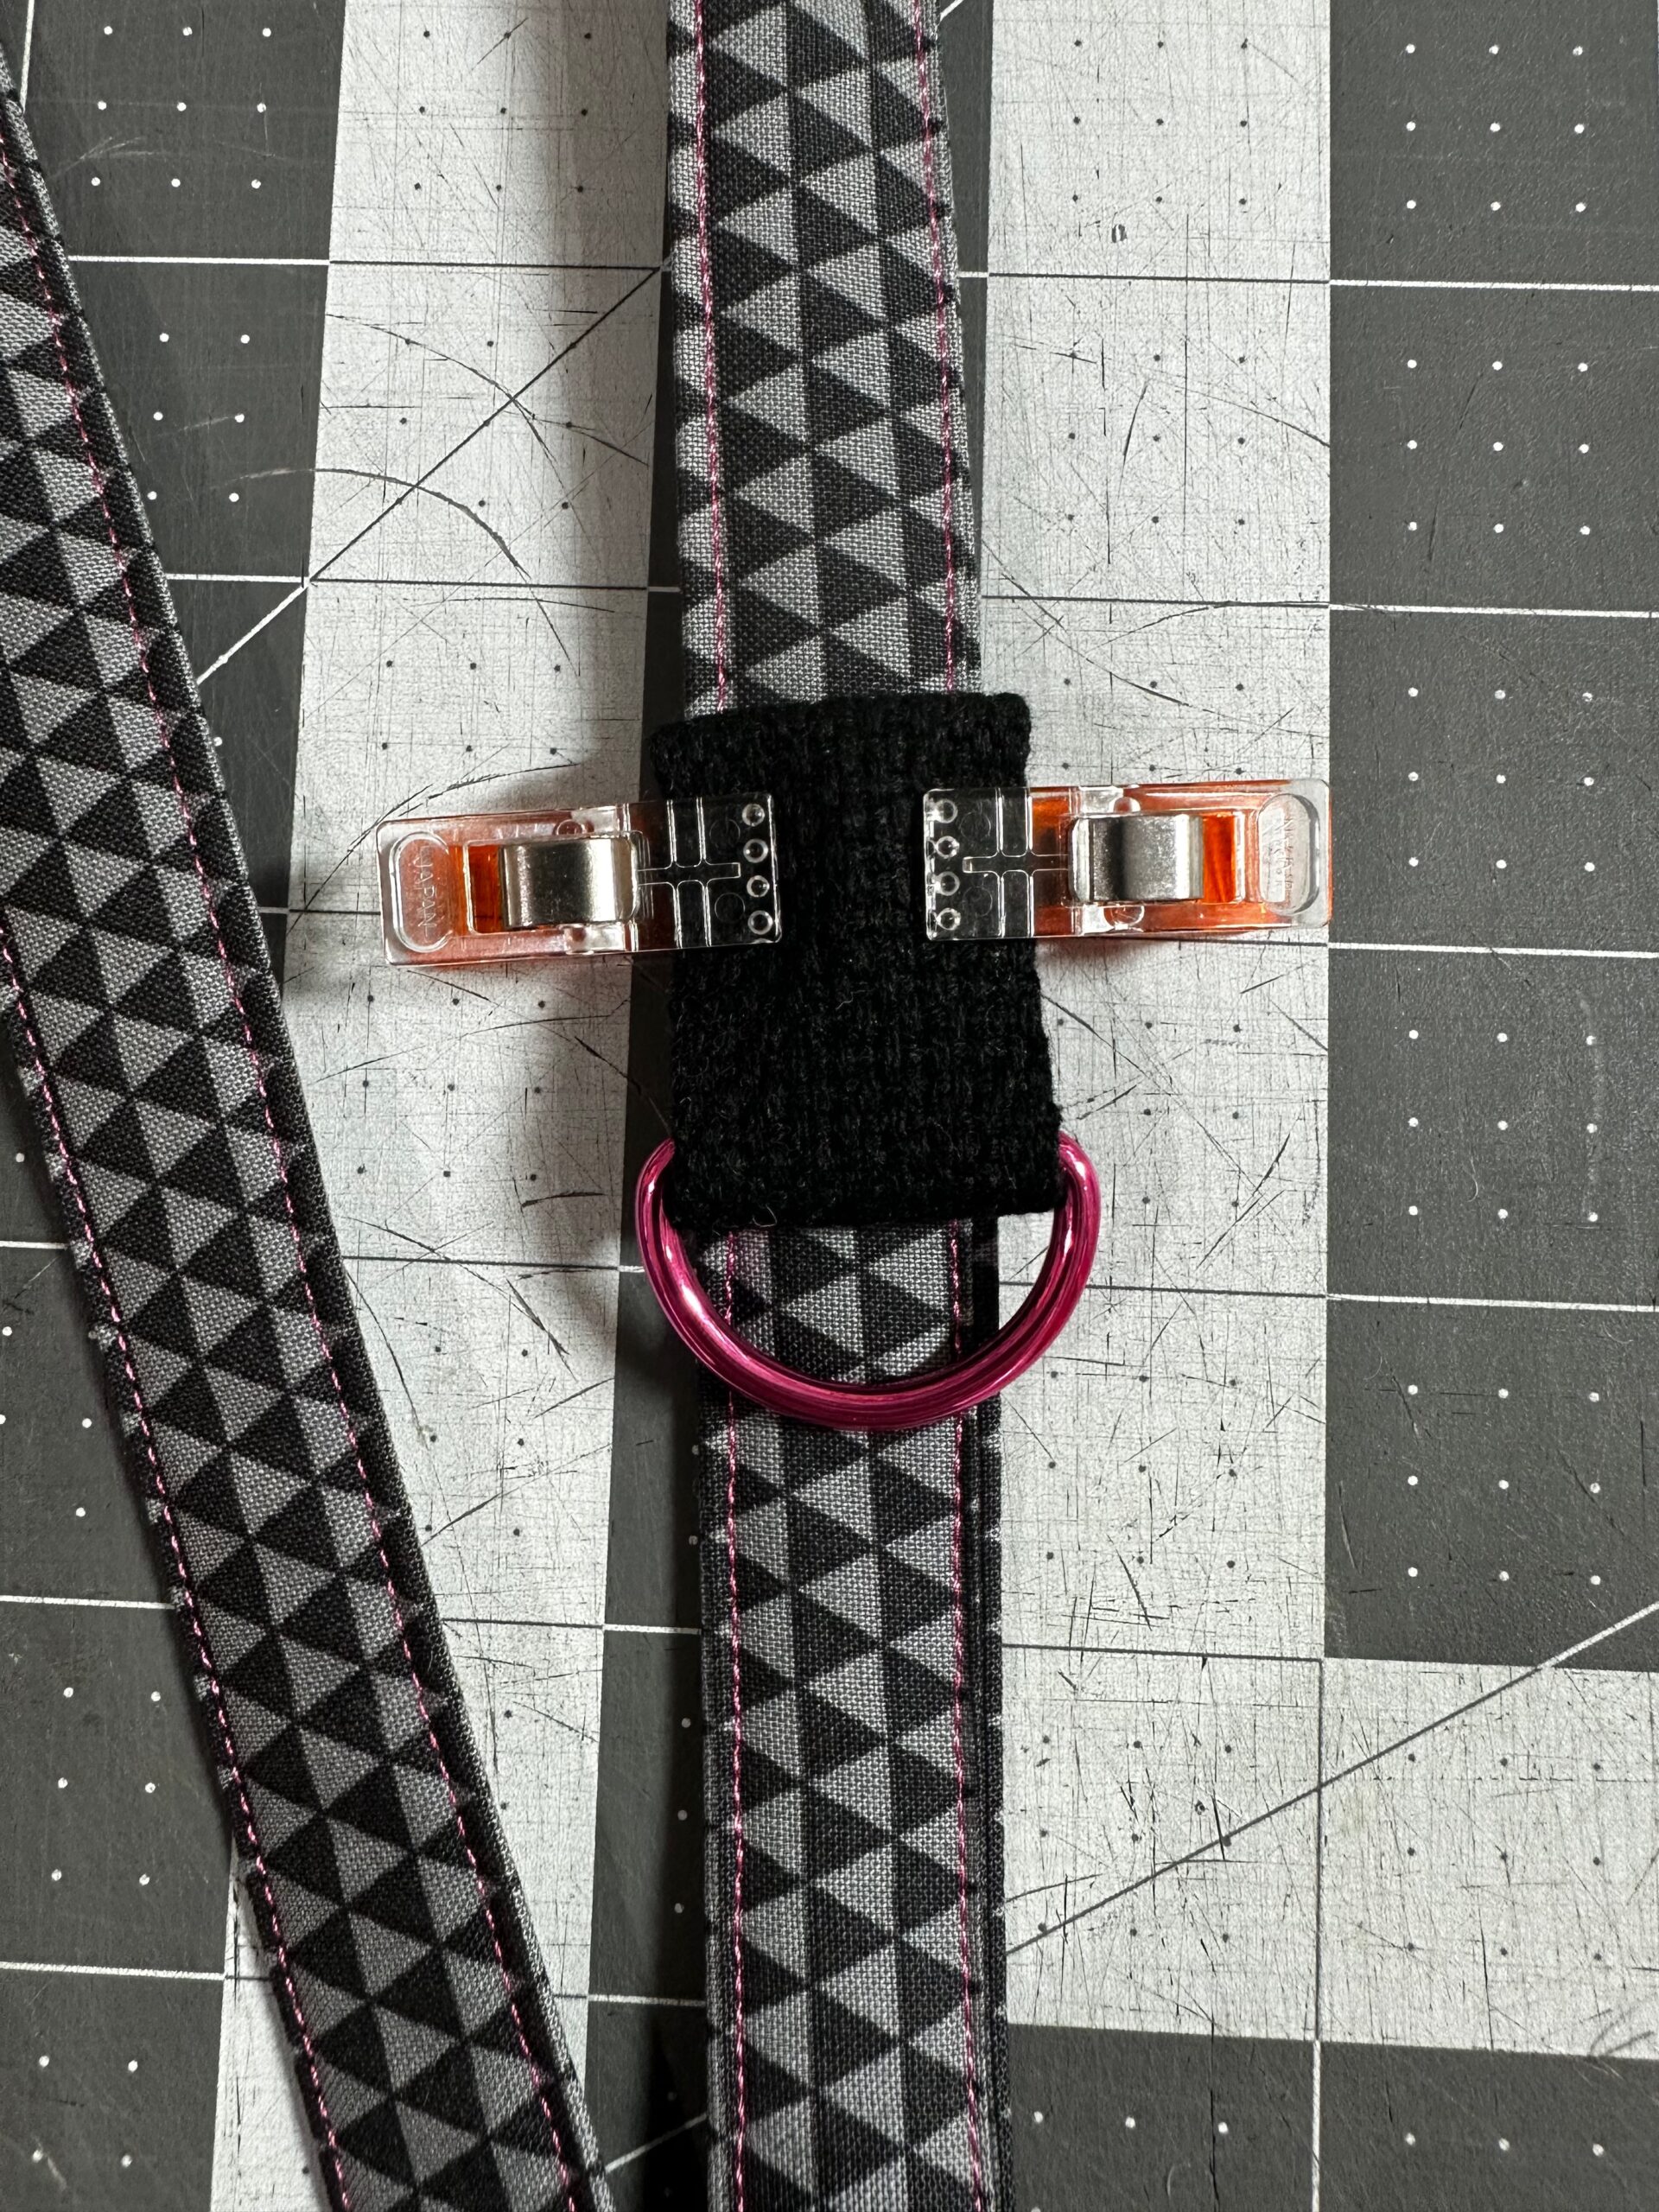
Topstitch a 1″ box at the webbing upper edge, and then stitch an X inside the box for extra reinforcement.
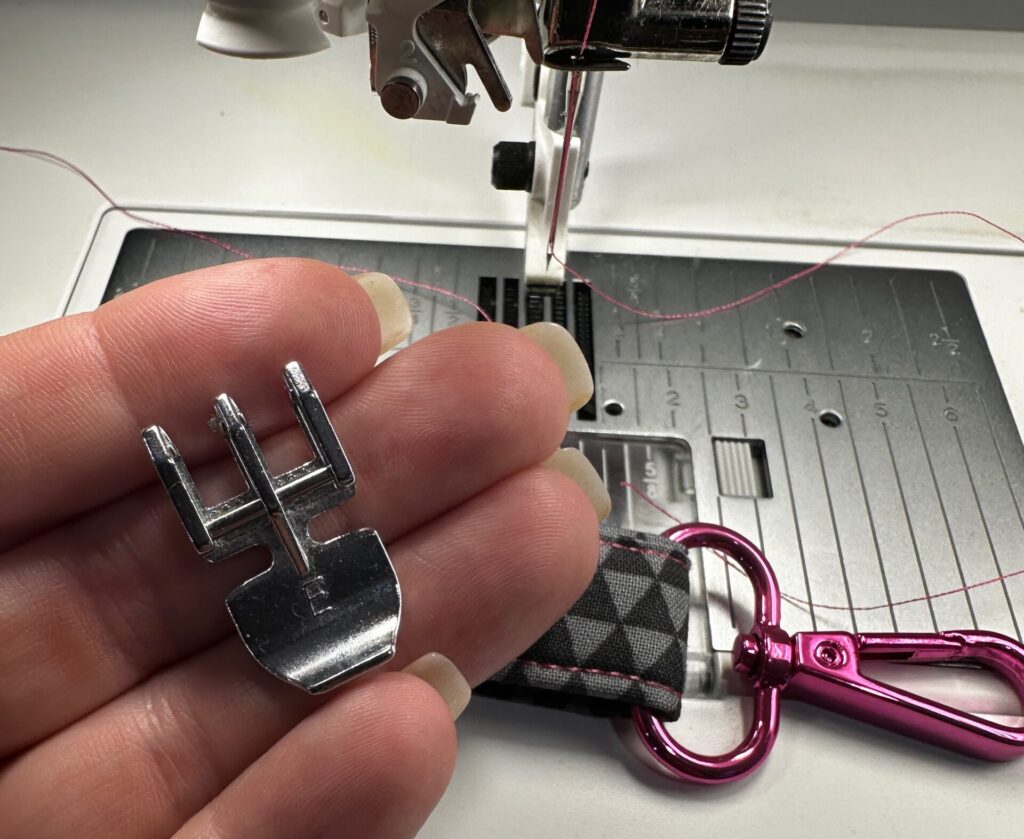
If desired, clip extra accessories to the D-Ring as needed for your function. The Lamont Accessory Duo comes with a Key Fob and Mini Zip Pouch, perfect for housing a hand sanitizer for easy access.