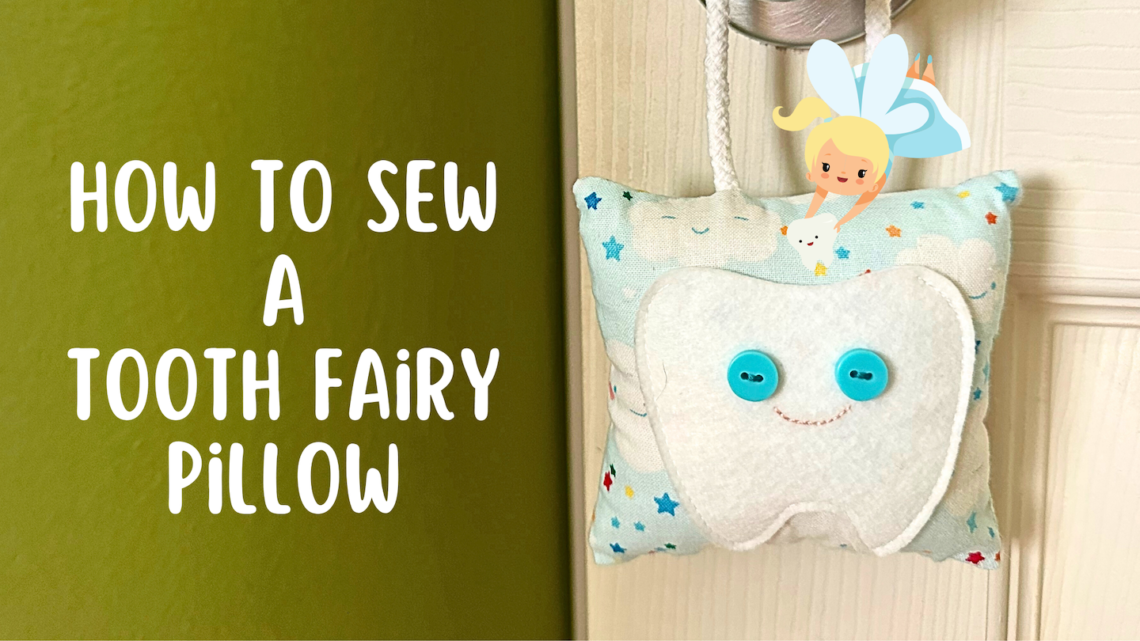
How to Sew A Tooth Fairy Pillow
How to Sew a Tooth Fairy Pillow
for National Tooth Fairy Day!
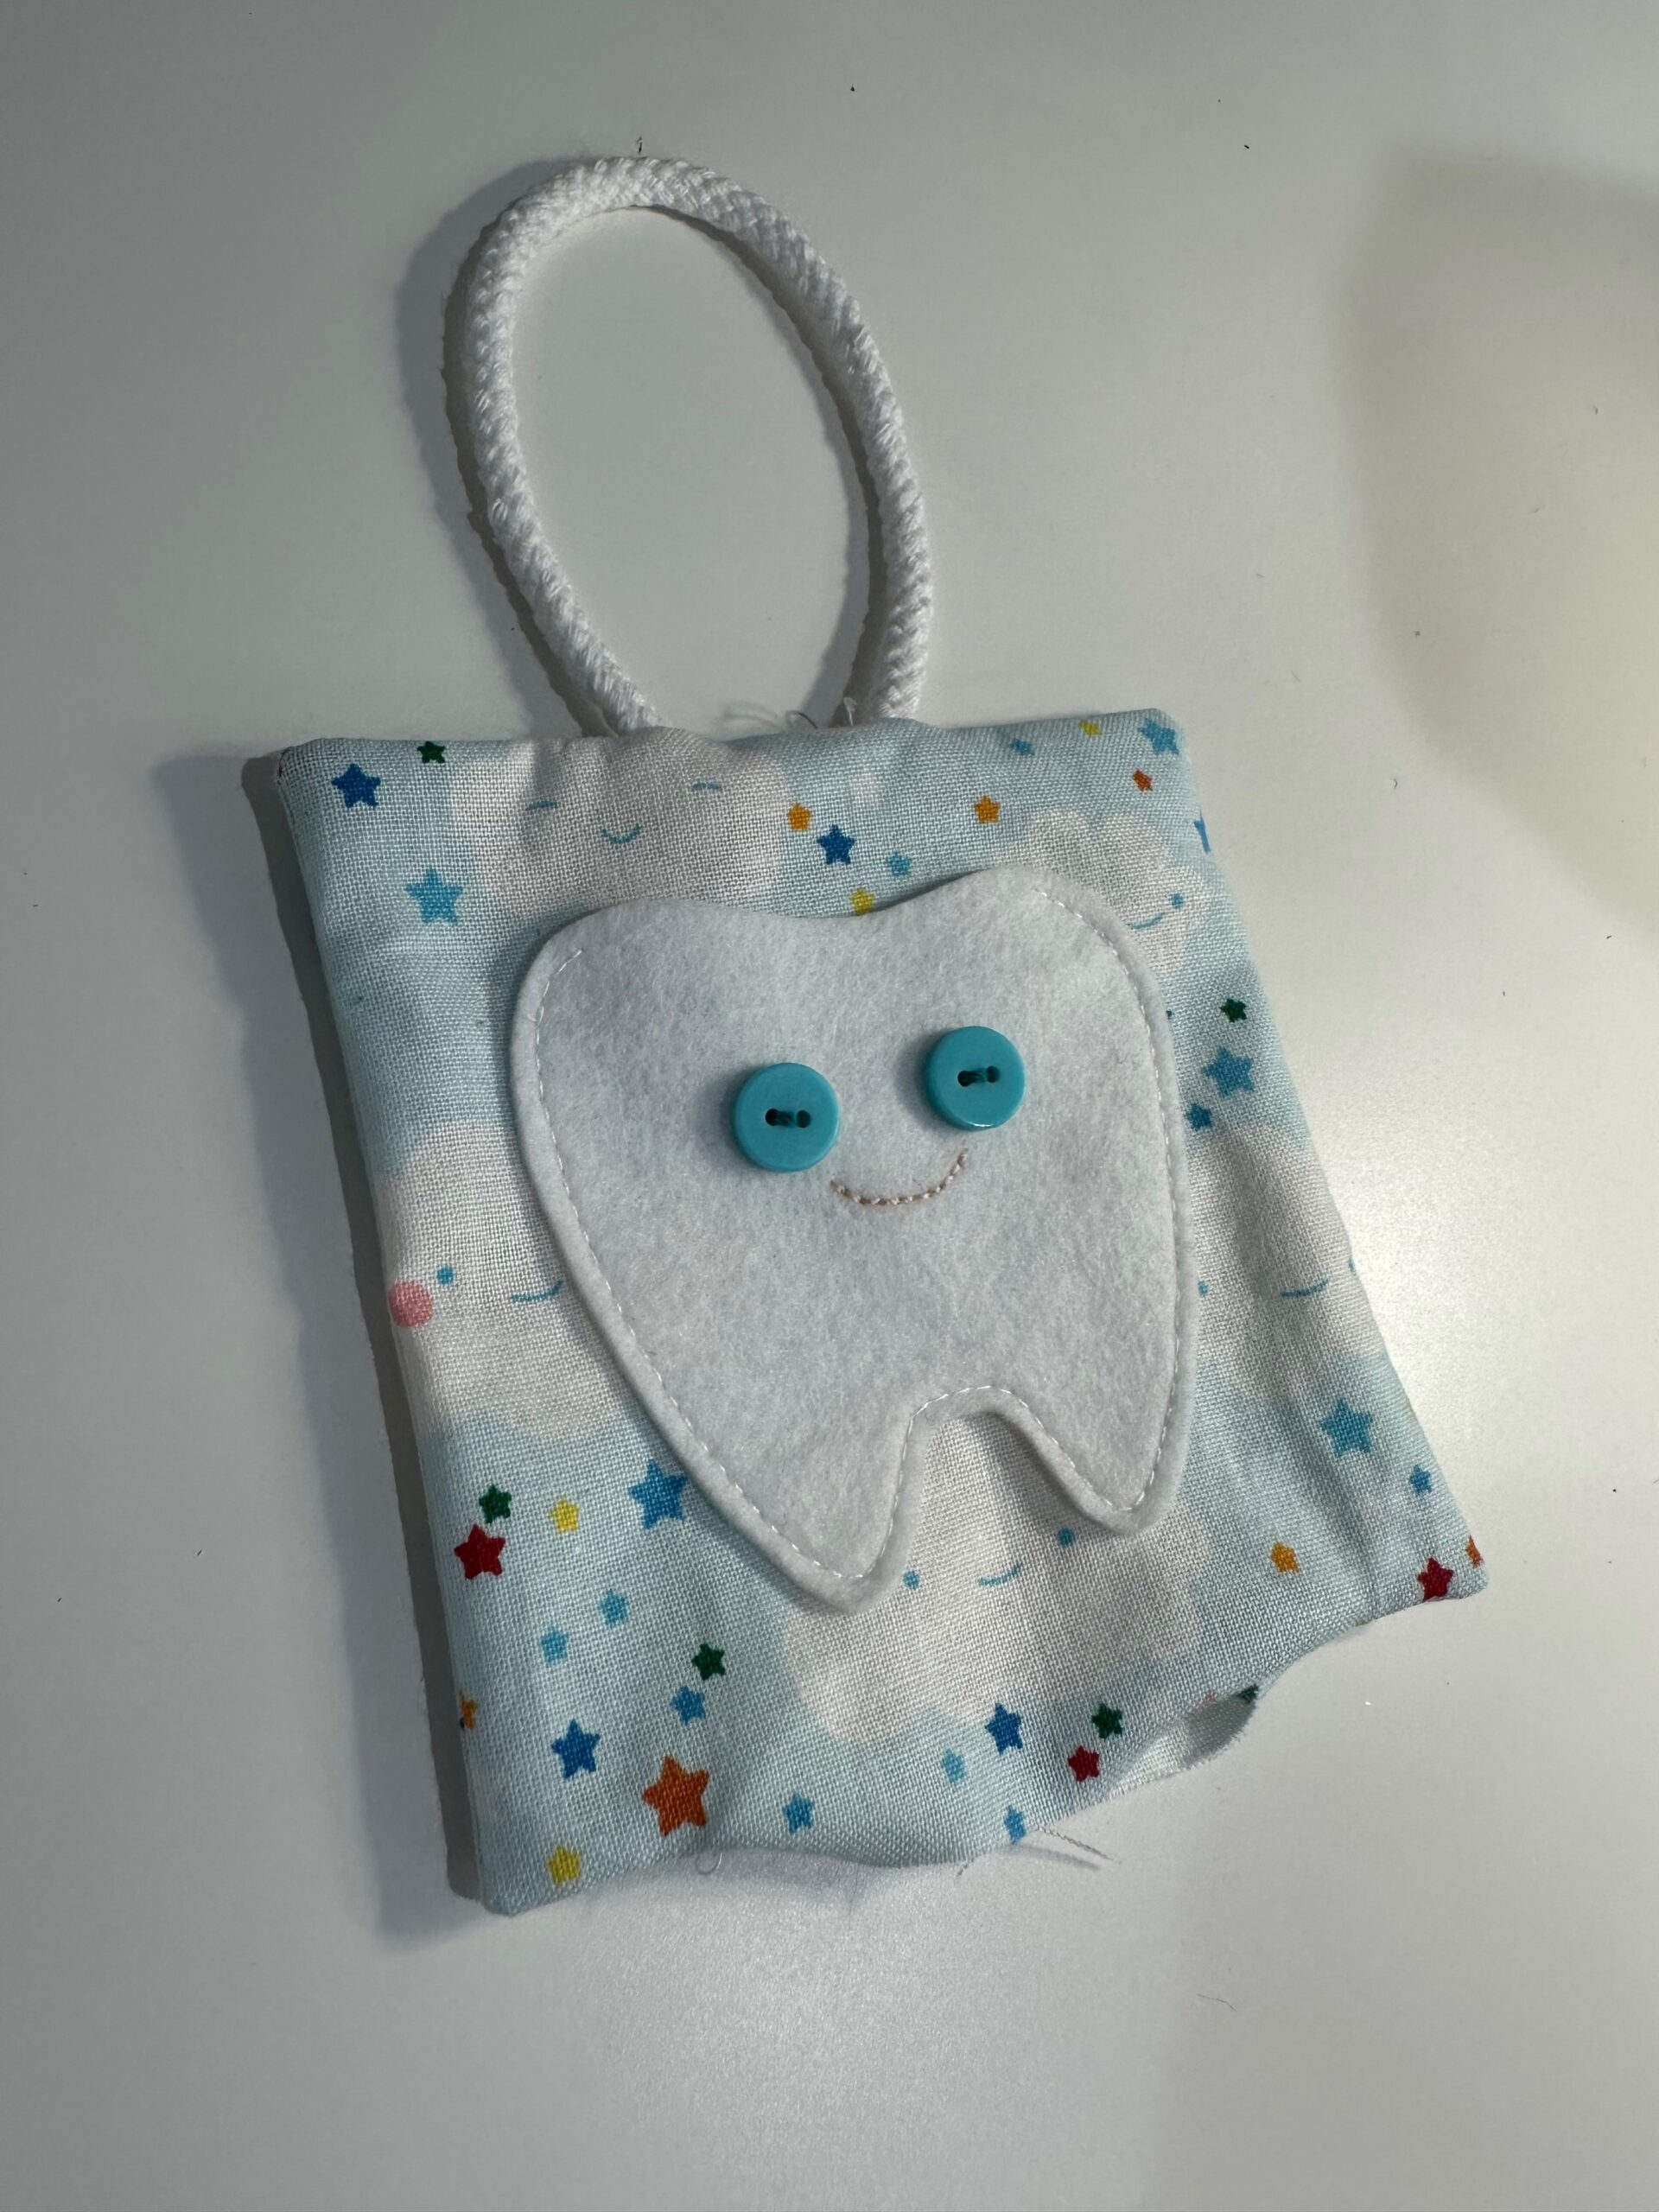
Learn how to sew a Tooth Fairy Pillow in a few easy steps. Sulky Felty makes a great tooth-shaped pocket, while a bit of hand embroidery stitches a smile. Dive into your button stash for the eyes, and hang the pillow from braided cord. This keepsake gift is sure to be one that’s treasured.
TOOTH FAIRY PILLOW SUPPLIES
- 3″ square of Sulky Felty – white
- (2) 4 1/2″ squares of quilting cotton fabric
- Sulky 50 wt. Cotton Thread
- Organ® size 70/10 Universal Needle
- Sulky 12 wt. Cotton Petites Thread (colors as desired for eyes and mouth details)
- Hand sewing needle
- 8″ length of cotton cording or ribbon
- Fiberfill
- Removable fabric marker
- Turning tool or chopstick
PILLOW POCKET
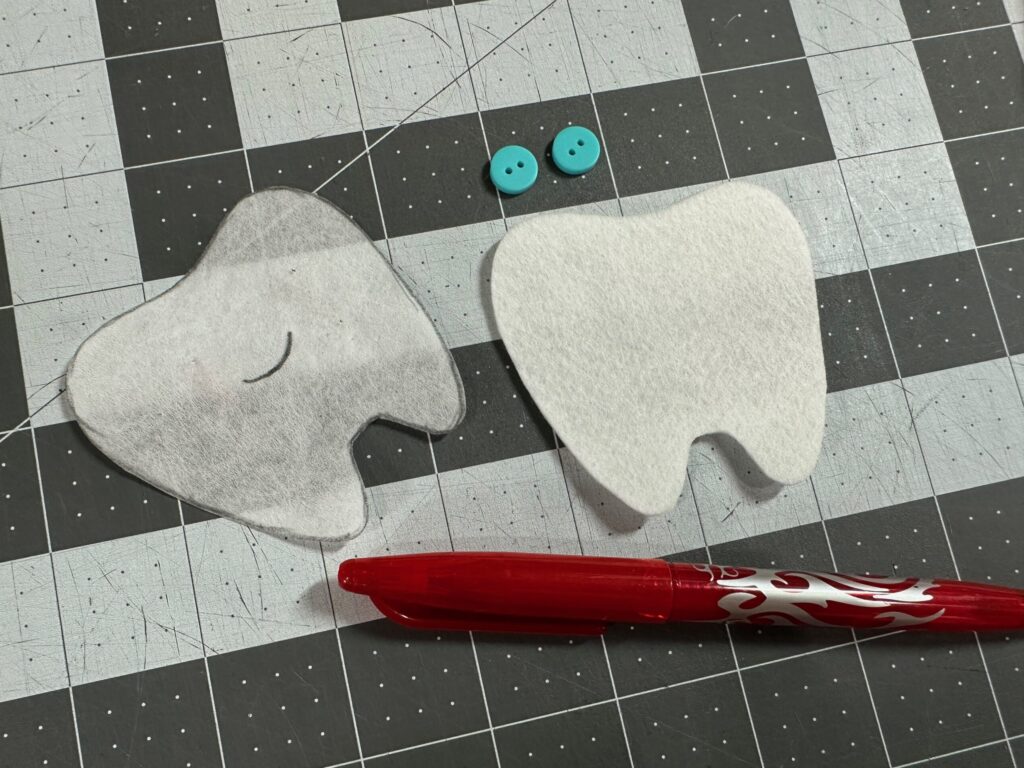
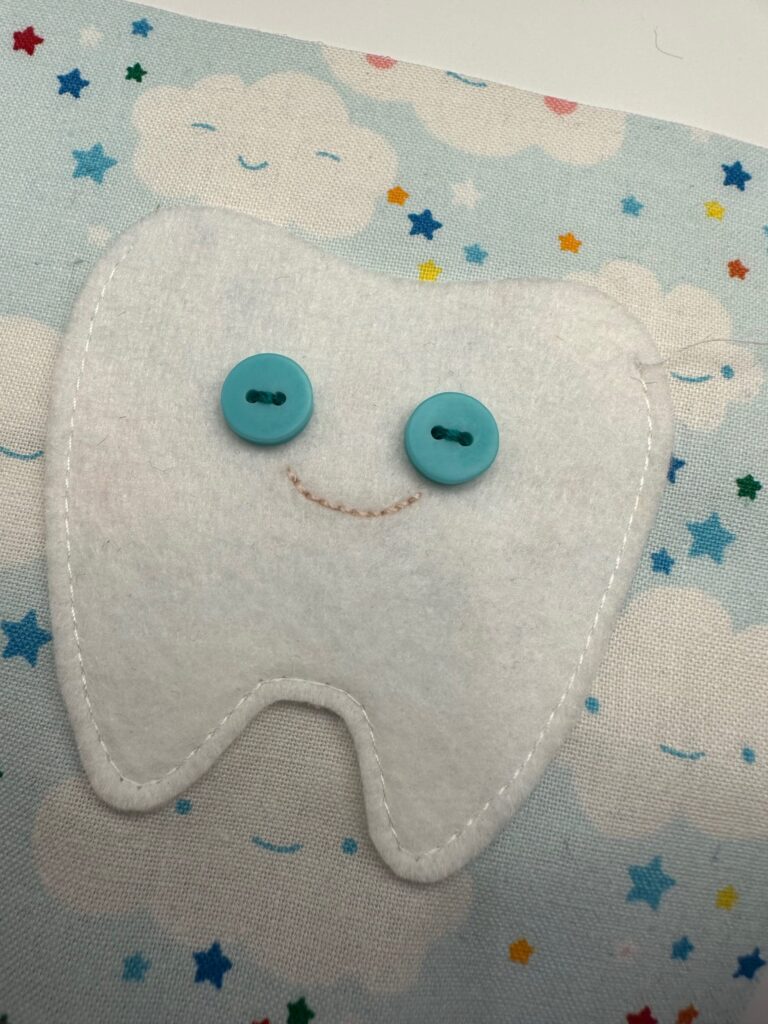
Draw a tooth shape of your choice that fits within a 3″ square. Use this tooth template to cut one tooth pocket from the white Felty.
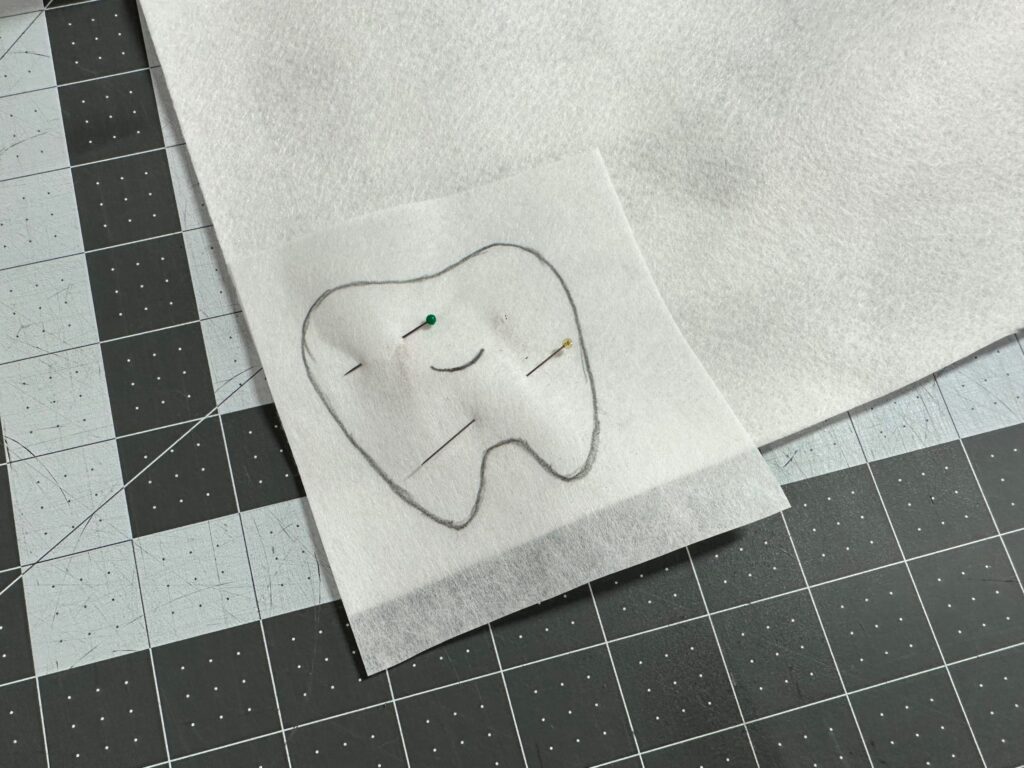
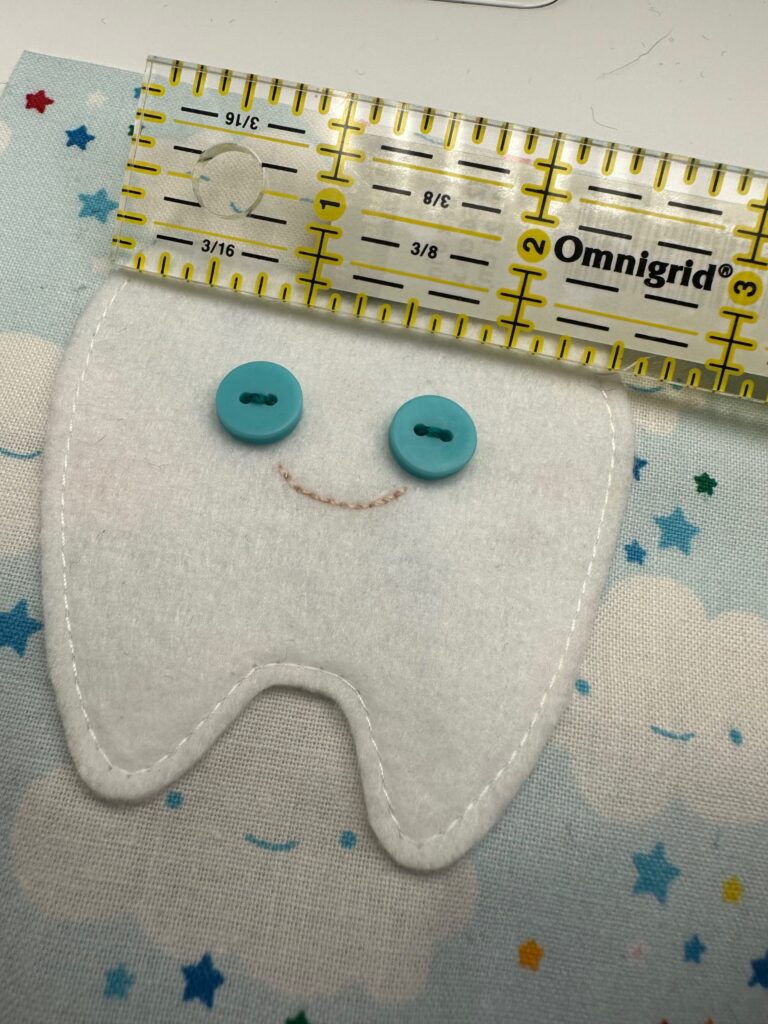
Draw a smile on the tooth front where desired, using a removable fabric marker.
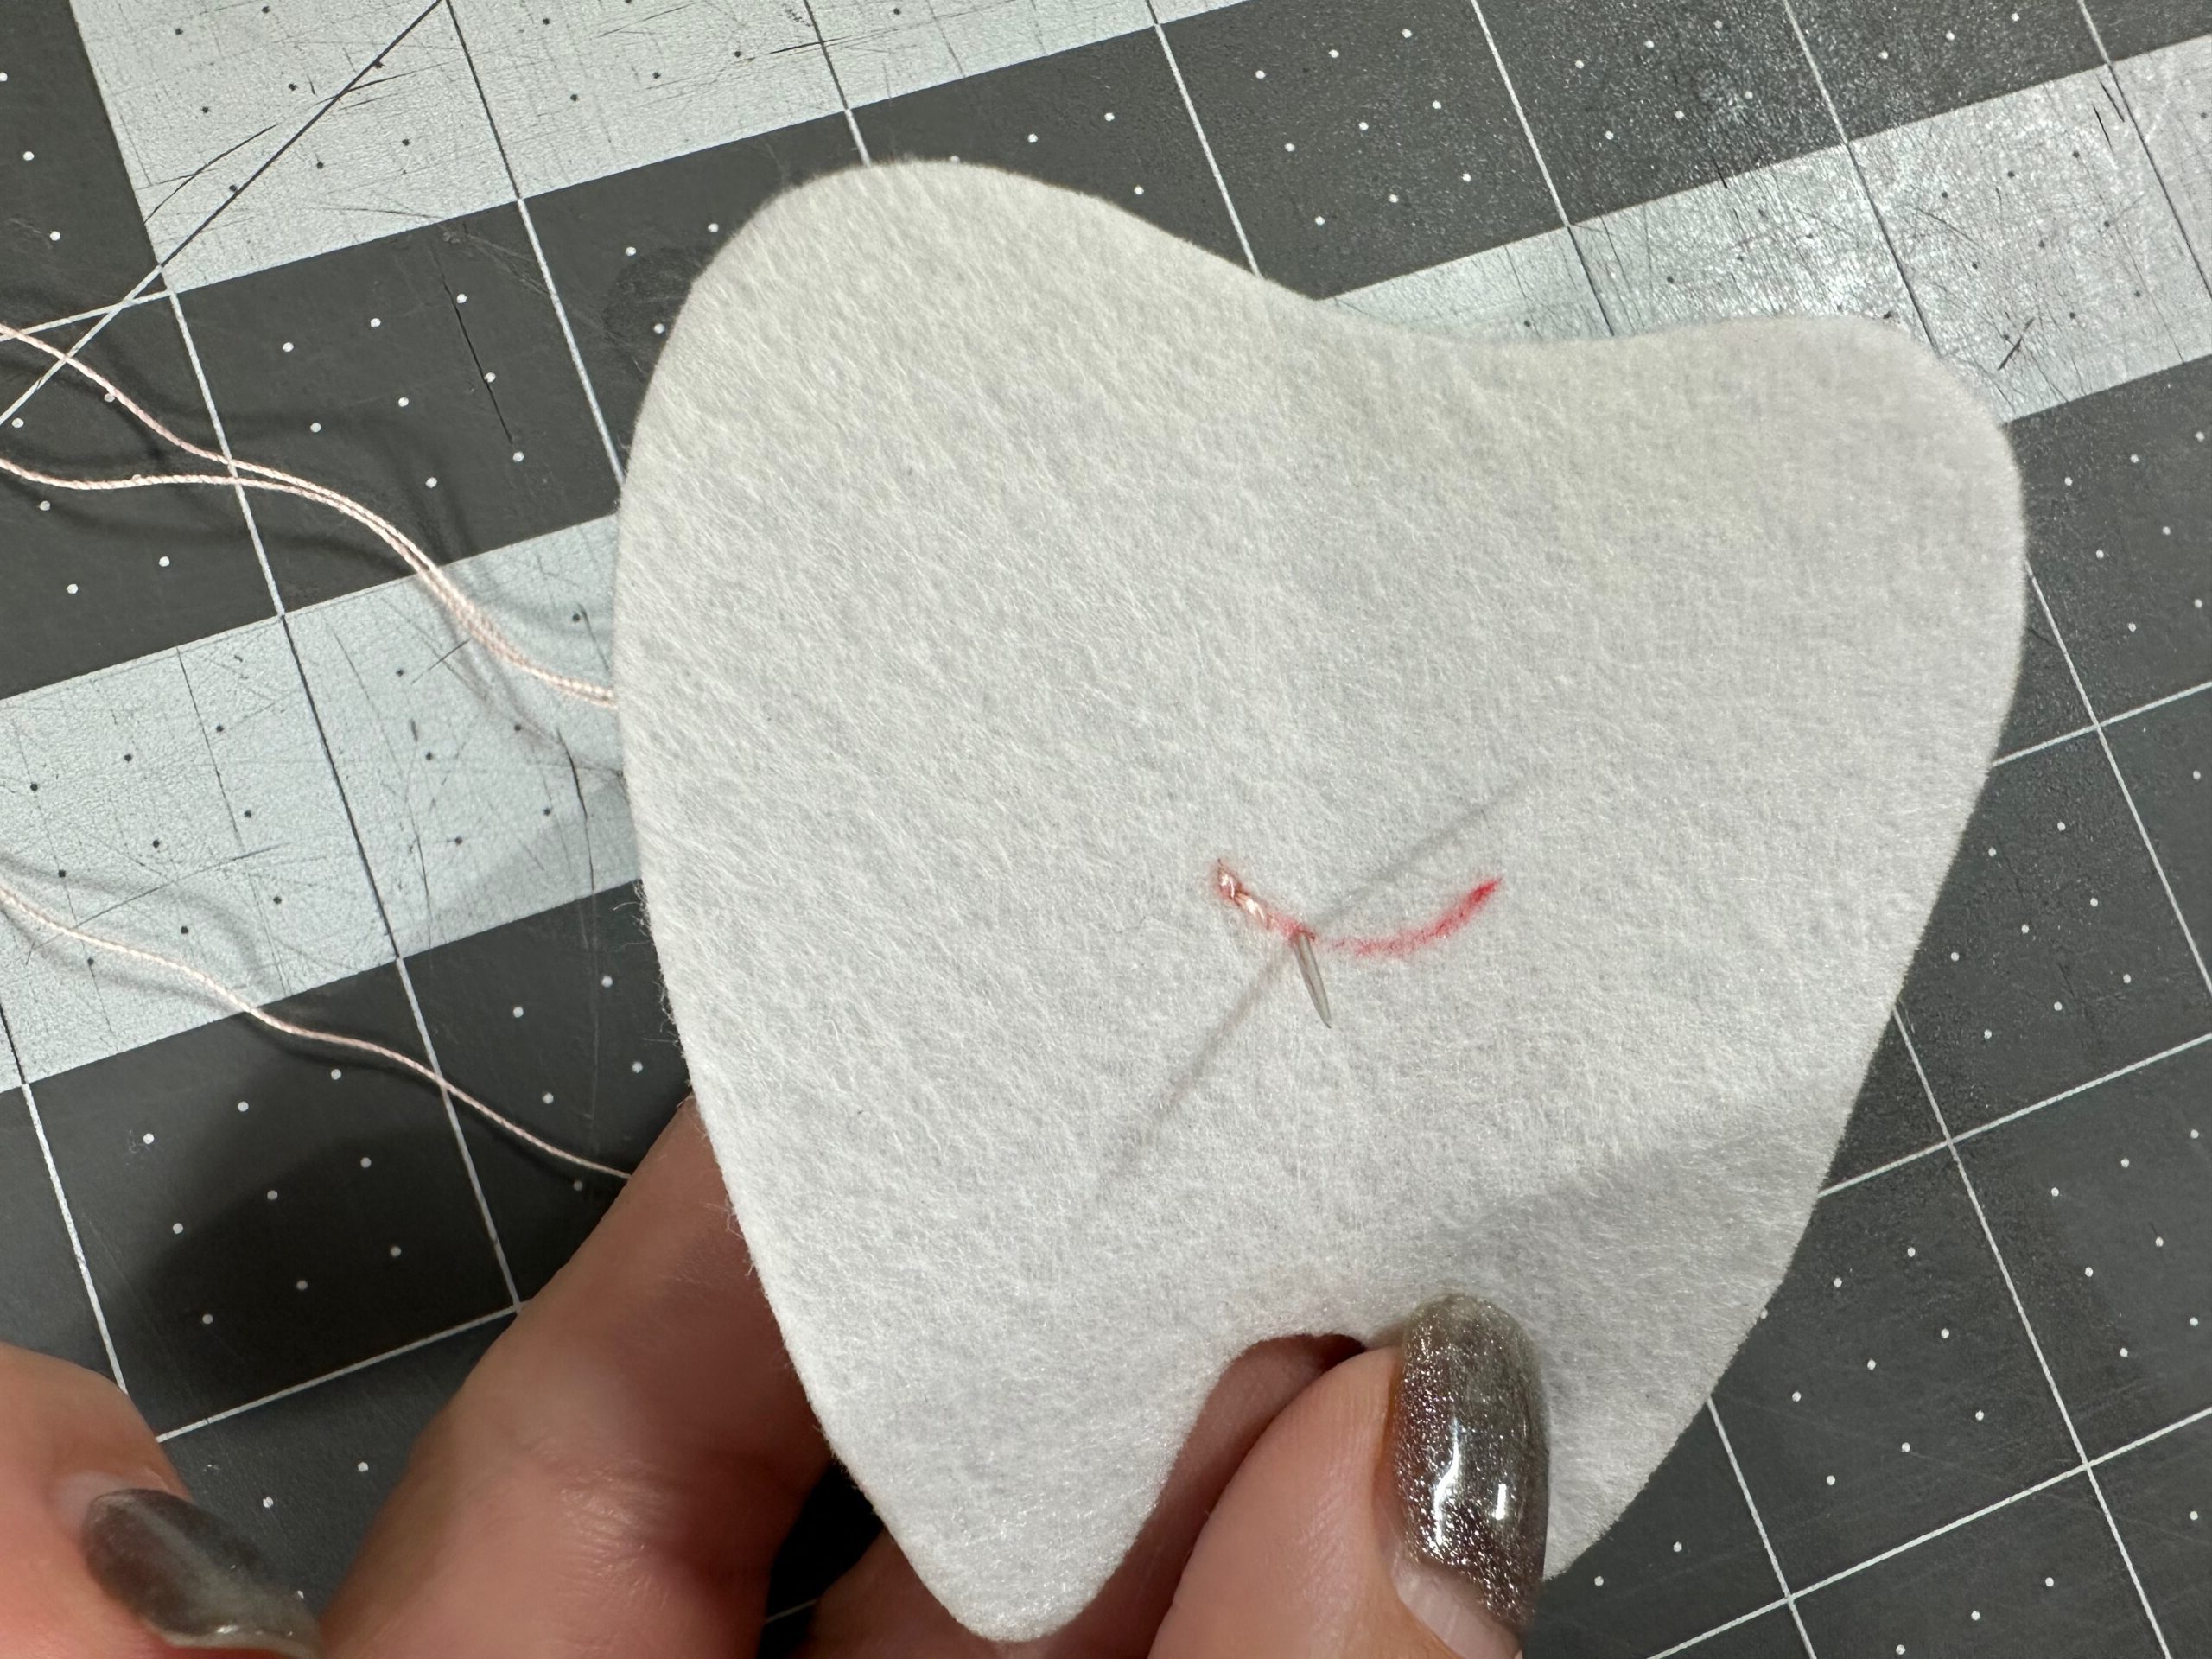
Thread a hand sewing needle with one strand of Cotton Petites Thread in the color of your choice for the smile. Backstitch along the smile line. Tie off the thread at both ends on the Felty wrong side. Then, remove the fabric marker.
Place two buttons on the tooth pocket front where desired. Thread the hand sewing needle with one strand of Cotton Petites in a color that matches the buttons. Hand sew each button in place.
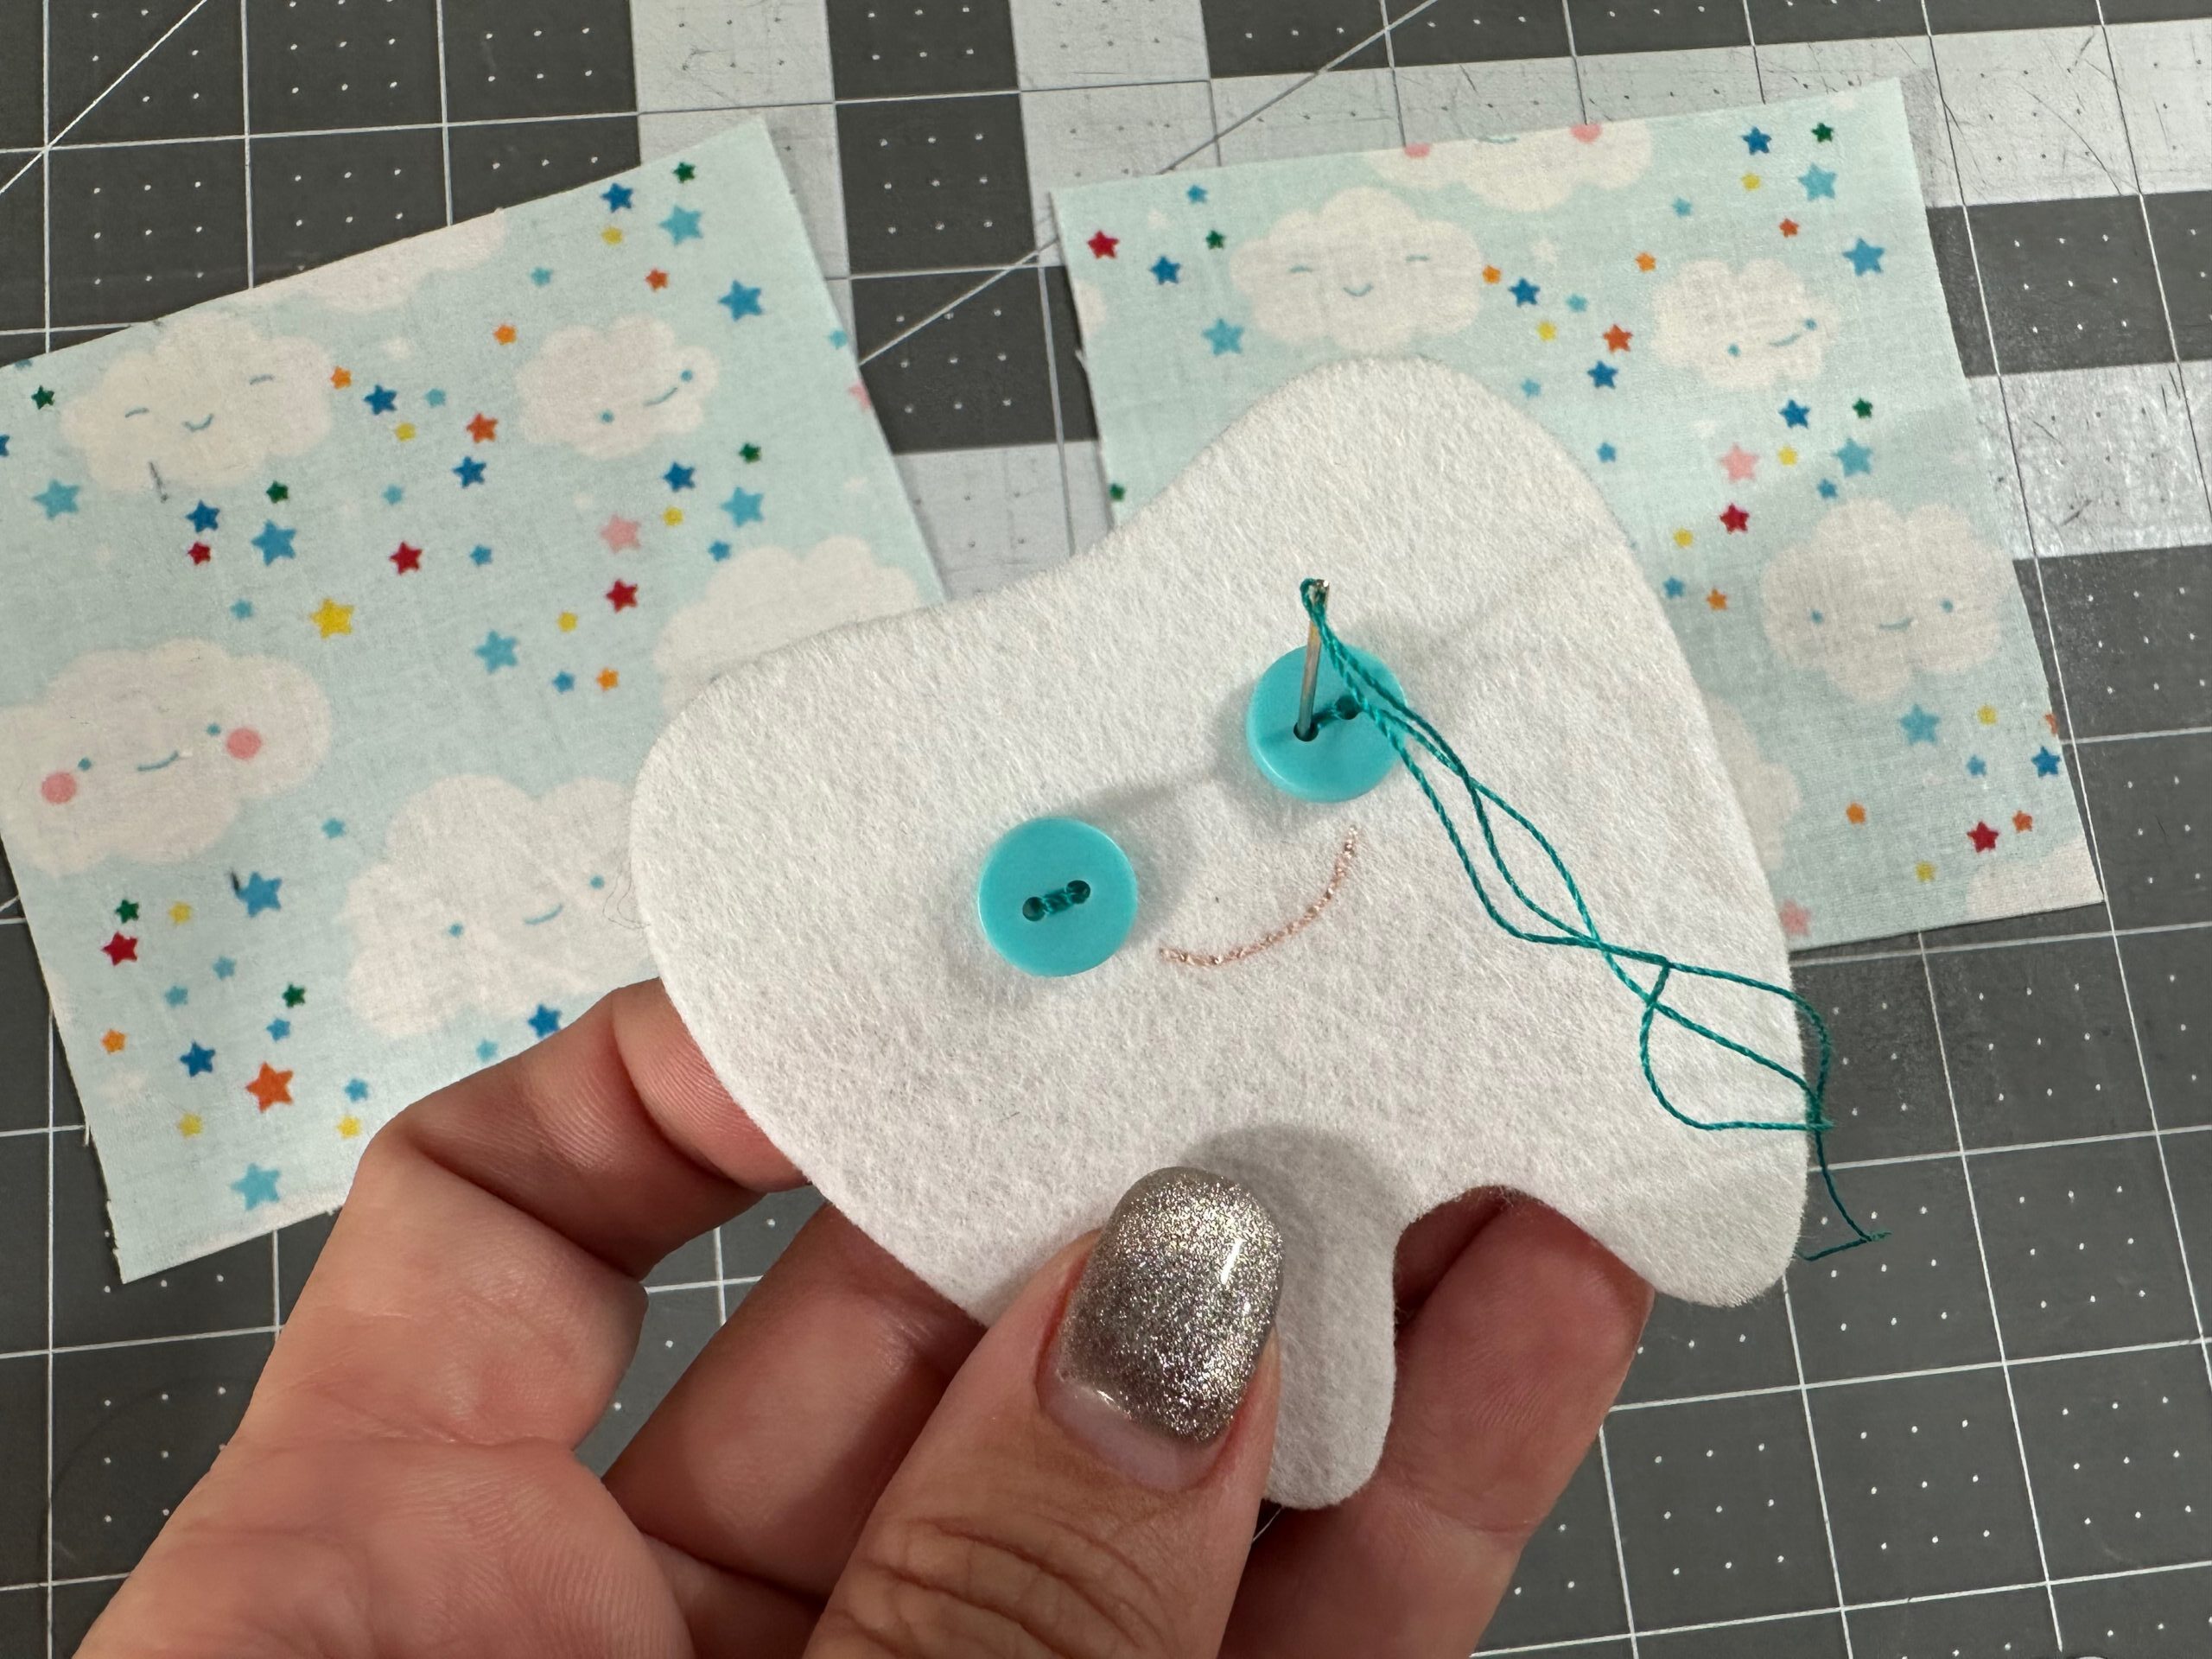
Center the pocket on one fabric square.
TOOTH FAIRY PILLOW CONSTRUCTION
Install a new size 70/10 Universal Needle and thread it with white 50 wt. Cotton Thread. Use the same thread in the bobbin.
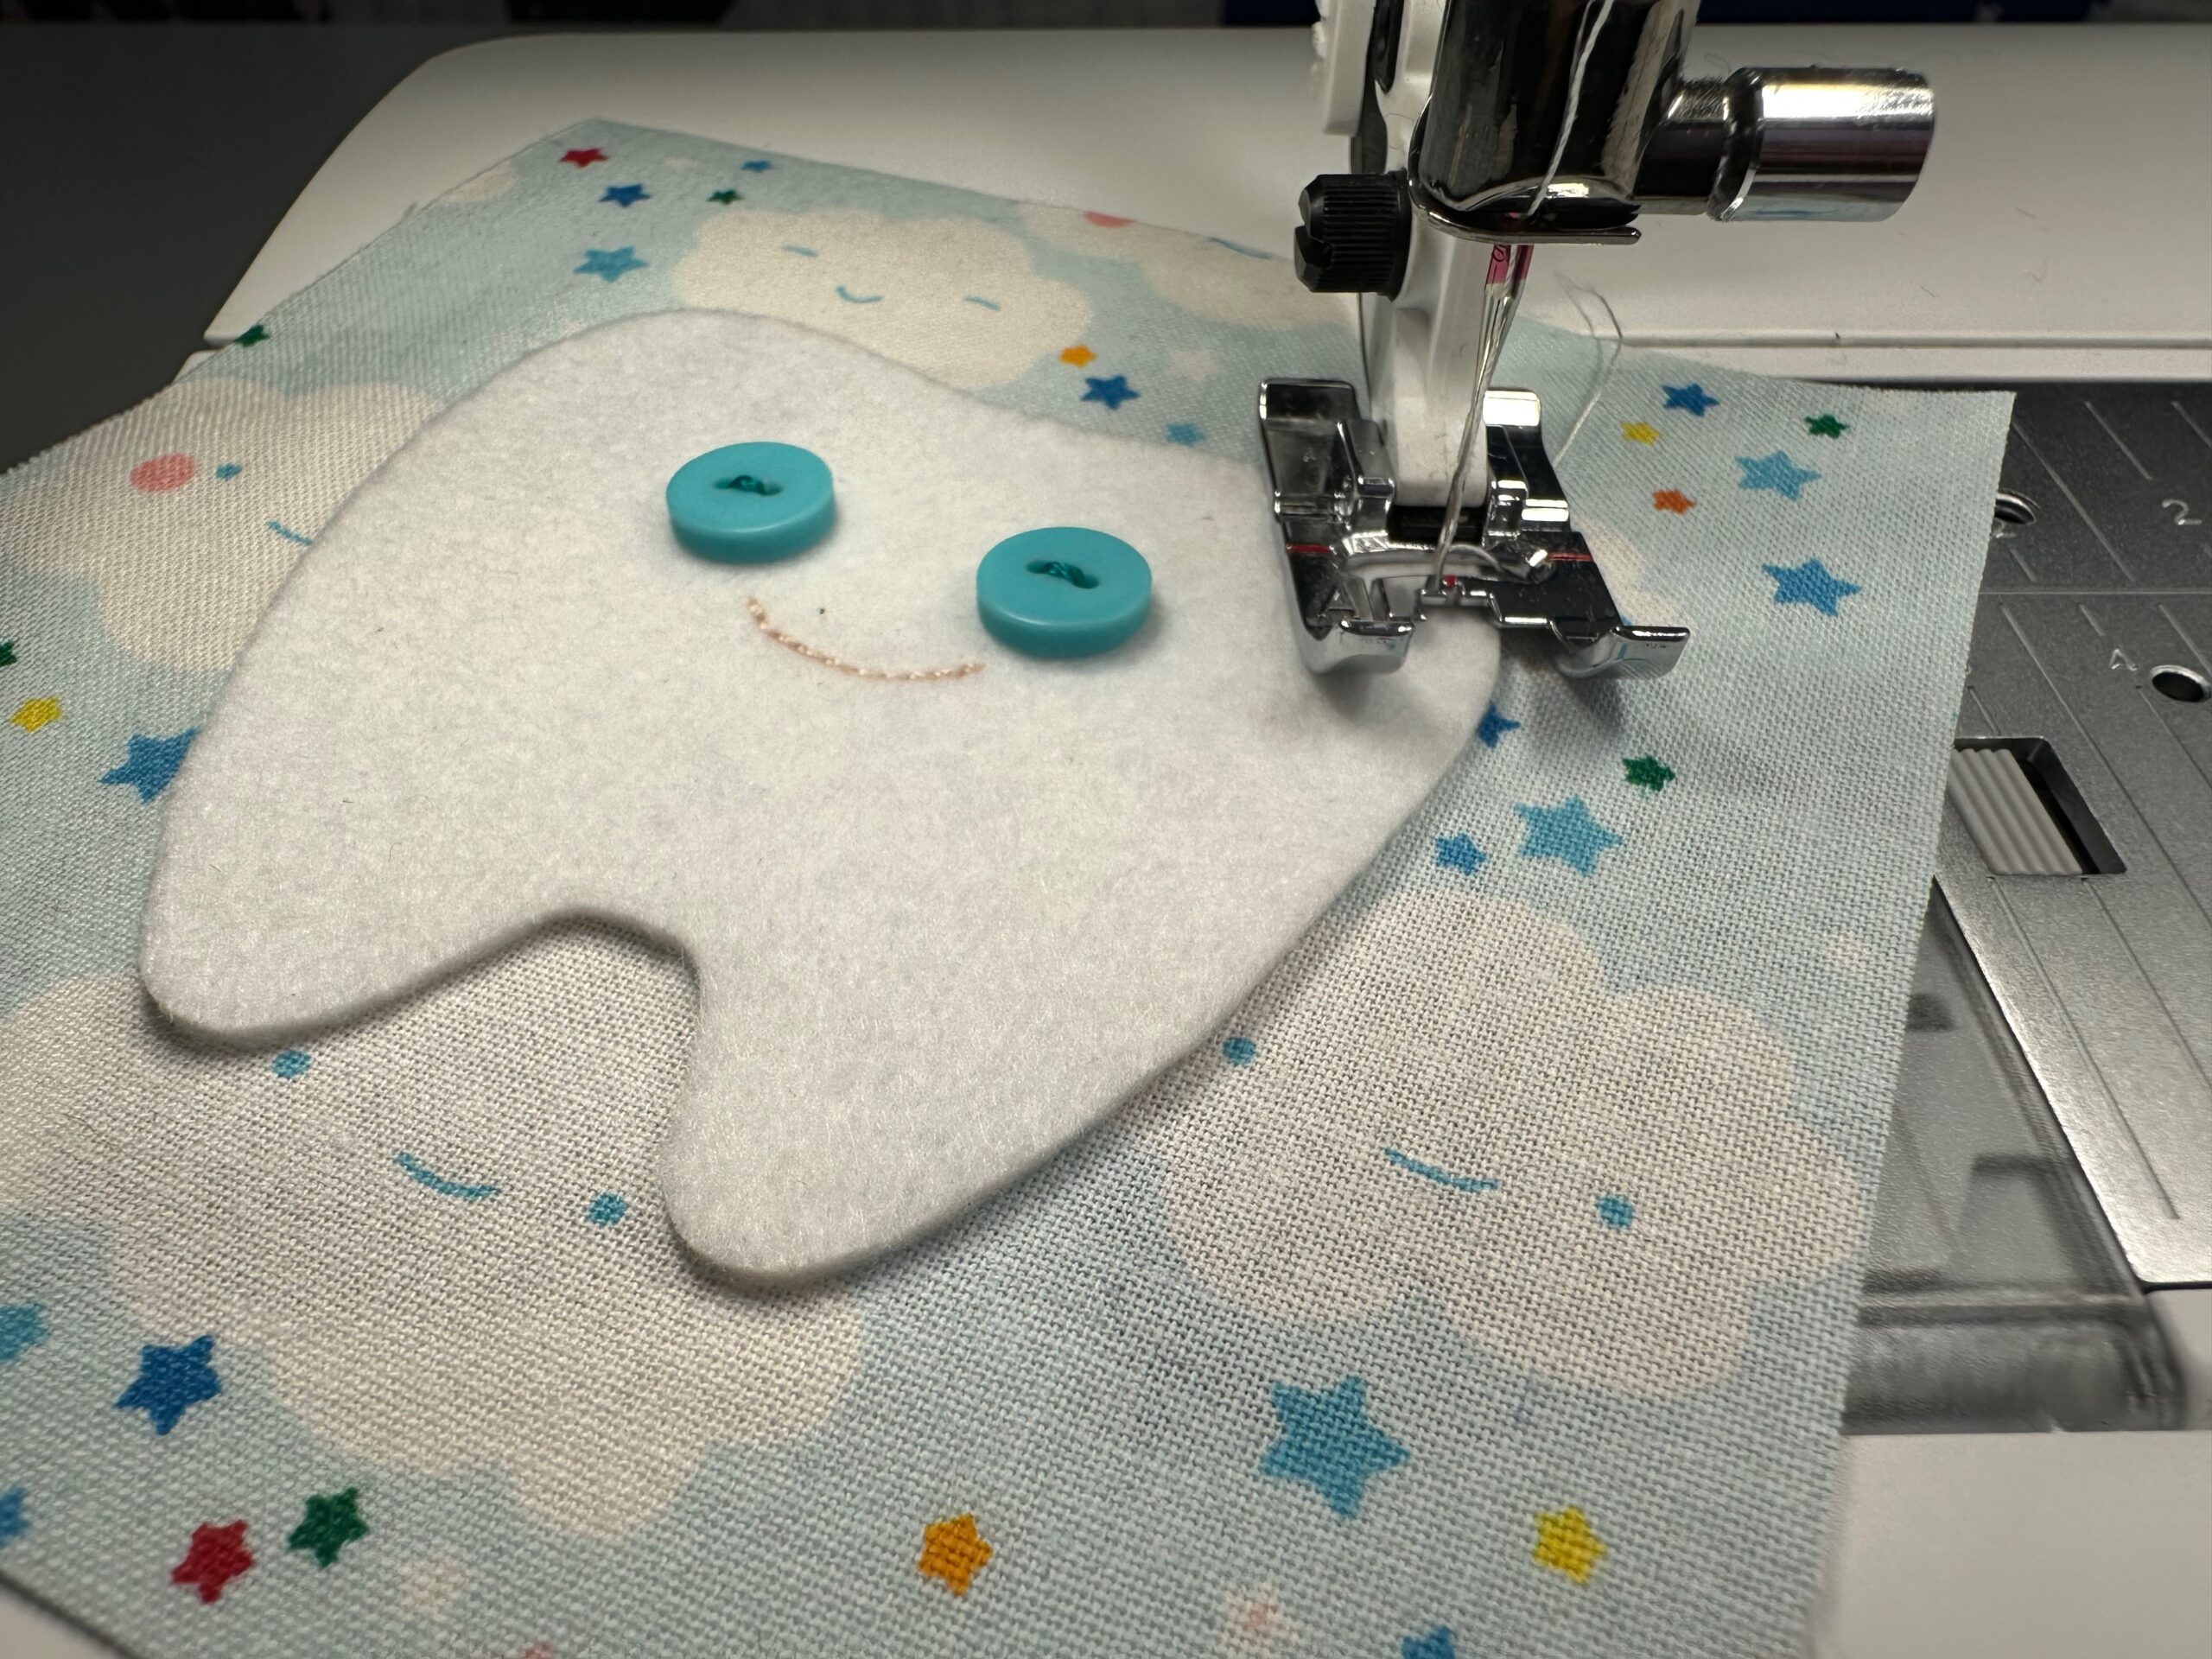
Stitch the tooth pocket to the fabric square, leaving about a 2 1/2″ opening at the tooth upper edge.
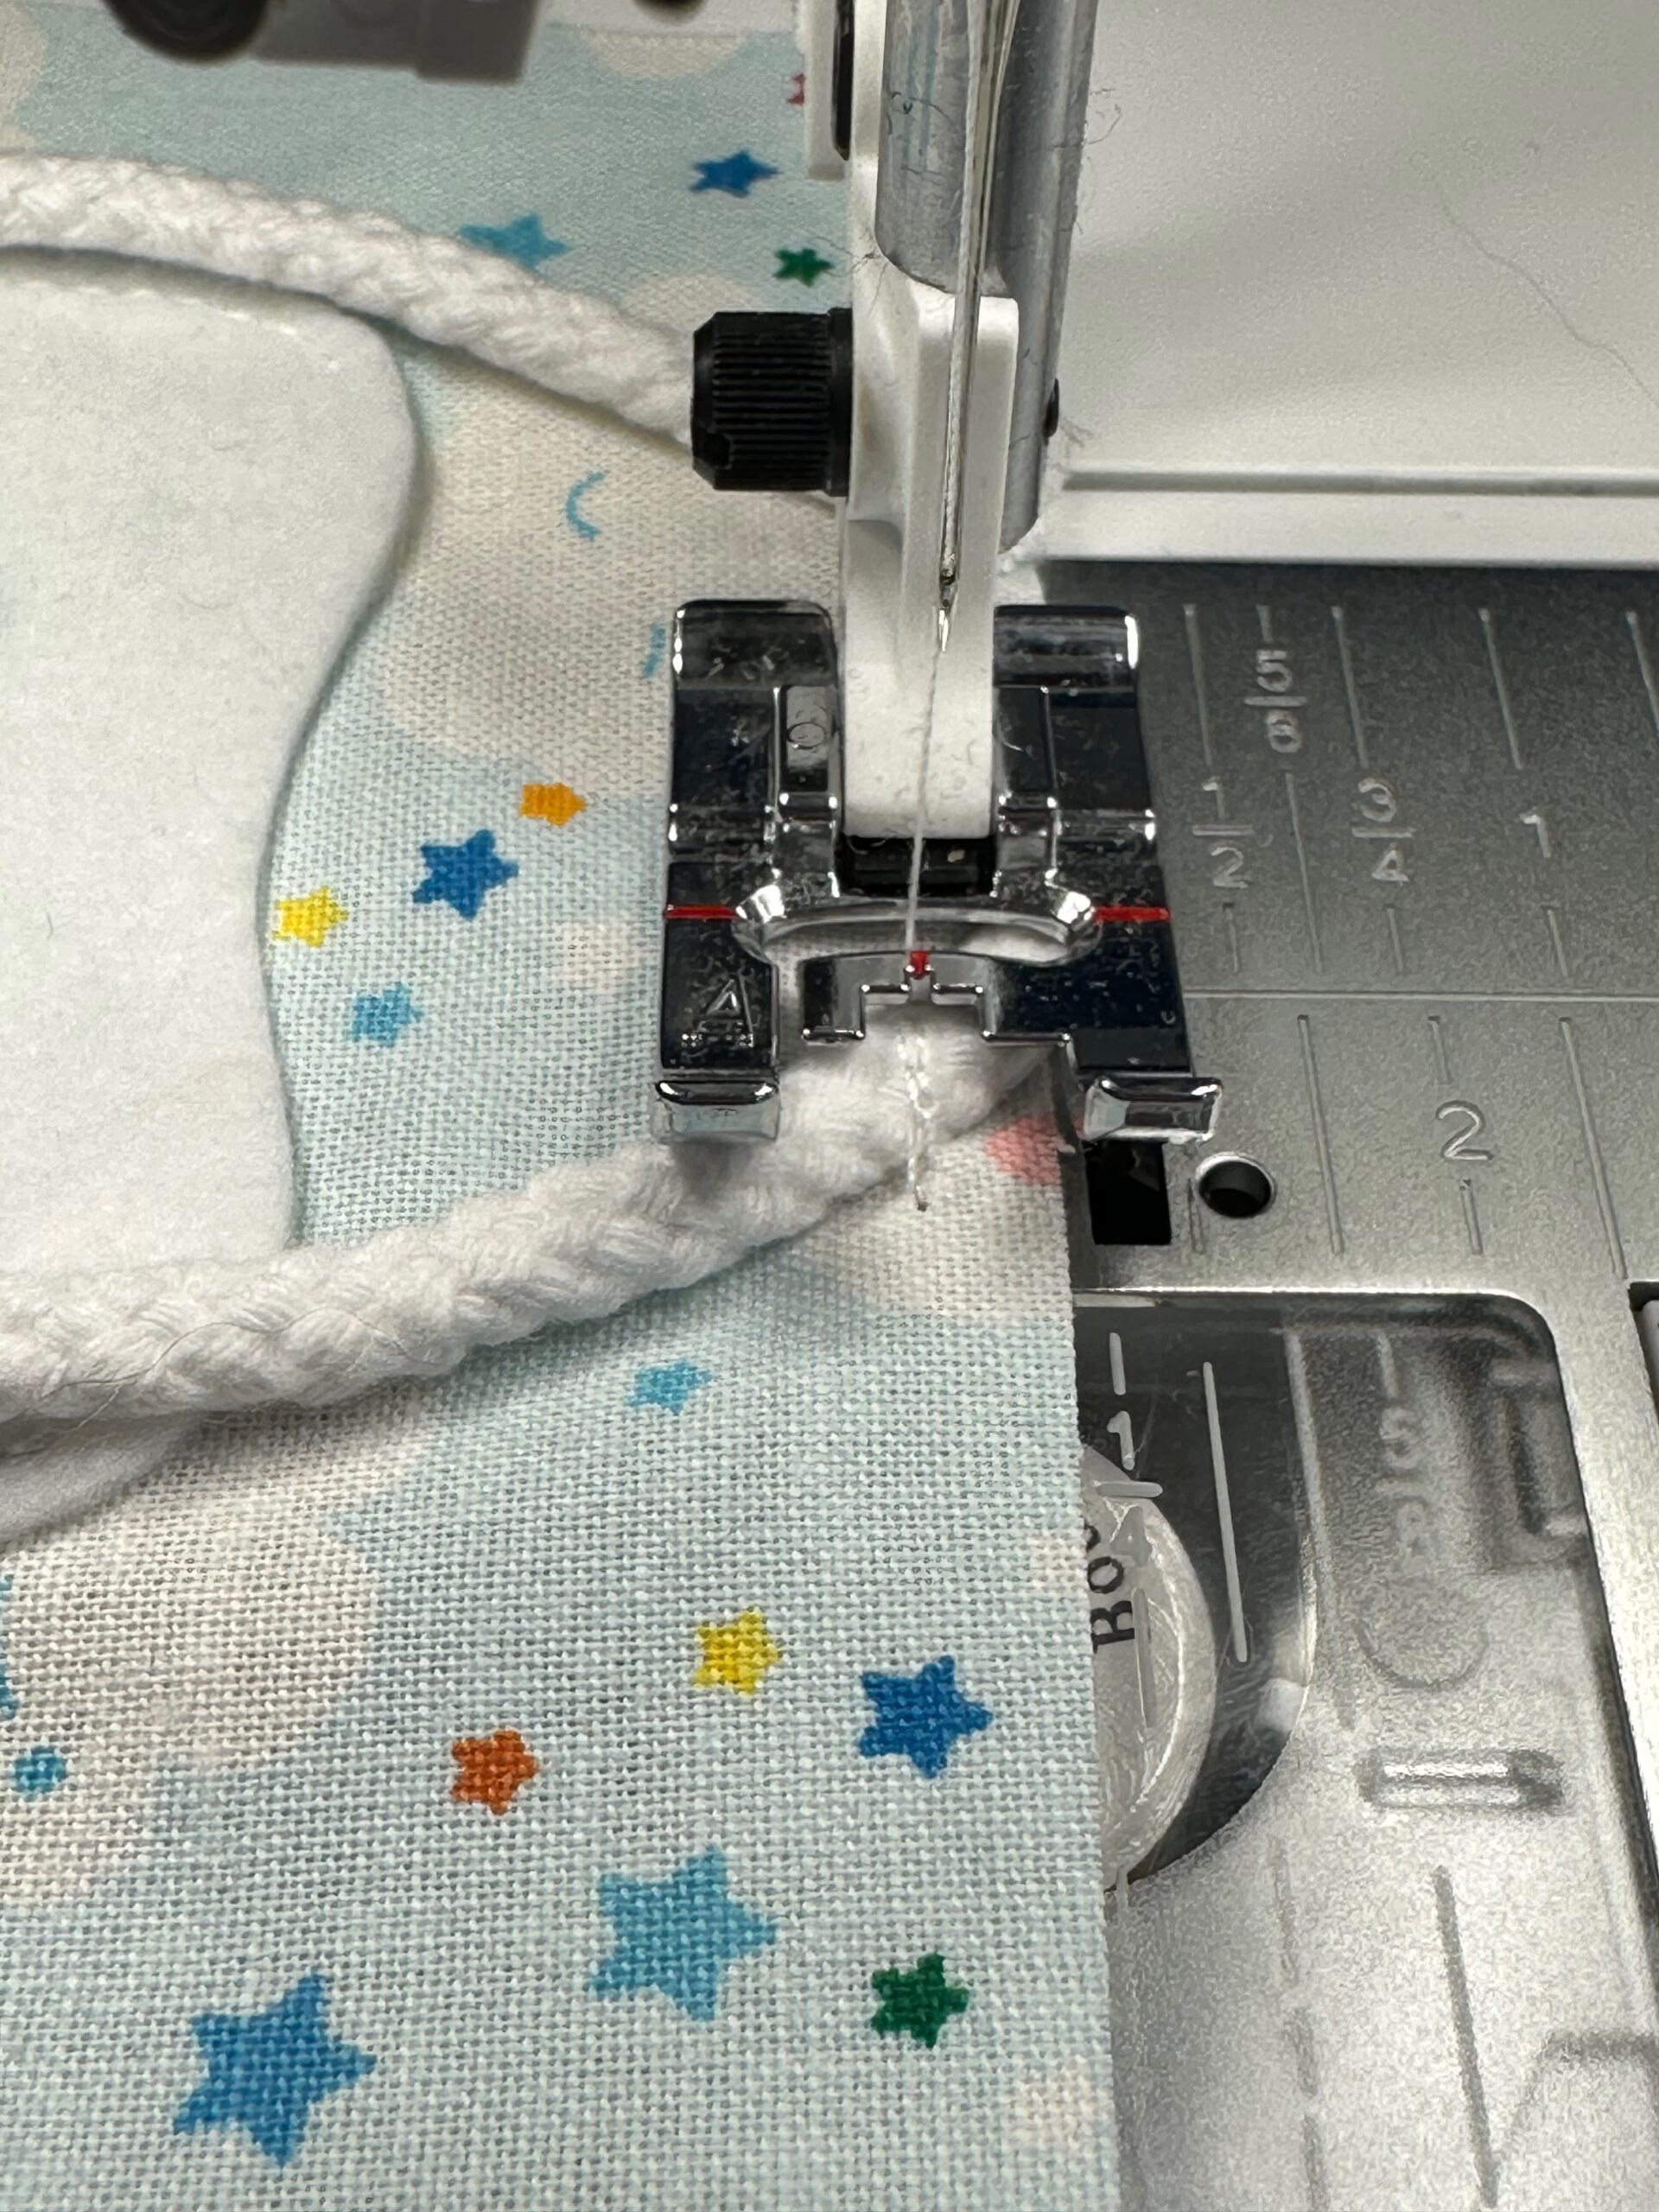
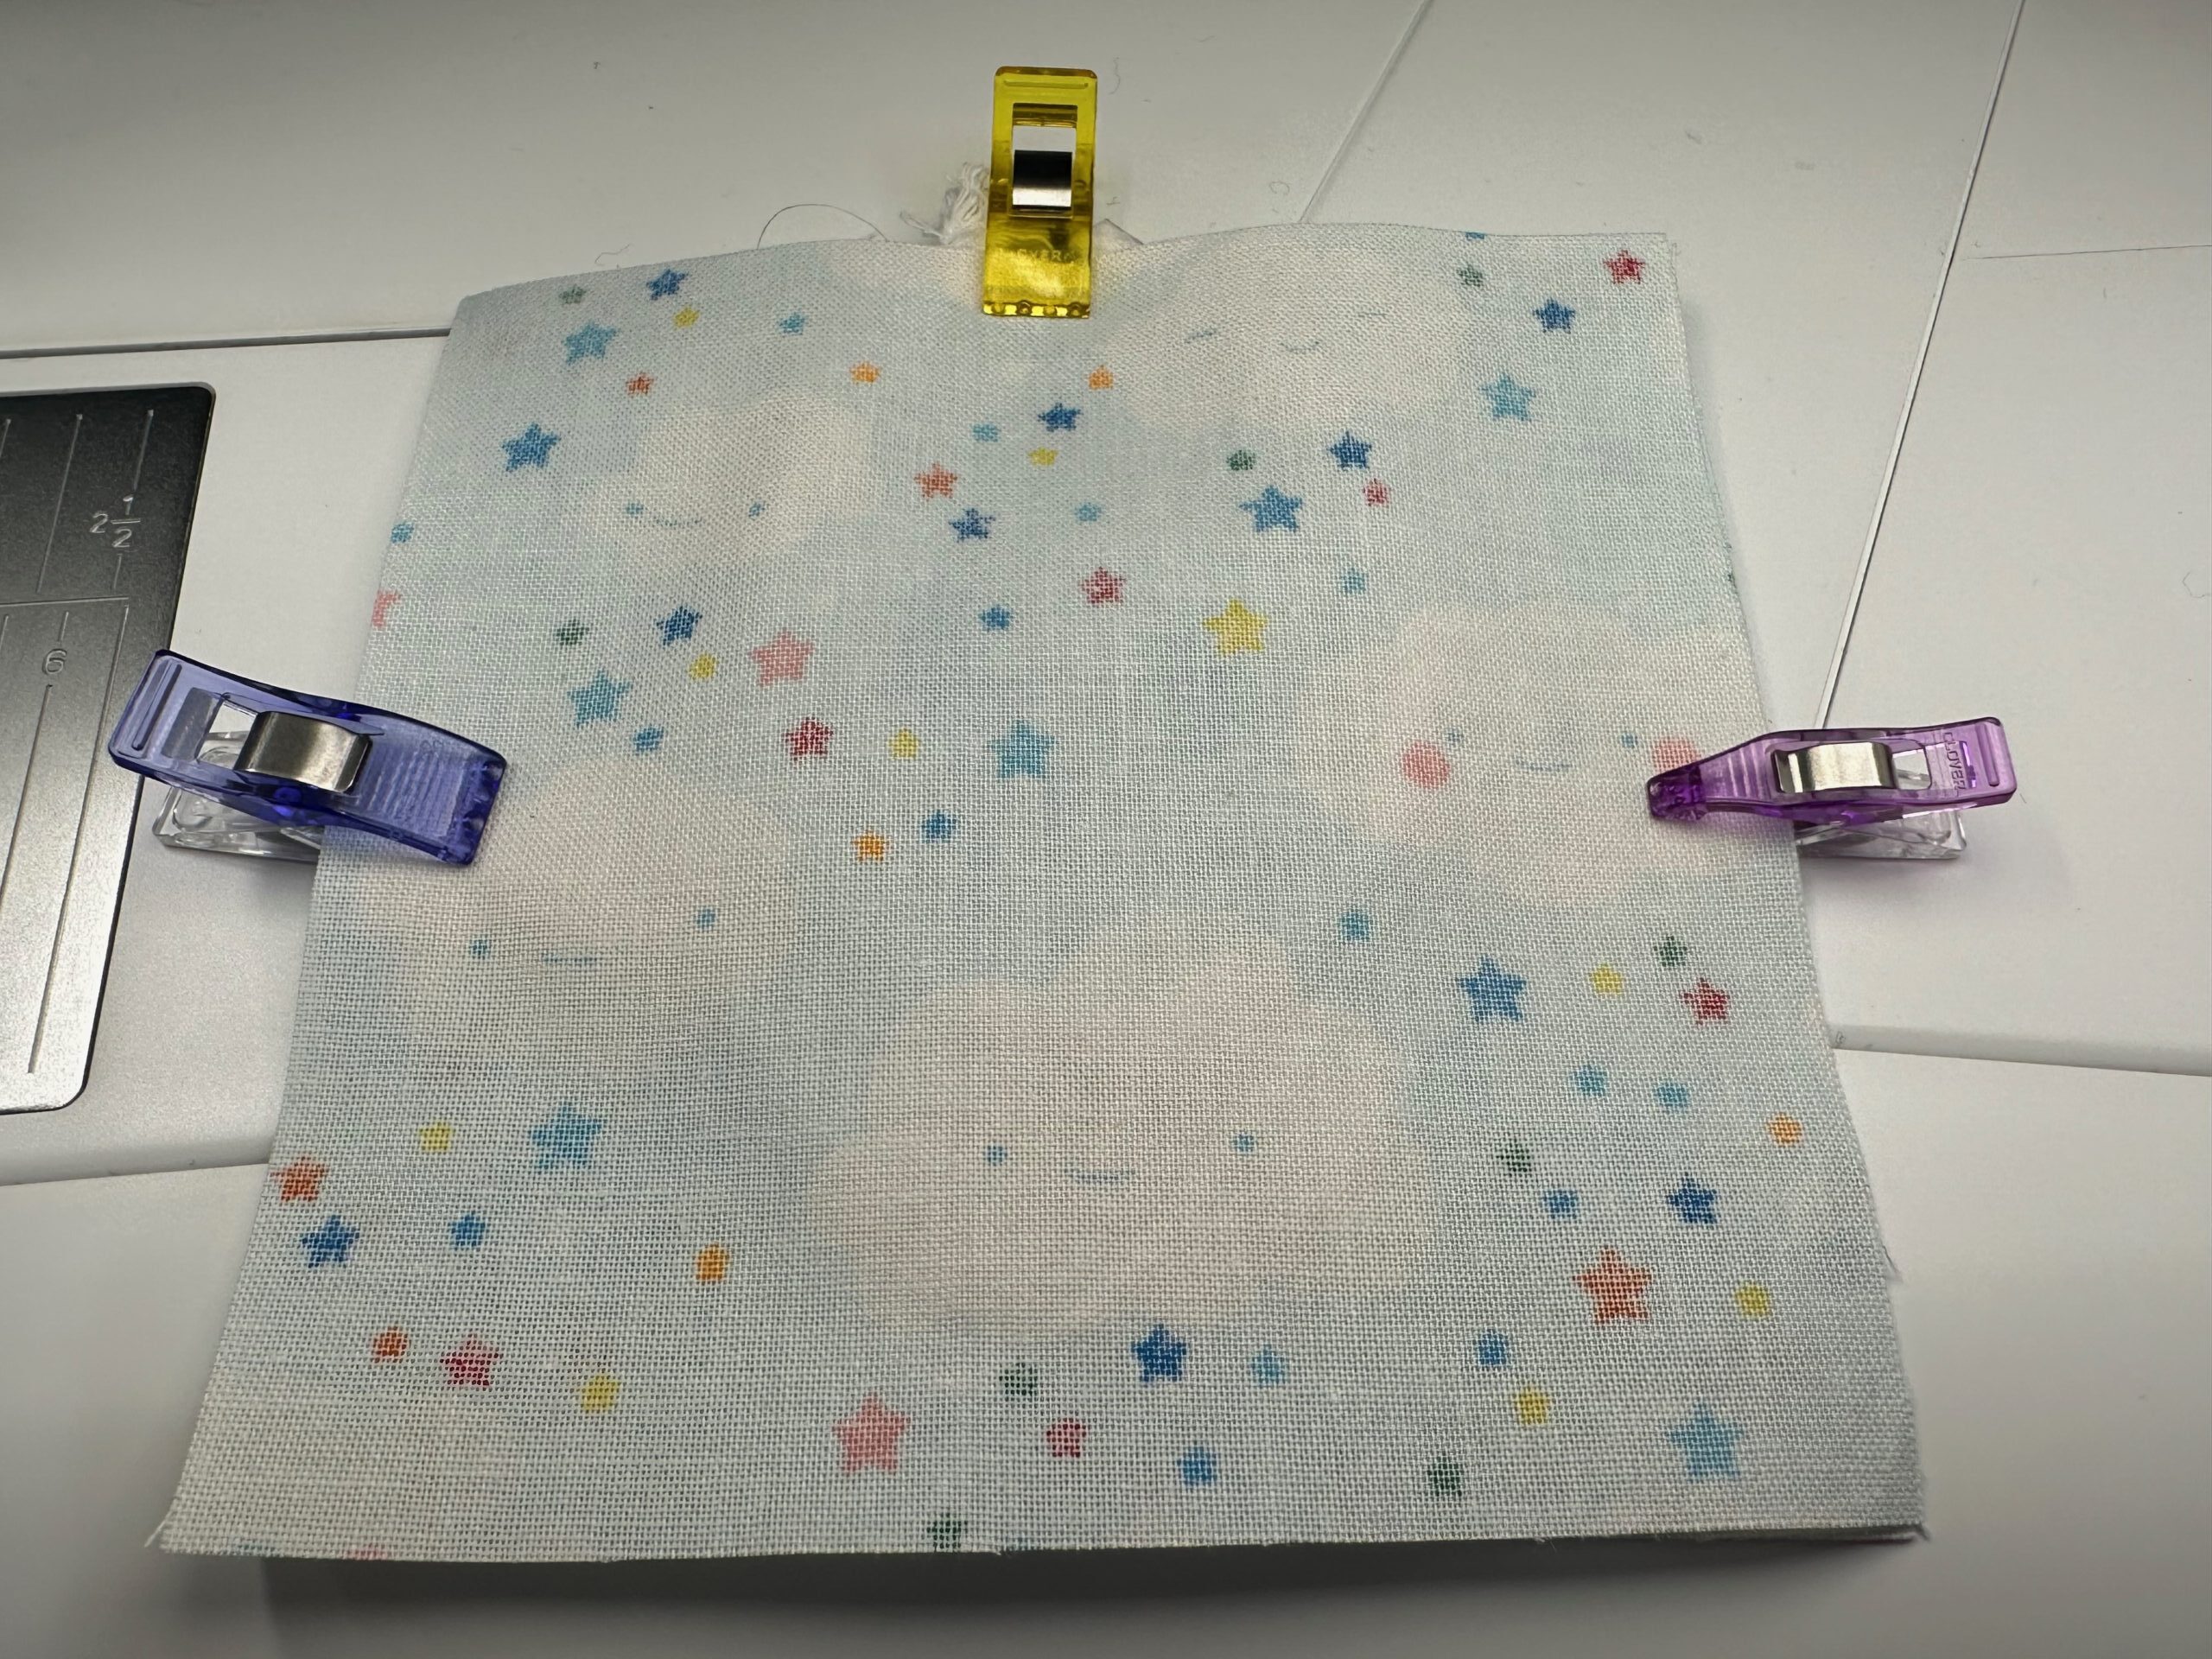
Place the cording or ribbon ends along the fabric square upper edge, with each end about 1″ away from center. Angle the ends, if desired, to obtain more of a “loop” shape to the hanger.

Baste or stitch the cording or ribbon ends in place, 1/8″ from the fabric edge.
Place the remaining fabric square right side up over the embellished fabric square, making sure to orient any directional print properly, if using.
Stitch the Tooth Fairy Pillow pillow perimeter, leaving a 3″ opening along the lower edge for turning.
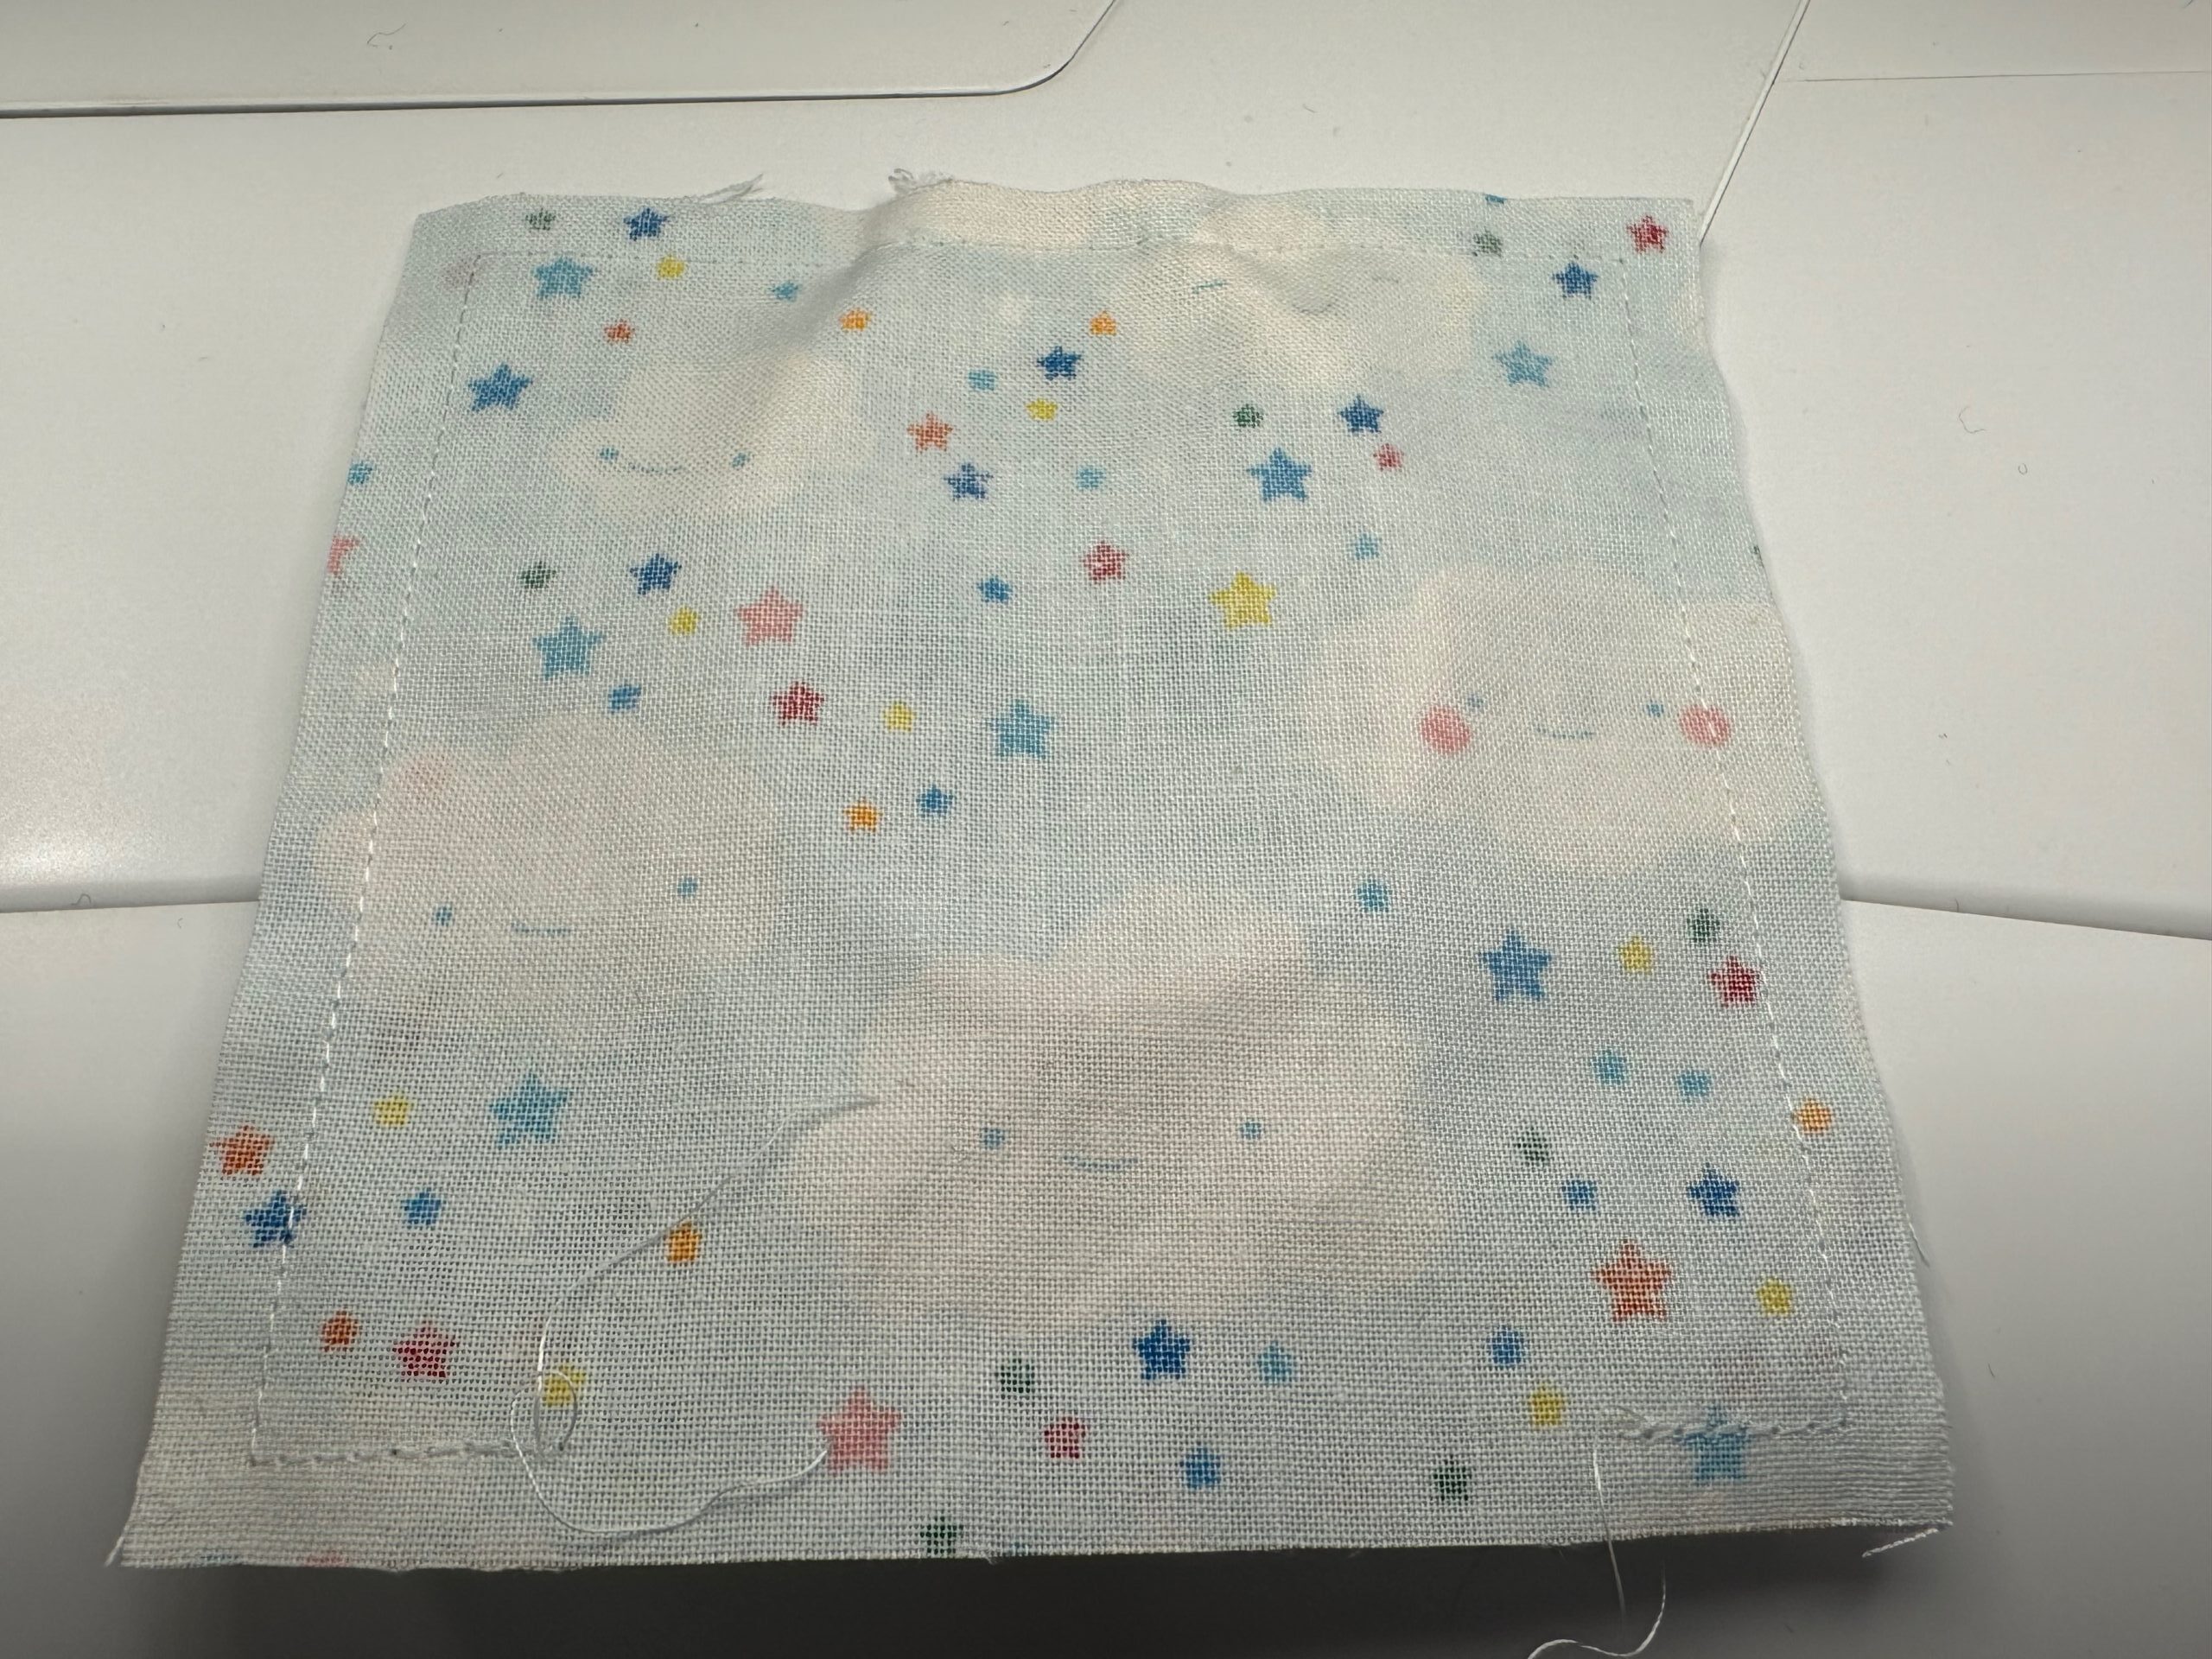
Clip the Tooth Fairy Pillow corners and trim the lower edge seam to 1/8″, except for the opening raw edges (leave those at 1/4″).

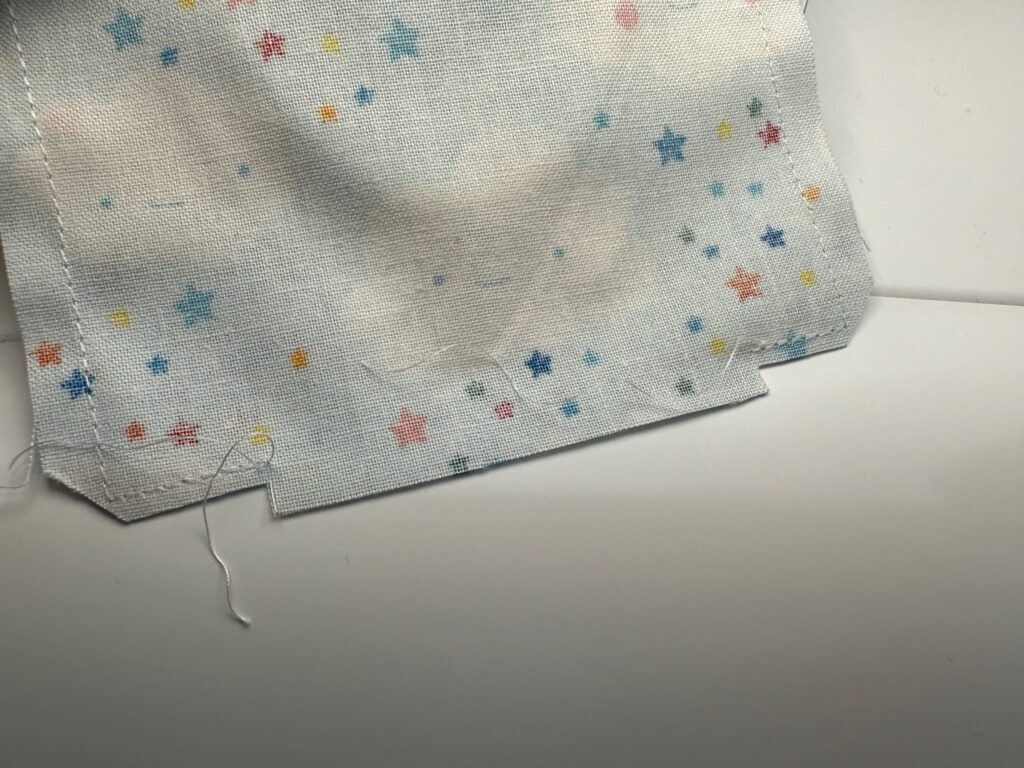
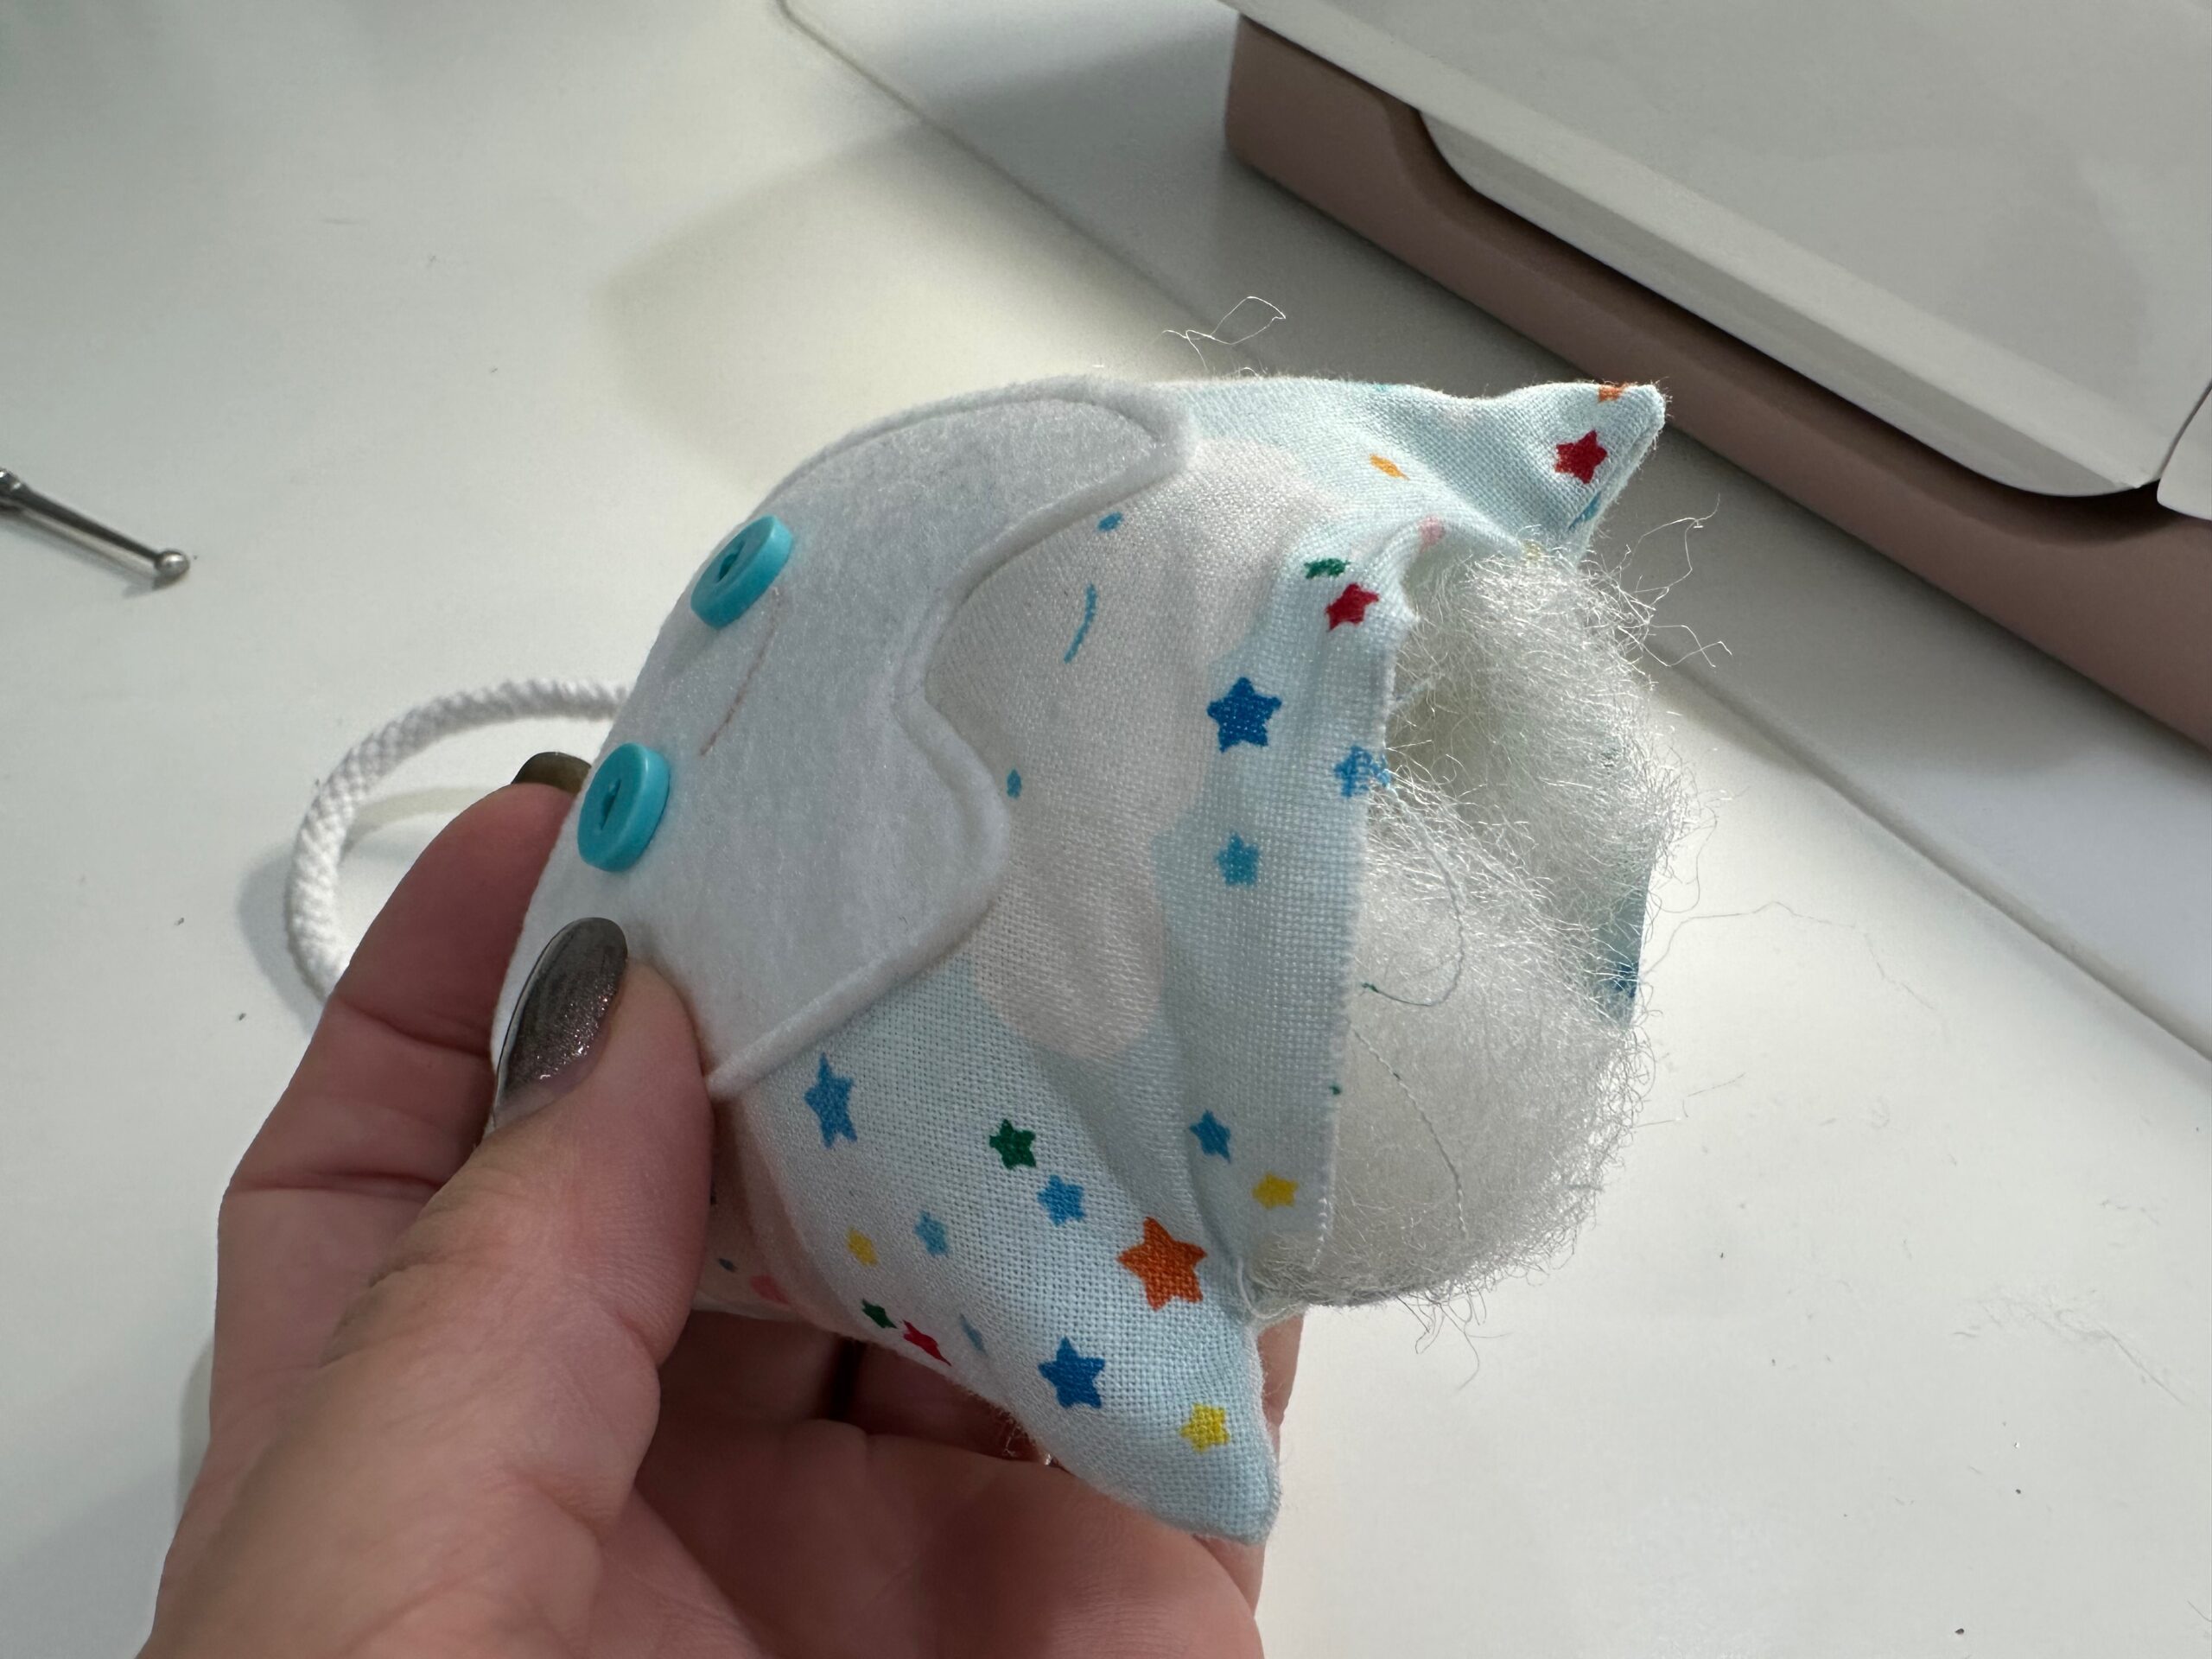
Turn the Tooth Fairy Pillow right side out through the opening. Use a chopstick or turning tool to push out the corners.
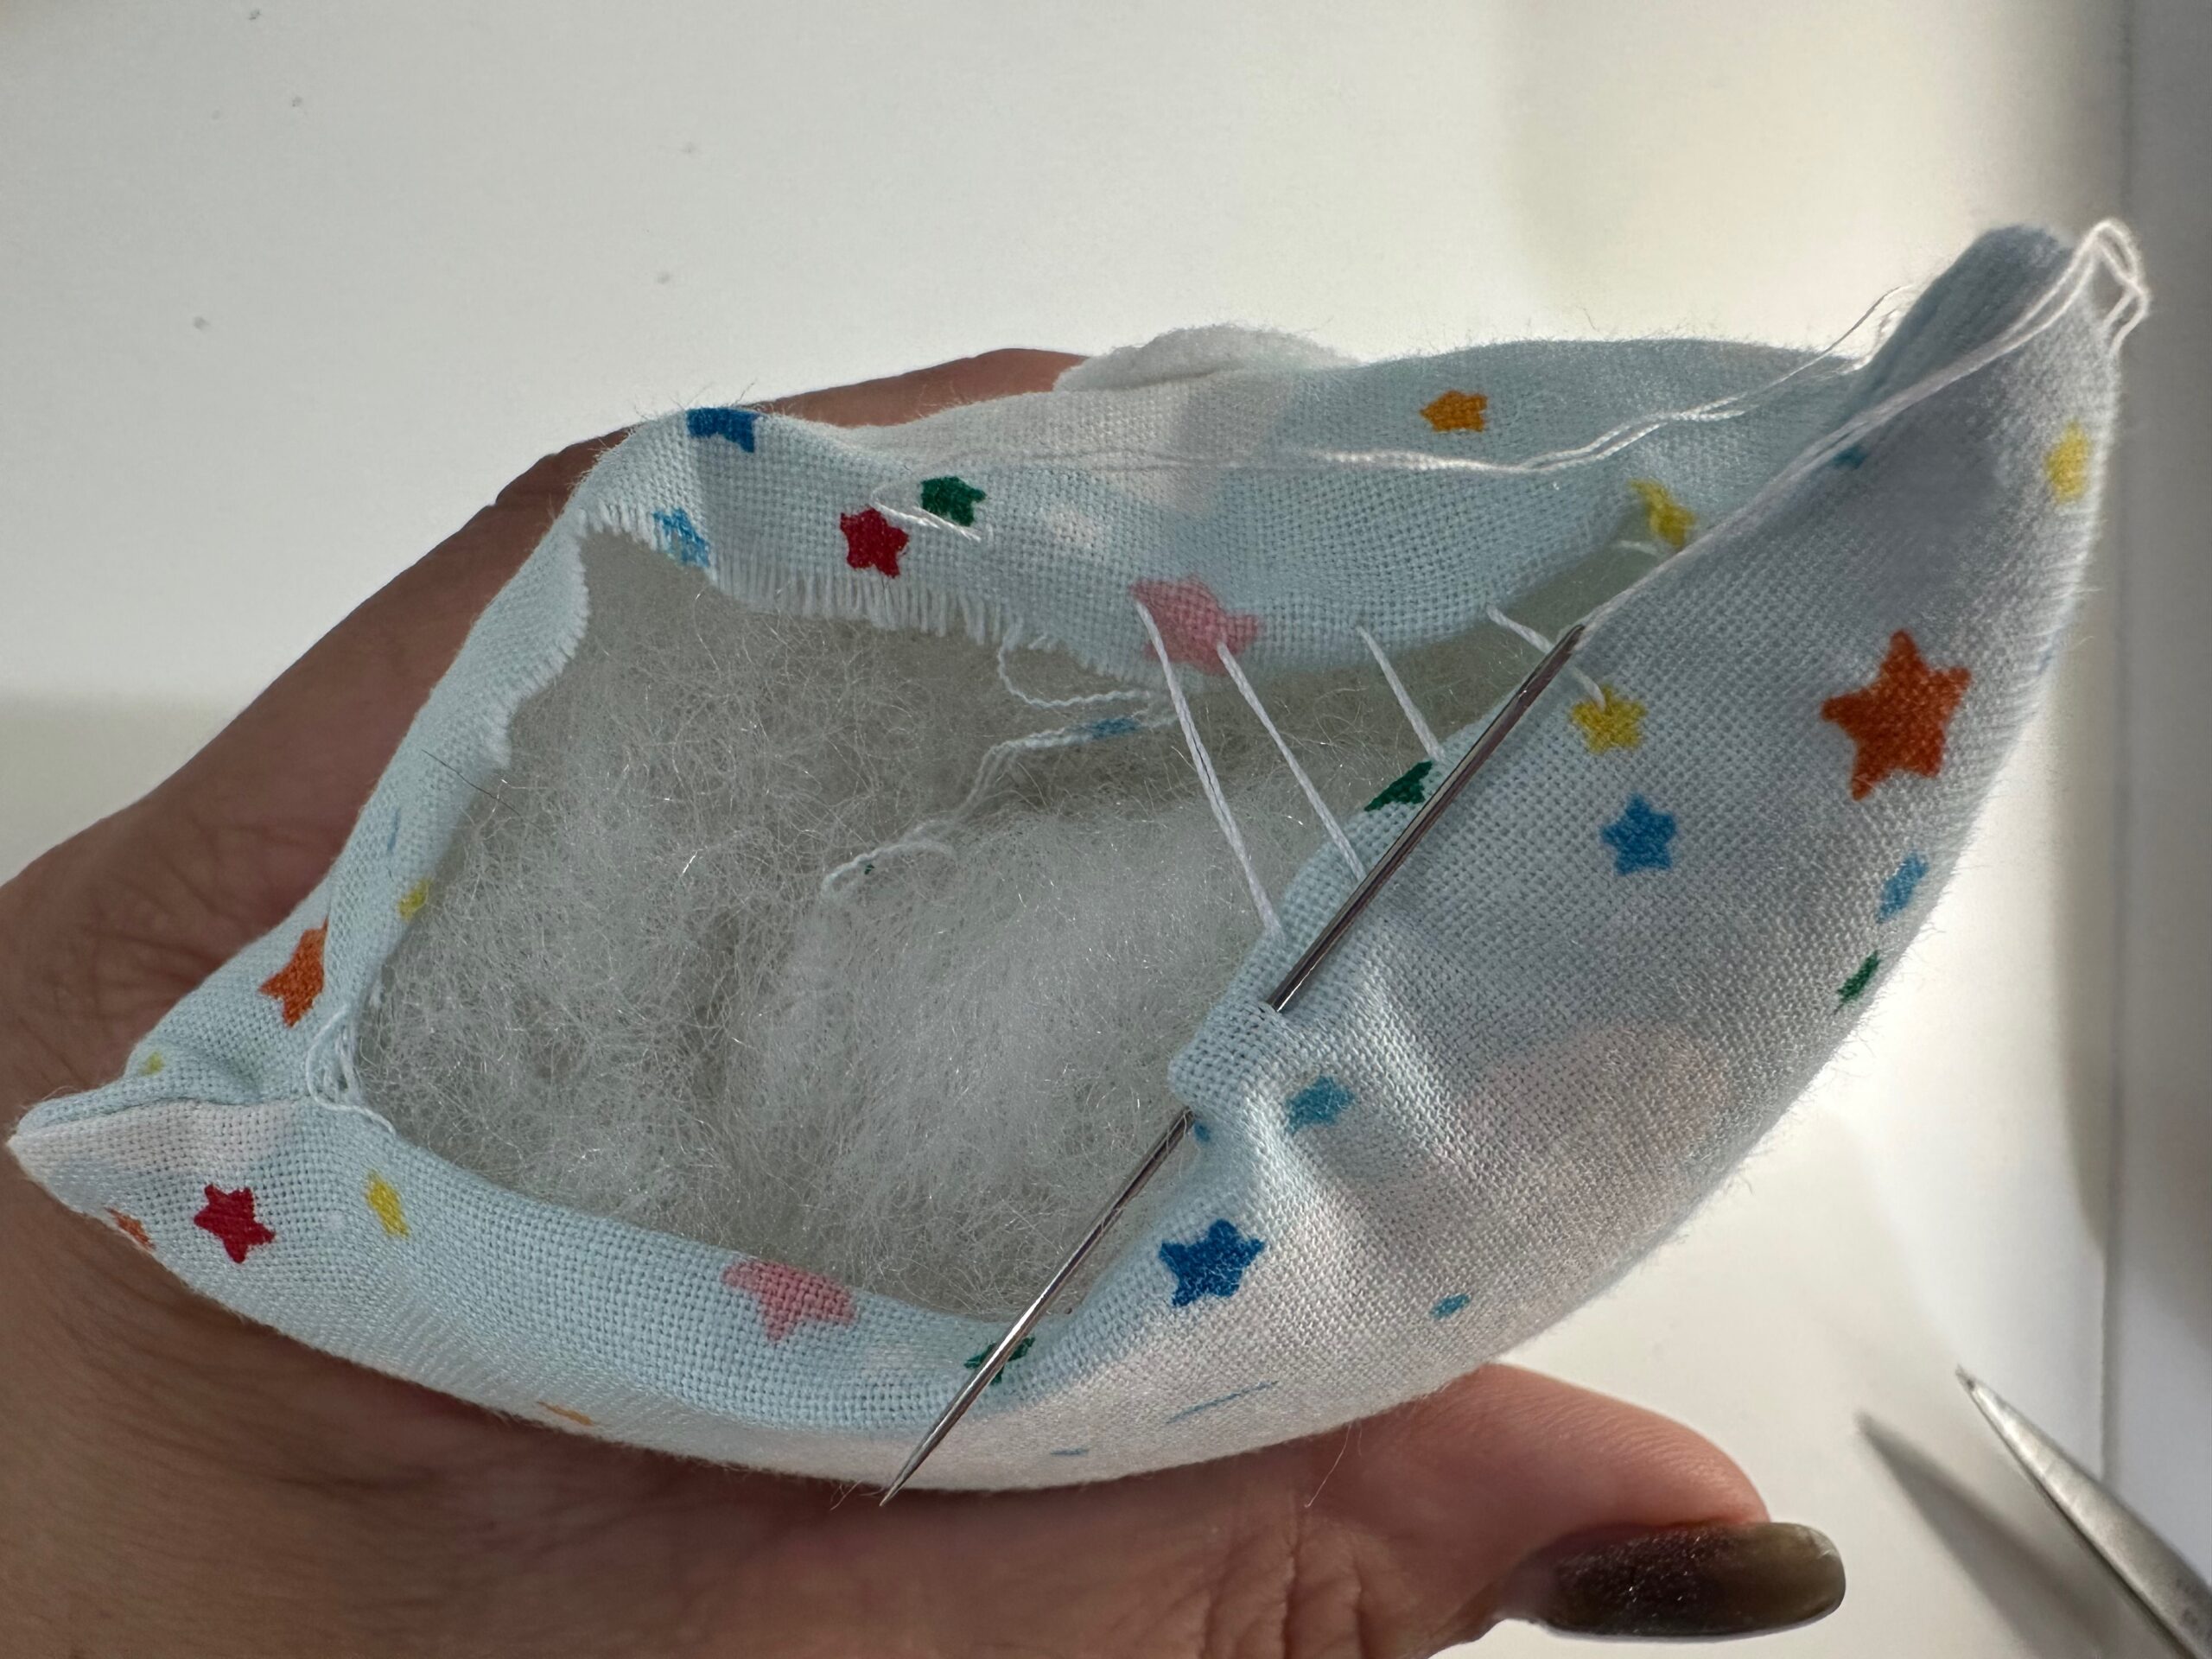
Stuff the pillow with fiberfill until the desired plumpness is achieved. Make sure to fill the corners first, and then evenly distribute the fiberfill in the pillow. Run the chopstick or turning tool down the seamlines inside the pillow so the stuffing fills the areas.
Using a whipstitch, ladder stitch or slipstitch, hand sew the opening closed using 50 wt. Cotton Thread.
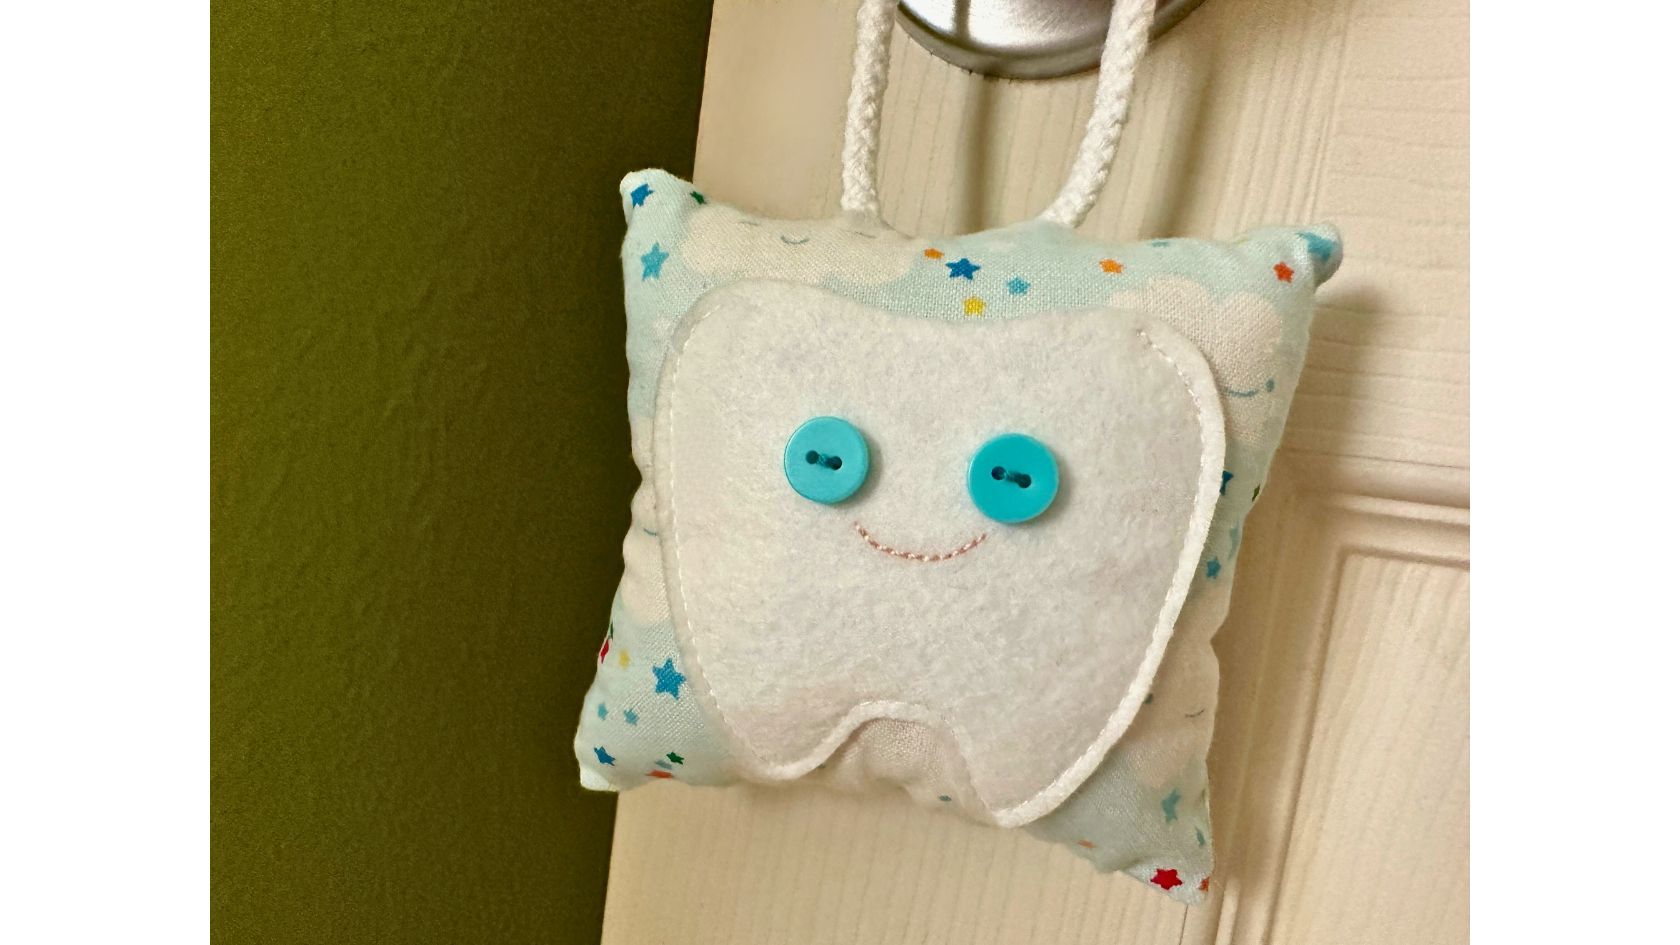
Hang the Tooth Fairy Pillow from a door knob or hook and place precious teeth inside the pocket, to be replaced with a bit of coin by the Tooth Fairy herself!


Ellen March
I am the Director of Content for Sulky of America. The former Editor in Chief of Sew News and Creative Machine Embroidery magazines, I hosted Sew it All TV on PBS for nine seasons. I've appeared on It's Sew Easy on PBS, DIY Network's Uncommon Threads, Hallmark's Marie Osmond Show, MacPhee Workshop and more! Come sew with me!