Felt Bats for Your Spooky Table
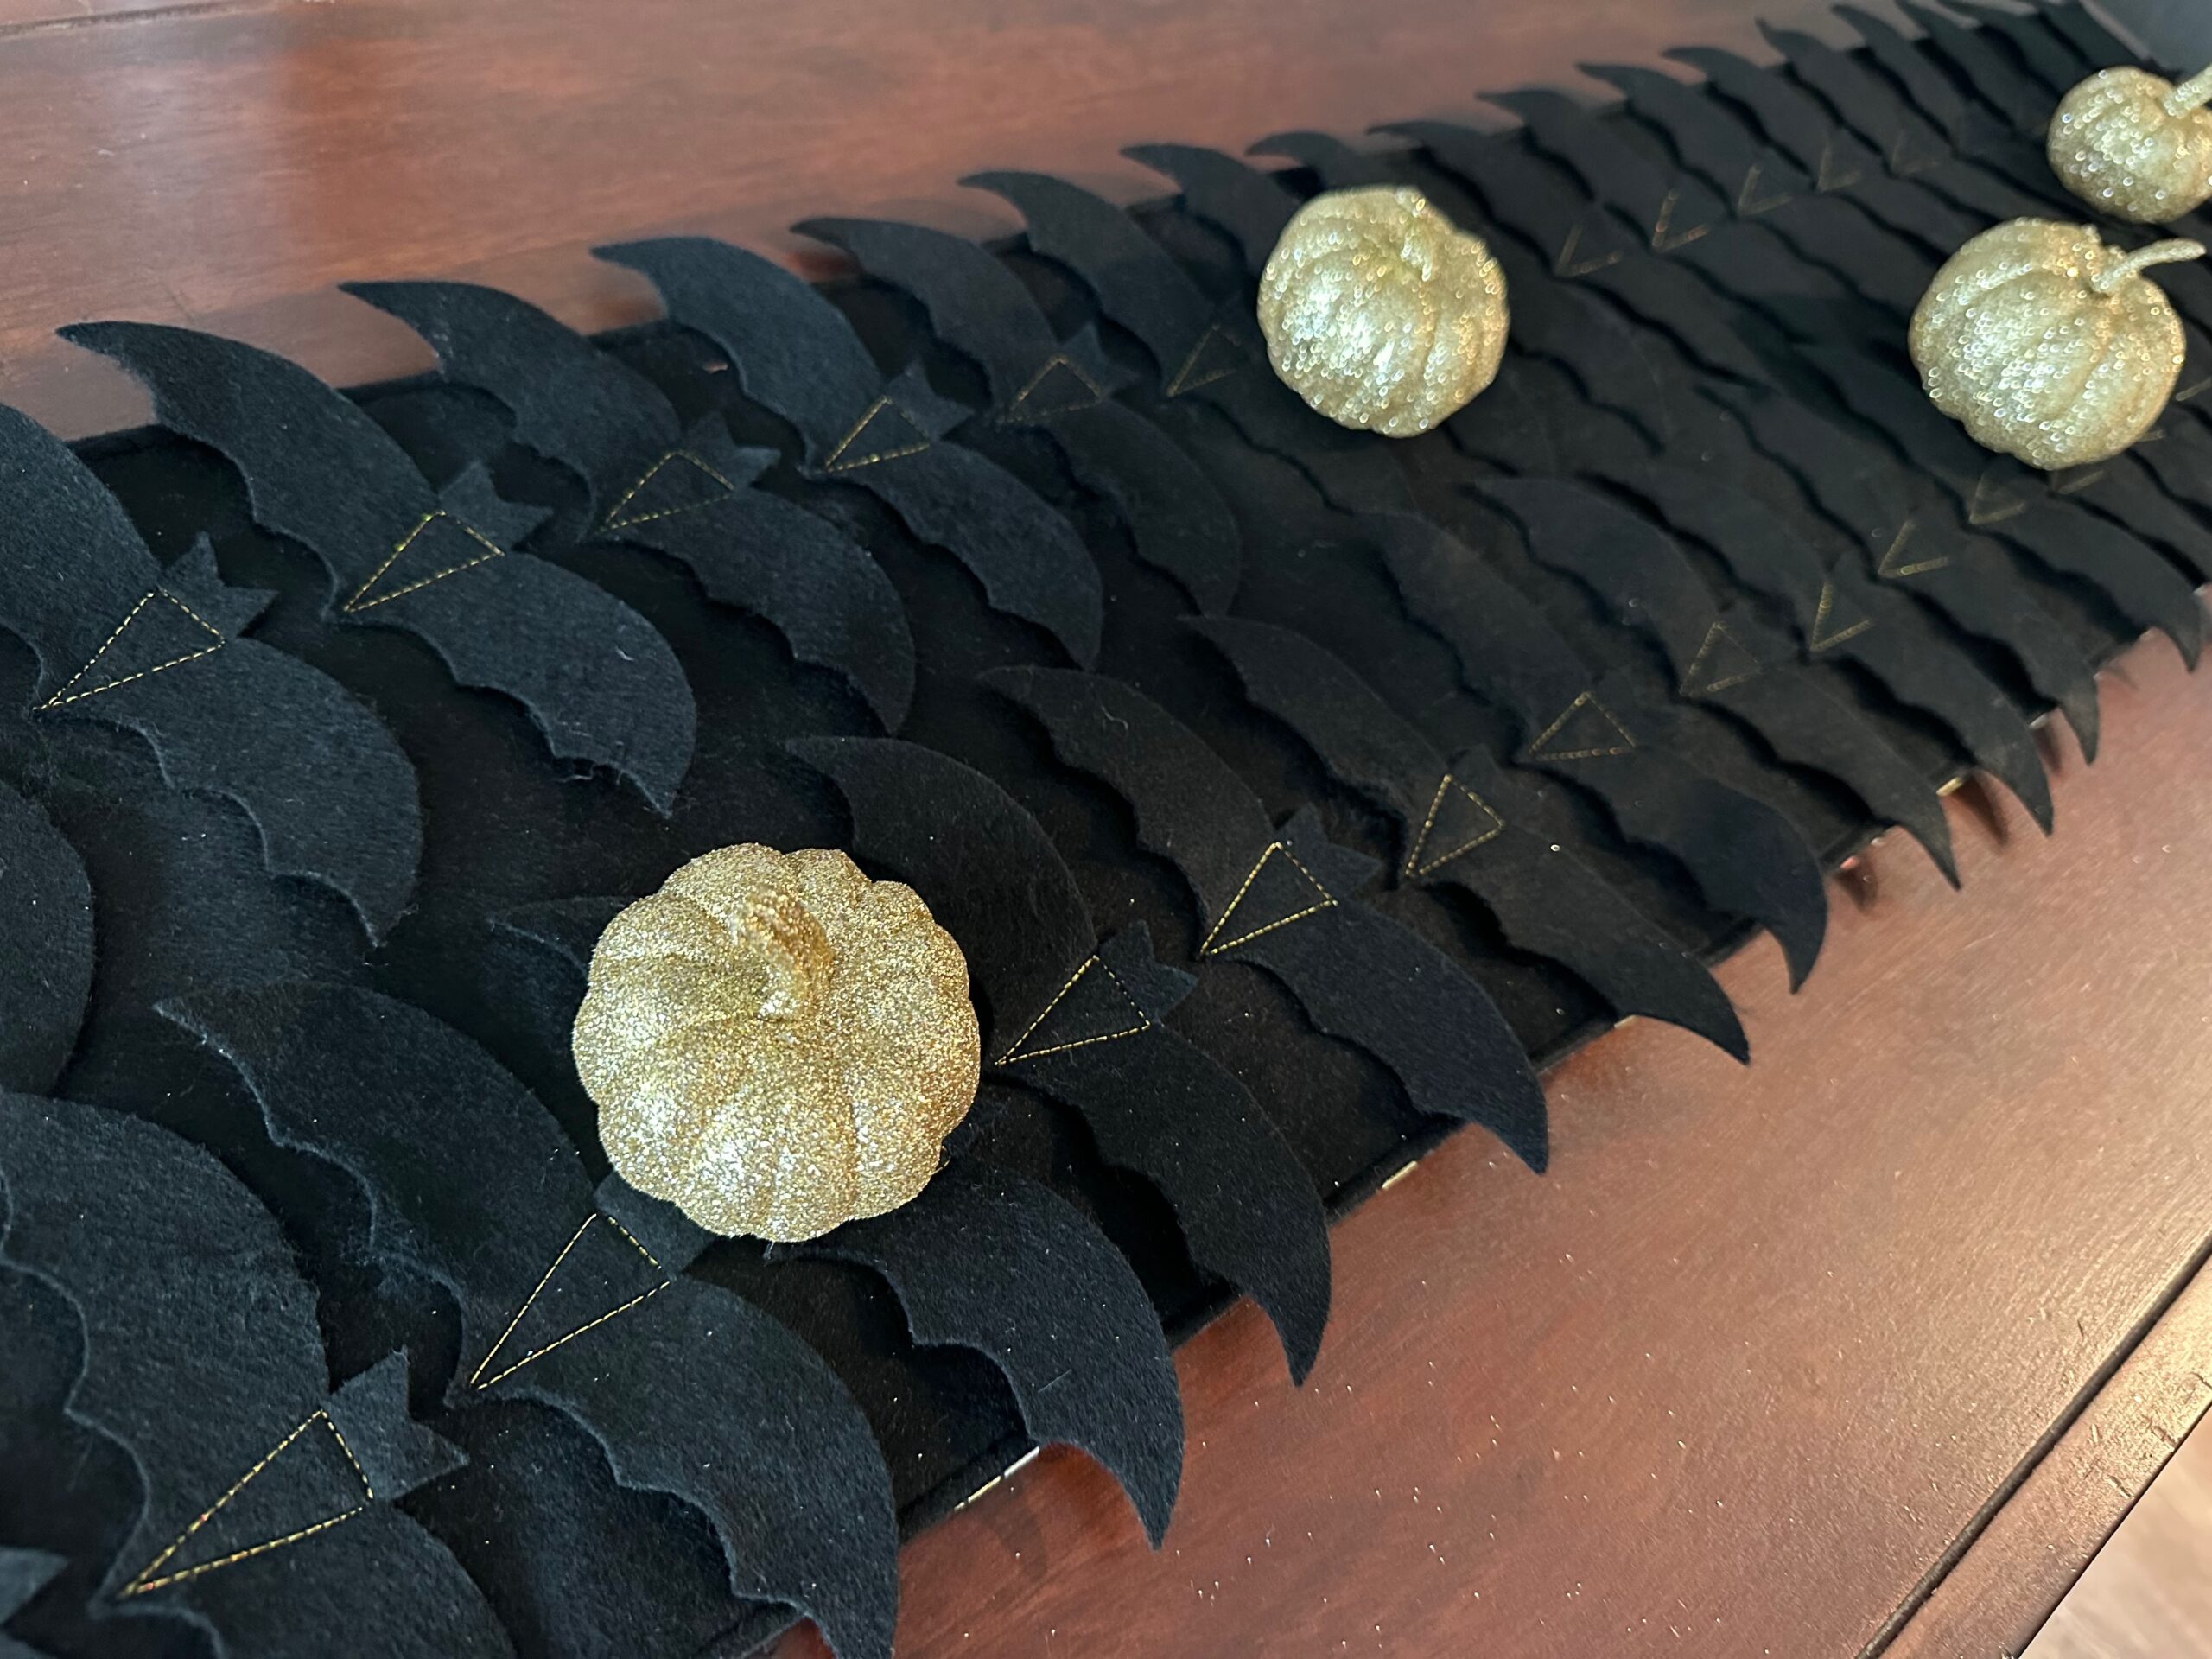
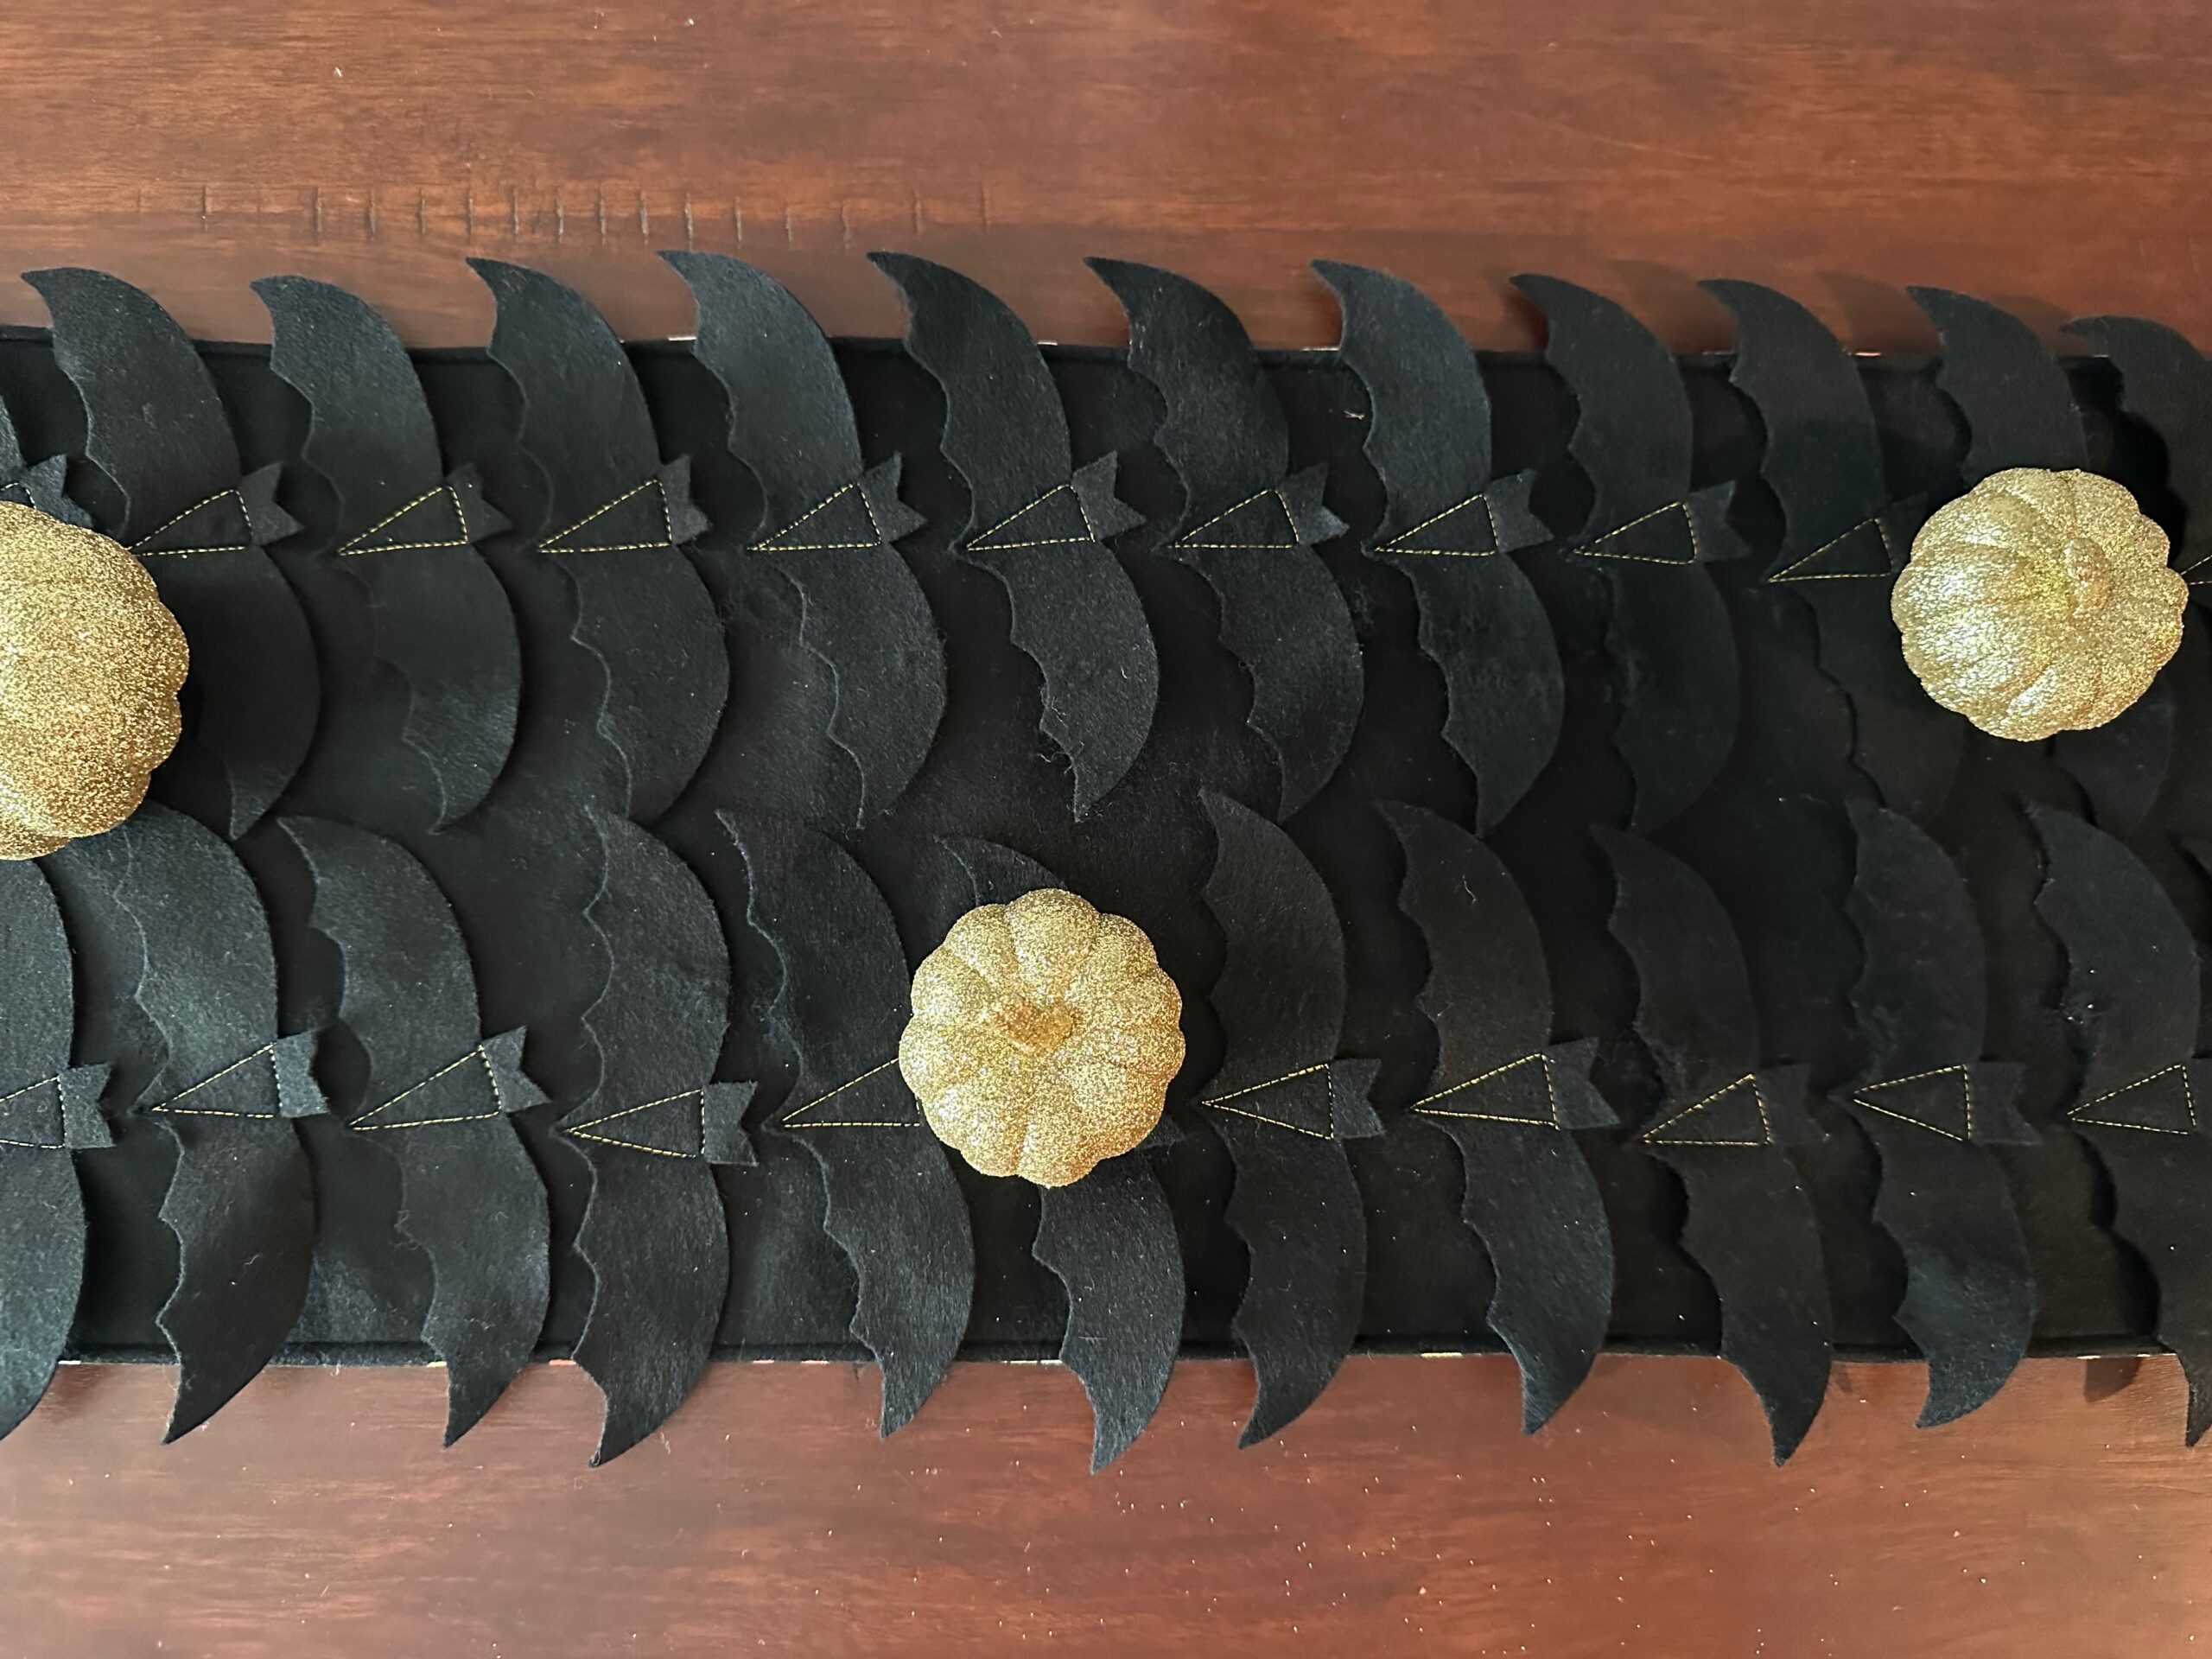
Tons of flying 3D felt bats come together with Sulky Holoshimmer Thread to create a fun and whimsical table runner for Halloween decorating. The narrow table runner size allows for placing more fun spooky decorations around the table without interfering with place settings. Or place it on a mantel or buffet table to decorate for a fun party.
Bat designed by Ameroonie Designs, amerooniedesigns.com.
FINISHED SIZE: 9 1/4” x 42”
FELT BAT TABLE RUNNER SUPPLIES
- Roll of Sulky Felty – Black
- 1/3 yard of 44”-wide quilting cotton fabric (backing)
- Sulky Holoshimmer Thread (appliqué; featured color: Gold)
- Sulky 50 wt. Cotton Thread (construction & topstitching; featured color: Black)
- Organ® Needles: size 90/14 Metal & size 70/10 Universal
- Bat templates (courtesy of Ameroonie Designs)
- Thread Director (optional but strongly recommended)
- Appliqué pins
- Removable fabric marker or chalk
- Sulky Clear Embroidery Tape
PREPARE FELT BATS
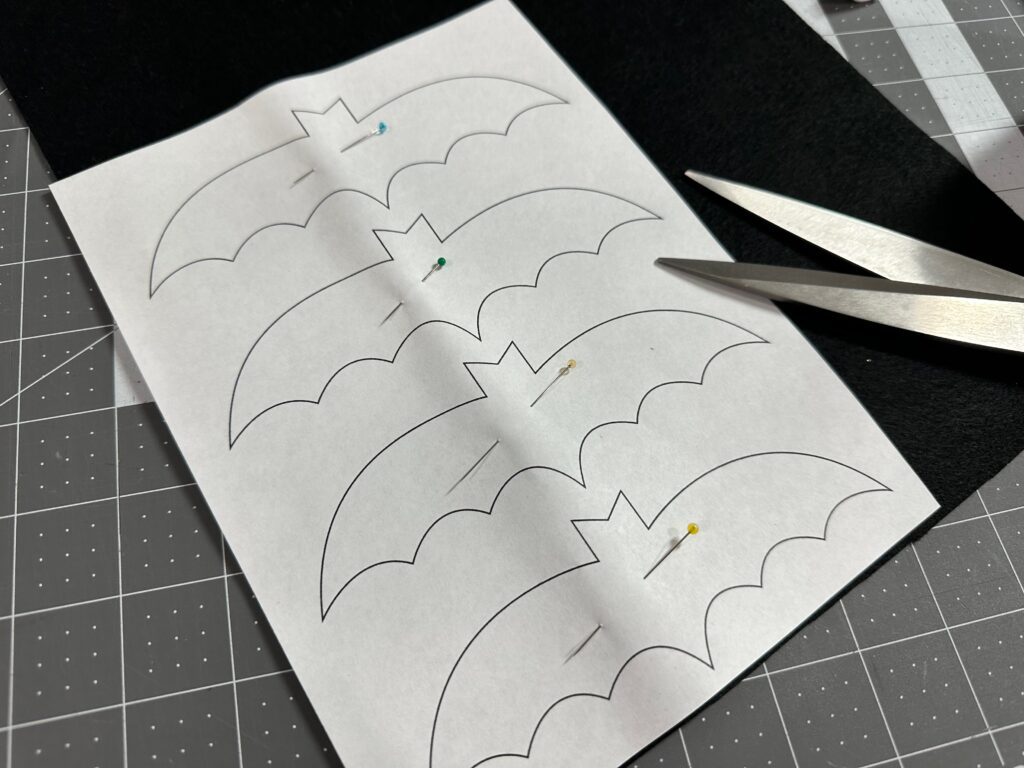
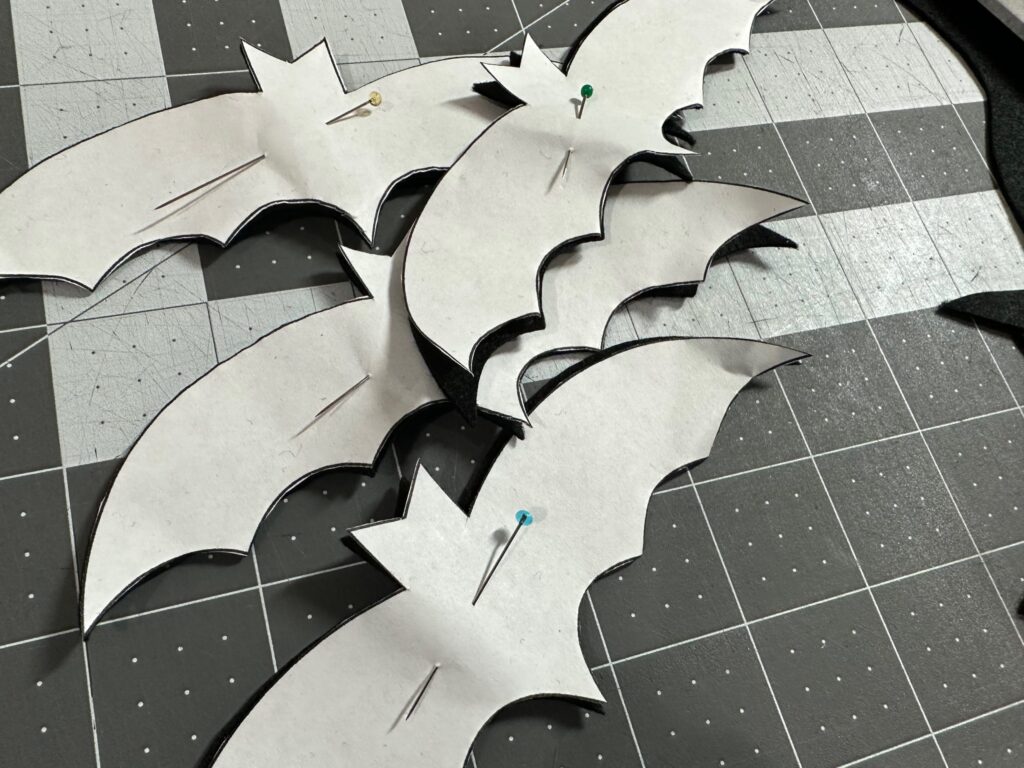
Print out the FREE Bat Template from Amaroonie Designs.
From the Felty, cut one 42 ½”-long x WOF rectangle; set aside. Using the Bat template, cut 44 bats from the remaining Felty.
From the backing fabric, cut a 42 ½”-long rectangle matching the Felty width.
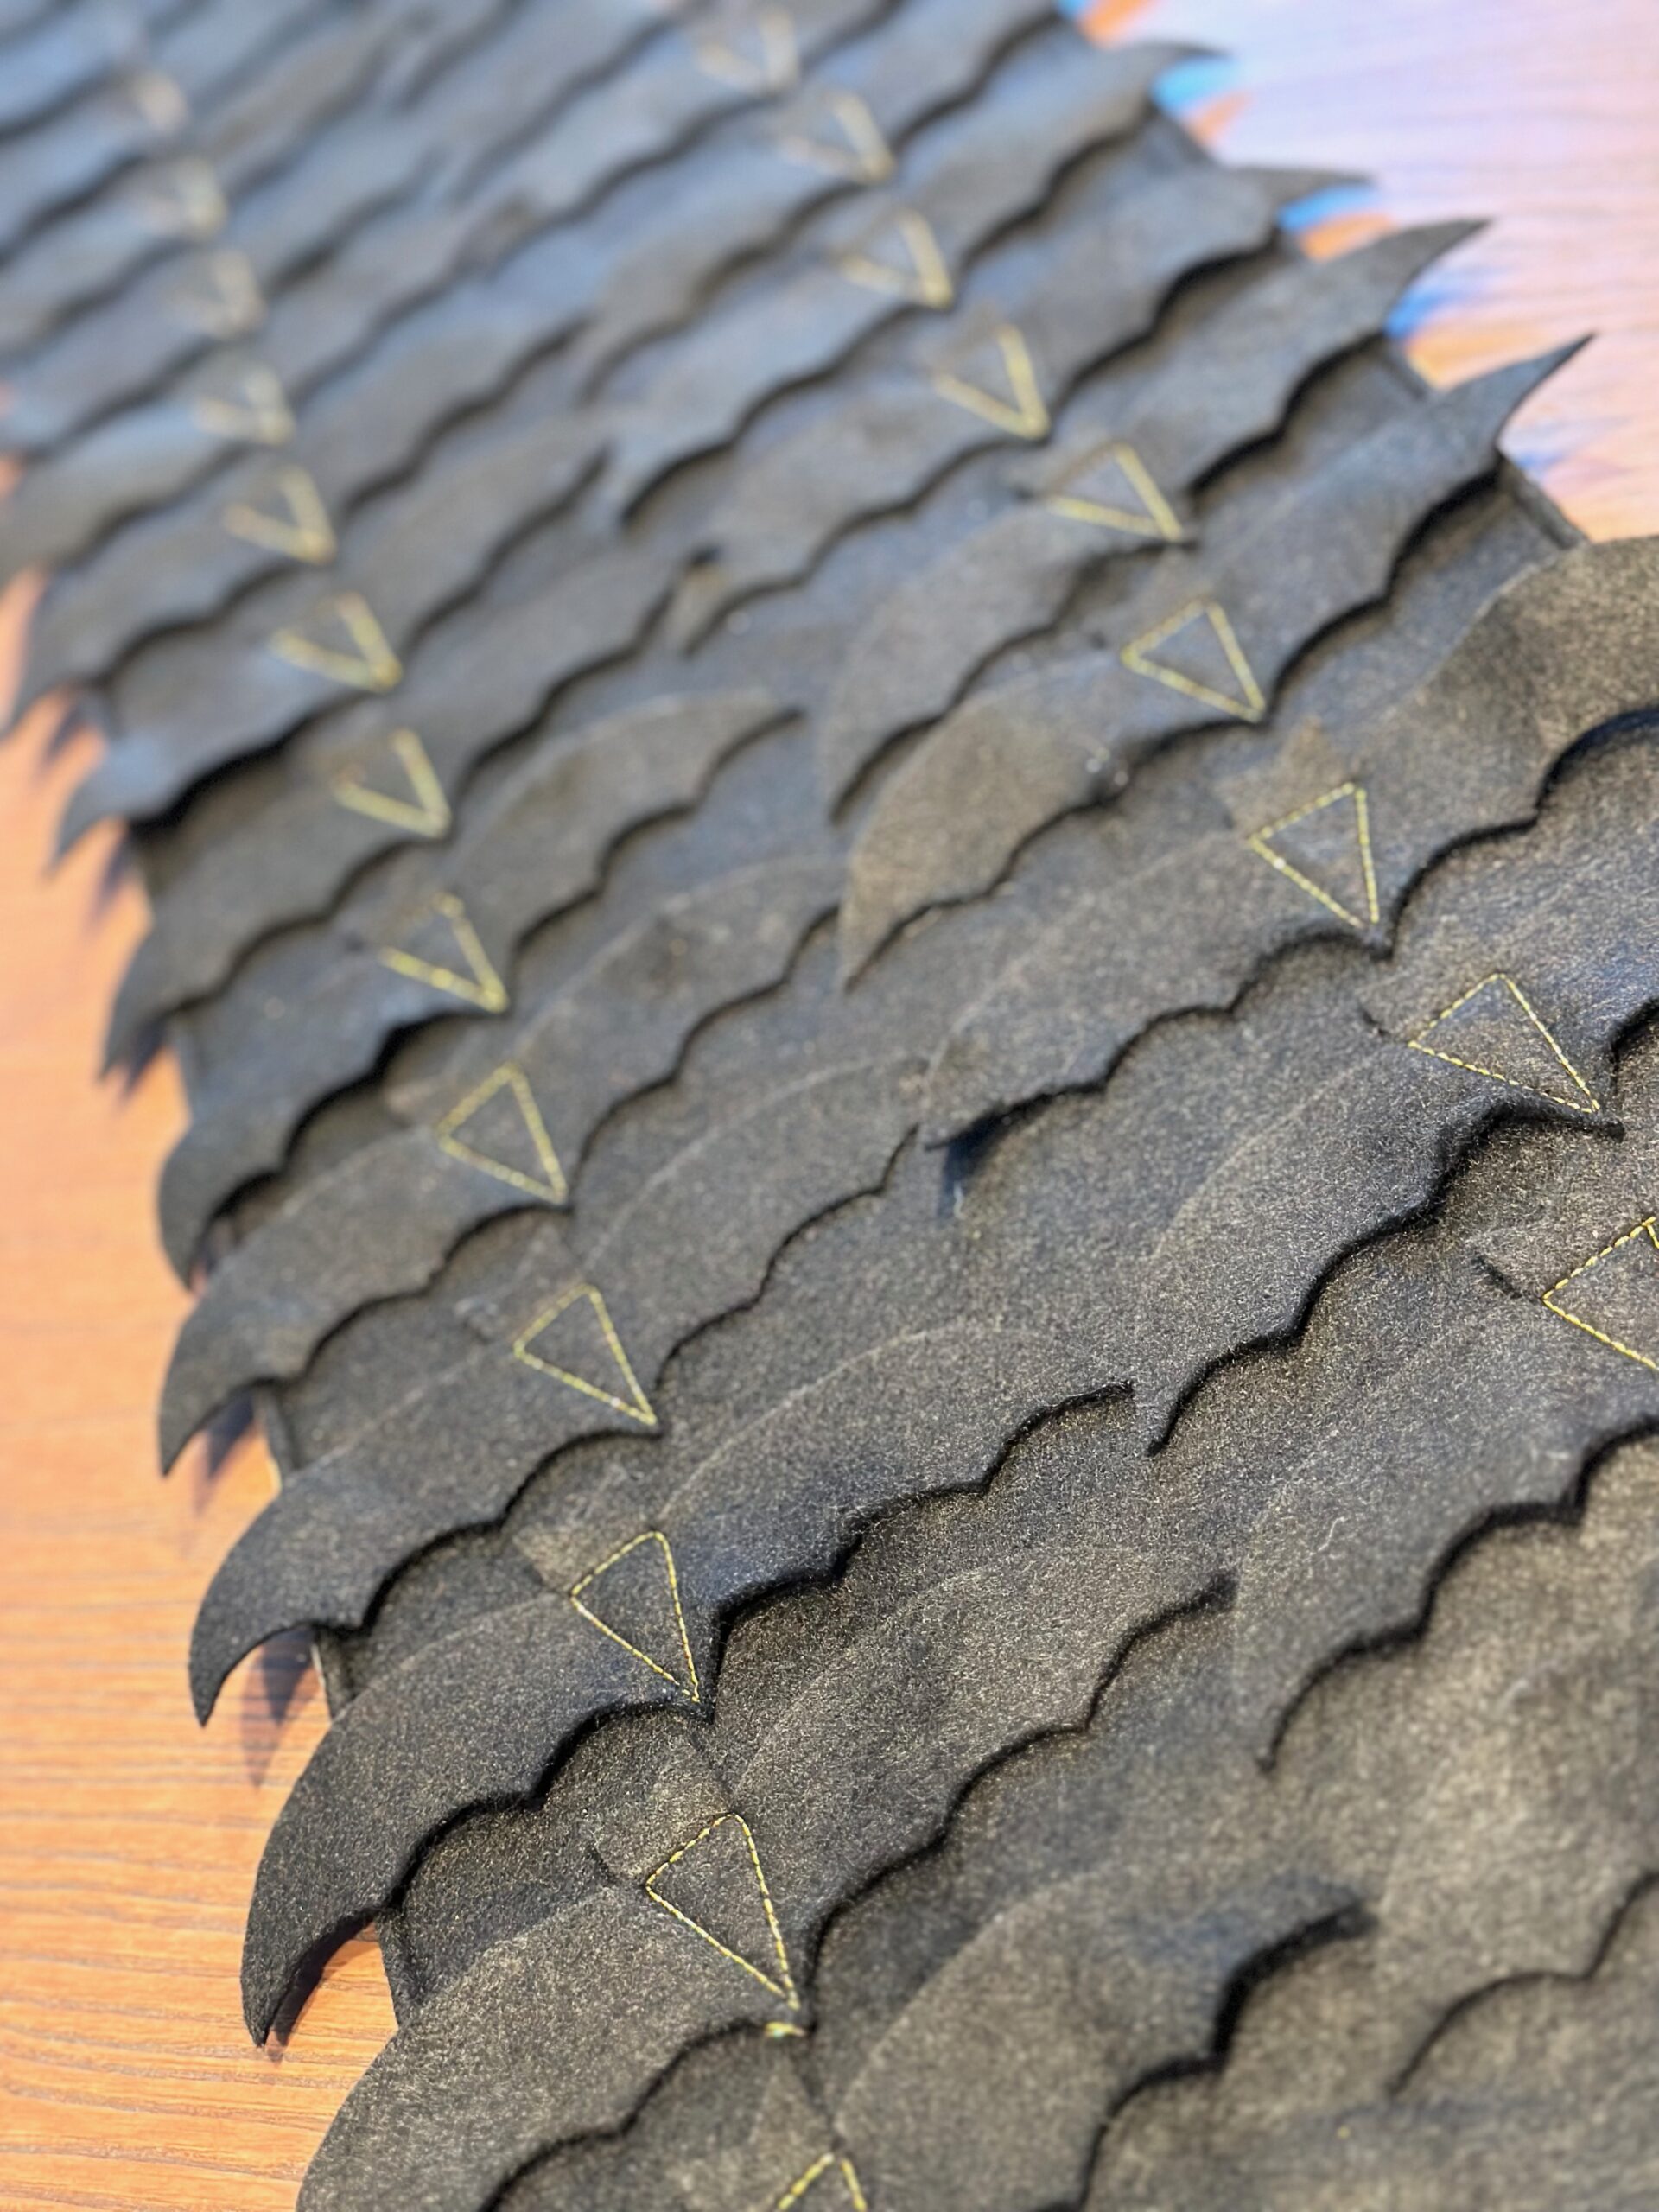
Place the Felty rectangle right side up on a flat work surface. Position the Felty bats right side up over the Felty rectangle, in 22 rows of two. Angle the Bats slightly so the wings overlap (only the Bat body is sewn down, creating a 3D effect; so the wings will have movement after stitching is complete). If desired, change the Bat angles every other row so one Bat along that row is straight, rather than angled.
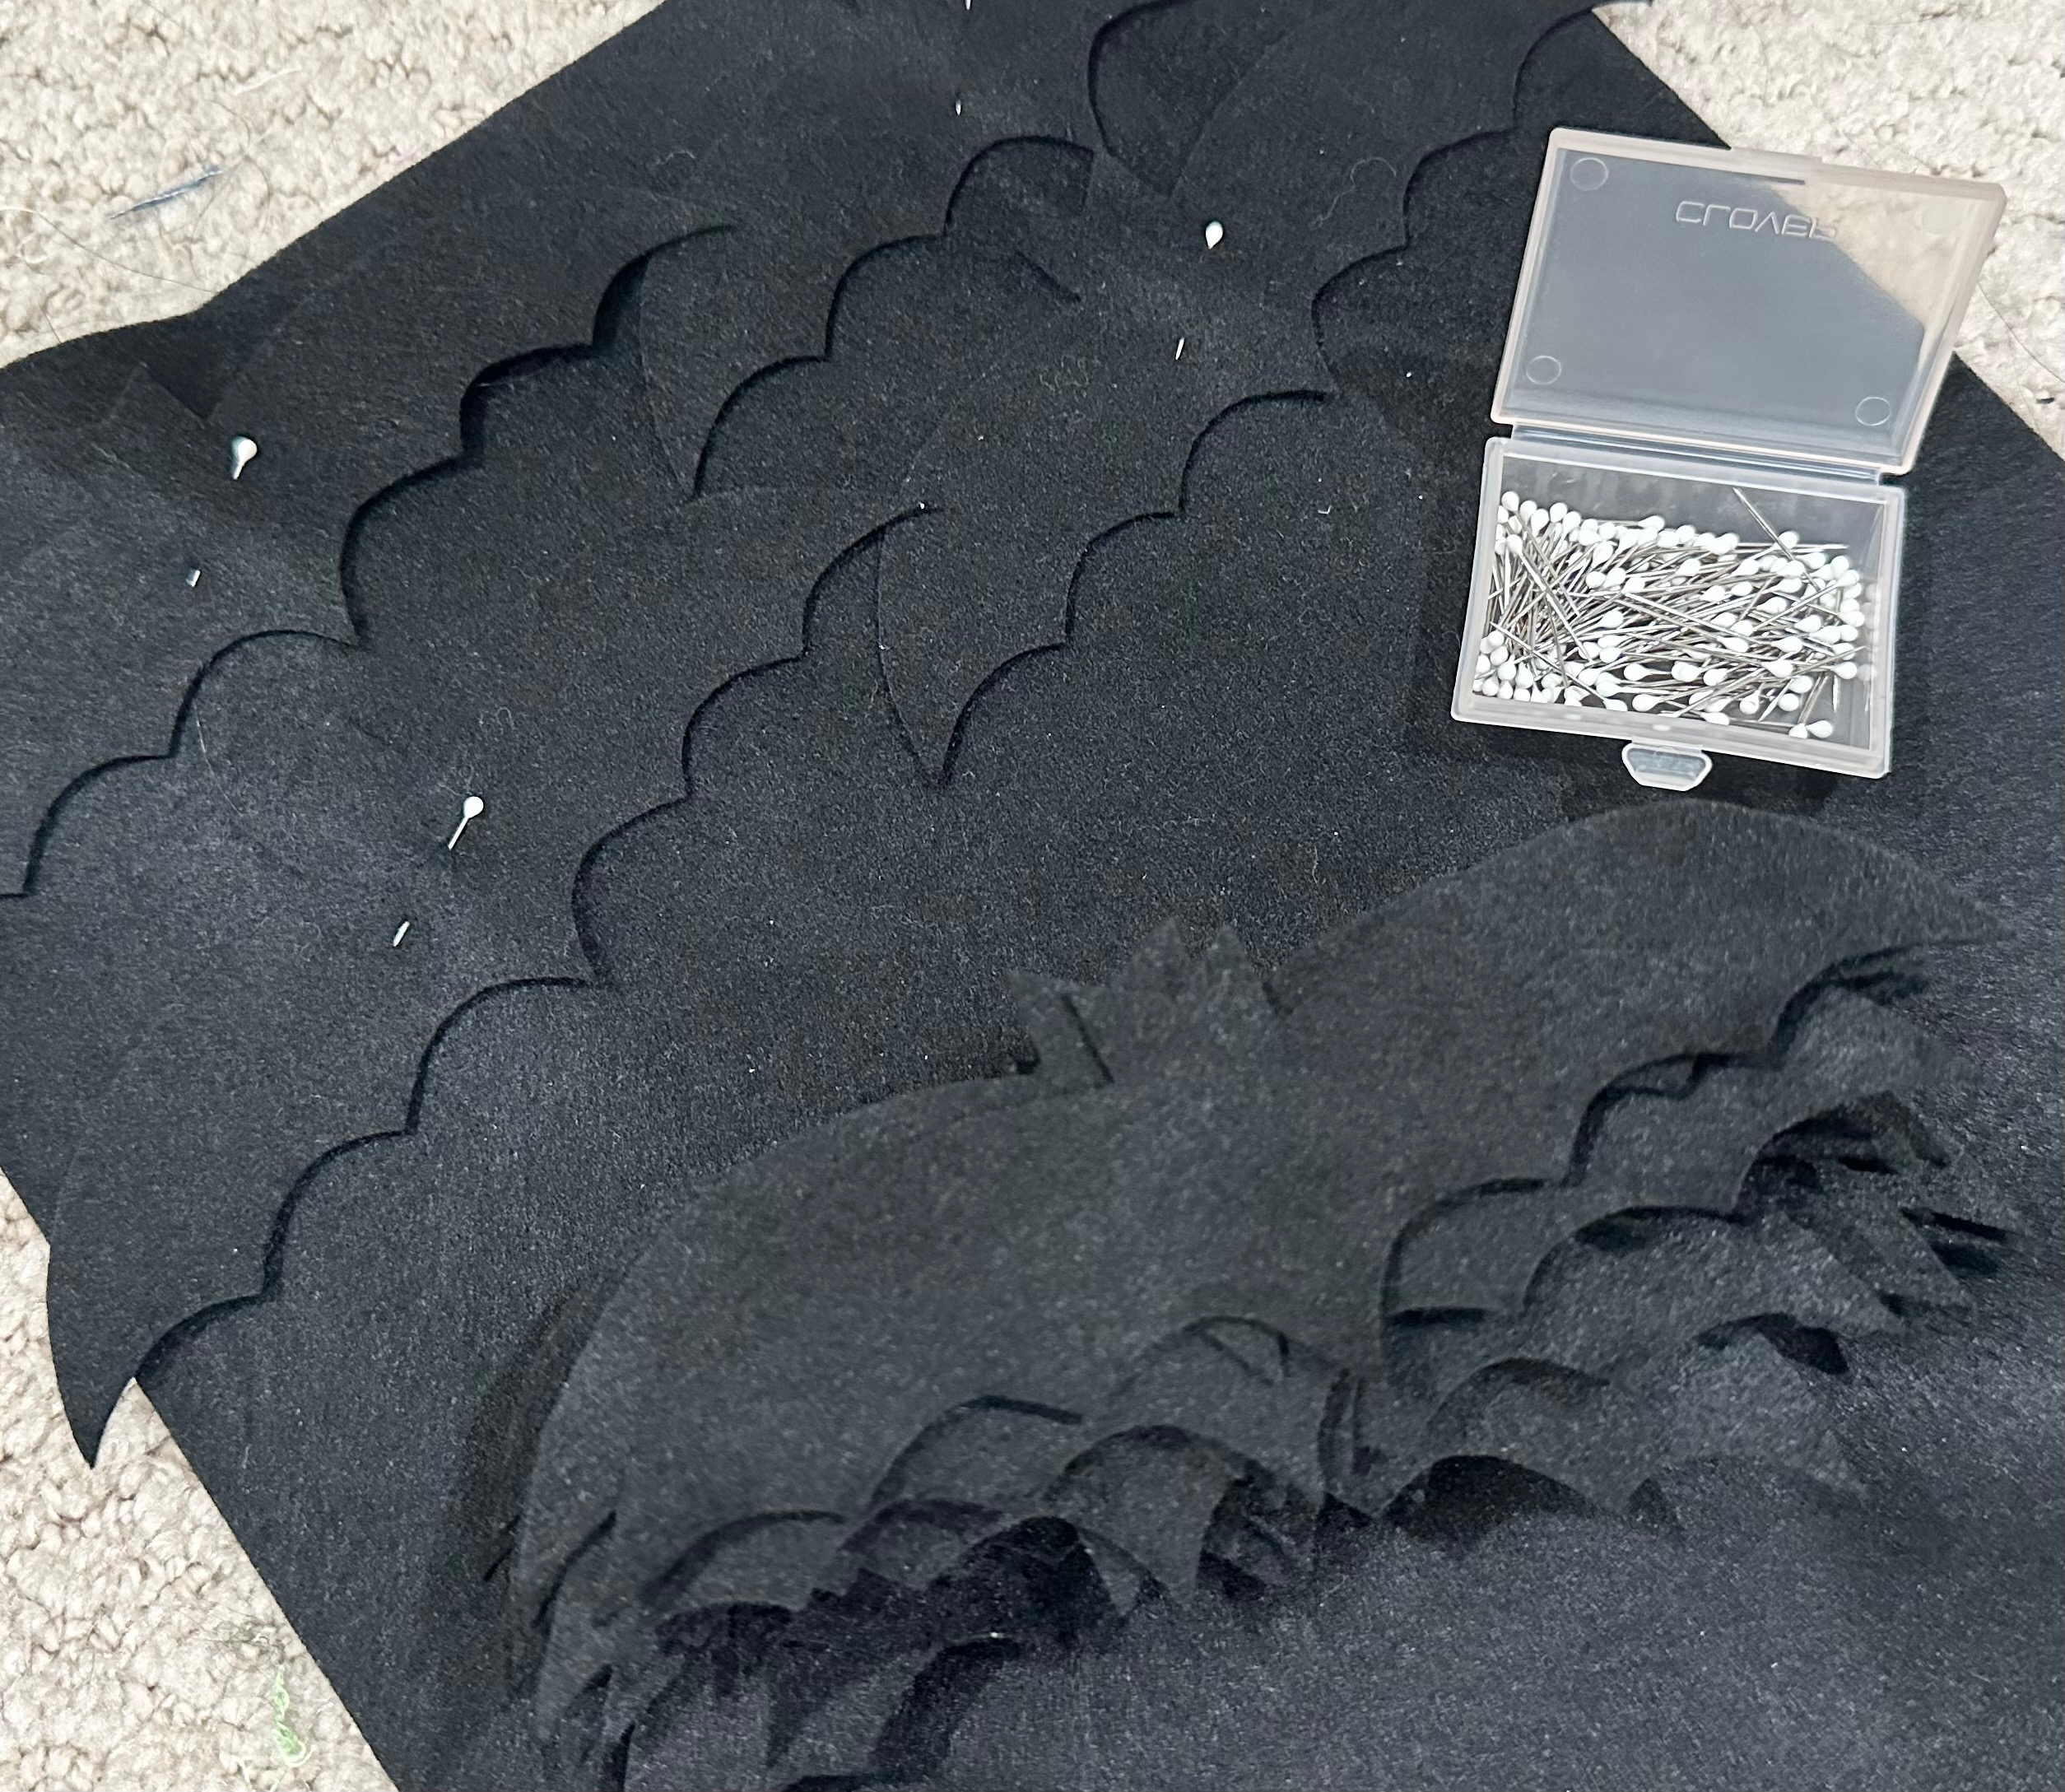
Once satisfied with the bat placements, pin each bat in place along the body centers. Use Appliqué Pins so they don’t stick out beyond the Bat center, for ease in stitching.
BAT APPLIQUÉ
Install a new size 90/14 Metal Needle into the machine. Thread the needle with Sulky Holoshimmer Thread.
Holoshimmer Thread is a flat metallic thread, so it likes to twist on its way to the needle. To prevent this, install a Thread Director so the thread sits horizontally facing the needle during sewing.
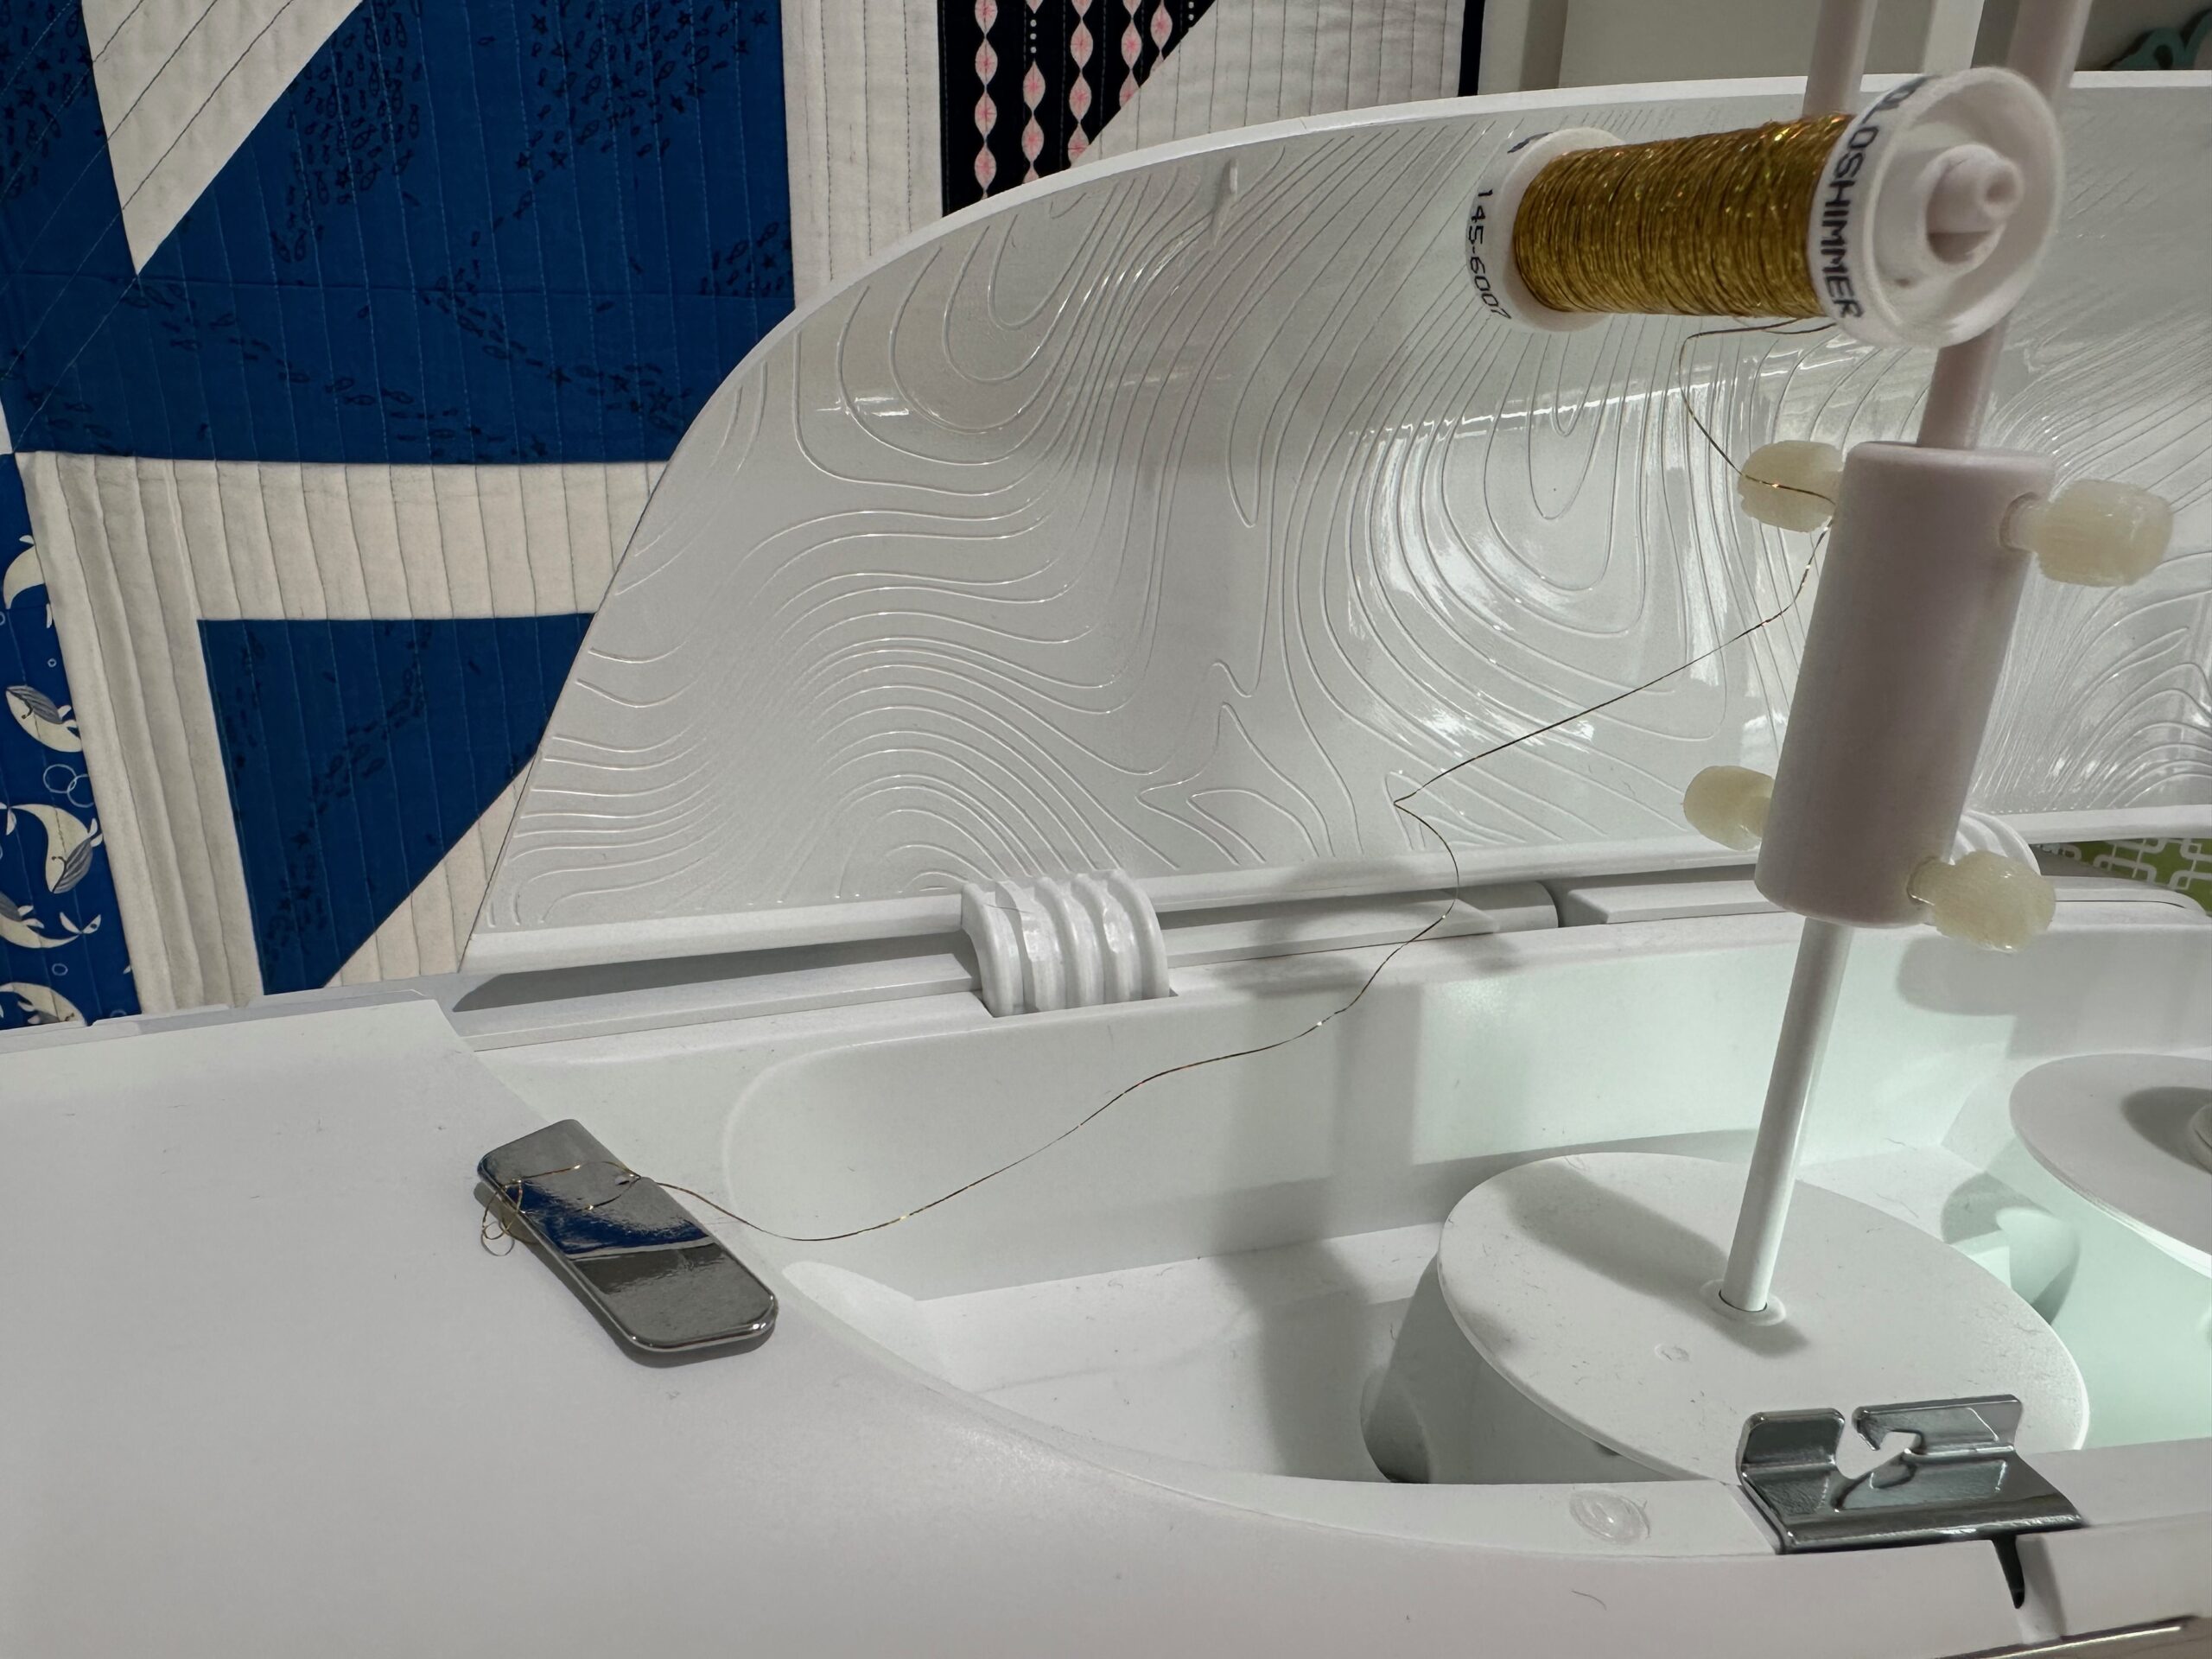
Wind a bobbin with Sulky 50 wt. Cotton Thread in Black.
Slow the machine speed by at least half.
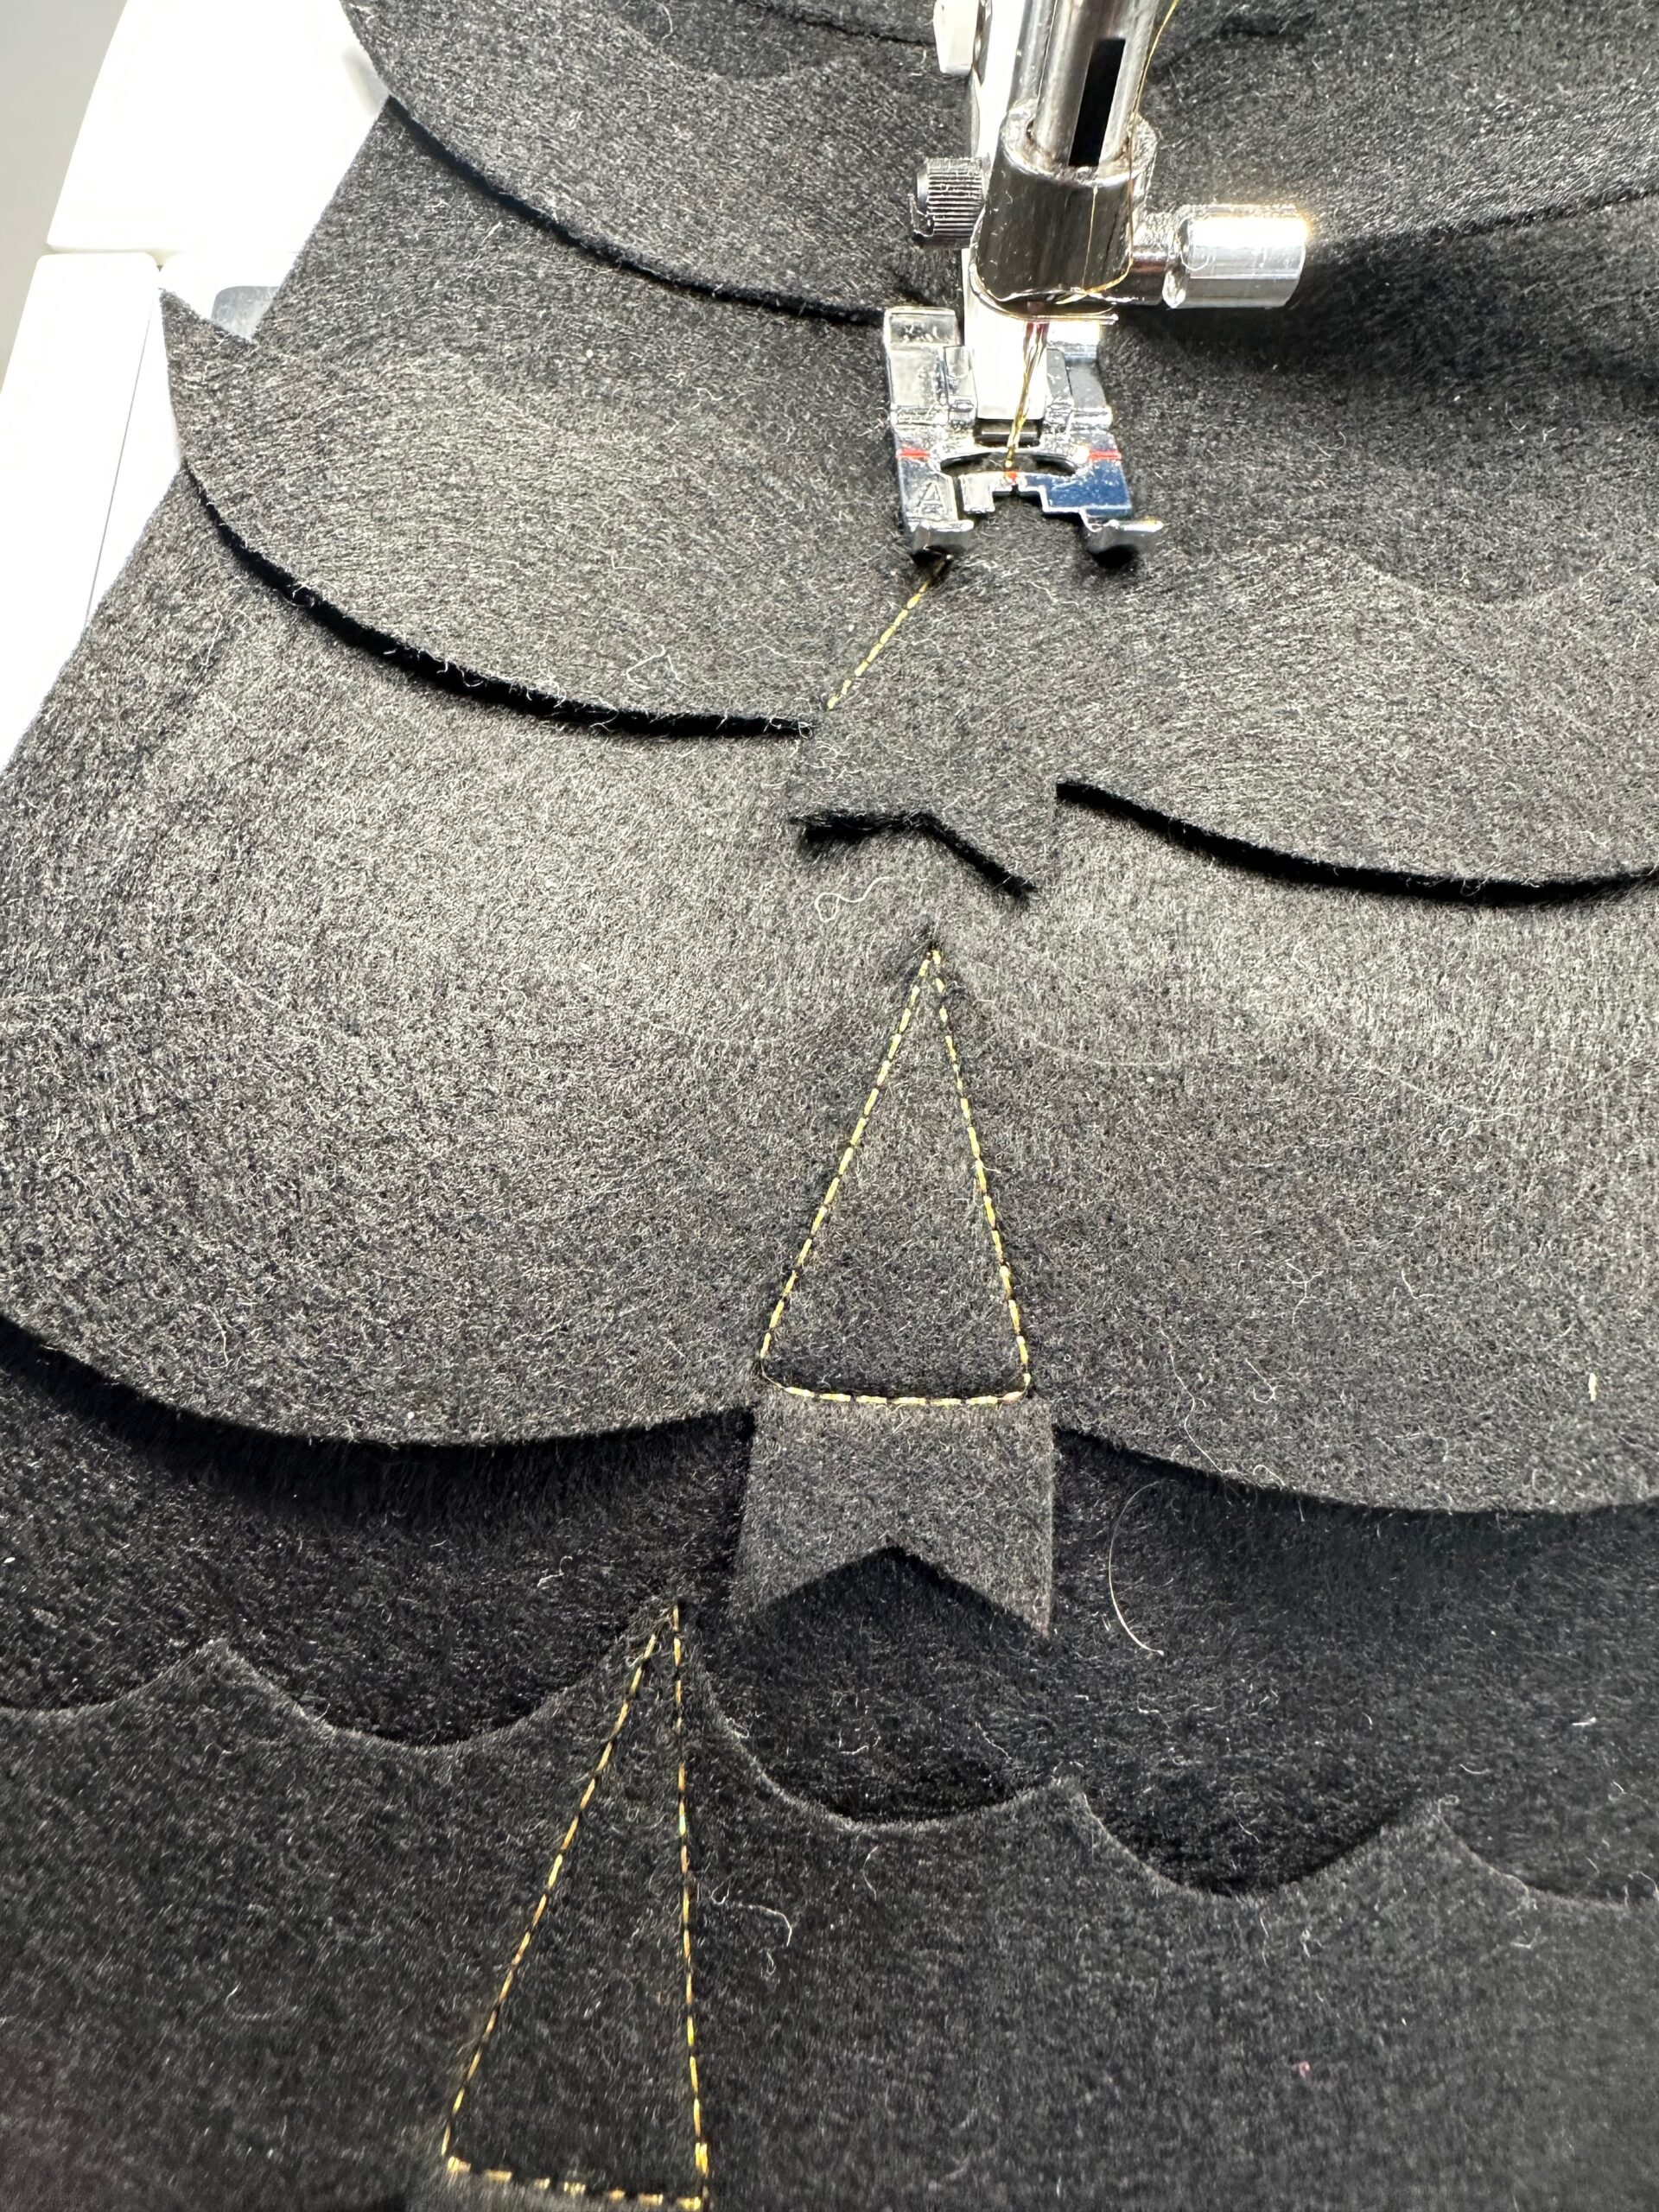
If desired, using a removable fabric marker or chalk, plot the stitching lines on each Bat body; mark a triangle connecting just under each upper-edge ear points to the lower-edge center “v” of each Bat.
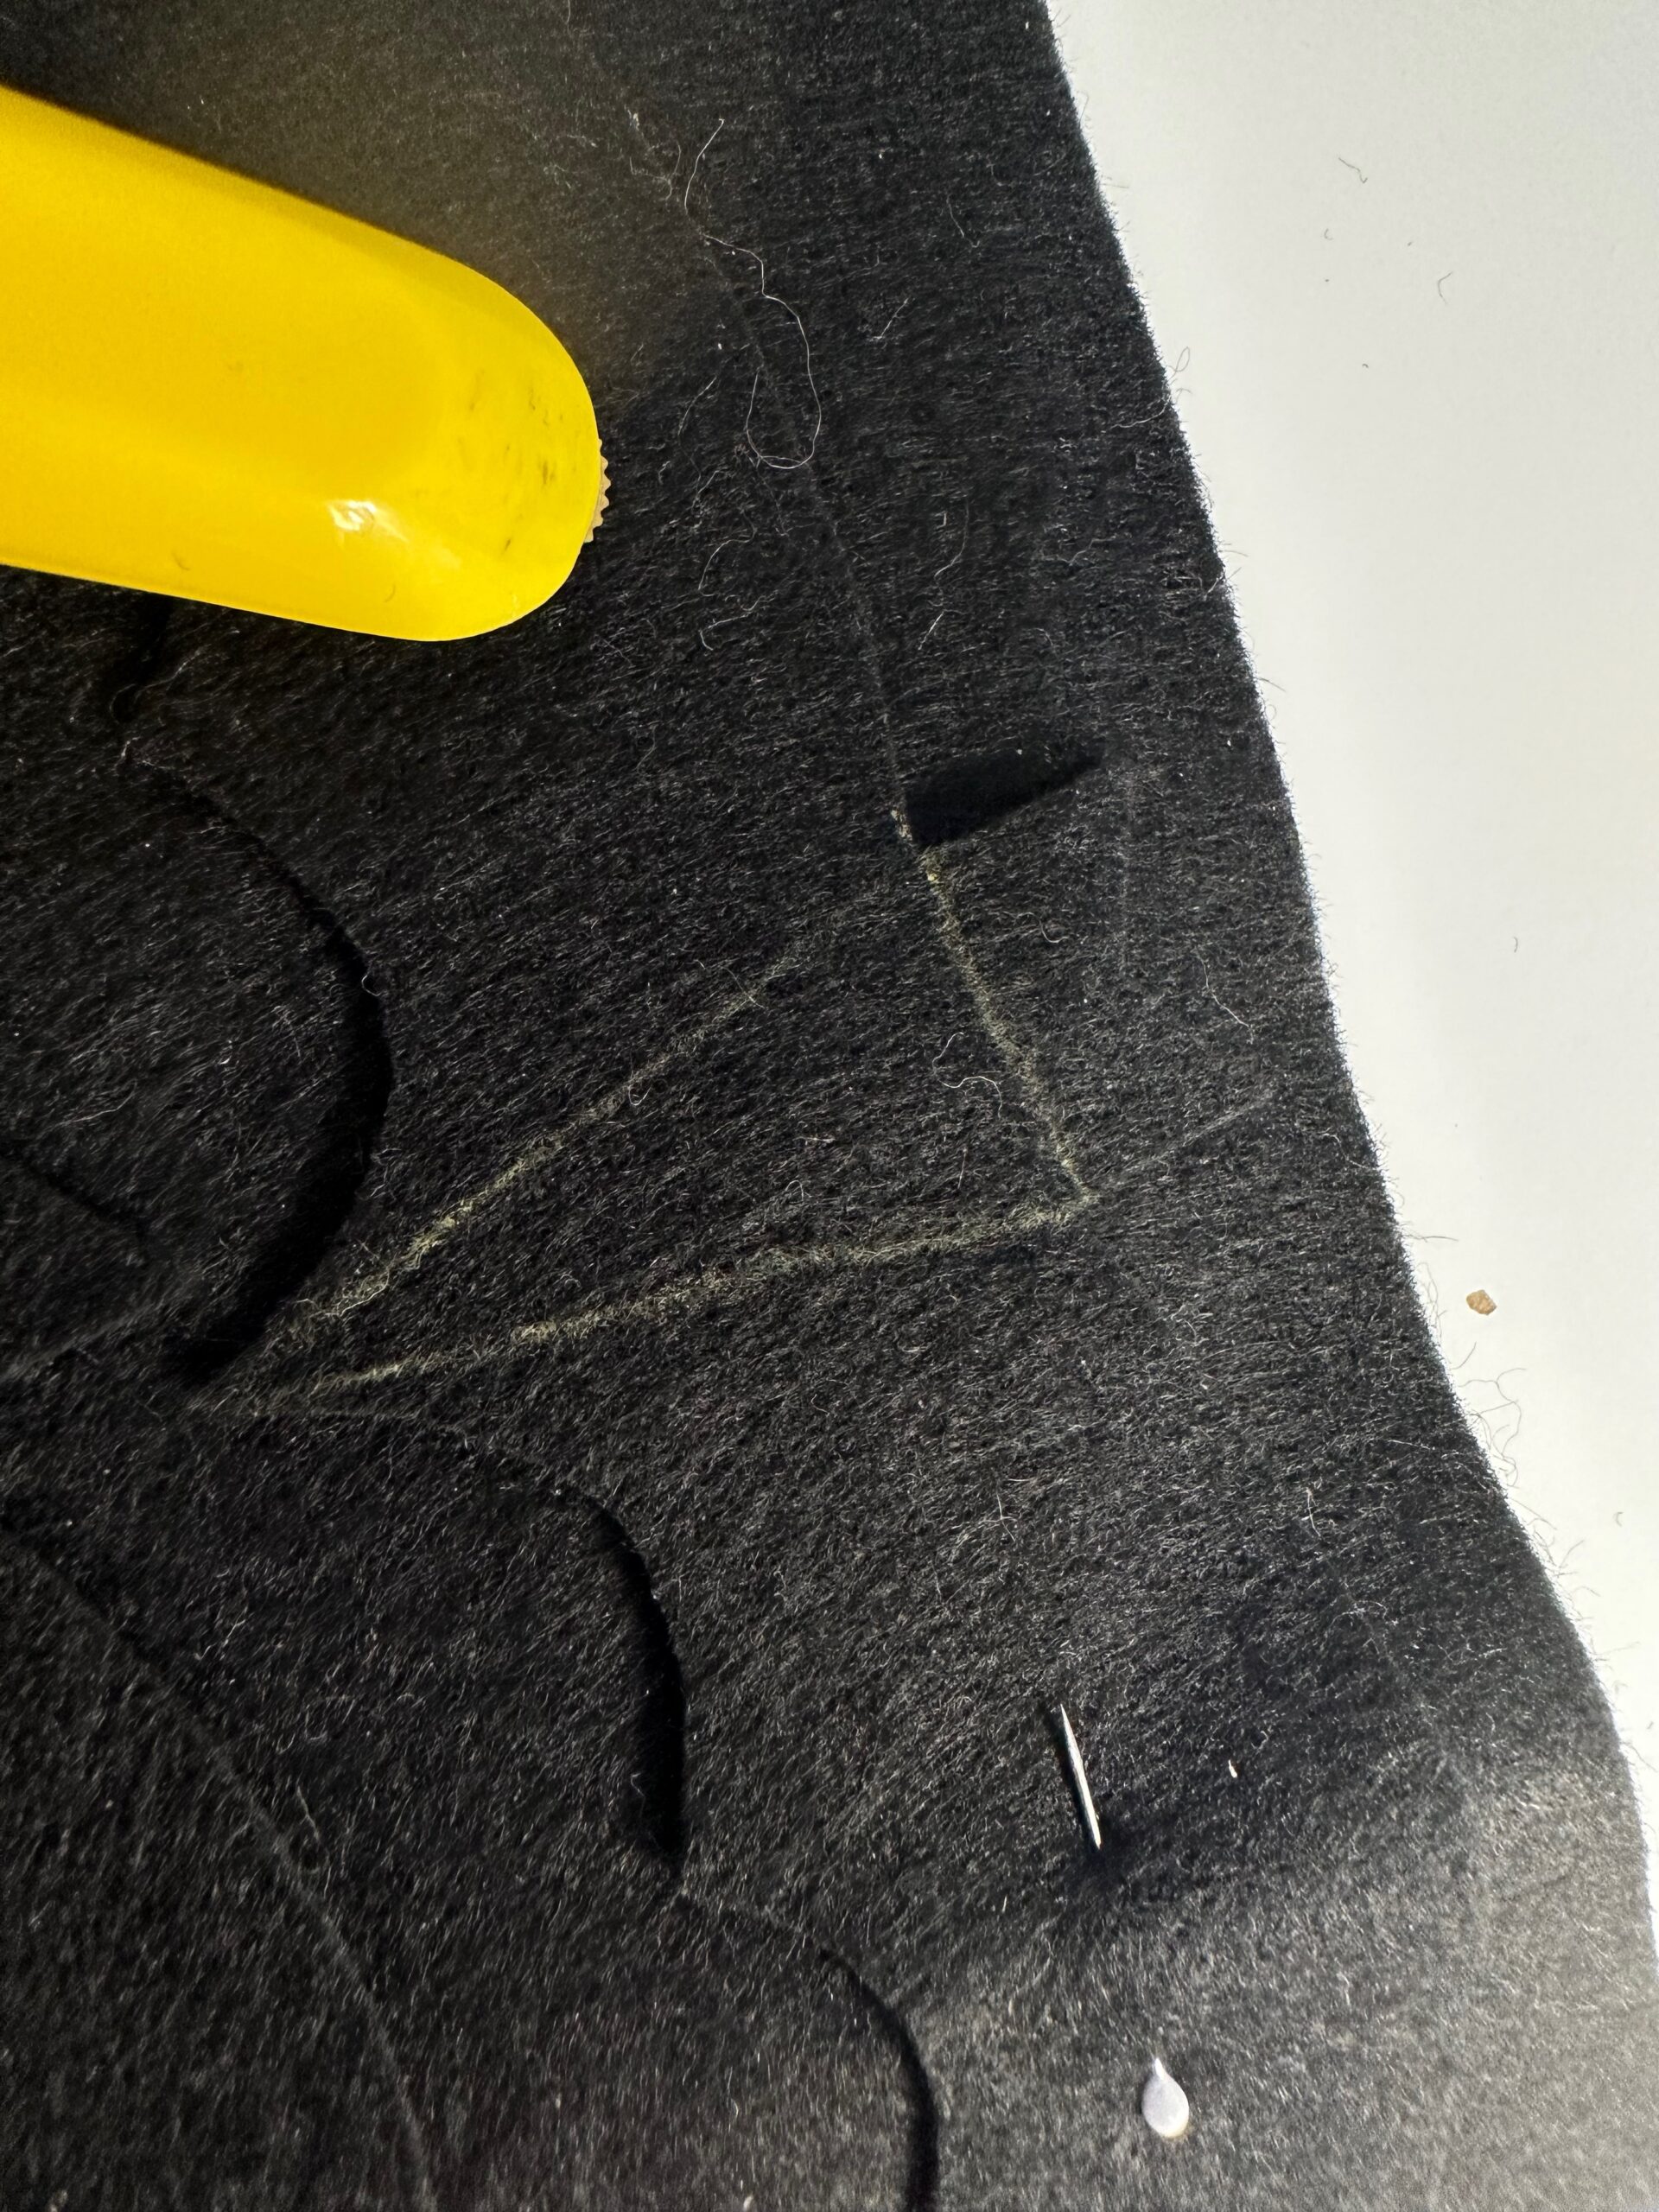
Stitch a triangle on each Bat body, either following the plotted lines or eyeballing it. Don’t backstitch at the beginning and end of each stitch; rather, pull the upper threads to the Felty wrong side after the appliqués are complete and tie off.
CONSTRUCT TABLE RUNNER
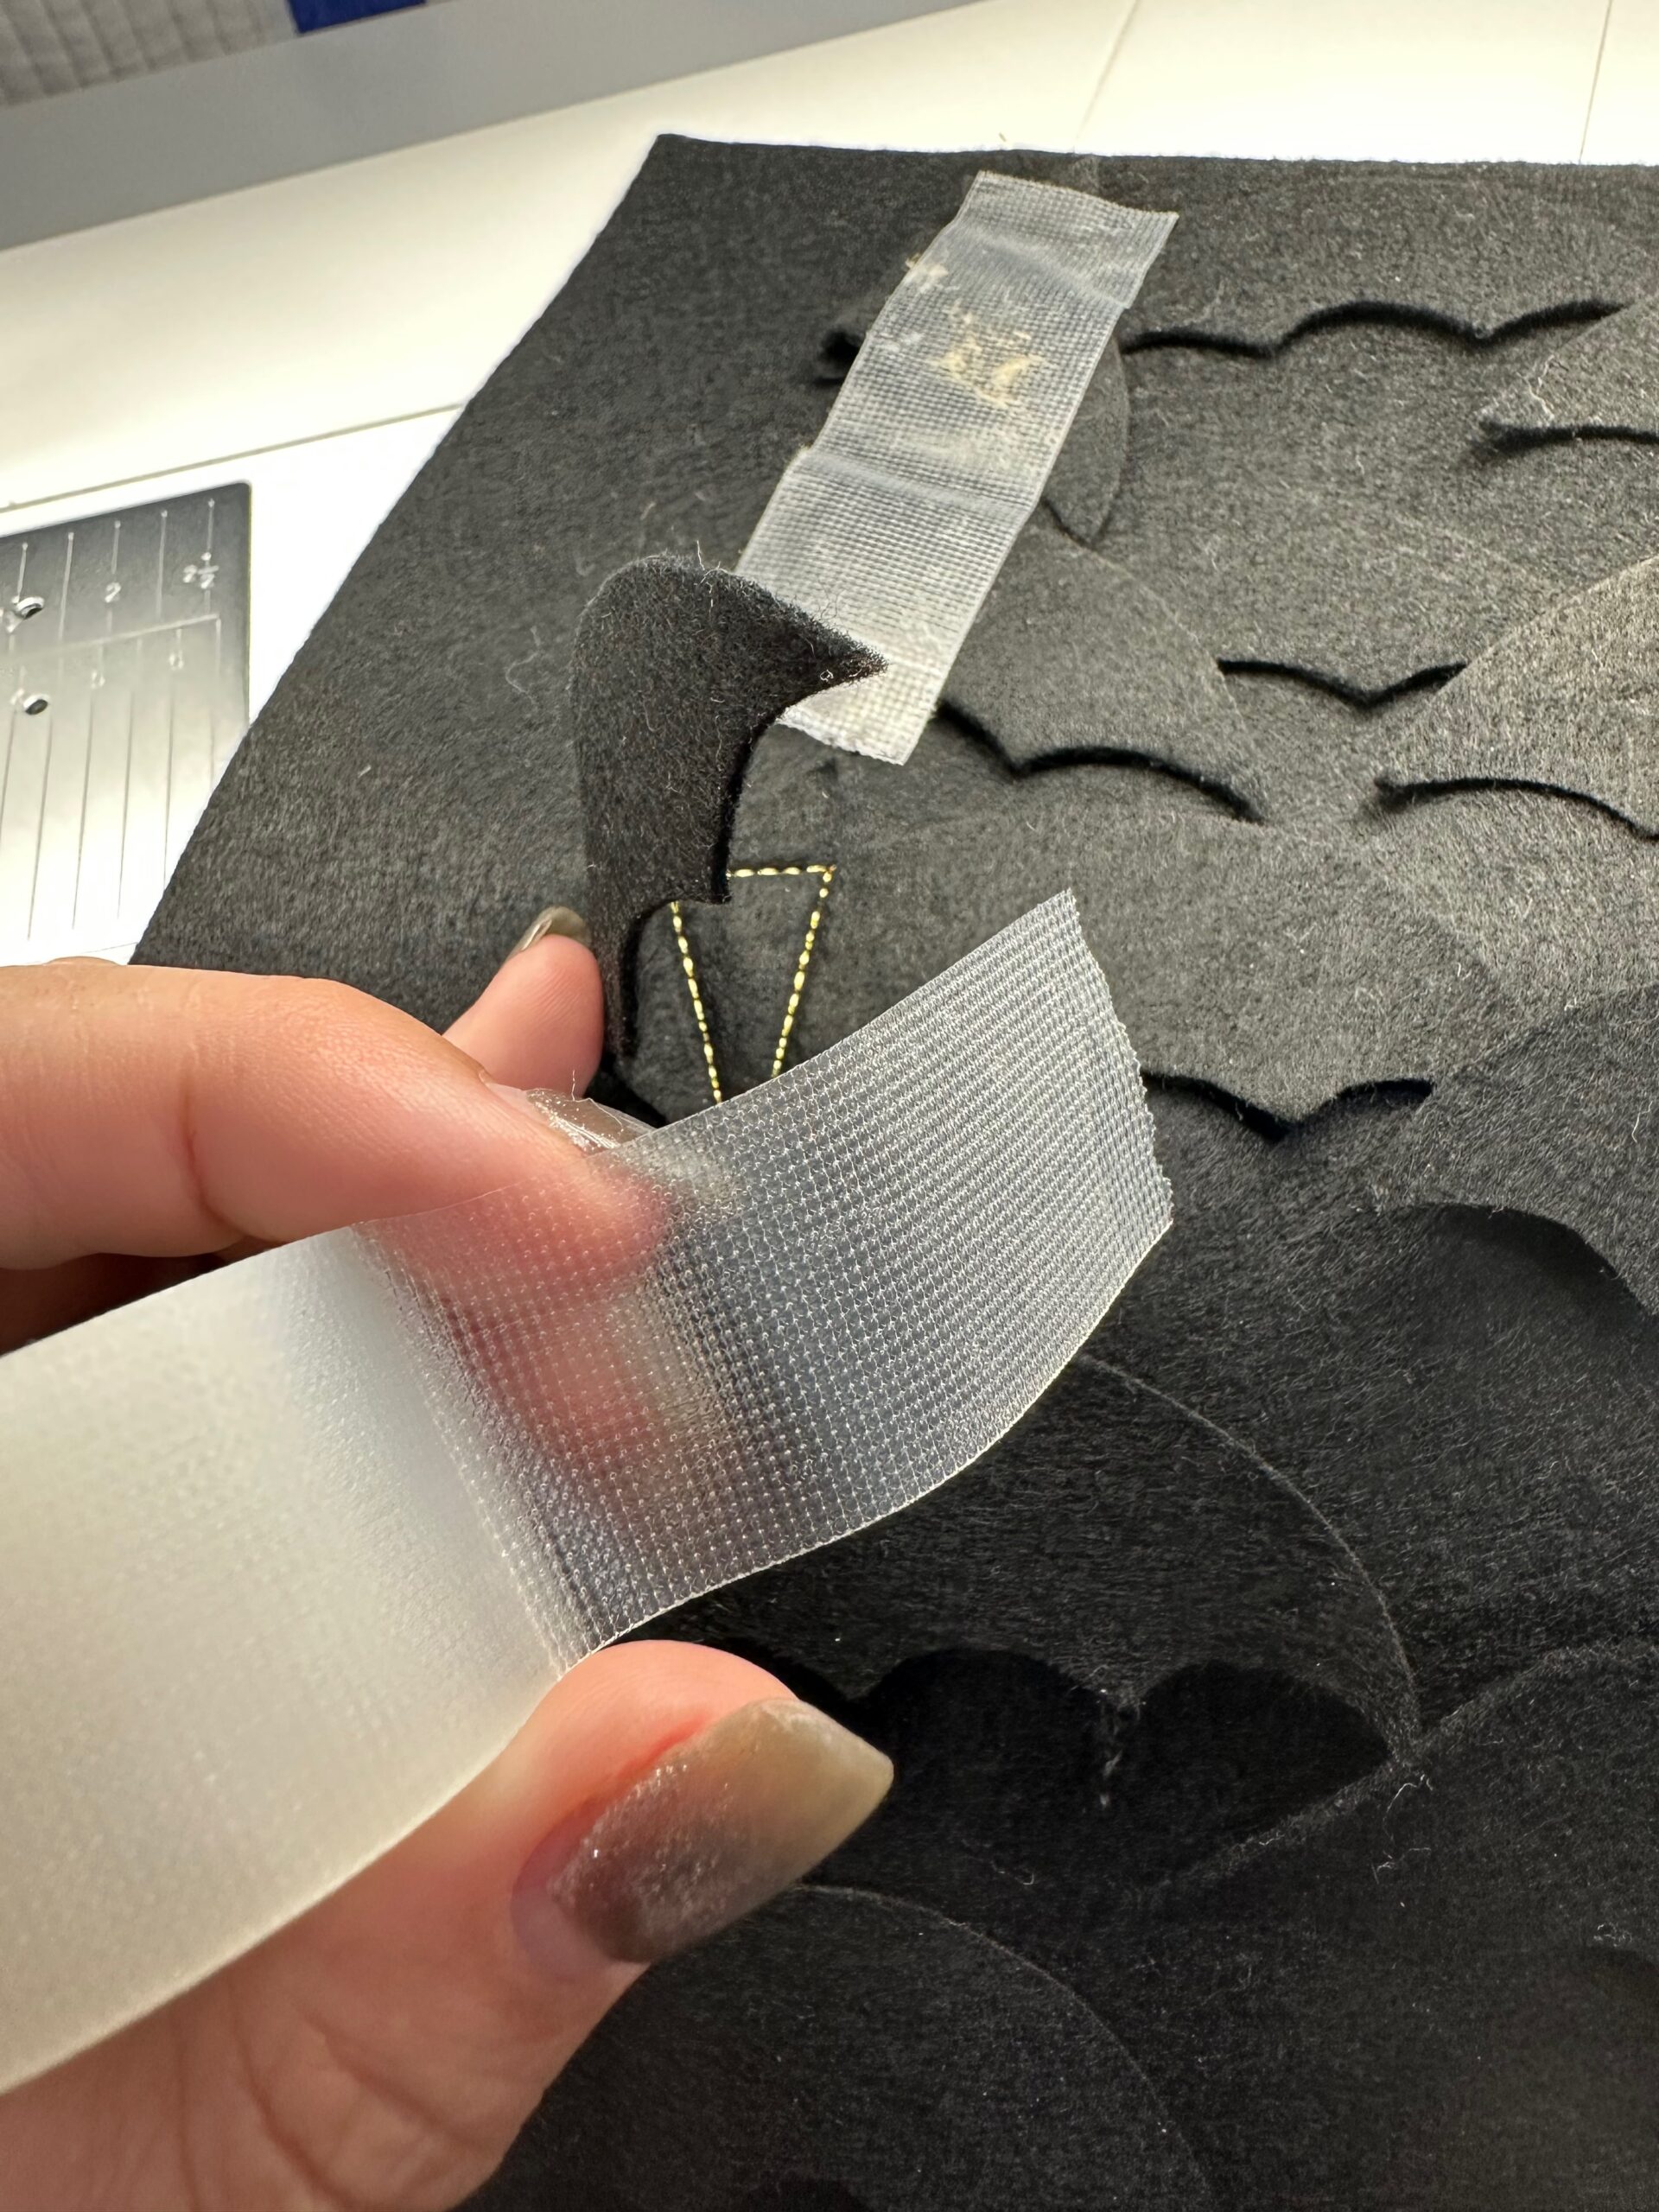
After the Bat appliqués are complete, carefully maneuver the Bat ears and wings so they’re a bit more than 1/4” inside the Felty rectangle edges. Use Sulky Clear Embroidery Tape, masking tape, or pins to secure.
Place the backing rectangle over the Felty rectangle, matching all edges and corners; pin the perimeter. Double check to ensure the Bat appliqués are not extending beyond the edges.

Mark a centered 5” opening along one long edge for turning. Either use a removable fabric marker, chalk or double pins to indicate the opening and avoid accidentally stitching it closed.

Install a size 70/10 Universal Needle into the machine. Thread the needle with 50 wt. Cotton Thread. Leave the 50 wt. Cotton Thread in the bobbin.
Using a ¼” seam allowance, stitch the table runner perimeter, removing the pins as you reach them and leaving the opening free. Backstitch securely at the beginning and end of the opening stitches.
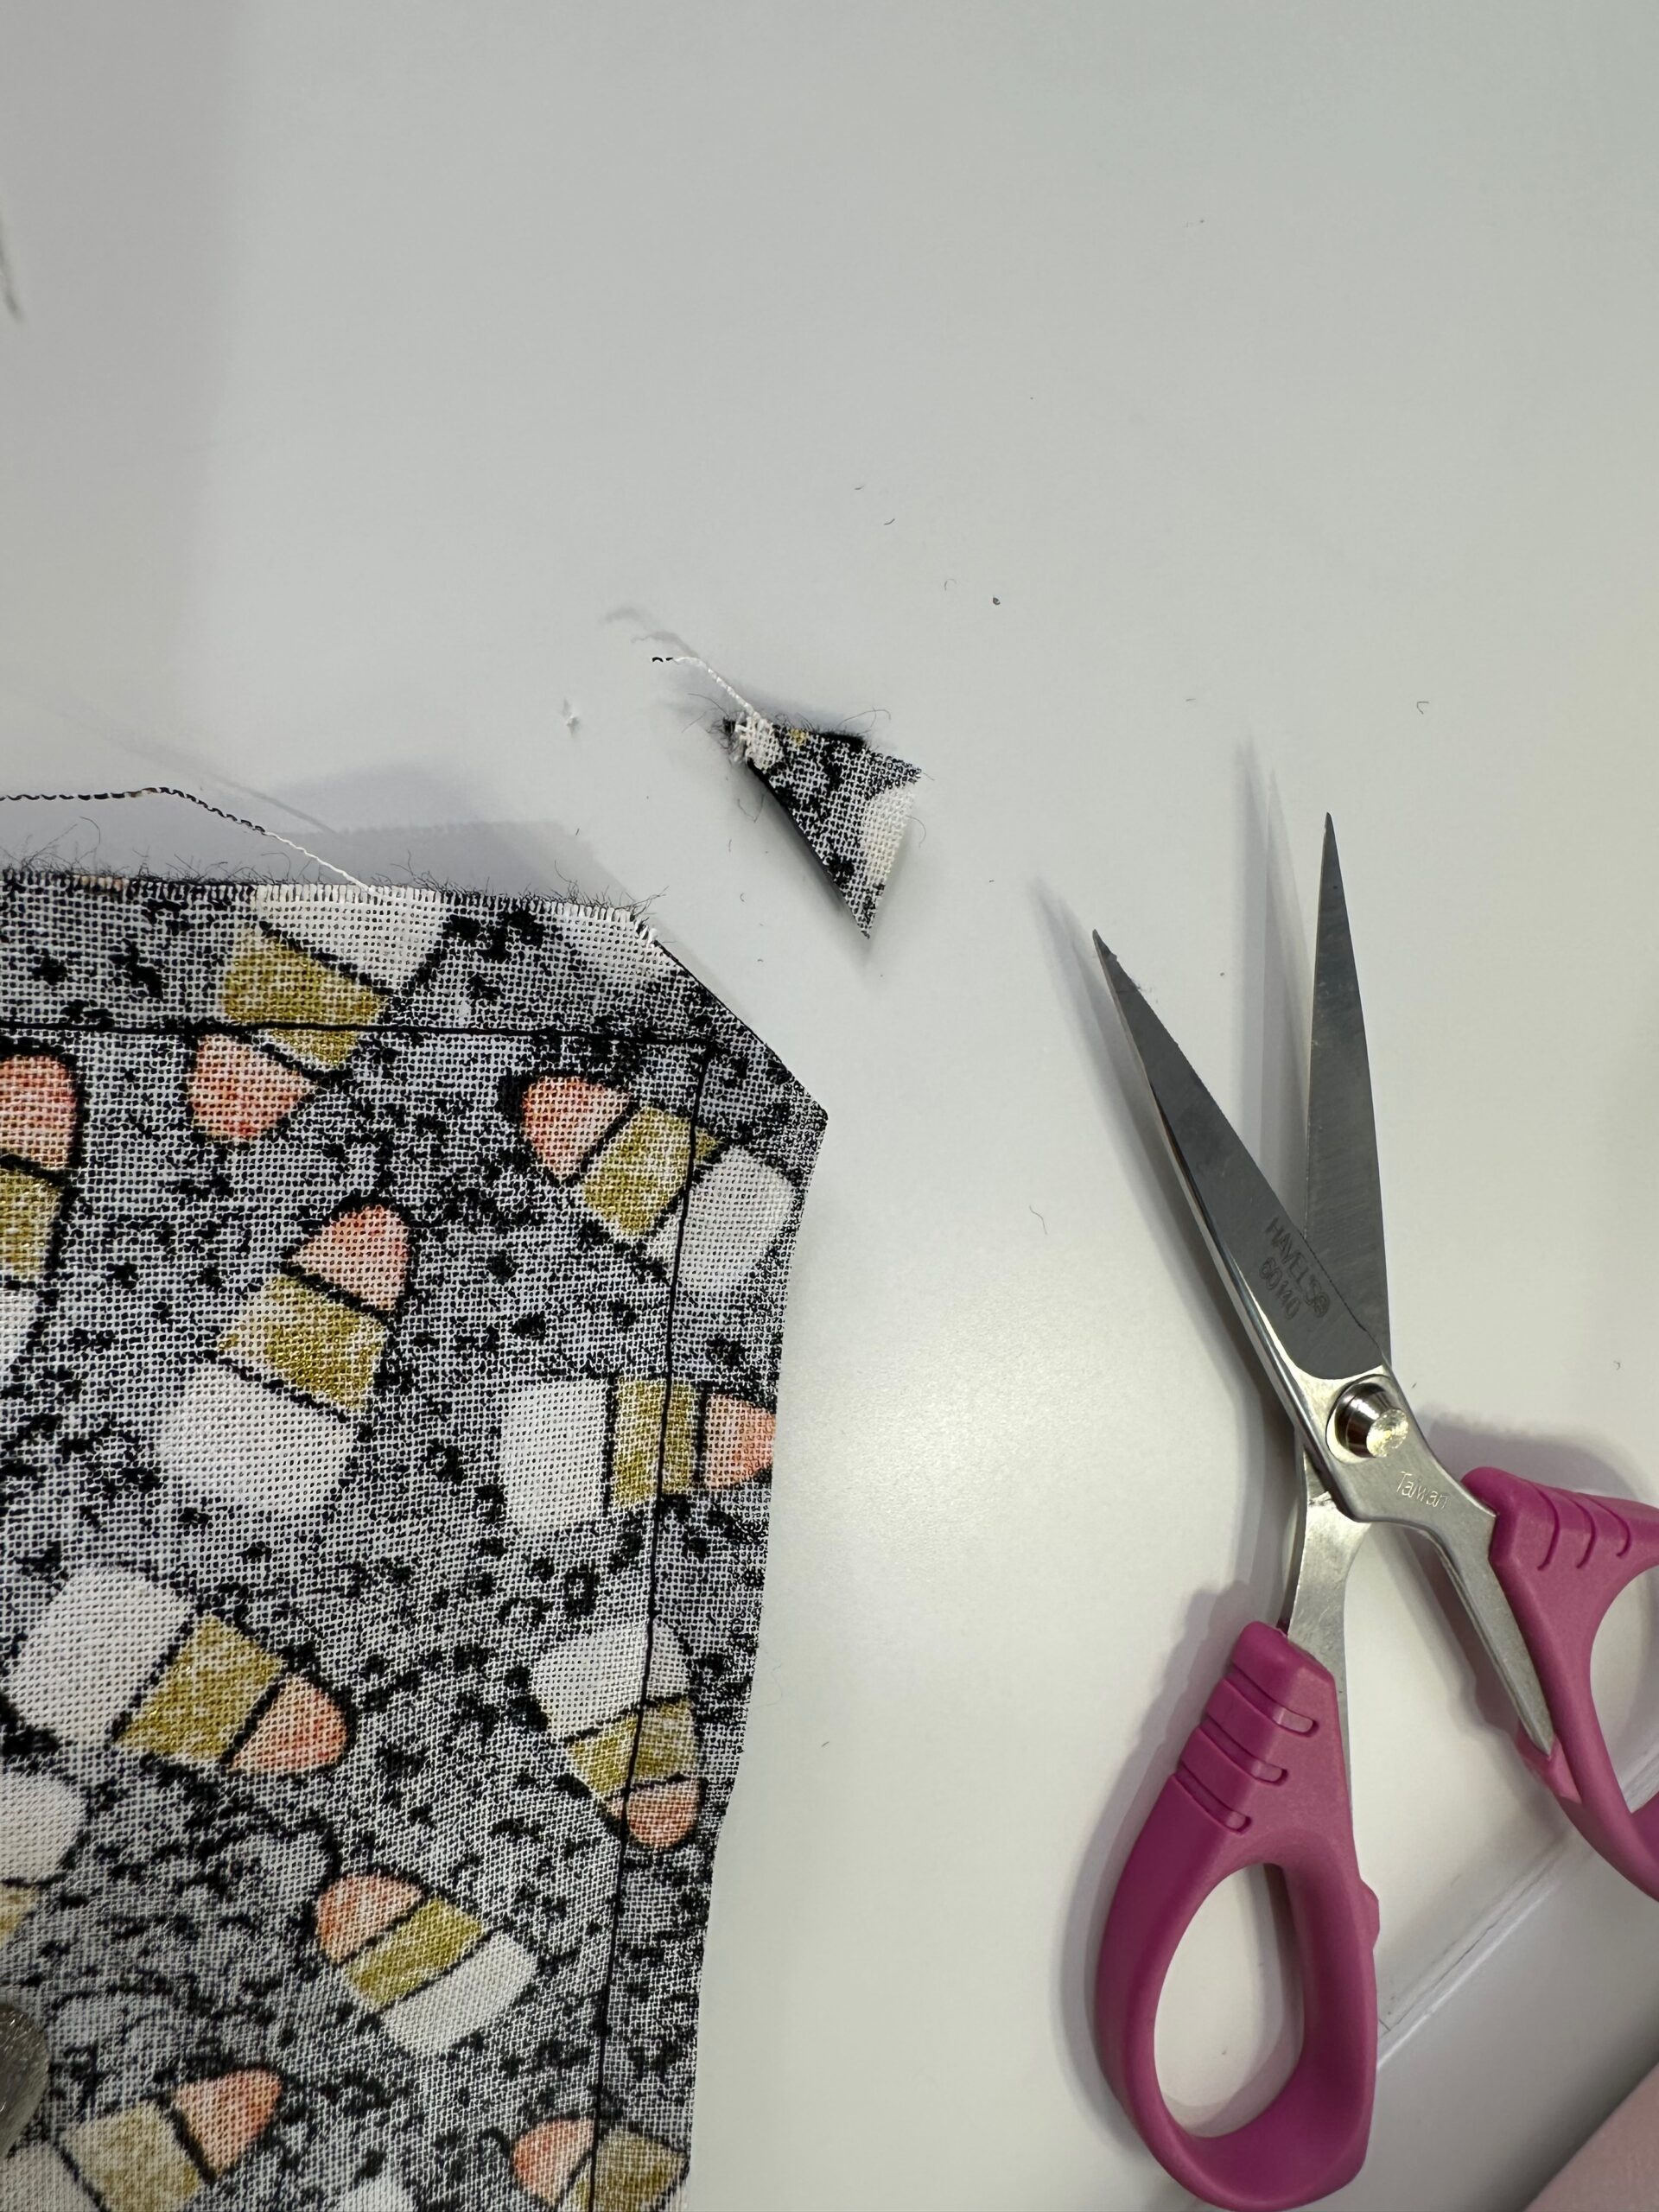
Clip the corners up to, but not through, the stitching.
Turn the table runner right side out through the opening.
Carefully remove the tape or pins securing each Bat from the stitching line. Flatten each bat, if needed, to remove any wrinkles using your hand or a low- to medium temperature iron. (Felty is 100% polyester so can be ironed, machine washed and dried.)
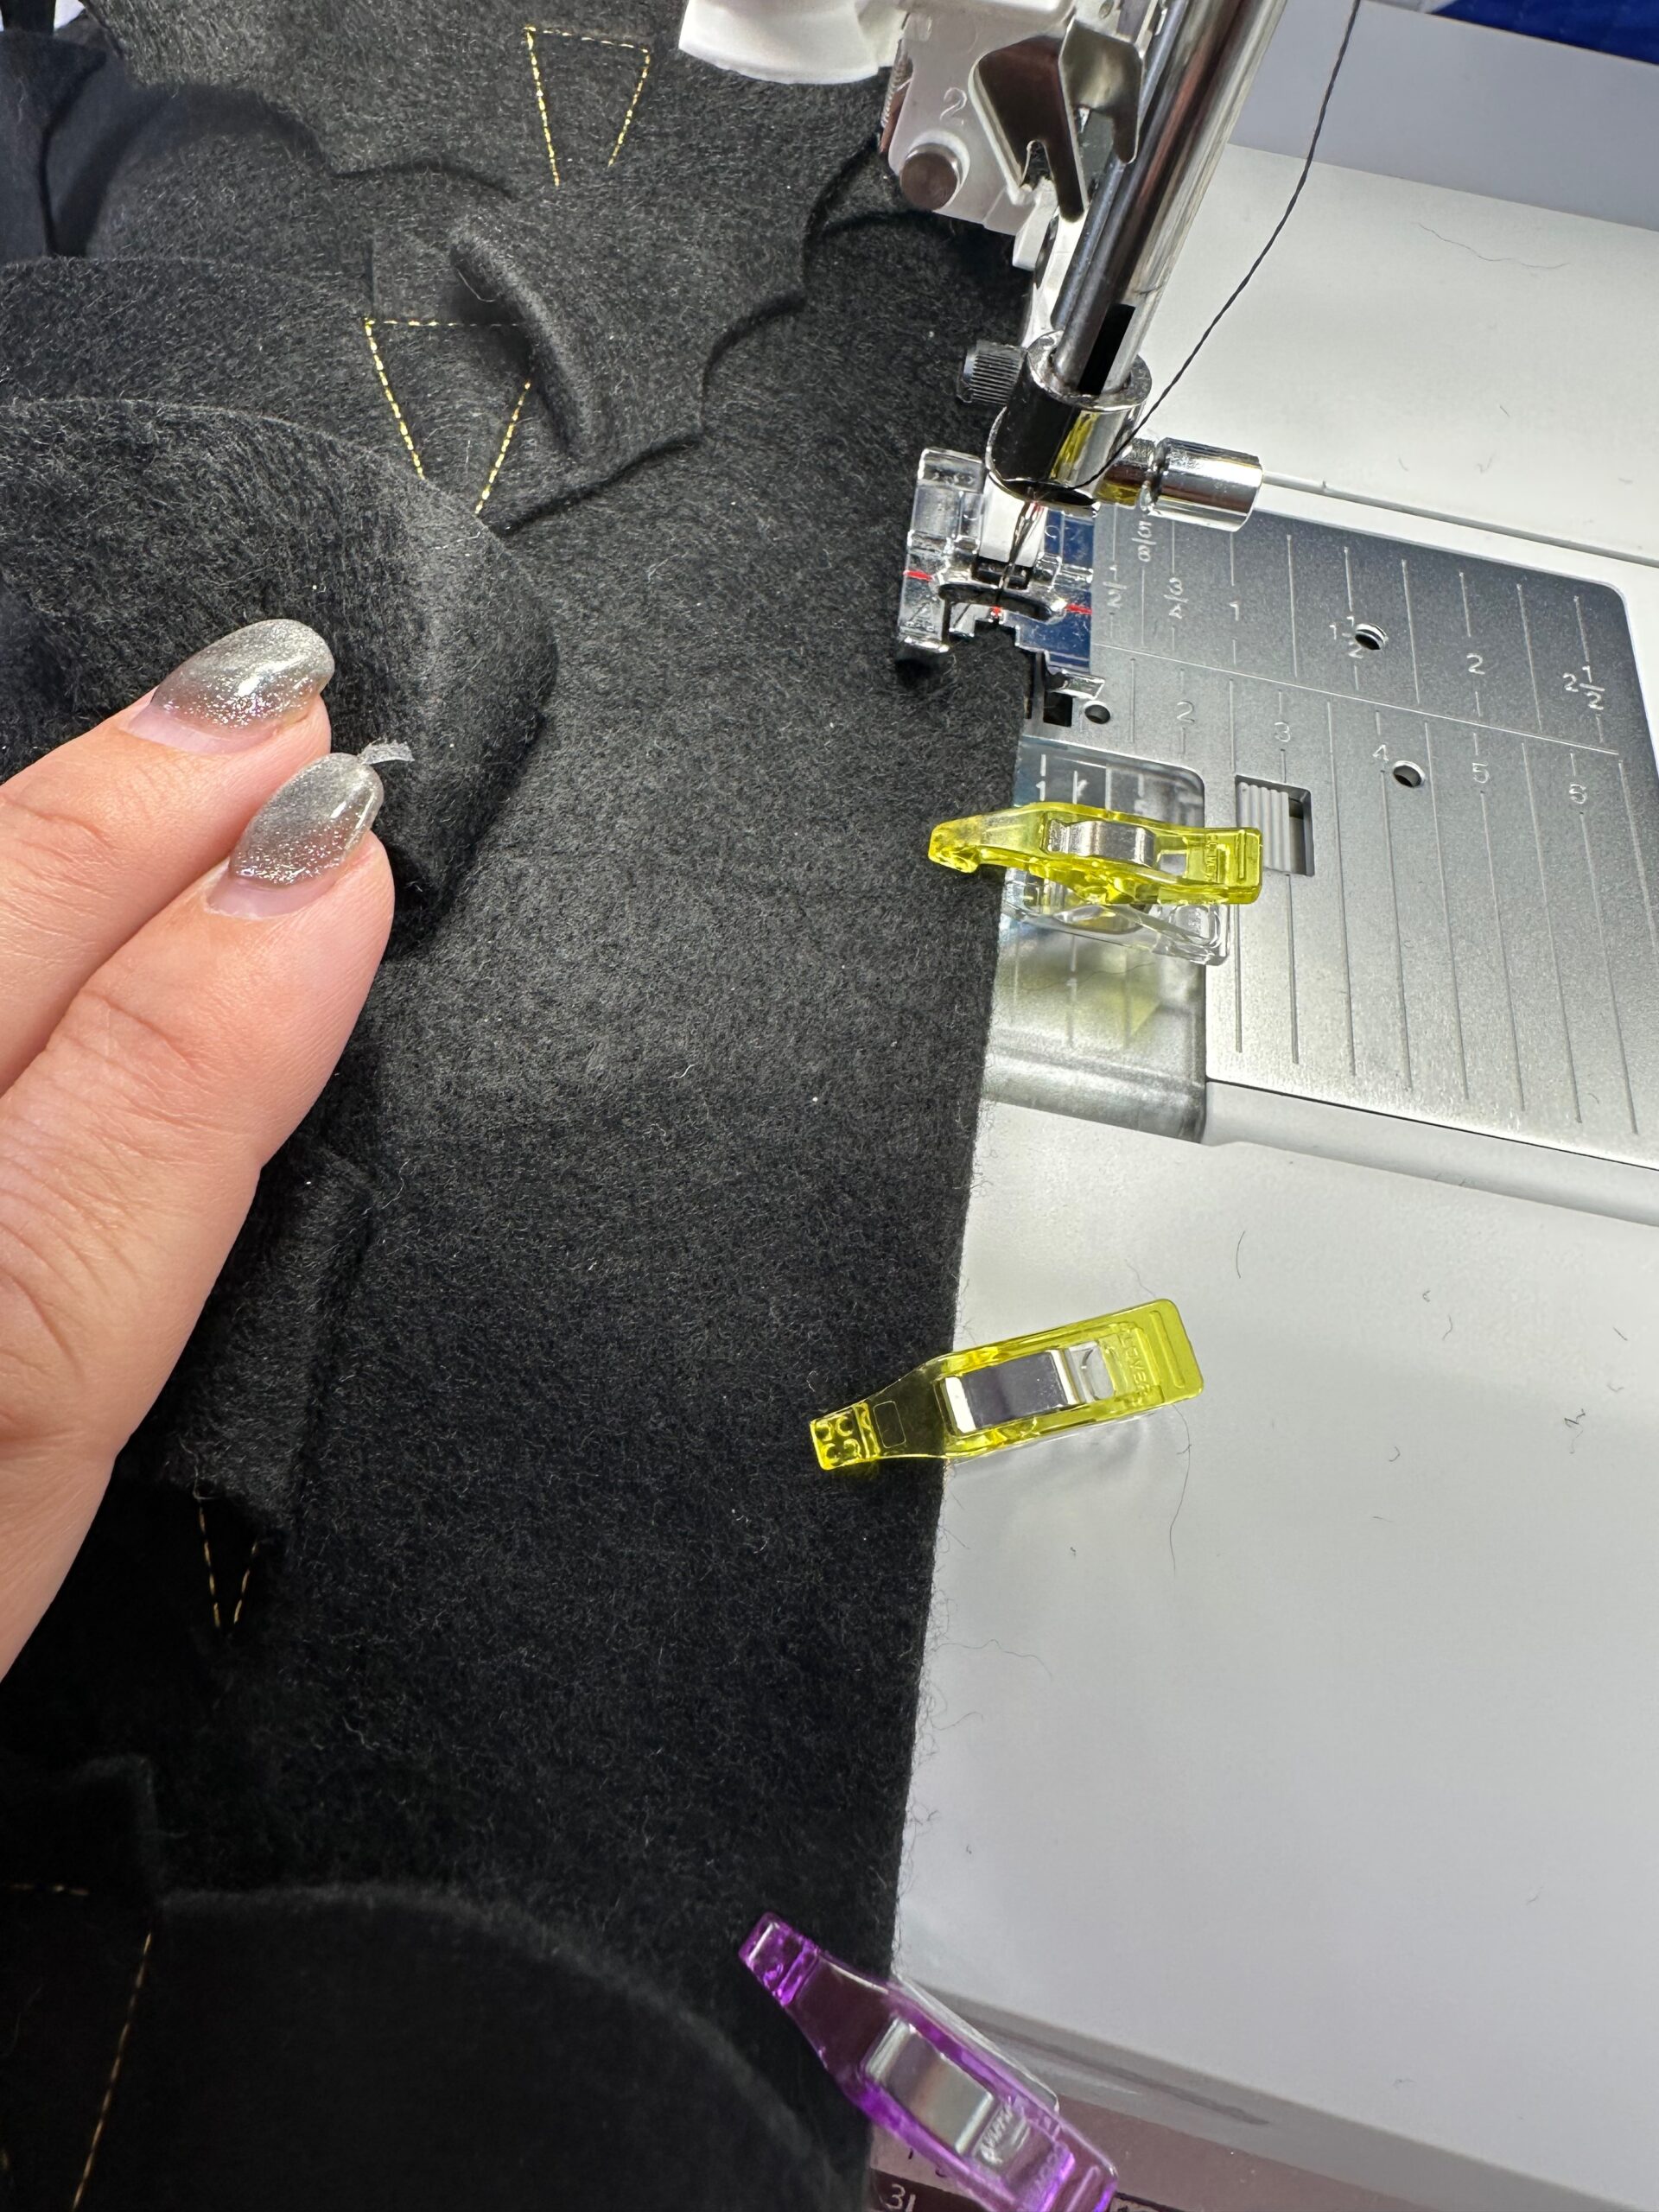
Turn the opening seam allowances toward the wrong side; pin or clip shut.
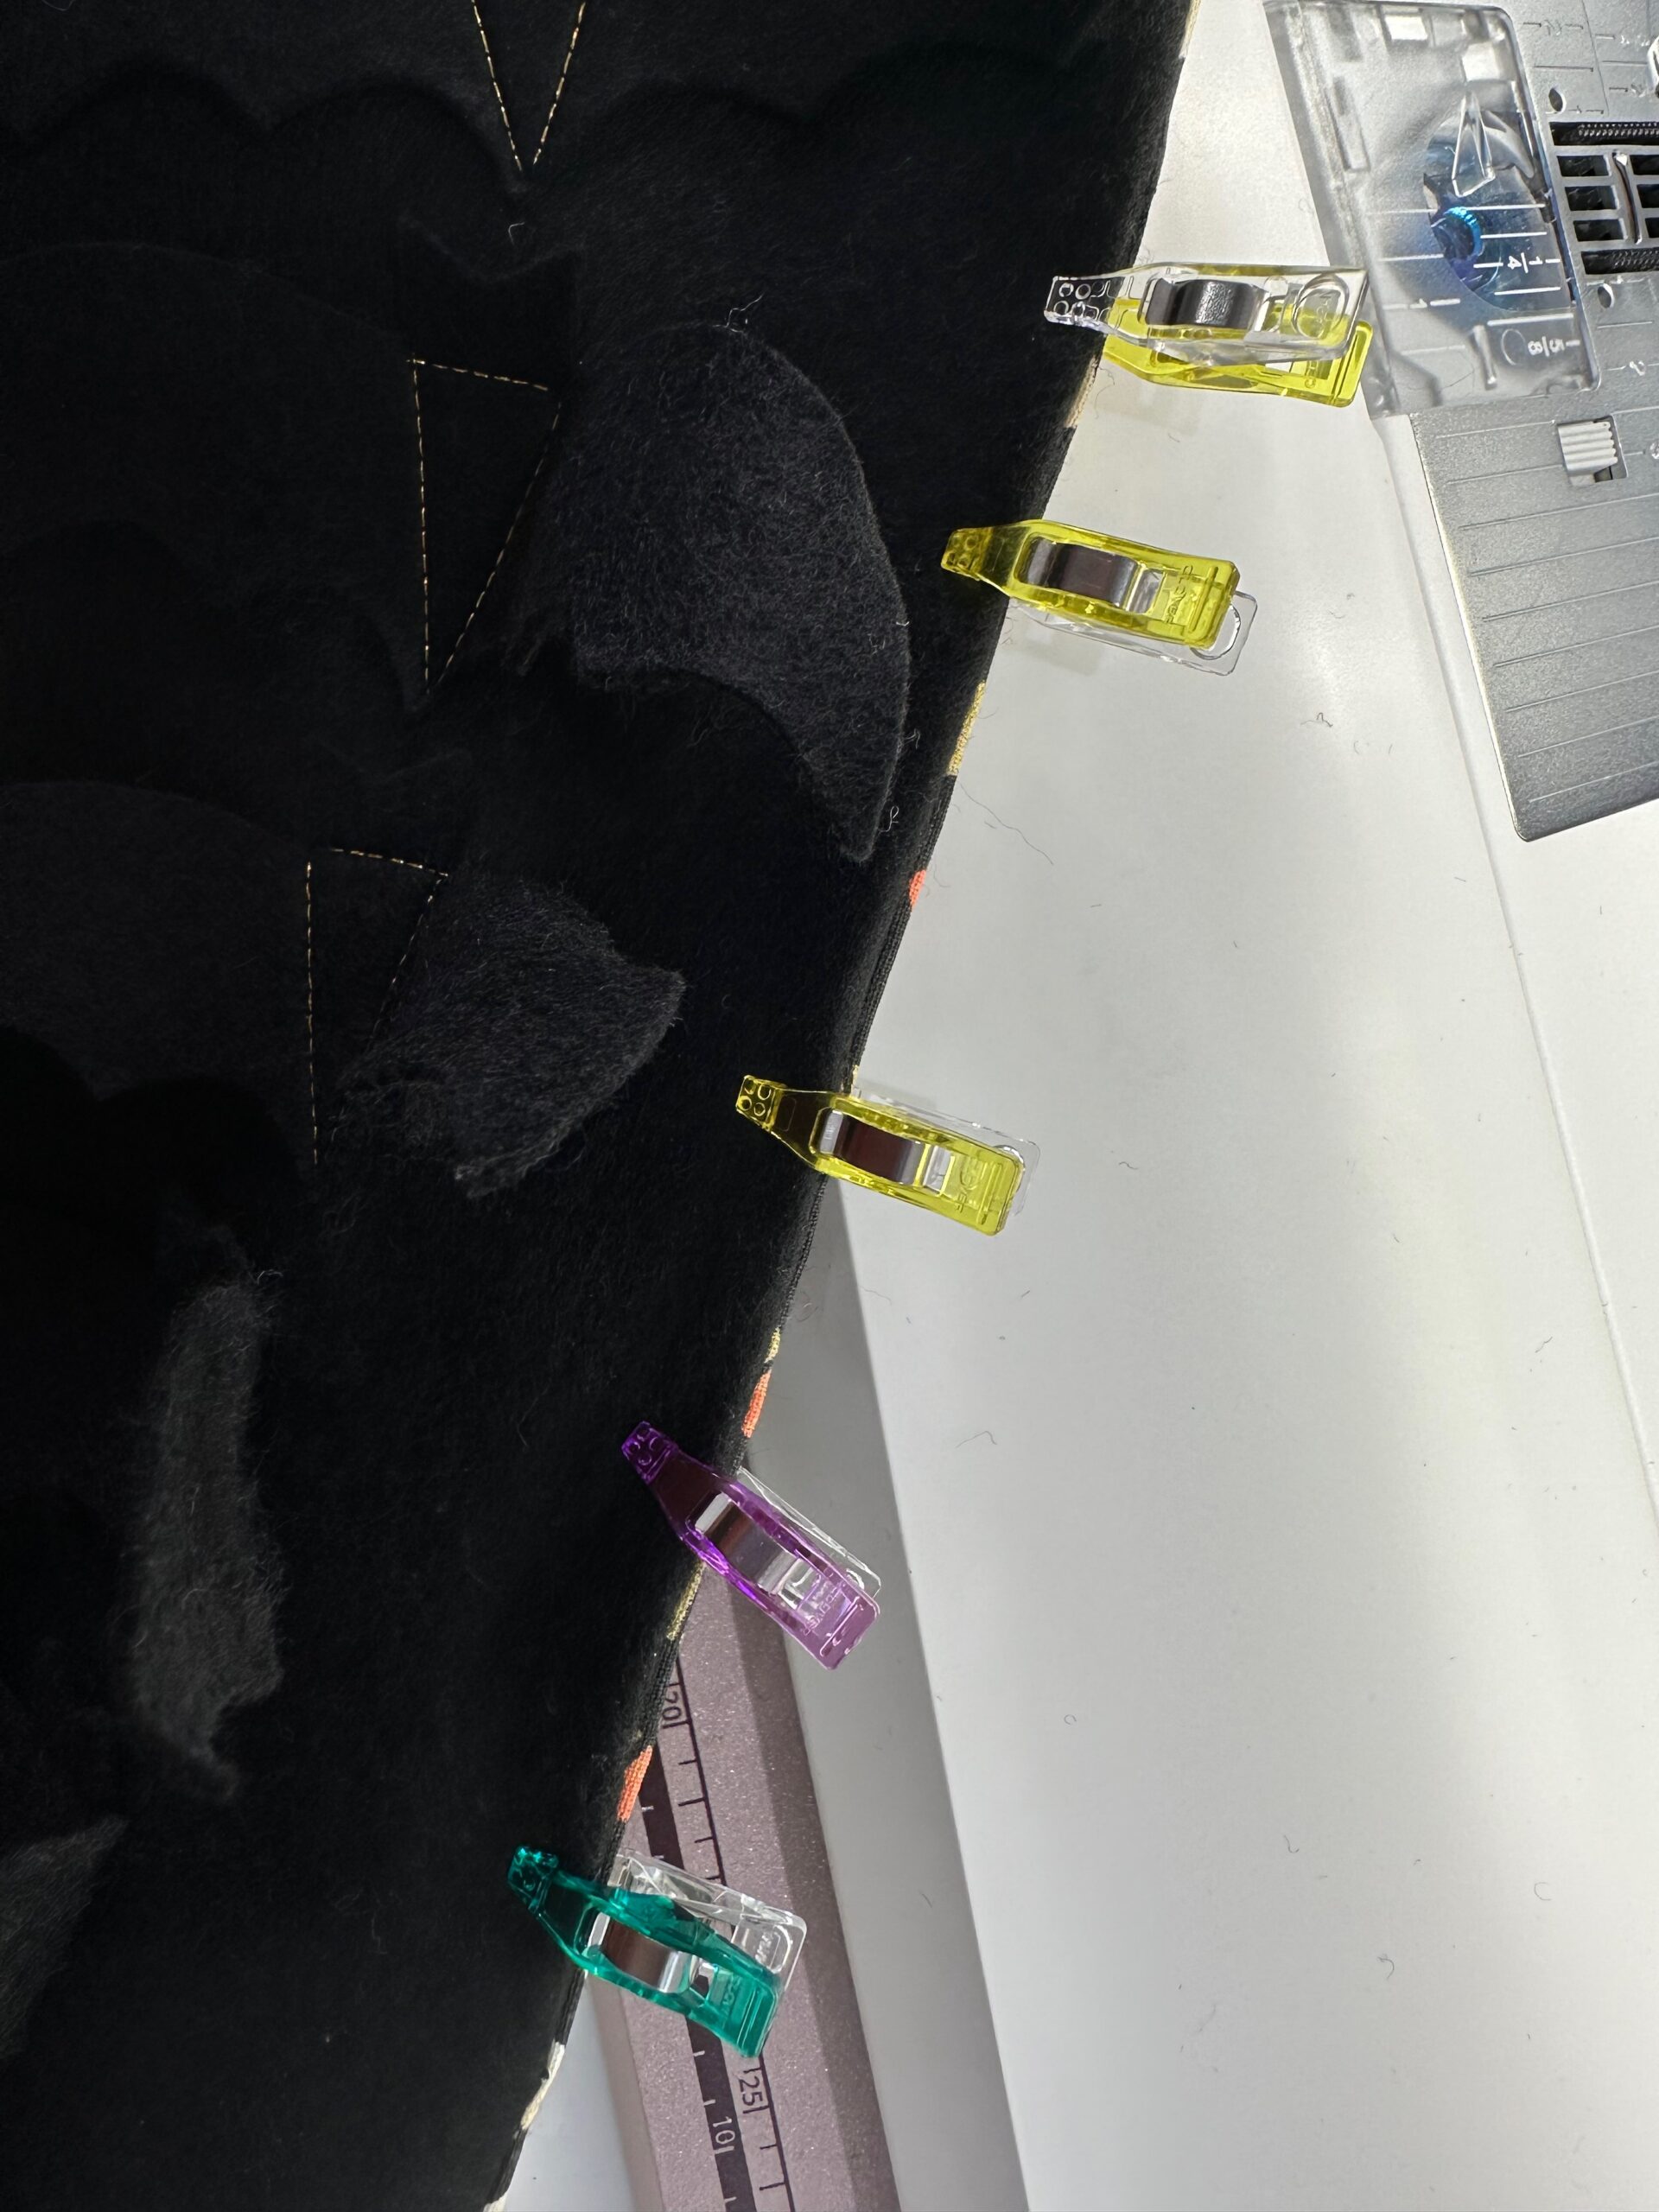
Topstitch the table runner perimeter, moving the Bat ears and wings away from the stitching as you reach them. This stitching also closes the opening.
If needed, press the table runner from the right side.
Display the table runner on the dining table, mantle or buffet table and add more spooky decorations to complete your festive party.